DIY Pendulum Wave: Create a Mesmerizing Optical Illusion in Motion
1385 Views, 10 Favorites, 0 Comments
DIY Pendulum Wave: Create a Mesmerizing Optical Illusion in Motion
Hi there!
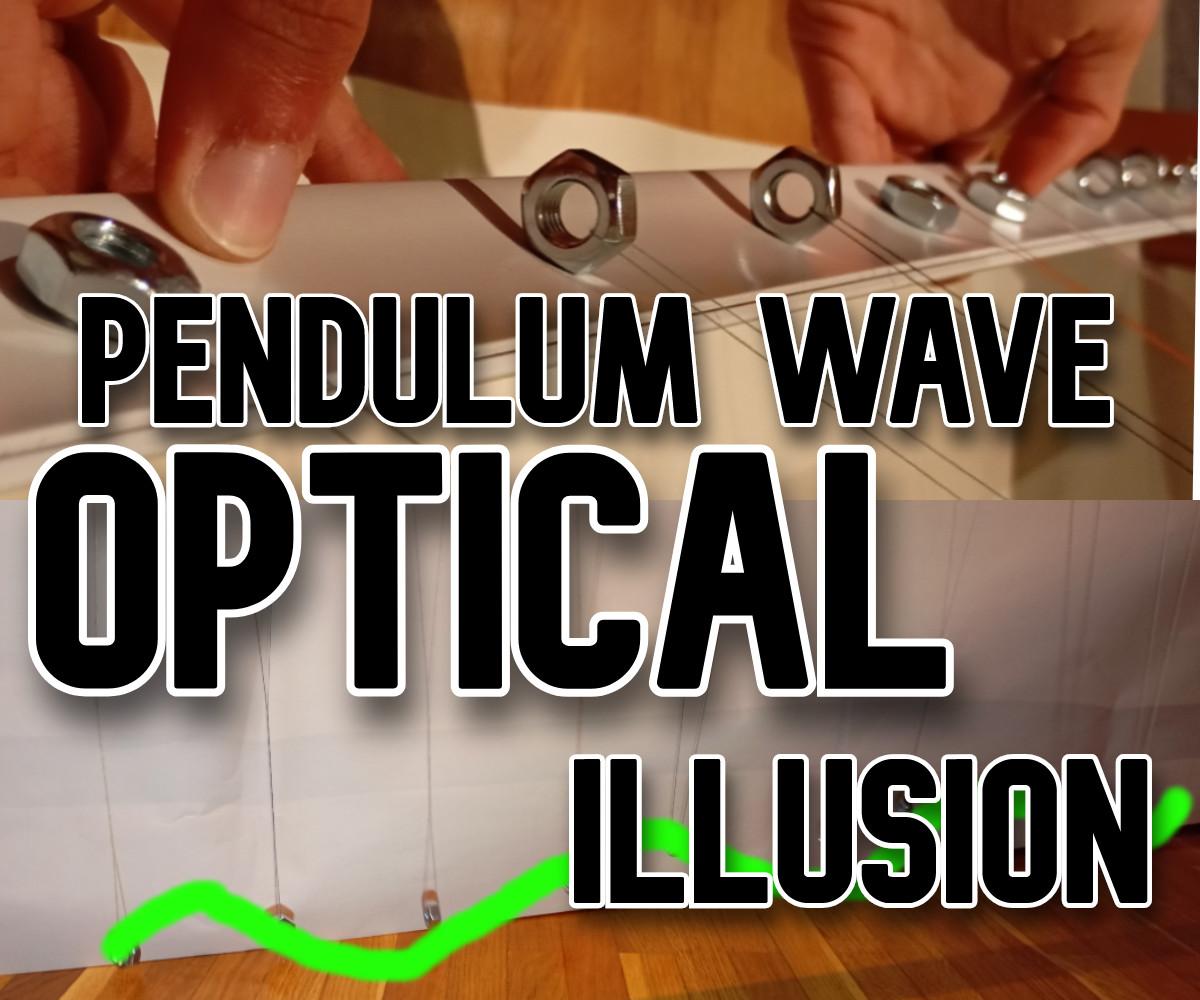
Have you ever been captivated by the soothing, hypnotic motion of pendulums? I know I have! A few weeks ago, I stumbled upon a video of a pendulum wave, and I couldn’t take my eyes off it. It was like watching magic unfold—pendulums moving in perfect harmony, creating mesmerizing patterns, only to realign into new sequences moments later.
I’ve always loved exploring projects that combine science, art, and a touch of whimsy. So, I decided to finally create my own pendulum wave. It’s such a simple yet stunning way to visualize physics in action, and best of all, it’s a project that anyone can make at home.
In this guide, I’ll walk you through how to build your own pendulum wave step by step. Whether you’re looking for a fun science experiment, a calming piece of kinetic art, or just a cool conversation starter, this project is sure to impress. Let’s make some magic with motion!
Supplies
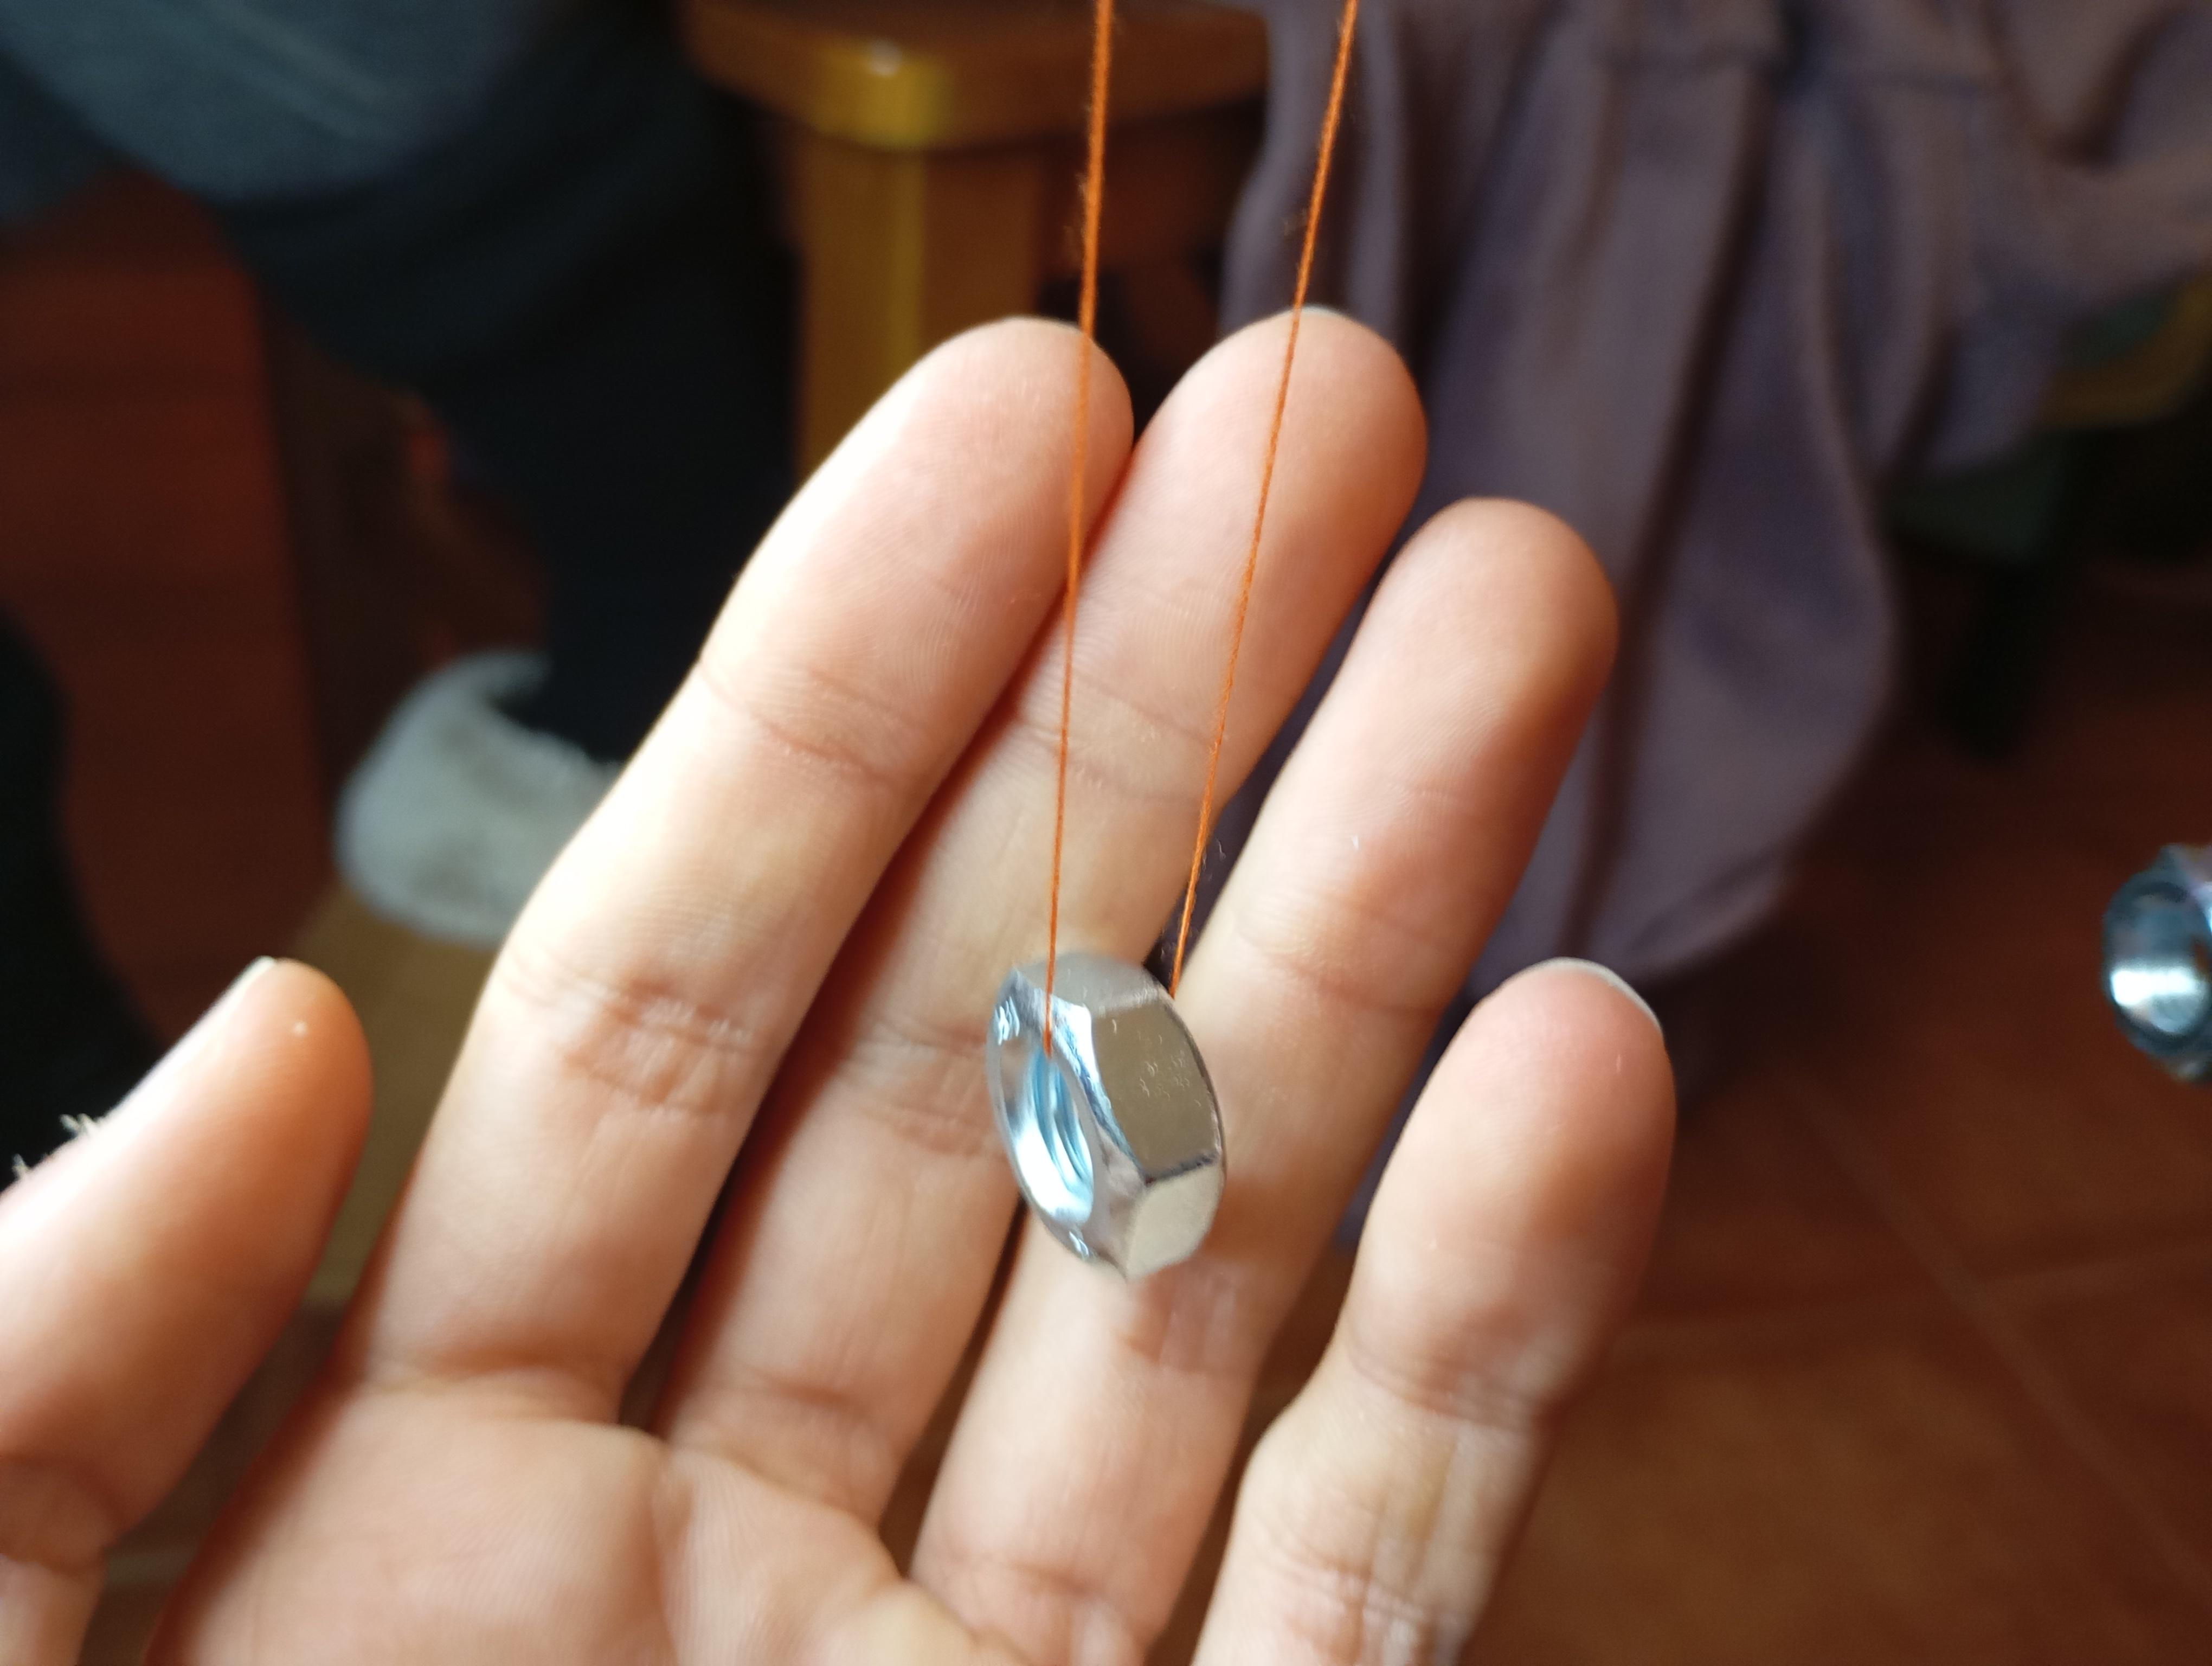

Here’s a detailed list of the materials and tools I used to create my pendulum wave:
Materials
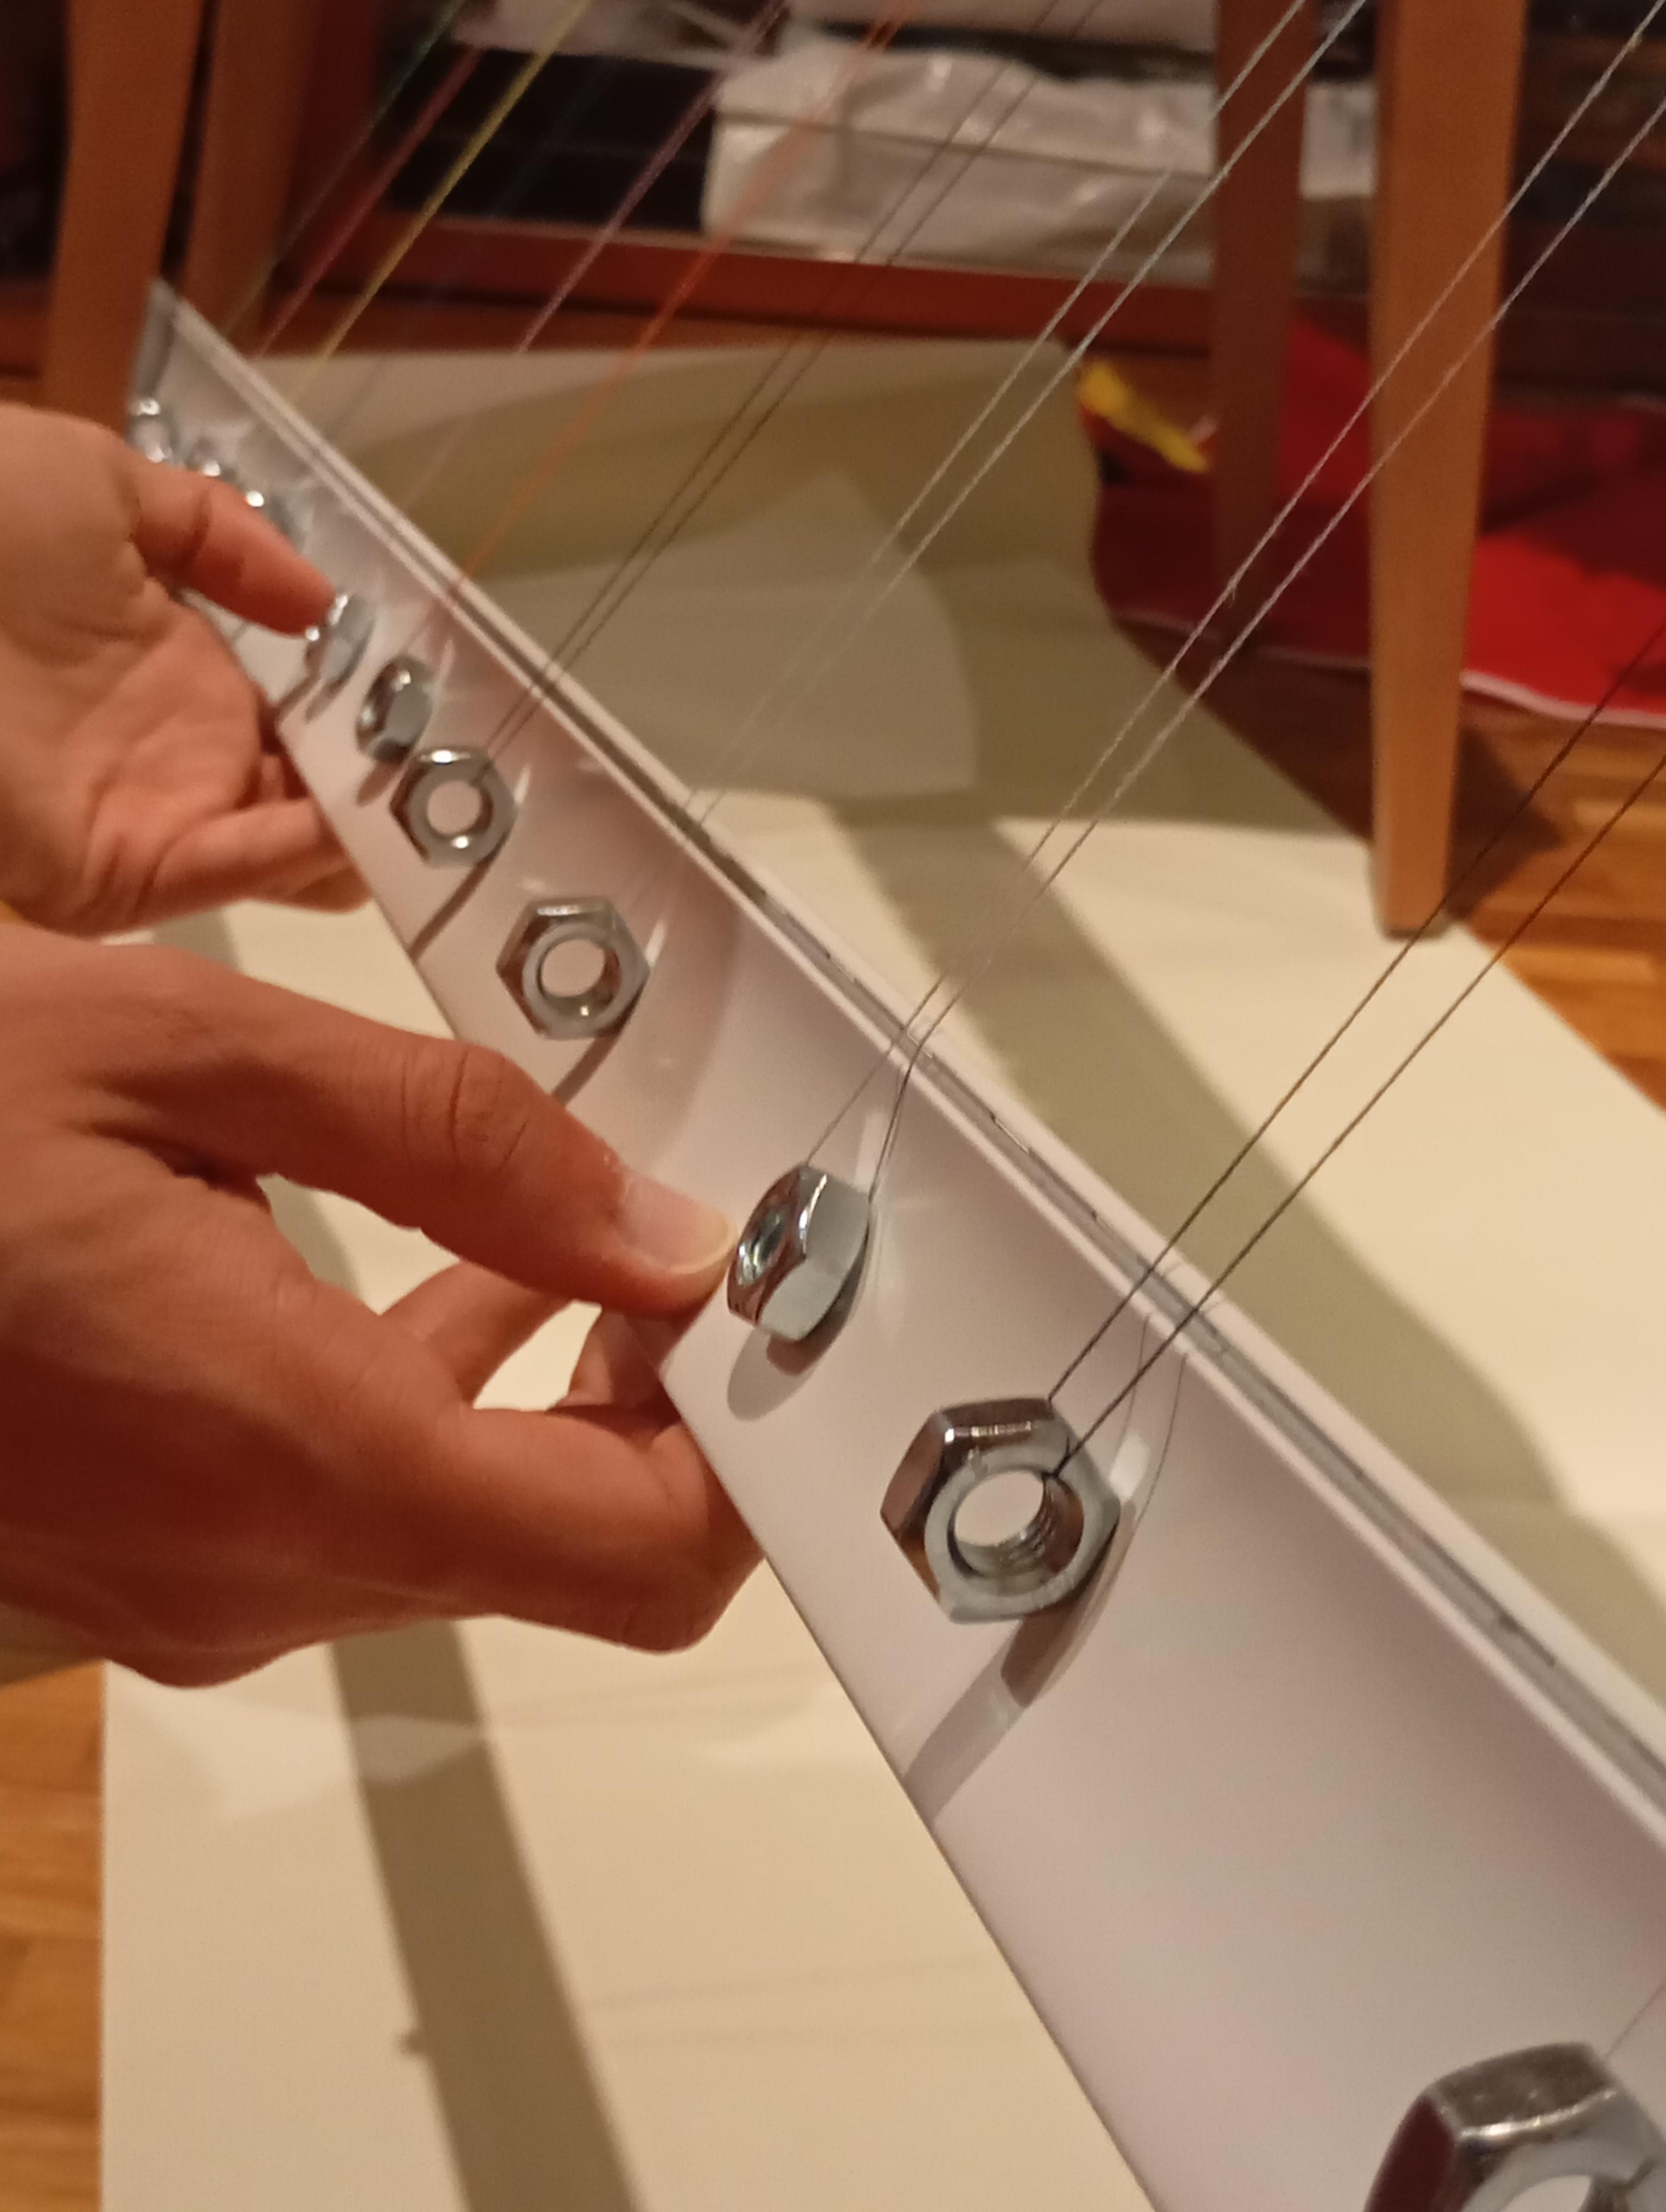
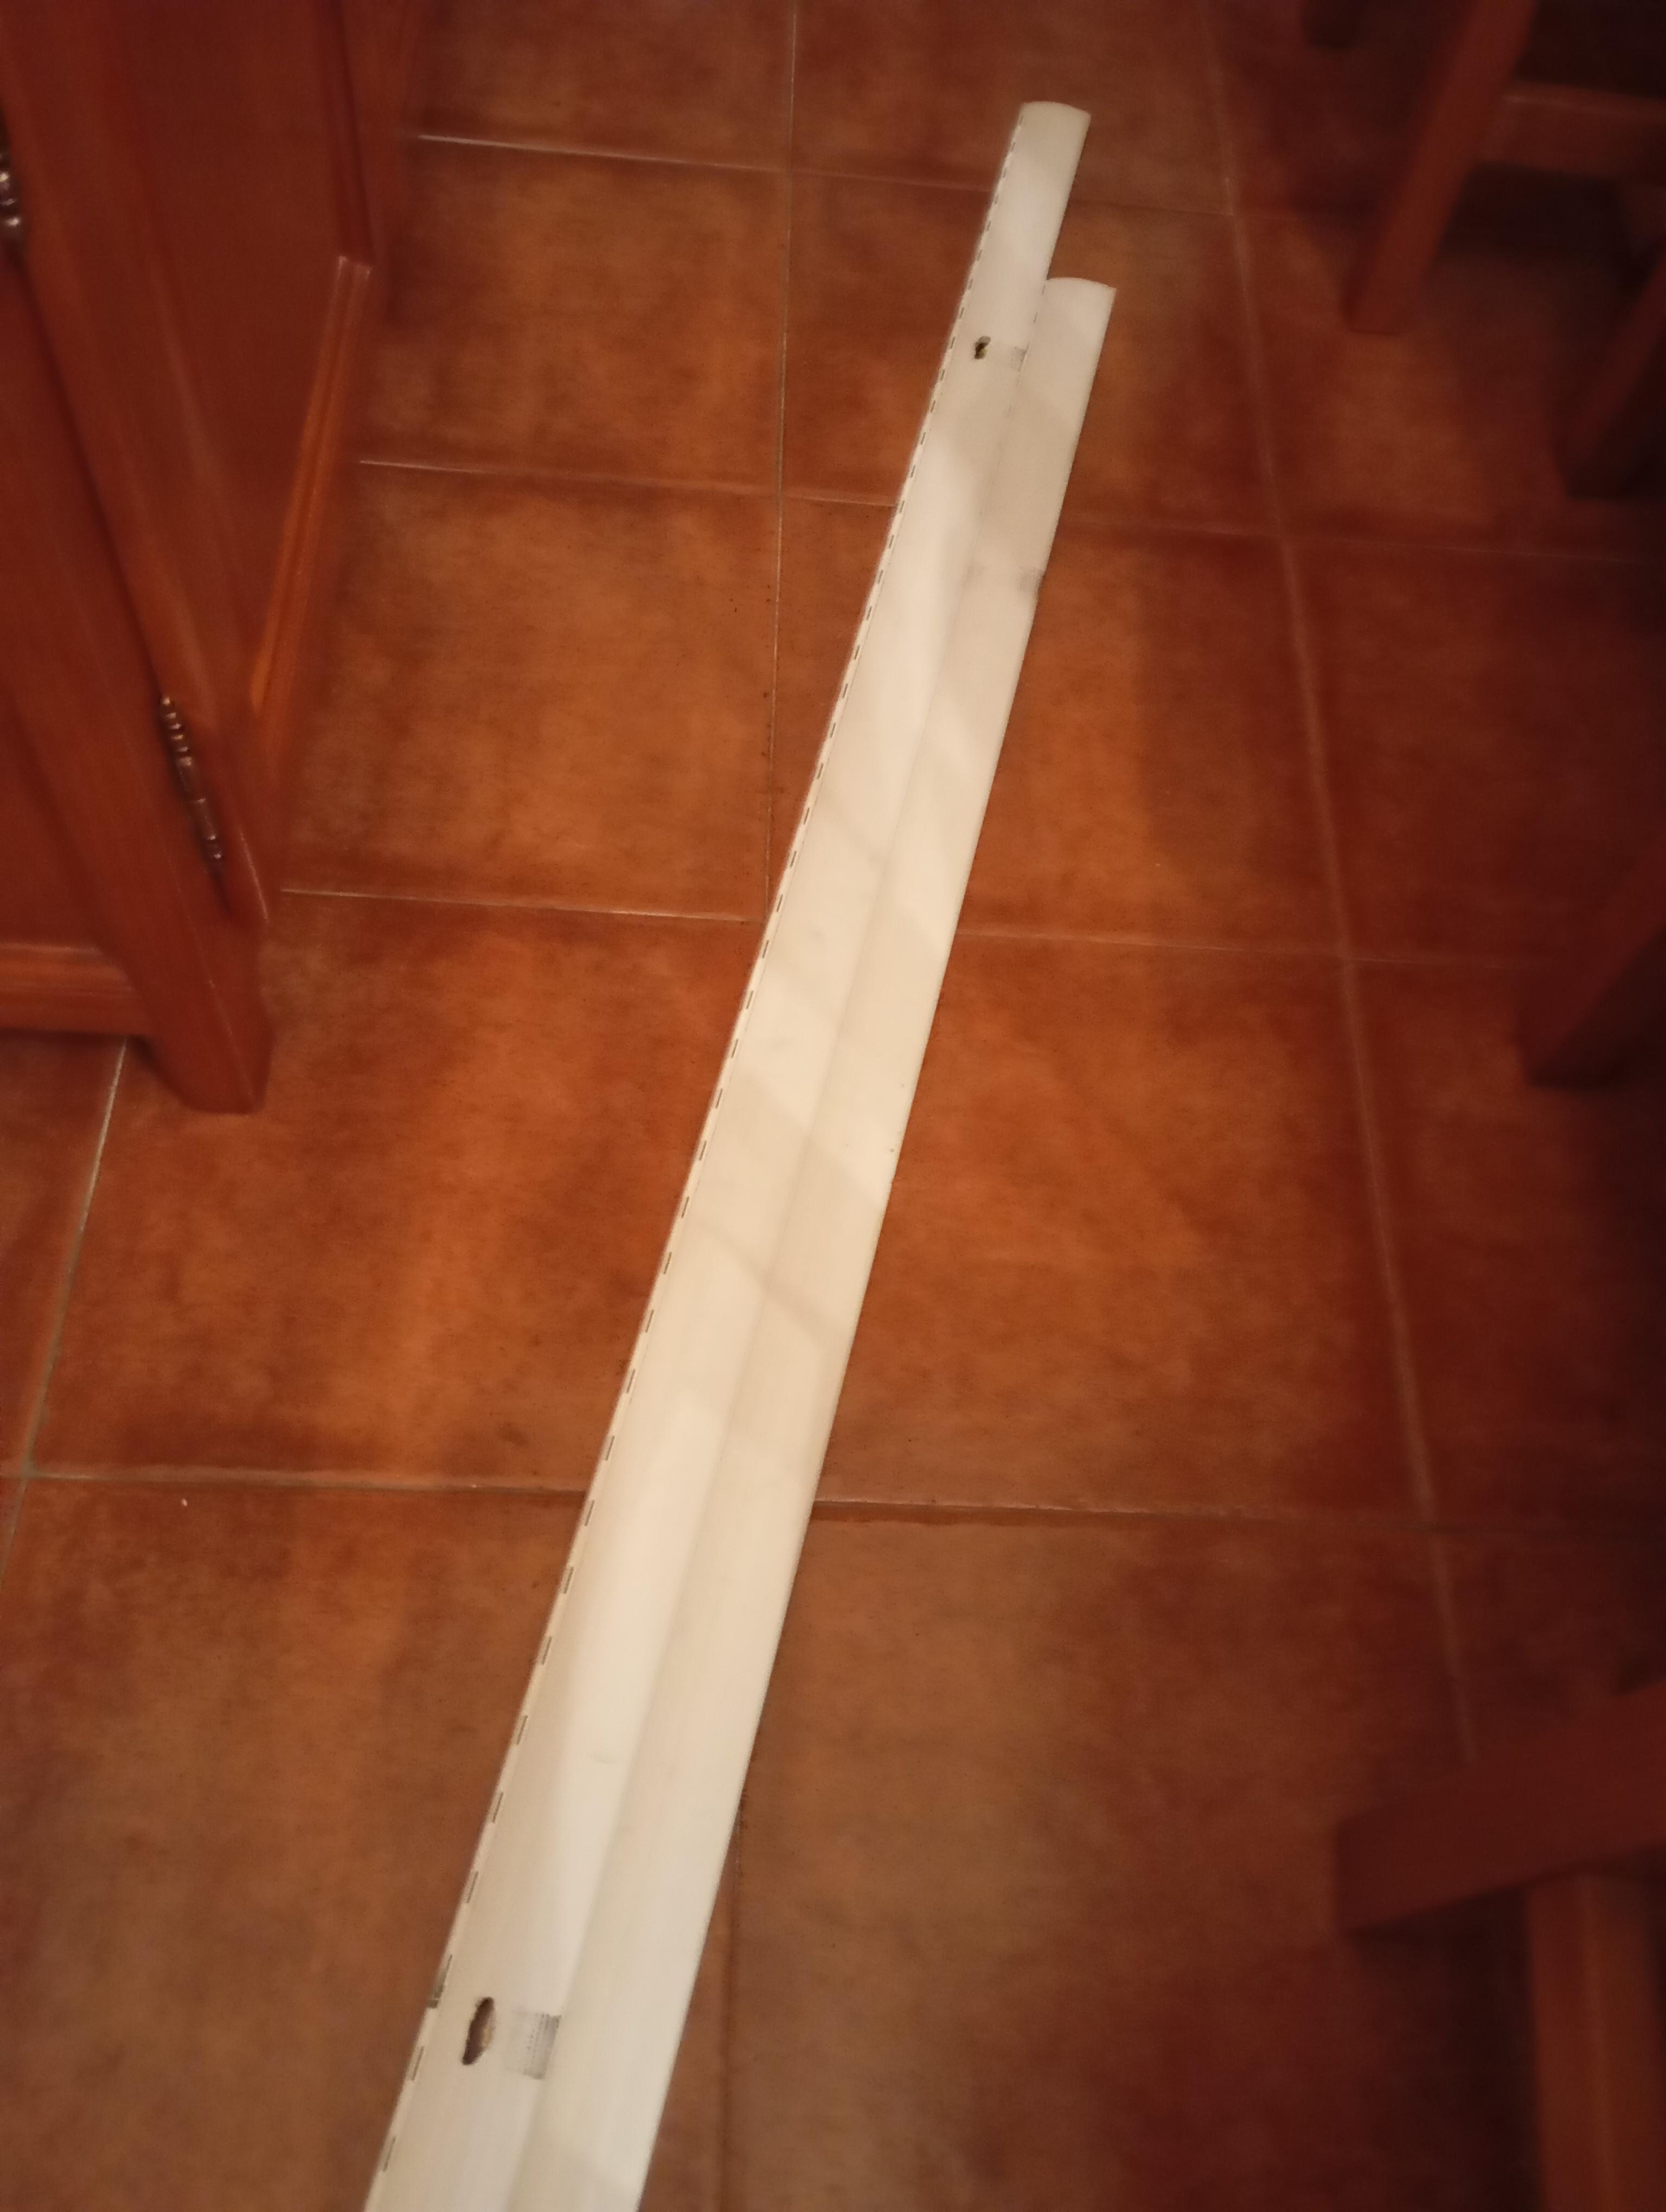
- Roller blind slats (2): One serves as the pendulum suspension bar, while the other acts as a release mechanism to start all pendulums simultaneously.
- Nuts (as weights): These serve as the pendulum bobs.
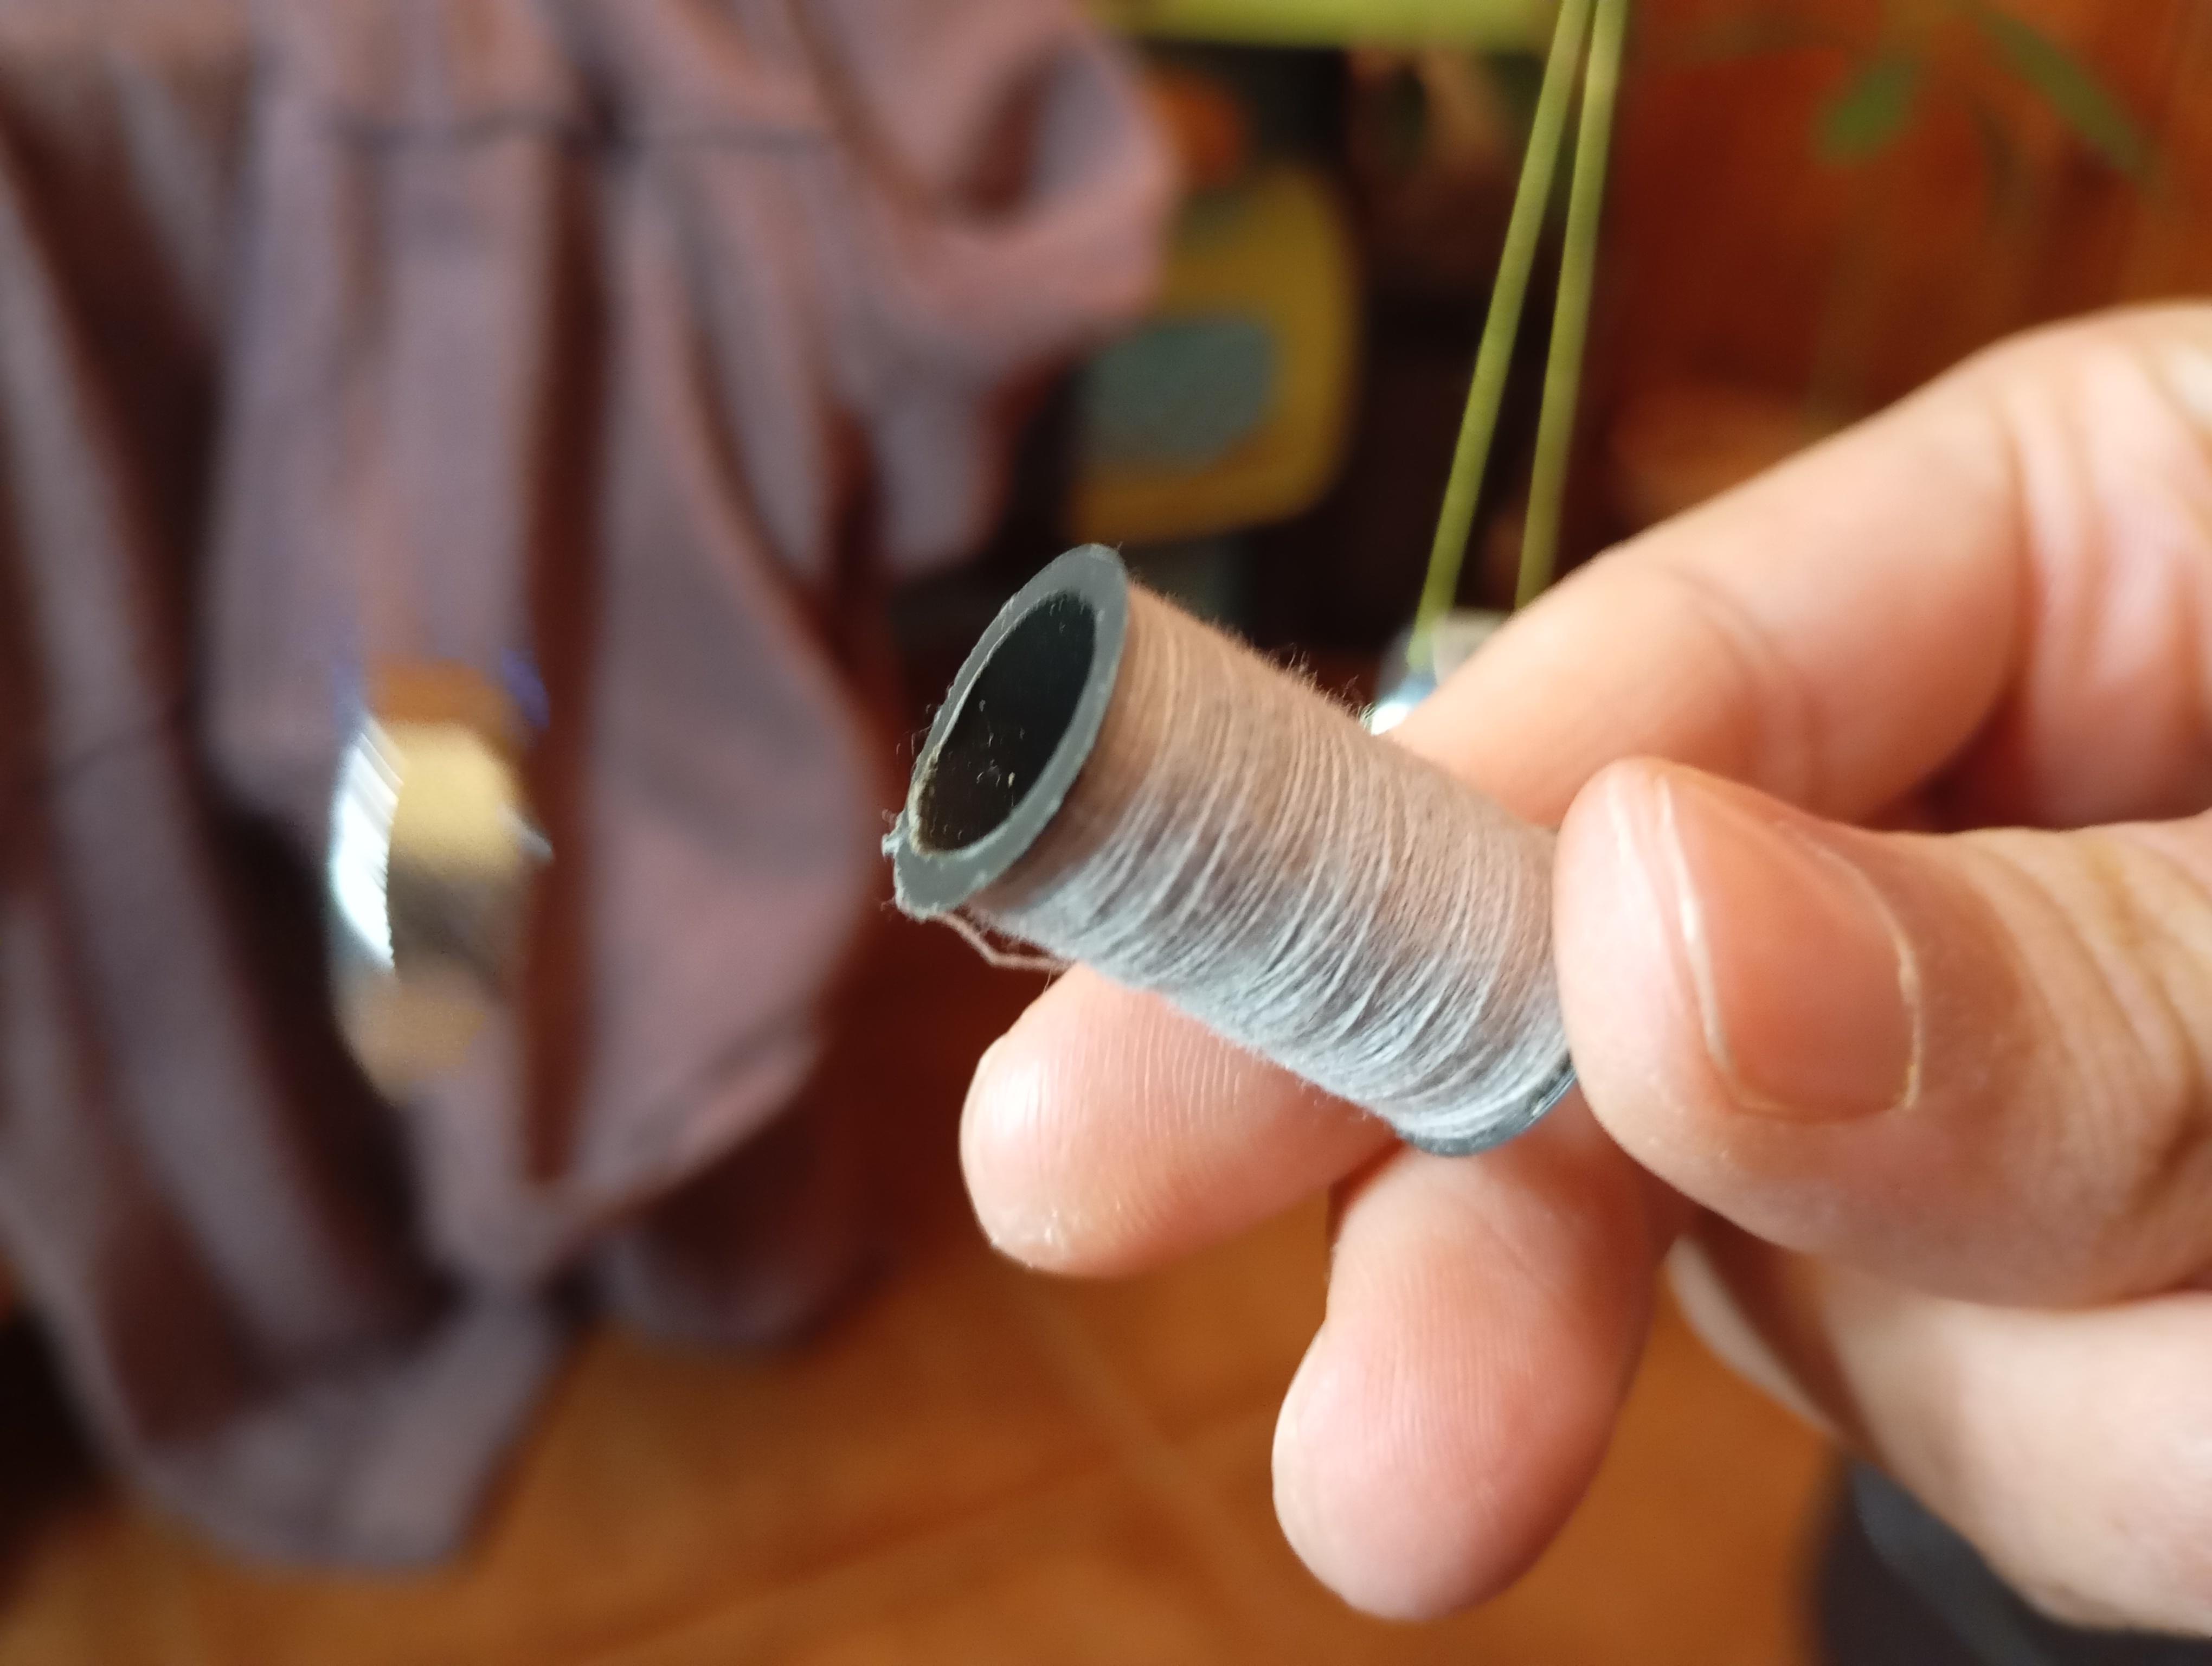
- String or thread: Thin and strong, used to hang the pendulums. Each pendulum has two strings for stability, like a swing, preventing them from twisting.
- Tape (e.g., clear tape): To temporarily hold strings in place during adjustments.
Tools
- Ruler or measuring tape: Essential for measuring string lengths accurately.
- Scissors: For cutting the string.
- Stopwatch or timer: Used to measure the oscillations of each pendulum during fine-tuning.
Optional
- Marker or pen: To mark positions on the slats where the pendulums will be attached.
- Calculator: Handy for using the pendulum formula and calculating string lengths.
With these materials, you can follow a simple yet effective process to build a precise and stable pe
Calculate the Pendulum Lengths
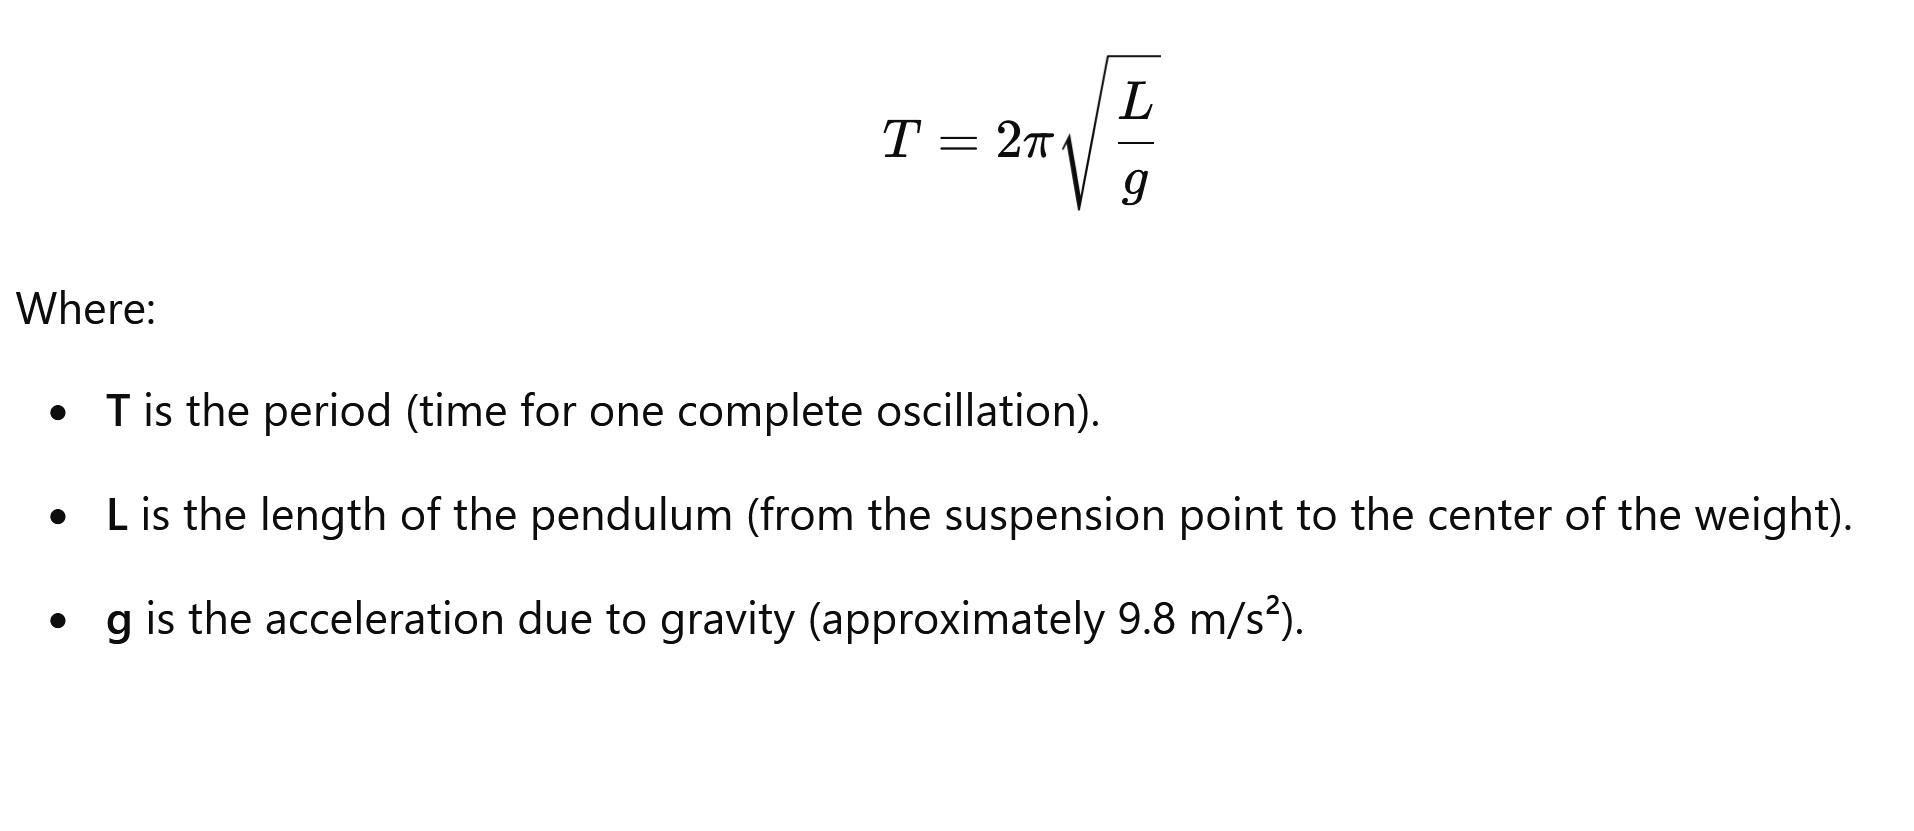
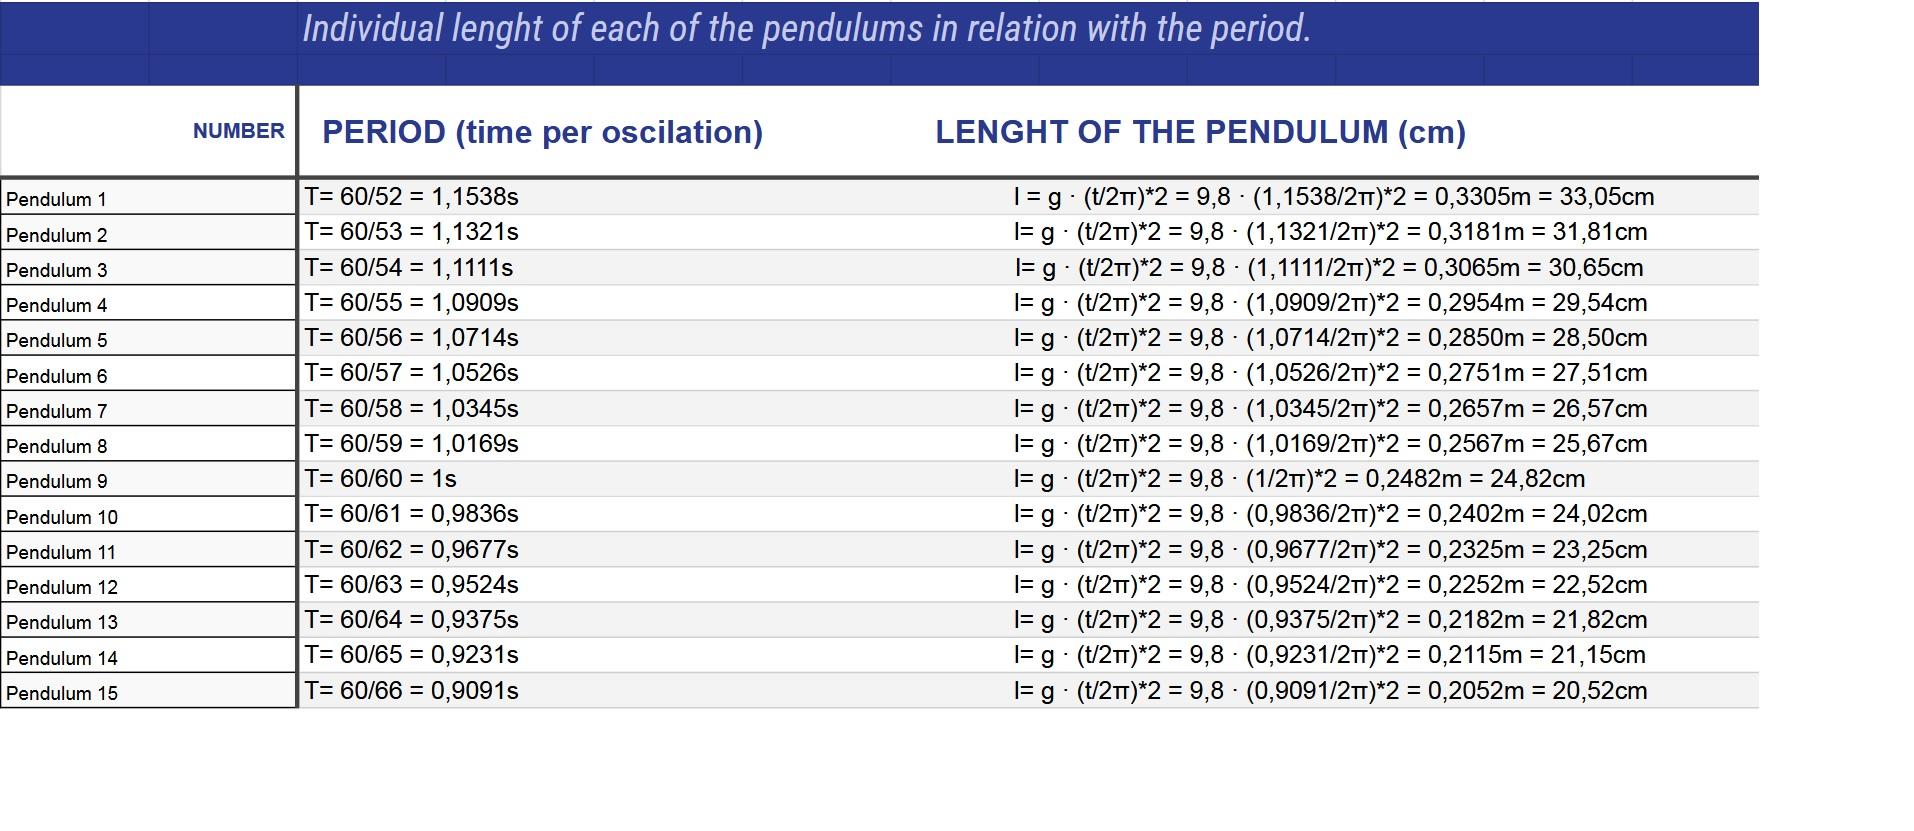
To ensure your pendulum wave creates the mesmerizing patterns you’re aiming for, the length of each pendulum must be carefully calculated. This is based on the formula for the period of a pendulum shown in the picture.
Determine the Oscillation Count:
- Decide how many oscillations the fastest and slowest pendulums will complete in one minute. For example, the fastest might complete 66 oscillations, and the slowest 52 oscillations.
Calculate the Period for Each Pendulum:
- Divide 60 seconds by the number of oscillations for each pendulum to find their periods.
Calculate the Lengths:
- Rearrange the formula to solve for L
Use the calculated periods to find the lengths for each pendulum.
- Create a Table of Lengths:
- Write down the calculated lengths for all pendulums. This table will guide you during assembly. You can also follow my calculations if you prefer!
Tip: If you want to save time, you can use an online calculator or spreadsheet to compute the lengths quickly. Once your calculations are complete, you’re ready to move on to marking and preparing the suspension bar!
Prepare the Suspension Bar
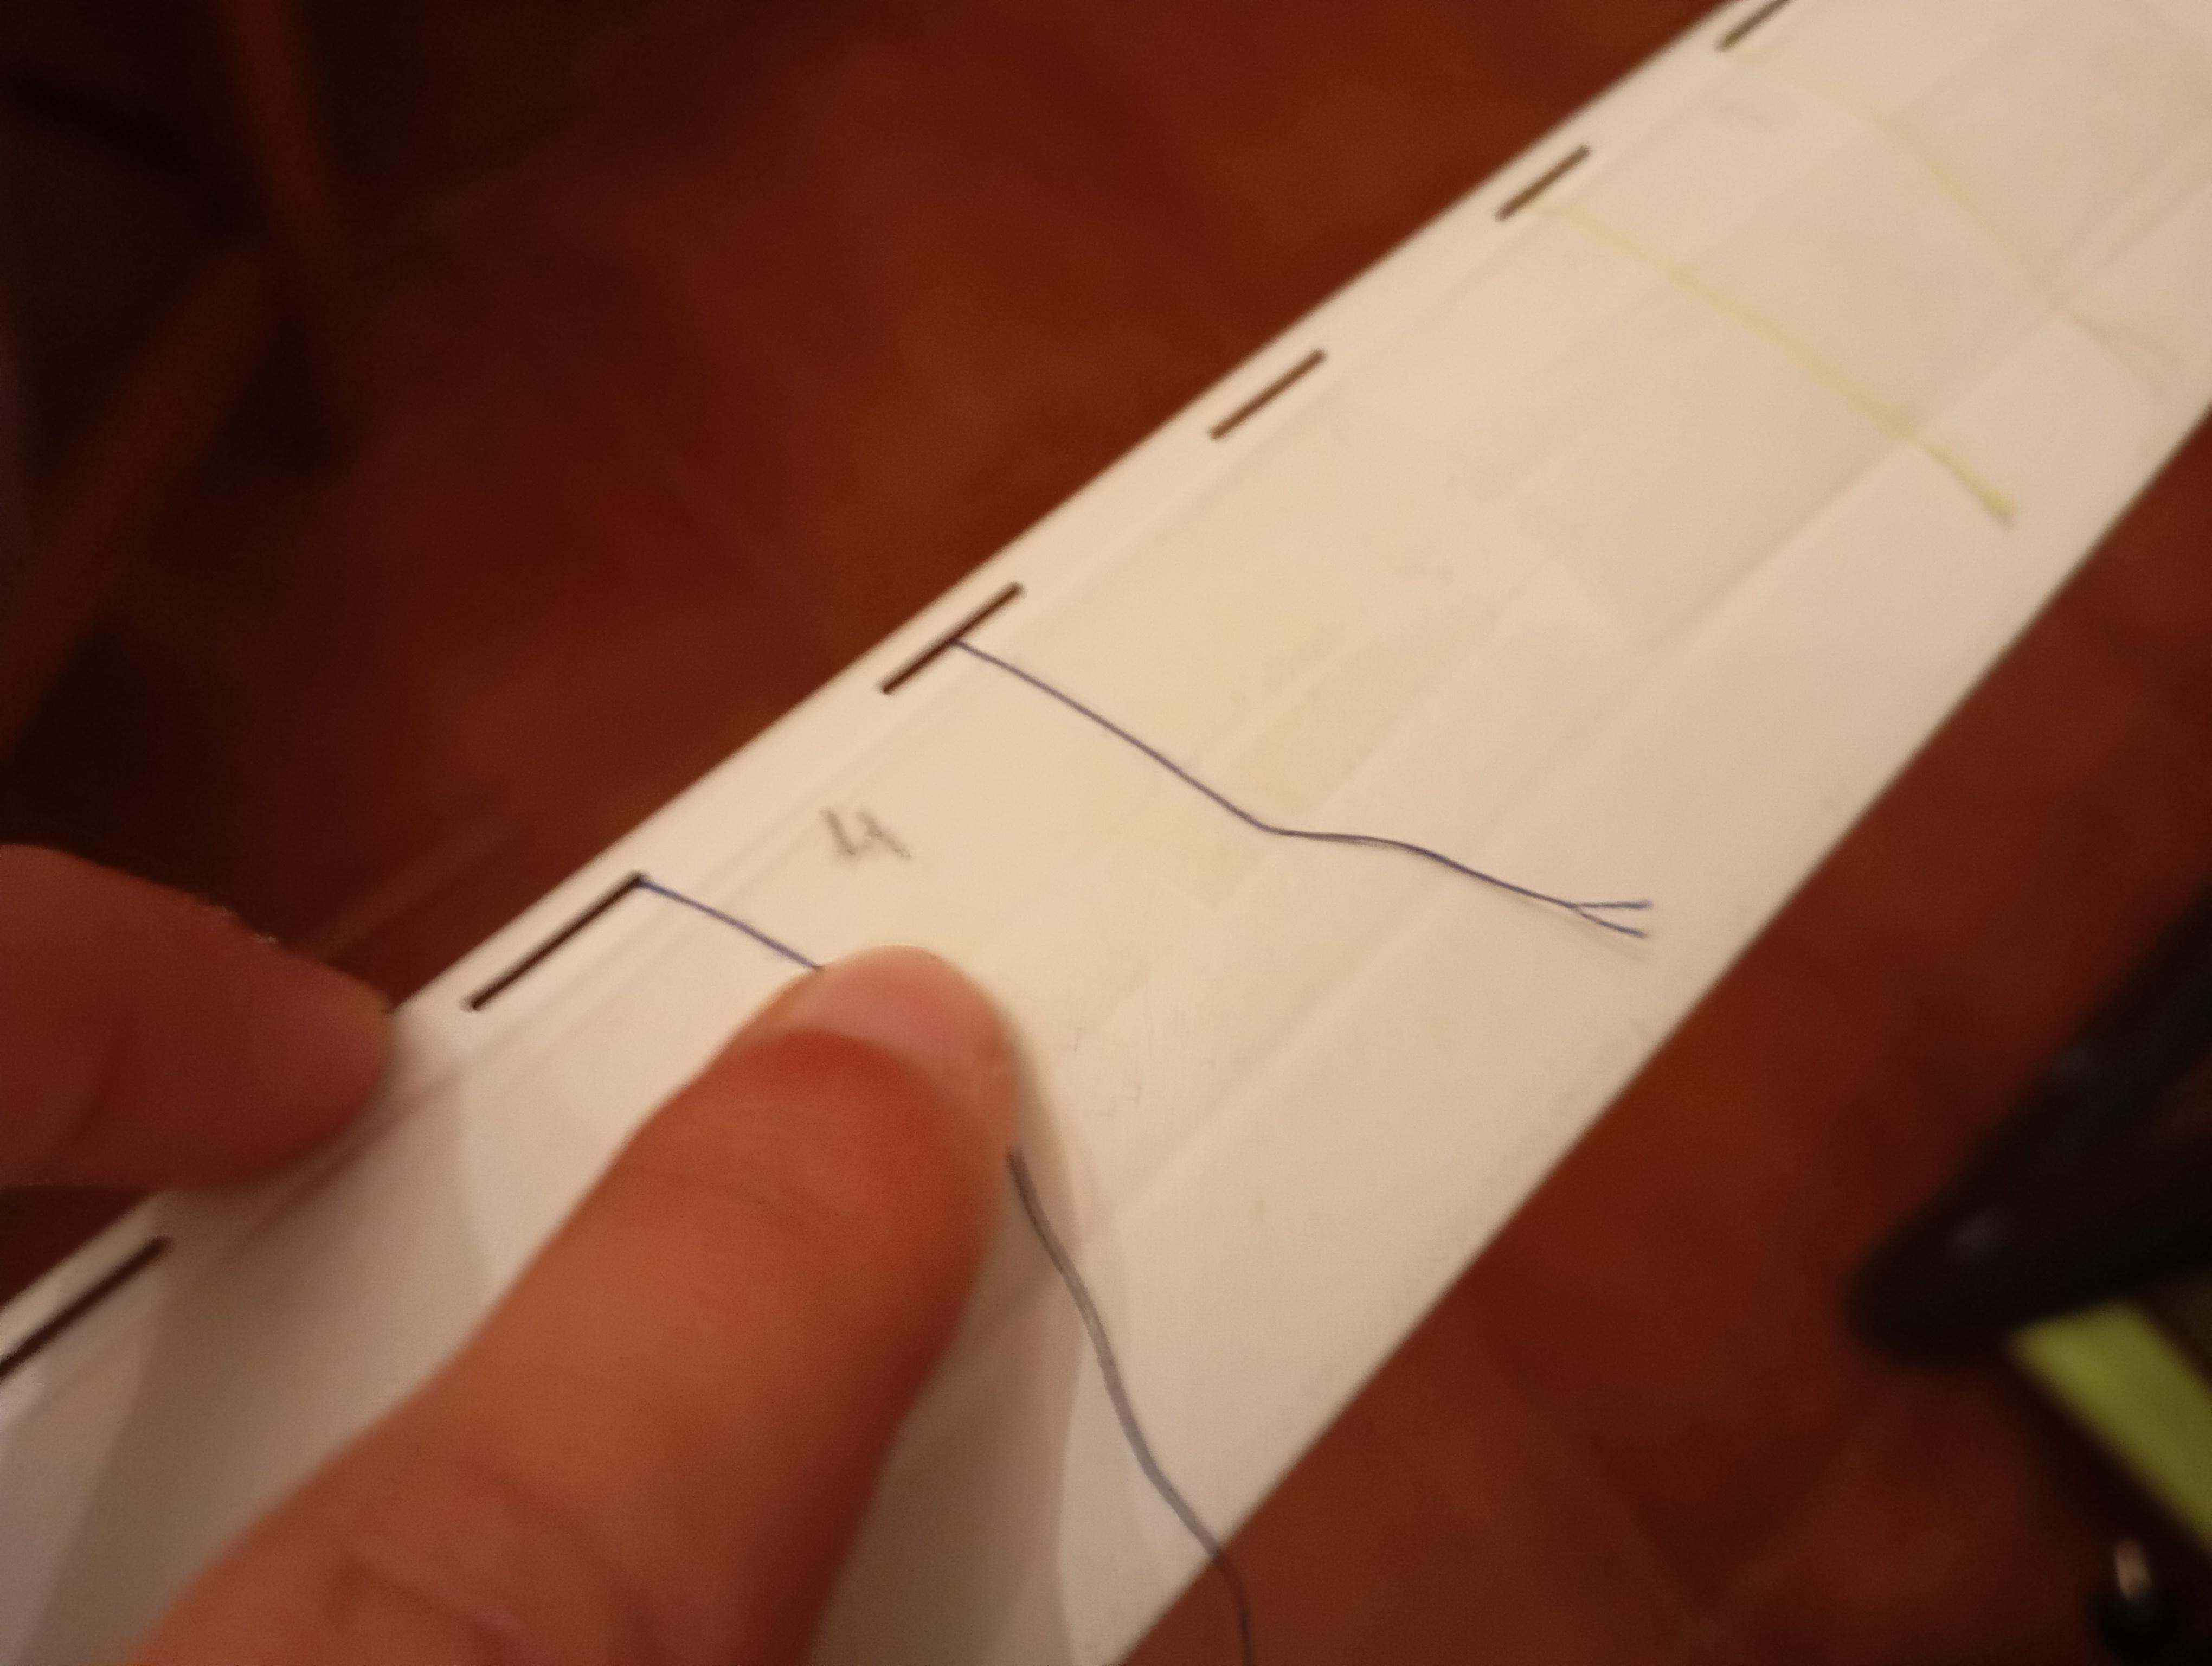

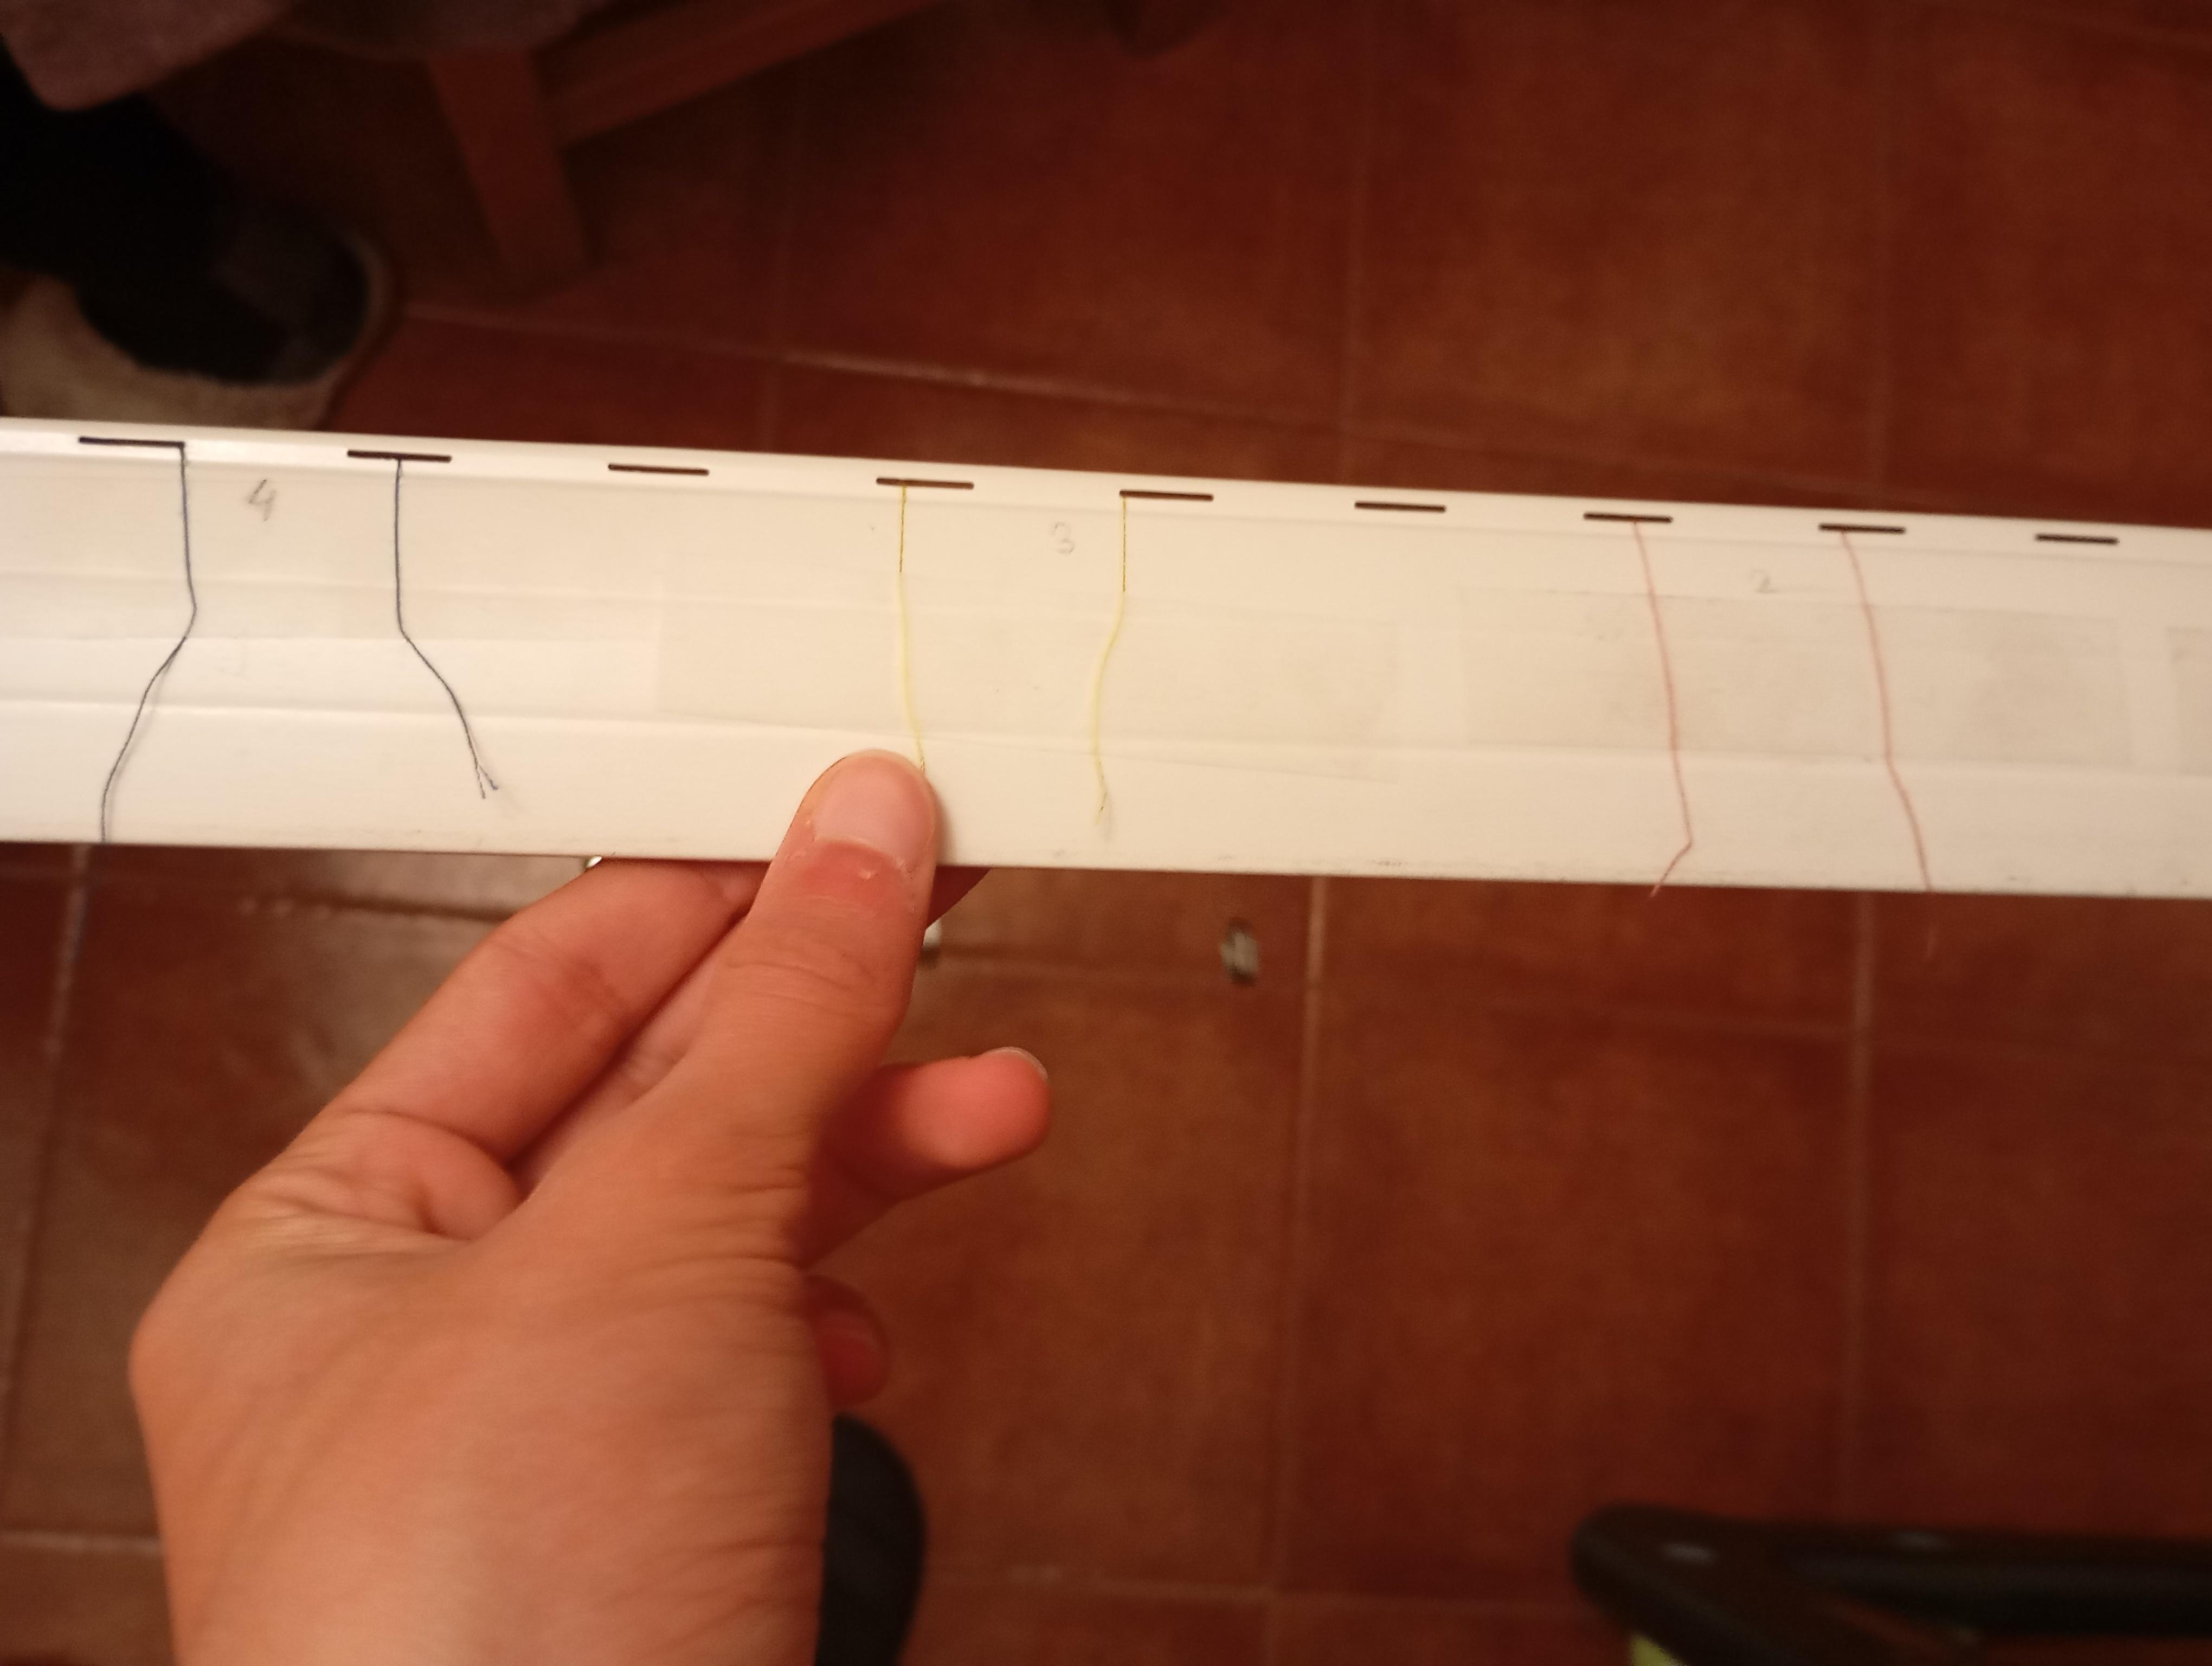
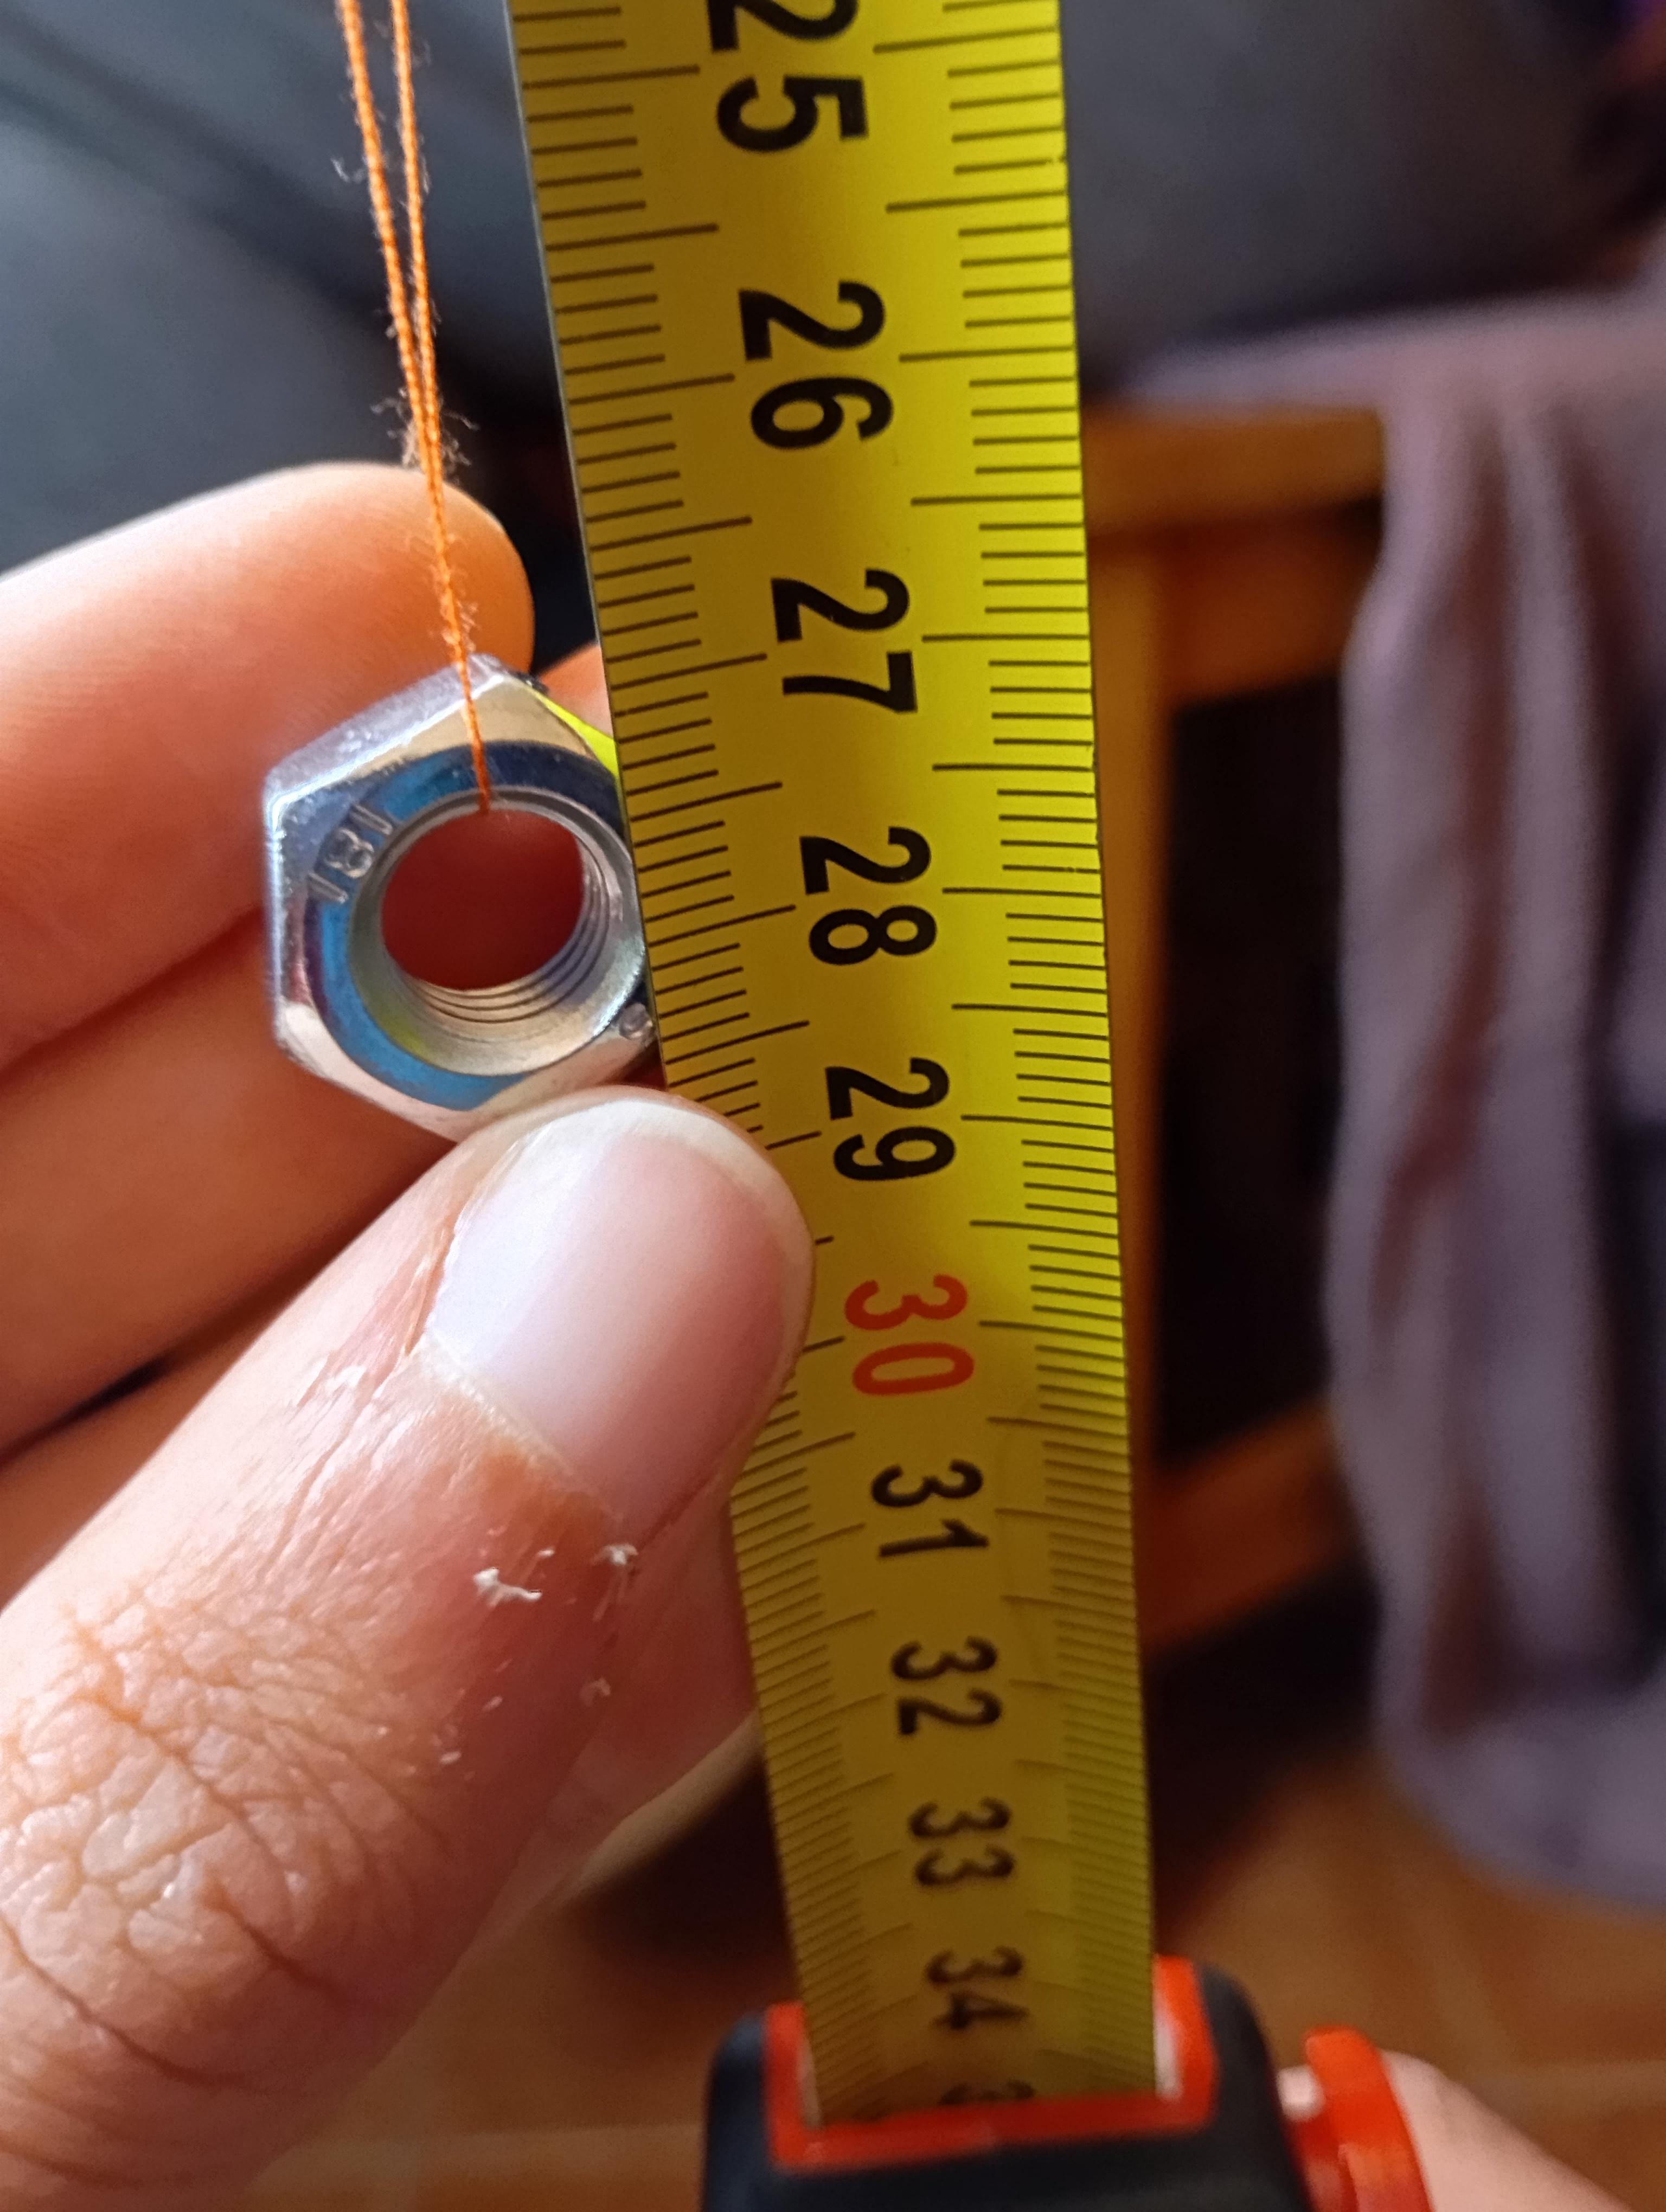
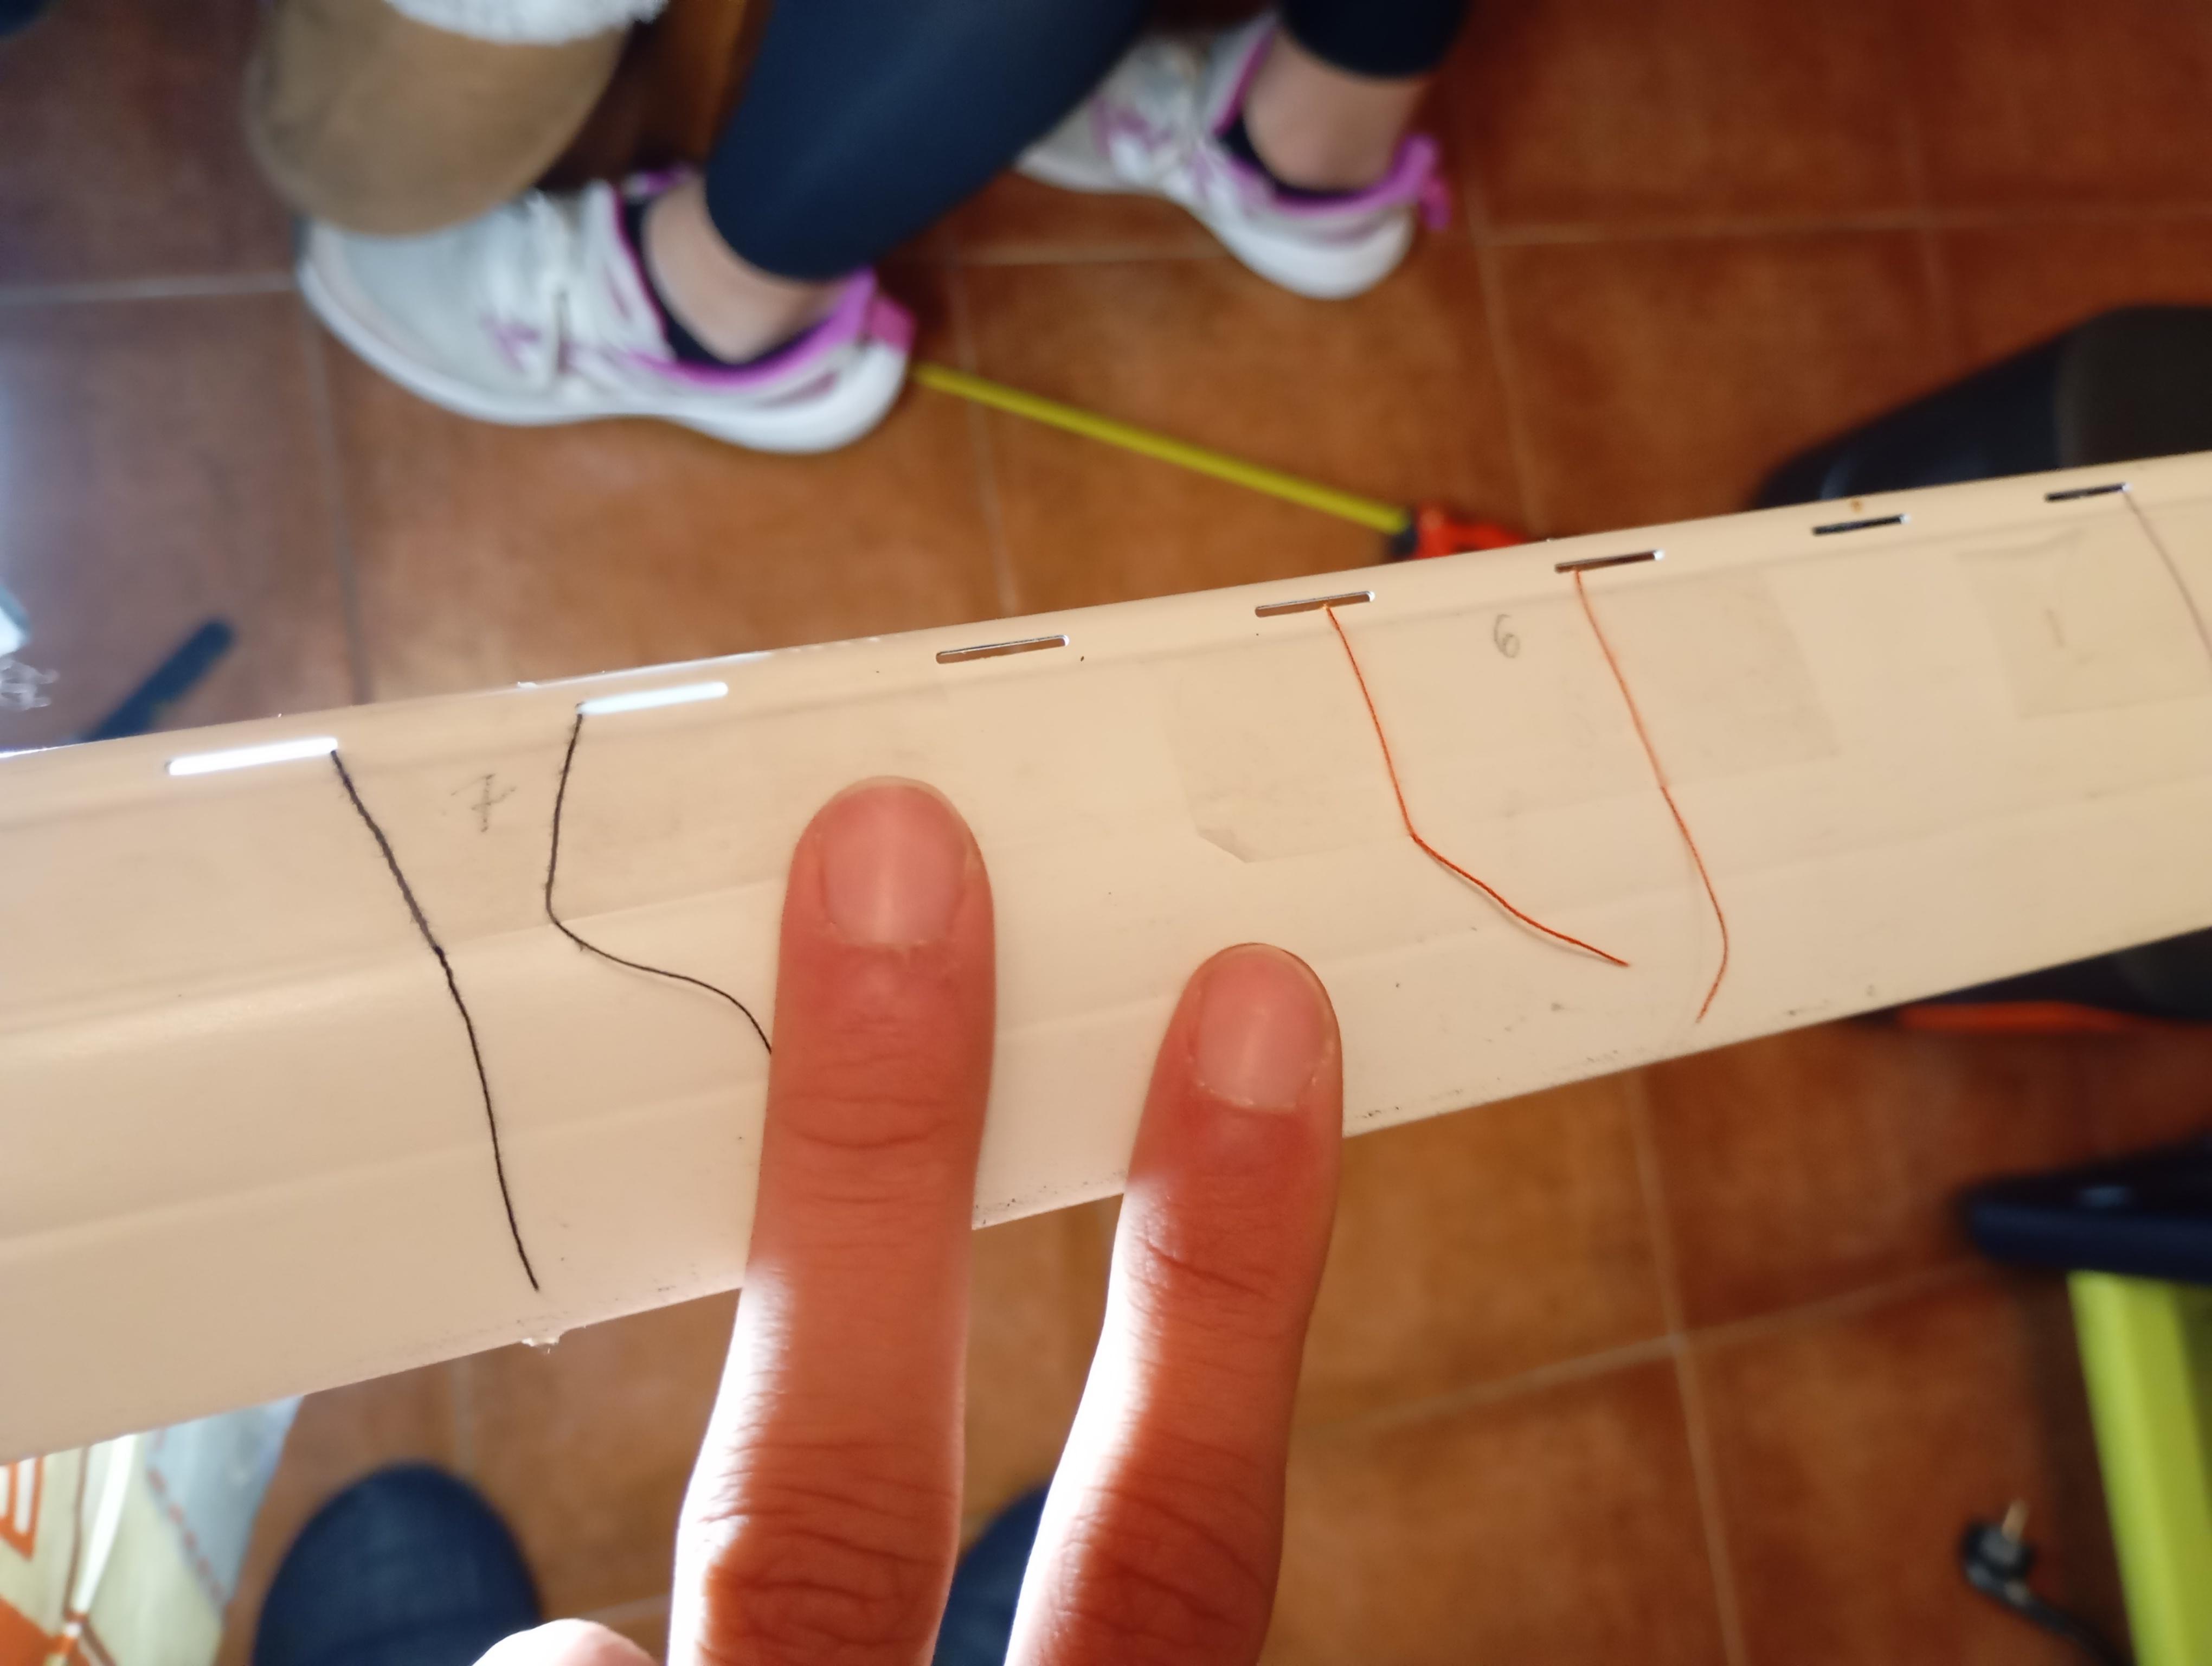
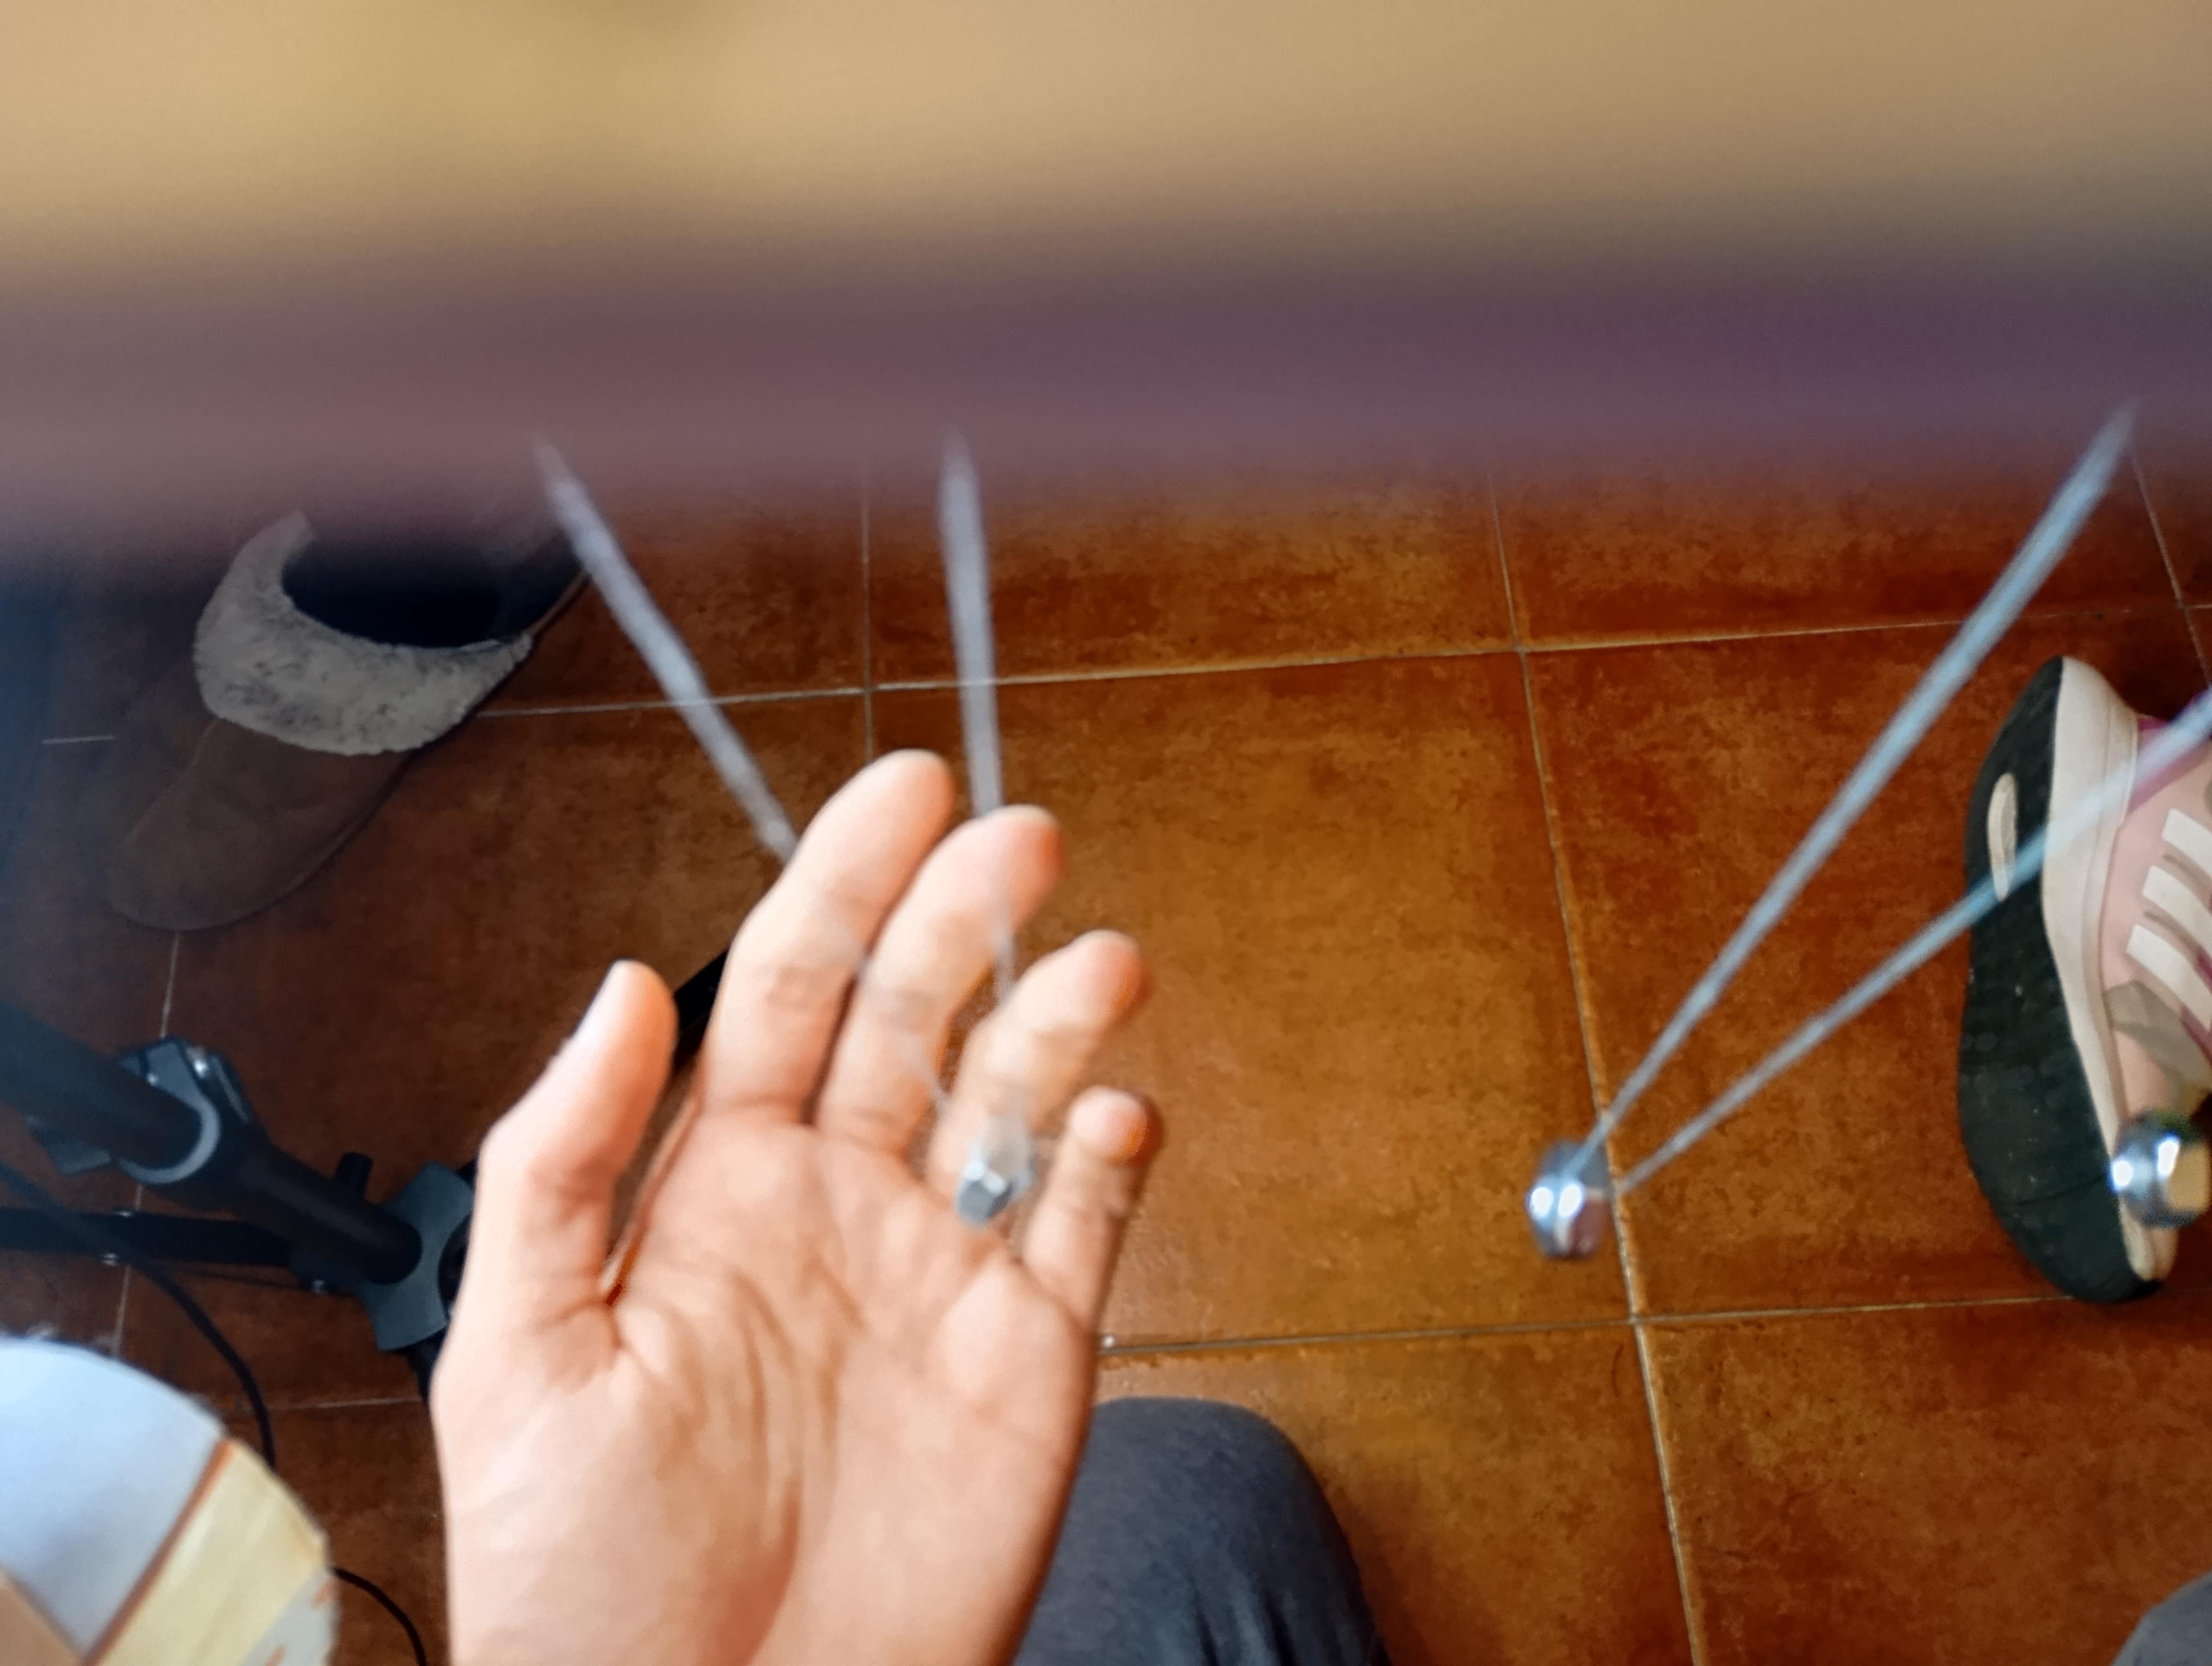
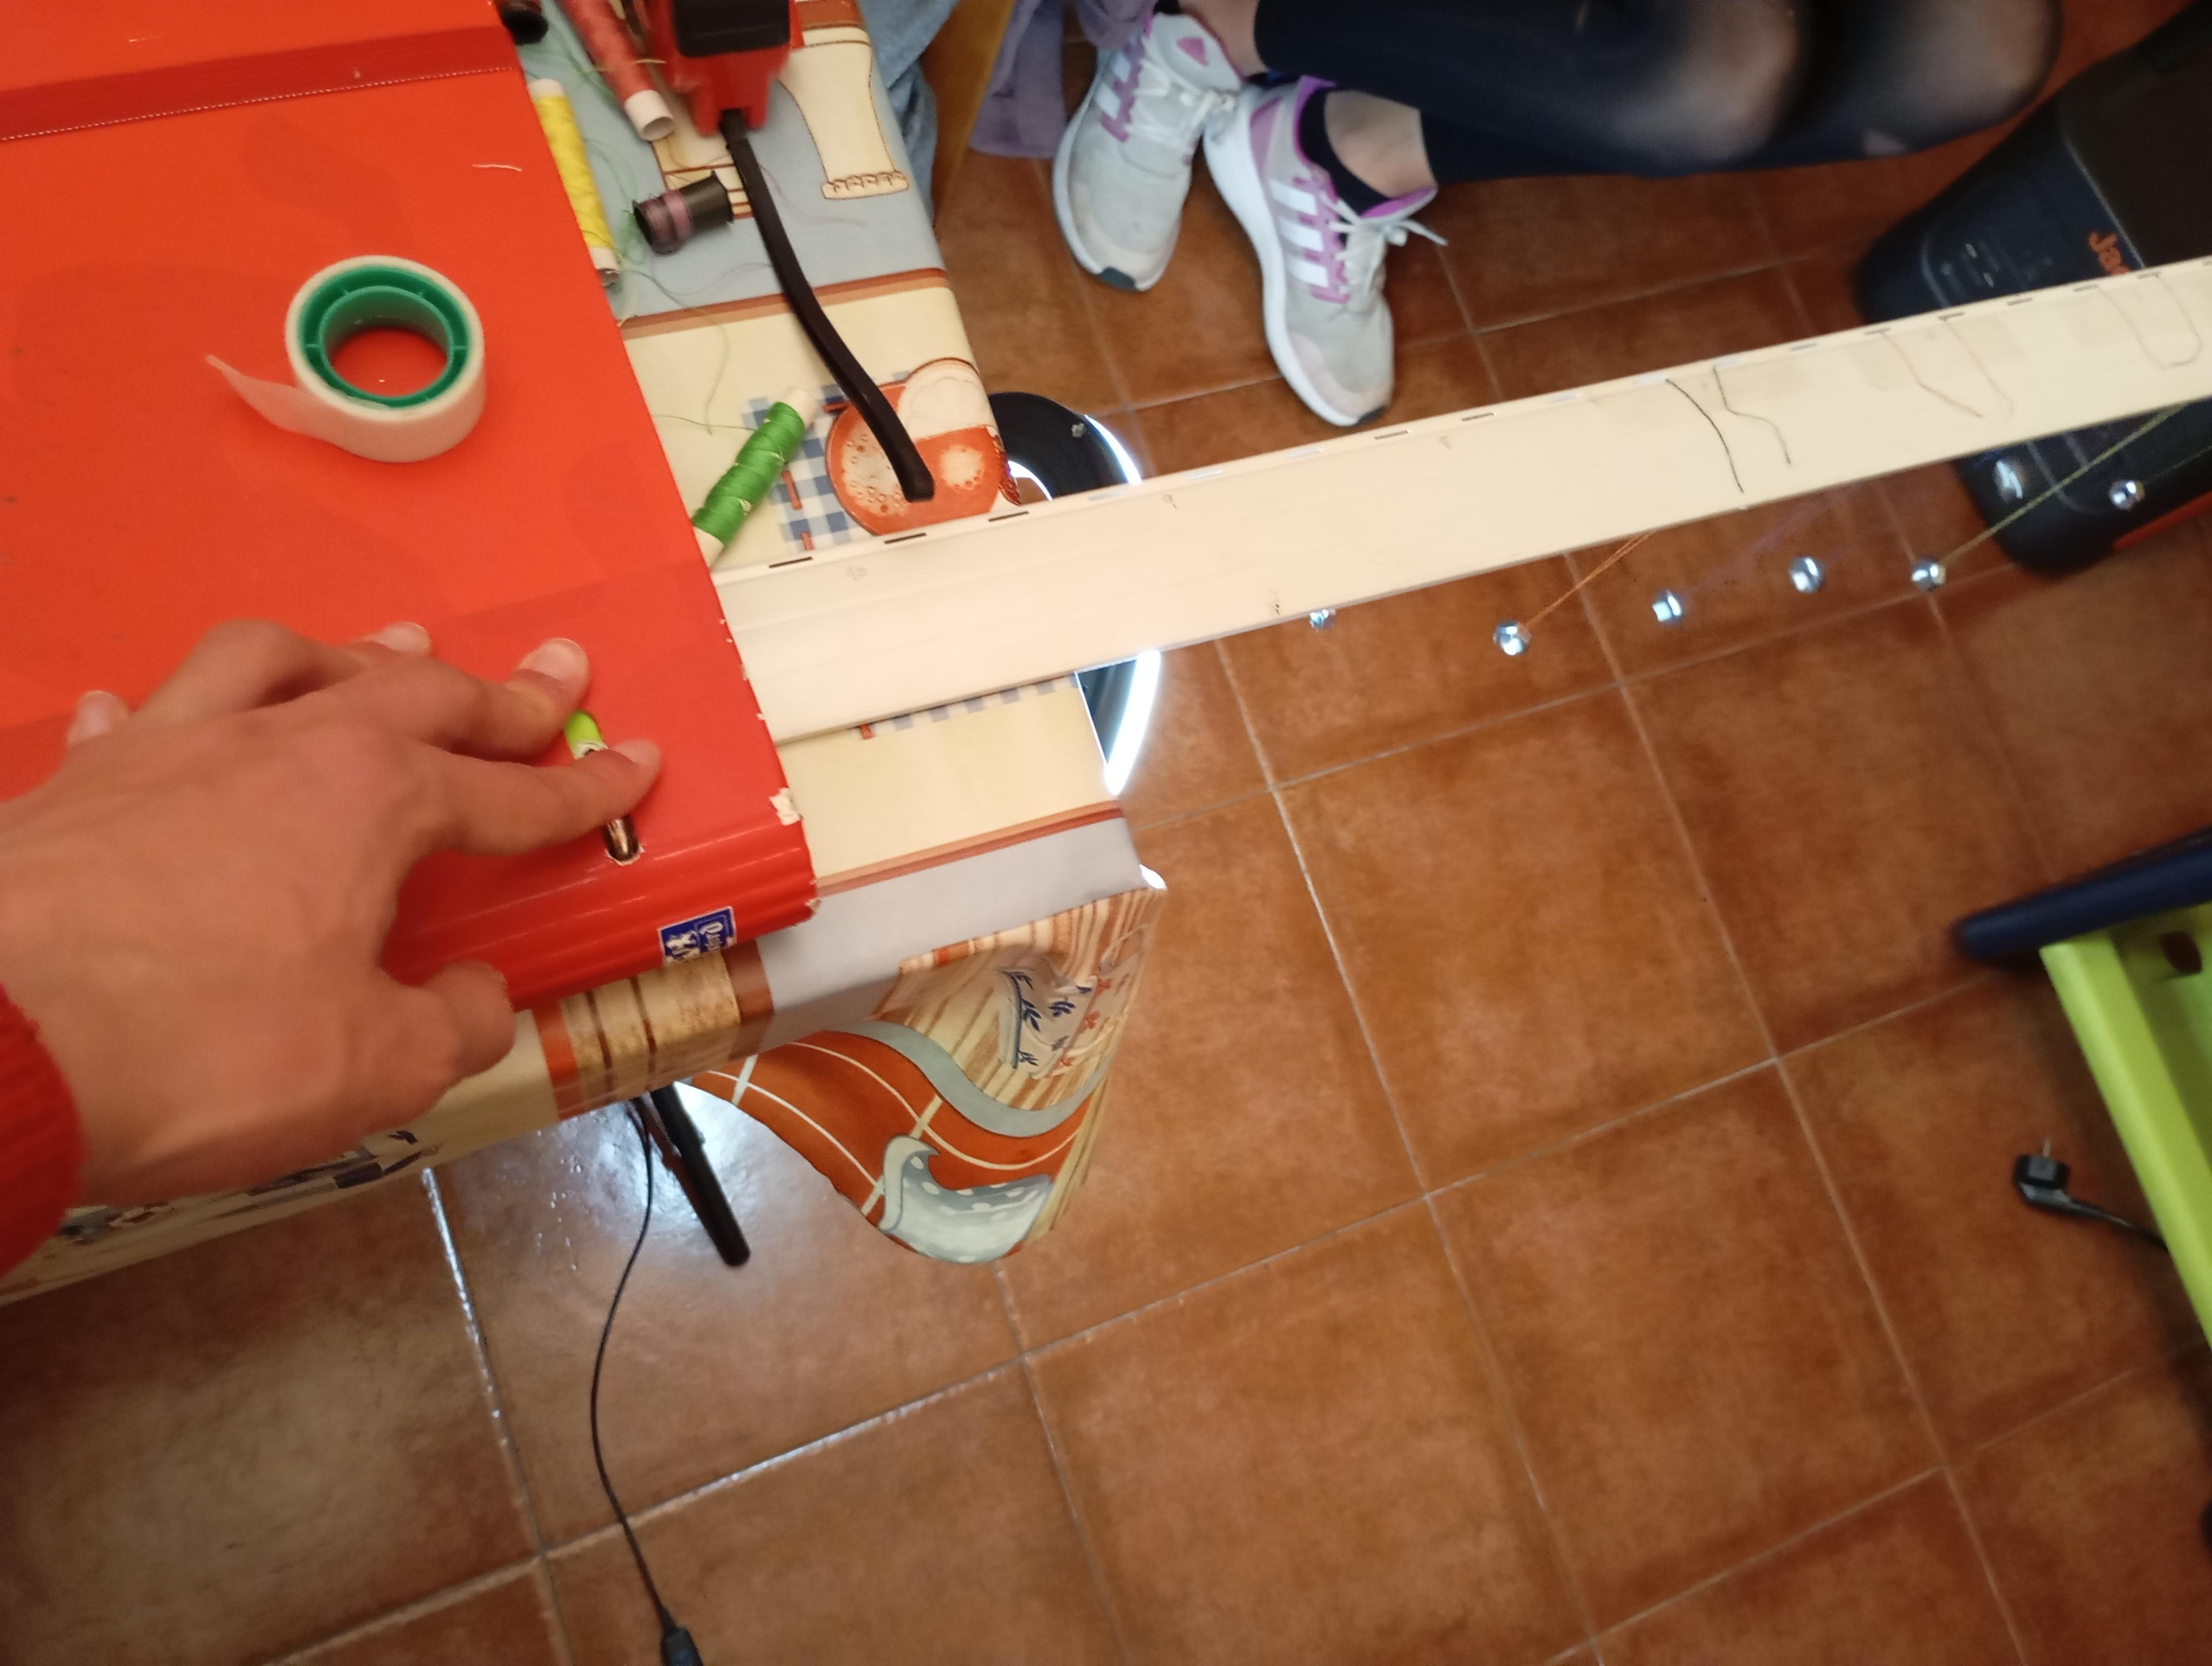
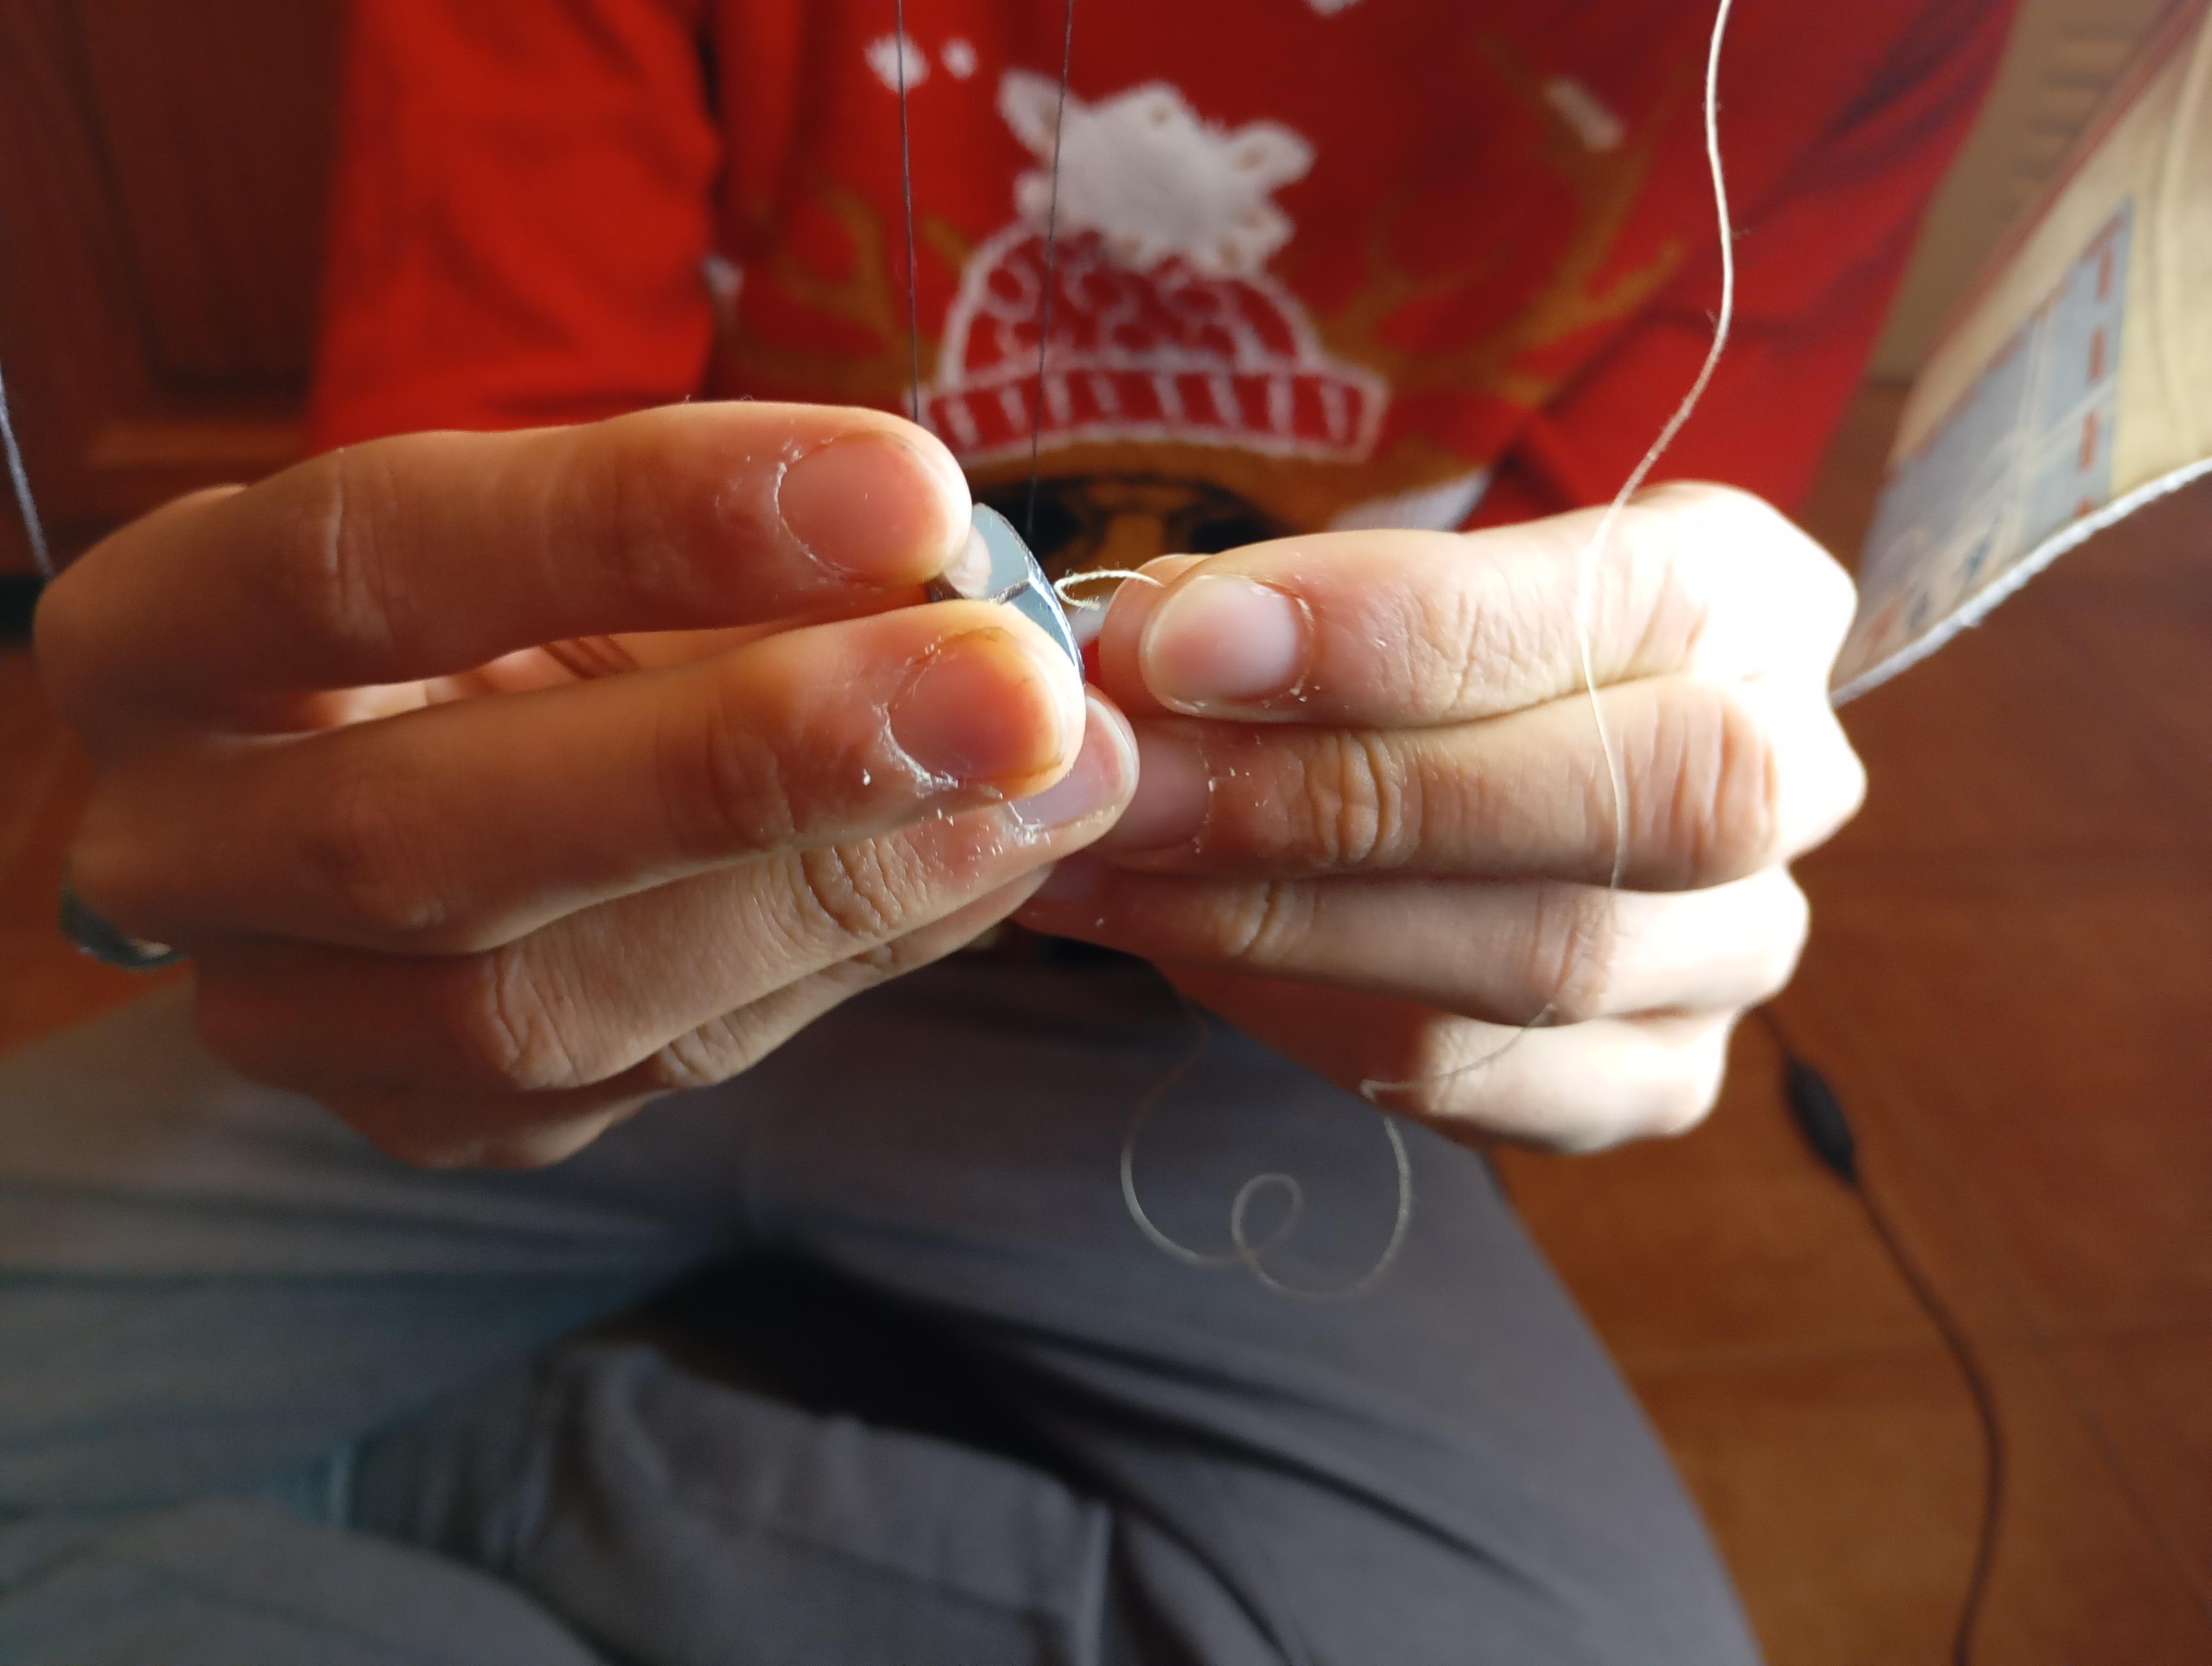
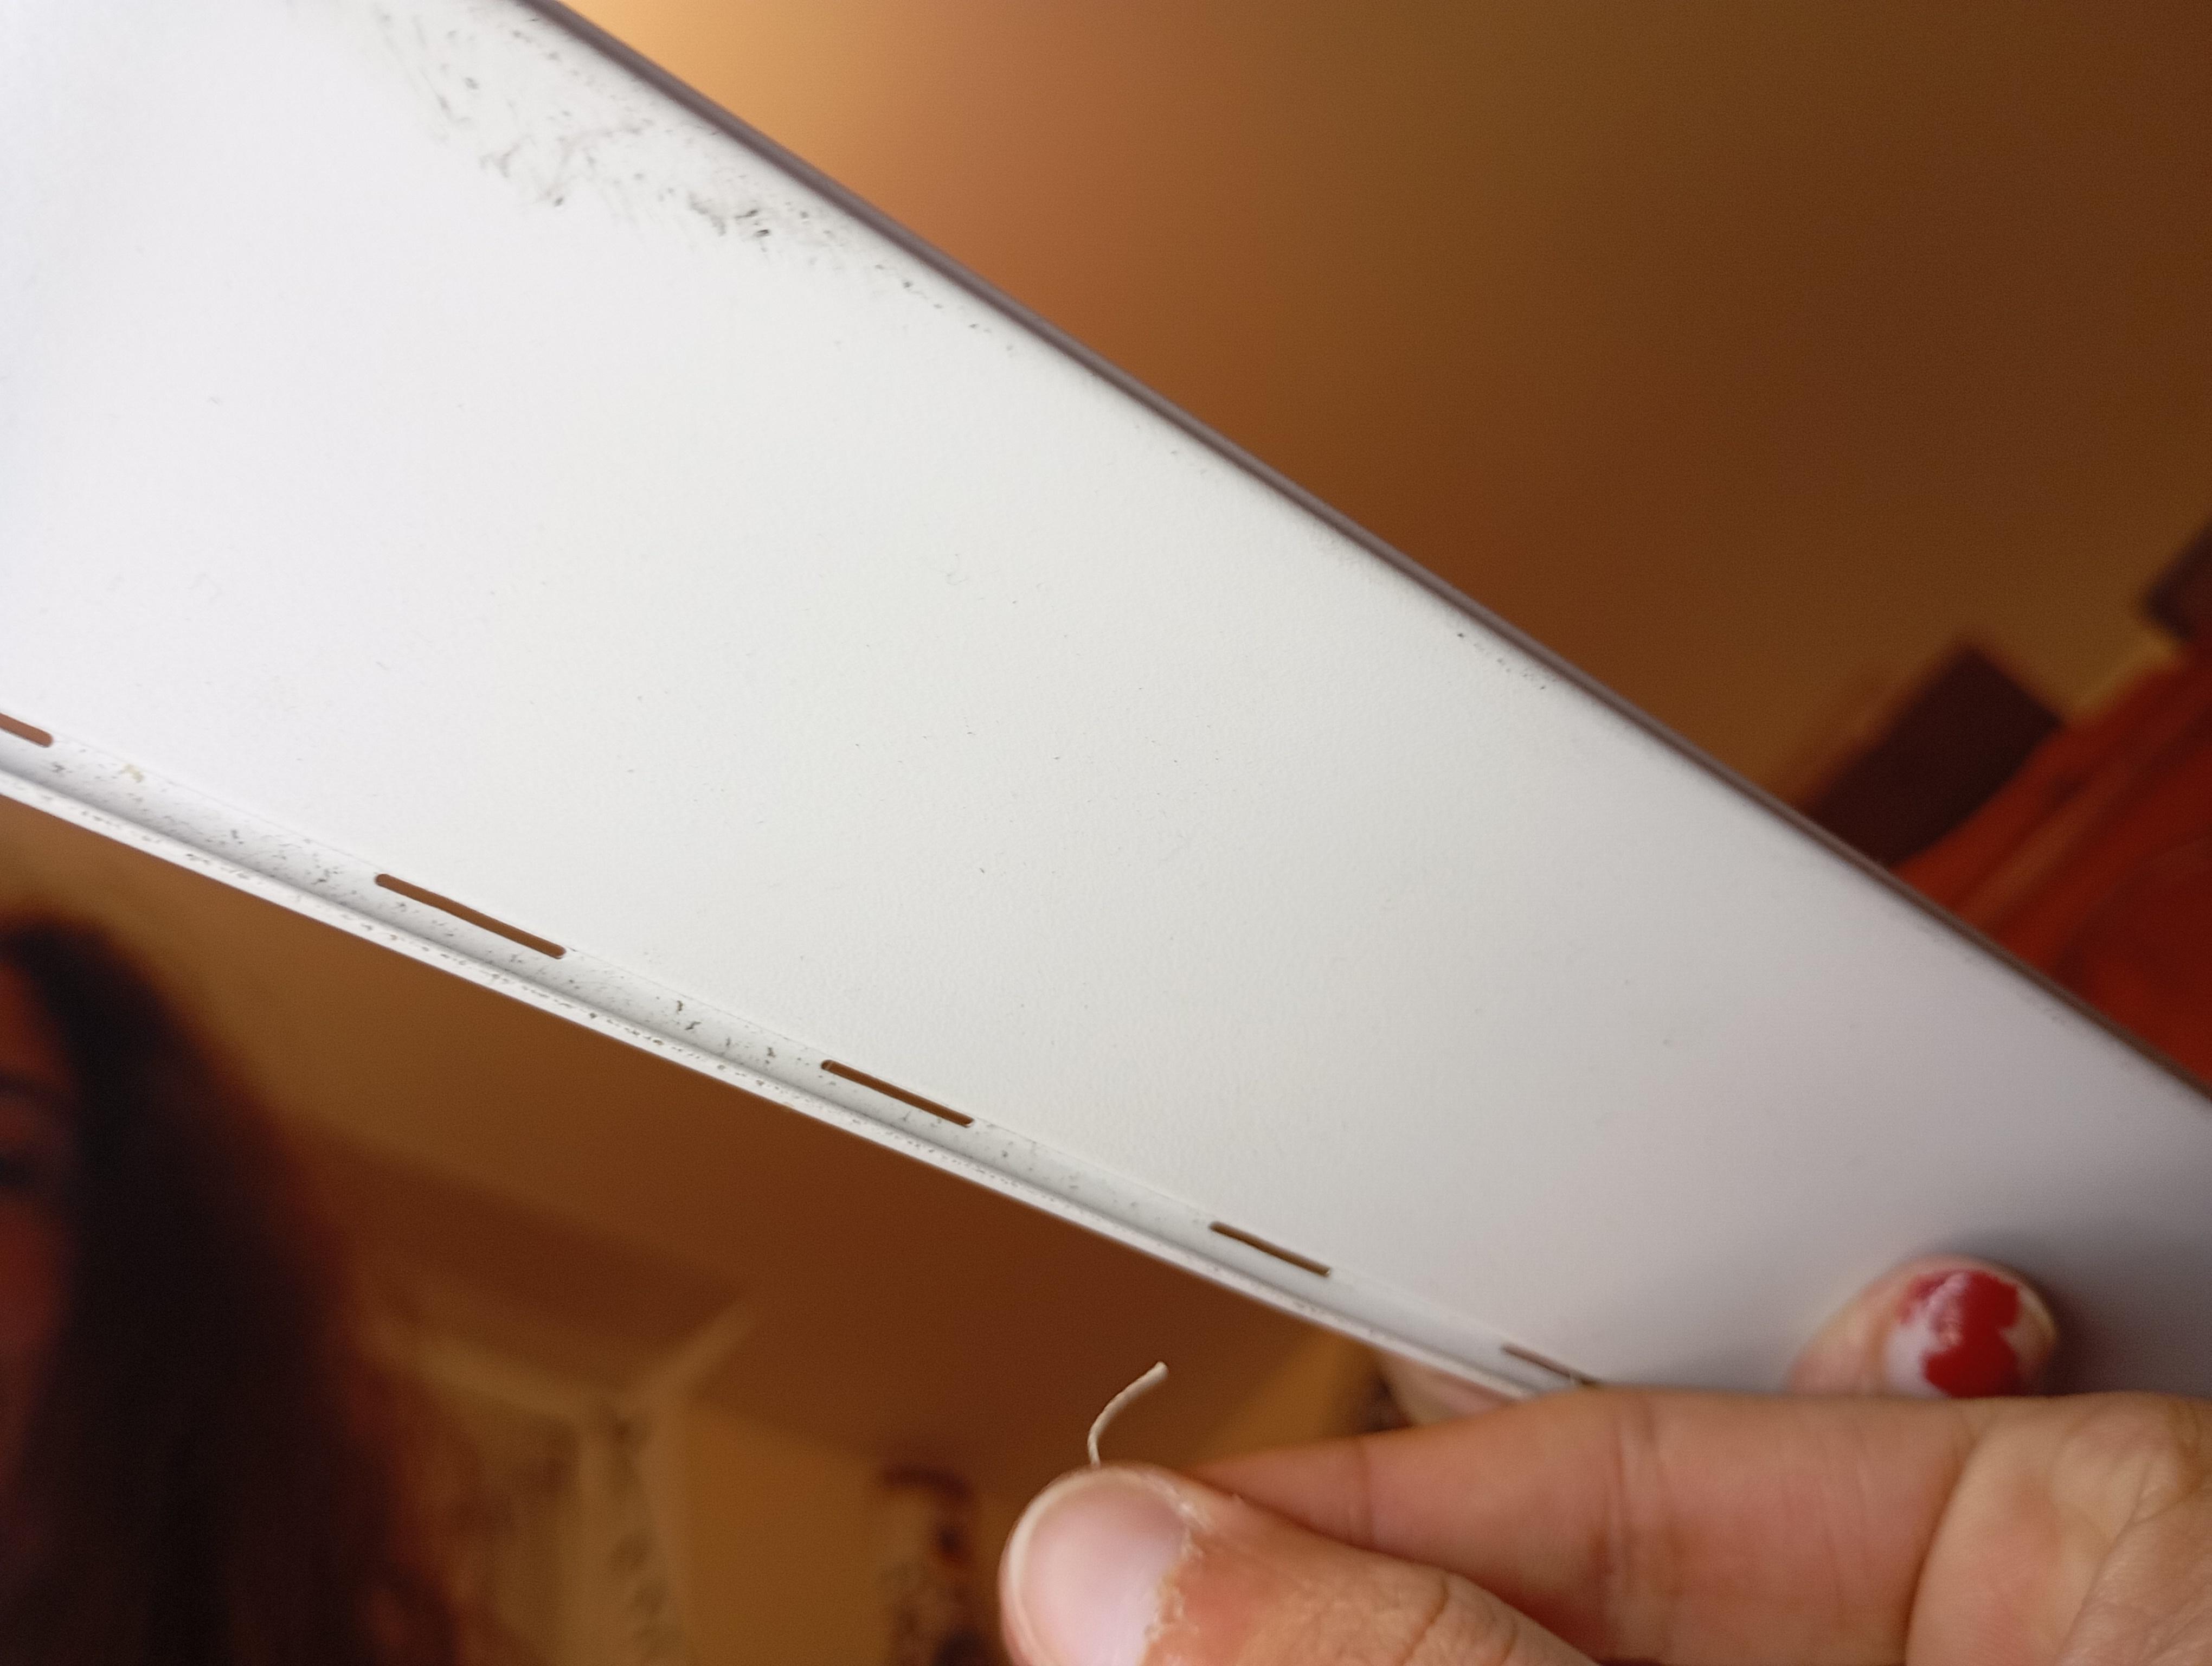
Now that you’ve calculated the lengths for each pendulum, it’s time to prepare the suspension bar where the pendulums will hang.
Instructions
- Mark the Positions:
- Take one of the roller blind slats and lay it flat.
- Use your ruler and marker to measure and mark the positions where the strings will be attached.
- To ensure stability and spacing, use the existing holes in the slat, skipping one hole between pendulums. For example, use two holes, skip one, then use the next two, and so on.
- Test for Alignment:
- Double-check that the spacing will allow each pendulum to swing freely without colliding.
- Prepare the Strings:
- Cut the strings slightly longer than your calculated lengths to allow for adjustments. Each pendulum requires two strings to prevent twisting, so you’ll need to cut two strings for each pendulum.
- Attach the Strings:
- Insert each string through the holes in the slat so that they pass through one hole and exit through the next, forming a "swing-like" setup.
- Attach the nut or weight to the ends of the strings. Secure the weights with a tight knot, ensuring they are evenly balanced.
- Secure Temporarily:
- Use small pieces of tape to temporarily fix the strings in place at the top of the slat. This will make it easier to adjust the lengths in the next step.
At this stage, your pendulums should be loosely hanging from the suspension bar, ready for fine-tuning. Next, we’ll focus on calibrating the string lengths for each pendulum.
Adjust and Fine-Tune the Pendulums
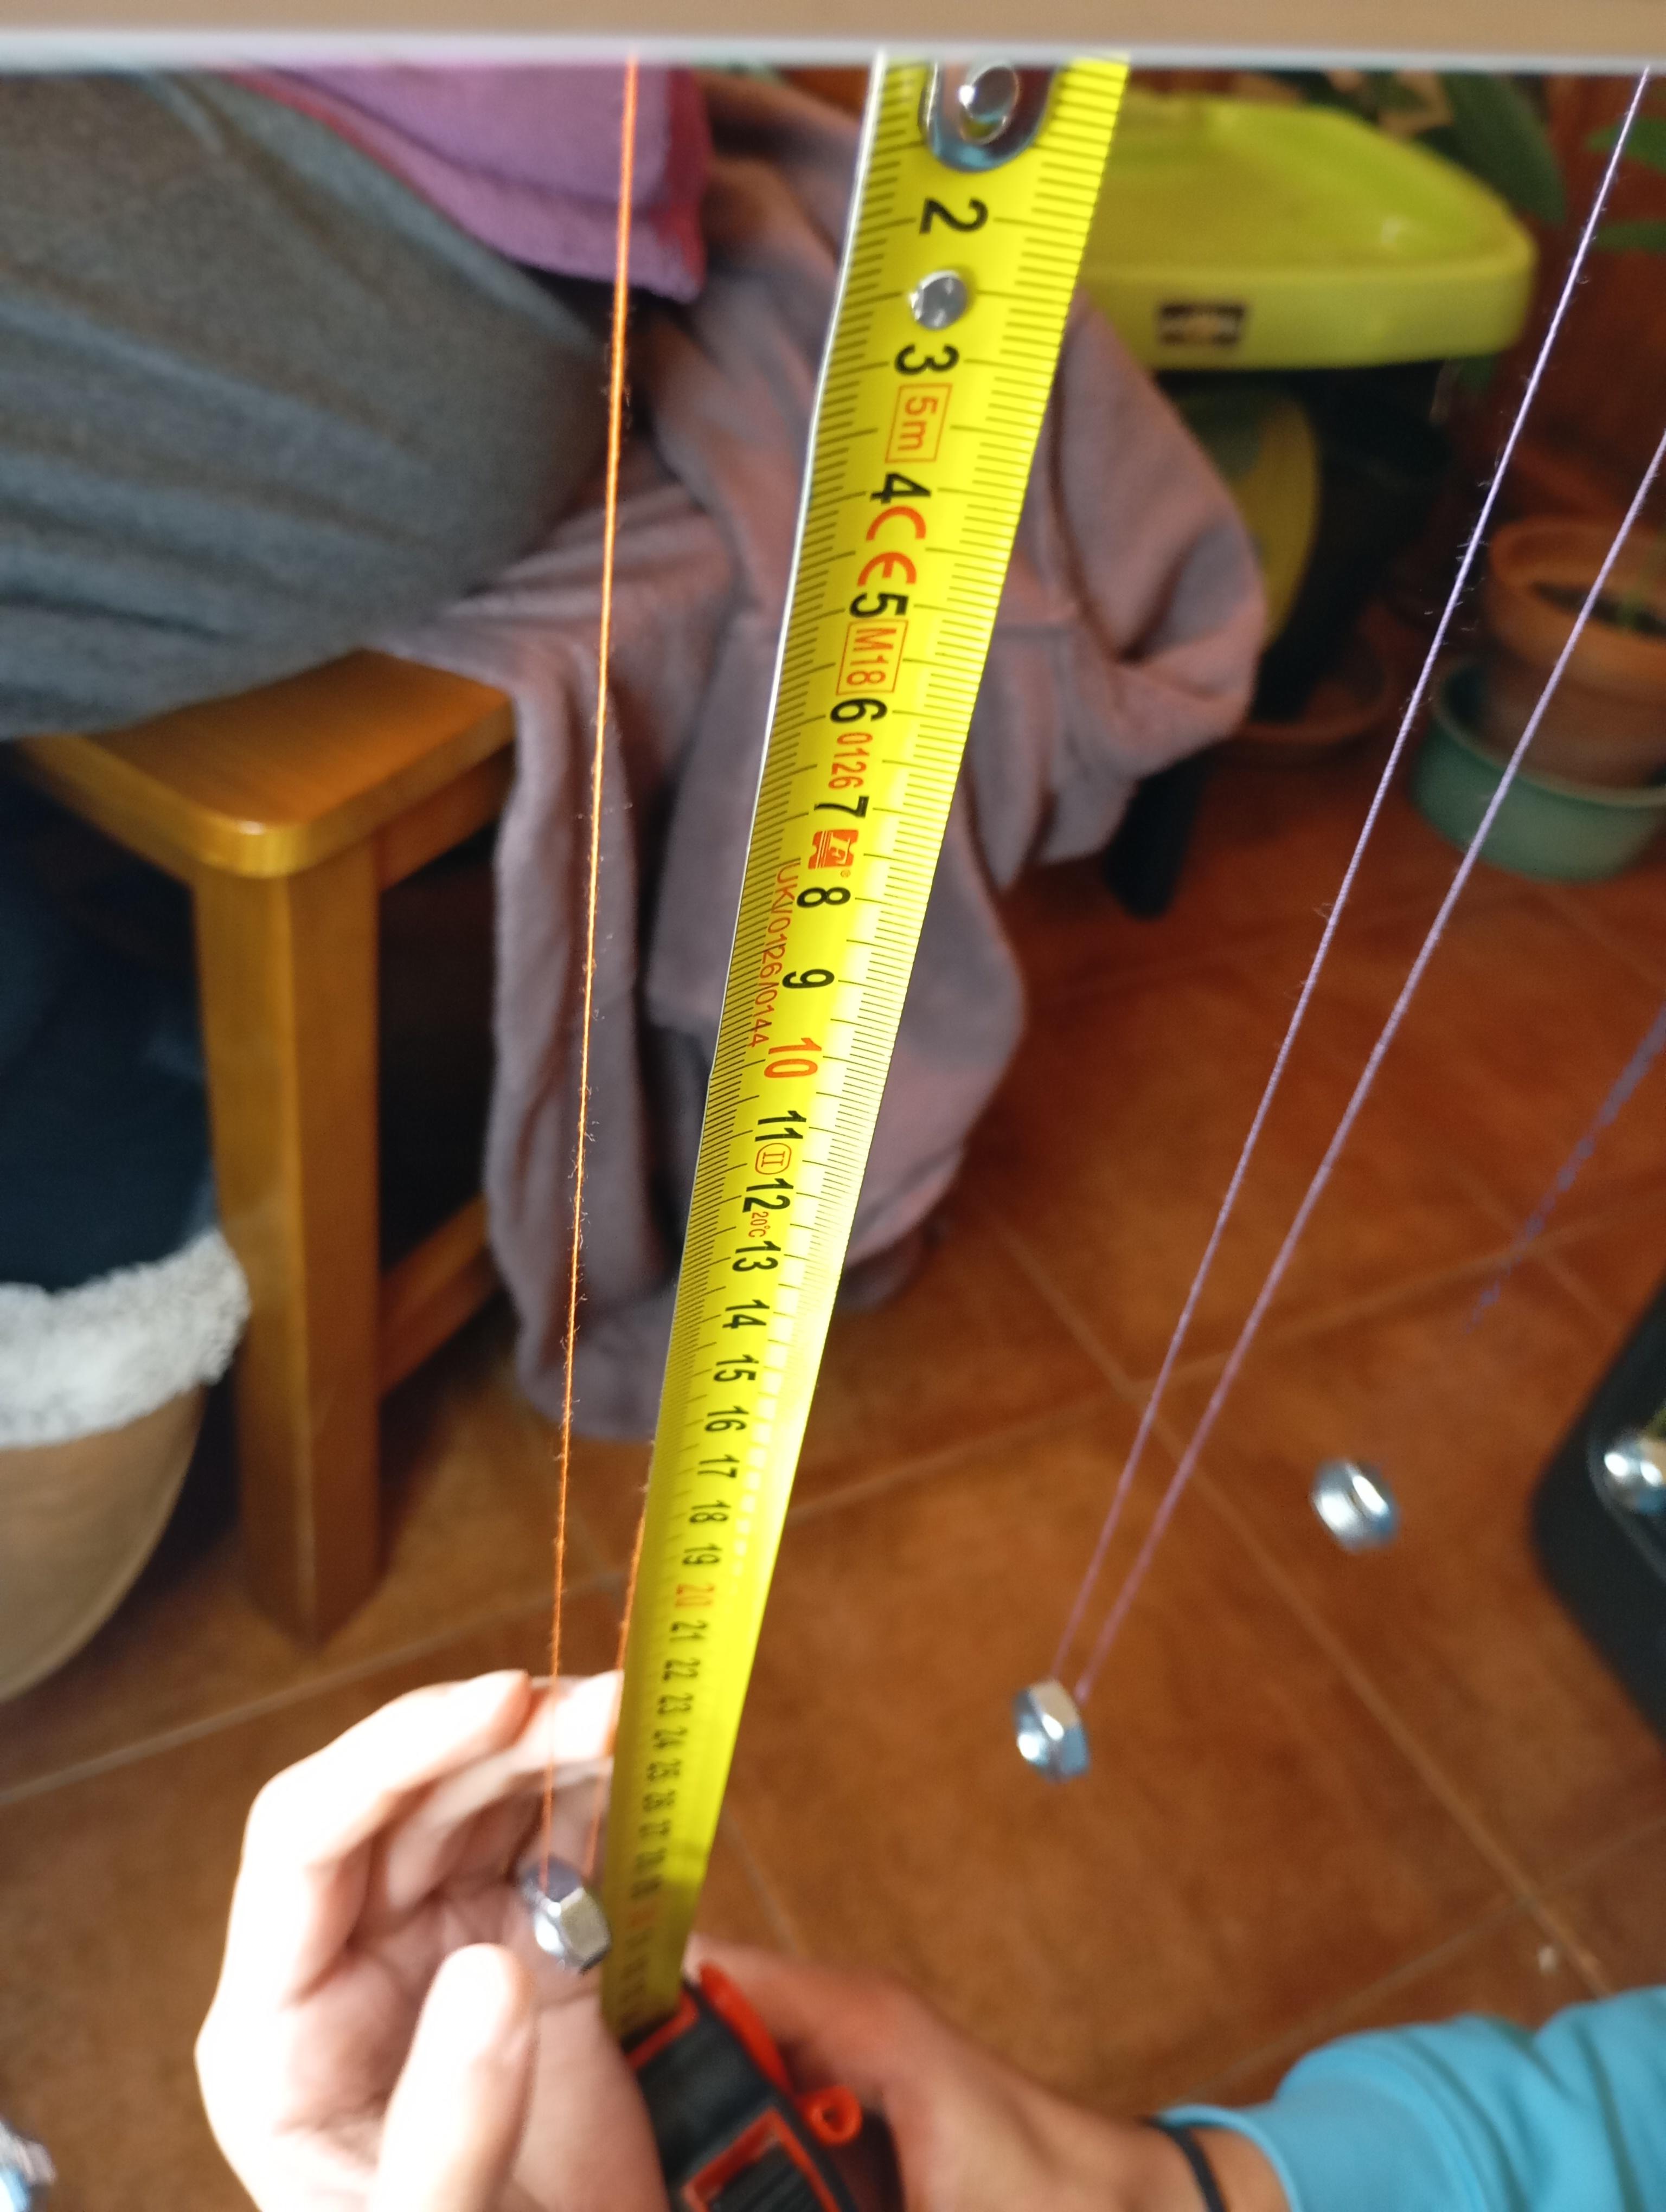
With all the pendulums attached, it’s time to fine-tune their lengths so they oscillate at the desired rates. This step ensures your pendulum wave creates the beautiful patterns you’re aiming for.
Instructions
- Initial Setup:
- Set up the suspension bar so it is stable and horizontal. You can use a wooden base, clamps, or other supports to keep the bar securely in place.
- Ensure that each pendulum hangs freely without obstruction and that the weights don’t touch each other.
- Test Oscillations:
- Start with the first pendulum (the fastest one). Pull it back slightly and let it swing.
- Use a stopwatch to count how many oscillations it completes in 60 seconds. Compare this number to your target (e.g., 66 oscillations for the fastest pendulum).
- Adjust the Length:
- If the pendulum is completing too many oscillations, lengthen the string to slow it down.
- If it’s too slow, shorten the string to speed it up.
- Adjust by sliding the string slightly up or down at the suspension bar and securing it temporarily with tape.
- Repeat for Each Pendulum:
- Move to the next pendulum and repeat the process, targeting its specific number of oscillations (e.g., 65 for the next, 64 after that, etc.).
- Adjust one pendulum at a time, testing and refining as needed.
- Secure the Strings:
- Once all pendulums are adjusted correctly, secure the strings at the top of the bar with tape, glue, or a tight knot to lock the lengths in place.
- Final Test:
- Pull all the pendulums back at the same time and release them simultaneously. Watch to see if the wave effect begins to form as the pendulums oscillate.
Pro Tip: Adjustments might take some patience, but small tweaks can make a big difference. Keep testing until all pendulums move in sync with your calculated patterns.
Now that your pendulums are perfectly calibrated, let’s move on to the final step—creating the release mechanism to launch your wave with precision!
Create the Release Mechanism
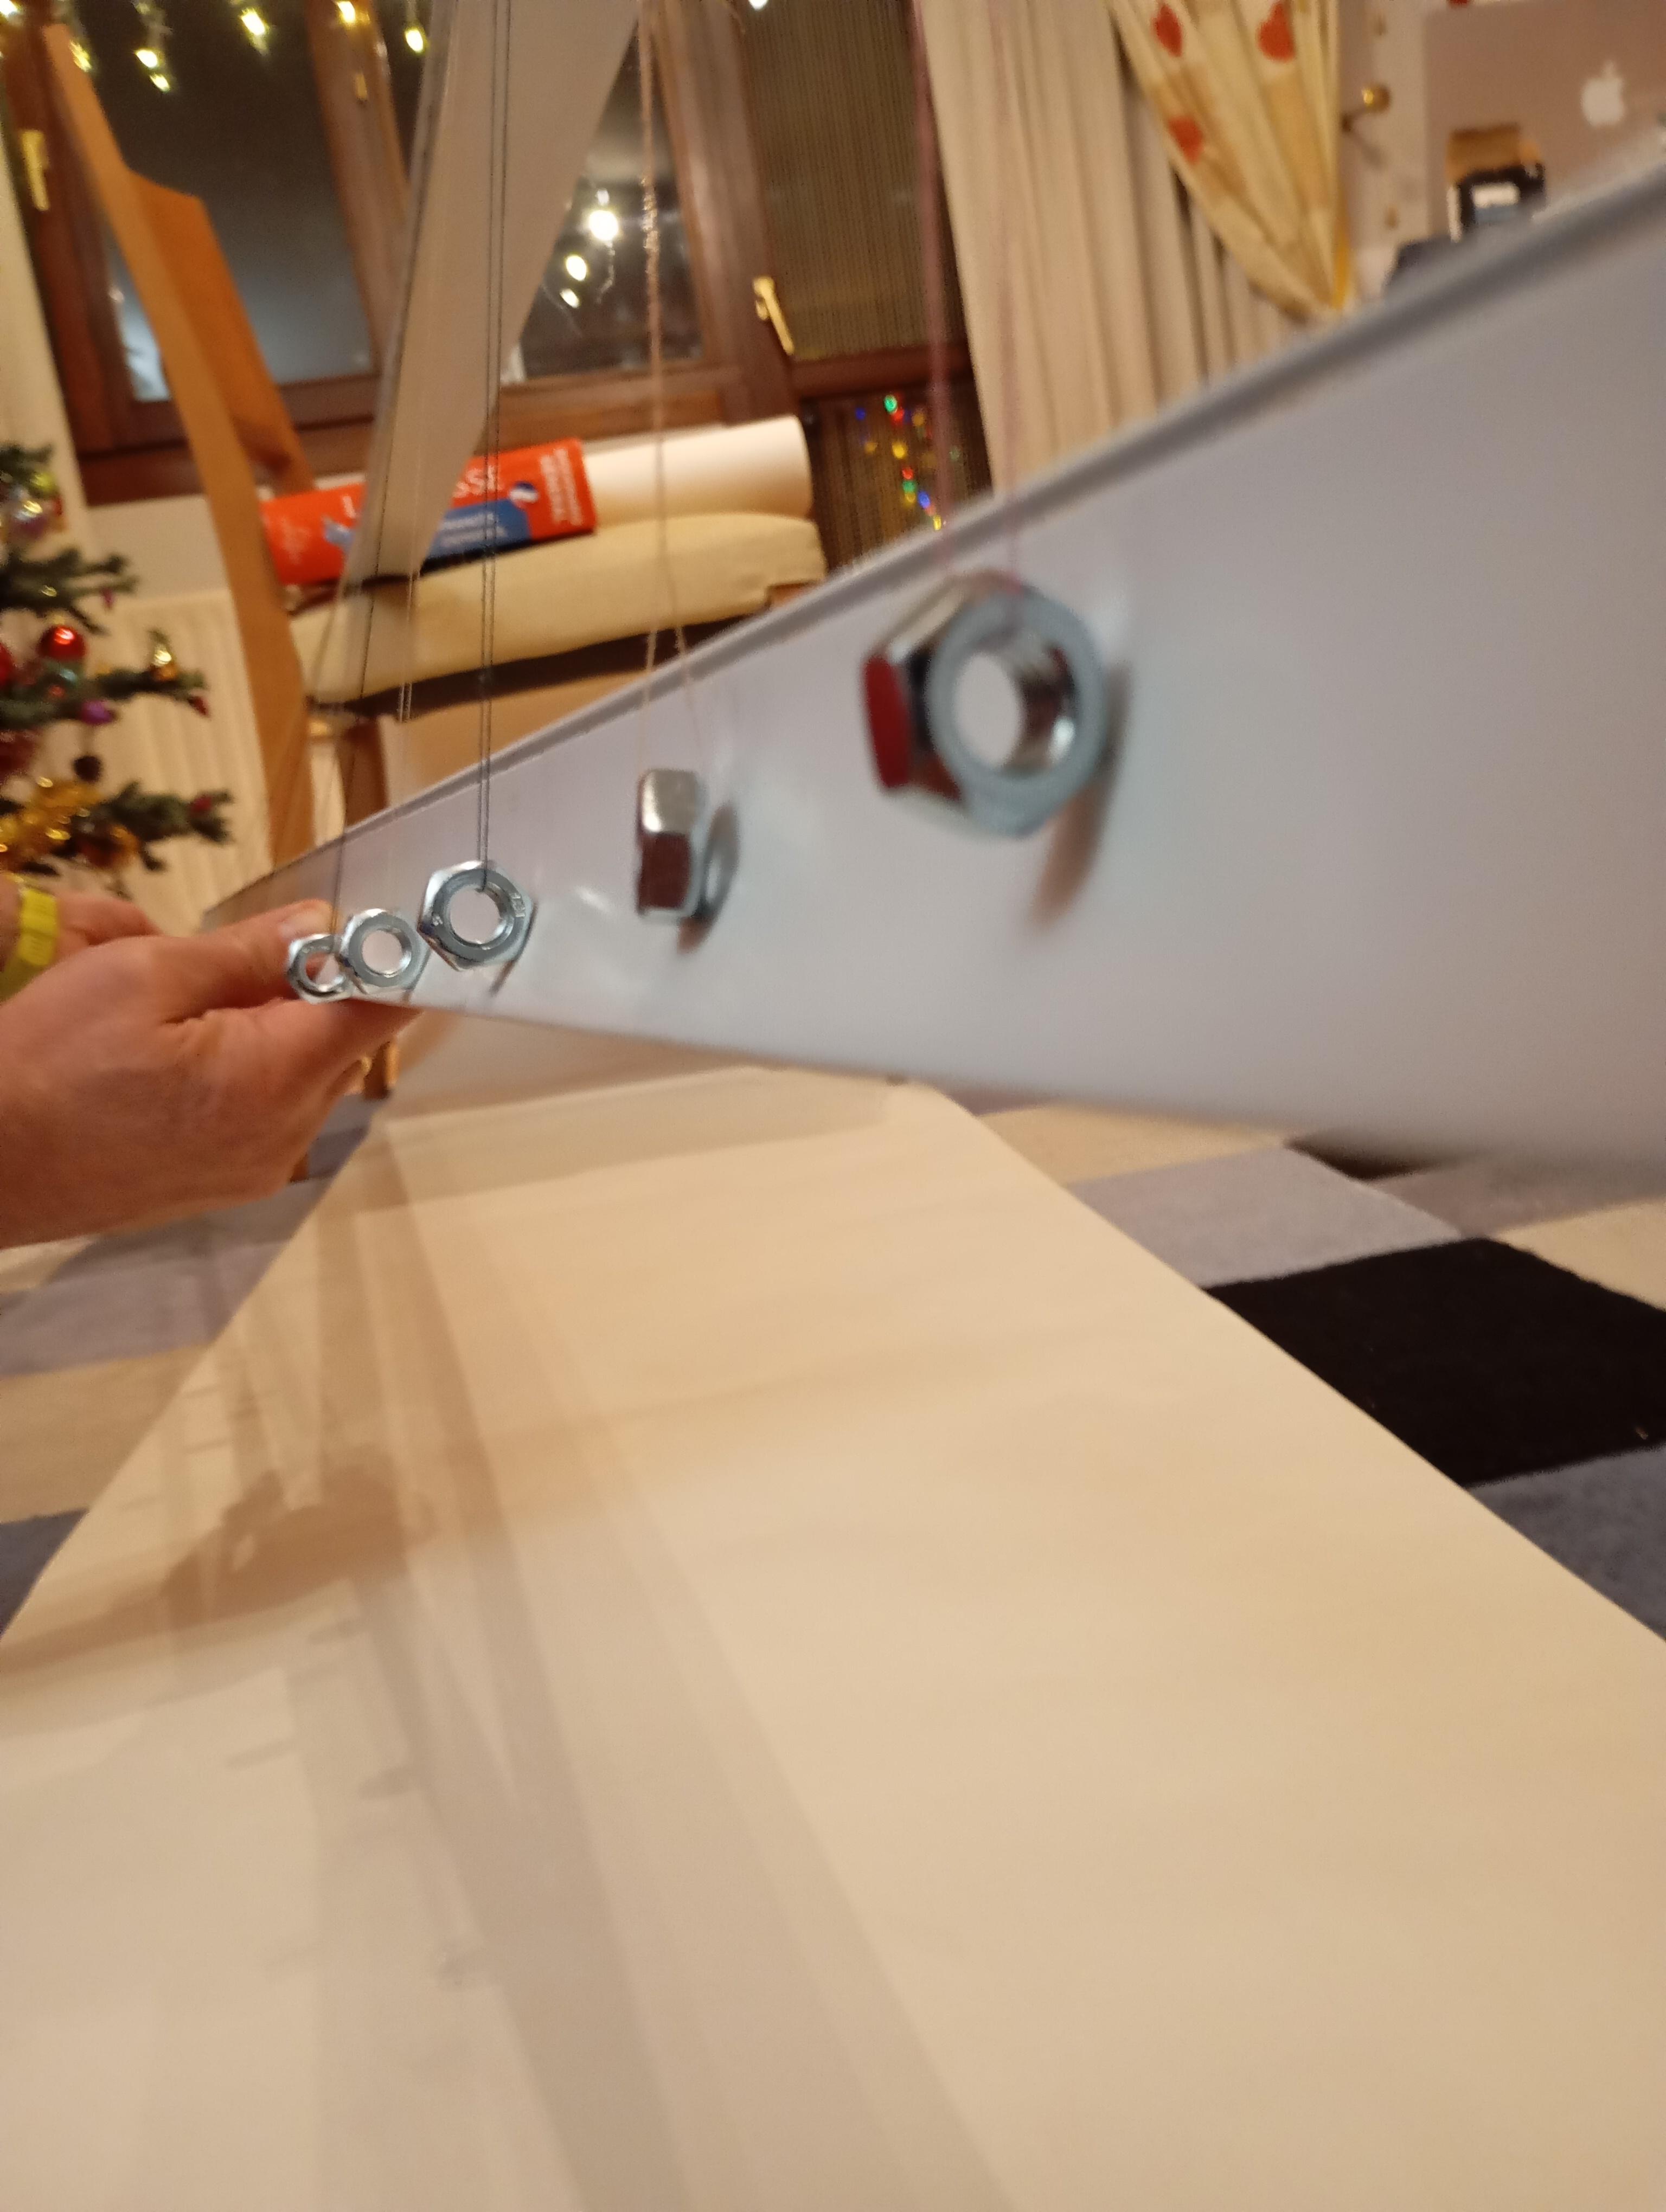
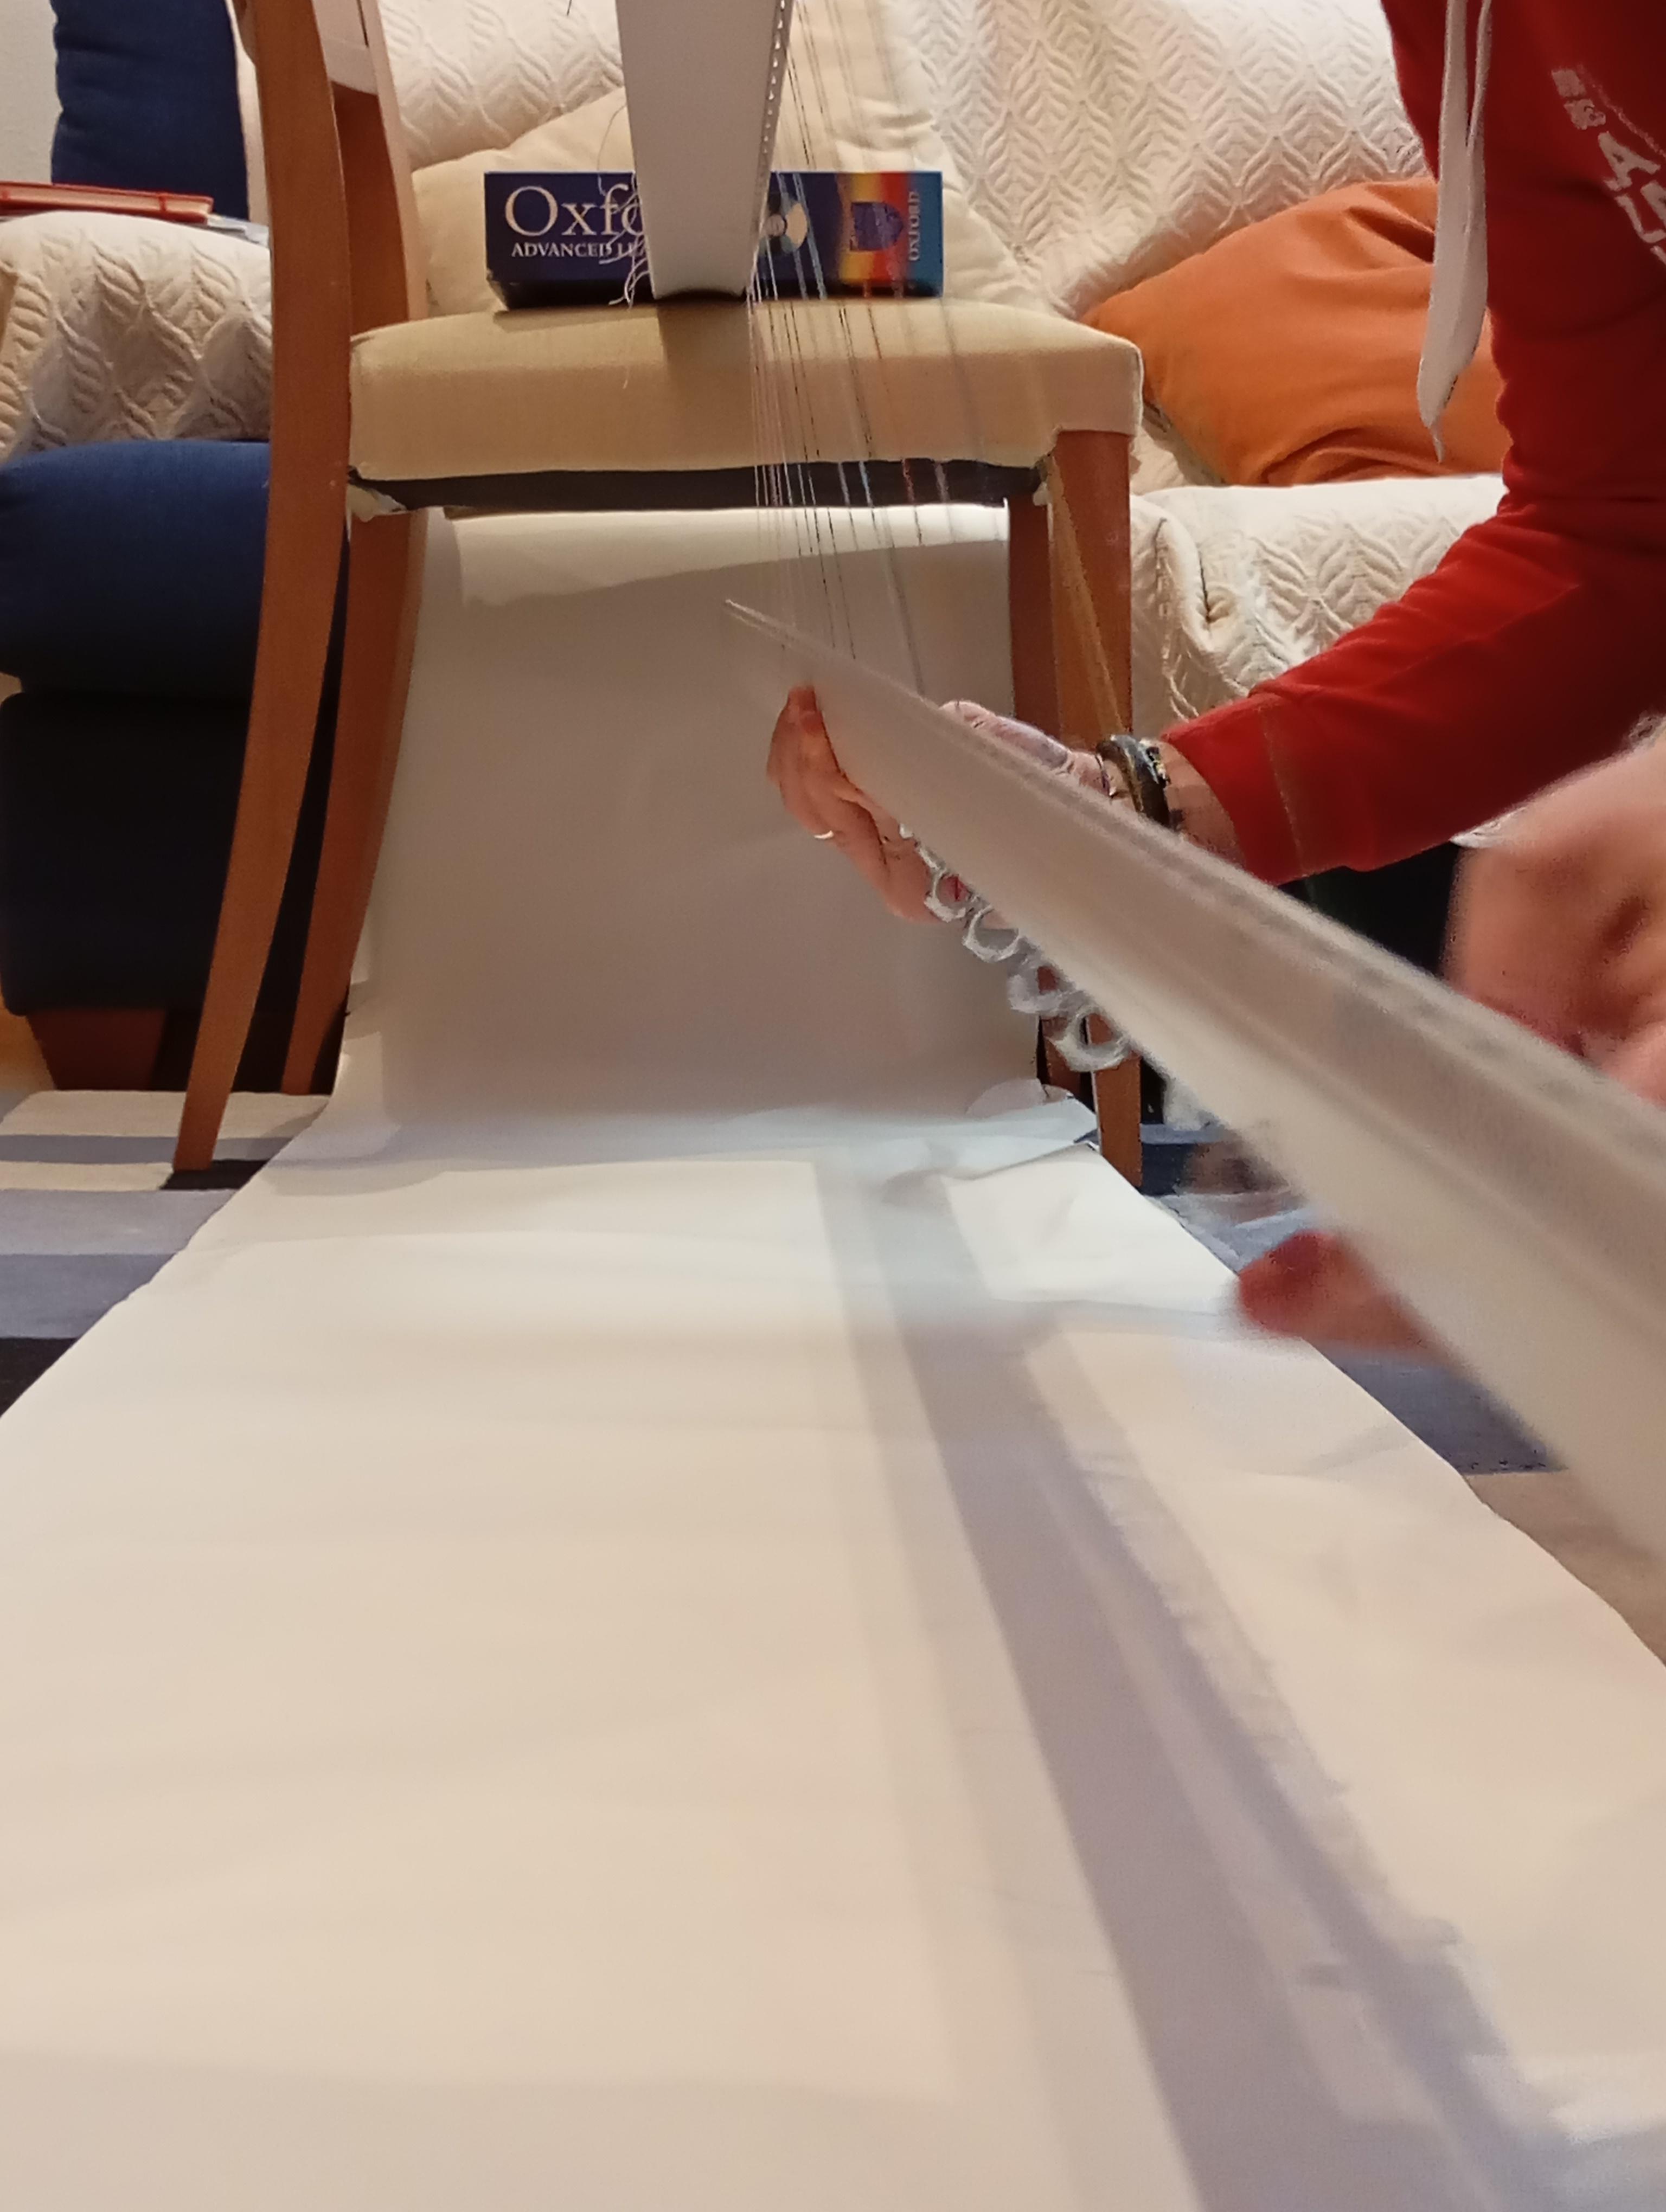
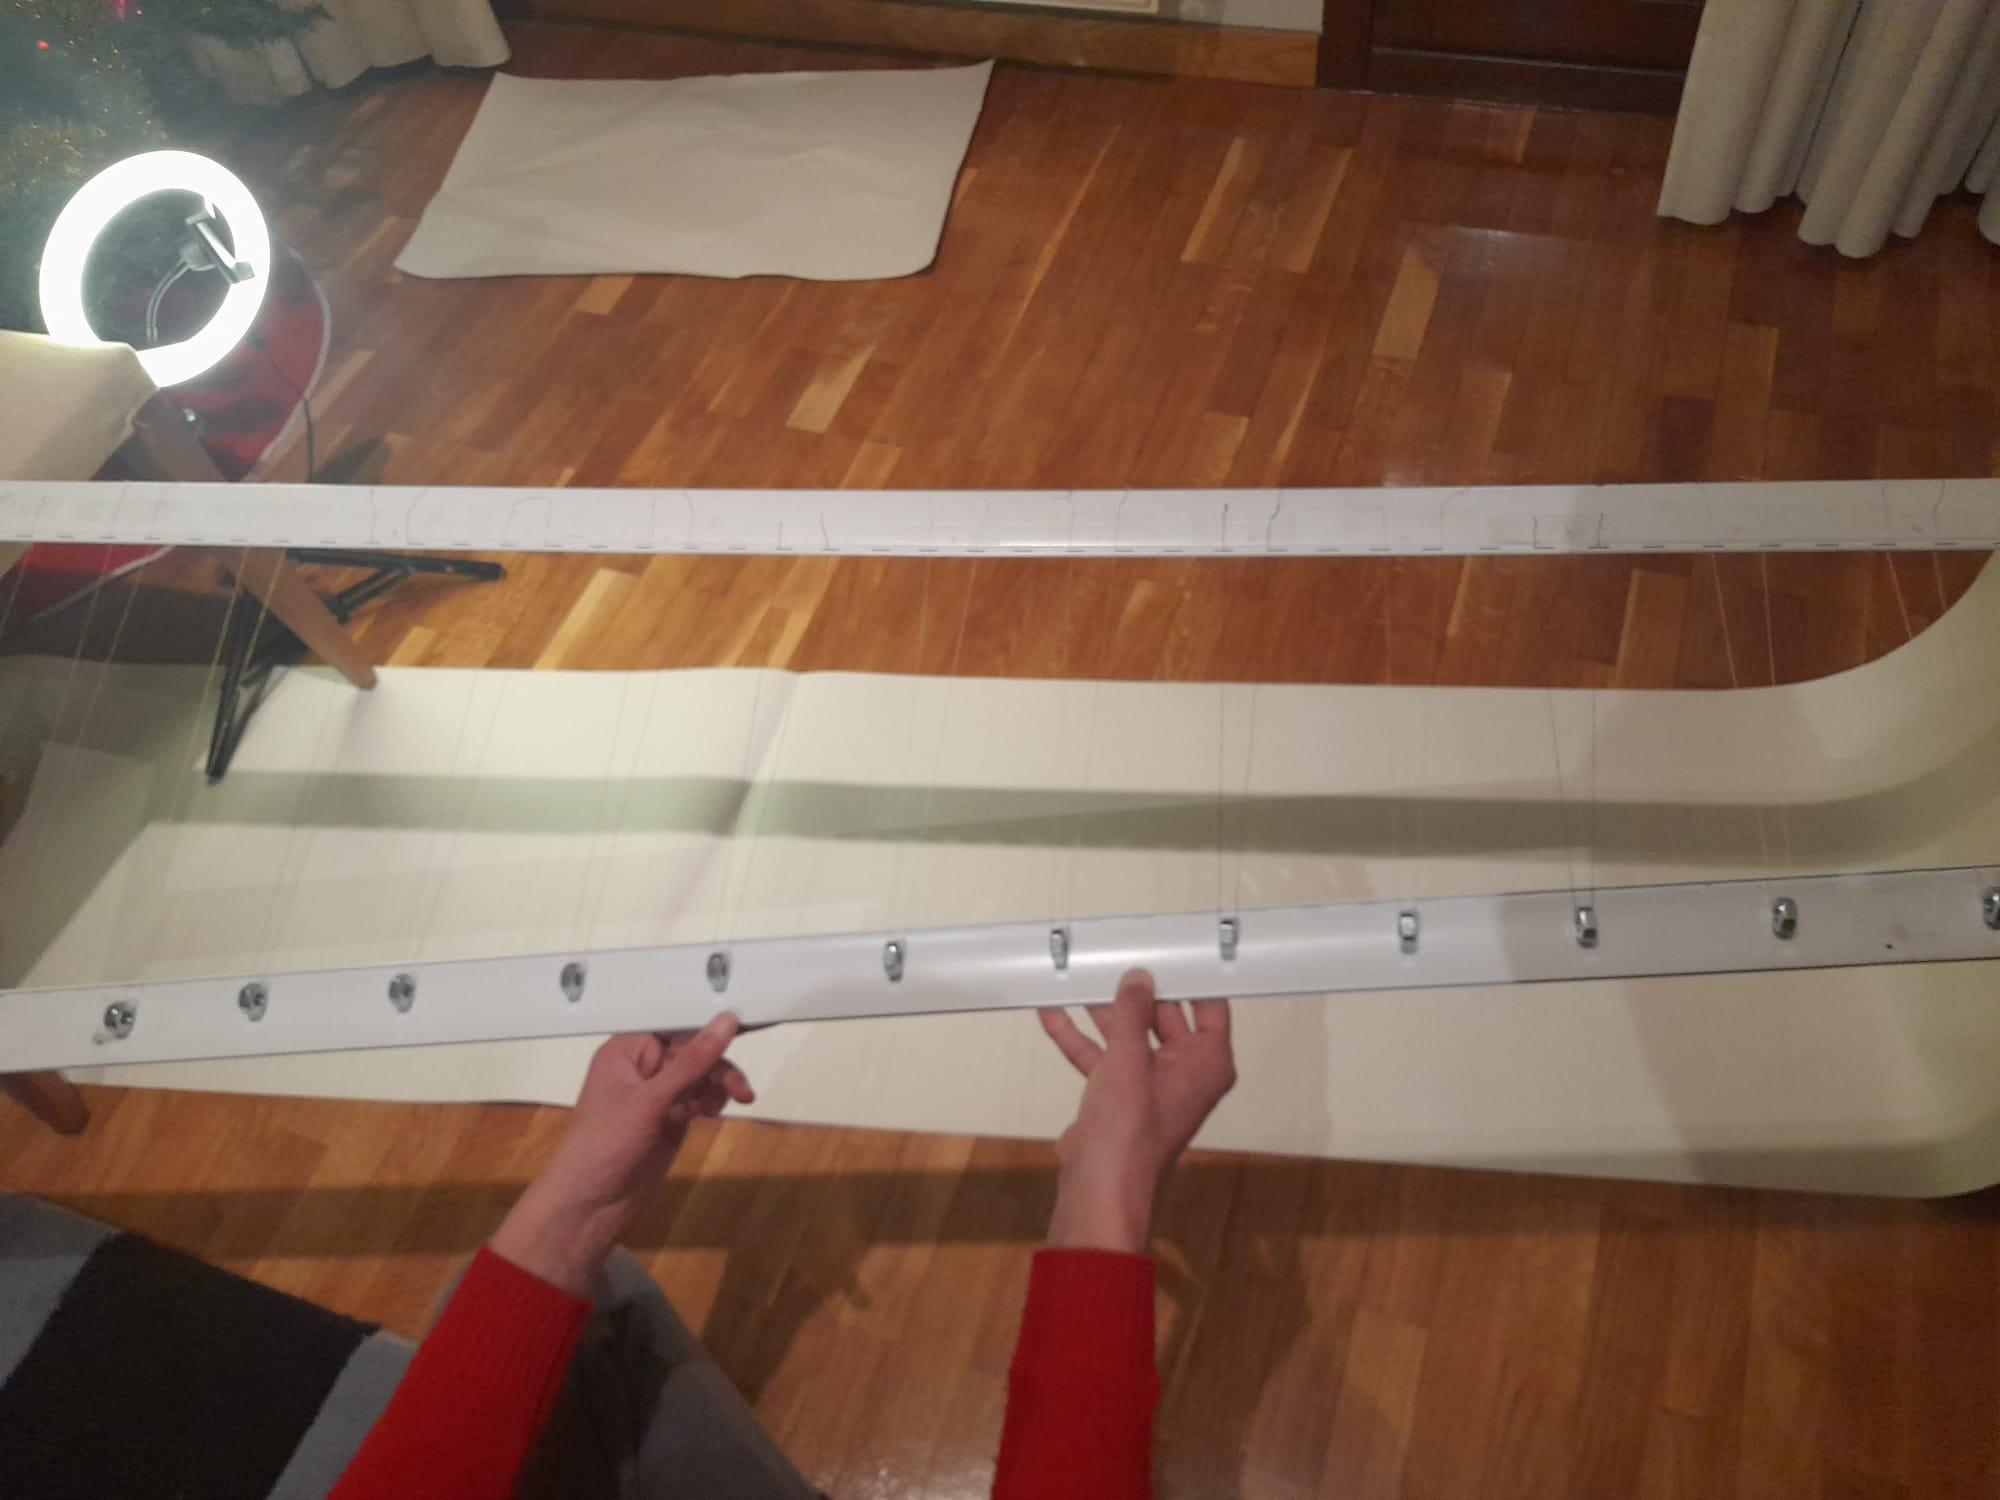
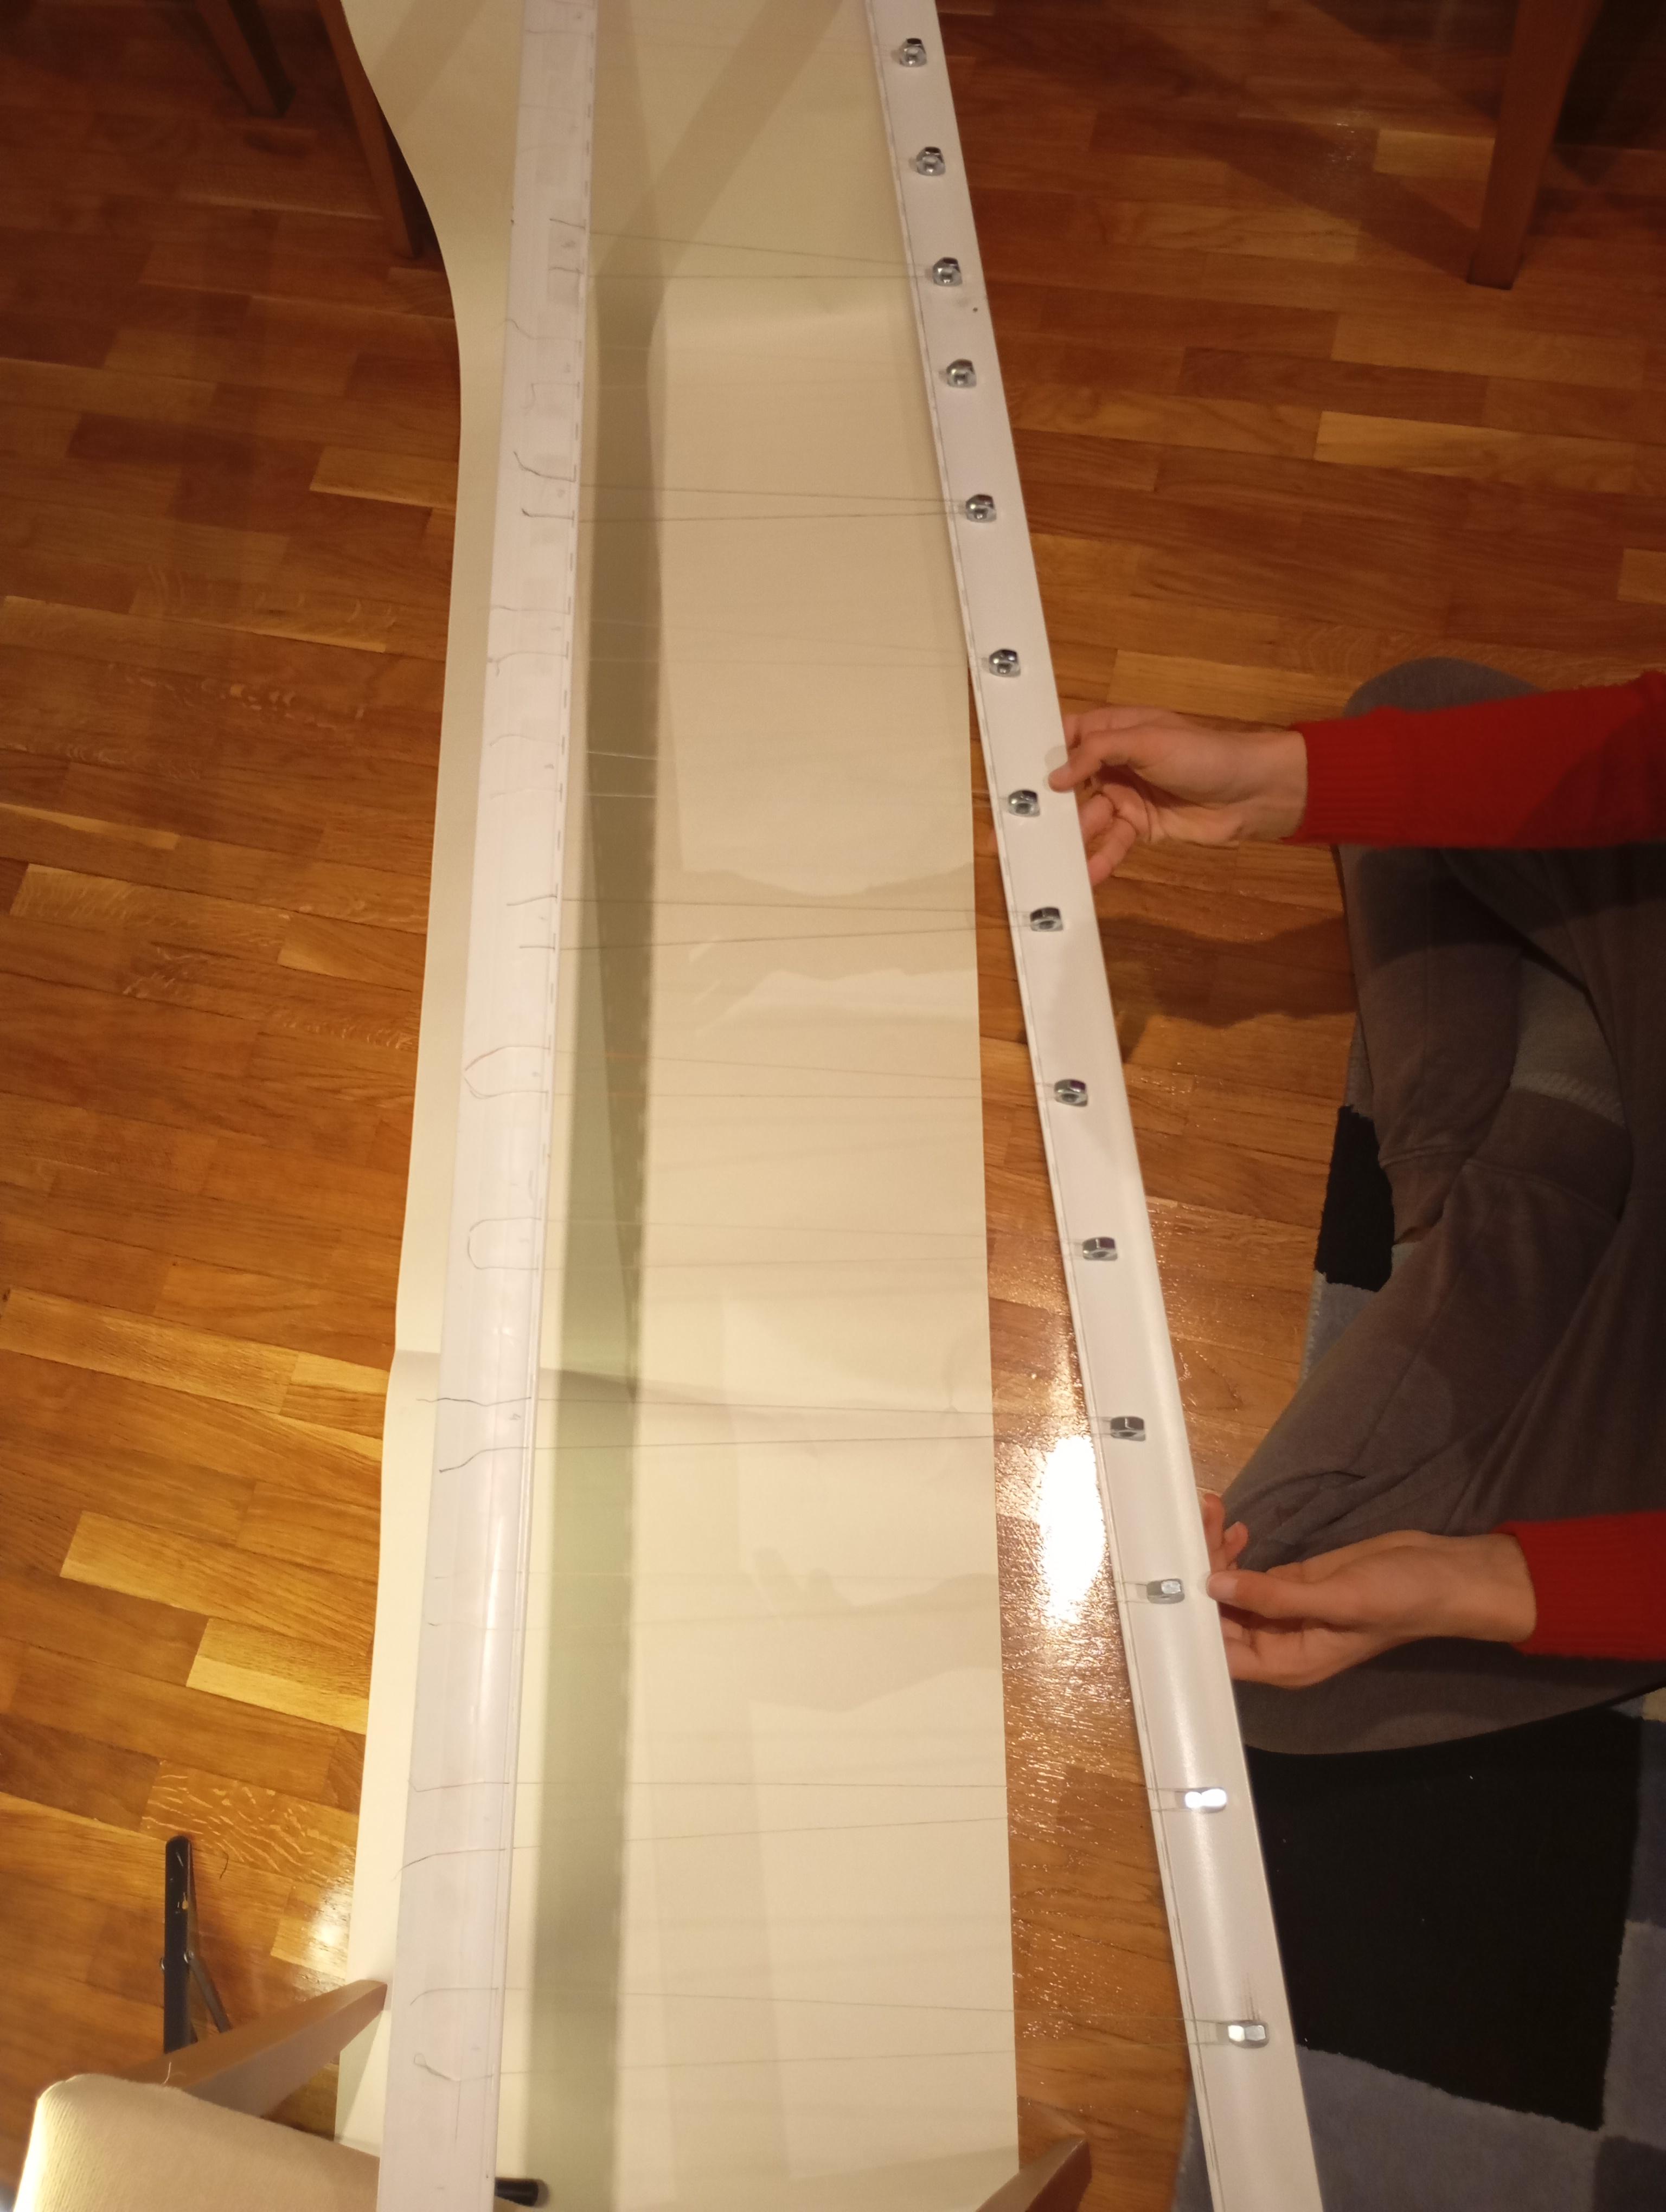
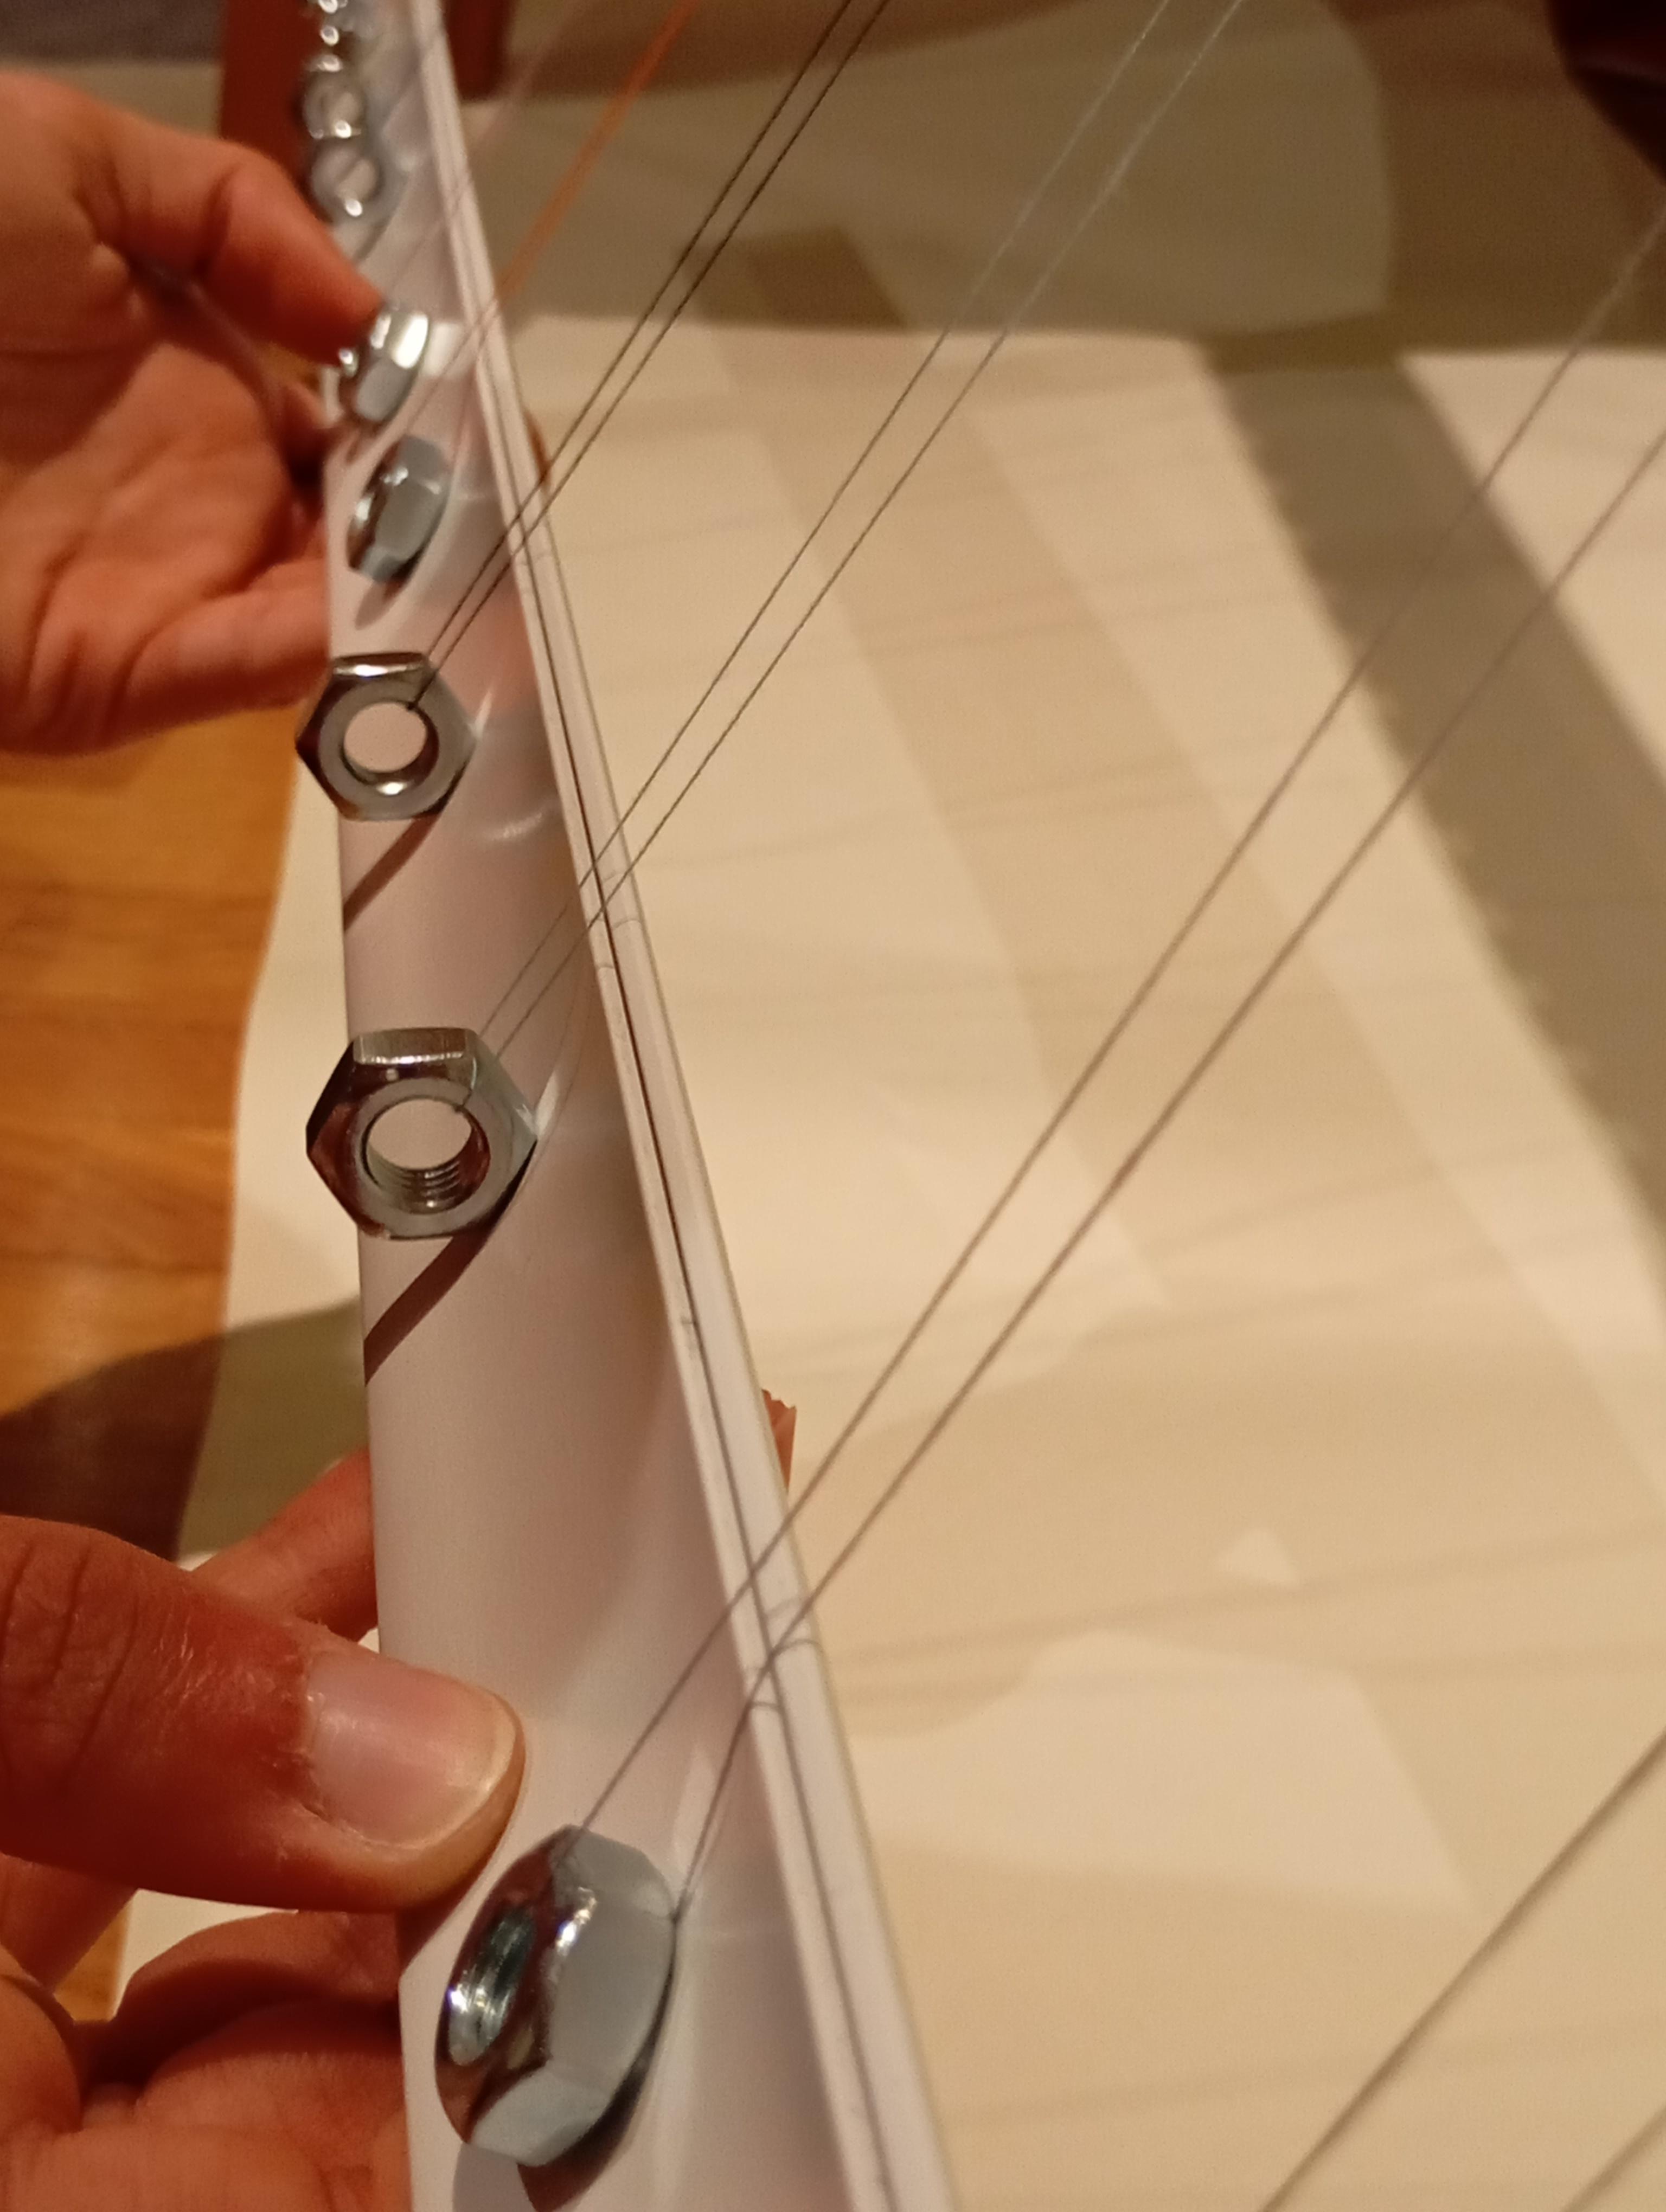
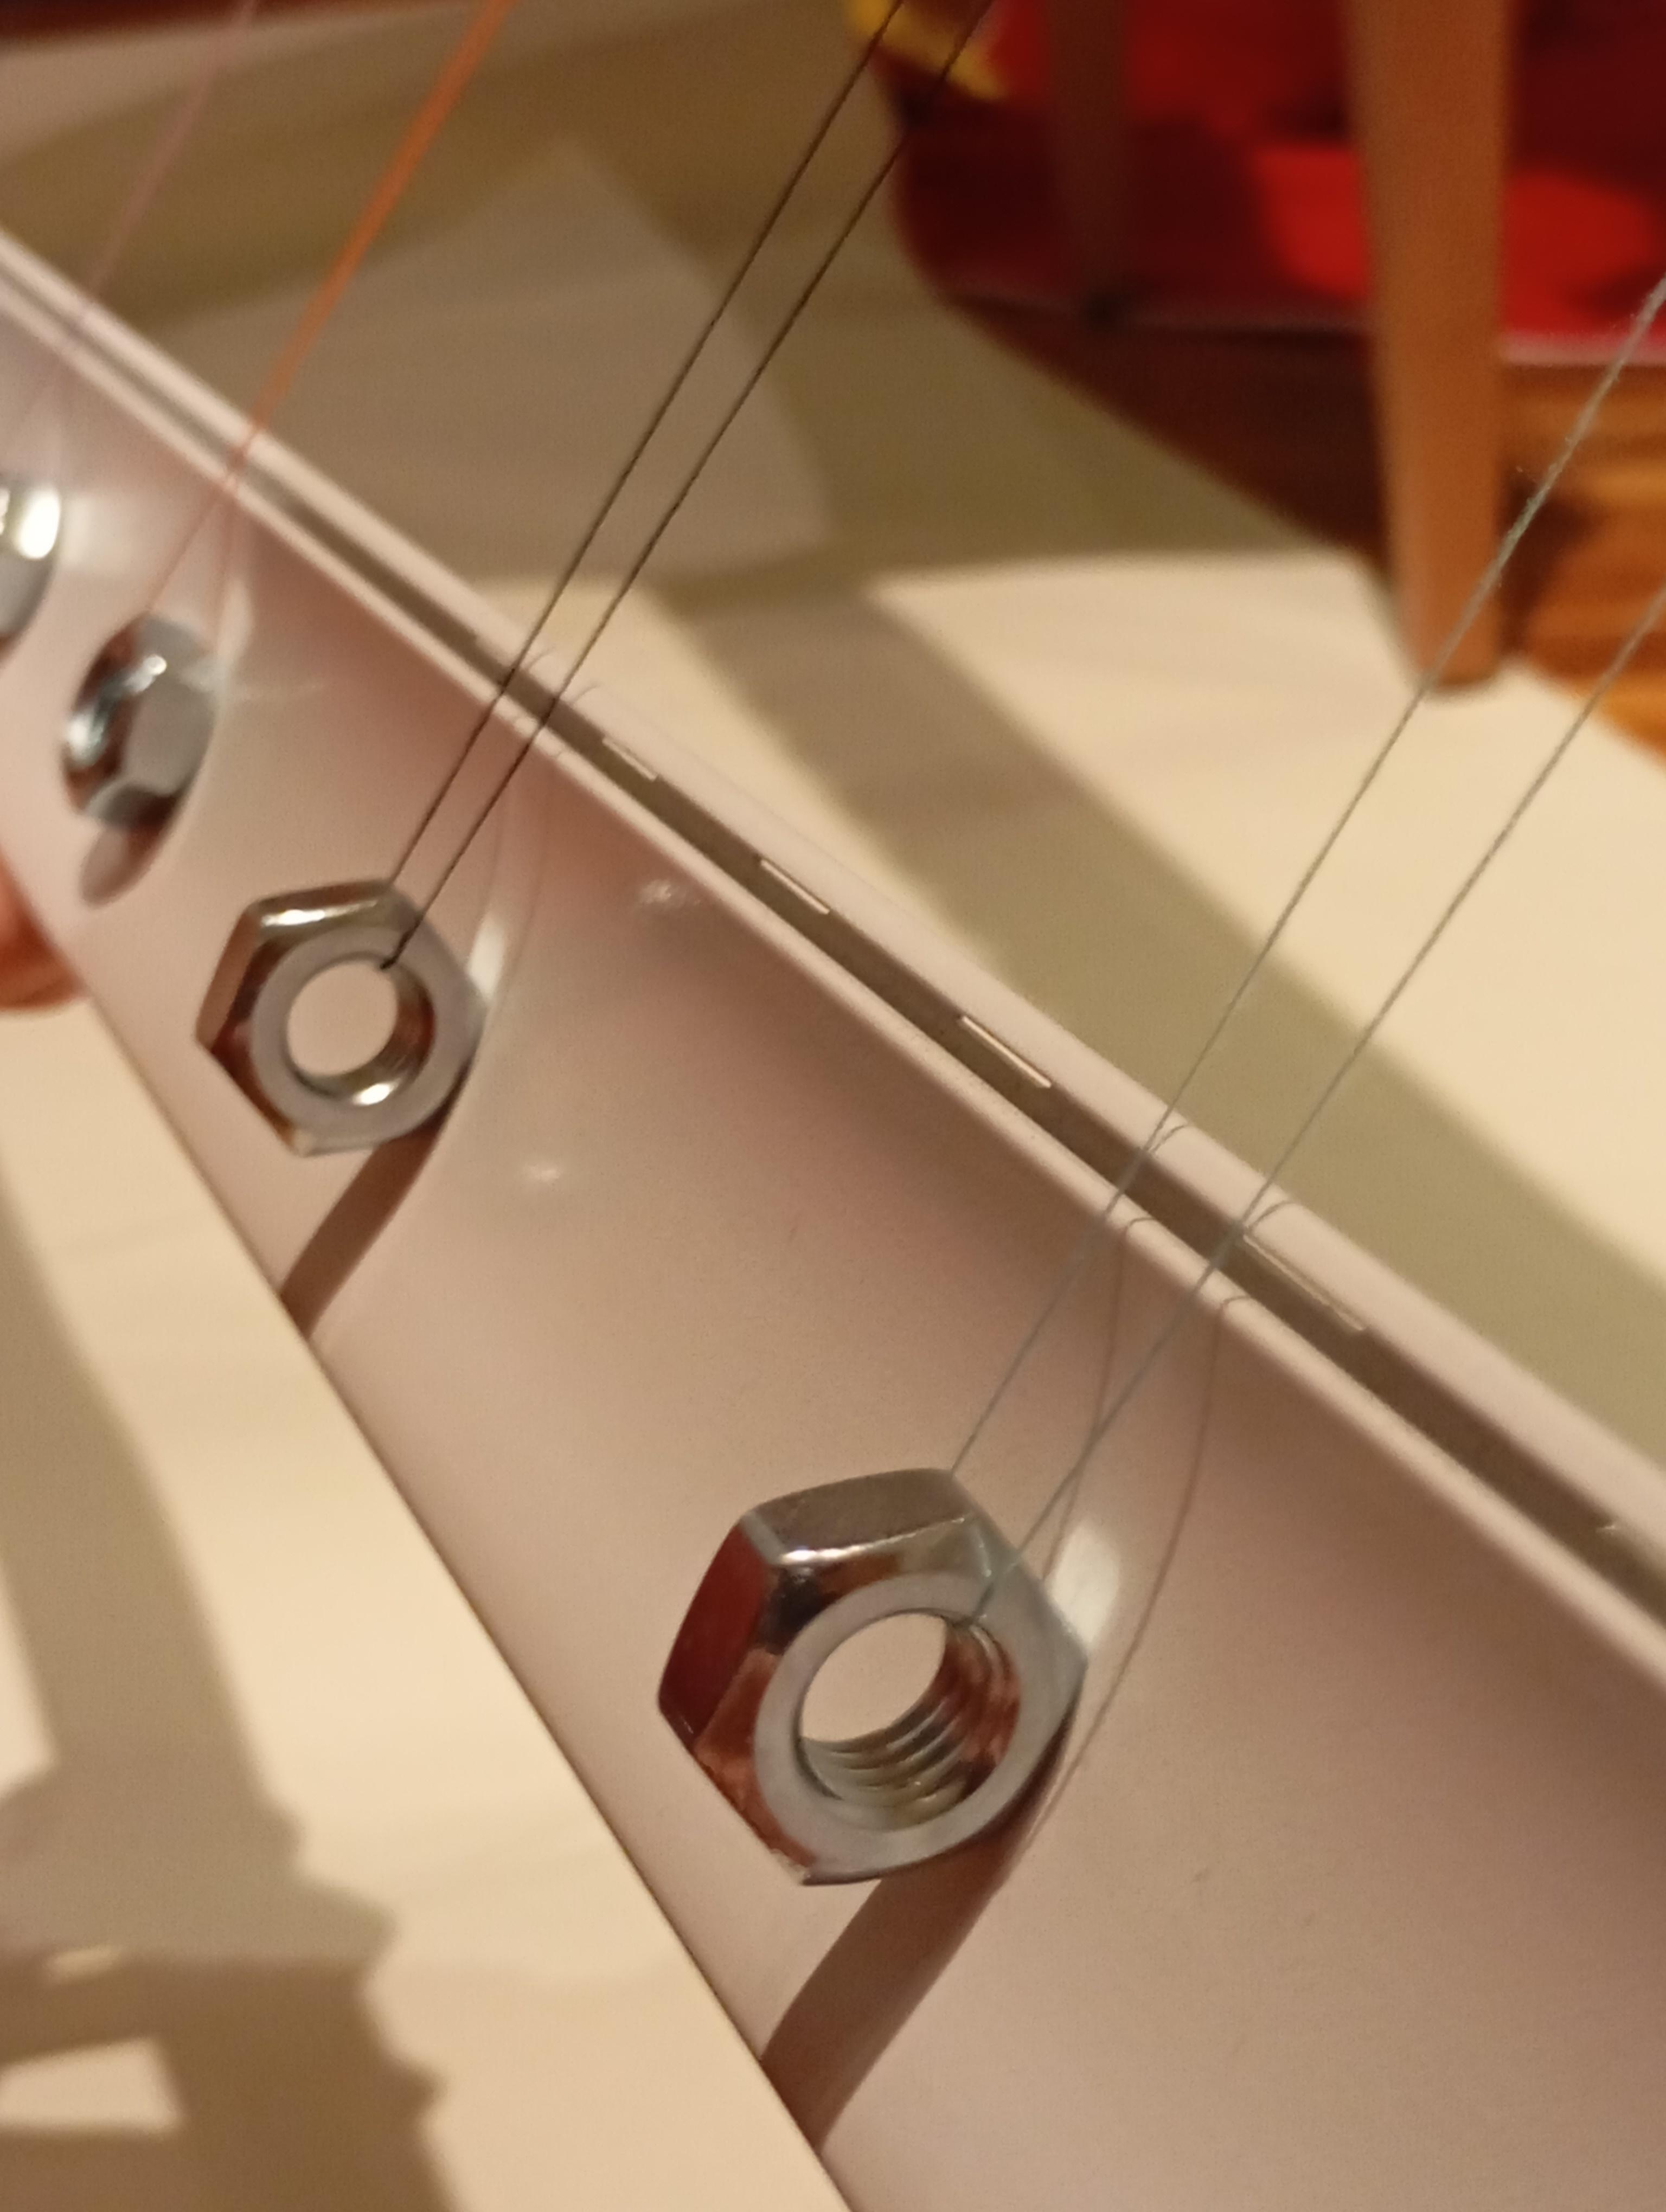
To ensure all the pendulums start swinging simultaneously, you’ll need a simple release mechanism. This guarantees a clean and synchronized launch, allowing the pendulum wave to display its full effect.
Instructions
- Prepare the Second Slat:
- Take the second roller blind slat, which will act as the release mechanism.
- Position it parallel to the suspension bar, below the pendulums, and close enough to hold all the weights in place.
- Set Up the Release Mechanism:
- Pull back all the pendulums so that their weights rest gently against the release slat.
- Ensure the slat is evenly positioned, holding all the pendulums at the same height.
- Stabilize the Release Slat:
- To keep the release slat steady, you can:
- Tie it loosely to the suspension bar using string, leaving just enough slack for it to drop freely when released.
- Use small pegs or supports to keep it balanced in place temporarily.
- Test the Release:
- Gently pull the release slat downward and let it drop or swing away to release the pendulums simultaneously.
- Observe the motion to ensure all pendulums start swinging together. If some pendulums lag or tangle, check their string lengths or positions.
- Adjust if Necessary:
- If any pendulums are not releasing cleanly, reposition the weights or strings slightly to ensure smooth motion.
- Practice the Timing:
- For the best effect, practice pulling back all the pendulums and letting them go with the release slat. Once you’re confident with the setup, you’re ready to show off your pendulum wave!
Final Touches:
If you want to enhance the presentation, you can:
- Paint or decorate the release slat to match your setup.
- Add LED lights or a contrasting background to highlight the motion of the pendulums.
With the release mechanism in place, your pendulum wave is complete! Now, pull them back, let them go, and enjoy the mesmerizing patterns of your creation. 🎉
Conclusion
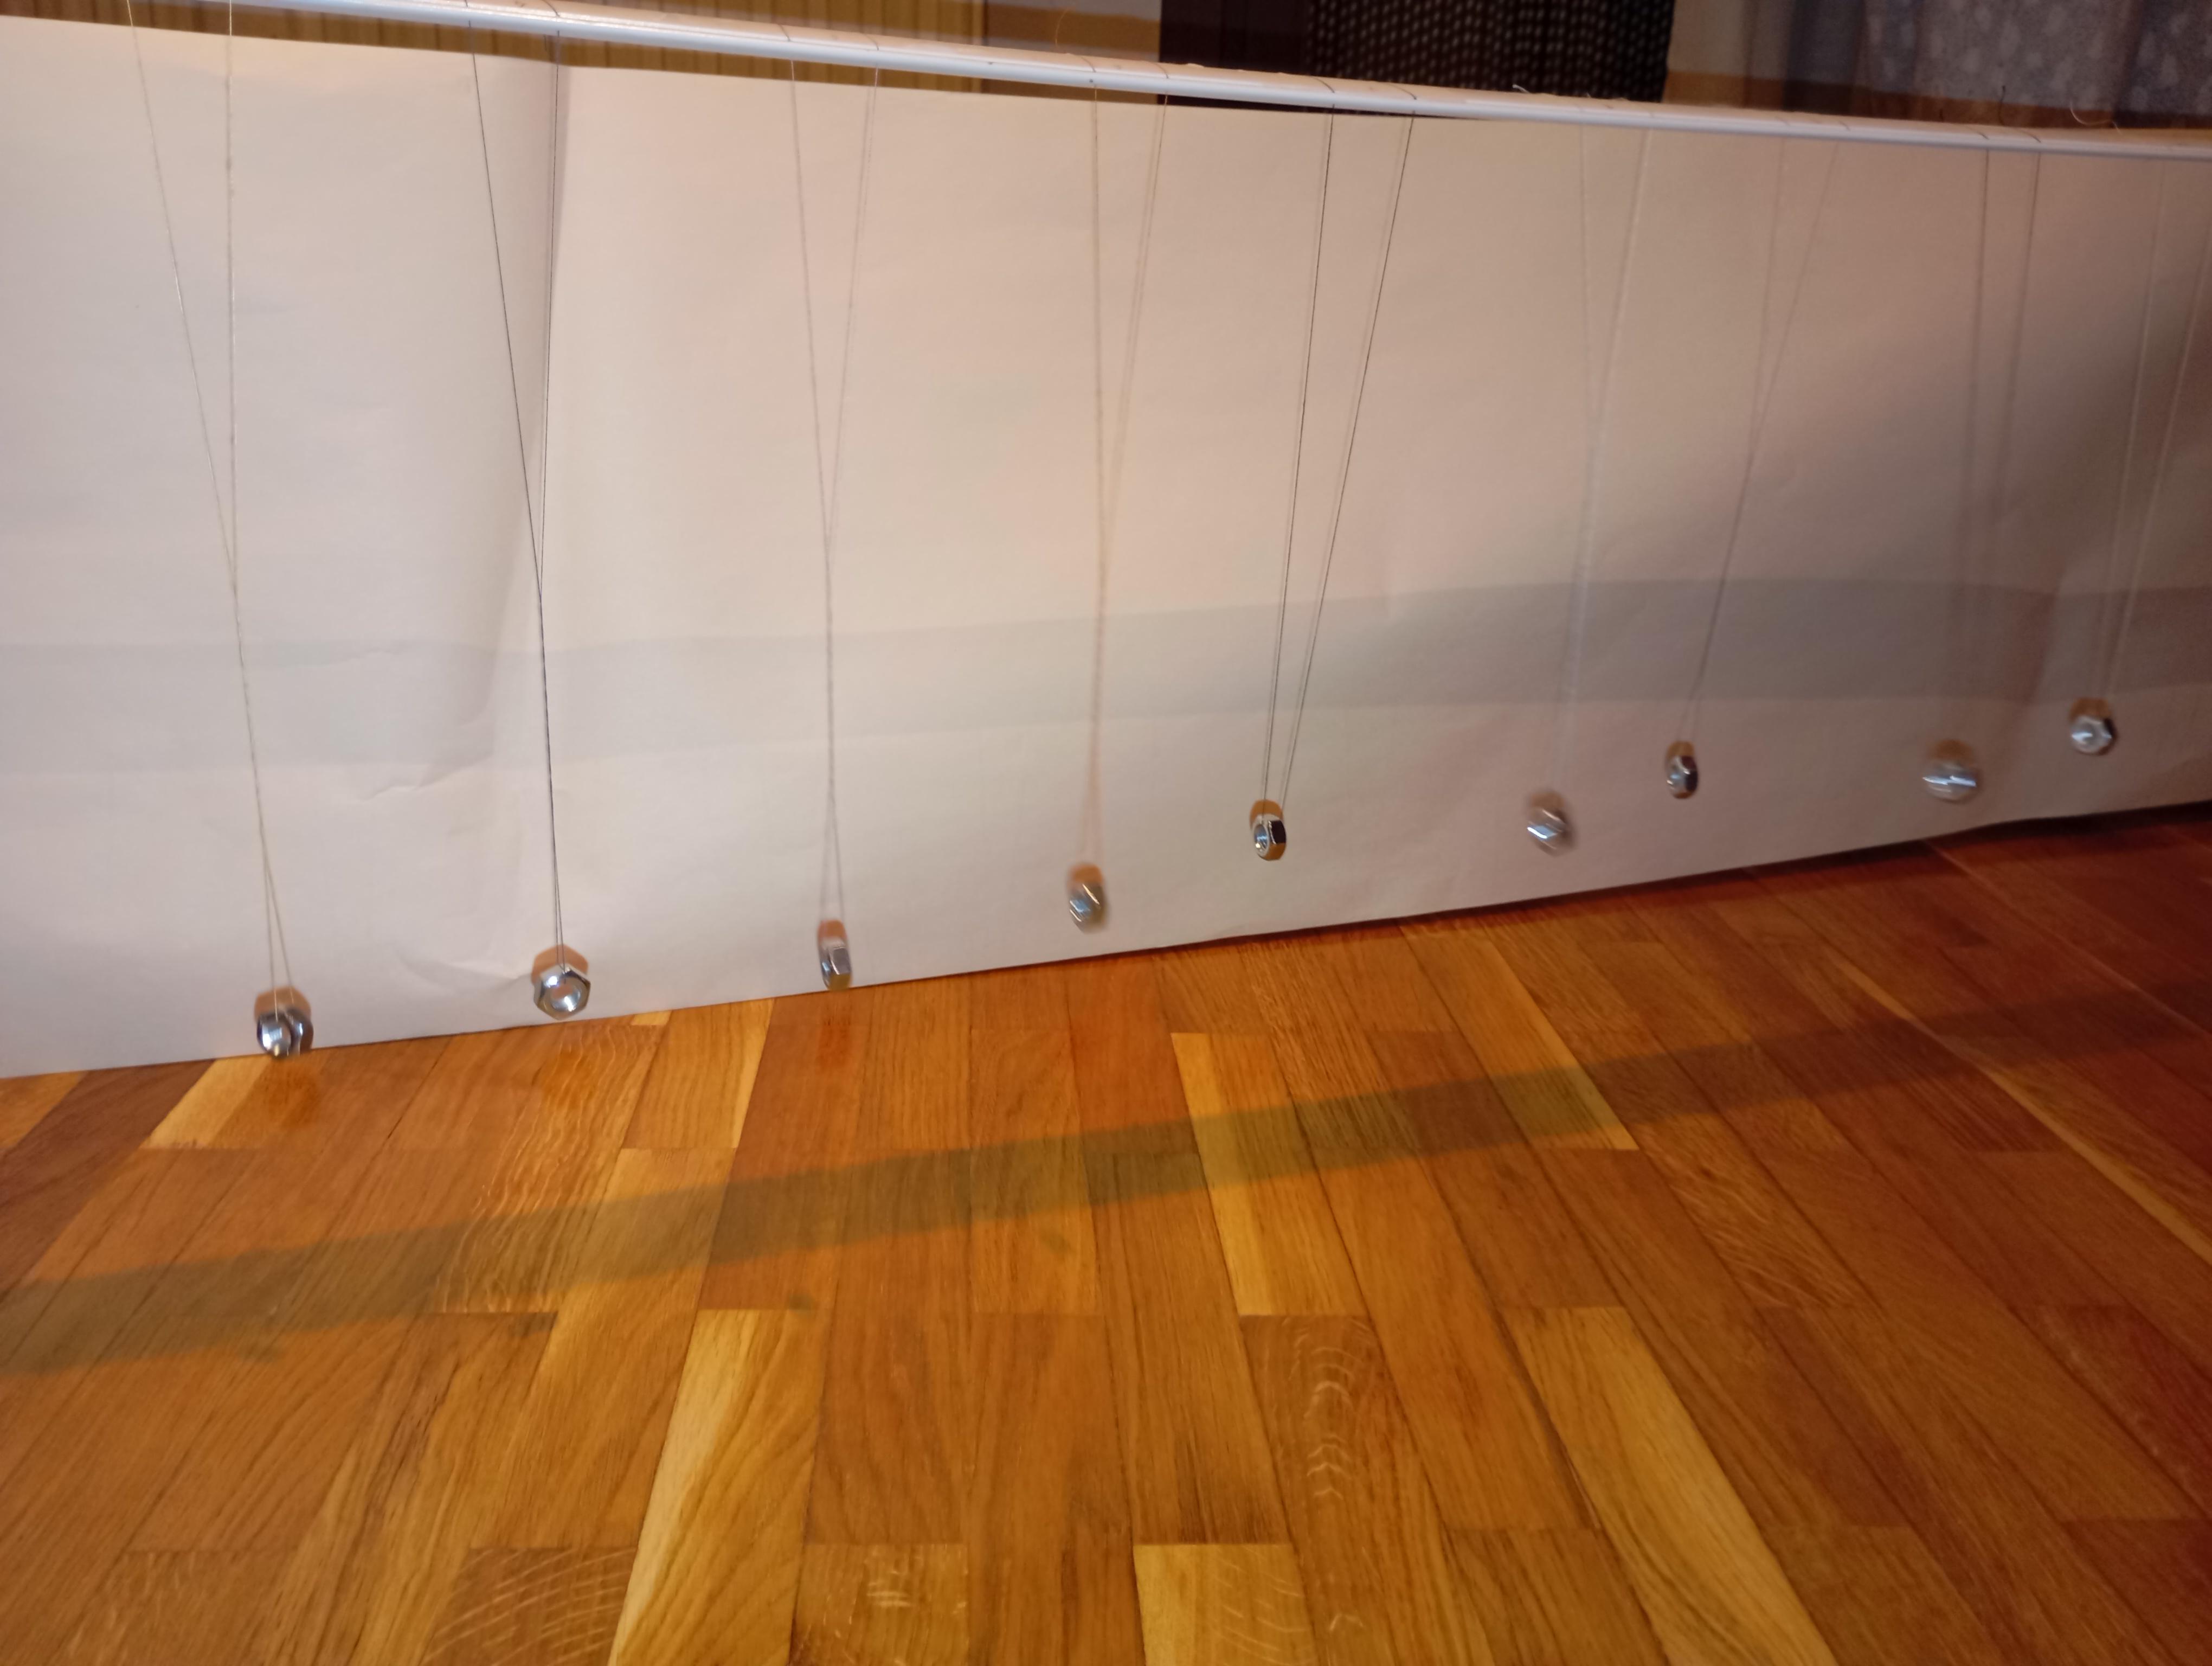
Congratulations! You’ve now created your own mesmerizing pendulum wave. By combining simple materials and a bit of math, you’ve made a stunning visual display that beautifully demonstrates the principles of motion and physics. It’s a perfect example of how creativity and science can come together to create something magical.
Whether you’ve made this project for fun, as a learning tool, or as a piece of art, I hope you enjoyed the process and are now captivated by the hypnotic patterns of your pendulums in motion. It’s amazing how such a simple setup can create such a complex and beautiful effect, and I’m sure it’ll spark curiosity in anyone who sees it.
Thank you for following along! I hope this guide has inspired you to explore more hands-on projects, experiment with motion, and maybe even create your own variations of this pendulum wave. Keep making, keep experimenting, and most importantly, keep having fun with it!
Happy building, and enjoy the mesmerizing motion of your pendulum wave!