DIY Rubber Band Guitar (A-Minor) - With Tuning Technique
by william_ckm in Living > Music
454 Views, 3 Favorites, 0 Comments
DIY Rubber Band Guitar (A-Minor) - With Tuning Technique
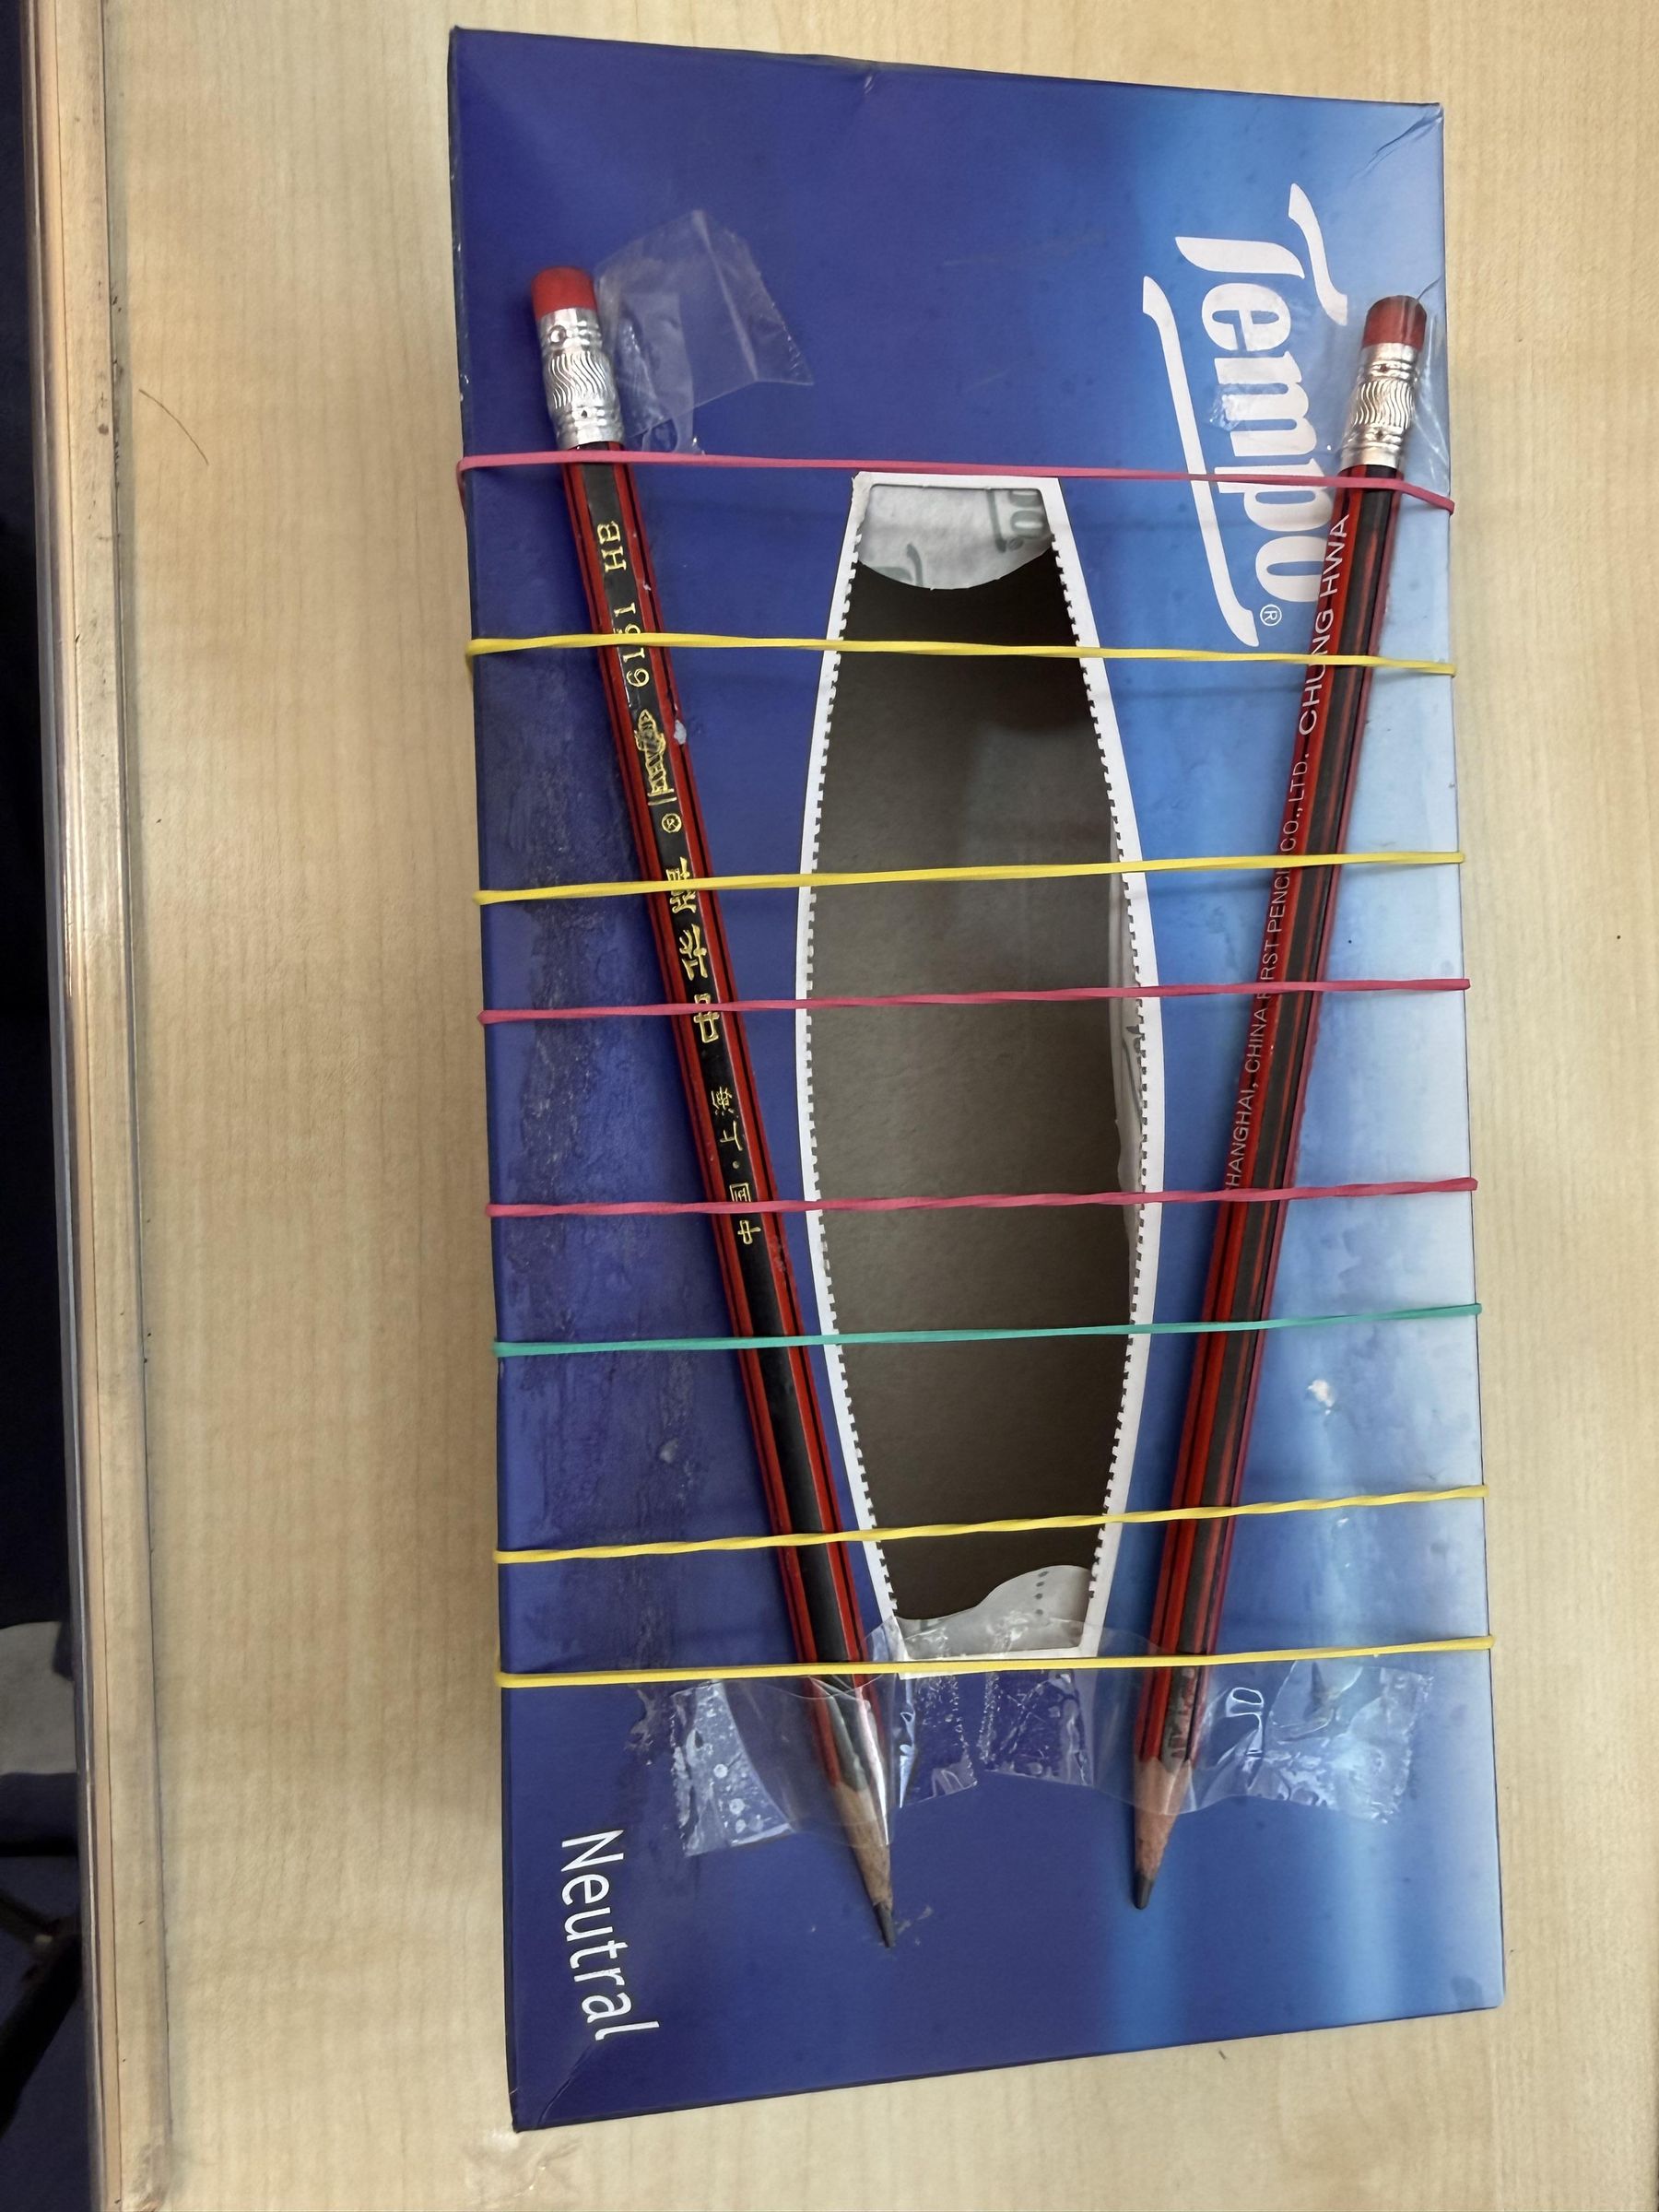
We all love guitars, but let’s be real—they can be pretty expensive. As a big fan of both music and STEM, I found that steep price tag inspired me to get creative. I started experimenting with basic household items like rubber bands to see if I could recreate those complex musical sounds on a budget.
Along the way, I noticed that most DIY cardboard designs do not satisfy my specific needs. They usually rely on a mix of different rubber band sizes and thicknesses to get different pitches. It ends up being a total guessing game because you never really know what note you’re going to get. It's easy to get different notes, but it seems nearly impossible to get all seven notes (A to G) exactly right.
To fix this, I tried a different approach. I designed a guitar that uses just two ordinary pencils, but I angled them in an unconventional way. This slant naturally changes the string length, allowing me to get different pitches while using the exact same type of rubber bands. Tuning turned out to be pretty straightforward, too: I can just stretch a band to lower the pitch, or slide it toward the narrower pencil sections to raise it. This allowed me to tune the guitar to A-Minor. For me, it’s just really cool to see how simple physics and creativity can come together to solve a problem.
Supplies
The supplies list is as minimal as it gets:
1) Empty Tissue Box
2) 8 equally sized and equally thick rubber bands (check how large your tissue box is to decide which size is most appropriate)
3) 2 Long Circular Pencils (preferably not triangular)
4) Regular Tape
5) Scissors
Setup
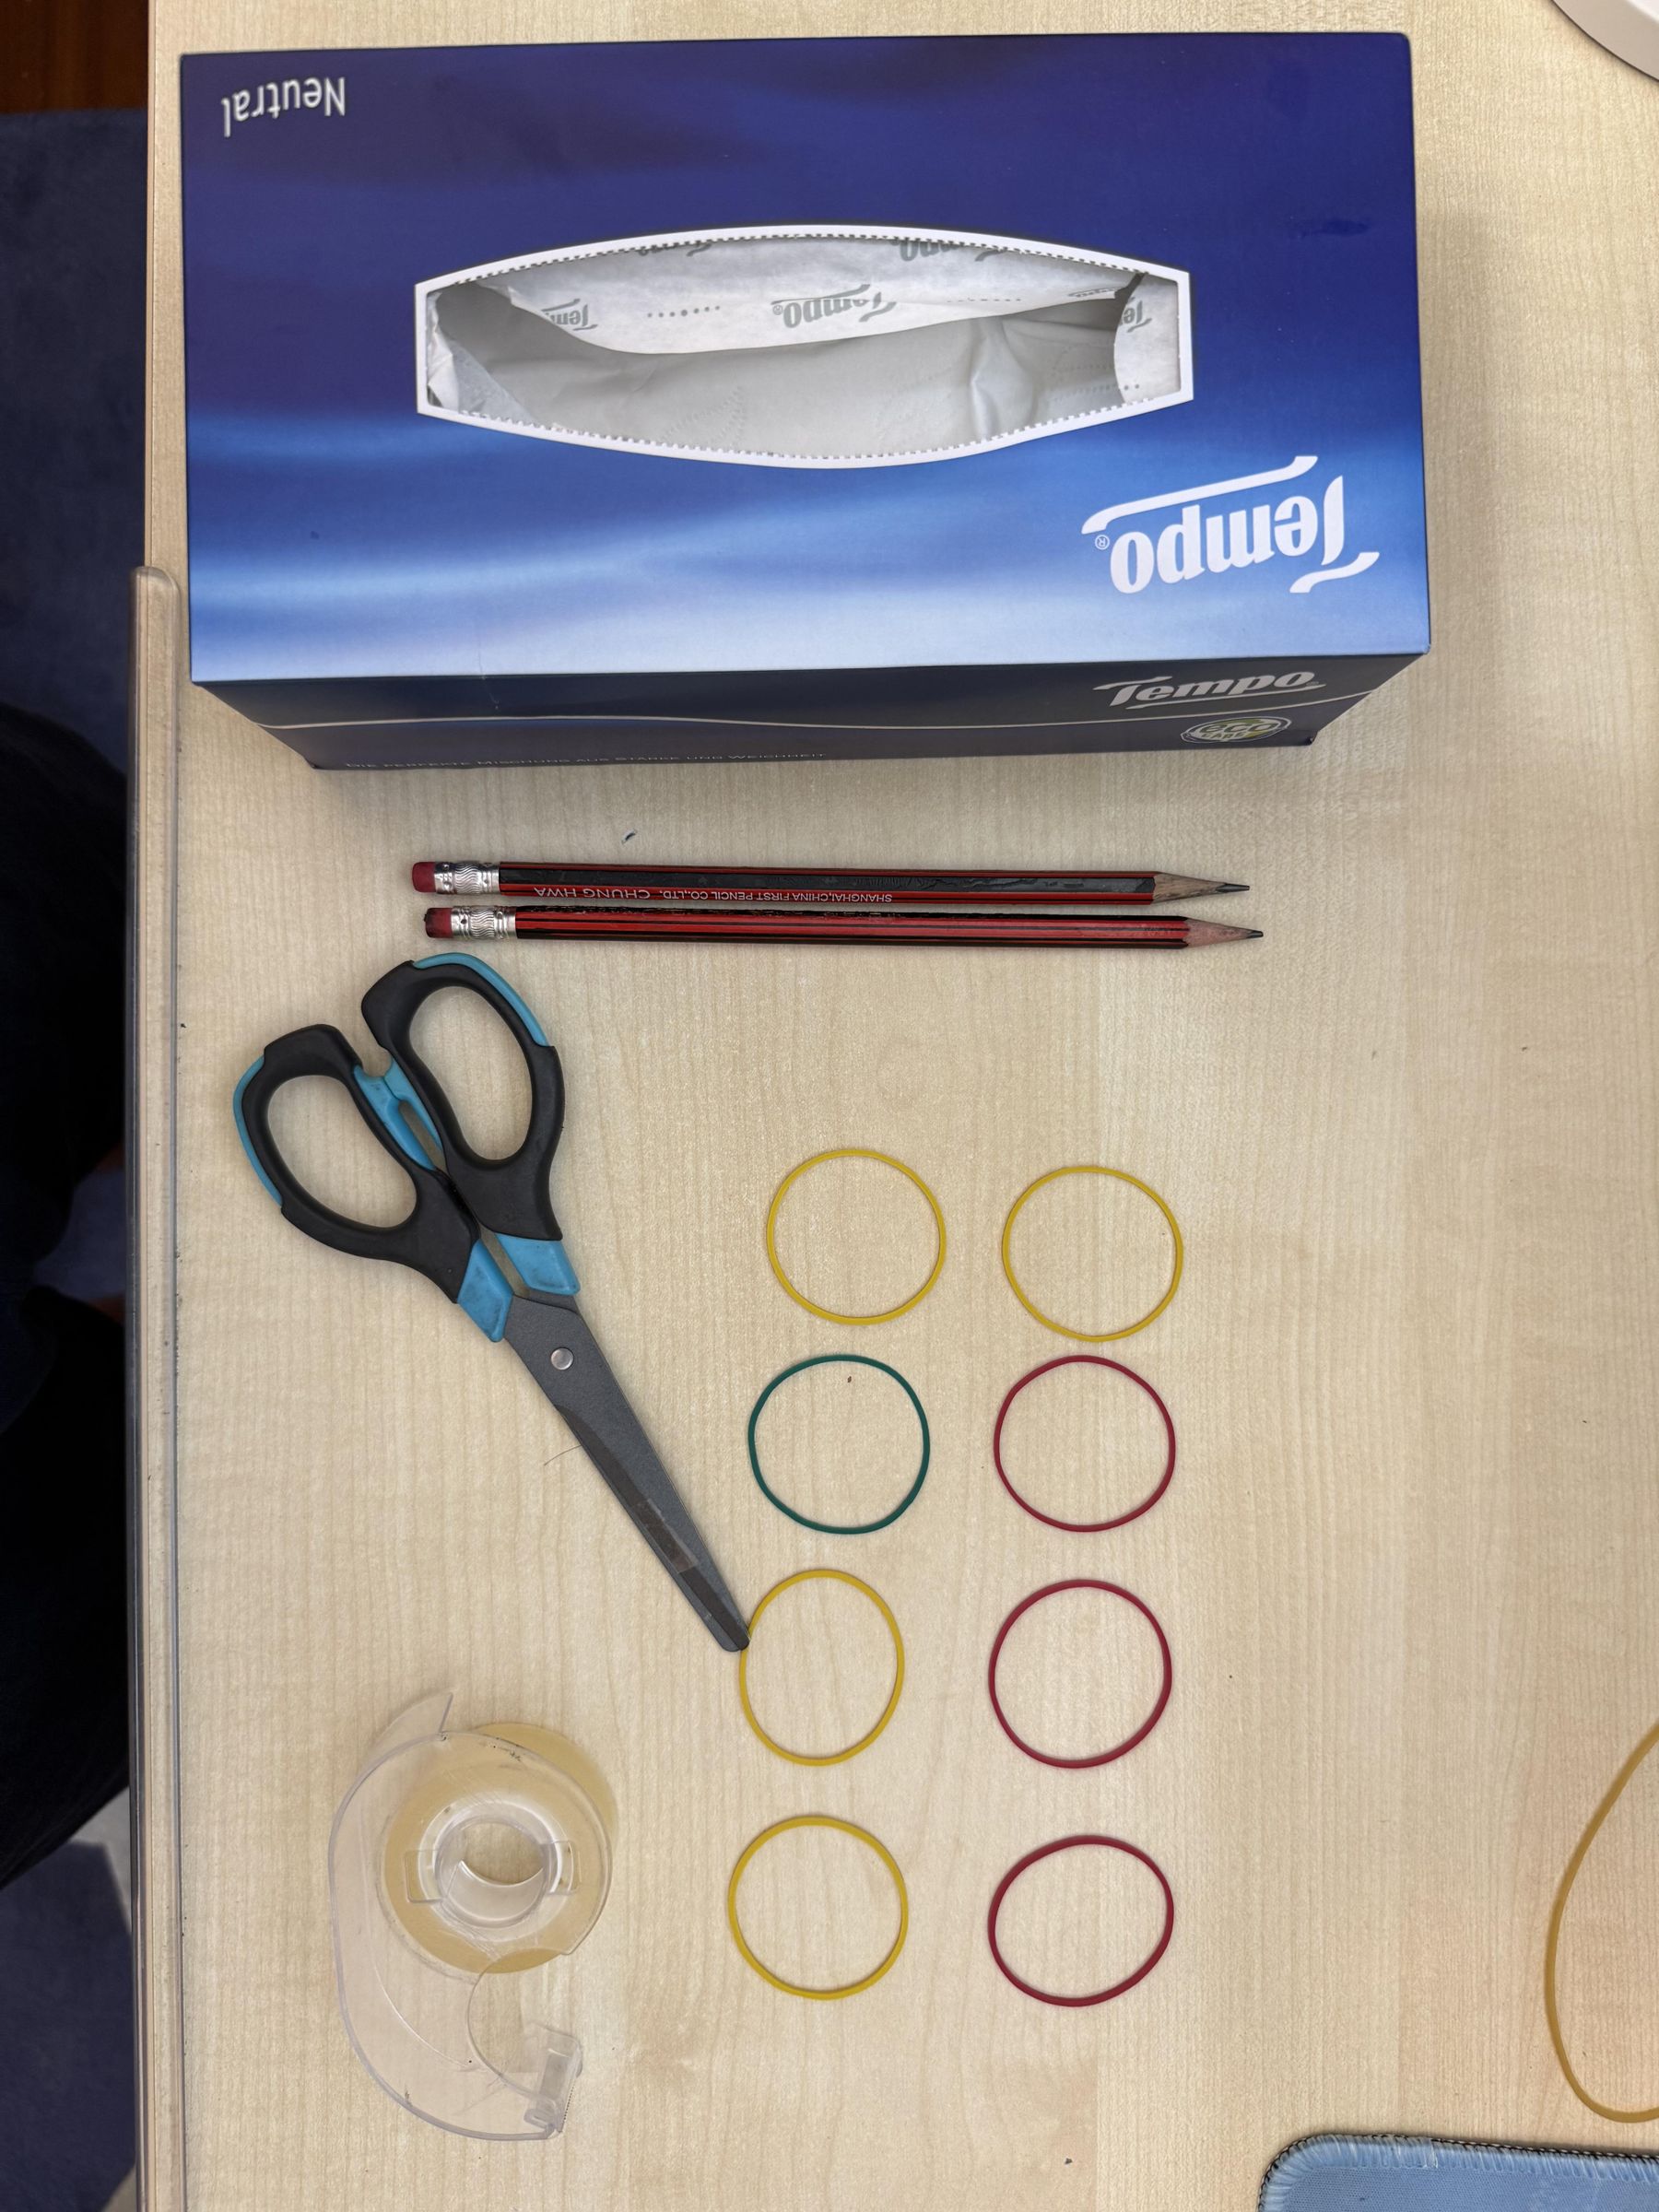
Firstly, just gather all the items in a neat pile. Of course, you'll have to remove all the tissues or used an already empty box - we need it hollow to amplify the sound.
Arrange Pencils
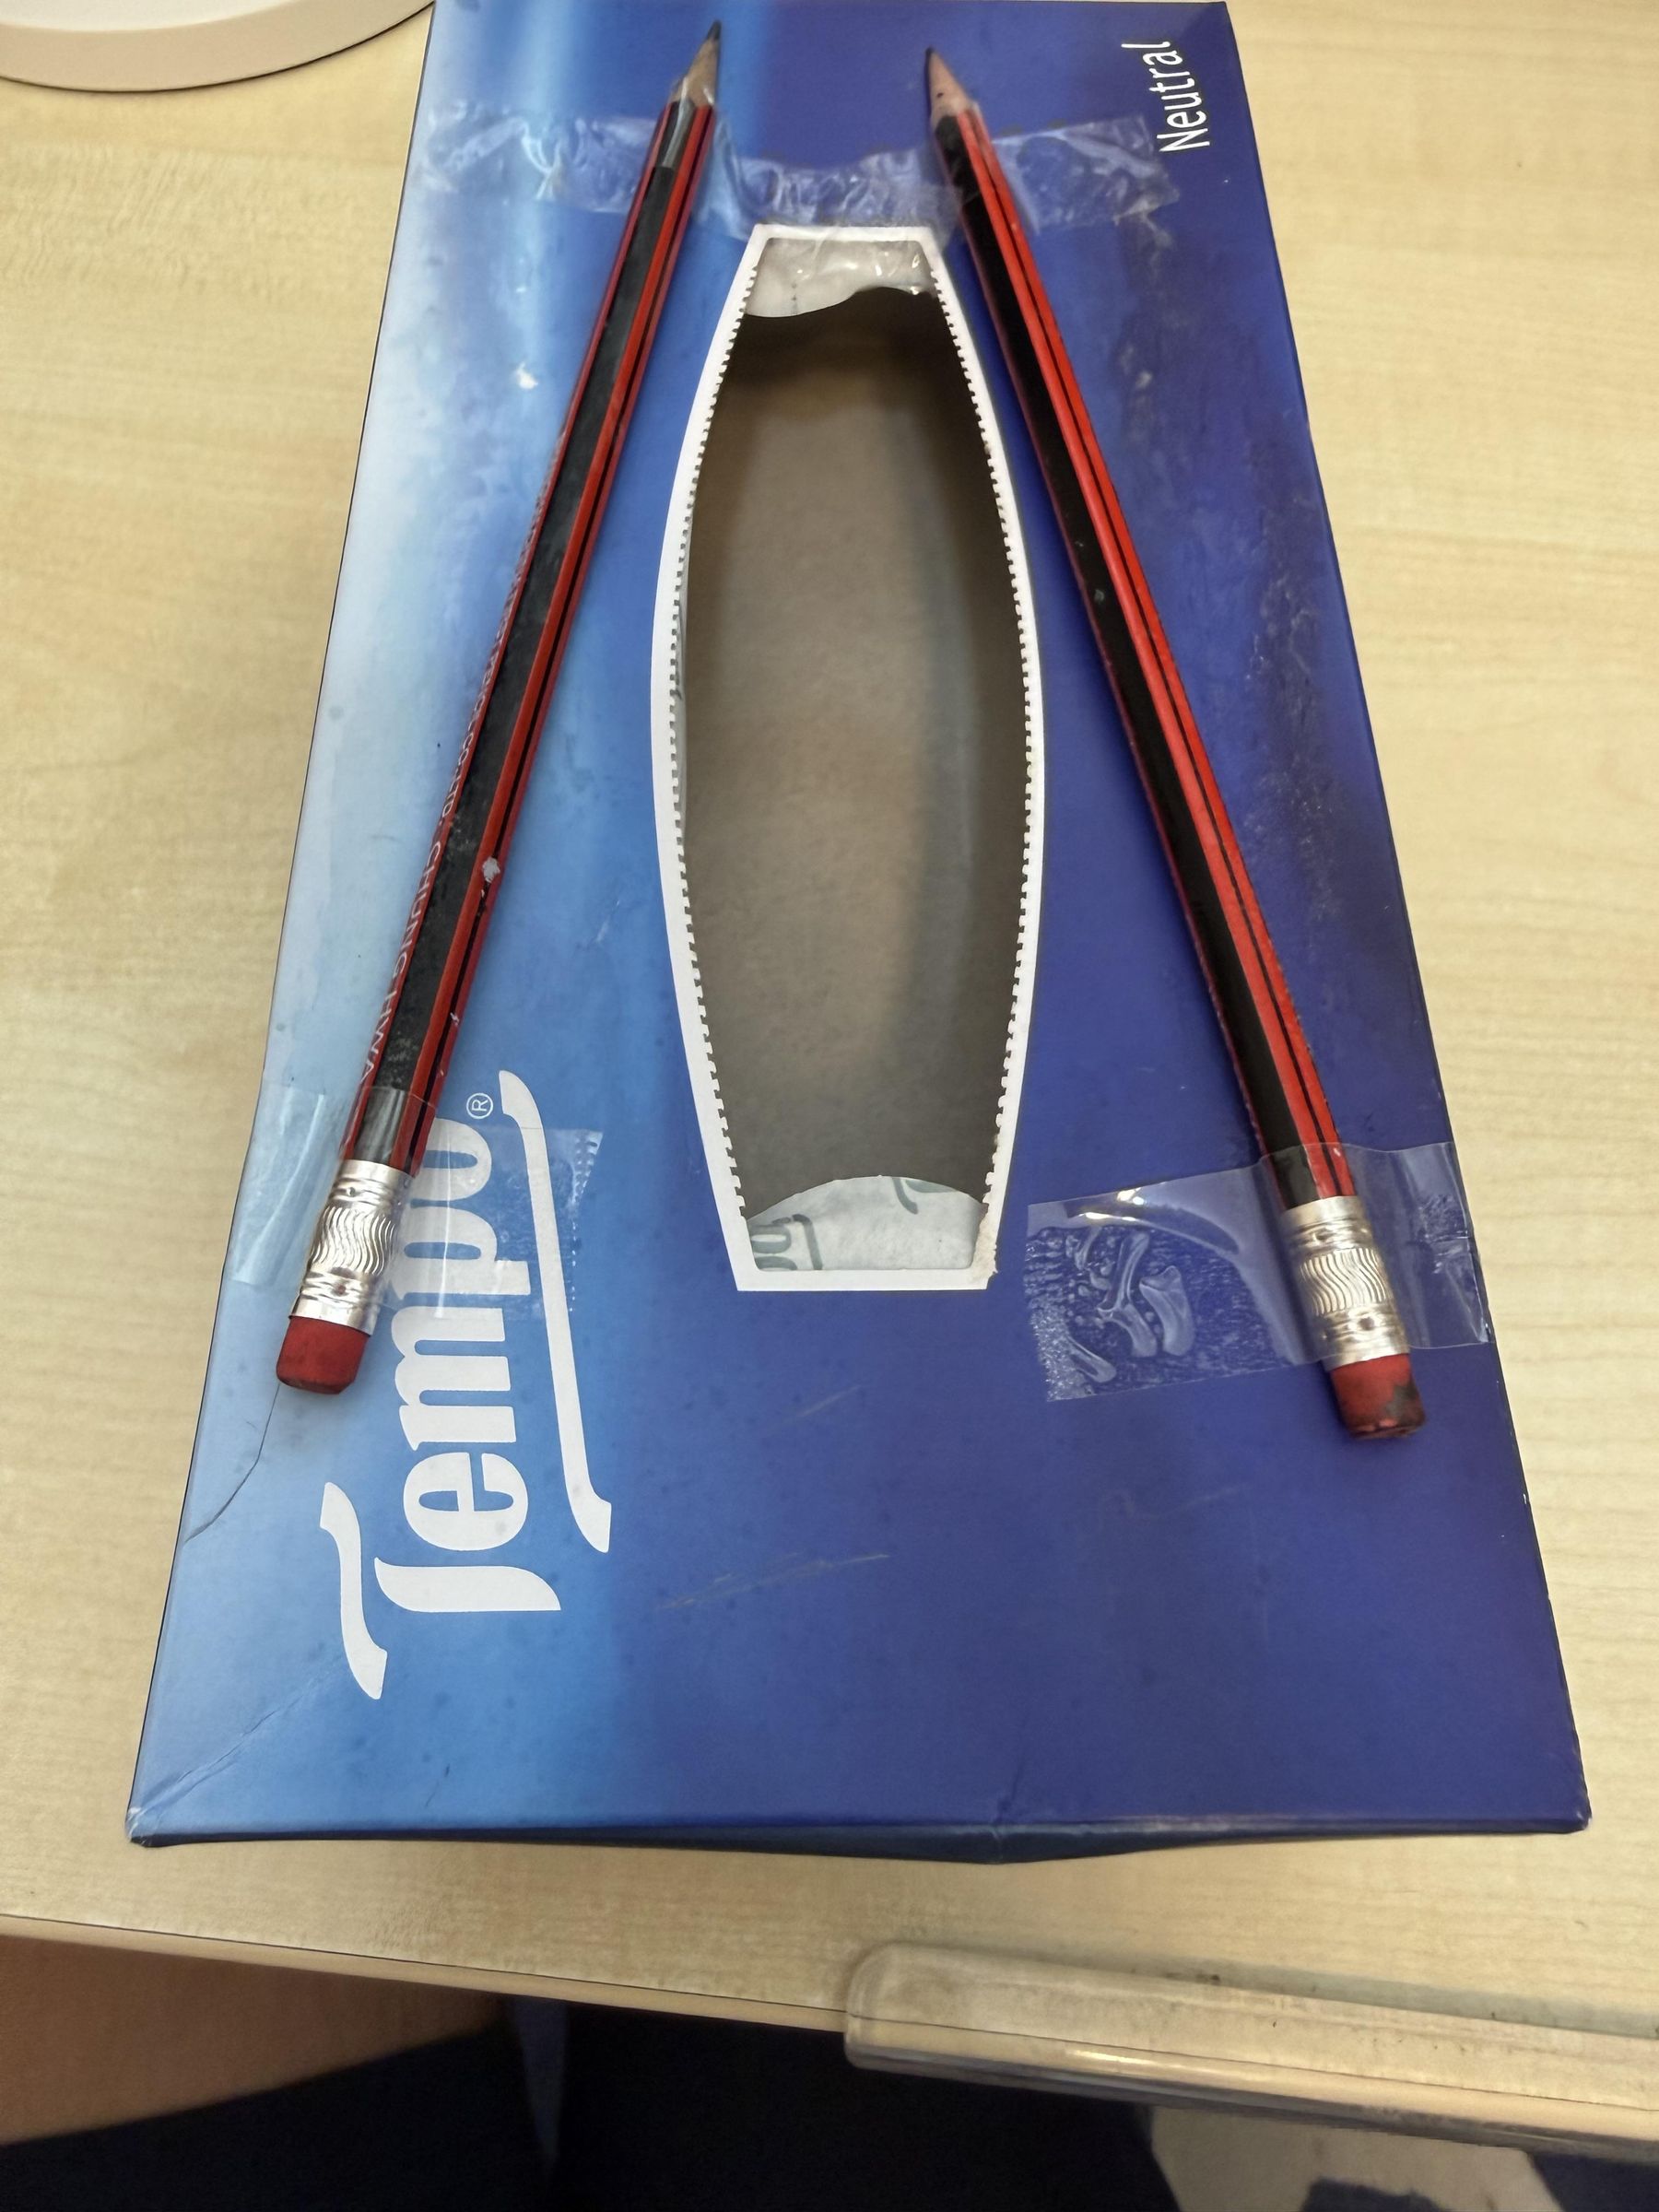
This is where things get strange - why are the pencils not parallel? Essentially, to circumvent the fact that all our rubber bands are the same size, we change the playable length of the string by angling the pencils. Where the pencils are closer together, the pitch is higher - you may have learnt from standing waves in Physics. Use tape to stick the pencils firmly into place - I recommend wrapping the tape around the pencil first instead of placing tape on top of the pencil when it is already on the box, to avoid sliding.
Place the First String
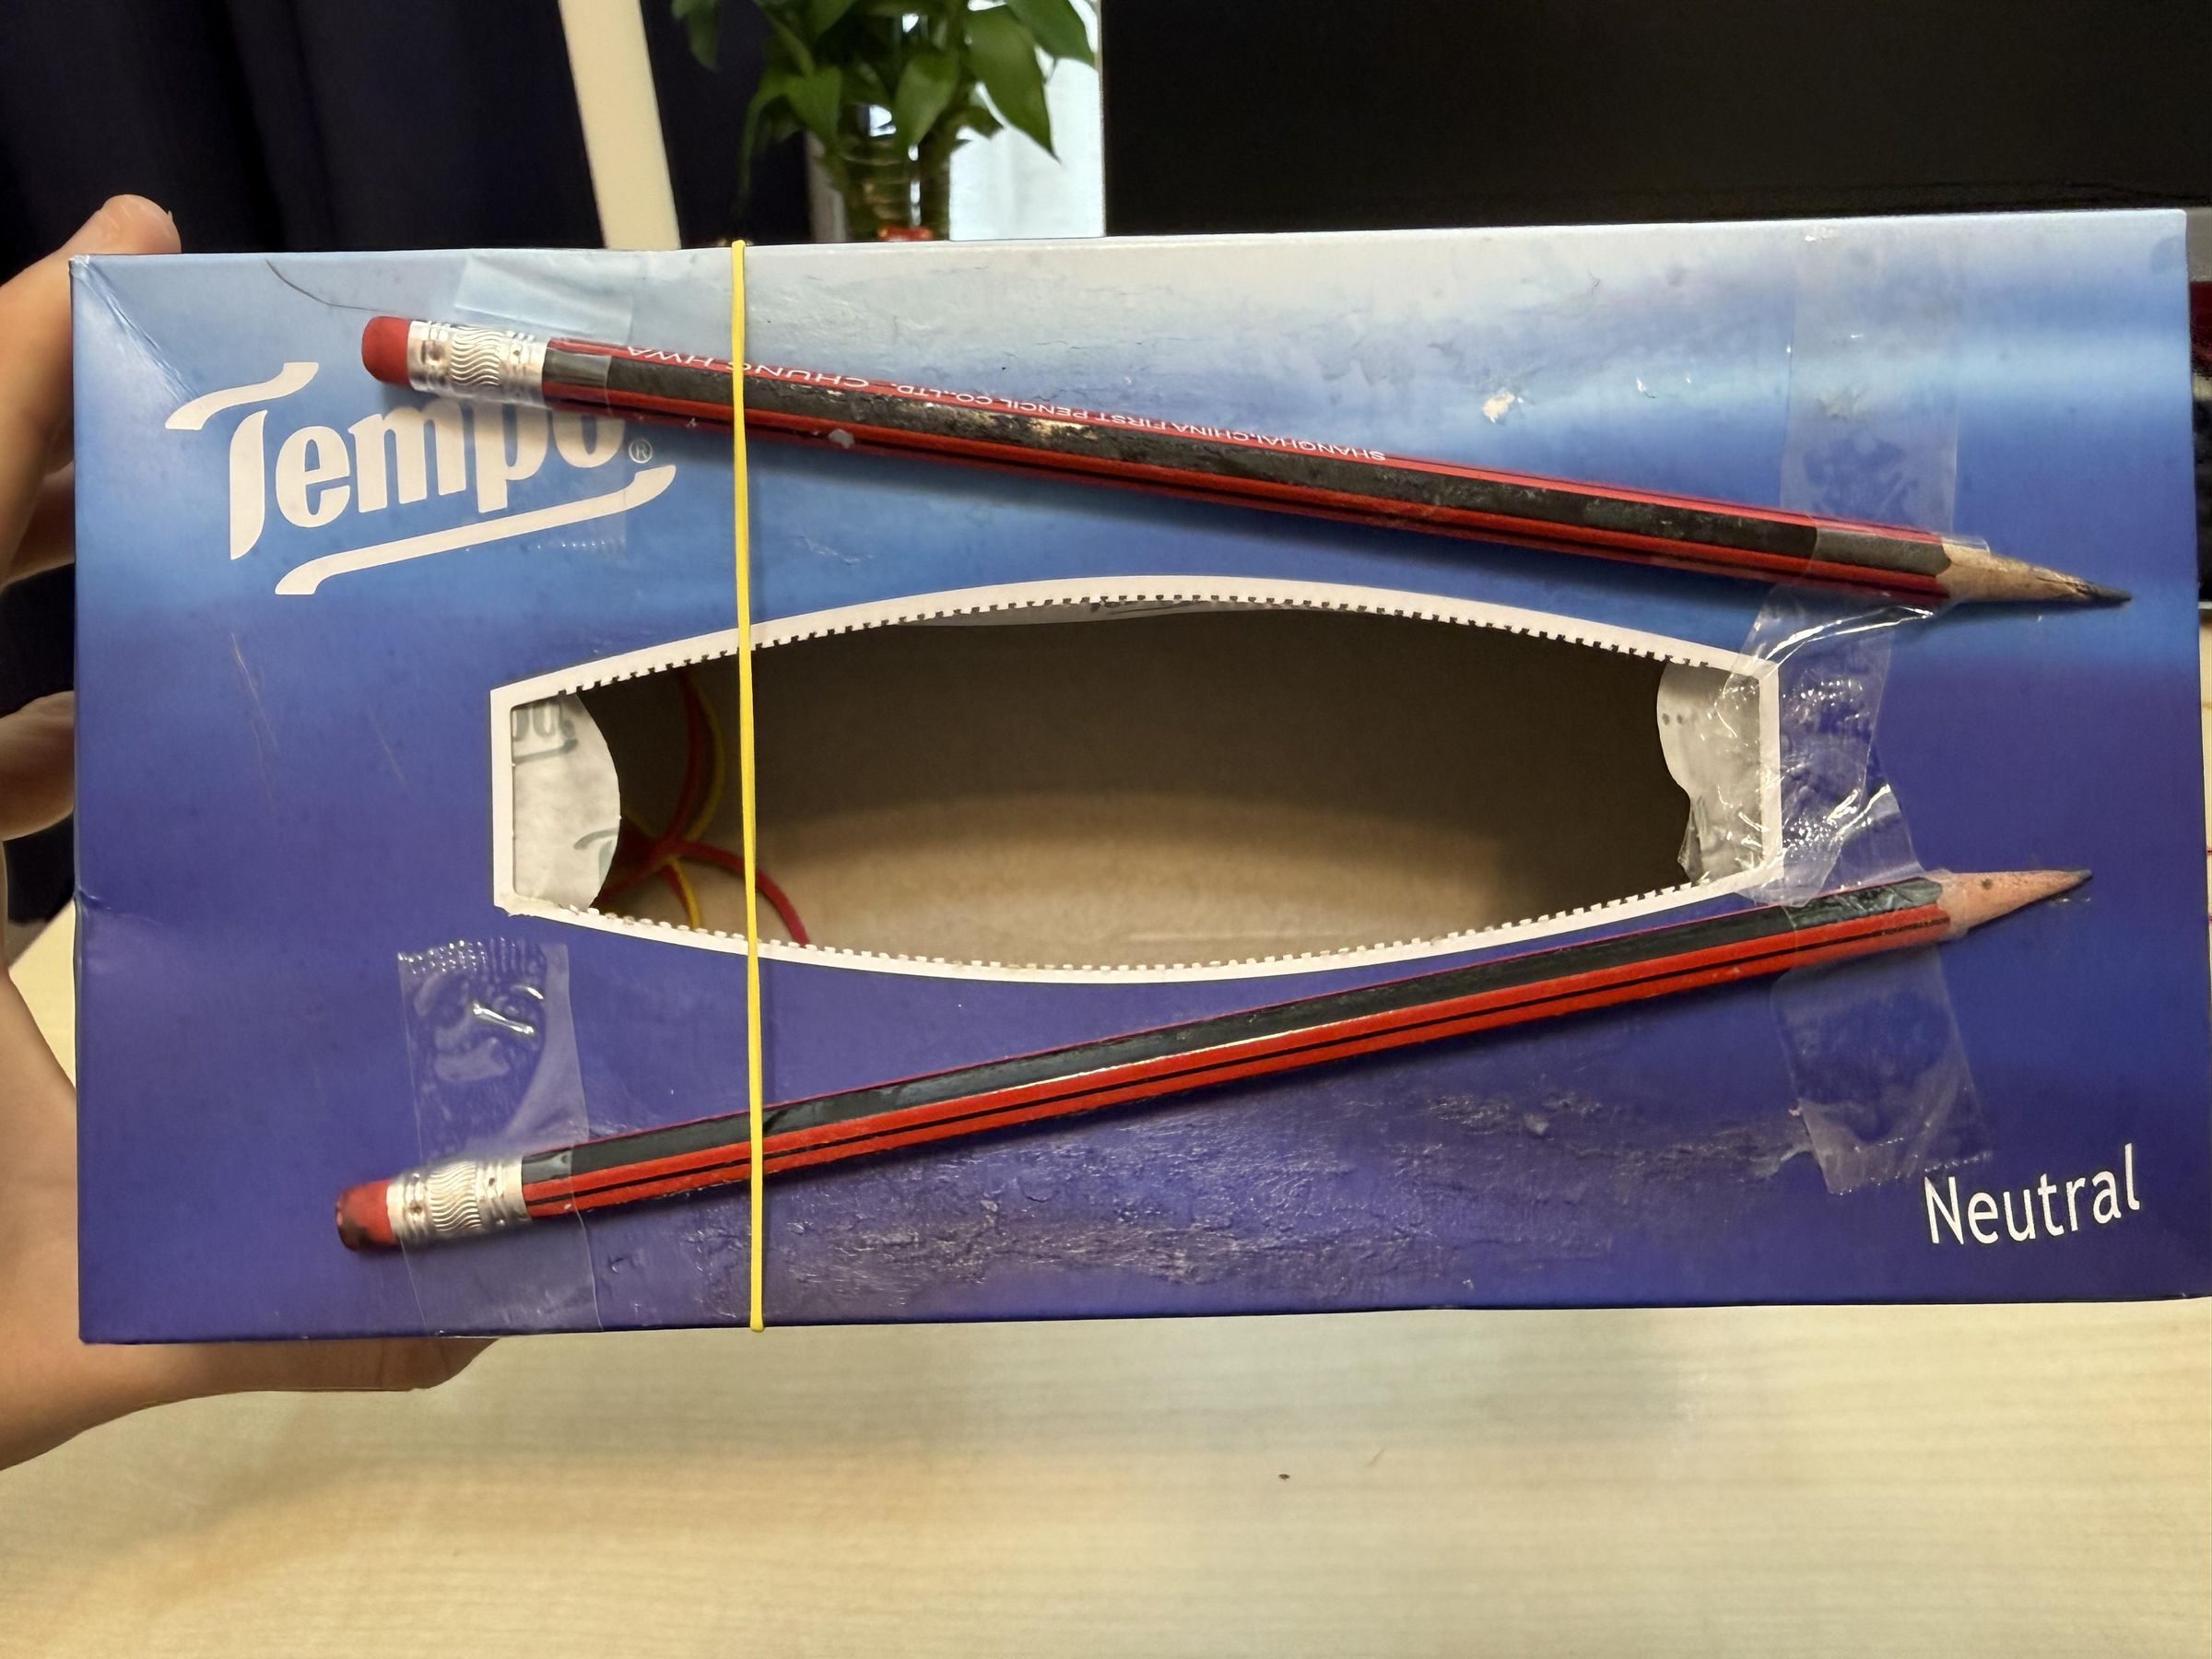
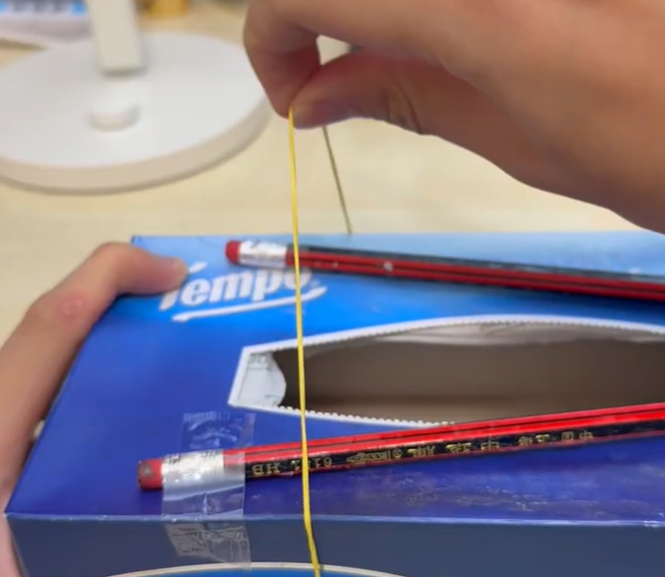
Now, wrap one of the rubber bands around the box and over the two pencils. I recommend starting with the lowest note - A in my case. When you first wrap it, the note will seem way too high - but I realised that the rubber band simply needs to be properly flexed first. As you can see in the attached video, by stretching the rubber band, the note drops to a clean A - you can do this for any other note as well. It's always better to be too high first - you can easily adjust.
Downloads
Add the Other Seven Strings
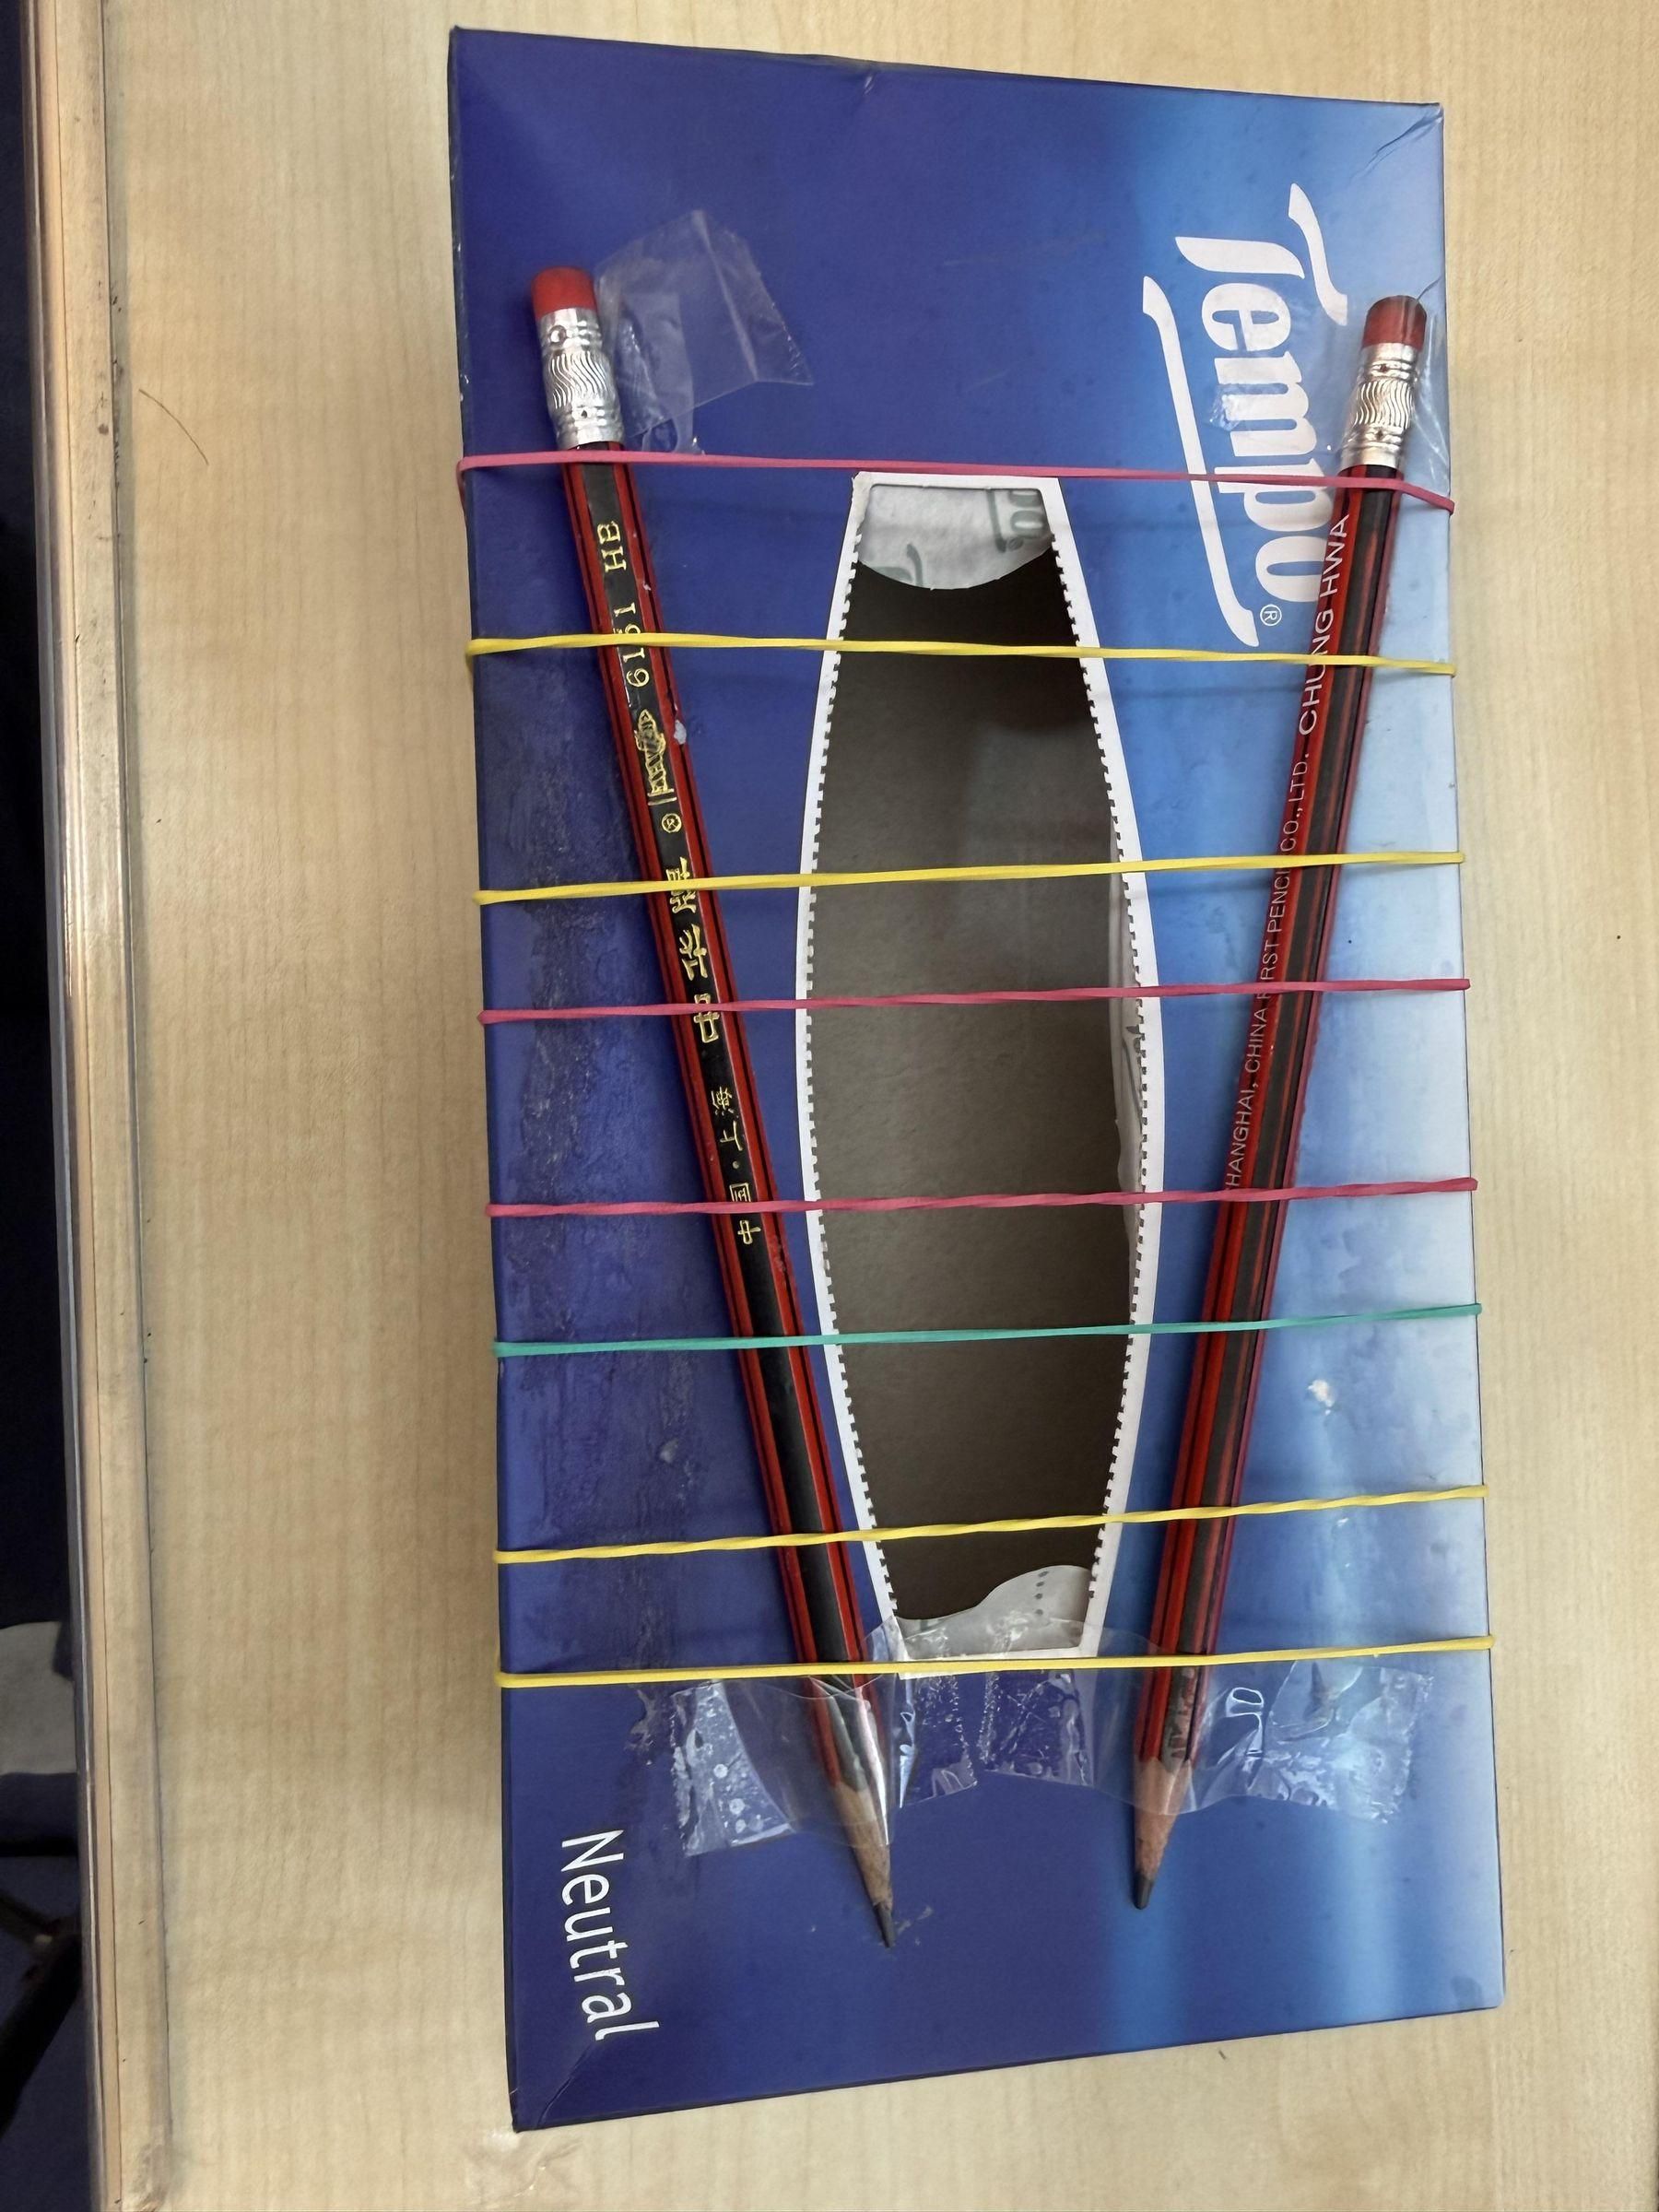
Add the other seven strings as in Step 3, but increase in pitch by one each time according to your chosen scale (mine is A-Minor). At this point, one of your earlier strings might have gotten out of tune, but you can easily adjust it as I explained. If the string has now become too low, you need to move the whole string to where the pencils are closer, and all the strings after that need to shift up as well. Those strings you can easily tune back down though.
Enjoy the Music!
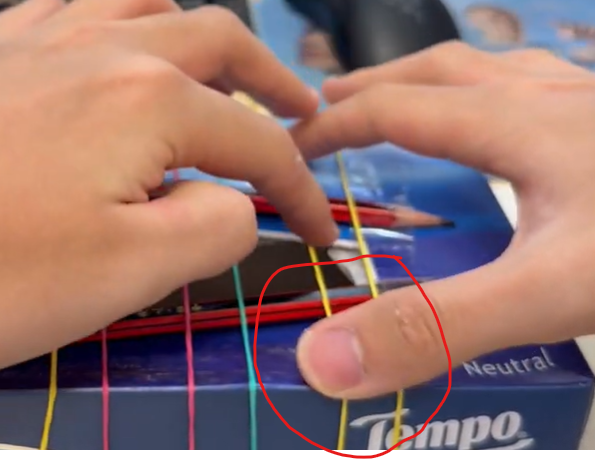
In the attached videos, you can see the A-Minor scale and renditions of Mary Had a Little Lamb! The higher notes may sound a little weak - press down on the string to the sides of the pencils to keep the tension, as I have done.