DIY Spring Potato Machine for Perfect Spiral Potatoes
by repairandinventions in Workshop > Metalworking
112 Views, 1 Favorites, 0 Comments
DIY Spring Potato Machine for Perfect Spiral Potatoes
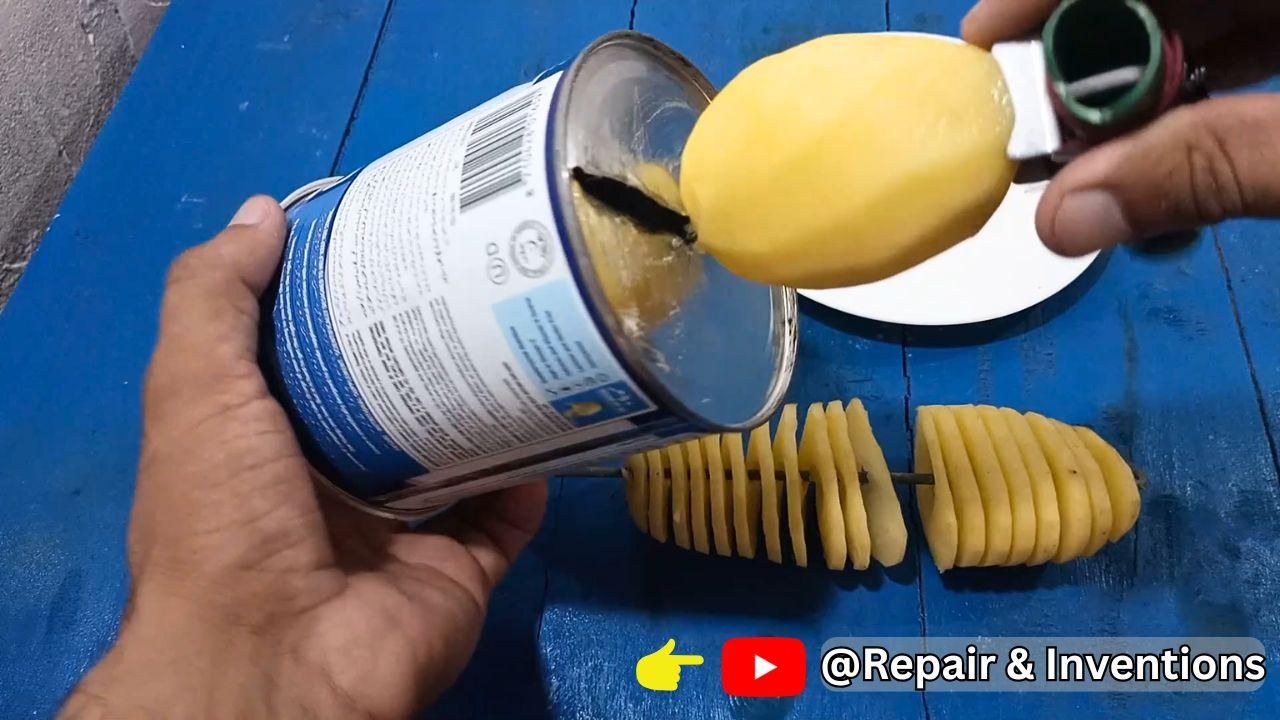
I created a simple DIY project for kitchen lovers and people who enjoy making creative food at home.
In this project, I will show you how I converted a useless waste container into a homemade spiral potato cutter. This container was lying in my garage, and instead of throwing it away, I reused it to make a simple DIY spring potato cutter.
This tool works like a manual potato spiral slicer and helps make tornado-style spiral potatoes at home.
Below, I will explain the complete process in detail, and how you can use it at home to make spiral fries easily.
Supplies
Materials I Used
For this DIY spiral potato cutter, I used simple items that were already available at home:
- One old clean container
- Plastic lid of the container
- Drill machine
- Grinder or any cutting tool
- Strong metal rod or thick wire
- Two small plastic pipe pieces
- Thin metal wire
- Thread or any strong tying material
- A small grip/support piece to hold the potato firmly
- Potatoes for testing
Cleaning the Waste Container
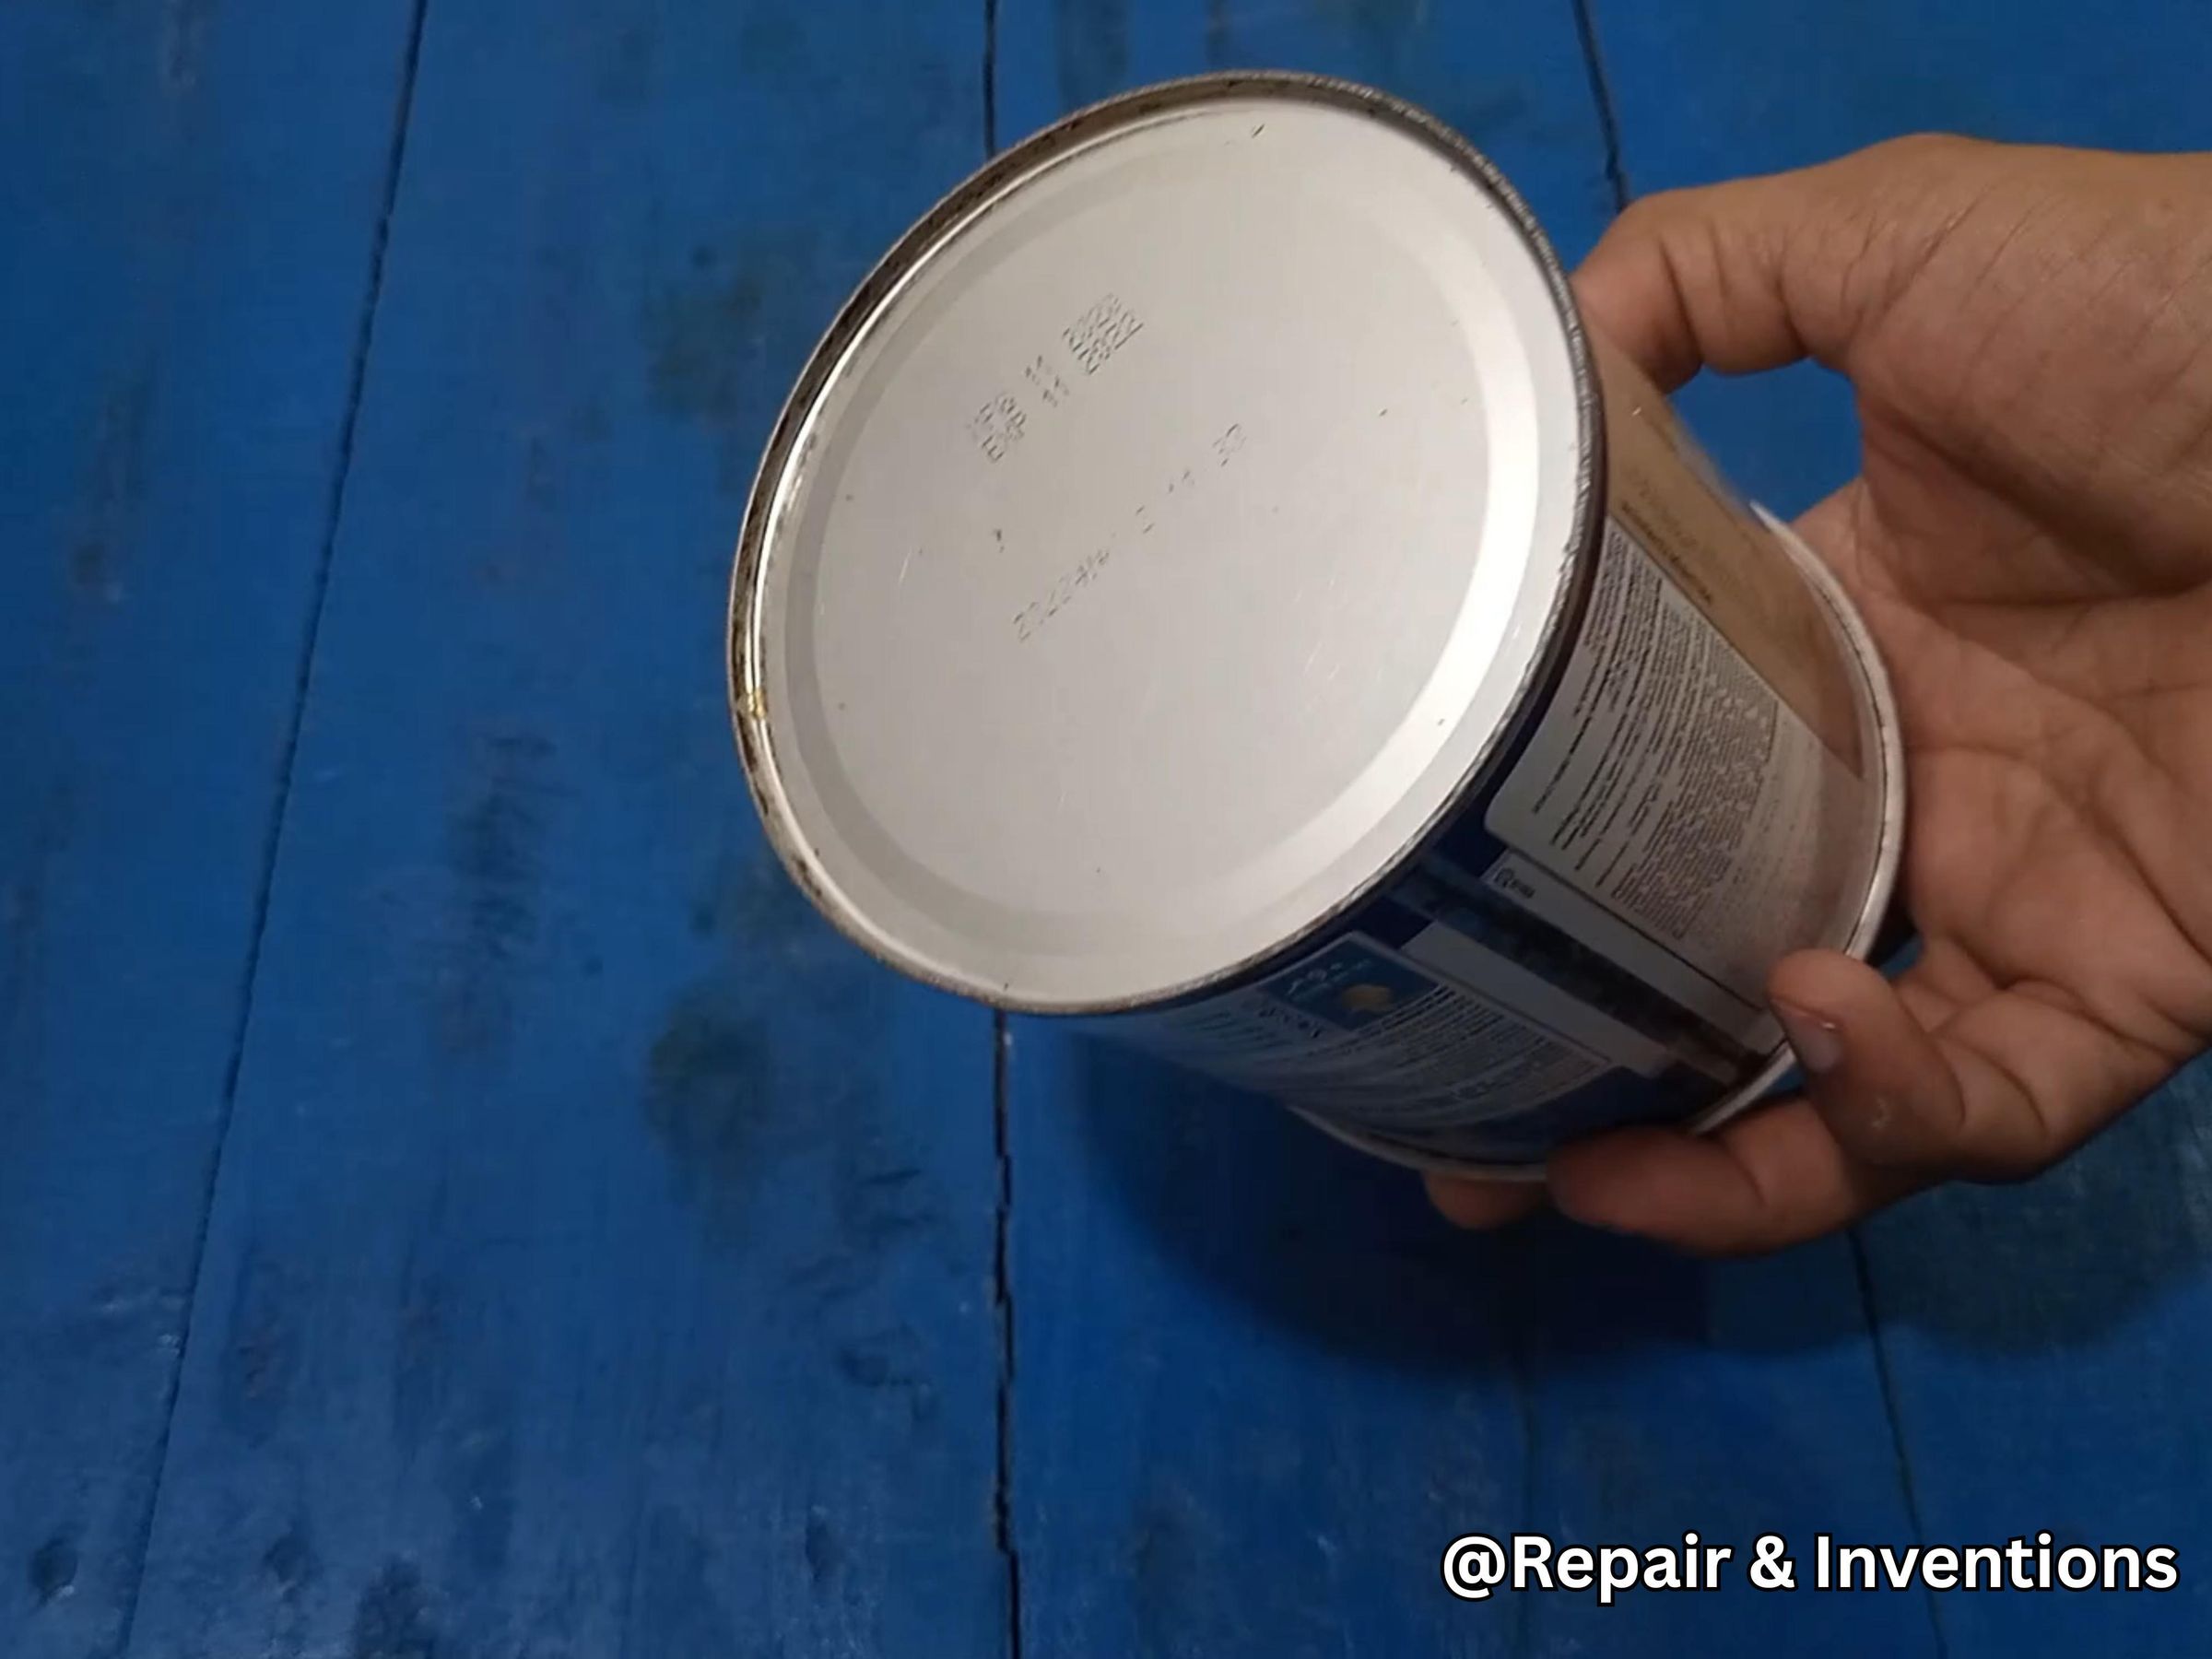
First, I took an old waste container that was lying in my garage. It was completely useless before this project.
I washed it properly and then dried it completely. After cleaning it, I started converting it into a spiral potato cutter at home.
Making the Center Hole in the Lid
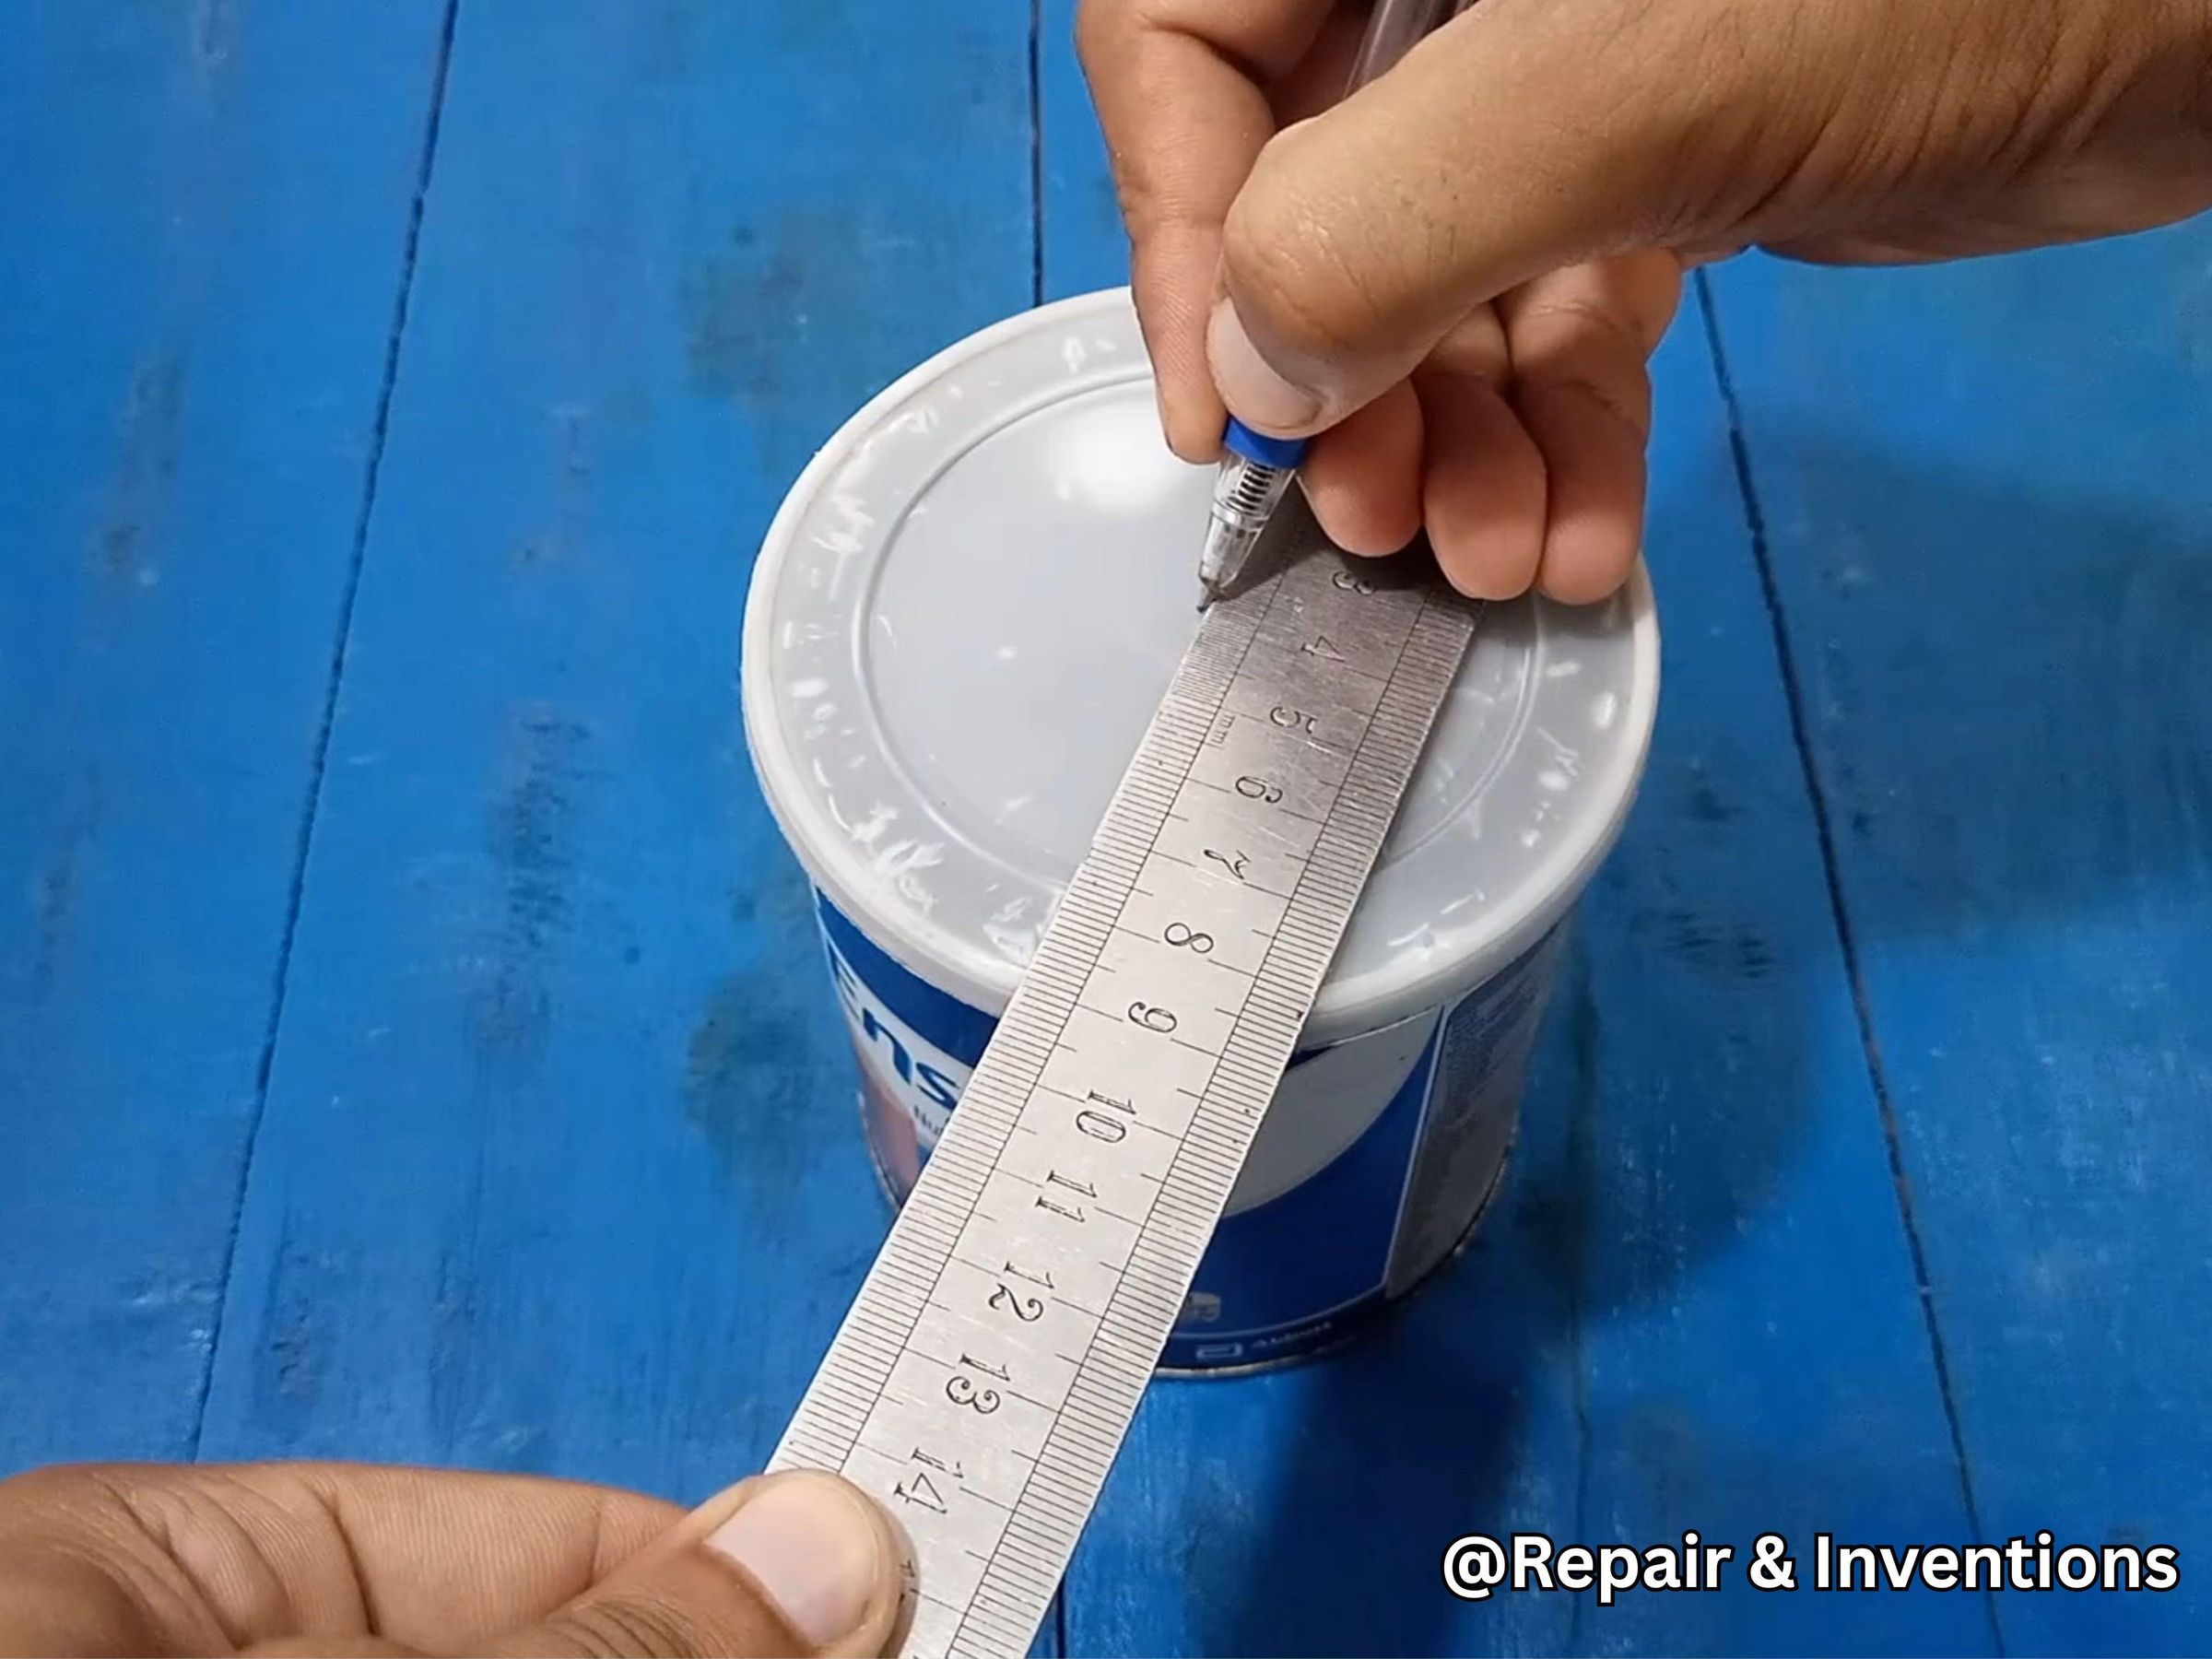
The container had a plastic lid. I marked the exact center point of the lid and drilled a hole there.
This hole was important because the metal rod had to pass through the center. If the hole is not in the center, the potato will not rotate straight, and the spiral shape may not come out properly.
Making the Center Hole on the Back Side
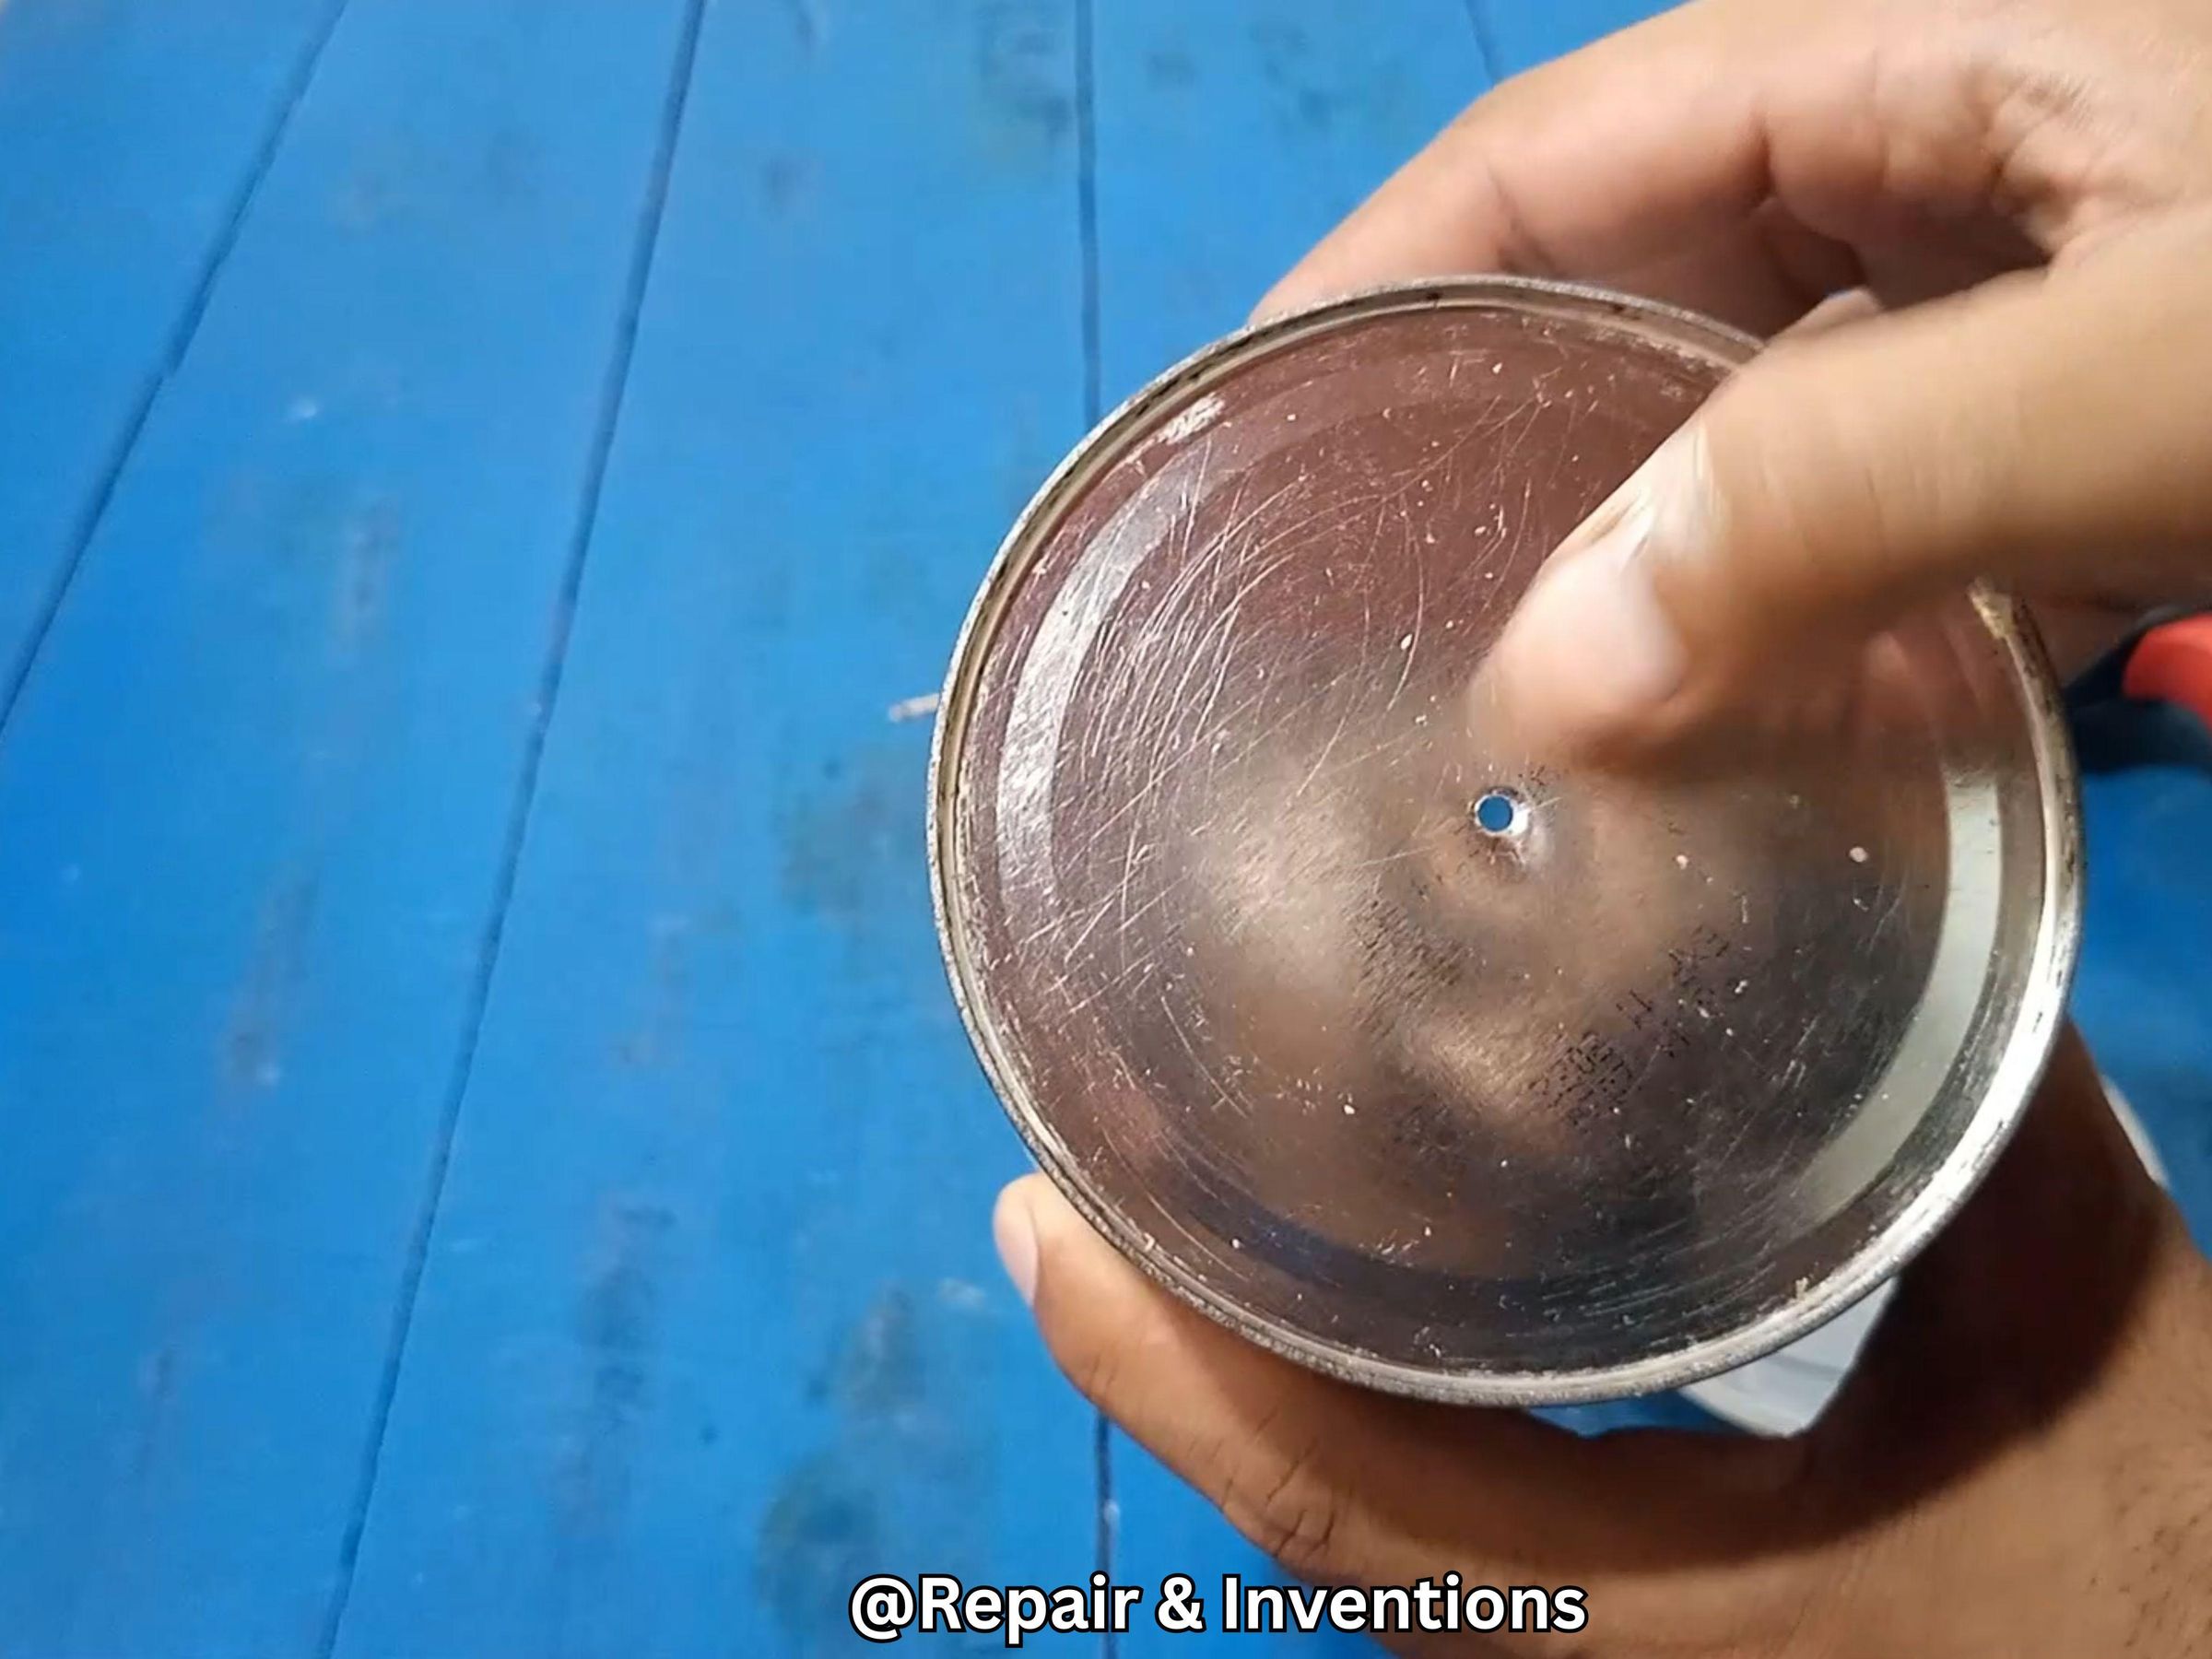
The back side of the container was made of metal. I also marked the exact center point on the metal back side and drilled another hole there.
Now both holes were aligned: one in the plastic lid and one in the metal back side. This made it possible for the rod to pass straight through the container.
Creating the Cutting Slot
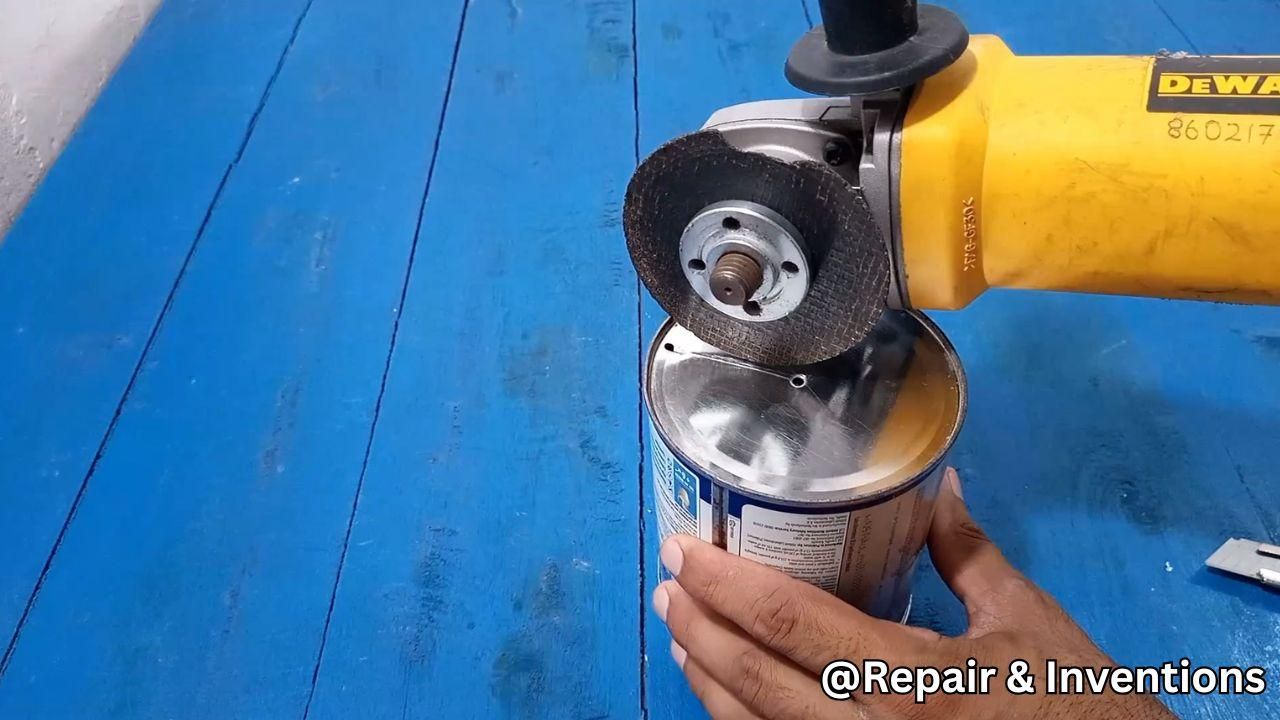
After making the center hole, I used a grinder to cut a small opening on the metal side of the container.
I made another small hole near the edge and then cut the area between the two points. This opening worked as the cutting slot.
When the potato rotates, this cutting edge helps slice the potato into a thin spiral layer. If you do not have a grinder, you can use another suitable cutting tool, but the cut should be clean and controlled.
Preparing the Metal Rod
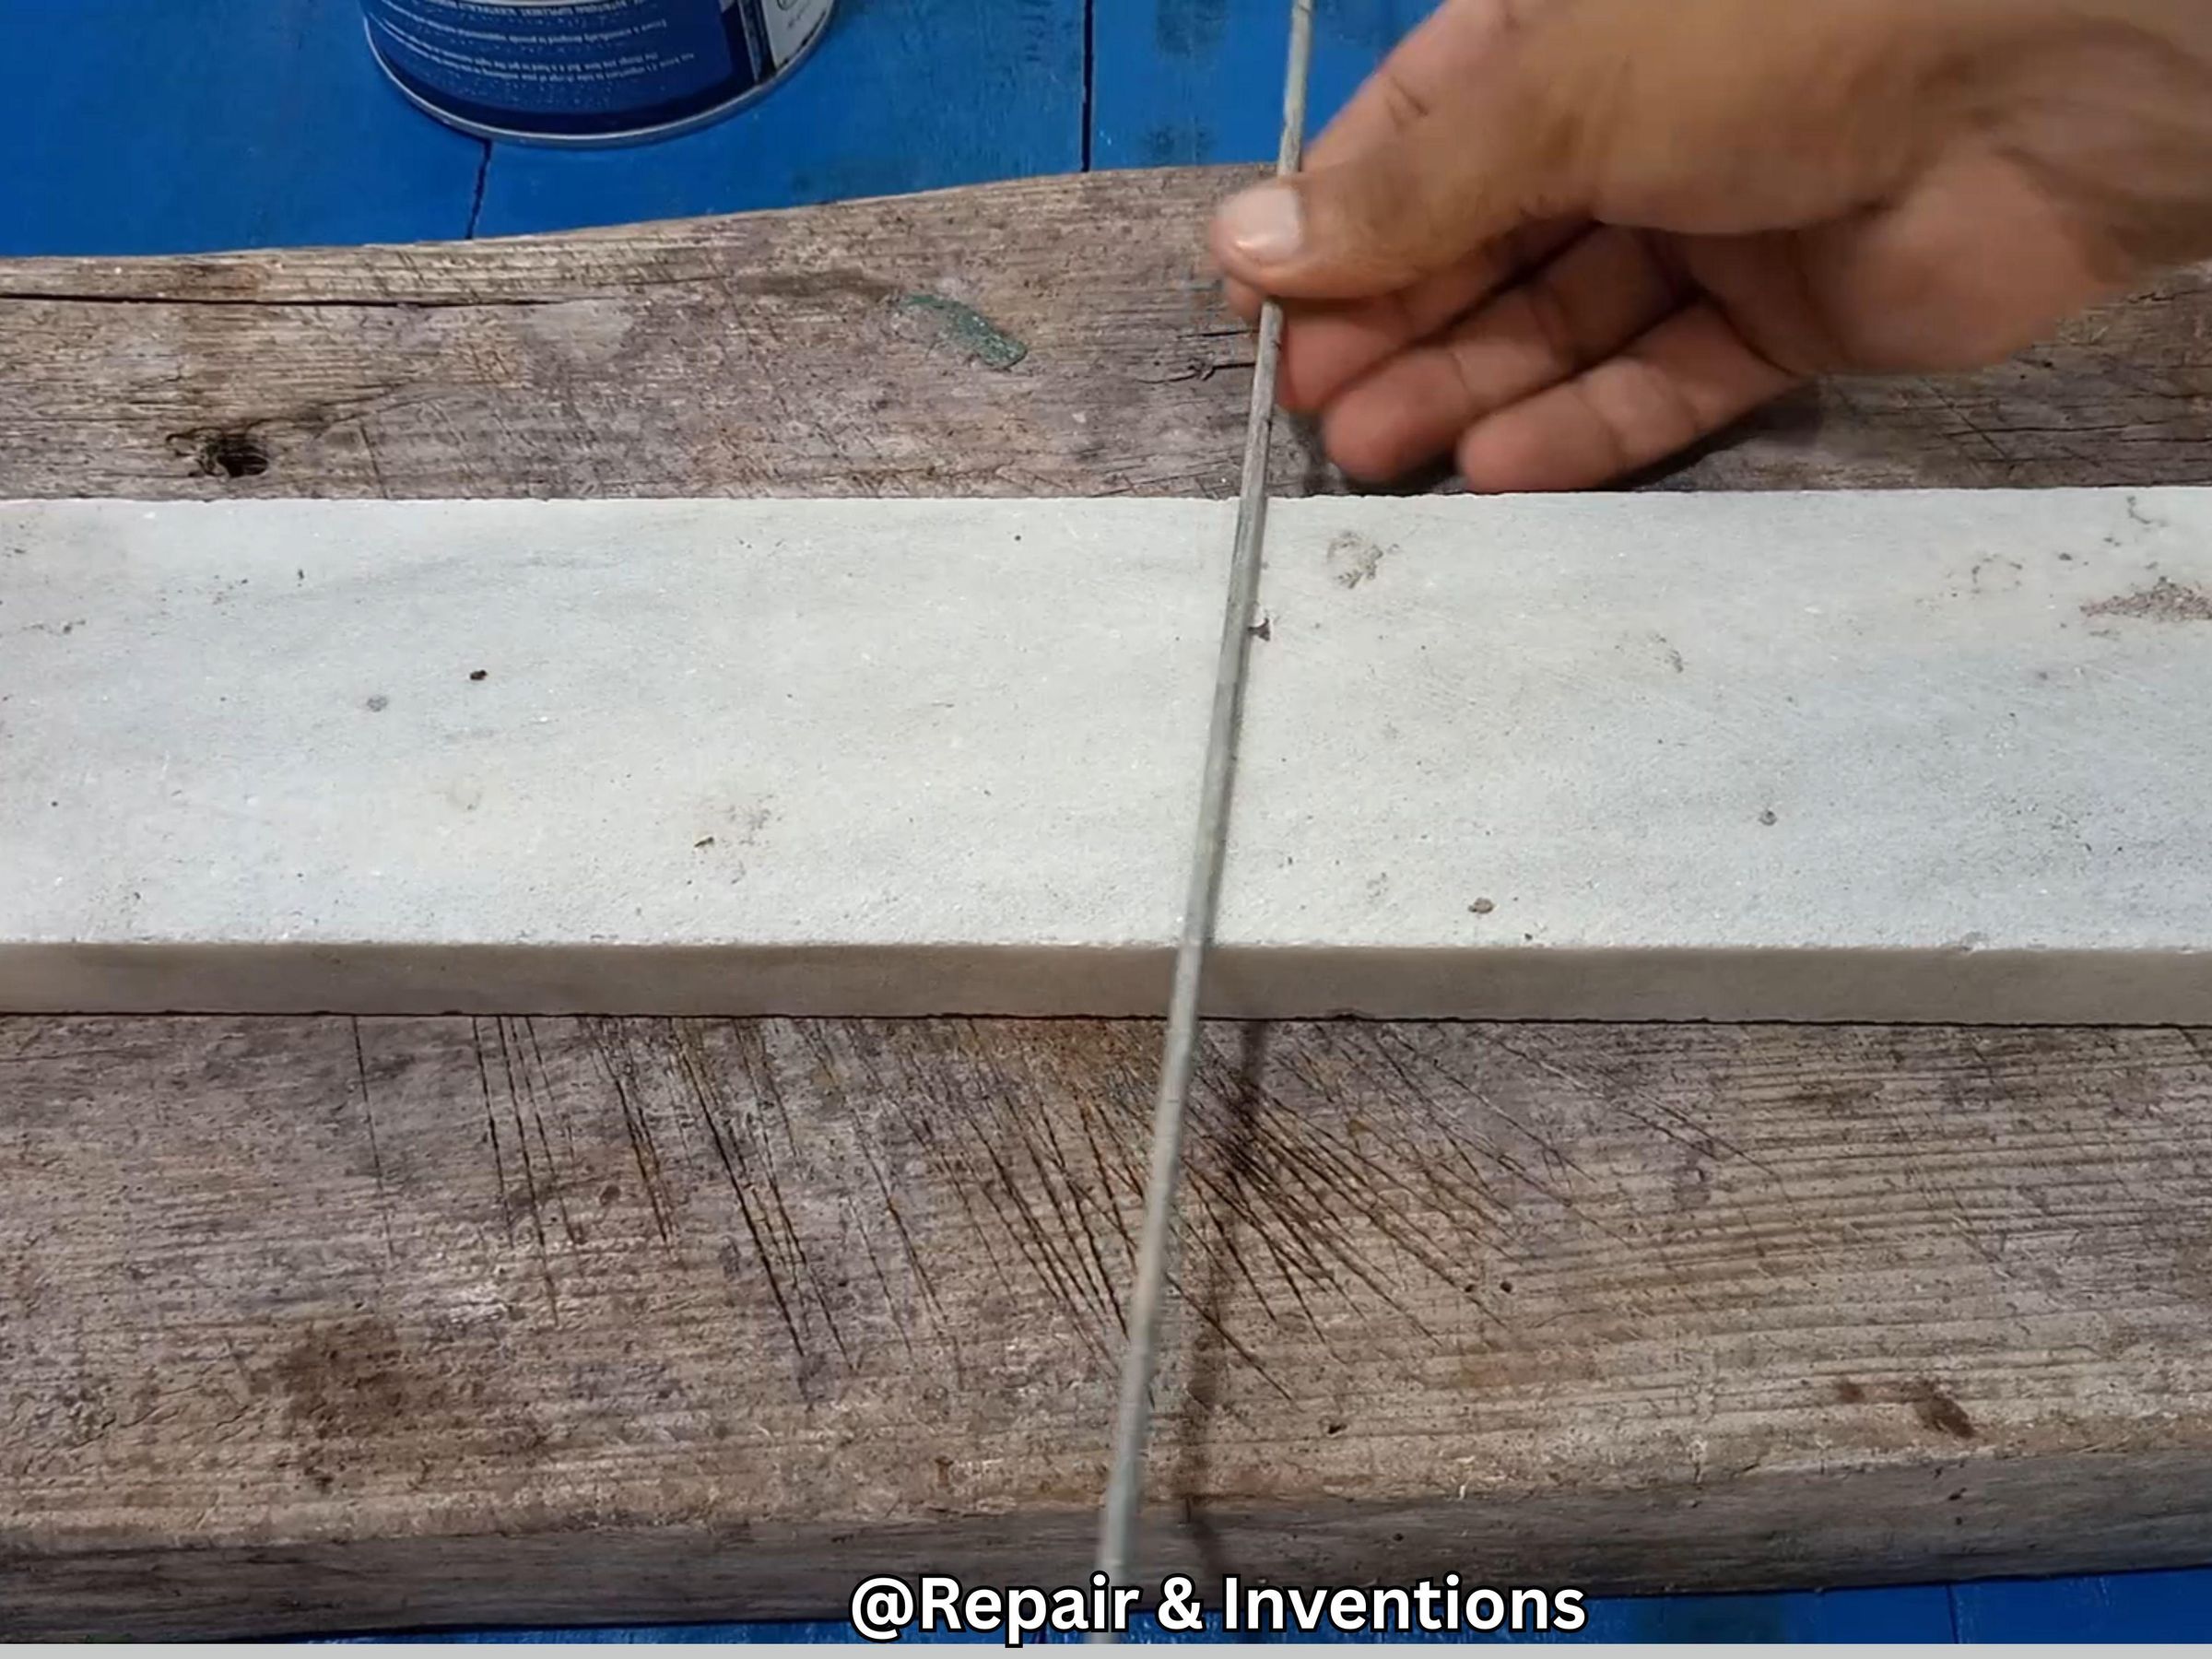
Next, I took a strong metal rod or thick wire. It was firm enough and did not bend easily.
I cut it according to the size of the container and the potato. The rod needed to be long enough to hold the potato and pass through the container properly.
This rod became the main part of the manual potato spiral slicer.
Making the Handle
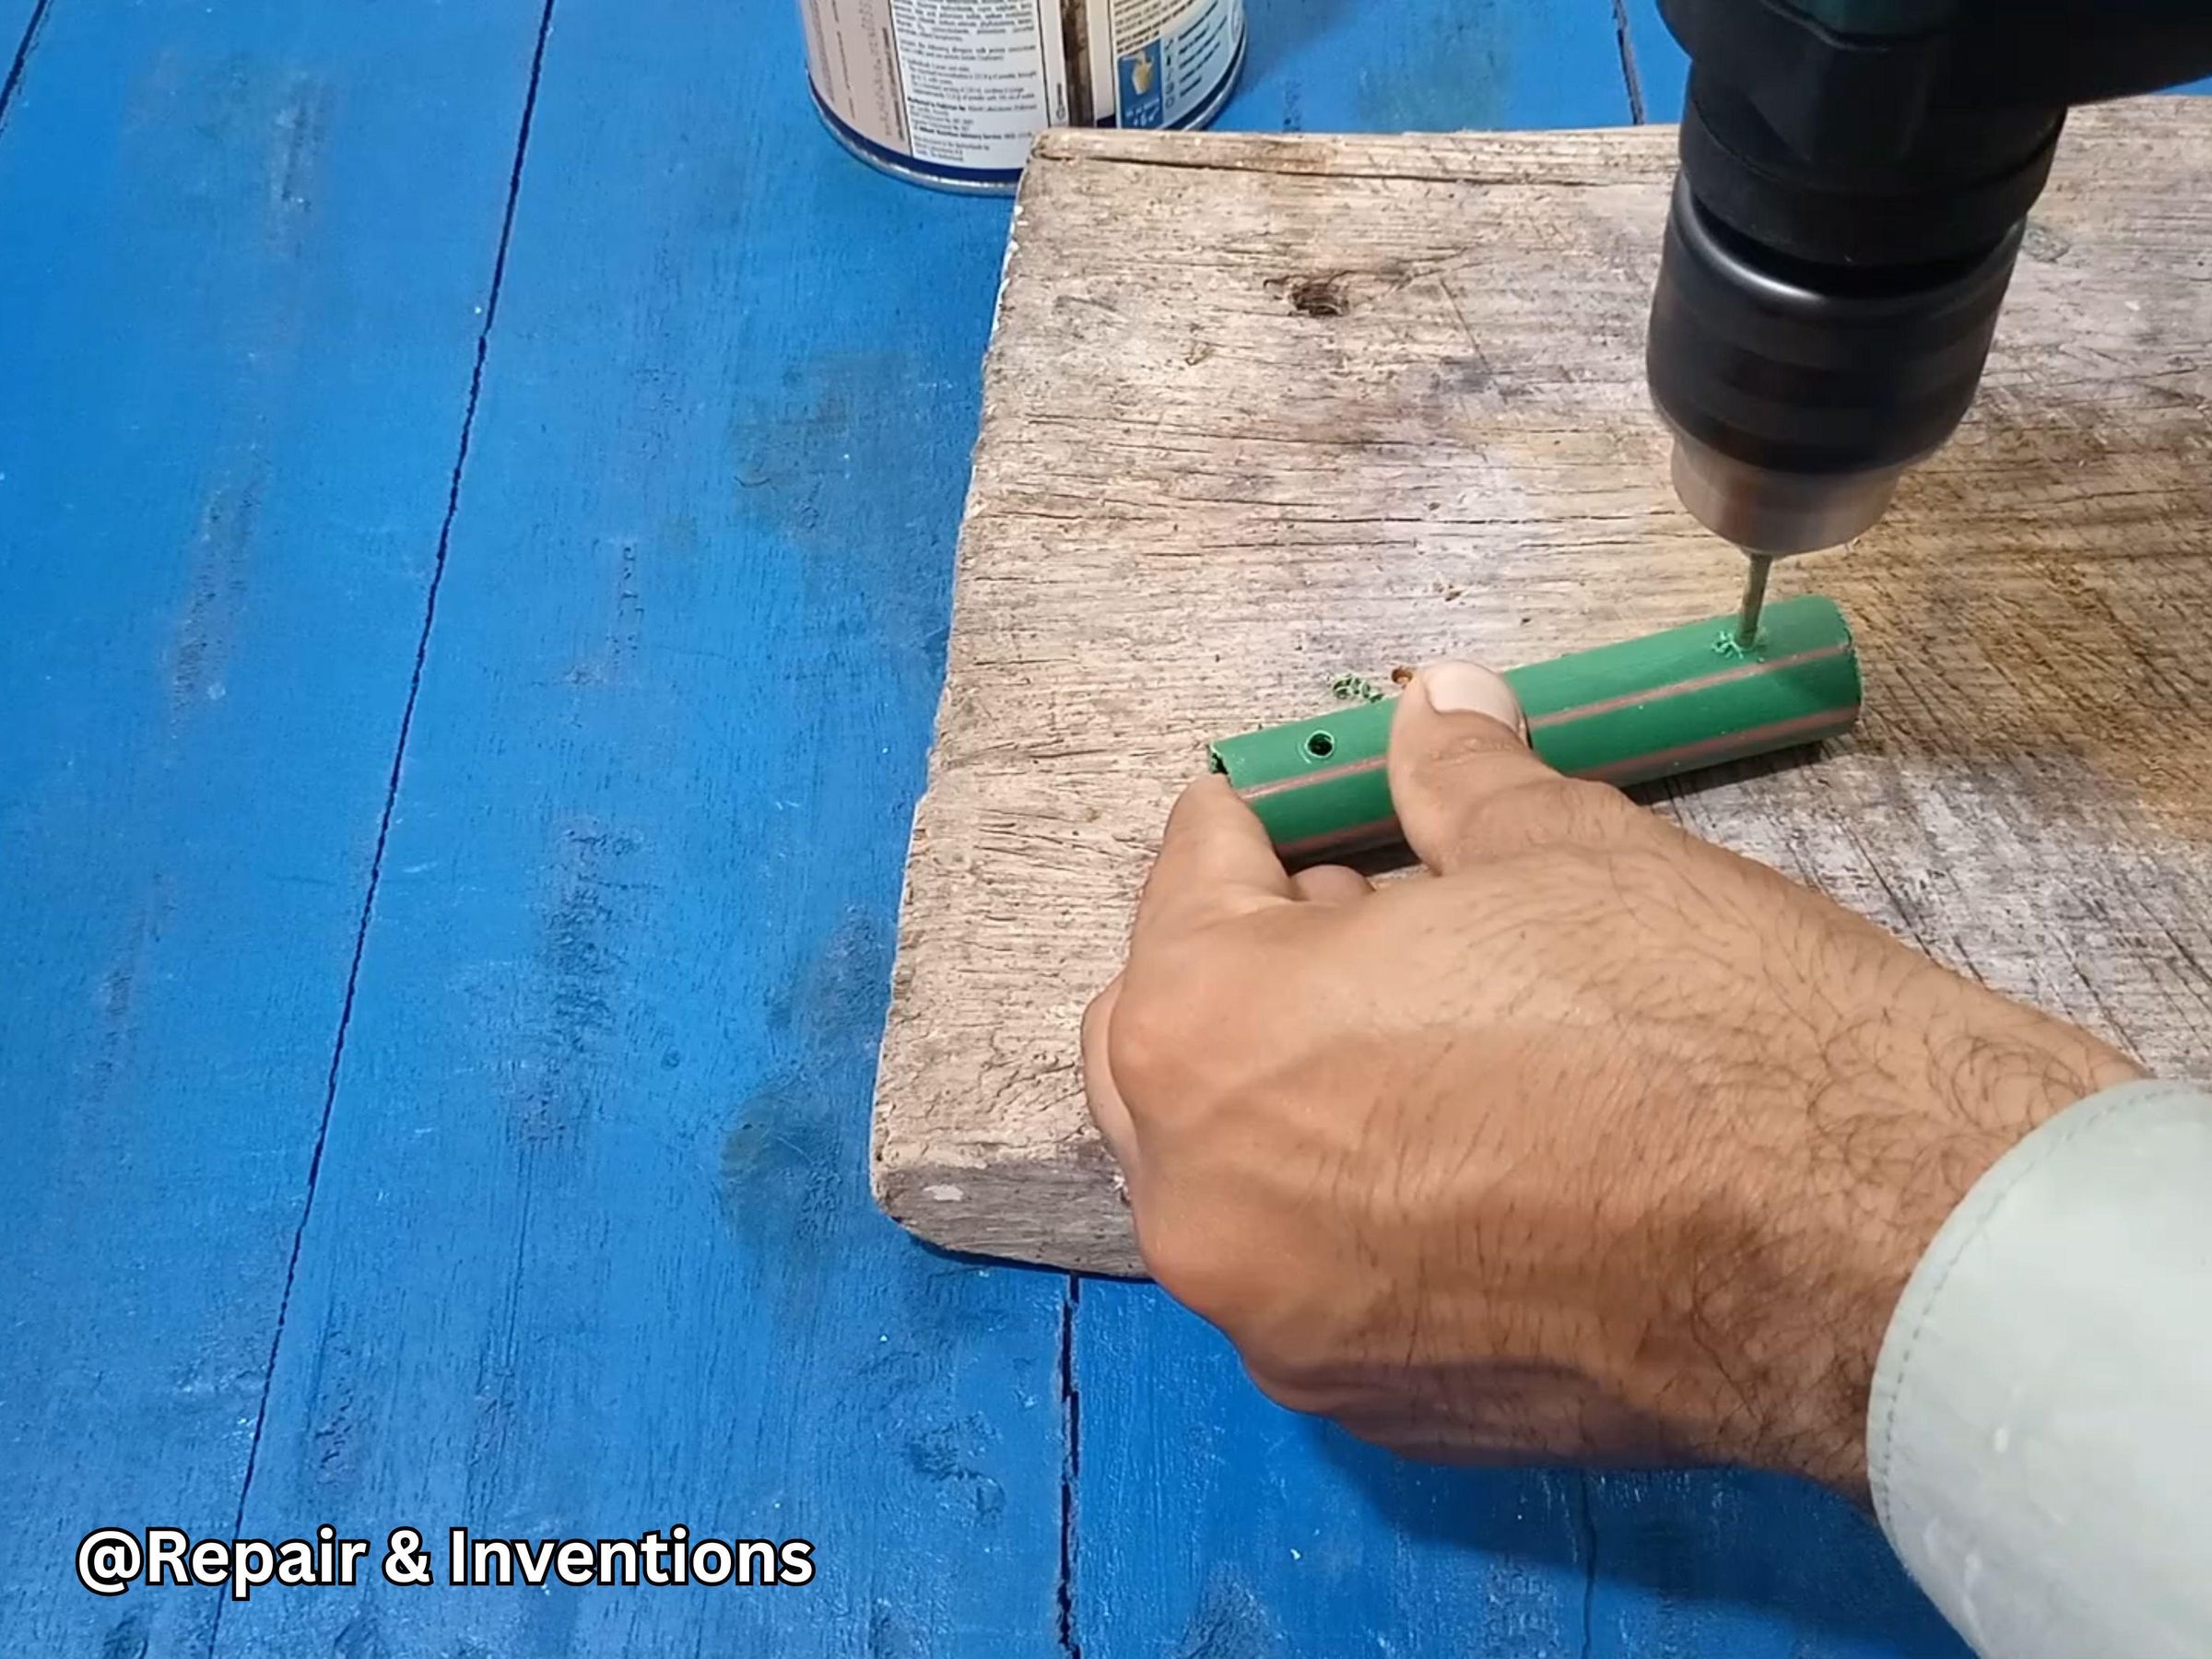
For the handle, I used two small plastic pipe pieces. I passed the rod through these pipe pieces so they could work as a grip.
This handle was used to rotate the potato during cutting. When the handle turns, the potato also rotates and slowly moves through the cutting slot.
You can also use a better ready-made handle if you have one. A single bent metal piece can work even better because it saves time and gives more control.
Adding the Potato Grip
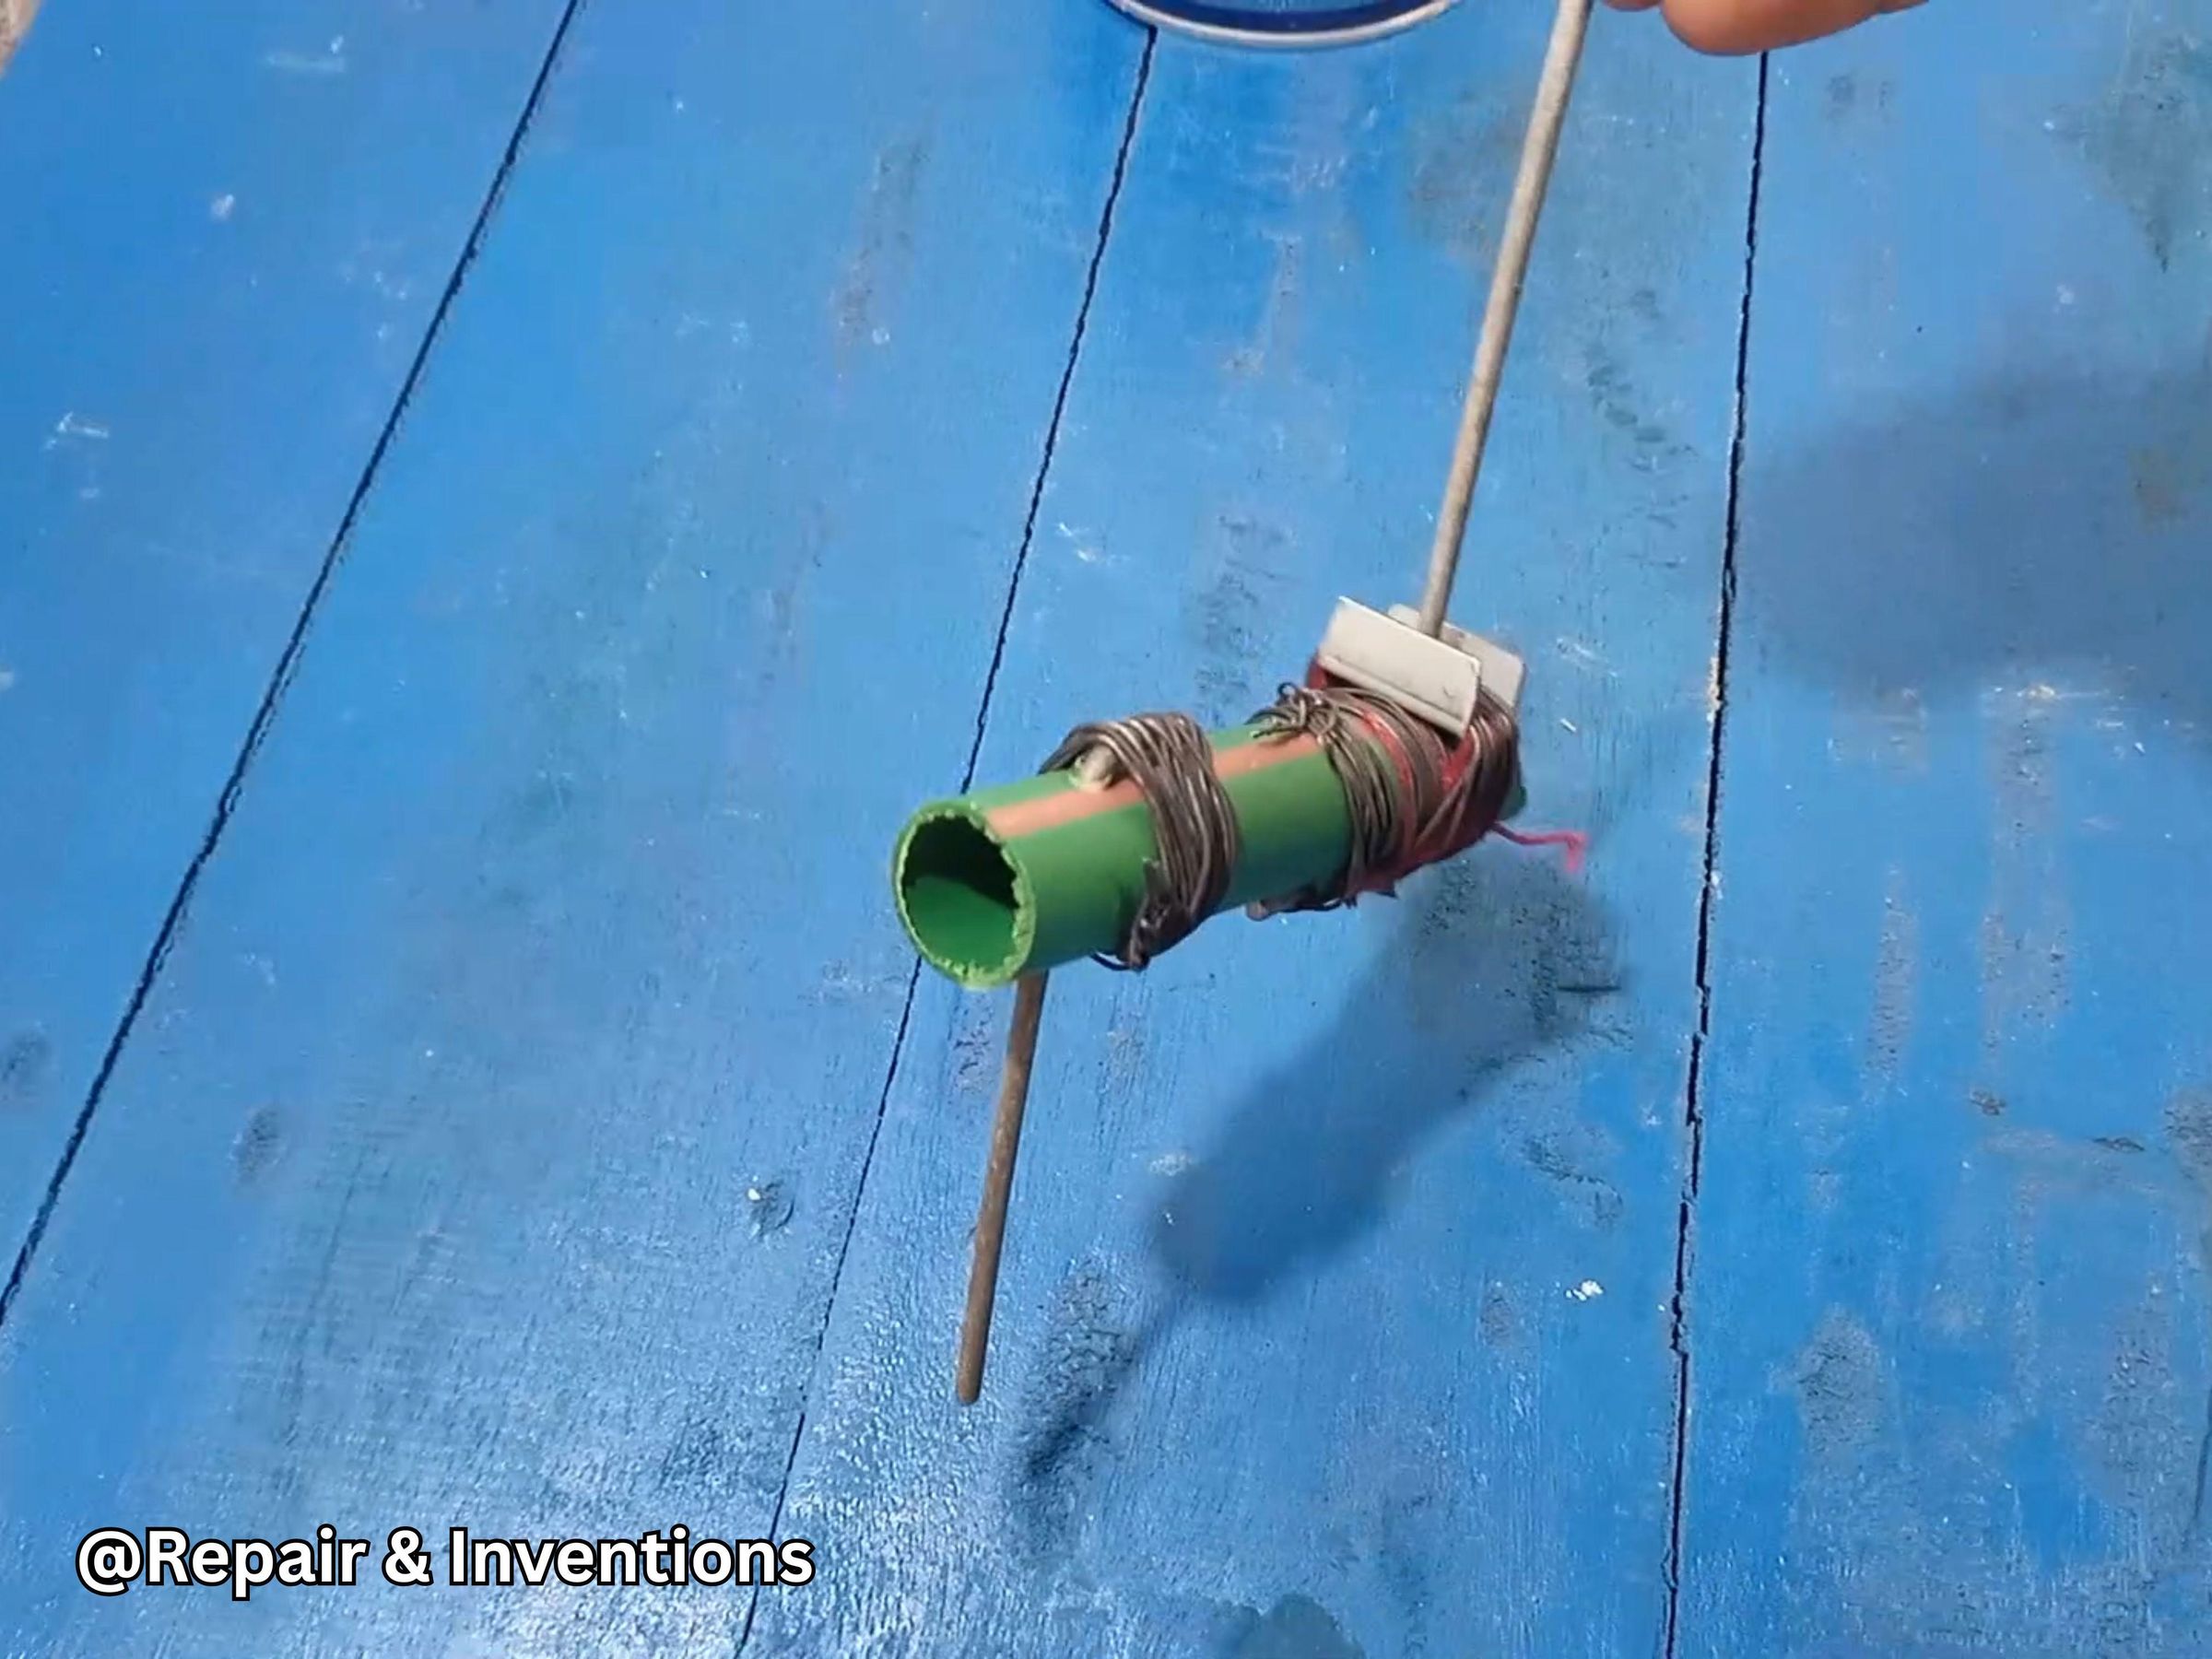
After that, I added a small support piece to the rod. I found this piece at home and fitted it on the tool.
The purpose of this grip was to hold the potato firmly. If the potato is only placed on the rod, it may move or slip while rotating. This small grip keeps the potato fixed and helps create a clean spiral shape.
For fitting, I used some metal wire and thread that were already available in my garage. You can use stronger and cleaner material if you have it, especially if you want the tool to look more professional.
Fixing the Potato on the Rod
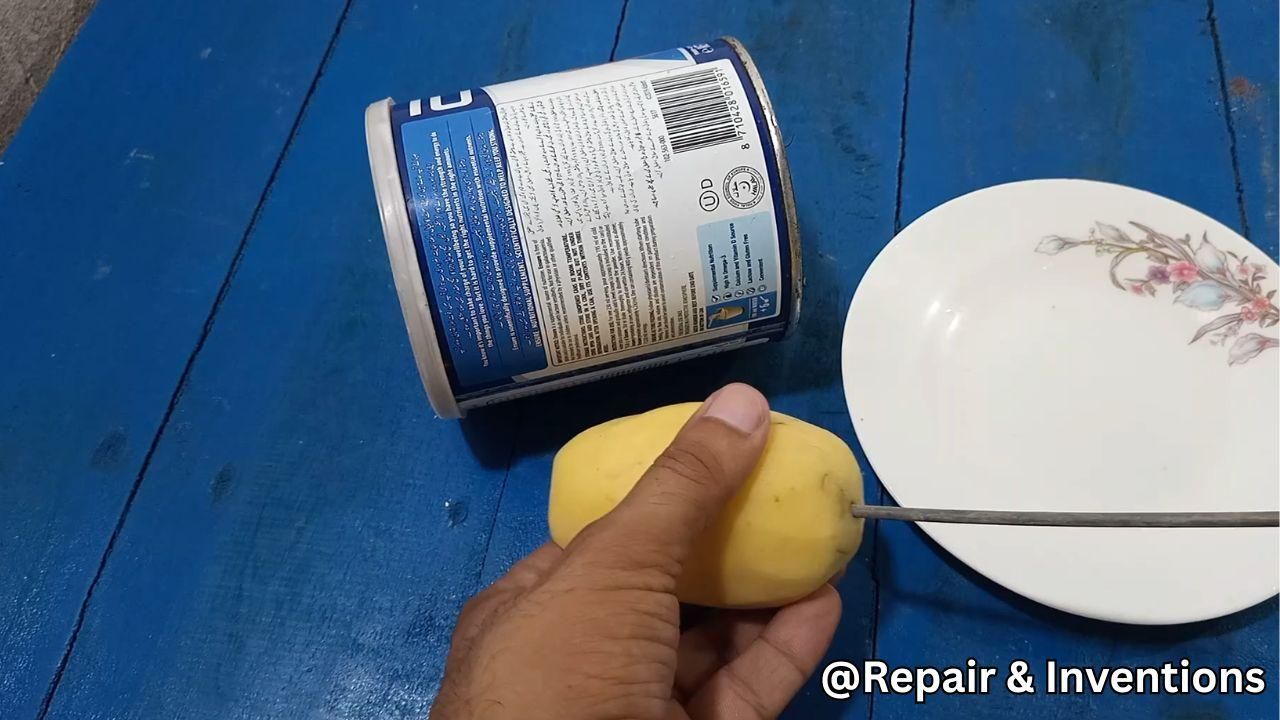
Now the tool was ready for testing.
I took a potato and fixed it onto the rod. Then I passed the rod through the center holes of the container.
The potato reached the cutting side of the container, where the thin cutting slot was prepared.
Rotating the Handle
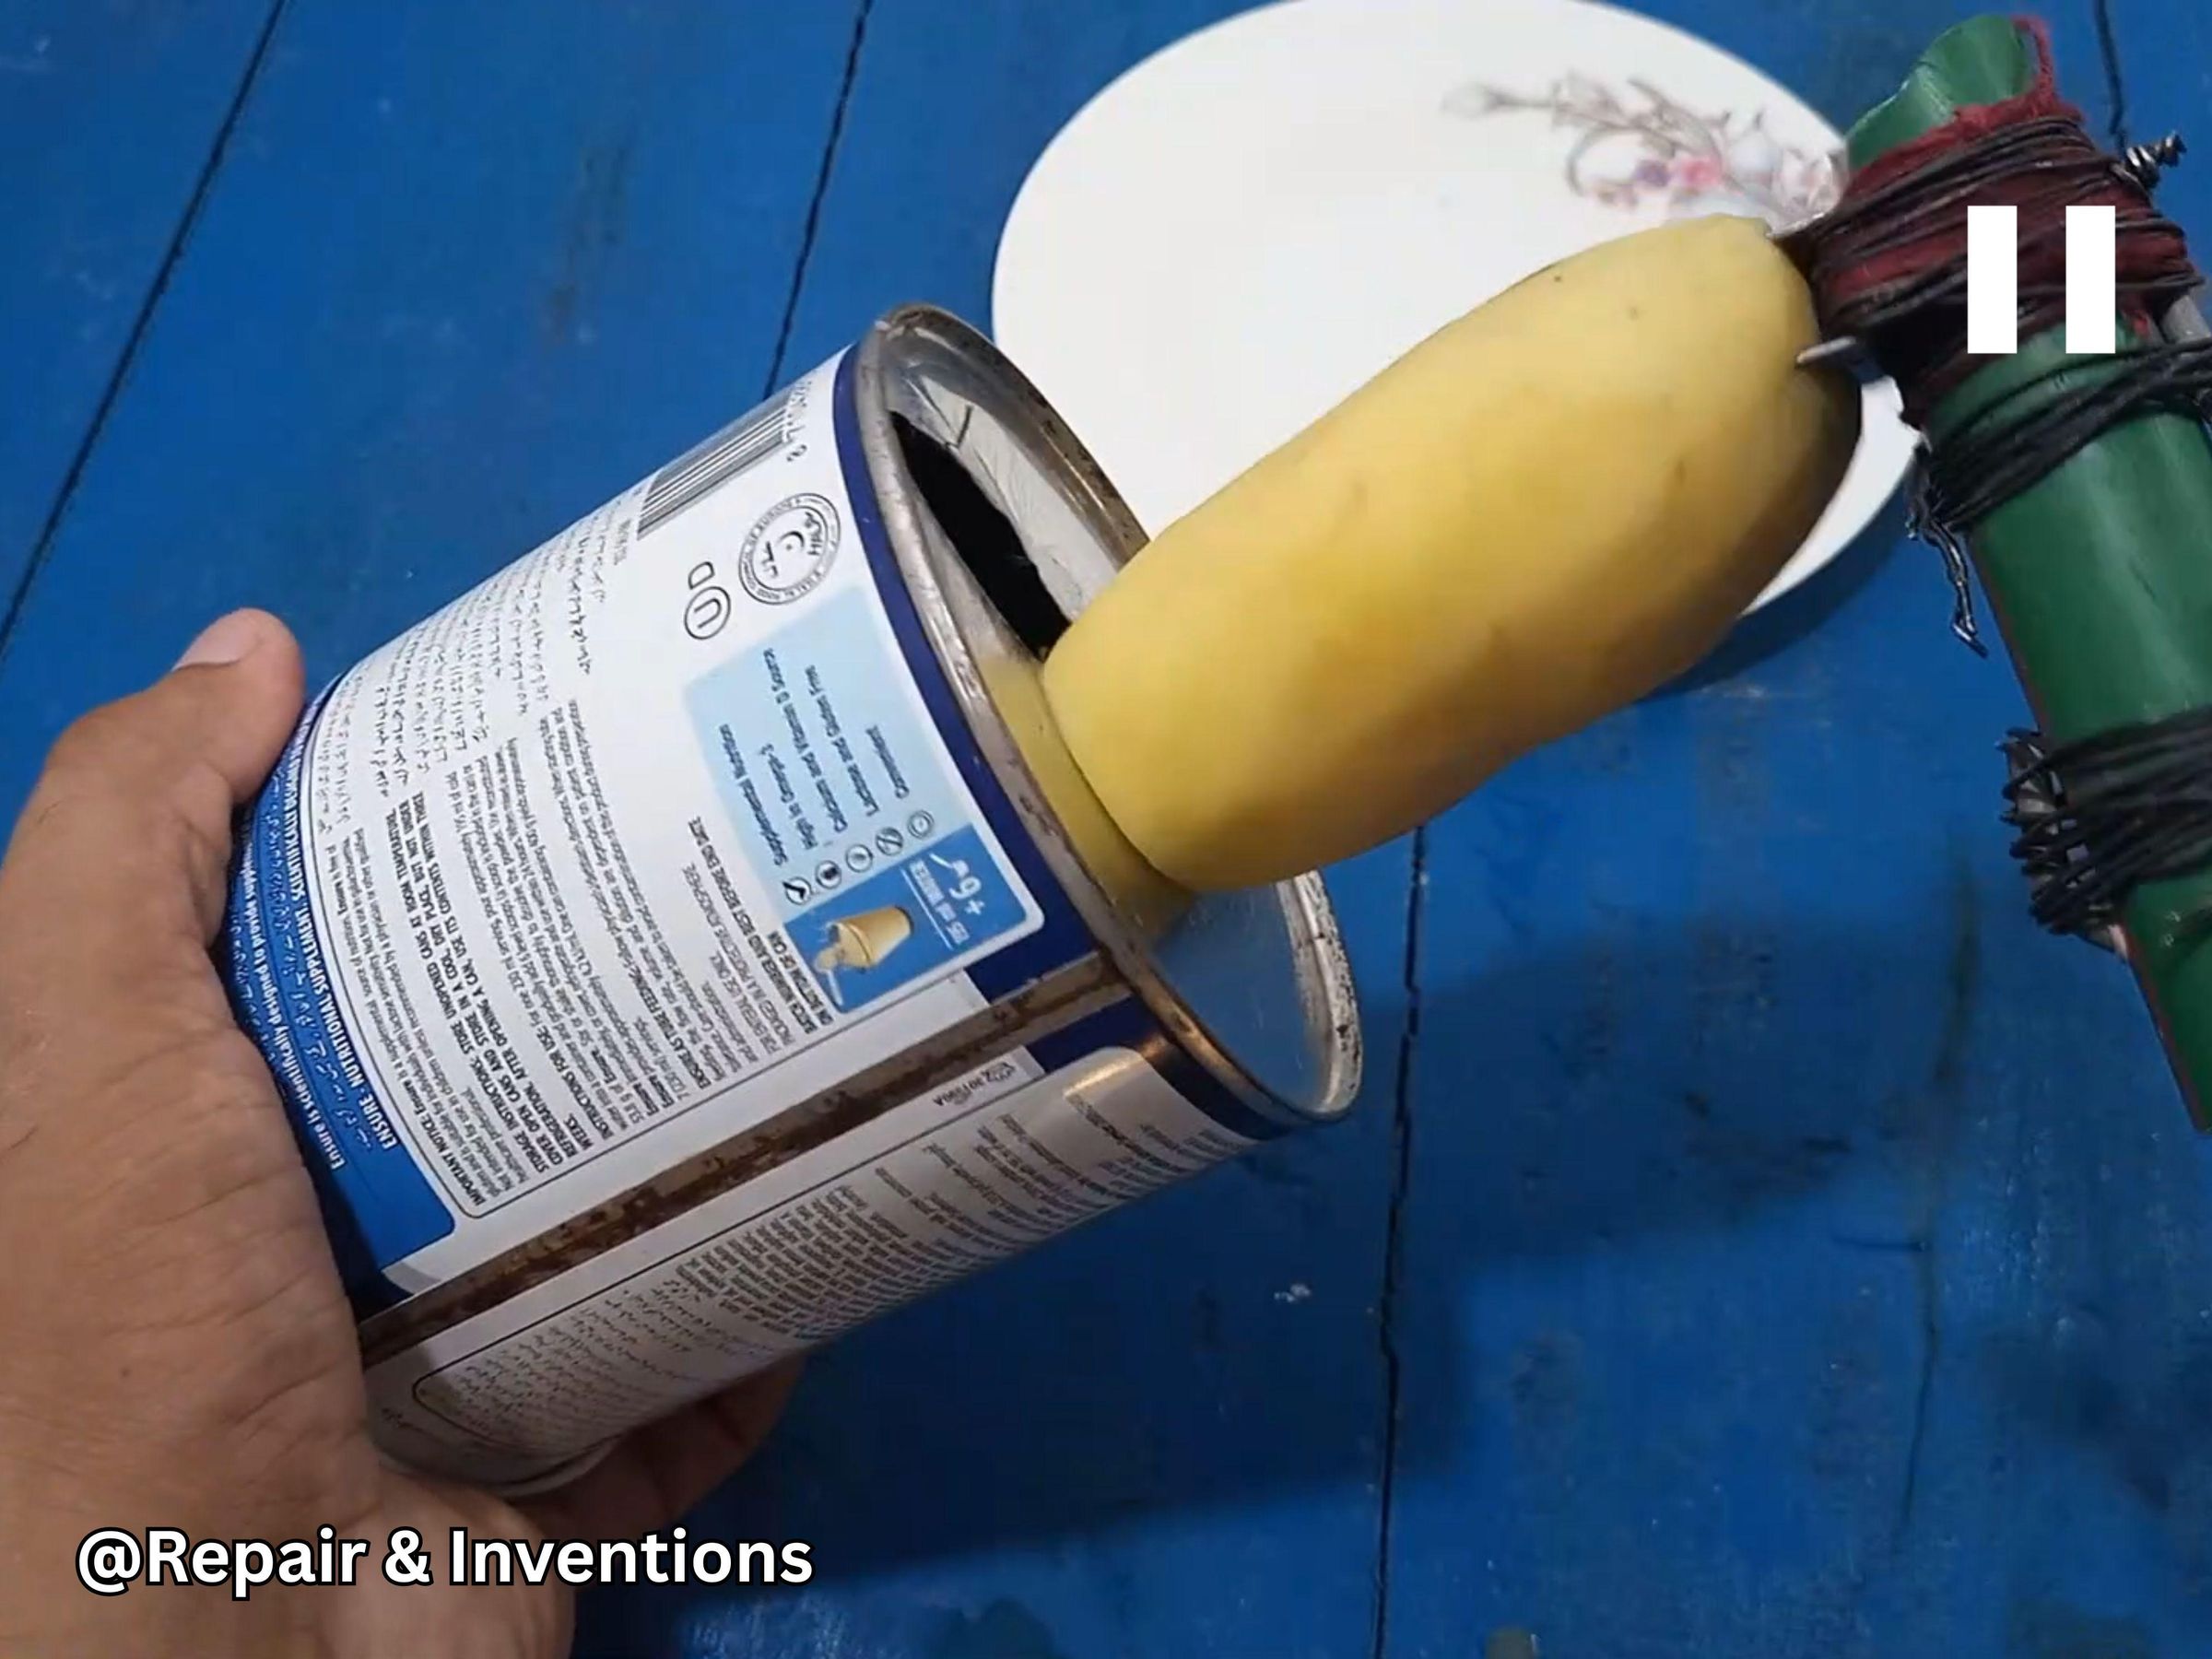
After setting the potato in place, I started rotating the handle slowly.
As I turned the handle, the potato also rotated and started moving inside the container. The cutting slot sliced it into a thin continuous spiral layer.
Slowly, the potato inside the handle side became smaller, and the spiral potato increased inside the container.
Removing the Spiral Potato
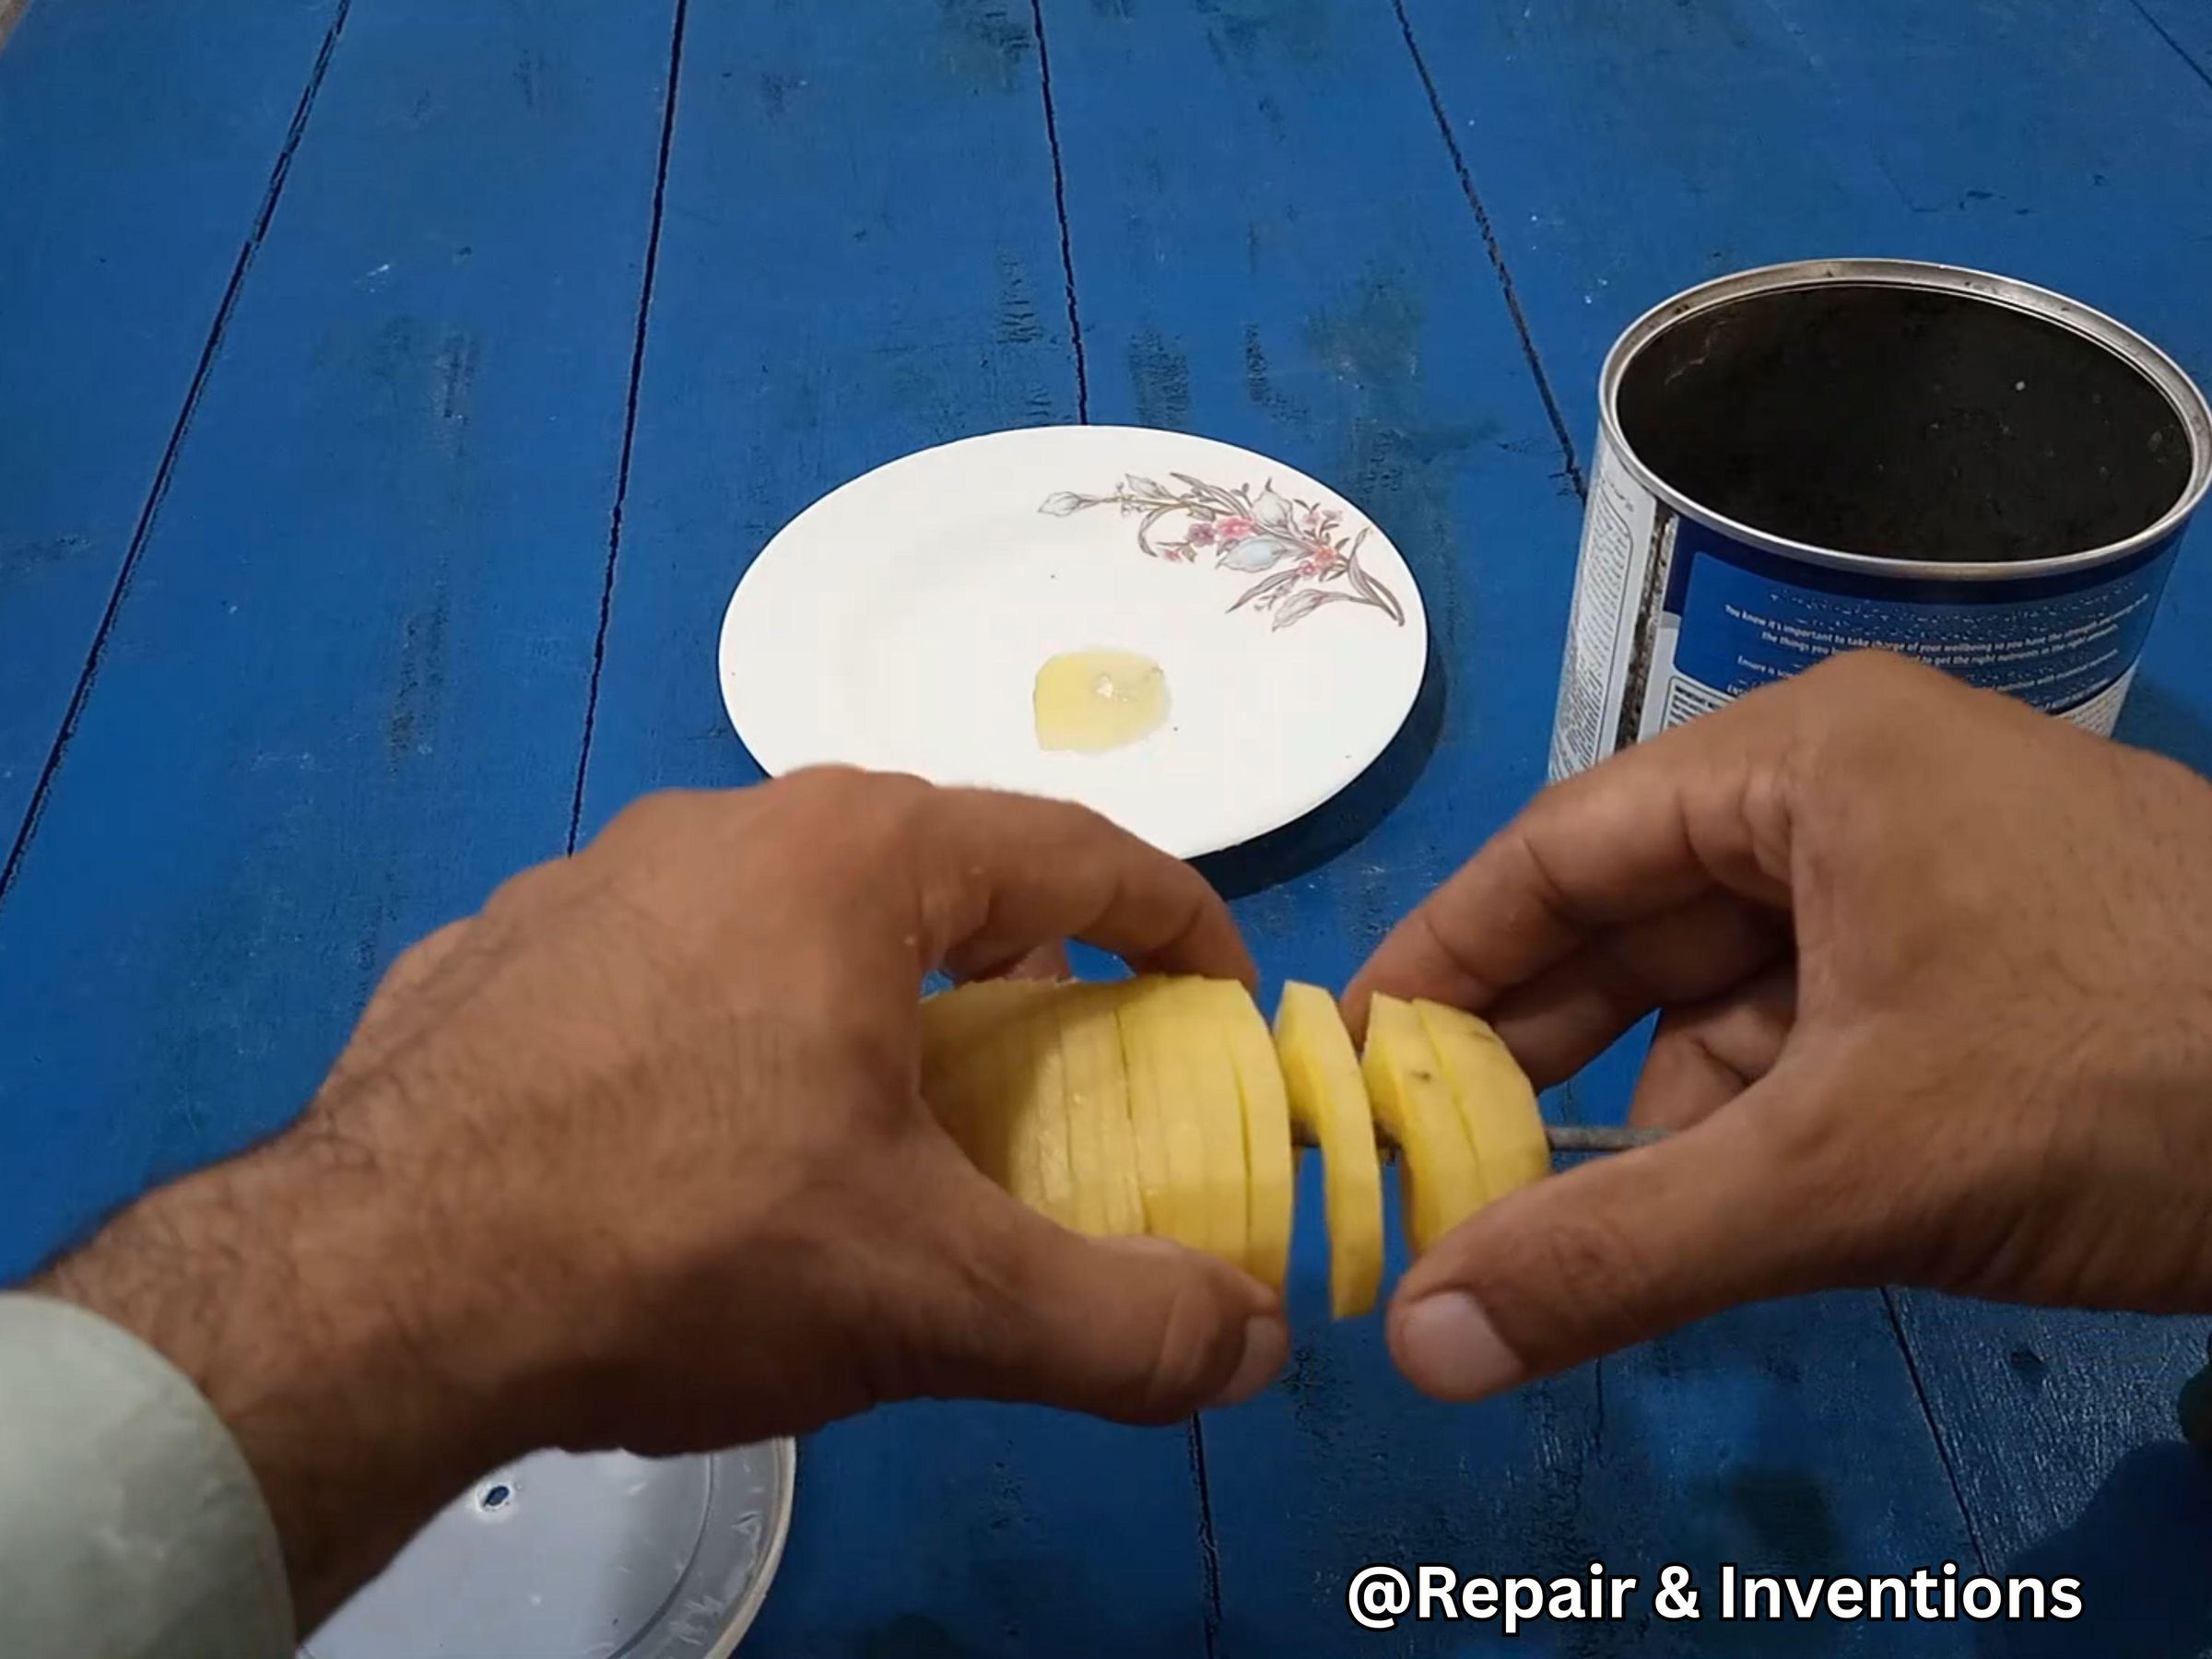
When the cutting was complete, I pulled the rod out carefully.
Then I opened the plastic lid of the container and removed the sliced potato from inside.
To check the result properly, I placed the potato again on the rod and gently stretched it. As soon as I pulled it, the potato opened beautifully into a spiral shape.
The final result looked very clean, almost like a proper tornado potato made with a market-bought potato tornado maker.
Testing More Potatoes
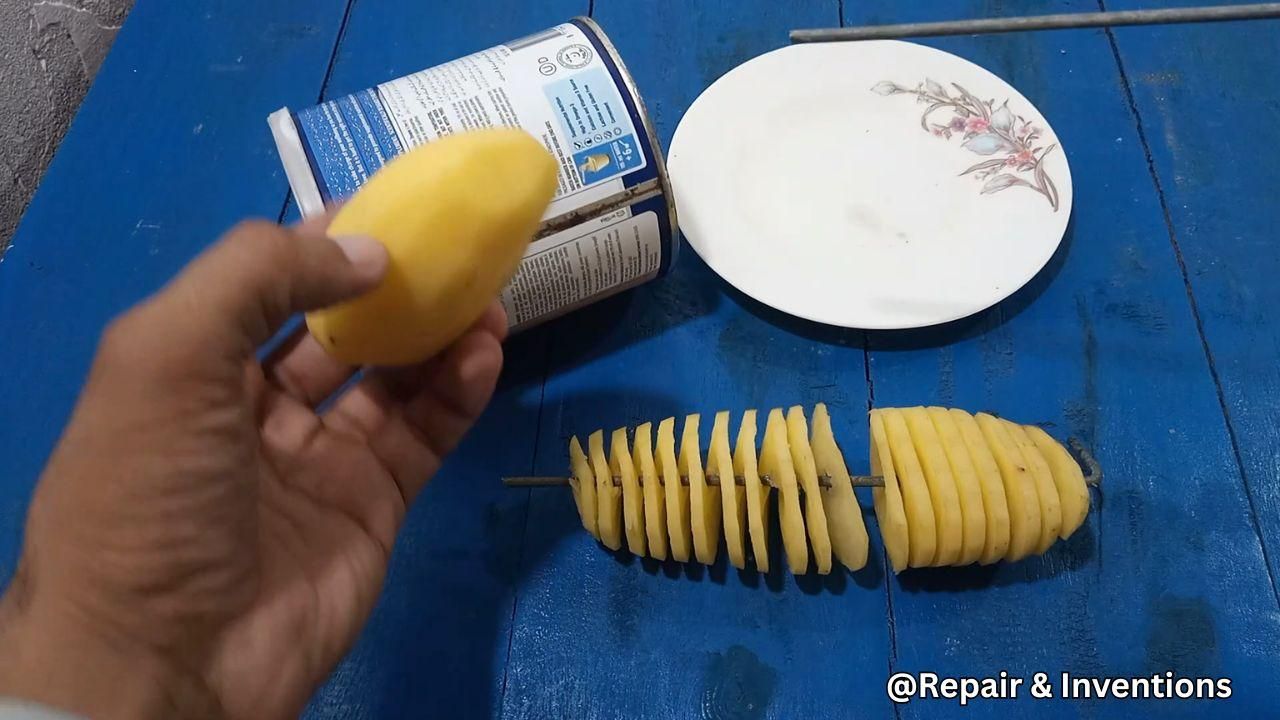
After the first successful test, I tried the same method with more potatoes.
The results were very good. The spiral shape came out nicely, and my family was really happy to see it.
This homemade potato cutter machine can be useful when you want to make spiral fries, tornado potatoes, or potato chips spiral cutter-style snacks at home.
Full Video Step by Step
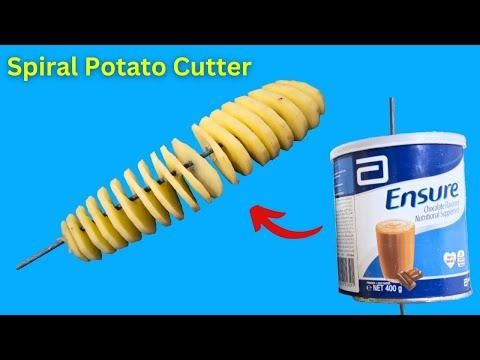
Here is full video step by step to make spiral potatoes cutter at home