DIY USB 25-keys MIDI Sensor Keyboard Using Bluepill (STM32F103)
by Zhumarin in Circuits > Audio
3032 Views, 3 Favorites, 0 Comments
DIY USB 25-keys MIDI Sensor Keyboard Using Bluepill (STM32F103)


I'm was always interesting to try playing the piano, but real MIDI keyboard too expensive... at least for 5-min playing (and never play again, of course) :D :D
So this is reason why I decided to build MIDI keyboard by itself.
Unfortunately, I don't have even toy MIDI keyboard for upgrading it to normal keyboard. But build by itself mechanical keyboard is really hard....
And I decided to build sensor variant of keyboard.
Idea is really simple - just took any tin/foil, cut from that keys with form same as piano keys, fix it to a random board.... and that's all, ready to use!
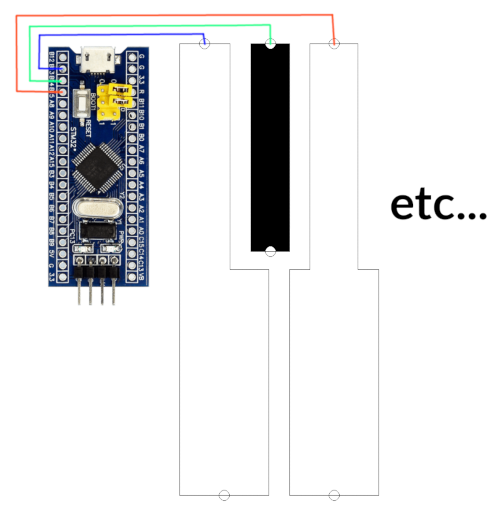
From electrical side all simple too. Just connect piece of foil/tin to microcontroller. And that's all, lol.
How this works? 🤔
All piano keys is a capacitive touch sensors.
The microcontroller continuously measure needed time for change pin state from 0 to 1 and and back.
That's have little lag, because any gpio pin have parasitic capacitance.
And when finger touches pin there is a current leak happens and time to charge/discharge changes.
The algorithm is simple:
- Change pin to input with internal pull-up
- Measure time until pin have 1 state
- Change pin to output=1 for complete charge parasitic capacitor
- Change pin to input with internal pull-down
- Measure time until pin have 0 state
- Change pin to output=0 for complete discharge parasitic capacitor
Any deviations in these measured times is meaning for key press. :)
Project on github: https://github.com/Azq2/stm32-sensor-midi-keyboard
Supplies
- Tin or foil.
- Any wooden or plastic board.
- STM32F103 (bluepill).
- Some count of wires.
- Nail polish (stolen from your gf or mom, that's important).
- Basic skills in Linux (for build and flash firmware).
- Really sorry, but I don't use Arduino :D
Cut Keys From Tin or Foil


I'm too lazy for manual drawing all blueprints then I written PHP script which drew this instead of me.
You can found this script in my github: gen-piano.php
Usage is simple:
# php gen-piano.php <keys count>
php gen-piano.php 25
This script supports any MIDI-keyboard size: 13, 25, 37, 49, 61, 76 or 88 (you can use it in own projects)
For this project I uploaded already pre-generated blueprints:
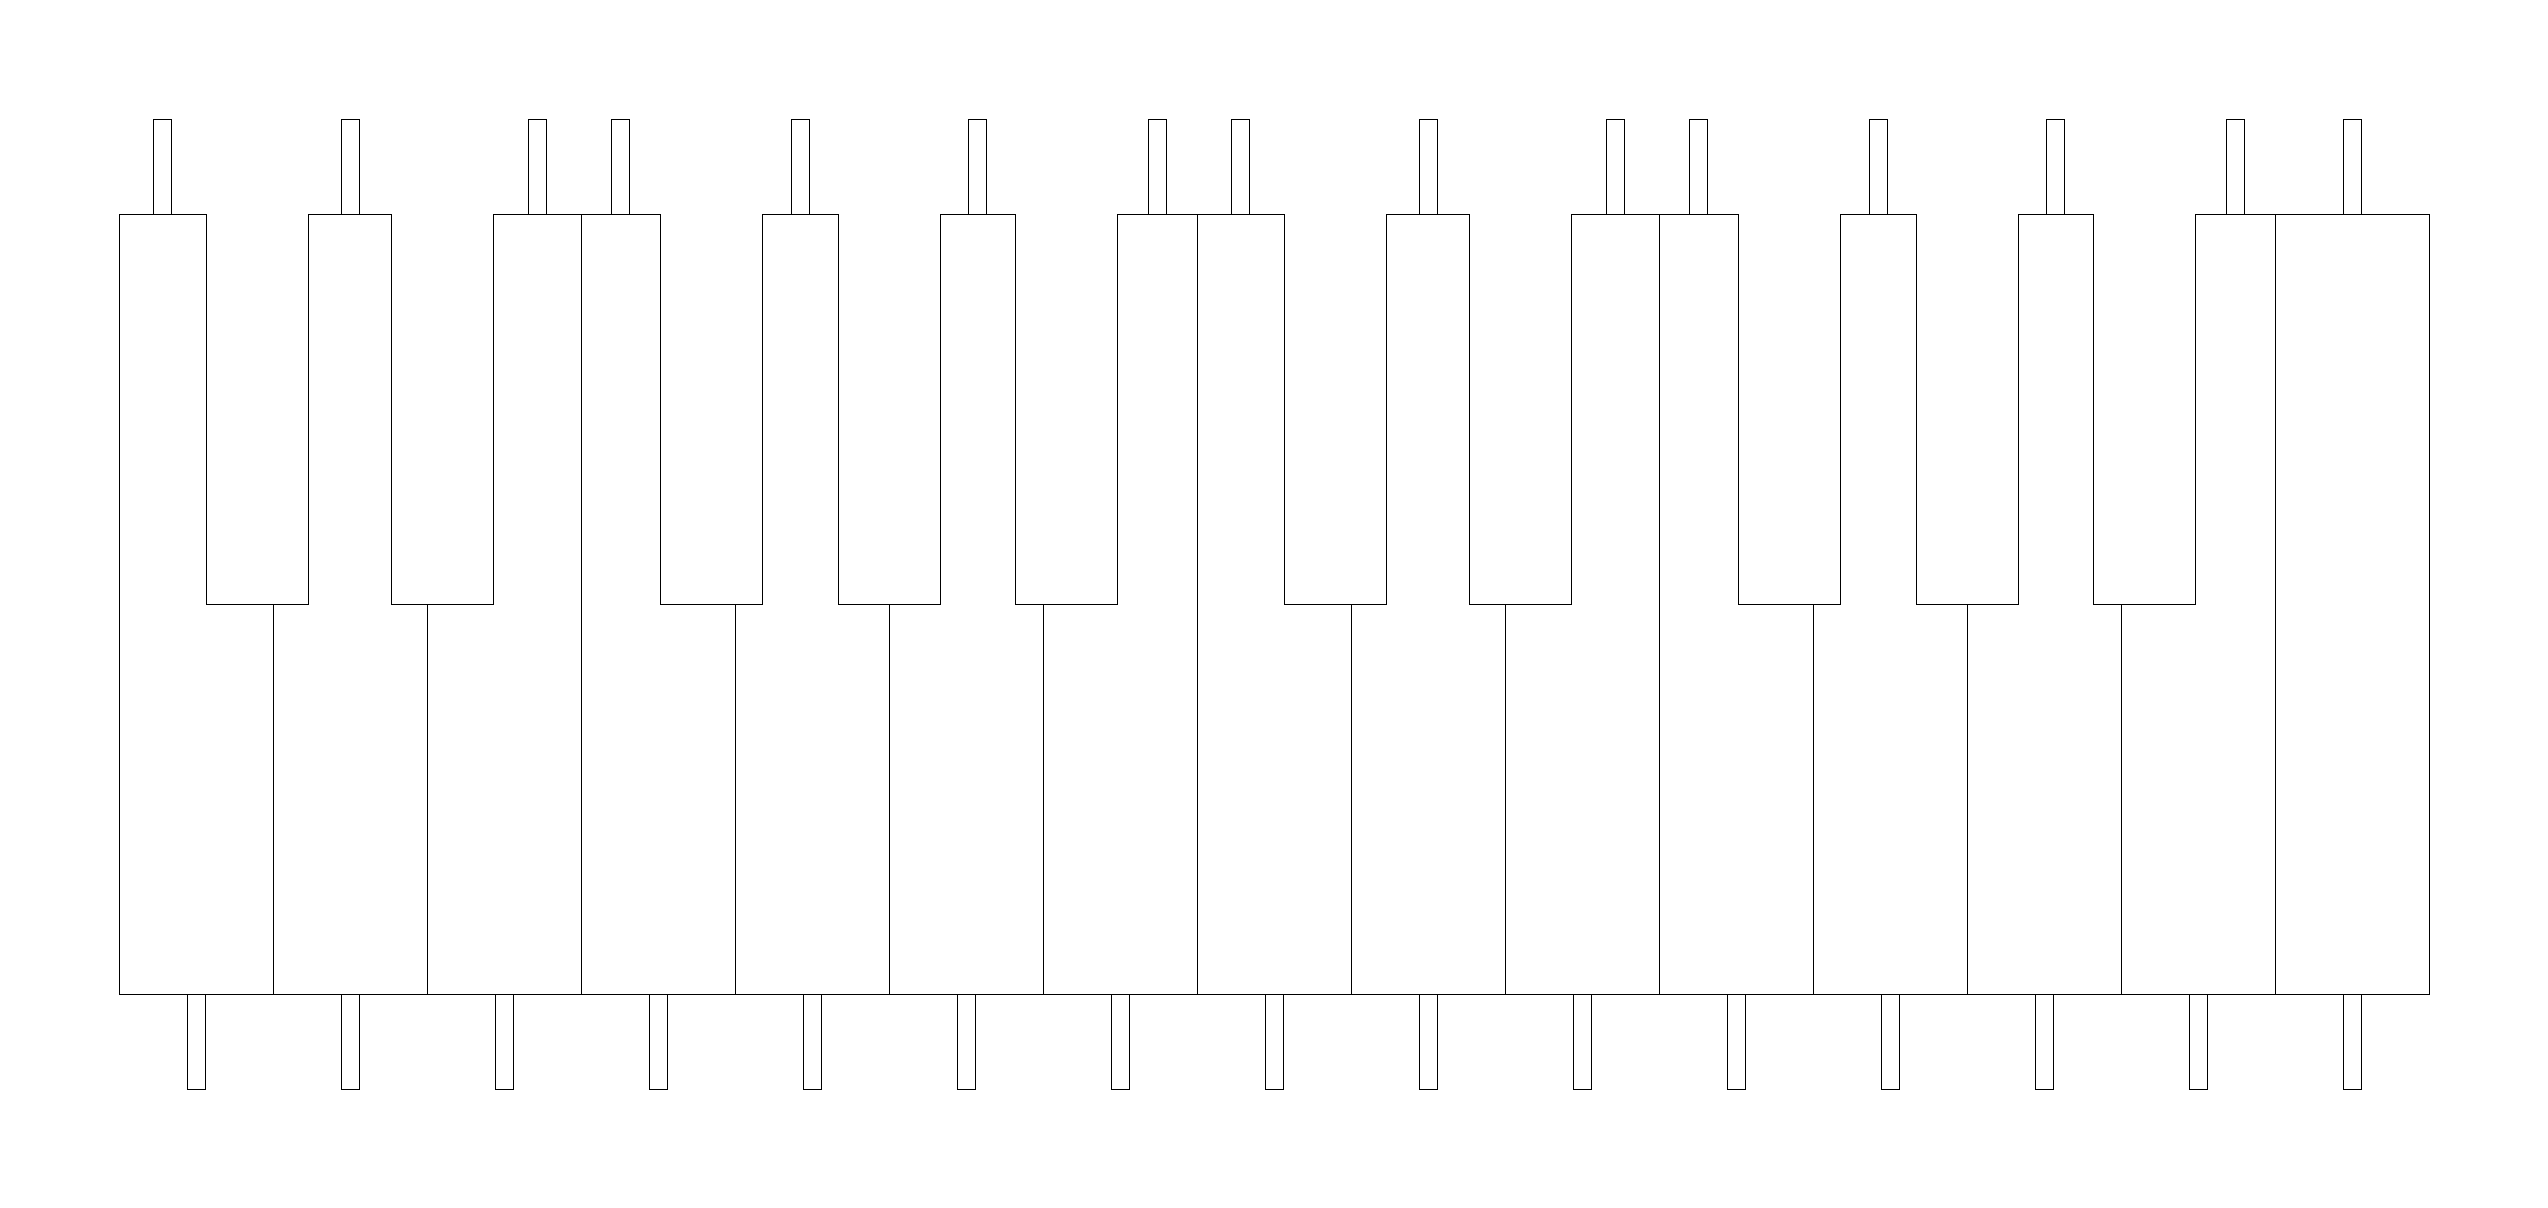
- Black keys layout for cutting: docs/piano-black-keys-for-cut.png
Tails is needed for fix keys on board and for soldering wires to keys. - White keys layout for cutting: docs/piano-white-keys-for-cut.png
Black keys bending to "П" form for comfortable pressing and for avoid misclicks. - Drill layout: docs/piano-drill-map.png
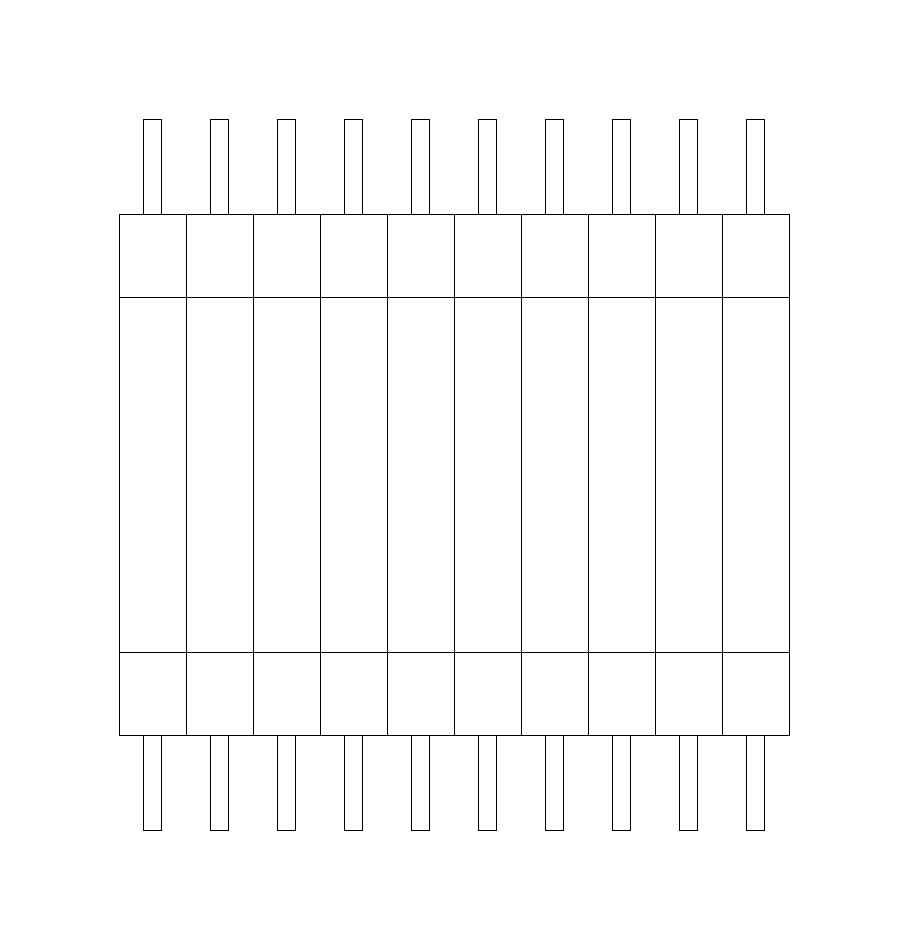
In this print all keys placed with indents and have marks for drilling.
All of these images have 300 ppi resolution. Just print and cut! :)
Install All Keys to the Board

- Use docs/piano-drill-map.png for drilling holes.
- Place tail of keys to drilled holes for fixing it on the board.
Solder Wires From Keys to Microcontroller

Yes, you need solder 25 wires to your bluepill. That's not enjoyable, I know :D
Current pinout which use in the code:
- PB13 (C3)
- PB14 (C3#)
- PB15 (D3)
- PB12 (D3#)
- PA8 (E3)
- PB8 (F3)
- PB9 (F3#)
- PB7 (G3)
- PB3 (G3#)
- PA1 (A3)
- PB1 (A3#)
- PA0 (B3)
- PB4 (C4)
- PB0 (C4#)
- PA7 (D4)
- PA2 (D4#)
- PA4 (E4)
- PB5 (F4)
- PB11 (F4#)
- PA5 (G4)
- PA15 (G4#)
- PA3 (A4)
- PA6 (A4#)
- PB6 (B4)
- PB10 (C5)
But you can connect keys in any random order and just generate new App::m_pins using DEBUG_SORT_KEYS=true mode.
Lacquer All Keys

All keys must be lacquered for isolation. That important if you don't want to fried your MCU. :)
Best choice for this is regular nail polish. As an alternative you can use epoxy resin or even scotch tape.
Build and Flash Firmware
You need any Linux-based OS. On Windows/OSX you can use Linux on Windows with WSL or install Ubuntu in VirtualBox.
1. Download ARM GCC from this link: https://developer.arm.com/downloads/-/gnu-rm
Choose gcc-arm-none-eabi-10.3-2021.10-x86_64-linux.tar.bz2 file.
And extract it to /opt
sudo tar -C /opt -xpvf ~/Downloads/gcc-arm-none-eabi-10.3-2021.10-x86_64-linux.tar.bz2
2. Add this path to your PATH variable. Just edit /home/USER/.bashrc file and add this line to the end:
export PATH="$PATH:/opt/gcc-arm-none-eabi-10.3-2021.10/bin"
After this your need to reopen Terminal.
3. Install all needed tools:
sudo apt install build-essential git
4. Clone repository and build:
# Make dir for building
mkdir ~/build
cd ~/build

# Clone project from repository
git clone https://github.com/Azq2/stm32-sensor-midi-keyboard
git submodule init
git submodule update

# And build
cd stm32-sensor-midi-keyboard
./build_libopencm3.sh
make
5. After this you have app.bin and app.elf. Just flash one of this in any appropriate way.
In case of BlackMagic Probe you can simply flash using this command:
make install
Also, you can use prebuild firmware: https://github.com/Azq2/stm32-sensor-midi-keyboard/releases
Configuration
Okay you built this device. And as expected, nothing works. Oh no, this is scam???? 😱
No, that's okay. Different constructions have different parameters and my settings maybe not suitable for you.
Mainly, you need tune these parameters for your device:
- SENSOR_WHITE_KEY_THRESHOLD - Threshold for white key, at which deviation (in %) will mean key is pressed.
Default value is 1000.
This value in percentages multiplied to 100.
100000=100% - SENSOR_BLACK_KEY_THRESHOLD - Threshold for black key, at which deviation (in %) will mean key is pressed.
Default value is 1000.
This value in percentages multiplied to 100. 100000=100%
Other parameters:
- NOTE_OFFSET - MIDI note for first key: 36 - C2, 48 - C3 (default: 48)
See for more info: https://studiocode.dev/resources/midi-middle-c/ - KEY_VELOCITY - Velocity of key press (default: 64)
- DEBOUNCE_CYCLES - Time for debounce. Value in the cpu cycles. This value used to reduce jittering keys state. (default: 1000000)
- CALIBRATION_CYCLES - Cycles for measure average capacitance for initial state. (default: 100)
- SAMPLES_CNT - Cycles for averaging measured capacitance (default: 8)
- DEBUG_SORT_KEYS - Debug mode for generatin new App::m_pins in right order (default: false)
- DEBUG_PRESS_KEYS - Debug mode for tune thresholds (default: true)
You can find all of these parameters in src/App.h
Fixing Order of Keys (optional)
This needed if you soldered wires in random order instead of using from instruction.
- Set DEBUG_SORT_KEYS=true and connect by USART
- Press all keys in right order, from left to right
- Copy content of structure which printed to USART
- Replace content of structure App::m_pins in file: src/App.cpp
I use USART1 for debug output. Connect any USART-to-USB adapter to these pins:
- PA9 (TX) to adapter RX
- PA10 (RX) to adapter TX
Tune Sensitivity (optinal)
This needed if default settings not unsuitable for you.
- Set DEBUG_PRESS_KEYS=true and connect by USART
- Press on any key and see debug output.
- Just change SENSOR_BLACK_KEY_THRESHOLD and SENSOR_WHITE_KEY_THRESHOLD until key normal works.
- If keys jittering, then increase DEBOUNCE_CYCLES (If slower reaction, then decrease).
I use USART1 for debug output. Connect any USART-to-USB adapter to these pins:
- PA9 (TX) to adapter RX
- PA10 (RX) to adapter TX
How to Use With PC?
Just connect and it works. I use standard USB MIDI protocol.
All Done. Just Enjoy!

Also I recorded this demo for proof of work.
P.S. I can't play on piano, I tried to play random melody before the first difficult part :D