DIY Underwater Breathing Tool
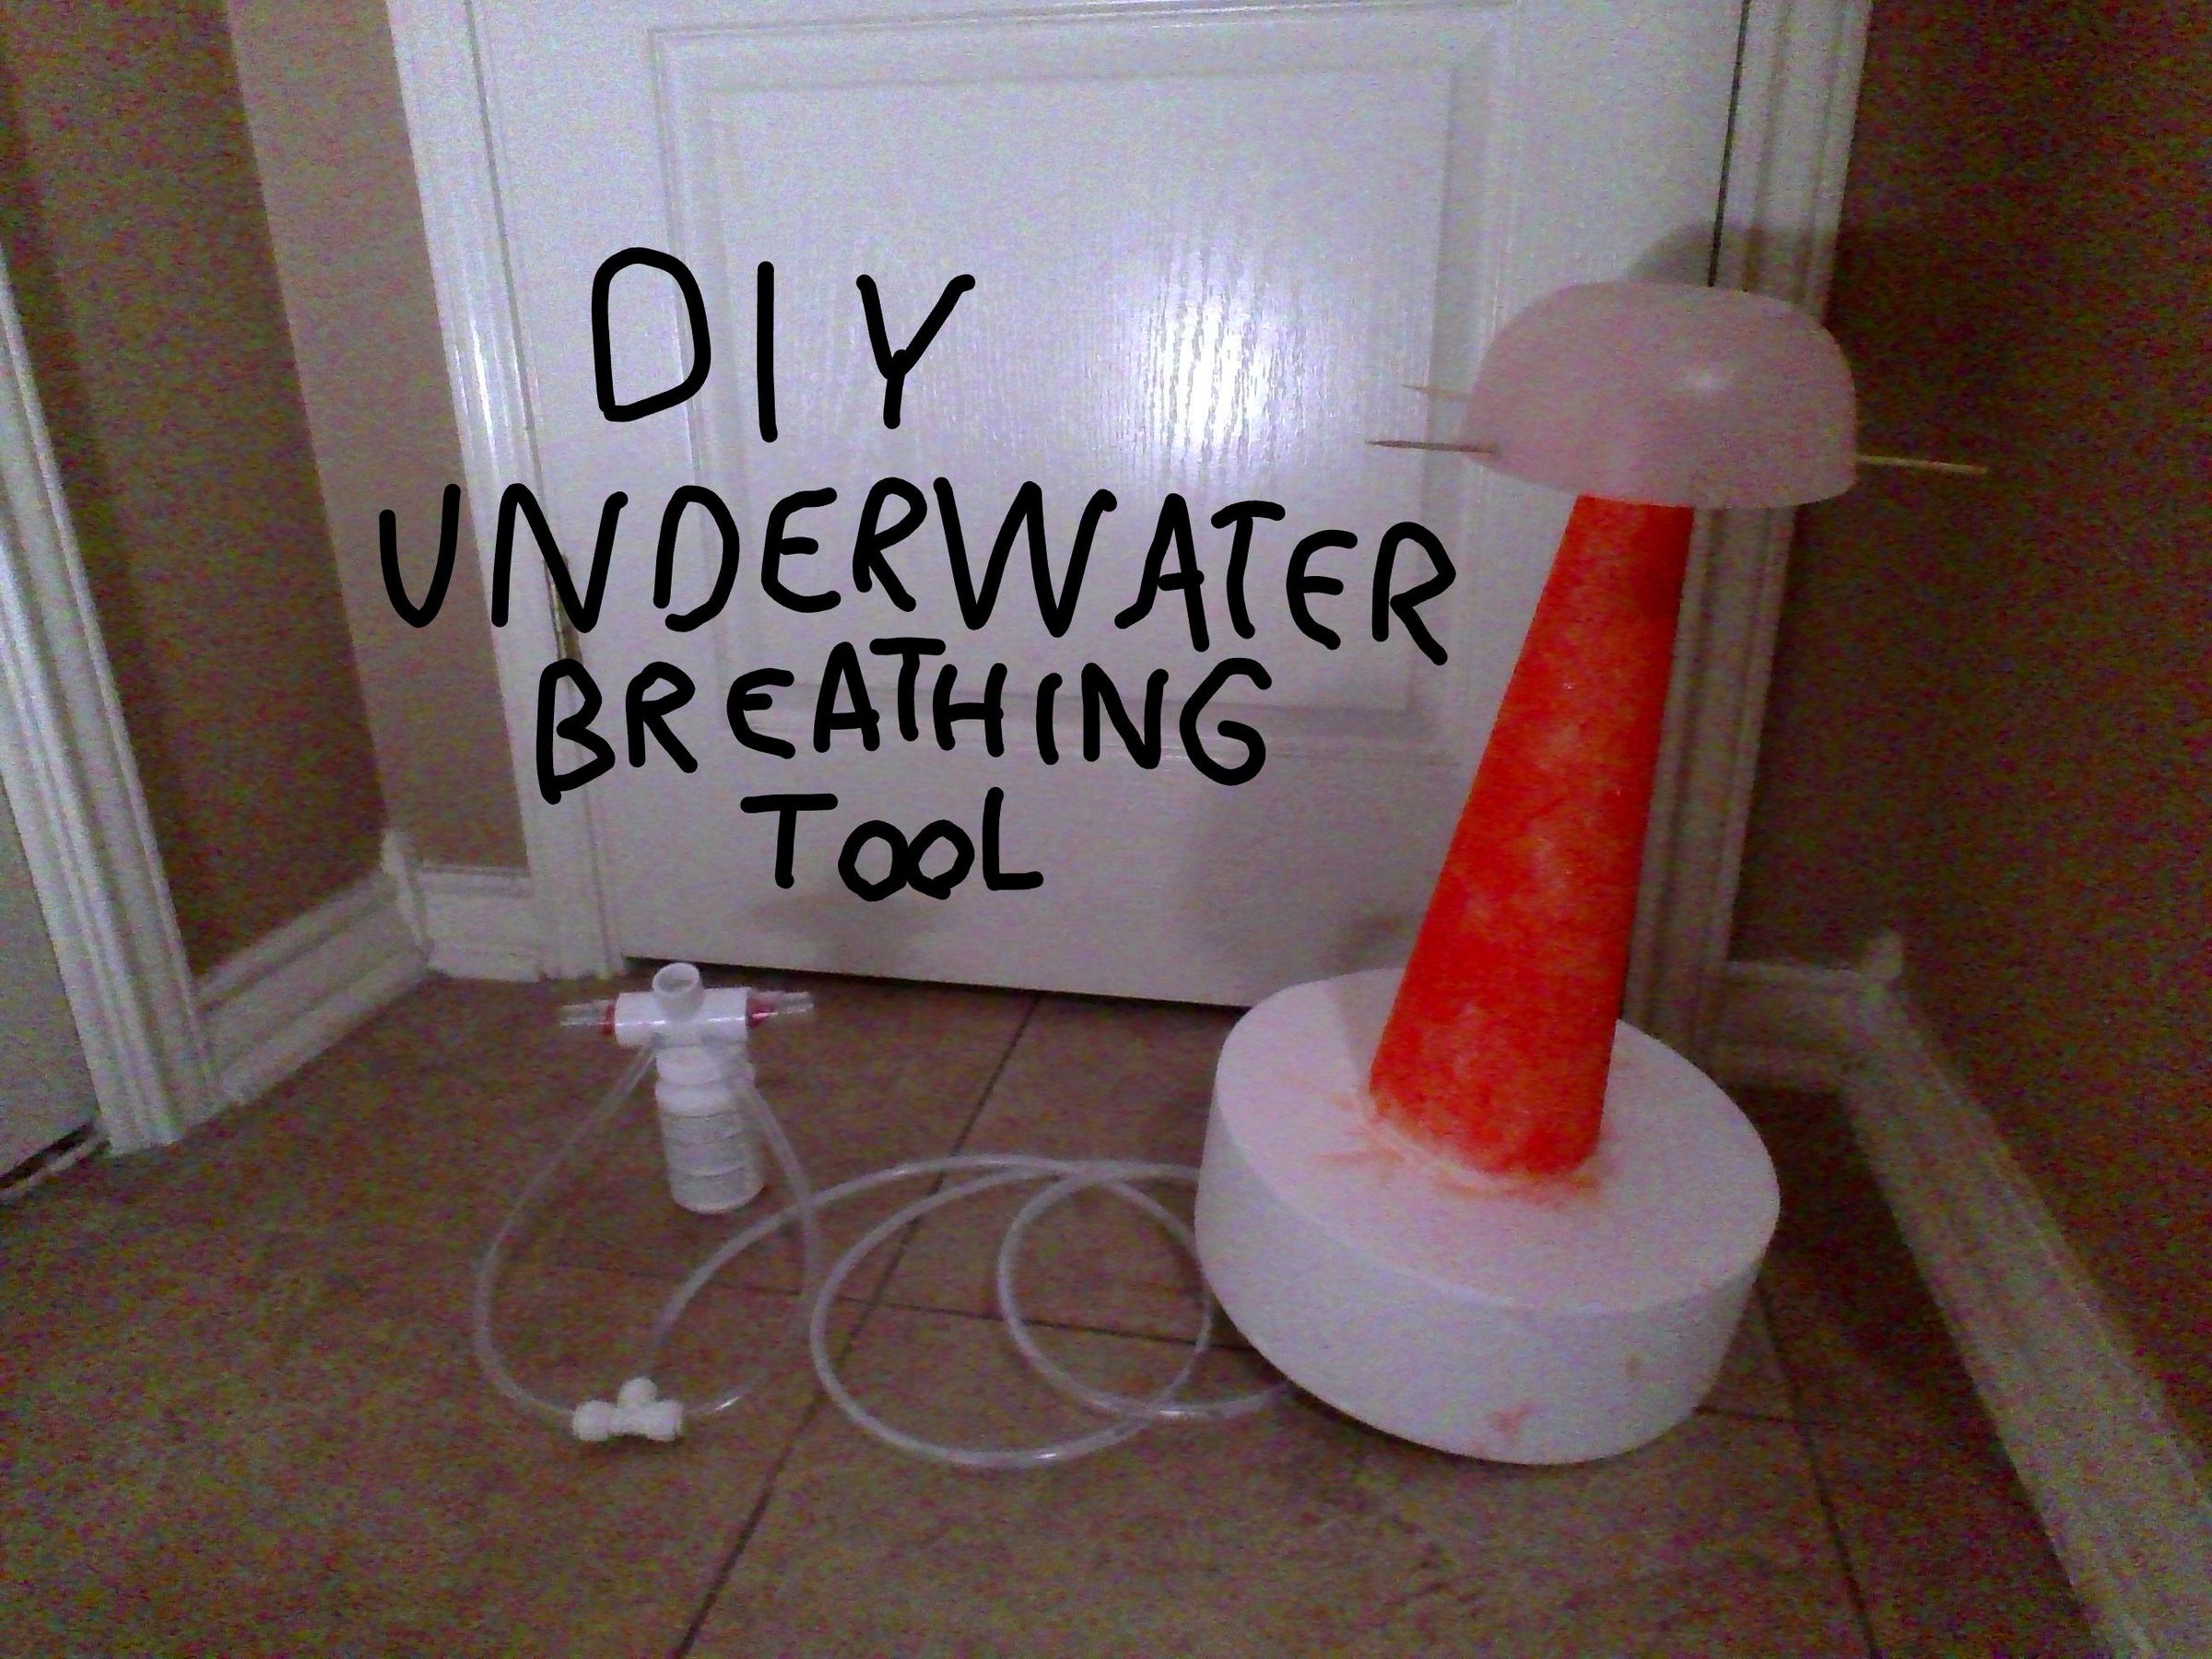
I designed and created a cheap solution to breathe underwater because seeing the prices for diving breathing apparatuses made me want to make my own instead. Thank you for choosing my Instructable to build. Enjoy.
Supplies
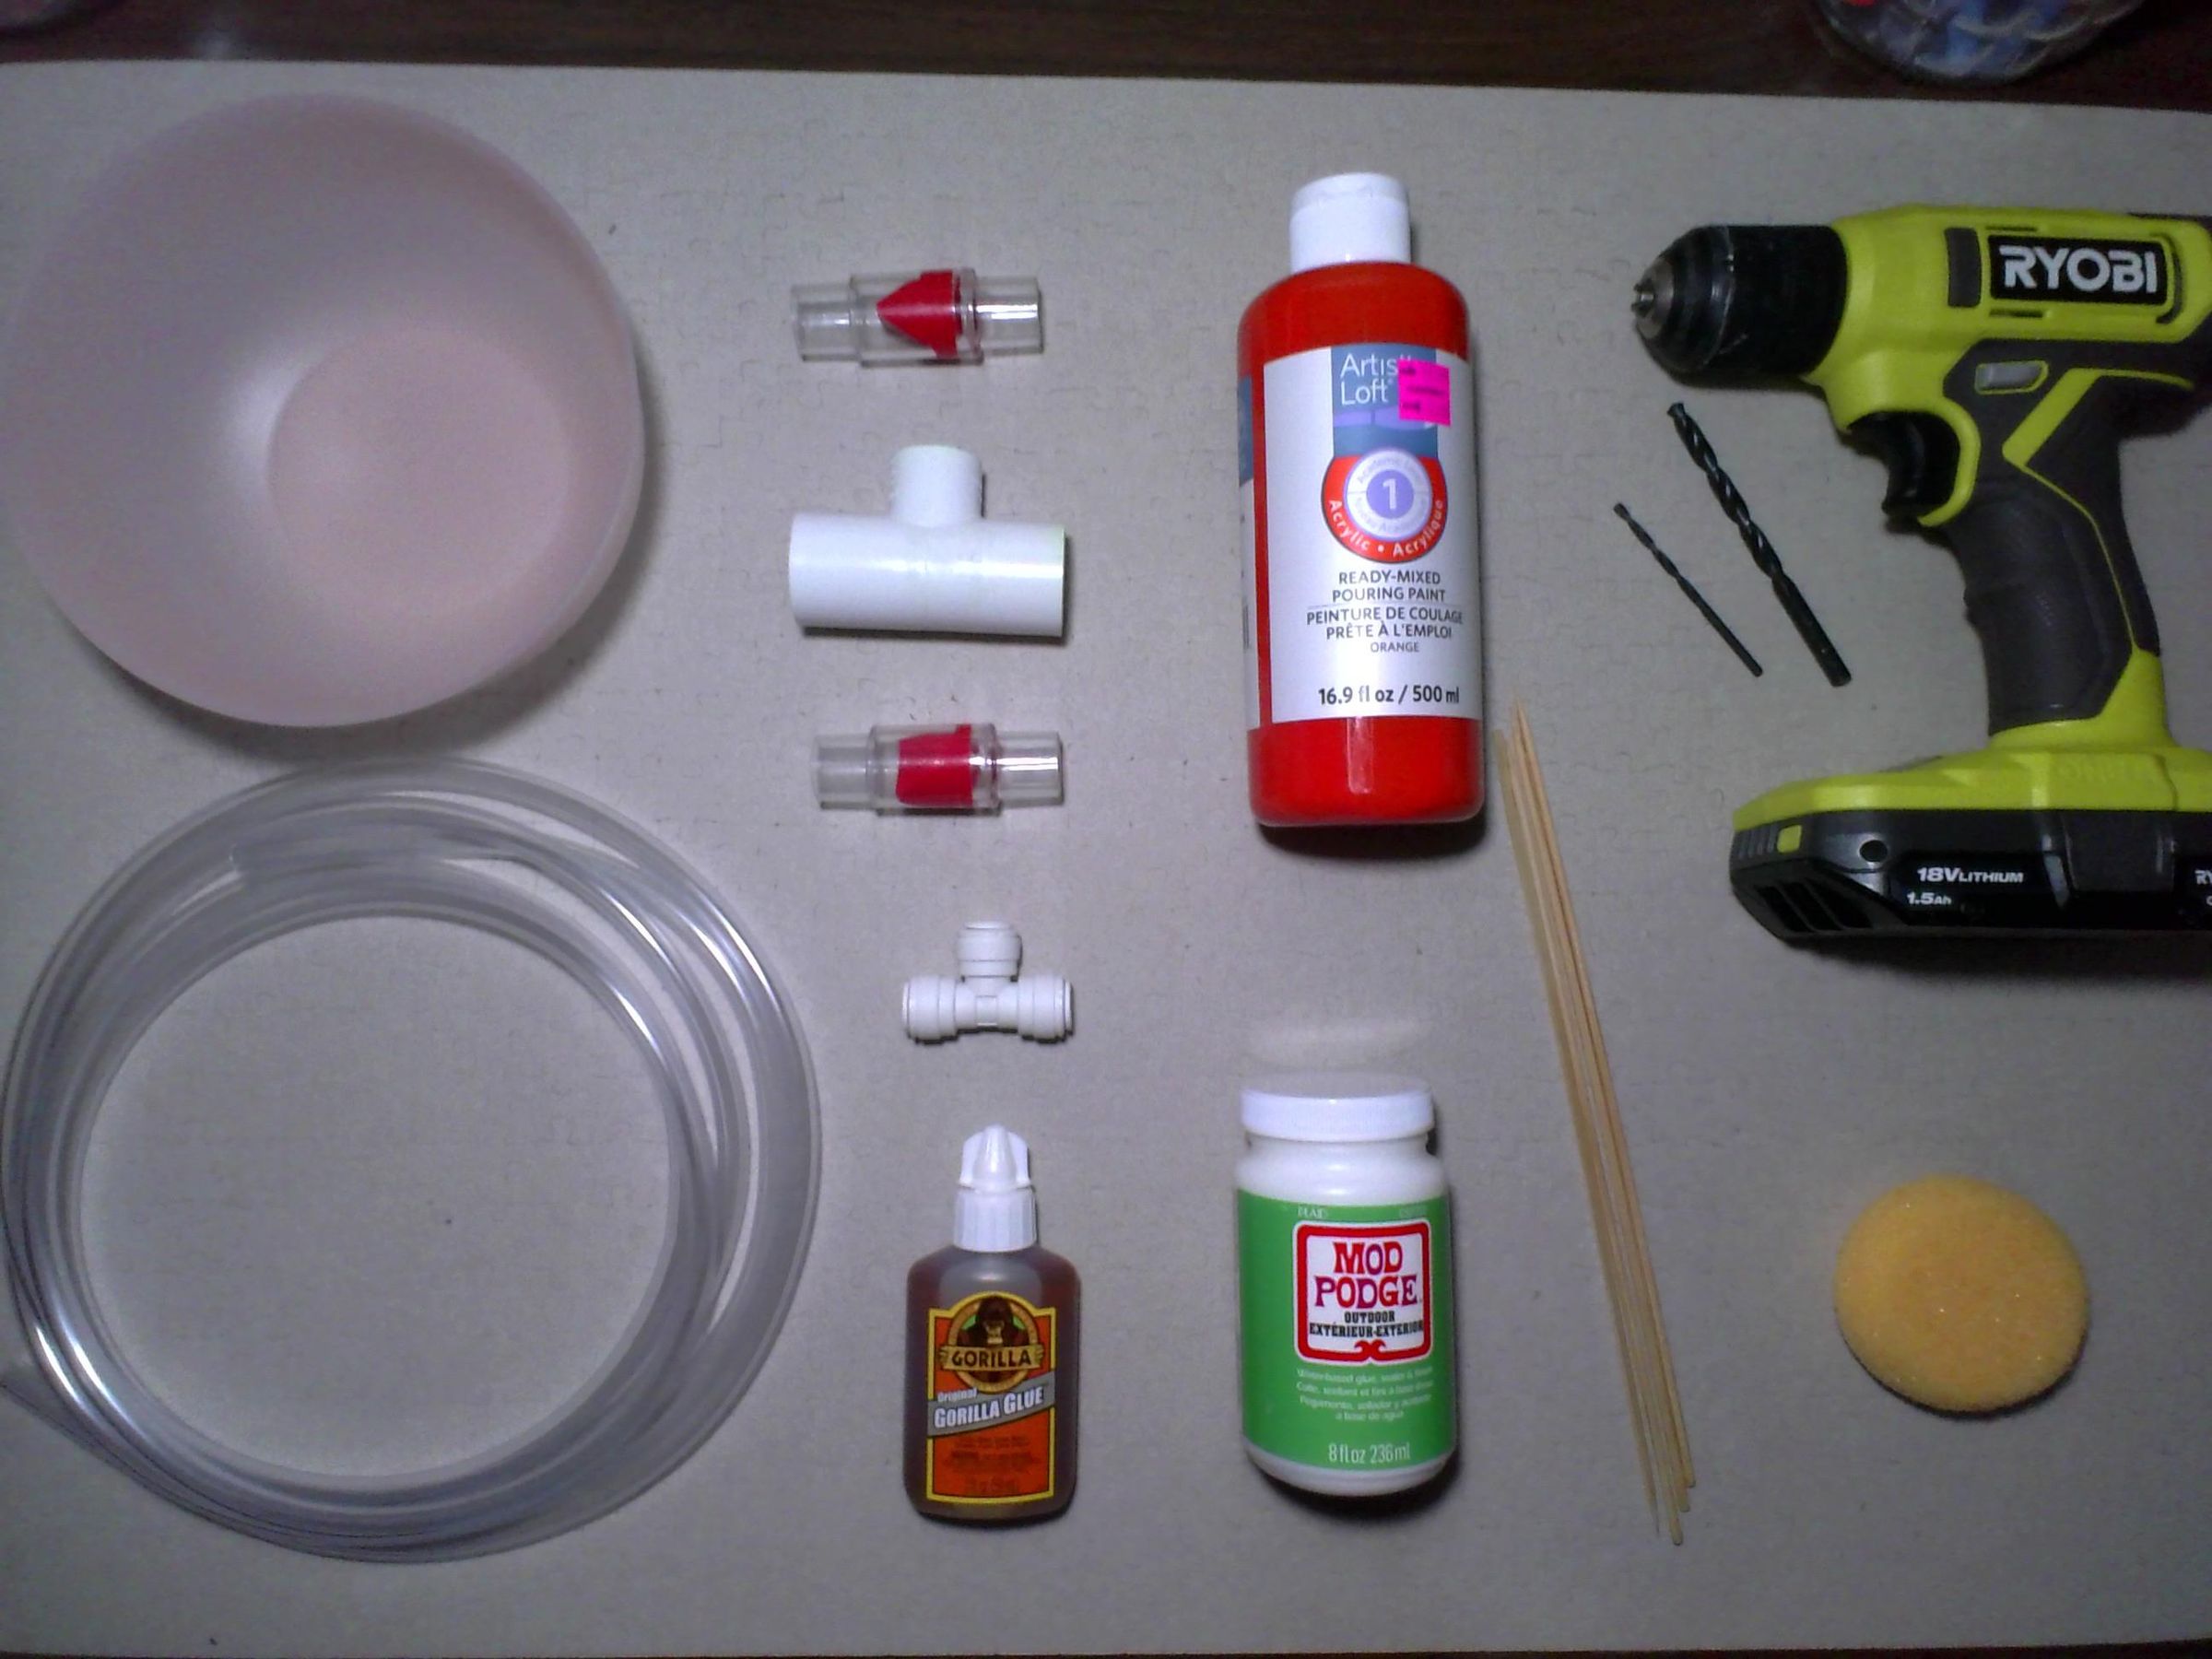
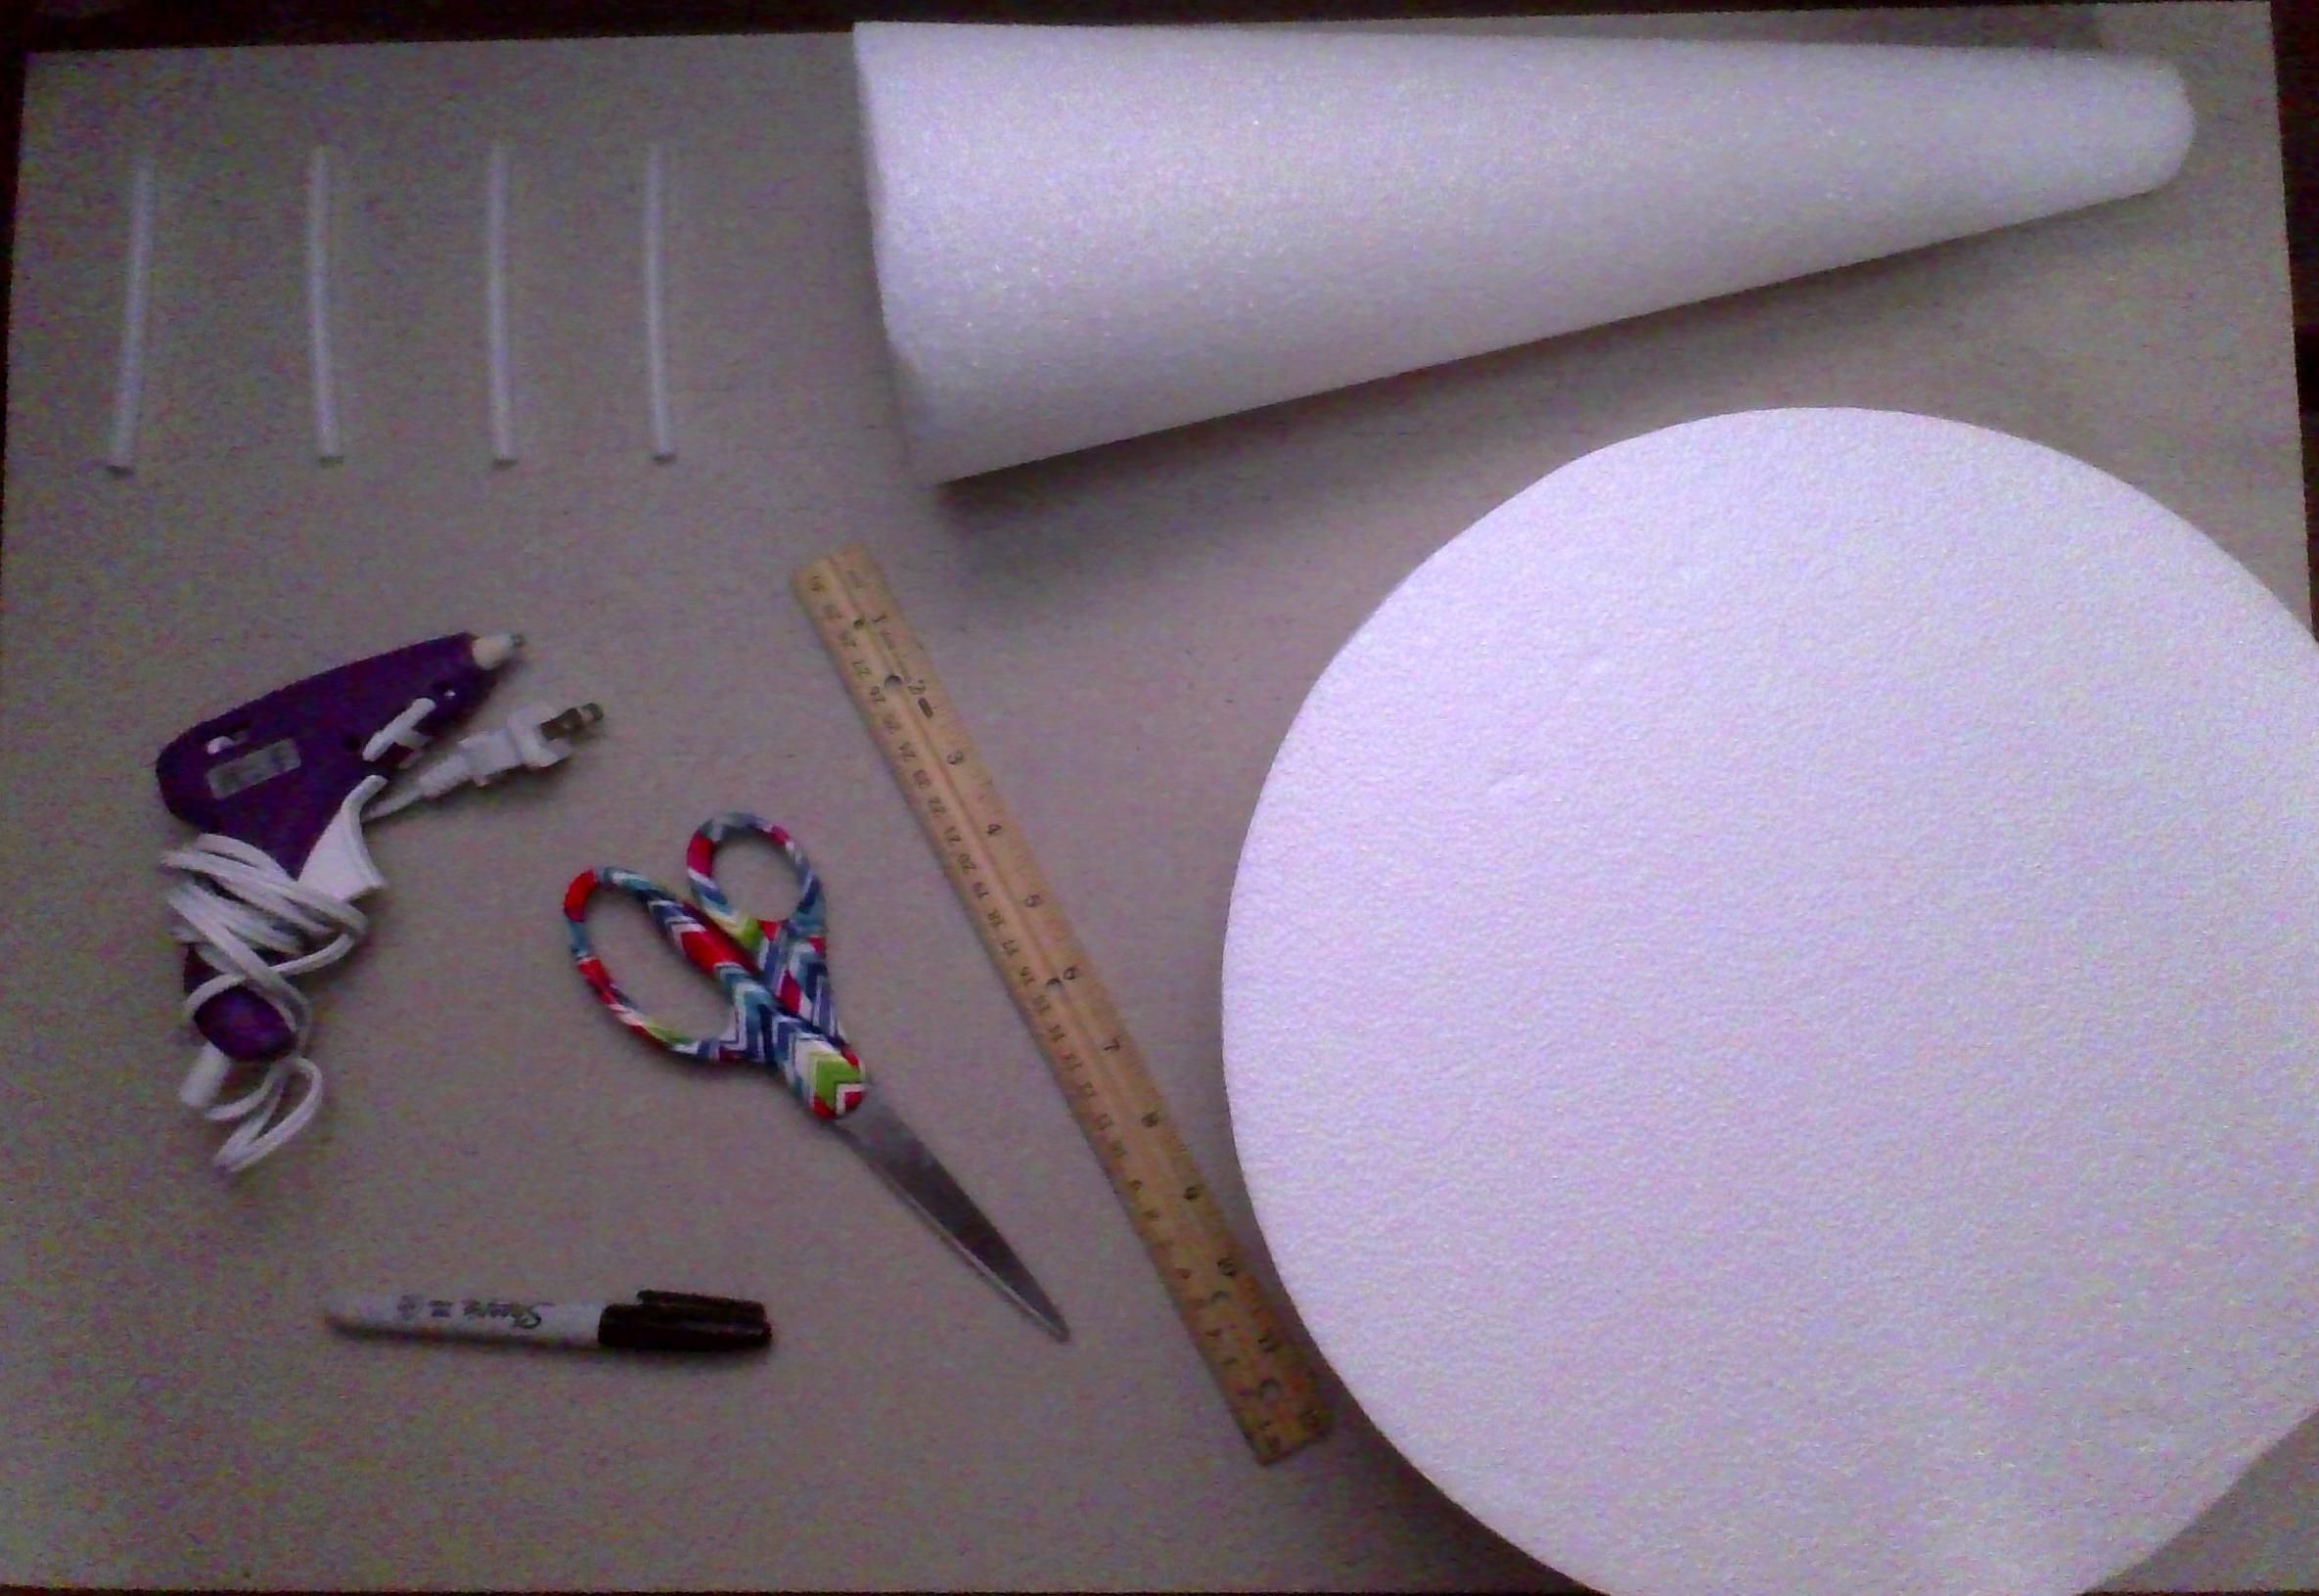
Warning - Please read the description under the supplies to buy or order the correct product - Warning
Gather these supplies:
- (Reducing Tee PVC Pipe) x 1
(The "Reducing" in "Reducing Tee" means that the third opening in the pipe is smaller than the other two of the same size. 1 1/2 in x 1 1/2 in x 1/2 in is appropriate and highly recommended.)
- (Plastic One-Way Check Valve) x 2
(The needed size is 1 1/2" OD. The valves need to fit inside the two ends of the PVC pipe you are using. Example- R. T. PVC Pipe Inner Diameter: 1 1/2" ≠ One Way Check Valve ID: 1". This example shows that the valve is smaller than the two larger openings in the PVC pipe. It is essential that your valves fit in the PVC pipe, but aren't too small. To buy the right supplies, the ID of the pipe could be slightly larger than the overall diameter of the valve itself, so it's easier to fit and hot glue them to secure it easily. Also, if the valves you have have unnecessary, excess plastic on either end, you are going to need something to saw them off.)
- (1/2" Hose Coupler 3-Way)
(The suggested material for the coupler should be plastic, considering that the brass or metal couplers could potentially become tarnished and harm you as you breathe through it.)
- (Cone-shaped Styrofoam) x 1
(The diameter of the point of the cone is 1 1/2 in., and the base of the cone's diameter is 5 in., while the height is 17 in.)
- (Disk-like Cylinder-shaped Styrofoam) x 1
(The height of the cylinder is less than the width, making it "disc-like". The height of the cylinder is 4 inches, and the diameter is 11 in.)
(Note: Make sure the Styrofoam you use isn't meant to absorb or sink in water.)
- (Vinyl Tubing) x 1
(The length of the vinyl tubing you use will be cut in half, along with two feet. Therefore, if you buy 20 ft. of tubing, you can swim as deep as 11 ft. Note: I do suggest that you analyze just how deep you would like to dive, multiply that number by two, add two feet of tubing, and consider buying that length of tubing. The inner diameter should be 1/2".)
- (Small Plastic Bowl) x 1
(The bowl's diameter is 6 1/2 inches. When I mean a plastic bowl, I mean a bowl you can find at your average TARGET in the children's toy section. [Note: If you do plan to buy this item from TARGET, it's not going to be sold alone. It's most likely going to come with various plastic fruits and vegetables. A Marshall's or Ross seems like a good choice to find a bowl -like the one I used- by itself.
- (Bottle of Mod Podge Water-Resistant) x 1
(Used to coat the Styrofoam so it doesn't pollute the water you may use it in, but protects it from the sun and keeps the Styrofoam from potentially falling apart. Mod Podge Outdoor can be used too.)
- (Skewers [Shish Kabob Sticks]) x 10
(Put in simple terms, very long, extremely thin, pointy sticks. Depending on whether they break during use, you may need more than the amount listed.)
- (Mini Hacksaw) x 1
(Or a regular hacksaw, if you would prefer.)
- (Electric Screw Driver with a 1/8 and 3/8 Drill Bits) x 1
(To be specific, a 3/8 and 1/8 Twist Drill Bit)
- (Bottle of Gorilla Glue) x 1
(To be specific, Original Gorilla Glue 2 oz.)
- (Hot Glue-gun and Hot Glue) x 1
(Three to four sticks of glue should last the entire project.)
- (Permanent Marker) x 1
(This will be used to mark specific spots on the pipe, Styrofoam, and tubing.)
- (Scissors) x 1
(Used to cut the tubing.)
- (Ruler) x 1
(This will be used to measure specific spots on the pipe, Styrofoam, and tubing.)
- (Orange Paint) x 2-4 cup(s)
(Note: This is OPTIONAL. It is used to paint the Styrofoam to look like a traffic cone.)
- (Soft Sponge) x 1
(The recommended size for the sponge should be larger than 2 in. x 3 in.)
- (Big Brush) x 1
(Used to coat the Styrofoam with the Mod Podge.)
Prepare Materials
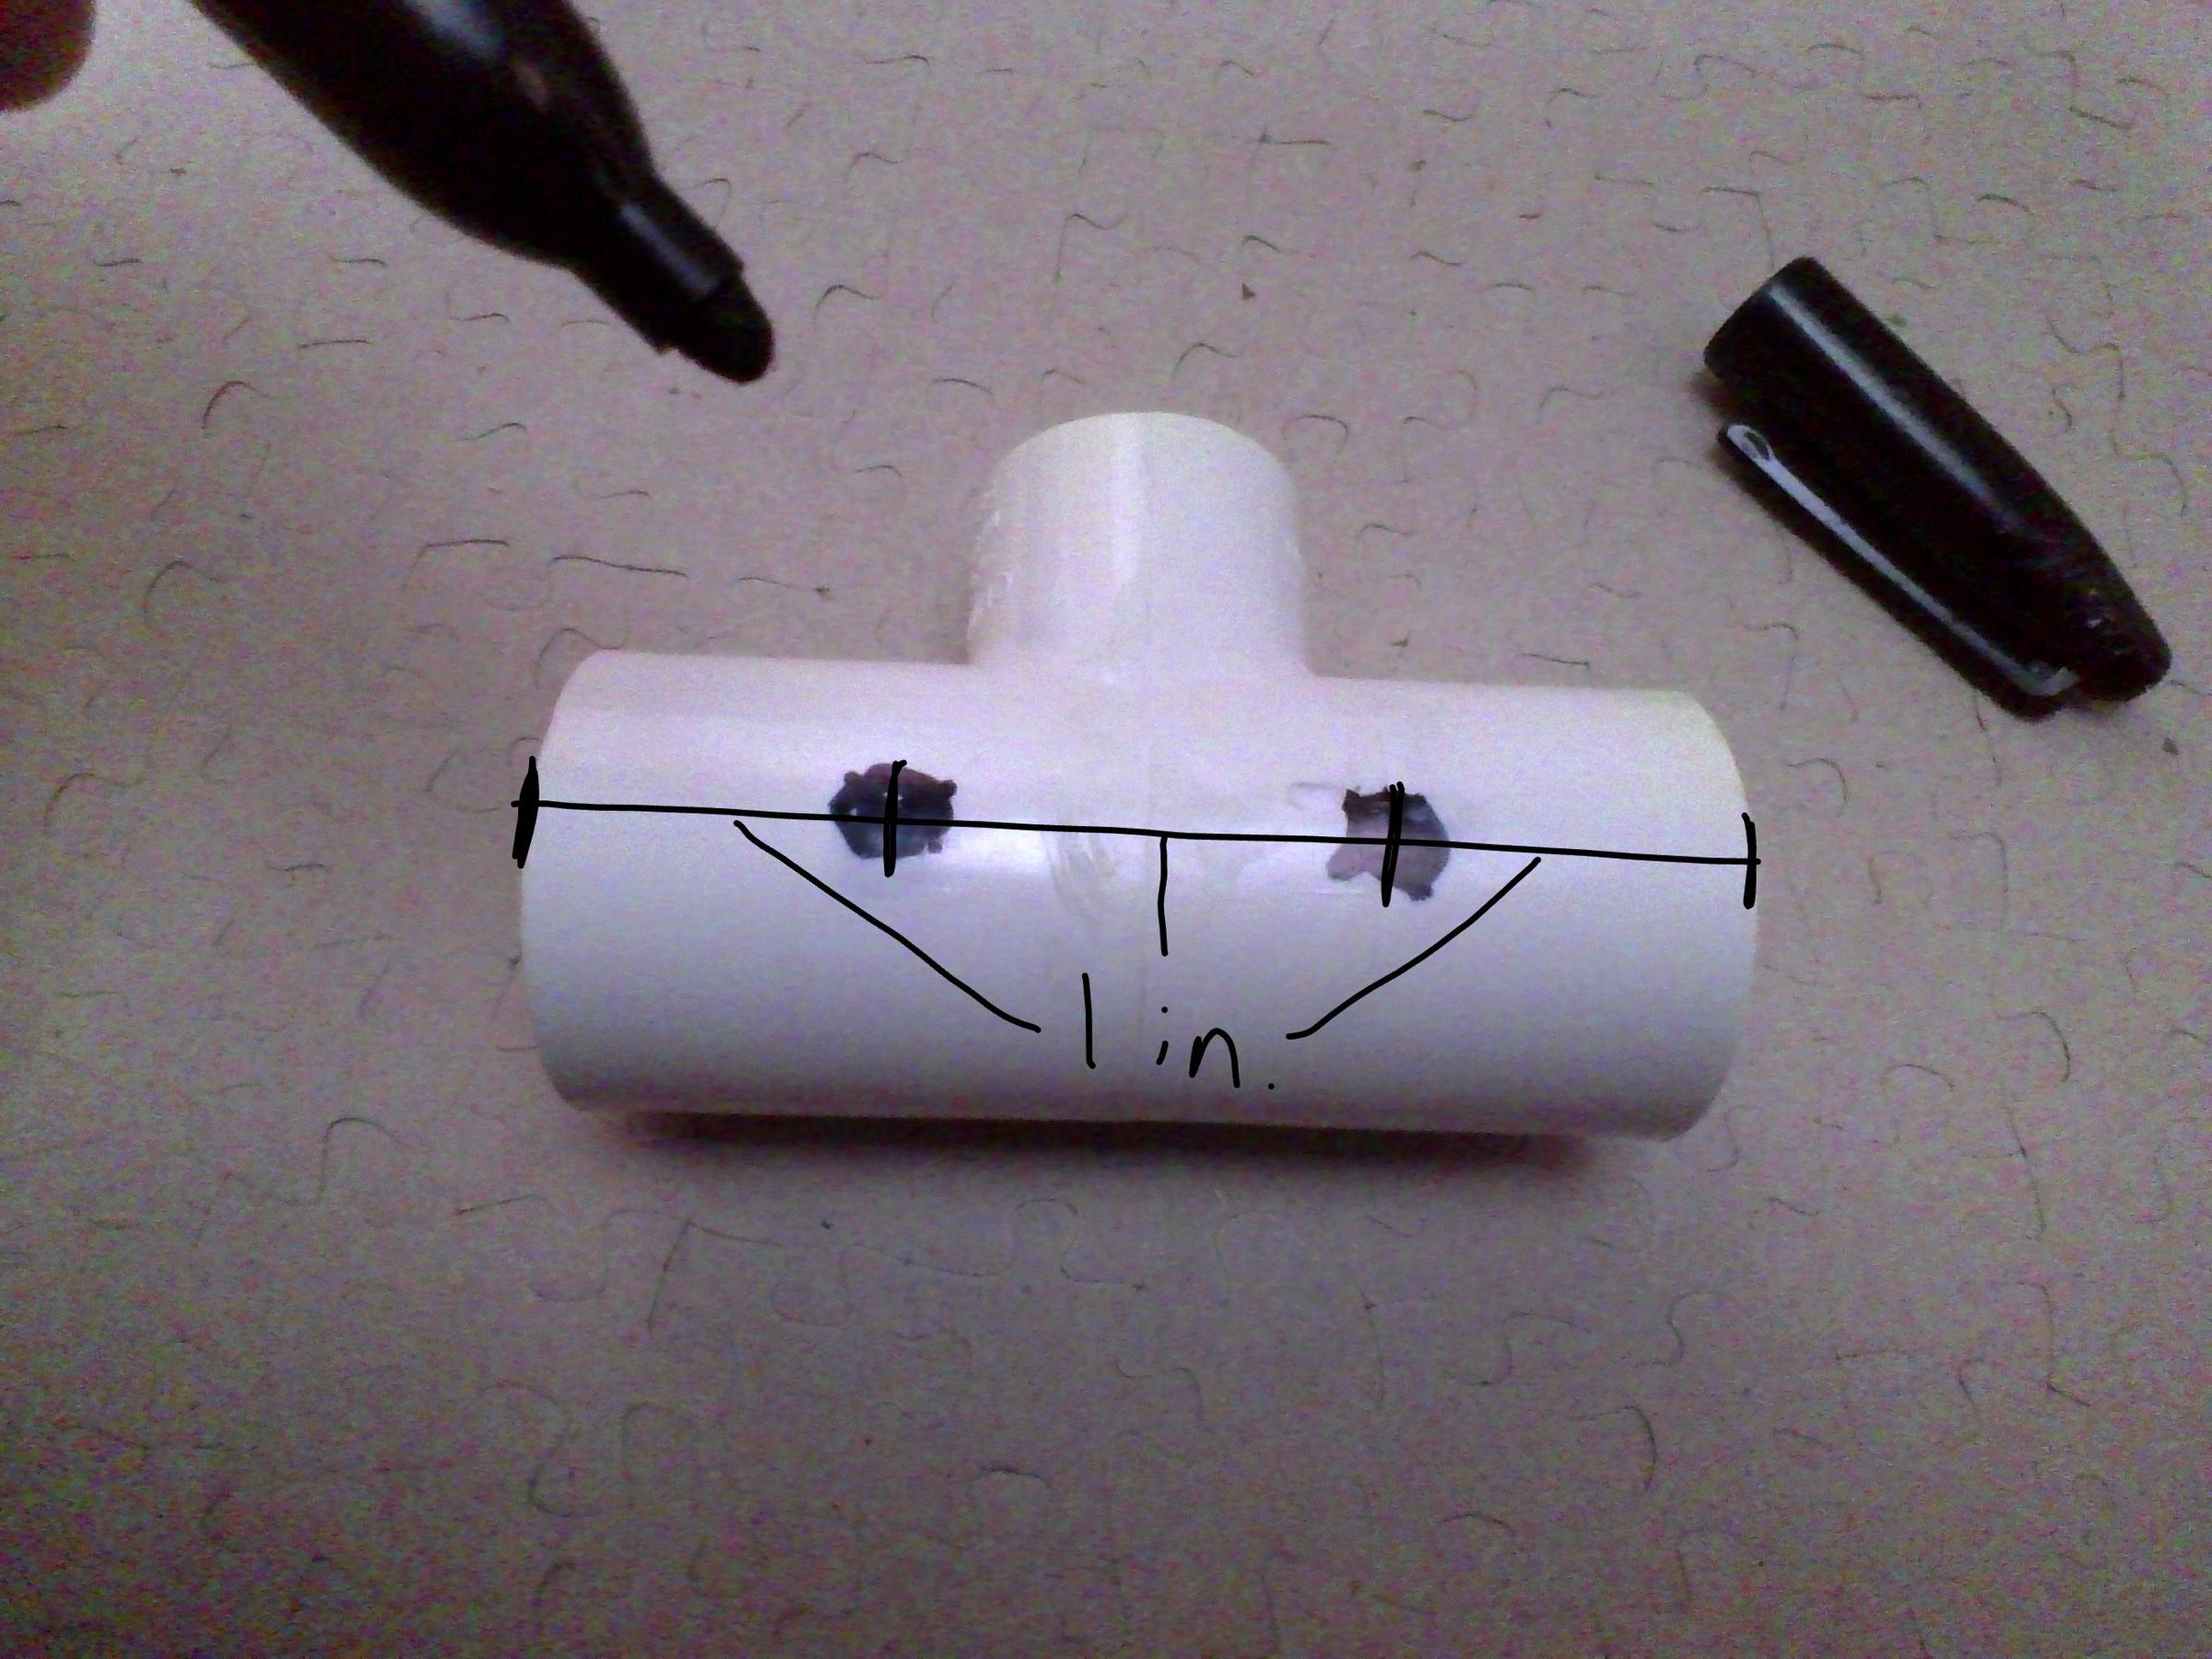
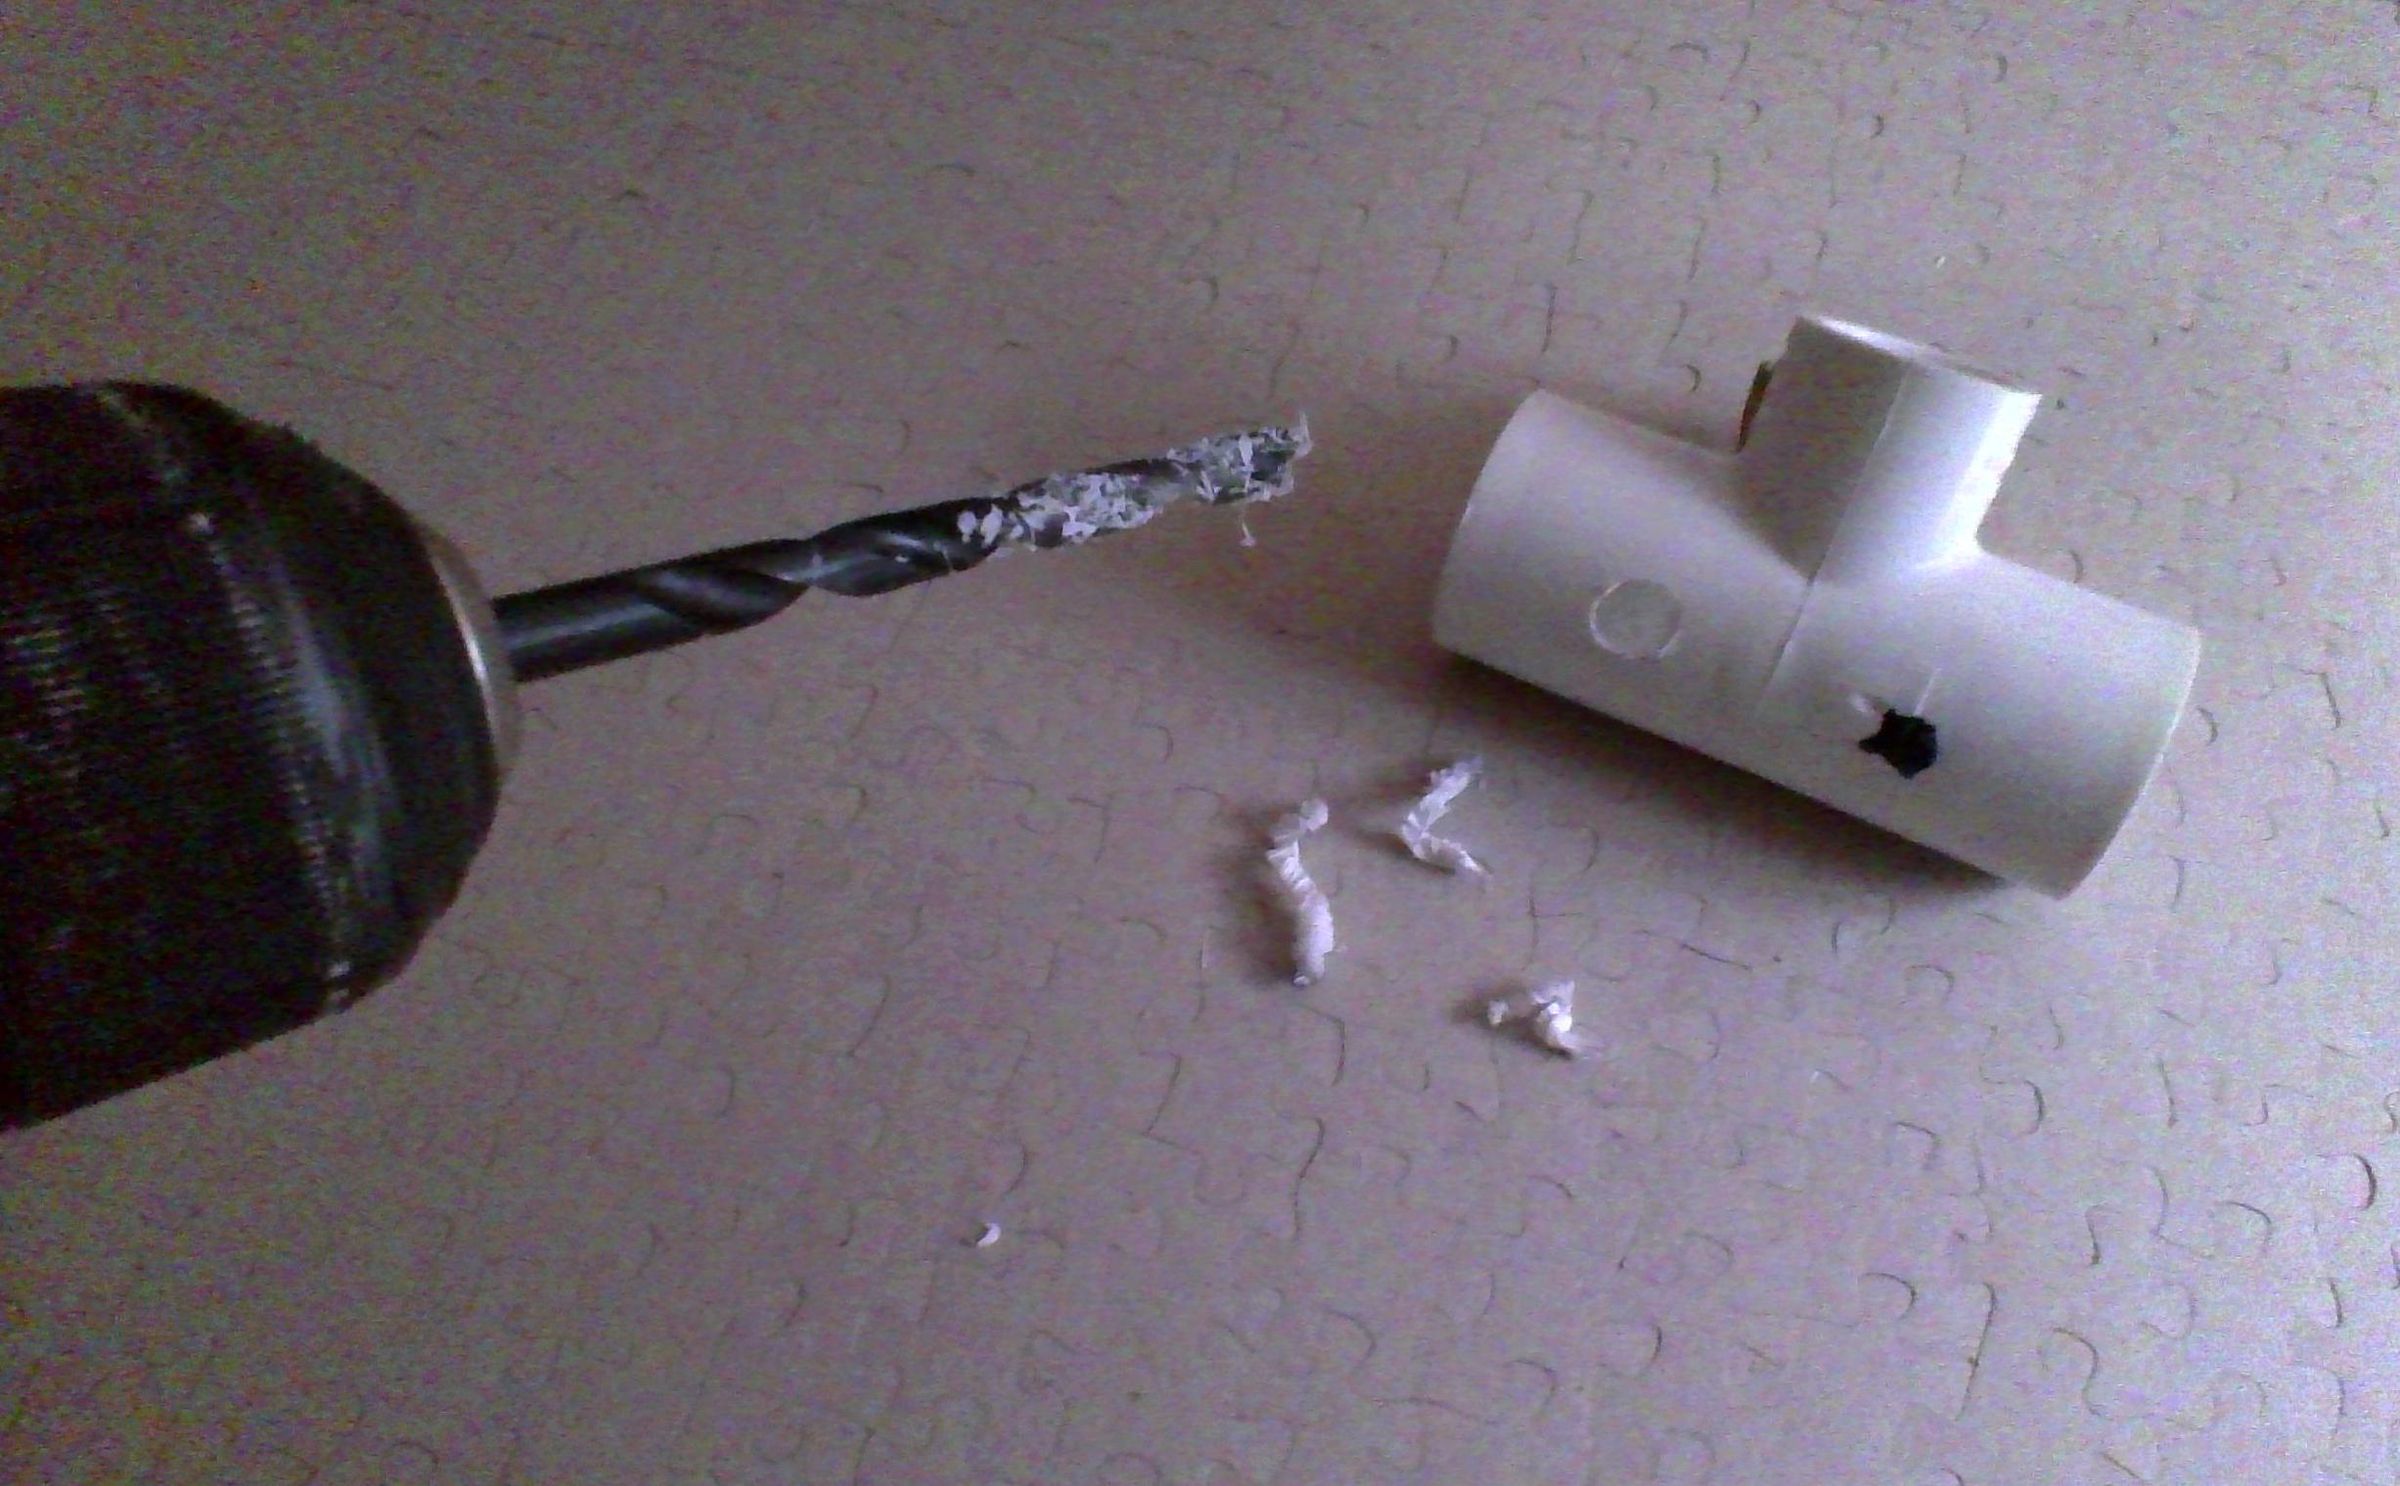
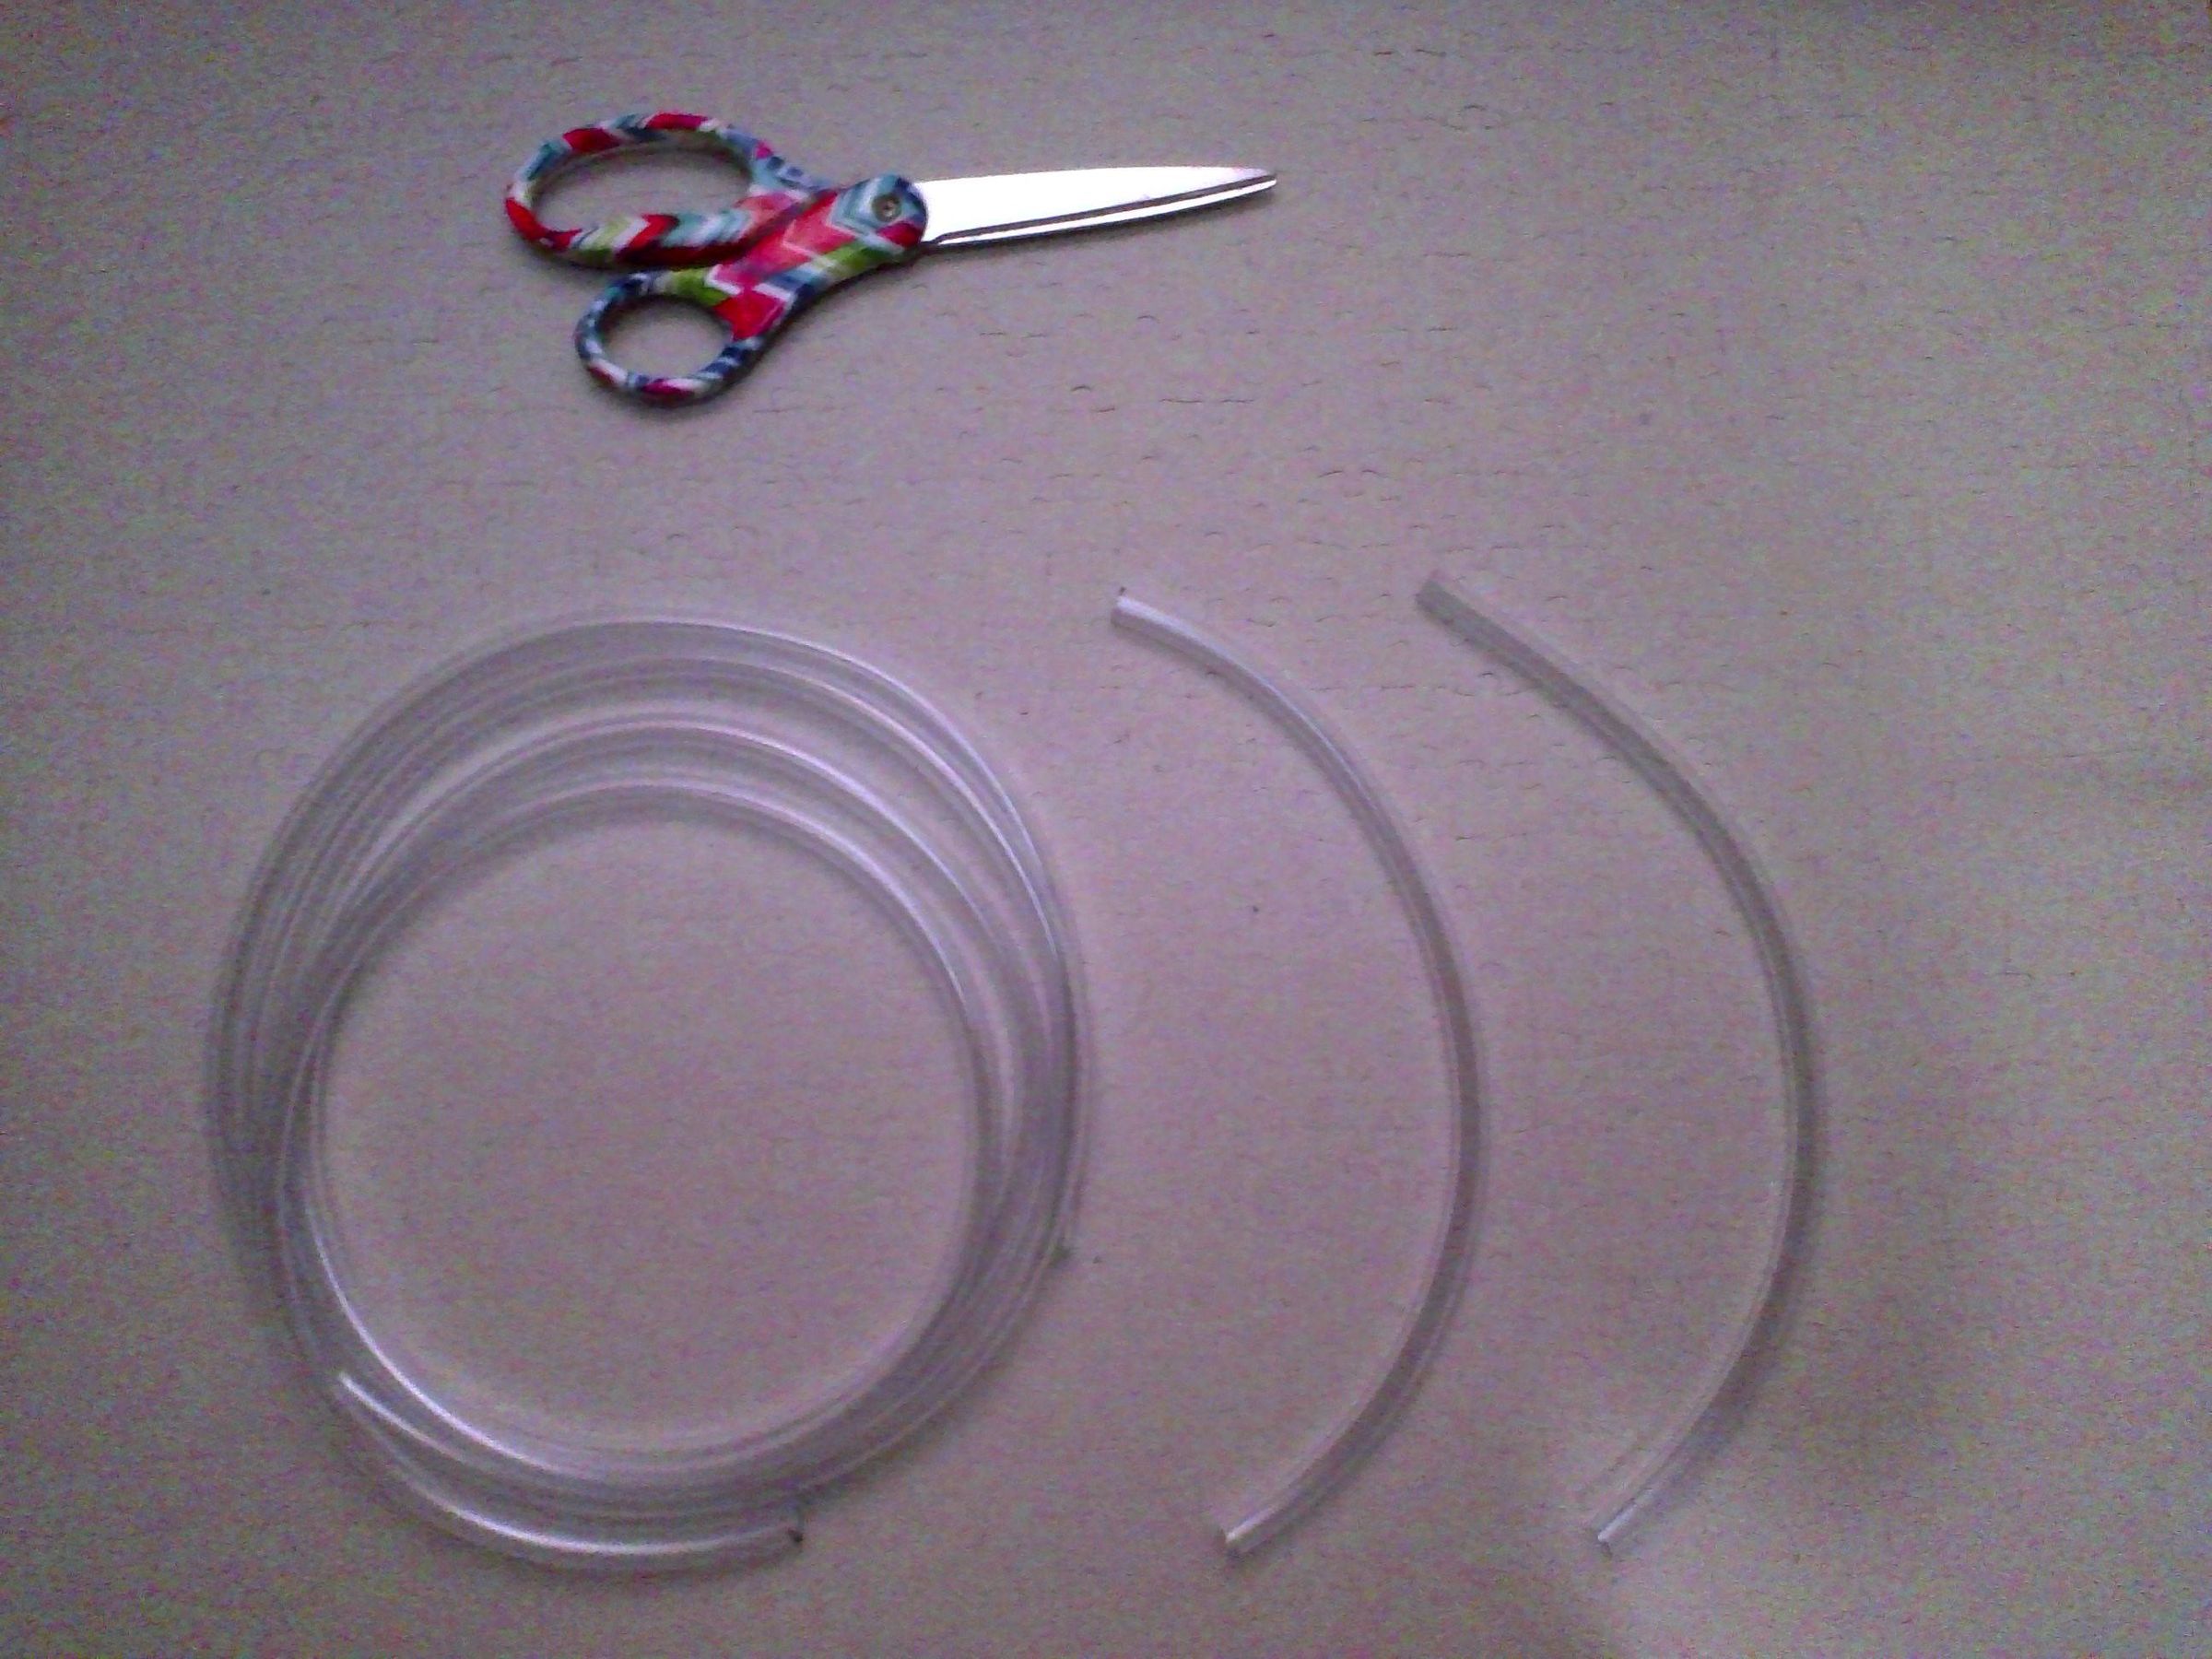
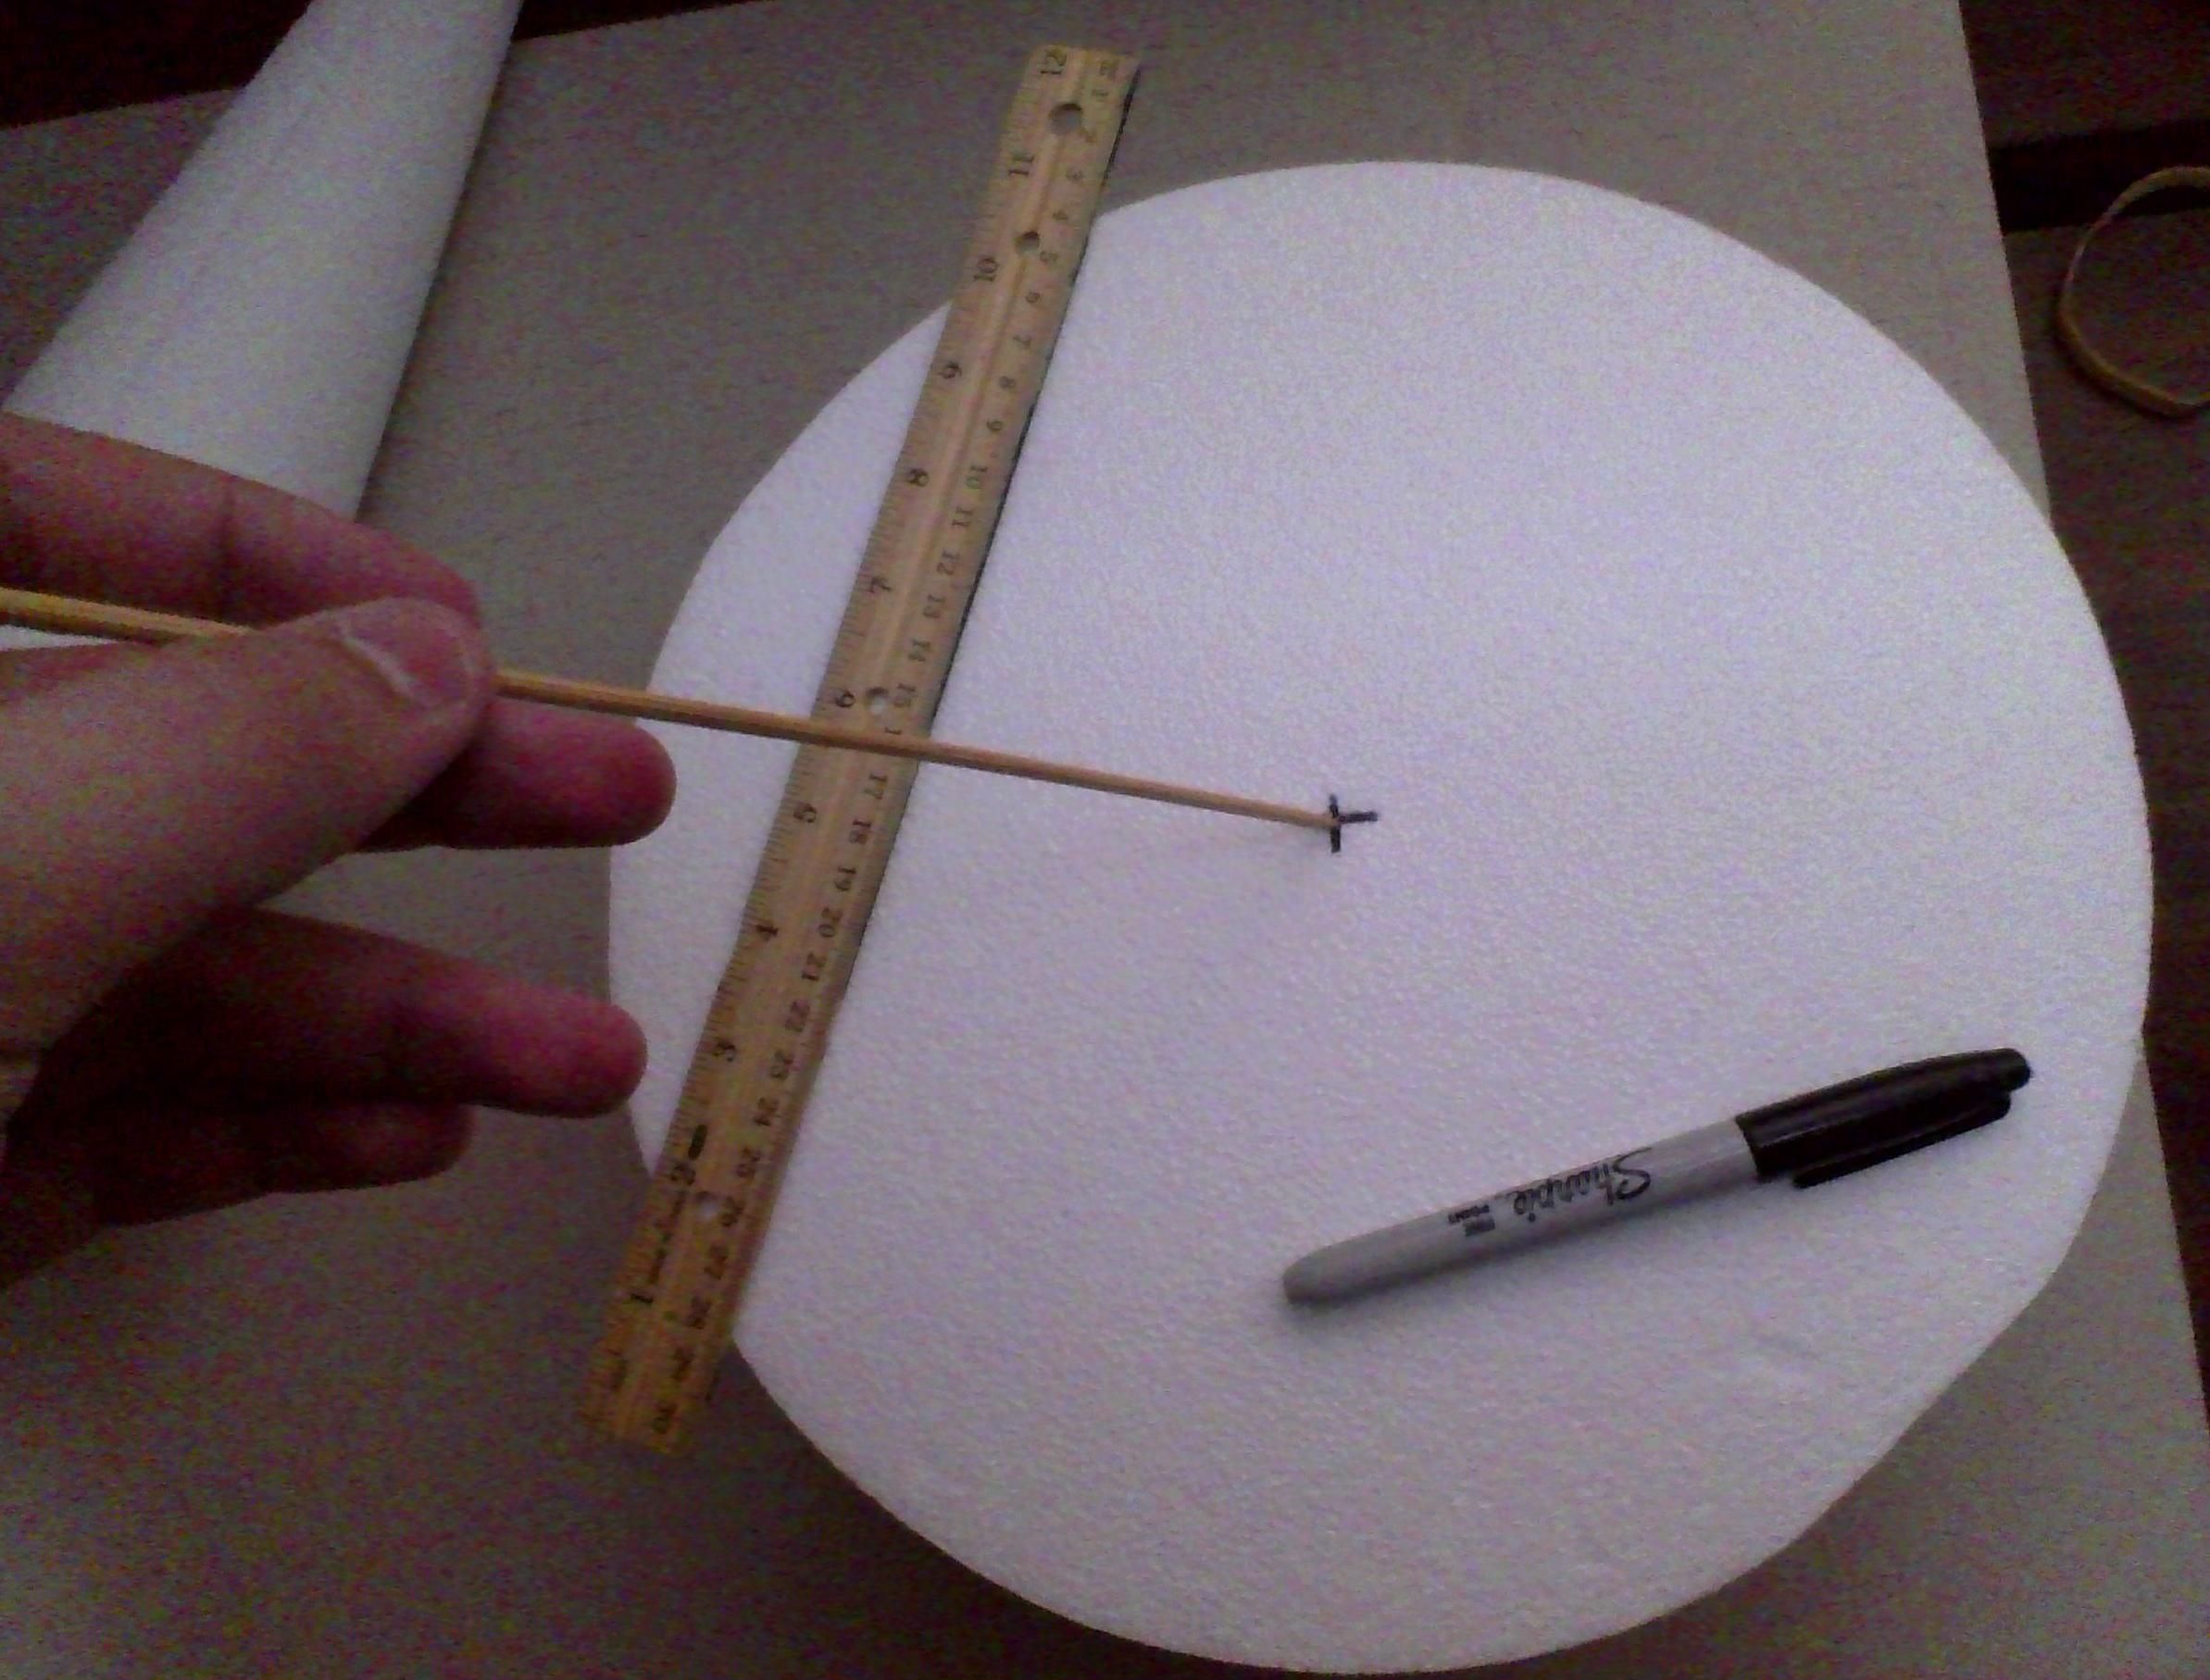
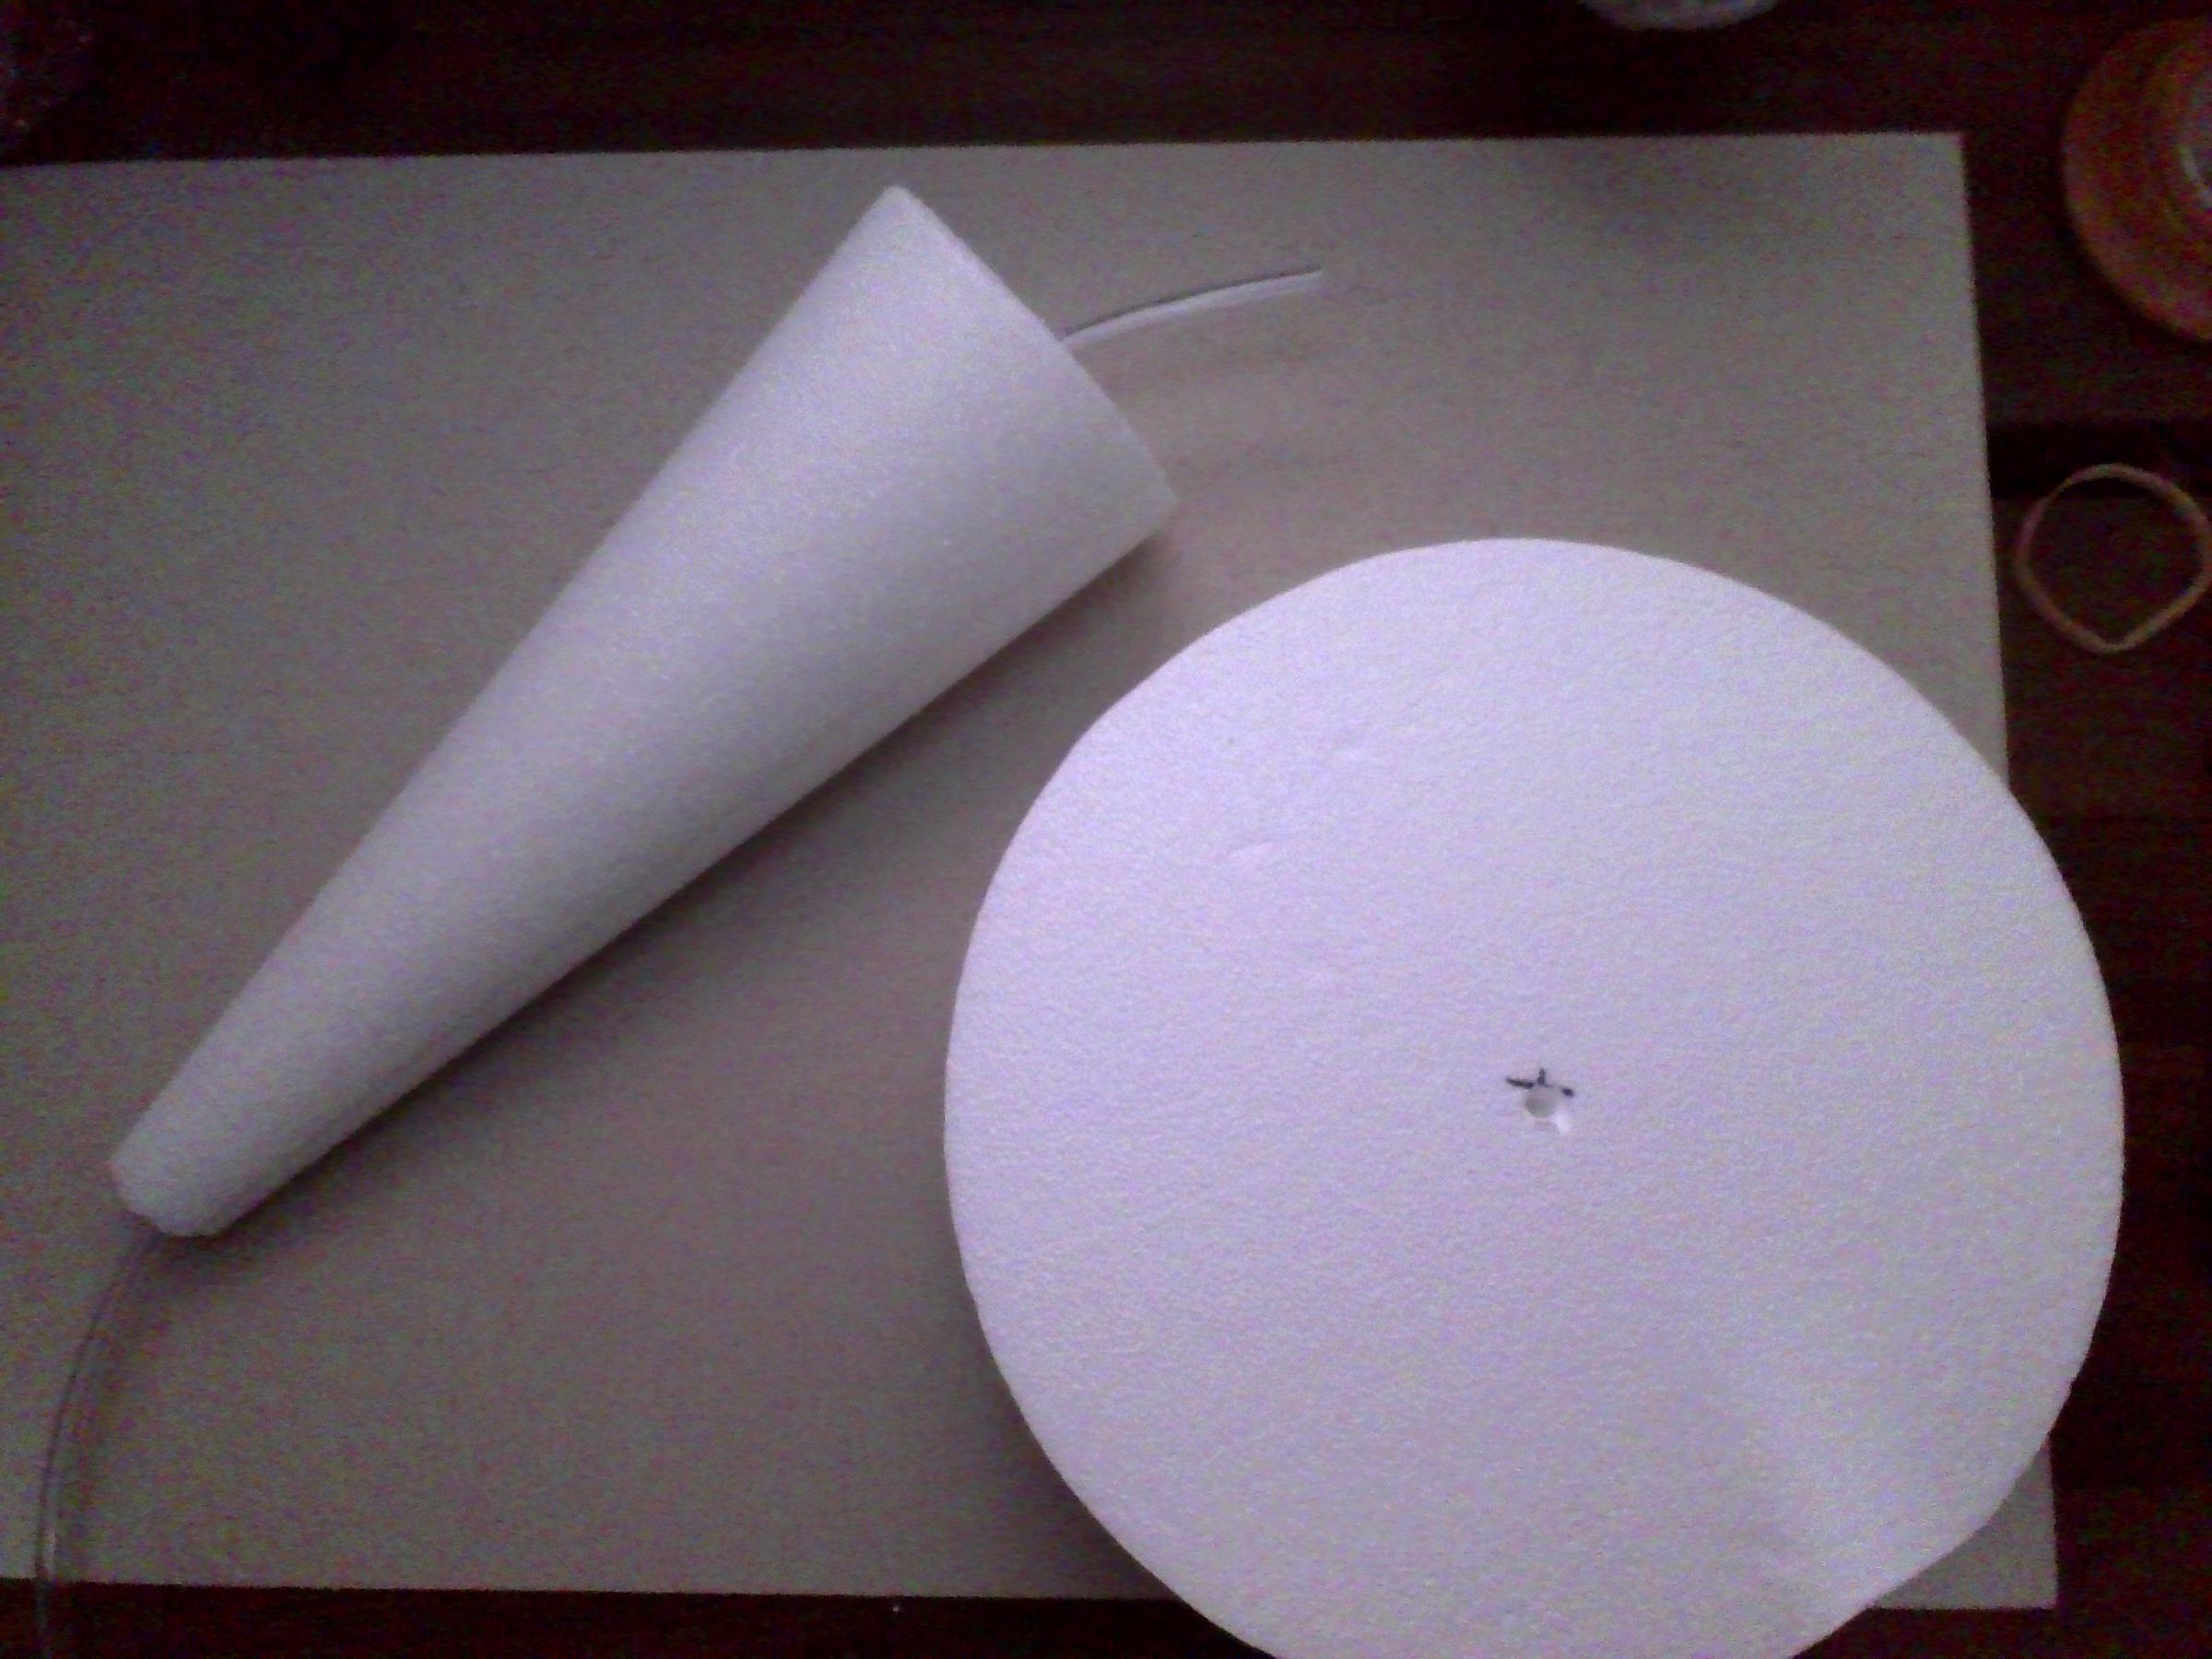
PVC Pipe: First, hold the pipe with the third hole pointing towards you and tilt the hole up by about 180 degrees. Then, mark the pipe with the pipe as shown in the picture. Afterward, drill holes where the marked areas were.
Vinyl Tubing: Cut two feet of tubing separately and put it to the side with the rest of the tubing.
Styrofoam Shapes: Using the ruler and marker, determine the middle of the cylinder and cone on both sides of the shapes and mark them with the marker. Then, use the skewers to poke holes through the marked spots. Note: The skewers may be too short to poke through the cone, so poke both sides and make sure you see the other side when you look through one of the holes.
Tube the Tubing
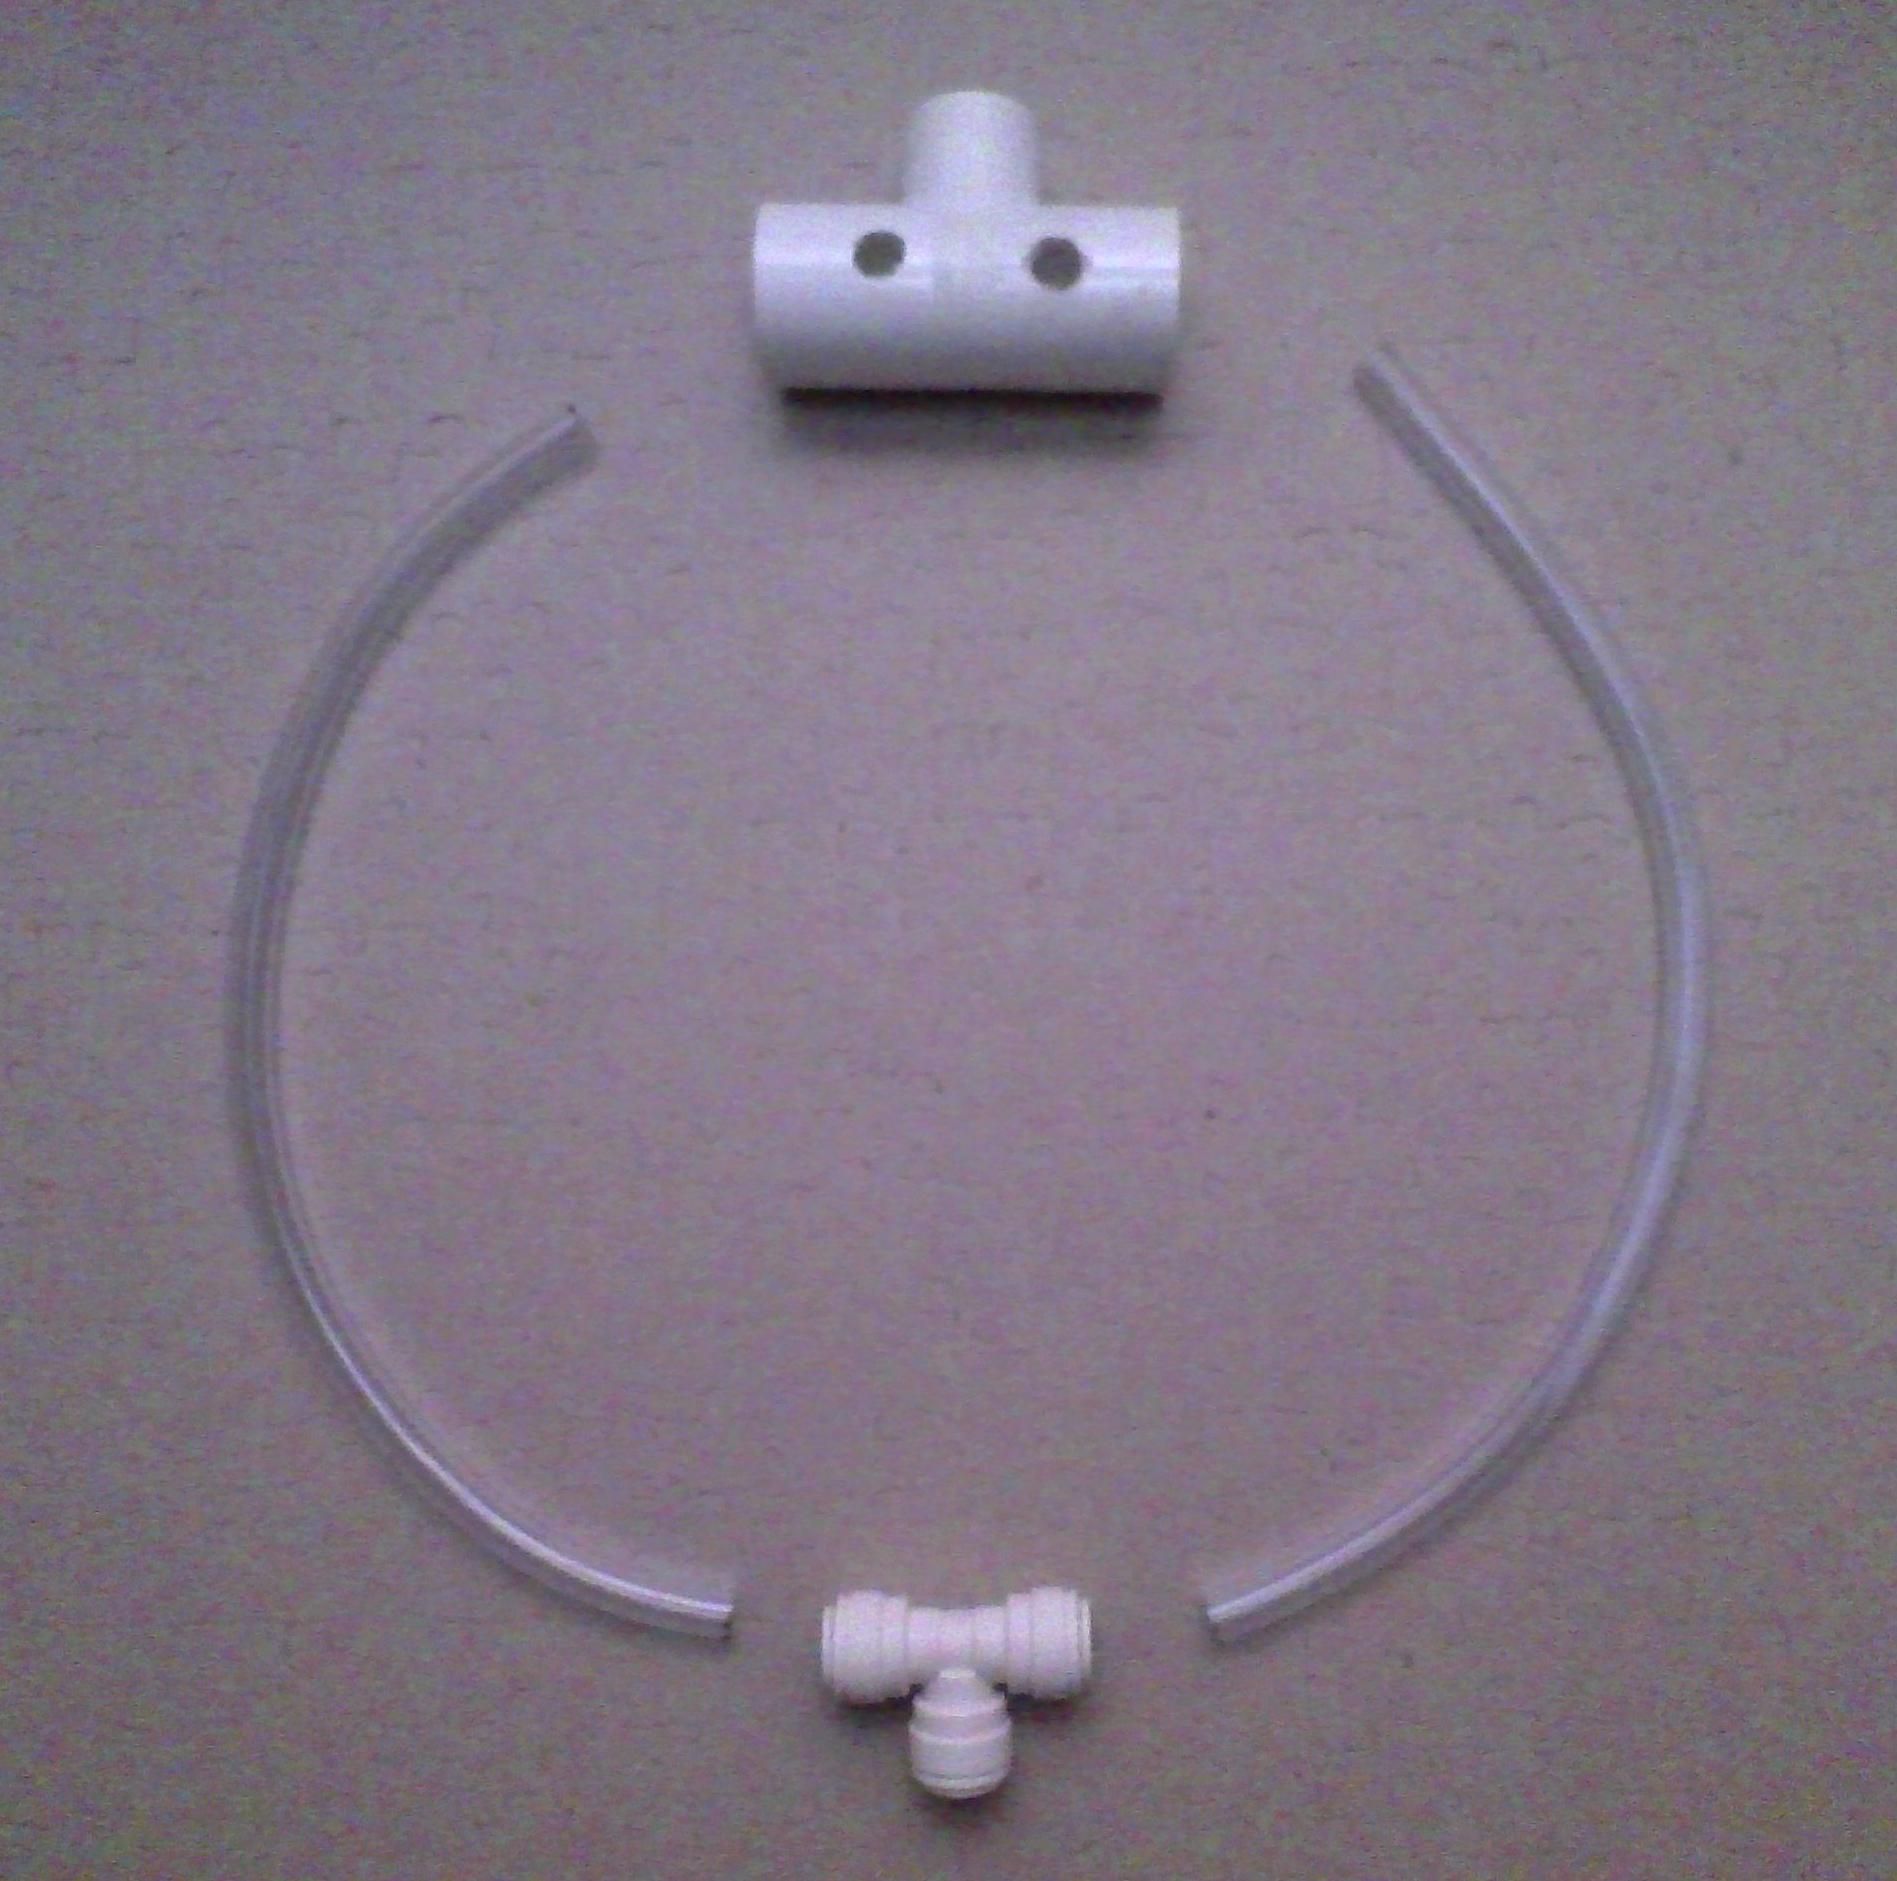
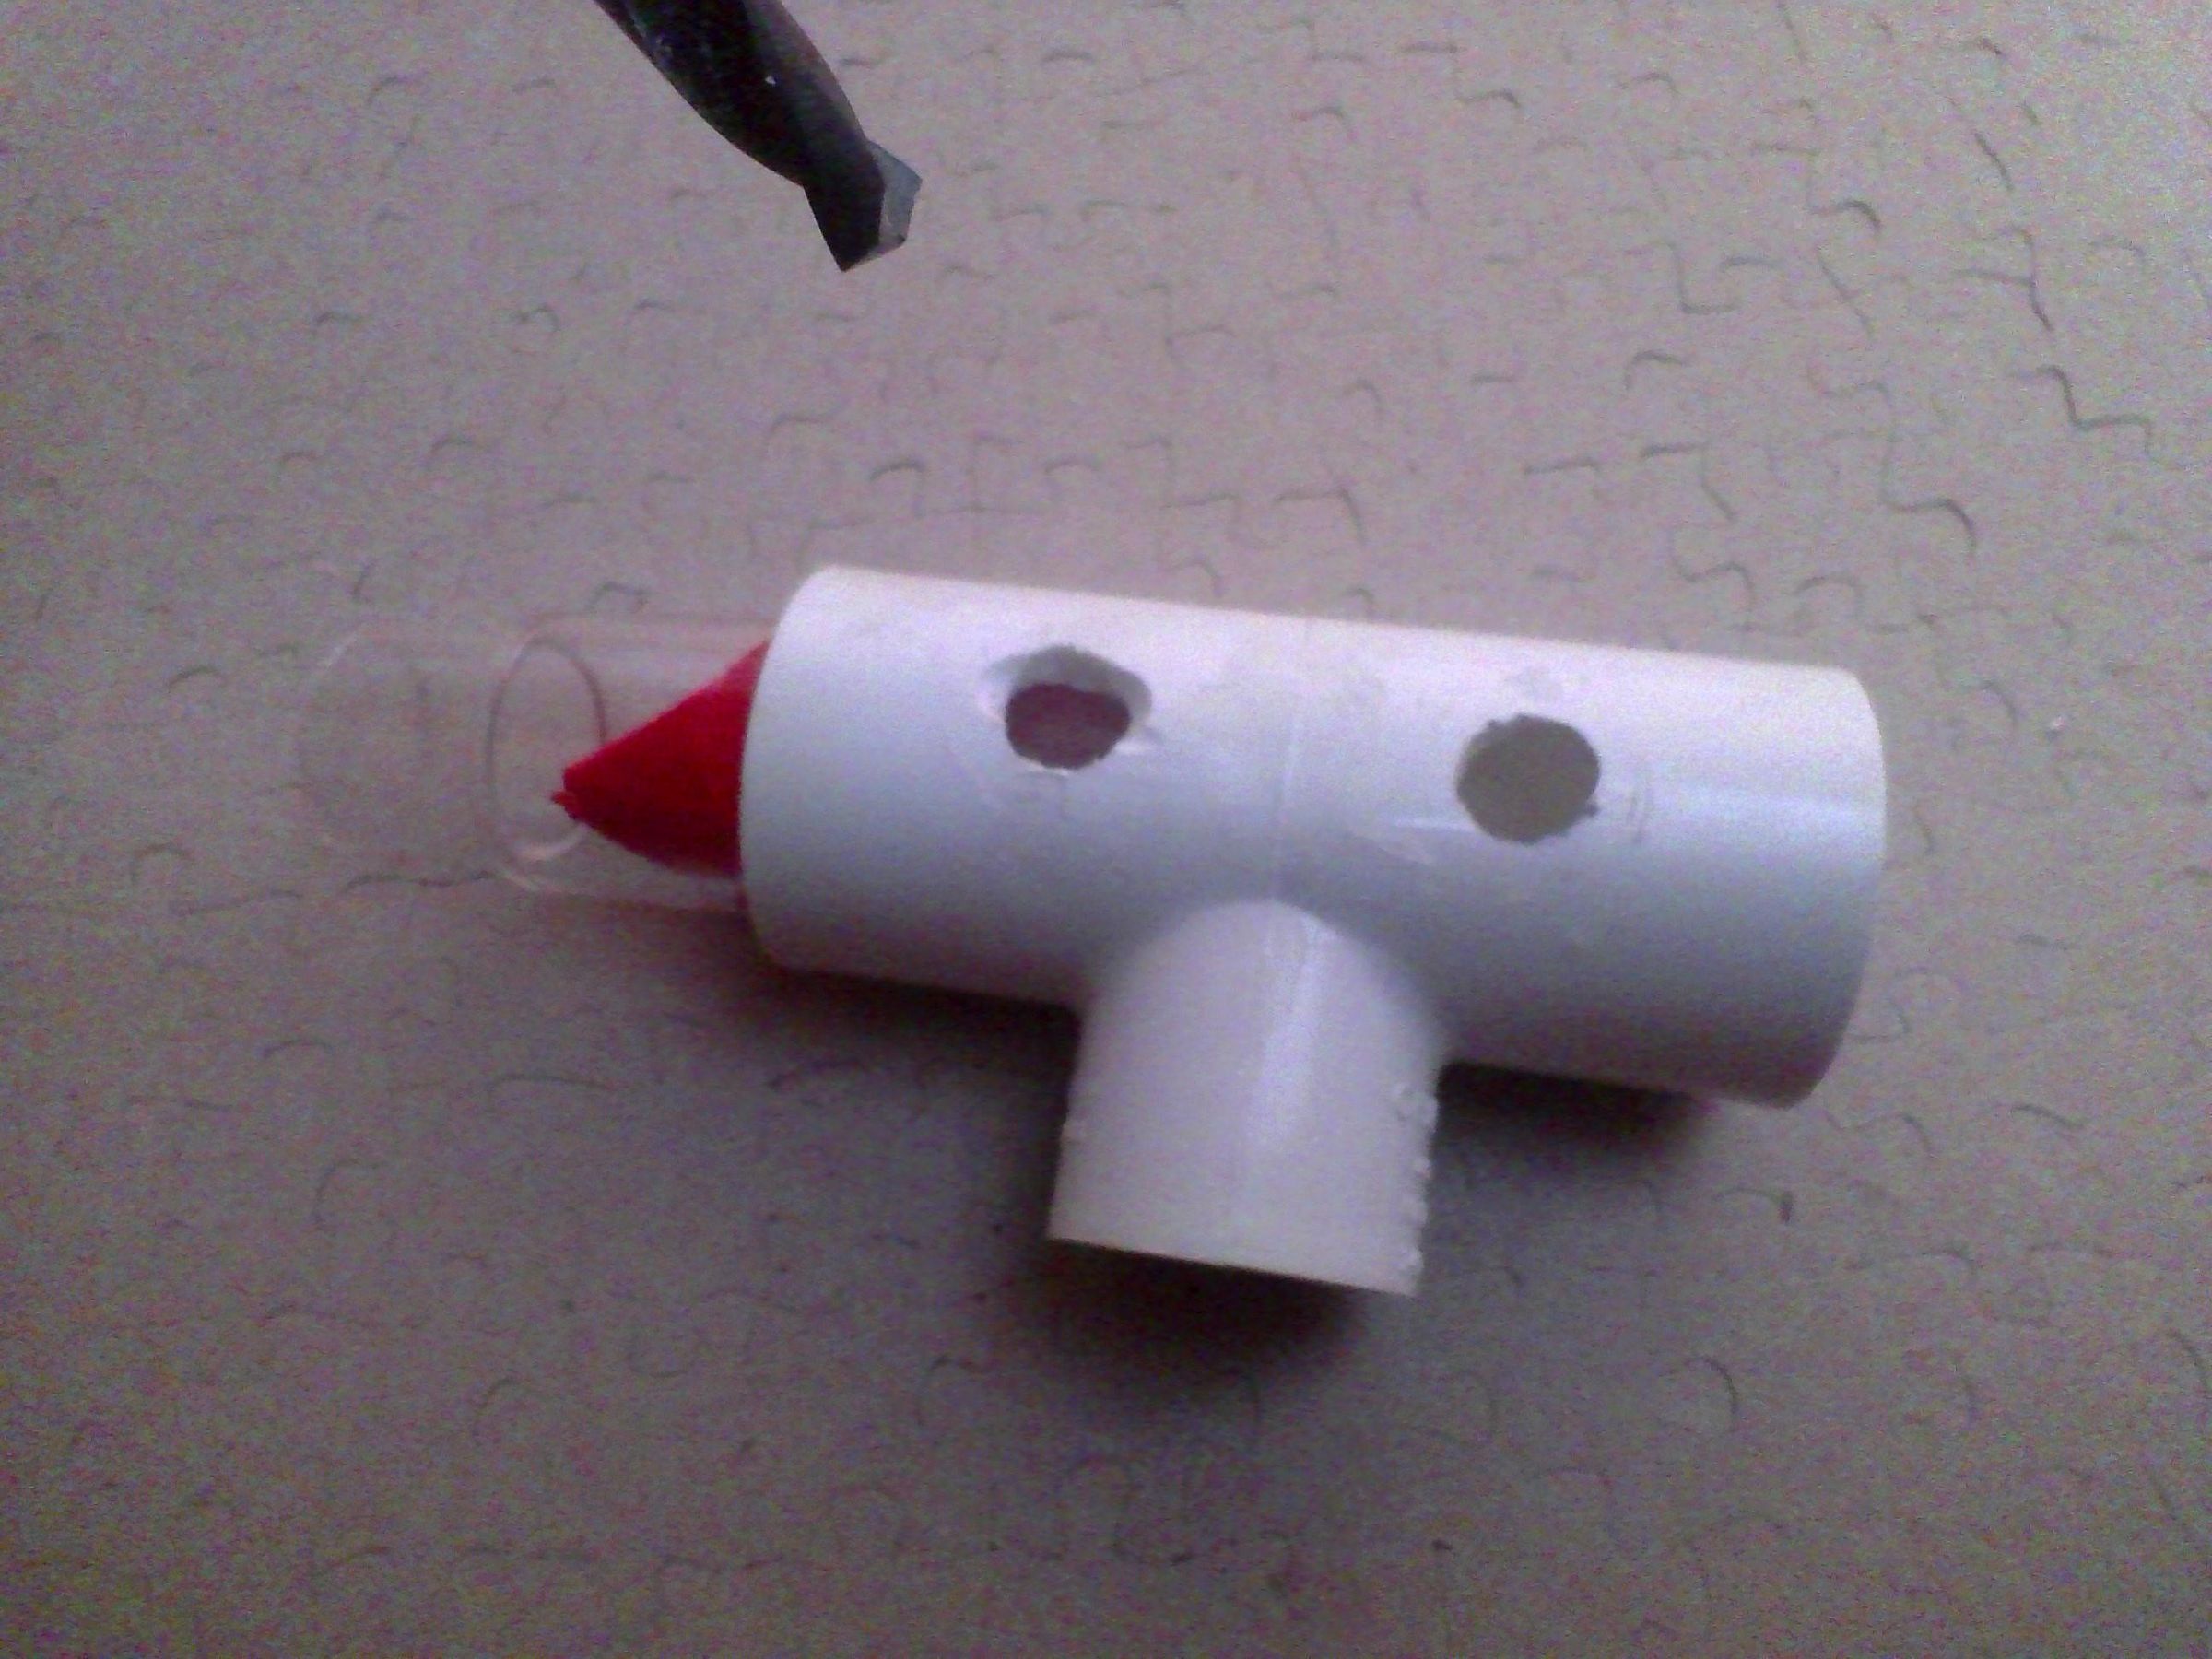
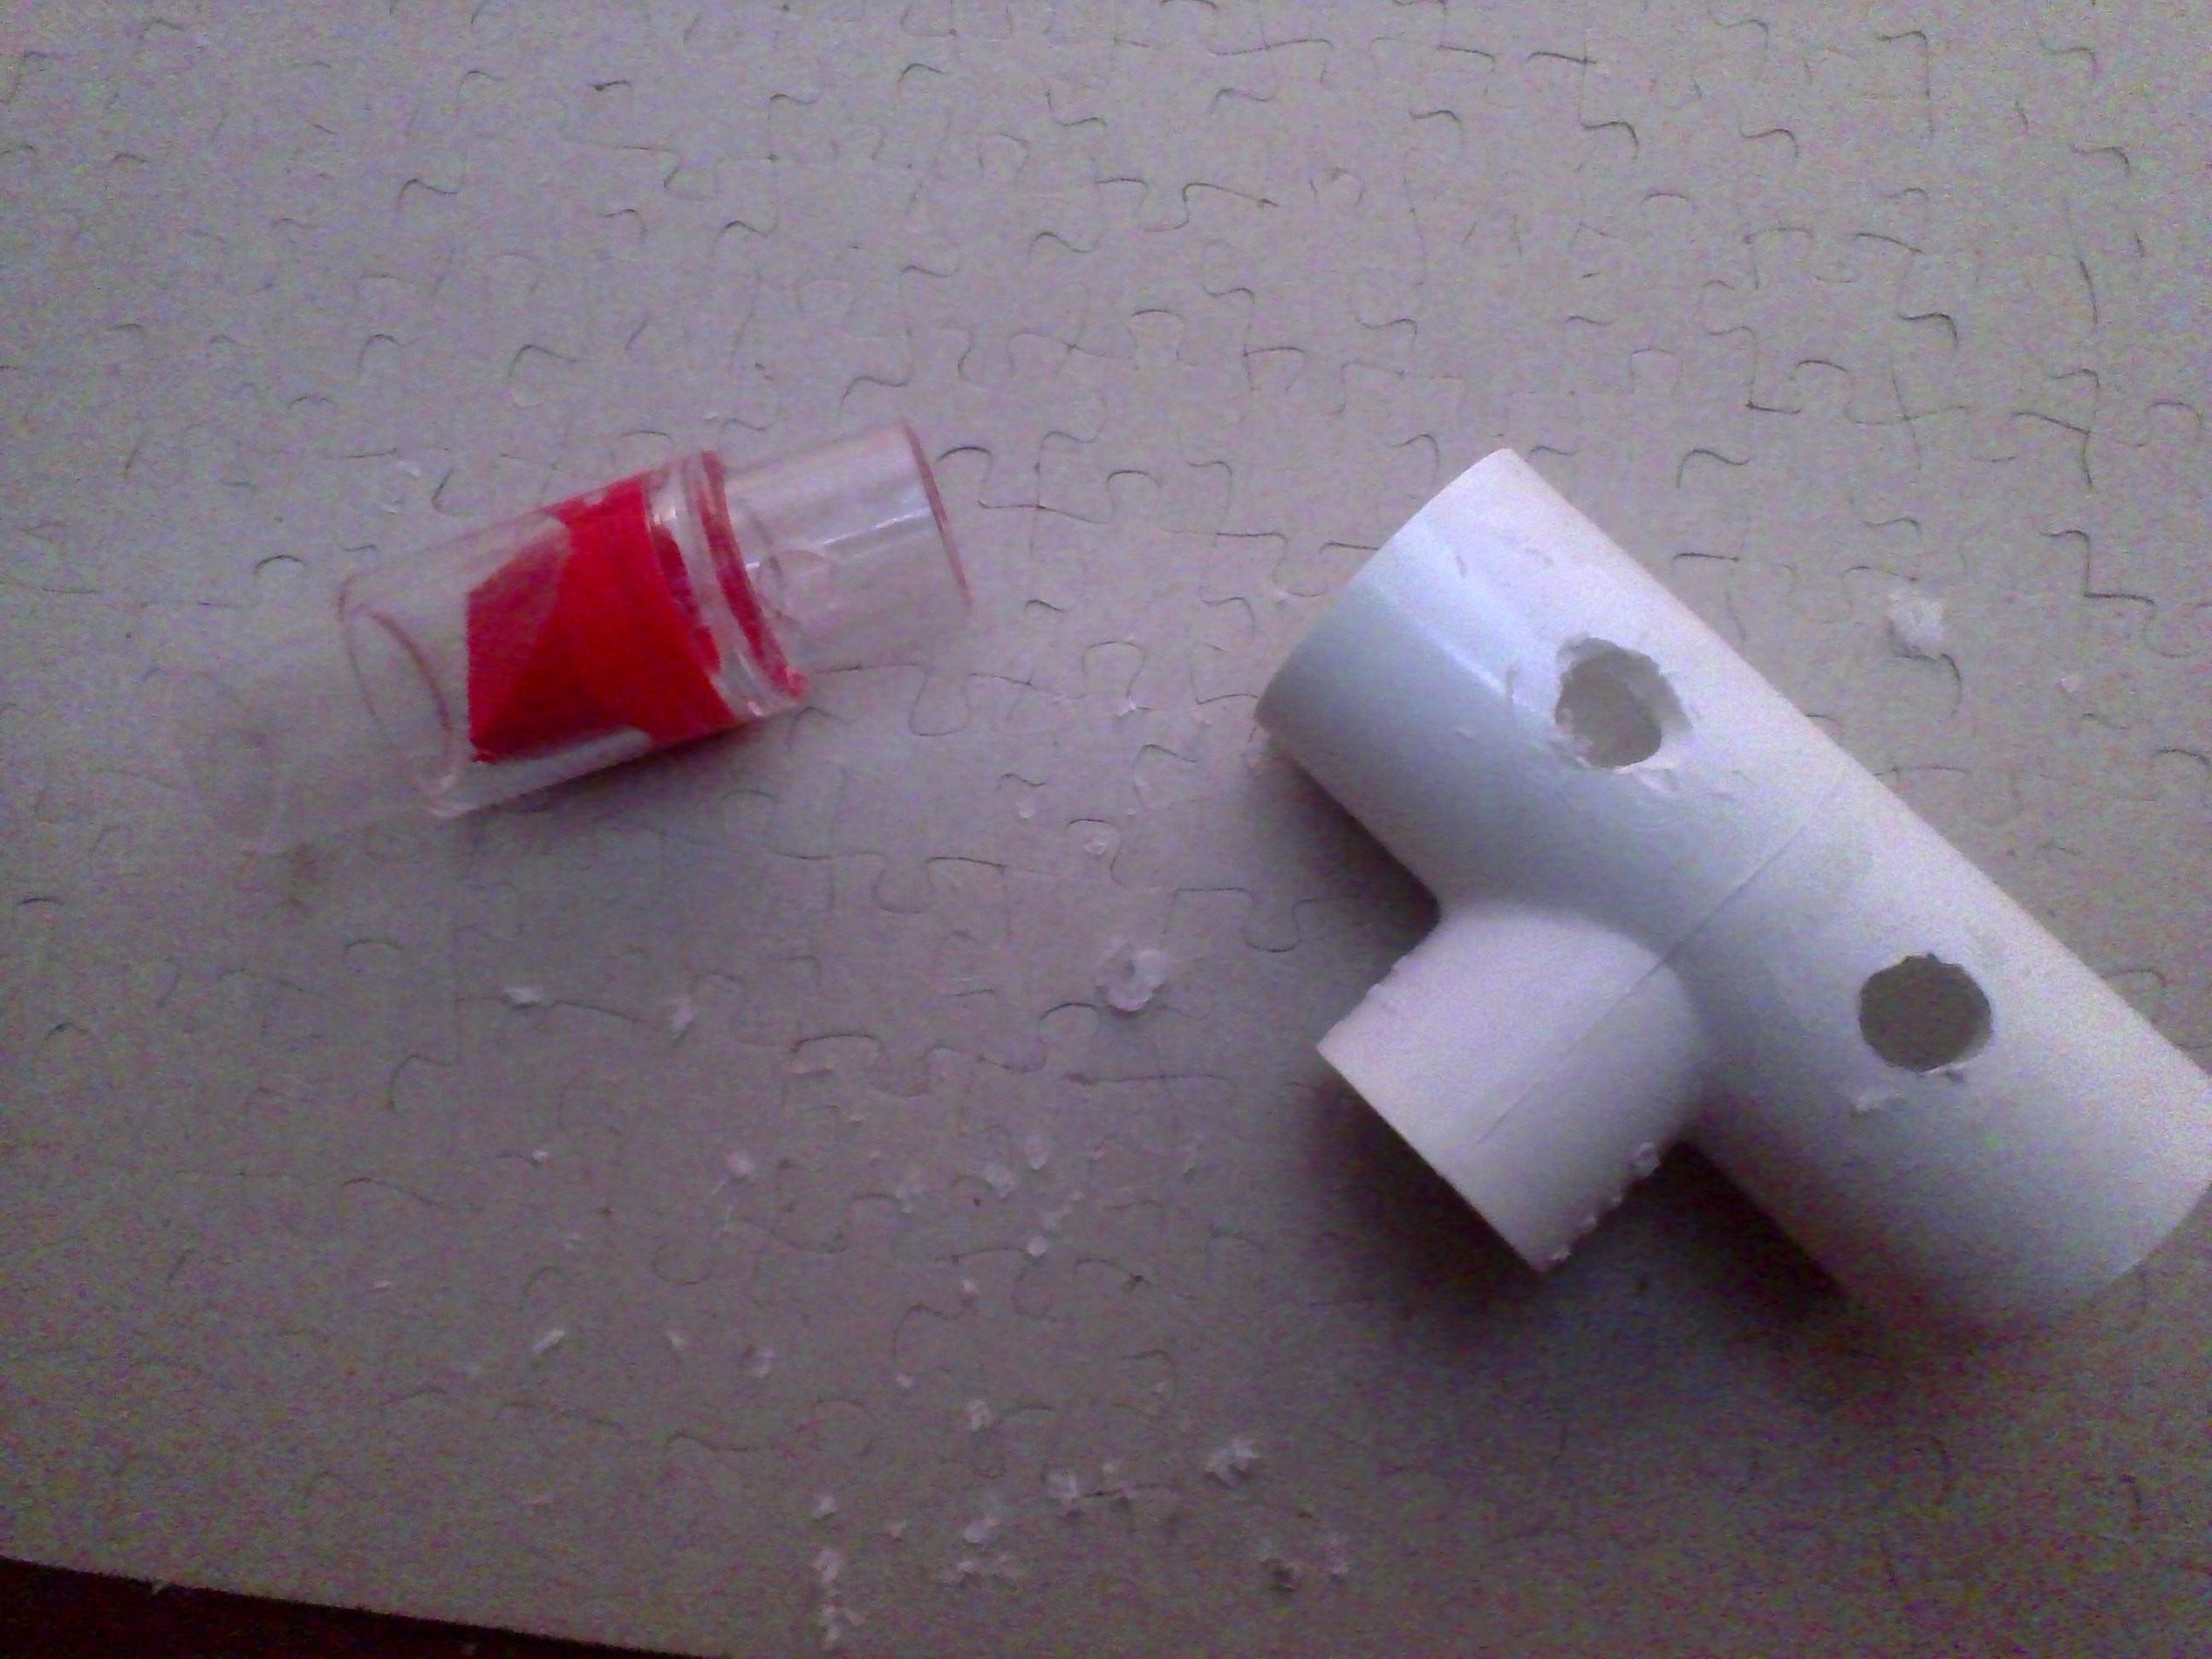
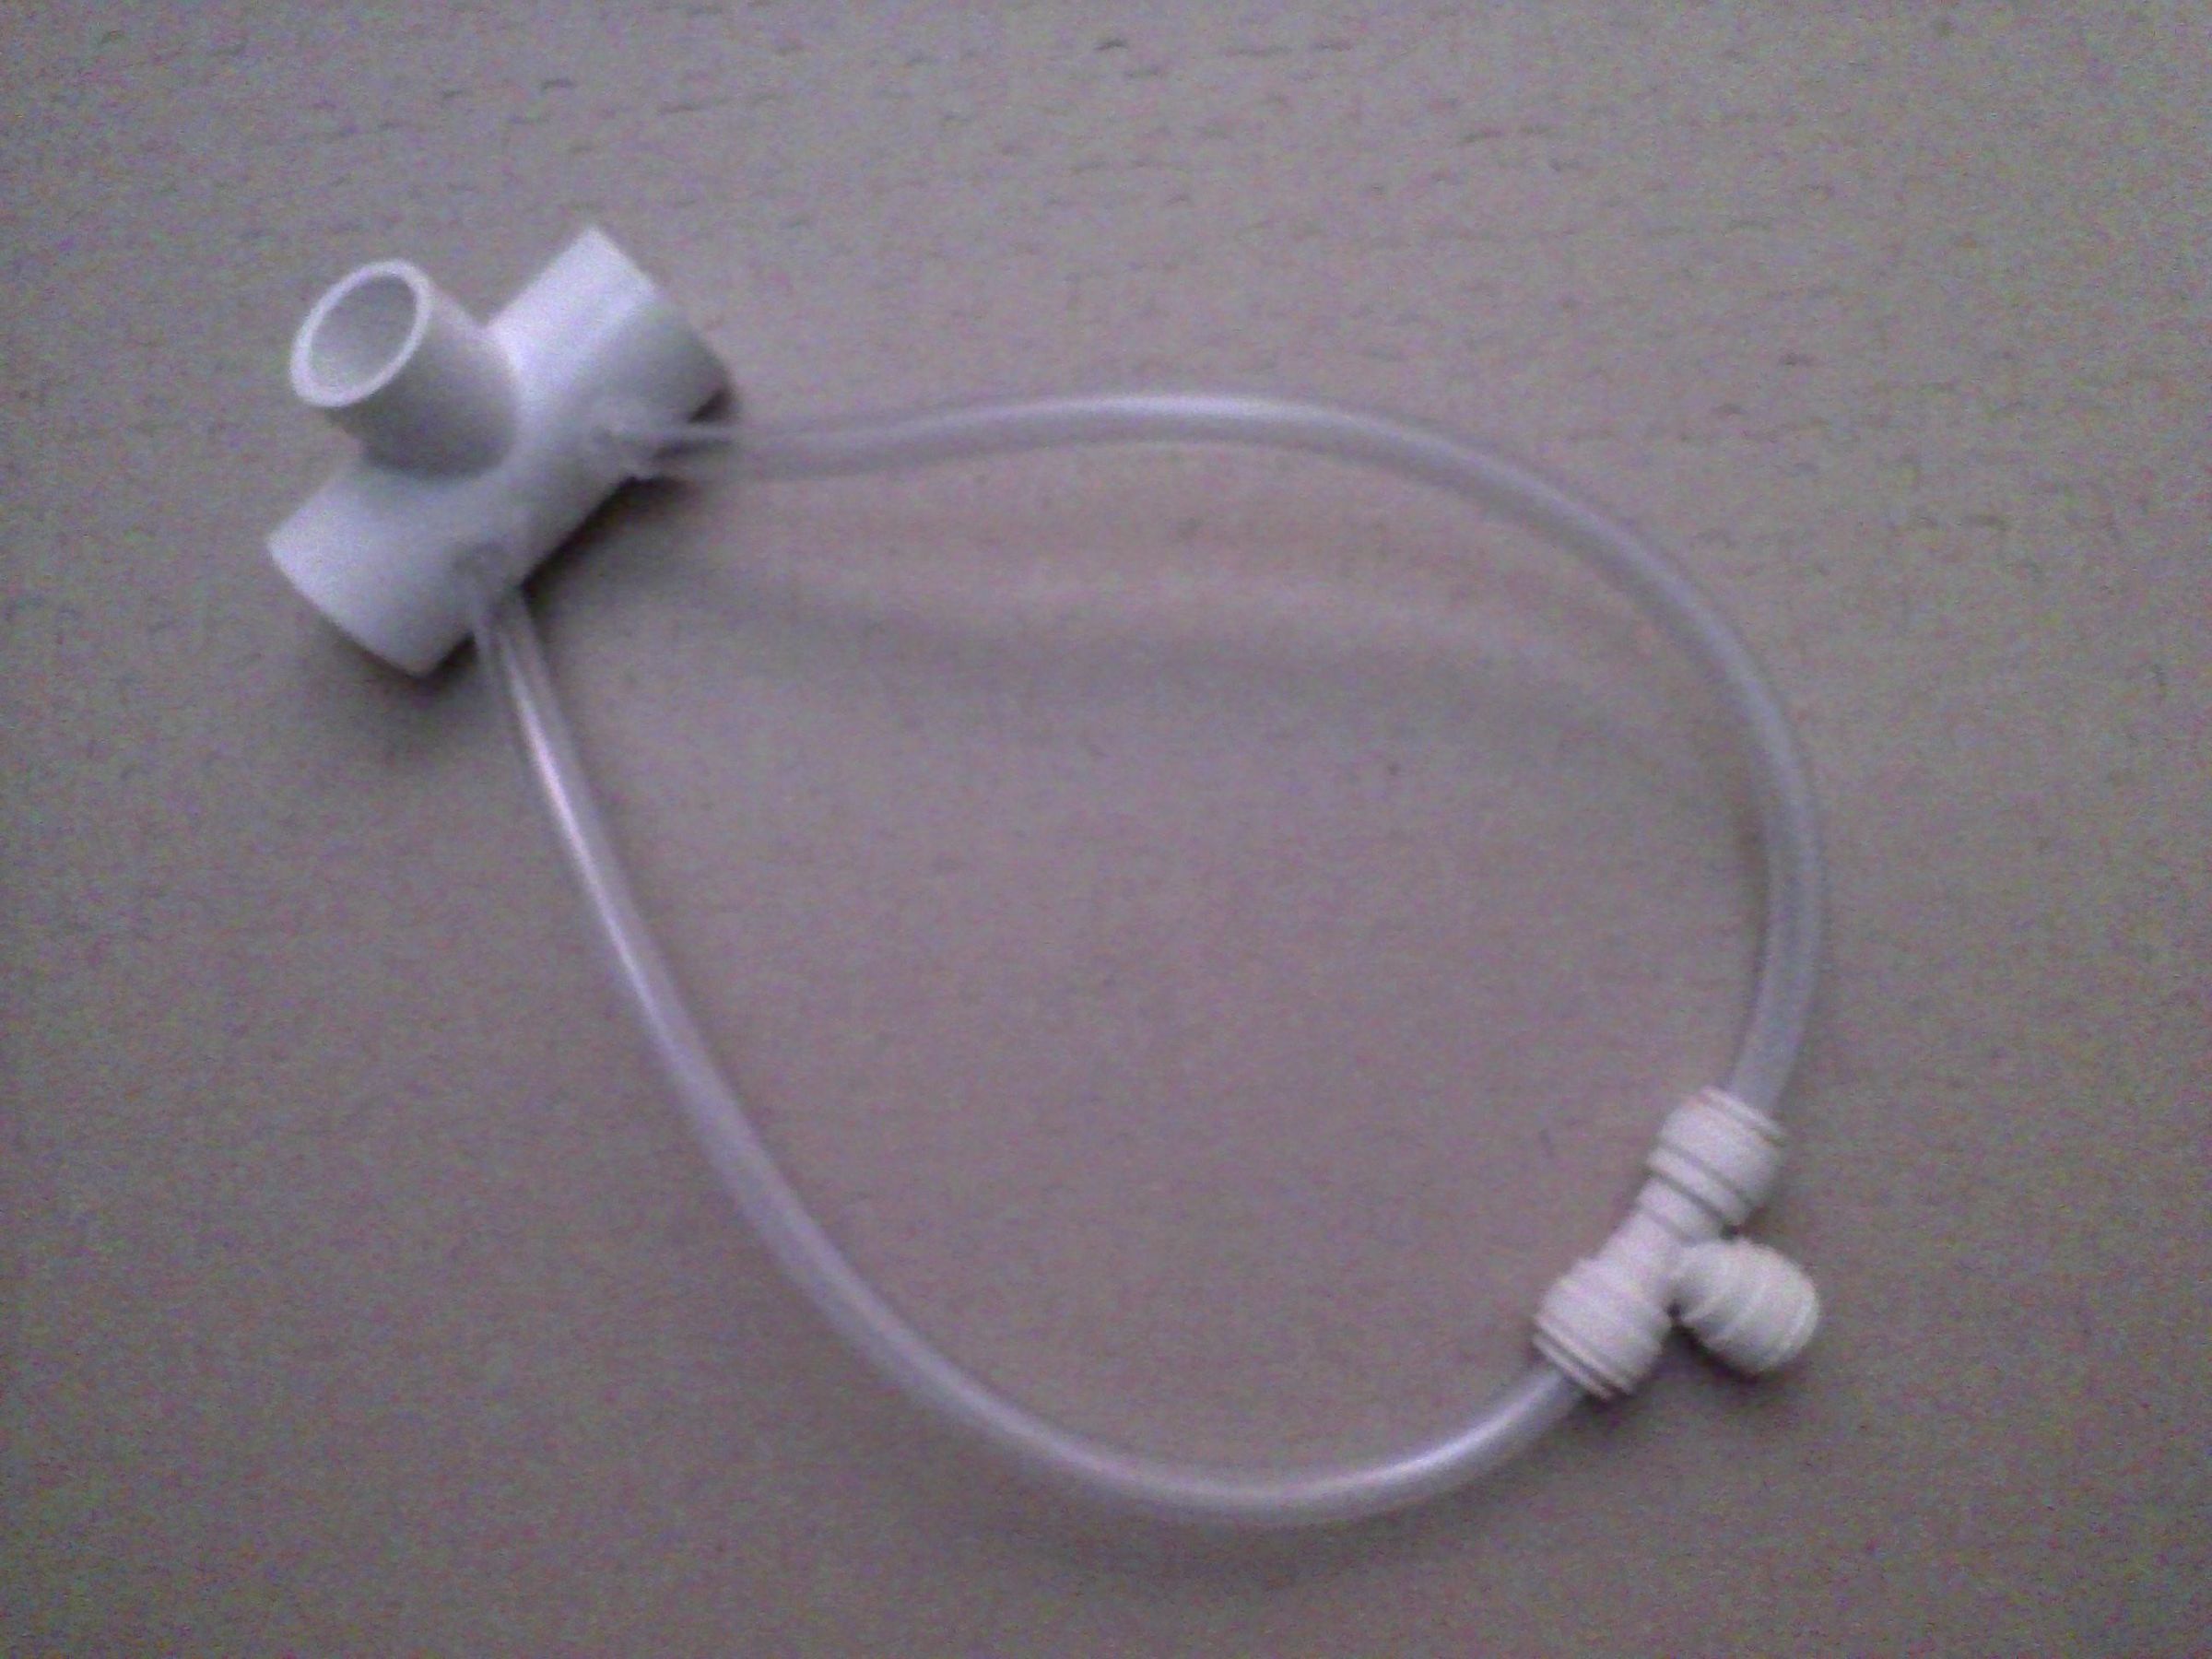
Before we tube the tubing into the PVC pipe, we need to connect the tubing to the hose coupler. (As seen in the picture) Connect the smaller tubes to the coupler, then connect the longer one. Once successfully done, insert the smaller tubes through the two holes in the PVC pipe. If they fit, take them out and put in your valves to see if you can see them through the small holes you drilled. If you can, put the drill bit inside the holes you already drilled and drill the plastic from the valve so the tube you will put in later will not get obstructed by the extra plastic on the valve. If you can't see any plastic through the drilled holes with the valves inside the pipe, you're all good. Now push the tubing back in just enough so the edges can be seen through the pipe's other holes and hot glue them from the outside. Then, try to coat the crevices in between the tubing and the pipe by applying some glue to the tip of a skewer and apply it to the crevices. Do this for both tubes. Wait for it to dry before touching it again so that the tubes are as secure as possible.
Tube the Styrofoam
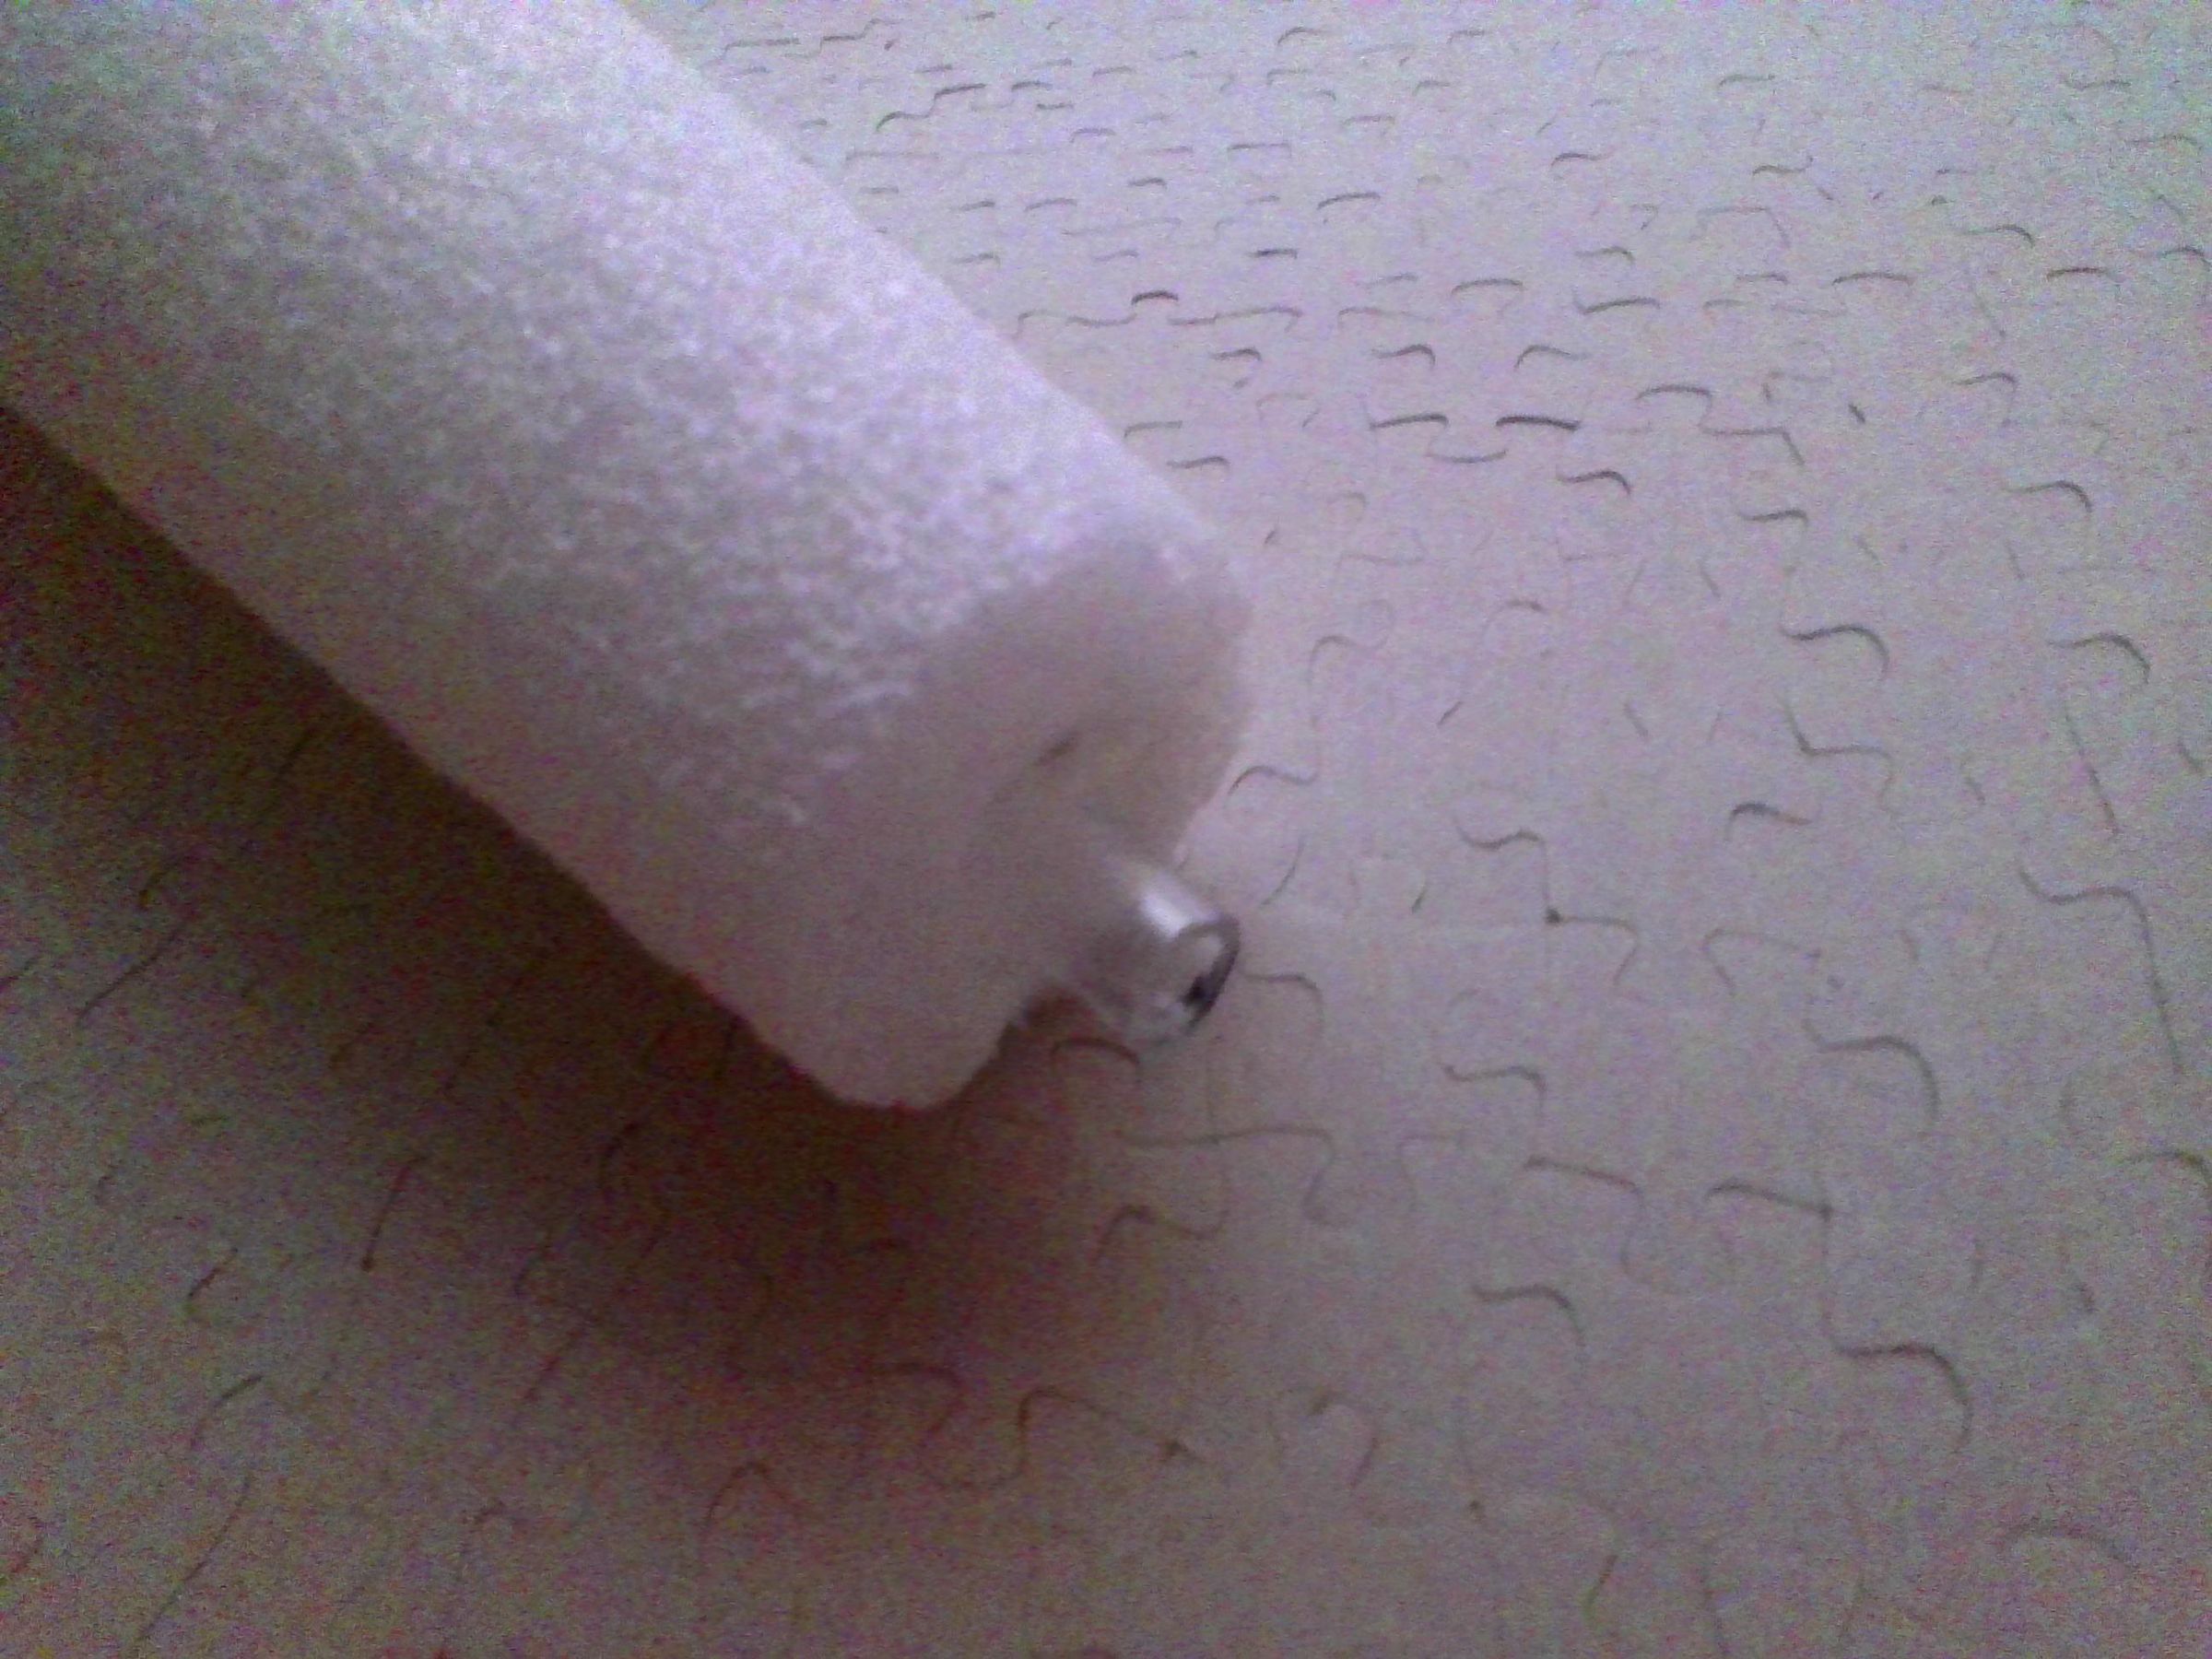
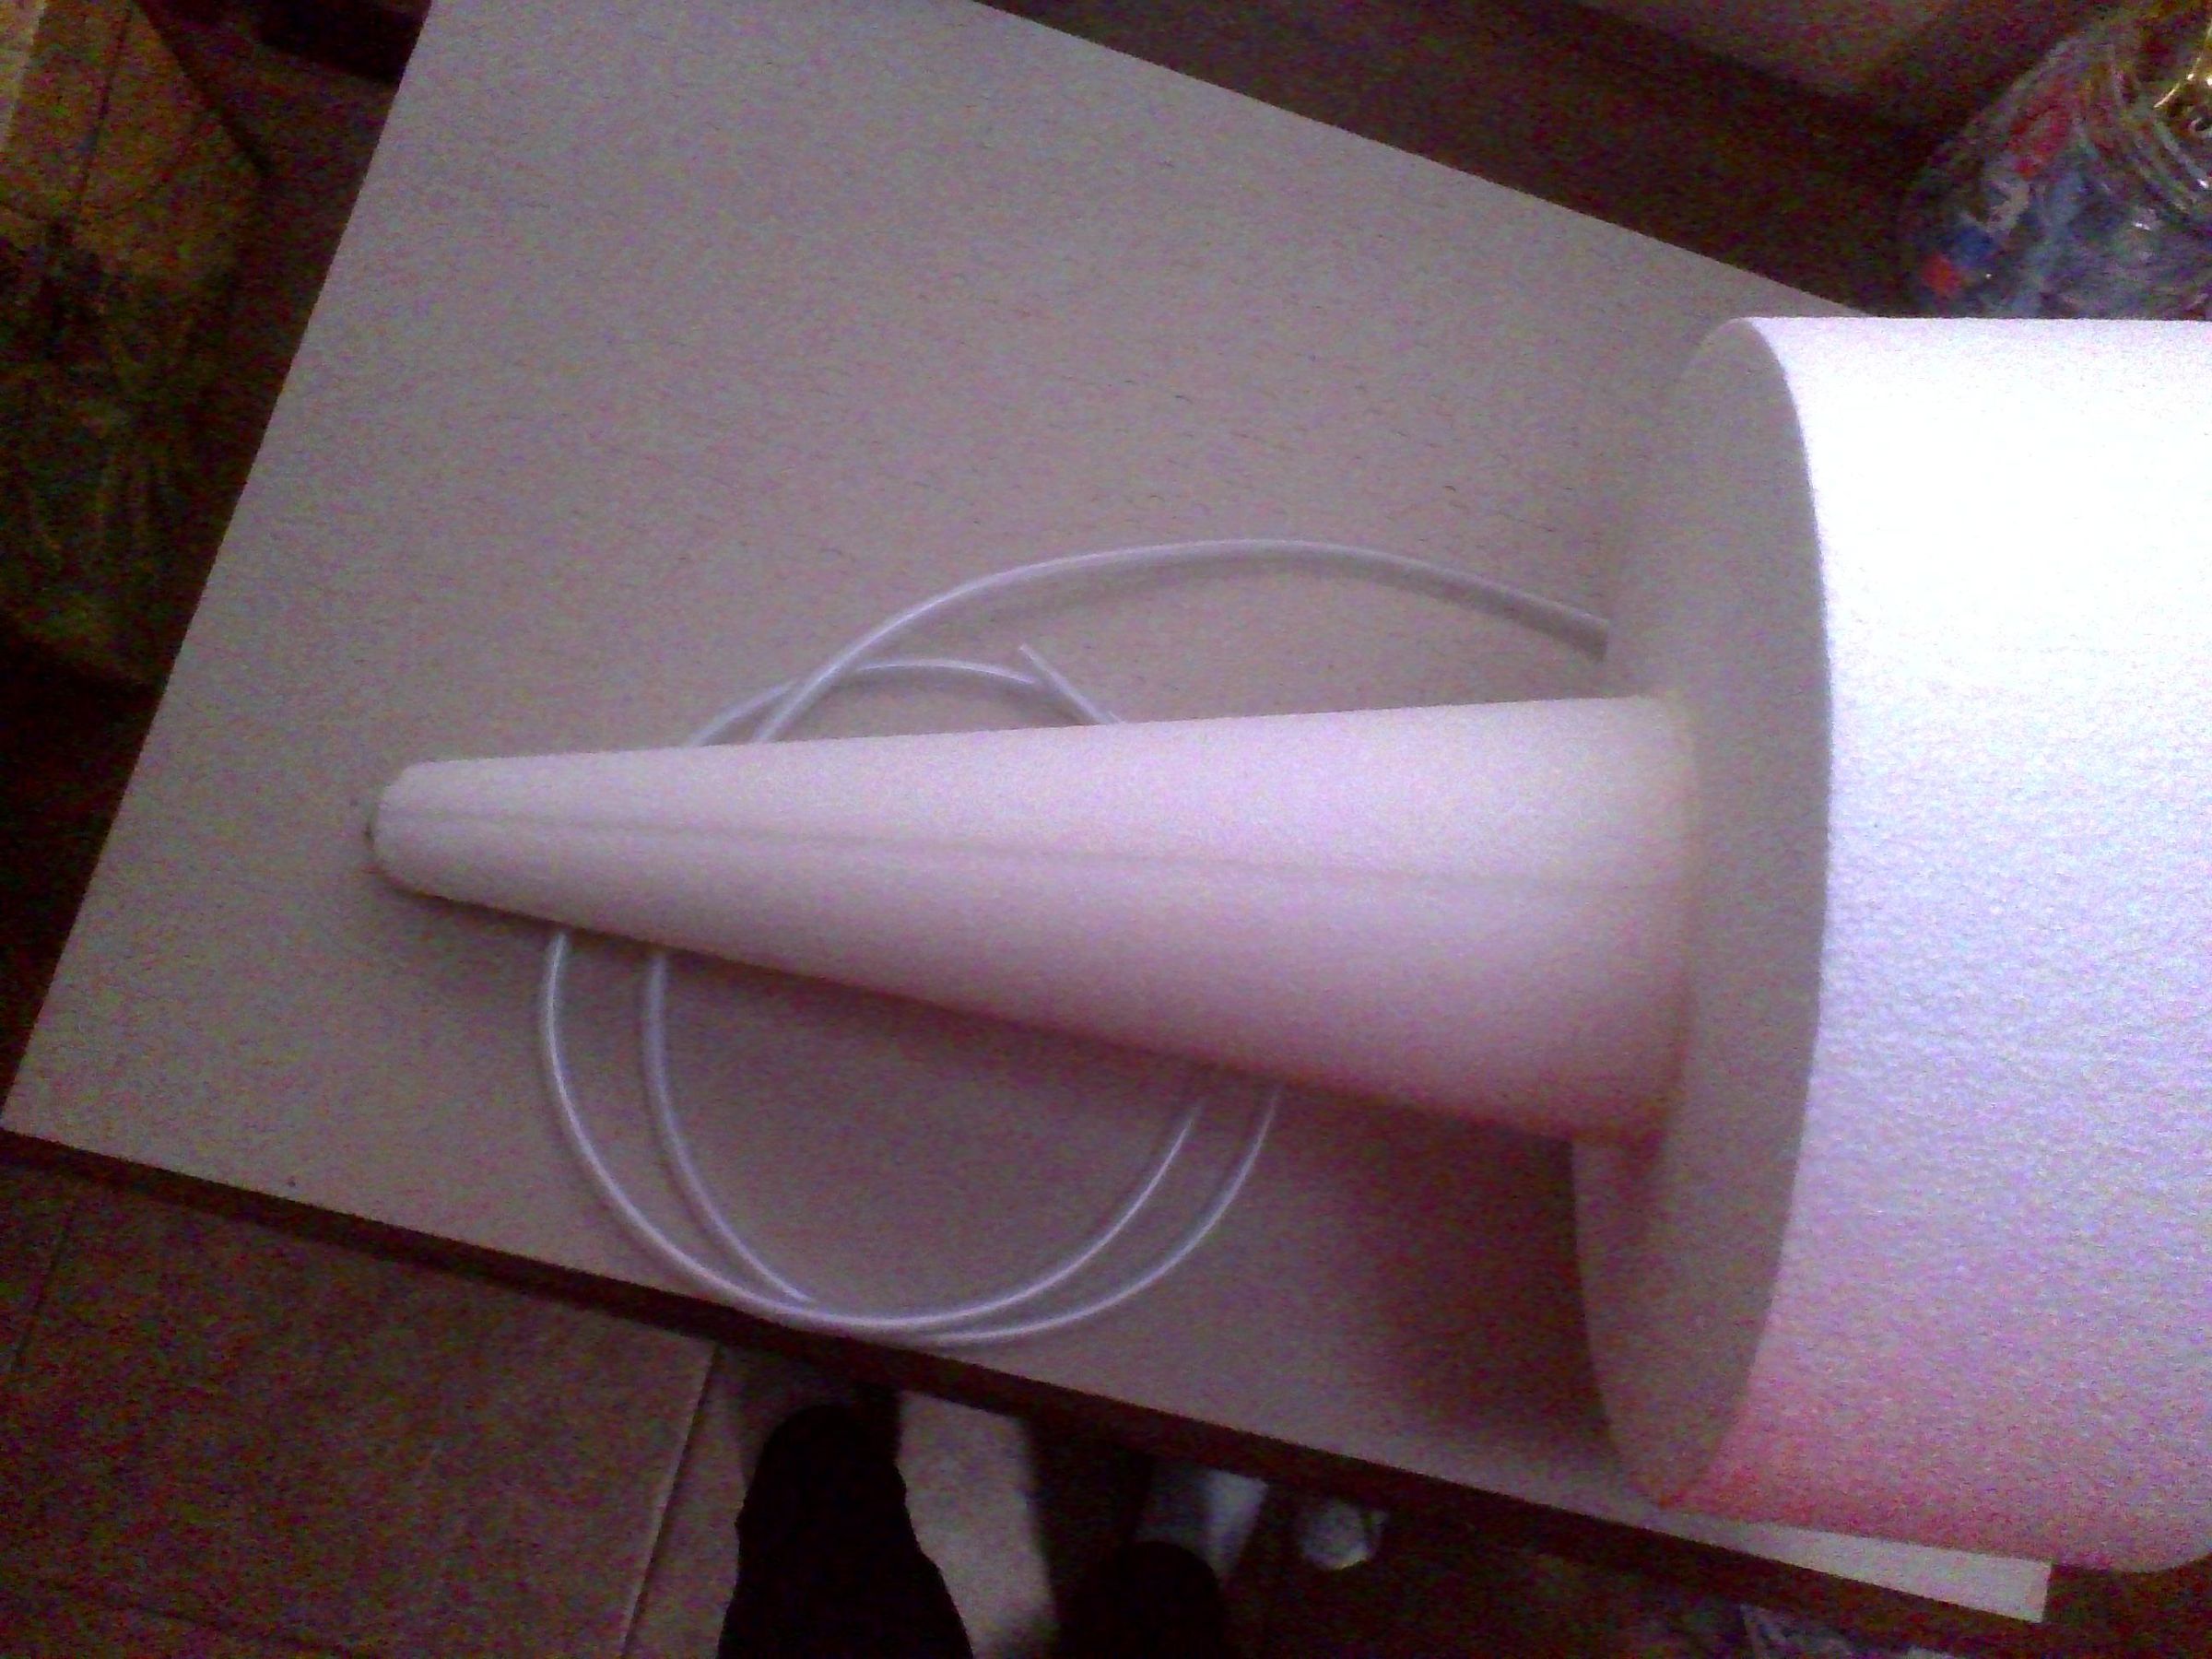
Once the hot glue dries on the PVC pipe, try to slide the other end of the tubing through the cylindrical Styrofoam, then the cone-shaped Styrofoam. If it won't go in, poke at it a bit more until it seems like the tubing will then fit. Pull the tubing out of the tip of the cone and hot glue the tubing onto the cone. (As shown in the picture) Then, hot glue the cylinder to the cone while the tubing is still through the Styrofoam. After that, hot glue the tubing coming through the hole on the bottom of the cylinder.
Glue the Valves Onto the Pipe
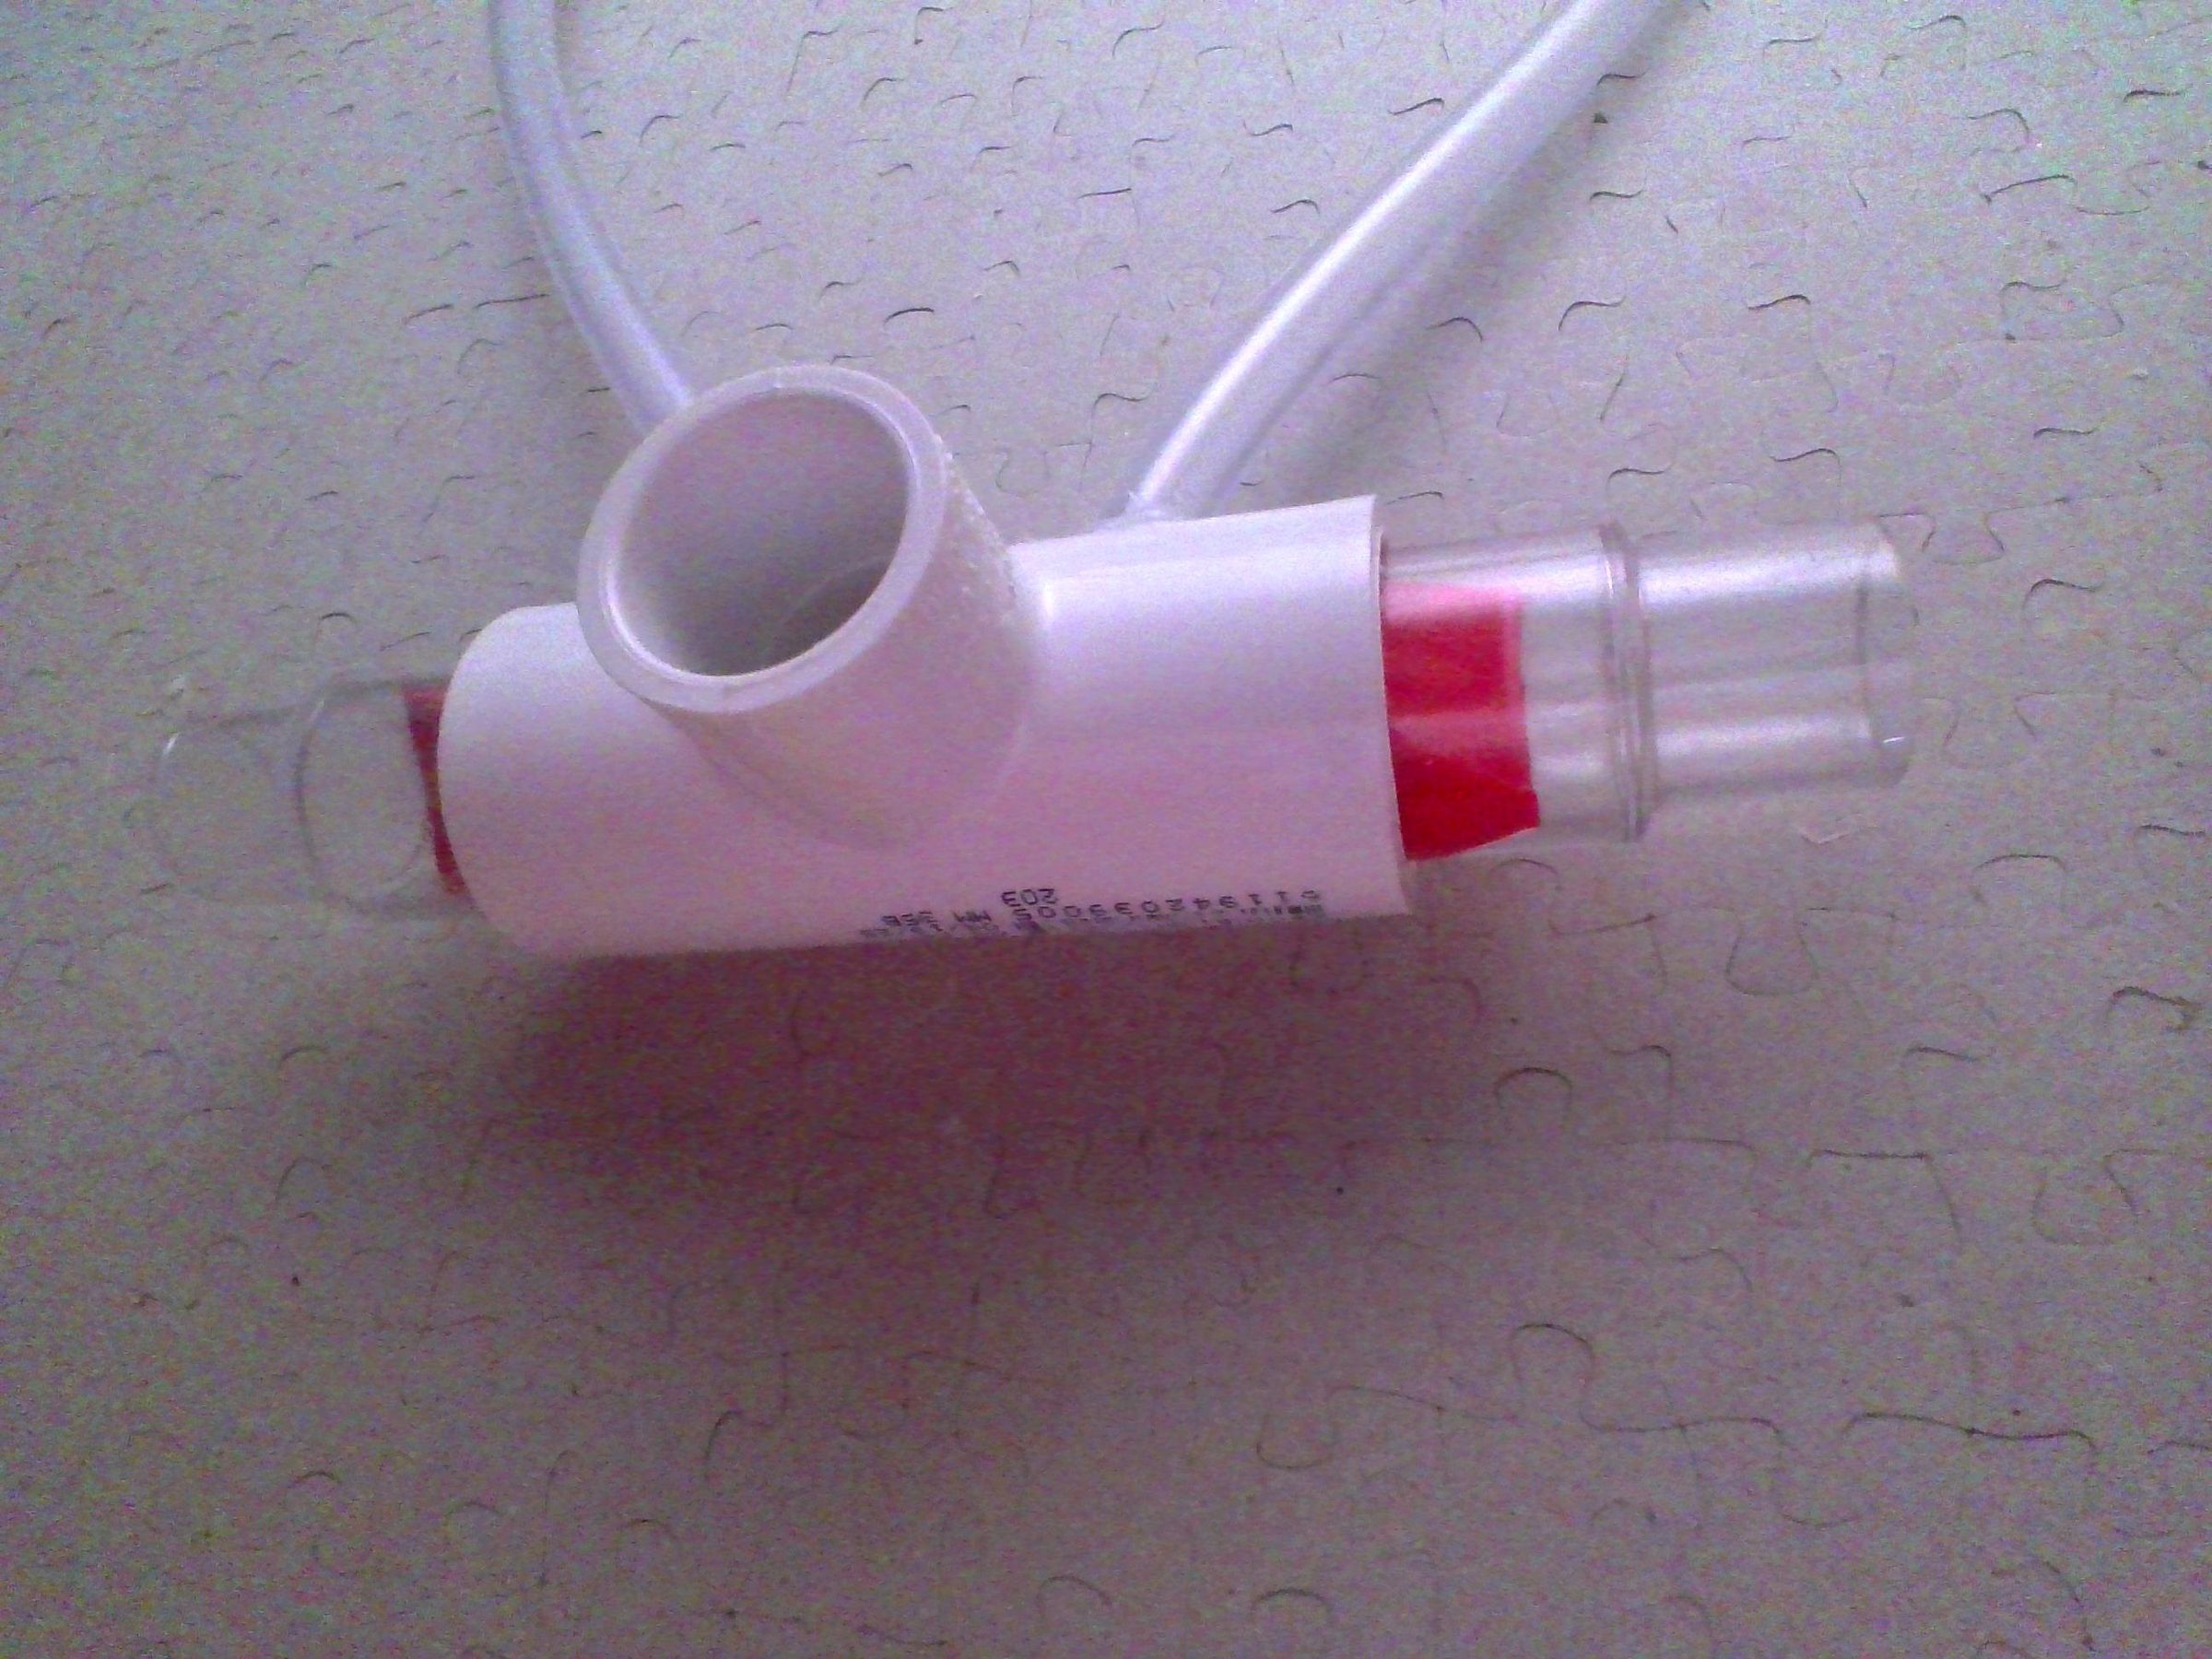
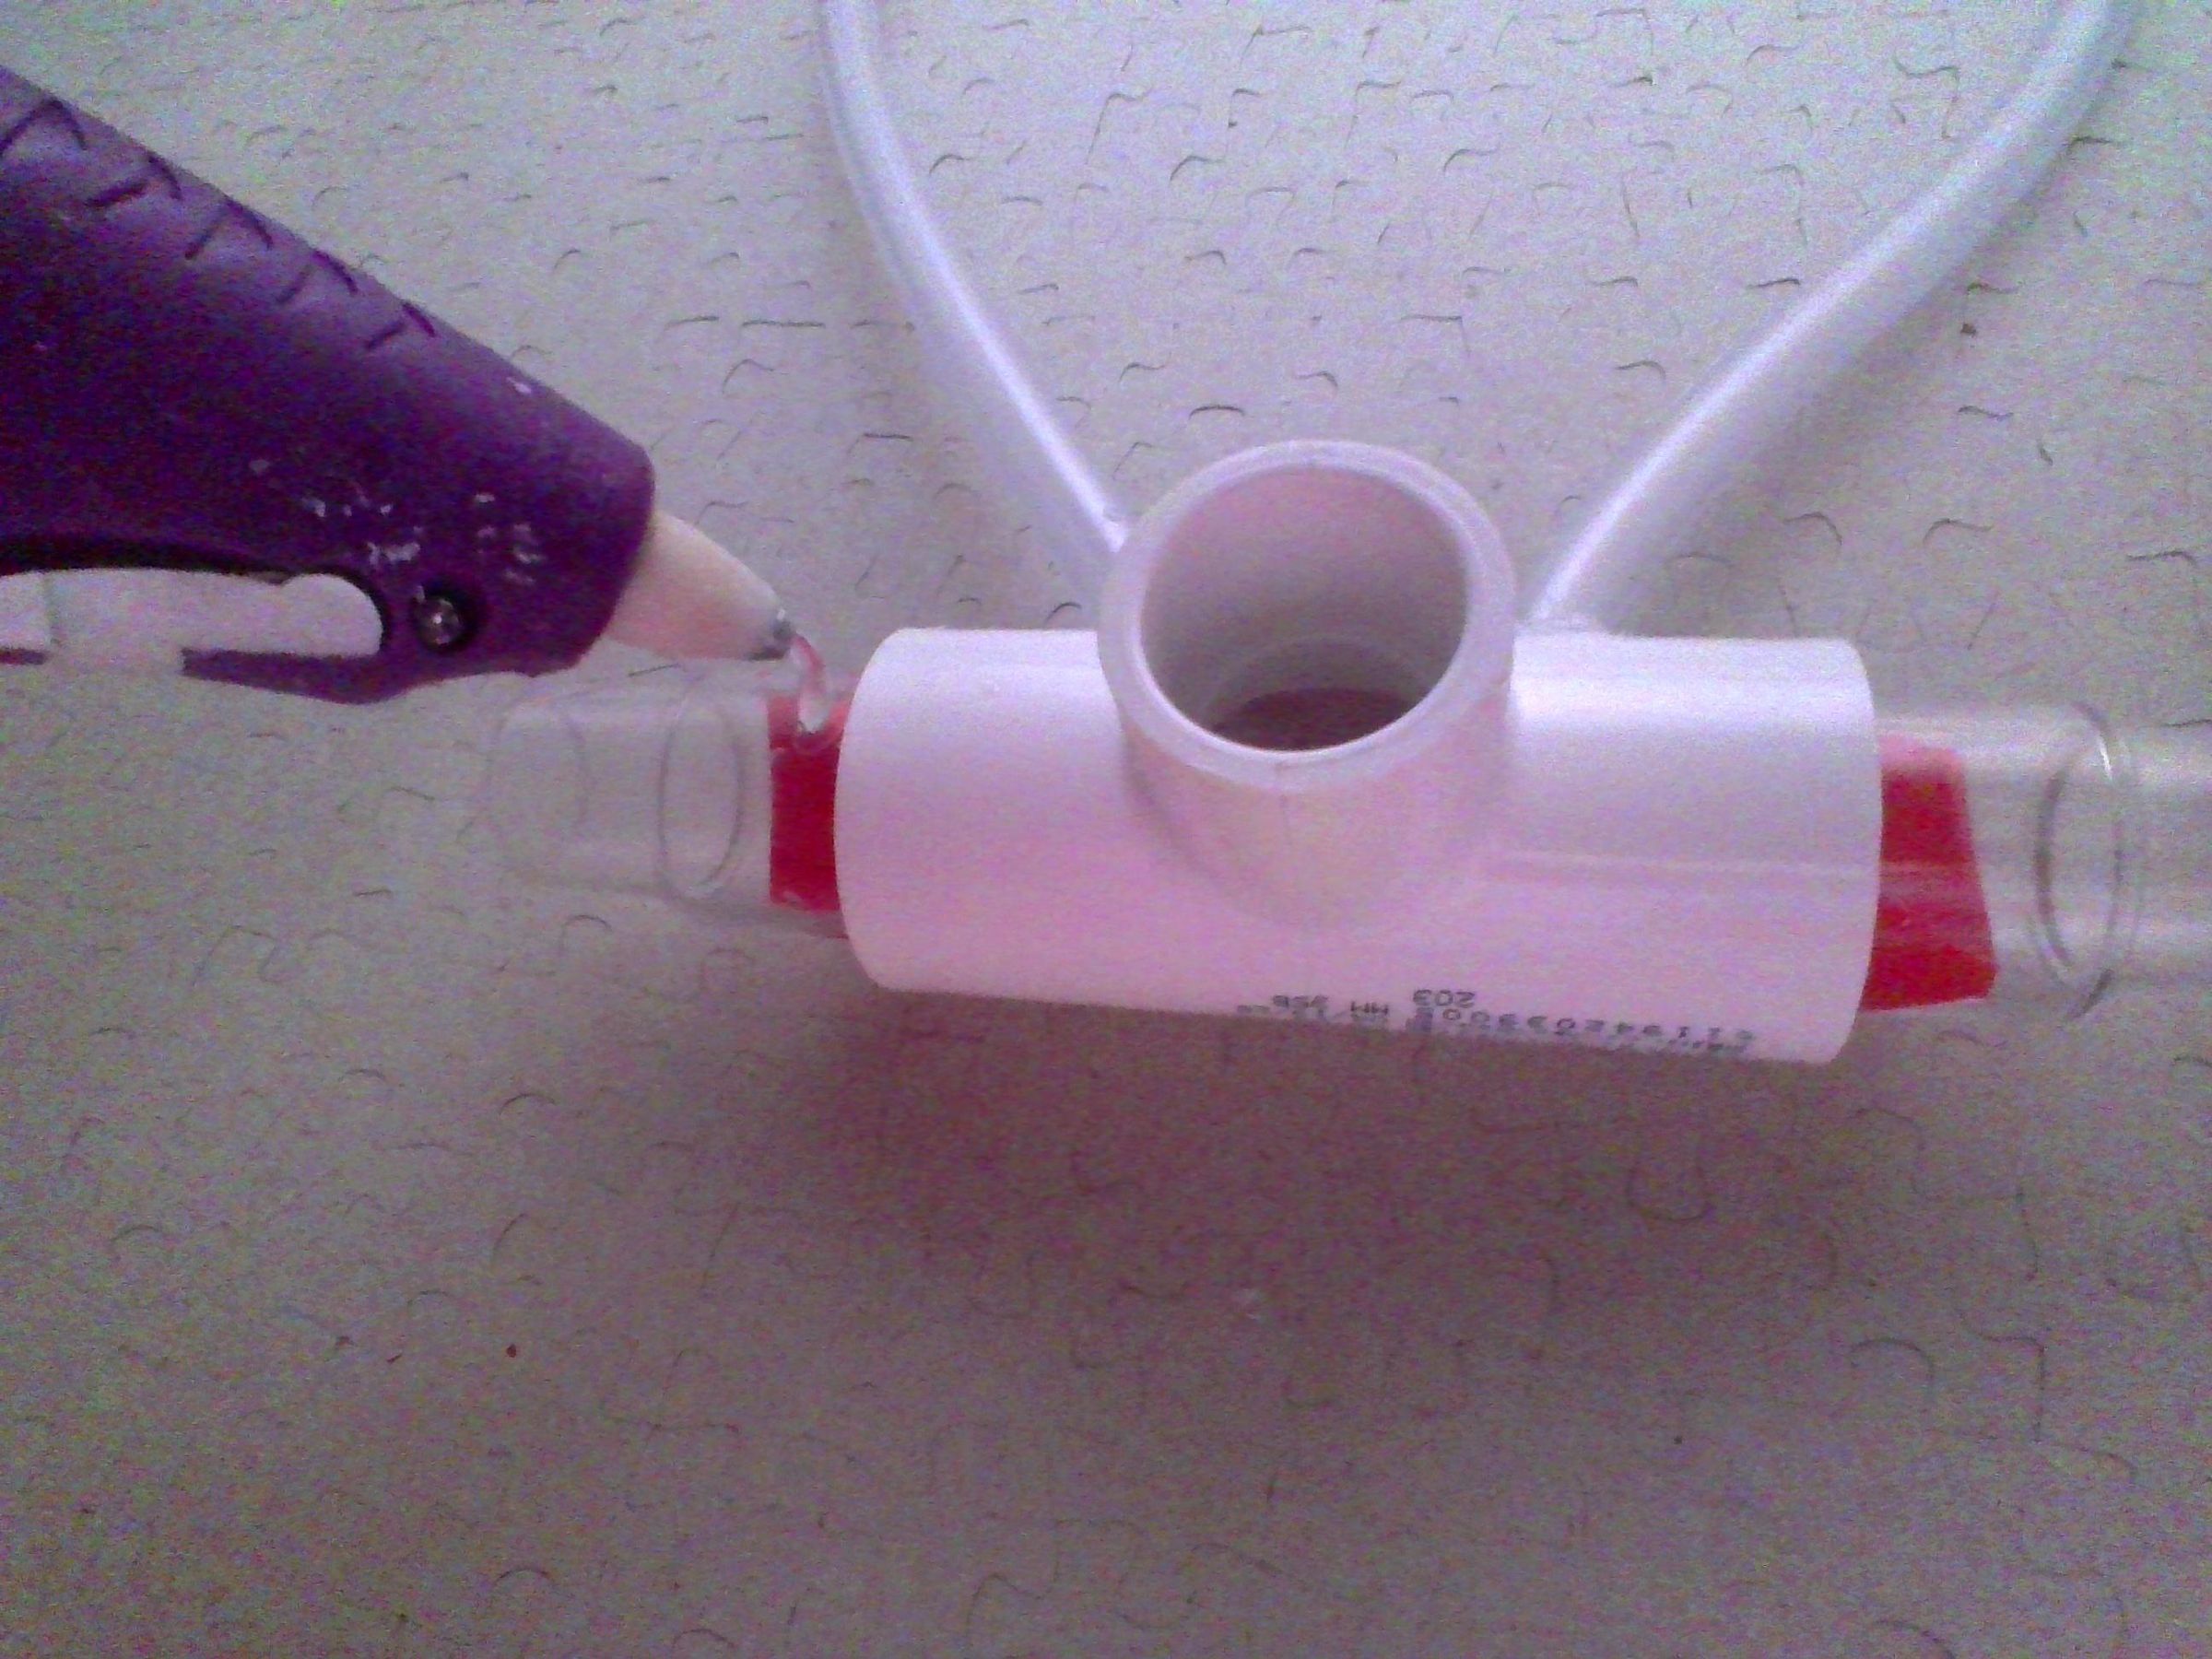
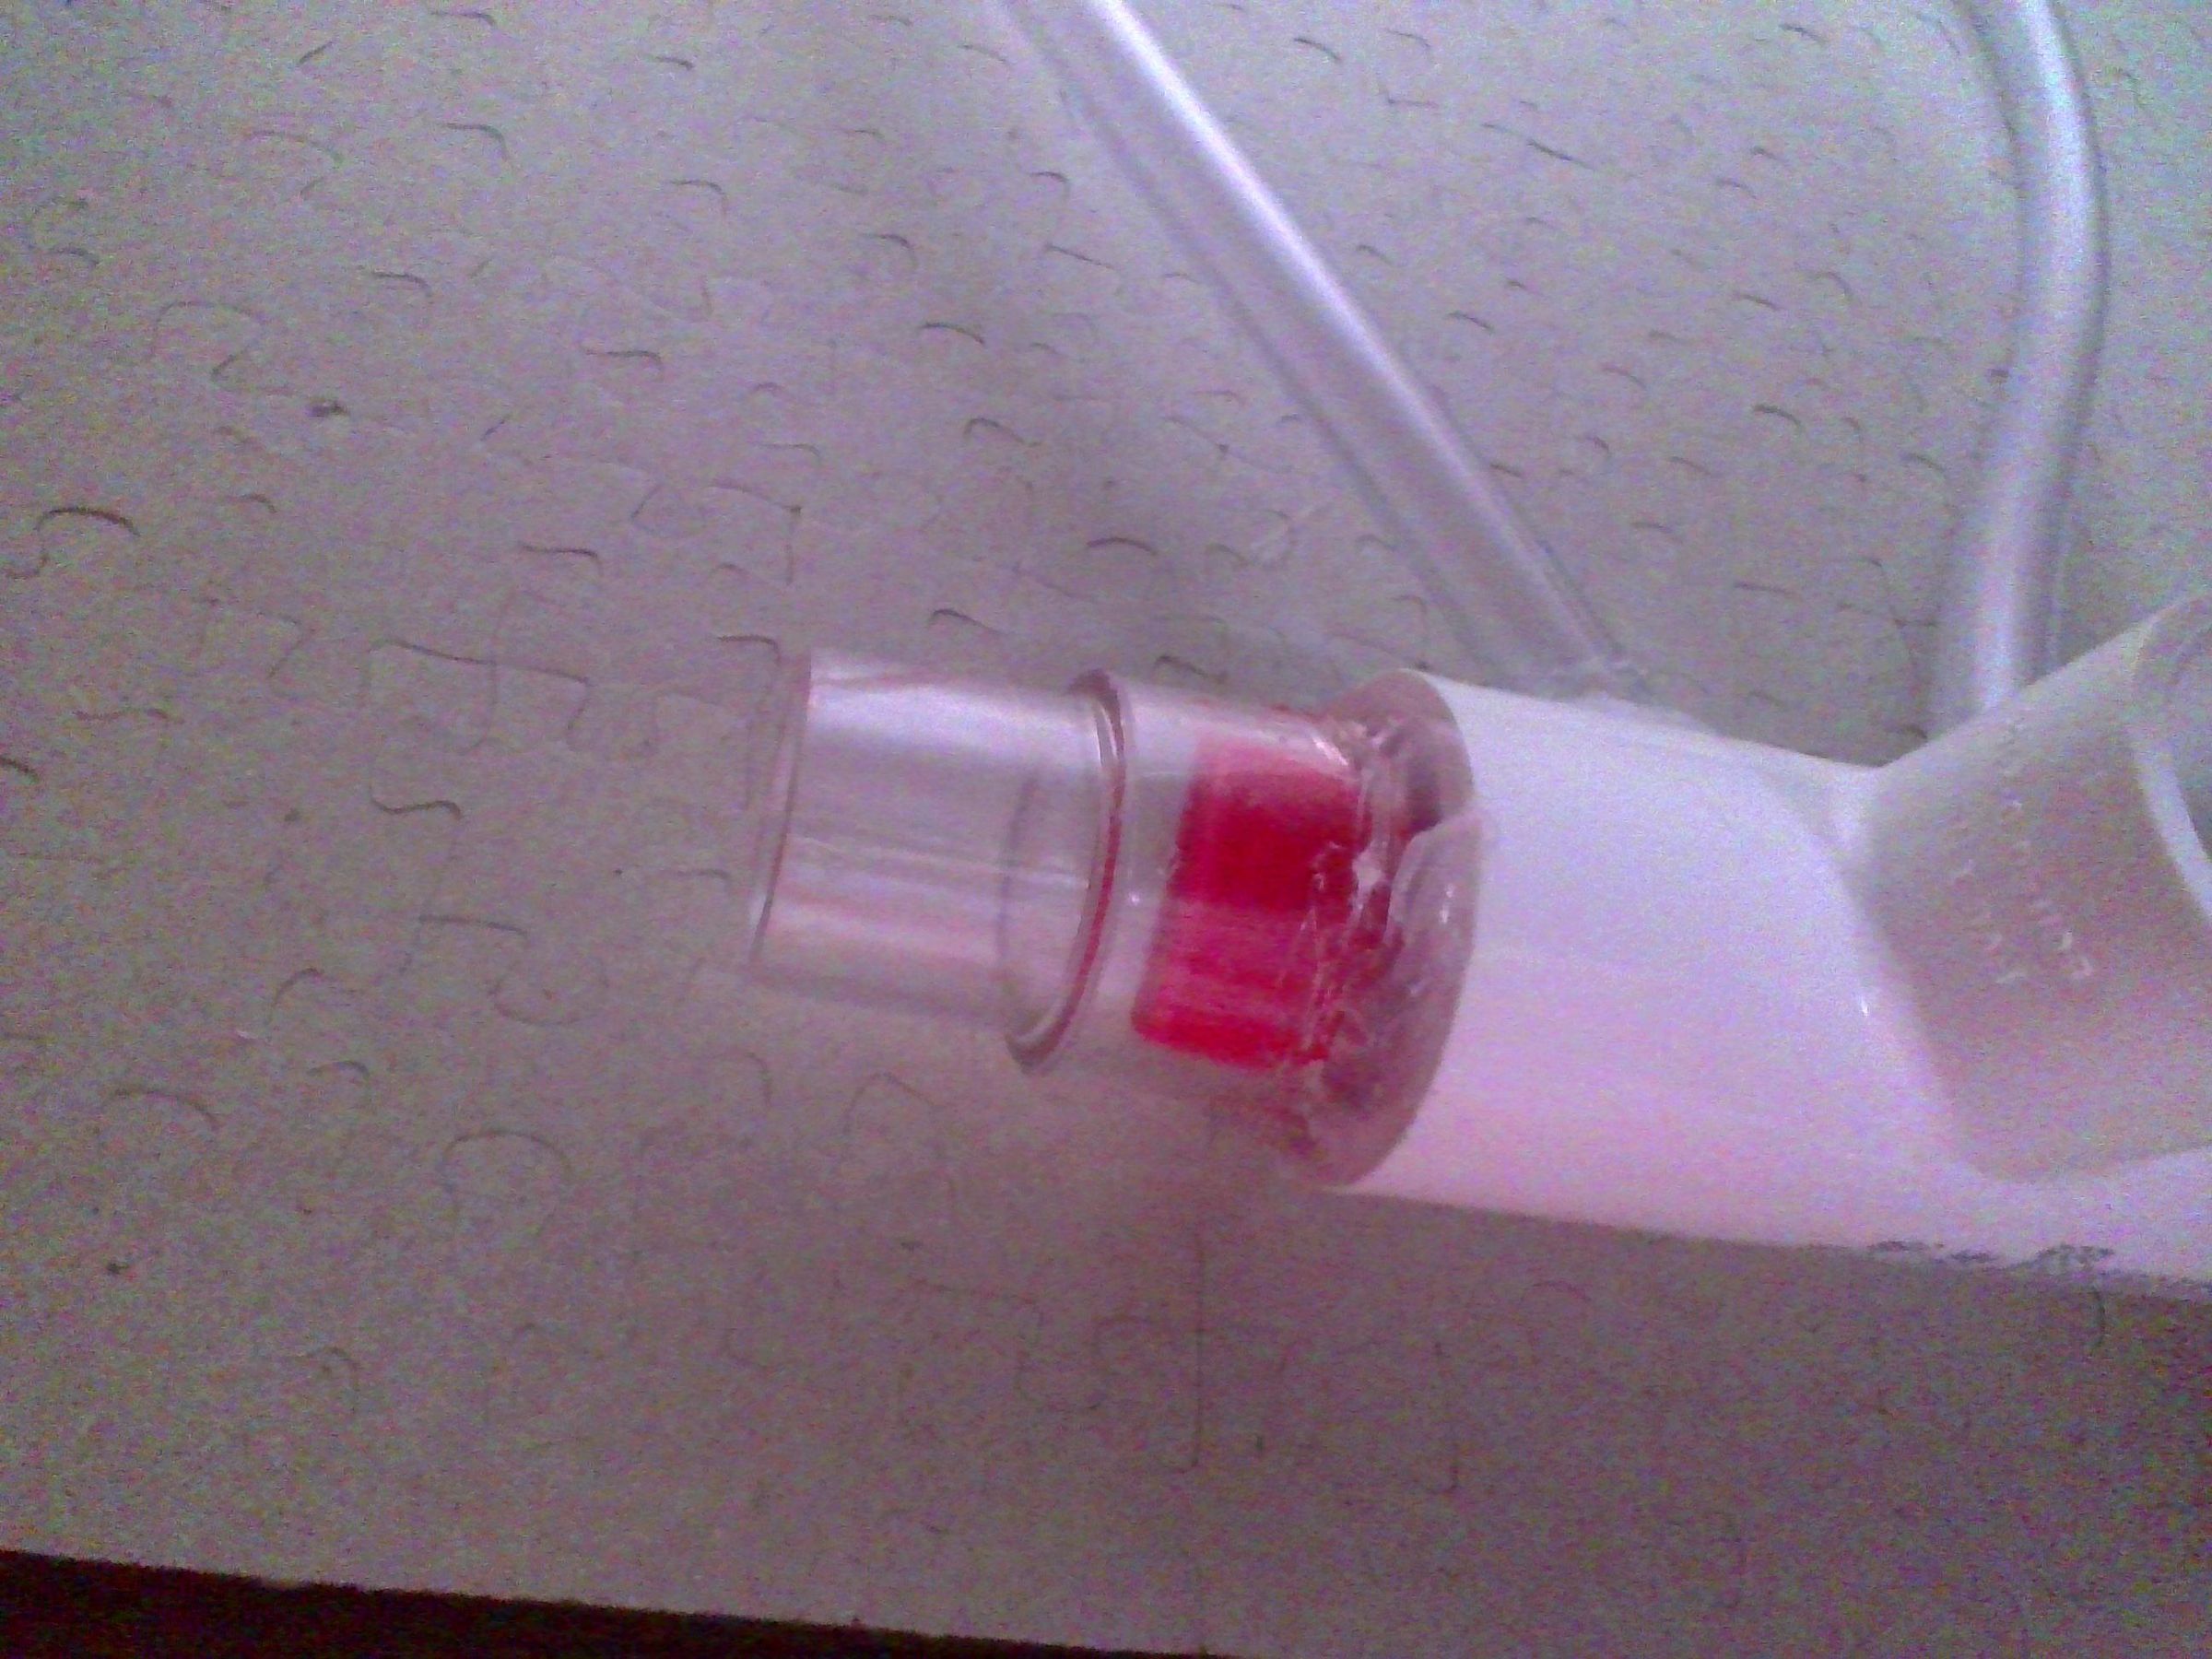
First insert the valves. (Note: If you drilled a hole in the valve as explained in "Step 2: Tube The Tubing", line up the tubing connected to the holes you drilled on the pipe and proceed with this step.) Then use the hot glue to seal the valves on the pipe.
Paint the Traffic Cone
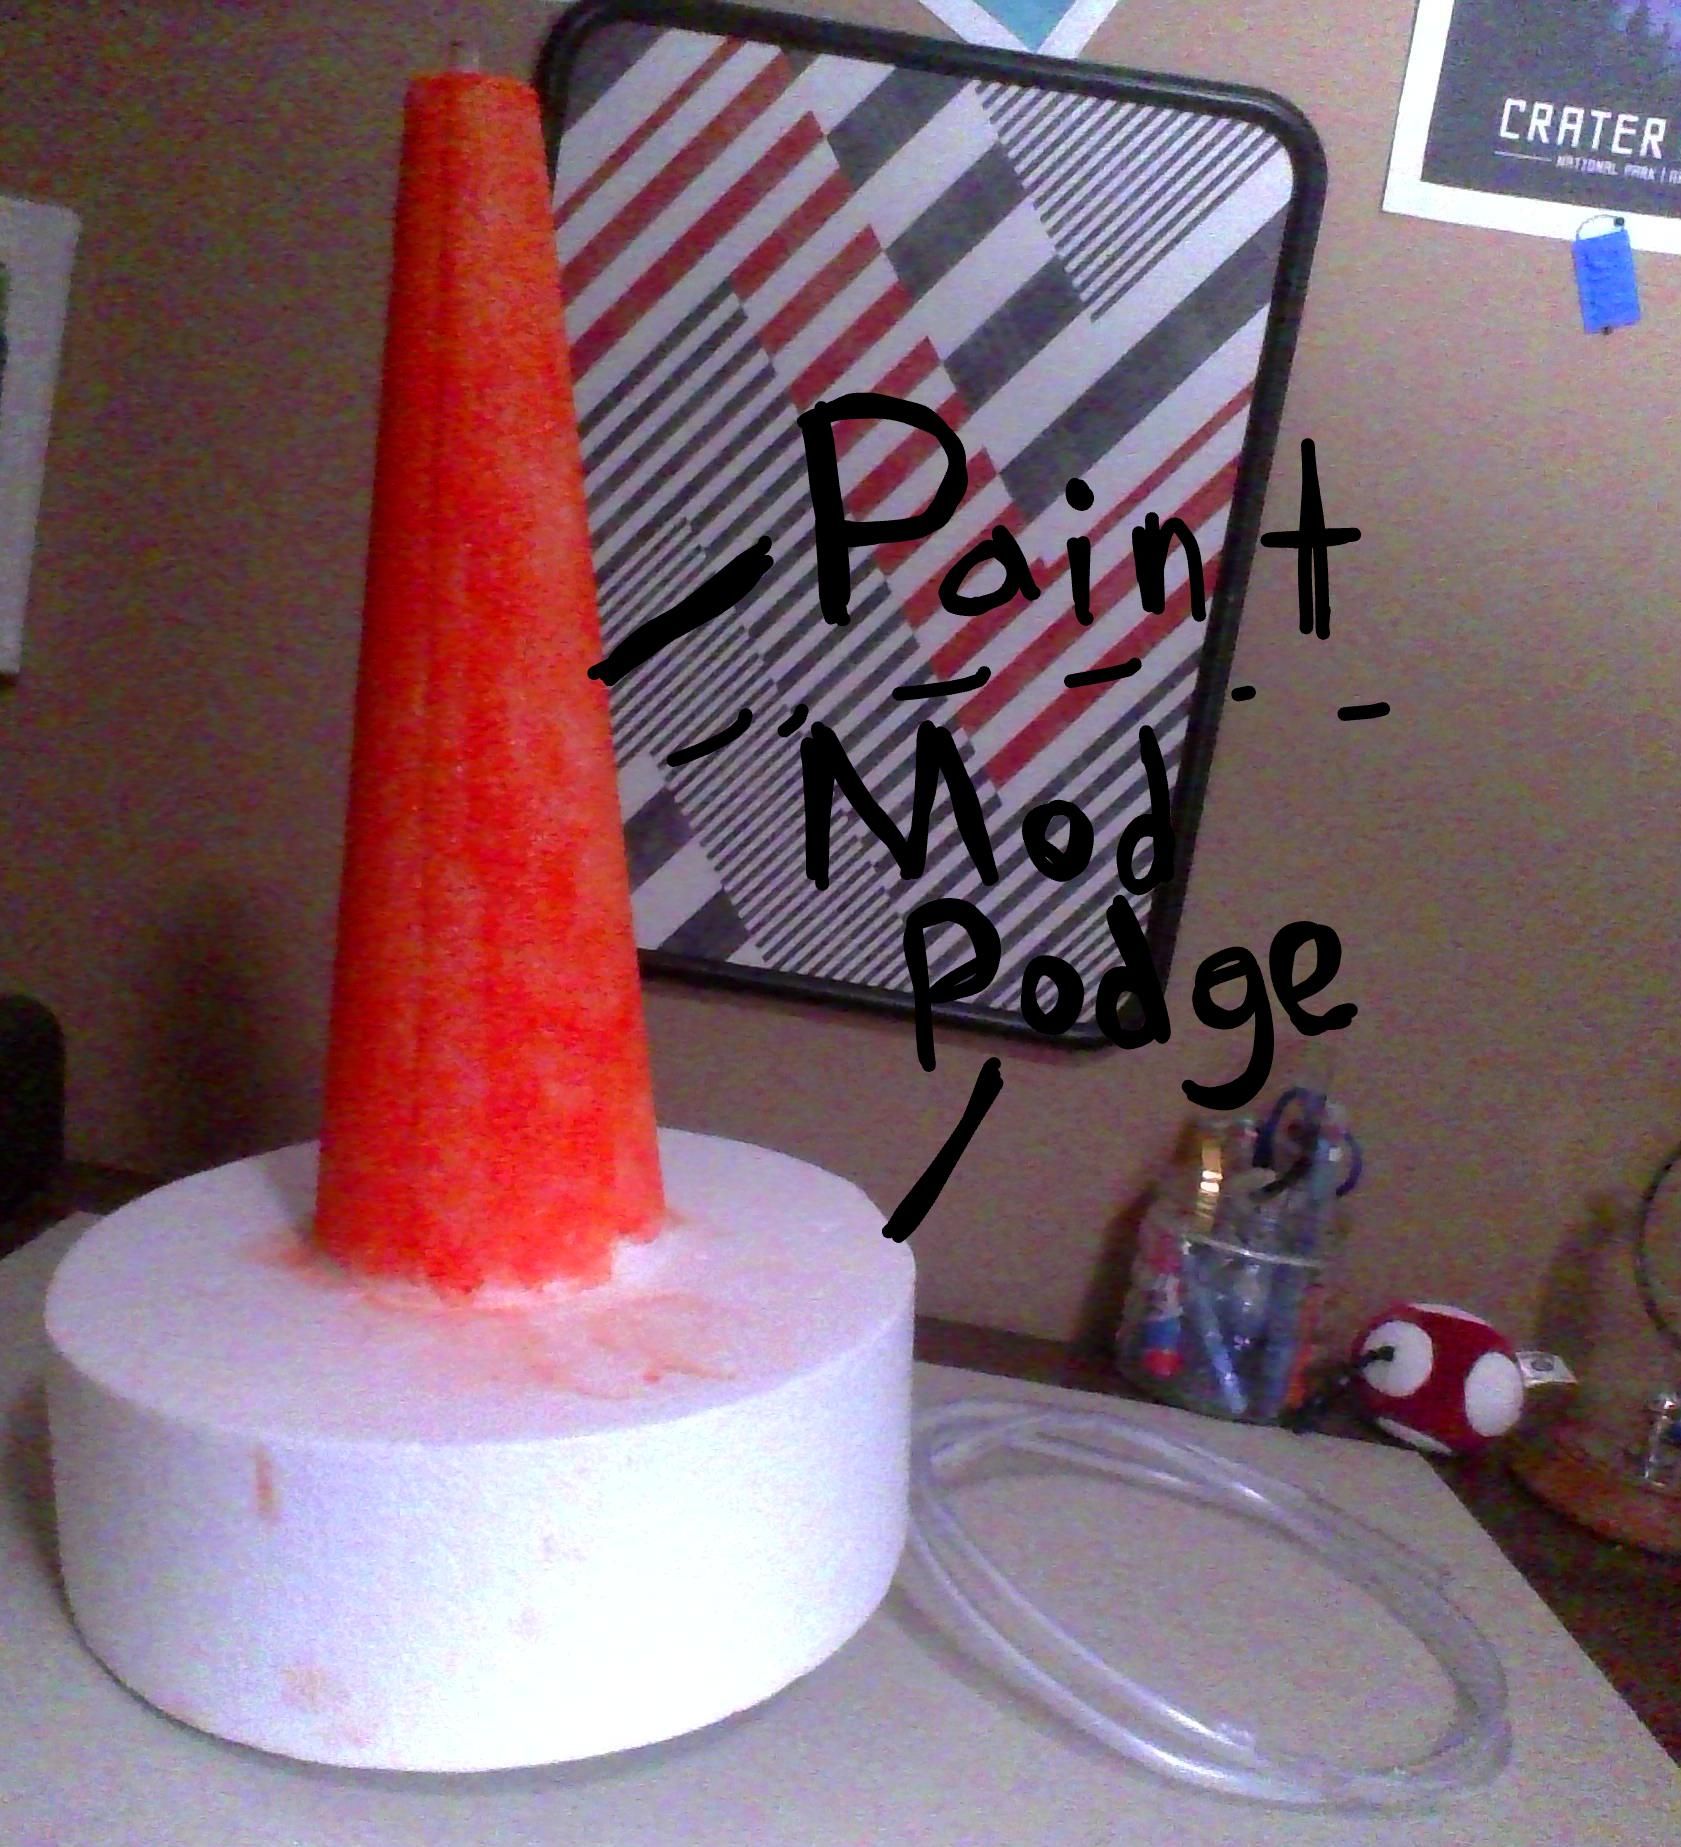
Before we paint the Styrofoam with a sponge to look like a traffic cone, we need to coat the cylinder with a big brush and Water-Resistant Mod Podge. Multiple coats need to be added to seal the Styrofoam fully. If you have enough left over, try to add a couple of coats to the cone. After the Mod Podge fully cures, (the cure time as listed on the bottle is most likely 3-4 weeks depending on which two Mod Podges you are using) then we can paint the traffic cone orange. The best way to paint the Styrofoam, is to use a soft brush or a paint soaked sponge. (Note: I prefer using the sponge considering it would take less time and energy to dab than to stroke with the paintbrush.) Make sure to get an even coat and dab with equal force each time. (Note: Sadly, I didn't know the cure time on the Mod Podge Outdoor was four weeks! If you use acrylic paint on uncured Mod Podge, the Podge will smear and will be a sticky mess. So by the time I publish this Instructable, the Mod Podge I used still won't be cured, and therefore will not be able to include a picture of a fully painted Styrofoam traffic cone.)
Give the Traffic Cone a Bowler Hat
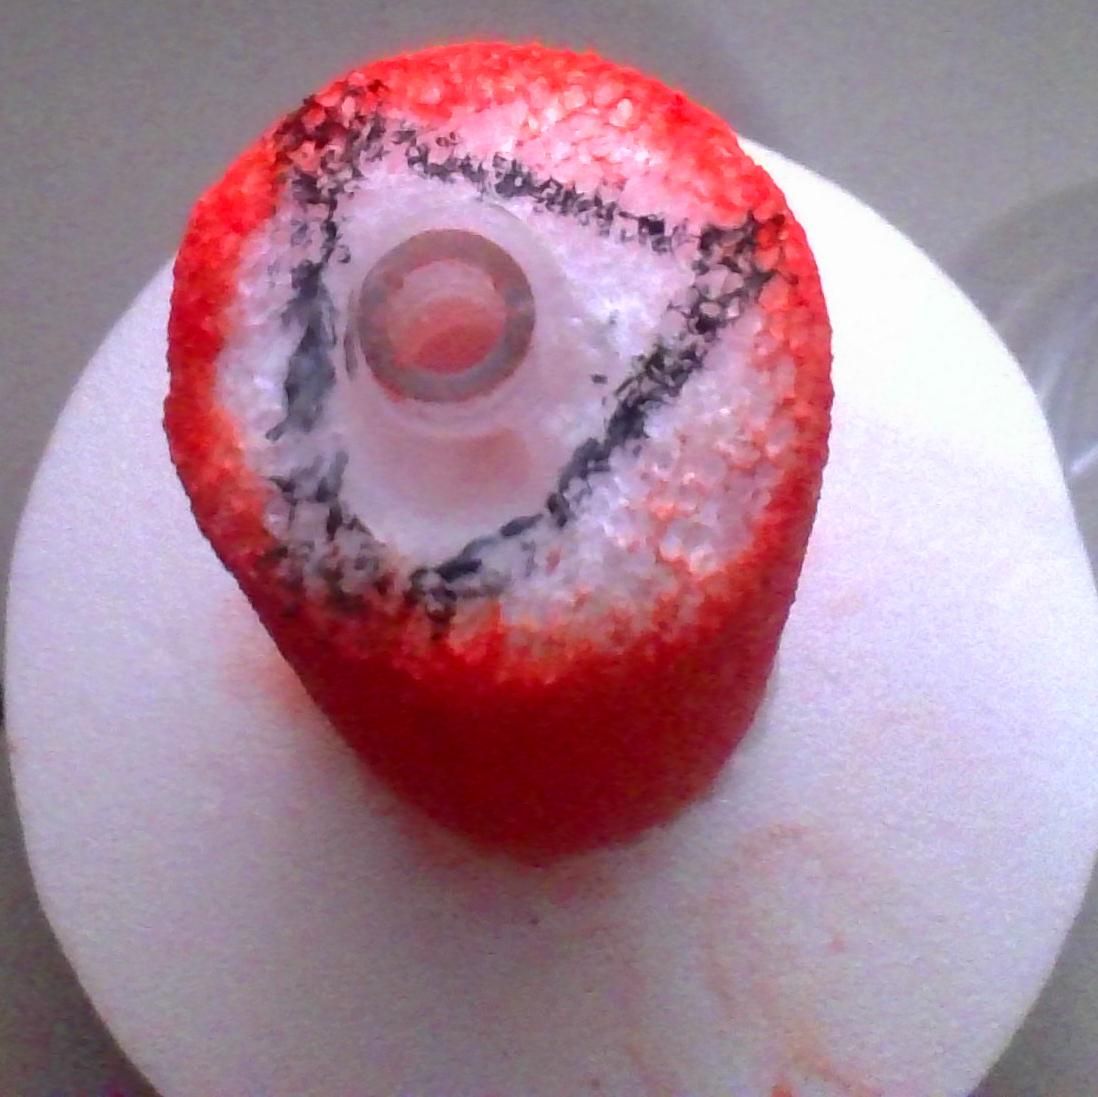
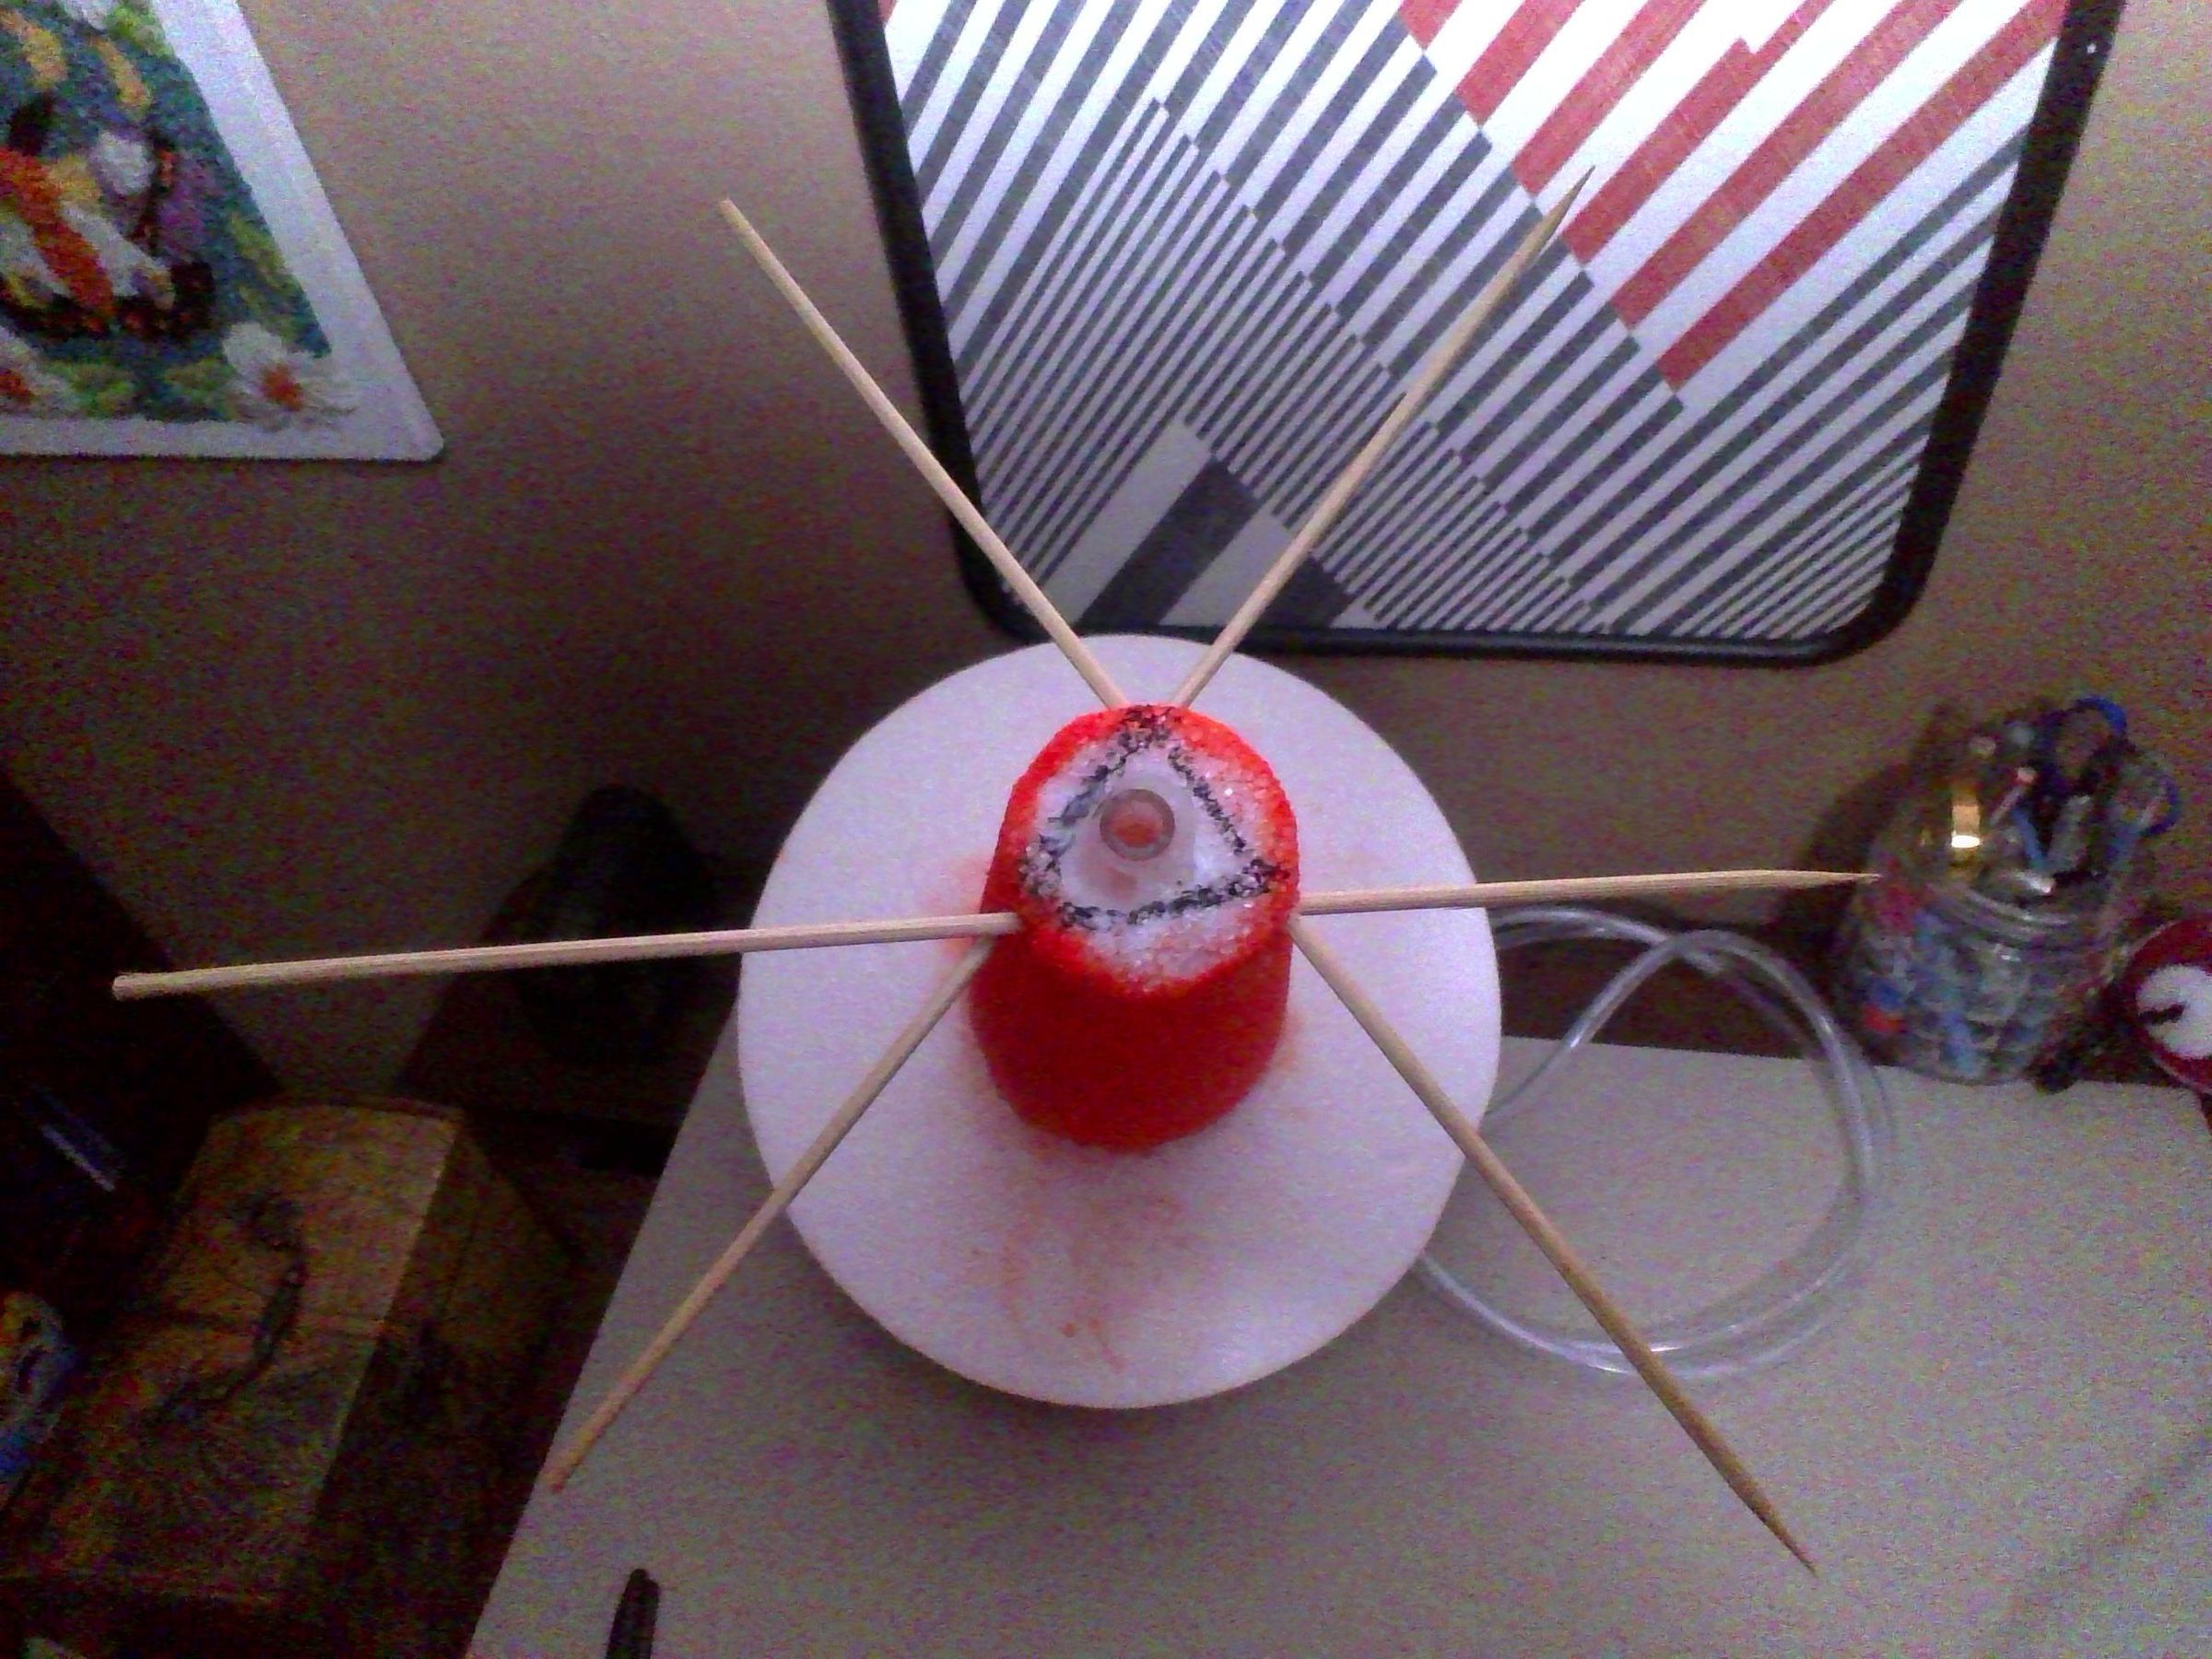
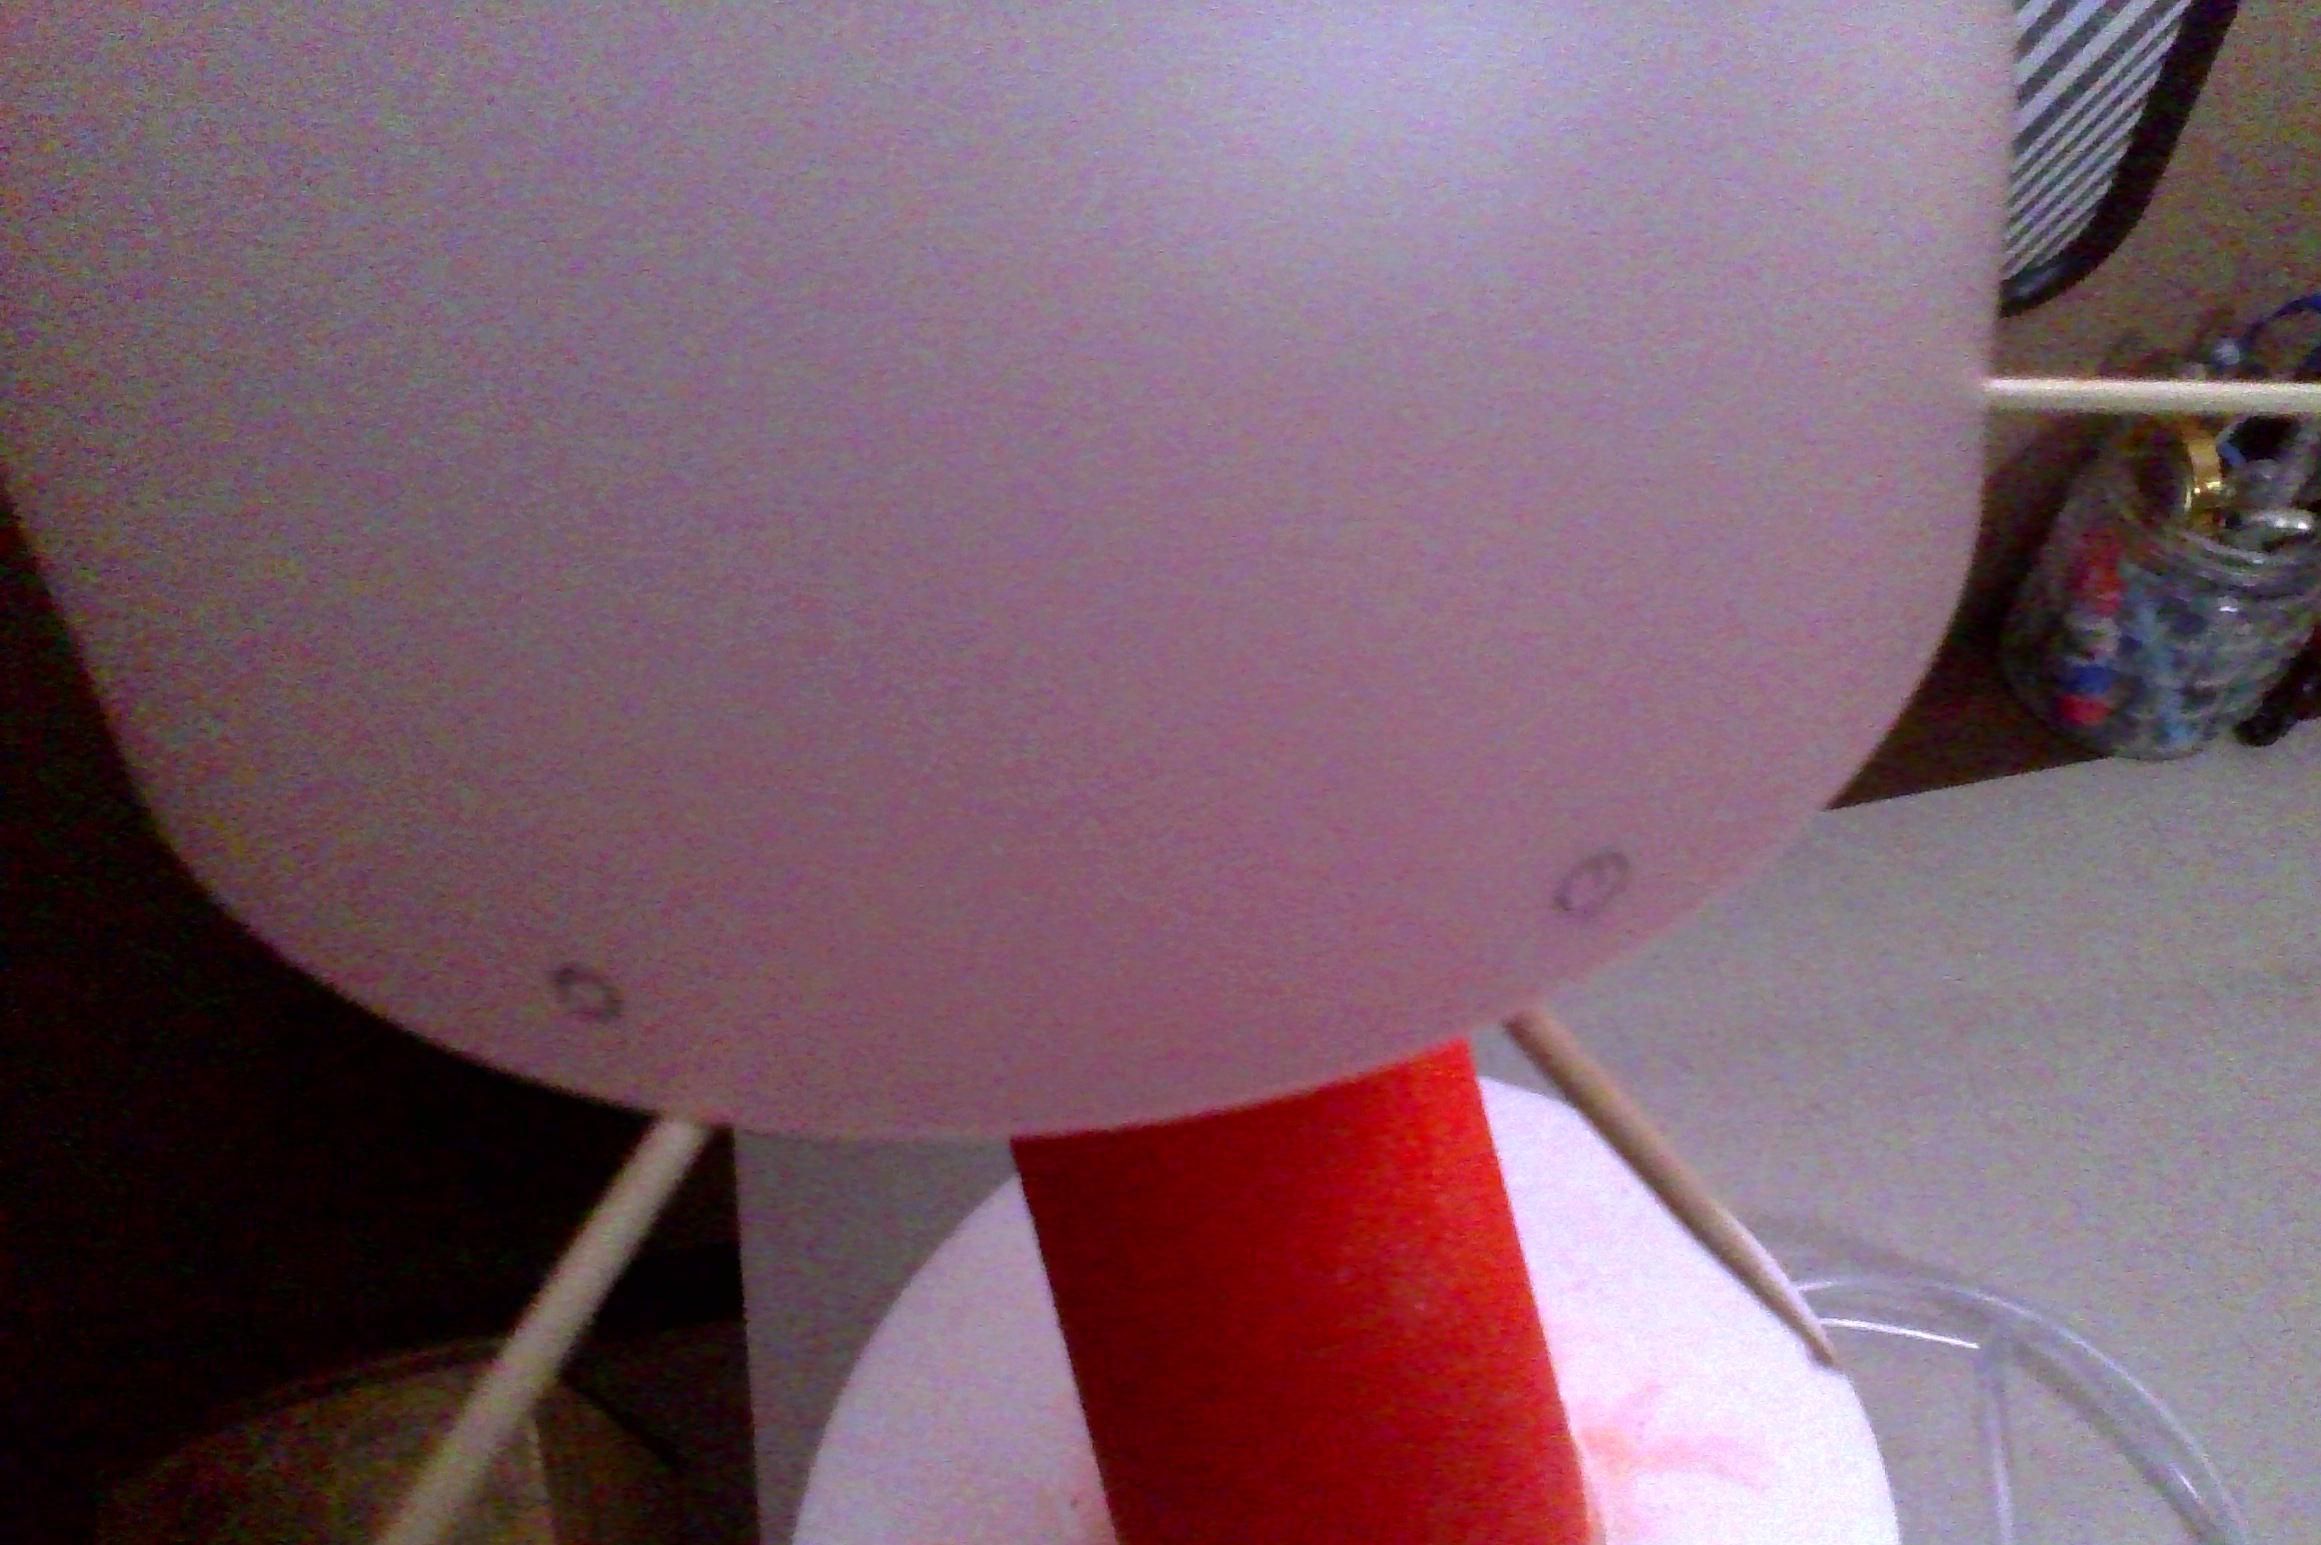
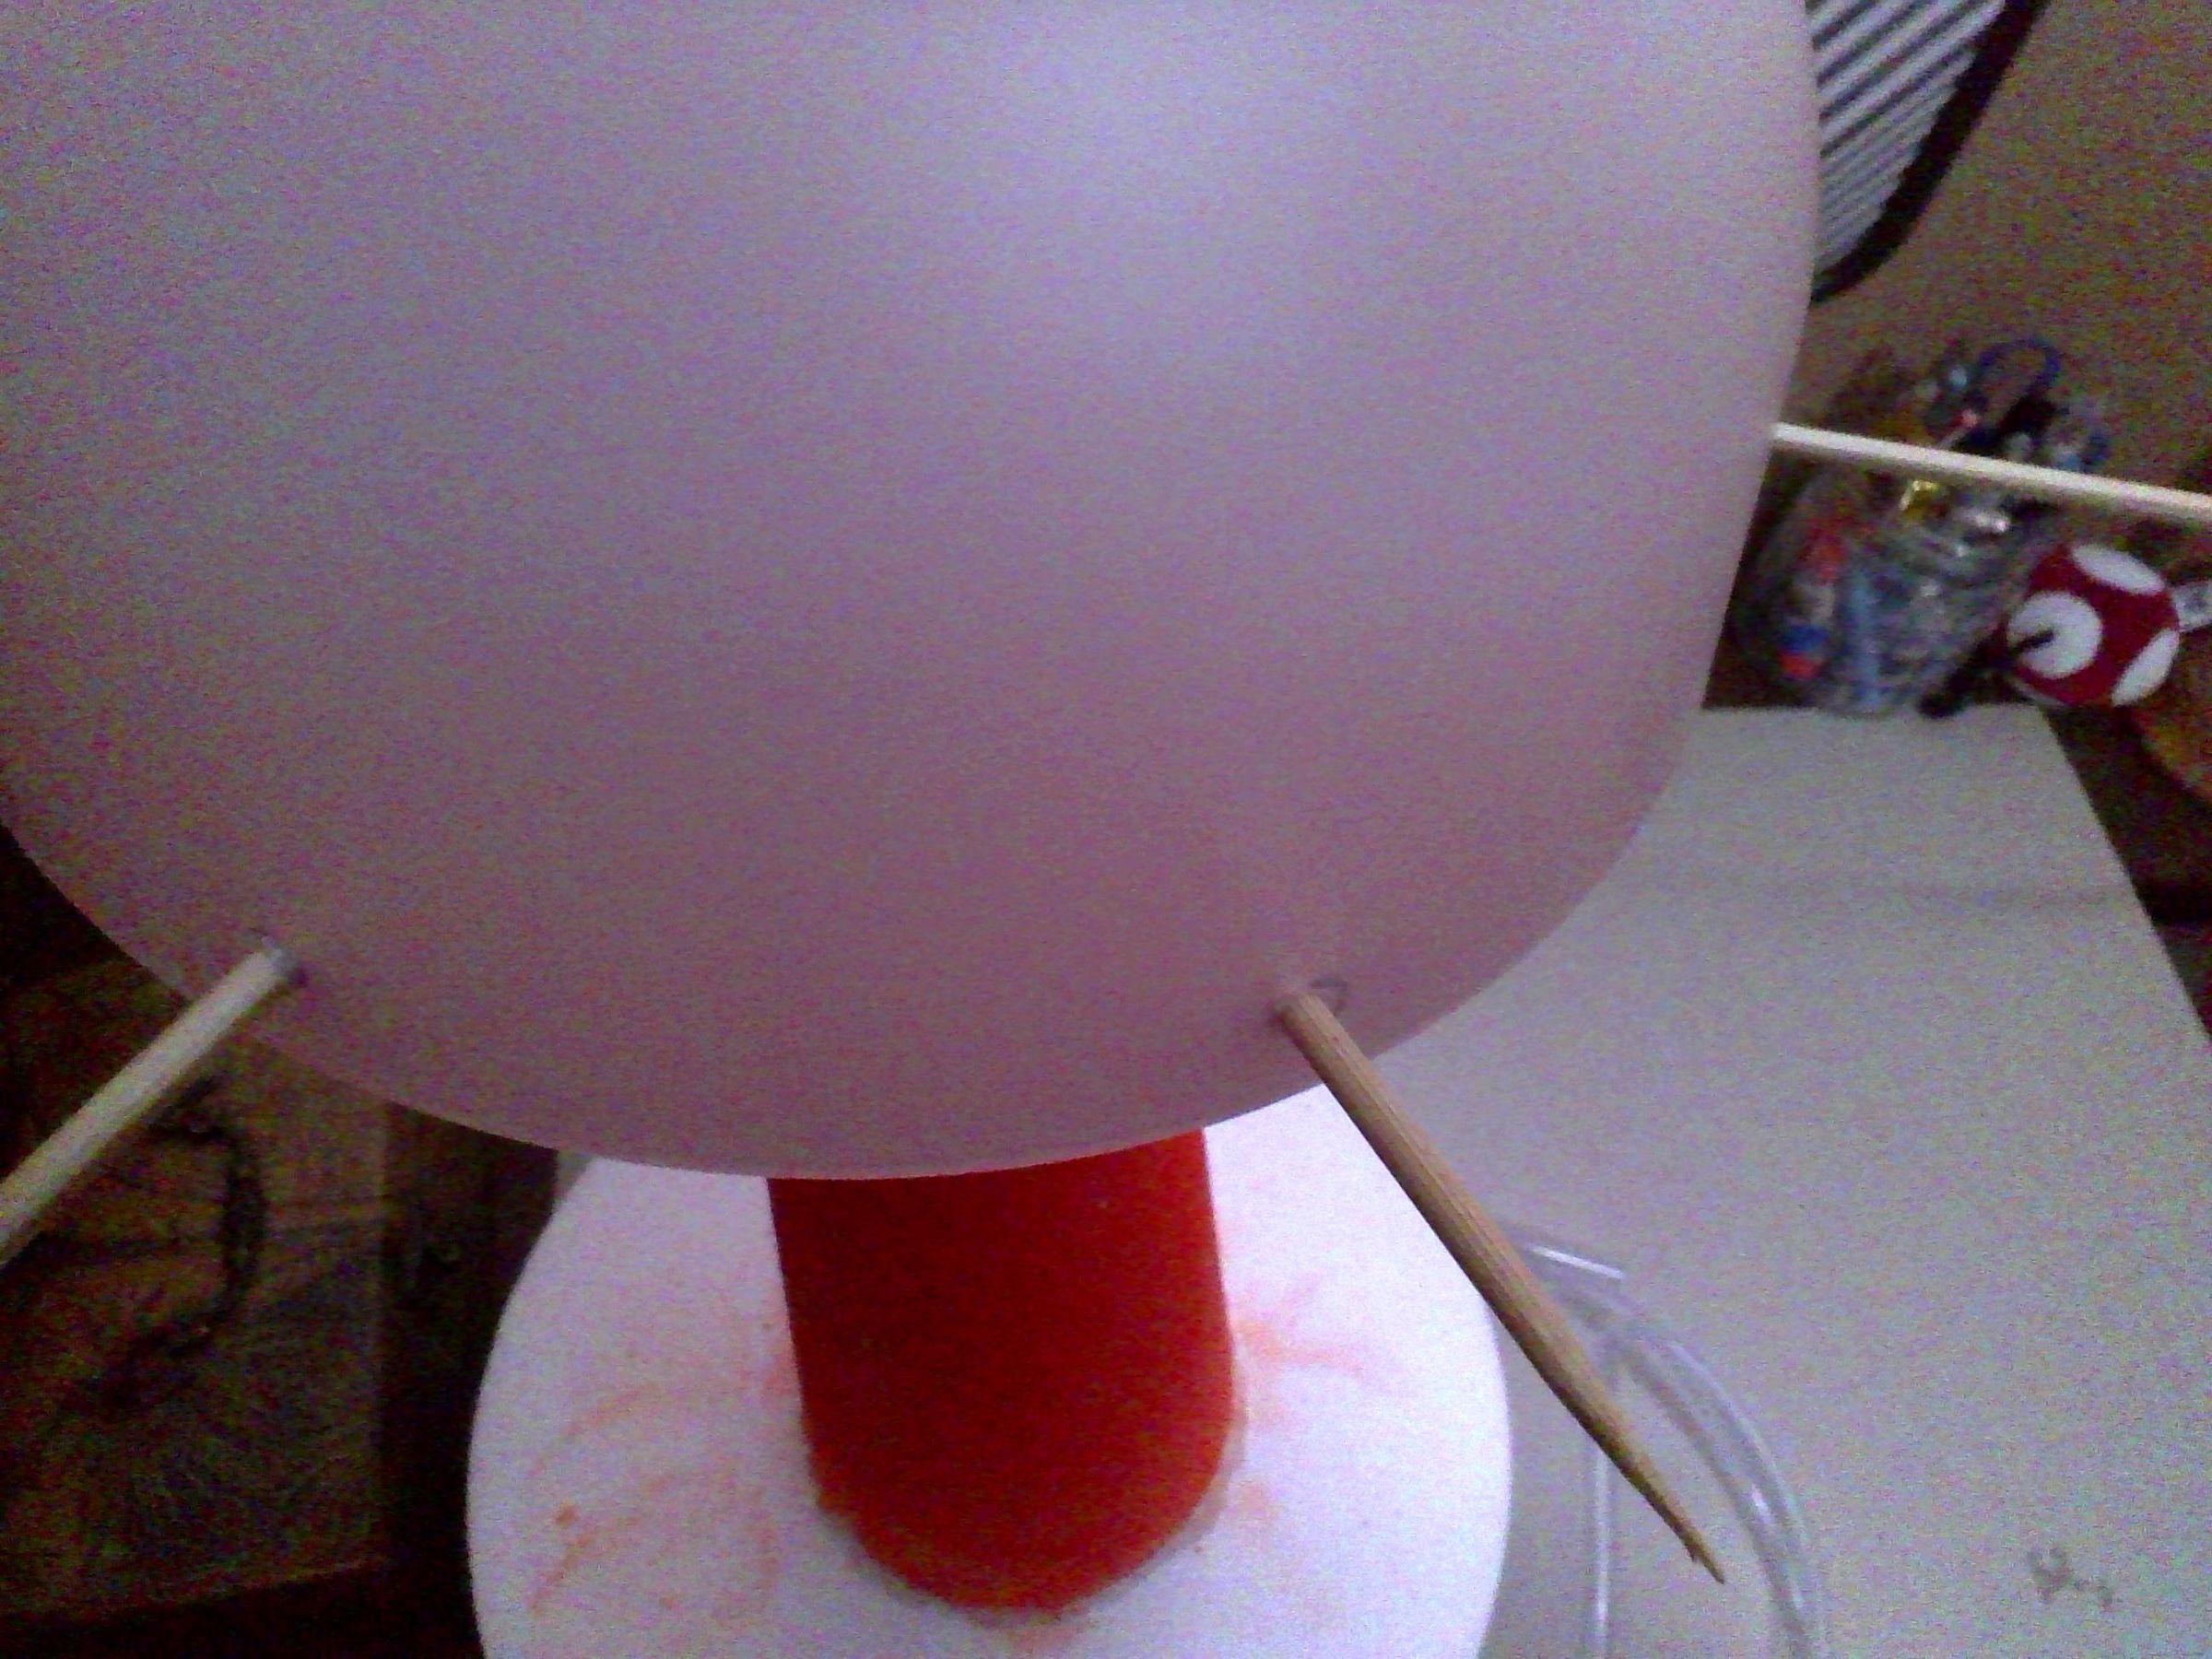
Use the marker and draw a triangle around the tubing coming through the cone. Push a skewer 5 cm under one of the three lines. Proceed to push the other two skewers. Then place the edges of the bowl on top of the three skewers equally and mark where the skewers intercept with the edges of the bowl. (As shown in the picture) Then, drill the holes above the six marks with the 1/8 drill bit. Pull a skewer halfway out, and put one hole in the bowl and push the skewer into the parallel hole. And then push in the other skewers through the holes of the bowl, then the holes you pushed skewers through on the Styrofoam, and back out the bowl. The point of the bowler hat is to keep anything falling from the sky going into the tubing and potentially suffocating you. Better give that traffic cone his hat, eh? (Note: If you painted the traffic cone, it is your choice to paint the hat too.)
Connect the Tubing
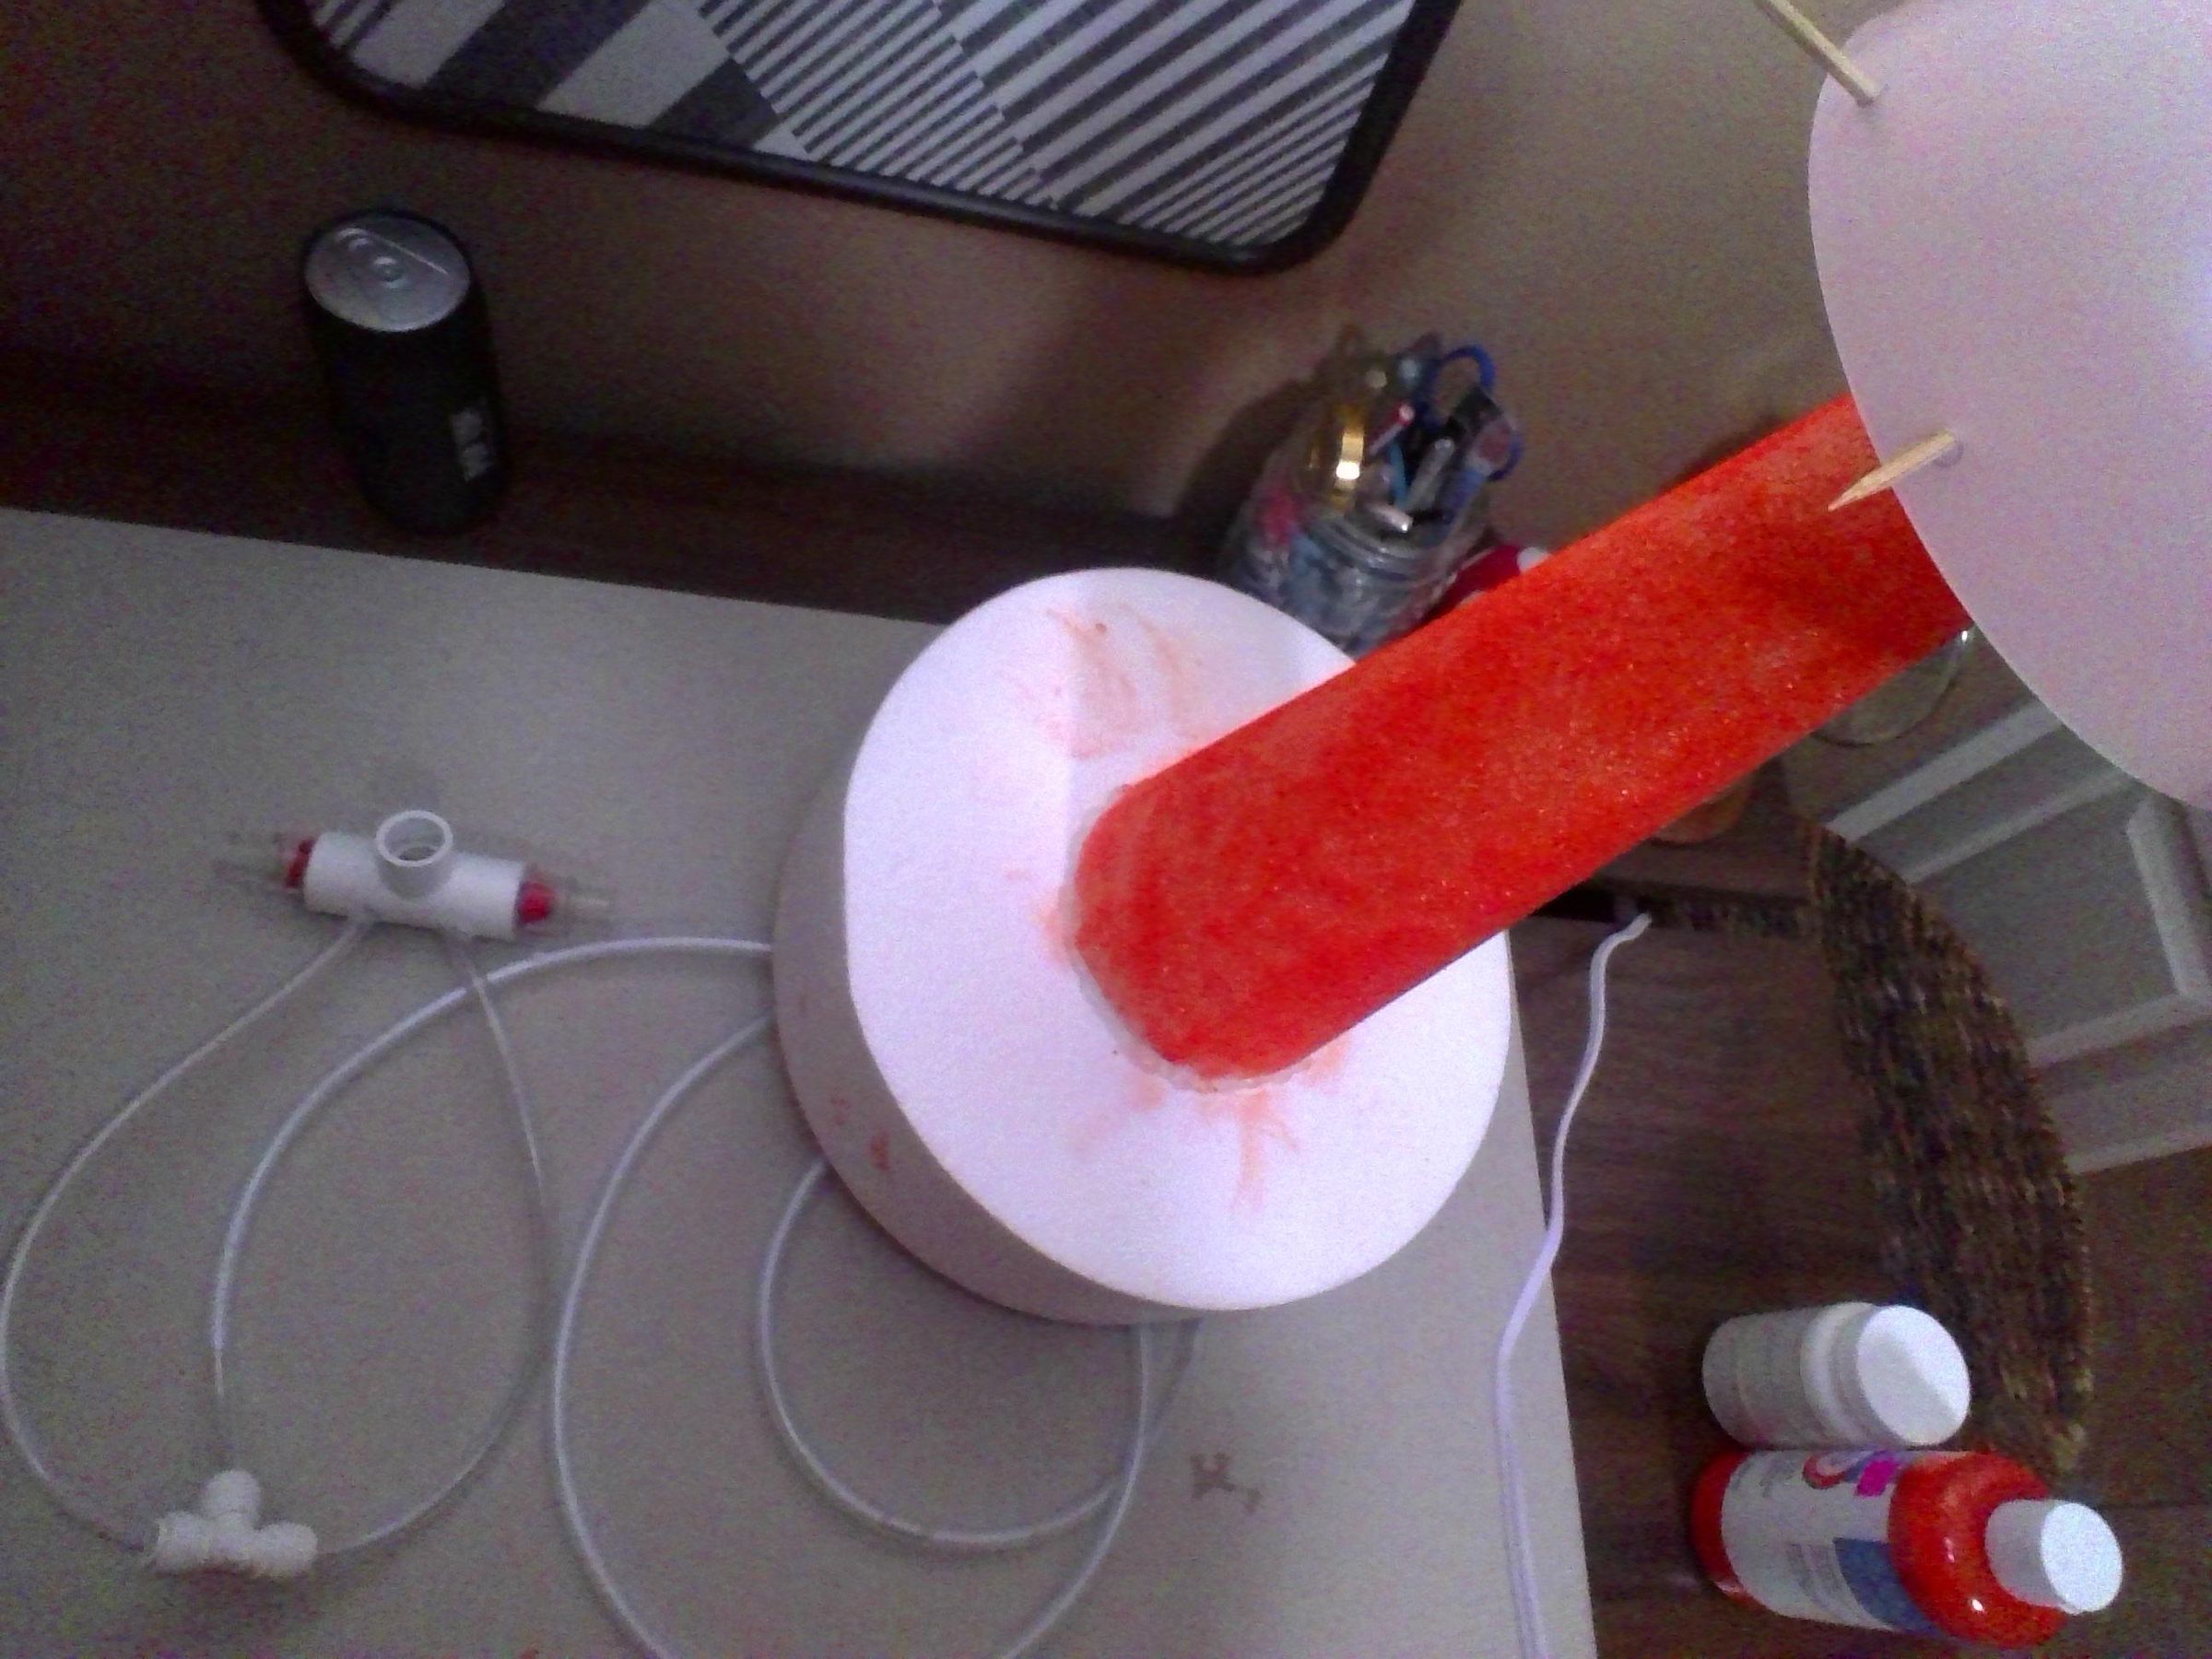
If you haven't already connected the tubing from the cone to the hose coupler do so now. Also make sure the tubes are correctly connected to the coupler and pipe.
Test
You can test your project by breathing into the pipe and feeling air come out through the check valves as you exhale, and feel a kind of suction near the cone end of the tubing as you inhale. My test worked, and with no air leaks! If you have an air leak on the PVC pipe or hose coupler, use hot glue to fill any holes causing the leaks. If there is an air leak in the tubing, buy a vinyl repair patch kit and follow those instructions.