DIY Water Feeder for Bees, Insects, and Birds — Made From Recycled Bottle Caps
by MORENA DIY in Outside > Birding
691 Views, 12 Favorites, 0 Comments
DIY Water Feeder for Bees, Insects, and Birds — Made From Recycled Bottle Caps

This is a simple and eco-friendly project that turns recycled plastic bottle caps into a long watering feeder for bees, butterflies, small insects, and even tiny birds. With just a few basic tools and some scrap wood, you can create a safe source of water that helps wildlife in your garden or local park — especially during hot summer days when water is scarce.
Estimated Time: 1–2 hours
Difficulty: Easy
Cost: Very low (most materials can be recycled)
Supplies
Materials
- 1 long wooden board (about 60–100 cm long, 7–10 cm wide, ~18–22 mm thick)
- Clean plastic bottle caps (different sizes work well)
- Wood screws (preferably stainless steel or galvanized, to avoid rust)
- Strong outdoor adhesive (silicone or polyurethane glue; hot glue can be used temporarily)
- Outdoor wood paint or varnish (optional, for weather protection)
Tools
- Drill and drill bits (small bit for caps, slightly larger bit for pilot holes in wood)
- Screwdriver or power drill with screw function
- Pencil and measuring tape
- Safety glasses and gloves
- Paintbrush (if finishing with paint/varnish)
Plan the Layout


- Collect your bottle caps and wash them thoroughly water. Make sure there are no residues left inside.
- Cut your wooden board to the desired length and sand down the edges to avoid splinters.
- Use a pencil to mark the center of each cap’s position on the board. Leave enough space (4–6 cm apart) so the water doesn’t spill easily between caps.
Drill Holes in the Caps and Board


- Drill a small hole in the center of each cap. This makes it easier to screw them into the wood without cracking.
- On the board, drill a pilot hole at each pencil mark. Pilot holes prevent the wood from splitting and help the screws go in smoothly.
Attach the Caps


- Insert a screw through the hole in the cap and secure it into the pilot hole in the wood. Tighten just enough to hold the cap firmly, but not too hard or it may crack.
- For extra strength, add a drop of silicone or outdoor glue under the cap before screwing it in place.
To Finish the Board Neatly, Glue a Cap Onto the End of the Wood (no Screw Needed)


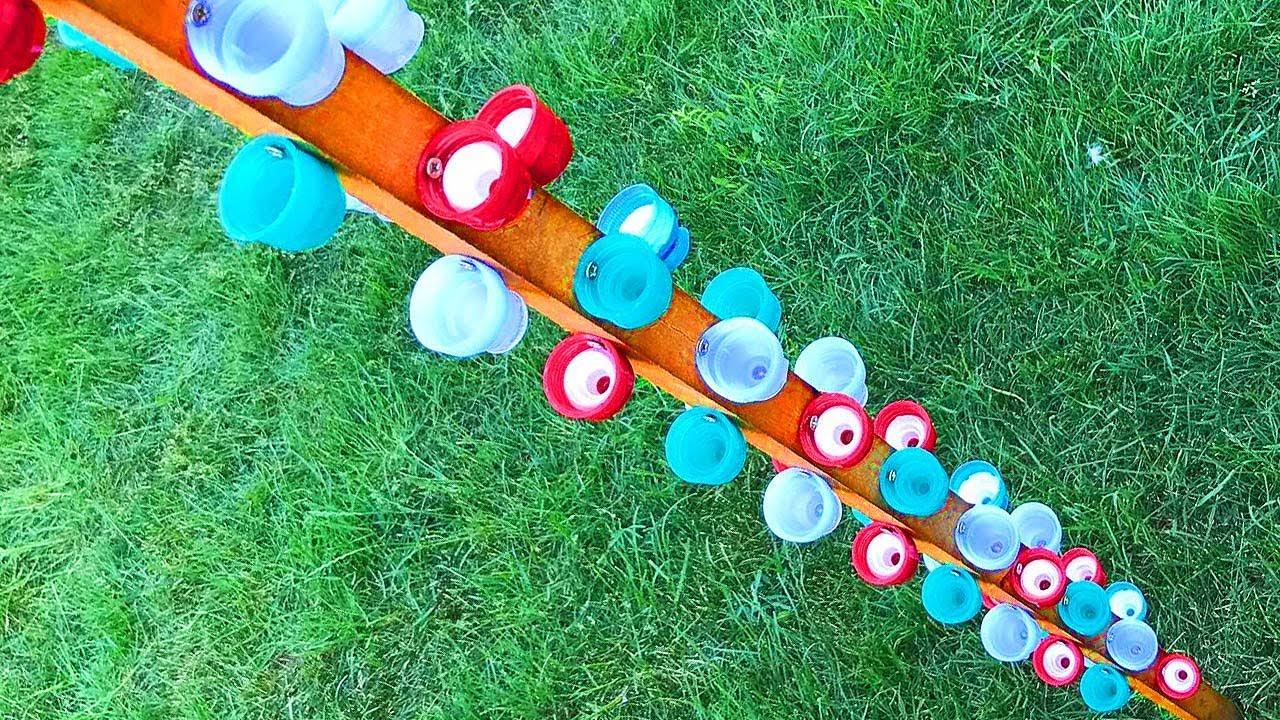
Final Step — Enjoy the Result


And that’s it — your DIY water feeder is ready! 🎉
It turned out simple, colorful, and really beautiful. Not only does it look nice in the garden, but it also provides an important source of water for bees, butterflies, insects, and even small birds.
Every time you see them stopping by for a drink, you’ll know that your project is helping little creatures survive and thrive. It’s amazing how such a small and creative project can make such a big difference for nature. 🌸🐝🐦