DIY Water Purification System
For the last two decades, my grandpa has owned a small cabin in the Piute Mountains. Only accessible from a dirt road in the Mojave Desert, it feels like one of the most remote locations in California. After you pass the last ancient general store near Lake Isabella, there is nothing but trees and cliffs for miles.
It is fun to ride the ATVs and hike around the wilderness, but it takes careful planning to keep the cabin sustainable. Six solar panels charge a battery when we are away, water is pumped from a well, and all gasoline must be brought with us. When you leave the vicinity of the cabin, you are on your own. One of the most pressing concerns is water. Water composes 60% of the body, functioning as a nutrient, transportation system, homeostasis regulator, and even a shock absorber. While there are creeks and bodies of water, many are stagnant and unsafe to drink. You could thirst while surrounded by water.
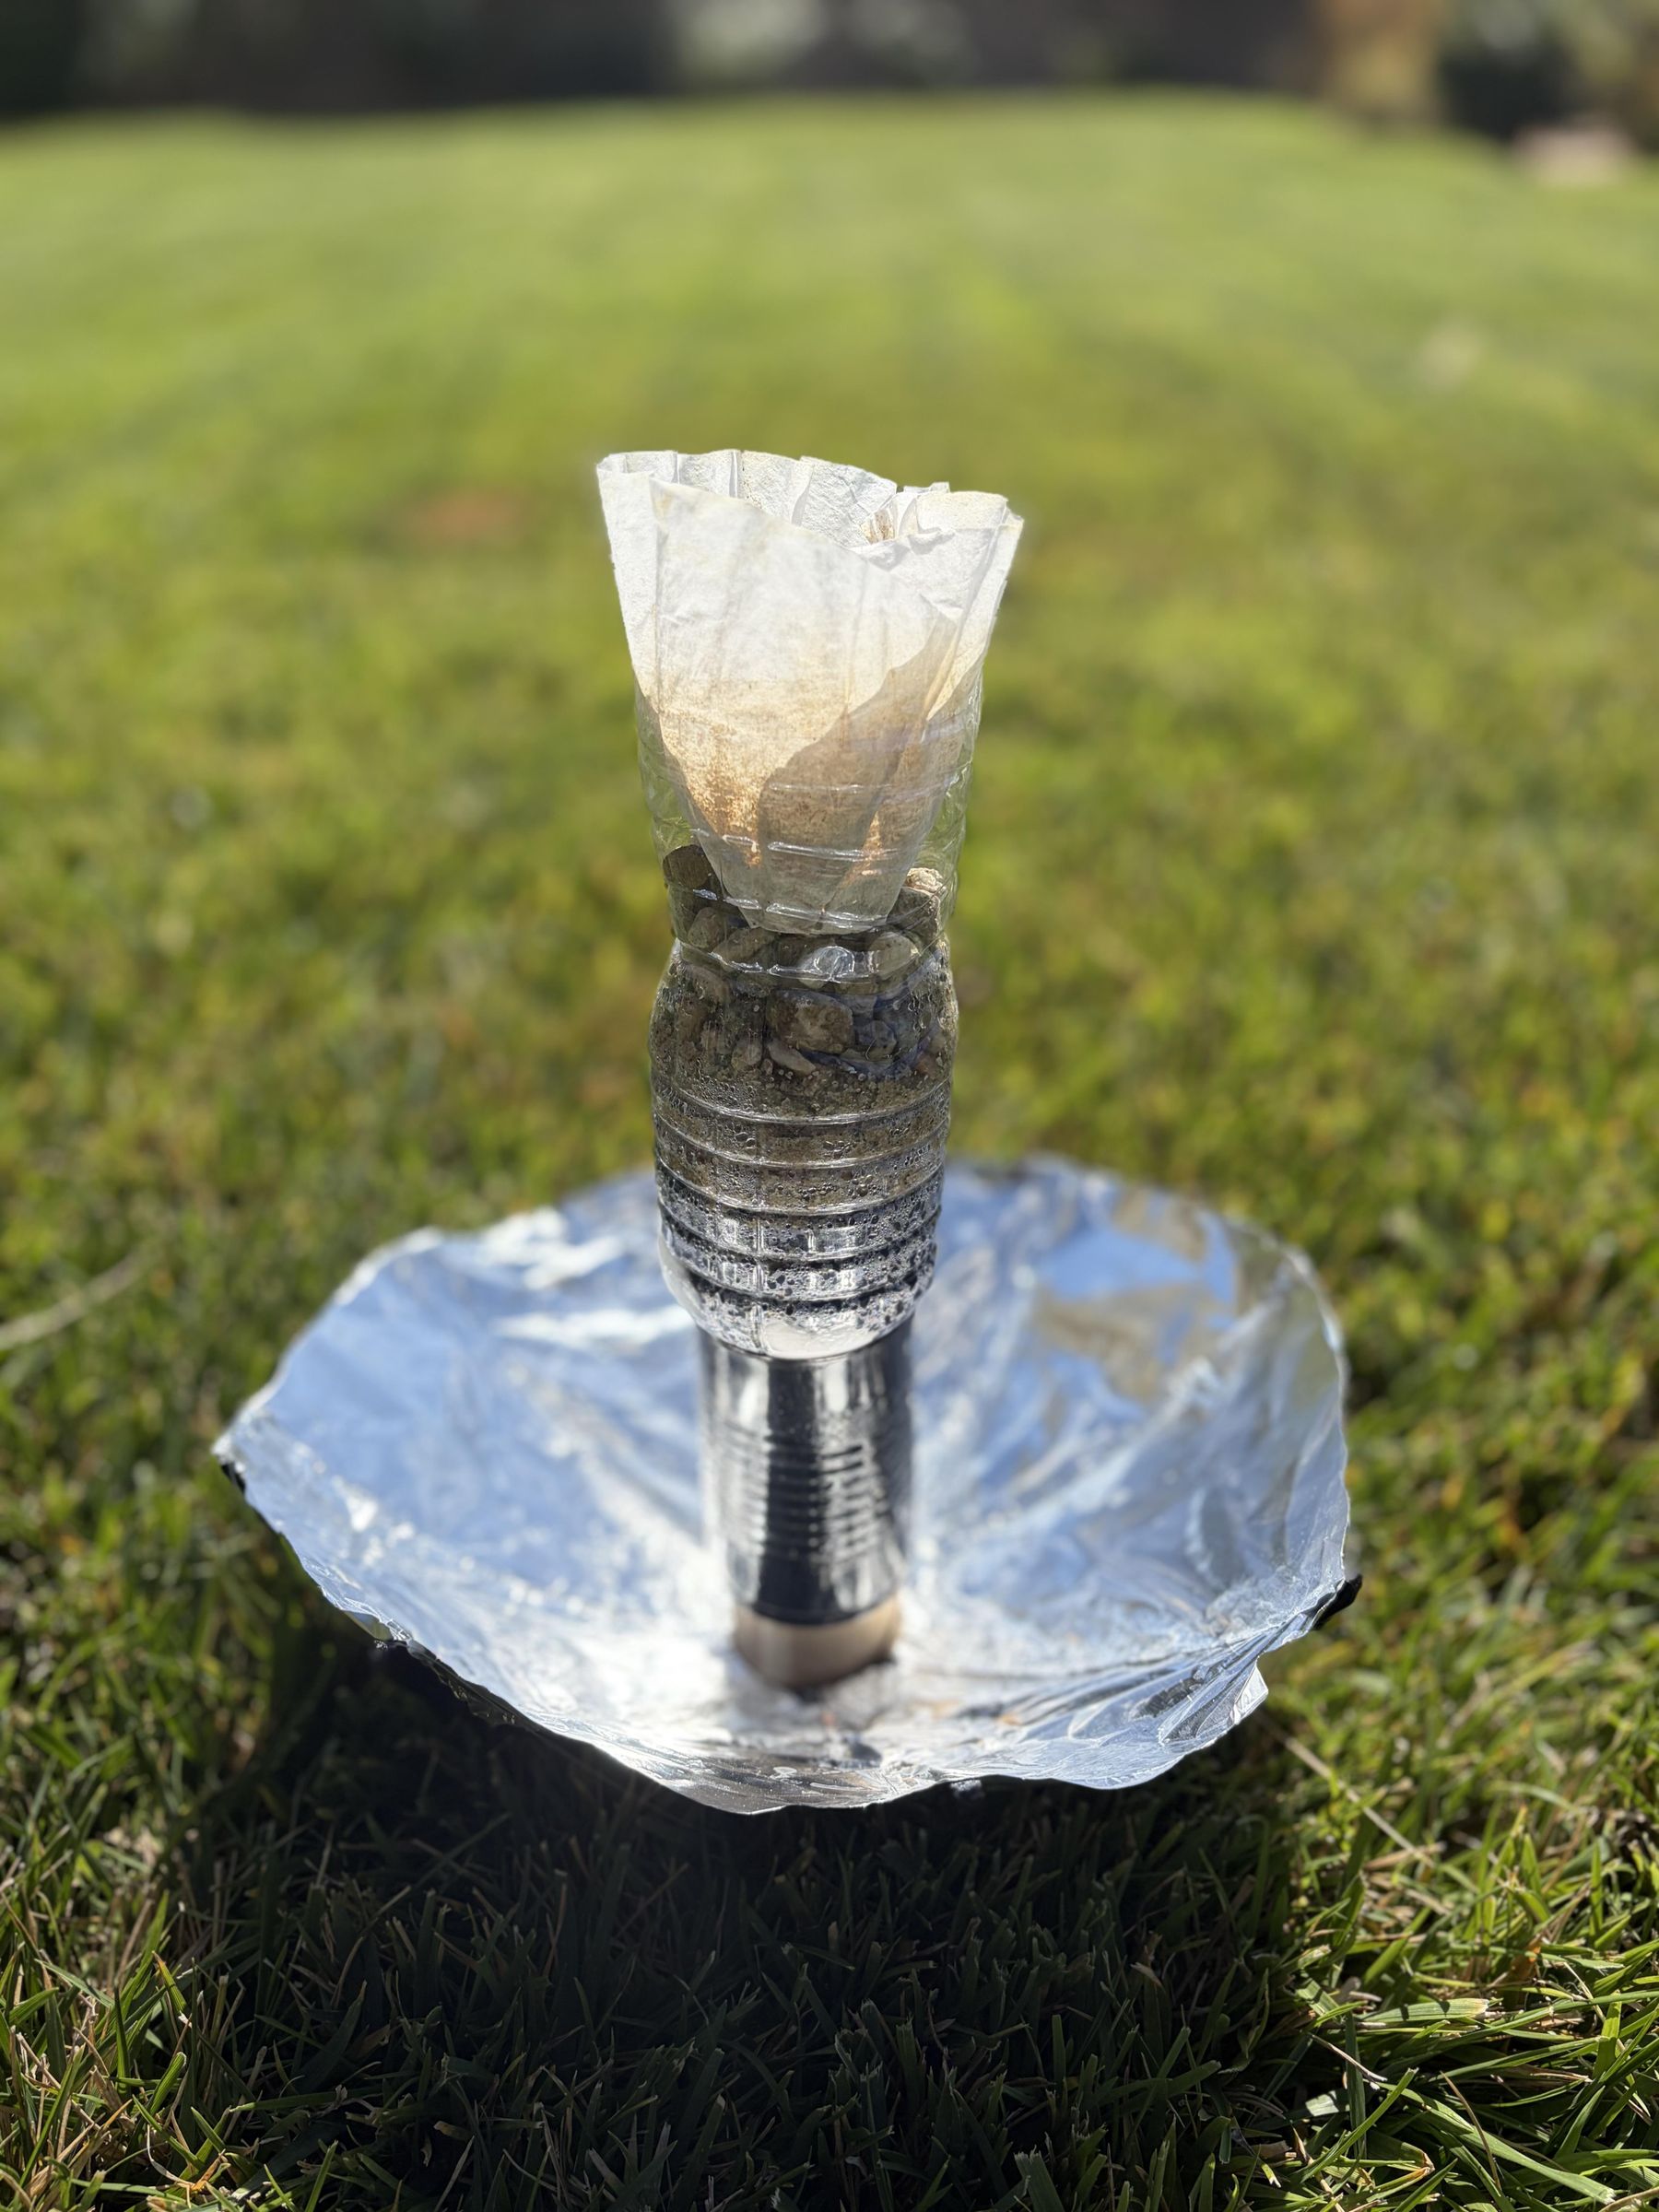
However, you can make your own water purification system. Using my 3D Printer, aluminum foil, sand, rocks, and activated carbon, I created a two-part water filter. The first part filters large contaminants through a system of filtration layers, while the second part harnesses solar energy to kill the remaining pathogens. This DIY Water Filtration system can turn a dirty puddle into a refreshing drink.
Supplies
Top:
- Water Bottle
- Coffee Filter
- Cotton Balls
- Activated Carbon
- Small Pebbles
- Scissors
Bottom:
- Fusion 360
- 3D Printer
- PETG filament
- Super Glue
- Aluminum Foil
- Paper Towel Roll
- Food Can
- Fishing Line
- Black Spray Paint
- Thermometer
Math
While the filter is reasonably straightforward, the mirror must be the right size to concentrate enough energy to heat the water. Heitzinger, Kristen et al. authored the study "Assessment of the Feasibility and Acceptability of Using Water Pasteurization Indicators to Increase Access to Safe Drinking Water in the Peruvian Amazon" to share the results of an experiment testing the effectiveness of the water pasteurization indicator (WAPI) in northern Peru. They explained that water is actually pure of most pathogens in water at 65°C for a few minutes, making it safe to drink. While it is often recommended to boil water in order to remove pathogens, it is actually safe to drink if you have an indicator (other than eyesight) that the water has passed the threshold of 65°C. During testing, I used a thermometer and heated the water to 83°C.
The size of the mirror can be calculated using two equations.
First, the Specific Heat Capacity Formula (Q=mcΔT) will determine how much energy in Joules is needed to heat the water. In this case, m=0.06 kg (1/4 cup of water), c=4186 J/kg°C, and ΔT=58°C (83°C - 25°C). The result is that about 14,600 J are needed.
Second, the equation P = G · A· η gives the Power (watts) produced by a parabolic solar oven. Our P is the answer from the last equation (14,600 J) and must be converted into watts. This means dividing by time (seconds). The sun is most direct from 11 am to 1 pm, so the water can be warmed over the course of two hours. 14,600 J / 7200 s = 2.02 W. The variable "G" is the solar irradiance, and under optimum conditions, it is equal to 1000 W/m^2. However, there may be some cloud cover, so it will be set to 500 W/m^2. The variable "A" is equal to the circle the paraboloid forms at its opening, which is πr^2 meters squared. I will make the opening 274 mm across, leading to an area of 0.059 meters squared. The value "η" is the decimal efficiency of the material, which I will estimate to be 0.3. In the end, the equation will look like P=500 W/m^2 · 0.059 m · 0.3. The answer is P=8.84 W. Although this may seem higher than the 2.02 W required, I found through testing that energy is lost to imperfections and unpredictable conditions not represented by the equations.
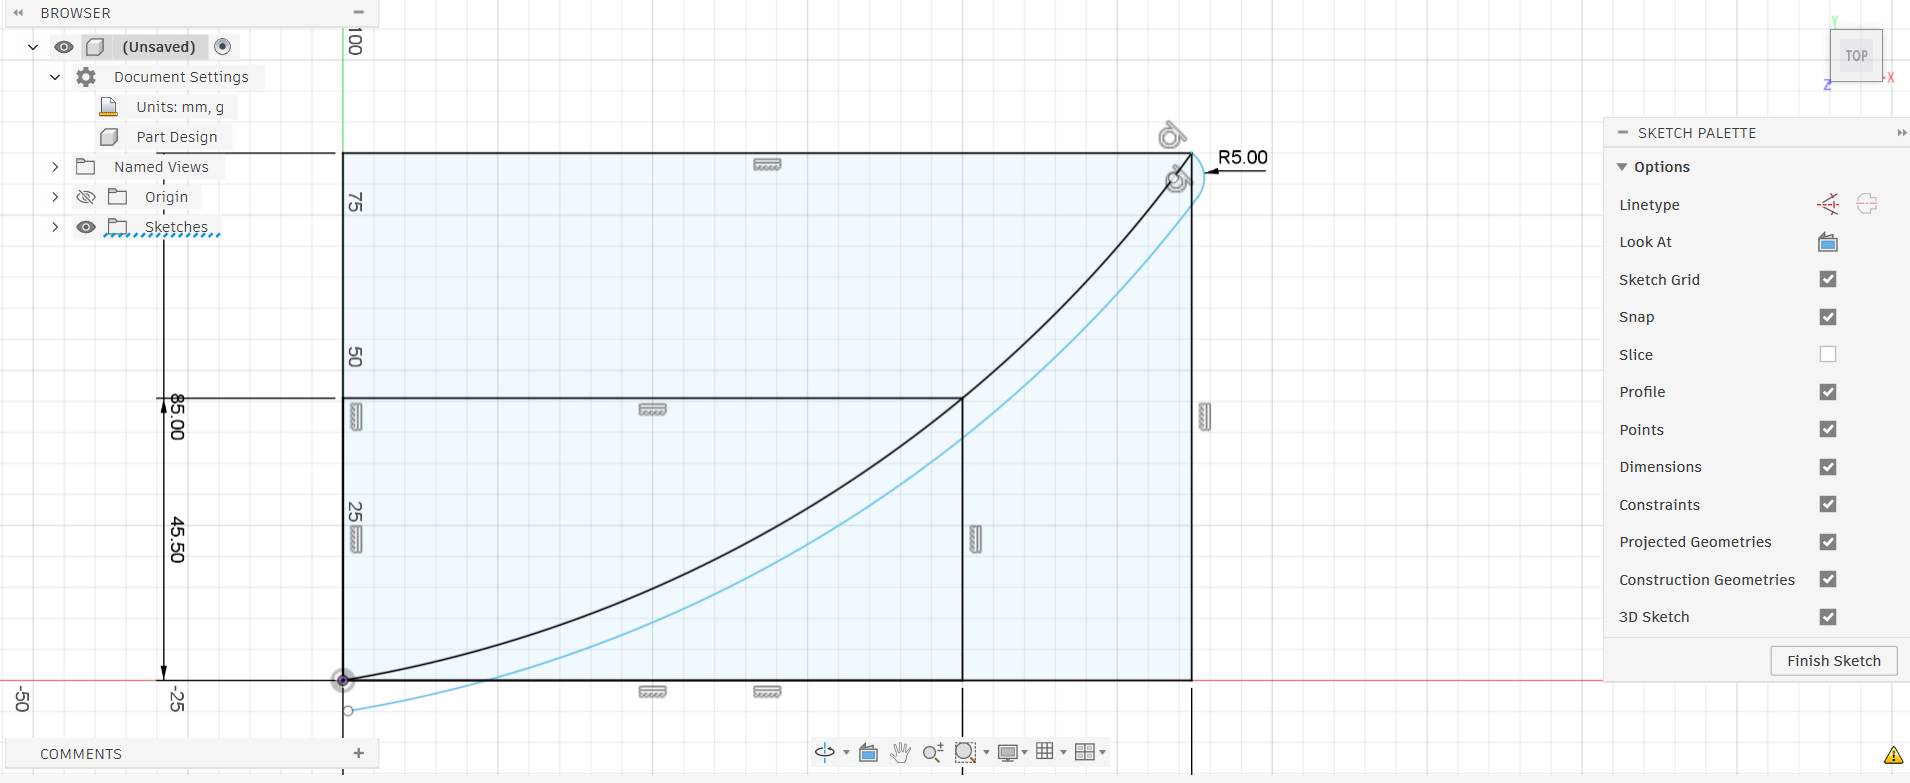
In conclusion, I decided to create a paraboloid with a 274 mm diameter and a focus at the point (0,55). While Fusion 360 does not have a graphing tool, it does have a 3-point arc. Using the equation x^2=220y, I found the points (0,0), (100, 45.5), and (137,85) as seen in the image above.
3D Modeling
After calculating its shape, I designed eight 5mm ribs to form the skeleton of the mirror. They will be glued to a circular base with notches around the edge. The complete design is shown below. The base has a hole in the middle for the stand.
Create Parts on 3D Printer
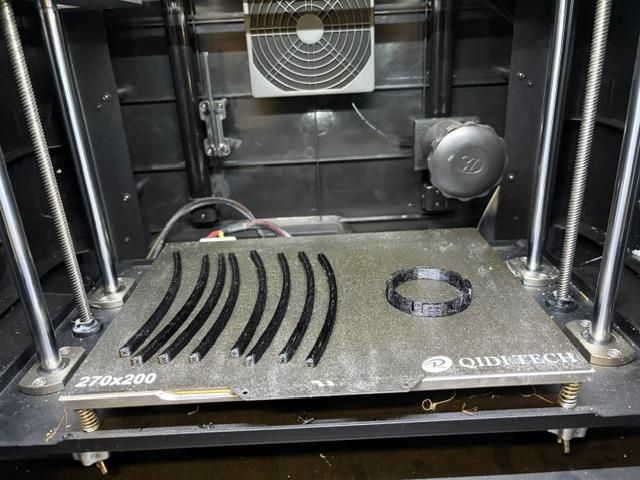
After designing the frame on Fusion 360, send it to a 3D Printer in either an STL or OBJ file. I use Ultimaker Cura to prepare the files before I download them on the hard drive to print. I used a Qidi X Plus II Printer with black PETG.
Assemble Frame
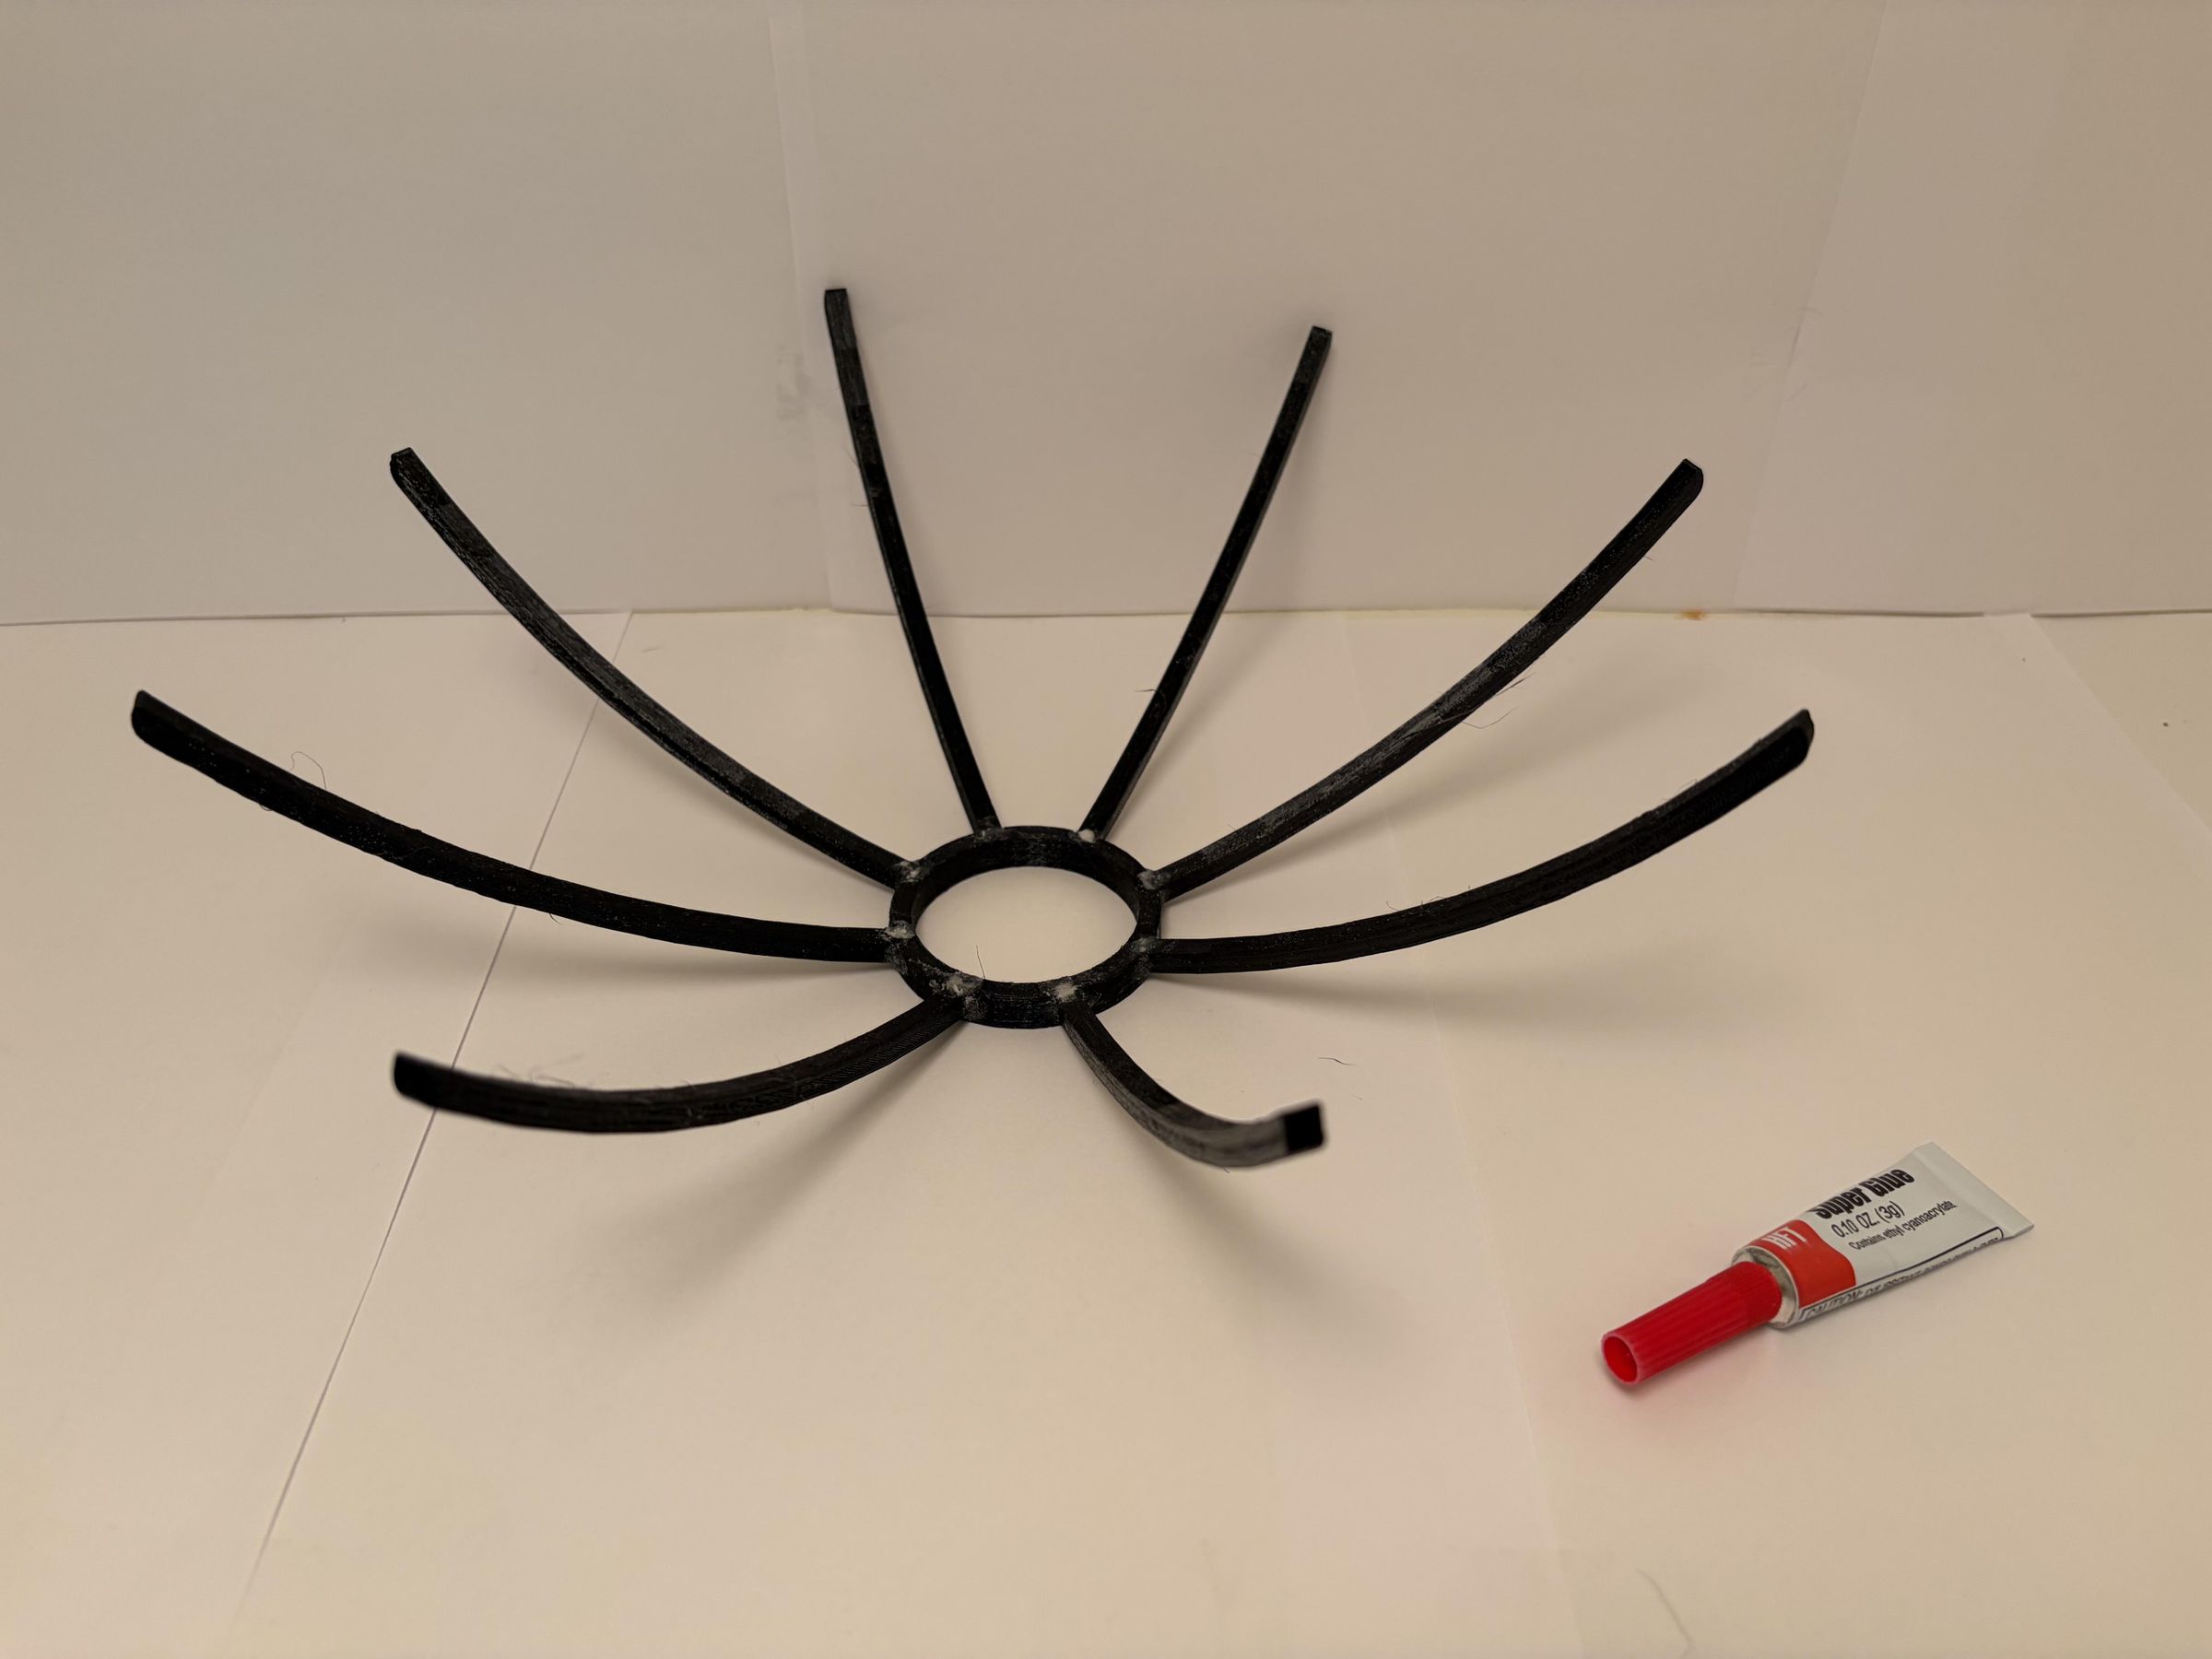
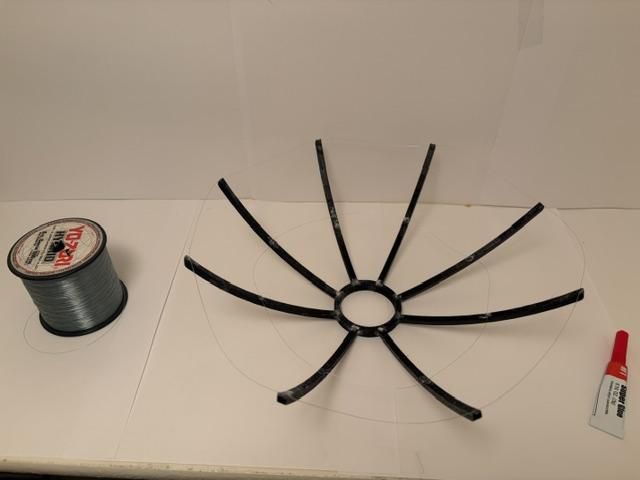
Glue all the 3D printed components together. Slide the flat end of the ribs into the notches in the base. Use super glue to adhere them together. After it dries, glue fishing line around the ribs to form a mesh. I did one loop around the top and one loop in the middle.
Aluminum Foil
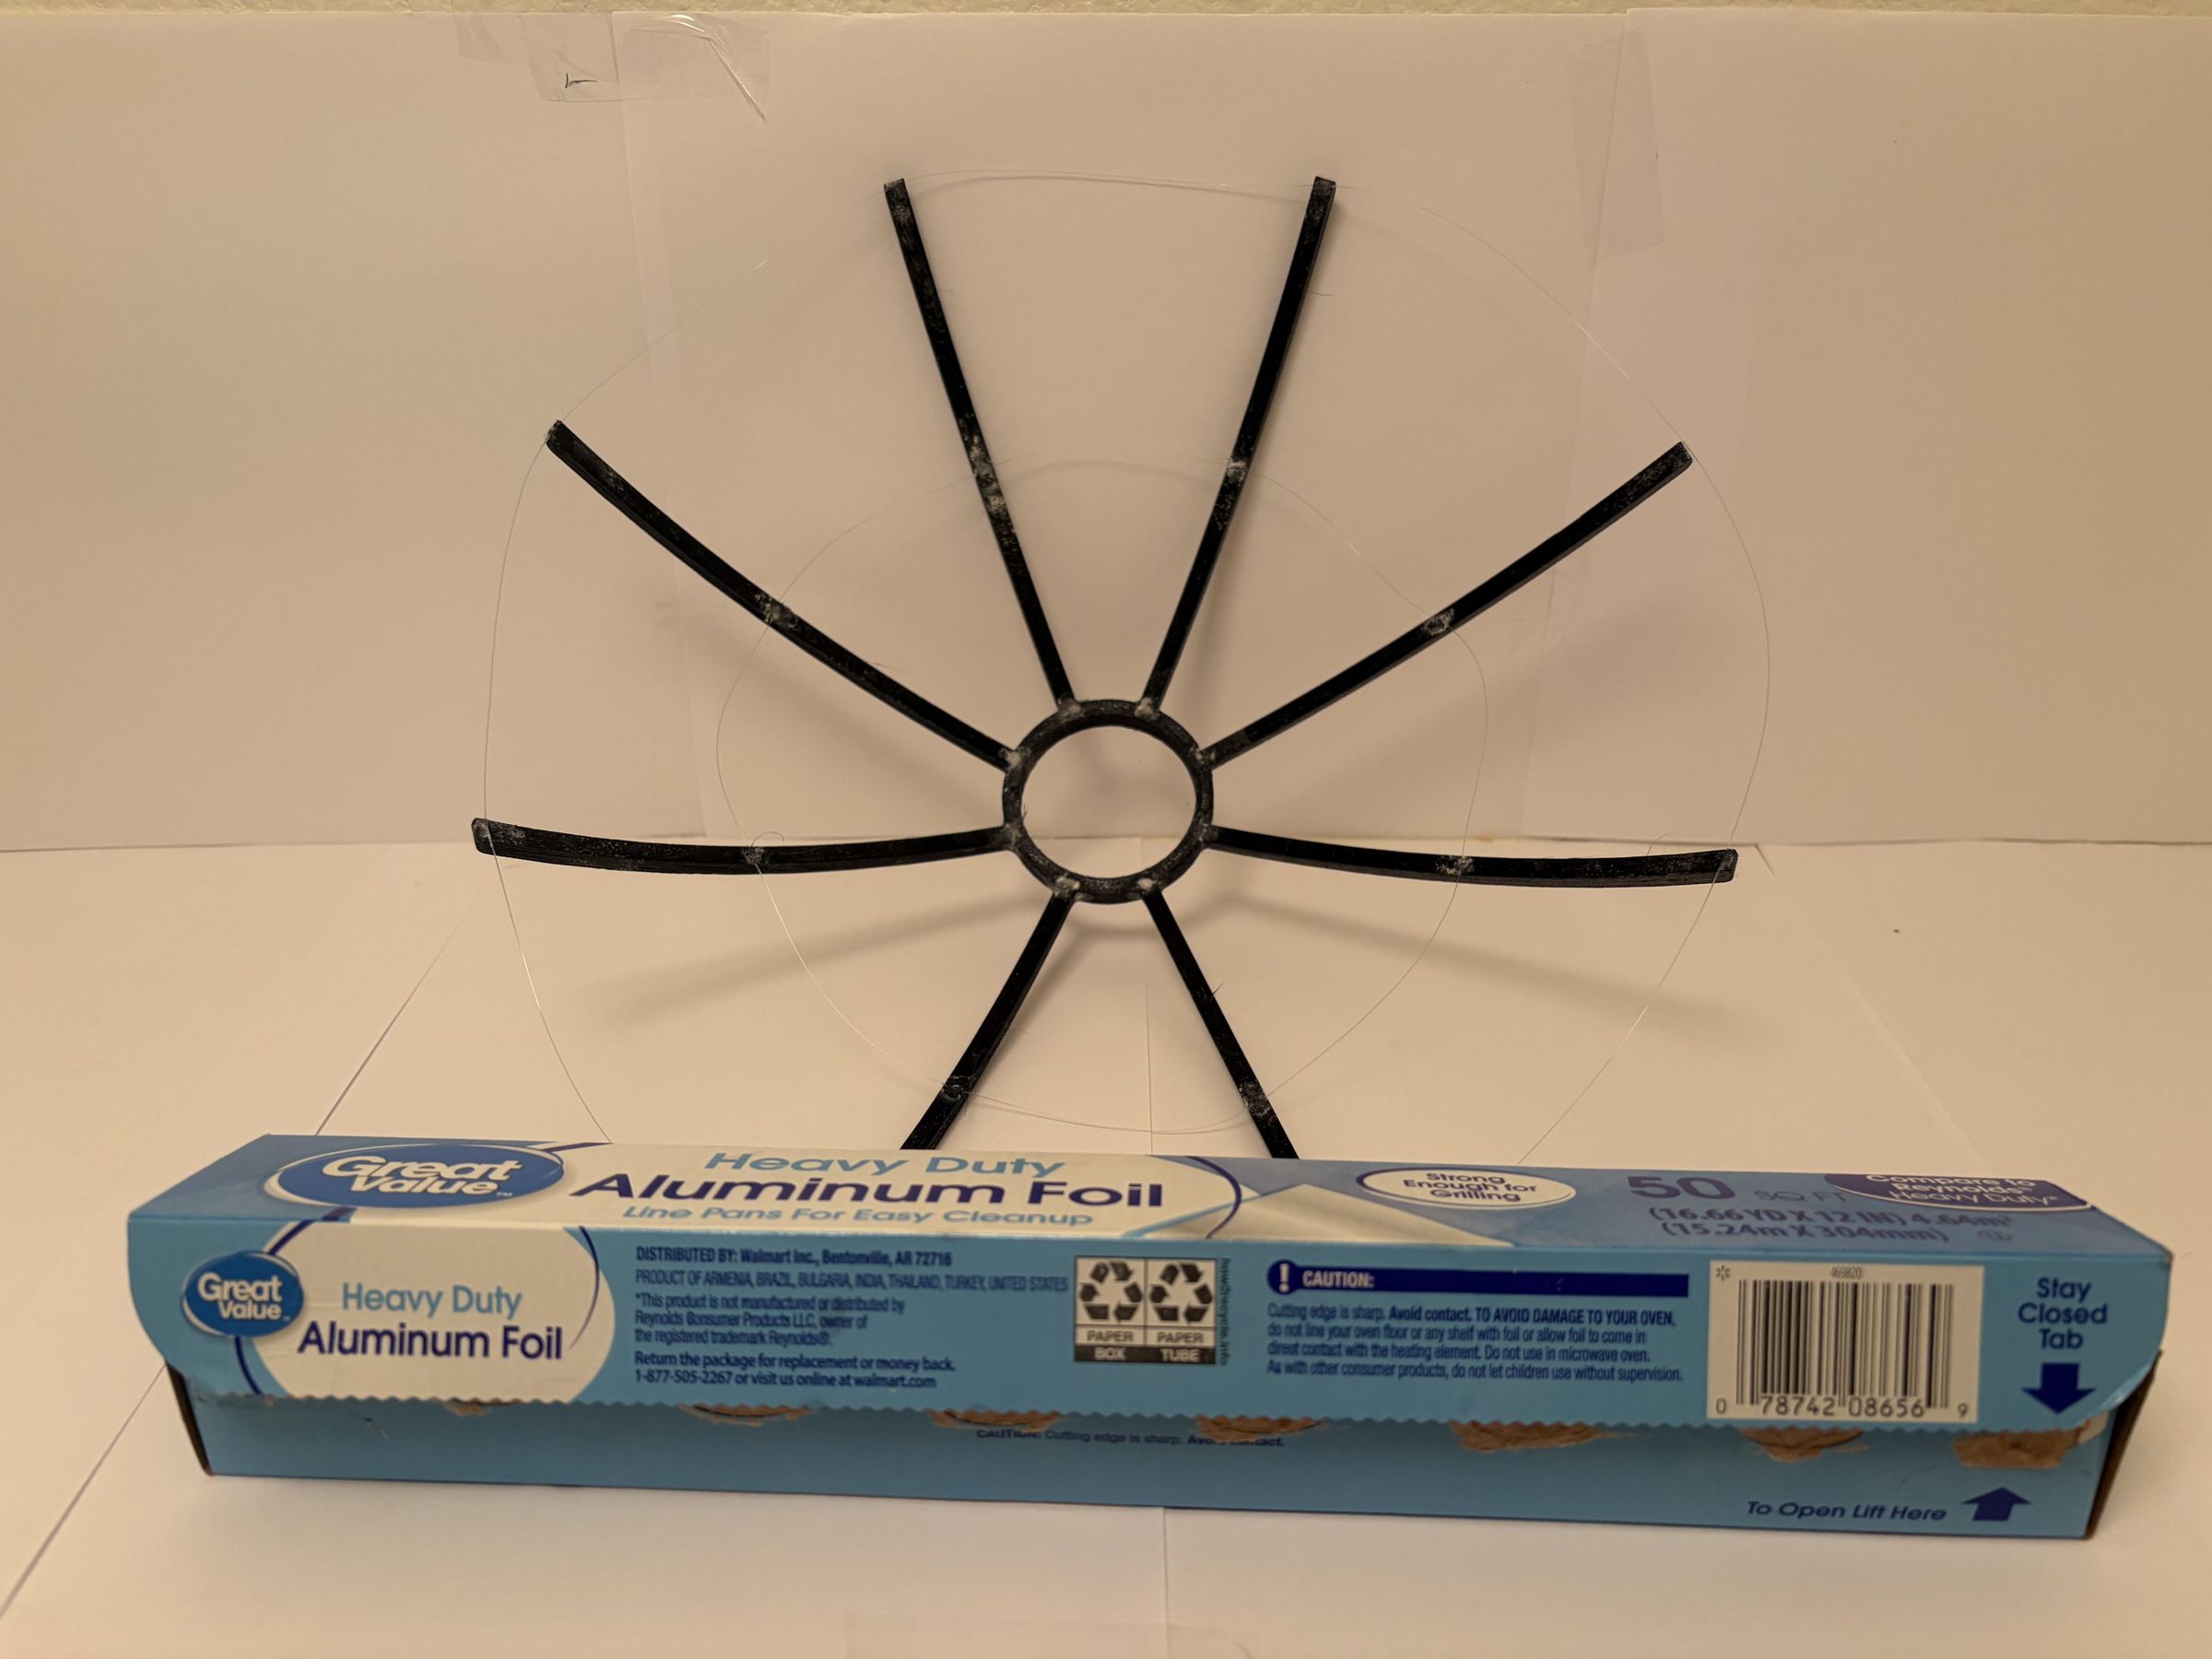
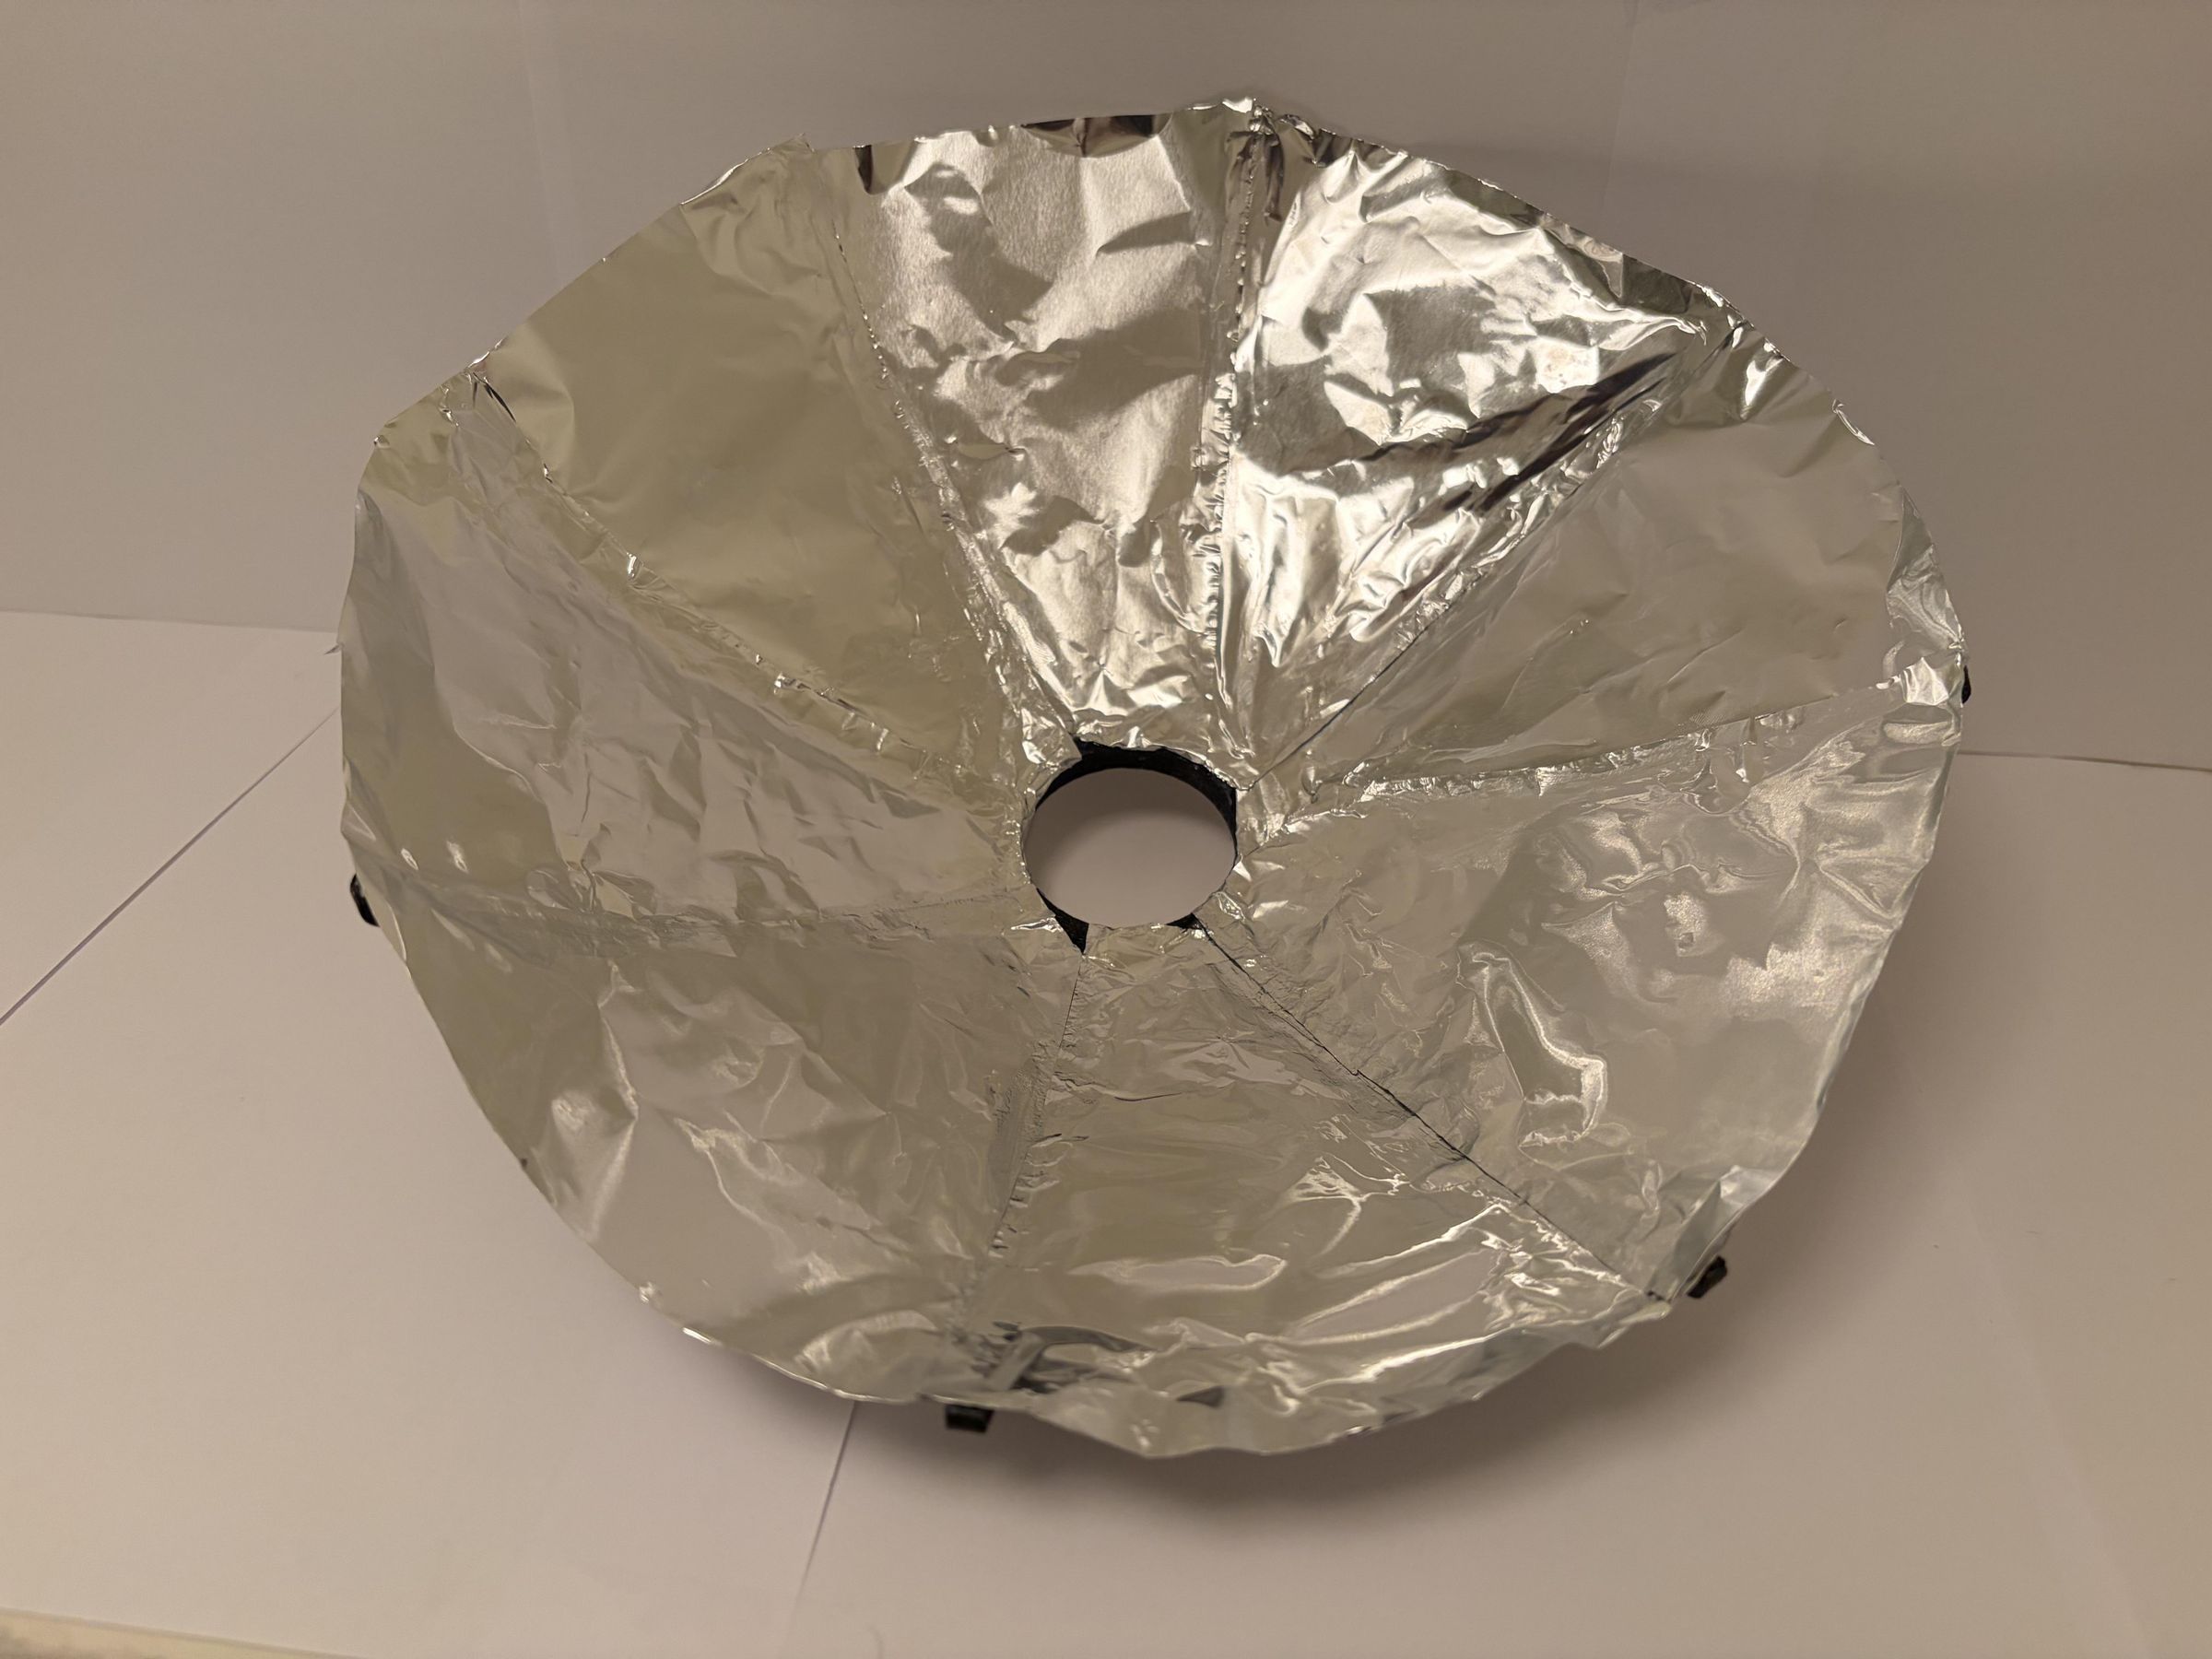
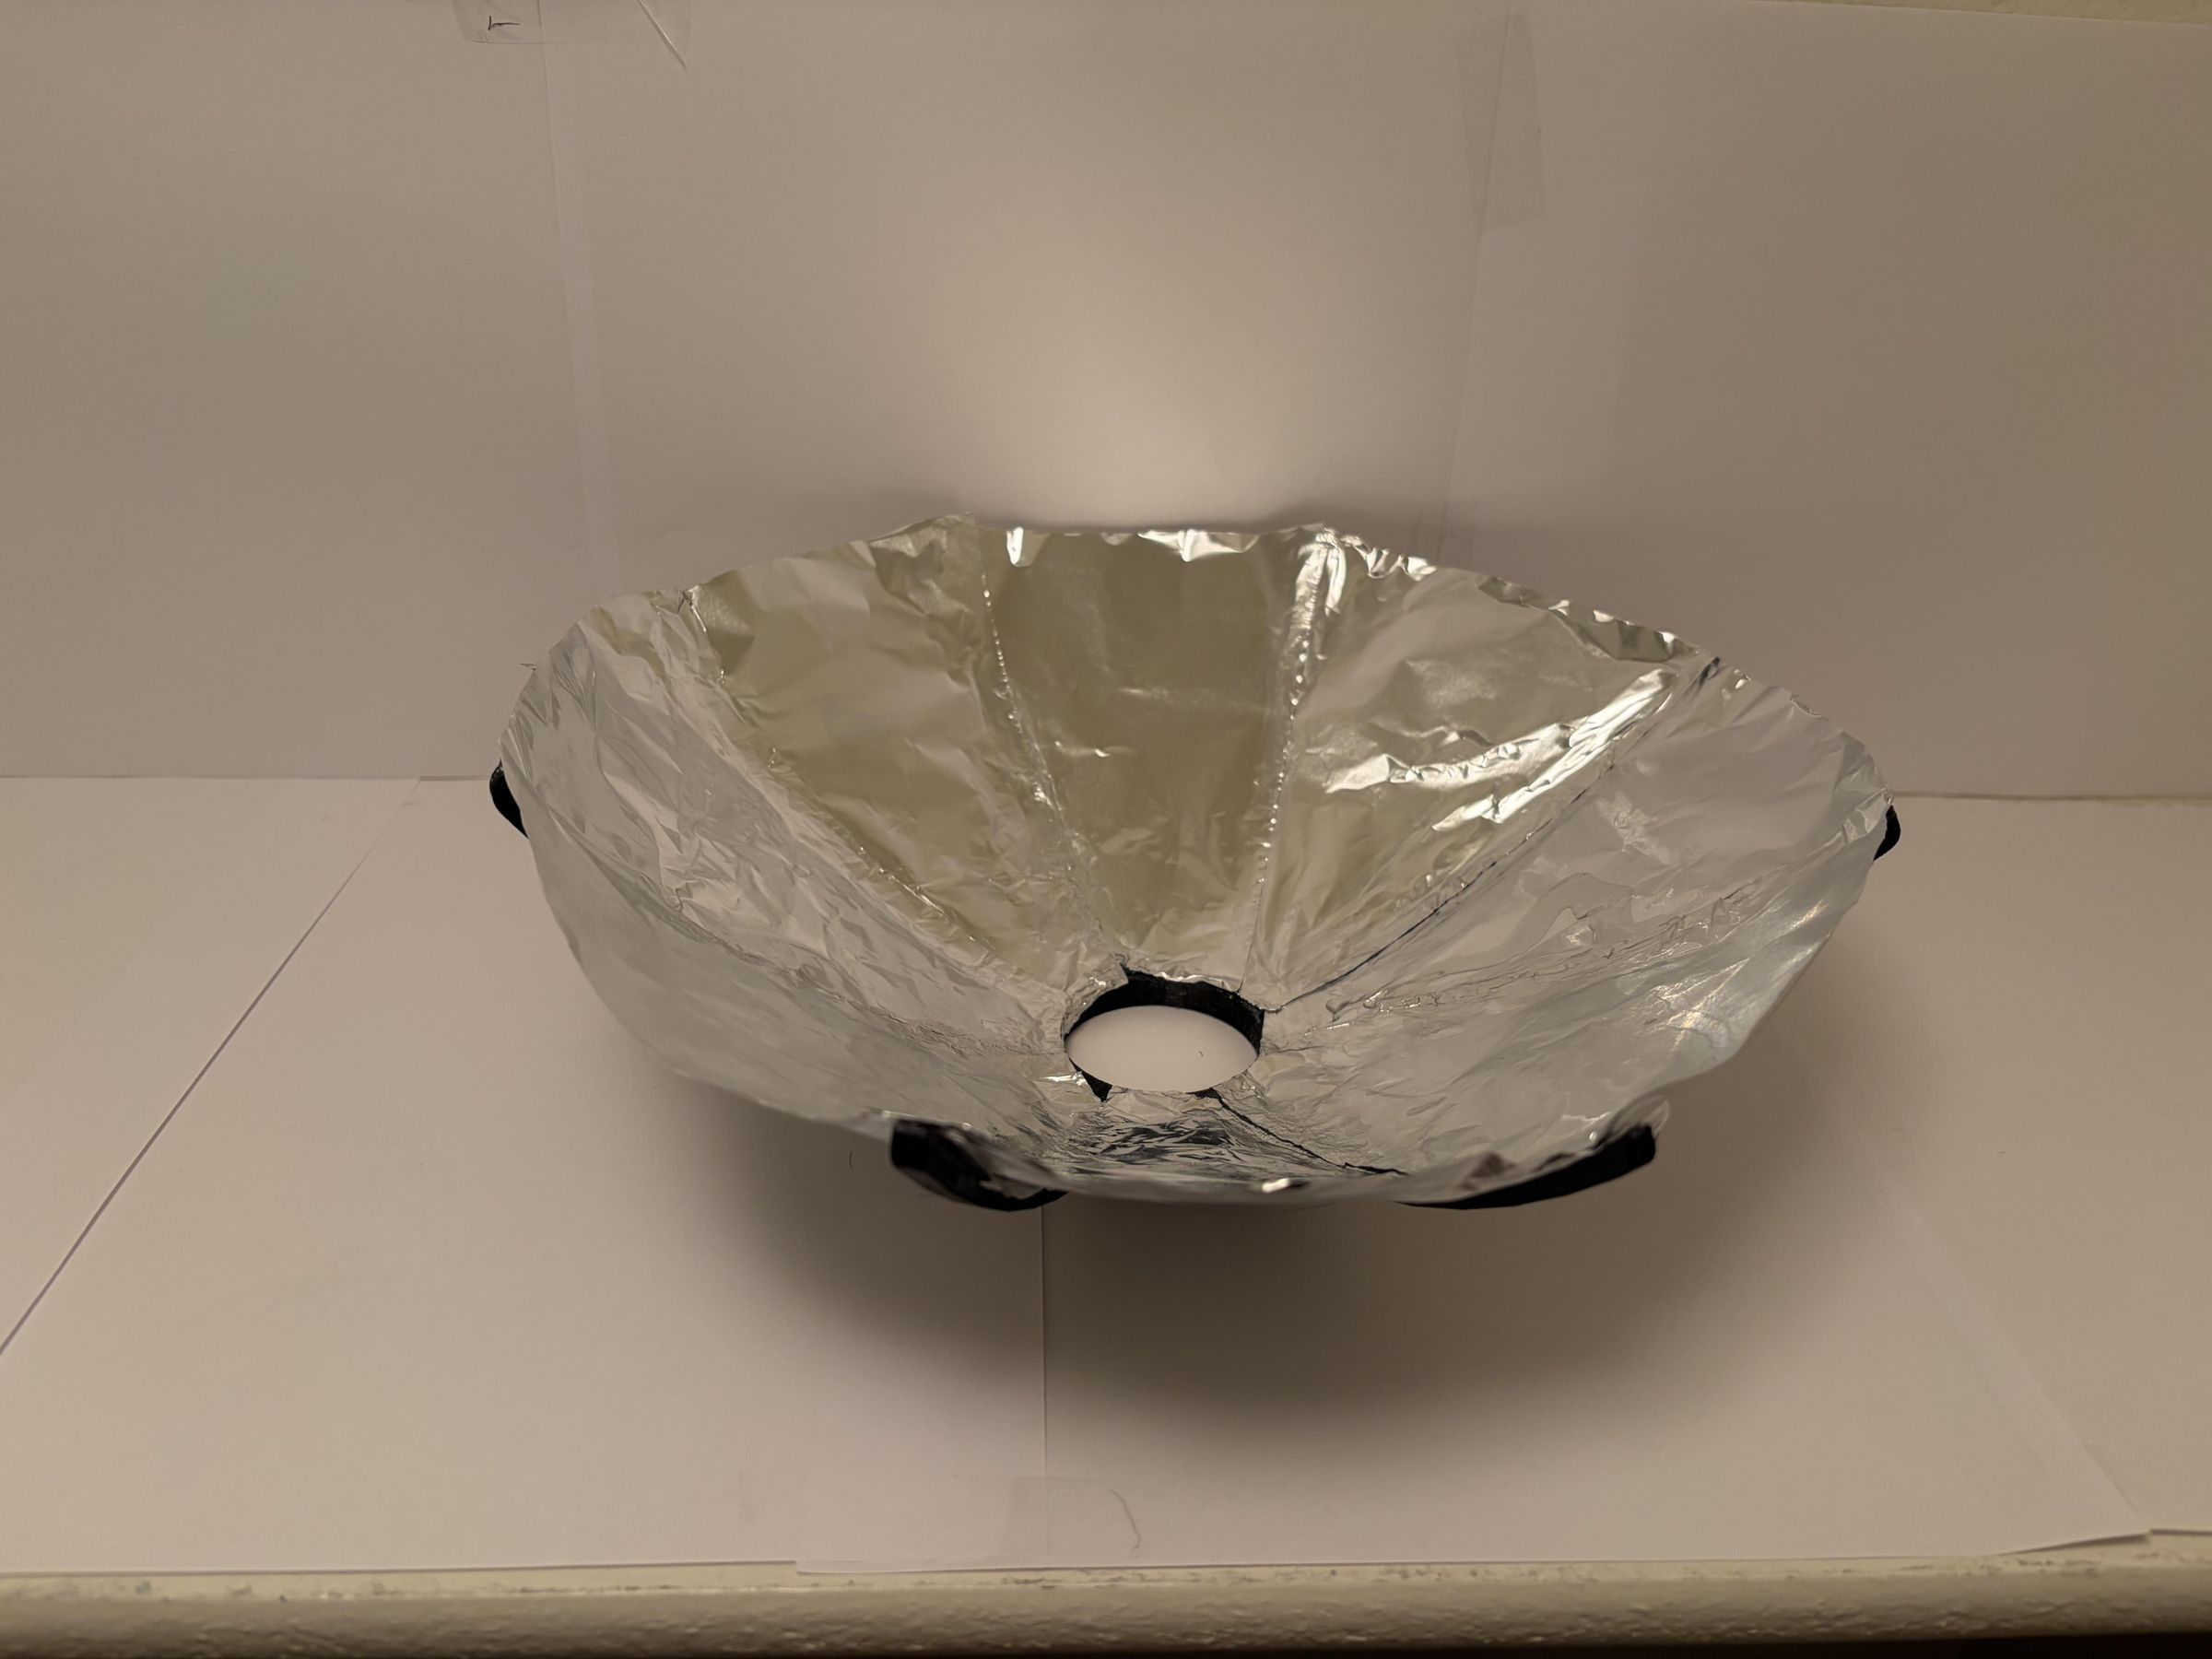
Now for the most important of making the mirror: actually having a mirror. Use the shiny side of household aluminum foil to cover the inside of the frame. Because it is difficult to shape perfectly, I estimated its efficiency at 30% in the equation above. Use scissor to cut the foil from the roll instead of tearing it to make it less wrinkled. Lay a piece of foil on each wedge, glue it to the frame and fishing line, and cut off the excess. Try to make it as smooth as possible to maximize the light reflected.
Paint the Can
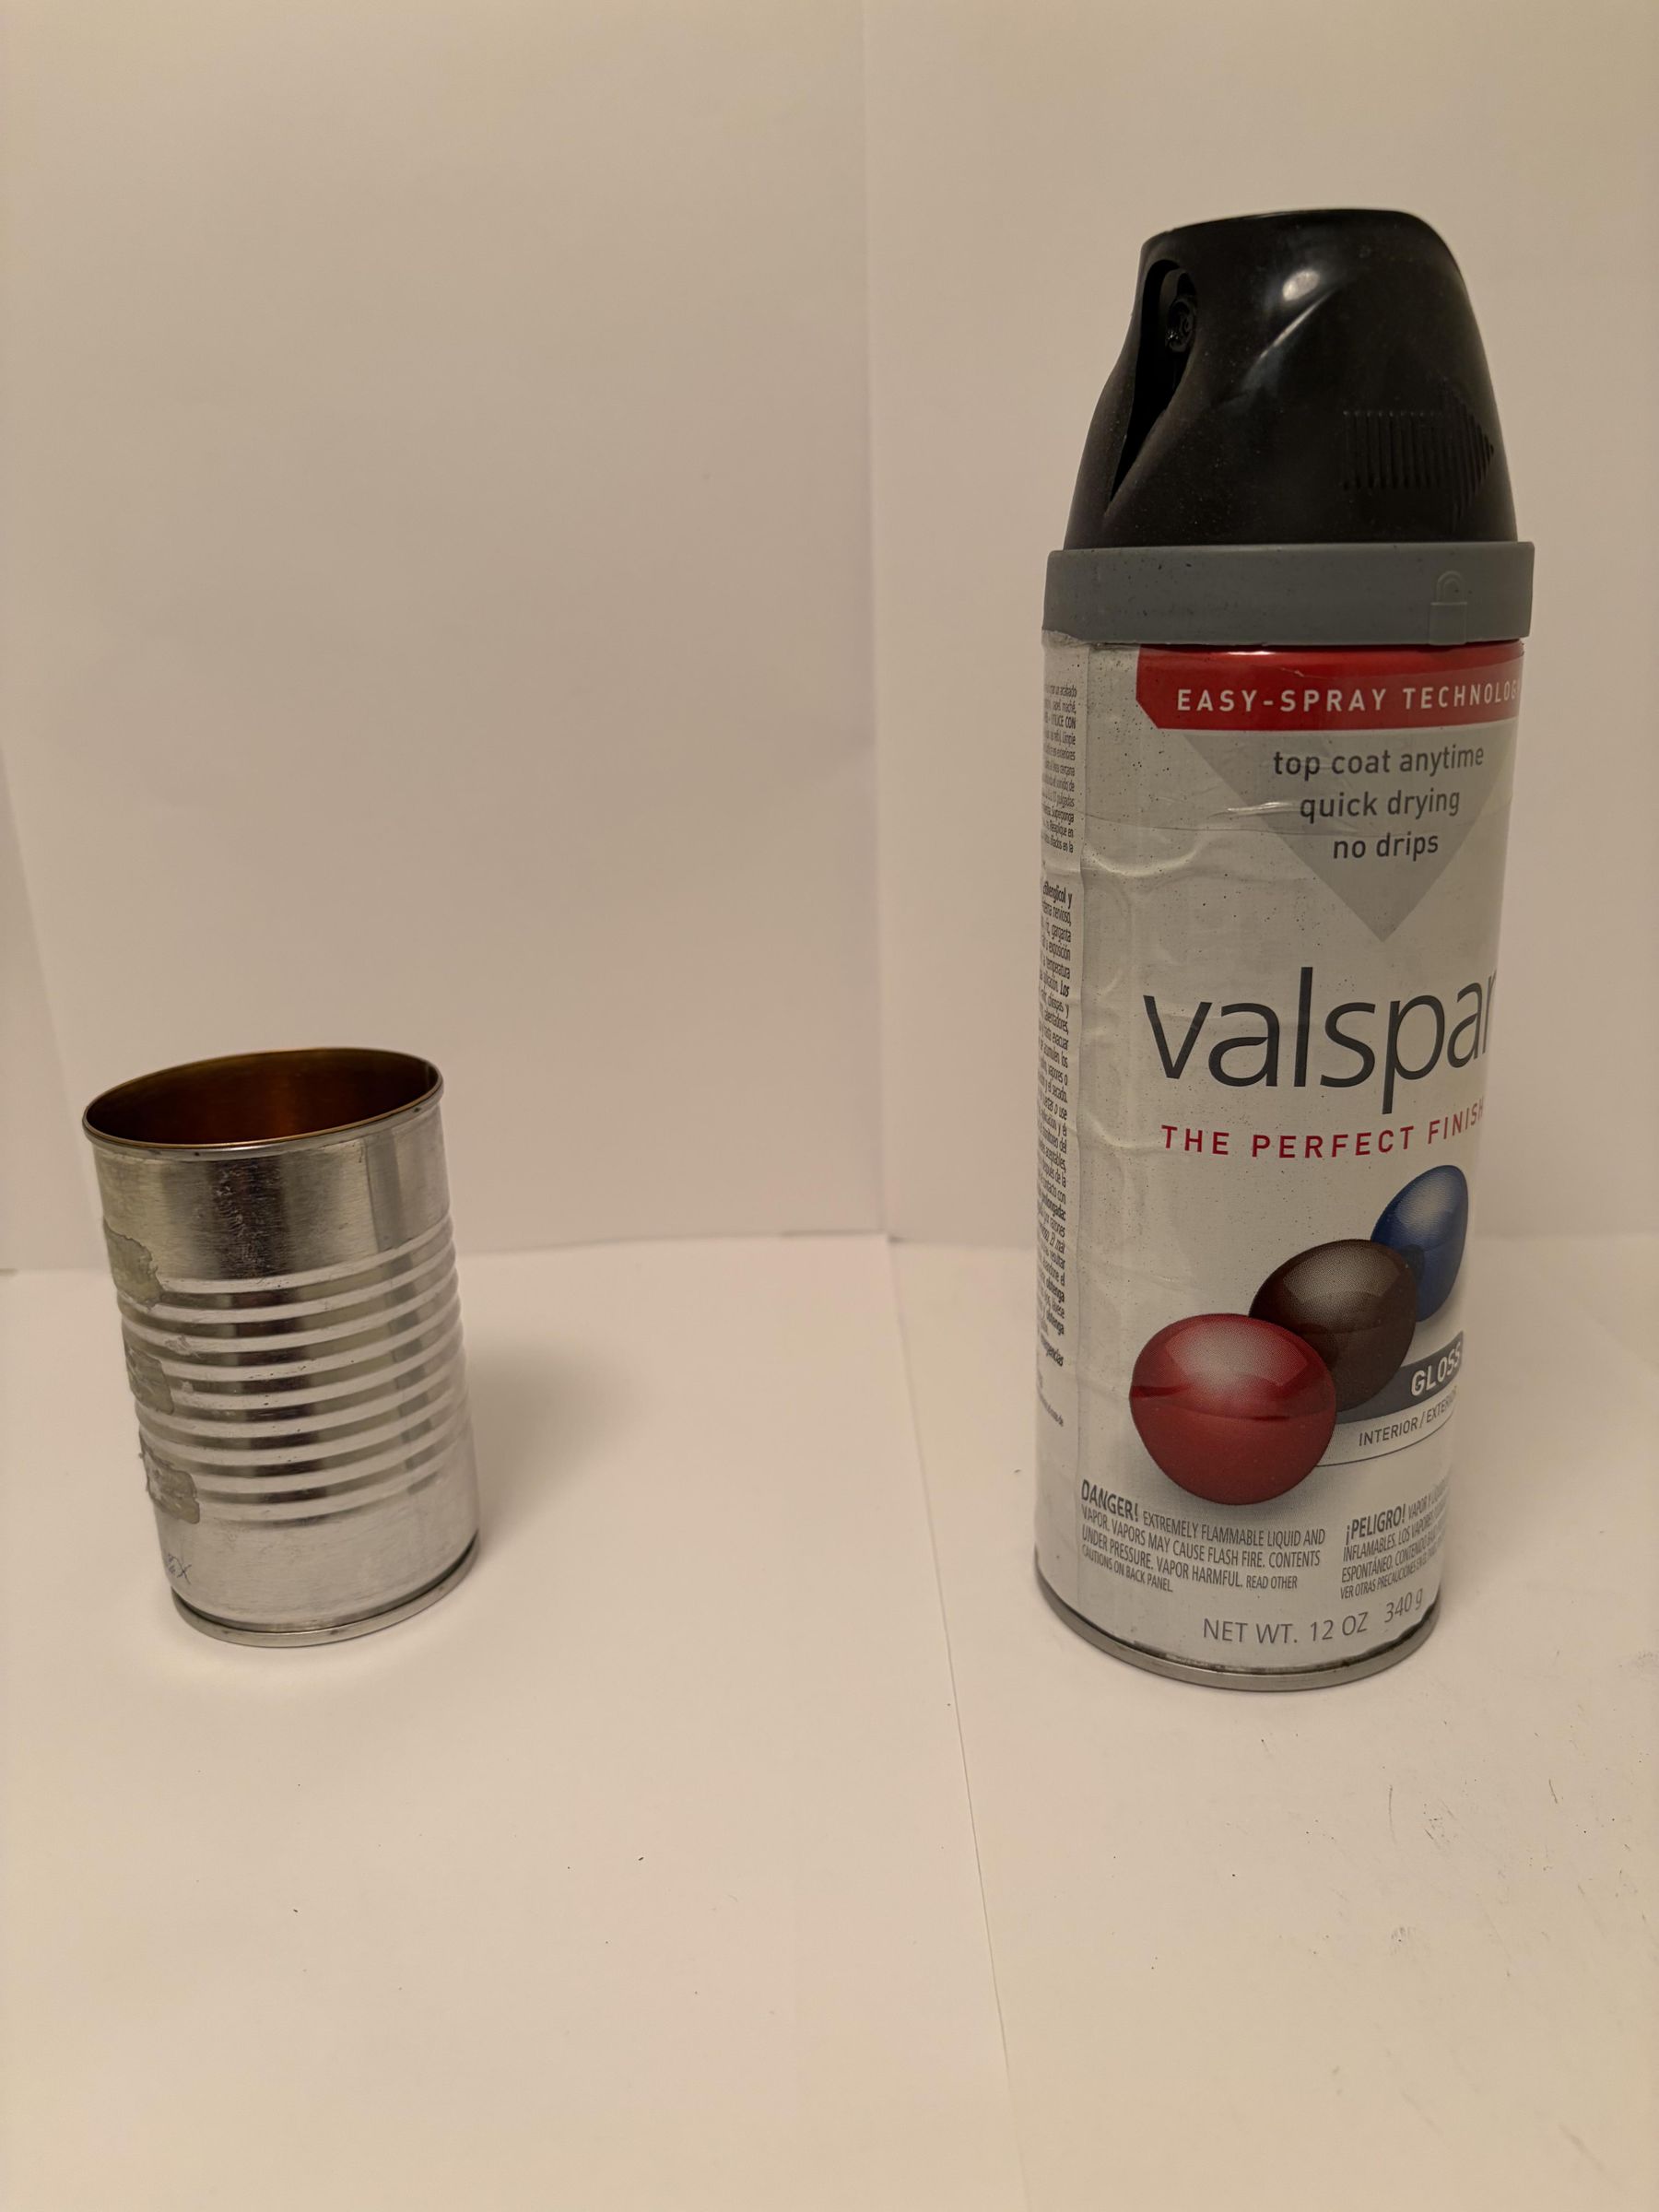
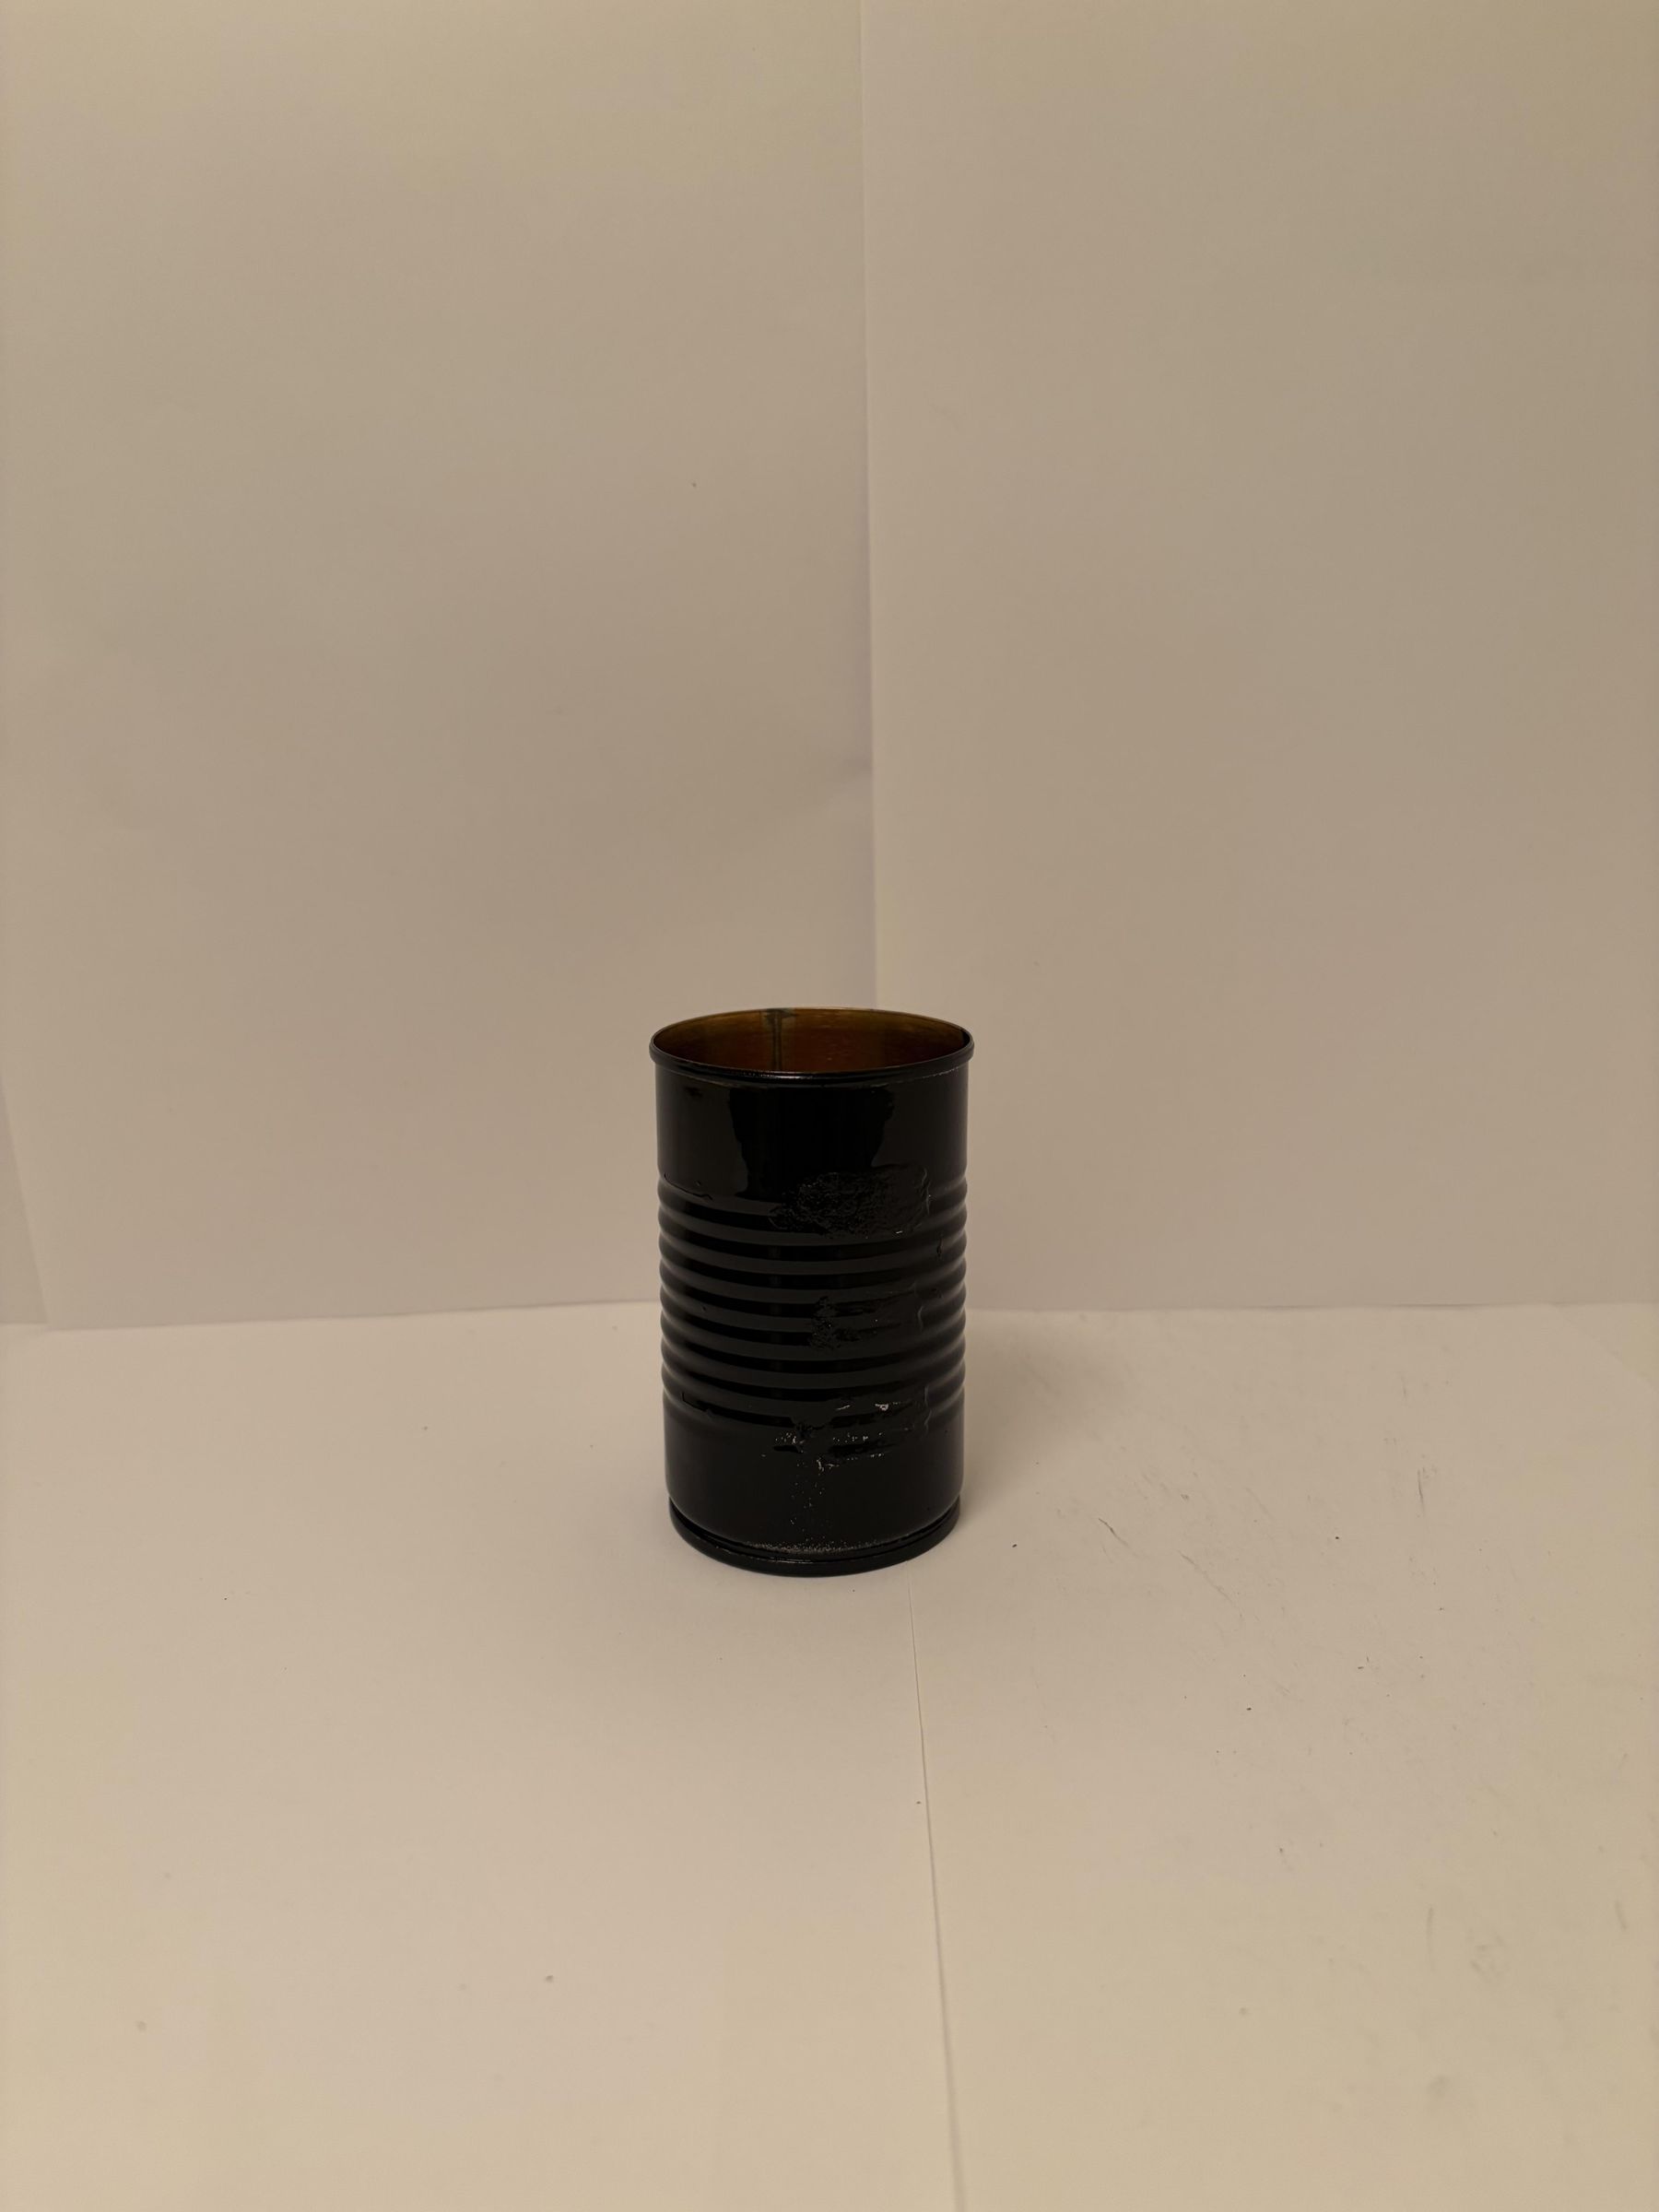
A metal food can will provide the best container for holding the water because metal conducts heat well. However, a shiny metal can will naturally reflect light away, just like the aluminum foil. Therefore, the can must be painted black to absorb the heat. I used spray paint that could withstand higher temperatures.
Model and Print Stand
The can will rest on a hollow cylinder that connects to a base. The can I am using has a diameter of about 50 mm and height of 100 mm. The cylinder in 1 mm thick and has a diameter of 35 mm. The base circle is also 1 mm thick and has a diameter of 100 mm. In its entirety, the stand is 44 mm tall. After it prints, cut a paper towel roll about the height of the stand. I learned the hard way that the mirror can generate enough heat to melt the plastic, so the cardboard provides a barrier.
Prepare Water Bottle
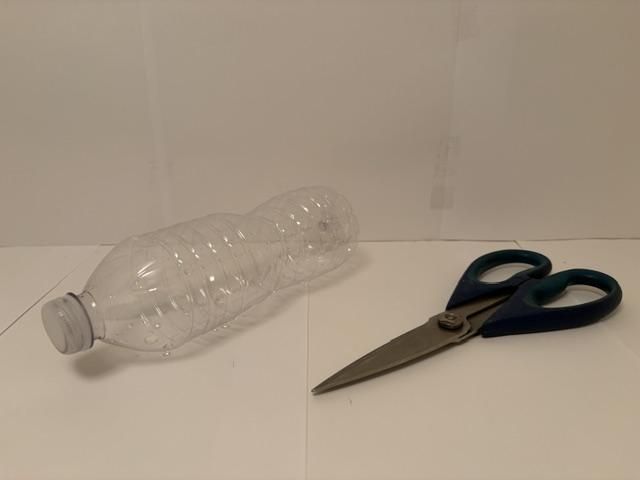
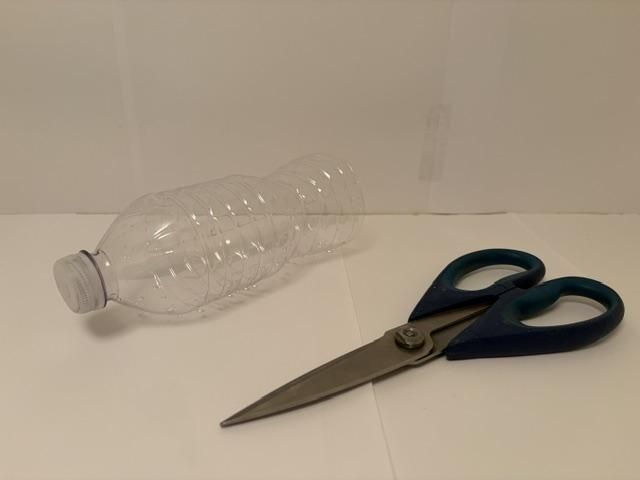
Now it is time to build the top part. Take an empty plastic water bottle, and cut off the bottom. Do not cut off more than an inch. Then take scissors and poke a slit into the water bottle cap.
Layer 1 - Cotton Balls
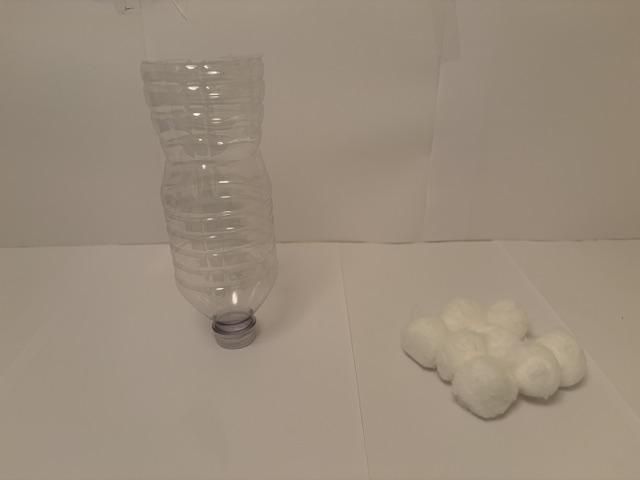
The bottom of this filtration system is cotton balls. This will be the final layer to catch any dirt and other particles. Simply pull cotton balls apart and place them at the bottom of the water bottle.
Layer 2 - Charcoal
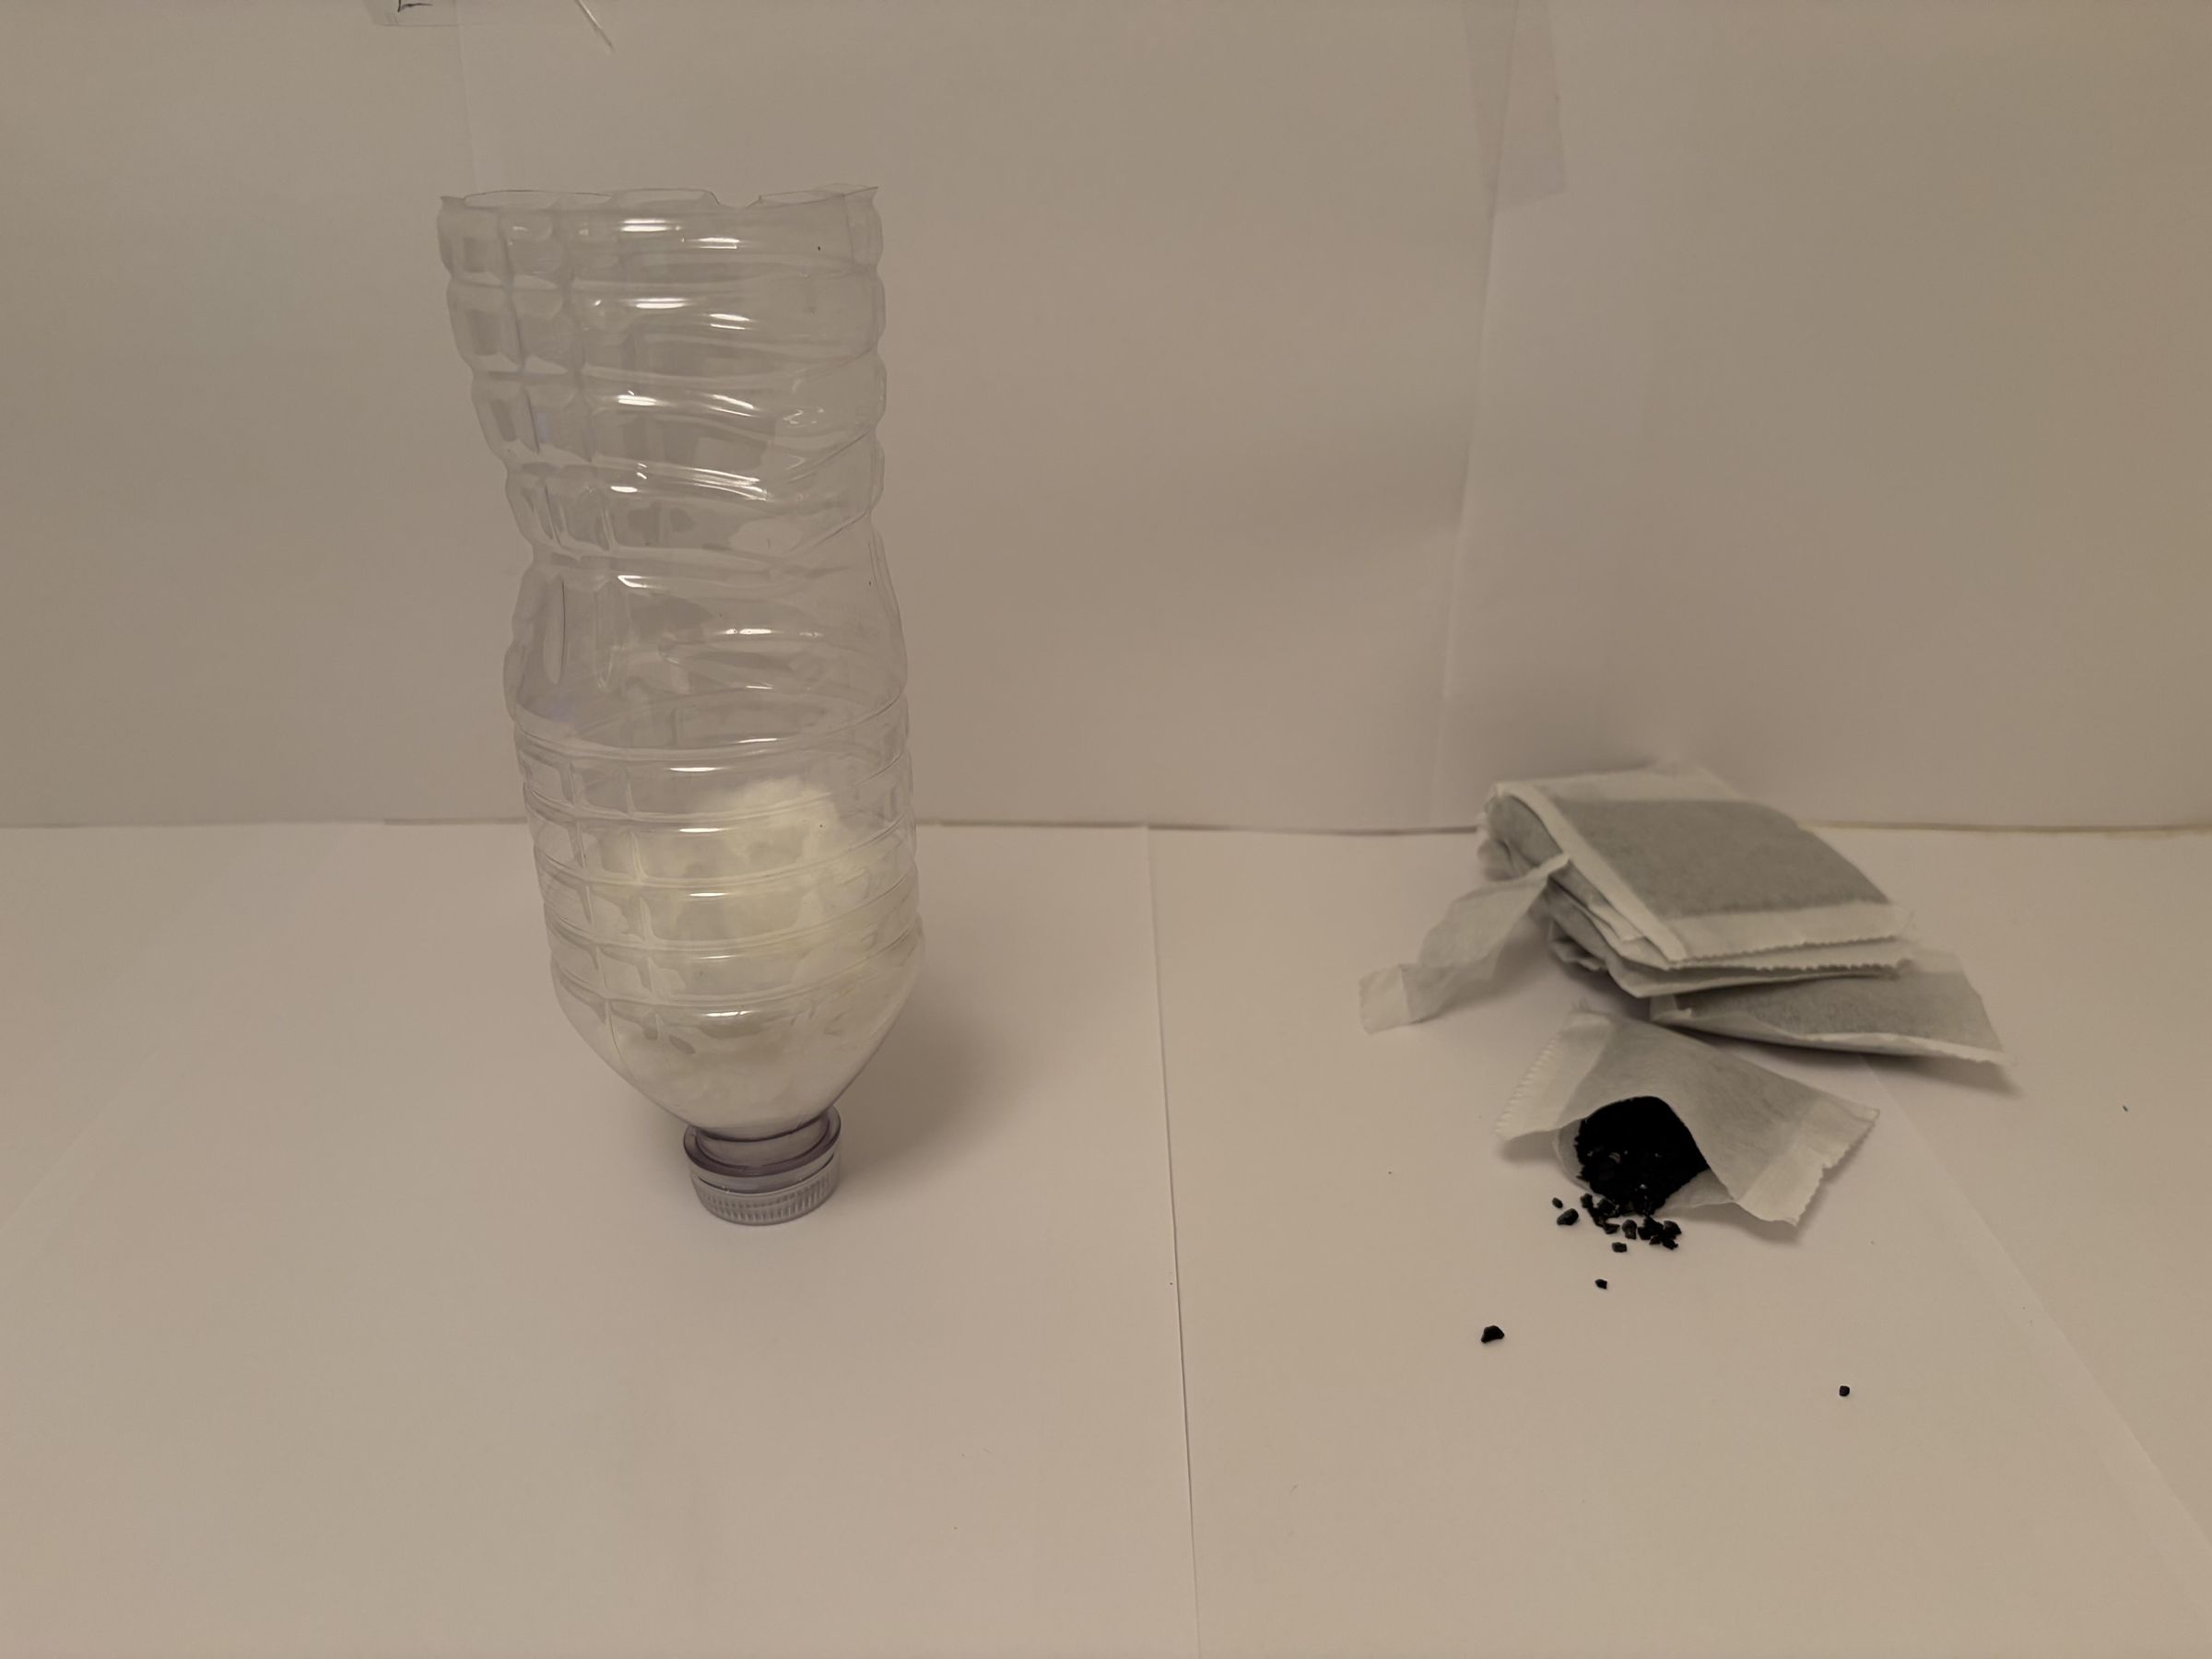
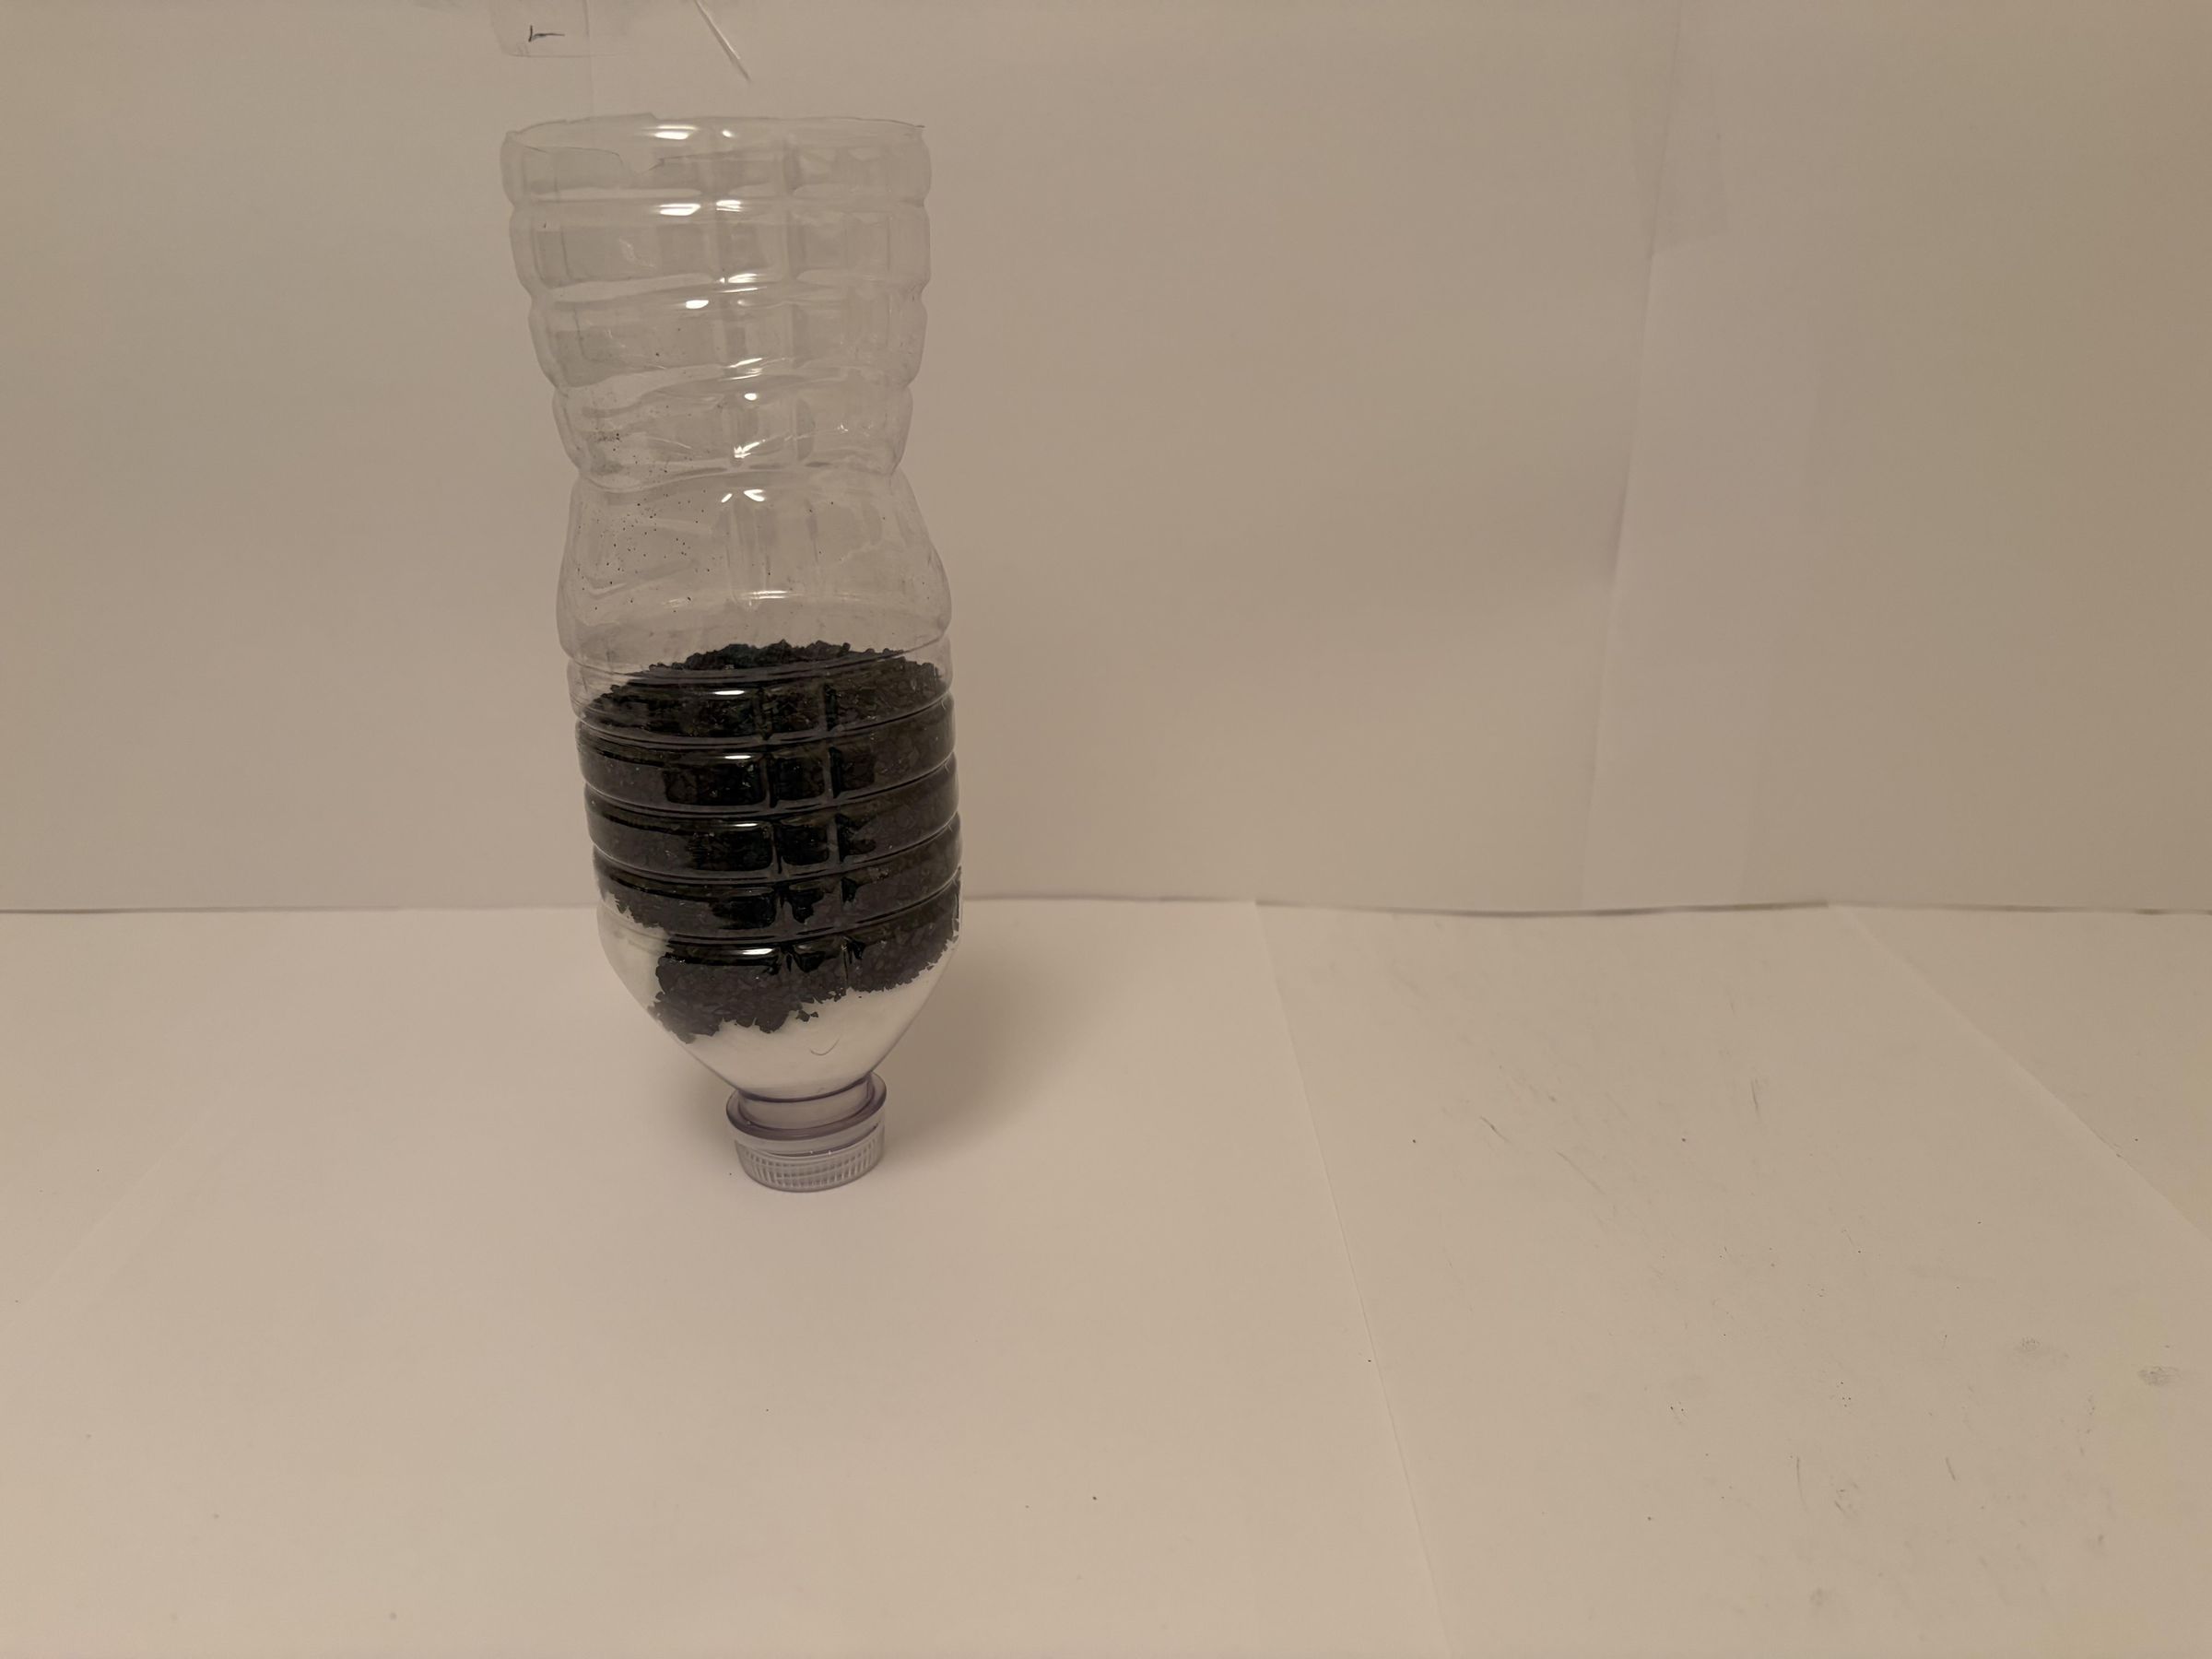
Activated charcoal cleanses the water by chemically sticking to particles. It is the same filter that is often used in fish tanks. Packets can be purchased online or from a pet store. I used about ten packets to create three inches of charcoal.
Layer 3 - Sand
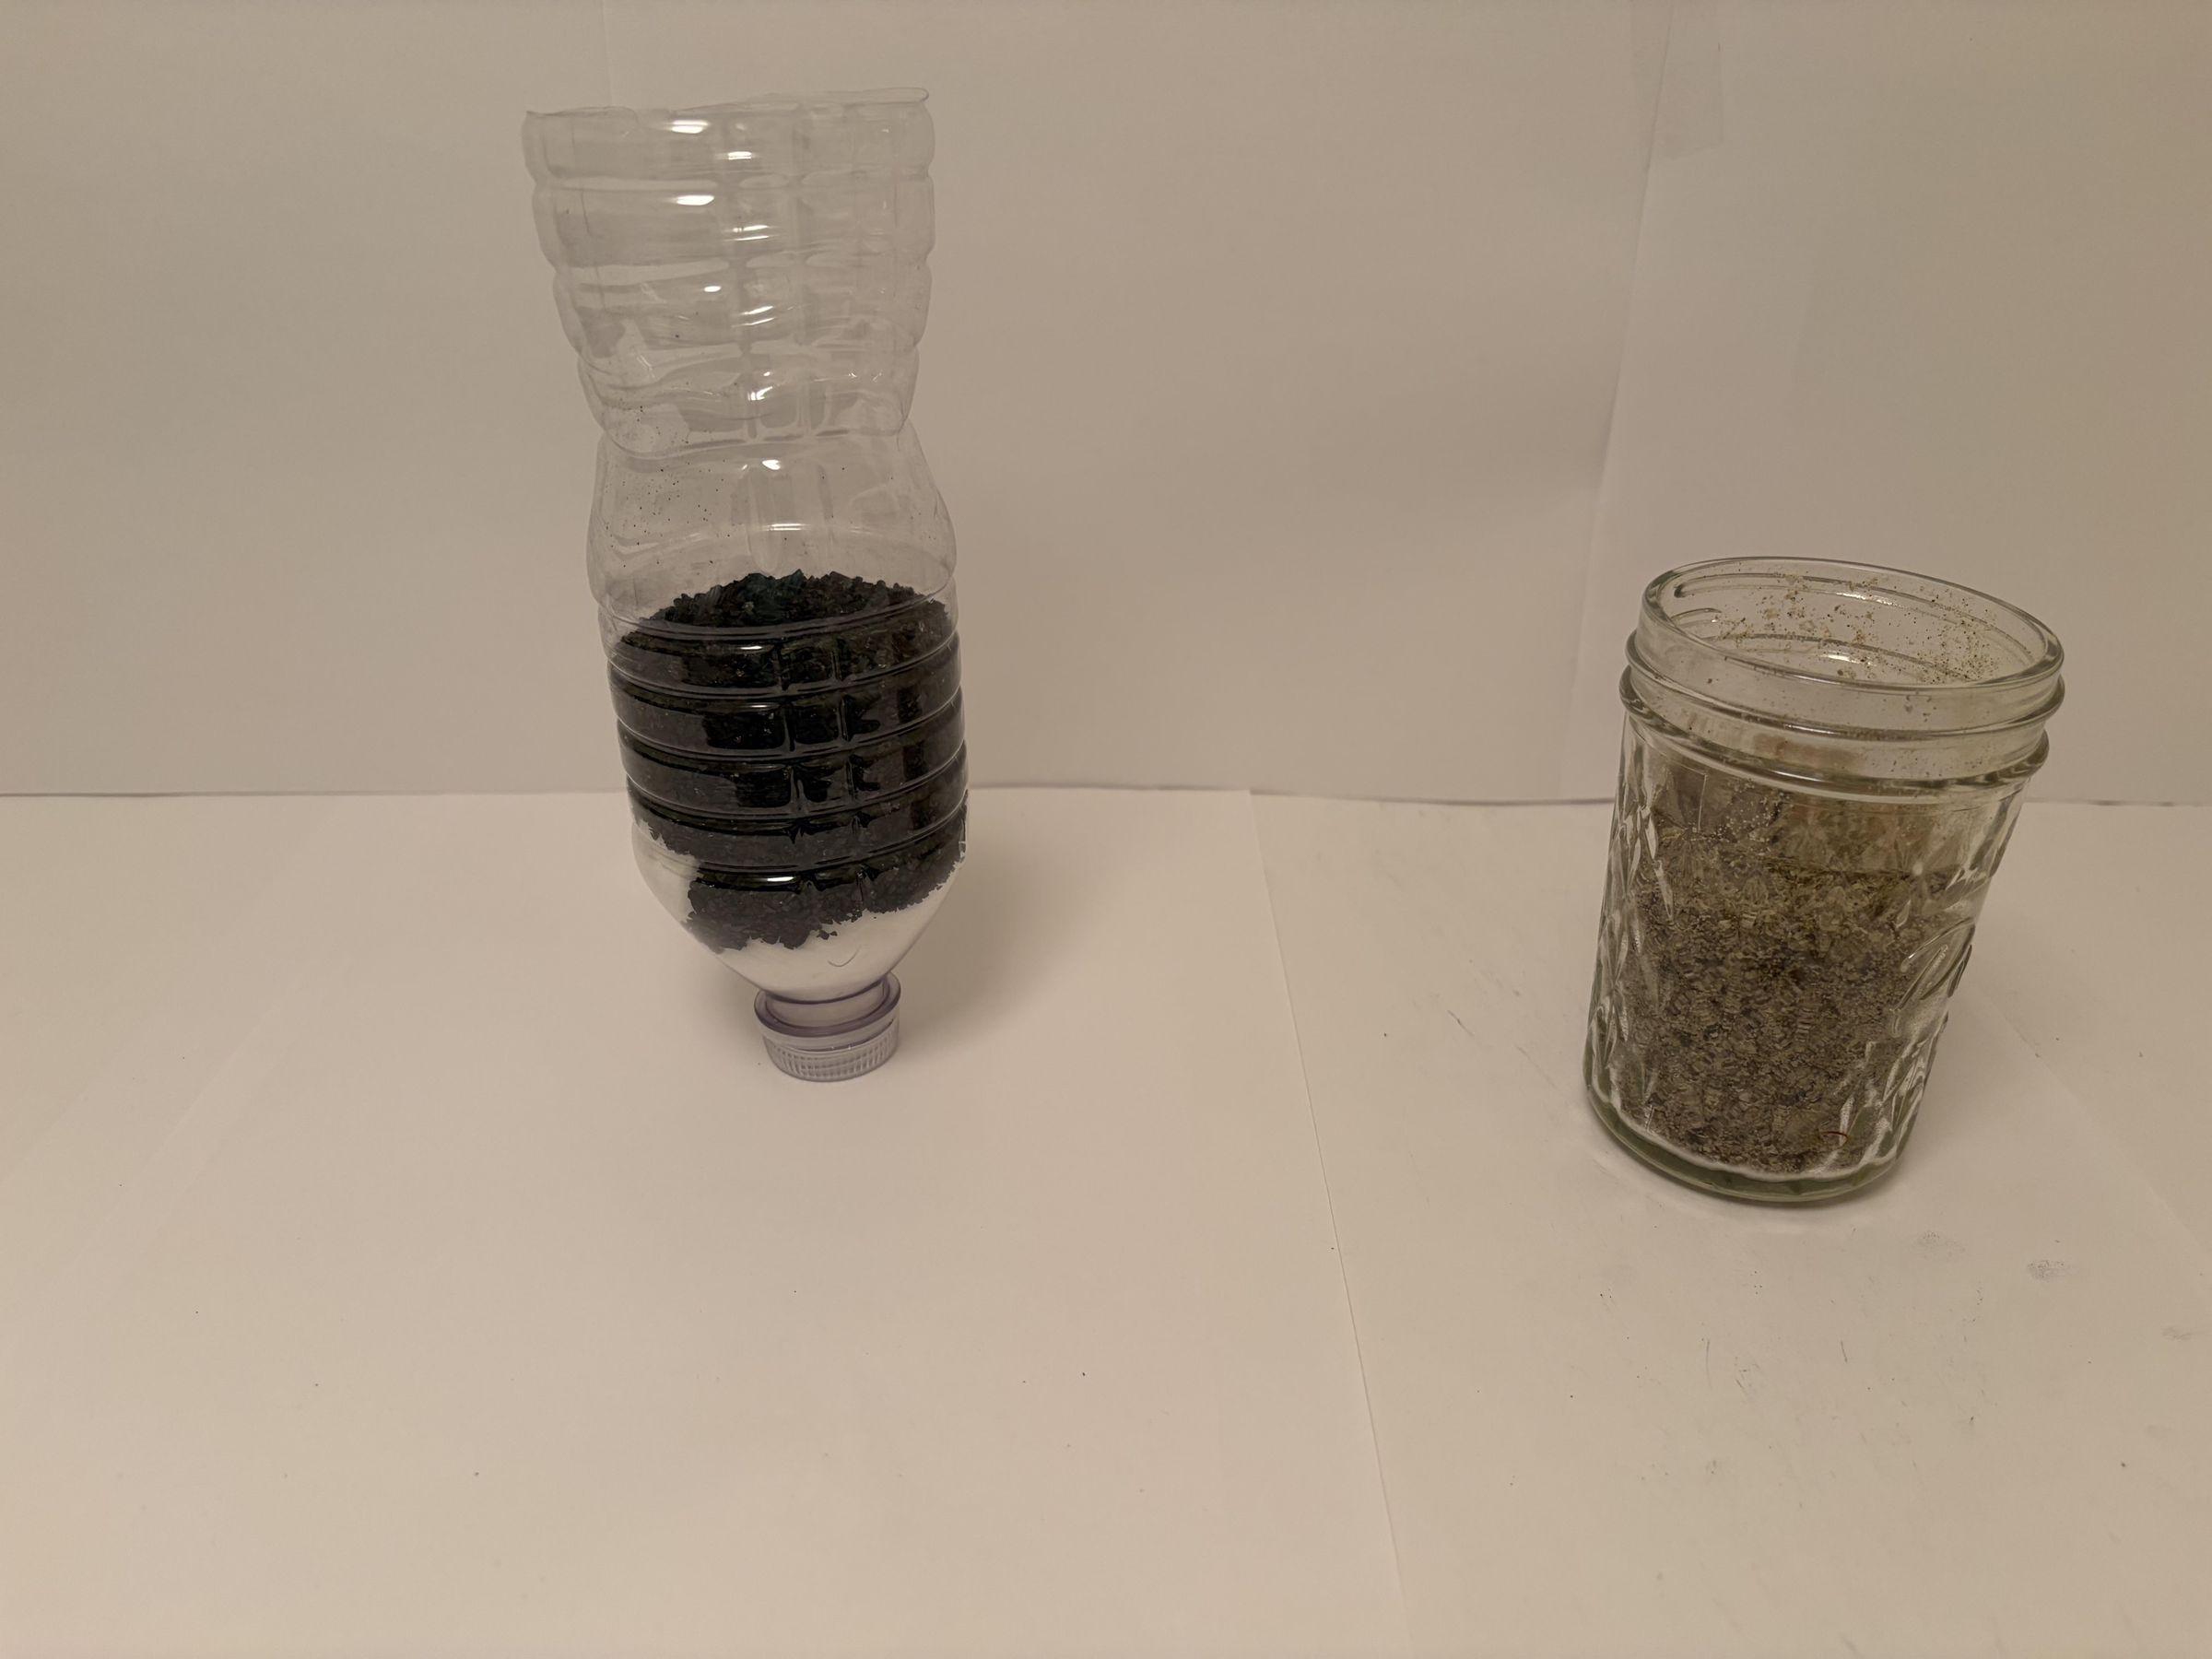
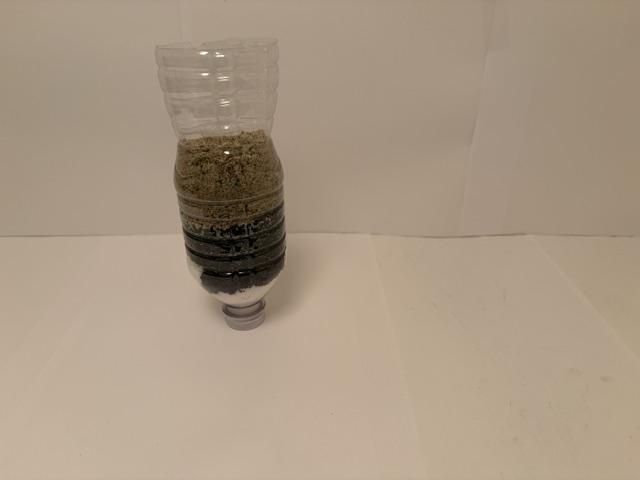
Sand will filter out the solids that slip past the pebbles. Pour about three inches of sand on top of the charcoal.
Note: If you have multiple types of sand, you could layer it fine-coarse-fine.
Layer 4 -Pebbles
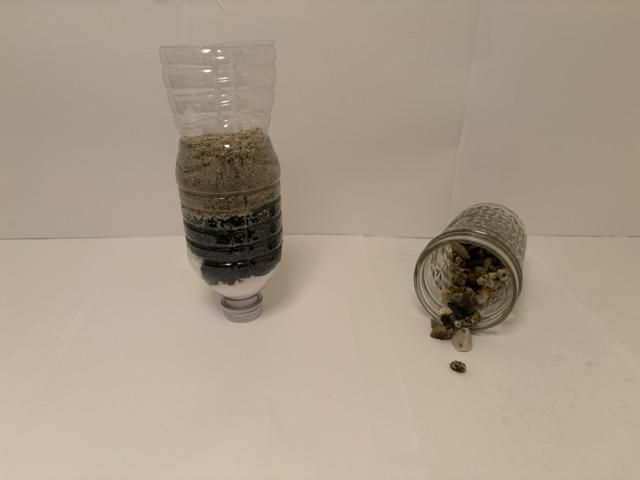
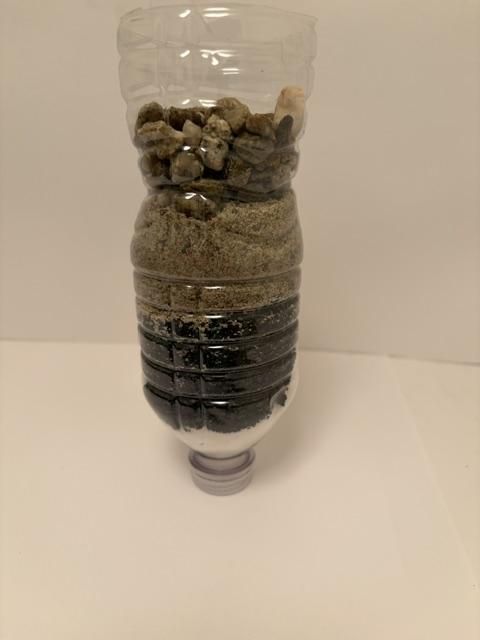
Gather pebbles that are no bigger than the size of a penny. These will filter out large solids in the water. Pour 2-3 inches of pebbles on top of the sand.
Layer 5 - Coffee Filter
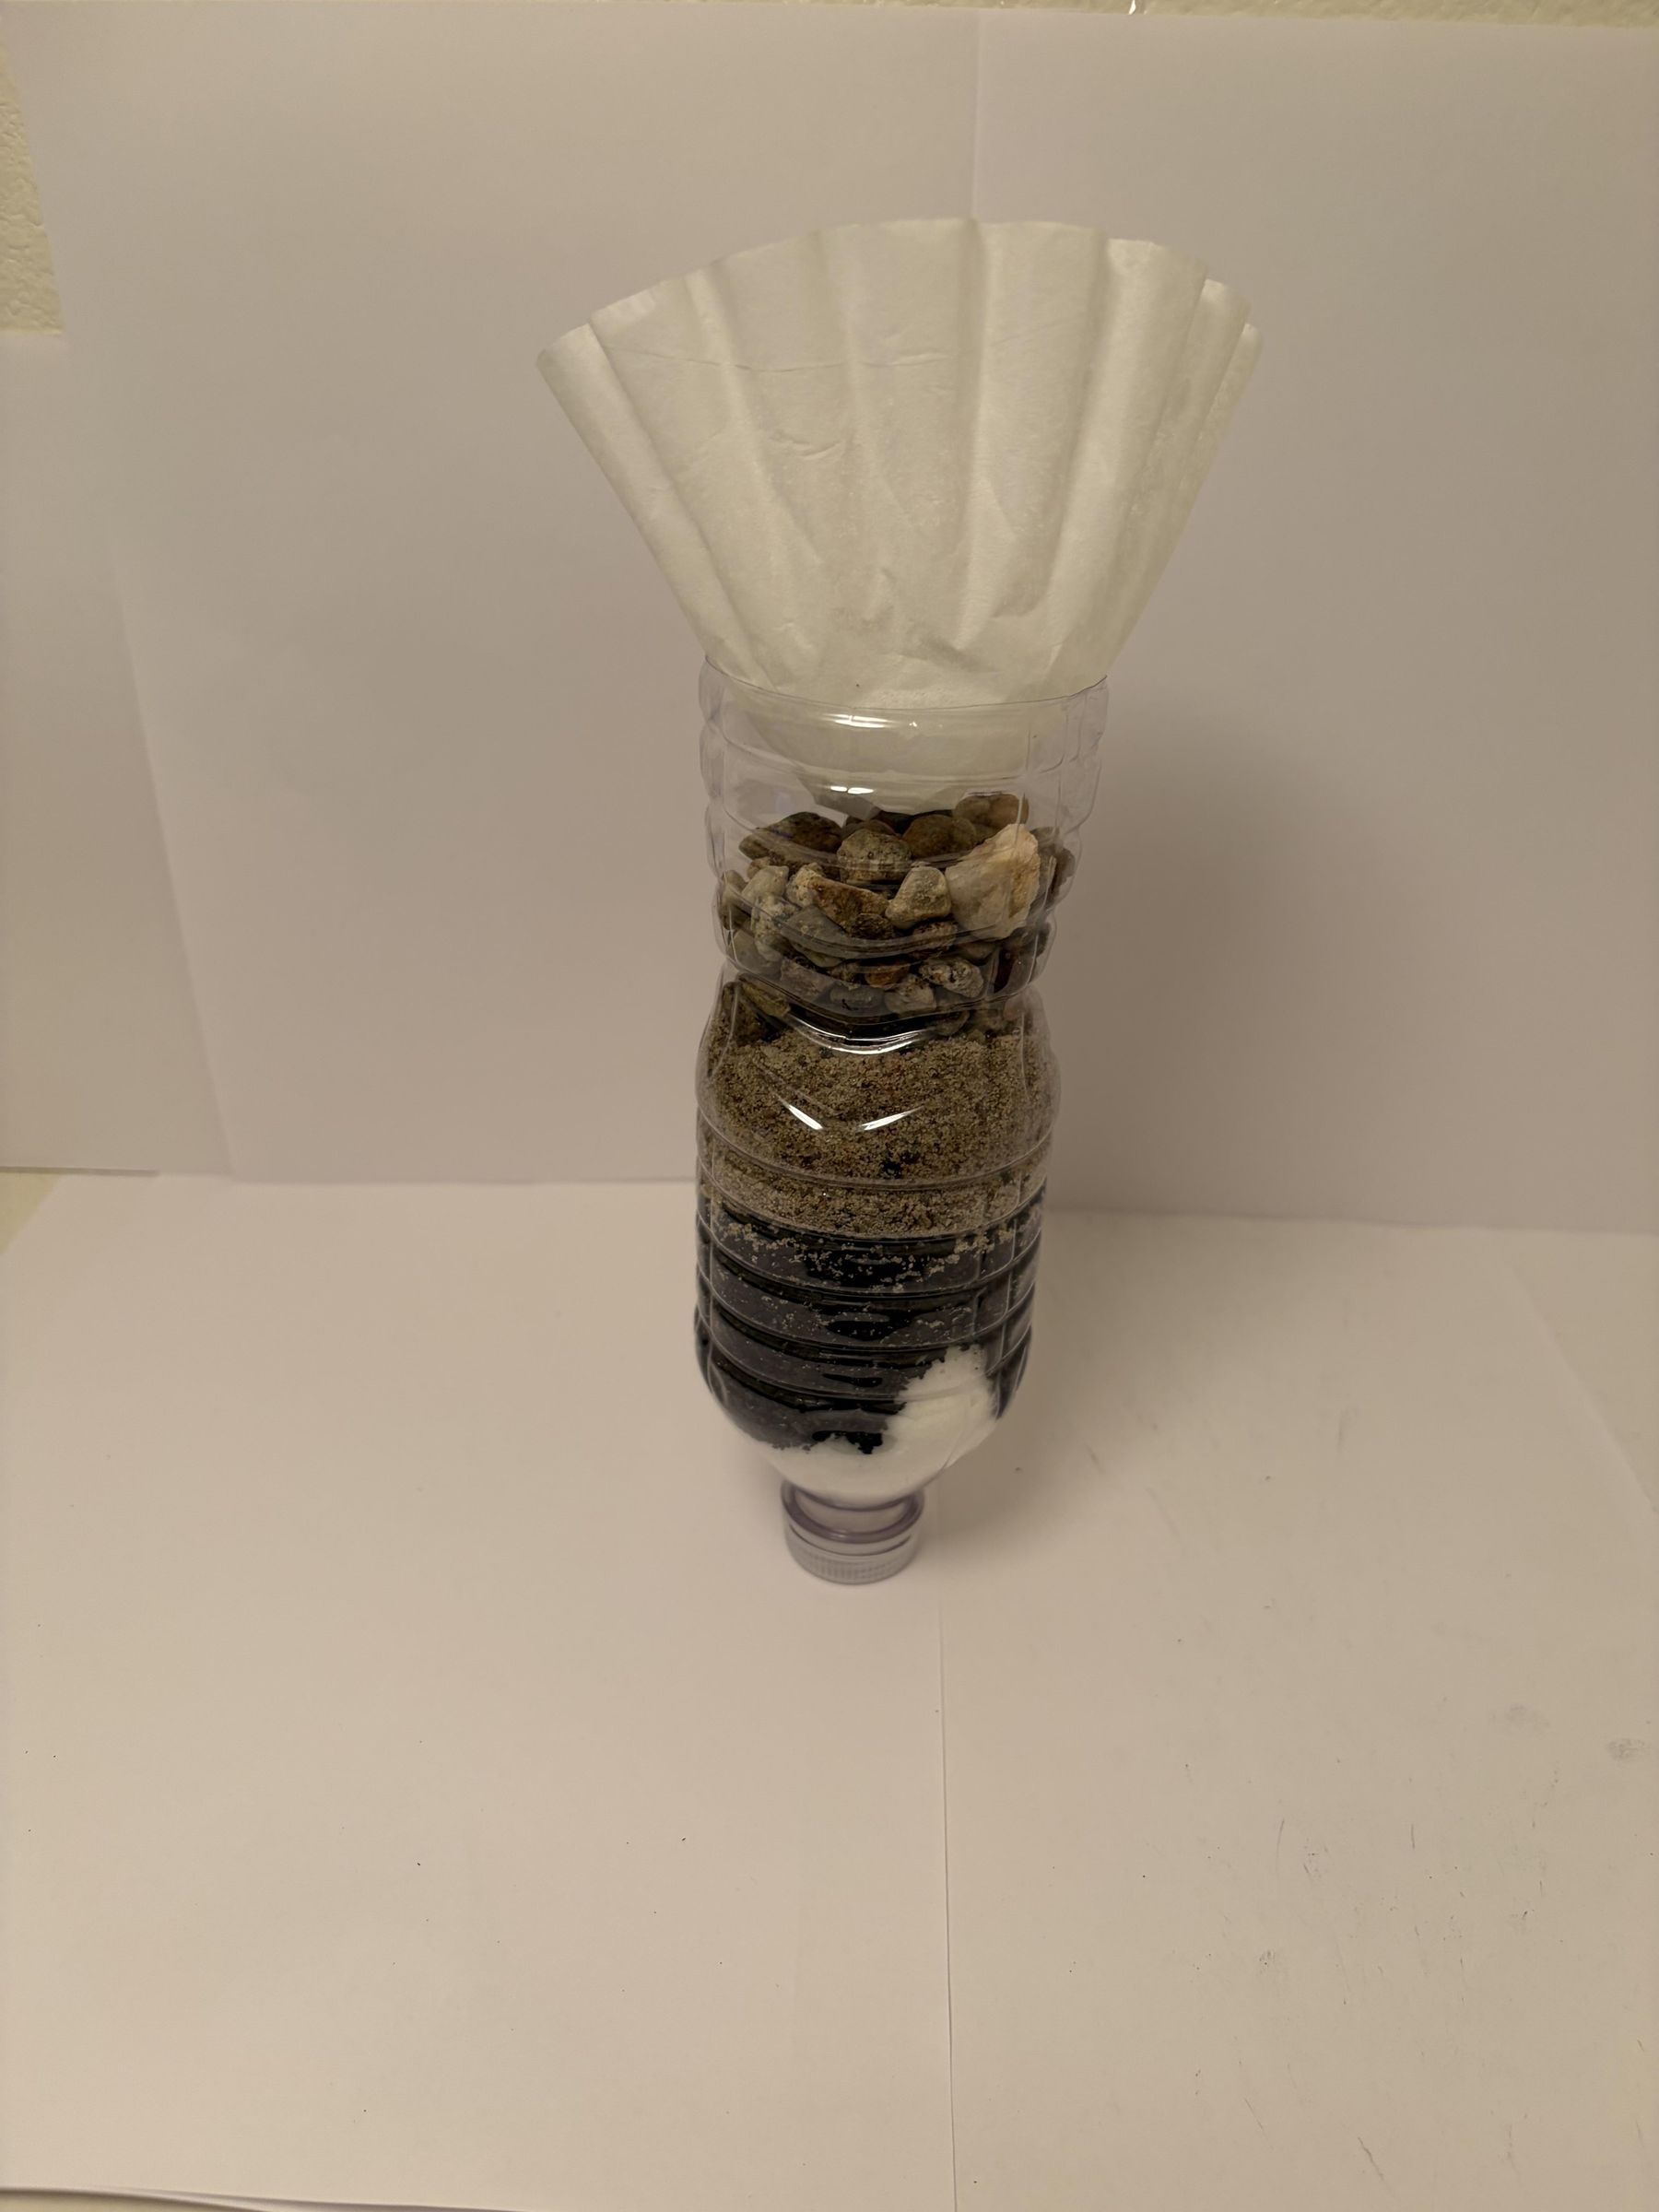
The coffee filter is your first line of defense against polluted water. Take a coffee filter (a cloth also works) and place it on top of the filter. If necessary, fold the filter or tape it to the bottle to keep it in place.
Test Bottle Filter
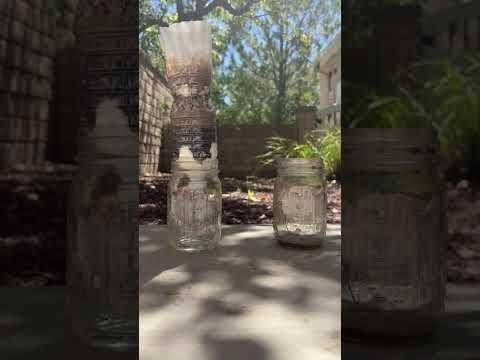
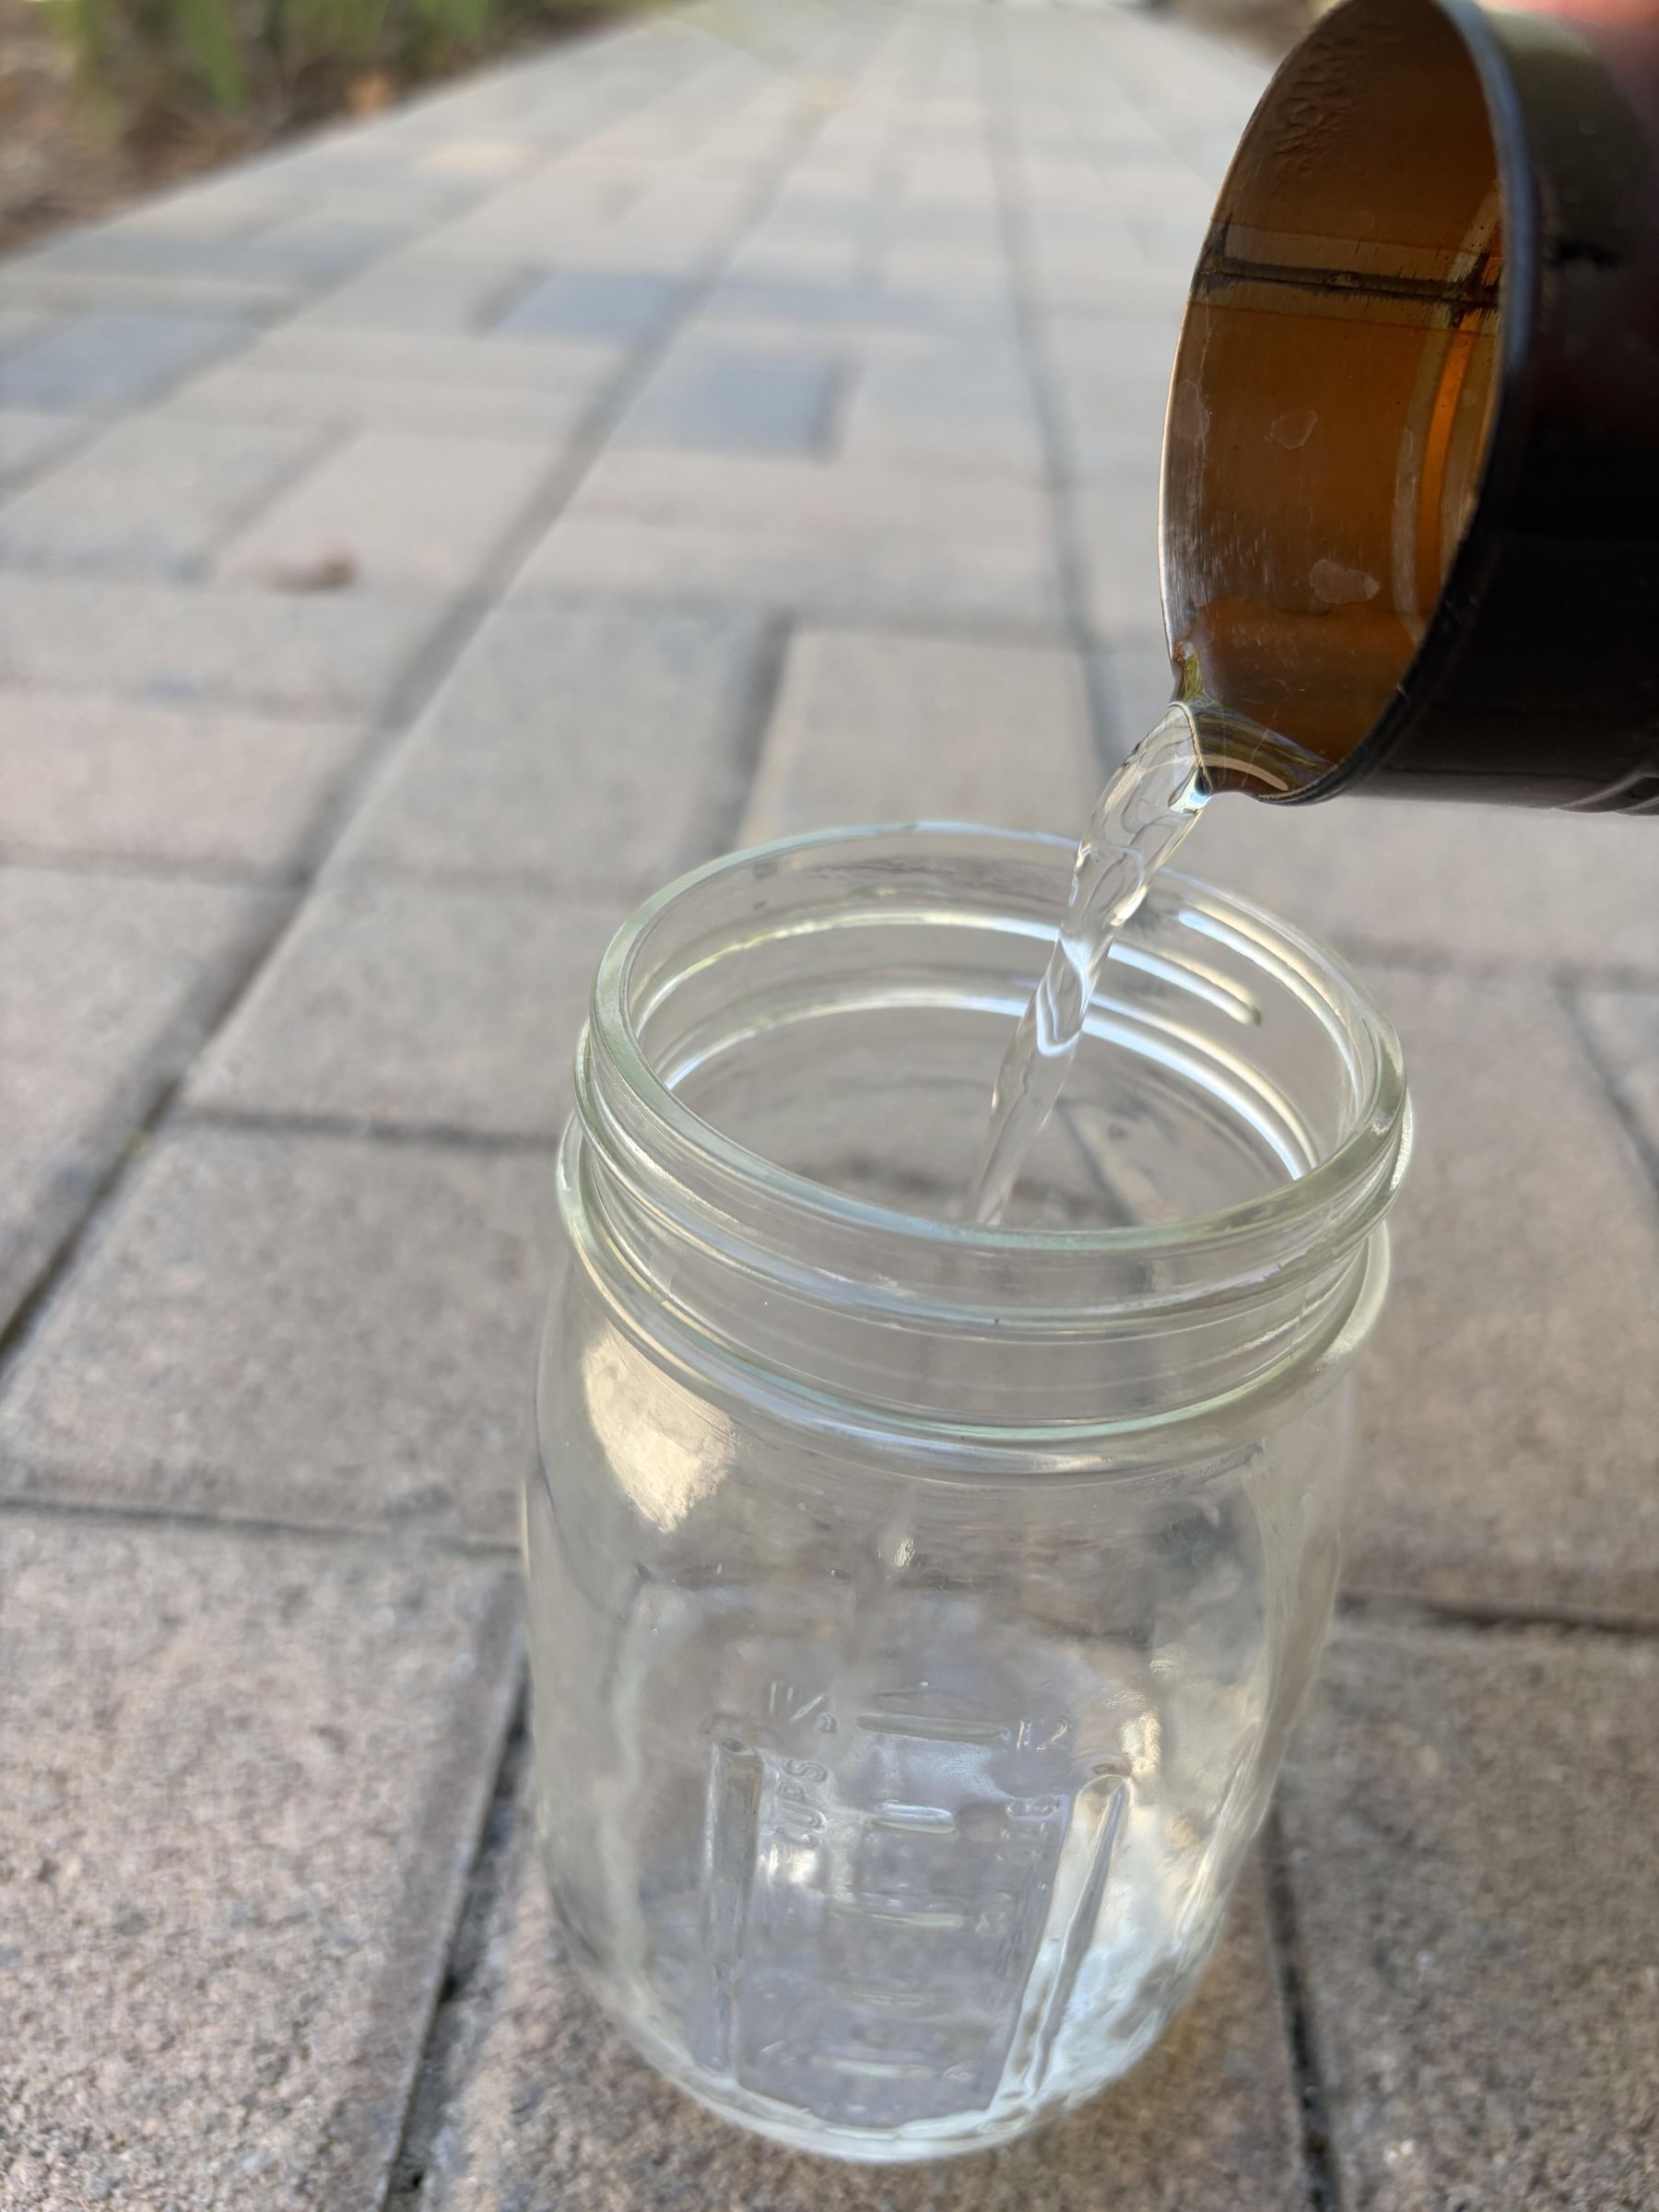
I took 1/2 cup of dirty water and poured it into the bottle filter. As gravity pulled it through the various layers, the dirt and particles were removed, dripping clear water into the jar.
Test Full Purification System
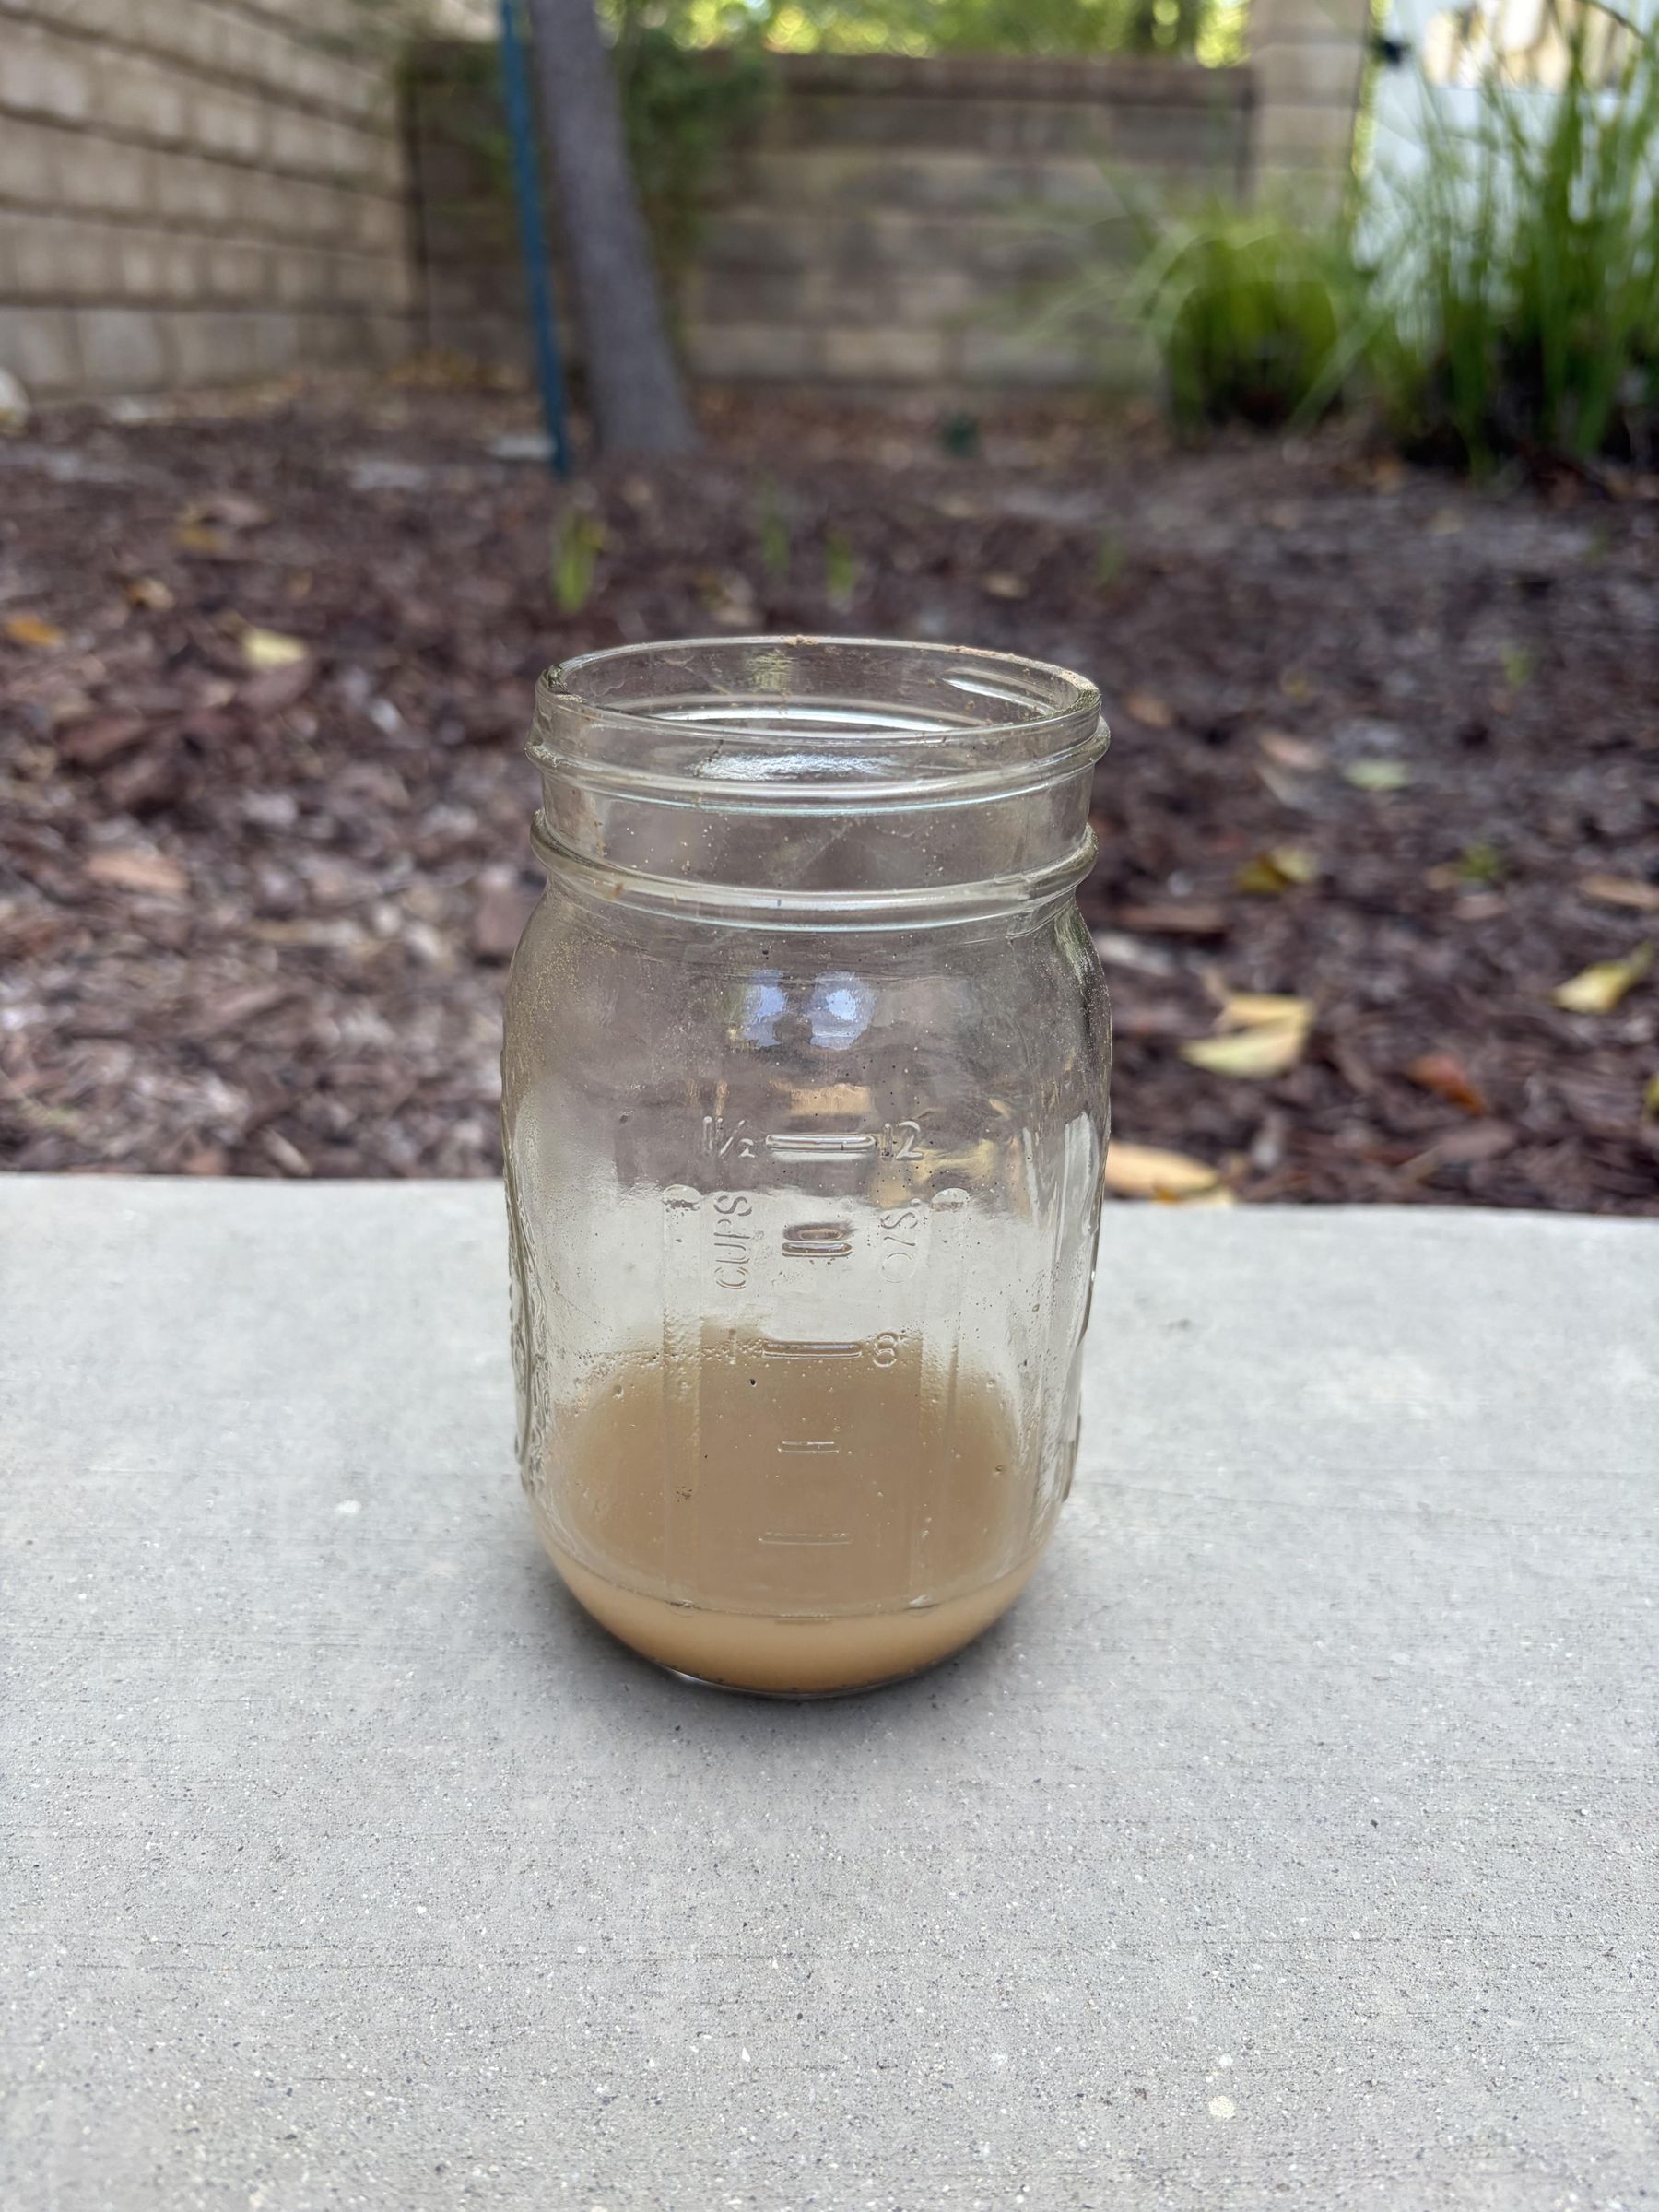
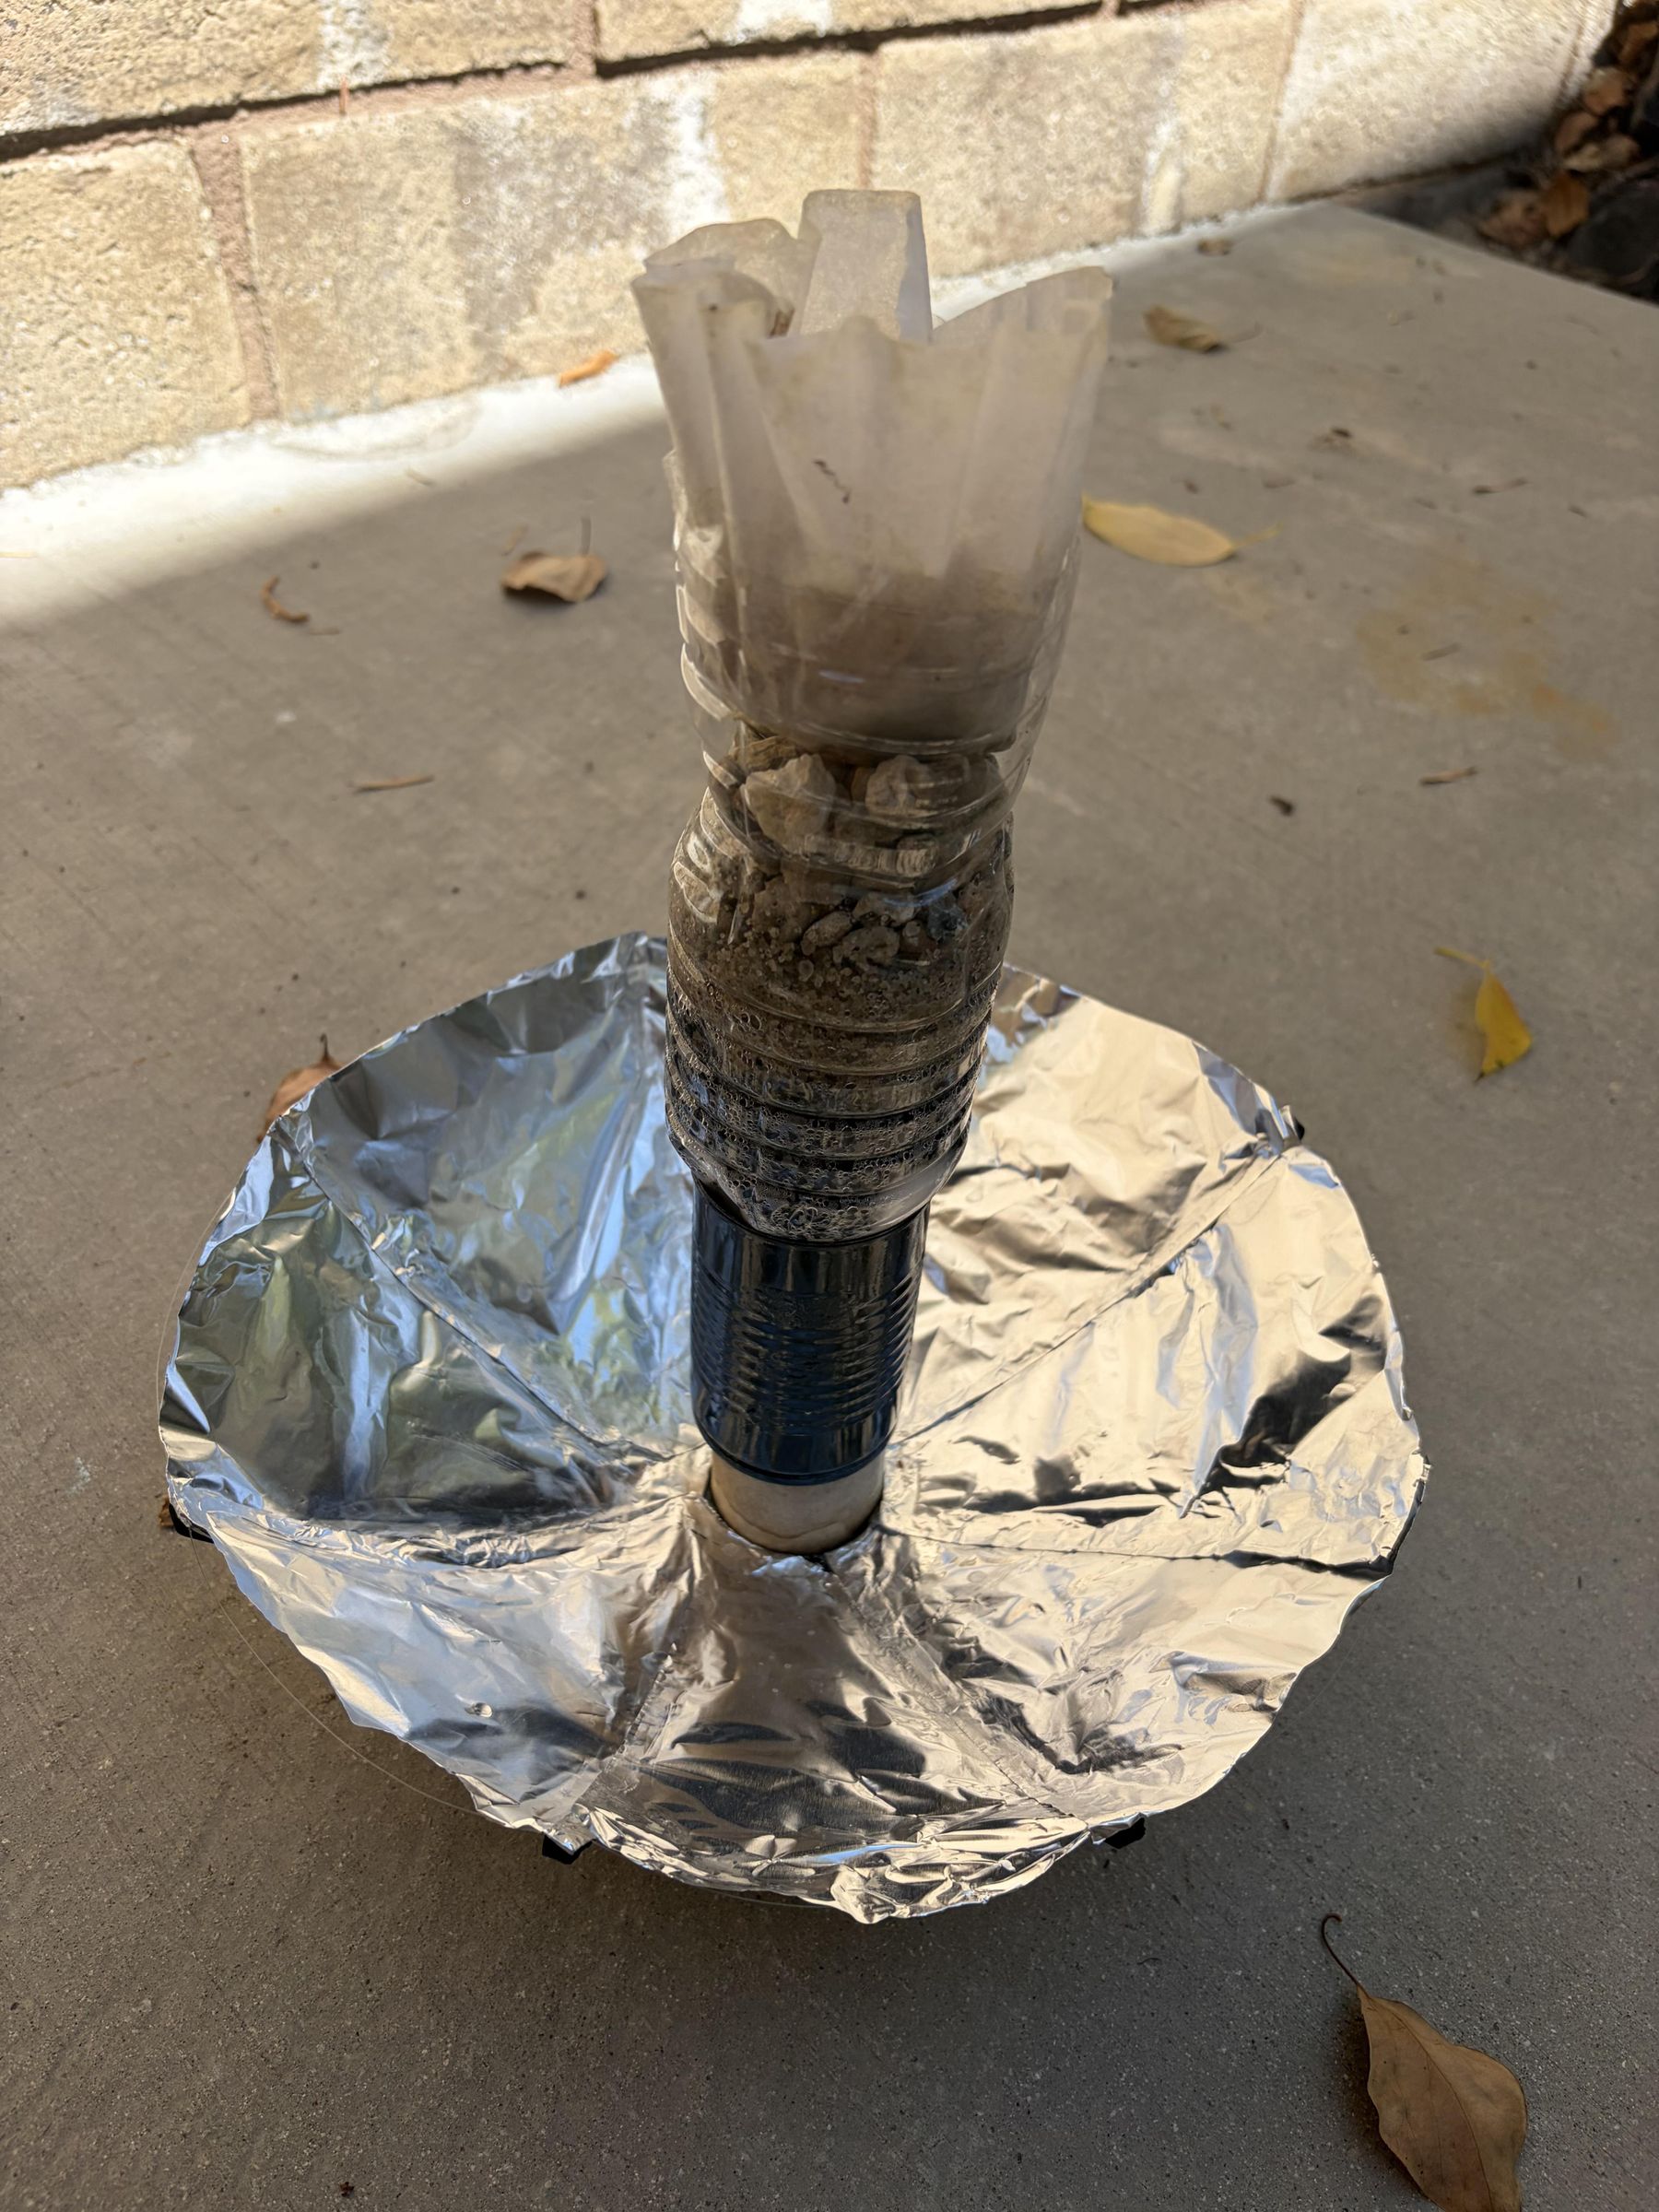
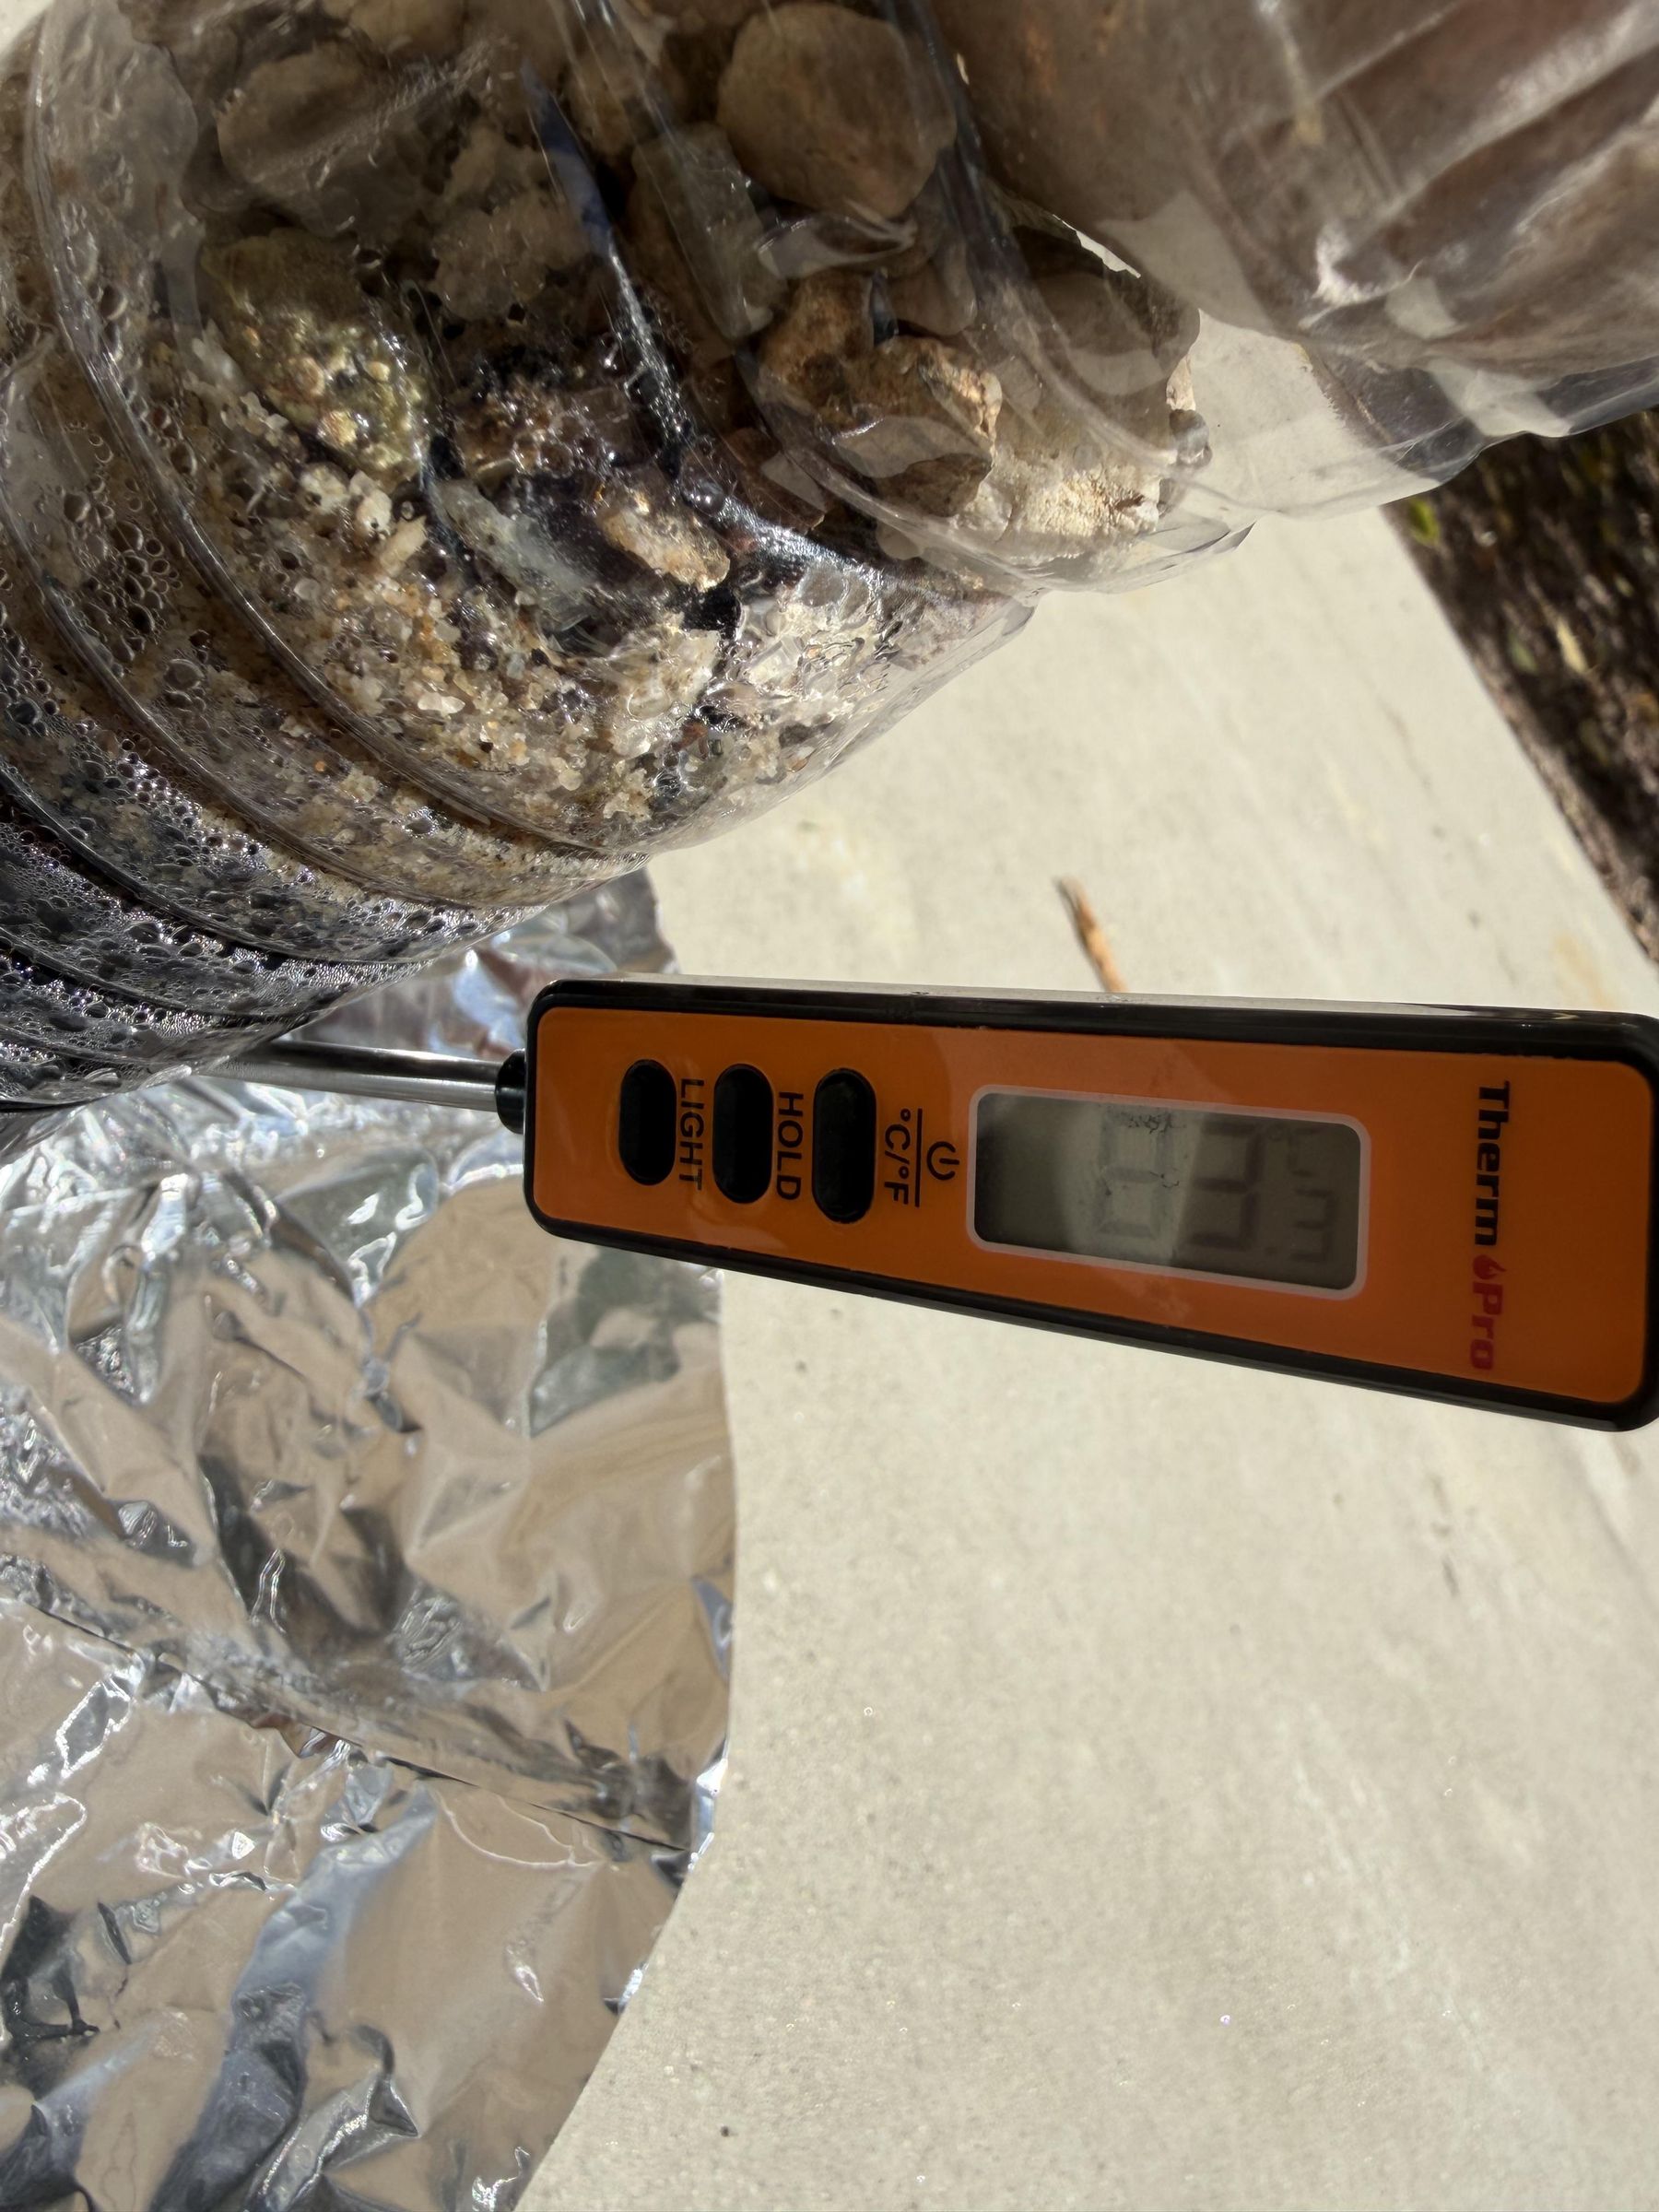

I poured 1/4 cup of dirty water into the filter, which rested on the can at the center of the mirror. This setup allows water to flow naturally into the can after being filtered. It also traps heat inside the can. I complete this test from around 11:30 to 1:30 on a cloudy day. I attached a log of the temperature measured in fifteen minute intervals. After two hours, the thermometer read 83.3 °C. My data suggests that the water was over 65°C for at least 45 minutes, which is more than enough time to kill waterborne pathogens.
Conclusion
After filtering and heating, the water is now safe to drink. Access to potable water is both vital to humans and limited in many areas. This system produces clean, pure water while relying only on the sun. With the DIY Water Purification System, you can produce one of the most vital substances for life while staying off the grid.
Works Cited
“Boil Water Advisory.” Prince William Water, 2026, https://princewilliamwater.org/our-customers/how-to/boil-water-advisory.
“DIY Water Filter: How to Make a Water Filter.” H2O Distributors, 2026, https://www.h2odistributors.com/info/how-to-make-a-water-filter/?srsltid=AfmBOopNwo_bb1XYARvzxAd4OzOvnuGN3J5tEtyG9YpjH38e0uLzbbFq.
Heitzinger, Kristen, et al. “Assessment of the Feasibility and Acceptability of Using Water Pasteurization Indicators to Increase Access to Safe Drinking Water in the Peruvian Amazon.” The American Journal of Tropical Medicine and Hygiene [United States], vol. 103, no. 1, July 2020, PubMed Central, pp. 455–64, https://doi.org/10.4269/ajtmh.18-0963.
jeanlucvar. “How to Build a Parabolic Solar Oven.” Solar Brother, 9 Sept. 2016, https://www.solarbrother.com/en-us/making-a-solar-oven/making-a-parabolic-solar-barbecue/?srsltid=AfmBOoraSnwEGnu9ahcTzwvsUx8hUW8hEC7vo2WJc-ybpVFN5wkqzt8y.
Khan, Sal. “Parabolic Mirrors and Real Images.” Khan Academy, 9 Dec. 2010, https://www.khanacademy.org/test- prep/mcat/physical-processes/spherical-mirrors/v/parabolic-mirrors-and-real-images.
Lüpfert, E, et al. Towards Standard Performance Analysis for Parabolic Trough Collector Fields. 2004, https://elib.dlr.de/99769/1/Luepfert_Standards_Oaxaca_Solarpaces2004.pdf.
“Solar Cooking | Climate Technology Centre & Network.” UN Climate Technology Centre and Network, https://www.ctc-n.org/technologies/solar-cooking. Accessed 4 Aug. 2026.
Trento, Chin. “Introduction to Specific Heat Capacity.” Stanford Advanced Materials, 12 Mar. 2026, https://www.samaterials.com/blog/introduction-to-specific-heat-capacity.html.
Water Science School. “The Water in You: Water and the Human Body.” USGS, 22 Oct. 2019, https://www.usgs.gov/water-science-school/science/water-you-water-and-human-body.