DIY Weather Station Enclosure for a Stevenson Screen — Designed Entirely With Claude.ai (ESP32-C3 + AHT10 + BMP280 + Rain Sensor)
by nilnull in Circuits > Sensors
73 Views, 1 Favorites, 0 Comments
DIY Weather Station Enclosure for a Stevenson Screen — Designed Entirely With Claude.ai (ESP32-C3 + AHT10 + BMP280 + Rain Sensor)
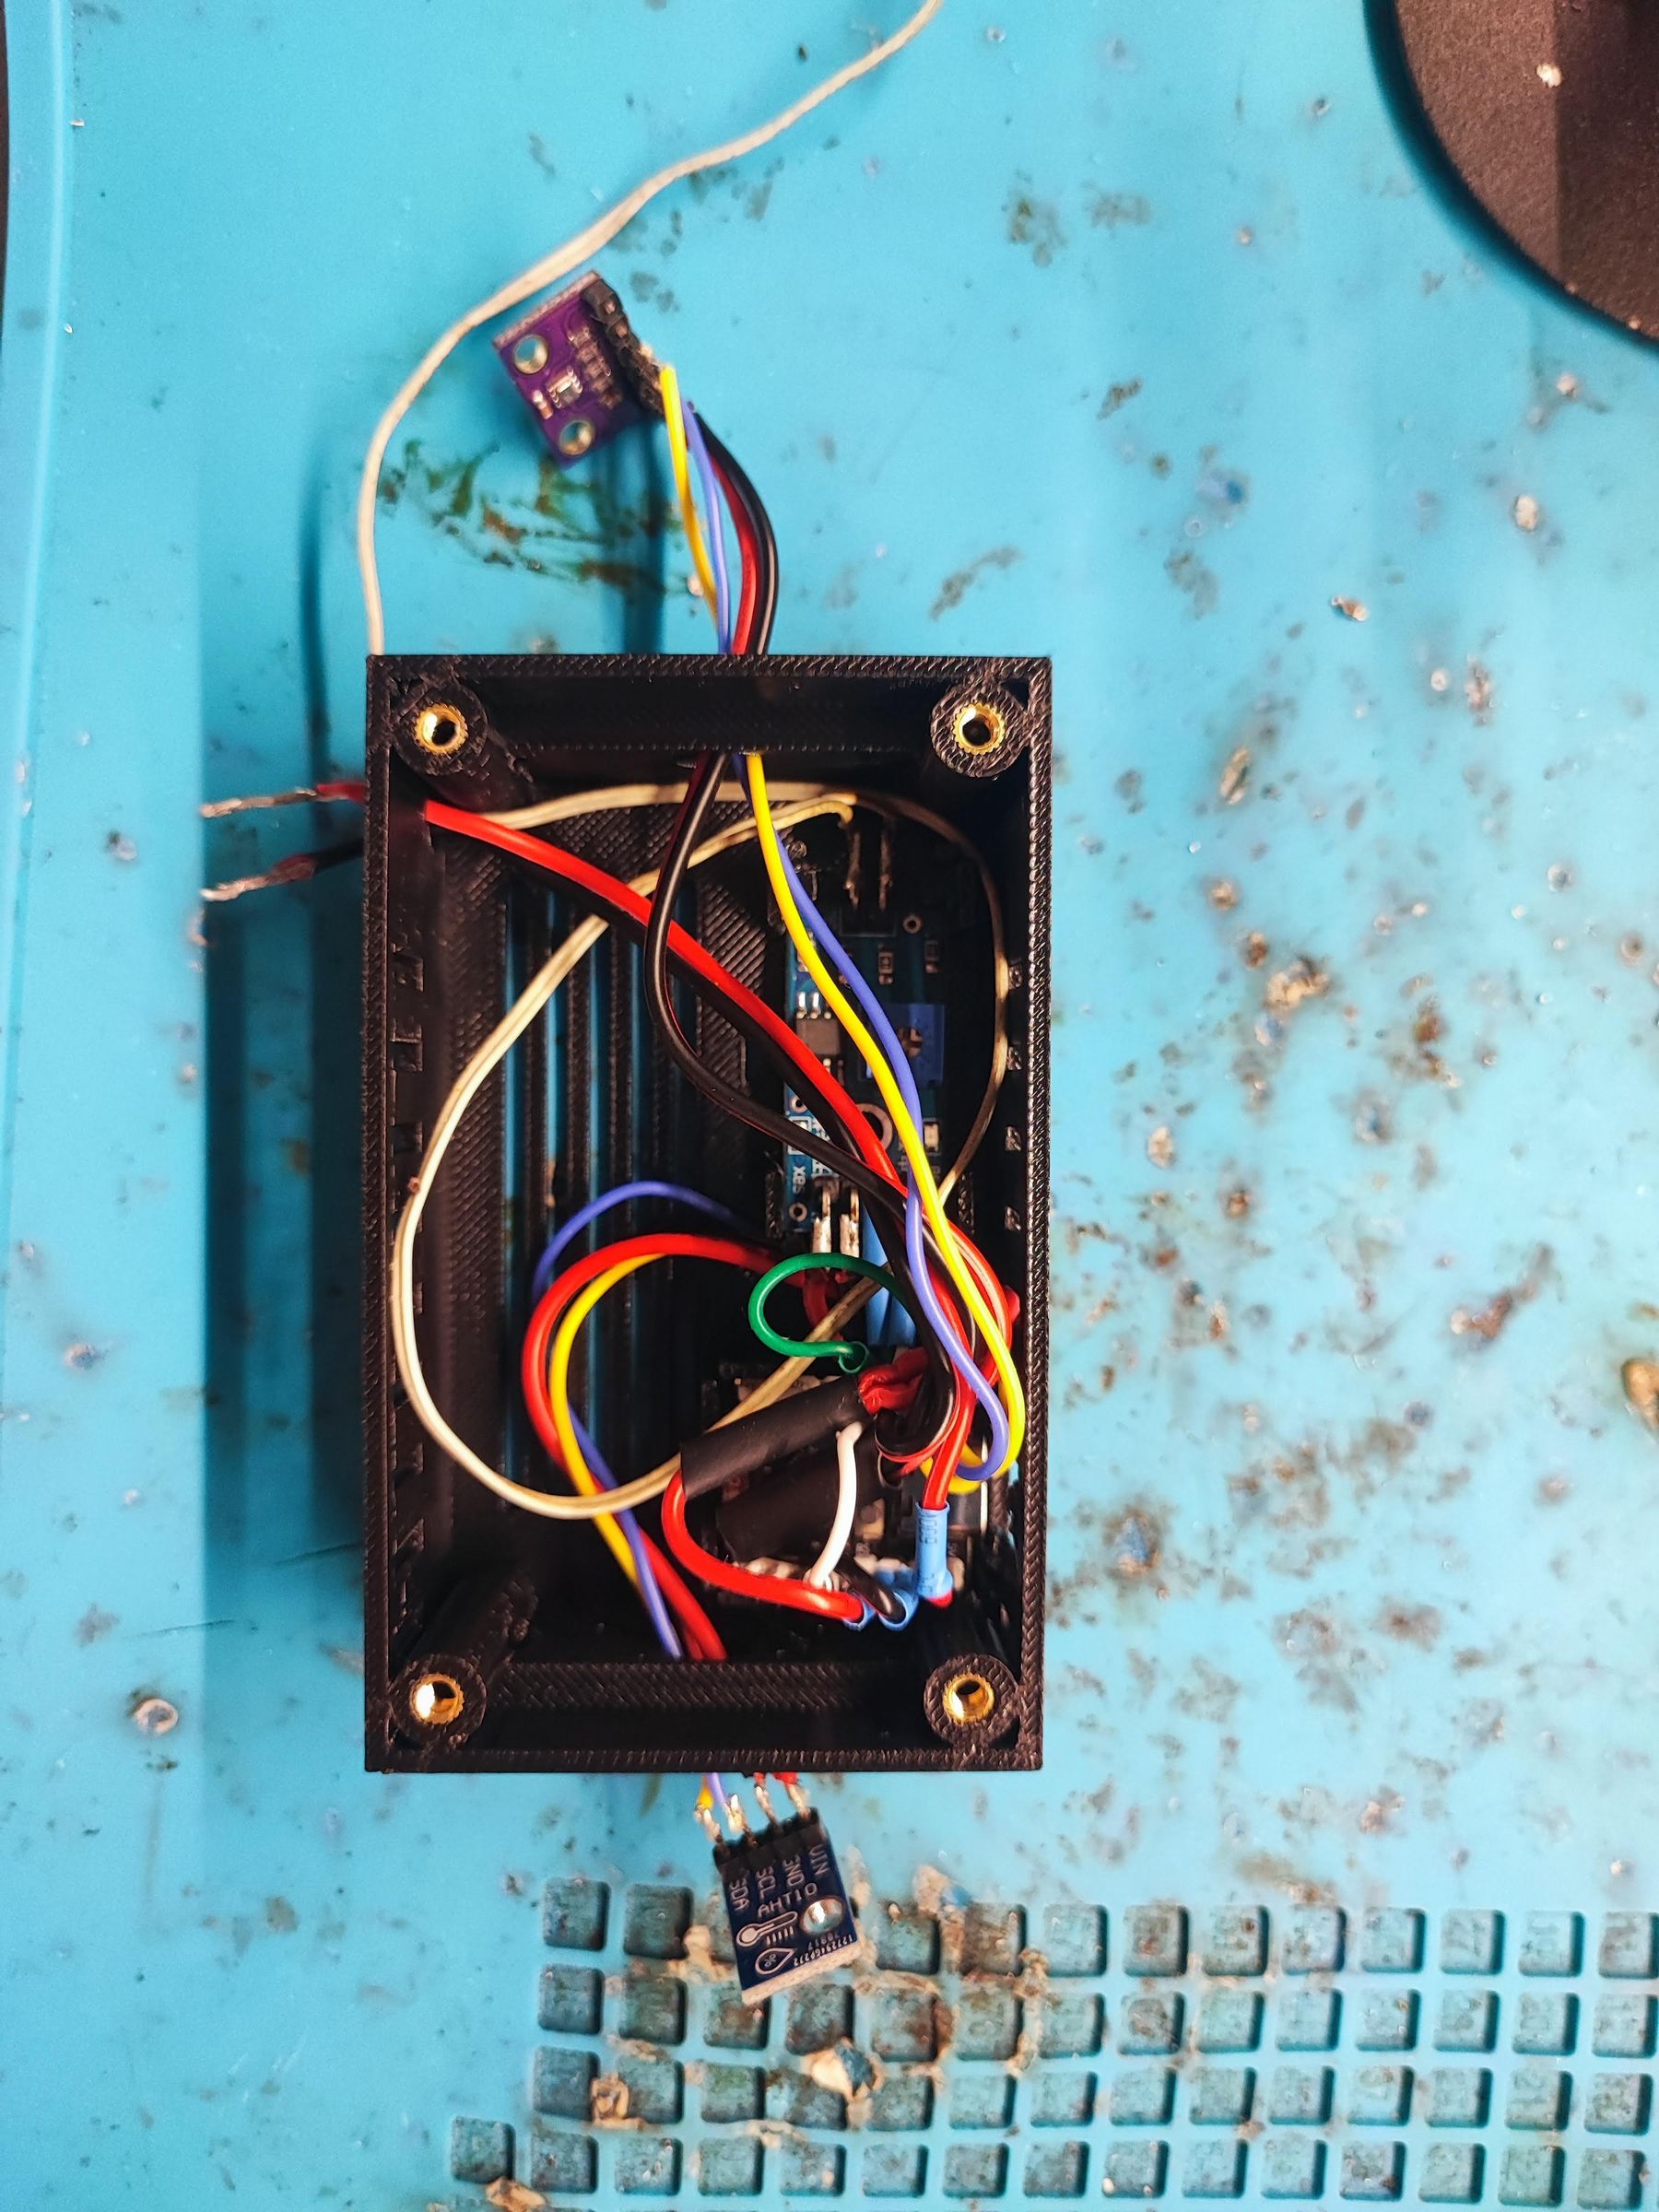
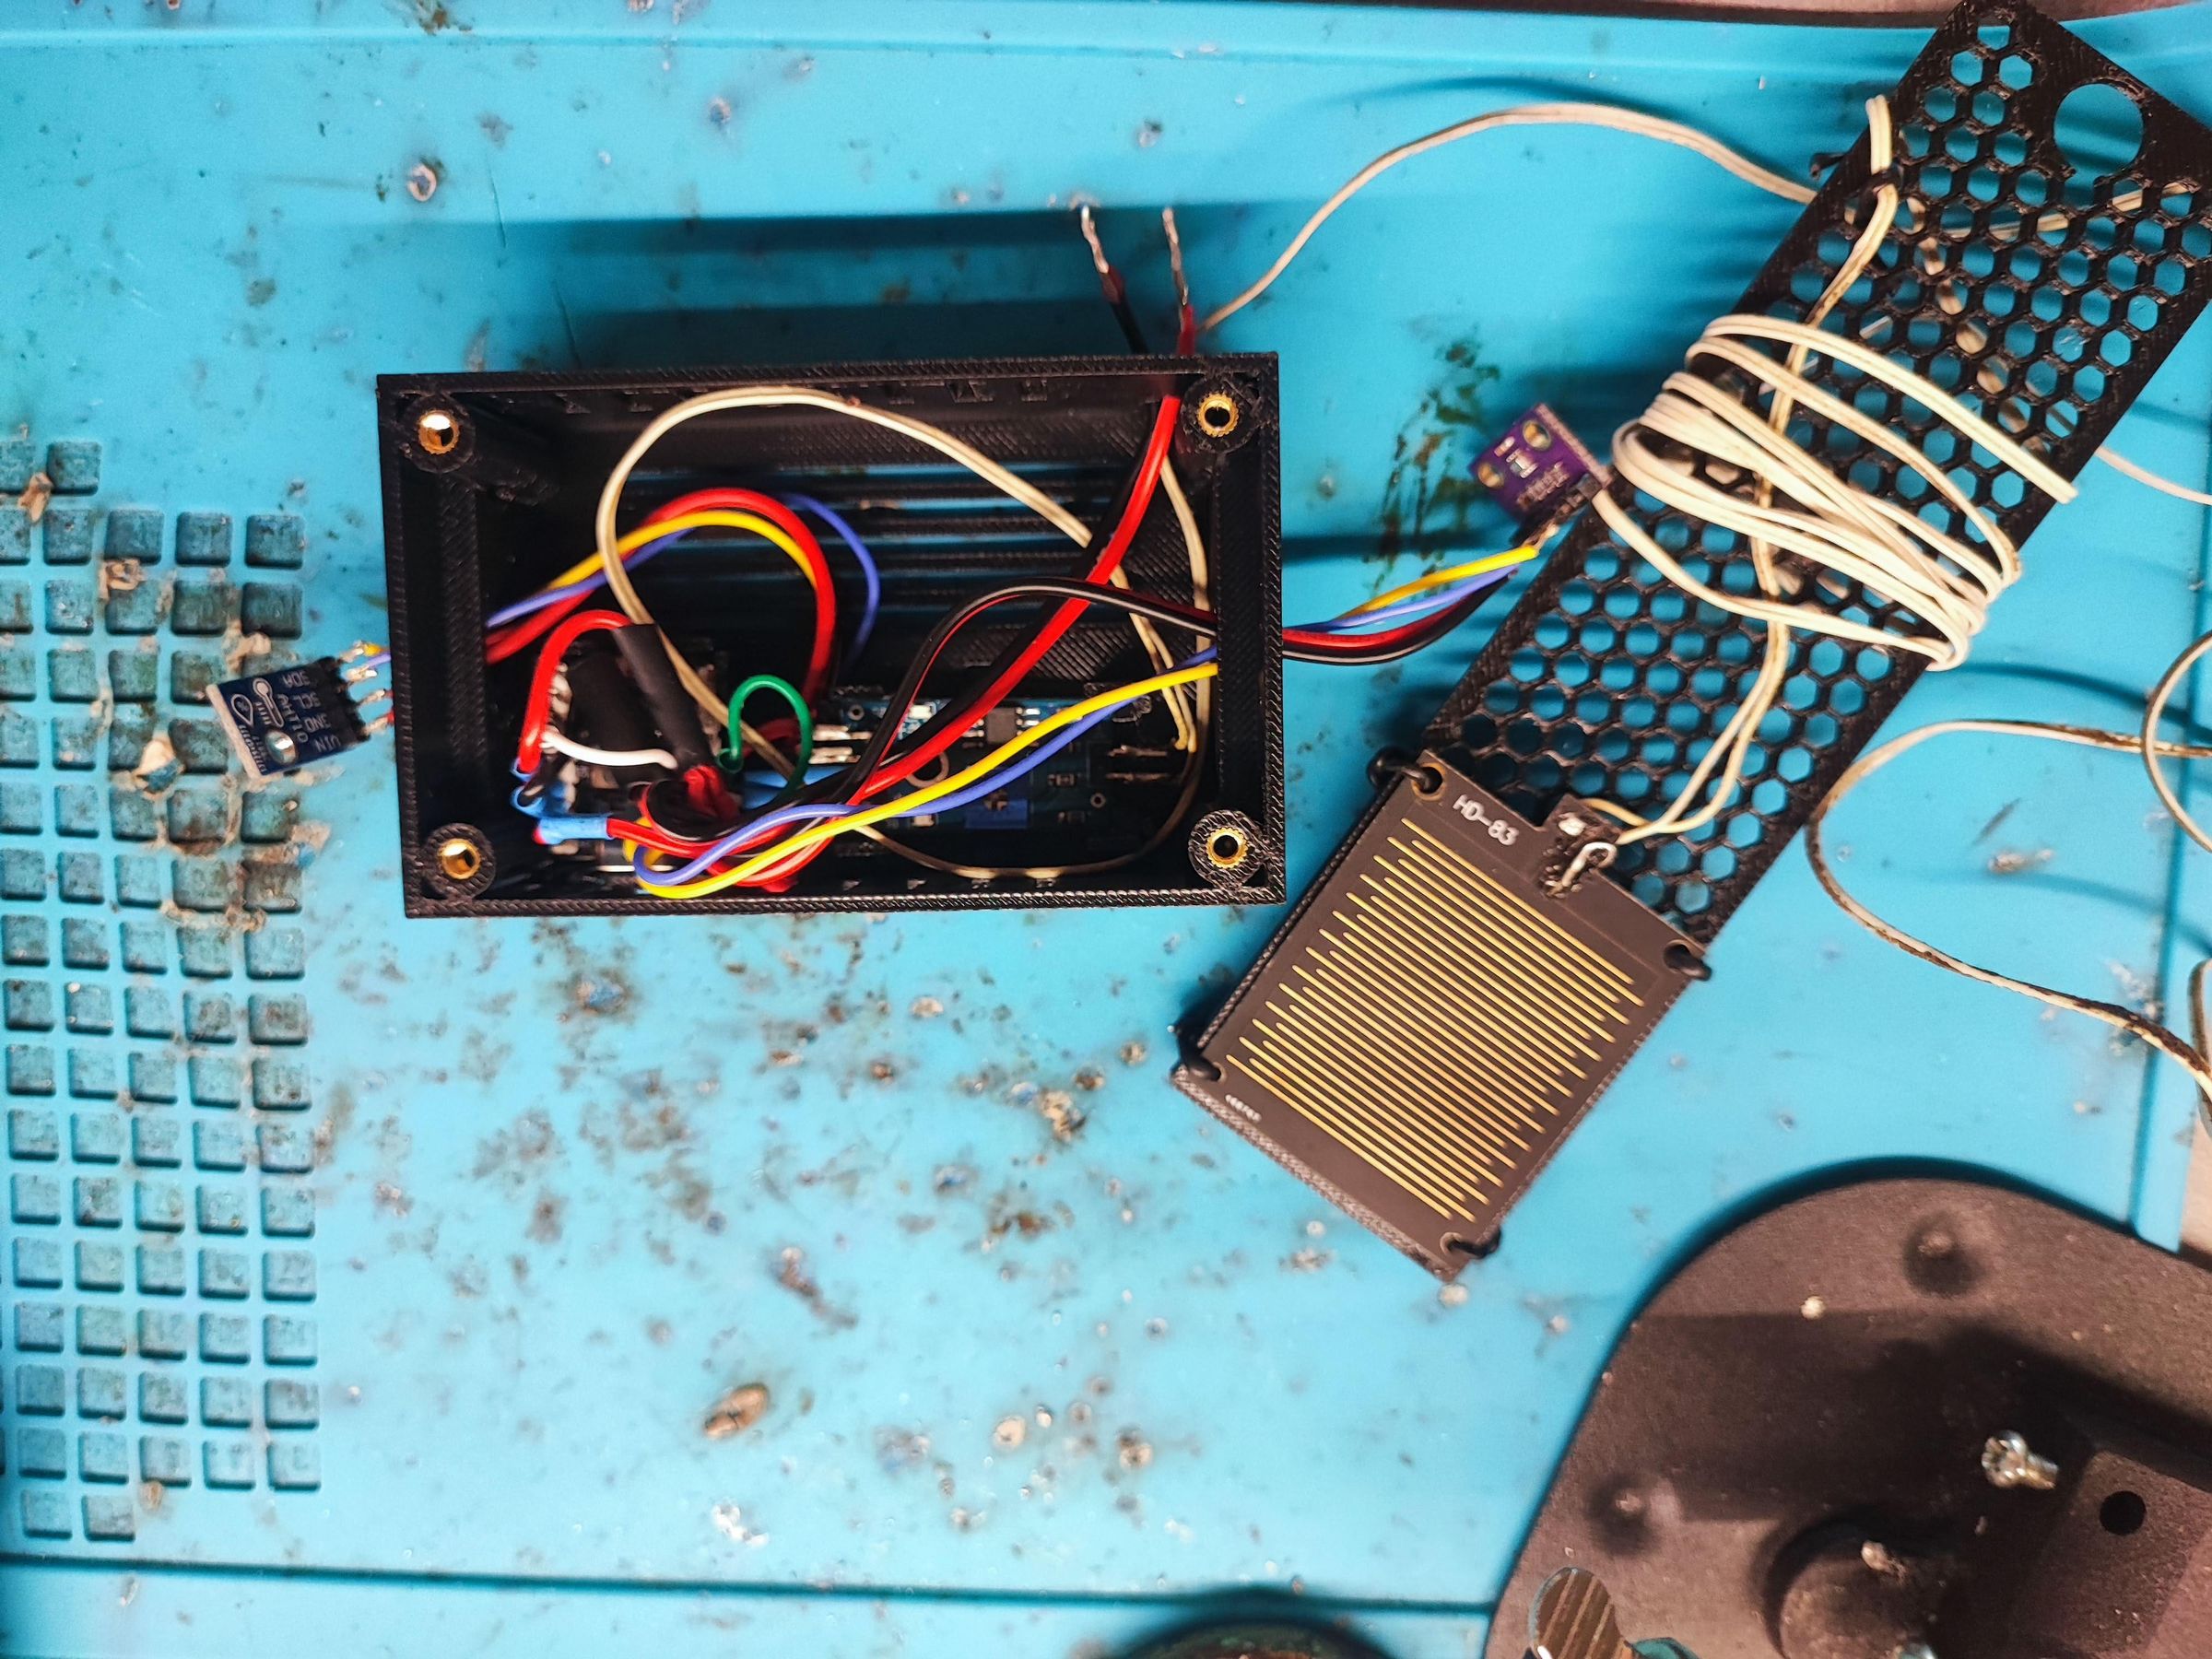
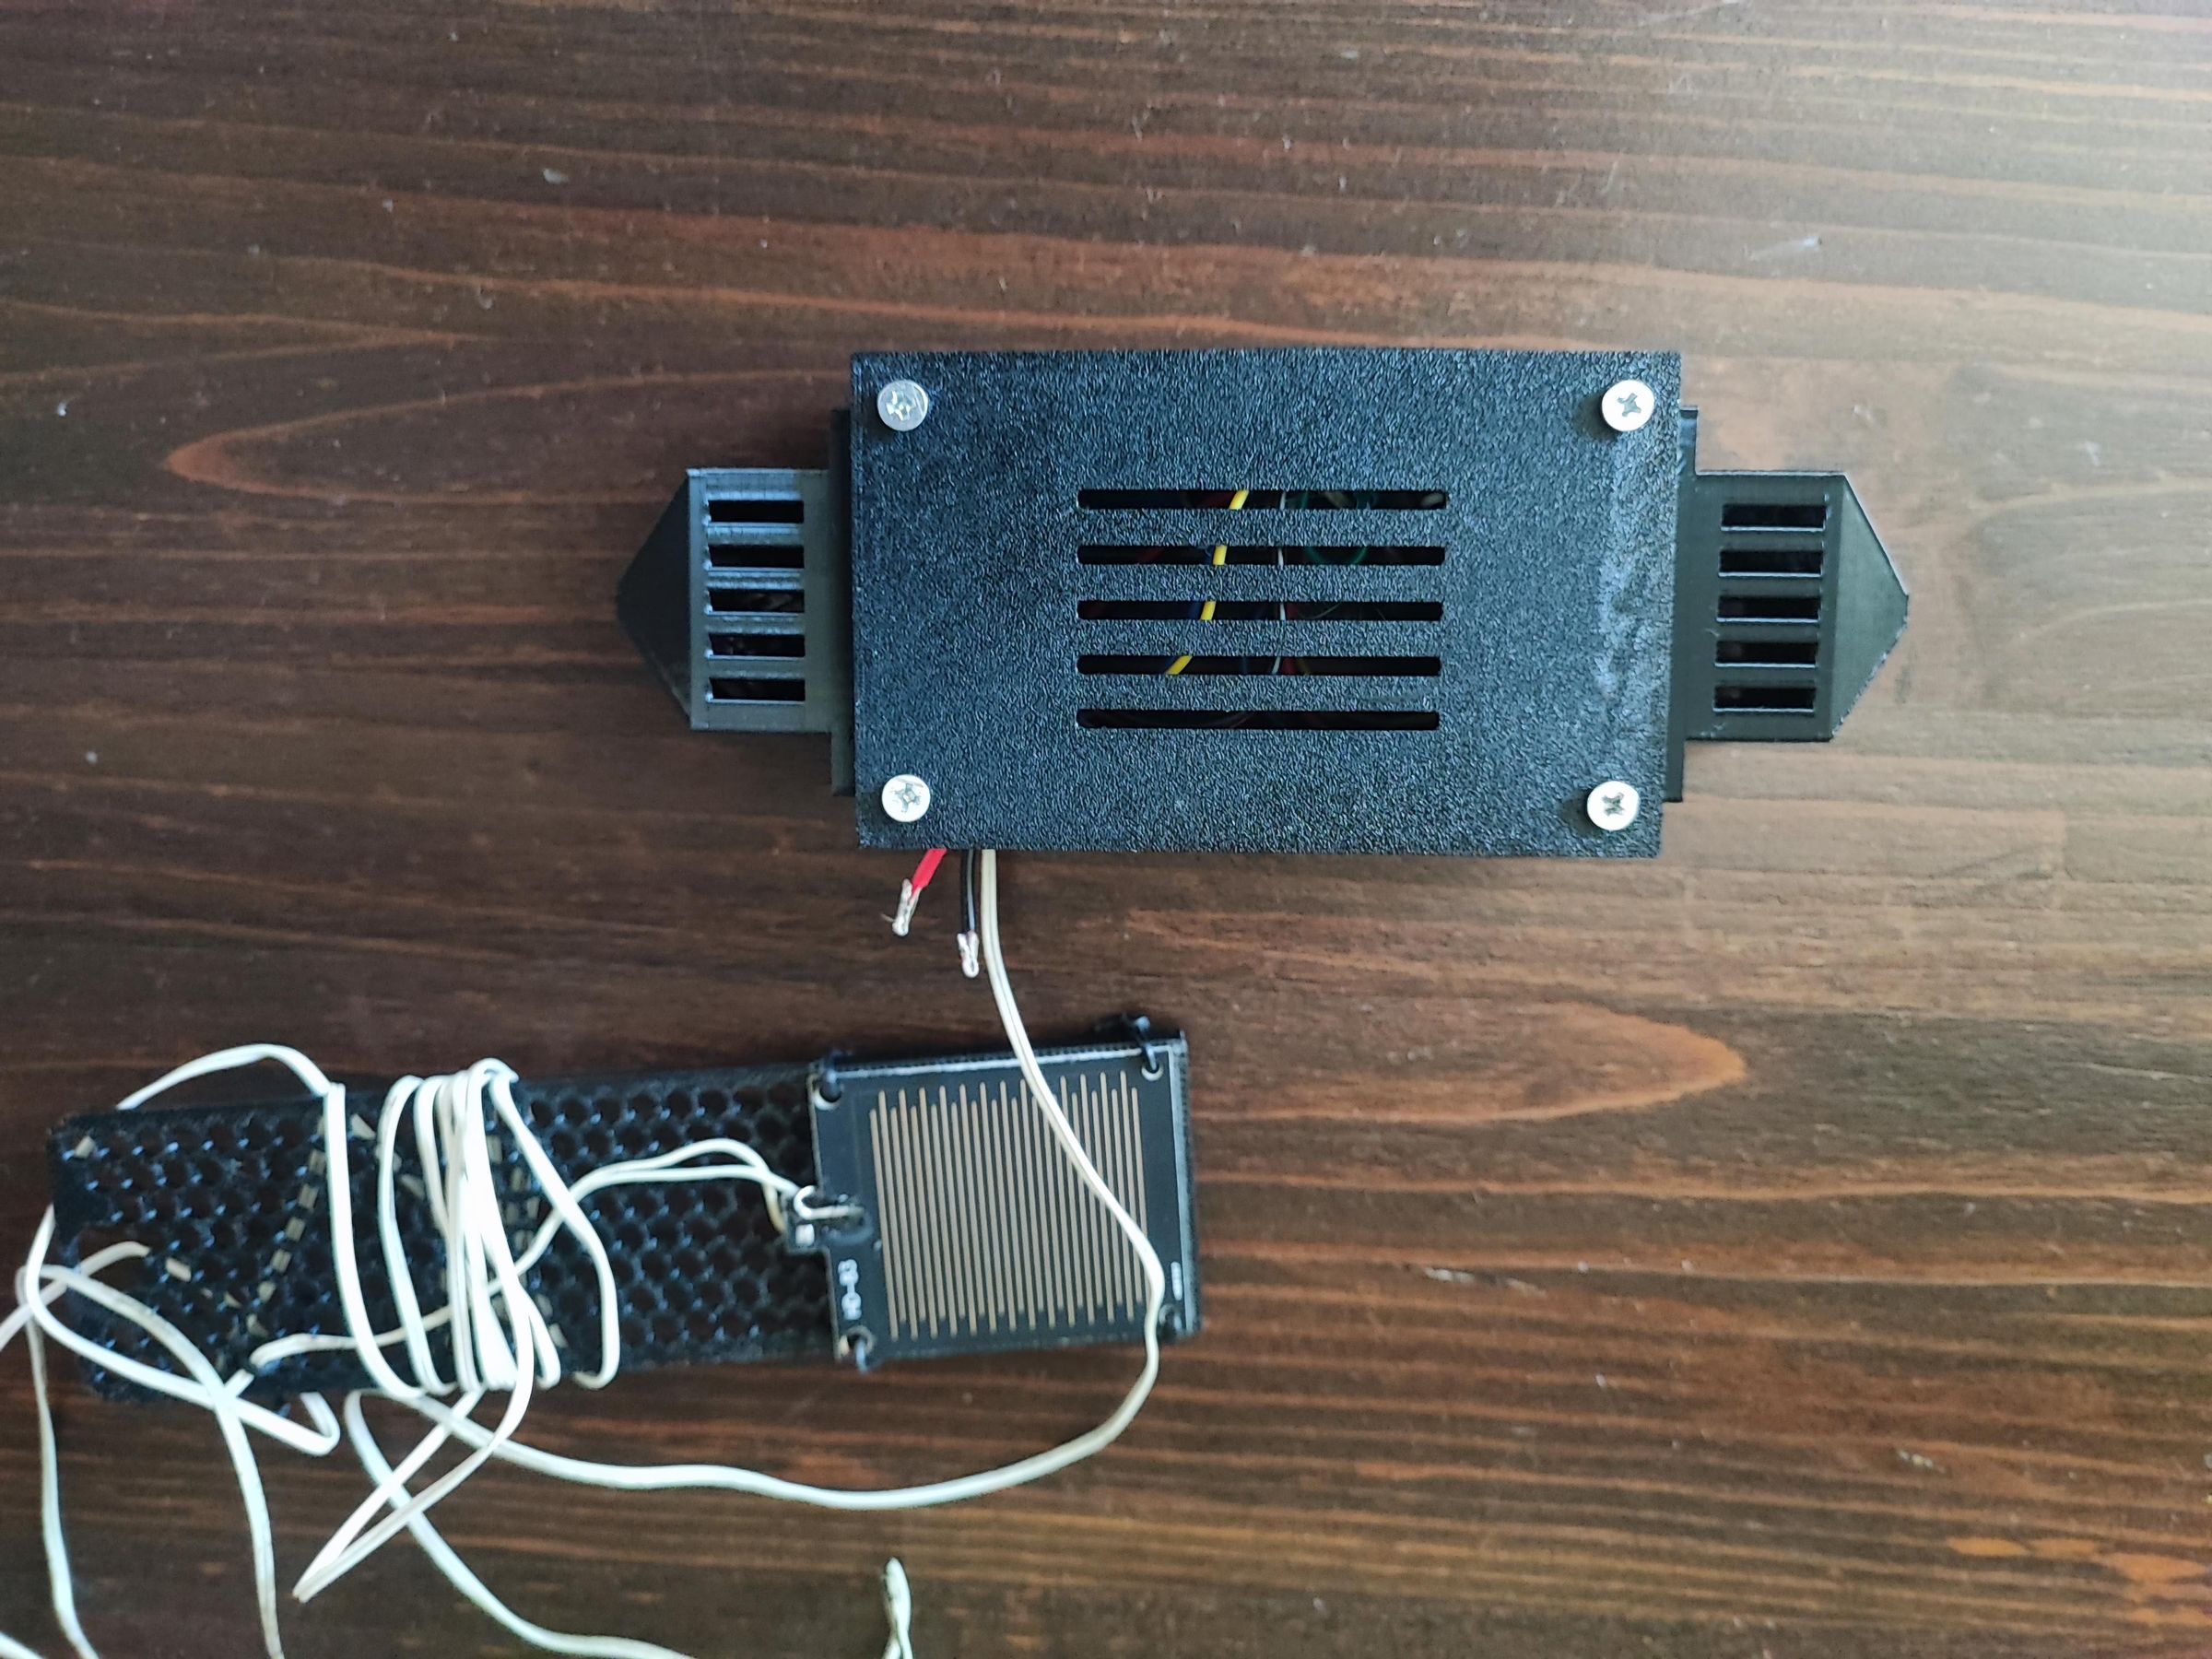
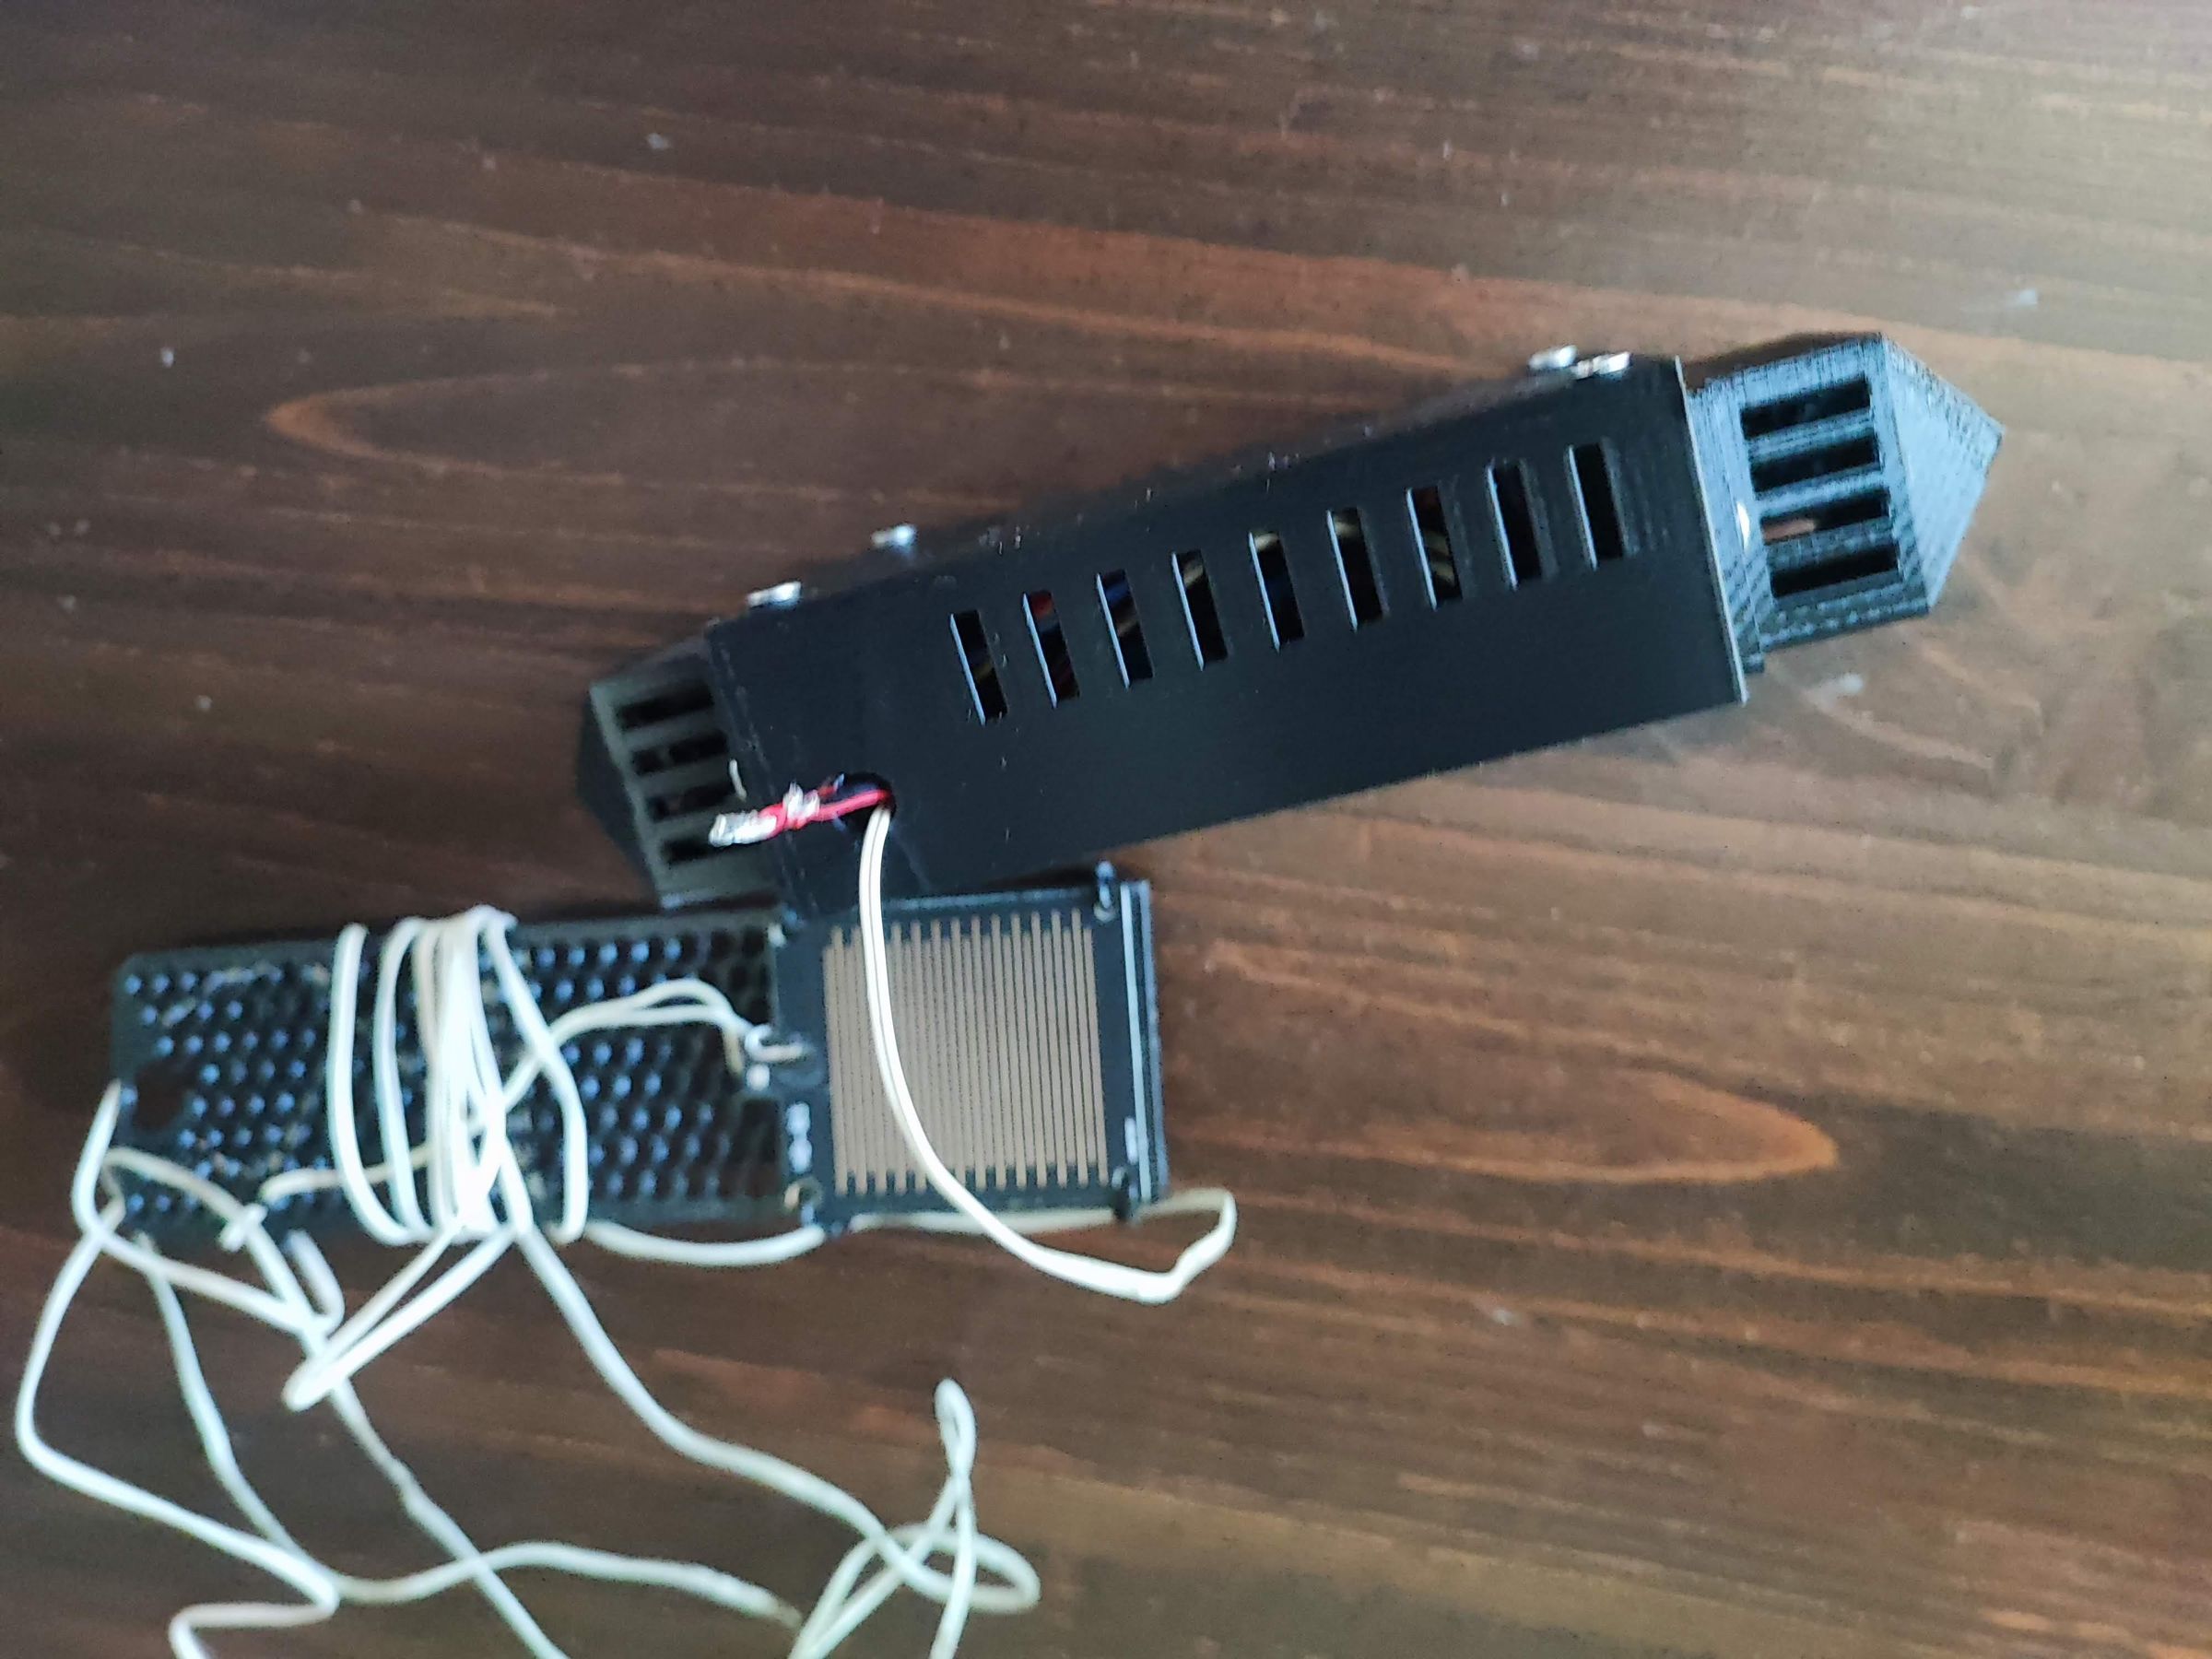
This is a fully 3D-printable, support-free enclosure for a compact DIY weather station, meant to live inside a Stevenson screen (radiation shield). It houses an ESP32-C3 Super Mini and the LM393 controller board of a rain sensor side by side in the main box, while the AHT10 (temperature/humidity) and BMP280 (pressure) sensors sit in two separate ventilated pods on opposite ends of the box — thermally isolated from the electronics so the WiFi chip's heat doesn't skew your readings. The rain detection panel itself stays outside the enclosure, exposed to the sky.
The twist: this entire project — the parametric 3D design, all the STL files, and the firmware code — was created with Claude.ai (Anthropic's AI assistant), through a plain conversation in Bulgarian. I described what I needed, pointed out problems.The Python script that generates the STLs is included, so you can tweak any dimension and regenerate the files yourself.
Supplies
Electronics:
- ESP32-C3 Super Mini development board
- AHT10 temperature & humidity sensor module (I²C)
- BMP280 barometric pressure module, 3.3/5 V version (I²C)
- Rain/raindrop sensor kit (detection panel + LM393 comparator board)
- Dupont wires or thin silicone wire, USB-C cable
Hardware:
- 8× brass heat-set inserts M3, 3 mm length (Ø ~4.2–4.6 mm OD)
- 8× M3×8 bolts
- 2–4 thin zip ties (for the boards and sensors)
- Soldering iron (for the inserts)
How the Design Was Made (With an AI, Not a CAD Program)
Instead of modeling in Fusion or FreeCAD, I described the project to Claude.ai in a chat. Claude wrote a parametric Python script (using the trimesh library with boolean operations), rendered previews to check its own work, and exported watertight STLs.
The interesting part was the iteration loop — exactly like working with a human designer:
- v1: Claude produced a box, lid and two sensor pods. Problem: the pods were fully enclosed — the sensors physically couldn't get inside. I pointed it out.
- v2: Claude added a rectangular insertion opening in the pod flange — you slide the sensor in from the back, and the box wall closes the opening when the pod is bolted on.
- v3: I asked for M3 heat-set inserts instead of nuts. Claude added thickened wall sections (a 2 mm wall is too thin for a 3 mm insert) with Ø4.0 pockets.
- v4: The bolt holes ended up under the pod's louvered body — unreachable with a screwdriver. Claude moved them to side ears that stick out past the body.
- v5: An anti-rotation pin Claude added would have needed print supports. Replaced with a second insert. I also rejected the first board cradles as too crude — Claude redesigned them with raised edge seats (5 mm clearance for soldered pins underneath), corner fences, and zip-tie slots.
- v6: The pods' flat internal ceiling was a 26×22 mm bridge — bad without supports. Claude replaced it with a 45° hip roof, inside and out, and then ran an automated overhang analysis on its own mesh to confirm nothing steeper than 45° remained.
Every version was regenerated in seconds because the design is a script, not a mesh. If your LM393 board is a couple of millimeters different from mine, you change two numbers in weather_box.py and rerun it.
Files (attached to This Instructable)
Files (attached to this Instructable):
- kutia_osnova.stl — main box base
- kutia_kapak.stl — lid
- sensor_pod_AHT10.stl + sensor_pod_BMP280.stl — identical ventilated pods, print 2×
- weather_box.py — the parametric generator script (Python + trimesh)
- rozovec-weather-station.yaml — the ESPHome configuration (also written with Claude.ai)