DIY Weighing Scale Using Arduino at Your Home
by ROBO HUB in Circuits > Arduino
2649 Views, 22 Favorites, 0 Comments
DIY Weighing Scale Using Arduino at Your Home


Hello makers in this instructables i will show you all how i made this arduino powered weighing scale that works like the actual weighing scale and the limit for this is 5kilograms.
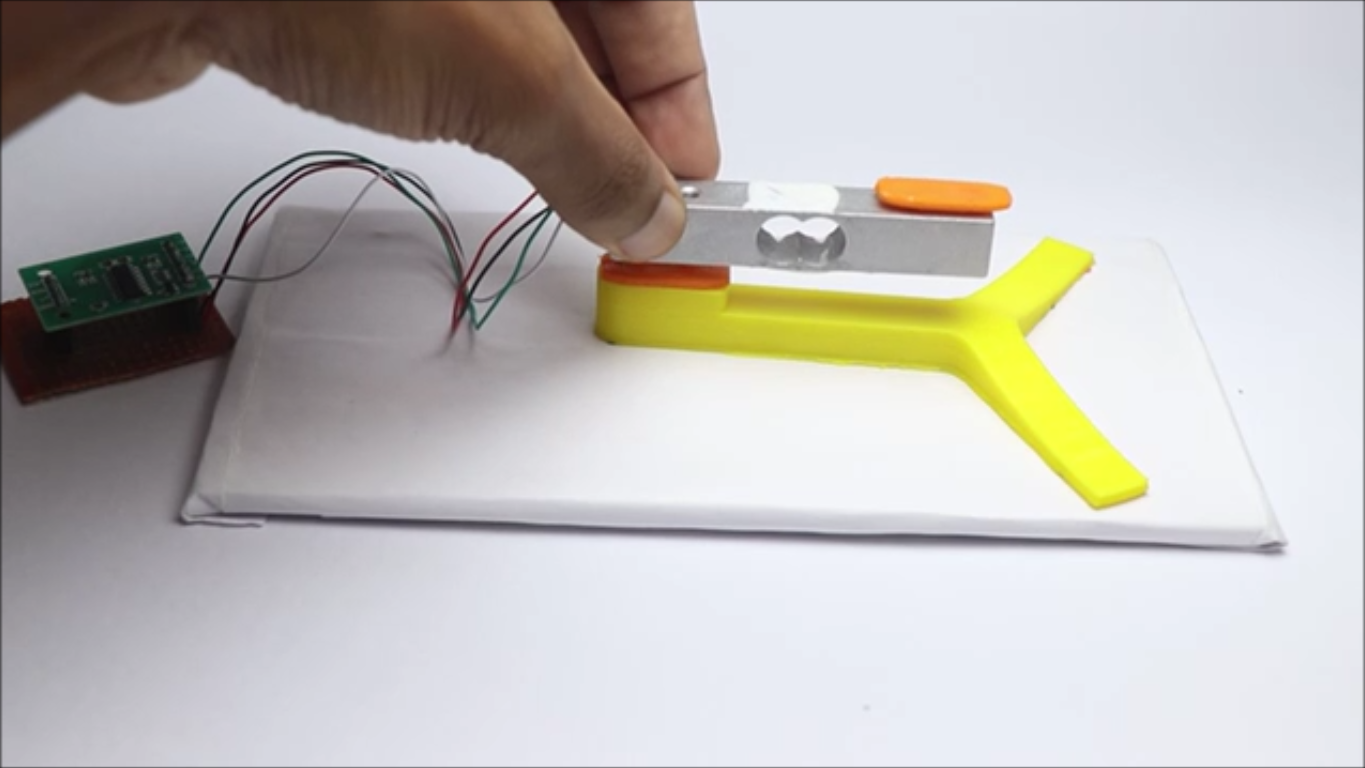
This project makes use of load cell module and the load cell has a strain guage as we all know.
Signals coming from the strain guage is very small so to amplify the signals and clean the noise we will be using the HX711 amplifier.
I used 3d printed parts to make some of the parts that is most important in this project, Dont worry all the files are included.
I wanted to make a fully portable project and here is it, I have managed to fit all the electronics on a piece of board and it is very easy to carry.
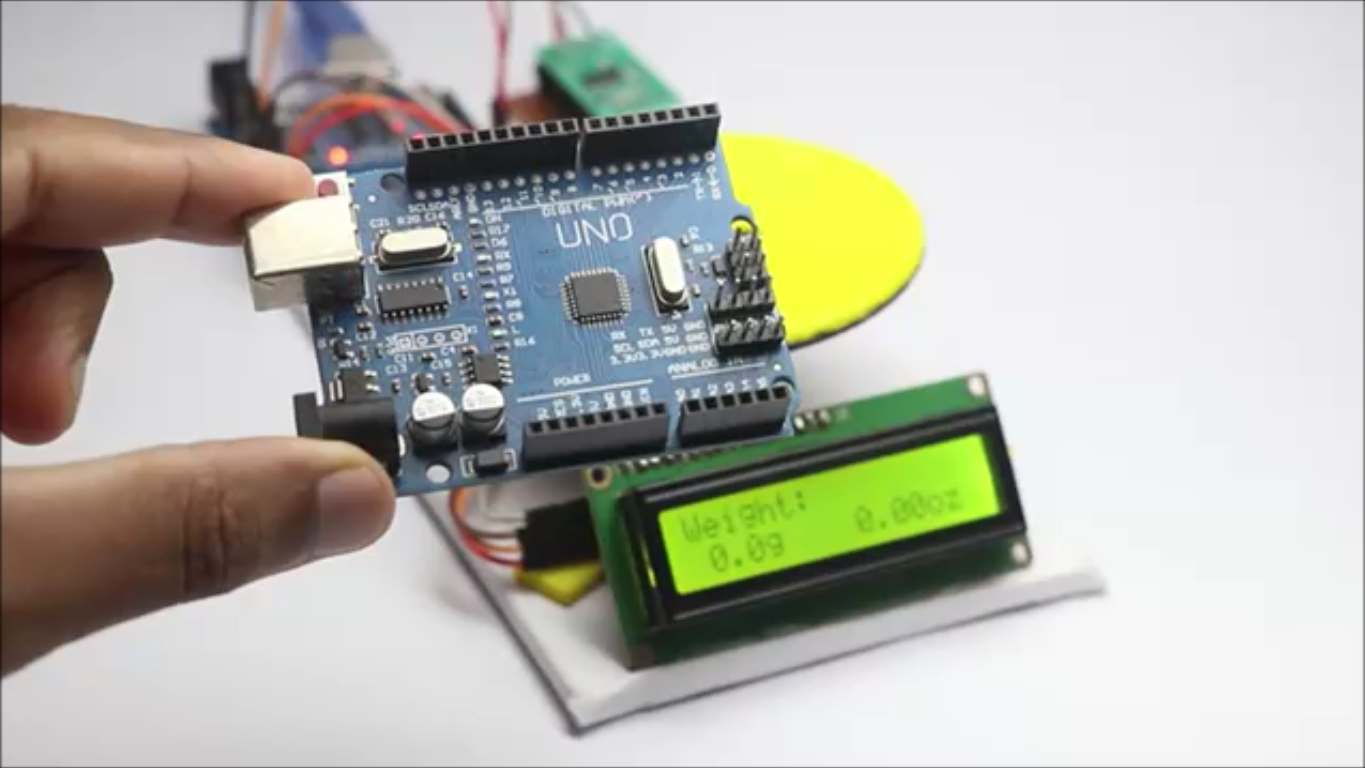
Let me explain you in very short how this project works. Simply connect the Uno board to a USB power supply via the cable.
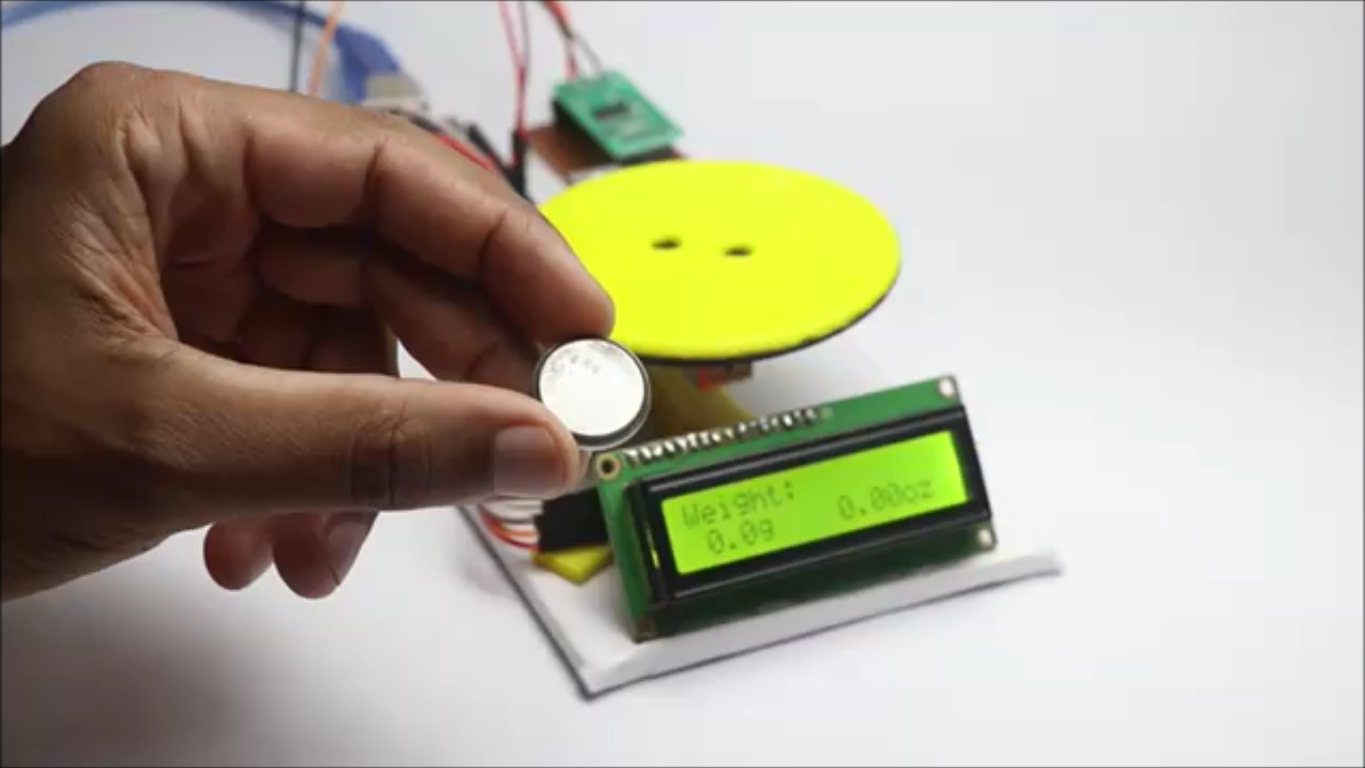
Allow few seconds for the display to show the message and when it sets to 0 you are good to go, Place objects on the plate and in no time you get the weight in both grams and in ounces.
This is a perfect tool to be used at your house to measure the weight of everyday objects.
I will also show you the working and complete build of this project in the video and you can check it at the end of this instructables
Supplies


These are the list of materials that is needed to build this weighing scale
Arduino Uno from amzon
HX711 amplifier board
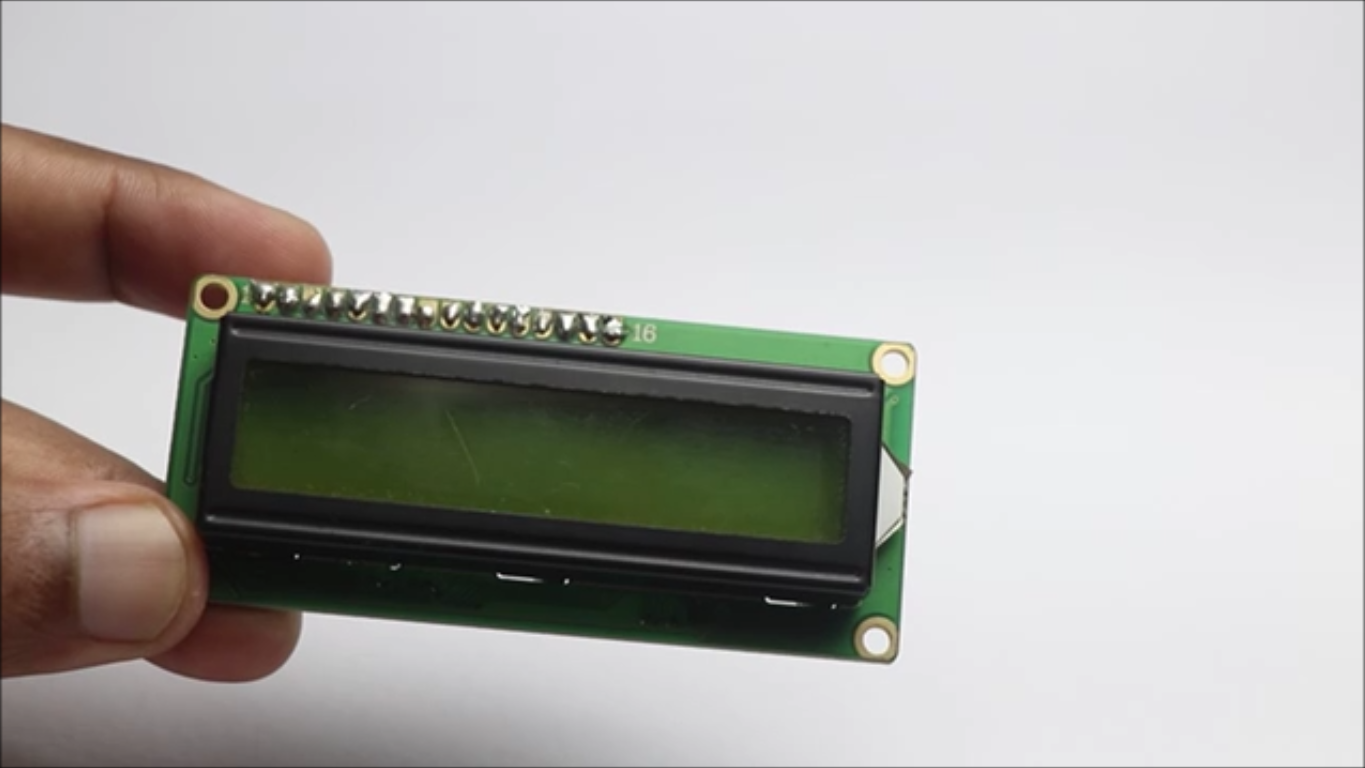
LCD module with I2C
Jumper cables
Sheet of cardboard
Super Glue
Double sided adhesive
Empty PCB
3D Printer
PLA filament all colors
Slicing Software
If you are buying from these links i may receive a small percent of qualifyting sales at no extra cost to you, This will help me to come up with new projects and support them
Designing and Printing
.png)


You can use TinkerCad to design the parts for this project, Since the parts are simple it won't take much longer to design and make any changes if necessary.
There are a total of 3 parts in total and i have added an extra part incase if your load cell is larger in size.
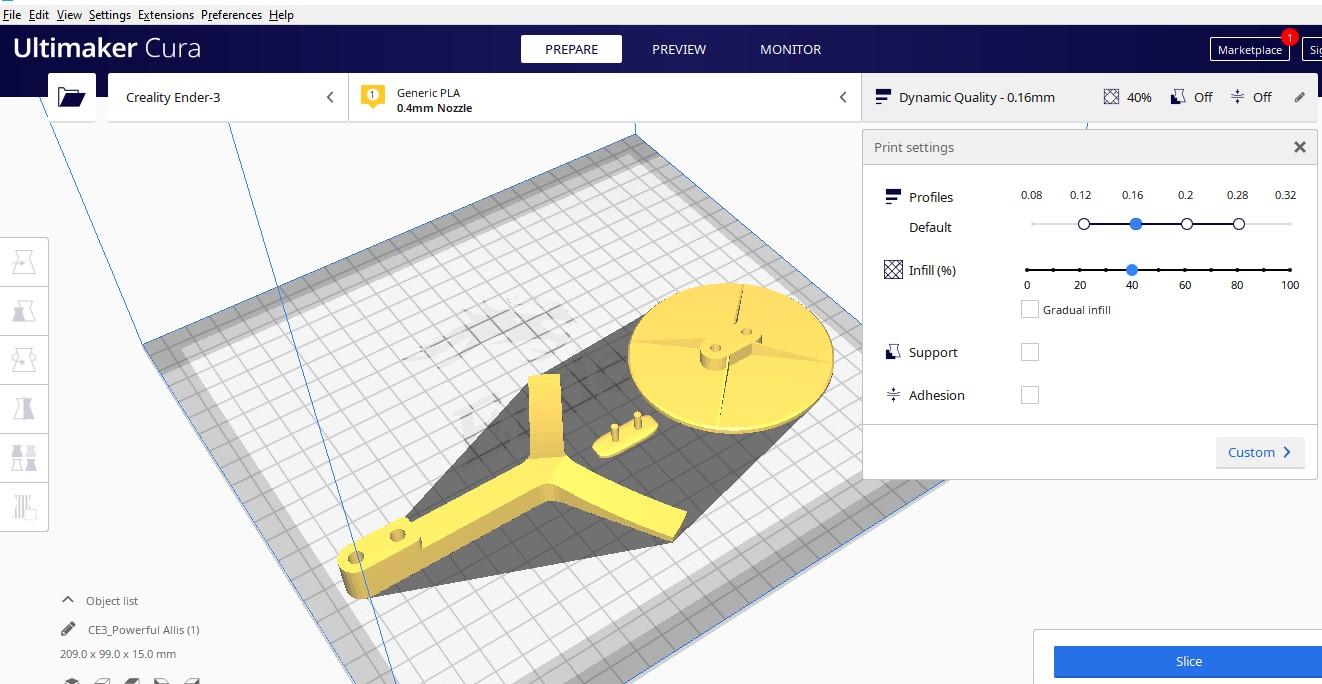
For the settings that i followed at the time of slicing you can refer the second image on this step, Infill rate of 30% is best suited for this project.
No needs of rafts or supports since we dont have any hanging parts if you consider using the layout like i did in the picture you are good to go.
In my case the fit was a little loose so I had to glue this extender first to the base plate and then the top plate.
After this design is finalized i will export the models to cura slicer, if you want different colors for different parts, export the models seperately.
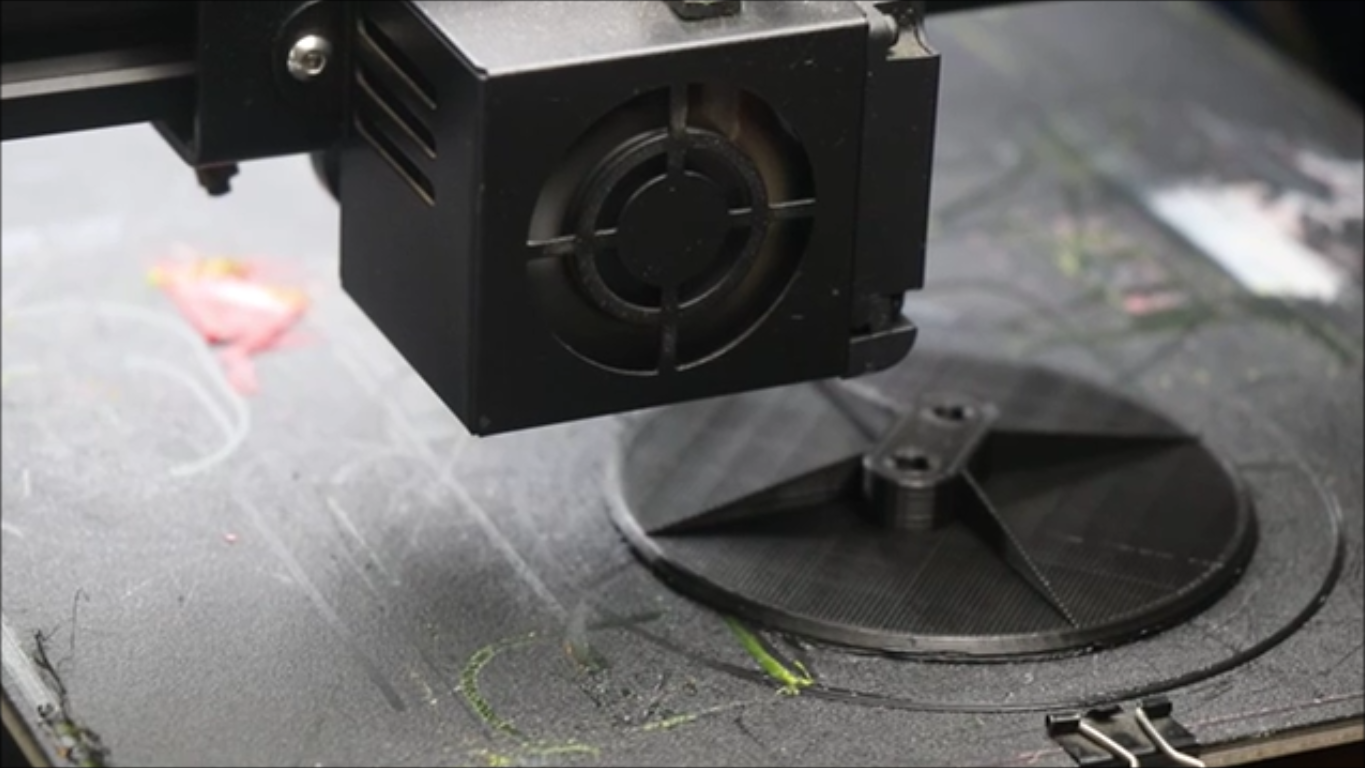
Then export it to 3d printer and print the parts.
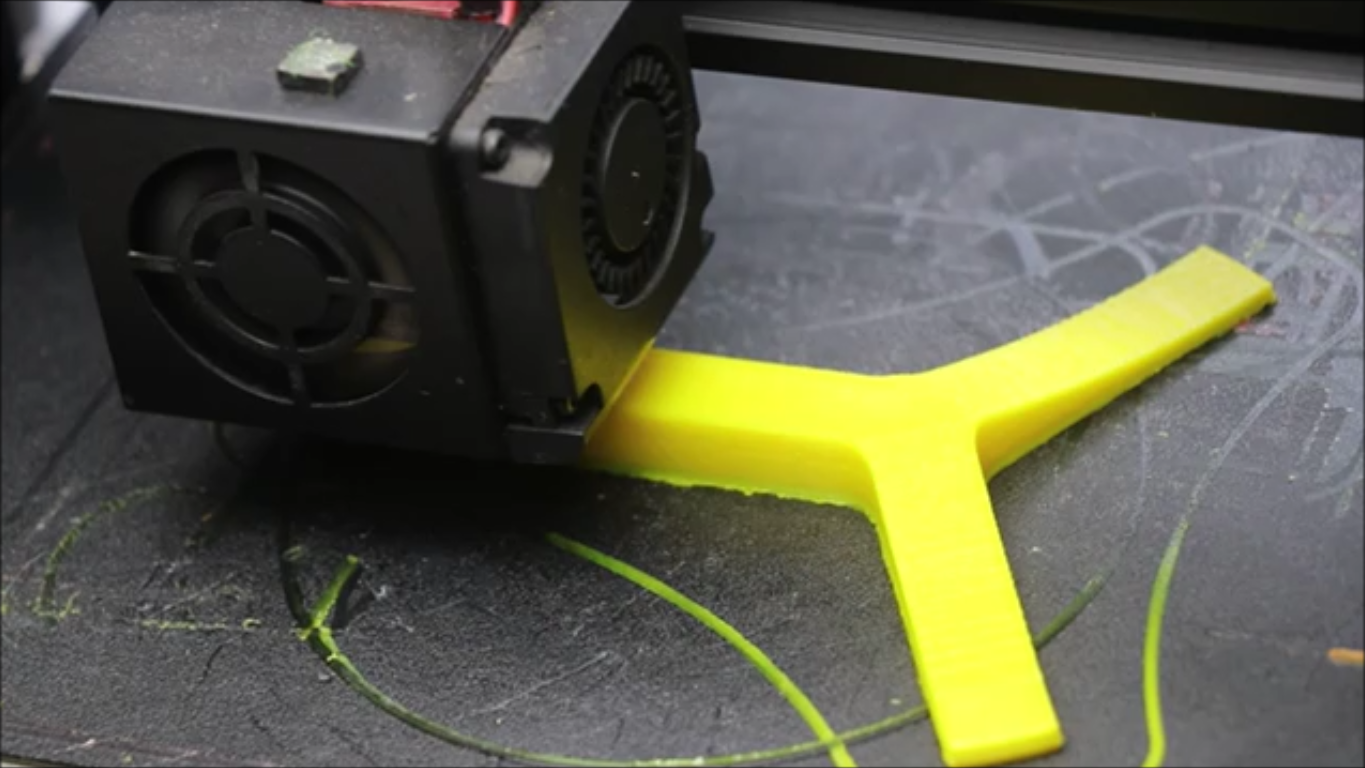
The color of PLA filament is dependent on your personal preferences, I chose orange, black and yellow to print the models
I would strongly recommend to use the settings that i used at the time of printing so that you will also get best prints.
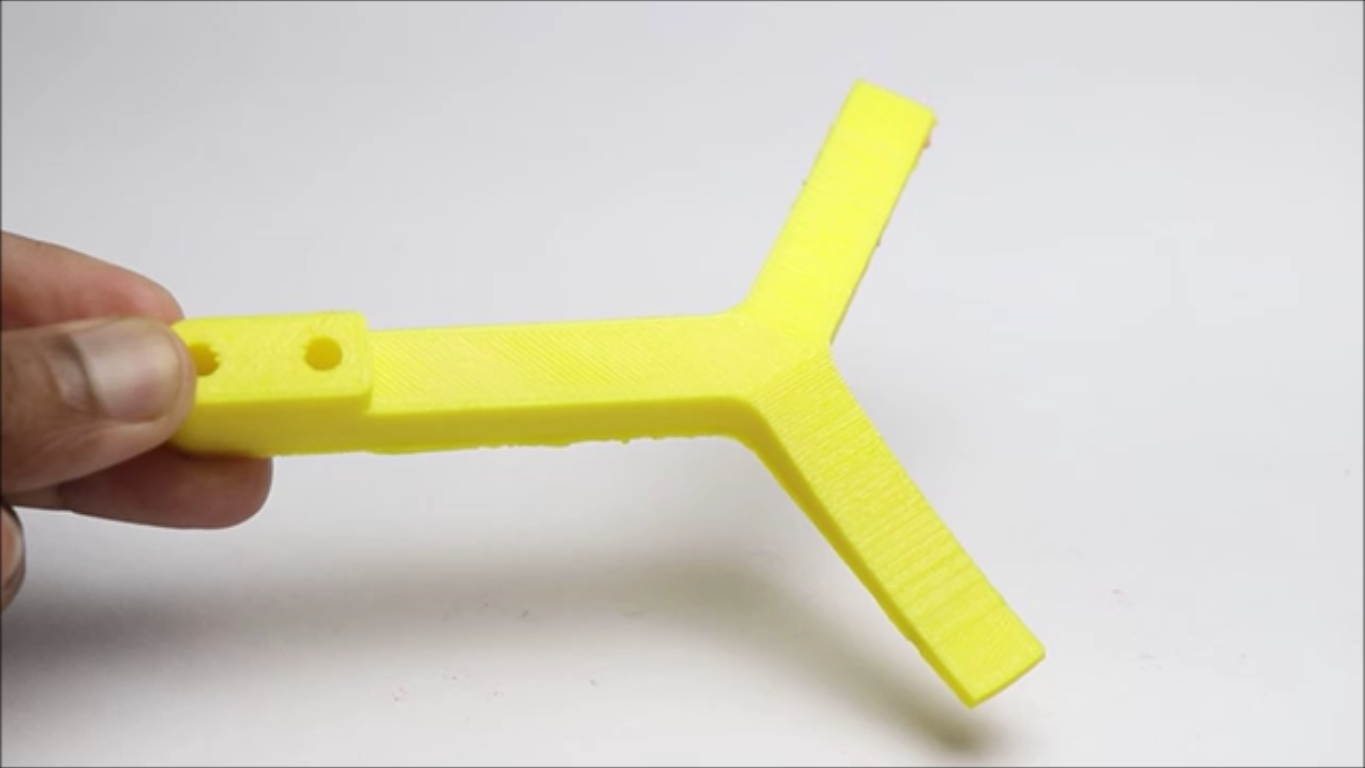
You can see from the last images of this step the parts that were printed to make this weighing scale, i also printed the extenders so i can assemble all the parts with a great fit.
Circuits and Programming


The connections are pretty much straight forward, to make it even more easier i will explain you the circuit connection component wise.
There are 2 main components that makes this weighing scale the load cell and the LCD module with I2c
LCD Module connections
Sda to A4 and Scl to A5
Gnd is connected to ground on the uno
Vcc is connceted to 5v pin of the uno board
Load cell module connections
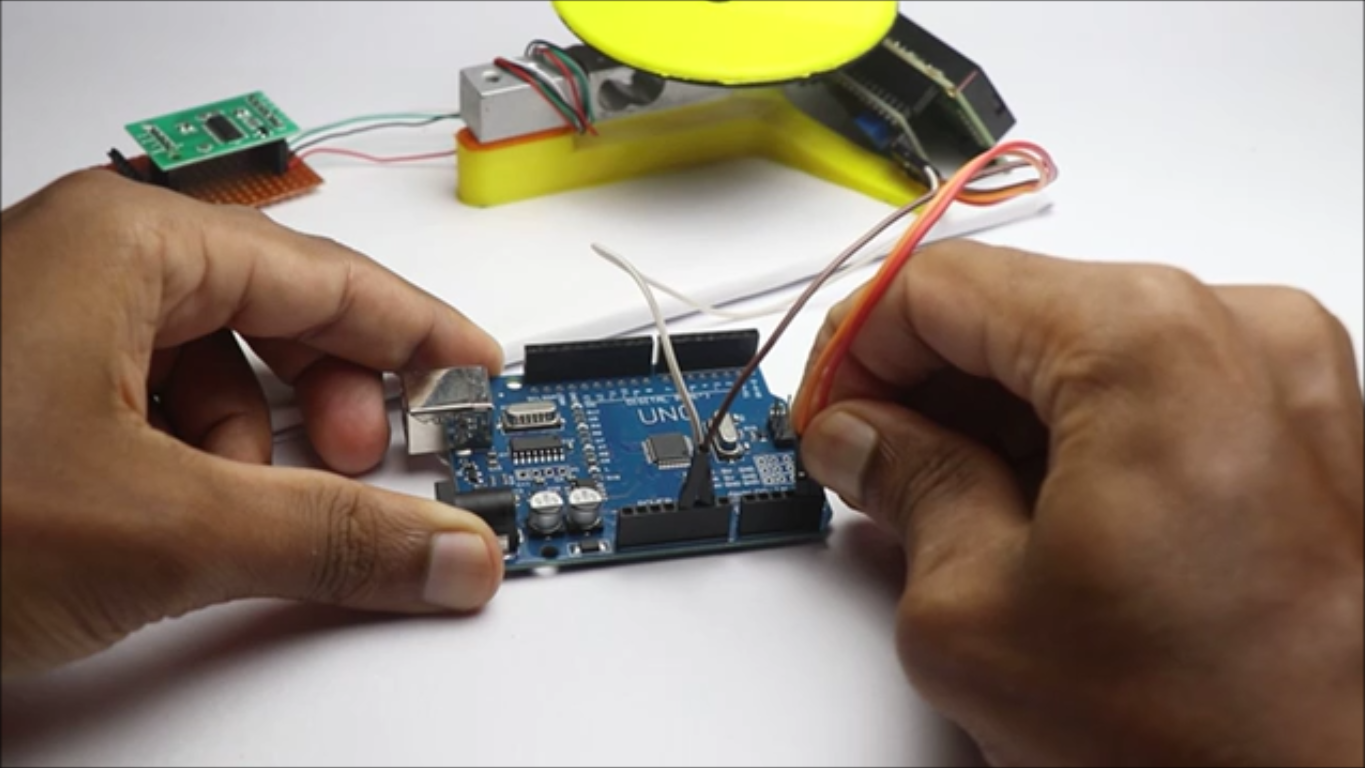
The HXT711 amplifier is connected to load cell first using the color coded cables and later the amplifed output is fed to arduino.
The gnd and vcc pins from amplifier is connected to ground and 5v pins of the uno board.
Sck and Dt pins are connected to D4 and D5 pins on the Uno
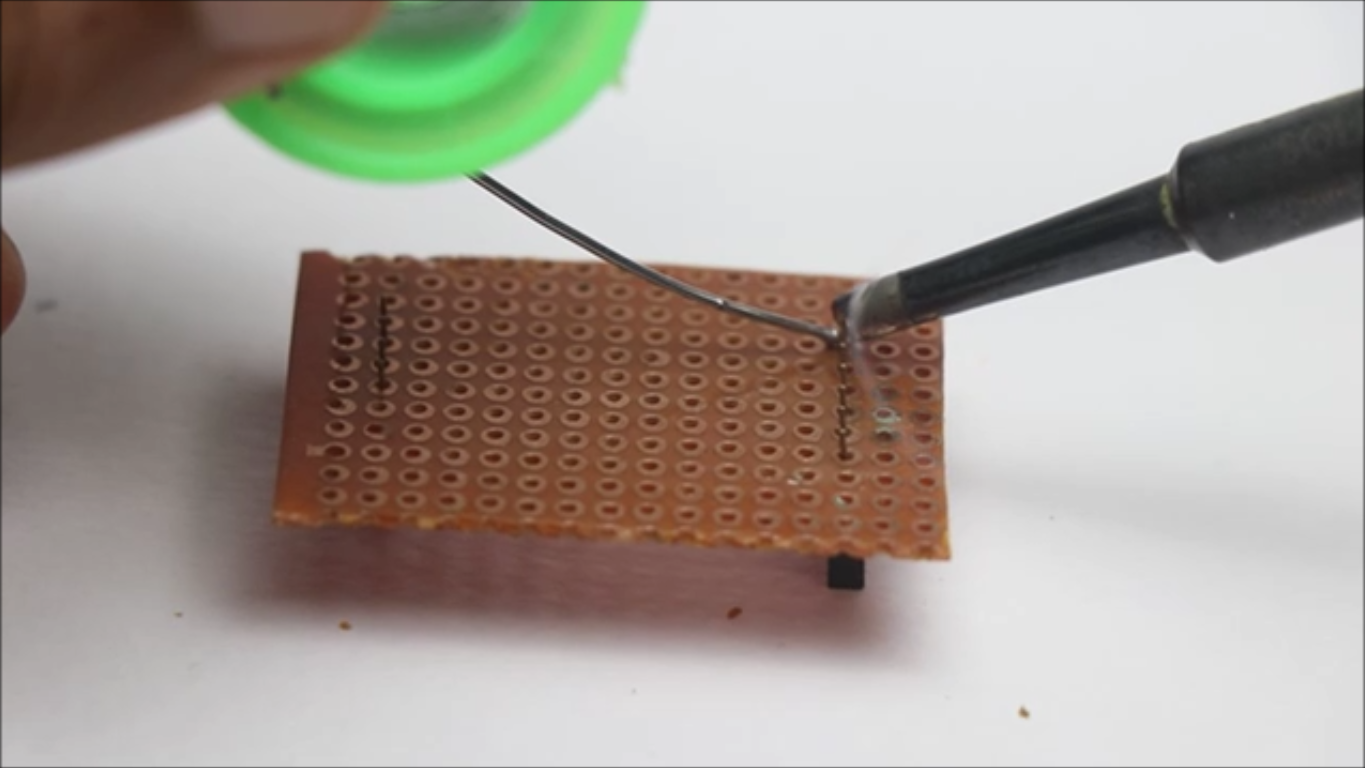
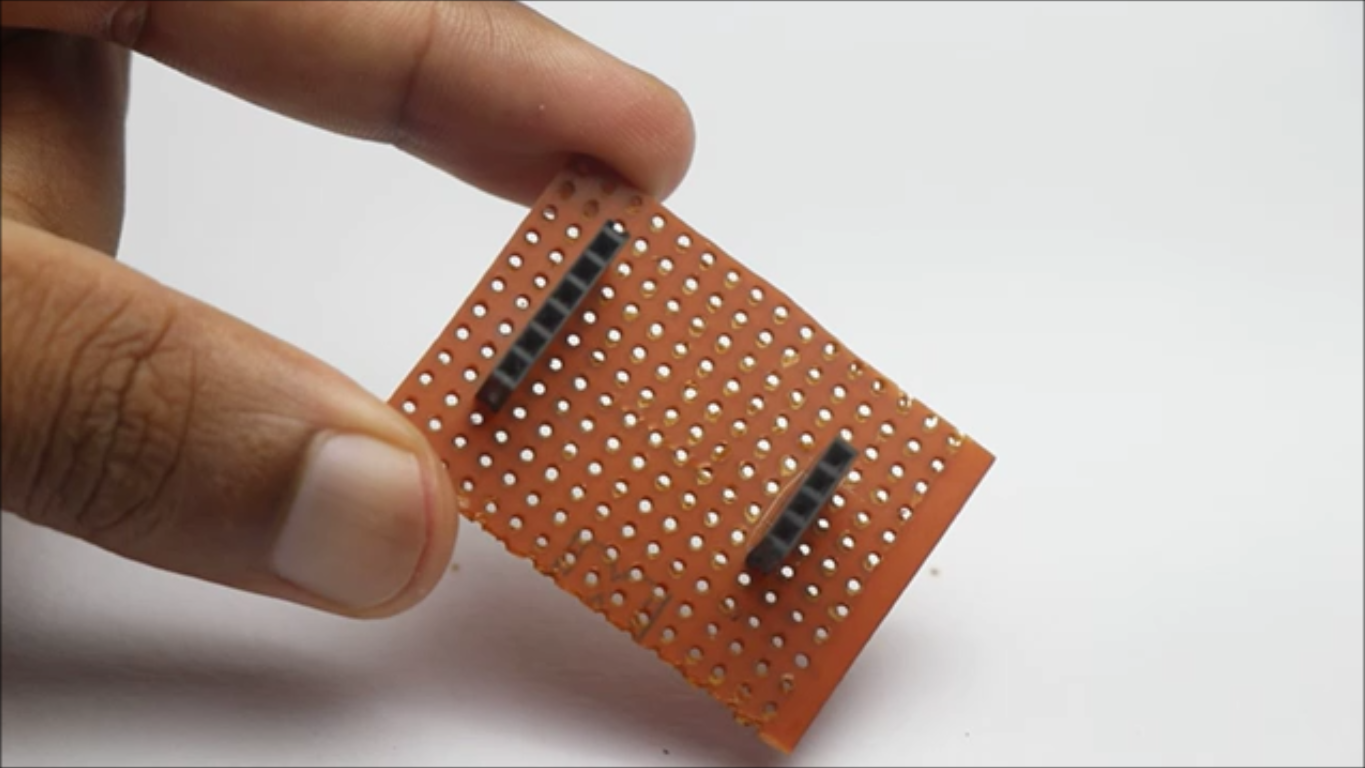
I wanted the HX711 module to be easily connected to uno so i made a small removable holder for amplifier.
You can plug and remove whenever needed, I used empty PCB for this purpose.
Solder the pins as shown in the step and build the connections.
After you make all the connections connect the uno board to progamming cable and then to the computer and open arduino IDE.
Copy and use the code given below, There is no need to make any changes, all you have to do is type the type of board and select proper port type and click on upload.
If you want to make any changes to the LCD display message part you can do it, just add yours replacing mine.
That is all about the program and after it is done uploading you can install all these components on its respective places to make it look like weighing scale.
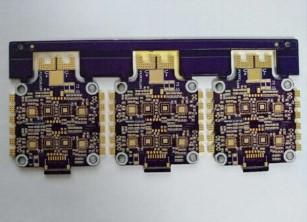
You can also replace this open circuit with a simple PCB, Complete your electronic projects in the best way from PCBWay
Why them? They have provided me with the best PCB, and the quality is just amazing compared to other providers in the market. They also have Color PCB printing check it out
They are now offering crazy discounts if you are using their 3d printing service, For prints over 64g, the discount is equivalent to 20%–80% grab it here
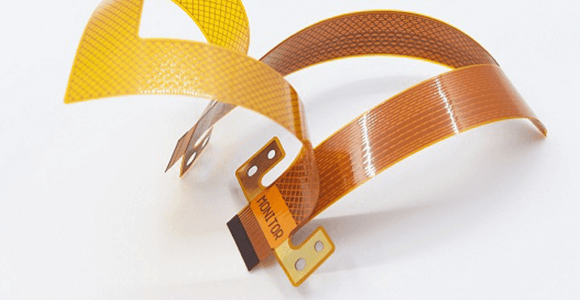
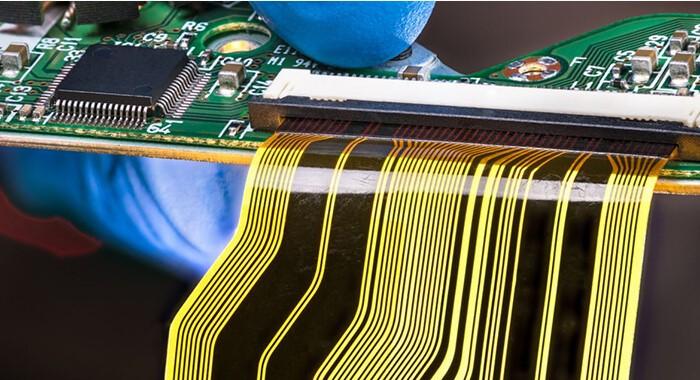
A revolutionary solution that combines the best of both rigid and flexible circuitry to elevate your electronic projects to new heights.
They also offering great prices for purple soldermask, As you know purple pcb are very expensive but not anymore, Check this out.
PCBA & Online quote available with 24hr delivery services
Their expertise in advanced manufacturing techniques offers seamless integration of rigid and flexible components, ensuring enhanced reliability, durability, and space-saving benefits.
Downloads
Final Setup


I will set all the electronics on a piece of cardboard, Use double sided adhesive or hot glue to keep all the components in place.
You may need to connect and disconnect a few jumper cables during the process but all that depends on how you plan to set the components.
In my case i will place all the components on a 23cm x 10cm piece of cardboard.
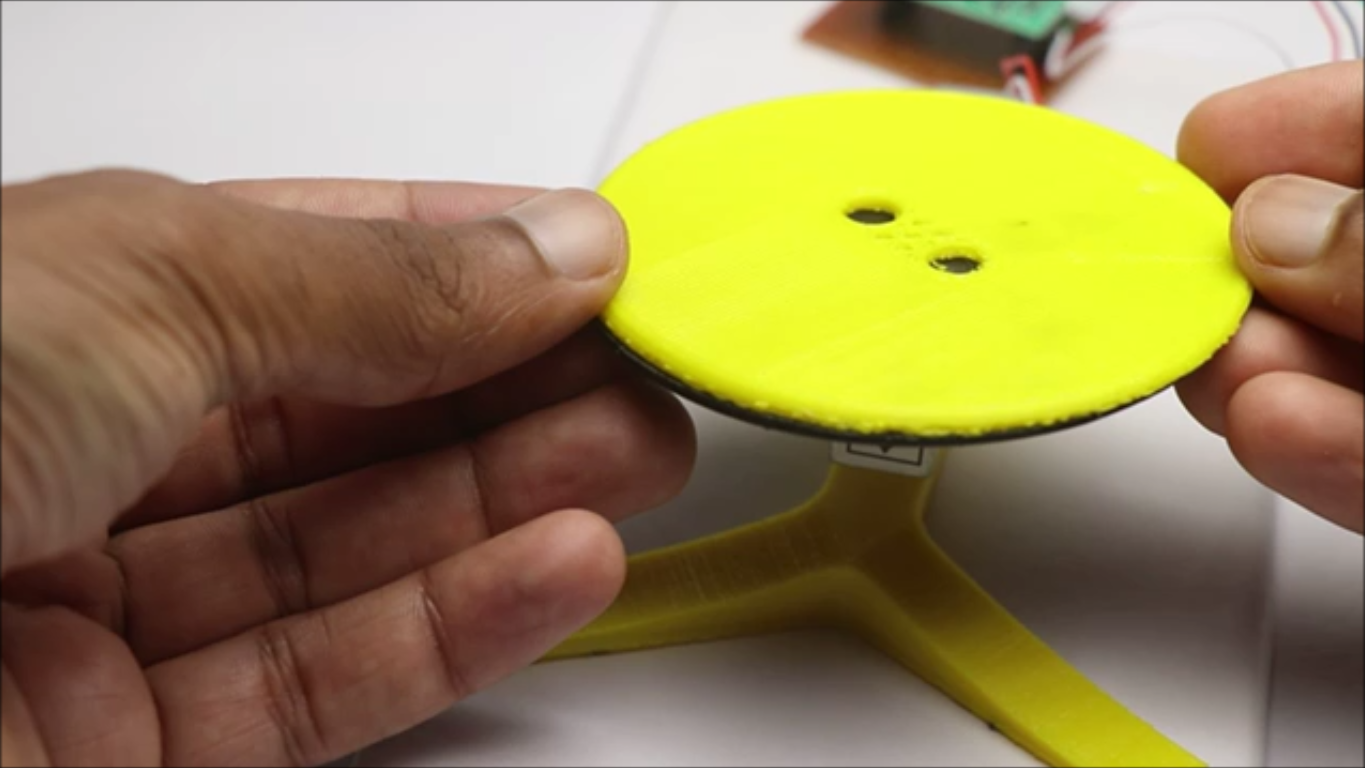
I will start by placing the table on which we will be place the object whose weight needs to be measaured.
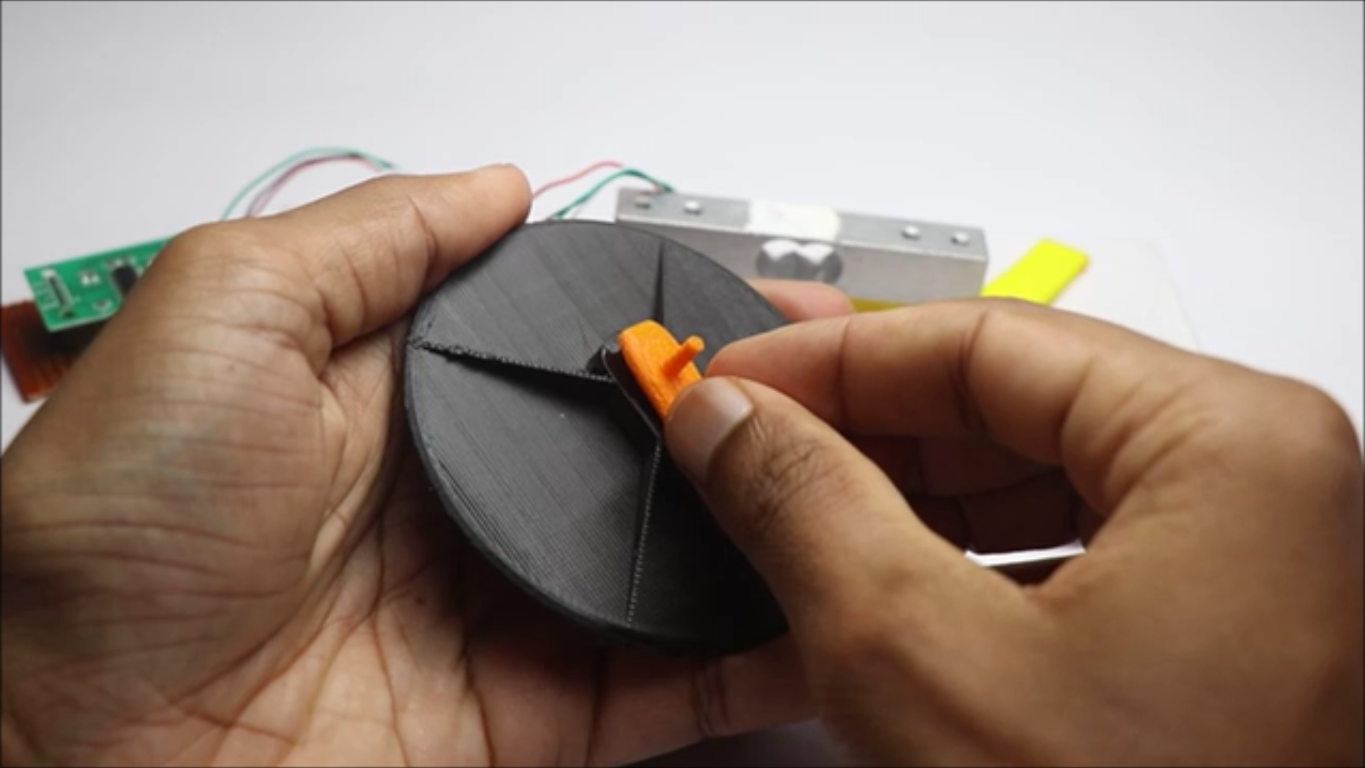
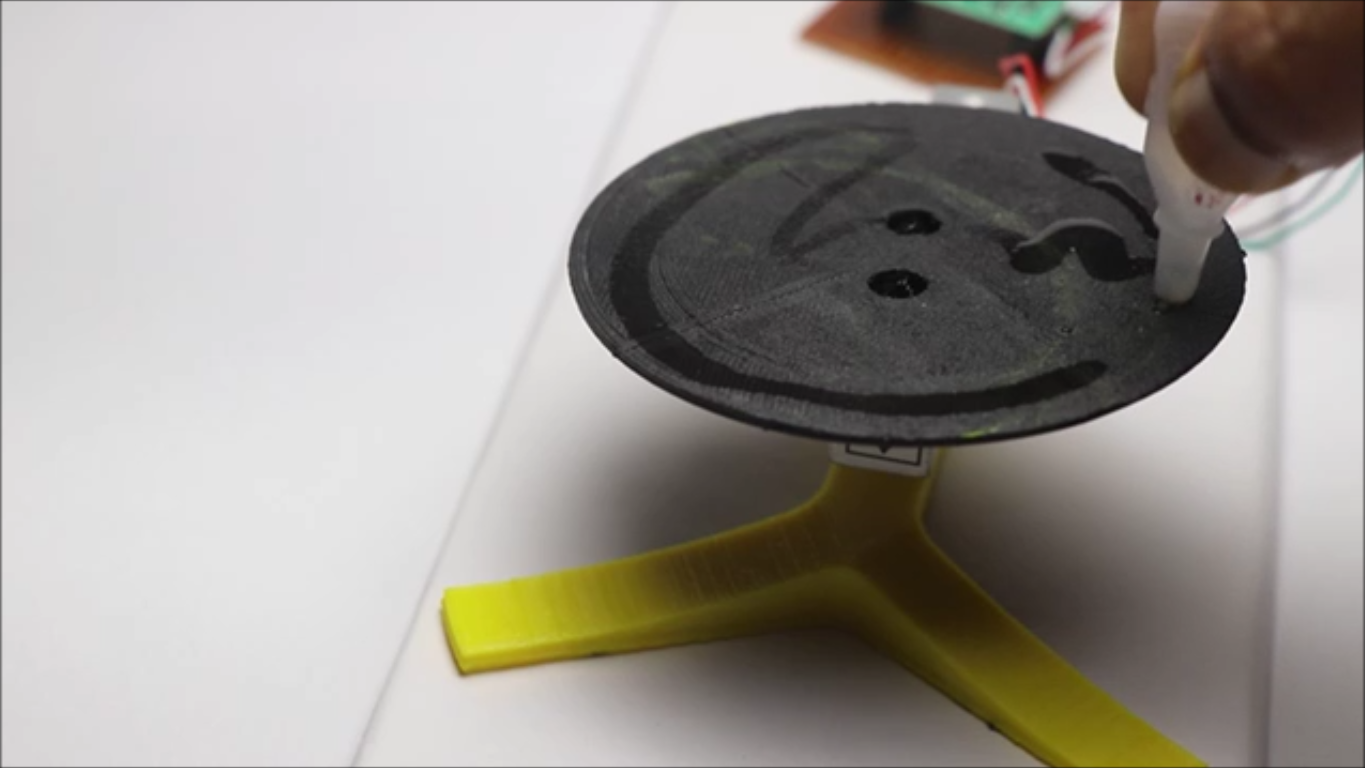
The lid that i had had minor imperfections at the top part while 3d printing, So to cover this up i printed a circular disc again and using superglue i kept this layer over the top part.
You may be wondering why i have 2 small cavities at the center, This is for holding the circular objects with curves like for example beads.
Make sure all the plates are aligned so that we get the accurate results, In the end you can find ways to hide the wires so as to make your project look more attractive.
How to Use


Finally we are here and being a builder for many years one of the best feeling is to watch the project i build in action.
I will be powering this weighing scale using USB power source from a power bank, Just connect to uno board and the display shows some welcome messages.
Allow some time so that the LCD shows 0 and nw place the objects whose weight you want to measure.
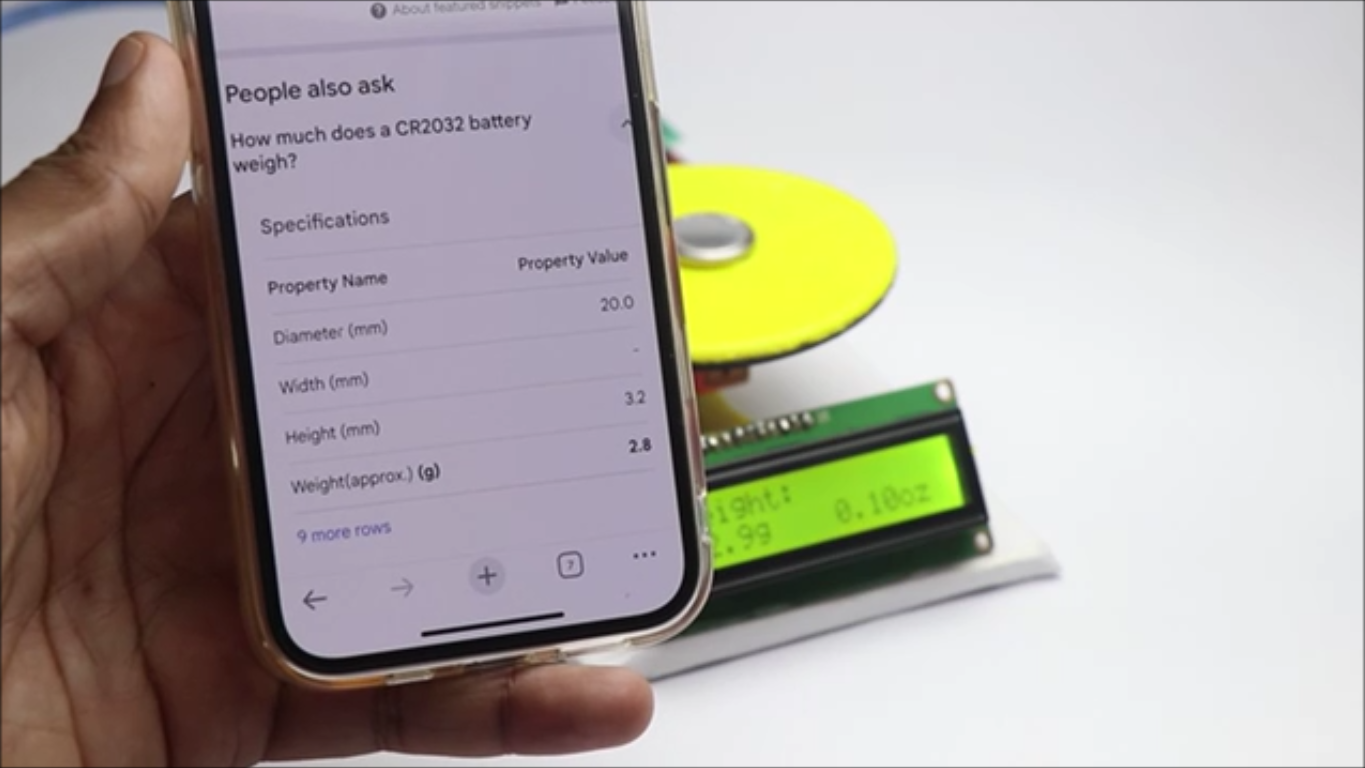
To confirm if everything is working fine i placed the object whose weight was already known, I kept gold ring whose weight was known so in this was i was able to calibrate to correct value.
Then again i started placing objects that i found around me and cross checked its actual weight.
To my surprise this device gave me great results and i would recommend you to make this if you do not have a scale at your house.
This project is pretty much interesting since we are using this later for practical applications.
I hope you will make this and like i said in the beginning consider watching the build tutorial and also the working video given on this step.
Thank you and let me know how it went for you and post your build on the i made it section.