DIY Wooden Laptop Stand
by nmbwoodworks in Workshop > Woodworking
15433 Views, 139 Favorites, 0 Comments
DIY Wooden Laptop Stand
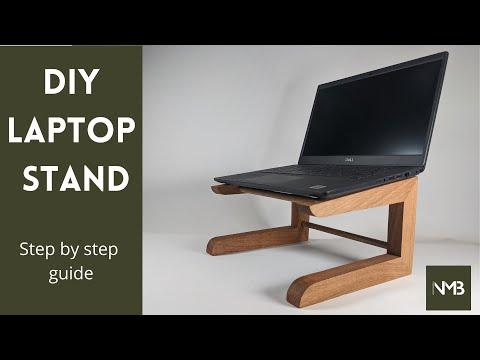
I got tired of having my laptop perched on top of cardboard boxes to get the screen and camera at a decent height so I decided to make myself a laptop stand from some left over oak I had in the workshop. Its a really easy project and you don't need an awful lot of tools to do it.
Follow these steps and check out the video if you want to see me doing it.
Supplies
Materials:
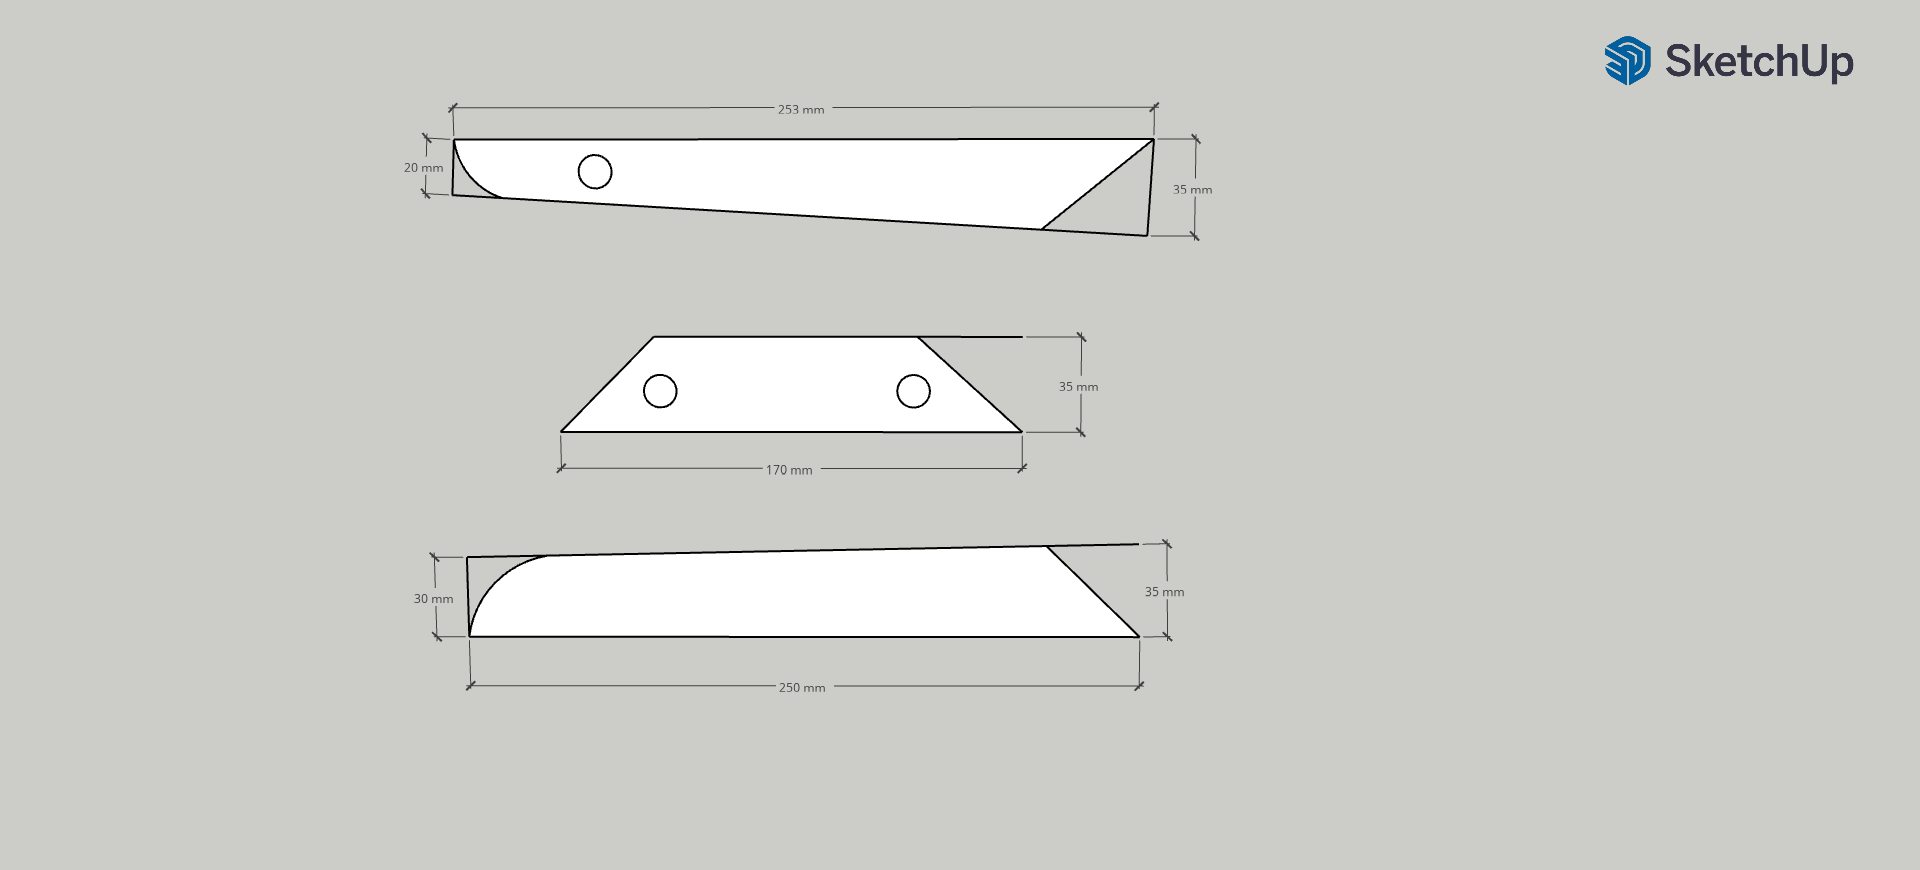
- Wood - I used oak but you can do this with pretty much anything. I'd suggest you want it to be at least 18mm thick though to make this stable. See the next step for a drawing of what you need to cut.
- Dowels - I used 12mm oak dowels for this, but again, you could use any wood or even metal if you felt adventurous. The length of the dowels is very much dependent on the size of your laptop. for me, each of these was 260mm long. You'll need 3
- Glue - Some wood glue is needed to stick it all together. I used Gorilla wood glue but any will do
- Wood finish - I use a mineral oil and beeswax blend but any wood oil would work
Tools
- Ruler and pencil for marking up (and a washer for drawing curves)
- A saw - A bandsaw is ideal for this but you can do it with a jigsaw or even a hand saw if you're patient
- A drill - plus a drill bit the same size as your dowels
- Sanders - I used a triton bench sander and a random orbit sander but you could do this with whatever you have, hand sanding would work.
- A screwdriver - Doesn't have to be powered, there are only 2 screws to put in
- Some clamps will make your life easier but you could probably make it work without
Measure and Markup Your Pieces
.png)
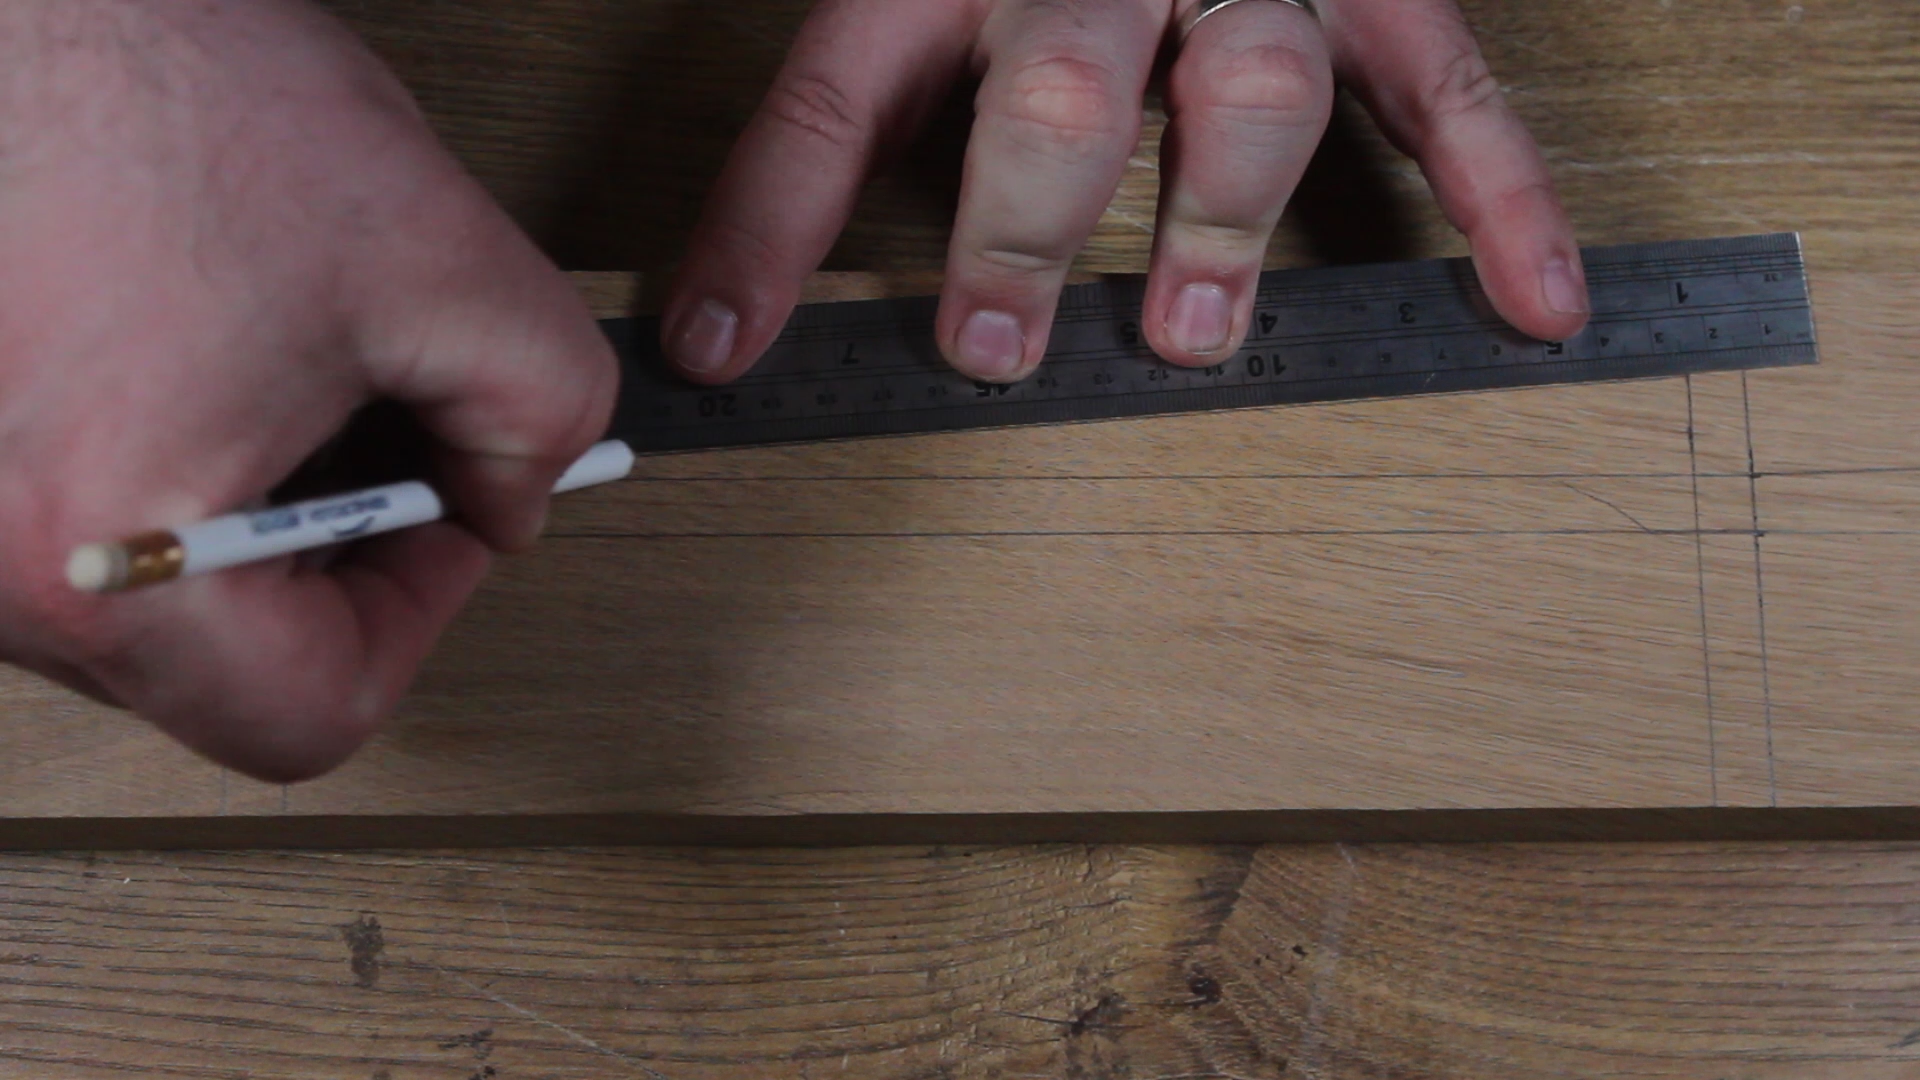
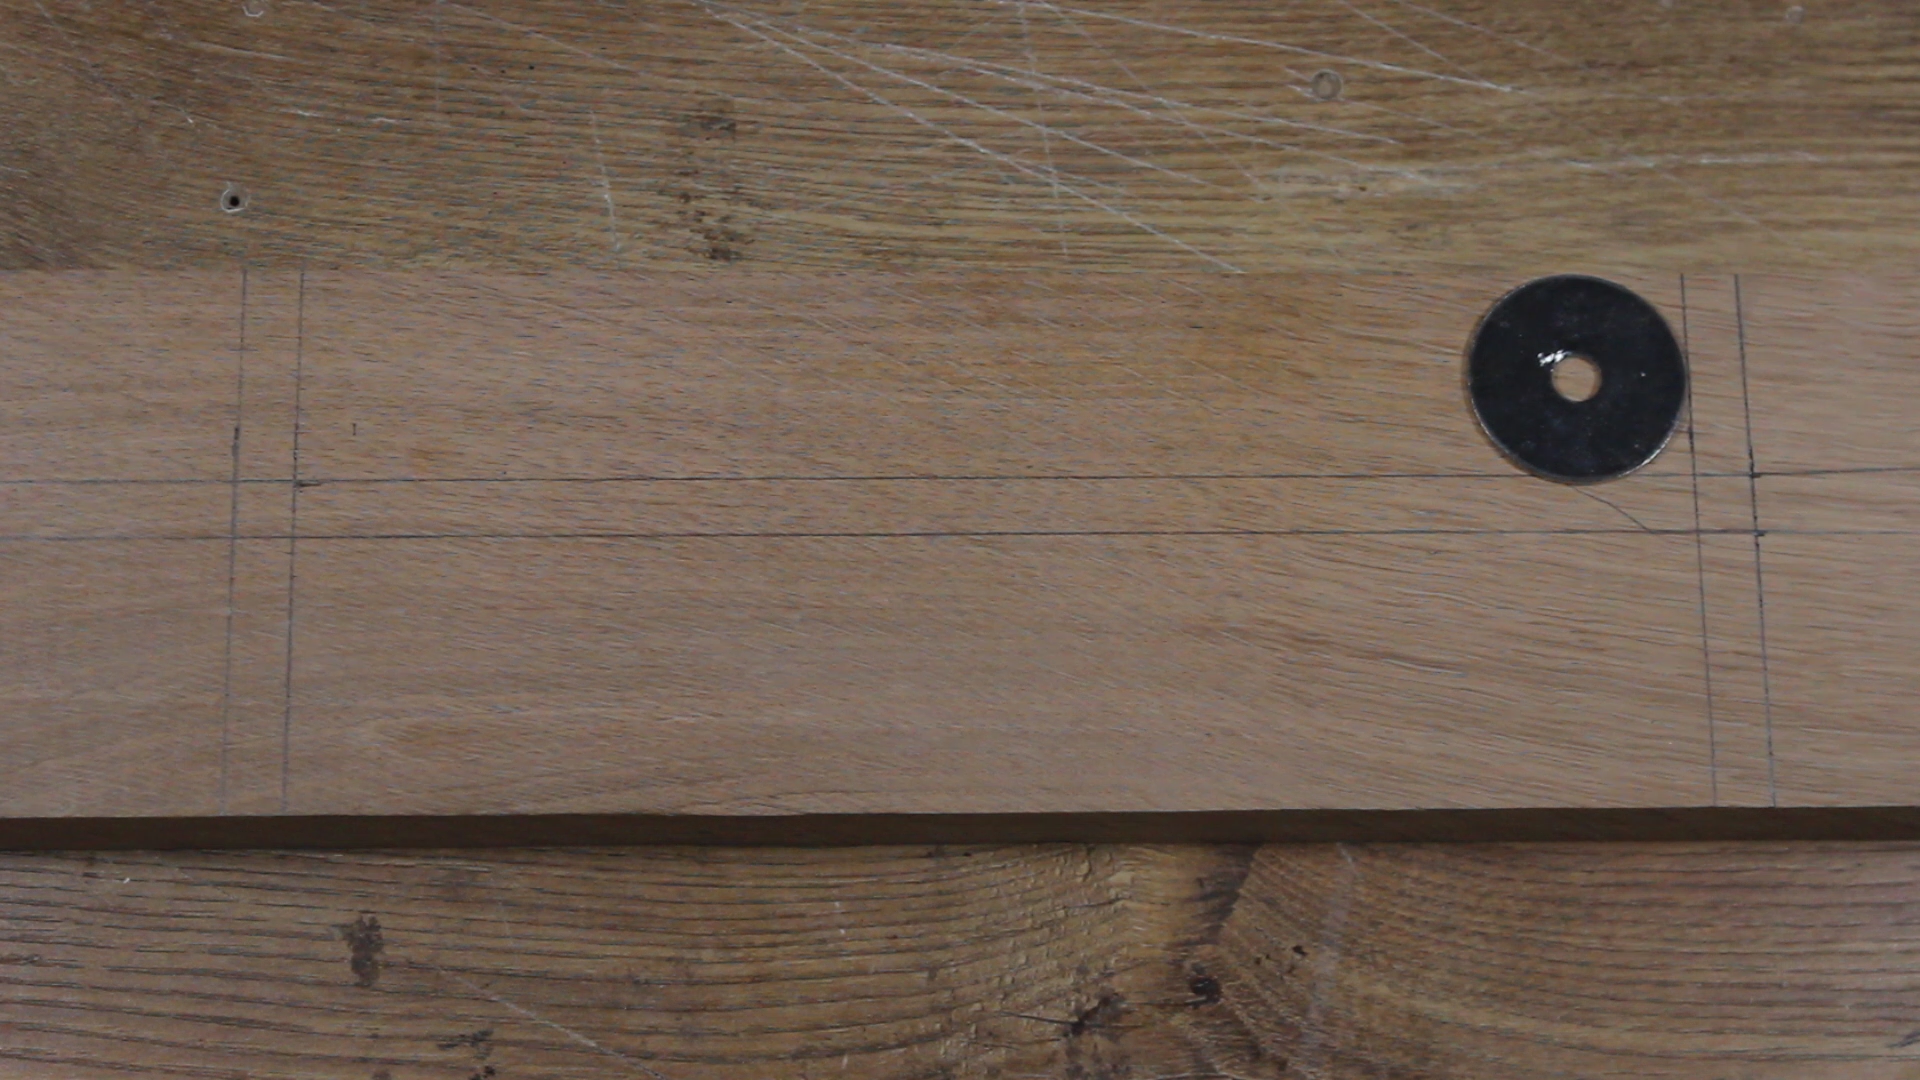
The first step is to mark up the pieces you need to cut out. To start with, we are only going to cut a single version of each piece. This means that we can use the first side as a template for the second.
Cut the pieces out of your wood as per the measurements but don't worry about the diagonal cuts for the joins at the moment. We'll also get to drilling the holes later so just ignore those for now.
Wood wise, I am using a 28mm thick piece of Oak I had left over from another project but you can use whatever you have. I'd suggest for stability, don't go much thinner than 18mm but it doesn't have to be anything fancy.
Cut Out Your Pieces
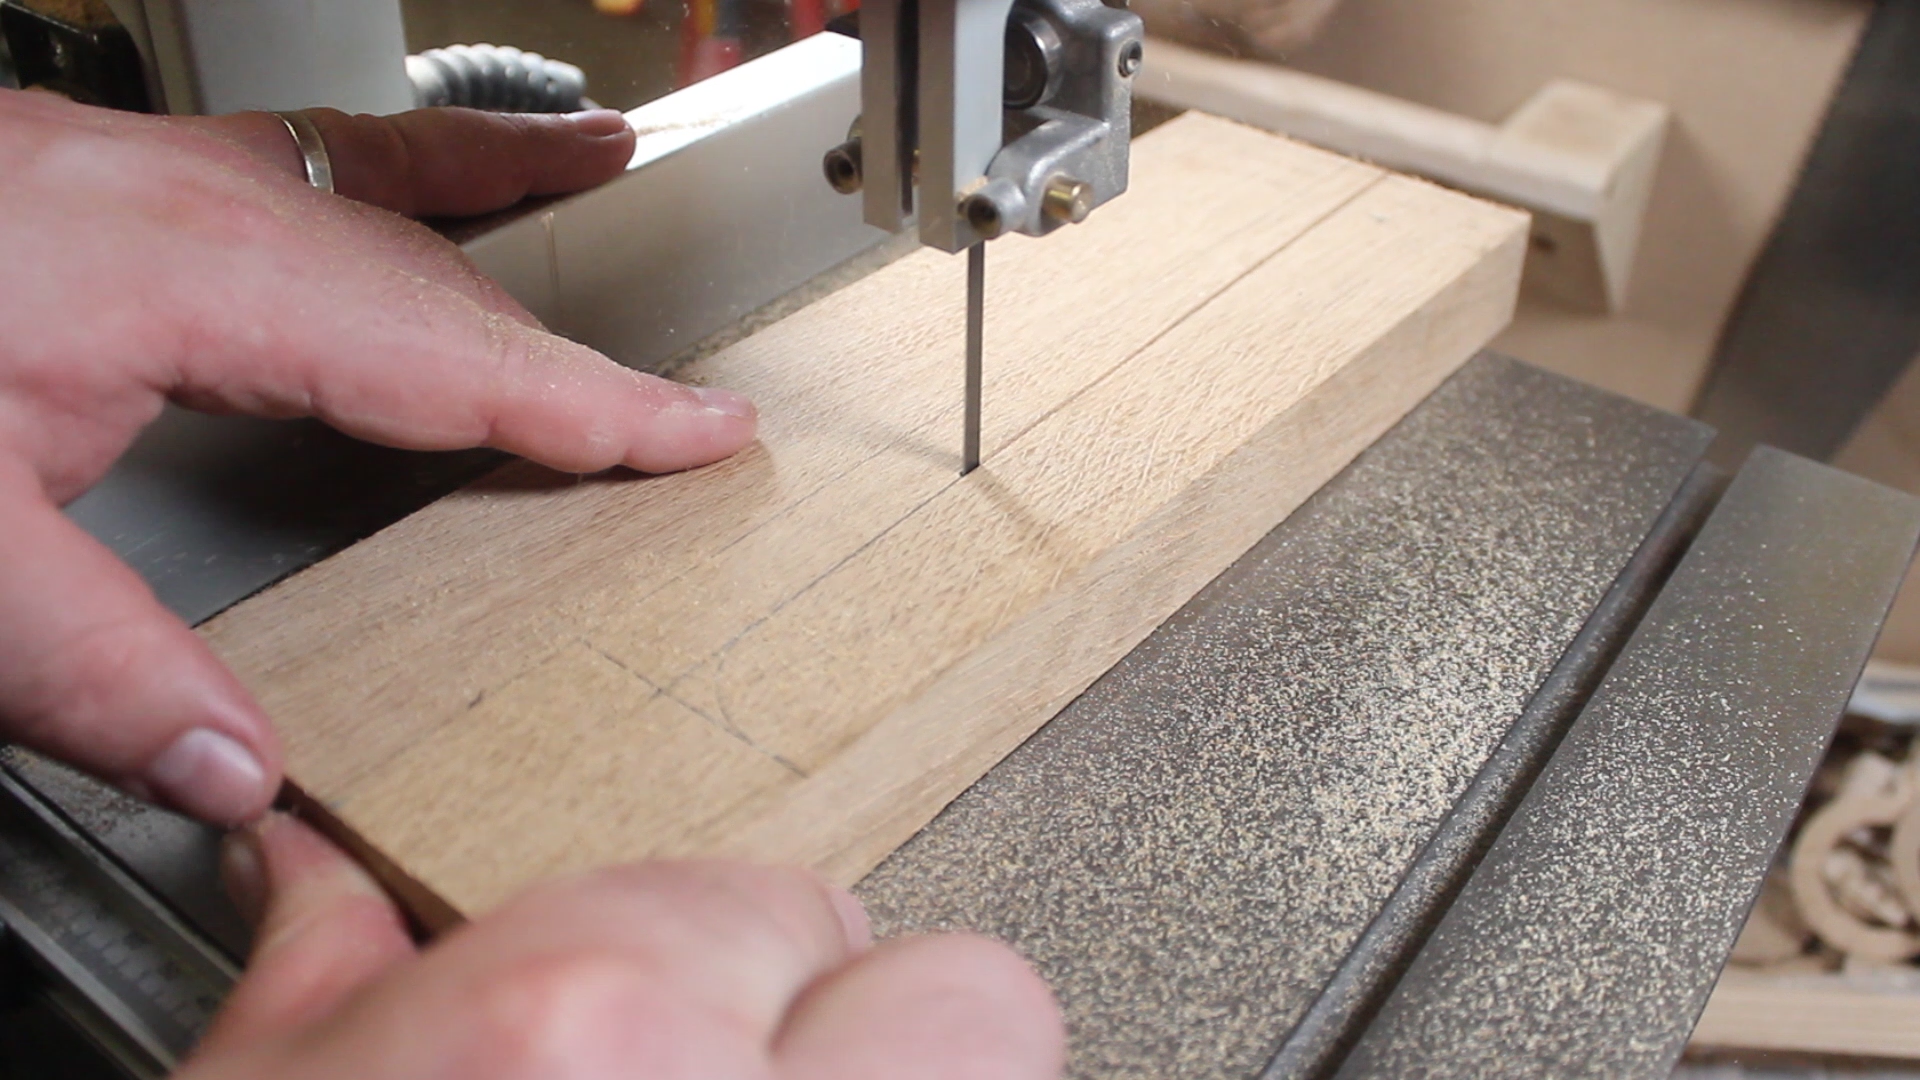
Next its time to cut these three pieces out. I used a bandsaw to do this as I have one available but there is no reason you couldn't do this with a jigsaw or even a handsaw and some patience.
I deliberately cut just outside the line as it means I can finish it up with the sander. This helps ensure I wont have any saw marks left but also allows for the fact I cant cut it out perfectly on the bandsaw.
Work Out the Angles
.png)
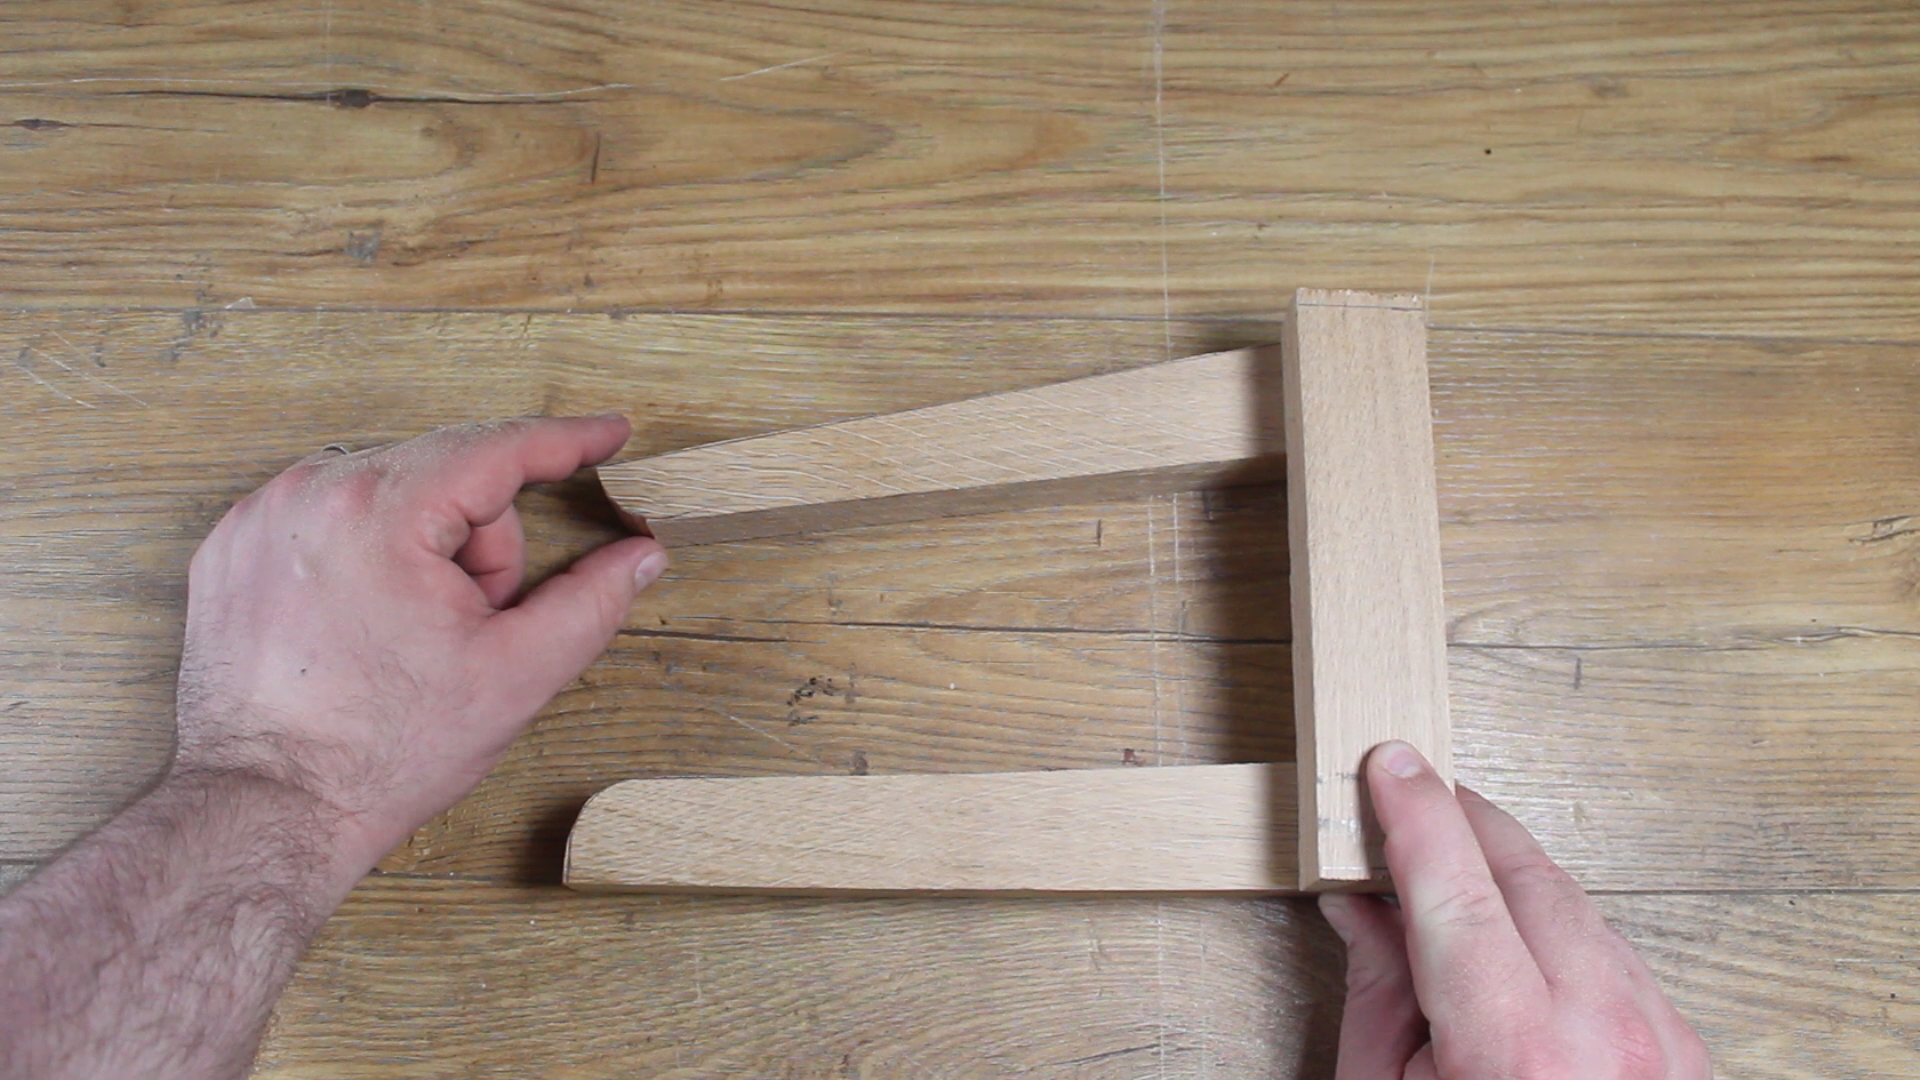
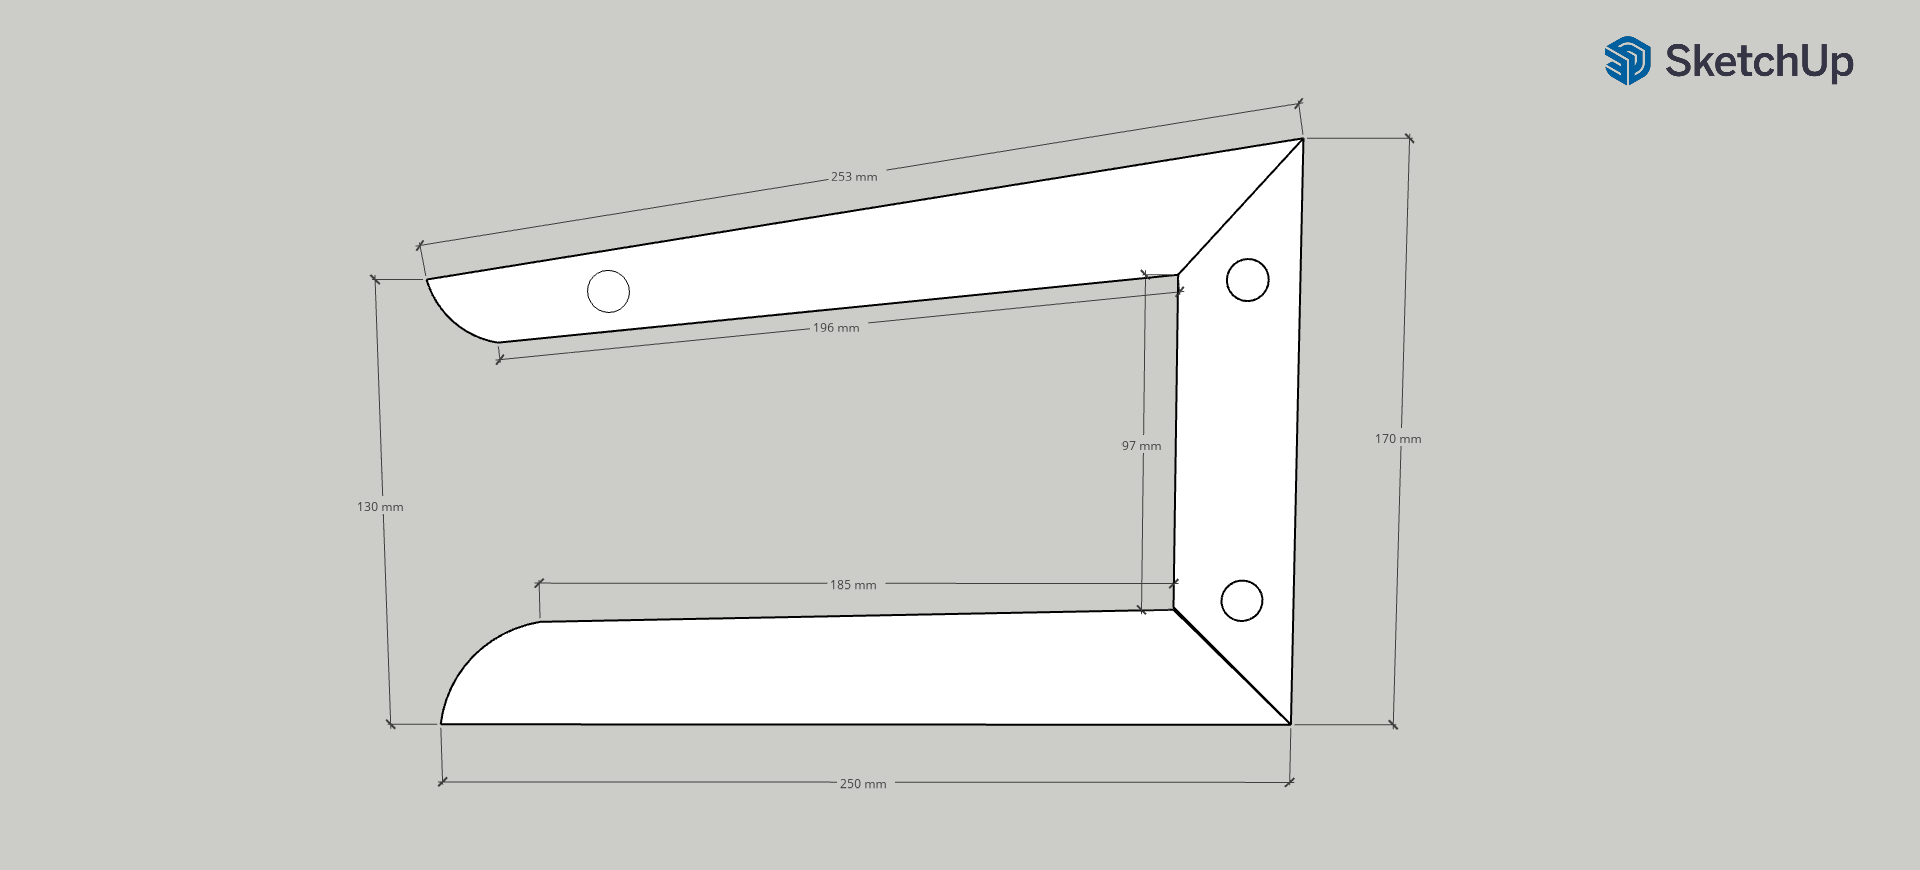
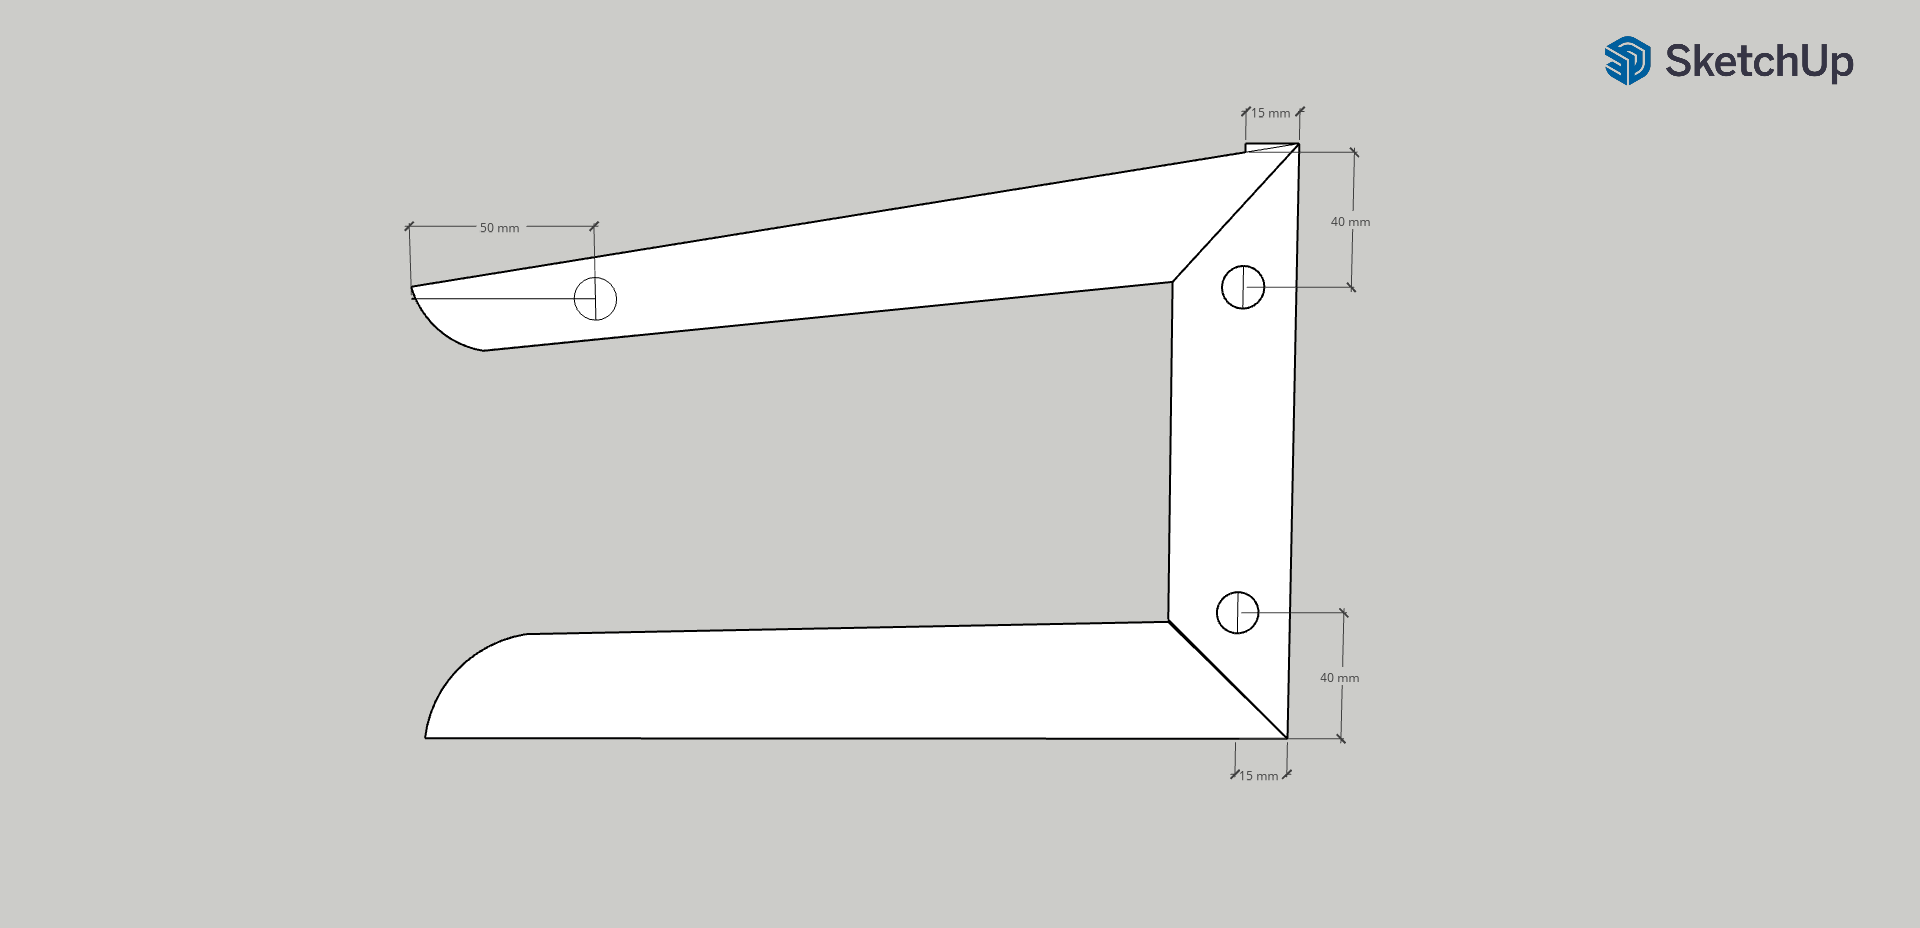
Whilst you could spend a load of time with protractors etc trying to get exact angles etc. I found the easiest was to lay the pieces out as per this picture and then adjust them till I was happy. Its a lot easier than doing the maths!!!
The plan drawing here shows the spacing I ended up with but this doesn't have to match exactly.
Be careful of ending up with too much of a slope on your top piece as the laptop needs to stay in place and not slide off!
Once you have worked out the angles you like, use a pencil to mark up the intersecting points and therefore the angles to cut at. (if this isn't clear, watching the video may help)
Go ahead and cut those angles using your saw
Sanding Round 1

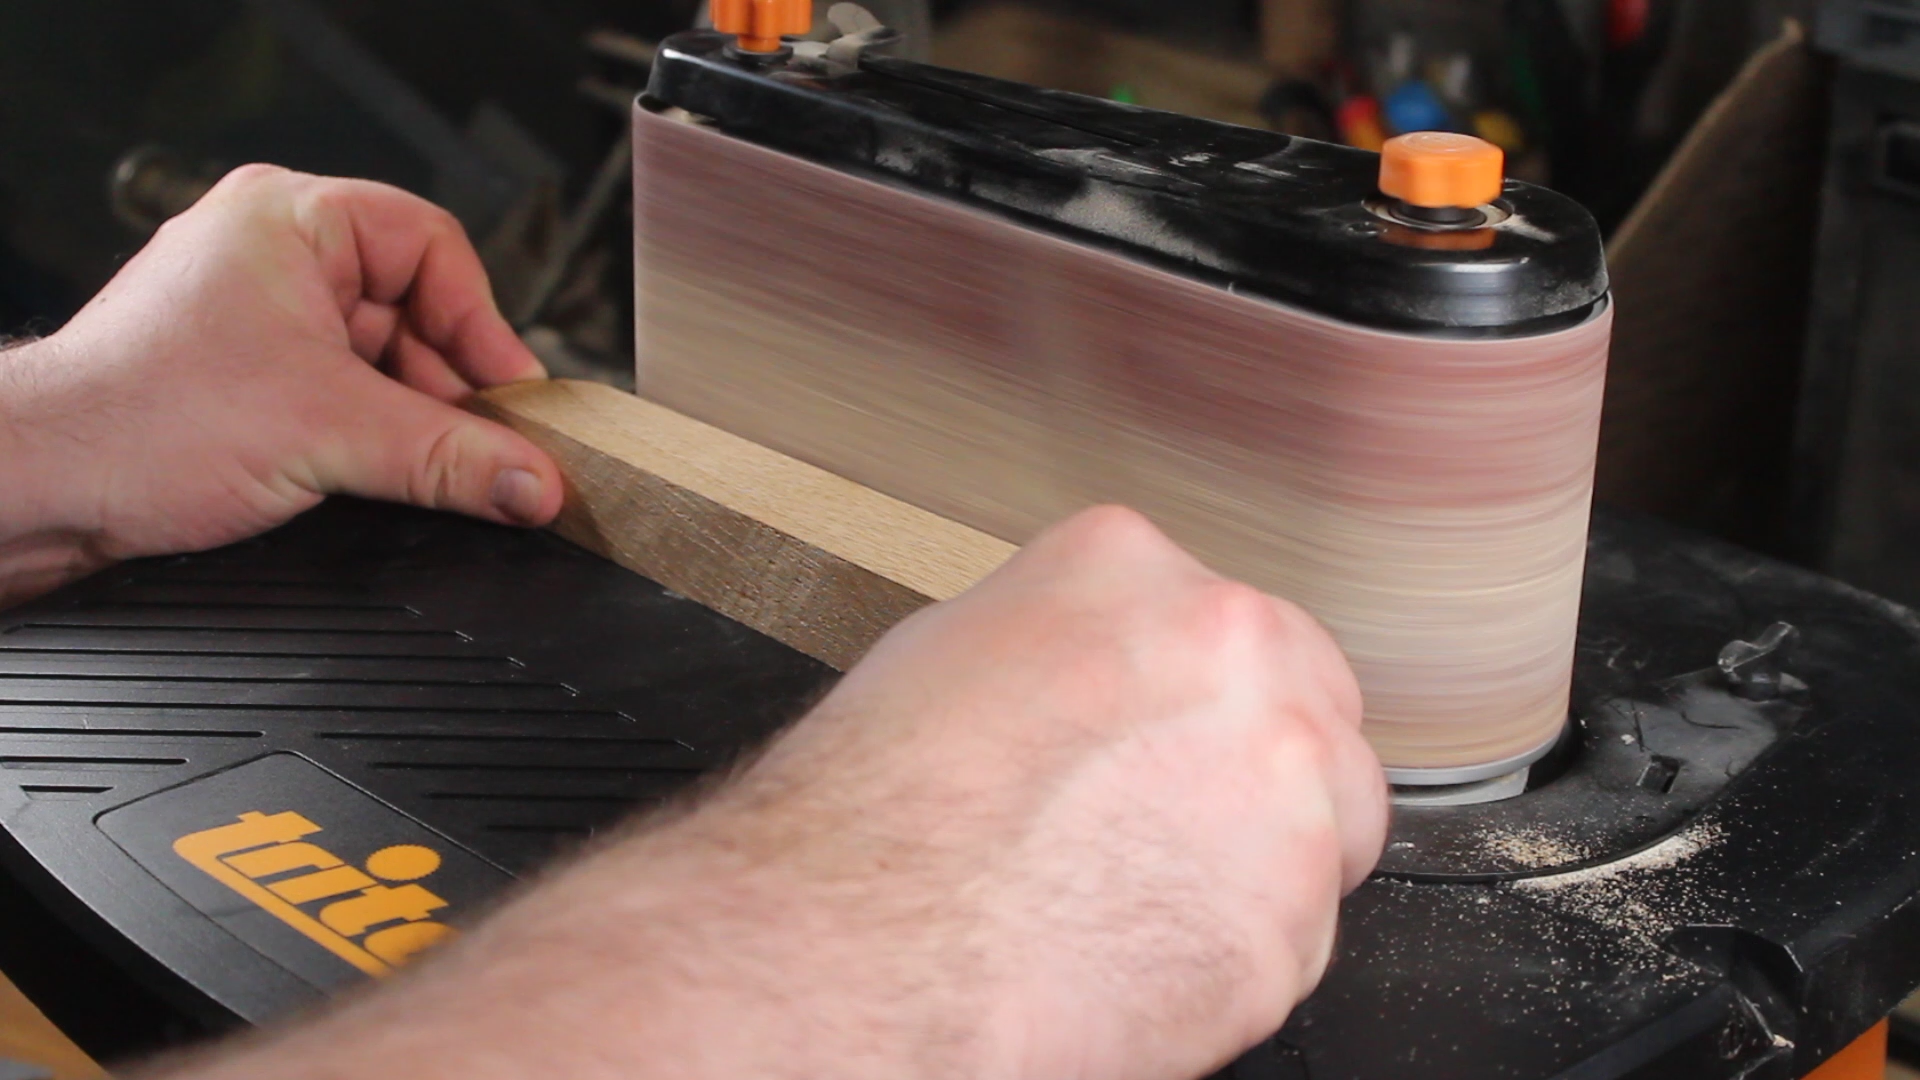
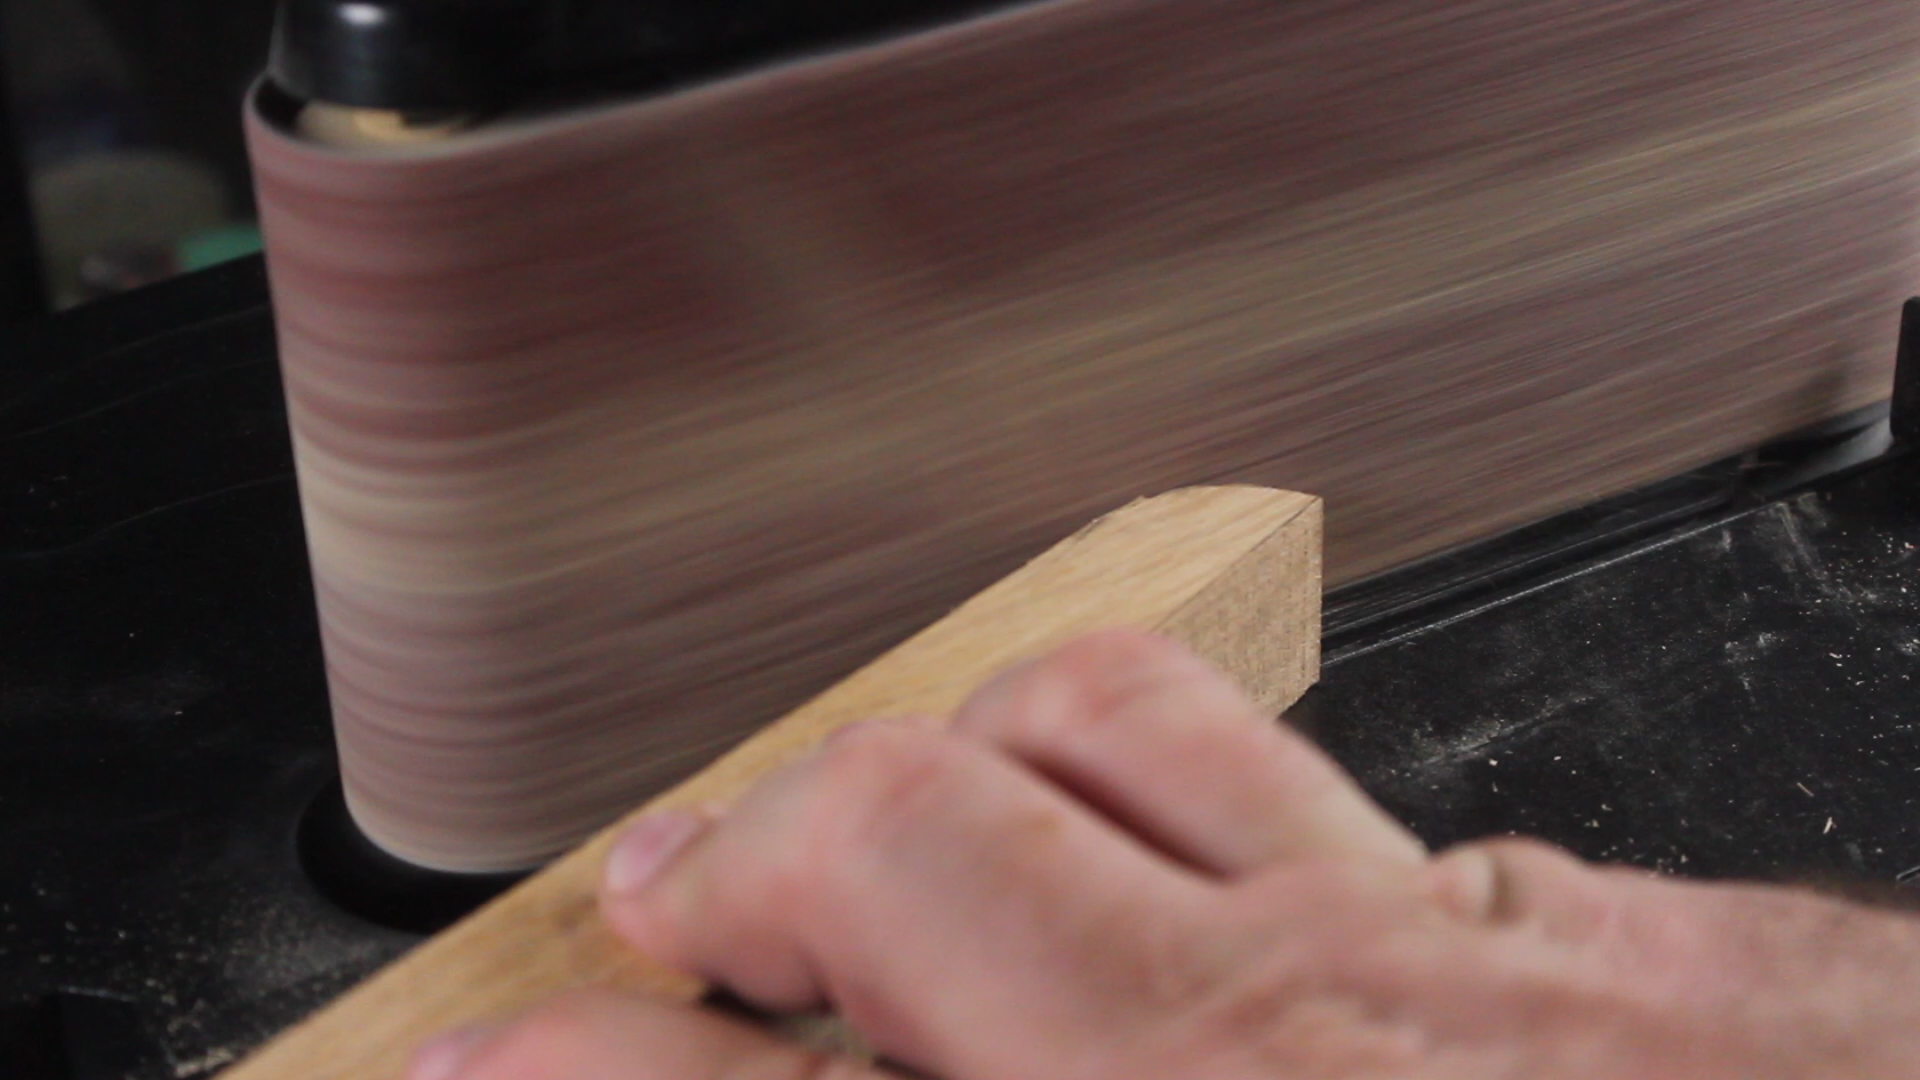
You now need to sand the 3 pieces to make sure they are exactly as you want them. Take time to get curves nice and edges flat as the pieces will be the template for your second side.
I used a Triton sander for this but you can do this with any kind of sander you have and if need be, go with some sandpaper and elbow grease.
This is also a good opportunity to use the sander to make sure all of your mitres (angled joins) are flat and matching up correctly. You can use sanding to ensure a good fit with no gaps.
Duplicate to Create the Second Side
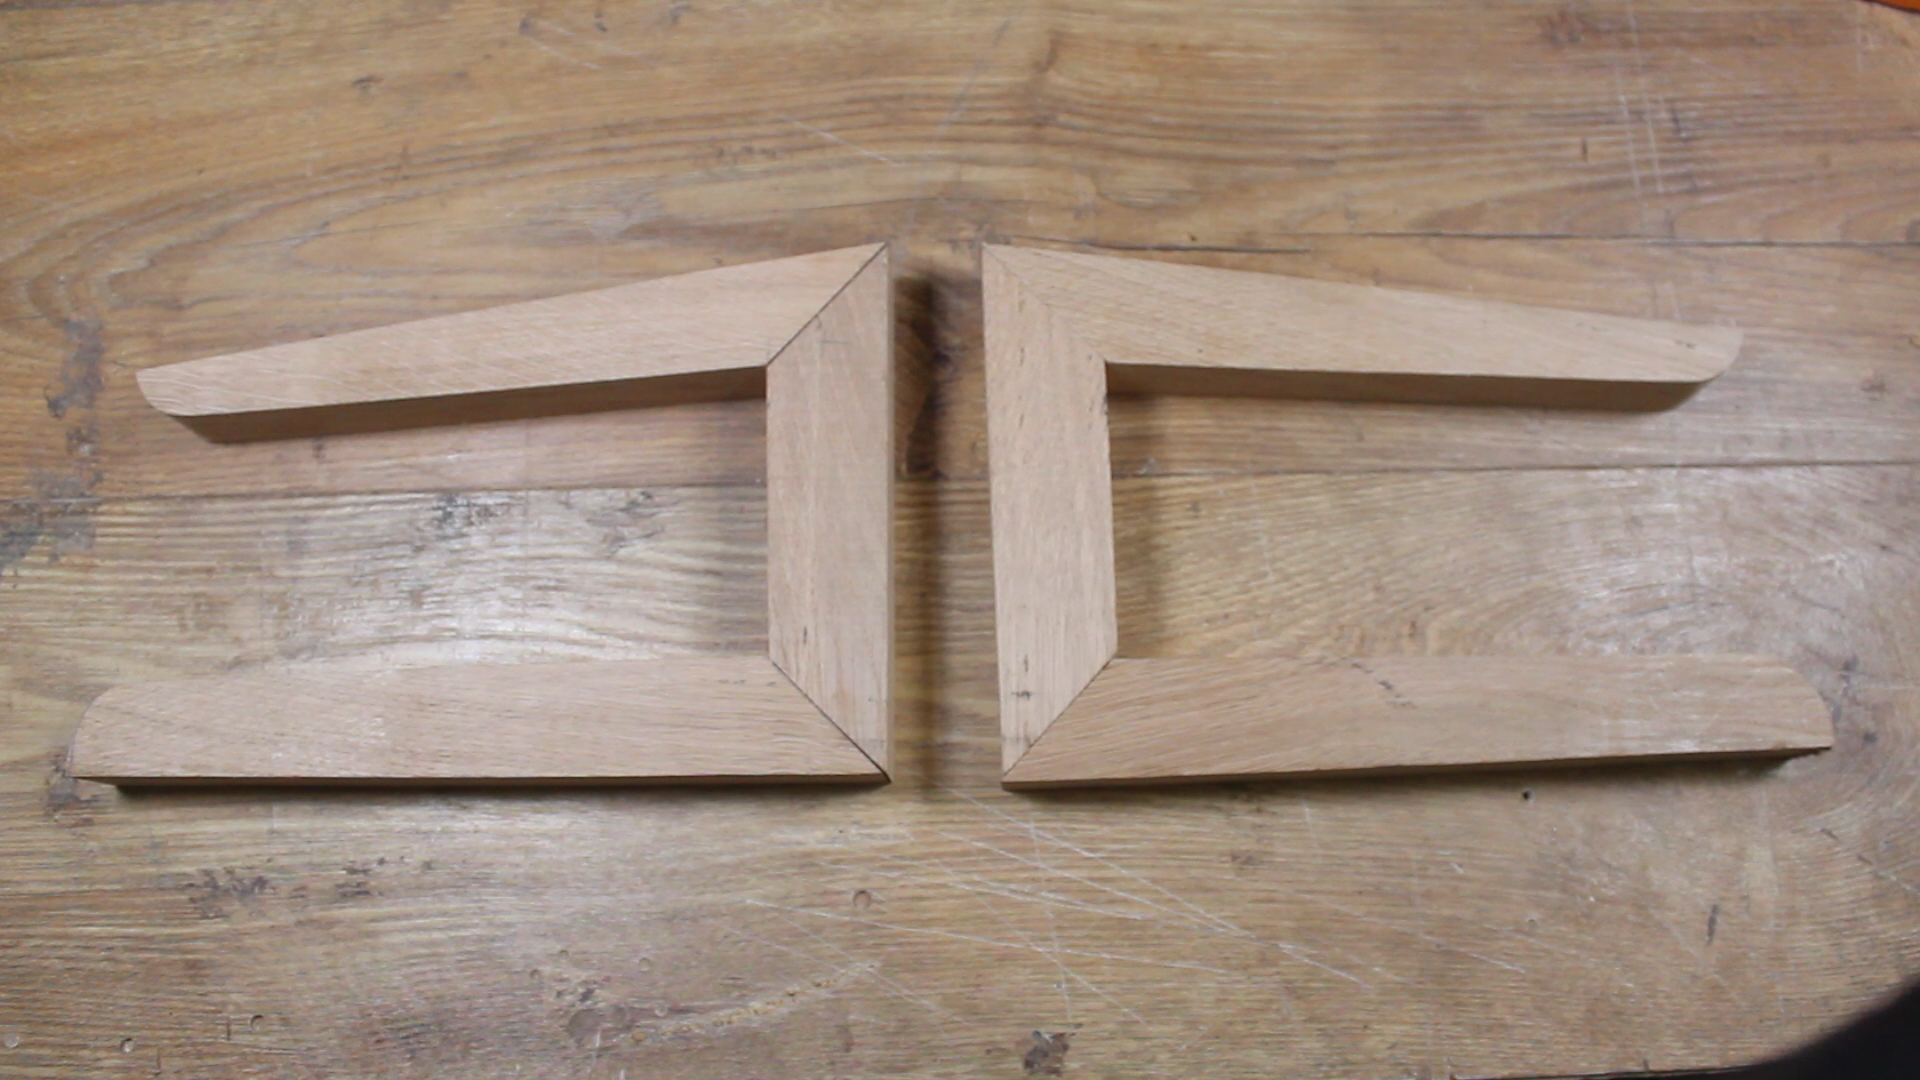
Now that you have the first side pieces the correct size and shape, use them as a template to create a second side. I'd suggest aiming to keep all the wood grain running in the same direction.
Glue and Screws
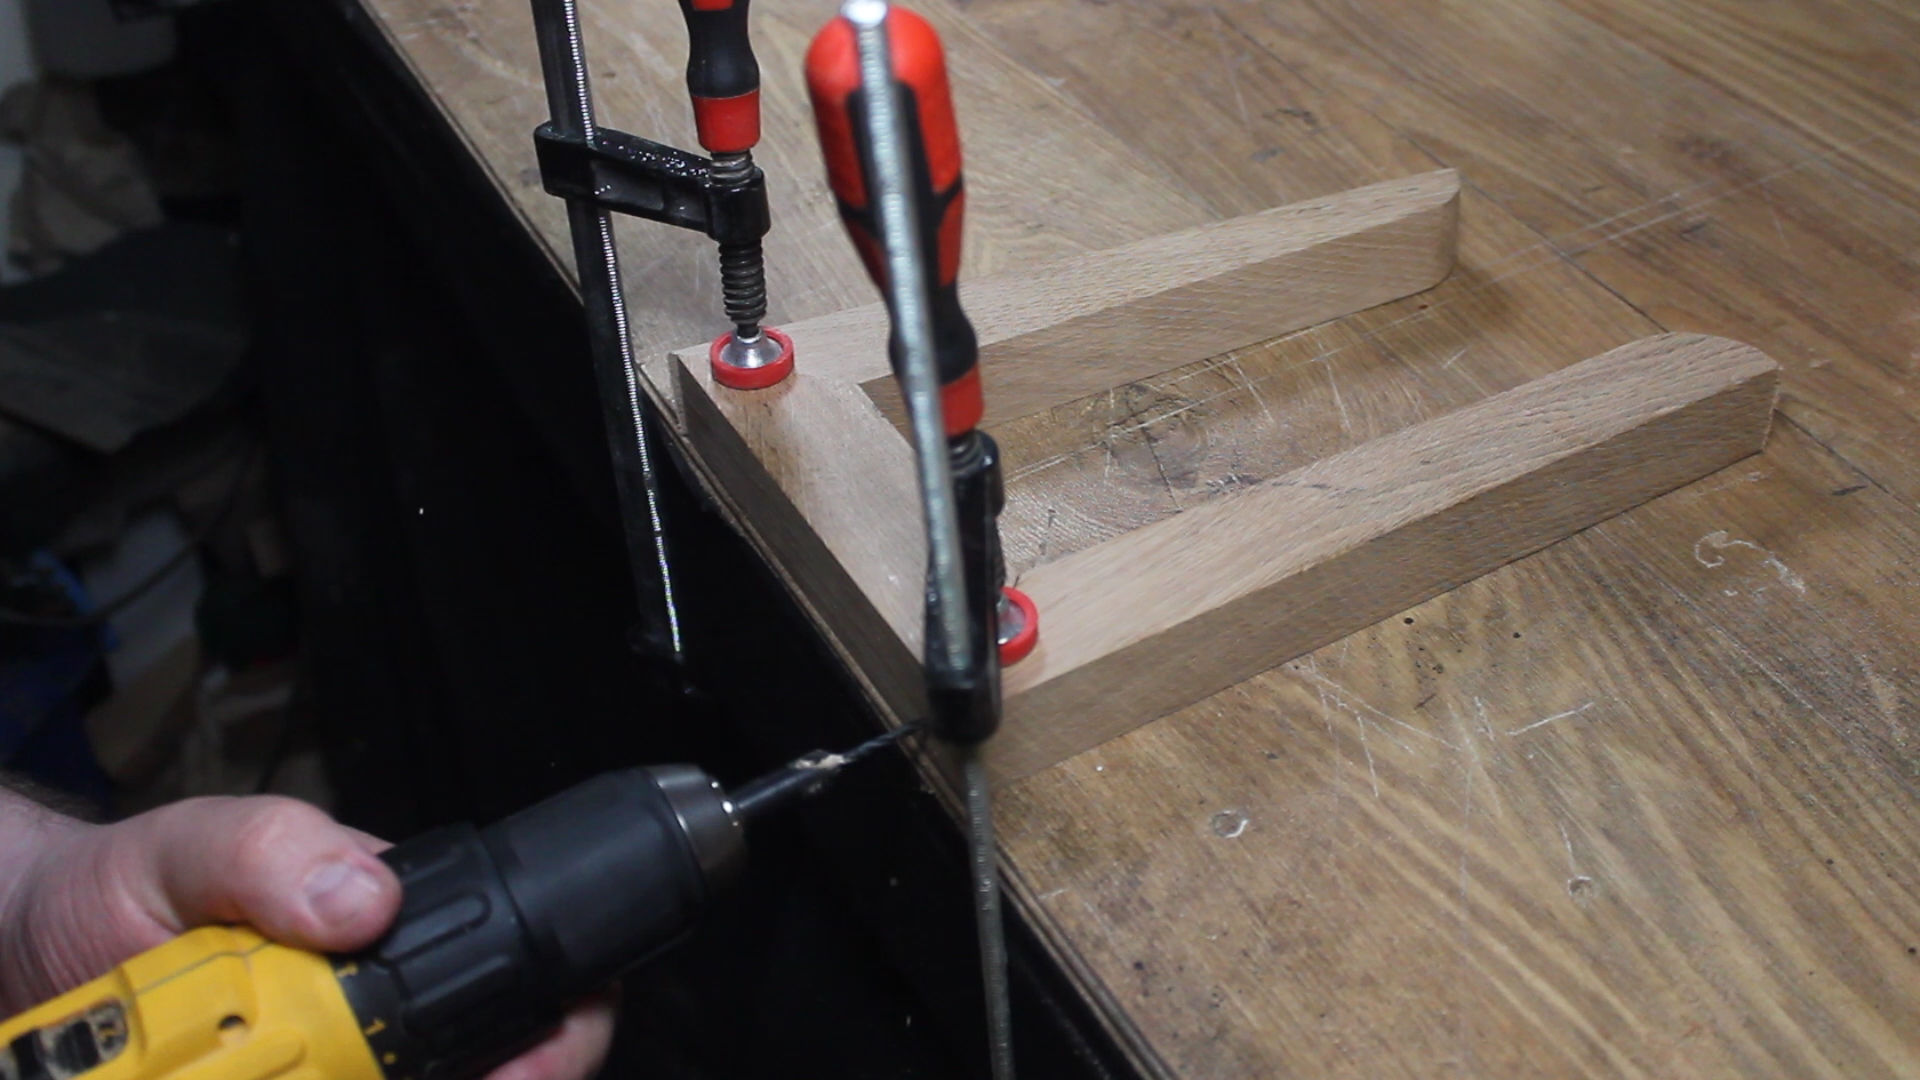
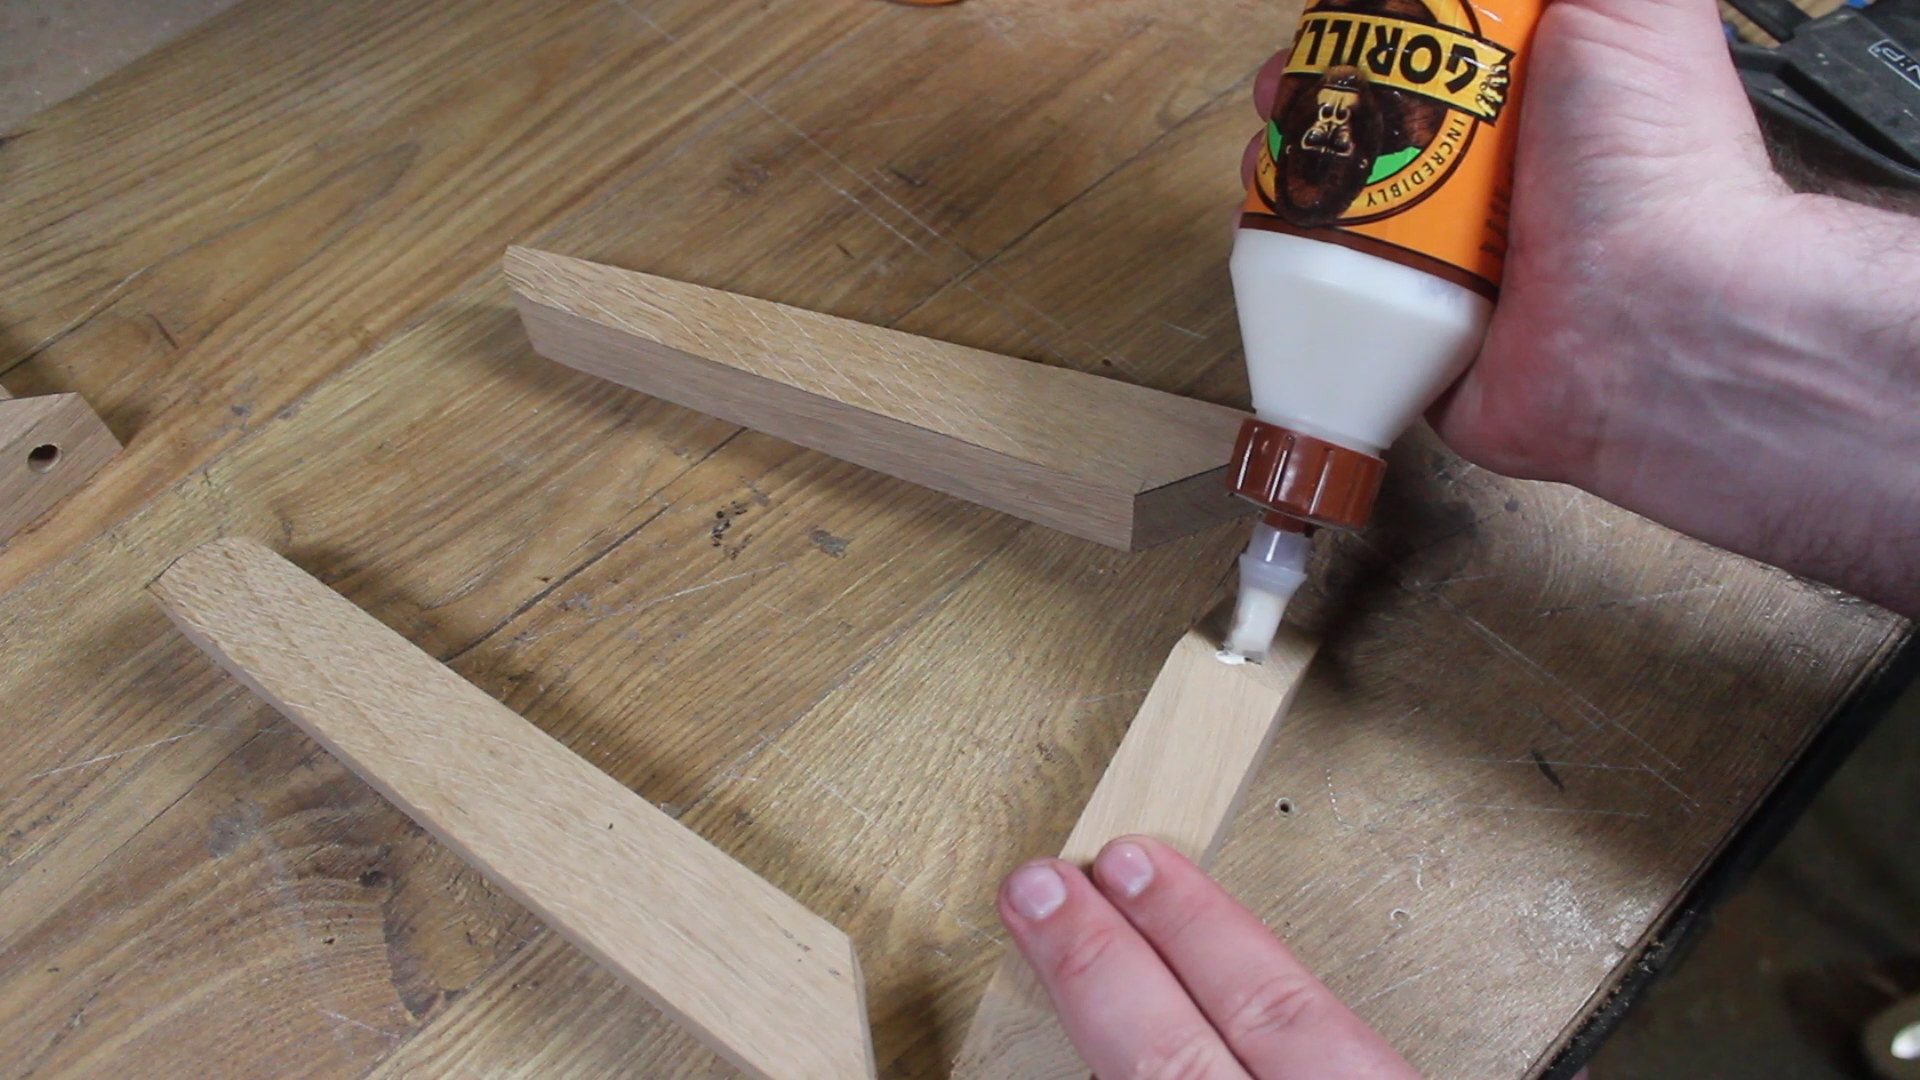
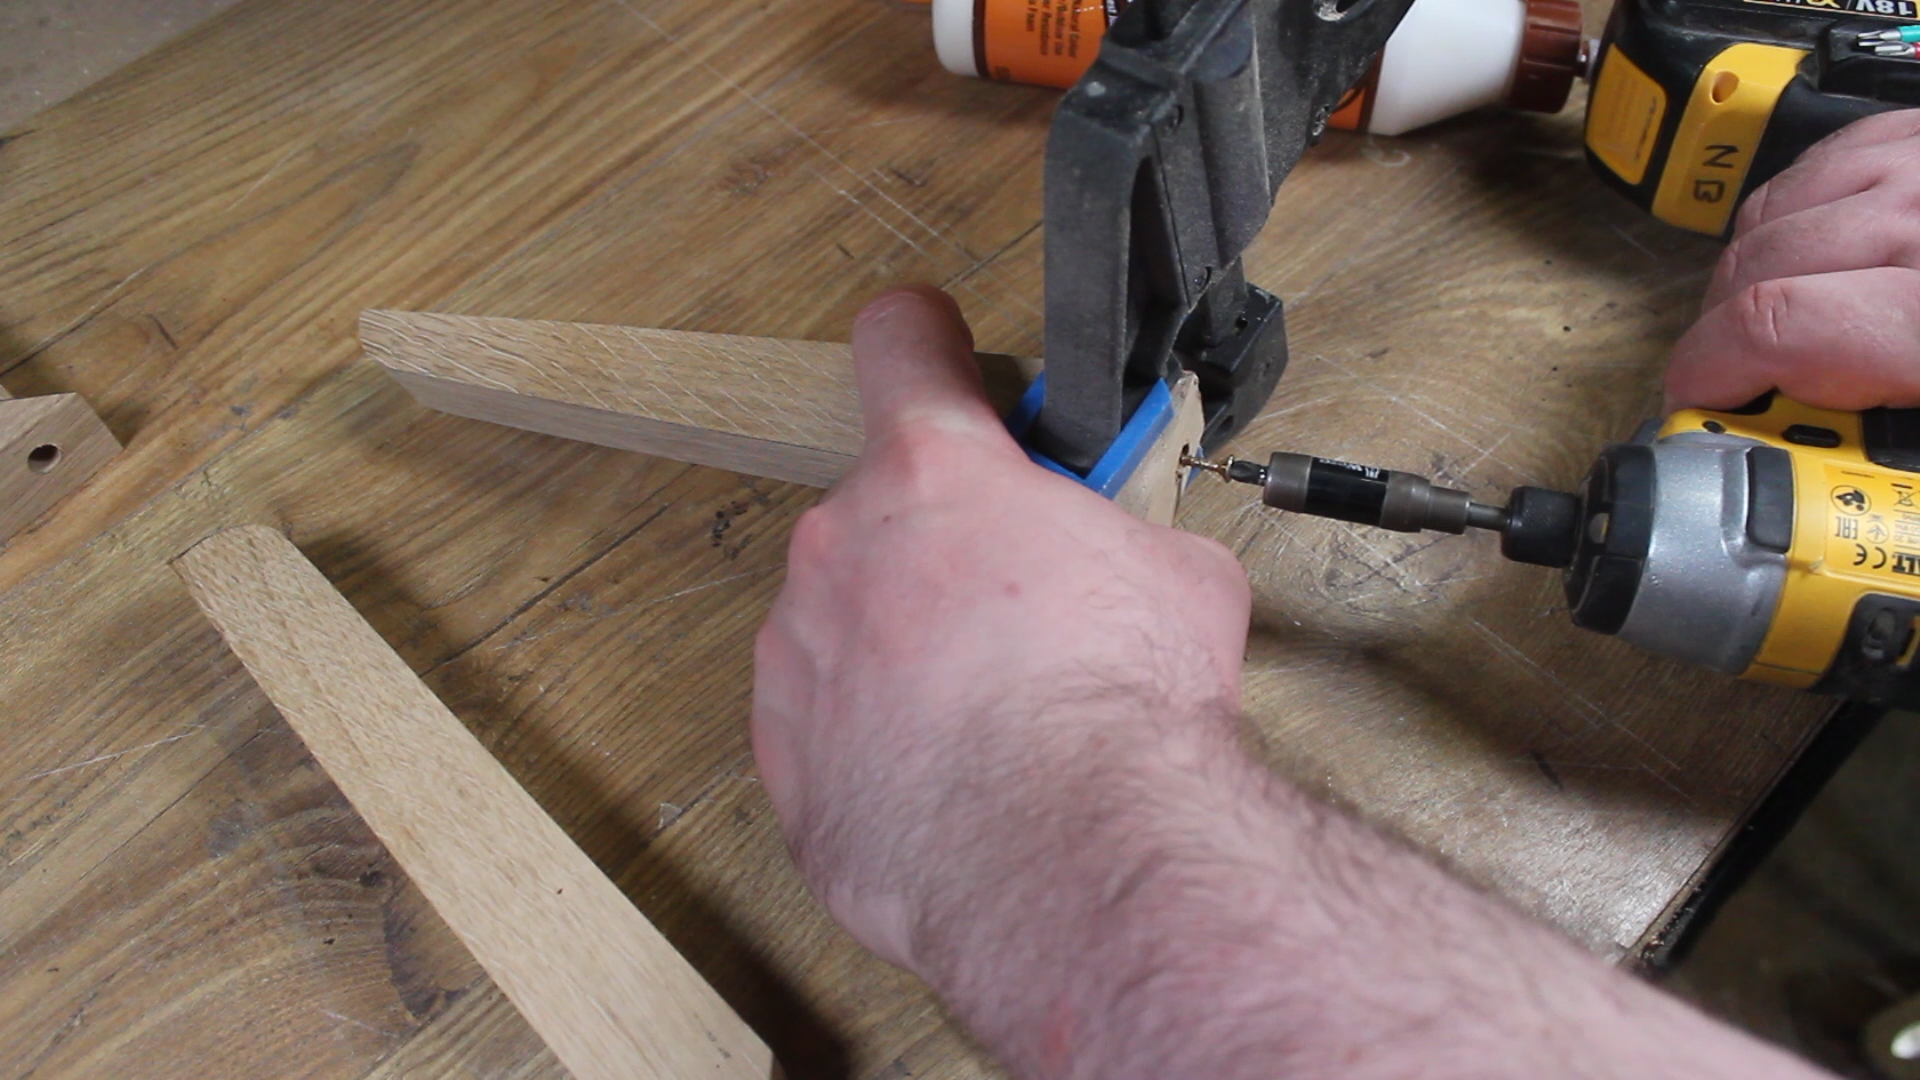
Using clamps to hold the pieces together, drill pilot holes for the screws. If you have a countersink pilot bit for your drill even better.
Use wood glue on the joining surfaces and then a clamp to hold the piece whilst you put in a screw. The clamp isn't entirely necessary but it will stop the wood spinning as you put the screw in and you're less likely to end up with damage to the joins.
As soon as the screws are in, you can remove the clamp as the screw will hold the join tight till the glue has dried.
Drill Holes for the Dowels
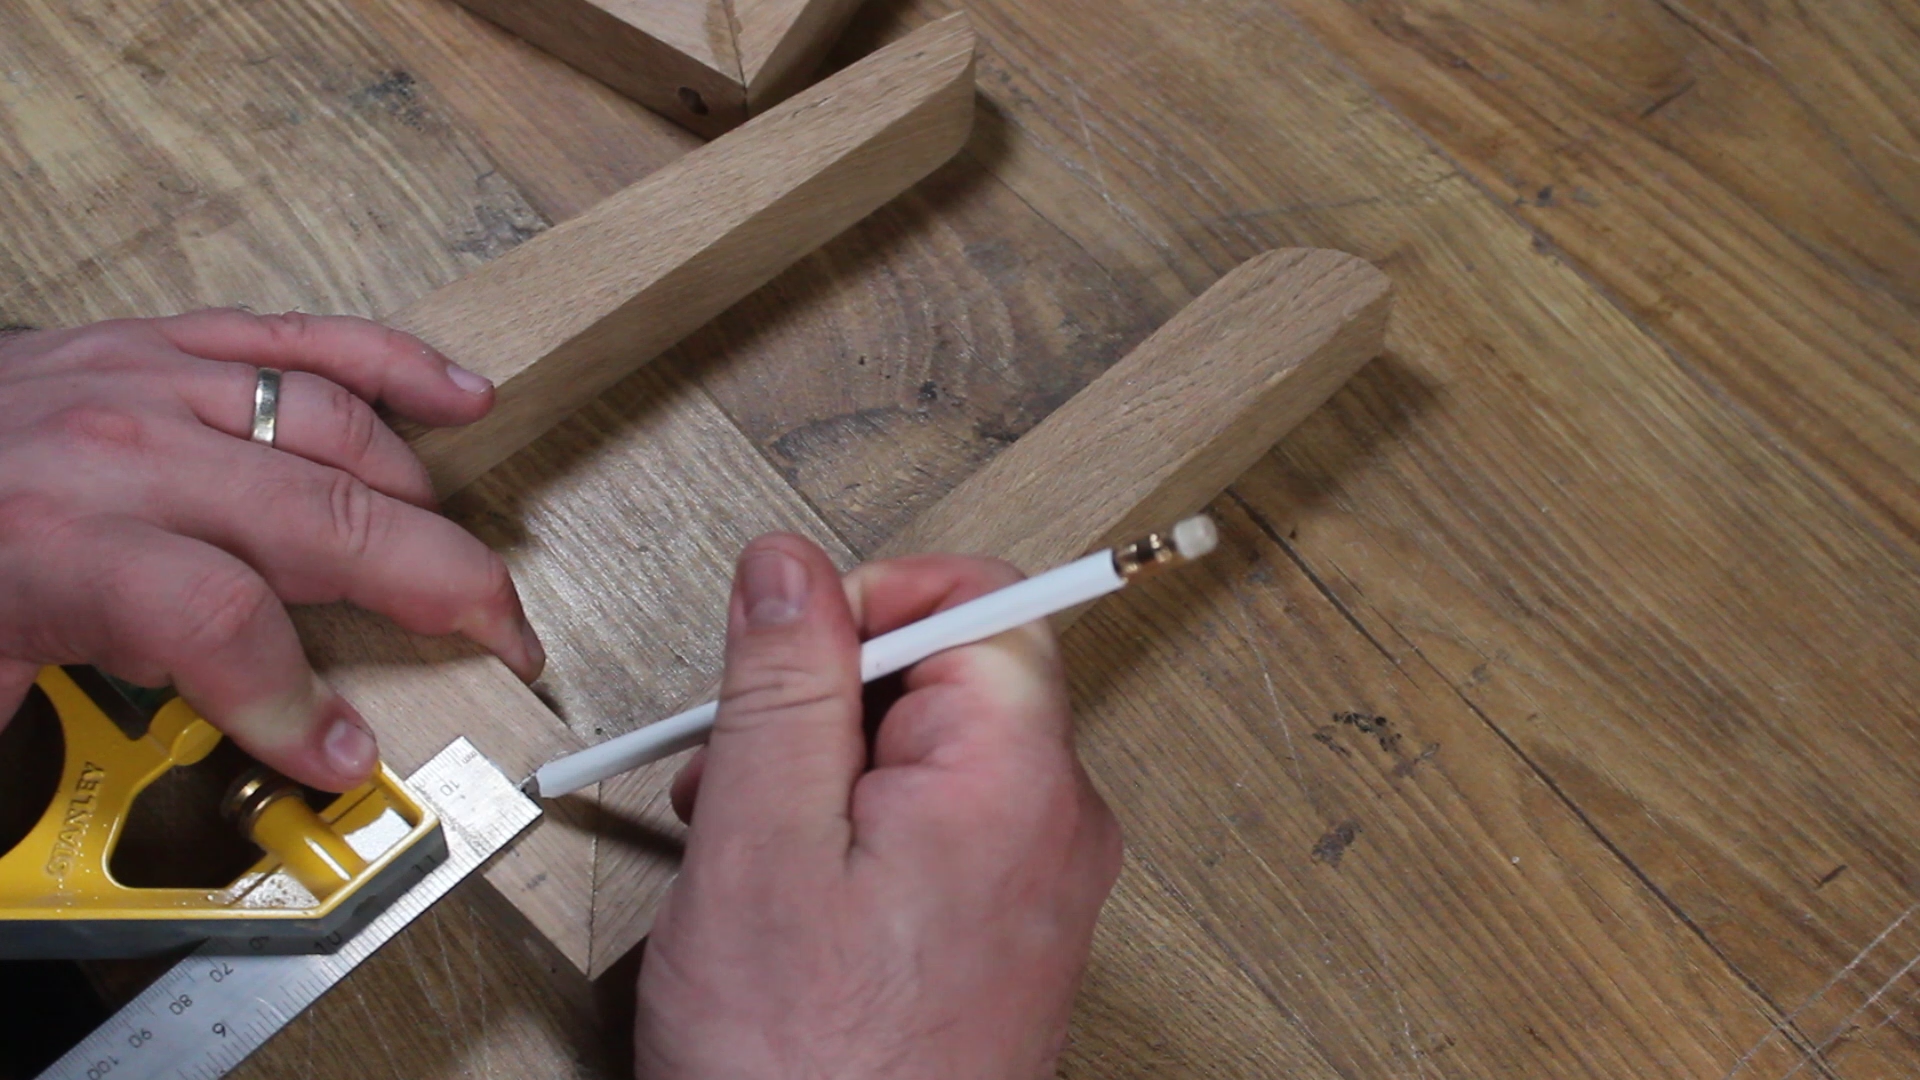
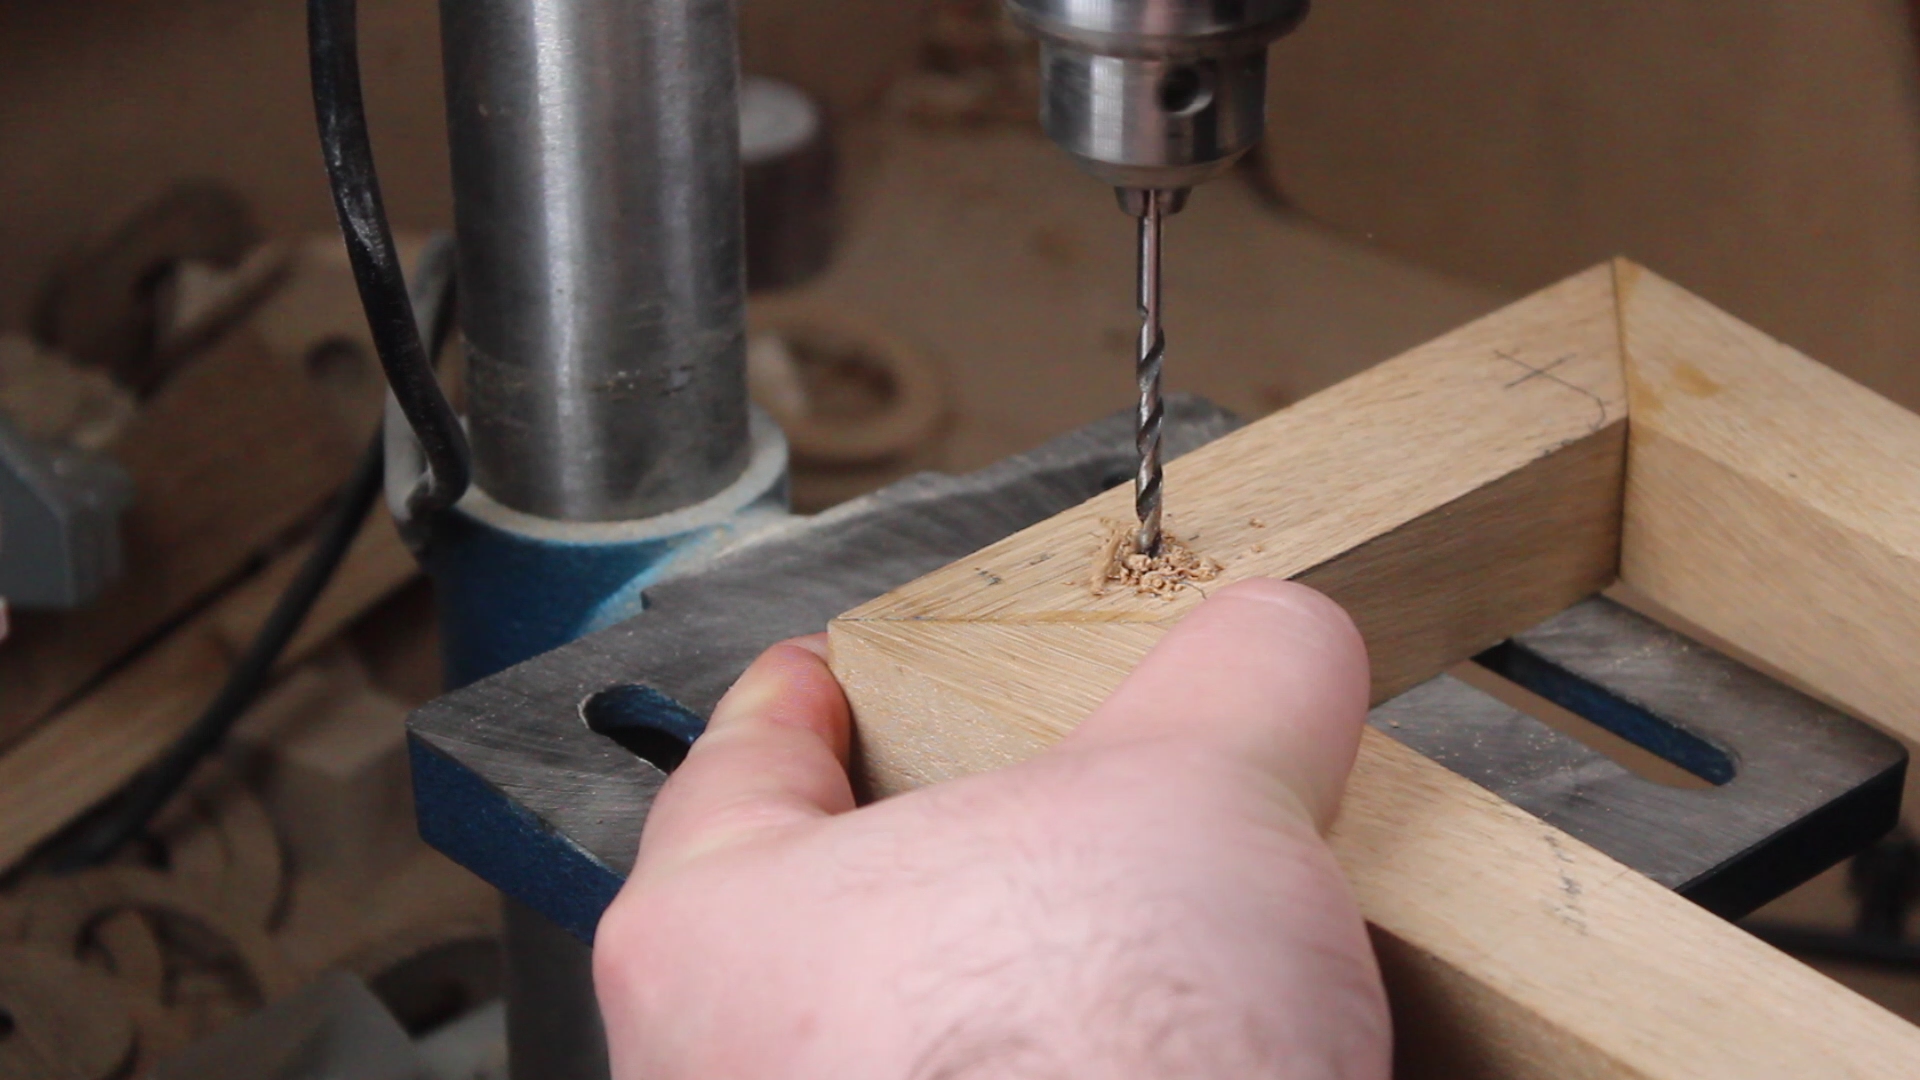
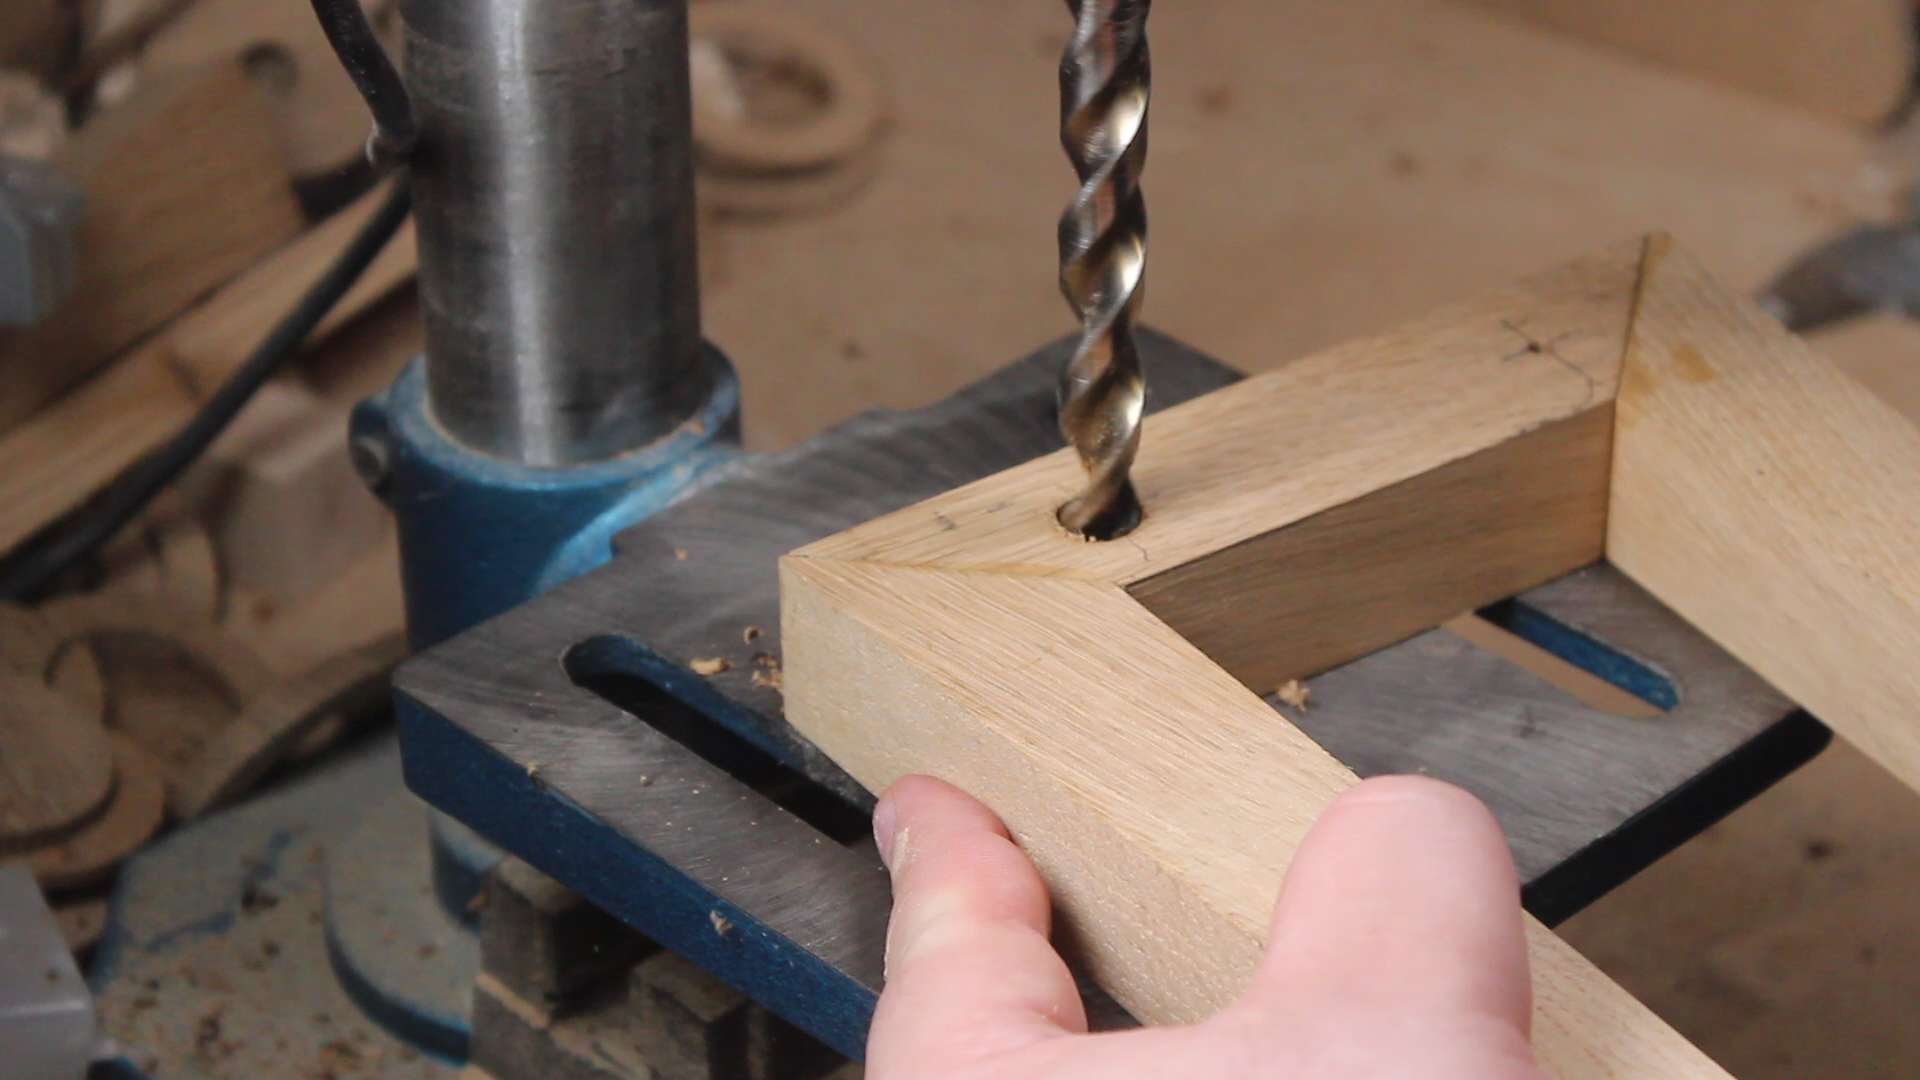
Using a ruler, mark out the holes for the dowels on each side. Make sure you get the inside edge of each piece as otherwise it wont go together!
I started by drilling a pilot hole with a smaller drill bit and then widened it with a bit that matched the thickness of the dowel I had purchased. In my case, 12mm.
Make sure you don't drill all the way through unless you want the dowels to show on the opposite side.
At this stage, you can also cut your dowel to length, you'll need 3 the same length. I opted to go for 260mm for mine but this is based on my laptop. you want to cut these to a length that sits your side pieces under your laptop.
Sand
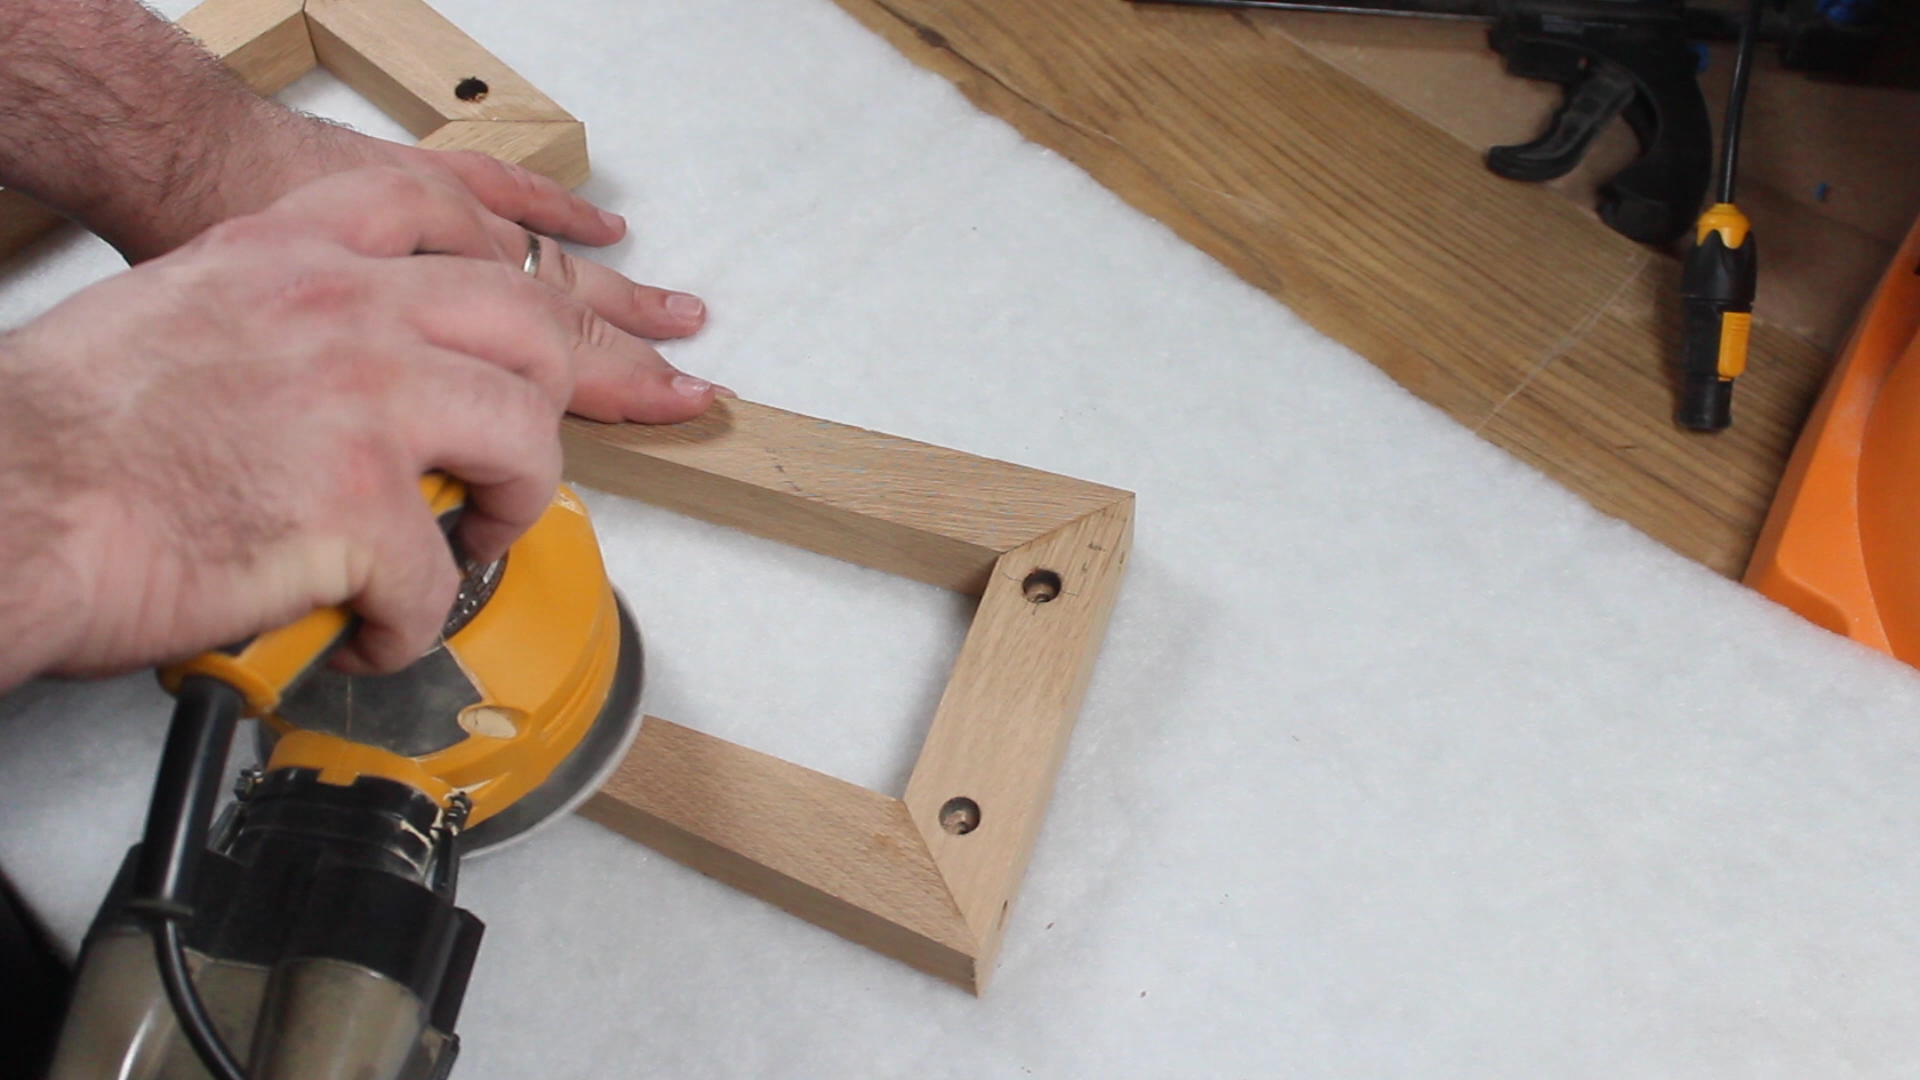
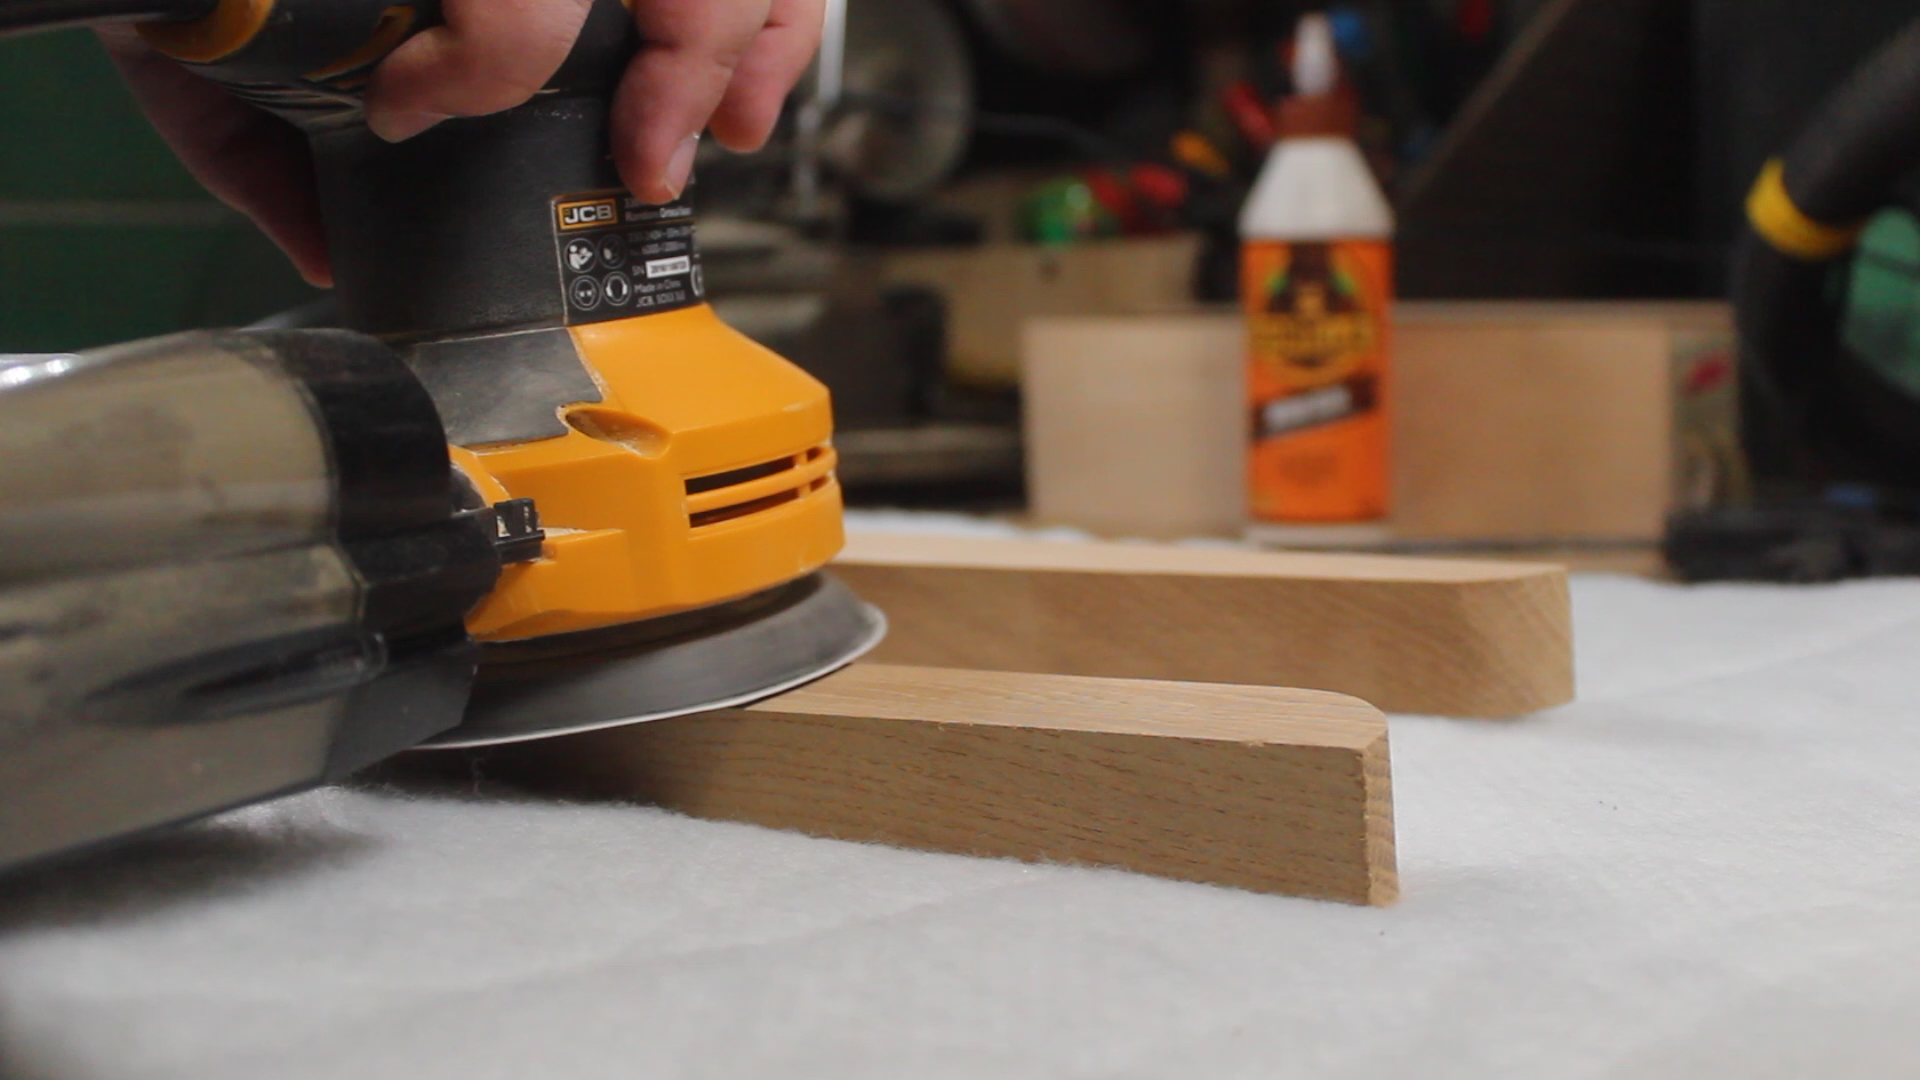
Everyone's favourite step!!! sand the pieces before we assemble any further. You want to pay particular attention to the joins and the edges around the holes.
I did this using a random orbit sander but again, if you don't have one, sandpaper and elbow grease will get you there.
If you have a few different grits of sandpaper available, its always good to work your way up through them. I used 120, 180 and 220.
Assemble!
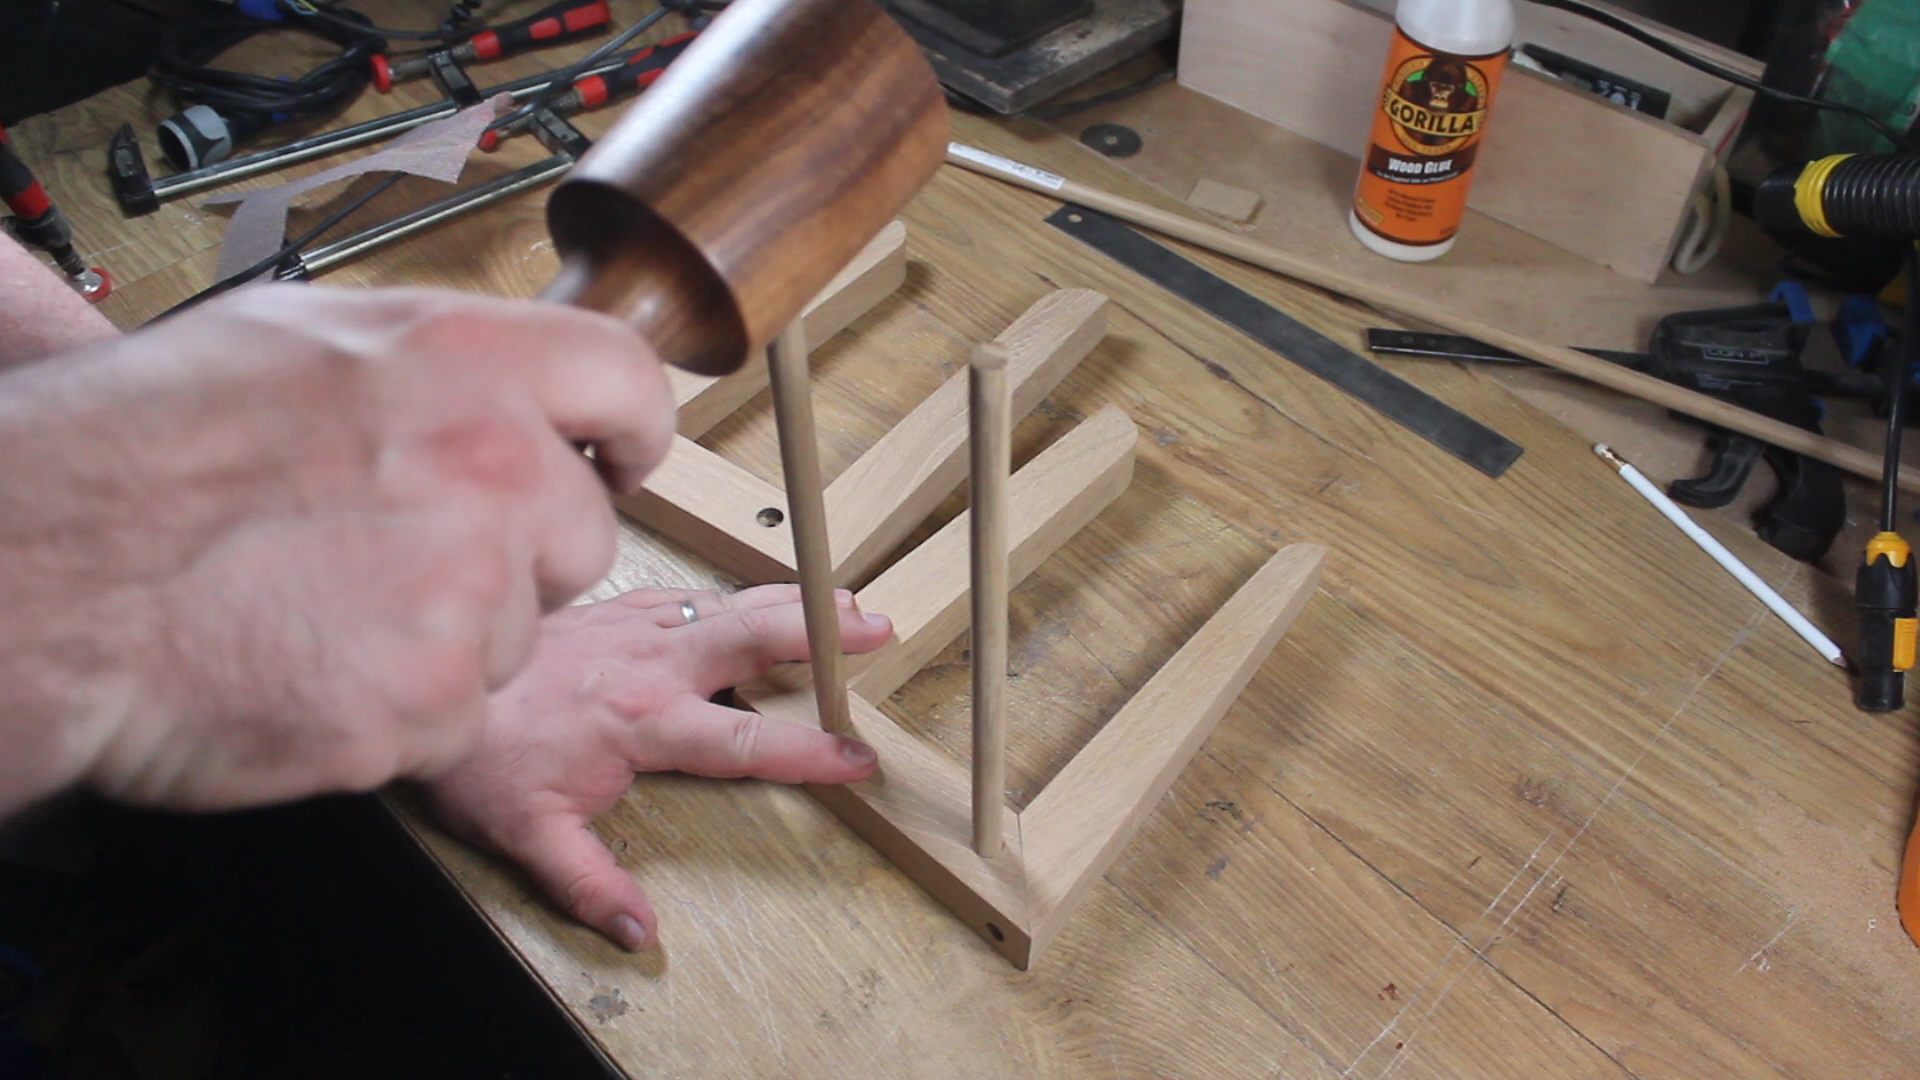
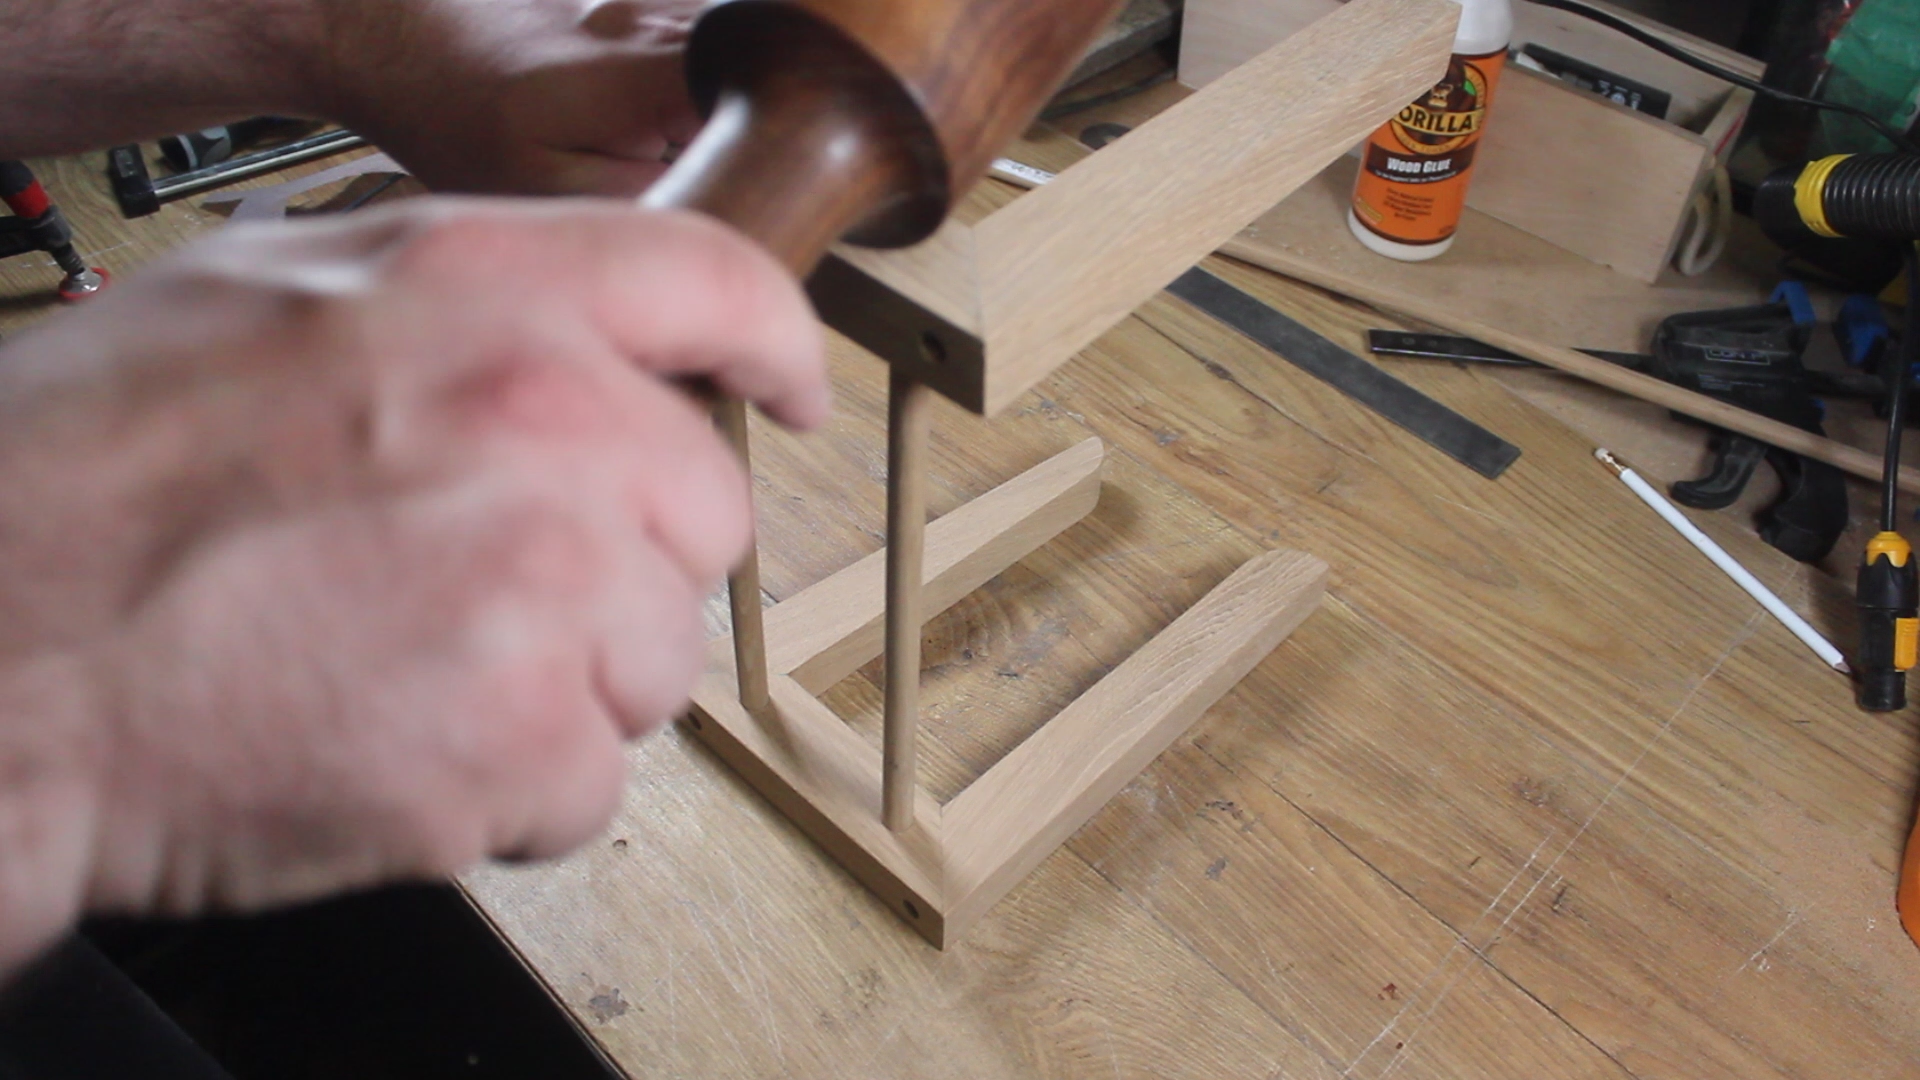
Now's the time to start knocking it all together.
Add a small amount of wood glue to the holes and push in your dowels. If they need it, apply some encouragement with a wooden mallet. If you don't have a wooden mallet, hit it with something else but make sure either your weapon of choice is wooden or put a scrap block of wood between your hitting device and the stand.
Repeat for the other side.
Apply Some Finish
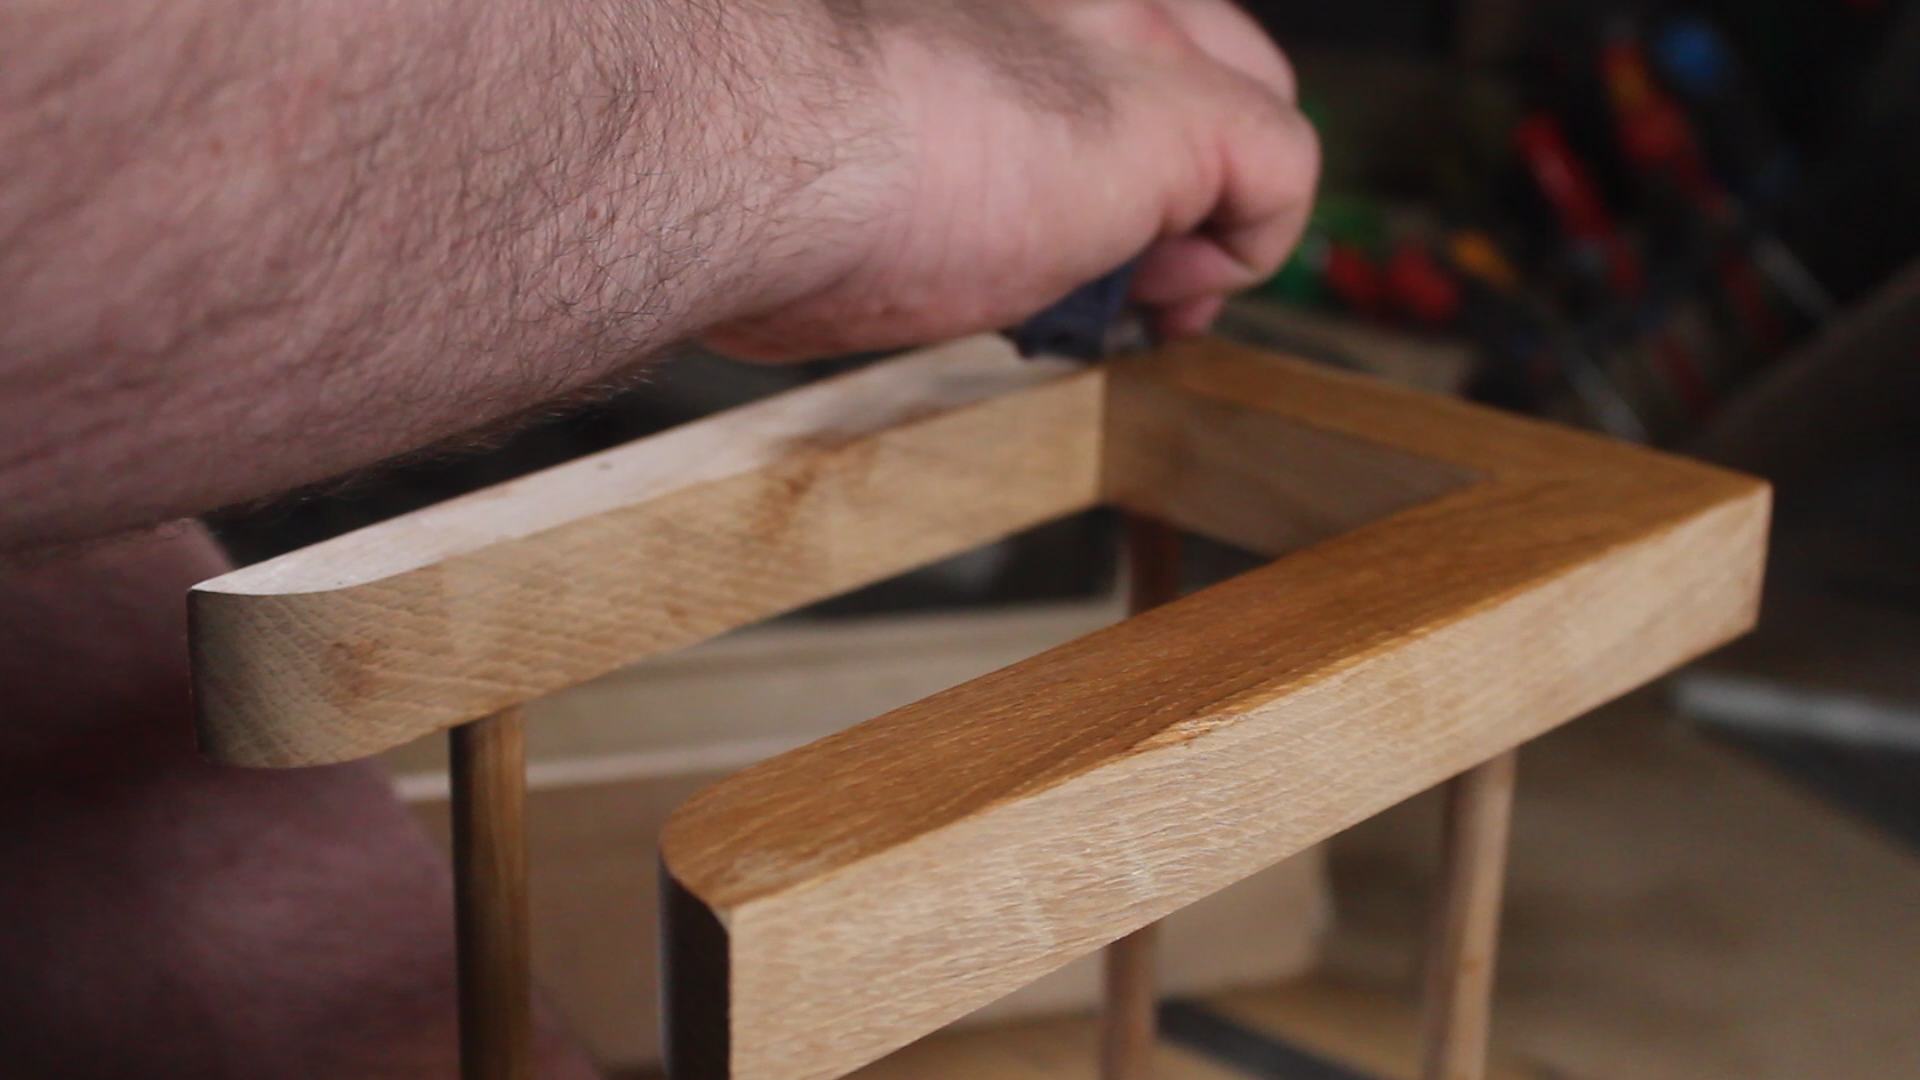
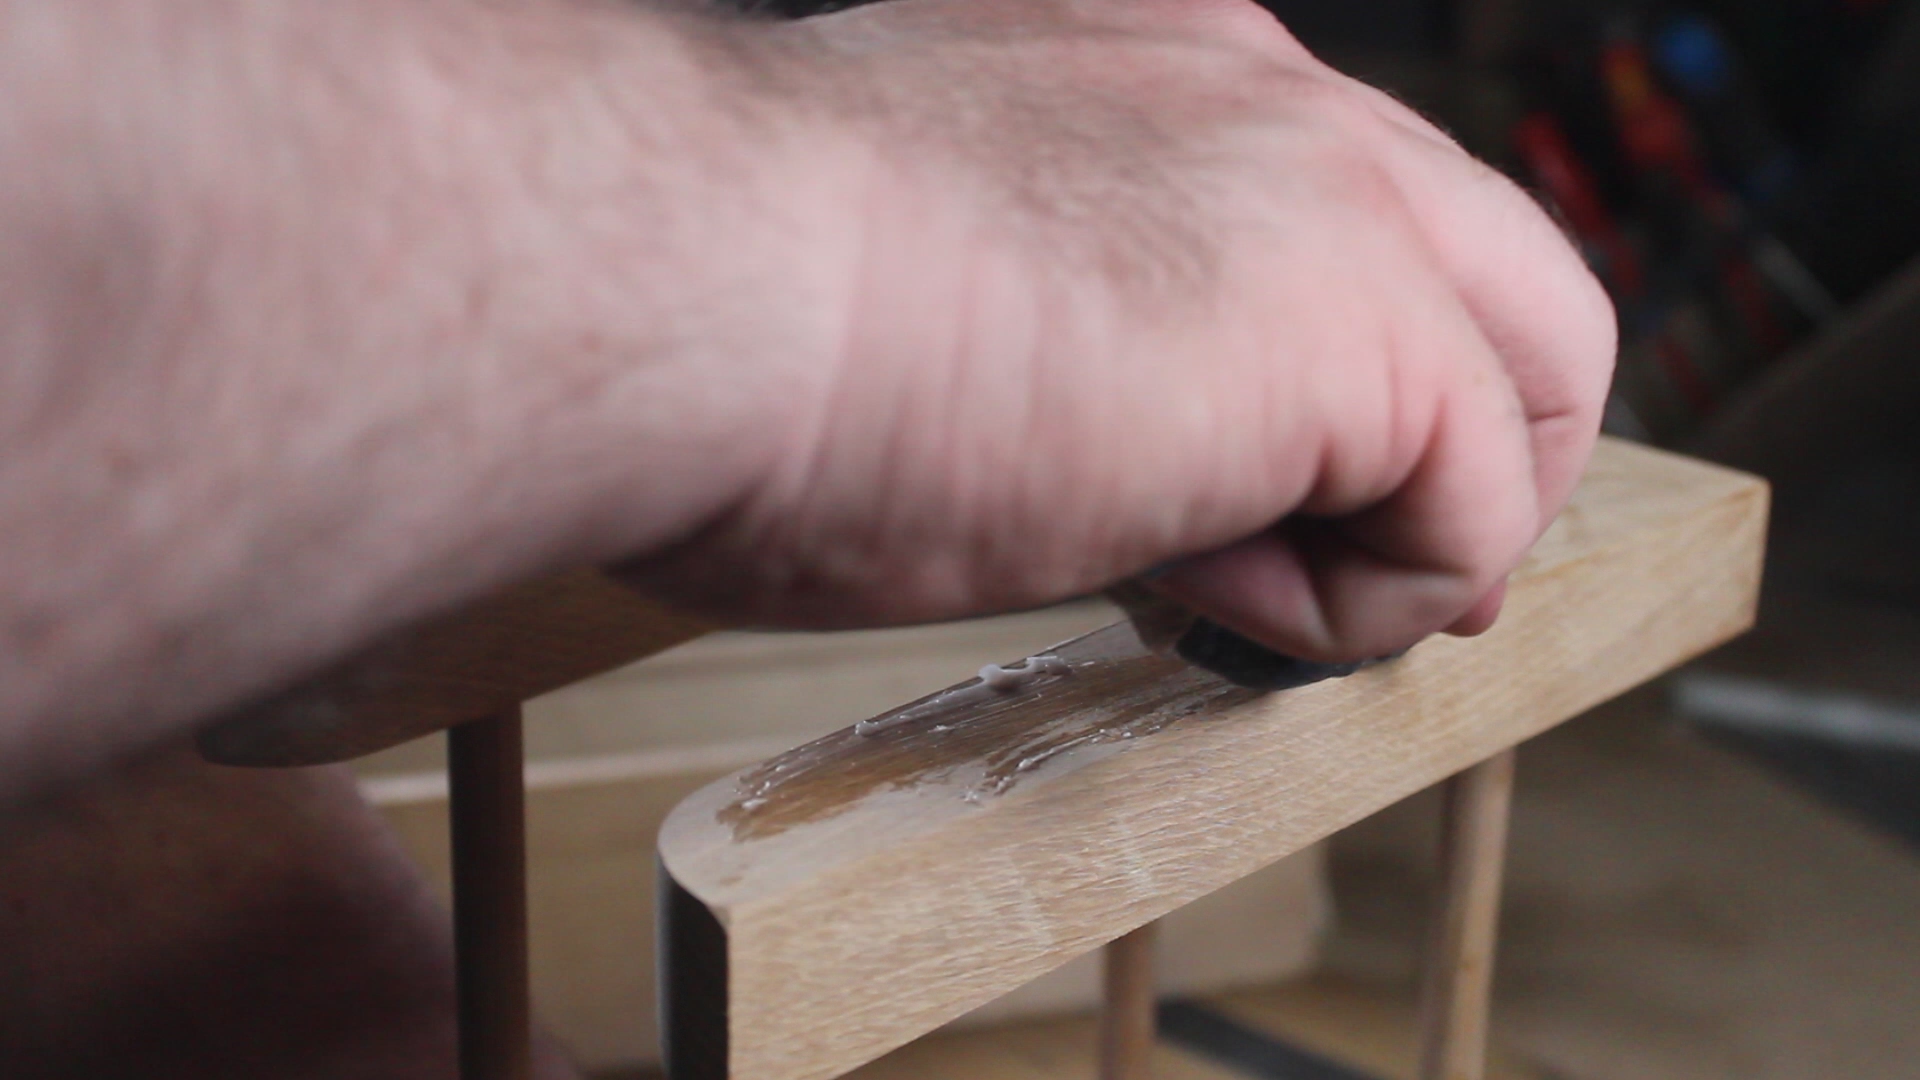
Apply some oil or wax or both to finish and protect your stand.
I used a mineral oil and beeswax blend, applied with a cloth and then buffed off a few minutes later.
Stand Back and Admire Your Handiwork
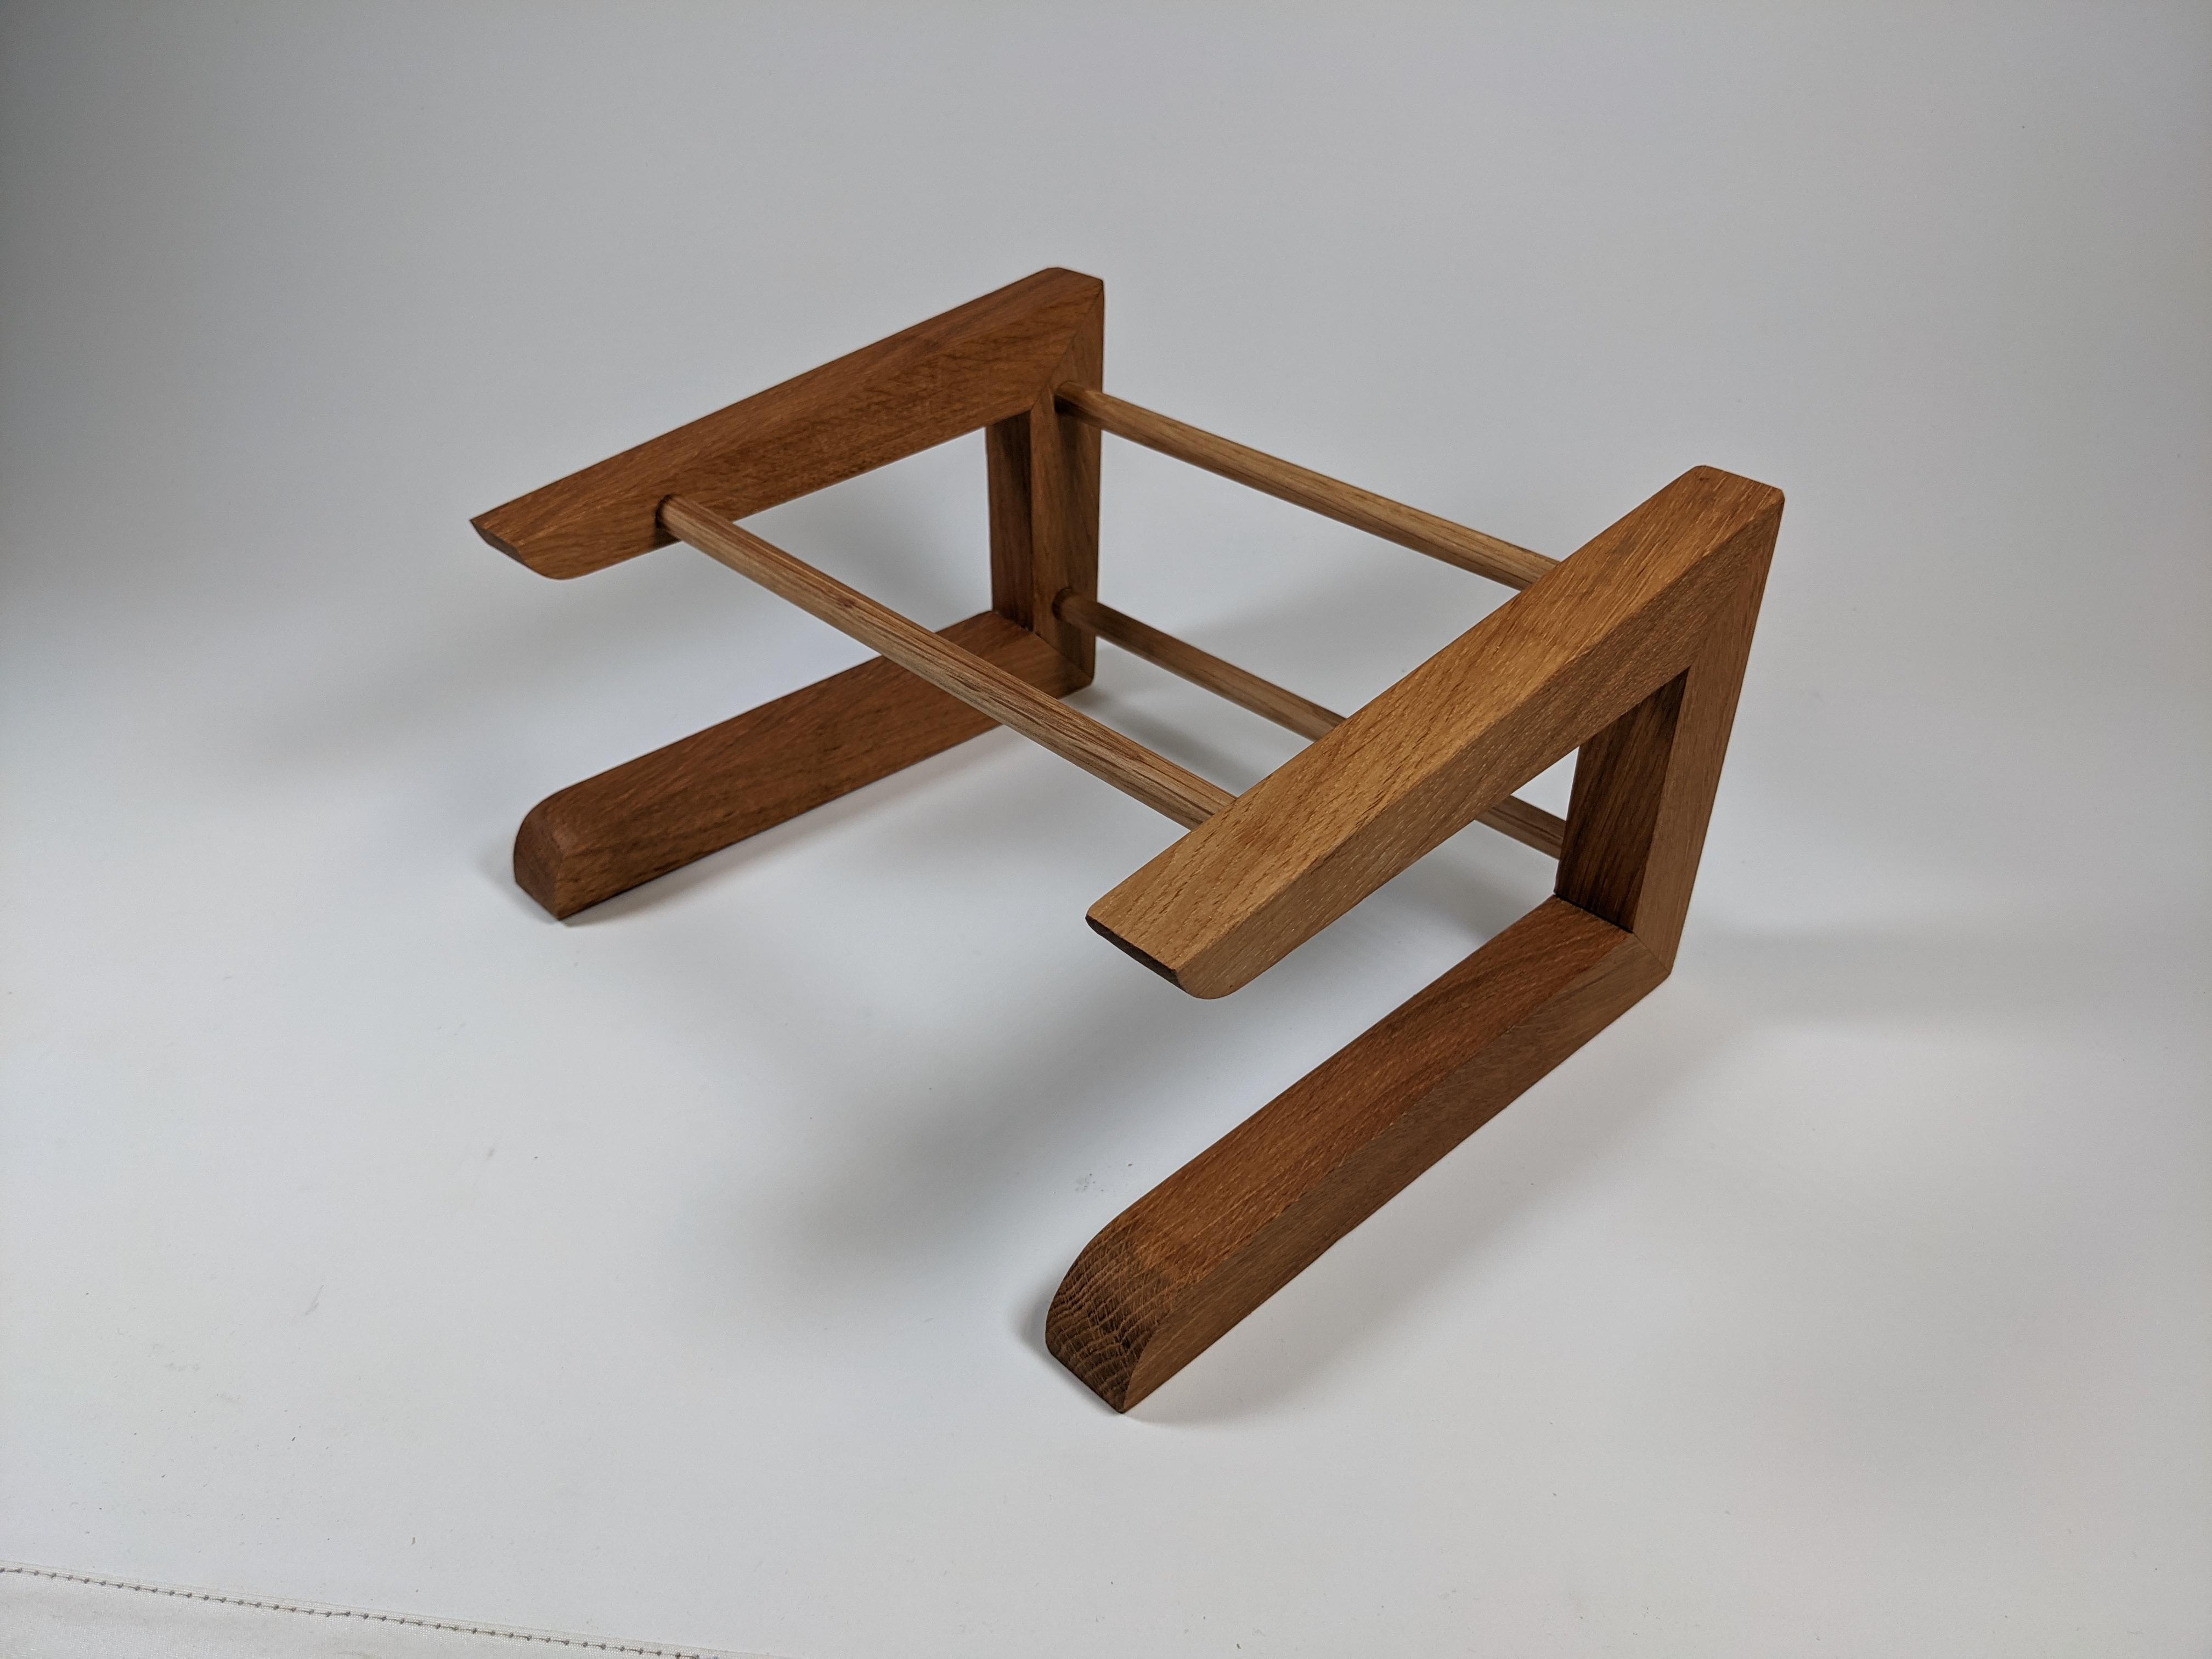
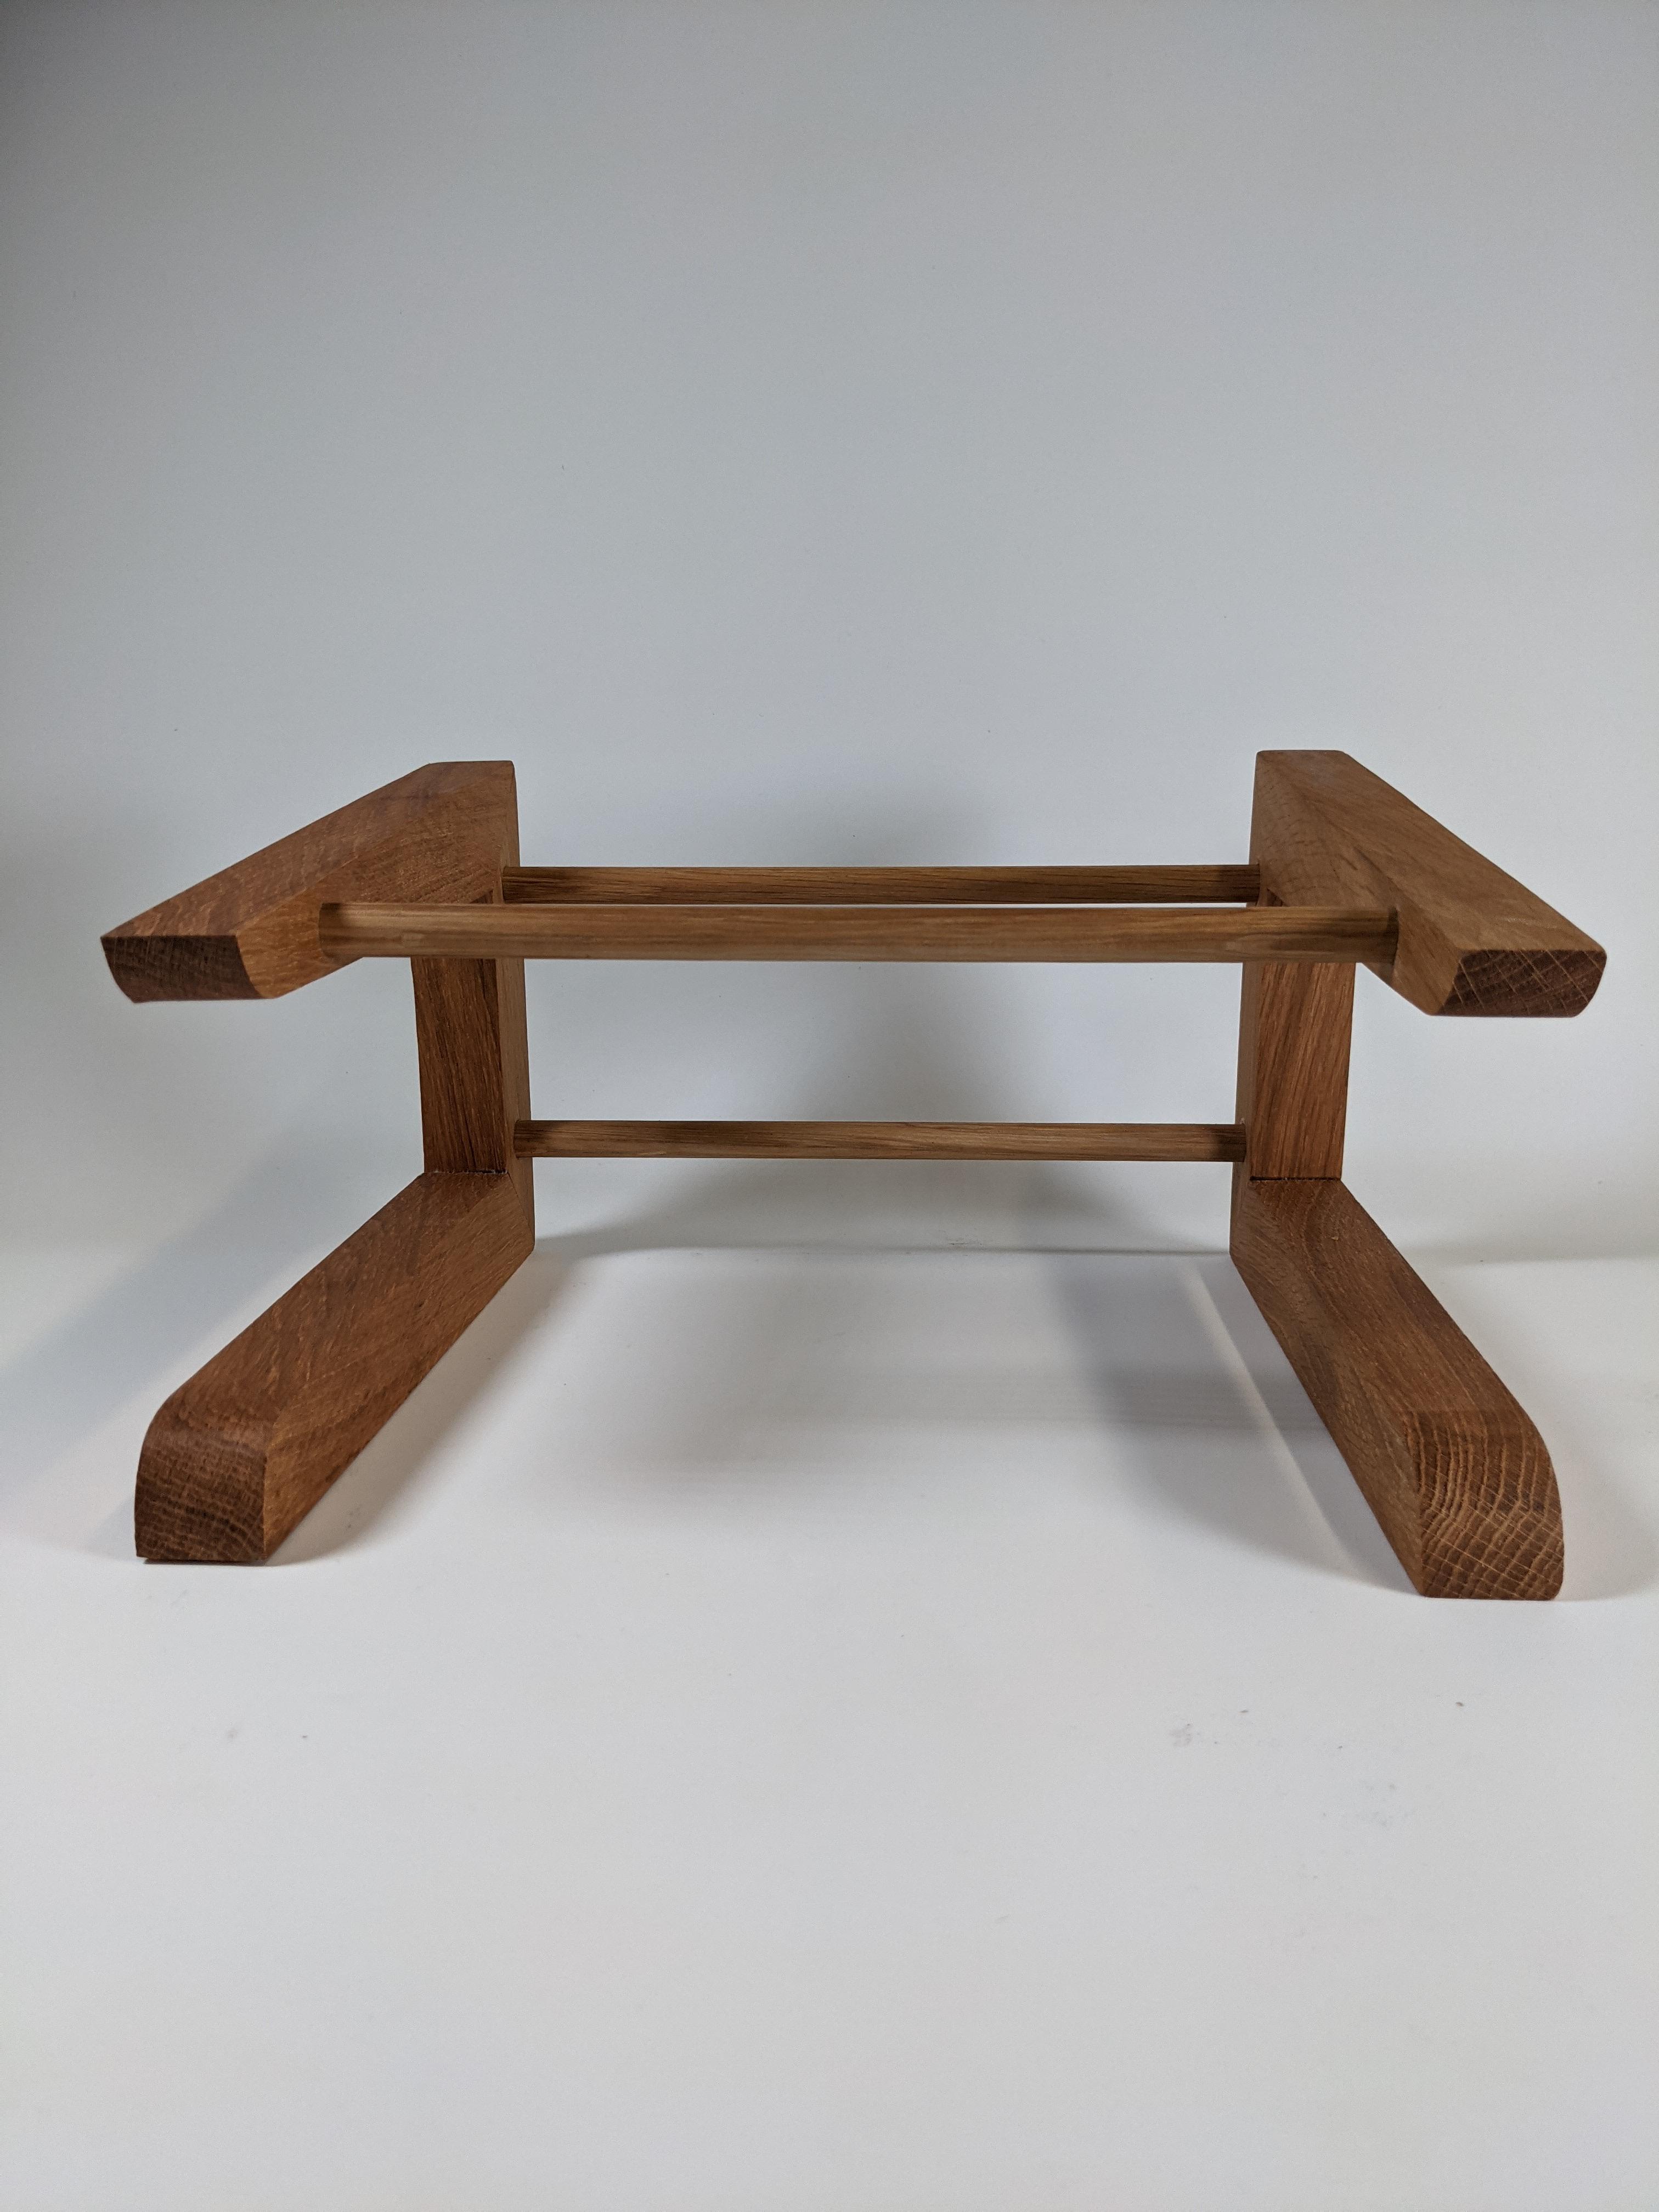

Great job! You've built yourself a Laptop stand.
If you make one of these, be sure to tag me wherever you post pictures, I'd love to see your version.