Anytime Departure Melody Switch
by longjie0723 in Circuits > Arduino
642 Views, 3 Favorites, 0 Comments
Anytime Departure Melody Switch

.jpg)
This project is a switch that plays the melodies announcing a train’s departure. It uses the same type of switch found on JR East platforms in Japan, and includes a built-in speaker and player for easy enjoyment of the sound. It appears to be a must-have for train enthusiasts!
Supplies
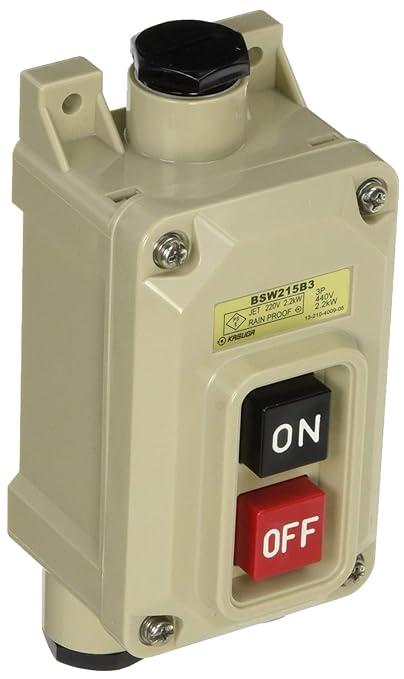
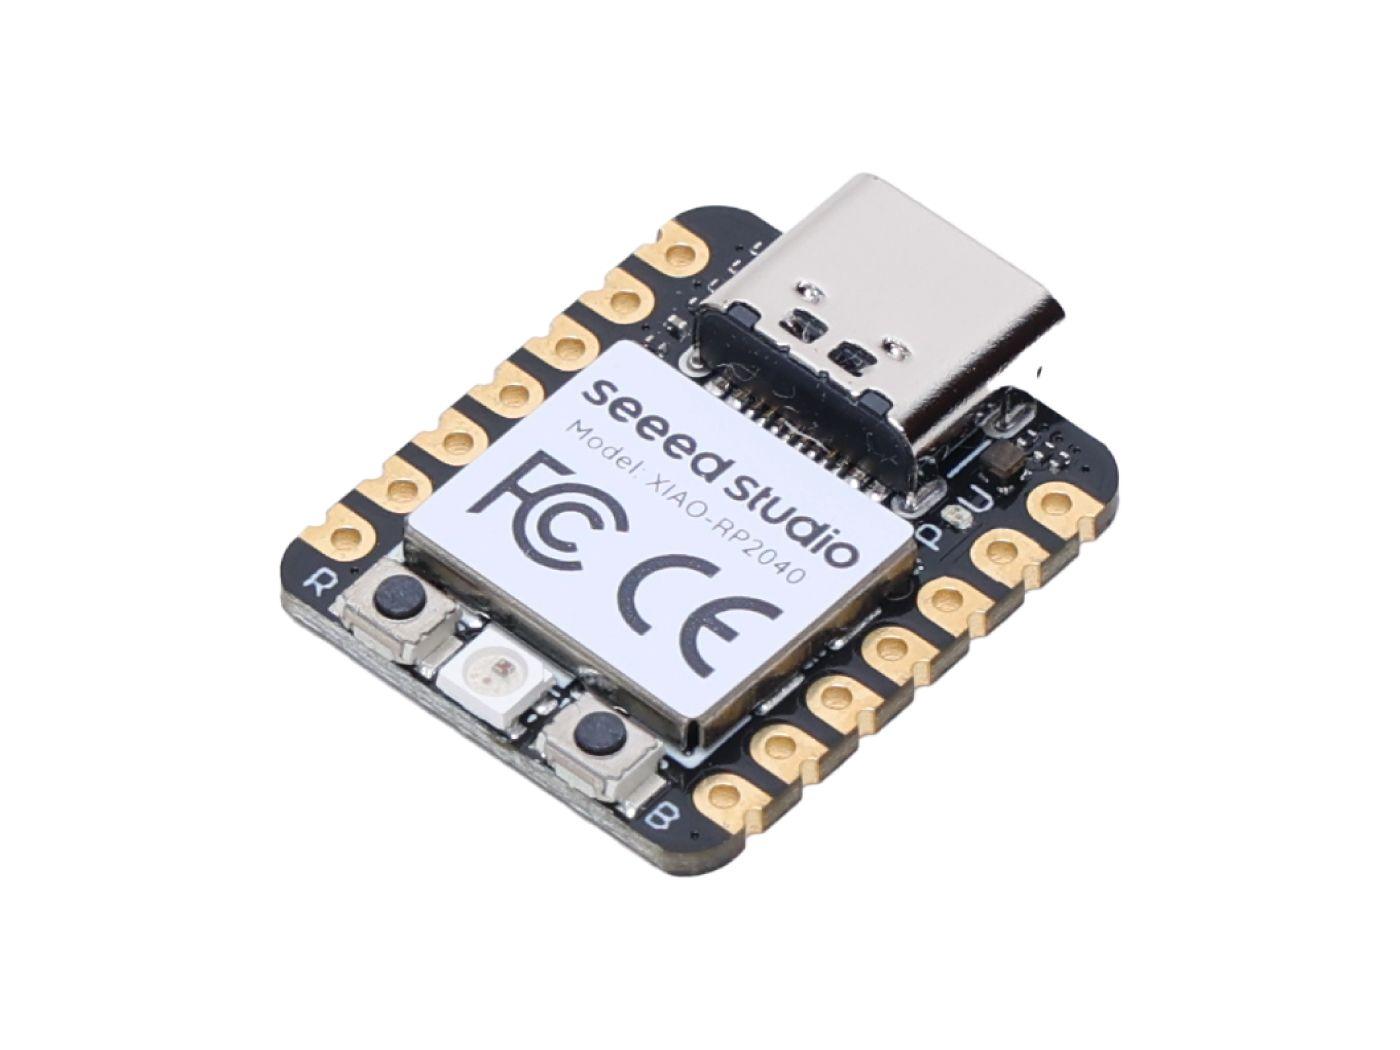
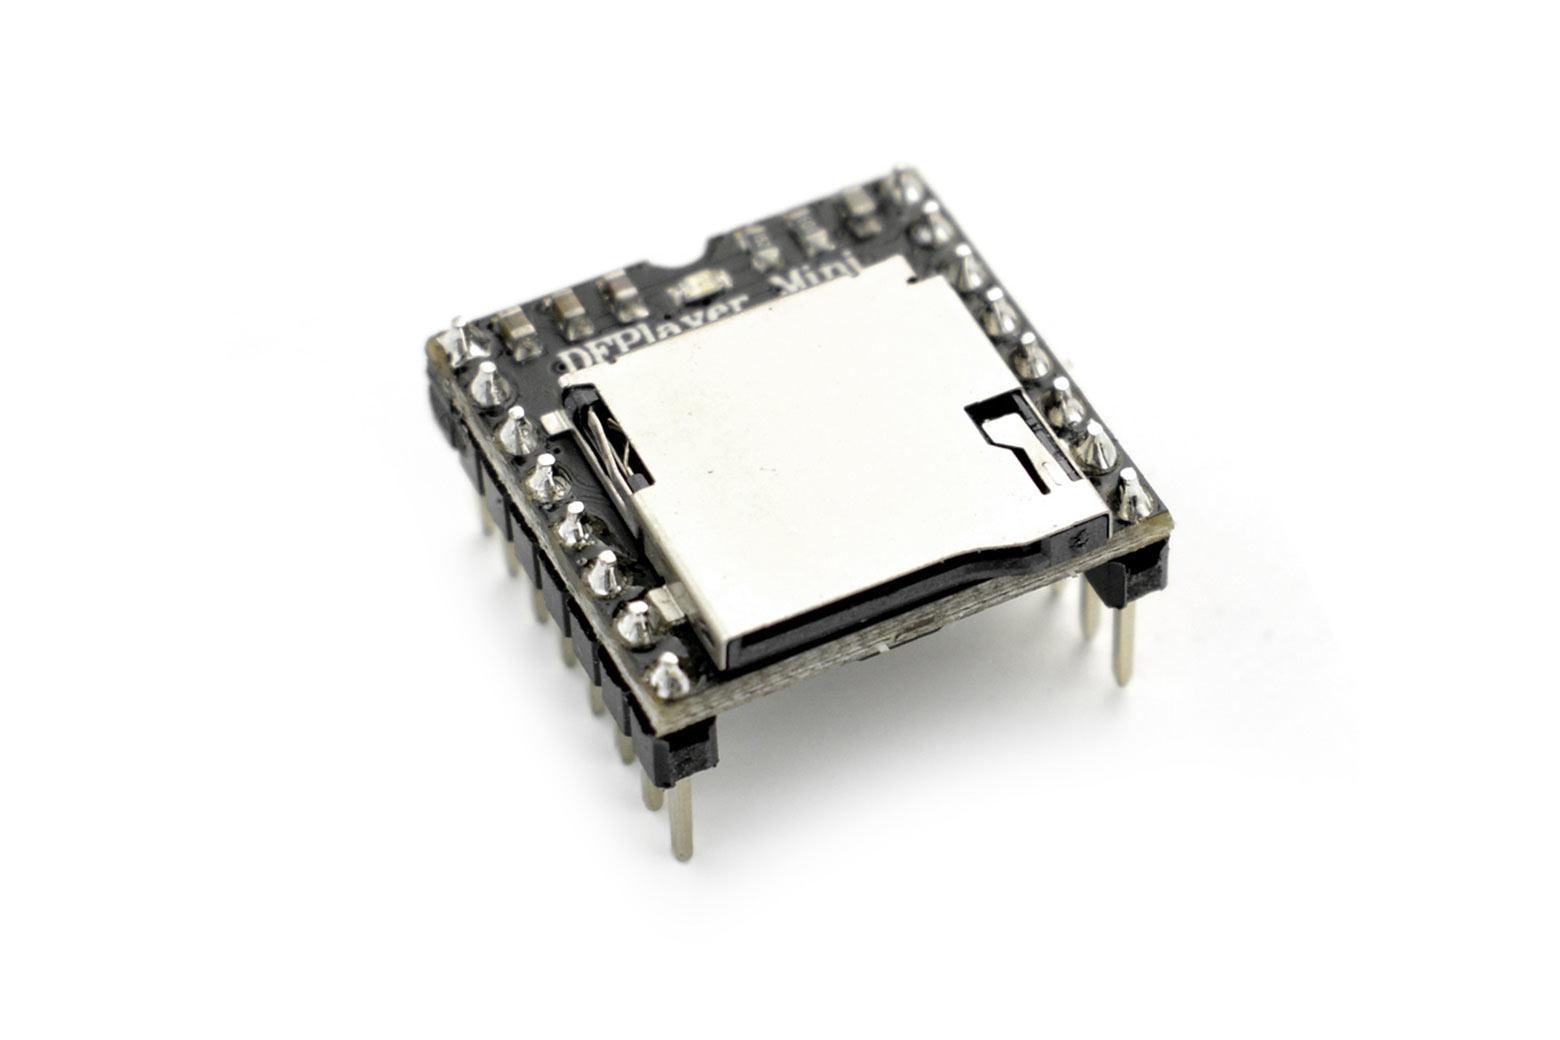


- Kasuga Denki power switch BSW215B3
- Seeed Studio XIAO RP2040
- DFRobot DFPlayer - Mini MP3 Player
- SD Card
- The relay board to connect the two modules
- You can make it refereing the schematics
- uxcell mini speaker, 3W 4Ohm
- 3D printed parts to fix the modules to the switch
- You can print them using the STL files
- Some wires for connection to the switch
Cutting Pin Socket and Pin Header


Cut the pin sockets and pin headers as shown in the photo. The short (low-profile) pin socket should be 8 pins, and both the tall pin socket and the pin header should be 7 pins.
Soldering the Pin Sockets and Pin Headers


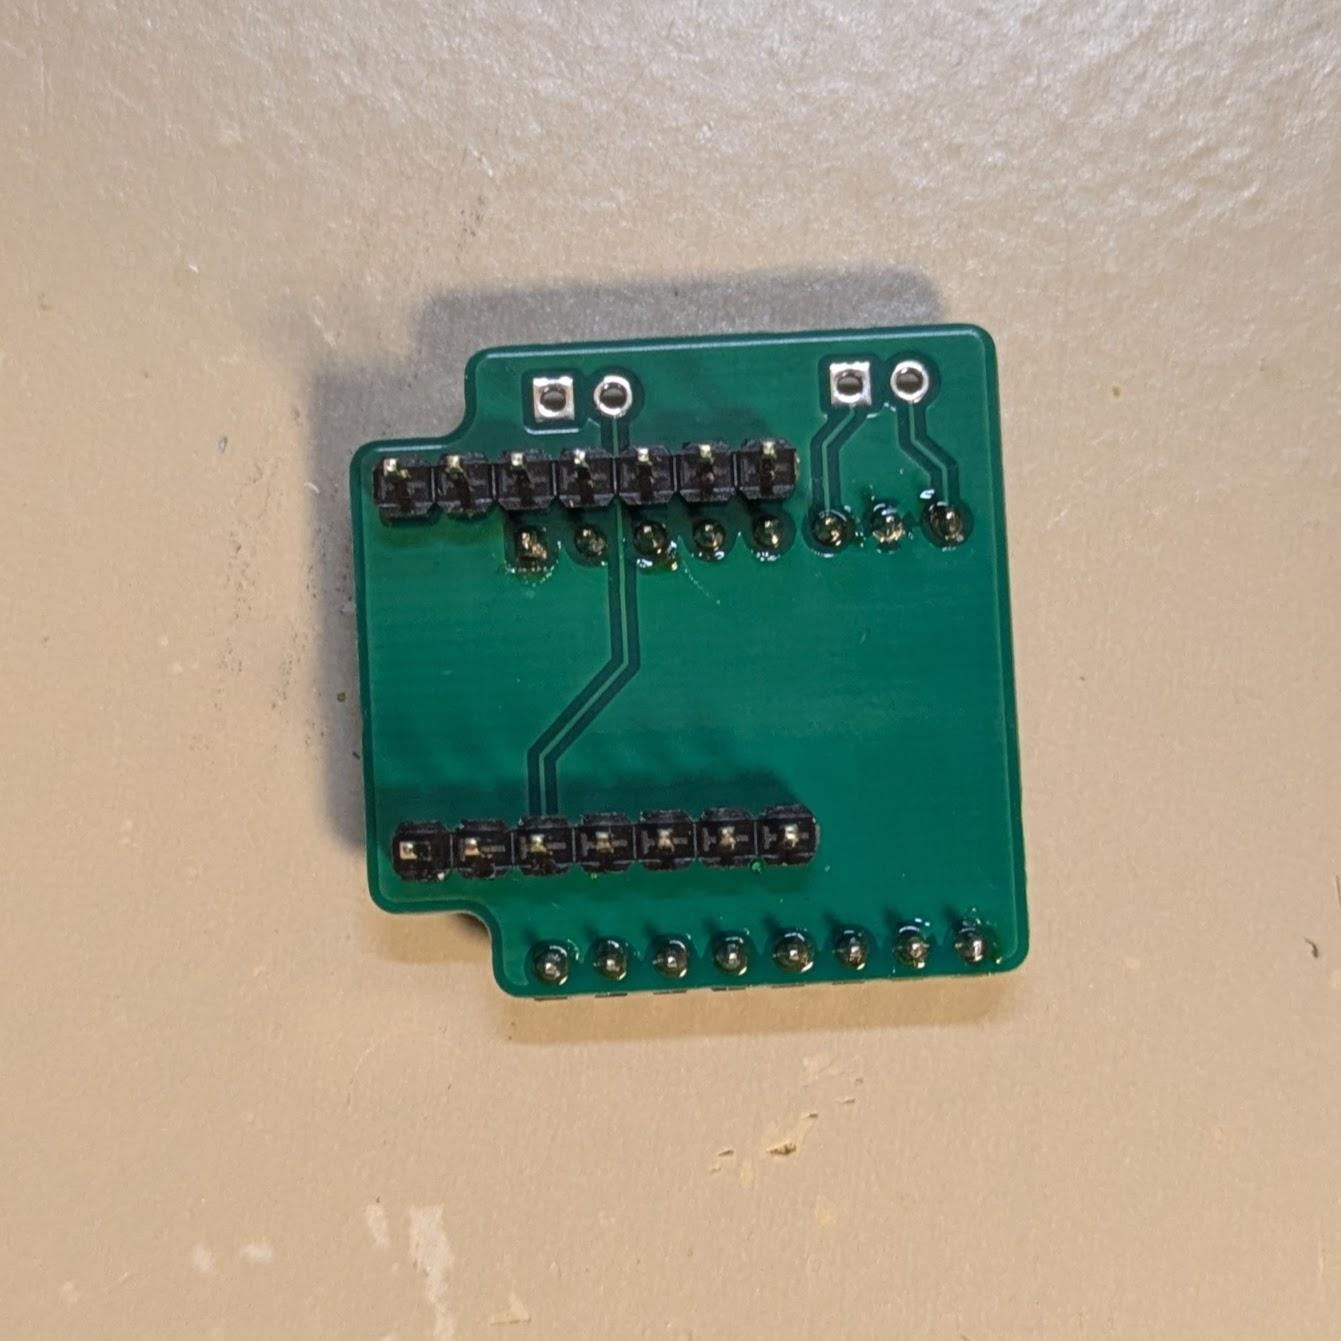
As shown in the photo, solder the tall pin socket onto the top side of the Arduino Xiao RP2040.
Solder the short (low-profile) pin socket to the top side of the relay board, and the short pin header to the bottom side, as shown in the photo.
Cutting the Pin Header of the DFPlayer Mini
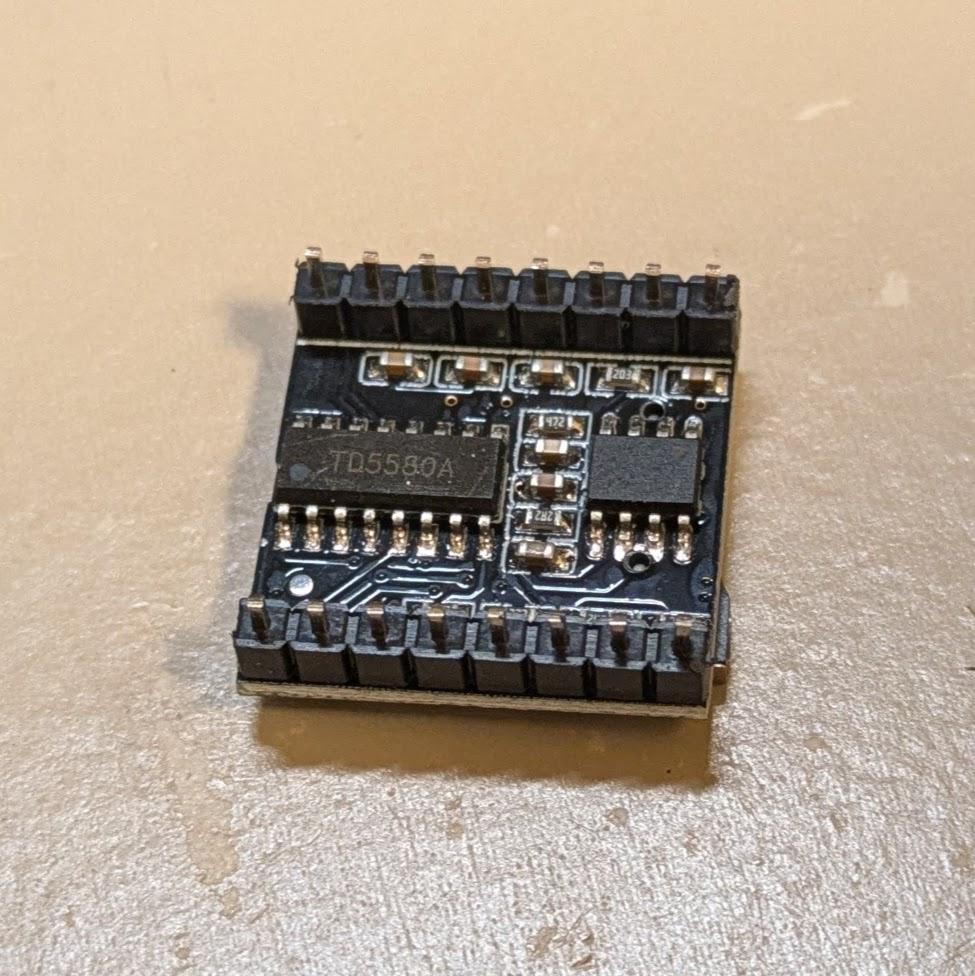
Use nippers to cut all of the DFPlayer Mini’s pin headers so that they are about 2 mm in length.
Assemble the Modules


Insert and assemble the Arduino Xiao and DFPlayer Mini onto the intermediary board. Refer to the photos and pay close attention to their orientation.
Soldering the Wires

Solder the speaker wires and the switch wires onto the intermediary board, following the silk-screen markings on the board.
Assemble Into the Switch Box

Use the 3D-printed mounting parts to secure the board module and speaker inside the switch box. Screw the switch wiring onto the switch terminals, and arrange the wires alongside the terminals so that the lid can close properly.
Programming the Arduino

Use the Arduino IDE to upload the attached sketch to the Arduino Xiao.
Downloads
Prepare the Sound File in a SD Card

Prepare the MP3 files you want to play. Name them sequentially starting from 01, 02, 03, and so on. Use the odd-numbered files for the departure melody and the even-numbered files for the door-closing announcement. Before copying these files to the SD card, be sure to quick-format the SD card.
Please power the Arduino Xiao using a USB-C cable. When you press the departure button (ON), the departure melody will play. When you press the OFF button, the door-closing announcement will play. The files on the SD card will be played in order. Enjoy!