Design a Custom T Square Holder
by tliguori330 in Workshop > 3D Printing
536 Views, 1 Favorites, 0 Comments
Design a Custom T Square Holder
.jpg)
There was a need for a storage solution for T squares in our classroom. This instructable walks you through the design process as an idea becomes a prototype and then a finished project. The hanging T Square holder is specificly made to fit our cabinet and shelf but the process can be followed for your own specific needs. The steps to follow outline all the choices and special considerations that went into designing and 3D printing with a balance between strength and cost.
Supplies
FDM 3D Printer - Prusa MK4
3D Printing Slicer - Prusa Slicer
3D Design Software - TinkerCAD, Fusion 360
PLA Plastic Filament - Overature PLA
Ruler / Tape Measure
The Problem
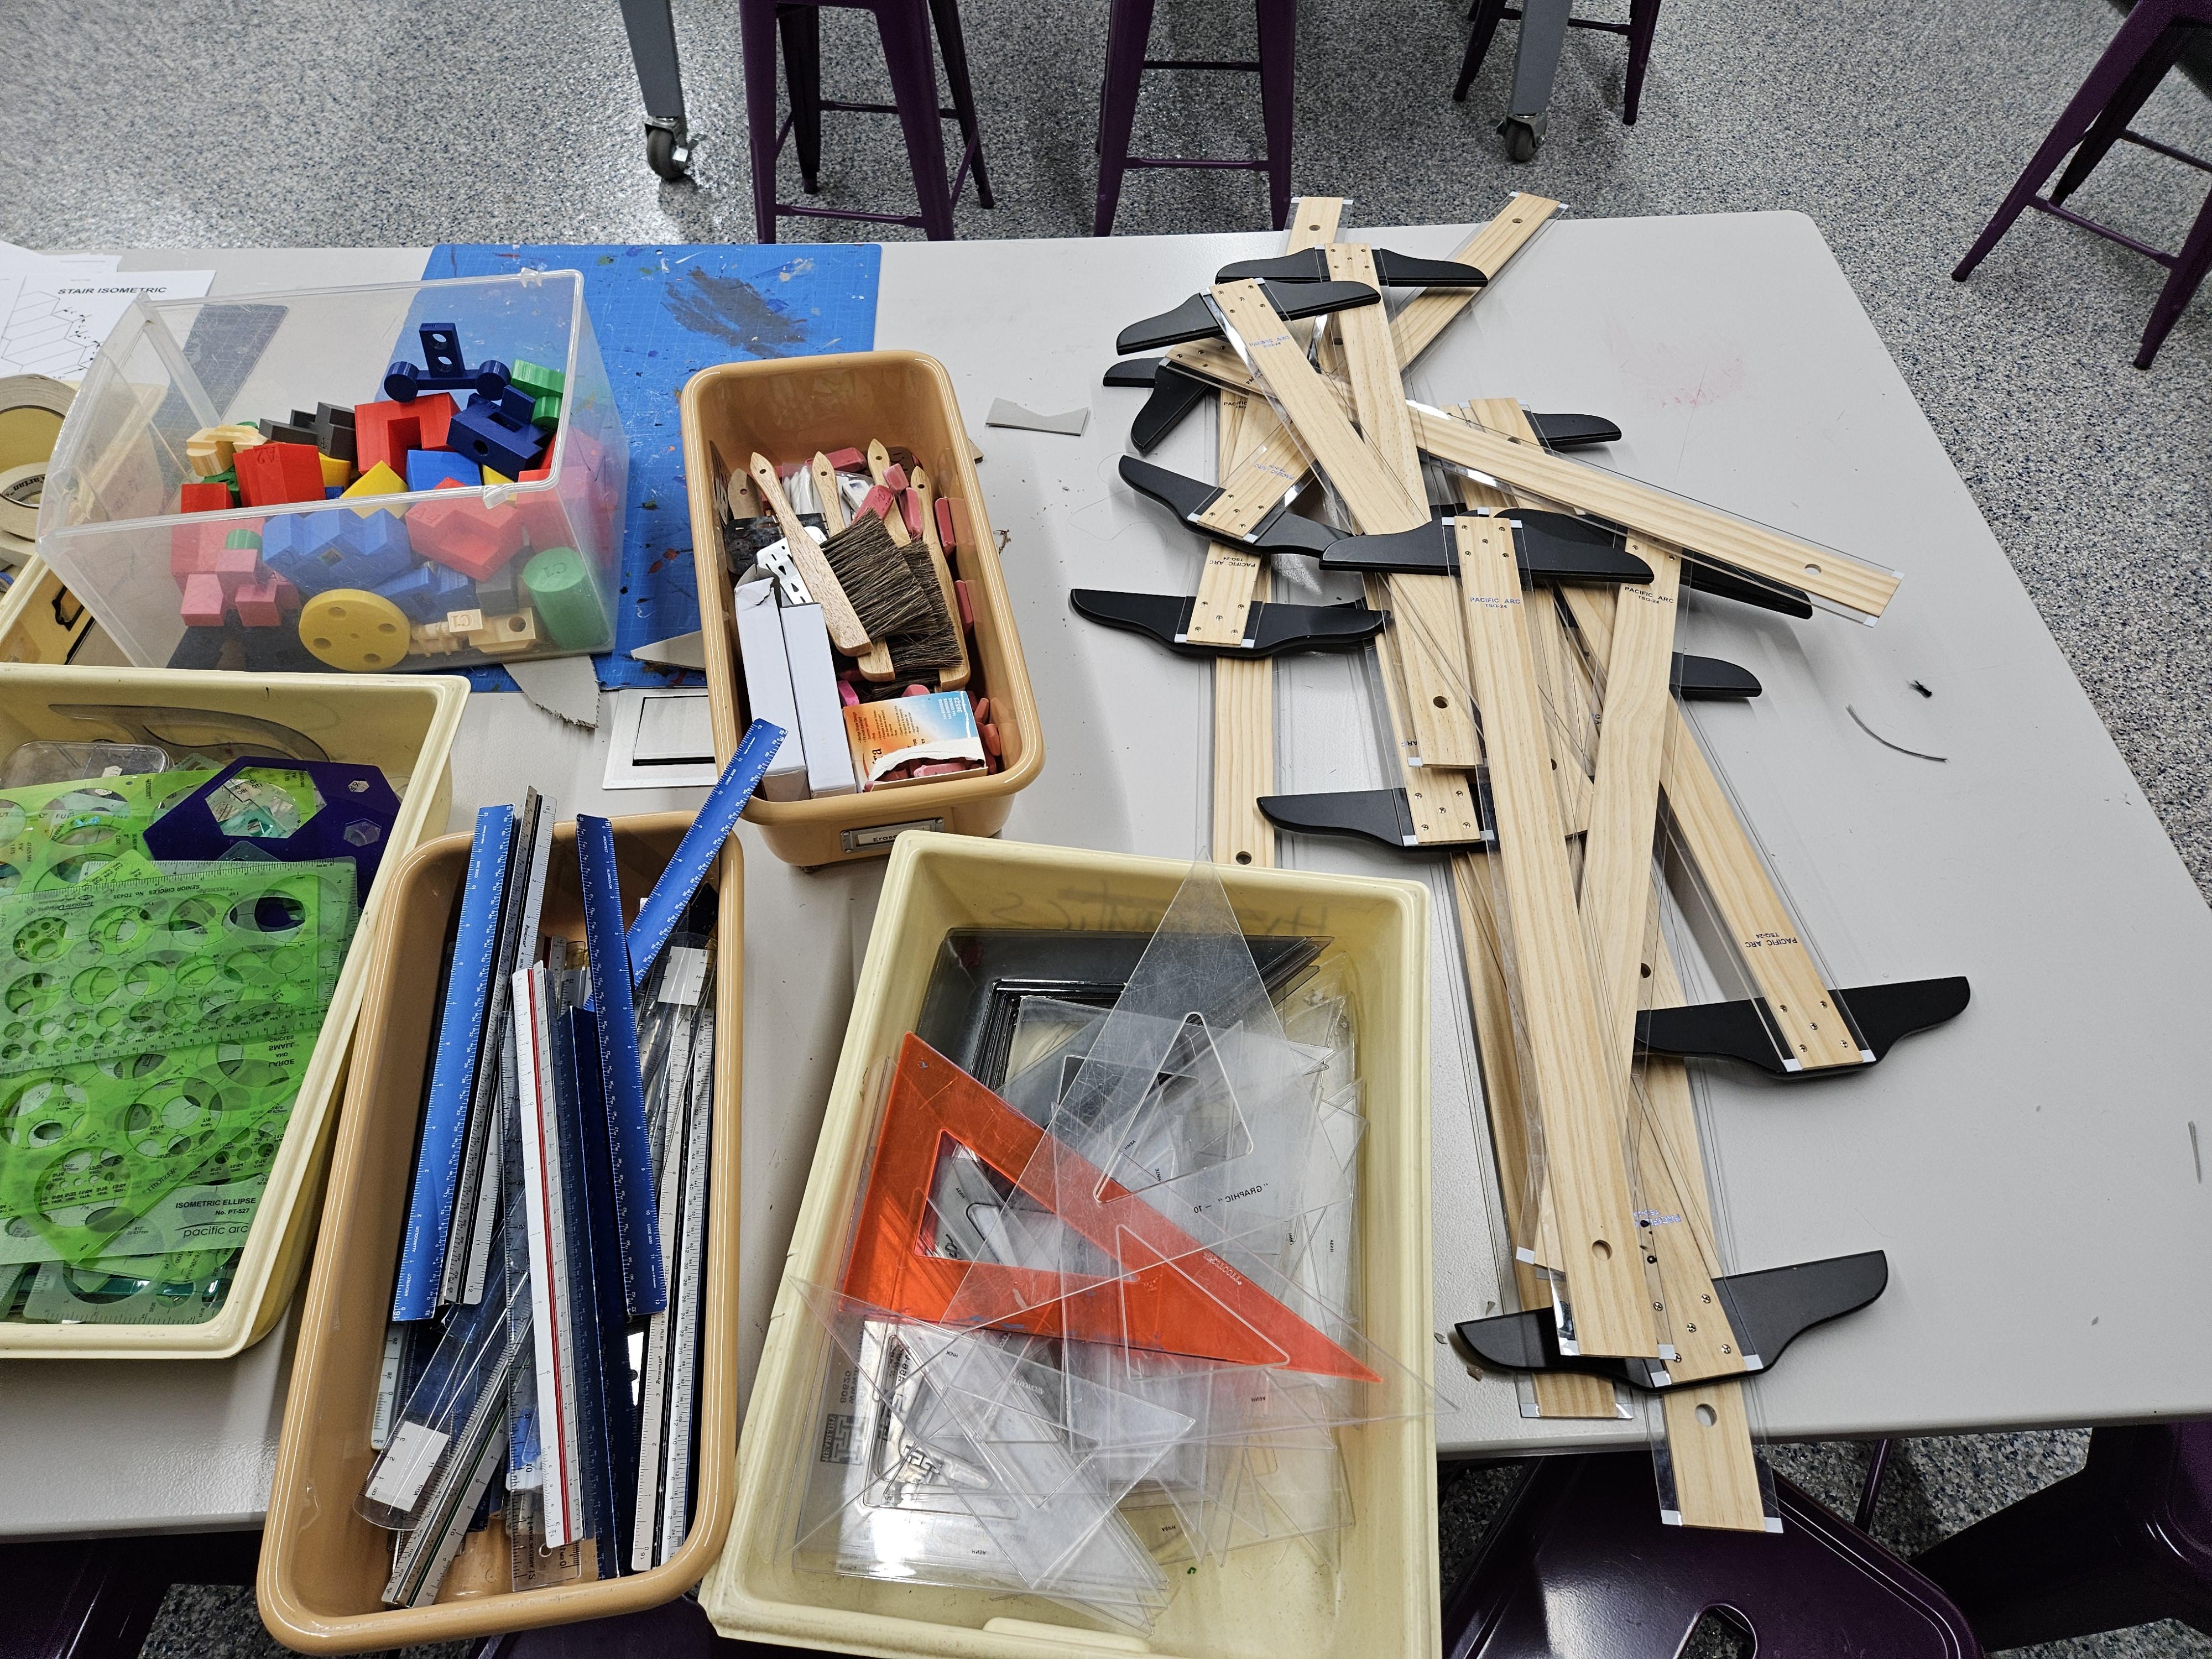
An architecture class of 24 students needs a daily storage solution for a range of drawing tools including T Squares.
Brainstorming Possible Solutions
.jpg)
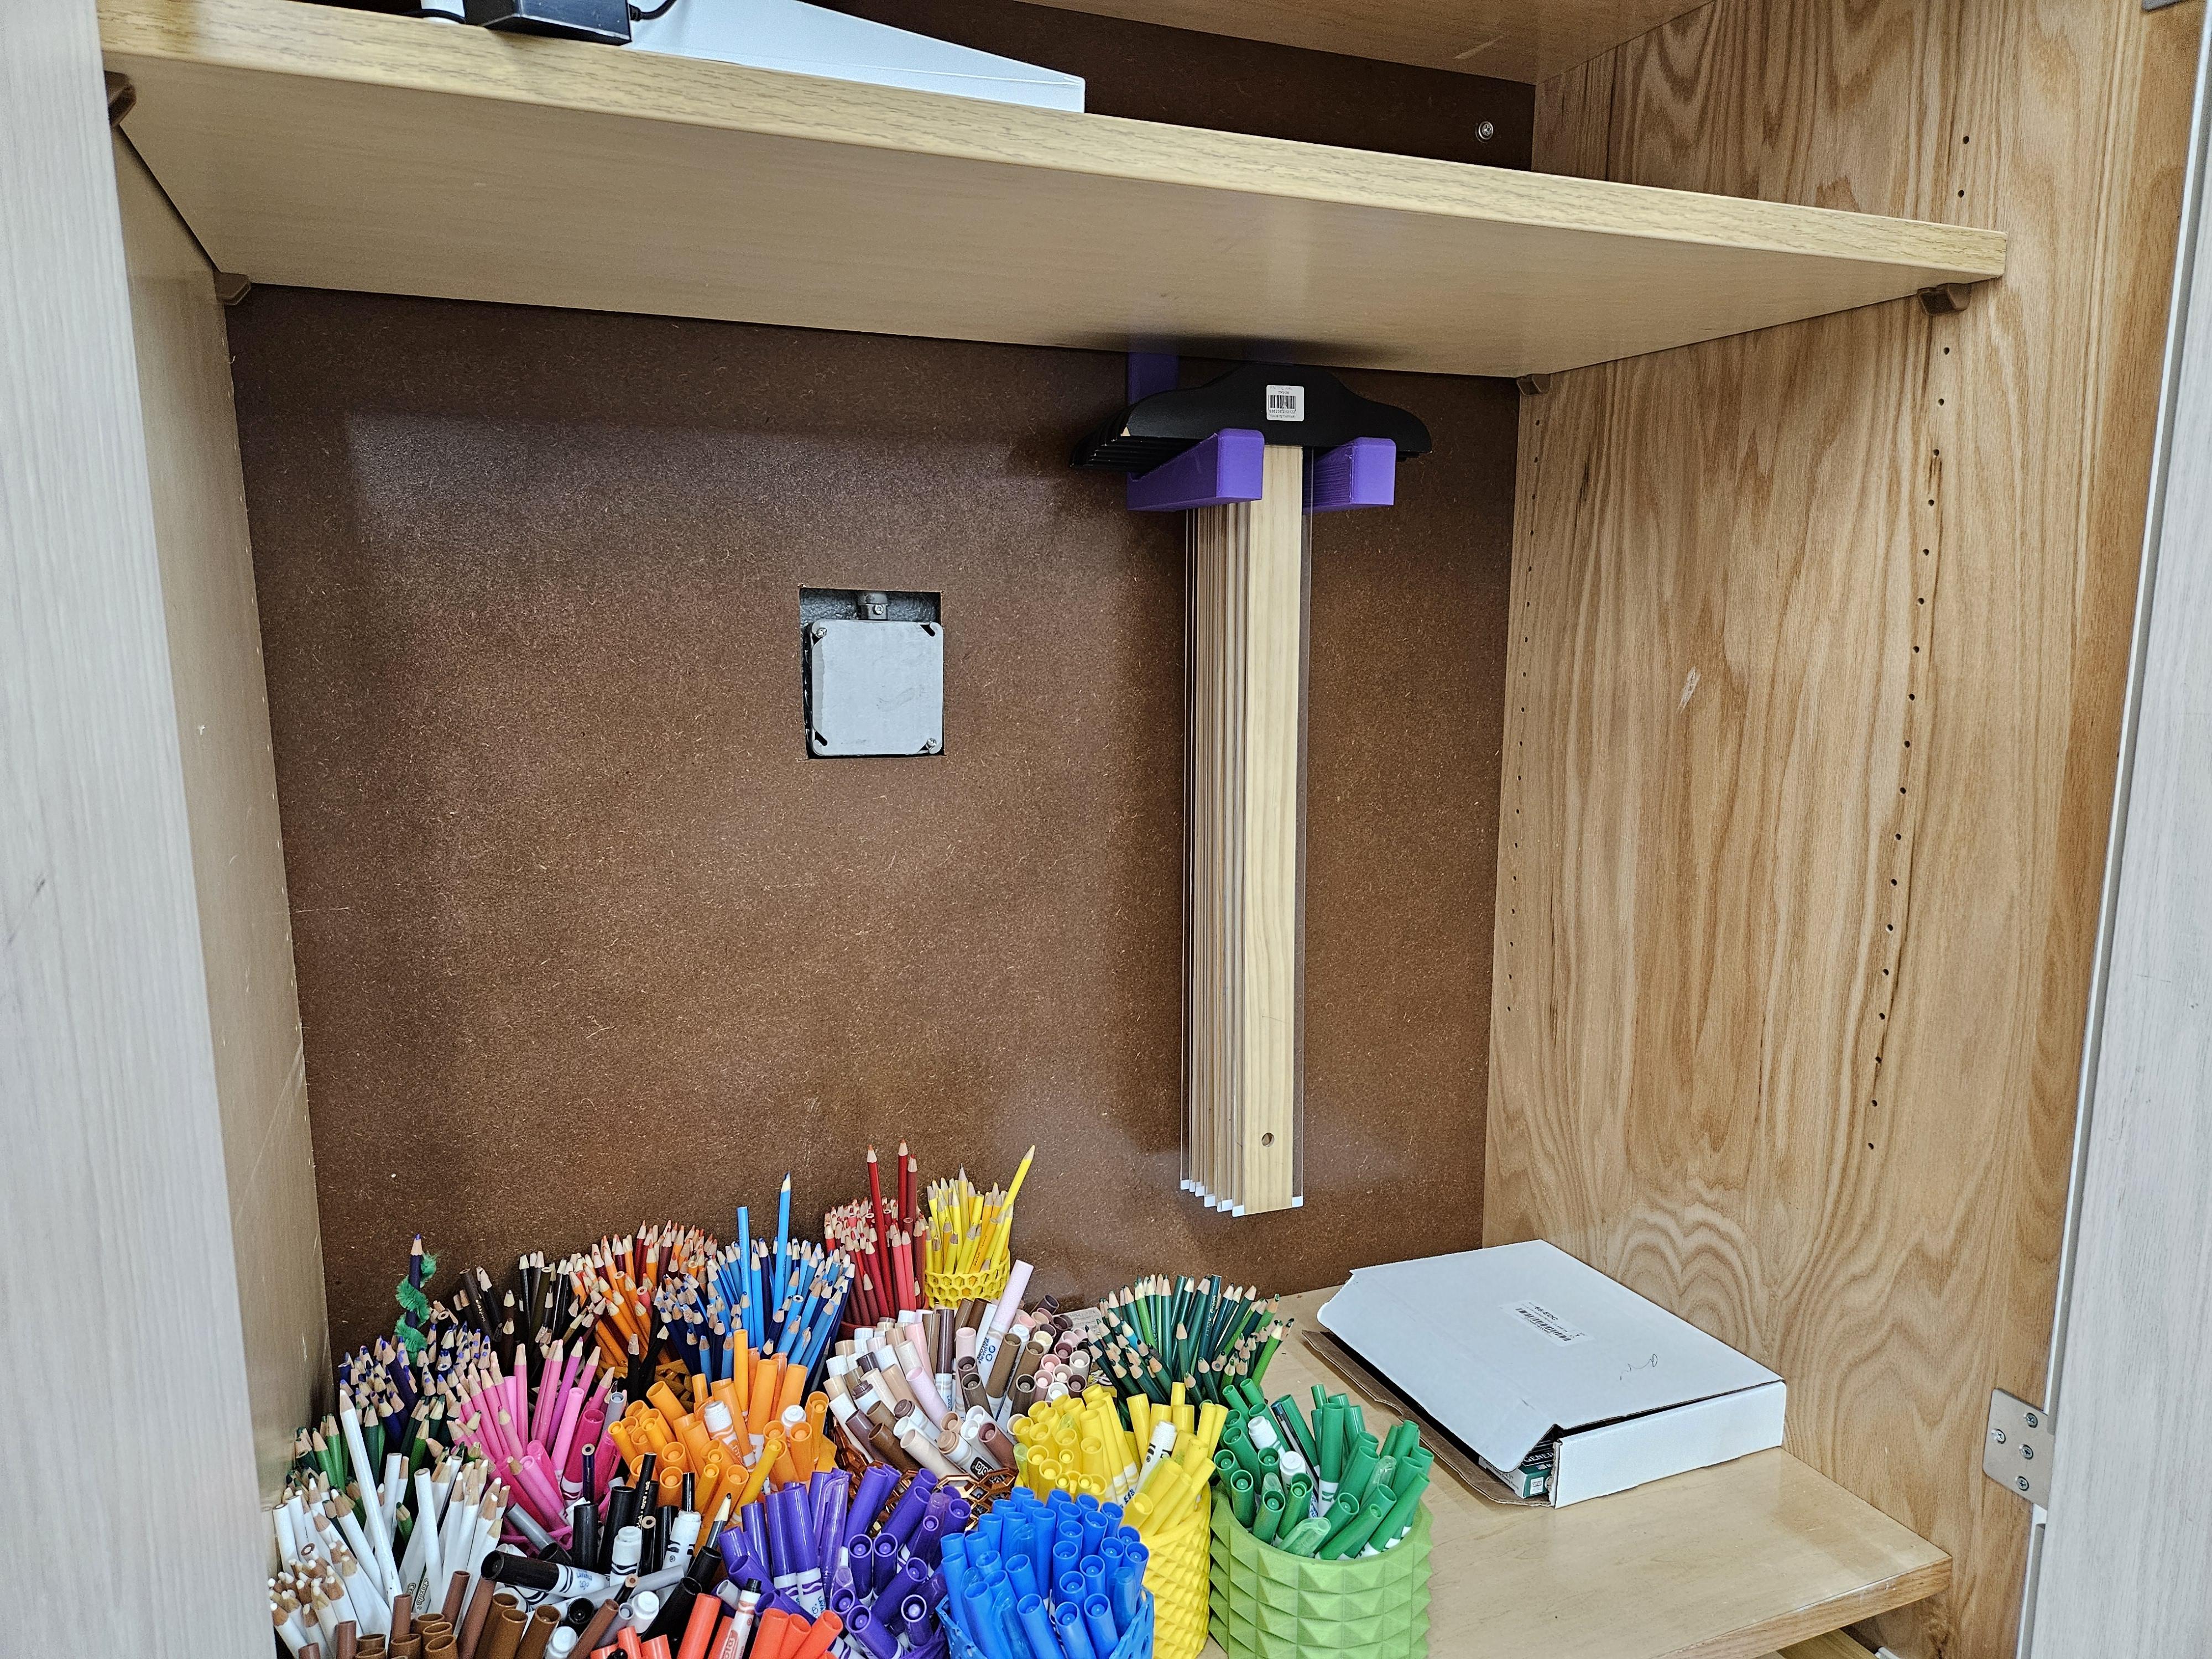
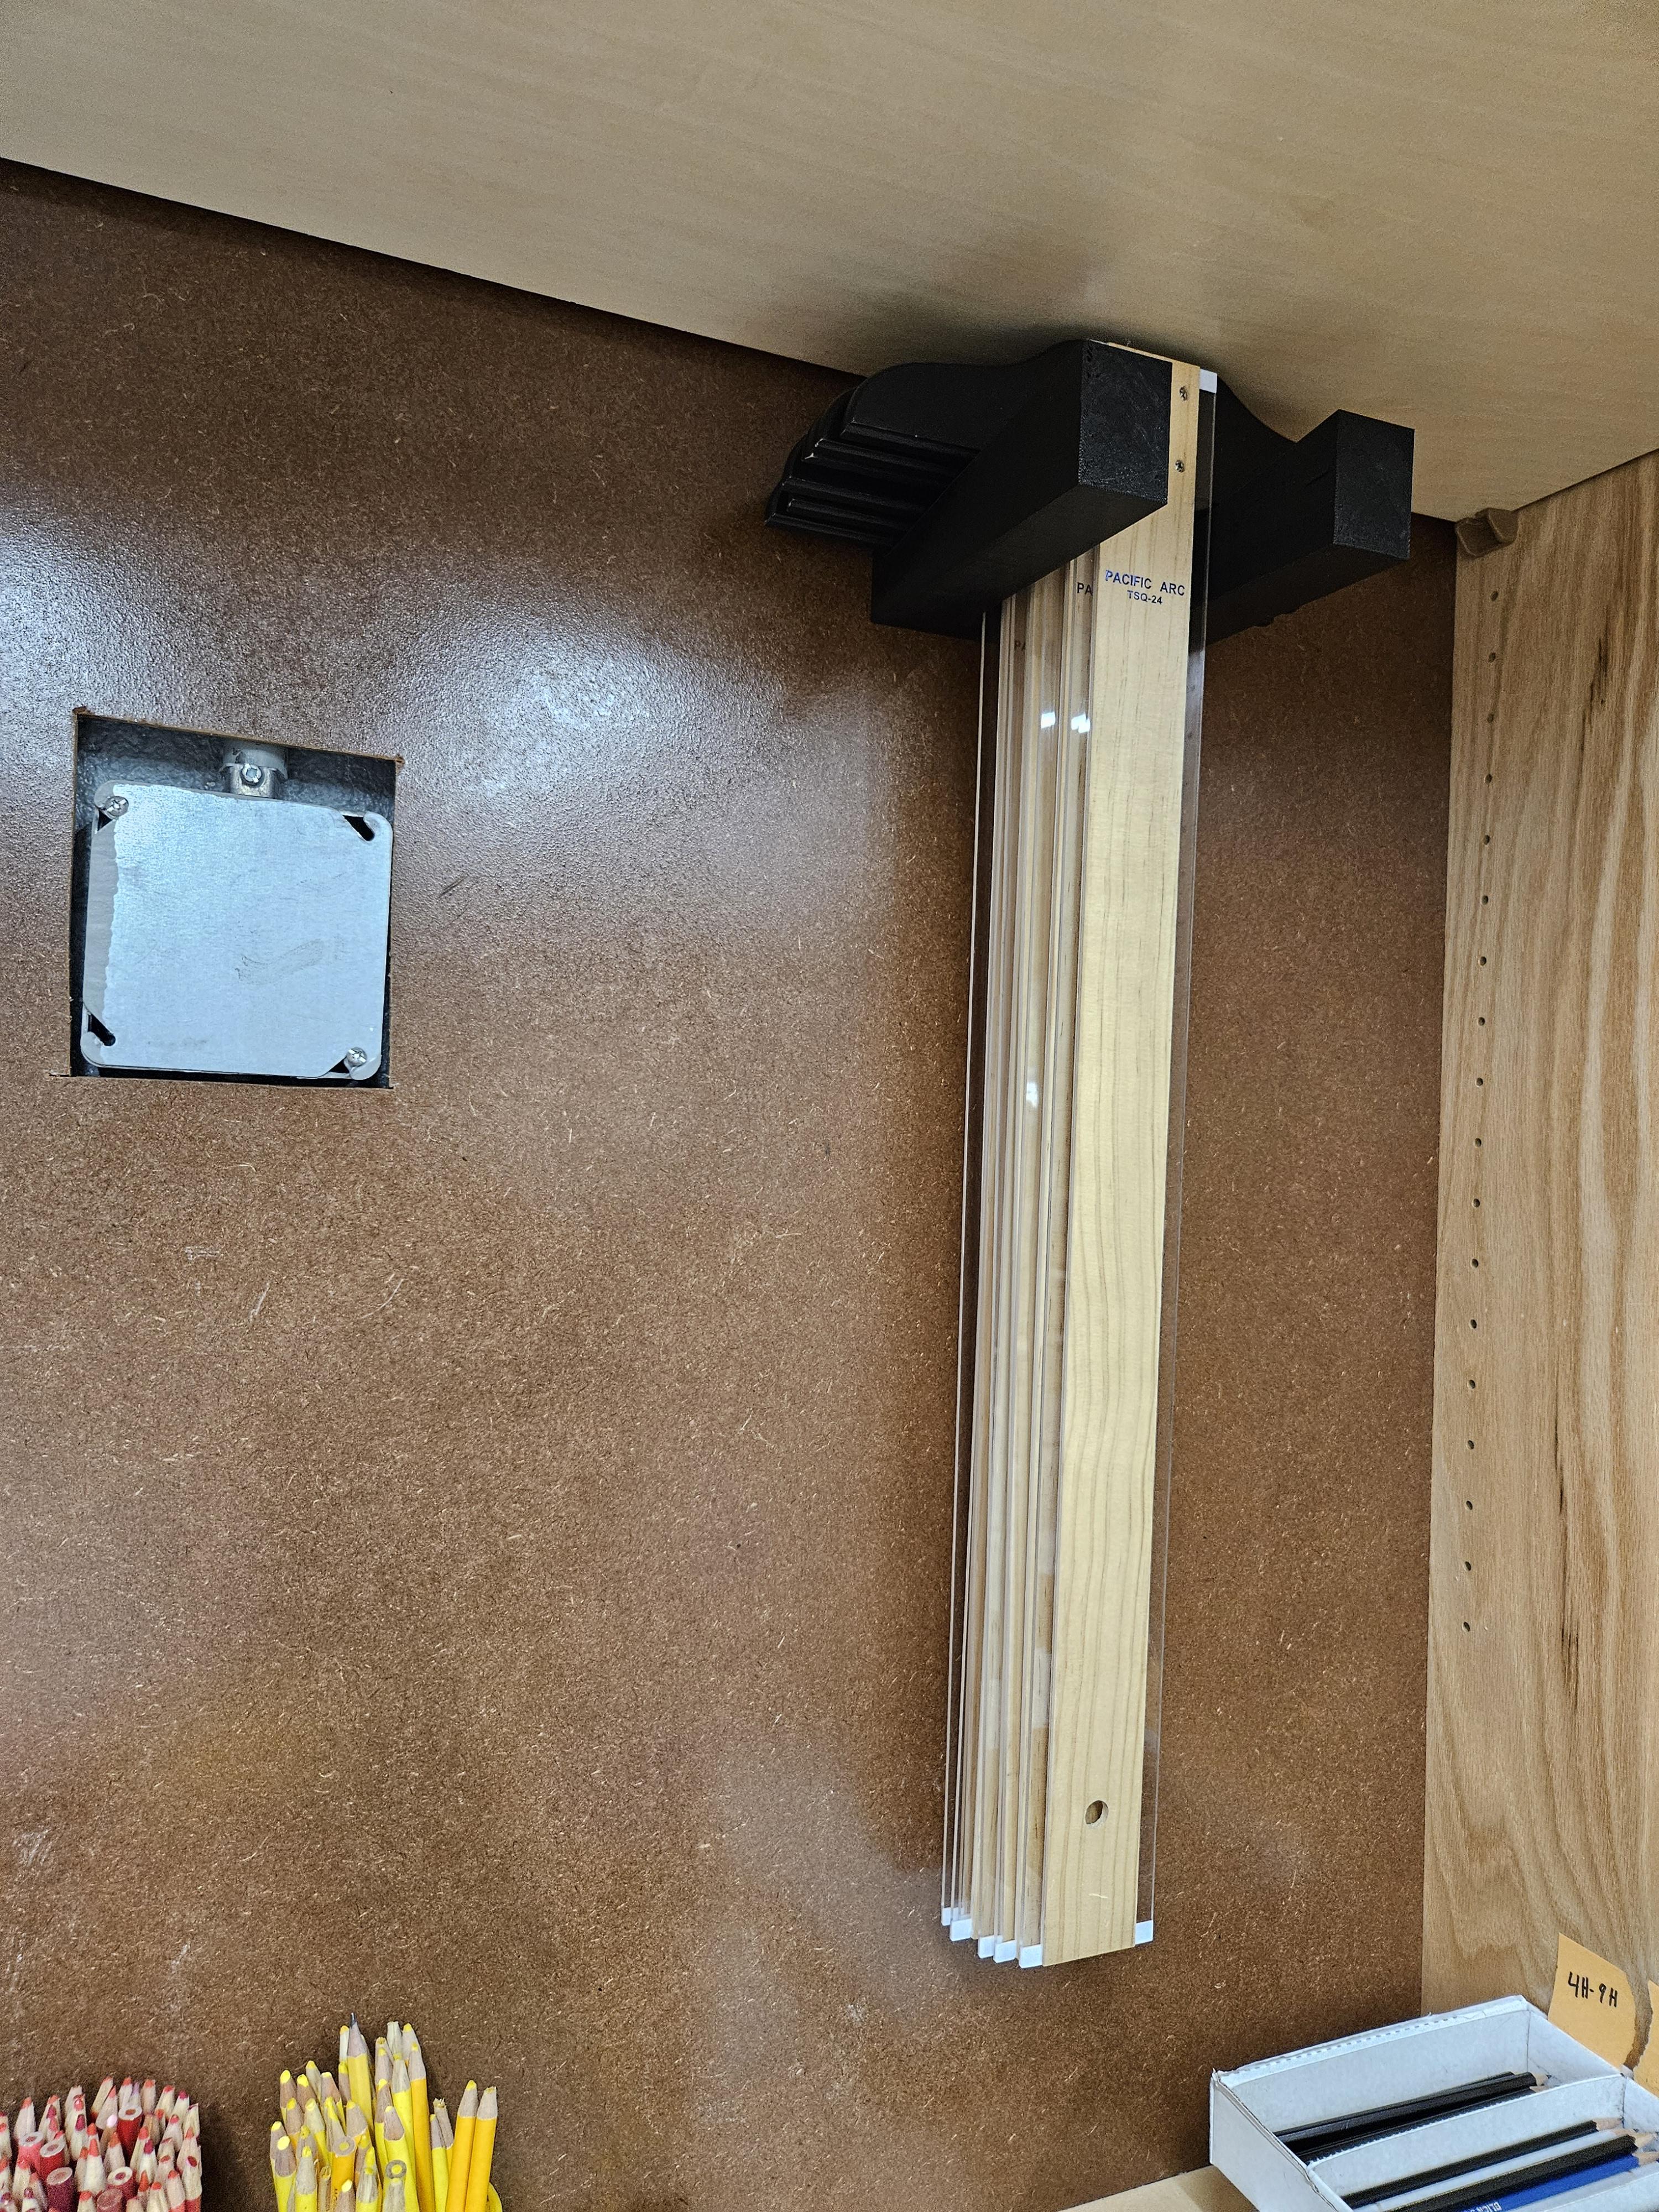
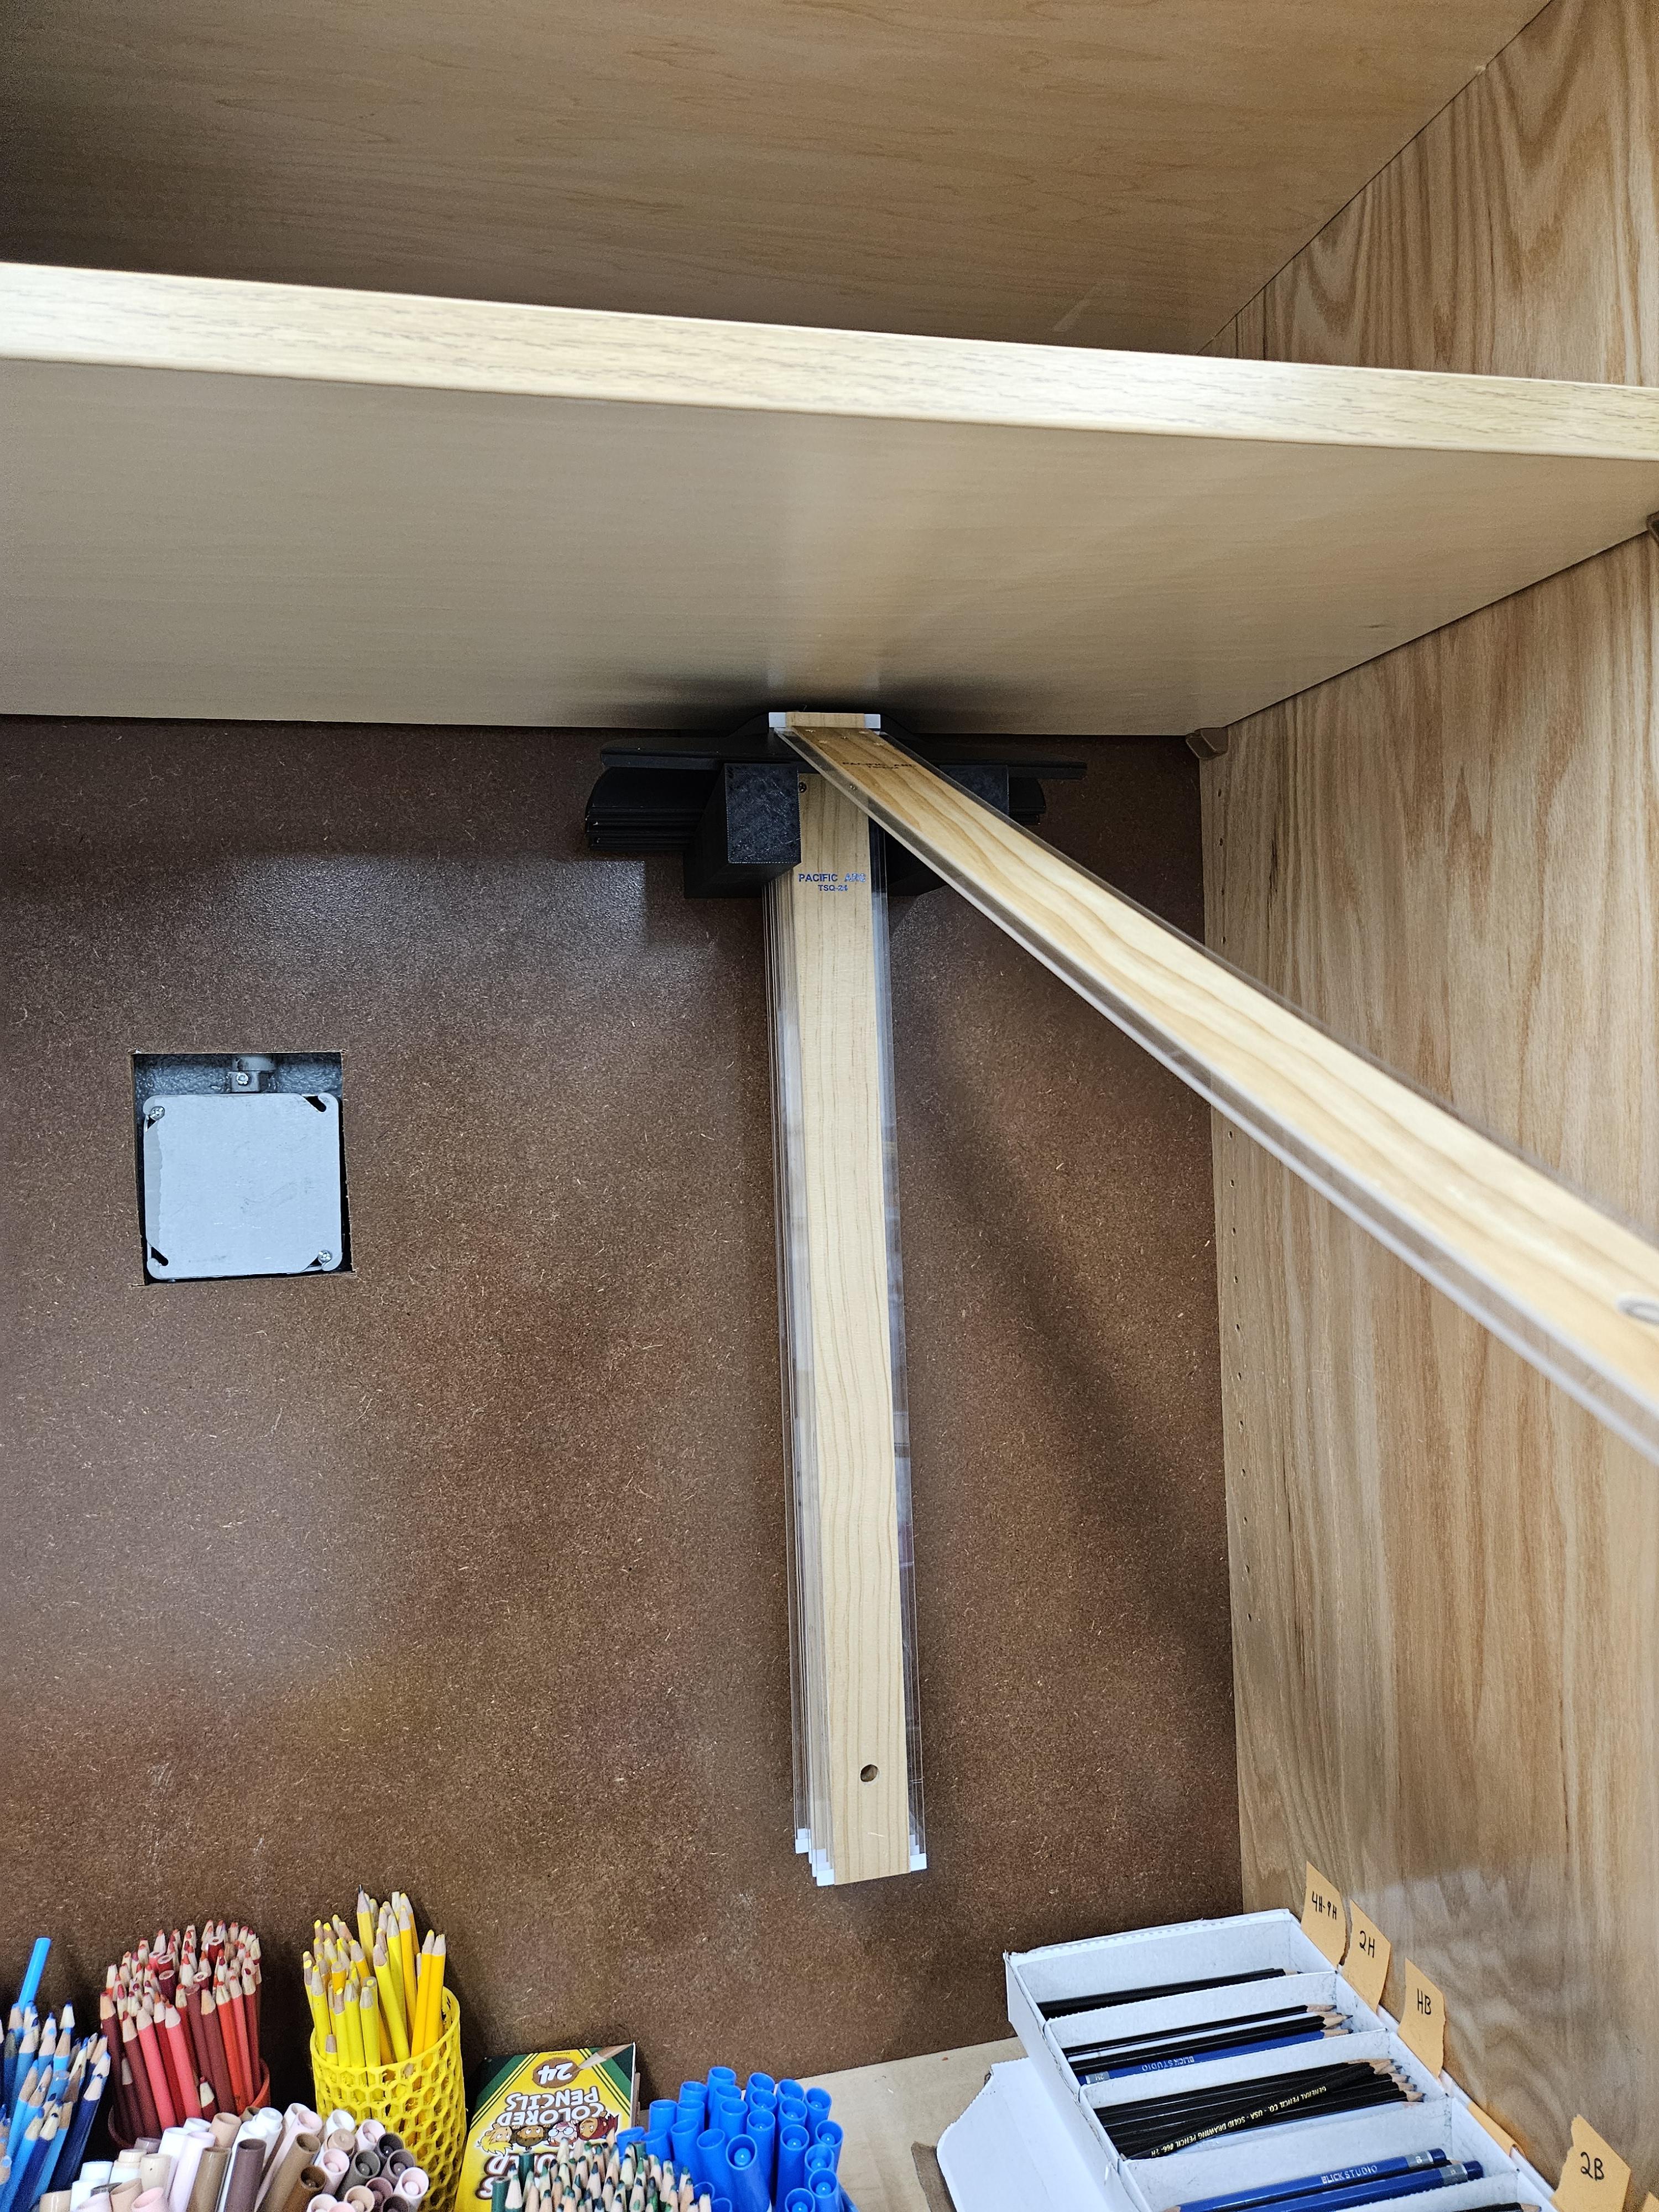
Storing the T Squares vertically is best to avoid any bending or warping. Removing a shelf from a large cabinet left enough space for the 2ft T square to hang. Originally I looked to use the pre-drilled holes on the side of the cabinets that hold the shelves up. That plan was ditched because of how shallow the holes were. There was not enough to get a strong hold that will last over many uses. I thought about screwing the holder directly into the walls but opted for a less destructive option. The shelf above can be pulled forwards a bit leaving a gap in the back. This makes for a good spot to hold a hanger with no screws needed.
Considerations and Constraints
.jpg)
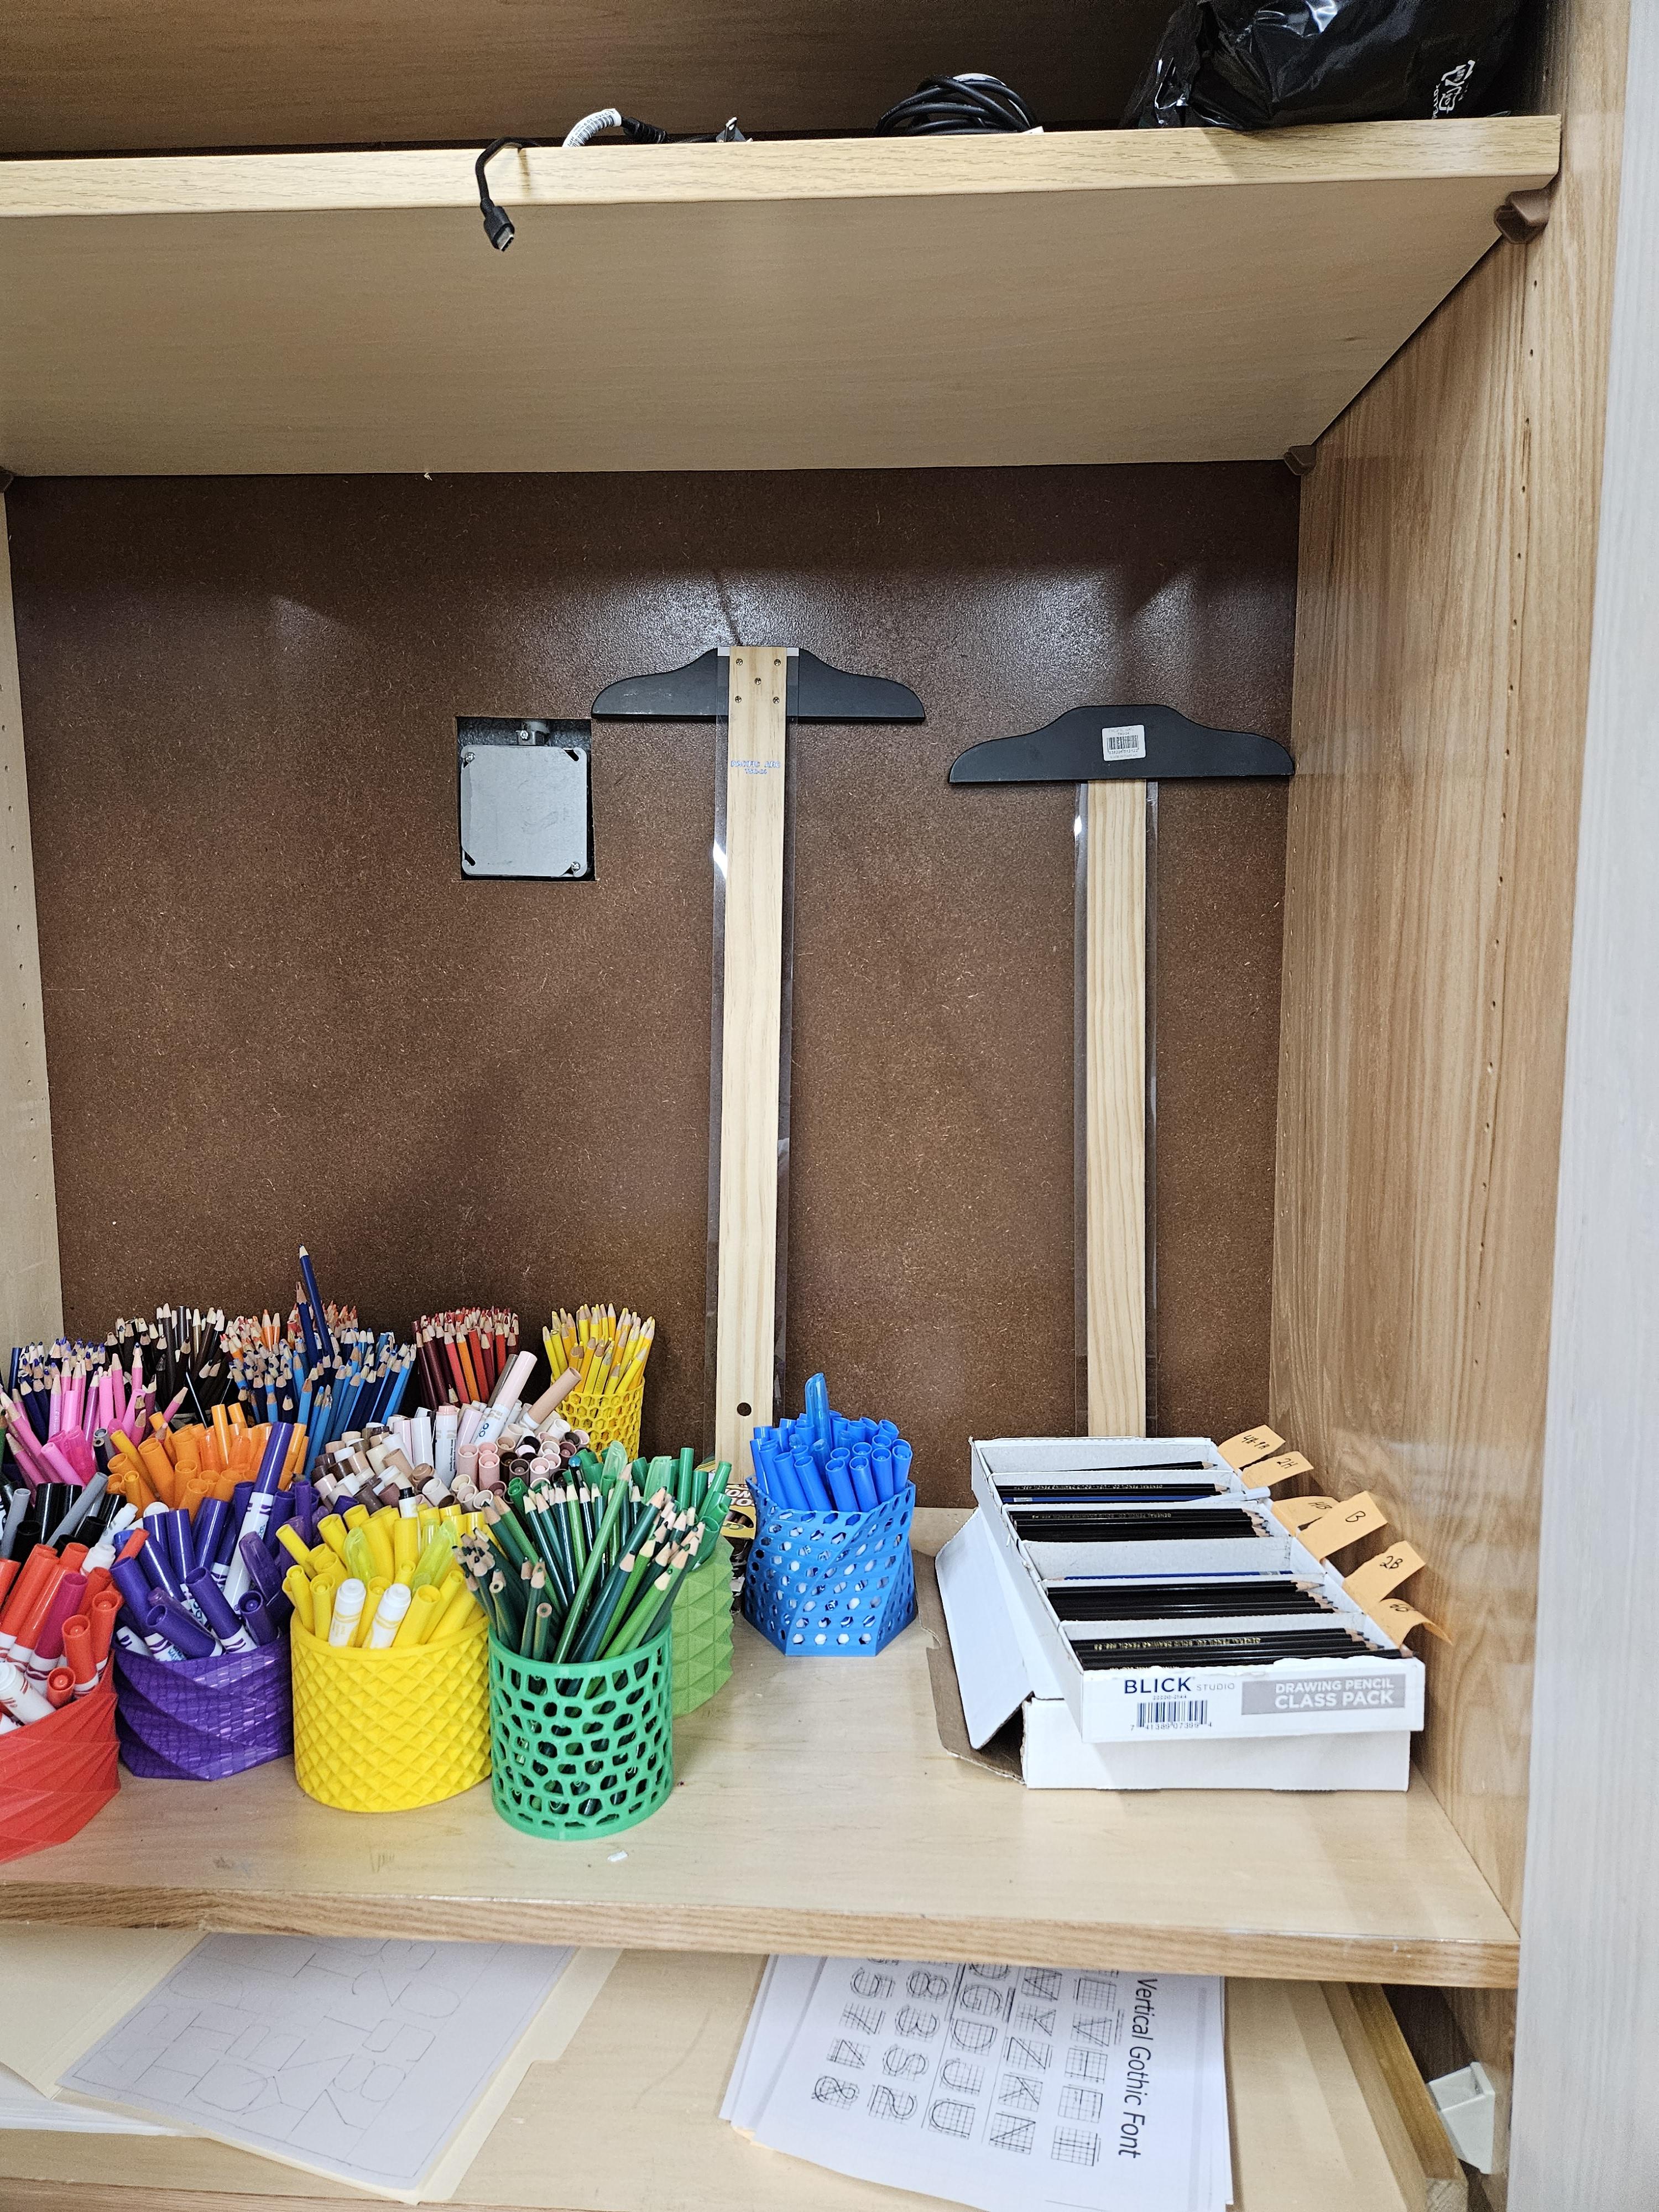
With a location chosen we can start taking important measurements and think about constraints that might limit the design. The middle of the T squares are 3 inch wide so a gap will need to be left wider than that. The black portion is 2 inches tall which is the minimum clearance from the holder to the top of the shelf needed. The thickness of the top shelf is 1 inch and the space behind the shelf is about a 0.5 inch. Getting the holder to fit snug behind the shelf will be key. Ideally each hanger can hold 12 T squares but the thickness of each T square make something closer to 6-8 more reasonable. This will control how long the arms holder stick out. Most standard 3D printers have a build volume around 8 x 8 x 8 inches. Keeping the design with in these parameters is best. We do have access to a Prusa XL with a larger build volume if needed.
Initial Prototype

.jpg)
We used the free, web based design program, TinkerCAD.com to create a simple prototype. The goal was to design something quickly that had the rough dimensions needed. Once printed we would be able to make adjustments and add finishing touches. Sticking to mostly cube shapes we were able to develop the initial prototype. This was 3D printed with minimal settings to reduce time and material cost. Only 1 wall with 3 top and bottom layers were used The infill was set to 10%. An orientation was chosen were not supports were needed. We will talk more about these decisions in a later step with the final prototype but for now these will do.
Testing and Redesign
.jpg)
.jpg)
.jpg)
.jpg)
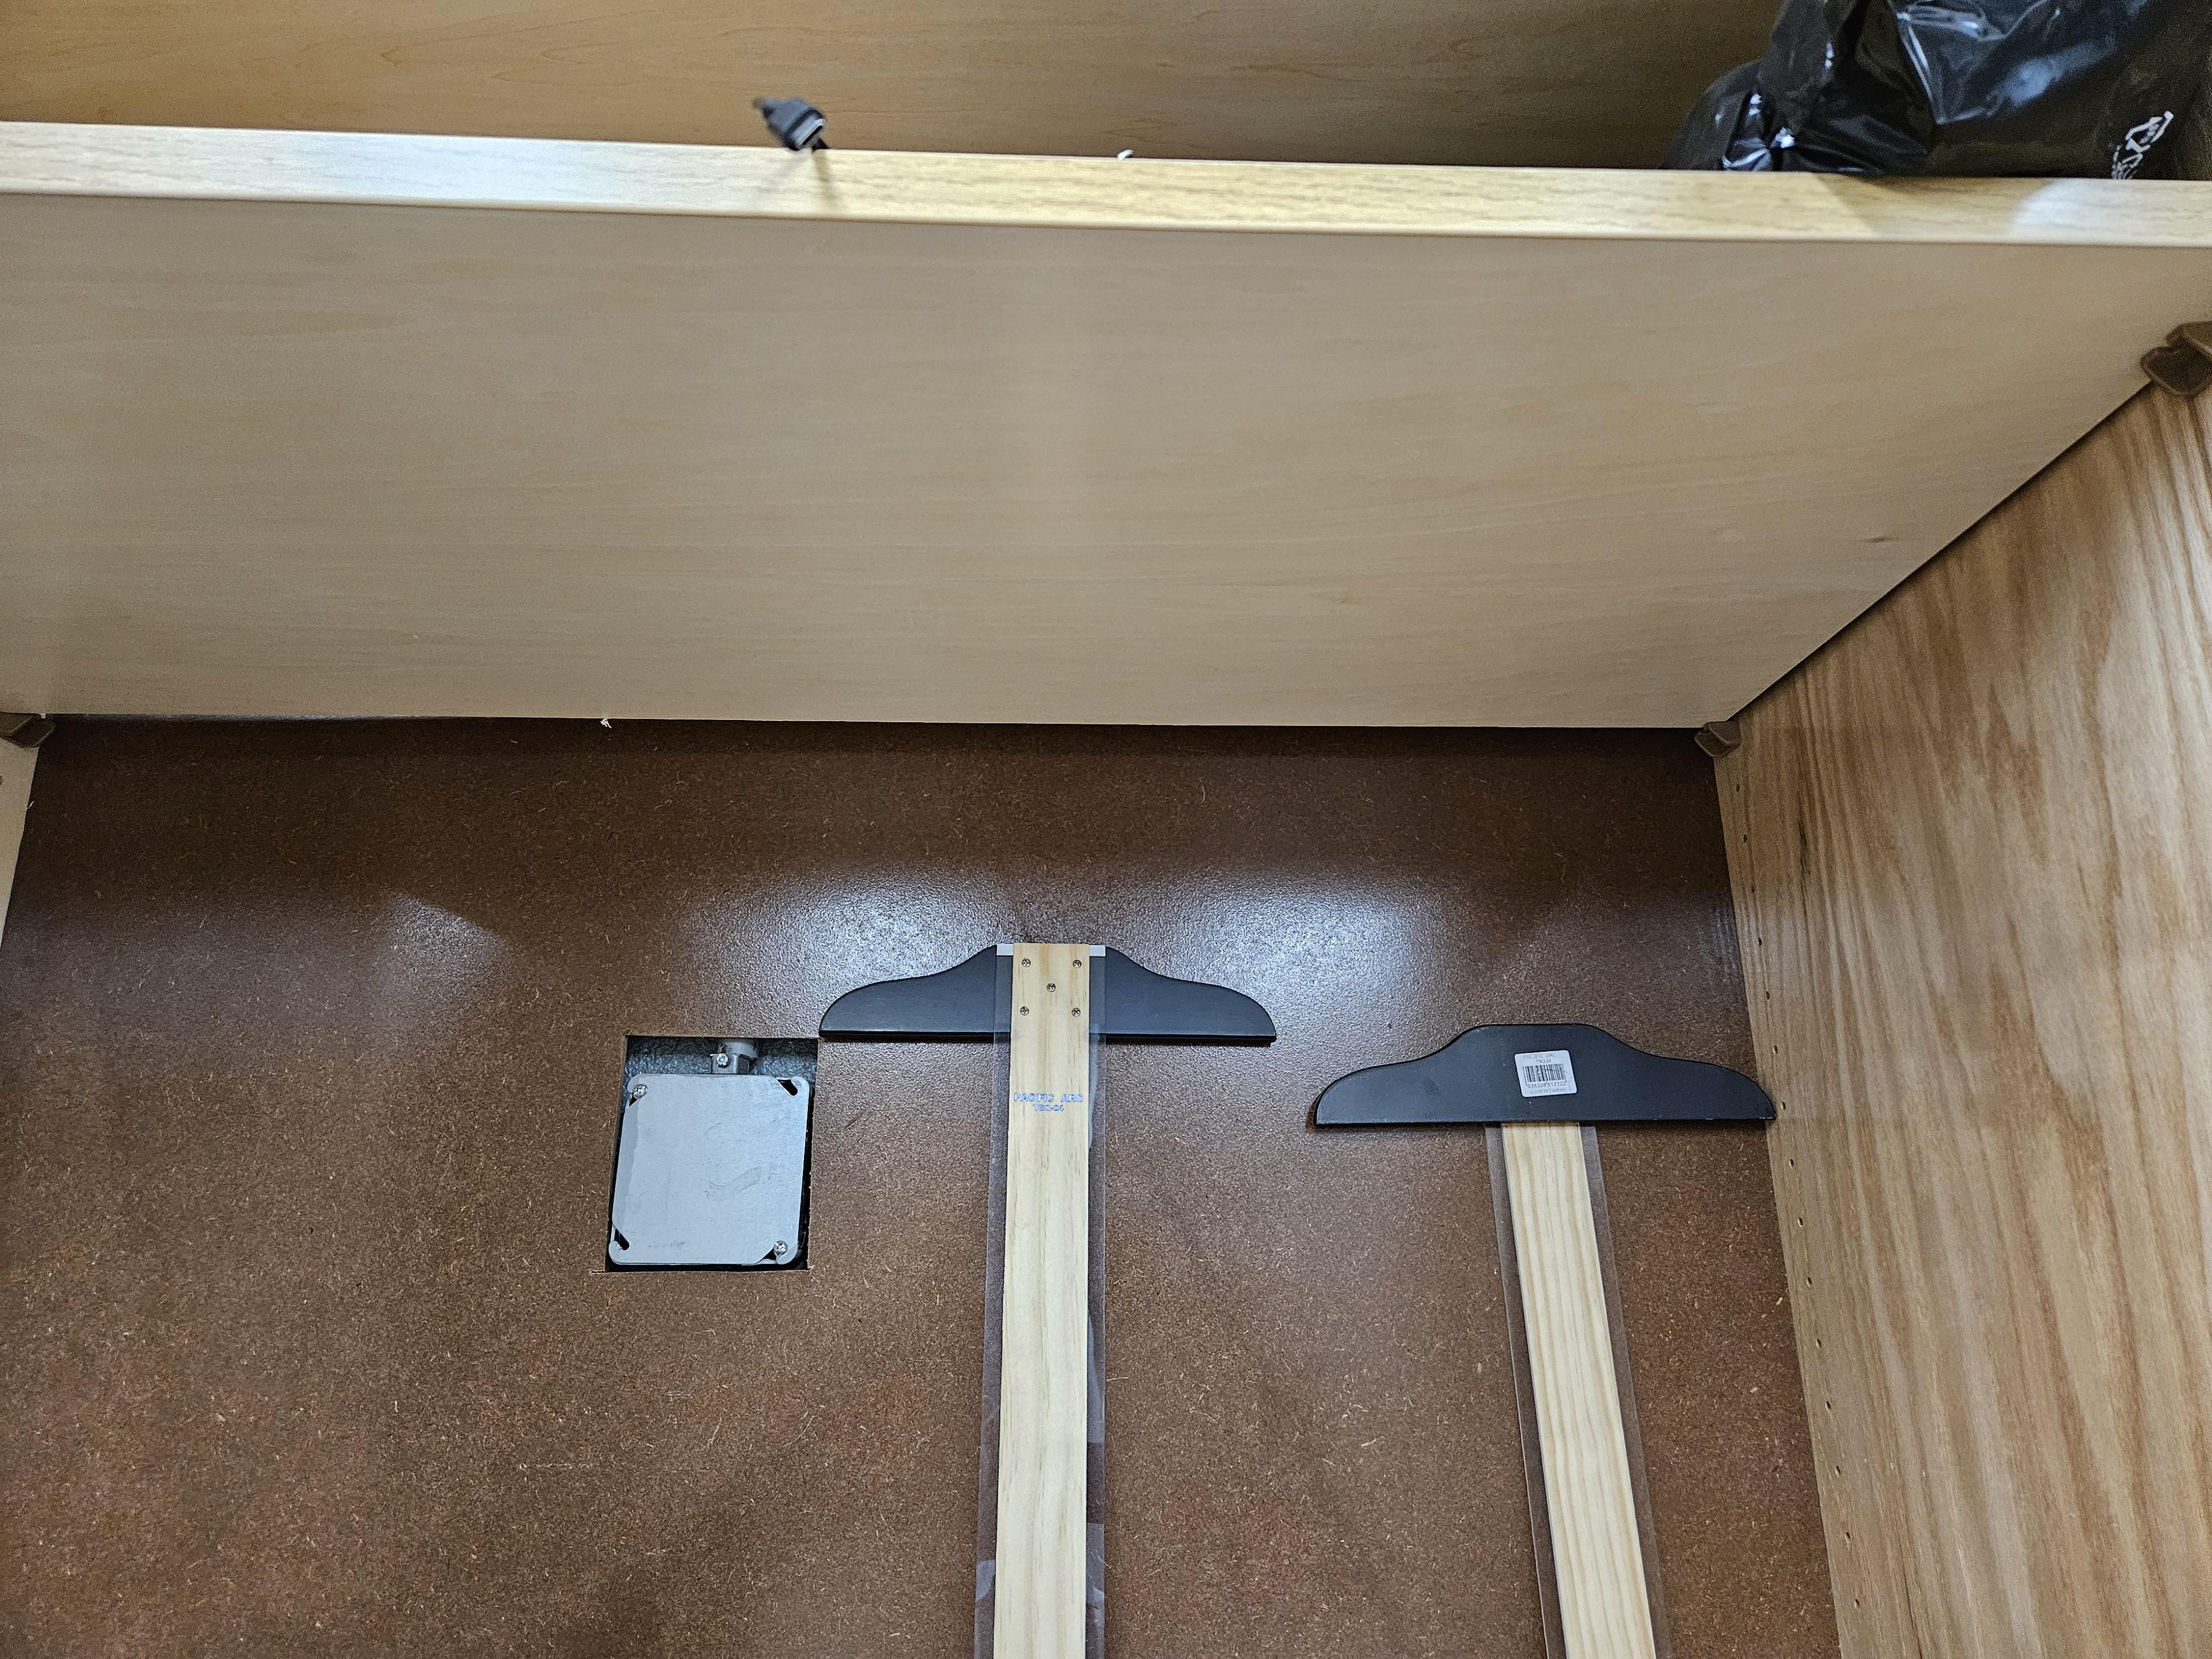
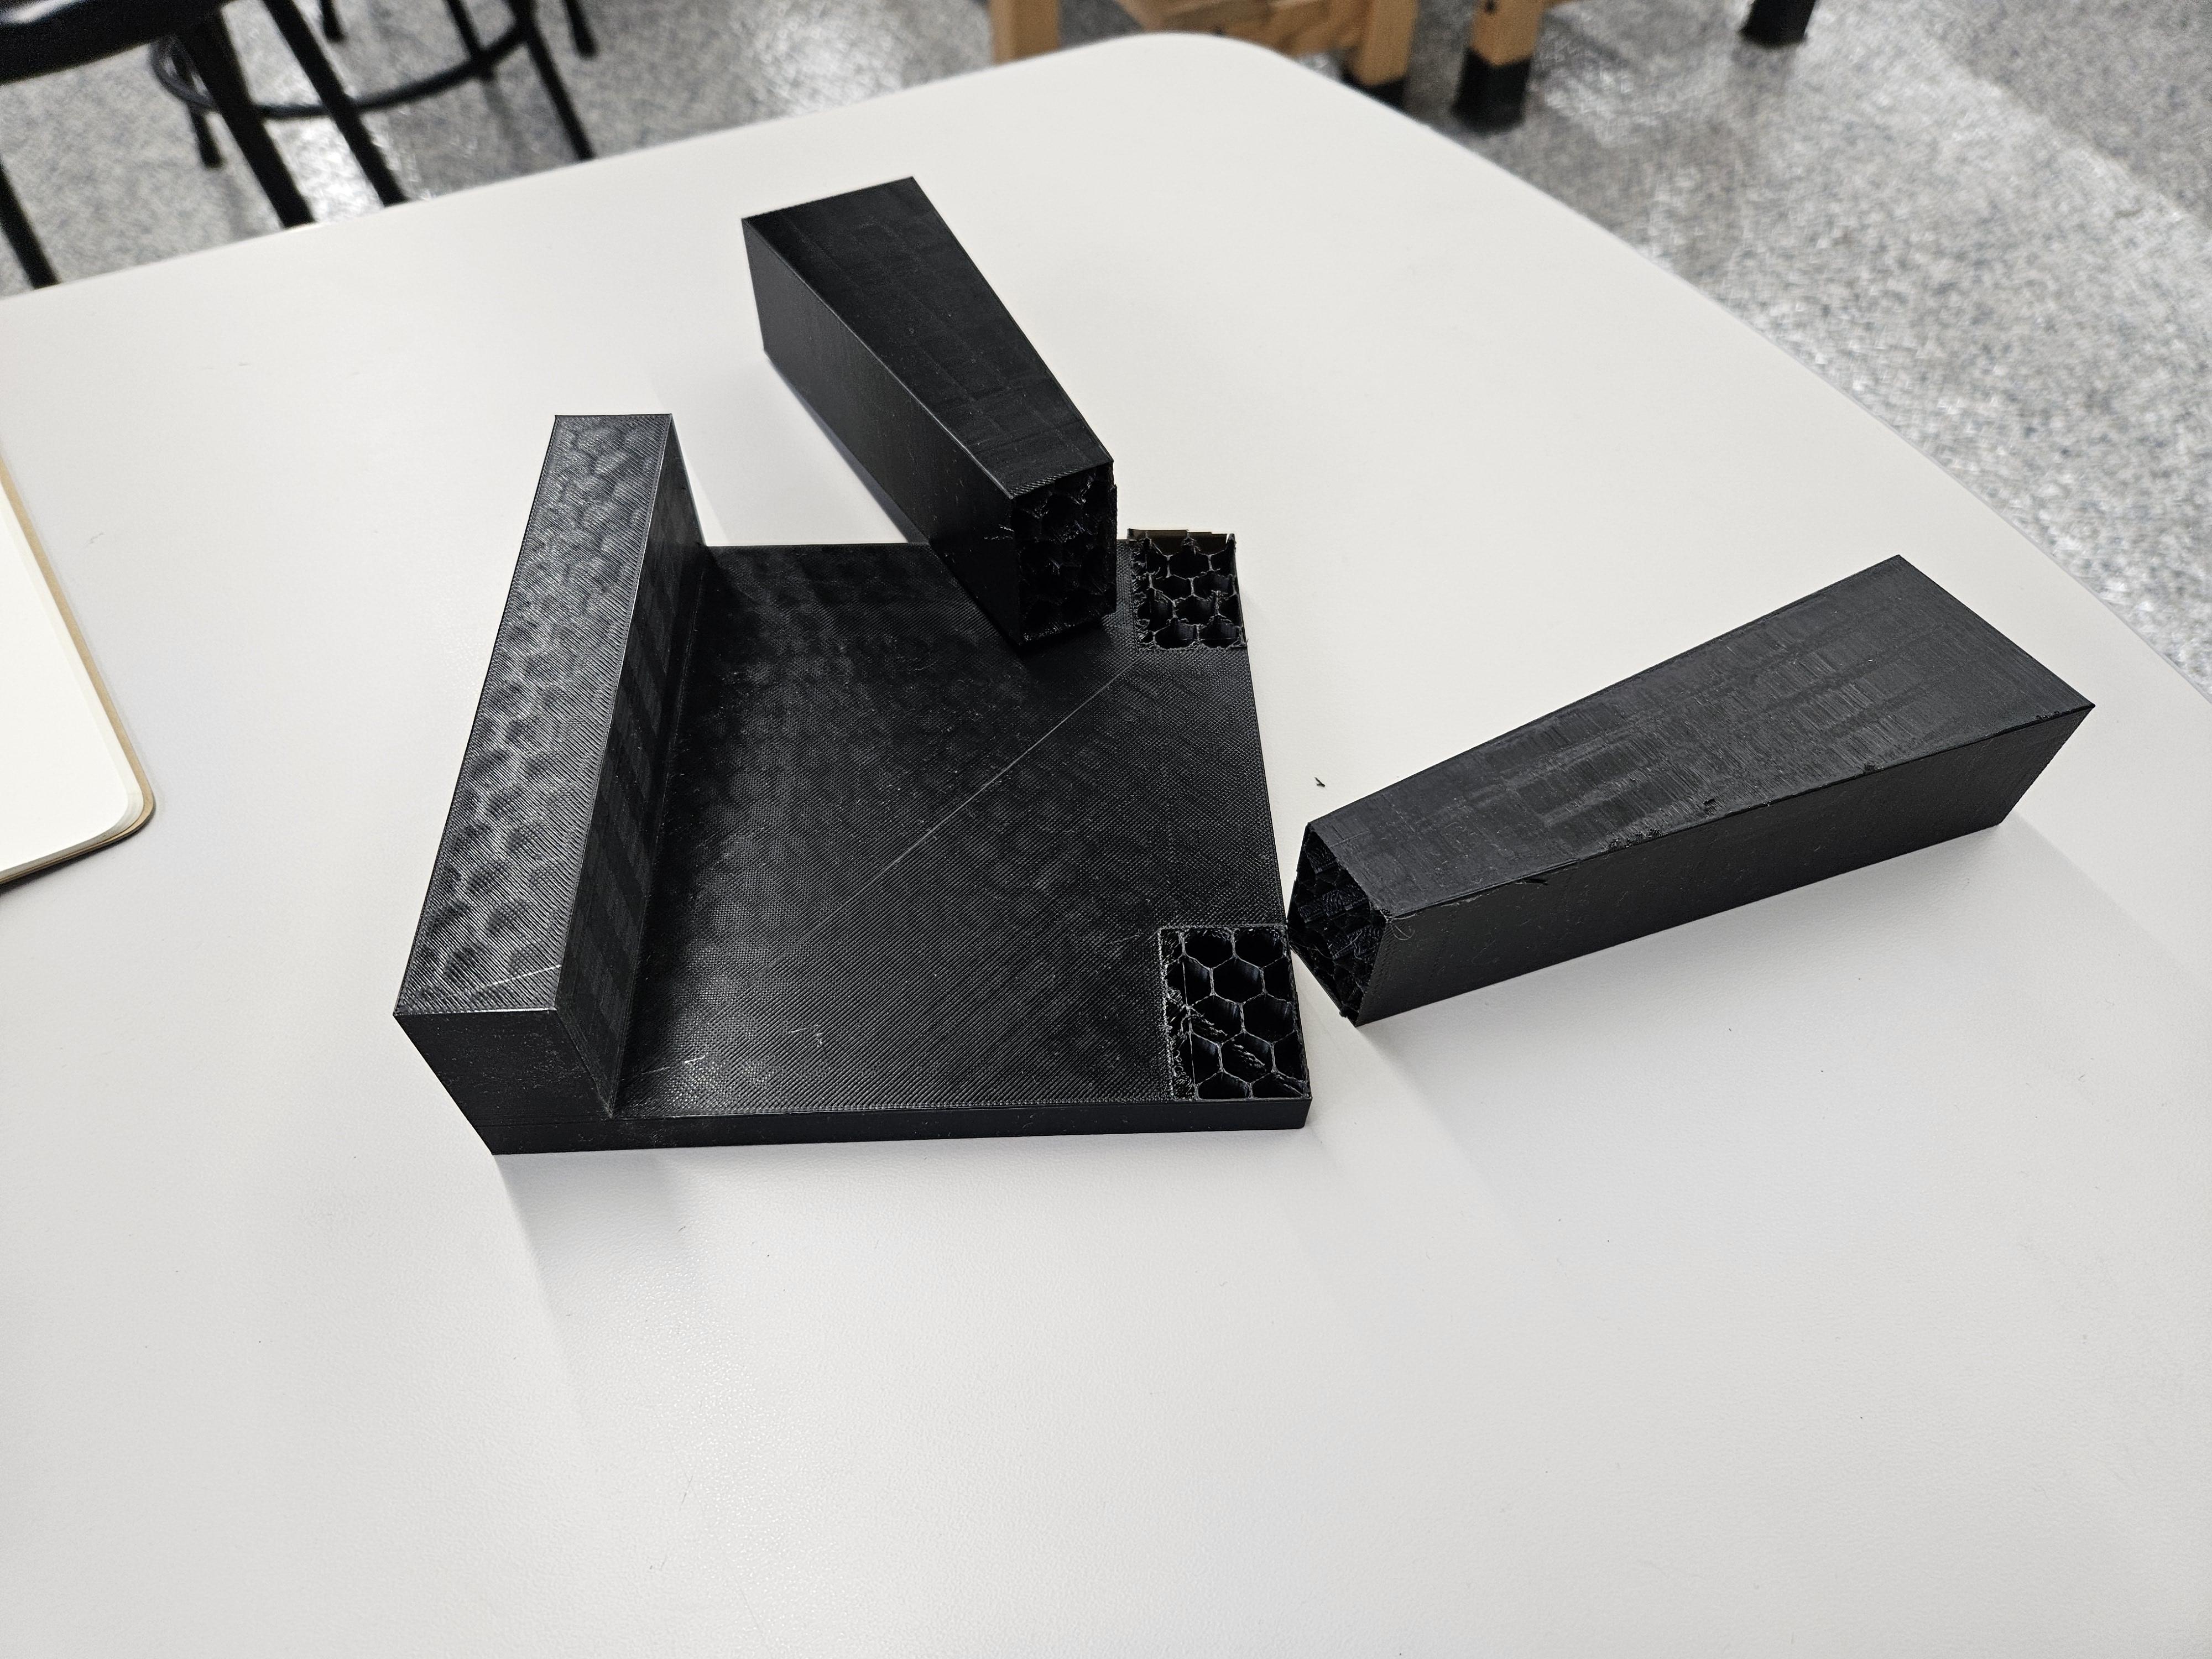
The first print finished with out issue. The fit behind the shelf was great. The space left to slide the T square into the holder was too tight. The slight angle given to the slope of the arms made less room than planned. Hanging the entire holder lower will be the major change to the design. There is a concern about getting too low and bumping into the pencils below. No prototype is properly tested until it is broken so a strength test was done. Pulling down on the arms until failure was completely necessary. The next 3D printed version will have stronger settings but we did find out where the weak point was and how a downward force impacts the design. This gained knowledge guided design choices and decisions in the next steps.
New Design
.jpg)
.jpg)
.jpg)
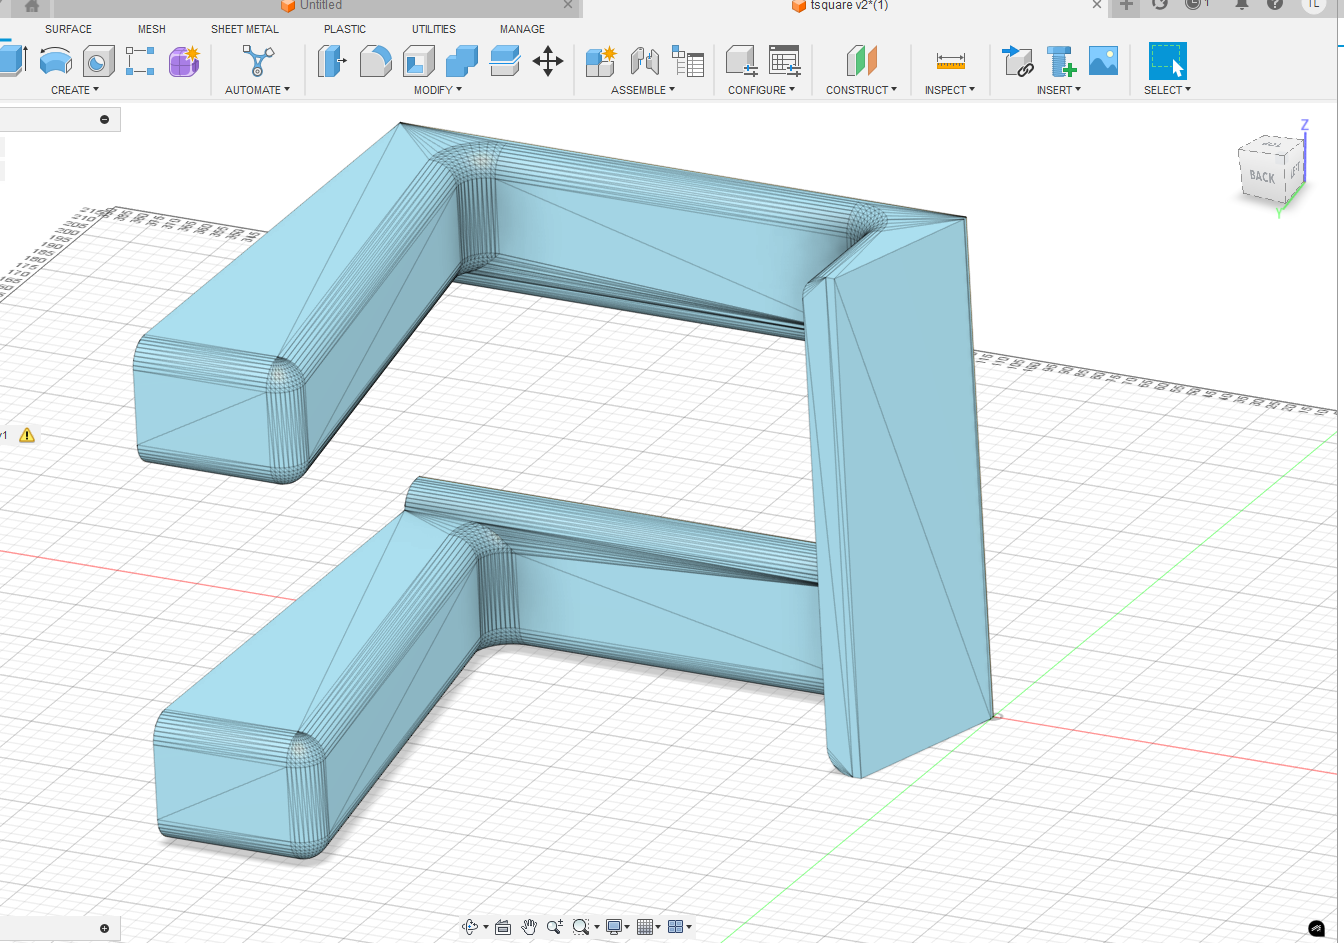
With a more clear view from the prototype, a new version of the holder was developed. We switched to Autodesk's Fusion 360 for a program with more features and control than TinkerCAD offers. Much of the shape stayed the same with minor adjustments to the dimensions. The biggest change was the addition of a smooth filet at the corners where the arms meet the base. This is a stress point and the curved shape allows for the forces to be spread out. We also added more filets around the shape to give it a more sleek design. These minor aesthetic changes actually caused some ugliness with the final print that you can see on the inside of the left arm. The very gradual curve is a tough shape for a 3D printer.
Orientation and Slicer Settings
.png)
.png)
.png)
.jpg)
.jpg)
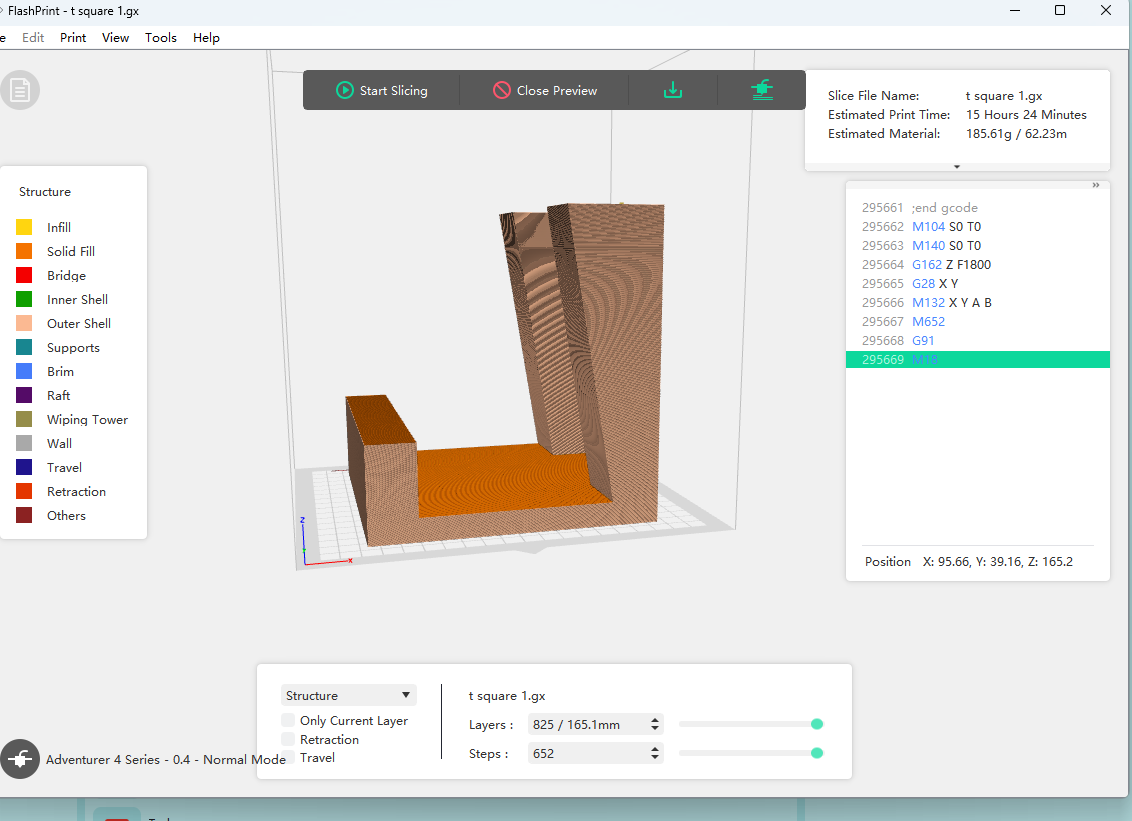
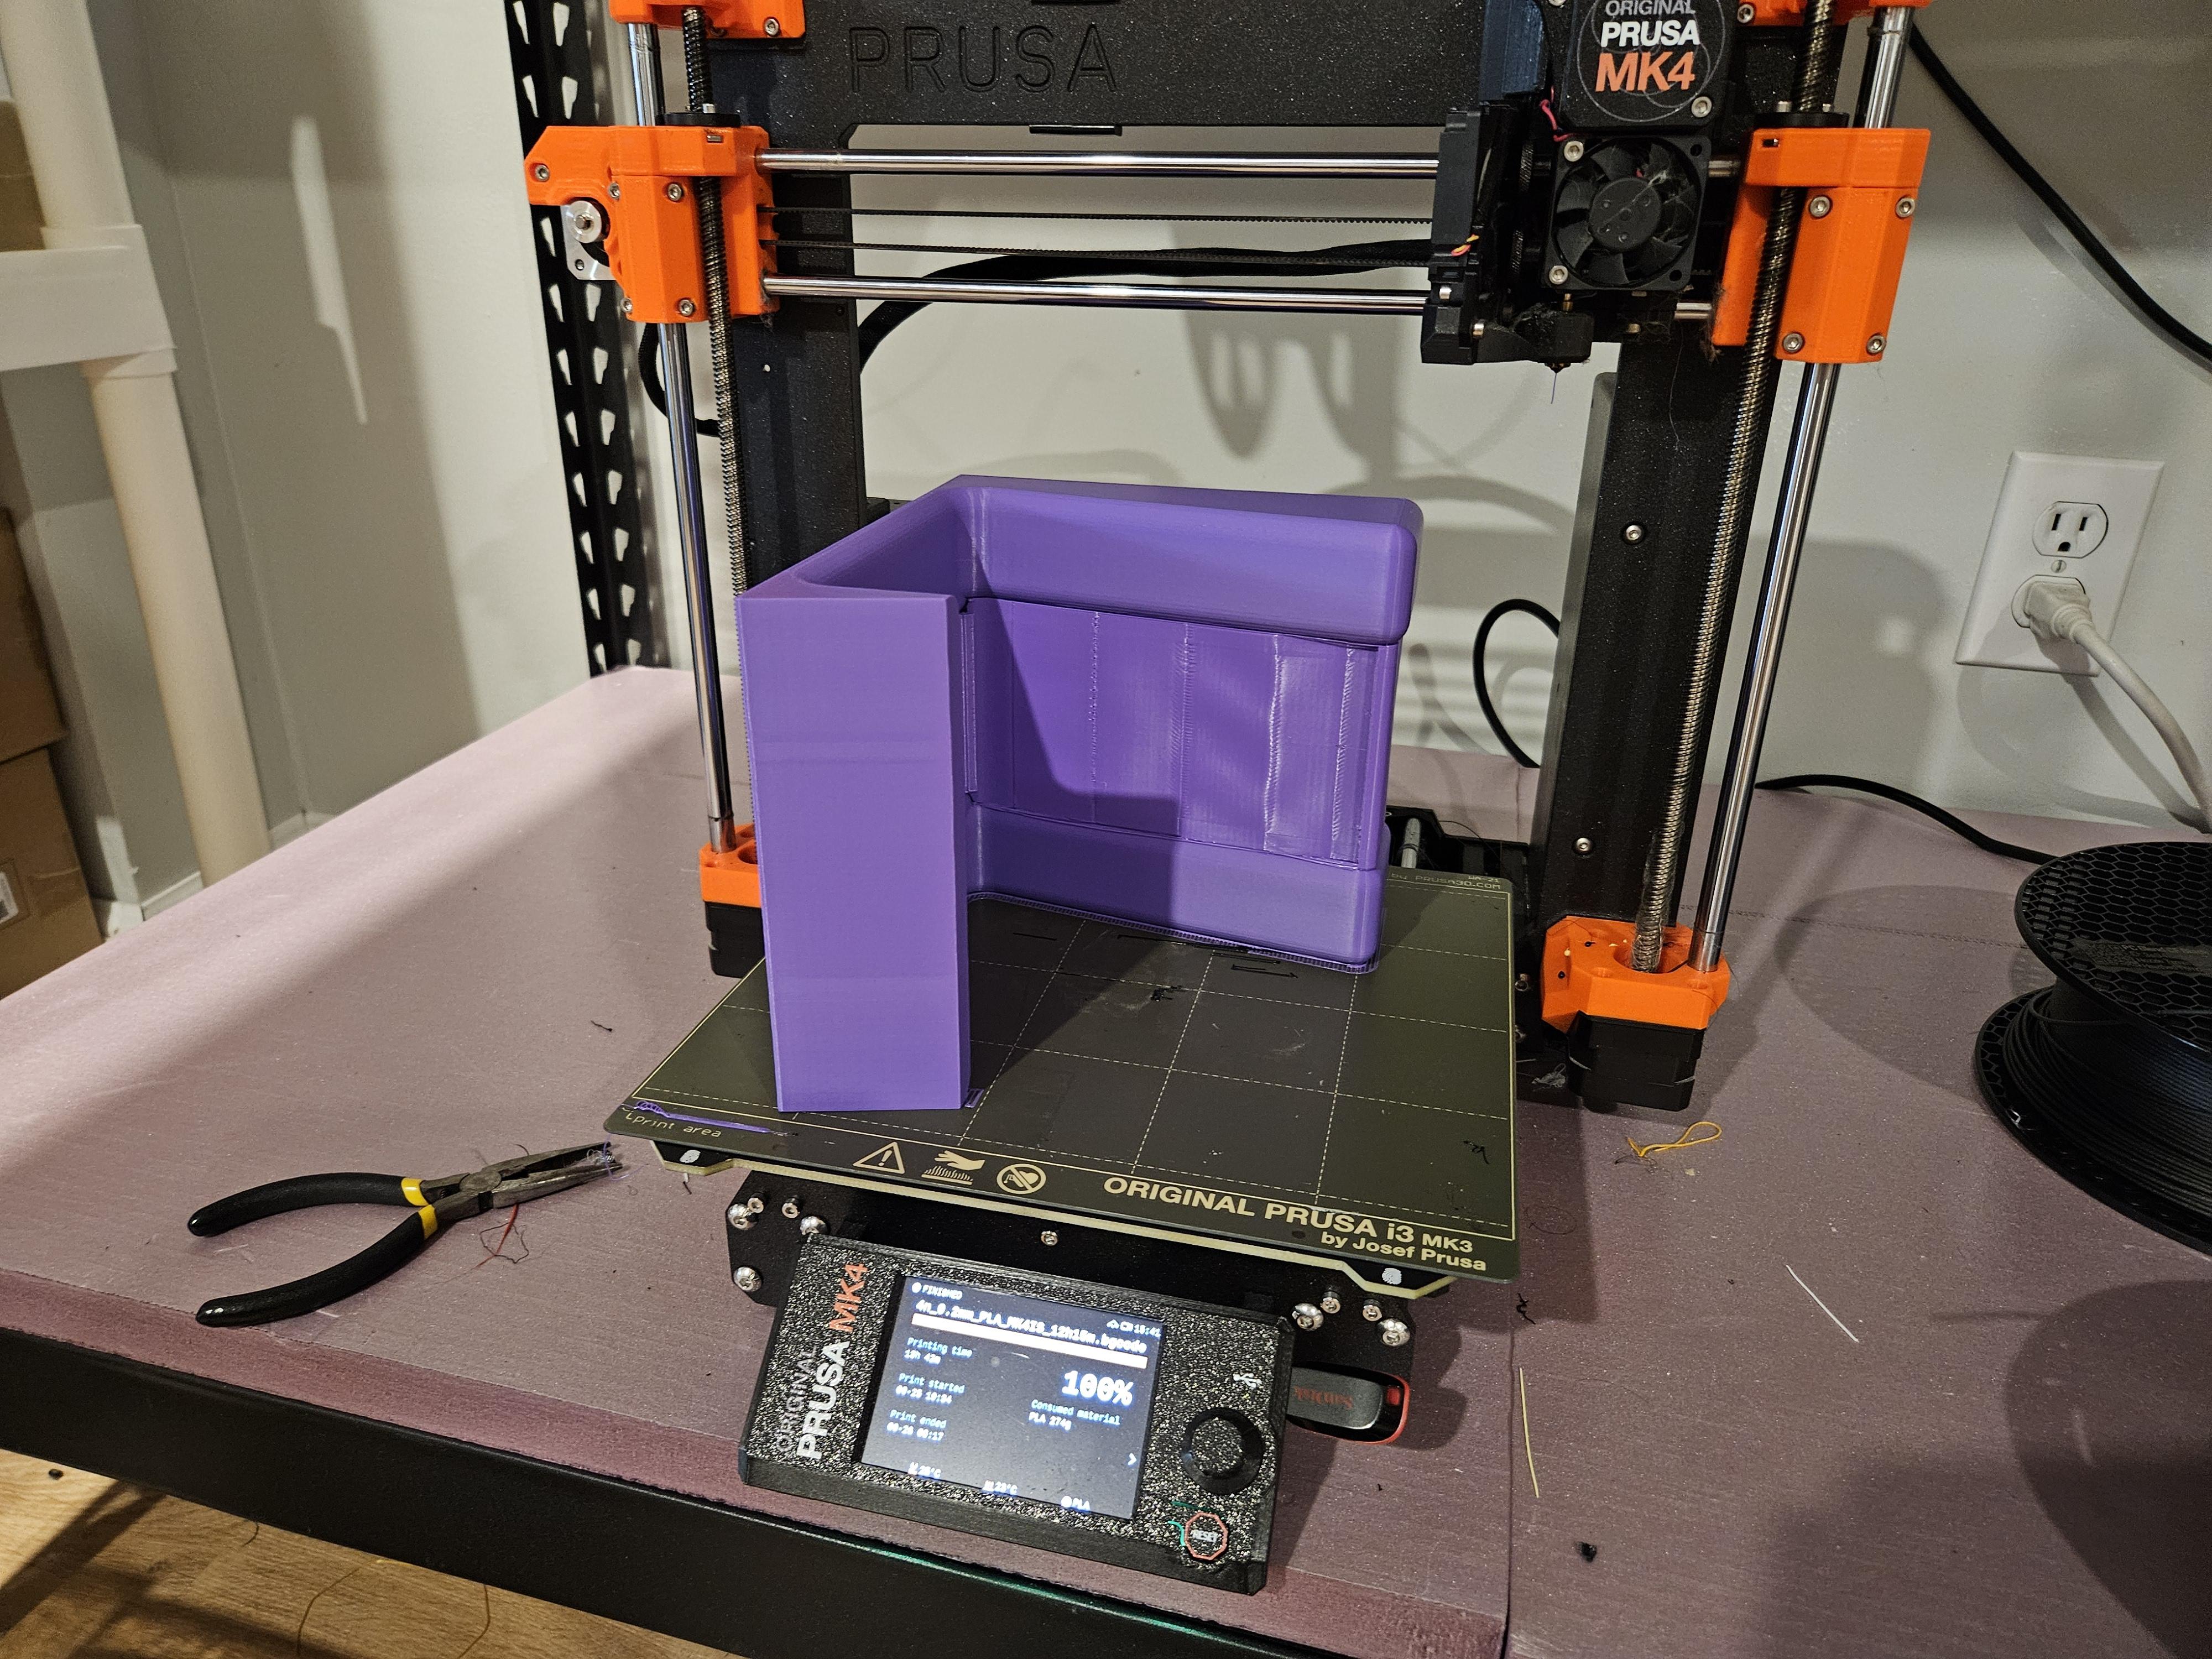
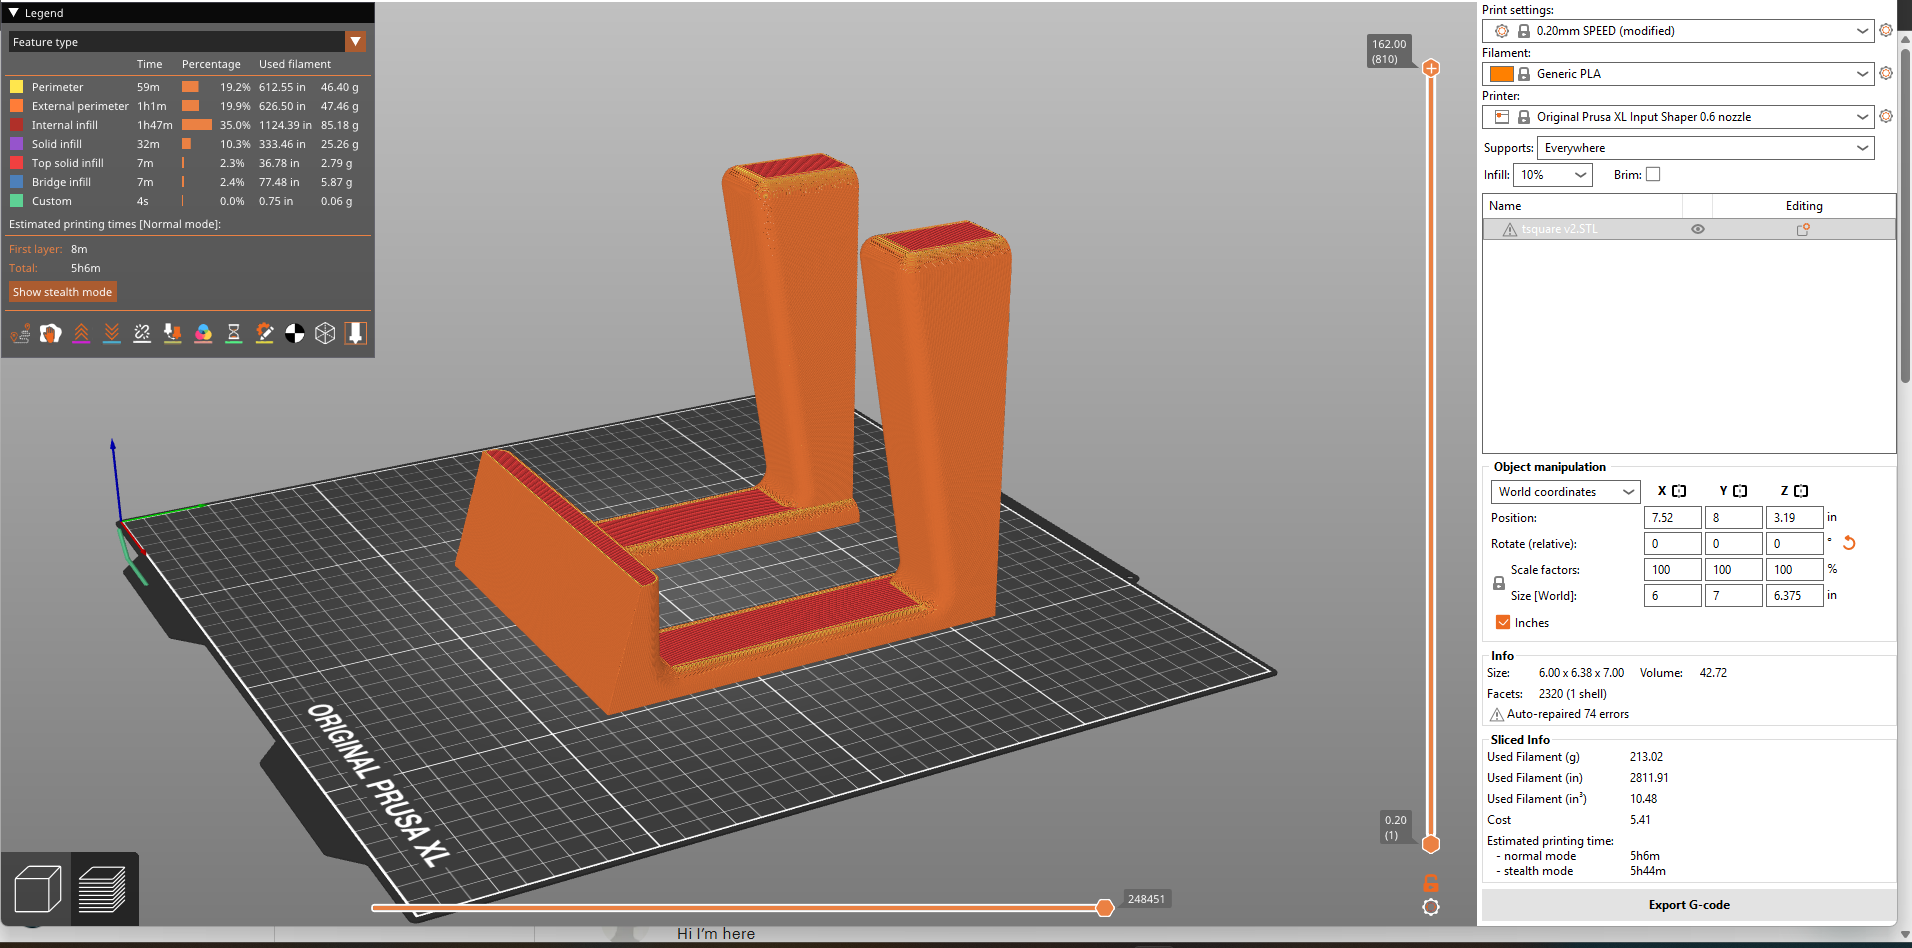
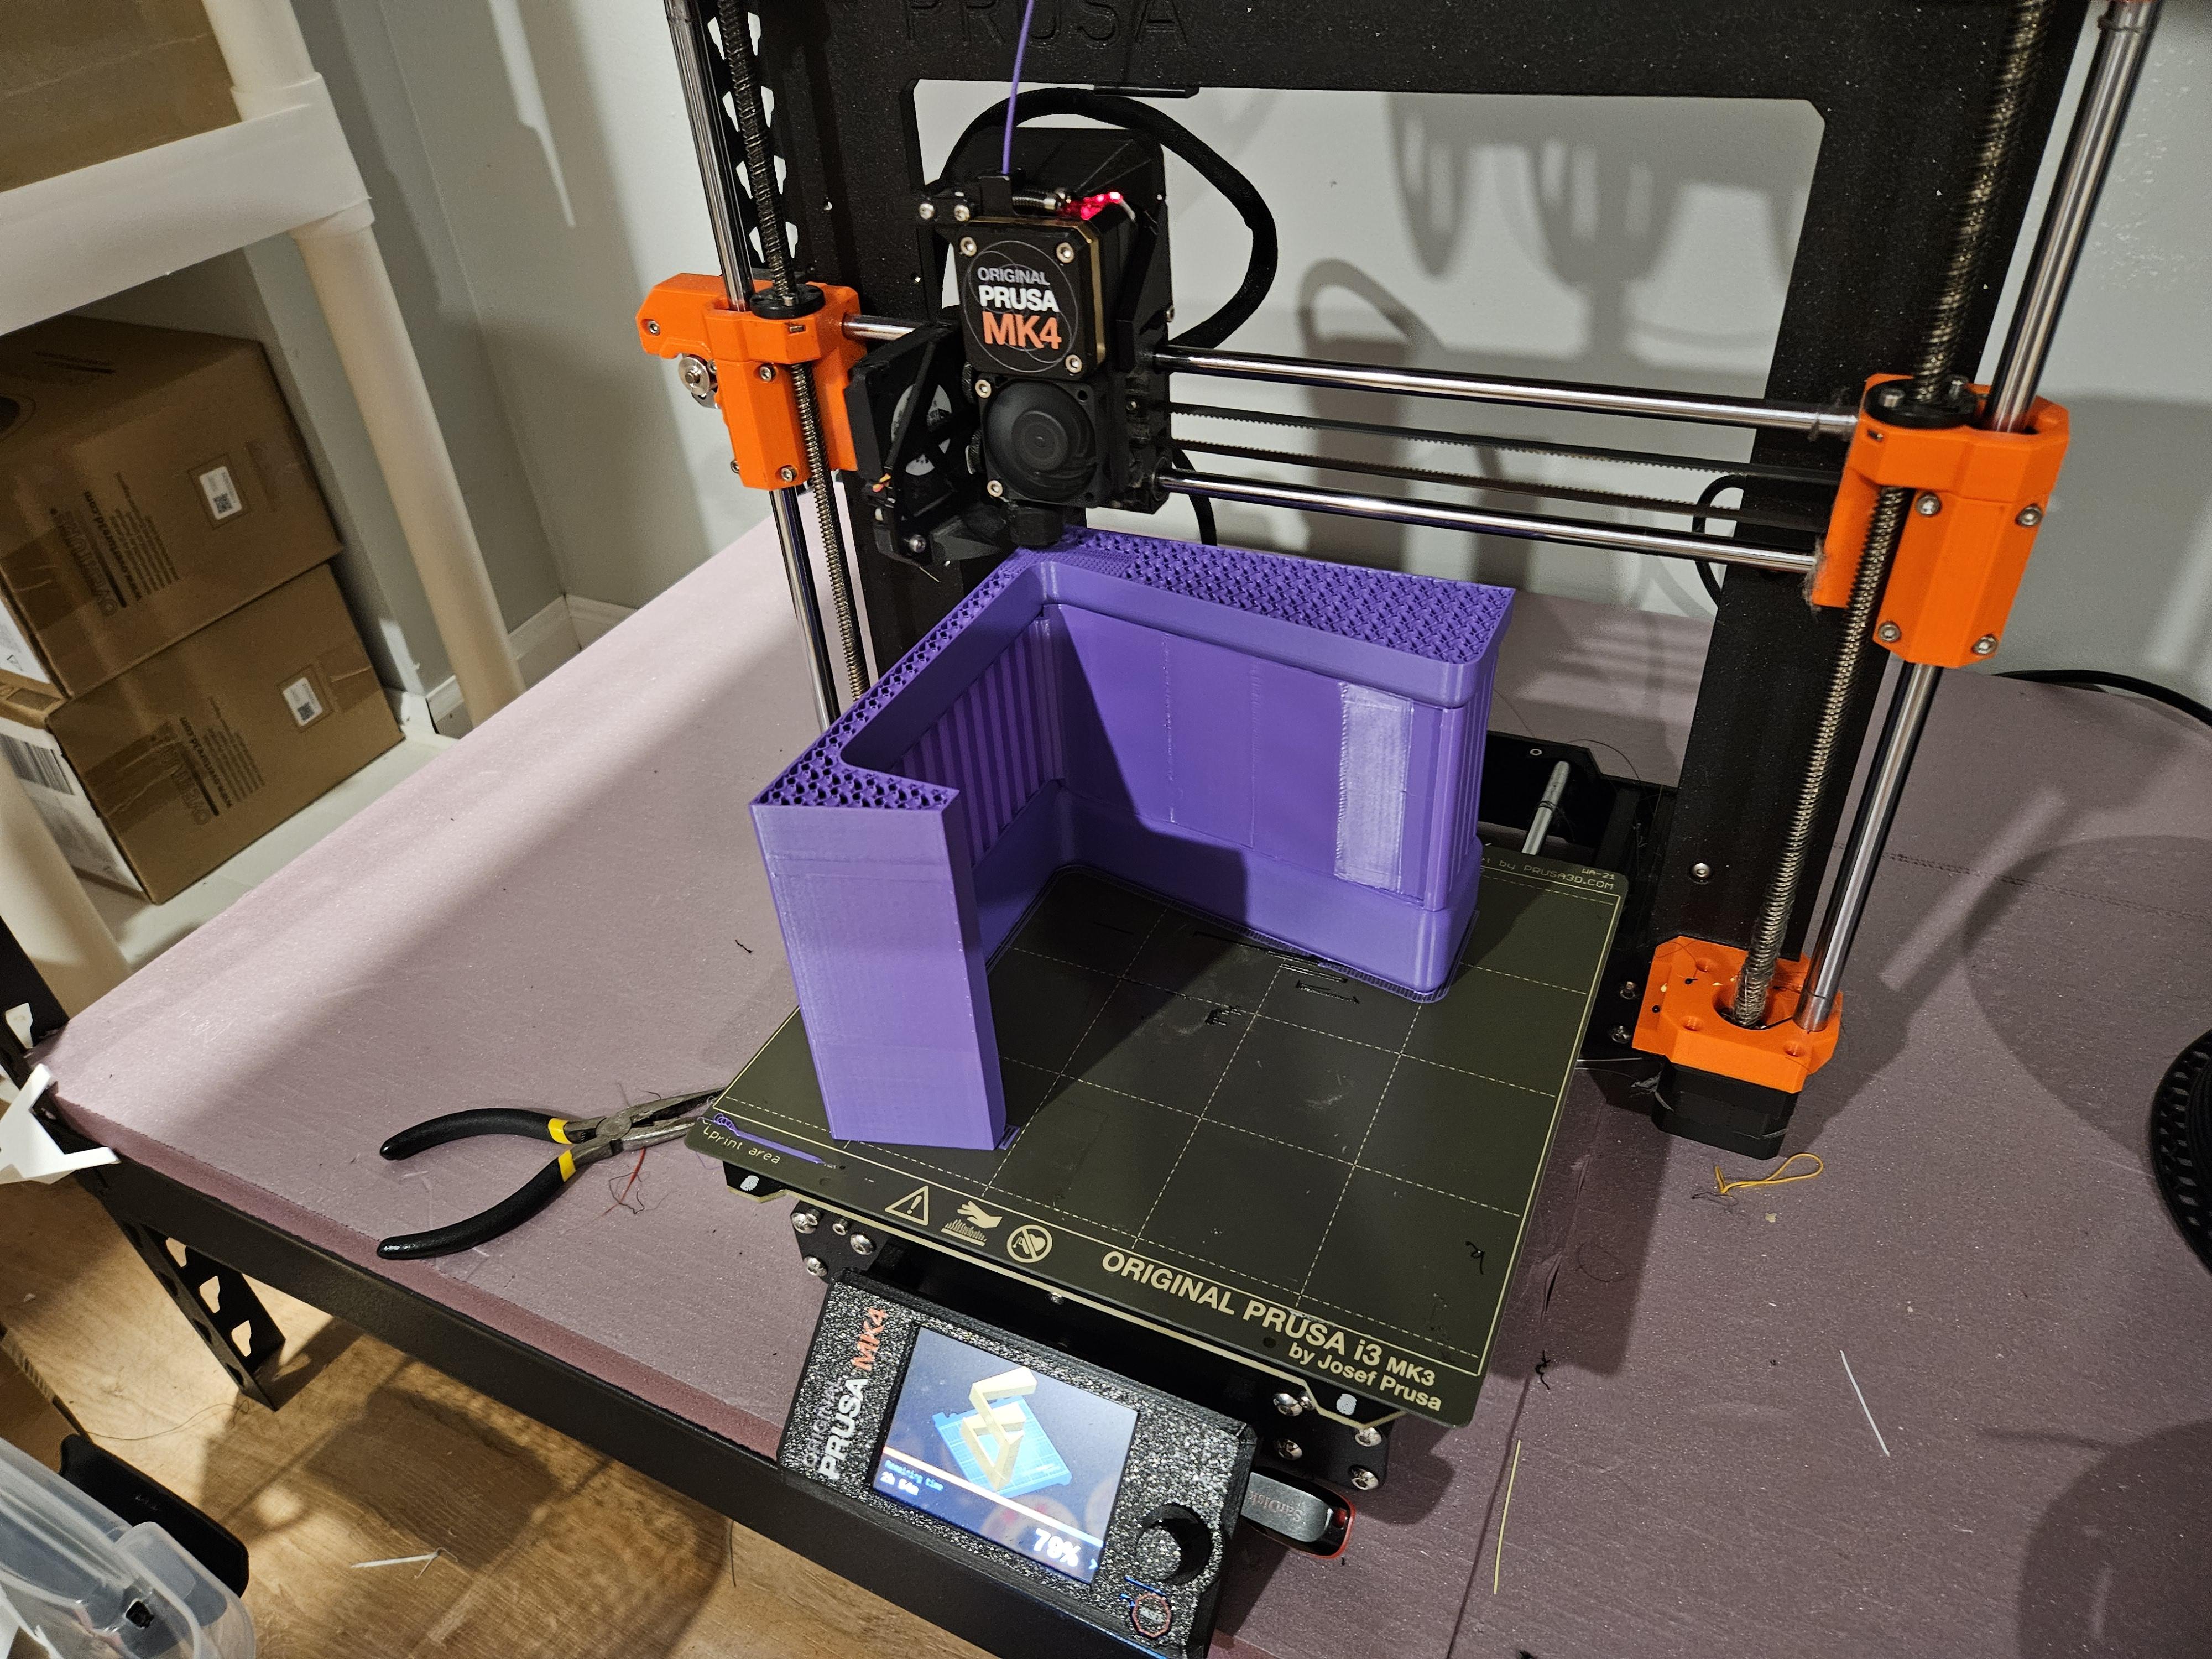
The way FDM 3D printers work includes layers of plastic stacked vertically. These layer lines are possible week points so we wanted to choose an printing orientation with that in mind. The picture with the holder on its back seems like the best option at first. No supports are needed reducing time and material cost. The issue is the layer lines will be running parallel to that downward force which is most likely to fail like the first prototype. Printing vertically or on its side fixes this issue. The vertical orientation is nice because of the flat bottom to print on but the time and cost are more than the sideways orientation. You can see the slicer estimates the time and cost for the vertical orientation to be 7 hours and $8 in material. The side ways orientation is closer to 6 hours and $7. The curved edges did require support which led to some ugliness as mentioned before. You can also see in the live images that we increased the slicer settings to be more dense. We even added a special setting to really increase the density in the corners.
Project Completed
.jpg)
.jpg)
We can call this a completed project at this point. We will need to print two more holders to hold the whole class worth of T Squares. Hopefully this instructable was useful in modeling the engineering design process and the decisions that go into a custom design with functional use.