Design a Flexible 3D Printable Phone Case in Fusion 360 (2022)
by ProductDesignOnline in Workshop > 3D Printing
5903 Views, 43 Favorites, 0 Comments
Design a Flexible 3D Printable Phone Case in Fusion 360 (2022)


Create your own custom 3D Printable Phone Case in Autodesk Fusion 360. Follow along with my step-by-step tutorial on YouTube, or follow the detailed guidance in the Instructable below.
Phone Cases are often injection molded with TPU. The good news is that TPU is both an affordable and capable material to 3D print on hobbyist-level FFF (FDM) 3D Printers.
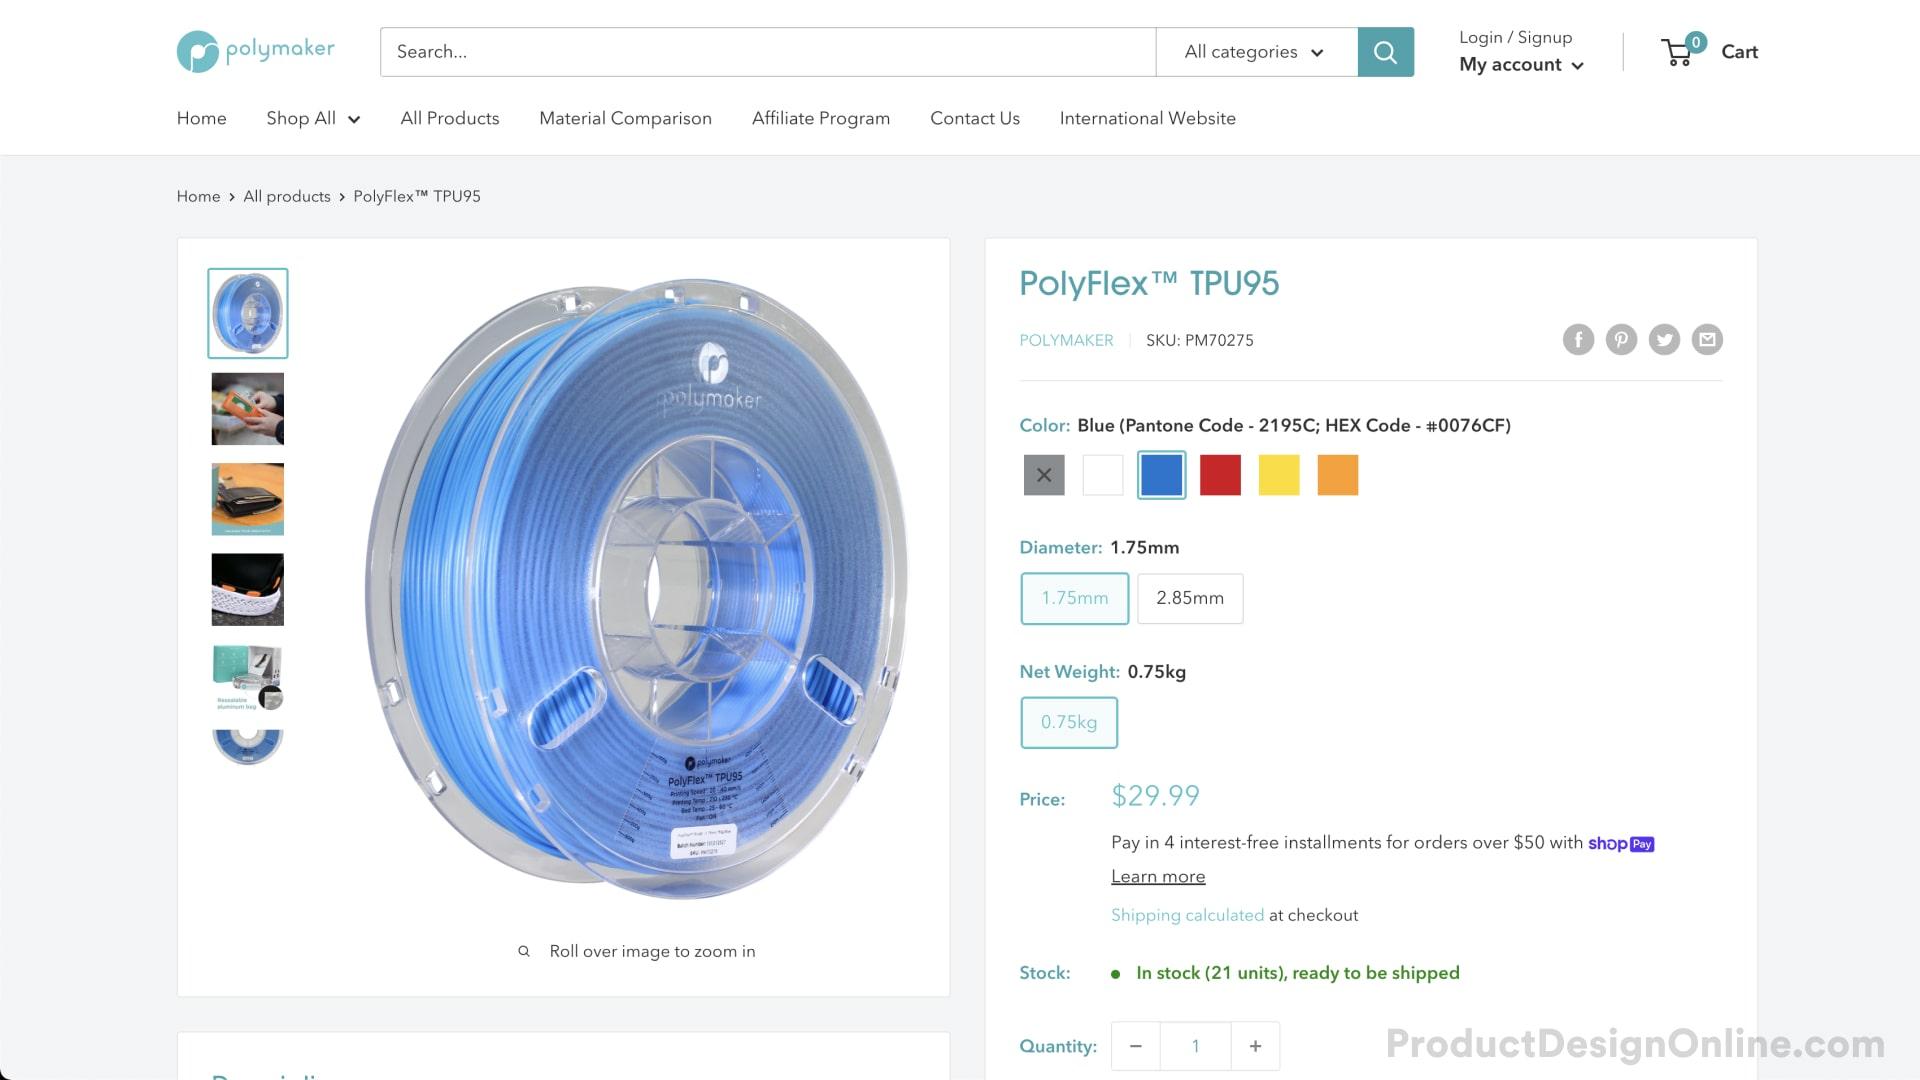
TPU can be a bit tricky to print if you're used to printing in PLA. PLA and ABS will not work well for 3D printing a phone case, unless your simply printing it for fun. If you’d like a functional phone case, you’ll want to purchase flexible TPU filament. I recommend Polymaker TPU-95A. Out of all the flexible filaments I’ve used over the years, Polymaker has proven to print with the best results and the least amount of fuss.
You’ll want to lower your cooling fan speed to ~20%, and up your printing temperature to 230 degrees celsius. The first few layers are very critical as TPU does not always stick well to all build platforms. Consider using blue painter’s tape or a glue stick on a glass build plate if you have issues with the filament sticking.
Supplies

Find a STEP File of Your Phone

You can almost always find a free 3D model of popular smartphones online, which will help us quickly build the phone case in Fusion 360.
I recommend starting with GrabCAD.com. You can also check the Fusion 360 Gallery, Thangs.com, and Thomasnet.
You’ll want to find a STEP file (.stp) when a native Fusion 360 file (.f3d) isn’t available. The STEP format is a widely used data exchange format accepted by many CAD programs. Most importantly, it’s a solid BREP body that we can leverage in Fusion 360.
For this tutorial, I used the Google Pixel 3 model by David Tate.
Open STEP File in Fusion 360


In Fusion 360, File > Open to import the design from your local computer folders. Select "Open from my computer" > select the file > Open.
Image 2 - Any imported STEP files will place you in Direct modeling mode, which means the parametric timeline is turned off. Right-click on the “Root” or “Top-level” component in the Fusion 360 Browser > select “Capture Design History.”
The parametric timeline will then turn on and record each feature that you use to create the phone. This makes sure you can edit the feature at any time.
Image 3 - You’ll also want to right-click on the 3D body in the Browser > “Create Components from Bodies,” as this will let us use Joints and additional workflows.
Reorient the Phone With Joints


(optional step) I prefer to reorient any imported CAD models so they lie in a realistic manner.
Image 1 - Apply a Joint to the back of the phone model by selecting the center snap on the back of the phone, followed by the Center Origin (you may have to turn on visibility in the Fusion 360 Browser).
Image 2 - The phone will then lie flat on the bottom origin plane.
Create a Component for the Phone Case

Create a New Component for the Phone Case. You'll also want to rename the existing component for the Phone. Before proceeding, make sure the Phone Case component is active in the Browser.
Create Sketch > Project Existing Edges of the Phone

Create Sketch and select the XY origin plane as the plane to sketch on.
Instead of manually tracing the edge of the phone, you can use the Project command to project existing edges into your sketch. Activate “Project” with the shortcut letter P.
Select the edges of the phone, being careful not to select the faces of 3D bodies. There were four edges (see image) with the demo file I used, as they’re divided by the cutouts in the phone model.
Once complete, click OK in the Project dialog.
Finish Geometry and Adding a Clearance


Hide the Phone component in the Browser so you can see the sketch. Remember, Projected geometry is Purple, which reminds us it’s referencing existing 3D bodies.
We’ll want to factor in a small clearance for the phone case. However, you'll first want to close any gaps between your geometry.
I used the 3-point arc command to close the gaps. To ensure the geometry is smooth, I intentionally made the arc’s center point away from the other (center point of projected geometry), allowing me to shift-click the projected center point and the arc’s center point. I then used the Coincident constraint to force these to remain the same. Repeat for any remaining gaps.
The Offset sketch tool will let us factor in our clearance. After selecting each sketch segment, define a .25mm offset. This will create a total clearance of 0.5mm since we’re going to use the Sweep command around all four sides.
Finish the Sketch Profile

With the Line tool, create a rough shape to sweep. Fusion 360 will attempt to place automatic constraints, so try to place the lines where it’s perpendicular to the previous line.
Define the desired thickness of your top, bottom, and right side. I used 1.25mm for the top vertical line, and 2mm for the bottom and right-side.
Of course, you can make your case thicker if you'd like. However, I would not recommend making it any smaller.
Sweep the Sketch Profile Around the Phone


Turn the Phone component back on in the Browser.
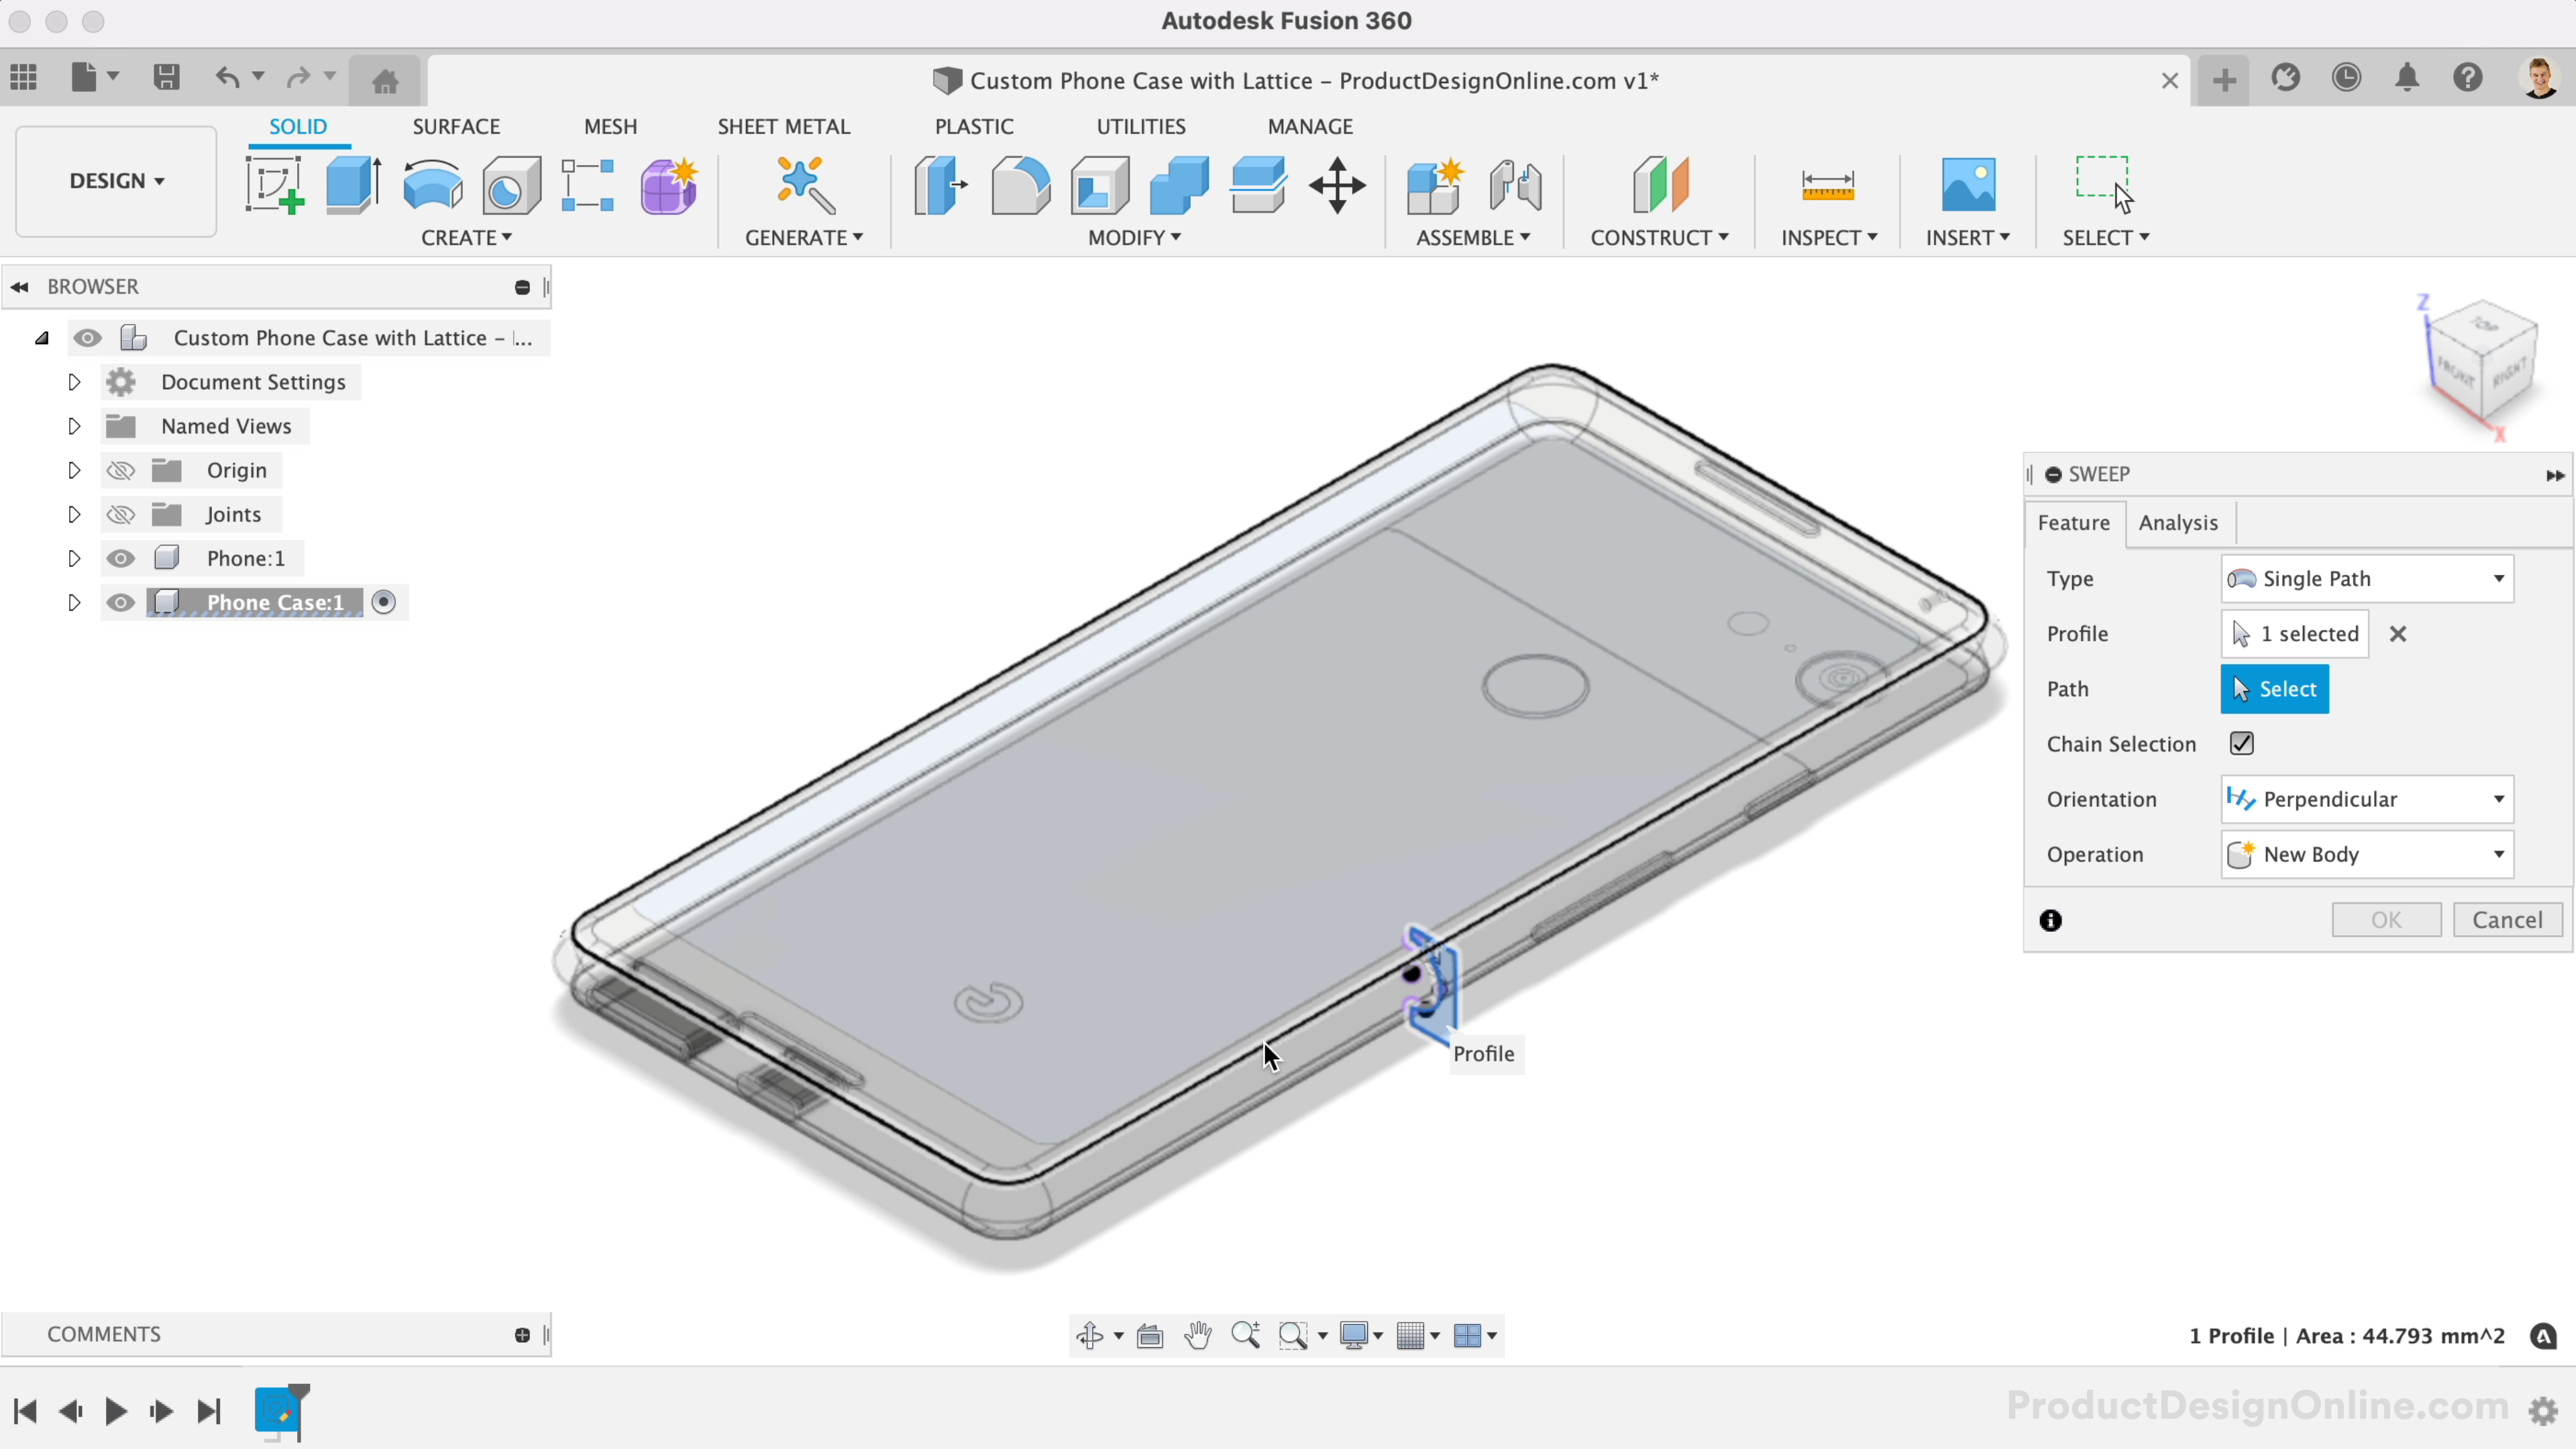
Now that we have our fully closed profile, activate the Sweep command and select the profile.
With the Path selector active in the Sweep dialog, select the edge of the phone. Just like that, we have a basic bumper around the phone!
Tip: I like to add a quick visual appearance when designing to help distinguish the parts. Use the Appearance command (shortcut letter "A") to drag and drop a visual appearance.
Add Fillets to Top and Bottom Edges

Add Fillets to soften the sharp edges. Activate the Fillet tool and select the top edge. I defined the top round over as 2mm. Use "Add New Selection Set" (plus symbol) in the Fillet dialog and select the bottom edge. Define a different fillet radius, such as 3mm.
Offset Inner Faces and Add Chamfer to Inner Edge


Currently, the top inner edge is too close to the phone screen. This may or may not be the case with your phone (depending on what model you use).
Select the four inner planer (flat) faces. Selecting faces on each side will allow us to use the shortcut letter “Q” to access the Offset faces feature. Set the offset back the desired distance, such as -1mm.
With the Chamfer tool active, select the top inner edge. Apply a Chamfer of 1.25mm. The Chamfer will reinforce the overhang and will 3D print better than a small Fillet.
Create the Back of the Phone Case

Create Sketch on the back planar face. You’ll want to use Project again, this time referencing the existing edges of your phone case. Be sure to include any cameras or fingerprint sensors as well.
After projecting the geometry, turn off the Phone component, which will allow you to Offset (sketch tool) the camera and fingerprint sensor openings (if applicable). I recommend a minimum offset of 1mm.
Most phones also have sensors and flash next to the camera. Take a minute or two to sketch out some additional geometry next to the camera hole.
Once complete, Extrude this at the same distance as the bottom of the sketch profile. I used 2mm. I set this Extrude feature to the “New Body” operation, which is critical if you want to use the Volumetric Lattice tool (next step).
Tip: I also recommend adding a Chamfer to the camera/sensor cutouts, set to the same thickness as the extrude (2mm). Chamfers will 3D print better than Fillets.
Volumetric Lattice in Fusion 360


Fusion 360 now supports the creation of Lattice structures, which are the crisscross patterns that make 3D printed objects both lighter and stronger.
It’s important to note that this feature is only available with access to the Product Design Extension. However, you can start a 7-day free trial of the extension if you'd like to try it out.
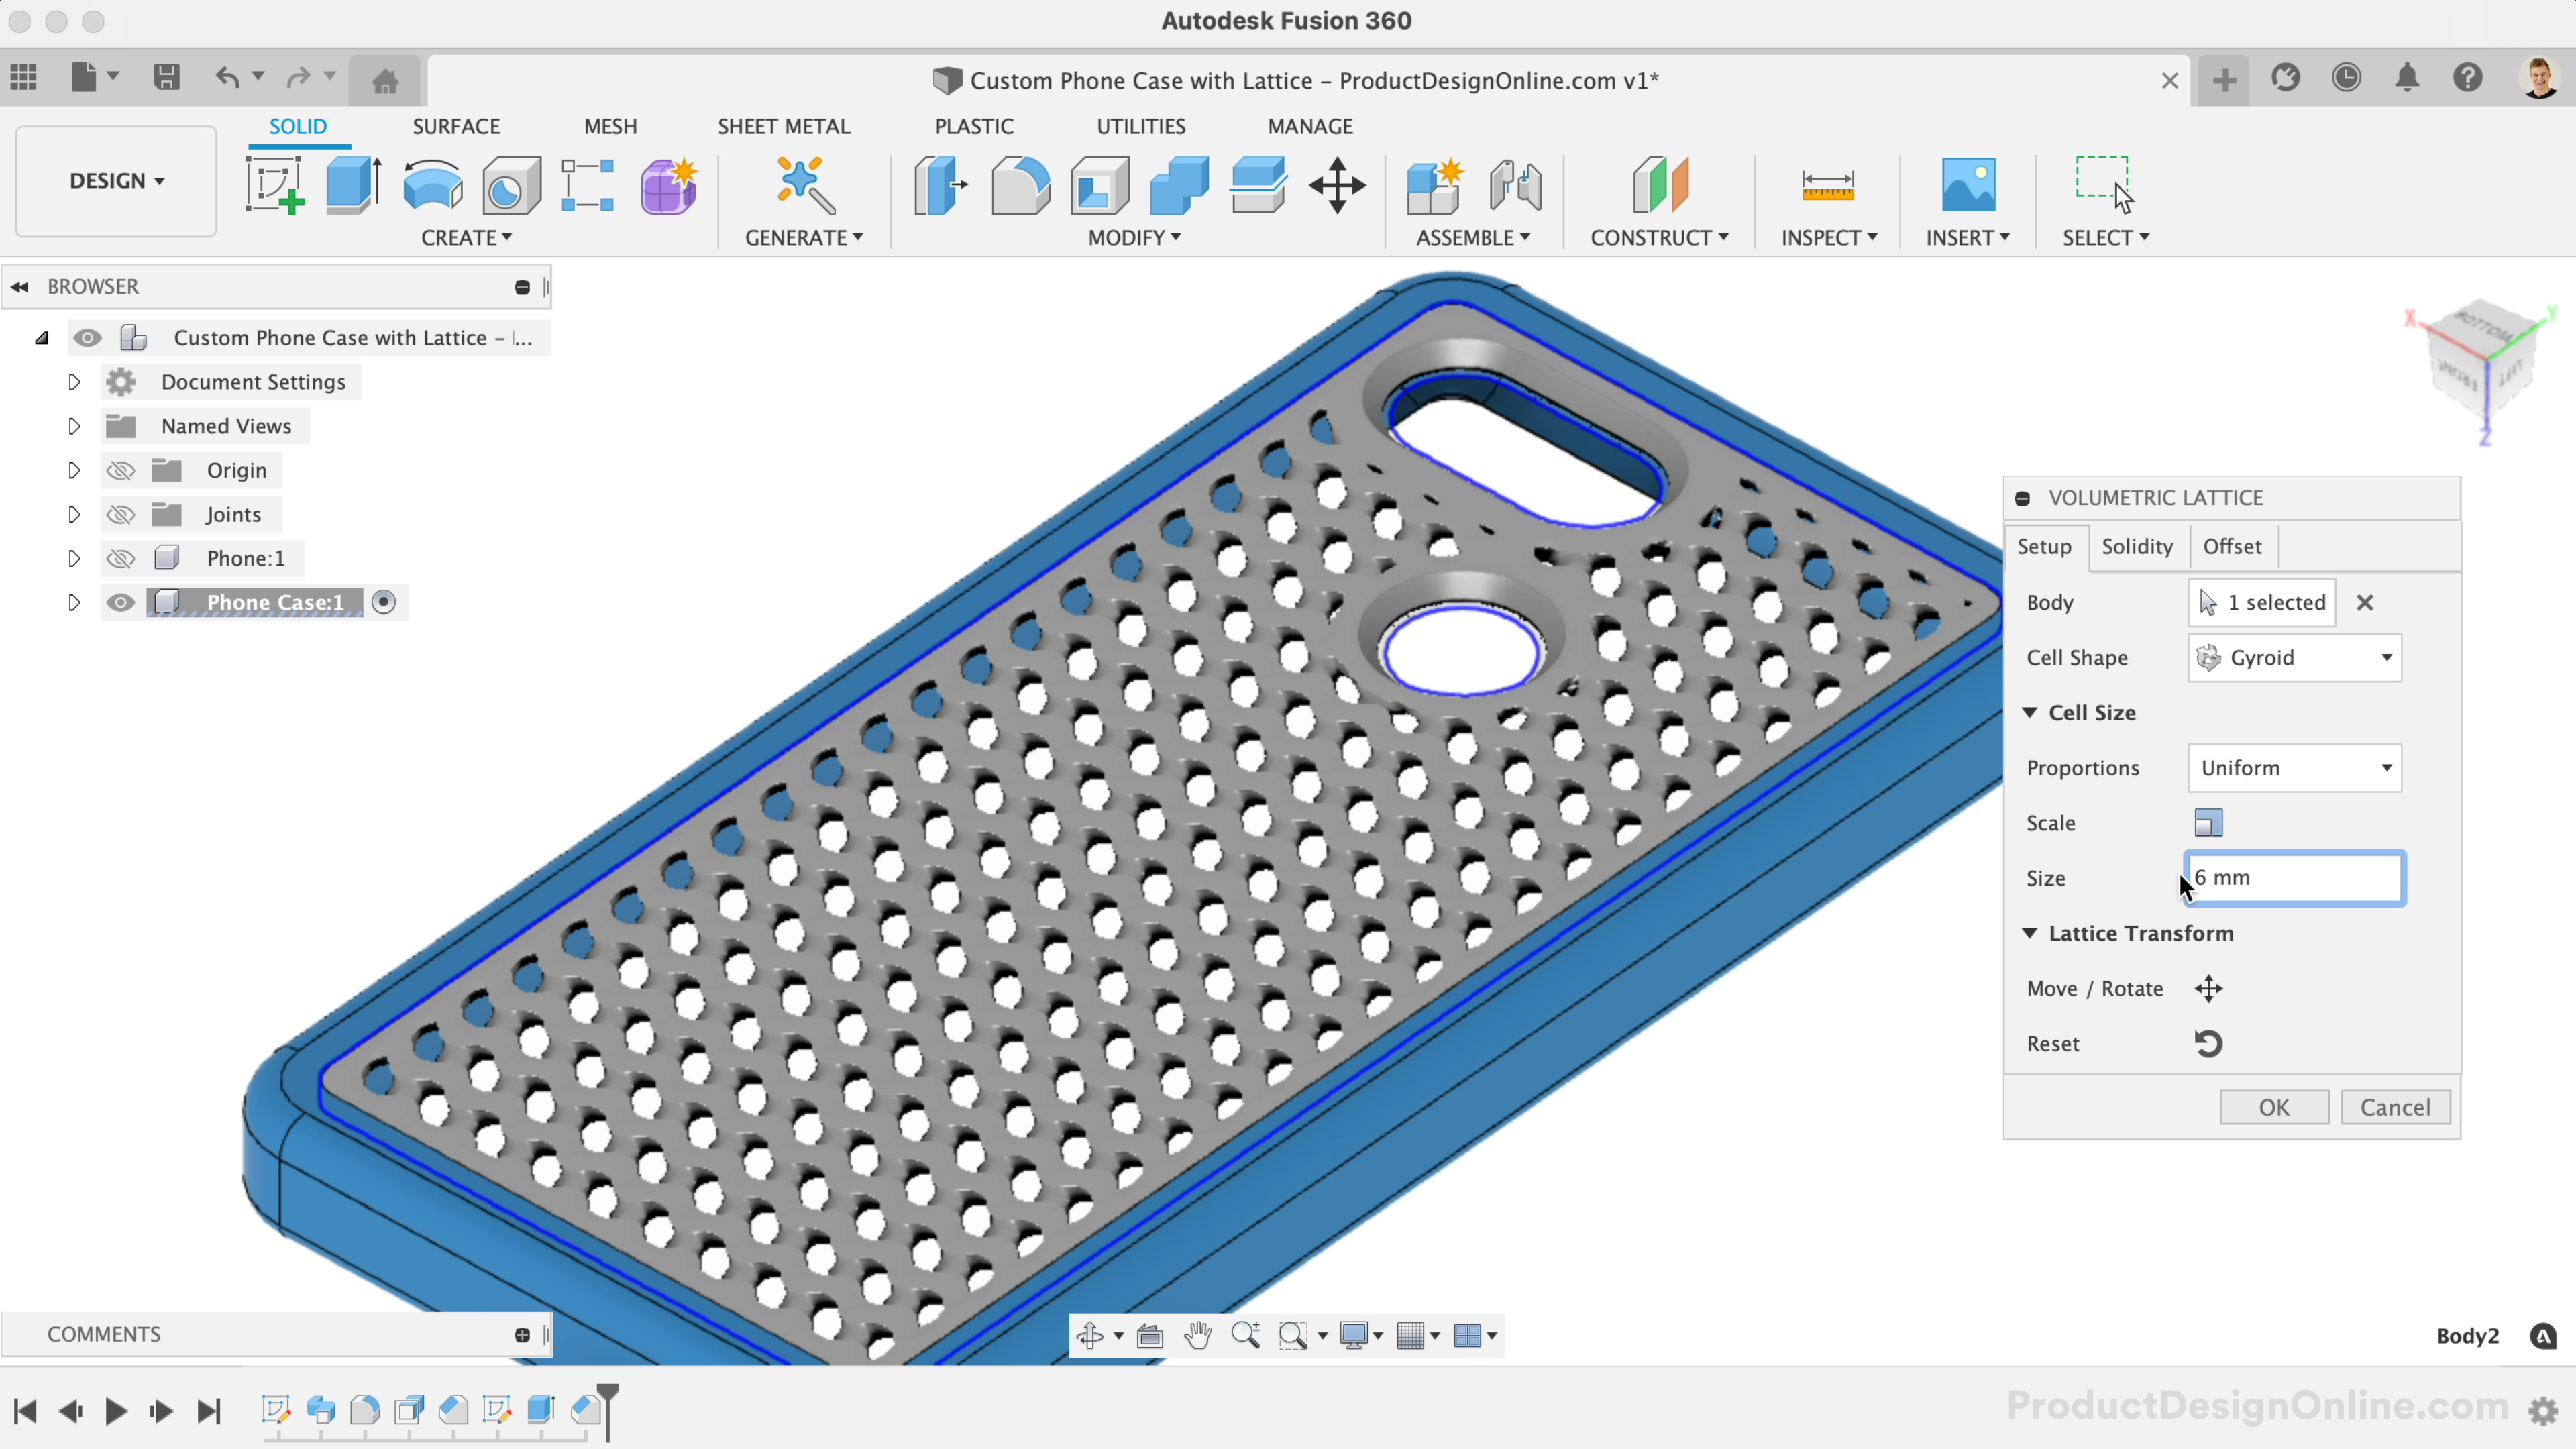
Once the extension is active, you’ll find the Volumetric Lattice feature in the Modify dropdown.
Select the body - back of the phone case - to apply the lattice to. This is why I set the backing of the phone case as a "New Body" in the previous step. Otherwise, the lattice would apply to the whole phone case.
I like to define the Offsets first before exploring the different Lattice options. This approach will ensure the result is feasible and doesn’t affect critical geometry. Select an edge or face as the reference, then add the offset. I made a 2mm offset around the edge, which will ensure the backing and edging can join together.
I also made a 2mm offset around the fingerprint sensor and a 3mm offset around the camera opening.
In the Setup tab, choose your desired "Cell Shape" from the three options. I ended up going with the Gyroid option, and I set the size to 6mm, which felt appropriate per the size of the phone case.
Tip: You can also Move and Rotate the lattice to further define its position within the context of the model.
Important: The volumetric lattice will not be included if you export the file as an STL or 3MF file until you use “Create Mesh” from the right-click menu in the Browser (right-click on the body with the volumetric lattice).
Create Holes for Charging Port and Buttons


Start with a sketch on the planar face of where the charging port will go. Hide the Phone Case component and turn the Phone component back on.
Project the edges of the charging port. In this scenario, you can choose to offset these sketches, or you can offset the 3D body. I prefer the latter as it's easier to update in a parametric manner (i.e. from a feature vs sketch).
Turn the phone case back on and use Extrude Cut out the projected geometry, cutting up to the inside wall of the phone case.
Select the inner faces of the cutout, and use the shortcut letter “Q” to Offset this at least 2mm to allow room for the charging cable. In preparation for printing with TPU, I recommend applying a 1 to 2mm Chamfer on any side openings. Small Chamfers will print much better than Small Fillets due to the layer lines.
Simply repeat this process for any remaining buttons.
Export As STL or 3MF and 3D Print It!

Right-click on the top-level or "Root" component in the Browser > Save as Mesh > select STL or 3MF.
Optional: Check 'Send to 3D Print Utility' and select your Slicer application to send it directly to Cura, PrusaSlicer, etc.
Tip: See the end of the video for a few tips and tricks to 3D print TPU, including some settings to change in your slicing software.