Desktop Arcade With Arduino Nano
by kunnalmardia in Circuits > Arduino
320 Views, 0 Favorites, 0 Comments
Desktop Arcade With Arduino Nano
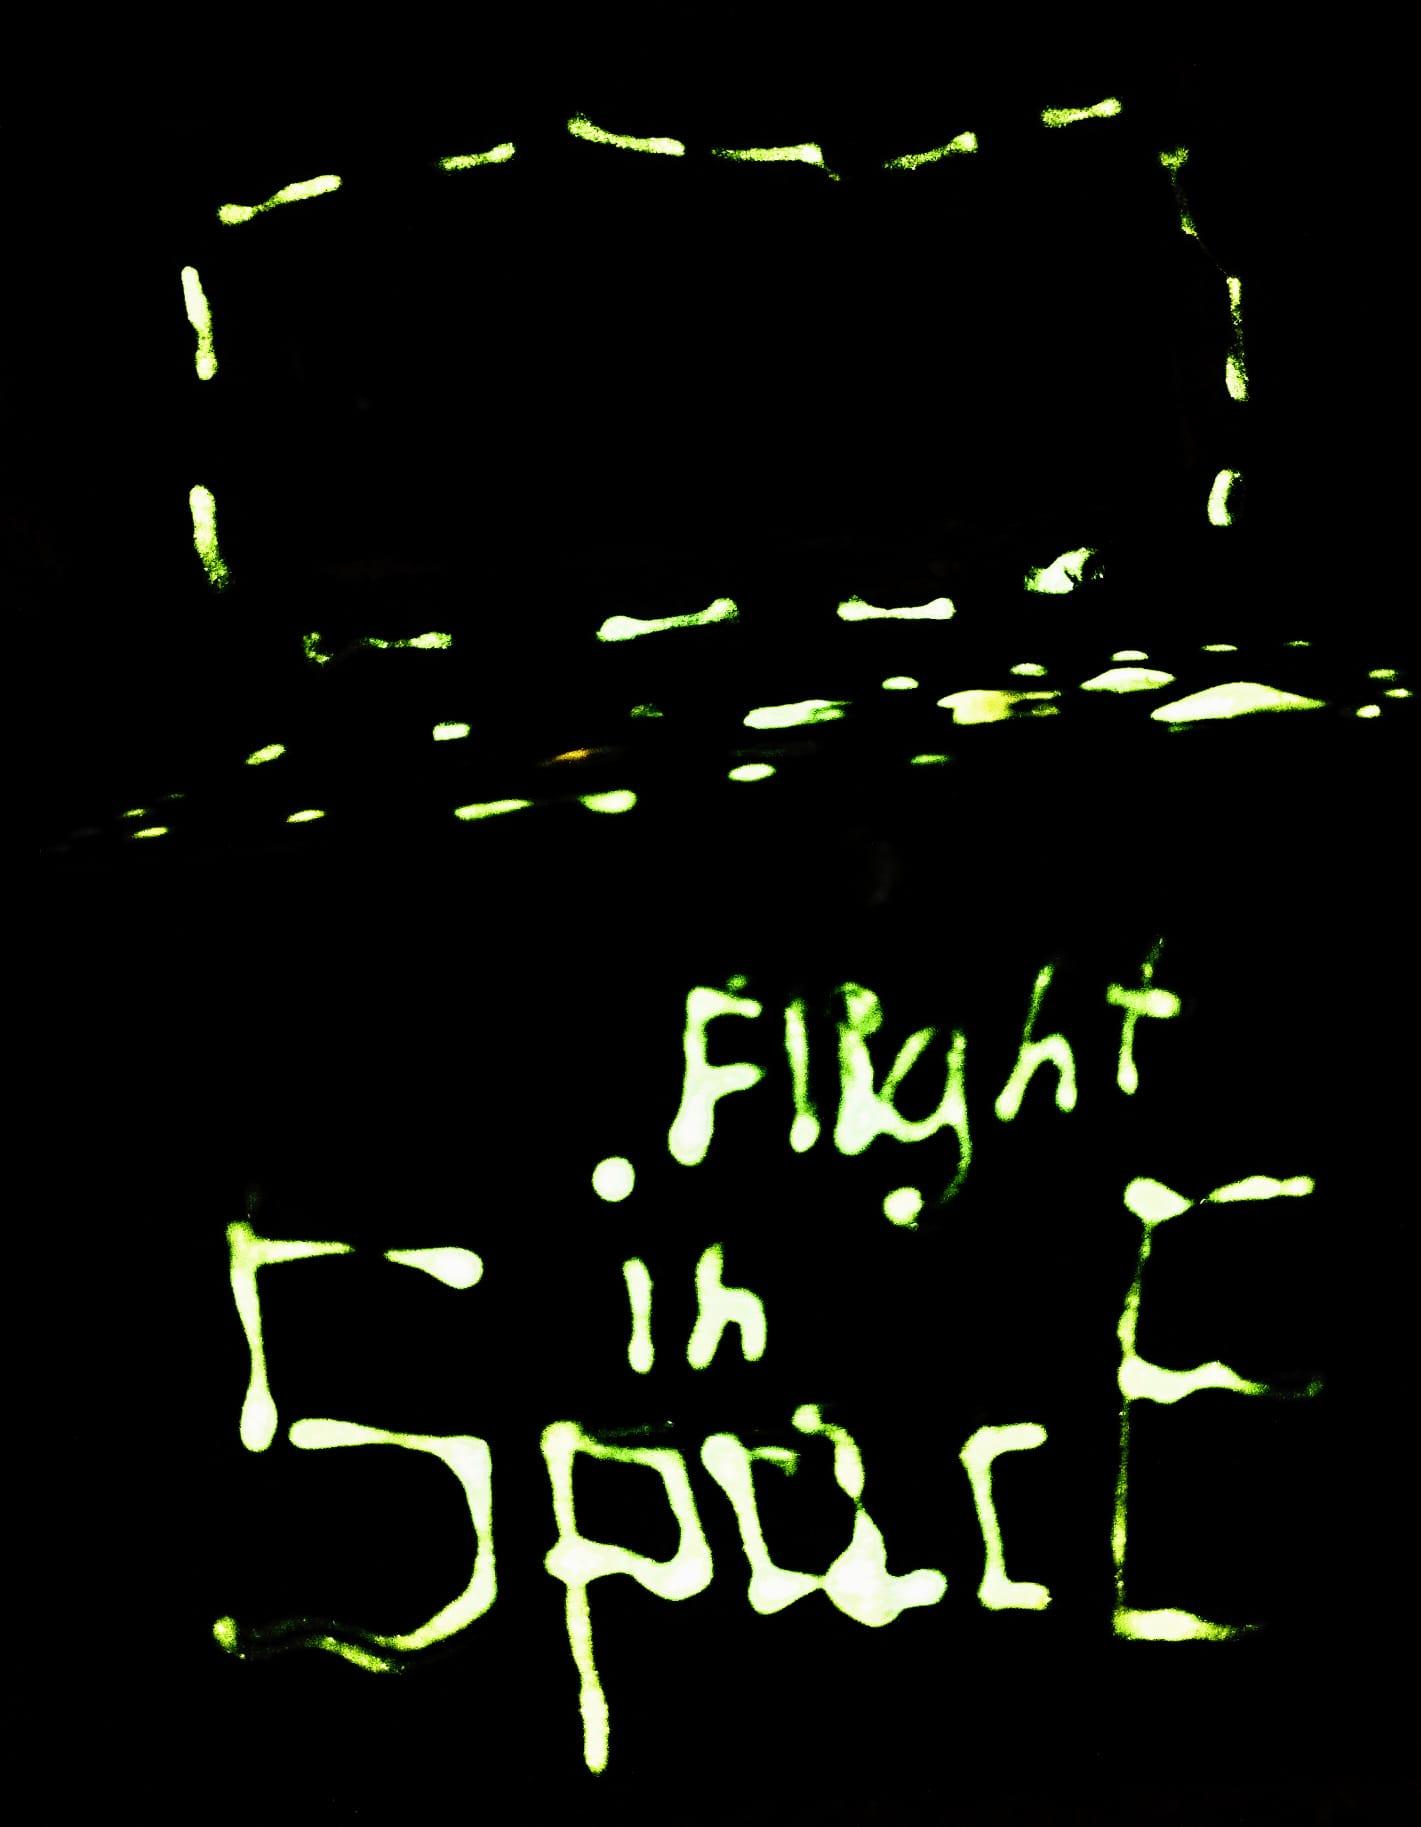

I made this project because I wanted to practice soldering, and I thought that it would be nice to have an extra procrastination tool on my desk. Additionally, I had to modify it a bit because I had to make it with an Arduino Nano as my USB for the UNO was not working, however, it would be easy to modify if you want to work with an Arduino Uno.
Supplies

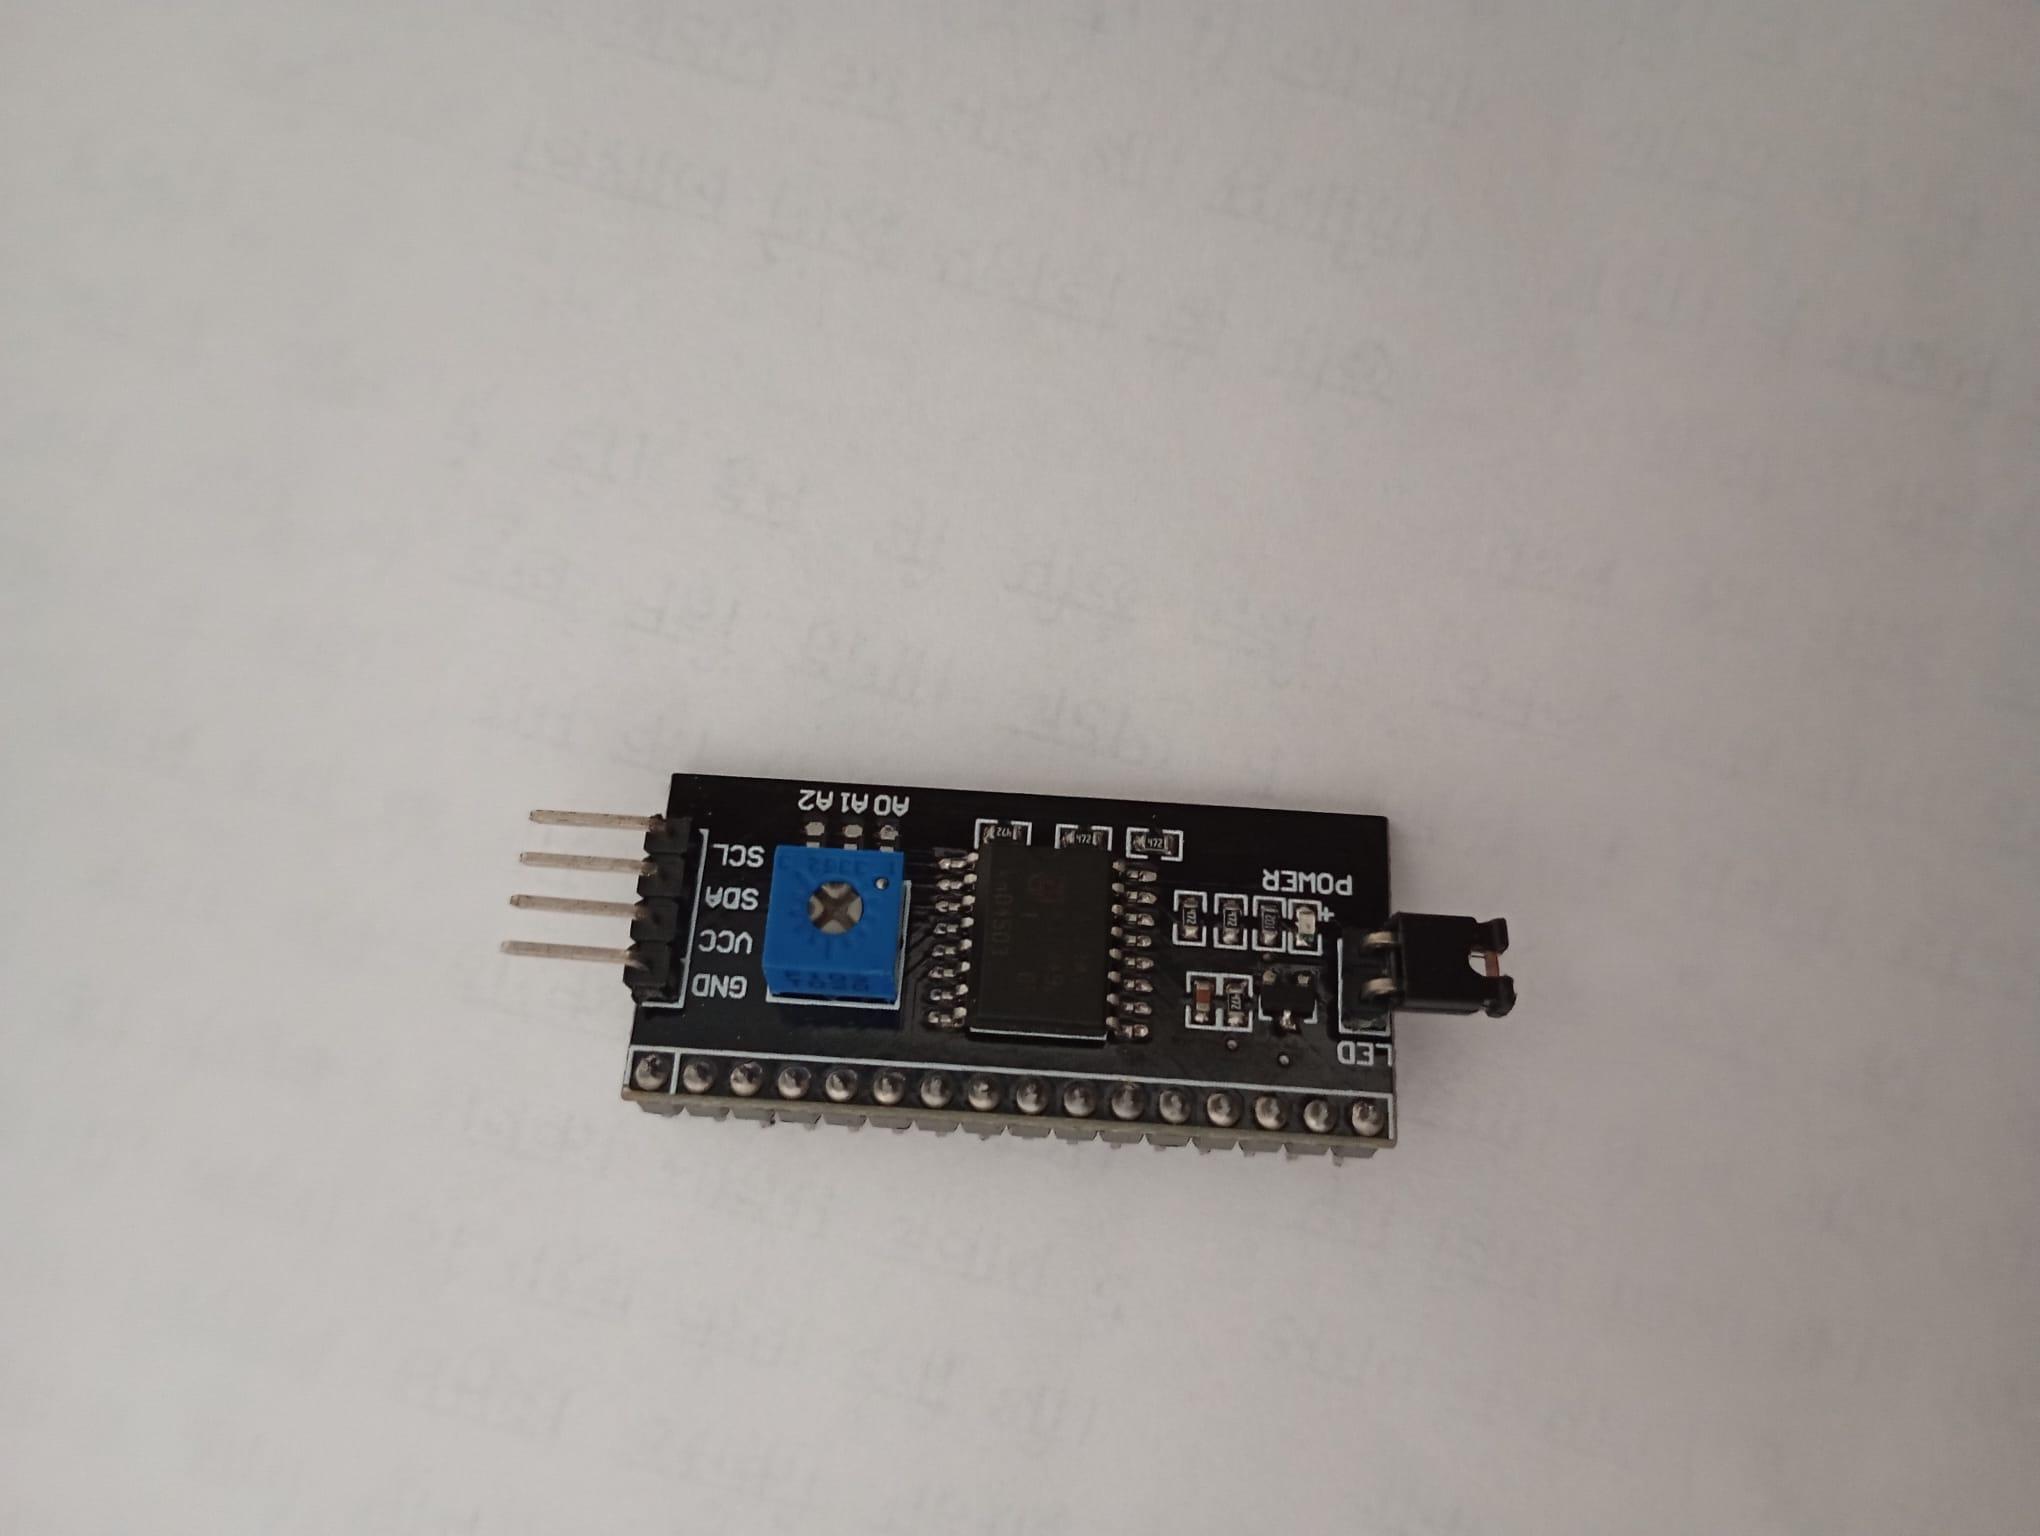

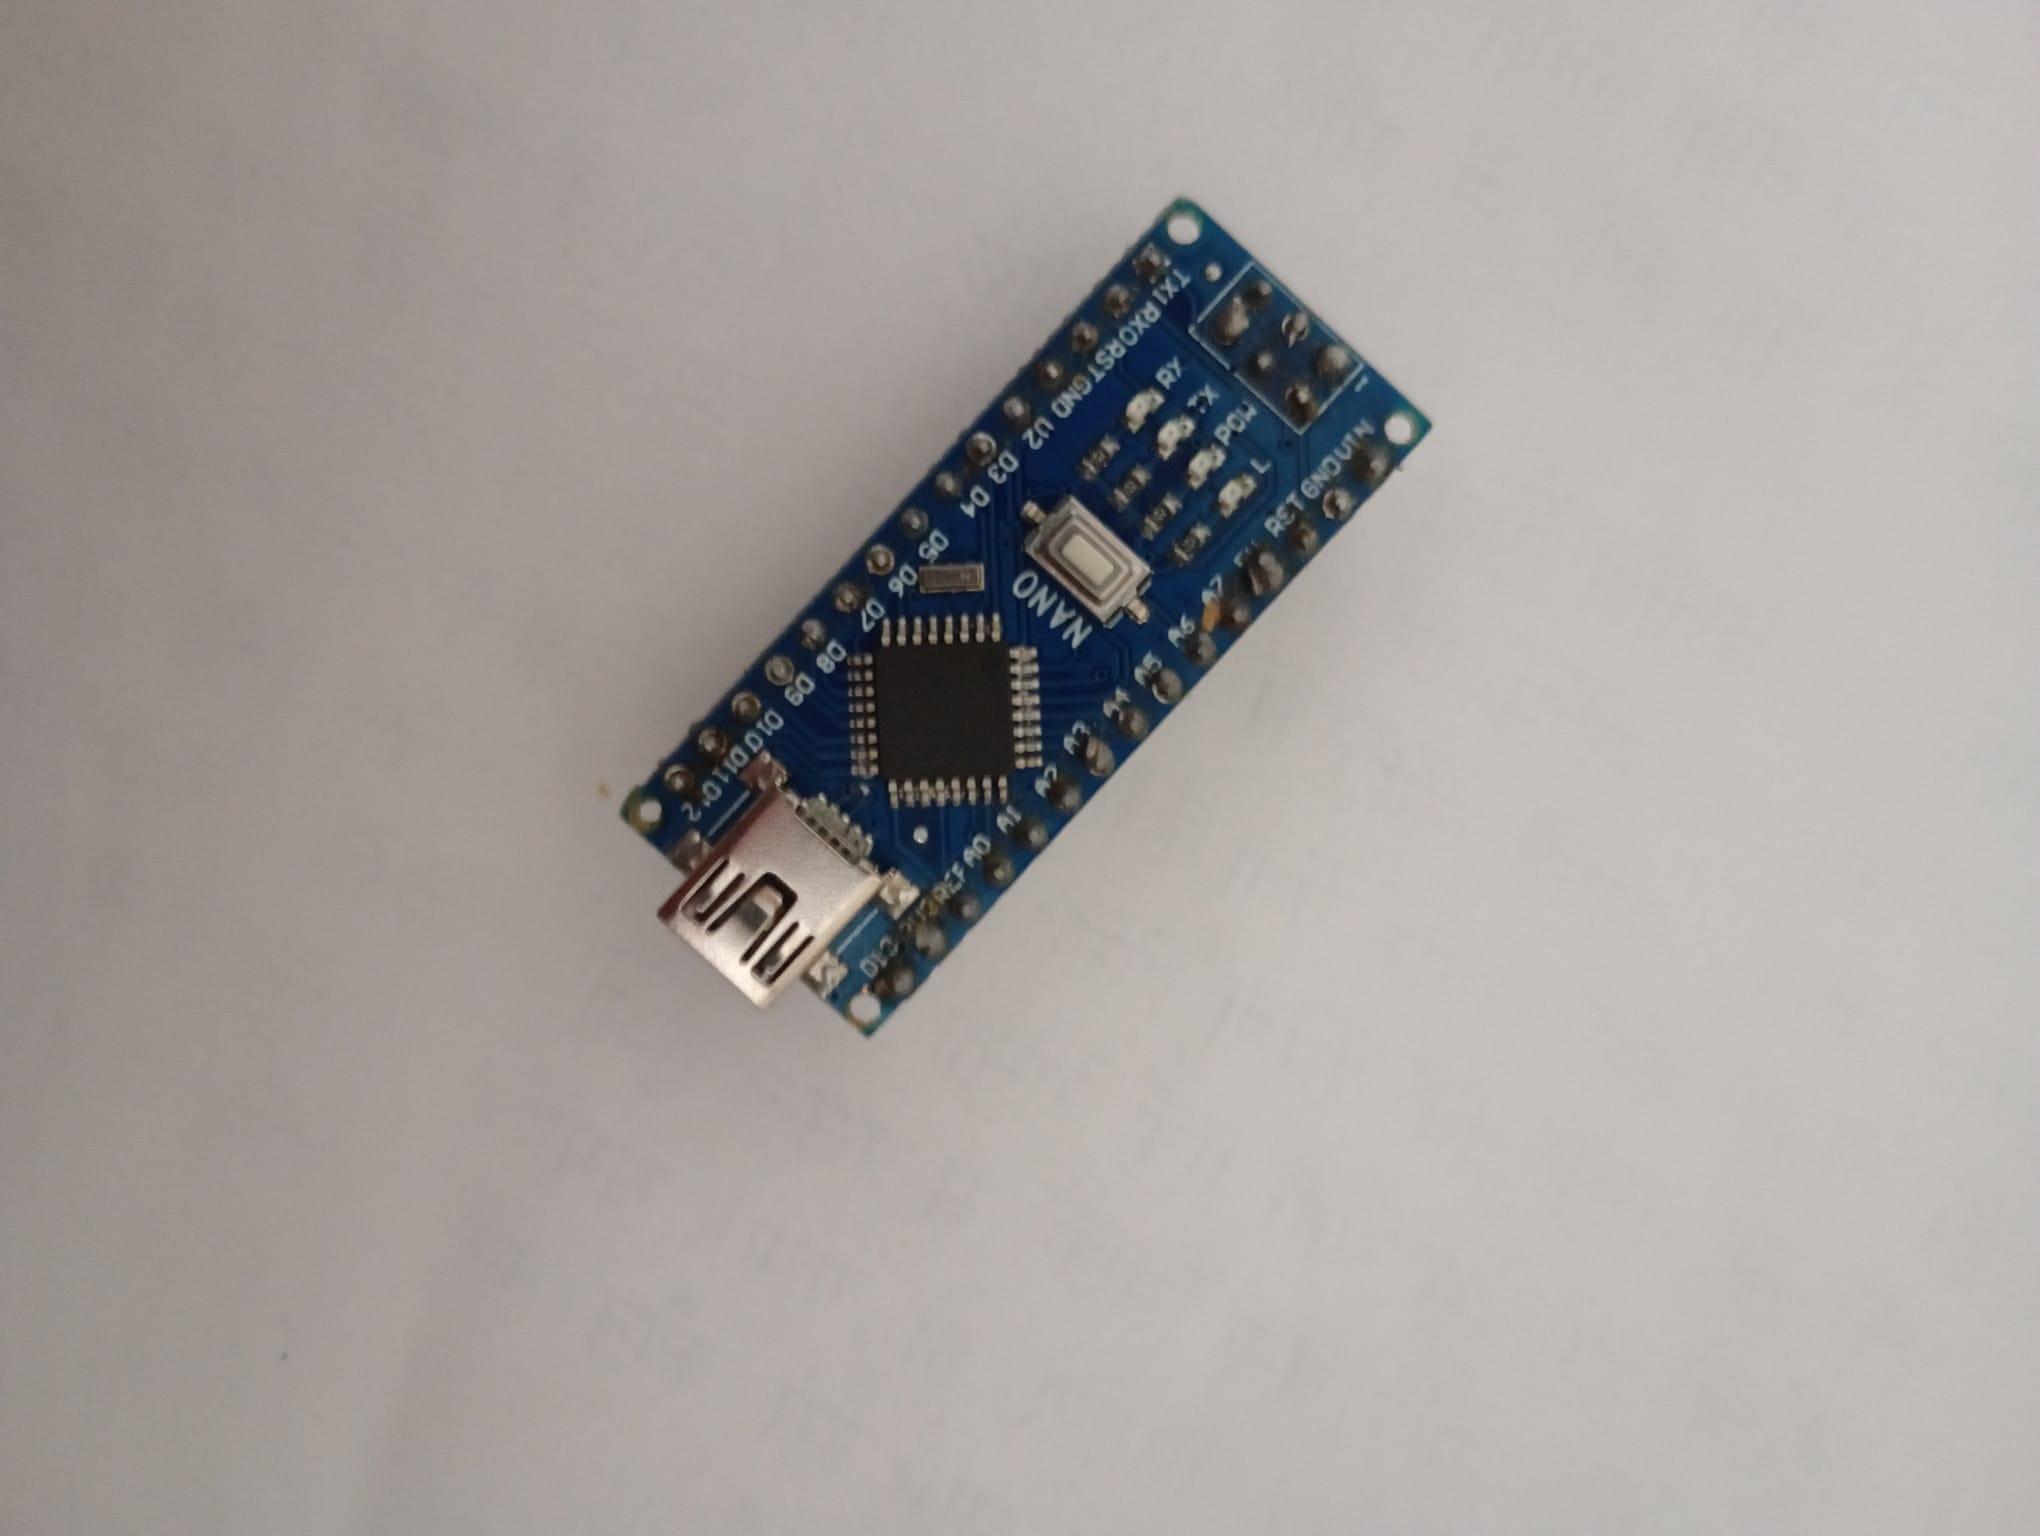
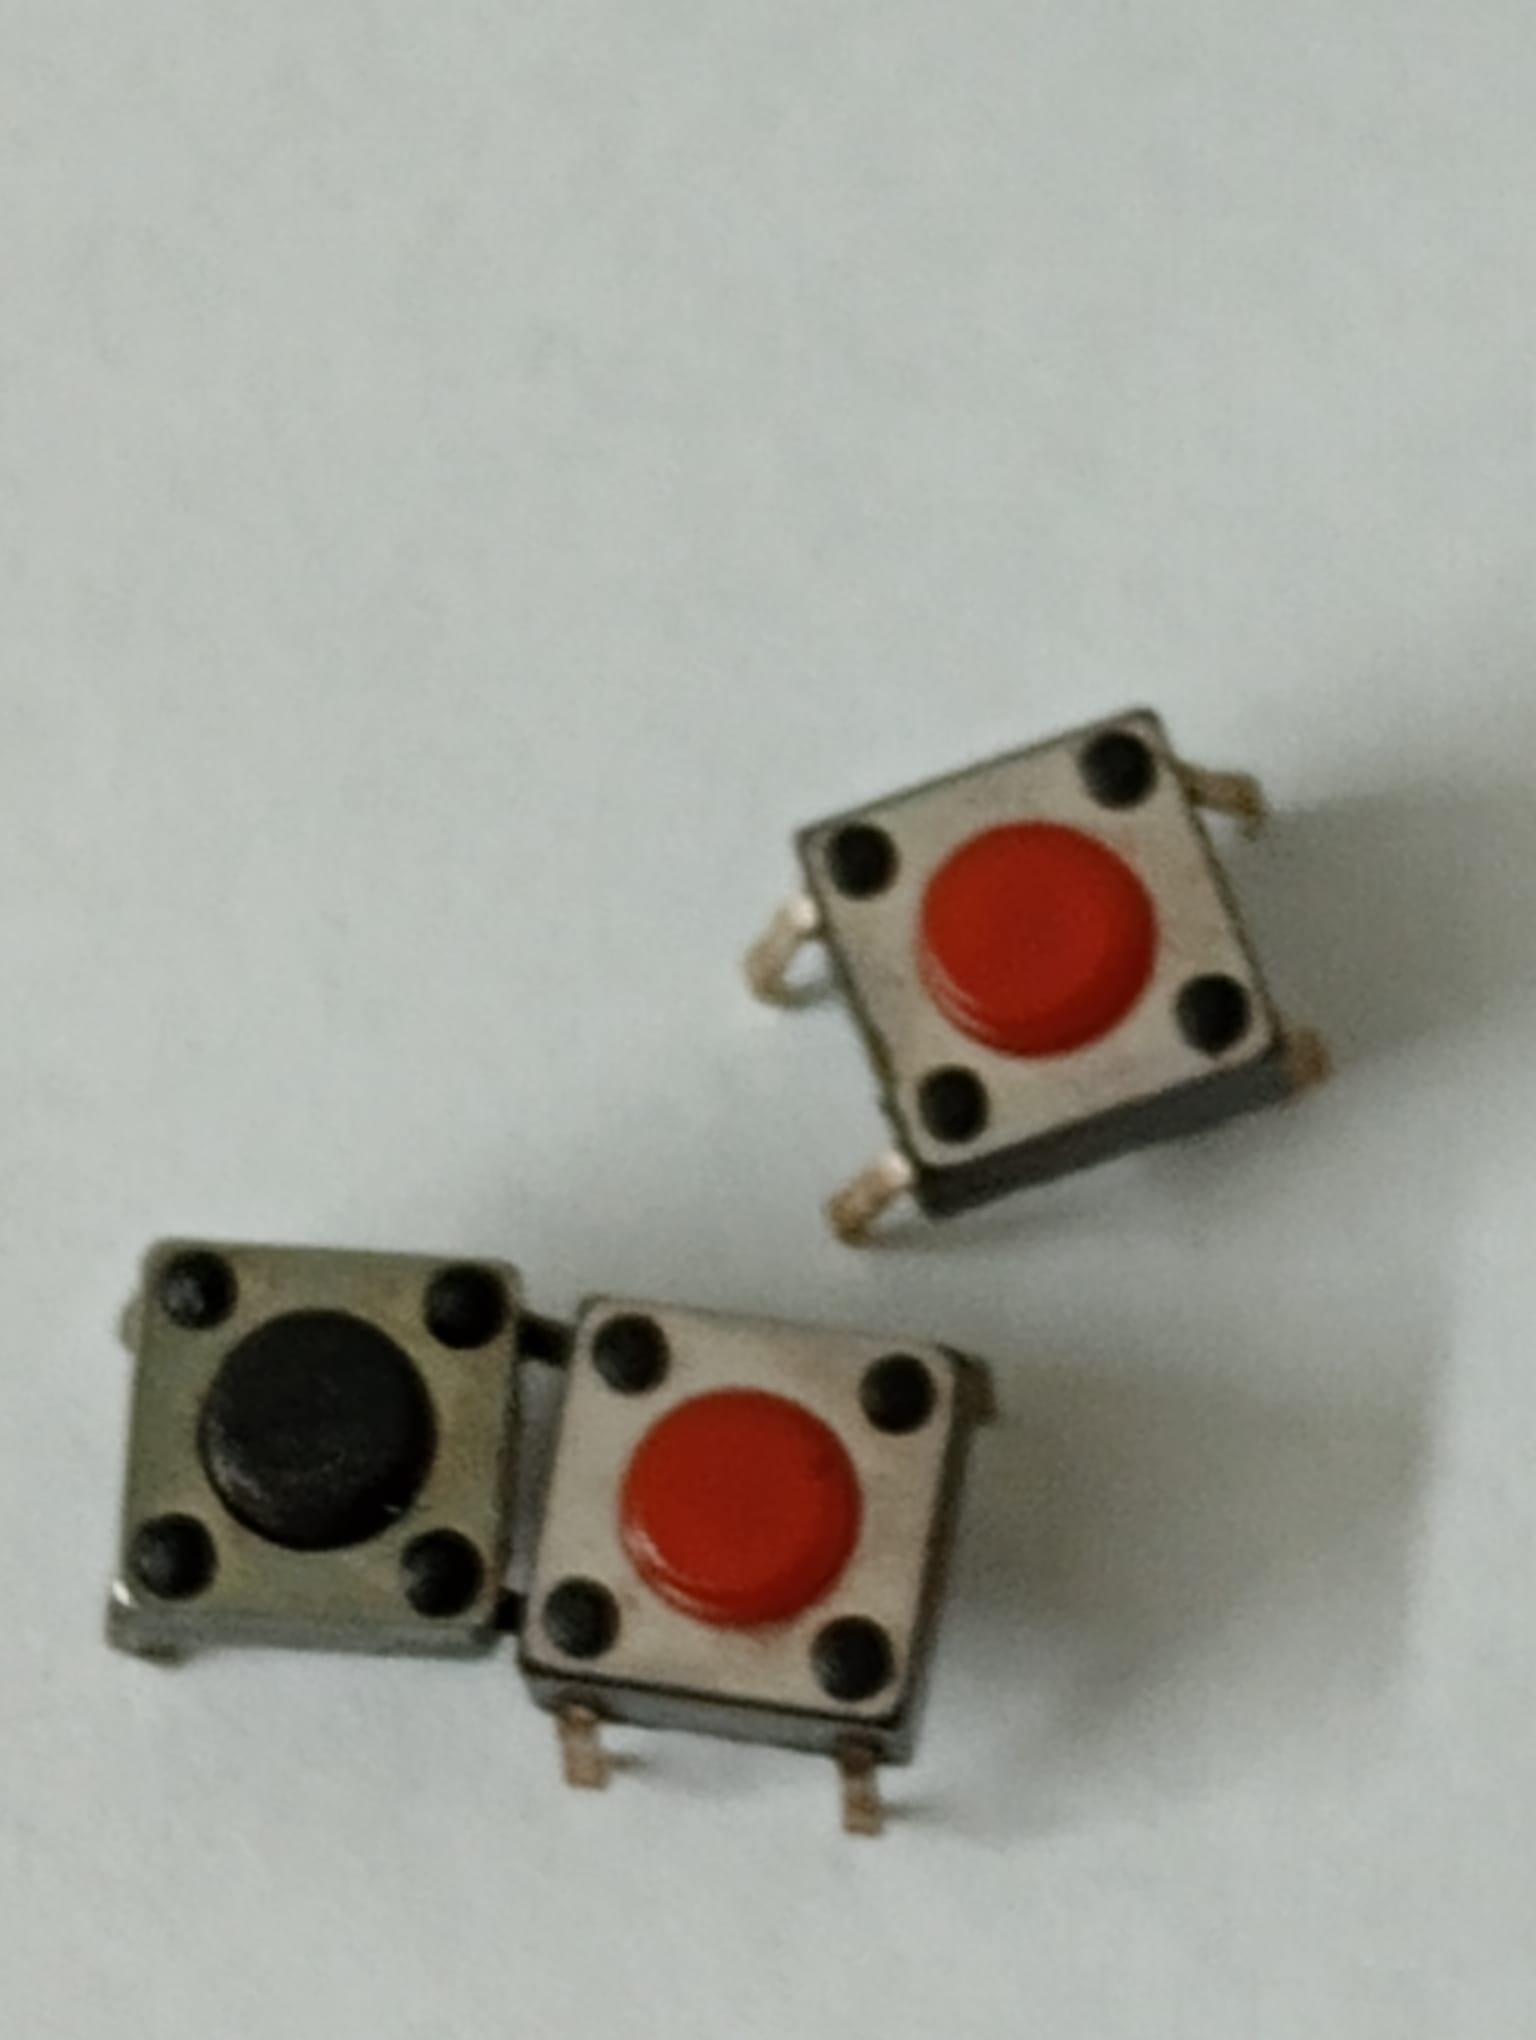
For this project, I used:
- 1x USB cable:
- 1x LCD i2c
- 1x sixteen by two LCD
- 1x Arduino Nano
- 3x buttons:
- A handful of jumper wires:
- Cardboard or a 3d printer
- Soldering lead
- Soldering flux
- Optional, Paint
Additionally, you will require a soldering iron
Wiring It Up
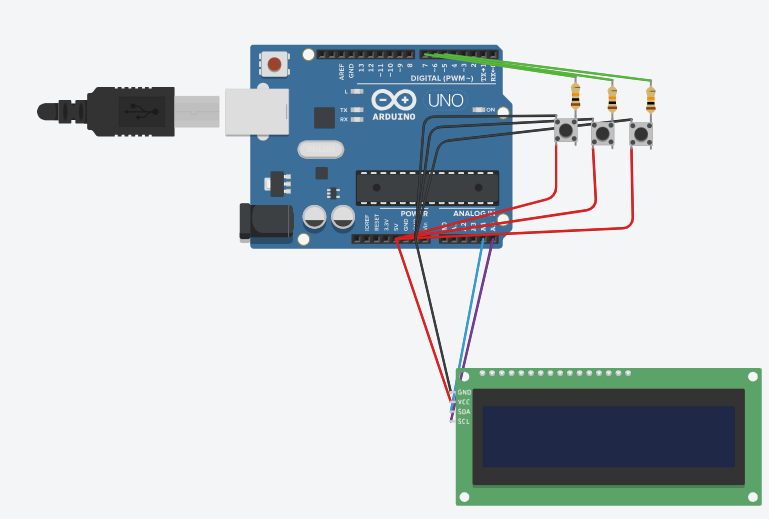


First, you connect the I2c to the LCD with the 4 pins facing outwards. Then you connect the VCC to the plus five volts, and the GND to the GND. Whether you are using an Arduino Nano like me or an Arduino Uno you connect the SDA to A4 and SCL to A5.
Now you have to connect the buttons. I did this by soldering the +5 volts to one part of the buttons so I could power them all with one wire. I did the same thing for the GND by connecting the resistors. Finally, I added one wire for each of the input pins.
Afterward, I cut out the button pieces onto a small board so that it would fit into the arcade and then I started with the code.
Coding the Game!
We will program a game onto this after we have done the arcade wiring. Of course, you can do whatever game you want but I went with a simple game, with a space theme. I will try to break down my code here or if you want you can download the attached code file. (Don't mind the names of the variables, they were just the first abbreviations that came to mind.).
#include <Wire.h>
#include <LiquidCrystal_I2C.h>
Here we are saying the libraries that we are importing.
int y=0;
int laser = "n";
int lasery = 0;
int x=0;
Here we are setting the variables for the laser and spaceship.
int aster=random(0,2);
int aster2=random(0,2);
Here we are setting the y's of the asteroids.
byte ship[8] =
{
0b00000,
0b01000,
0b11100,
0b01111,
0b11110,
0b01111,
0b11100,
0b01000
};
byte boom[8] =
{
0b00000,
0b00011,
0b01100,
0b10110,
0b10011,
0b01100,
0b11011,
0b00000
};
byte Laser[8] =
{
0b00000,
0b00000,
0b00000,
0b00010,
0b11111,
0b00010,
0b00000,
0b00000
};
byte Asteroid[8] =
{
0b00000,
0b01110,
0b11011,
0b11111,
0b01011,
0b11110,
0b01100,
0b00000
};
Here we are declaring our sprites and designing them. You can see the design of the sprites if you highlight the 1s in one color and 0s in another.
int asteroi = 16;
int asteroi2 = 8;
We are setting the ys of the asteroids.
#define shoot 6
#define up 7
#define down 8
We are defining the pins of the different buttons.
boolean shootState;
boolean upState;
boolean downState;
Here we are declaring the button state variables.
LiquidCrystal_I2C lcd(0x3F,20,4);
here we are saying the i2c address if it does not work, try replacing 0x3F with 0x27
void setup()
{
pinMode(shoot,INPUT);
pinMode(up,INPUT);
pinMode(down,INPUT);
We are declaring our 3 buttons as inputs.
pinMode(5,OUTPUT);
pinMode(9,OUTPUT);
digitalWrite(9,LOW);
digitalWrite(5,HIGH);
I am adding an additional +5V and GND for the buttons, or you could just wire them up to connect with the LCD, but I felt that this method was easier.
lcd.init();
lcd.init();
lcd.backlight();
WE are initiating the LCD and starting the backlights.
lcd.createChar(0,ship);
lcd.createChar(1,Asteroid);
lcd.createChar(2,Laser);
lcd.createChar(3,boom);
Here we declare the different "sprites" we will use in the game.
lcd.setCursor(3,0);
lcd.print("Let's Start");
delay(3000);
We are just displaying the start screen.
}
void loop()
{
downState = digitalRead(down);
shootState = digitalRead(shoot);
upState=digitalRead(up);
We are updating our variables to read out button states.
if(upState==1){
y=0;
}
if(downState==1){
y=1;
}
If the up or down buttons are pressed we are changing the y position accordingly.
if(shootState==1){
laser="y";
lasery=y;
x=0;
}
If the shoot button is pressed we are initiating the laser and it x and y positions.
lcd.setCursor(0,y);
lcd.write(0);
lcd.setCursor(asteroi,aster);
lcd.write(1);
lcd.setCursor(asteroi2,aster2);
lcd.write(1);
Here we are drawing our ship and two asteroids.
asteroi=asteroi-1;
asteroi2=asteroi2-1;
WE are changing our asteroid x'es by 1
if (laser=="y"){
if (x<16){
x=x+1;
lcd.setCursor(x,lasery);
lcd.write(2);
}
else{
laser="n";
}
}
We are changing the x of the laser or stopping it if it is at the edge.
if((asteroi==x or asteroi-1==x)and(aster==lasery)){
lcd.setCursor(asteroi,aster);
lcd.write(3);
asteroi=15;
aster=random(0,2);
}
if((asteroi2==x or asteroi2-1==x)and(aster2==lasery)){
lcd.setCursor(asteroi2,aster2);
lcd.write(3);
asteroi2=15;
aster2=random(0,2);
}
Here if the asteroids are in the same space as the lasers, we destroy the asteroids.
if(asteroi==0){
if (aster==y){
lcd.clear();
lcd.setCursor(0,0);
lcd.print("Try again");
delay(3000);
}
asteroi=16;
aster=random(0,2);
}
if(asteroi2==0){
if (aster2==y){
lcd.clear();
lcd.setCursor(0,0);
lcd.print("Try again");
delay(3000);
}
asteroi2=16;
aster2=random(0,2);
}
Here, if the asteroid is on the ship we tell the player to try again.
delay(500);
lcd.clear();
Here we are just resetting the screen.
}
After uploading the code to the Arduino the game will load up and you can play. If you want you can stop here but otherwise you can go on to create the arcade surroundings.
Downloads
Designing the Arcade Body


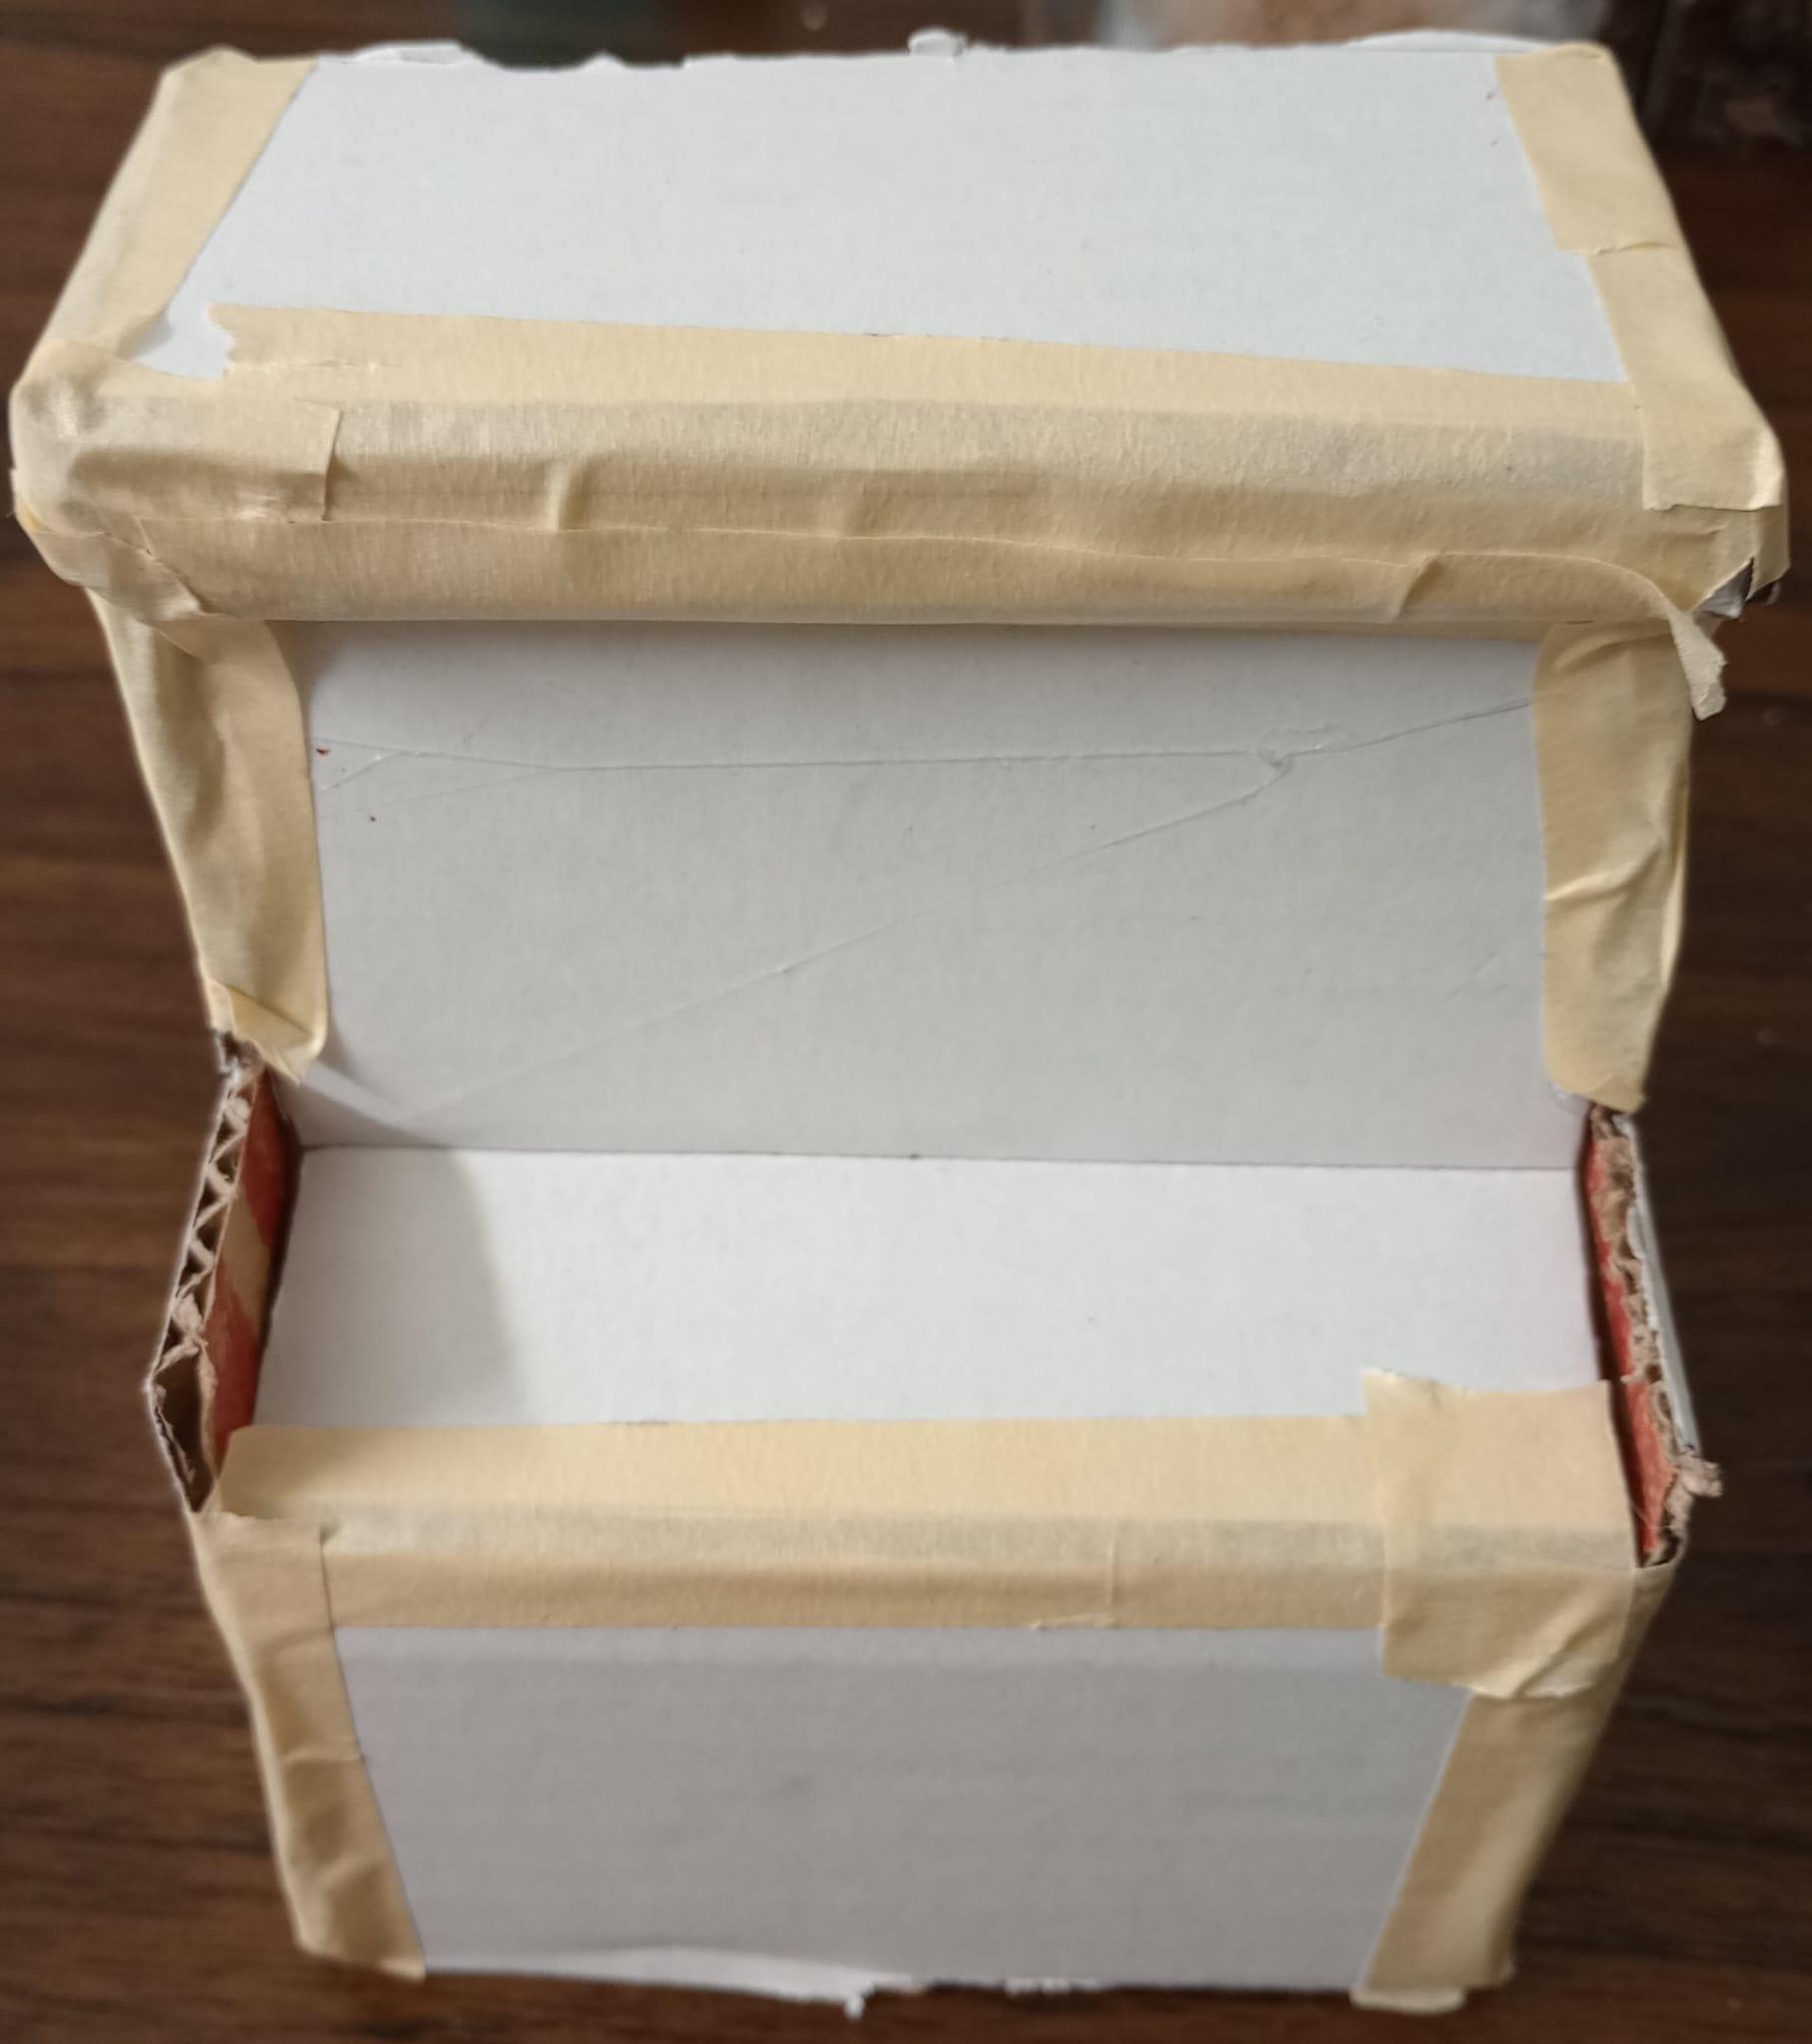

What I did here is I designed how I wanted the Arcade to look in Fusion 360. To do this I used sketch and extrude to create two rectangles one on top of the other, and then I used the option loft, to connect the two. After that, I added the top platform by sketching and extruding it again. After that, I hollowed and filleted the body in case anyone wanted to 3d print it. If you are designing it yourself the dimensions for the holes are 7x2.5 and 2x1. Or you can download the file attached to this step.
I do not own a 3d printer, so I found another way to use Fusion 360. I used the measuring tool (look in the picture to find it) to easily make a net of the object I wanted to make. After that, I drew the dimensions I got from the model onto a piece of cardboard and cut it out. After that, I scored the parts I wanted to fold with an exacto-knife and then hot-glued them together. I also hot-glued the electrical components in, but if I were to do it again, I would not as the hot glue got onto one of the buttons and jammed it. I would use tape instead.
Making It Look Good(Or at Least Not Bad)
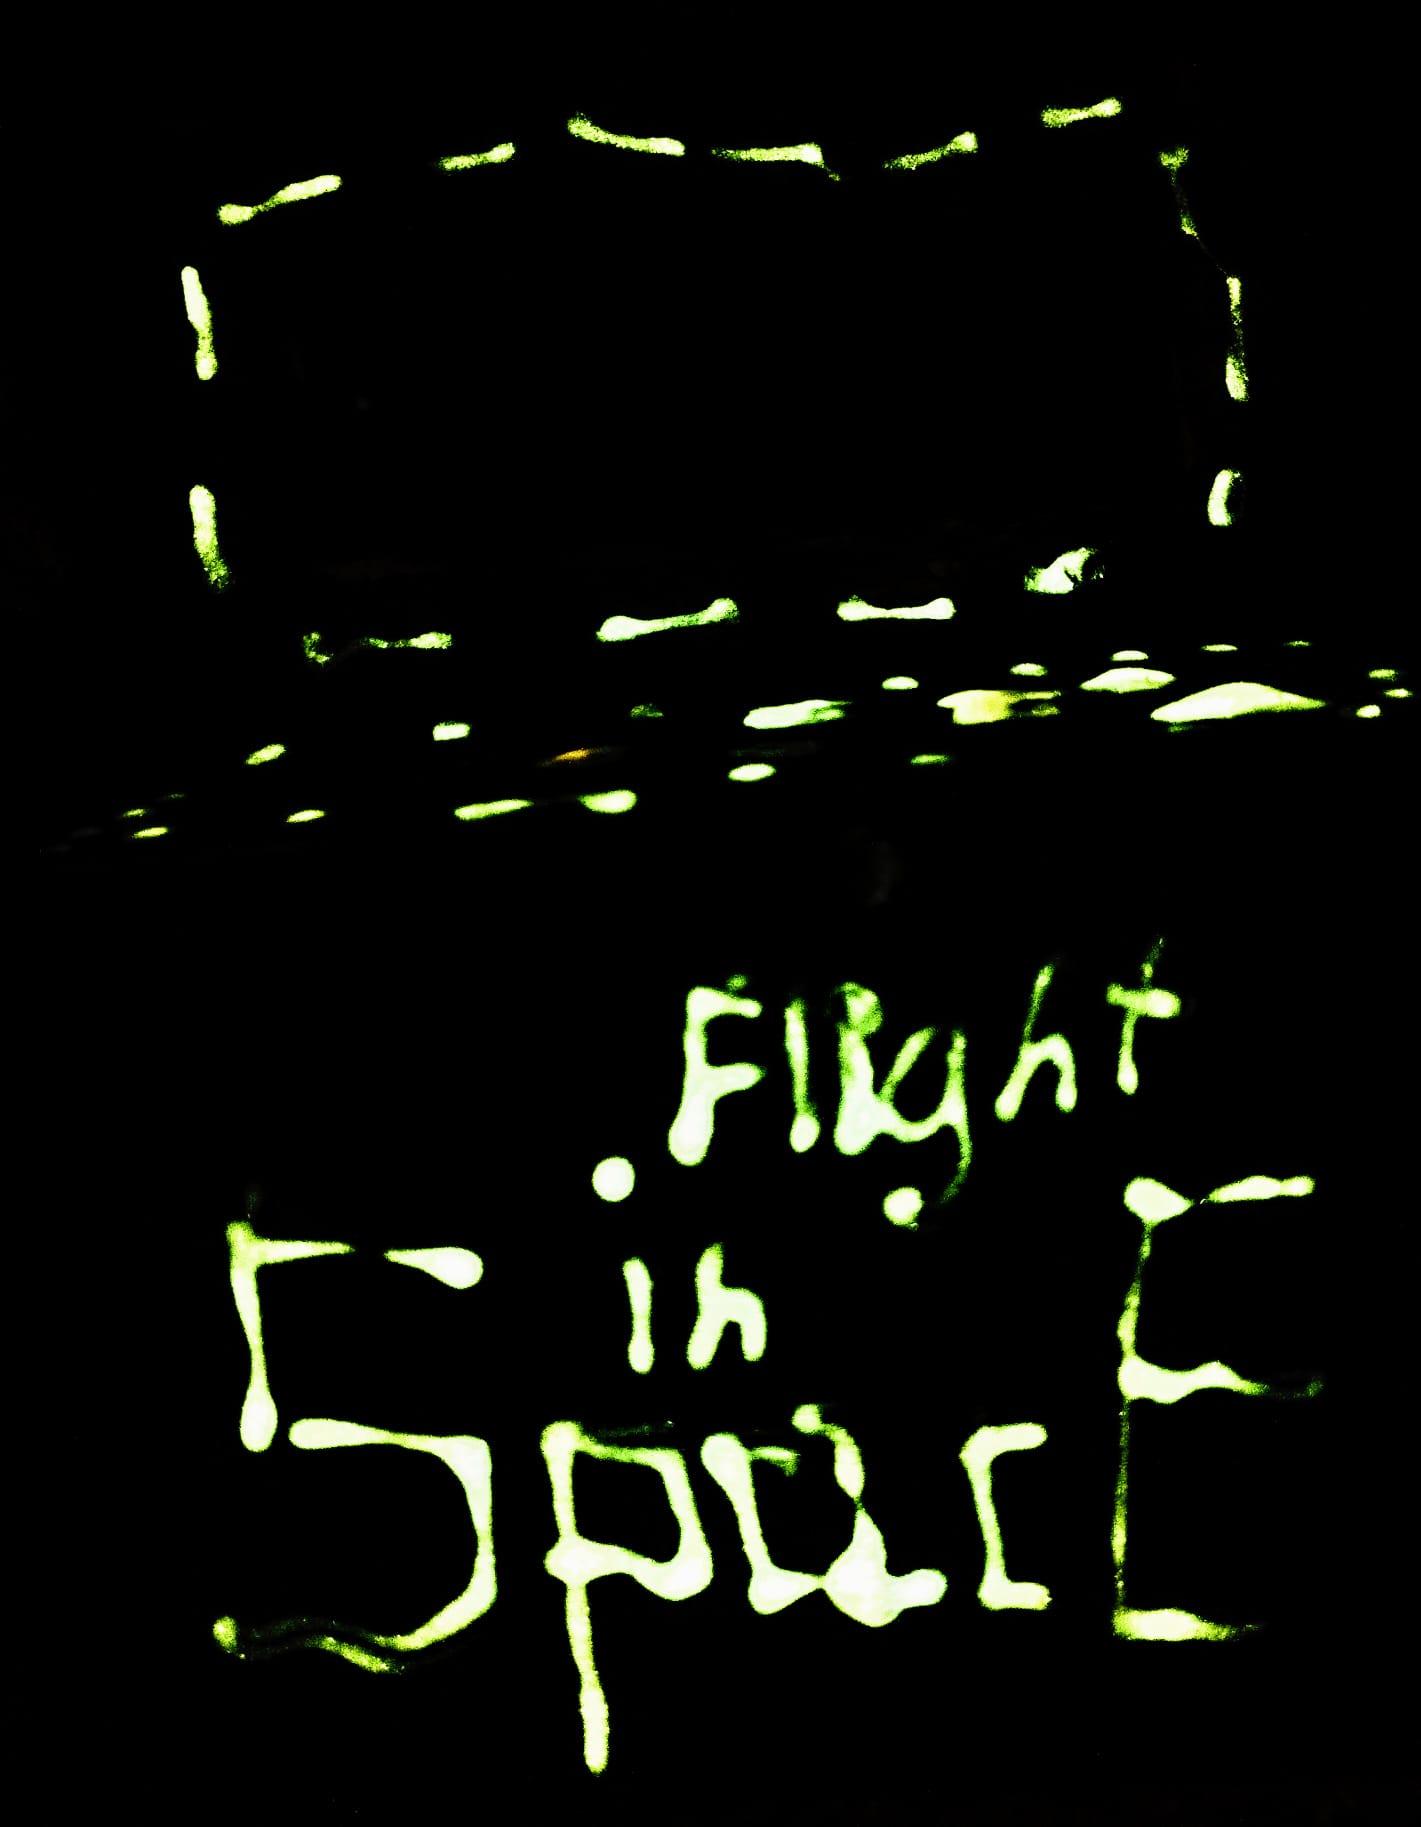

For this part, I did not do much. First I just went over it with a layer of blue-gray paint. Afterward, I sketched some space-related objects onto the outside such as planets and different spaceships. I also wrote the name of my game "Flight in Space" on the front, but you could name it whatever you want. Finally, I had some glow-in-the-dark paint with me so I went over my sketches with 2 coats of it, so it would glow in the dark.
Playing the Game

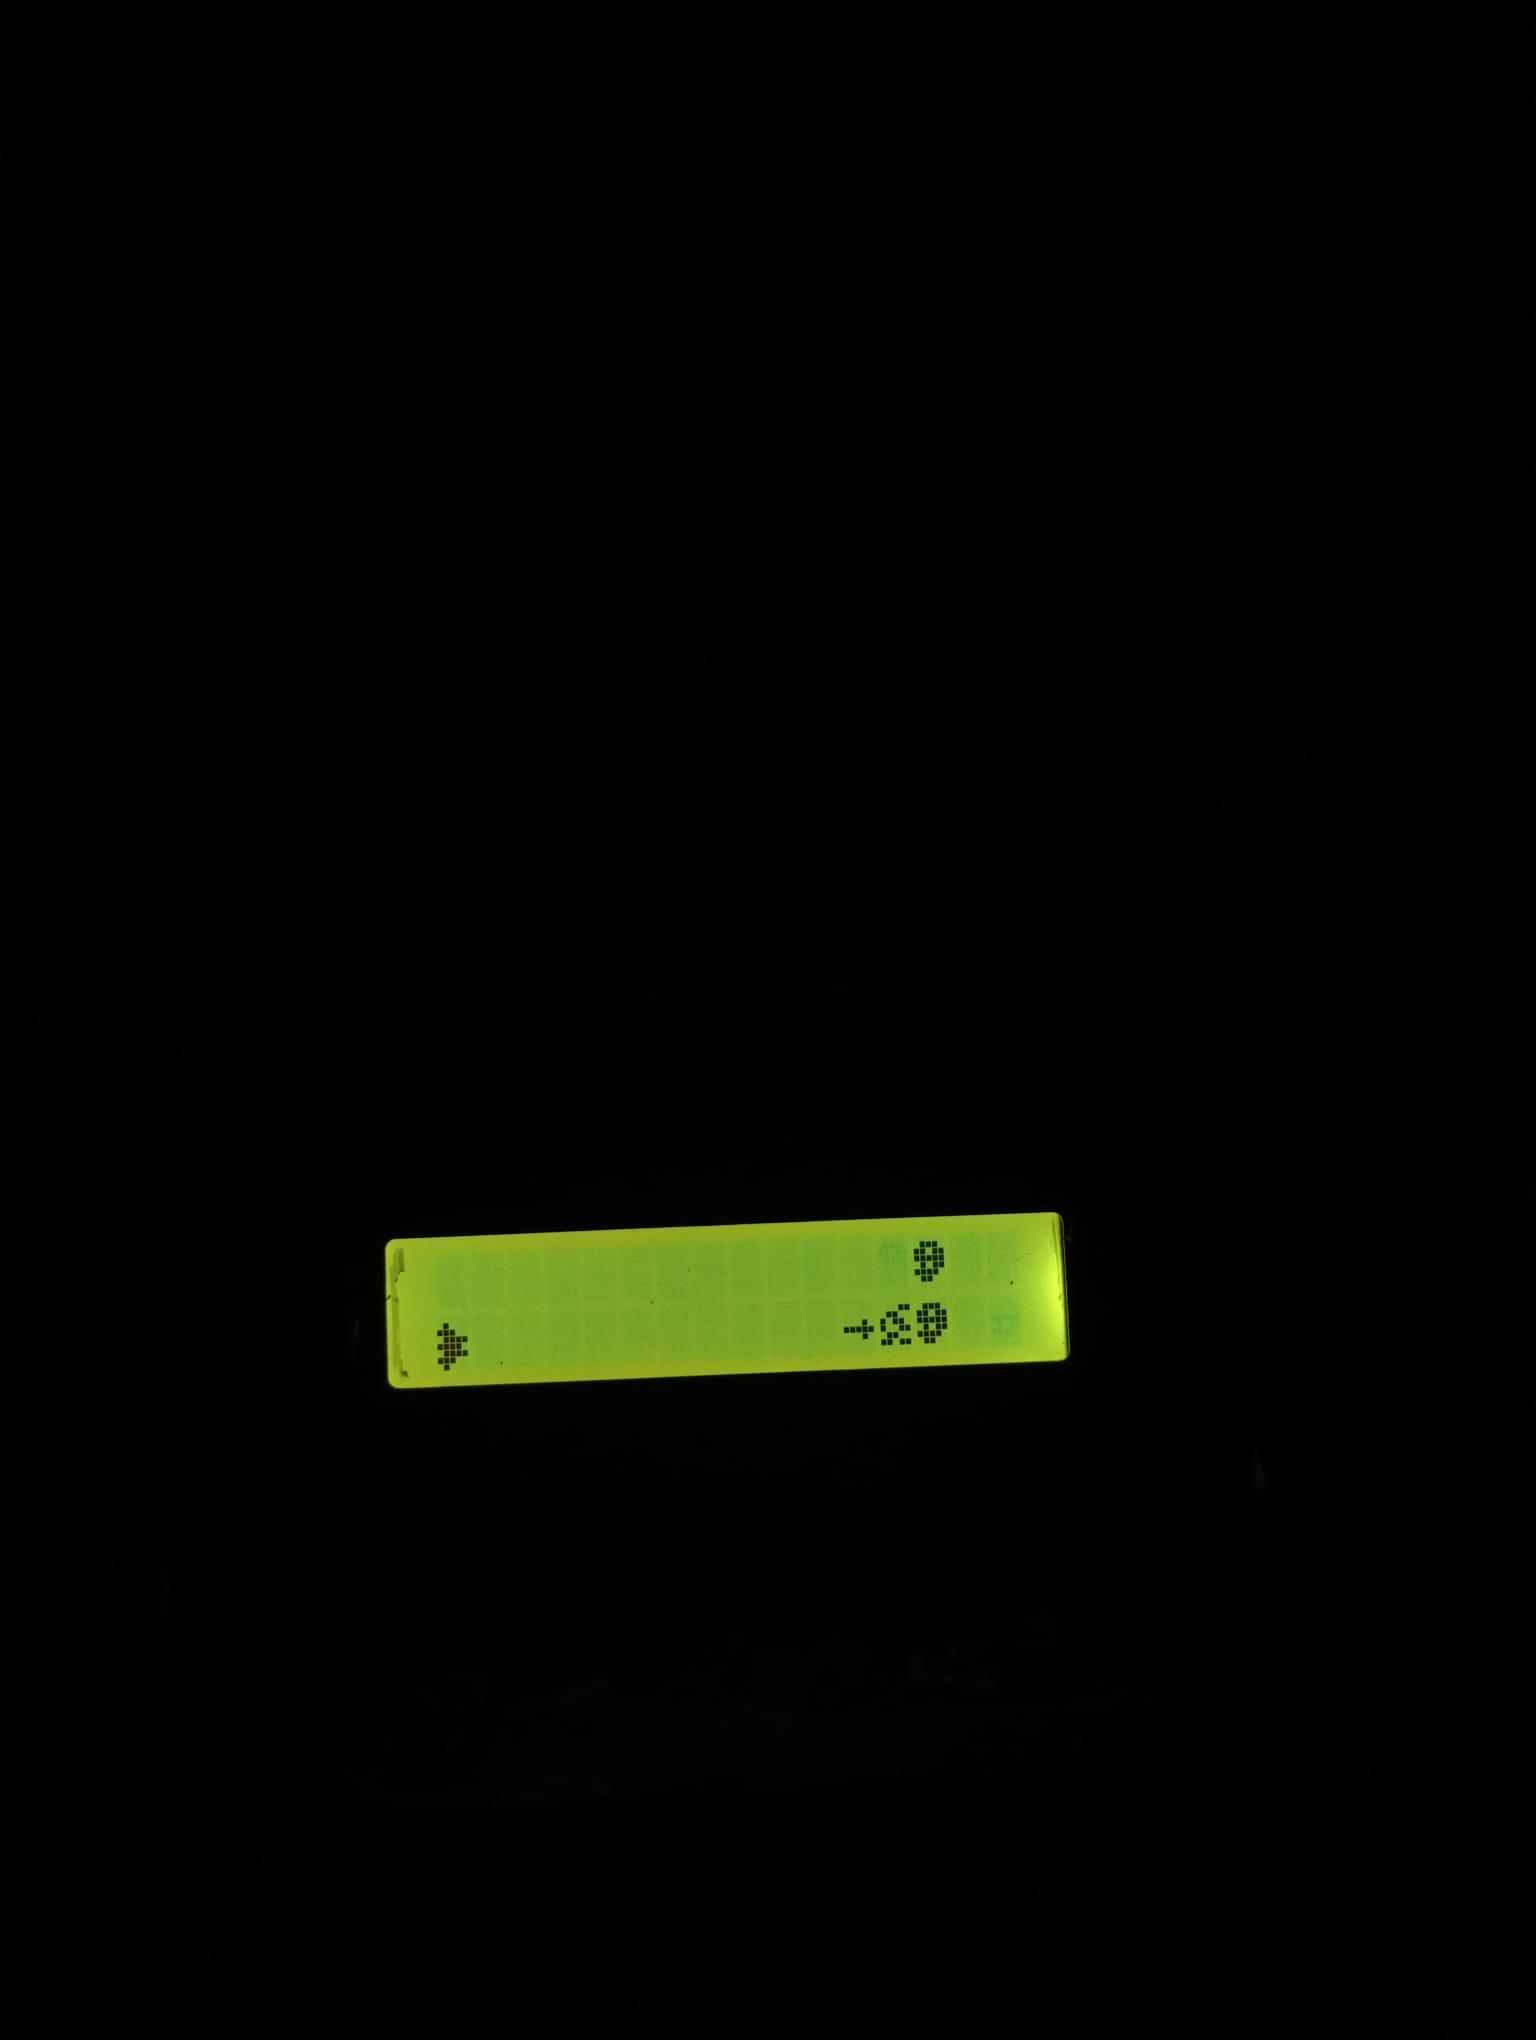

Now all you have to do is use the three buttons to move from up to down to avoid the asteroids, or just for fun you can shoot the asteroids with a laser. If the asteroids hit your ship you lose. It is a very simple game, so you can make whatever other game you want onto that, I find it hard to make complex graphics on the LCD, but if you want to you can try it out.
I attached a video of a simple demonstration of my game to the step.
Debugging and Common Problems.
This had a lot of problems while I was trying to get it to work, so I will try to address some of them here.
LCD not working
For me, this problem was in the address so I had to change 0x27 to 0x3F in the code, so if it is not working you can change it to fit your LCD.
Buttons are doing the wrong action.
This is probably just a problem in positioning them but you can change the numbers in the #define command until they work.
Buttons are always firing
For me, this happened as I was not used to soldering on such small parts, so go over the schematic again to make sure that the GND and the sensor pin were not swapped