Desktop Cable Comb Organizer
by Wow-_-Factor in Living > Organizing
1022 Views, 5 Favorites, 0 Comments
Desktop Cable Comb Organizer


Electronic devices are embedded in the way we lead our lives, helping to improve productivity, easily make connections, and save time. So why do we spend so much time untangling cables and wires? Between our phone chargers, headphone cables, and laptop cables our desk can be a mess with wires all over the place.
The Desktop Cable Comb is a design that allows you to have all your cables in one place, neatly organized and easy to reach whenever you need them. The design was created to free up desk space, reduce cable clutter, and having to search for cables when I need them as I have a small desk, and having messy cables just doesn't work well for me. I have included the part files so you can enjoy a cable clutter-free workspace as well.
Supplies
Autodesk/TinkerCad Account
Creating Outline
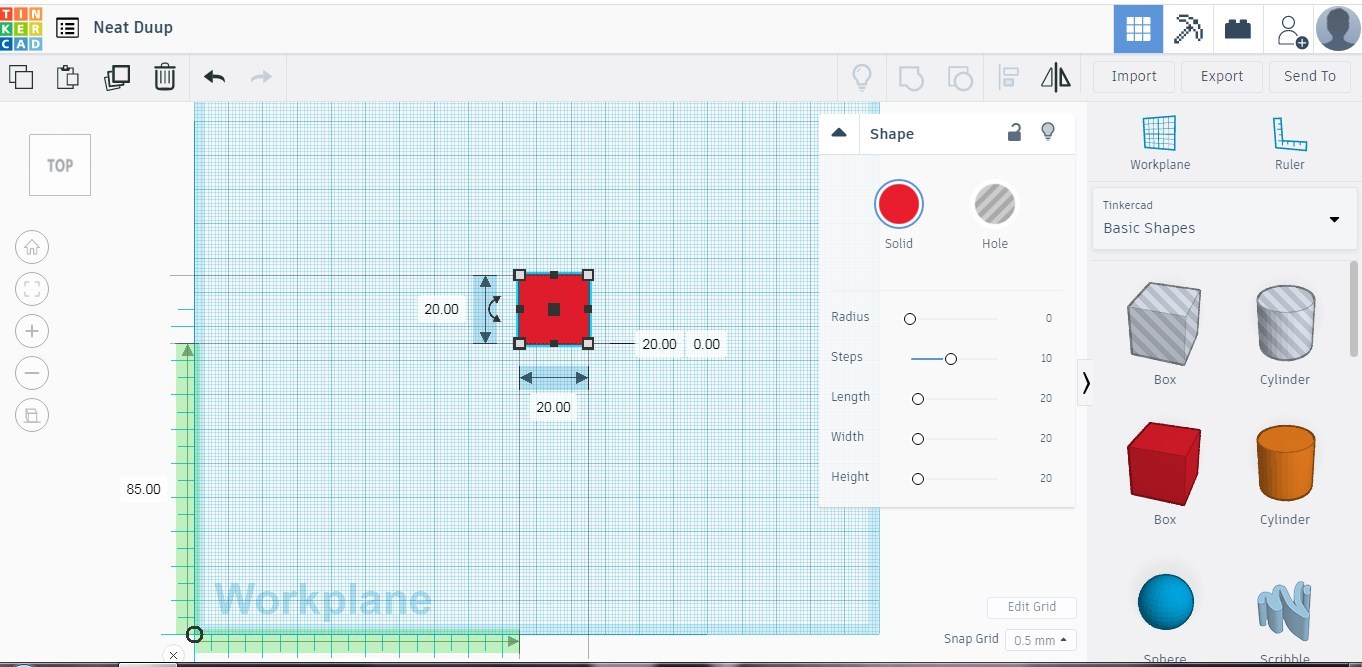

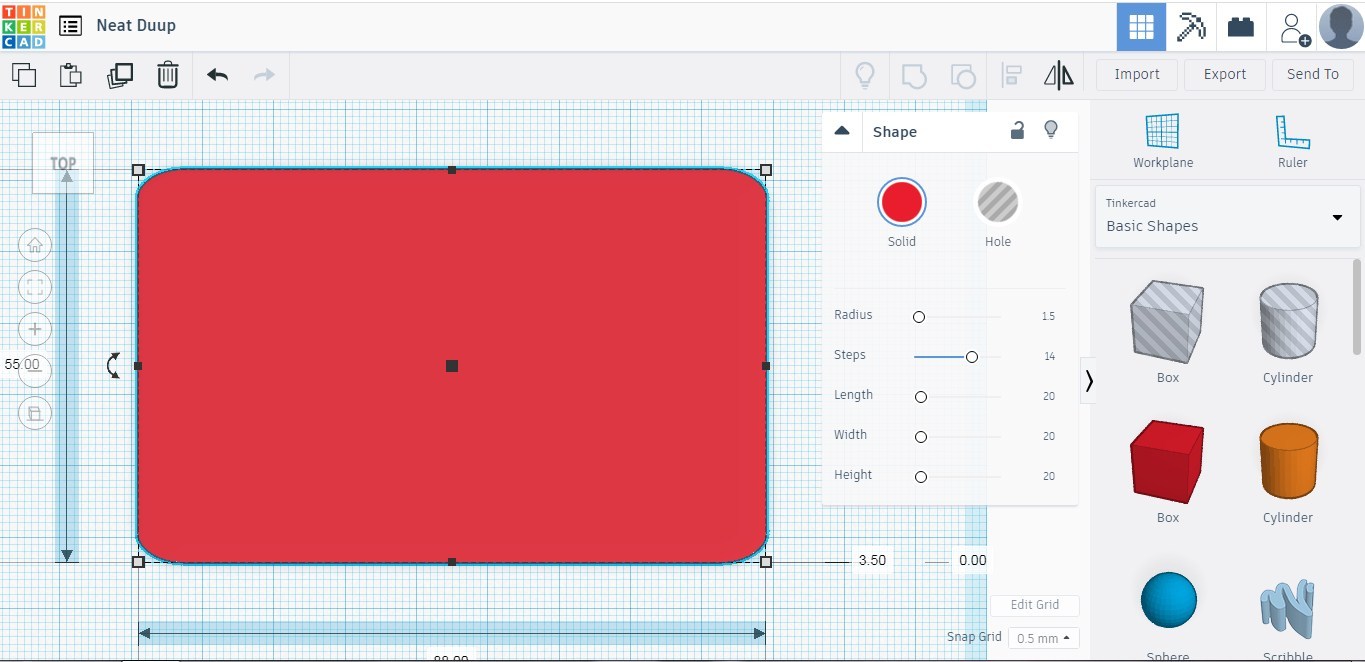
Using the square, we resize it to the dimensions of a credit card. Radius is added to create curvature to the edges.
Creating Cable Tracks


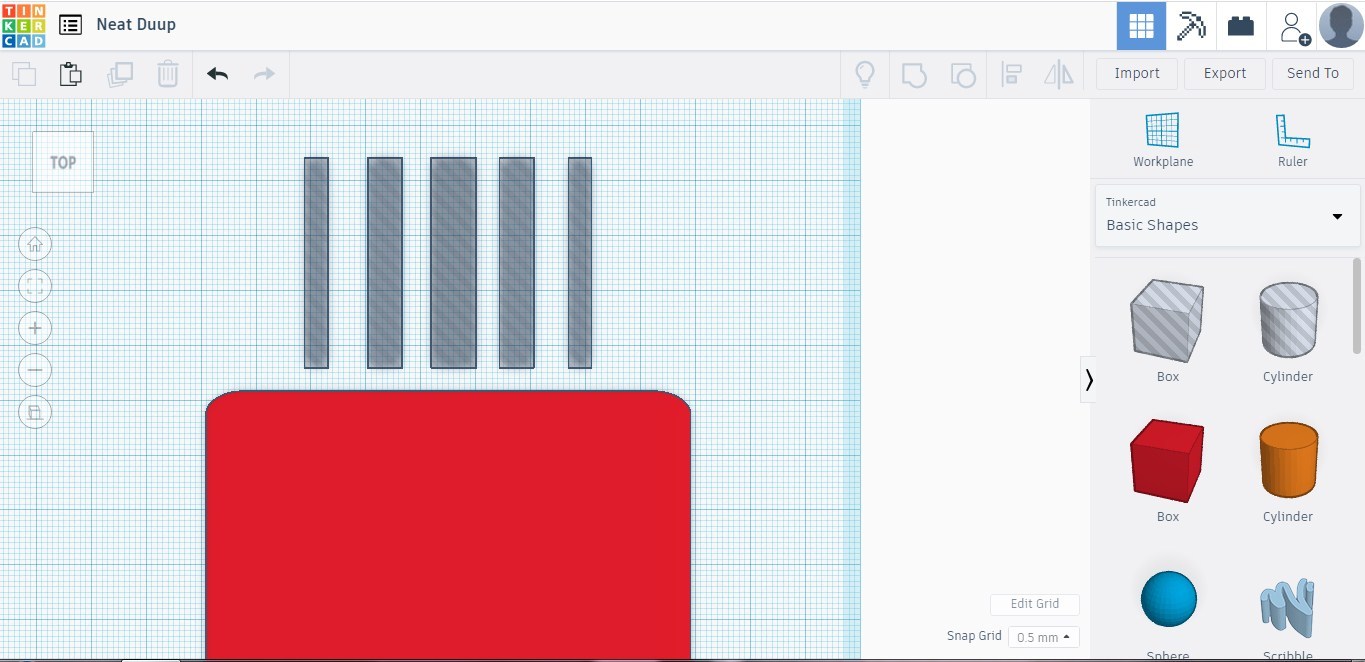
The design can hold 5-9 cables simultaneously. We create 5 rectangular shapes that will be used to cut spaces into the frame to accommodate the cables. The 2 outer slots will be 4mm wide, the inner slots will be 6mm wide and the middle slot will be 8mm wide.
The middle slot is created using the square shape and resized. It is then duplicated 4 times and resized to the required sizes.
Cable Track Tip


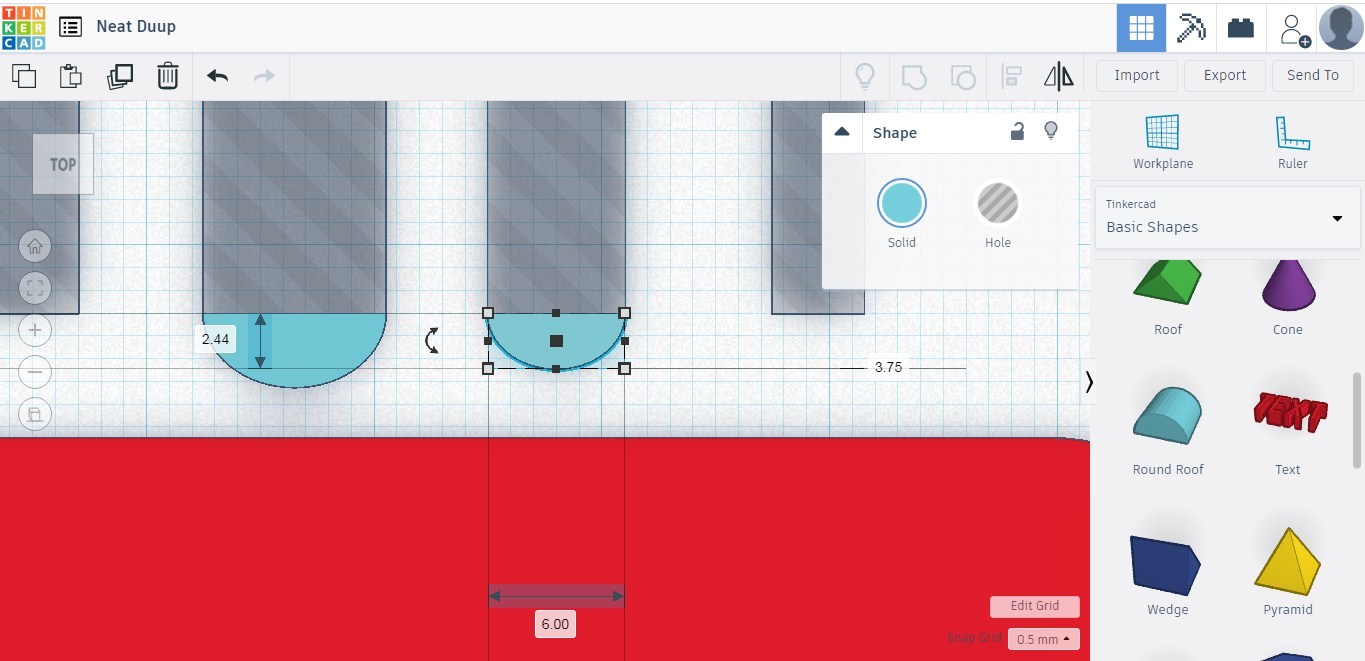

For a smooth motion of the cables within the tracks, I use the semicircle shape to create a rounded bottom to the cable track. It is resized, orientated, and placed at the bottom of the square. Once the desired shape is achieved, it is duplicated 4 times to be aligned with the remaining slots.
Putting Tracks in Place


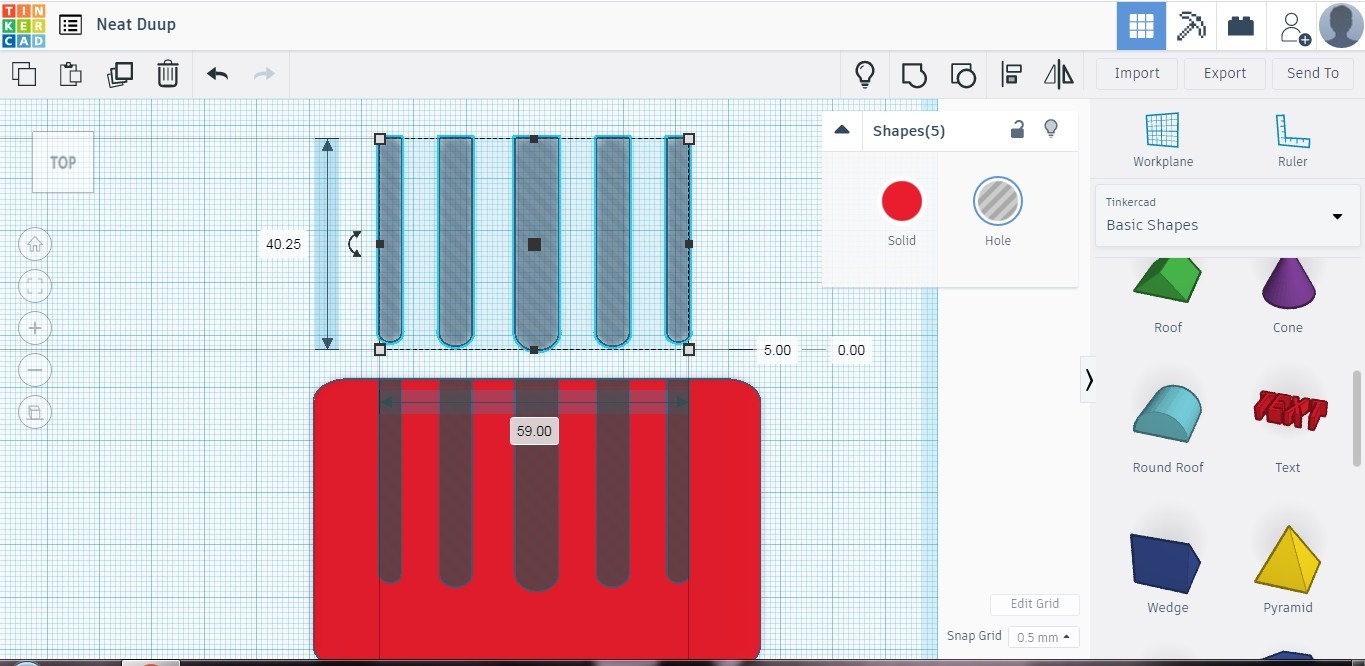

The tracks are then duplicated and placed on the frame, this will allow us to remove material from the square frame creating the tracks. The spaces are aligned and measured to ensure they are equal.
Stand Support Slots


For the Cable Comb to stand upright, we use small squares to remove material from the frame which will create slots that enable the comb to stand. The square is created and aligned below each slot with the equivalent width.
Creating Comb Stand Support

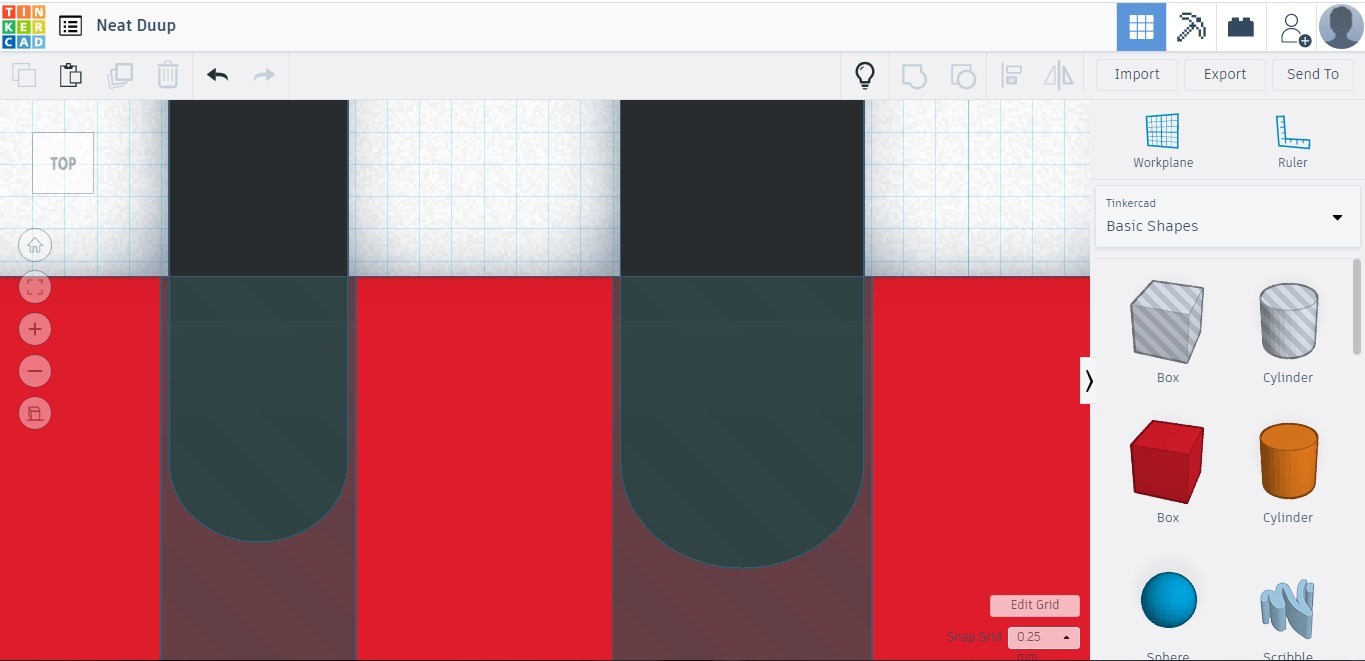
The stand will be able to fit within the slots when not in use. The slots created earlier are lowered into place within the frame and aligned with each slot then resized to be 0.5mm narrower than the slots, allowing them to fit.
Creating Support Backing


Using the square shape to create the back of the support to attach the individual teeth. A new workplane is created on the square and a smaller square created on the outer edges. This is used to lock the cable comb in place when not in use.
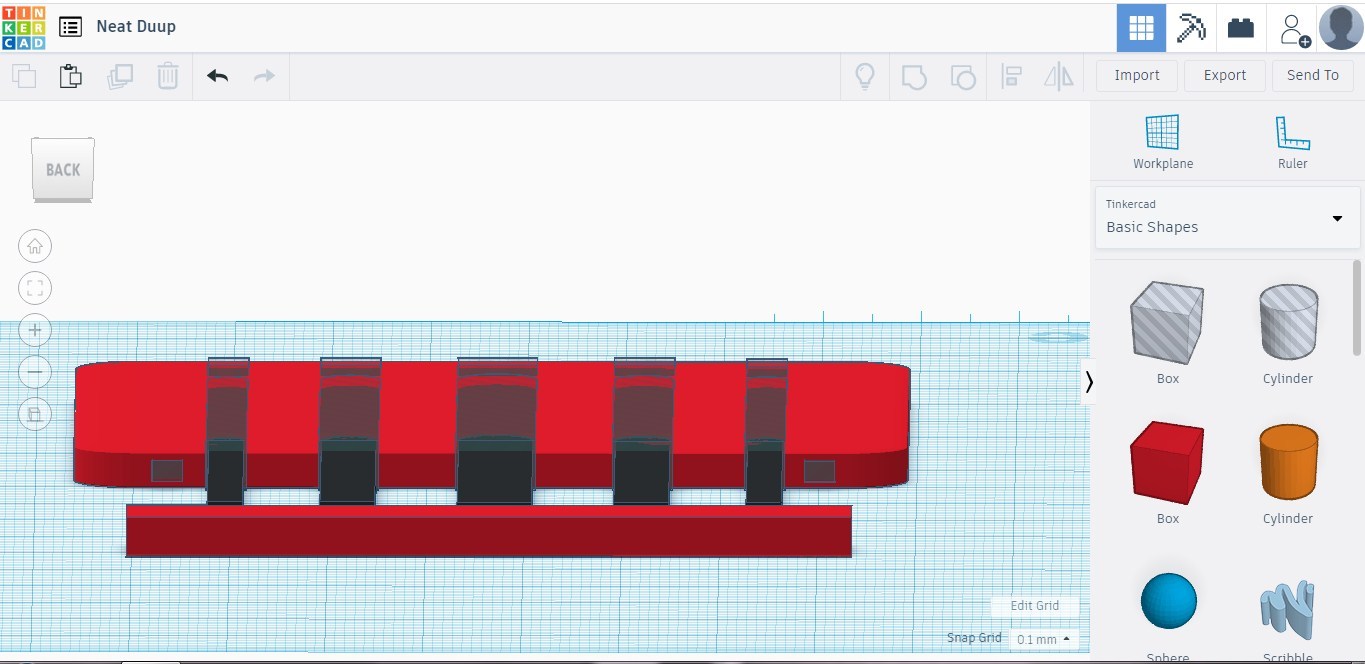
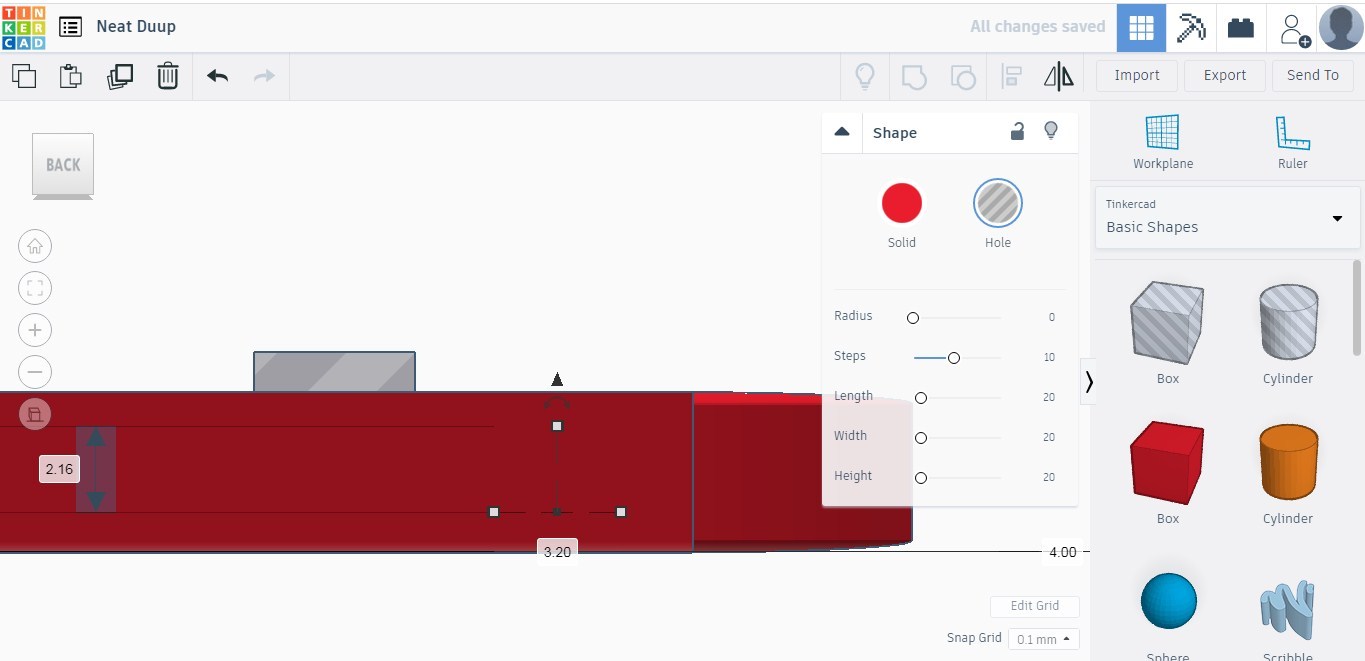
The small squares are duplicated onto the frame, they are then slightly resized to fit the locking squares.
Testing Measurement & Tolerances


With all the parts created, we just need to group the respective parts but before that is done, the tolerances and measurements are checked and the connecting parts put together.
Grouping Parts


The Cable Comb is comprised of 2 parts which we will need to group. First, we select the parts for the support, ensure they are all solid and group them. We then select the parts to create the frame, ensuring the slots and frame support holes are set to remove material from the frame creating the slots and support holes in the frame, then group them together.
Print and Enjoy


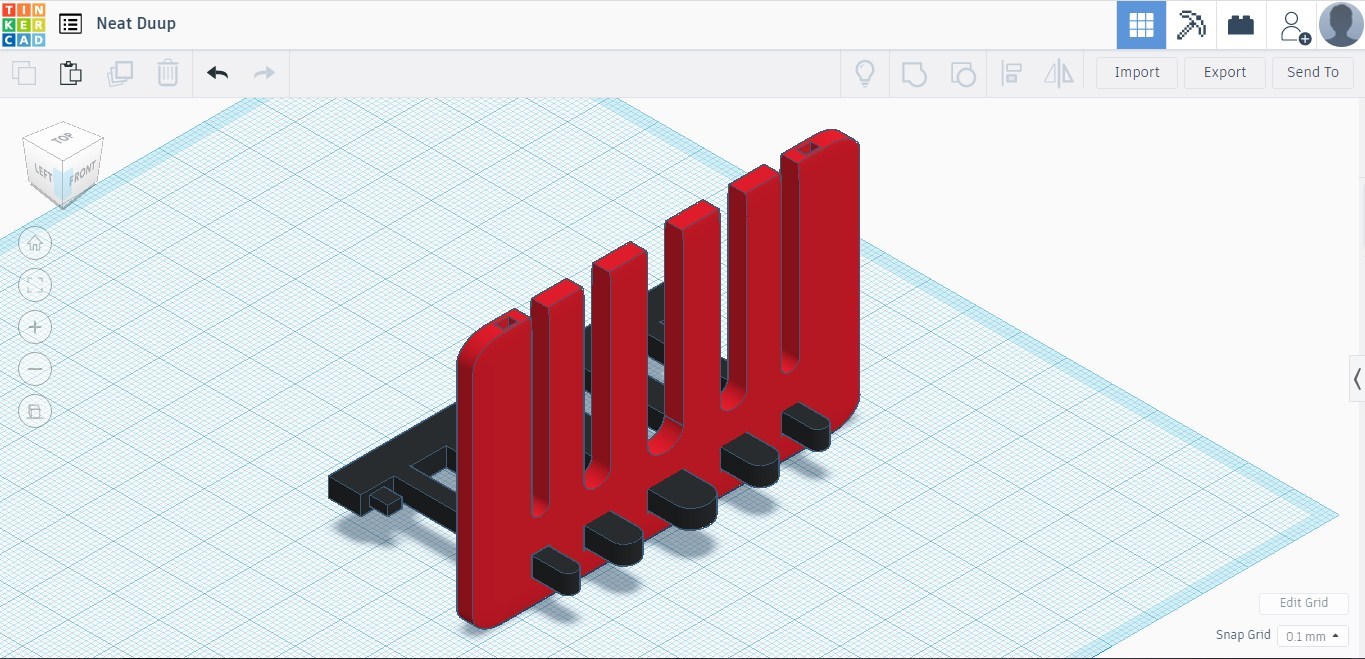
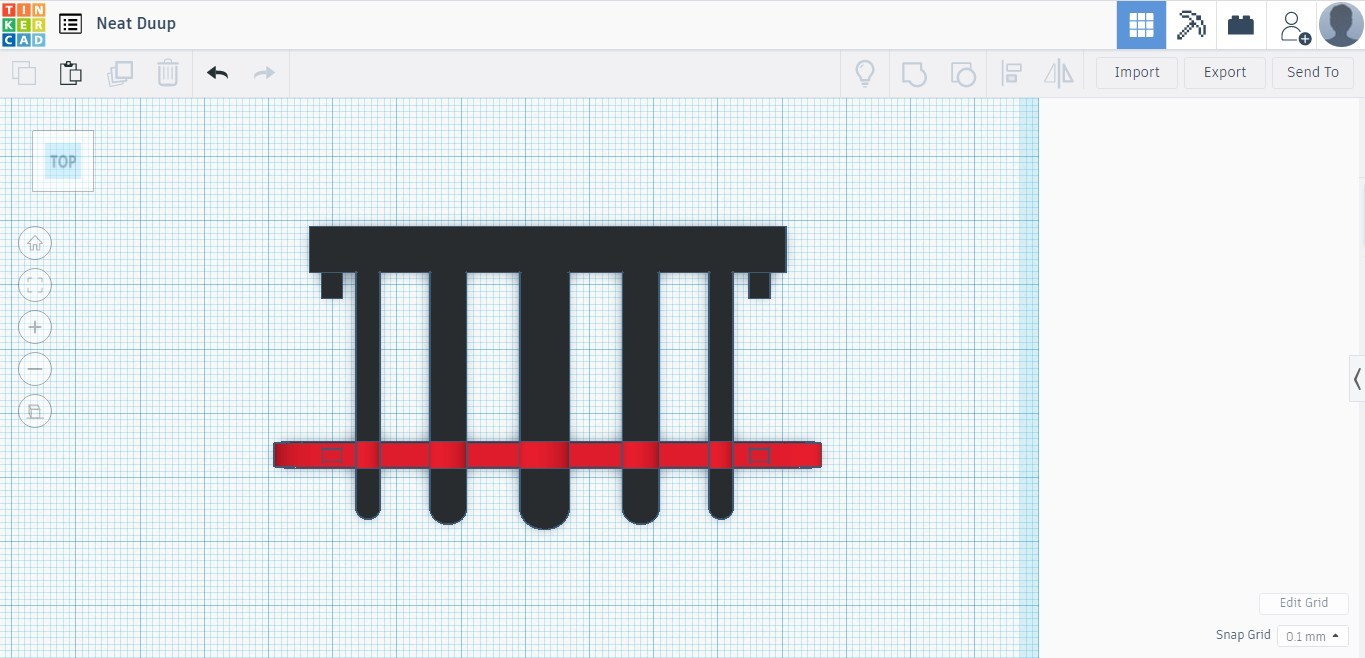


With the parts created, it's ready to print. Load up the files and print them. Attach a piece of double-sided tape to the back of the support if it will be attached to your desk for any length of time.
It can be used in an upright position, allowing you to easily access your cables and holding them in place when not in use or in its triangle position allowing up to 9 cables to be organized and held in place until needed.
I wasn't able to print the 3D model however, I made the model from plastic to illustrate the use of the cable comb.