DnD/TTRPG Player HP Tracker
by sloofrobbert in Circuits > Arduino
421 Views, 2 Favorites, 0 Comments
DnD/TTRPG Player HP Tracker

With this project you can track your HP for your TTRPG's without having to do all the difficult math yourself and without getting your character sheet full of eraser and pencil marks.
The screen will display your current HP, your temporary HP, and which mode you are currently using. You can switch modes by pressing the corresponding buttons.
The different modes and their corresponding buttons are:
- Setting Max HP (Cog/A button)
- Setting Temporary HP (Fist/B button)
- Healing (Wings/C button)
- Taking Damage (Weapon/D button).
What do the different modes do?
- In the Max HP mode, you can set your max HP. Do note that whenever you switch to this mode your current HP will be set to your current Max HP (default: 0). This would be helpful if you were to take a long rest in DnD.
- In the Temporary HP mode, you can set your temporary HP (this is displayed in the top right corner of the screen). This can be higher than your Max HP, but can't be healed.
- In the Healing mode, you can add HP to your current HP. Do note that this doesn't affect your temporary HP.
- In the Damage mode, you can subtract HP from your current HP and your temporary HP. Do note that this will only start to subtract from your current HP when your temporary HP reaches or is set to 0.
When you are in the desired mode (displayed in the bottom right of the screen) you can insert the desired number on the keypad and press Accept (#) to accept the number input or Cancel (*) to cancel the current number input.
The video at conclusion shows a demonstration of the different features.
Supplies
Electronic components
- Arduino UNO
- Keypad 4x4 Matrix
- 1.3 inch OLED Display 128*64 pixels blue - I2C
- TP4056 Micro-USB Li-ion charger 1A with Li-ion protection circuit
- Samsung 21700 Li-ion Battery - 4900mAh - 9.8A - INR21700-50E (Or another rechargeable battery)
- Breadboard Wires (21 wires recommended)
- Arduino USB 2.0 CABLE TYPE A/B 1M
- Standard Mountable rocker switch - Small
I got my electronic components from TinyTronics
Case
- 400x400x6 mm wood
Tools
- Soldering equipment
- Wire stripper
- Laser cutter (used for the case)
- Electrical Tape
- Tape
- Glue (for wood)
Optional
- stickers for on your 4x4 keypad
Design Process


Important decisions made during the project:
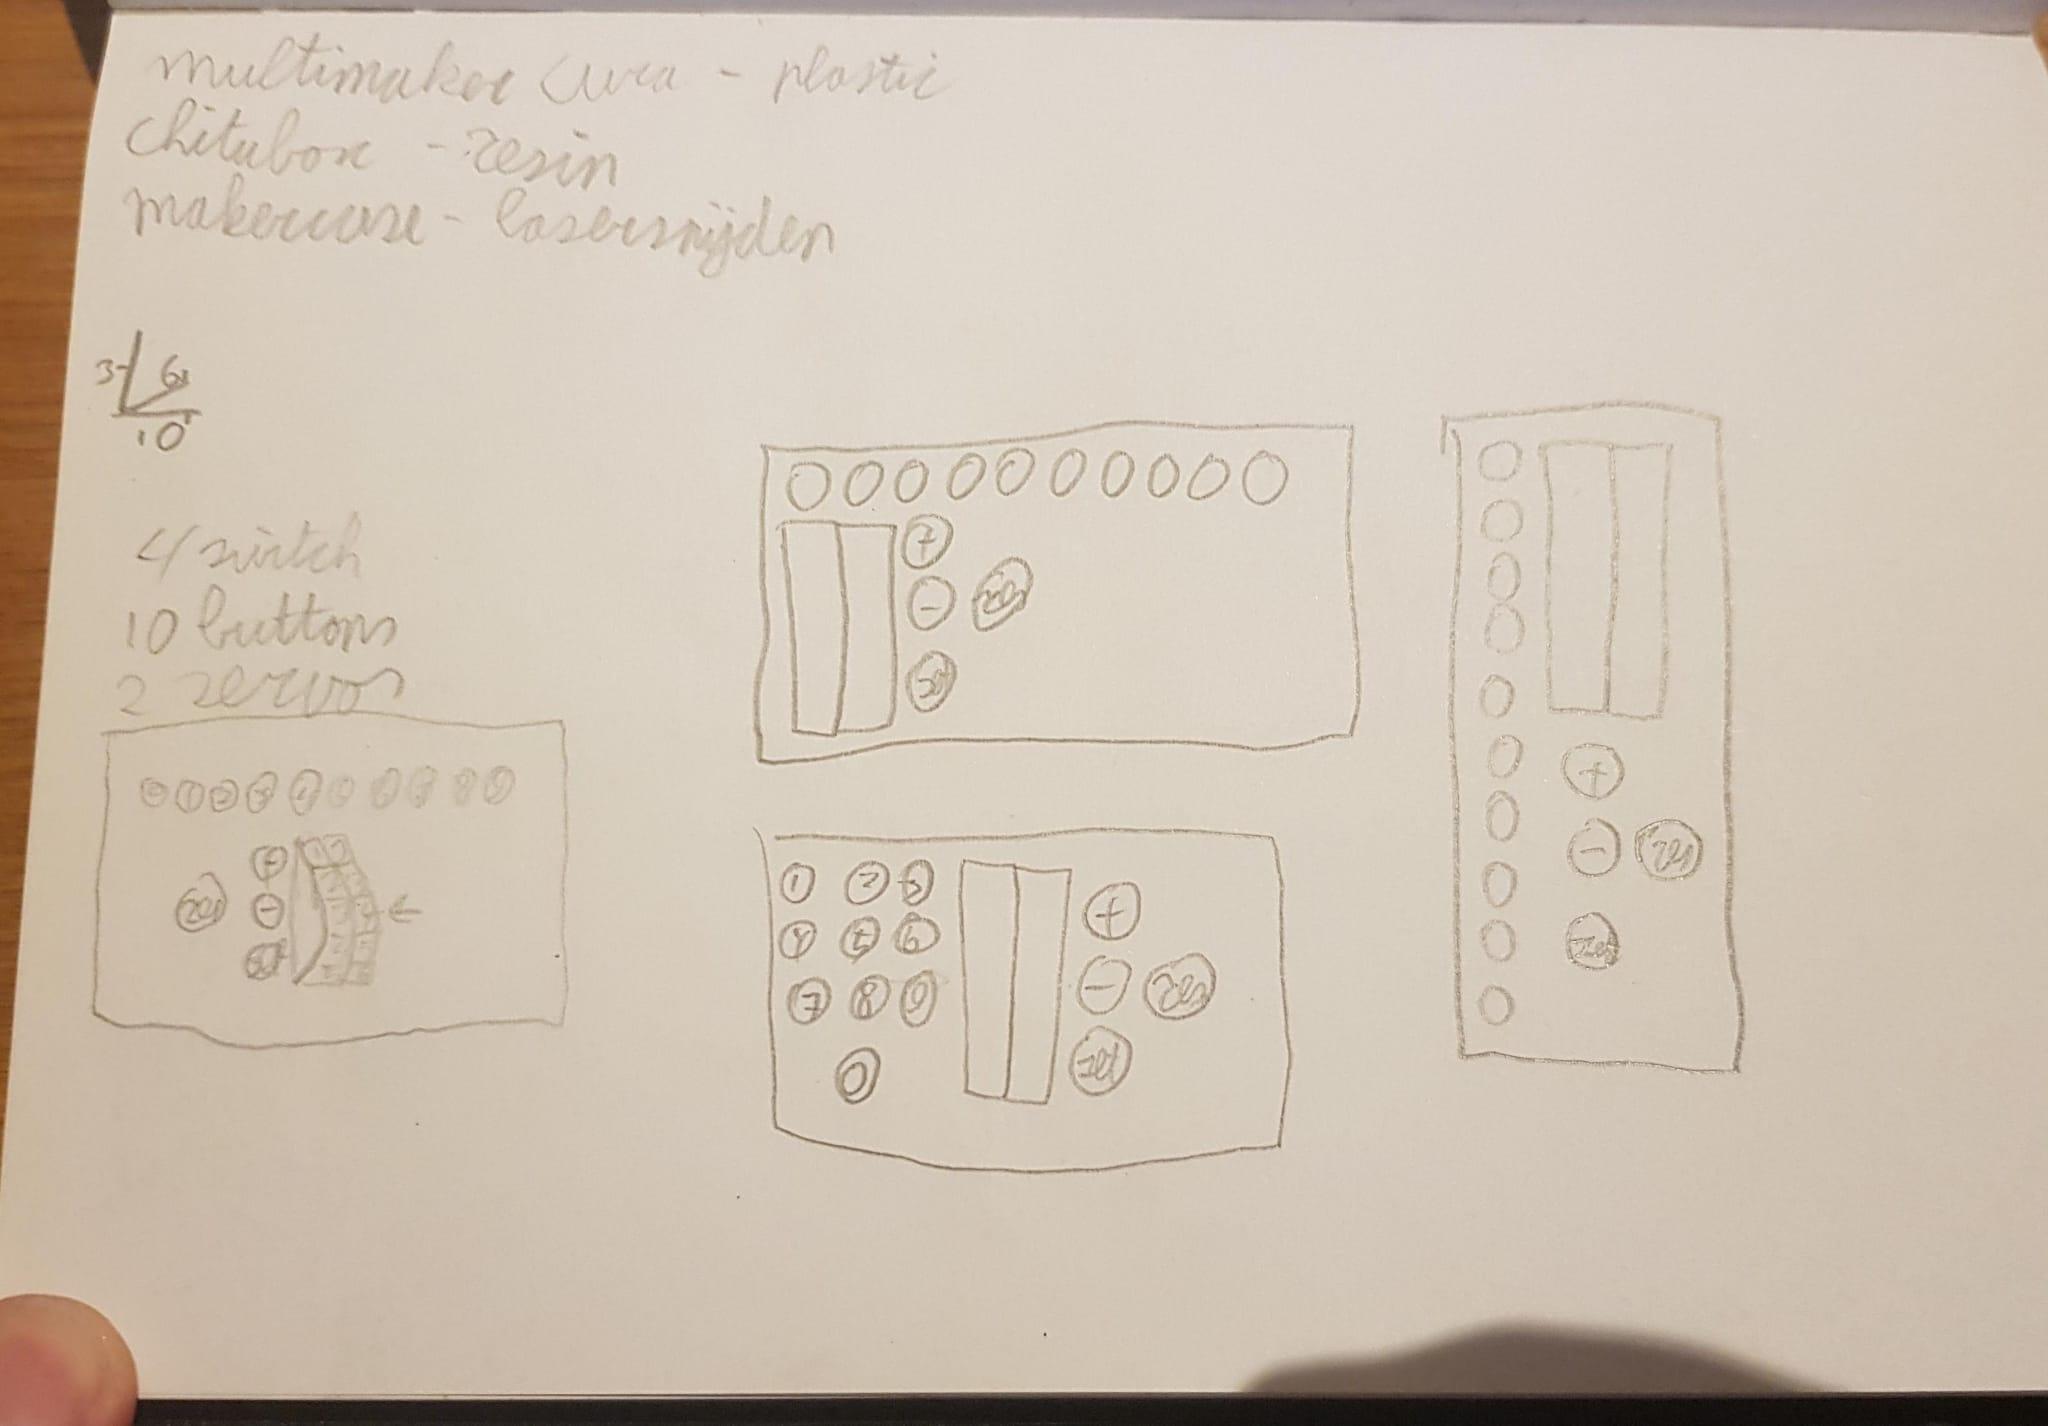
- I didn't want to press a lot of buttons before HP was calculated, because that would make it more complicated and would perhaps take more time. The 4x4 Keypad was perfect for this since it is similar to the layout of a calculator which most people are familiar with. I also decided that the player should switch between modes instead of choosing if you wanted to take damage, heal, etc. every time you went to press a number. Most people will be taking damage most of the time and this allows the player to insert a number without having to press another button.
- I wanted the HP to be displayed well together with the different modes and temporary HP. I was hesitant about using a screen because I didn't want to learn complicated code and wanted a DnD feel to it. The display I eventually found was quite easy with coding and tried to create the DnD feel with different things (the font, a wooden box, stickers).
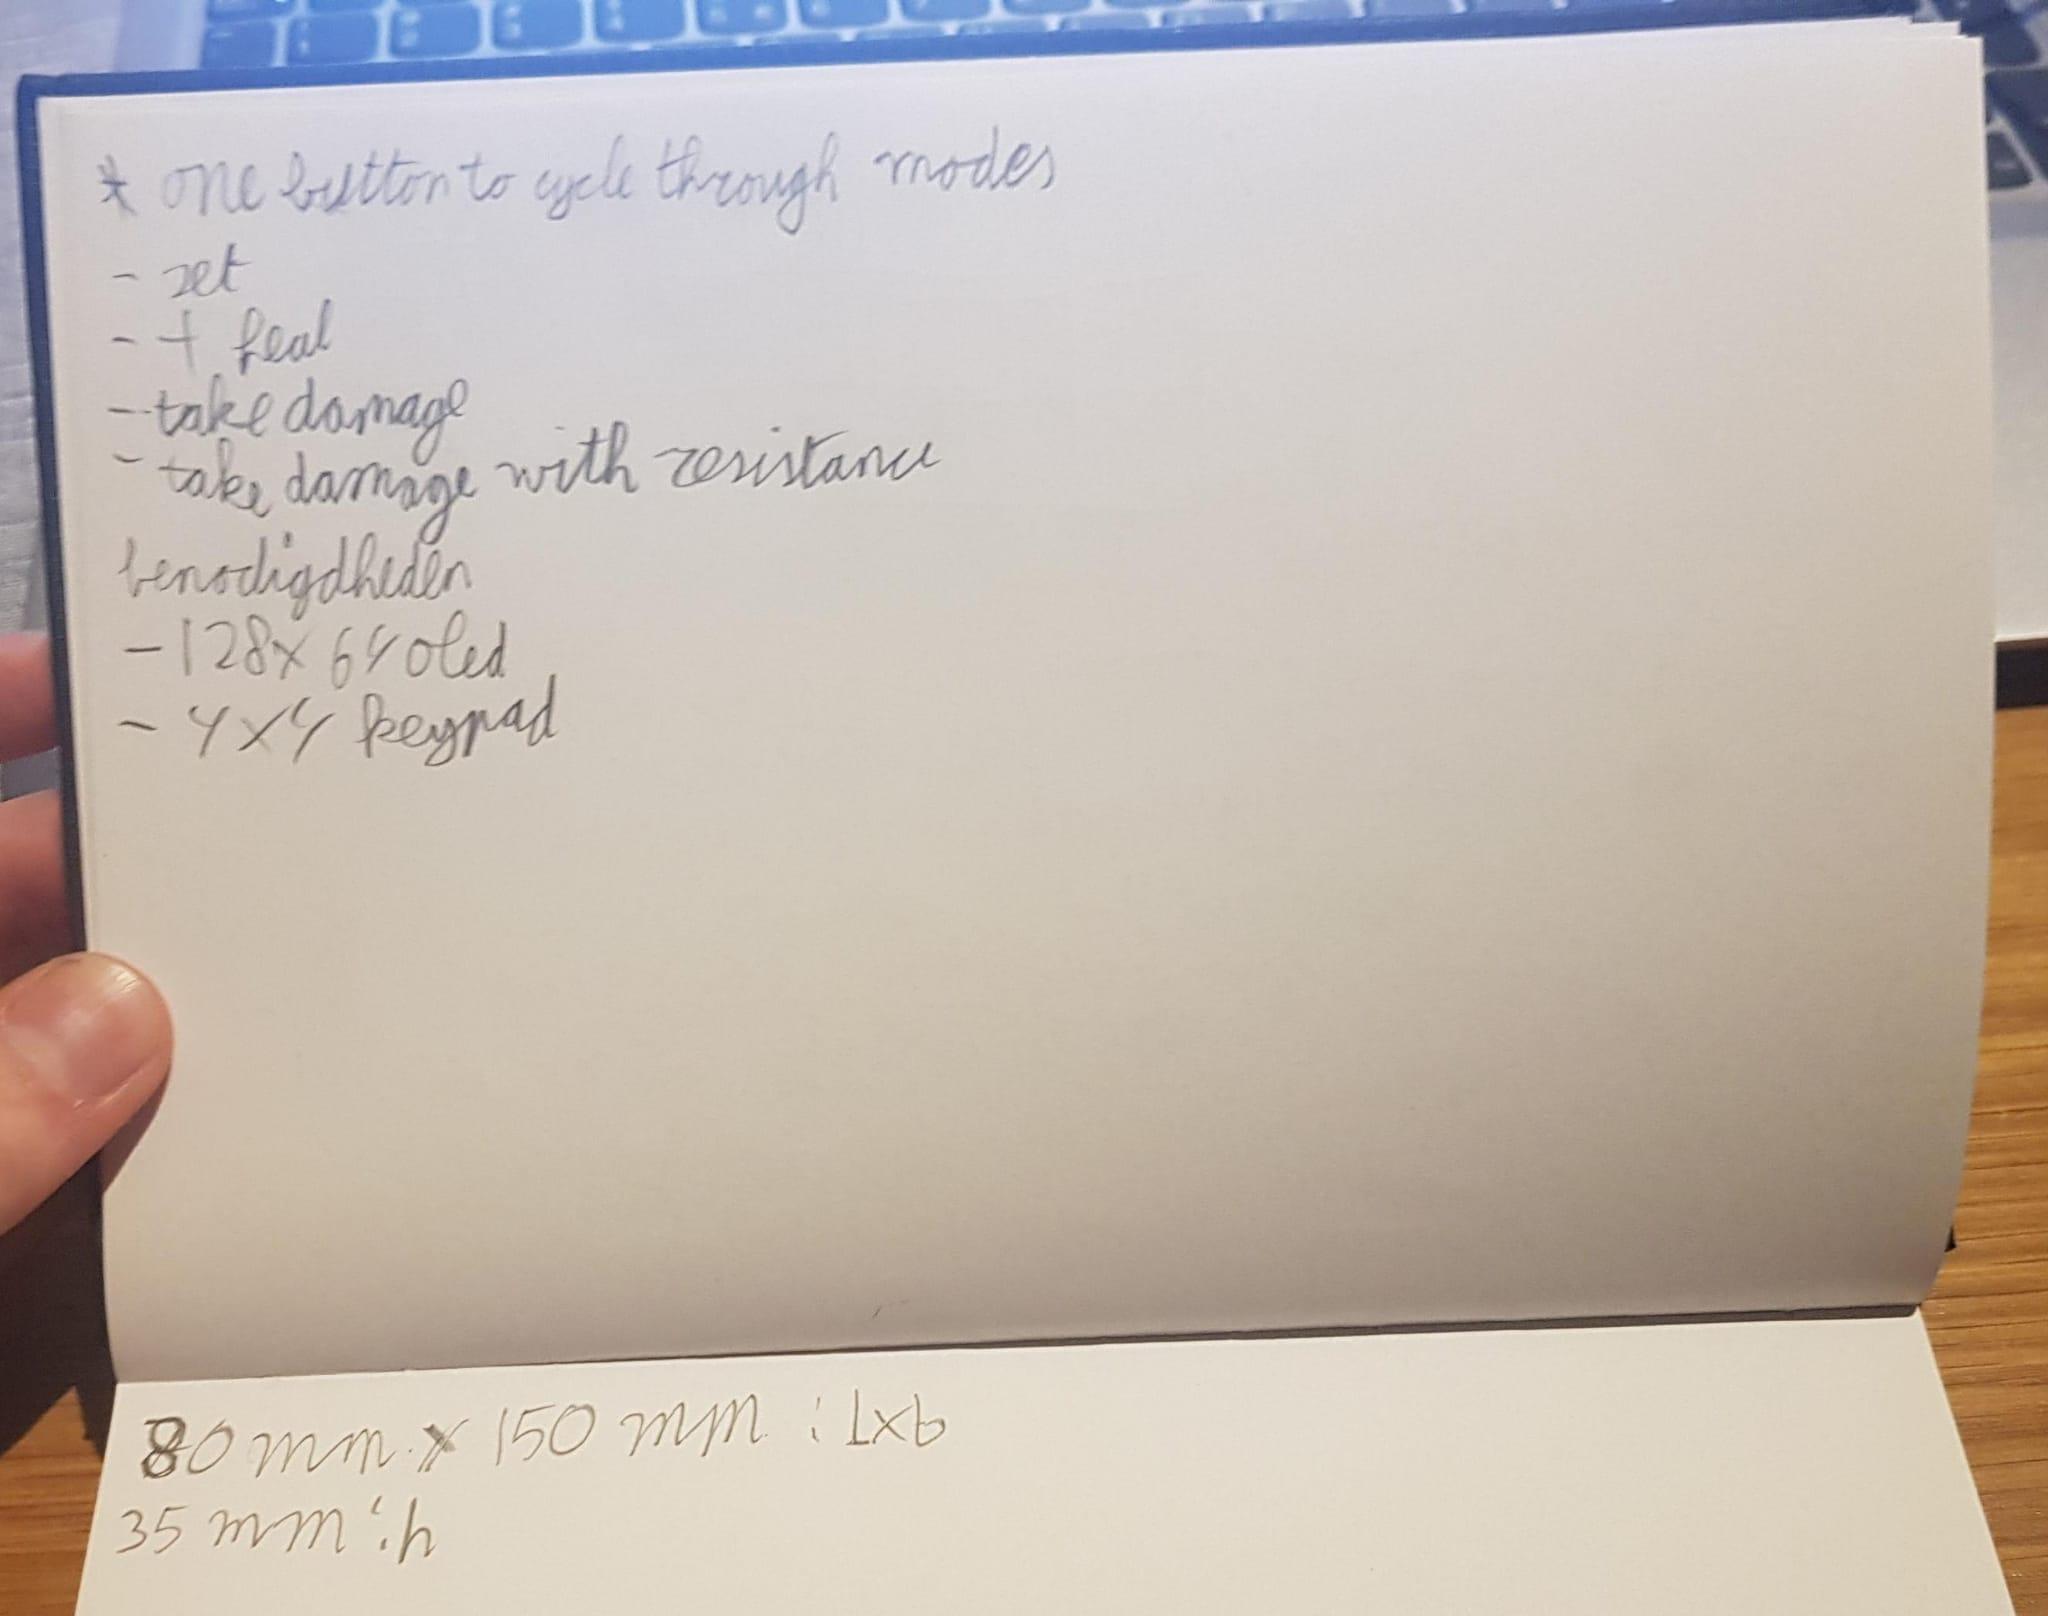
- Temporary HP was supposed to be taking damage with resistance at first, but I thought that temporary HP would be more important. You could still have half the damage in your head, but tracking your temporary HP would require you to write and erase which is exactly what I was trying to prevent. Adding the resistance feature to this project in the future might still be something I'm interested in.
- I wanted a way to set your HP, but with the limited amount of buttons that was hard. Eventually, I made it so that your HP was set to max when you pressed the Max HP mode button, so that you could at least set your HP to max.
Code
Use the Arduino cable to connect your Arduino to your PC and upload the code to the Arduino UNO.
Downloads
Building Case
It is smart to first create the case before soldering everything together. I used wood in a laser cutter to create the case. The file below can be used in many laser cutters. You should get rid of/disable the text in this file before starting. You can then use these as puzzle pieces to create a box.
You can use other ways to create this case. The inside should have space for 85x180x30 mm. The measurements of the case are also in the attached file.
The big hole in the top of the box is for your oled display and the small one for the wires of your 4x4 keypad.
the left hole in the back of the box is for your switch, which you should immediately install after this step. (You might need to edit the size of the hole, if you have a different sized switch).
Downloads
Connecting Everything

You should solder everything together like depicted above. There are some exceptions which are listed below and mentioned in the provided video.
Important!
- The battery I used can't be easily soldered to. I've used electrical tape to tape the wires to the battery. Make sure that the wires are properly pushed against the battery. To accomplish this I used an eraser to cram the battery between the two walls of the box.
- The 4x4 Keypad can't easily be soldered to. Use electrical tape to bind the wires together.
- You should put something behind the TP4056 (charger), so that when you plug in it is properly stuck.
- Only the red light on the TP4056 (charger) should be on when charging. If this is not the case something is wrong with the wires connected to your battery.
Conclusion

The video above explains how to use the HP Tracker.
During this project I've gotten a lot better at soldering than before. I've used Arduino before, but I never soldered a lot together myself. I did have some mishaps, as shown in the picture above (which happened two days before it was supposed to be finished), but I didn't give up.
I had also never used the laser cutter before and I enjoyed using and learning how to use it a lot. I will definitely be using it more often. There were also some mistakes with the laser cutter. The opening for the charger was to small, so I improvised and had to make it bigger by hand. (I've already made it bigger in the DXF file)
In general I'm not that comfortable with making physical products and working with my hands. I'm more comfortable with coding and making digital products, but I think I did well and I'm proud of how it turned out. I hope you enjoyed this instructable (:
Important!
- The switch must be set to on ( - ) when charging.
- When charging the screen will be on.