Does Camera Size Matter? - Comparing Various Pinhole Cameras
by TanishSh in Workshop > Science
169 Views, 1 Favorites, 0 Comments
Does Camera Size Matter? - Comparing Various Pinhole Cameras


We will explore the camera obscura principle using both small and large pinhole
cameras, as well as a room-sized camera. A pinhole camera consists of a dark enclosure
with a small aperture (pinhole) that projects an inverted image of the outside scene onto
the opposite wall or screen.
From a purely classical optics standpoint, reducing the aperture size increases the sharpness
of the image because fewer rays enter and the overlap of rays (leading to blur) is minimized.
However, from a modern (wave) optics perspective, if the pinhole is made too small, diffrac-
tion becomes dominant, causing increased blur. Thus, there is an optimal aperture size
balancing these two regimes.
Optimal Aperture Size
Researchers have derived a convenient formula for the optimal diameter of the pinhole:
d = c * sqrt(f * lambda)
where:
- d is the diameter of the optimal pinhole
- f is the focal length (distance from the aperture to the image plane)
- λ is the wavelength of light (for example, λ ≈ 550 nm for green light)
- c is a constant typically in the range 1.56–2
For example, if the screen is about 50 cm from the aperture, the pinhole diameter might be about 1 mm. For 1 m, the diameter might be around 1.5 mm, for 2 m about 2 mm, and so on.
Supplies


- Black tape
- Cardboard box (painted black or use black cardboard)
- Scissors
- Cutter
- White paper
- Magnifying Glass
- 3D Print Pinhole Camera (Optional):
- 3D printer
- PLA filament
- Kodak Tri-X 400 Black White Film
Small Pinhole Camera With Lens


Construct a compact pinhole camera using a small box:
- Cut a small square in one side of the box; cover it with aluminum foil (or black tape).
- Carefully poke a tiny hole (on the order of 0.5 mm–1 mm, depending on your chosen focal length).
- On the inside opposite wall, place a translucent material (e.g. white paper) to serve as the viewing screen.
- Experiment with different pinhole diameters and note how the image sharpness and brightness change.
- The focal length of the camera will depend on the magnifying glass, figure out at what distance the magnifying glass can read letters or objects
Observations for the Small Camera with
- A very small hole (less than 1 mm) increases sharpness up to a point but also dims the image and may introduce diffraction blur.
- A slightly larger hole (e.g., 1 mm–2 mm) may produce a brighter image but with more overlap and reduced sharpness from a classical optics viewpoint.
Large Pinhole Camera


- Box Setup: Use a large, sealable cardboard box; line the interior so minimal light enters.
- White Screen: Place white paper on the inside wall opposite the pinhole to serve as the projection surface.
- Pinhole Opening: Cut or drill a small hole in the front wall; cover with foil and poke the pinhole (e.g., ~1.5 mm for a 1 m focal distance).
- Viewing Port: Cut a second hole on the side to allow photographing the projected image inside the box.
- Darken and Observe: Seal all other seams; aim the box at a bright scene and watch the inverted image form on the paper.
Observations for the Large Camera
- Because of the larger focal length (distance from hole to wall), a slightly larger pinhole is typically needed for optimal sharpness.
- The projected image can be significantly dimmer if the pinhole is too small; a compromise size is necessary to balance brightness and diffraction limitation.
- The image is better than the small pinhole.
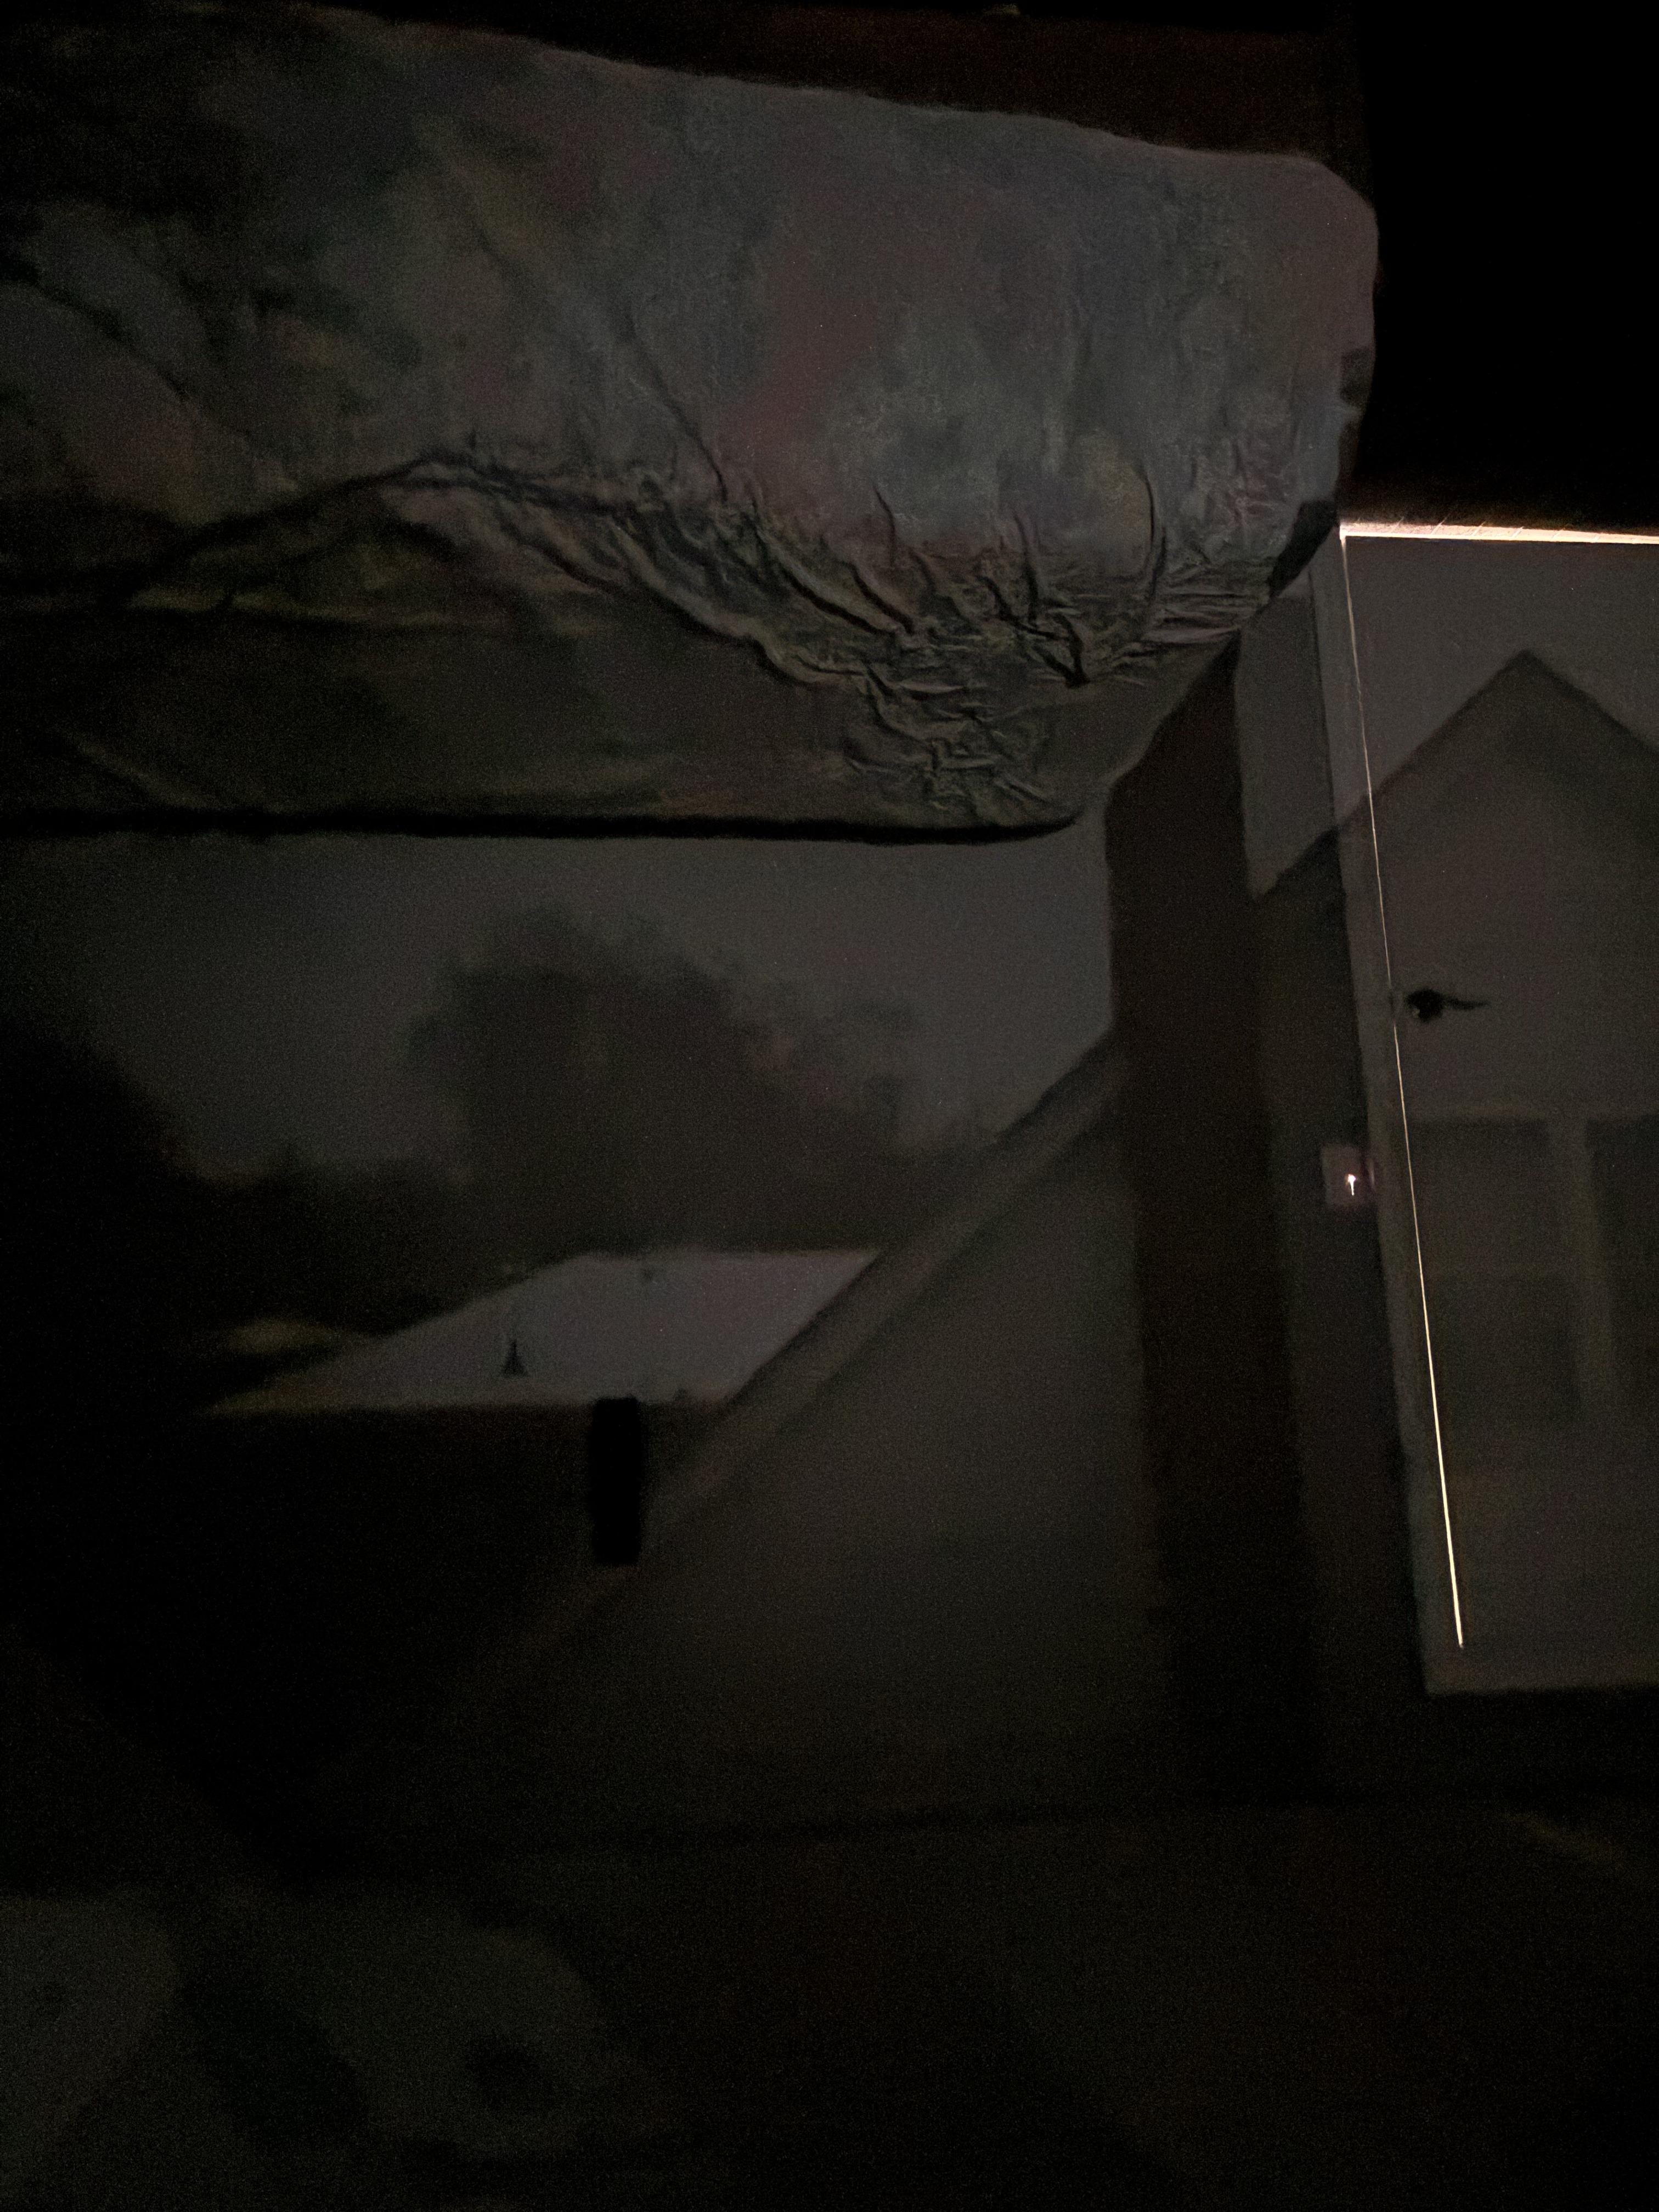
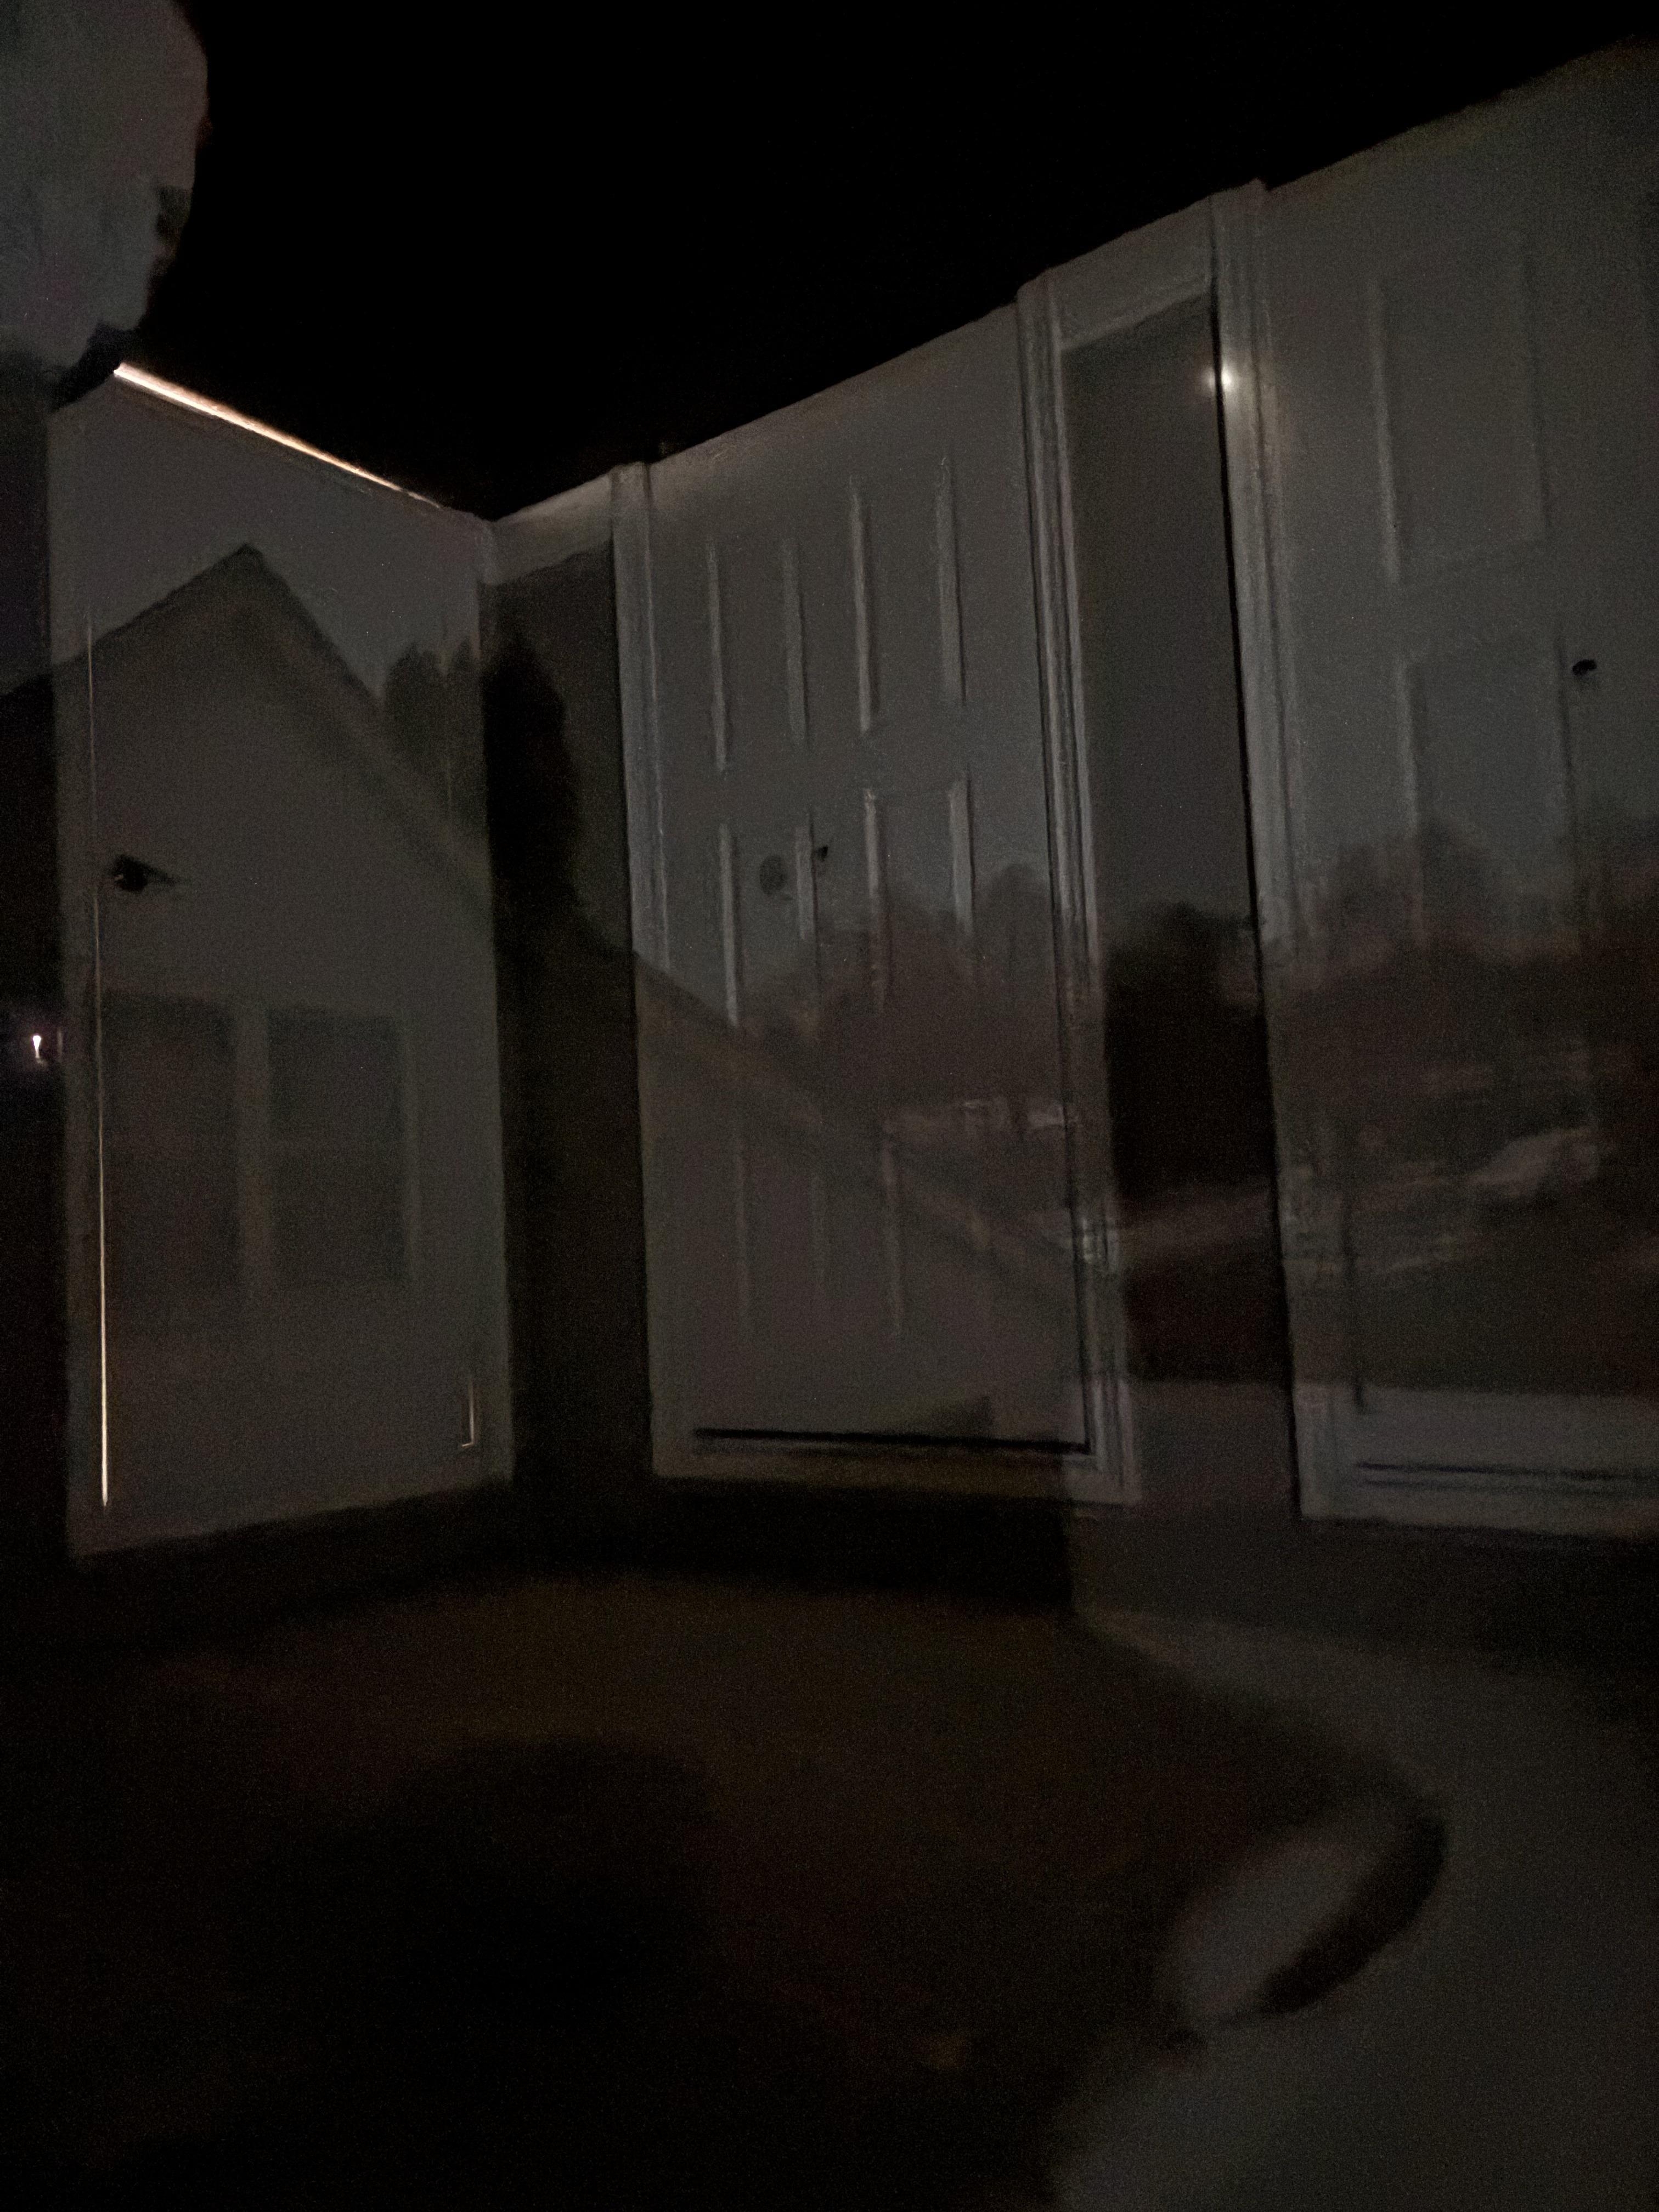
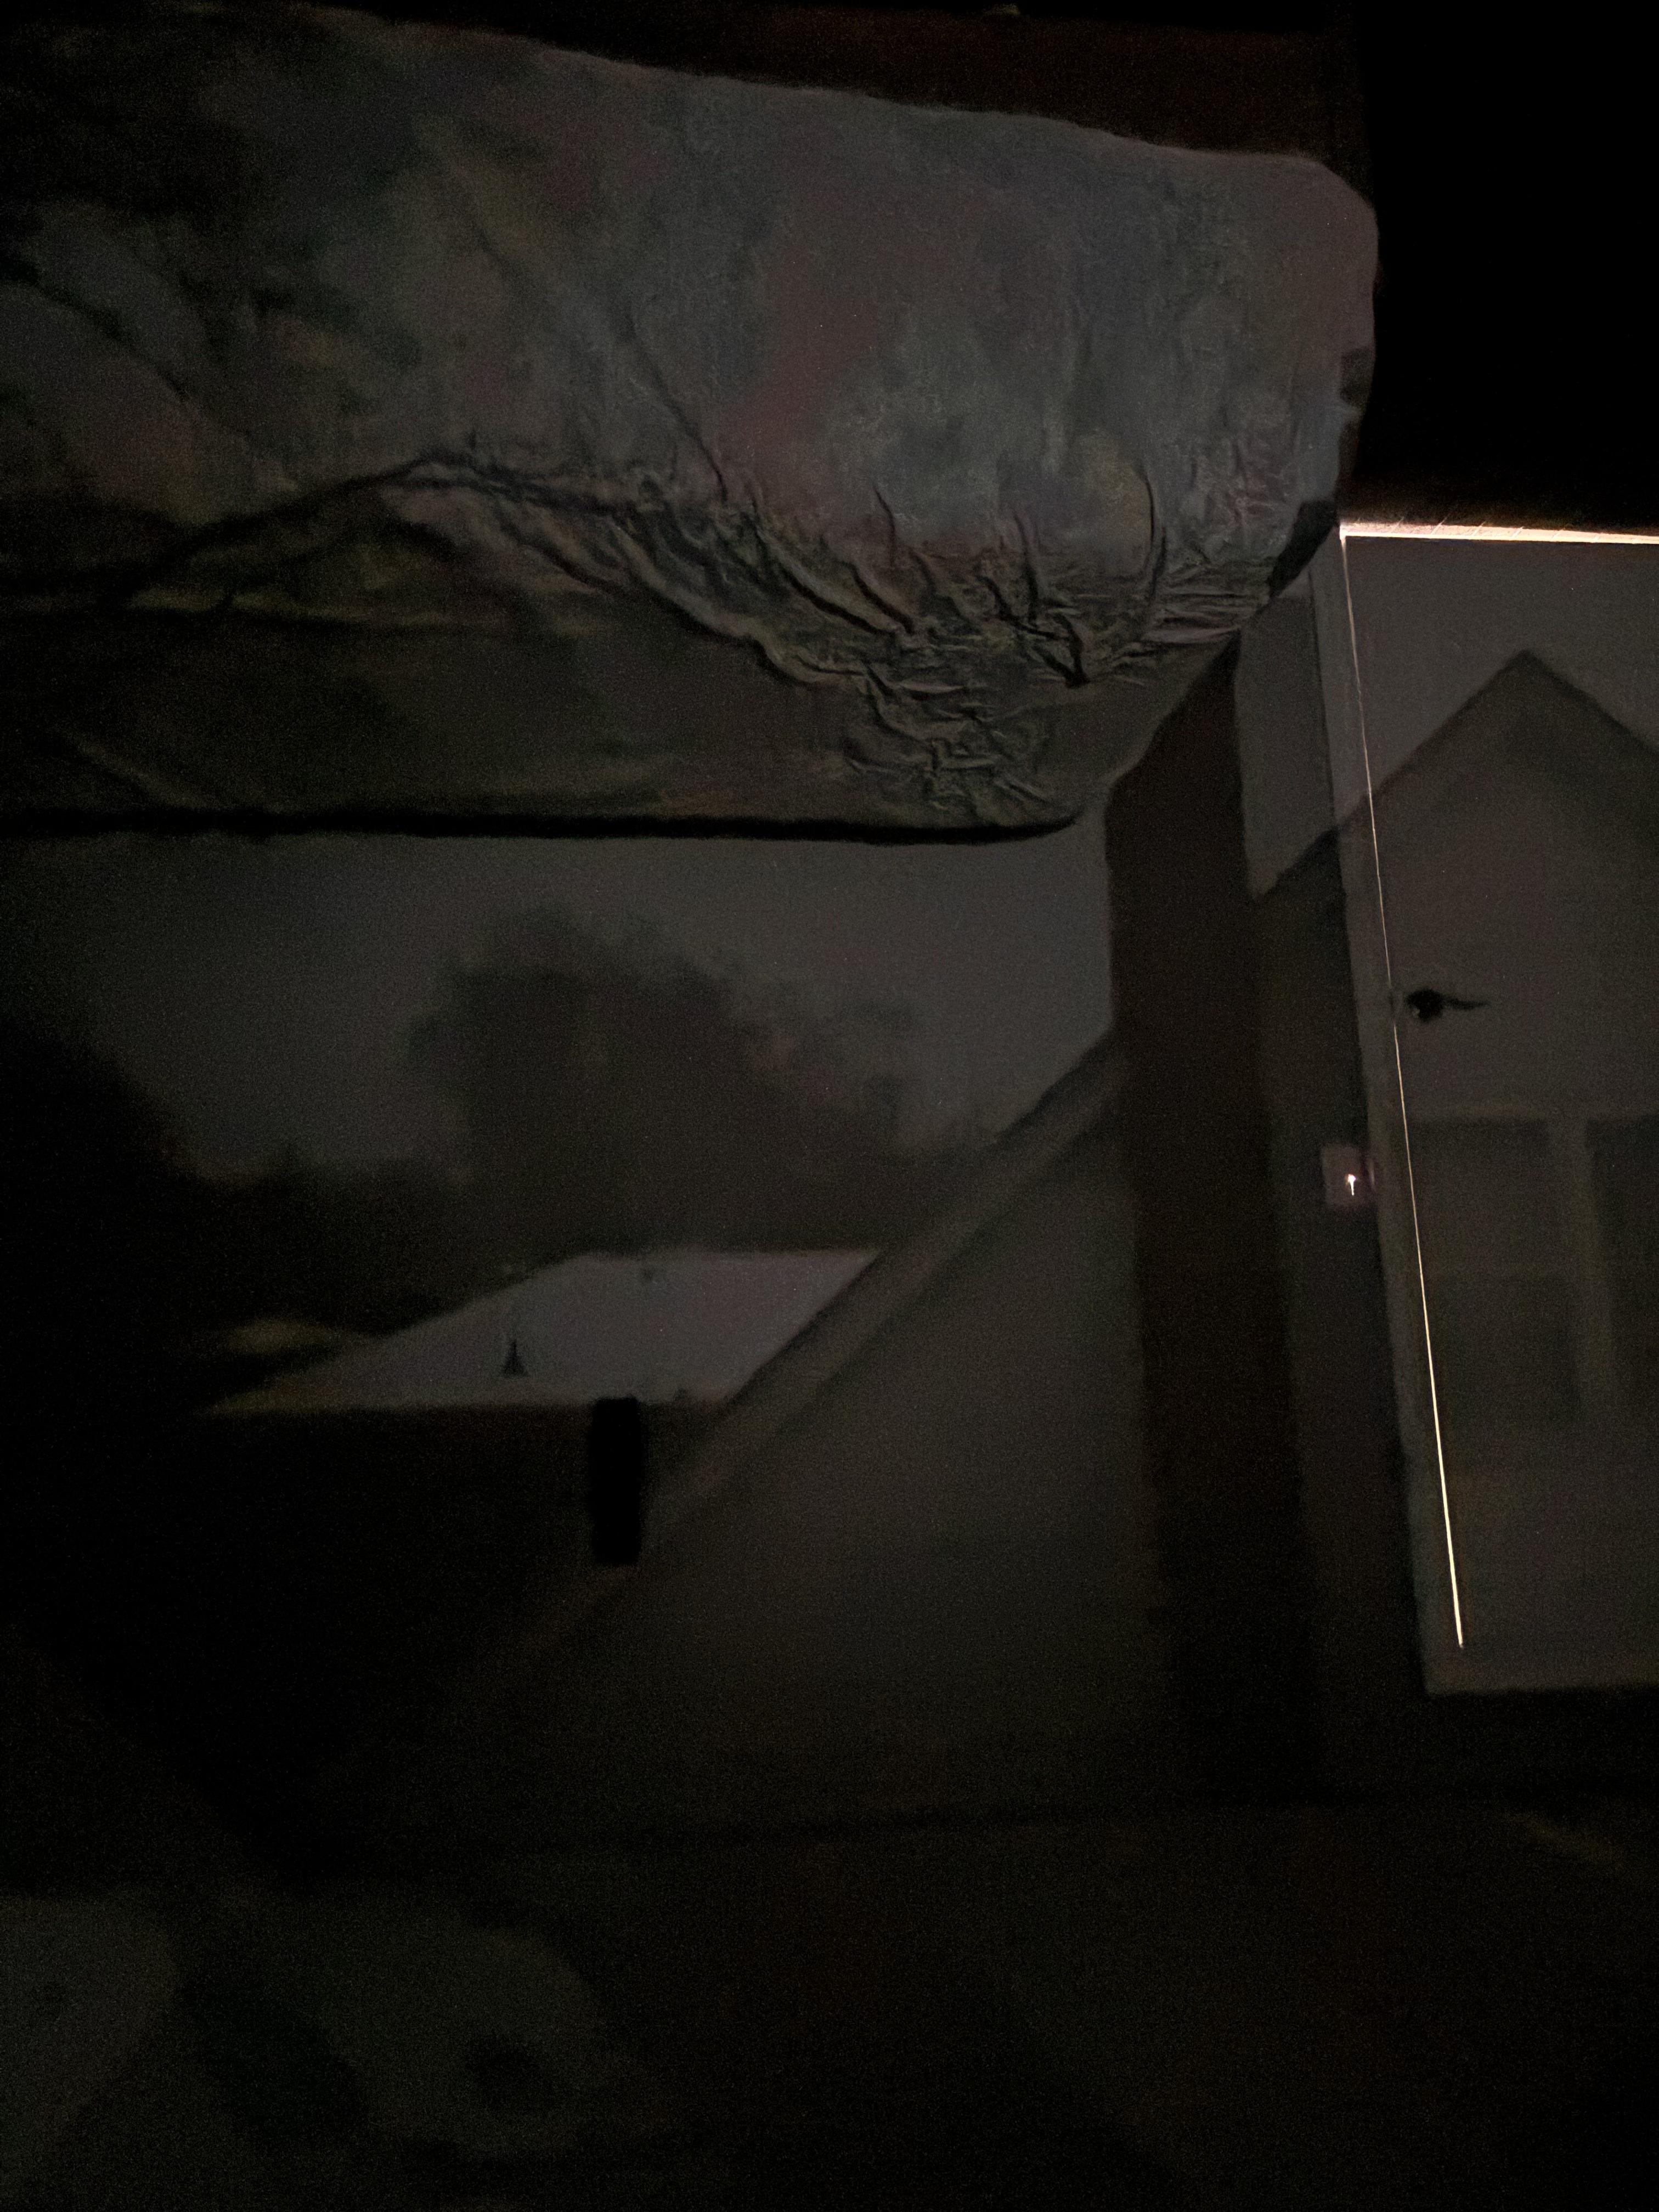
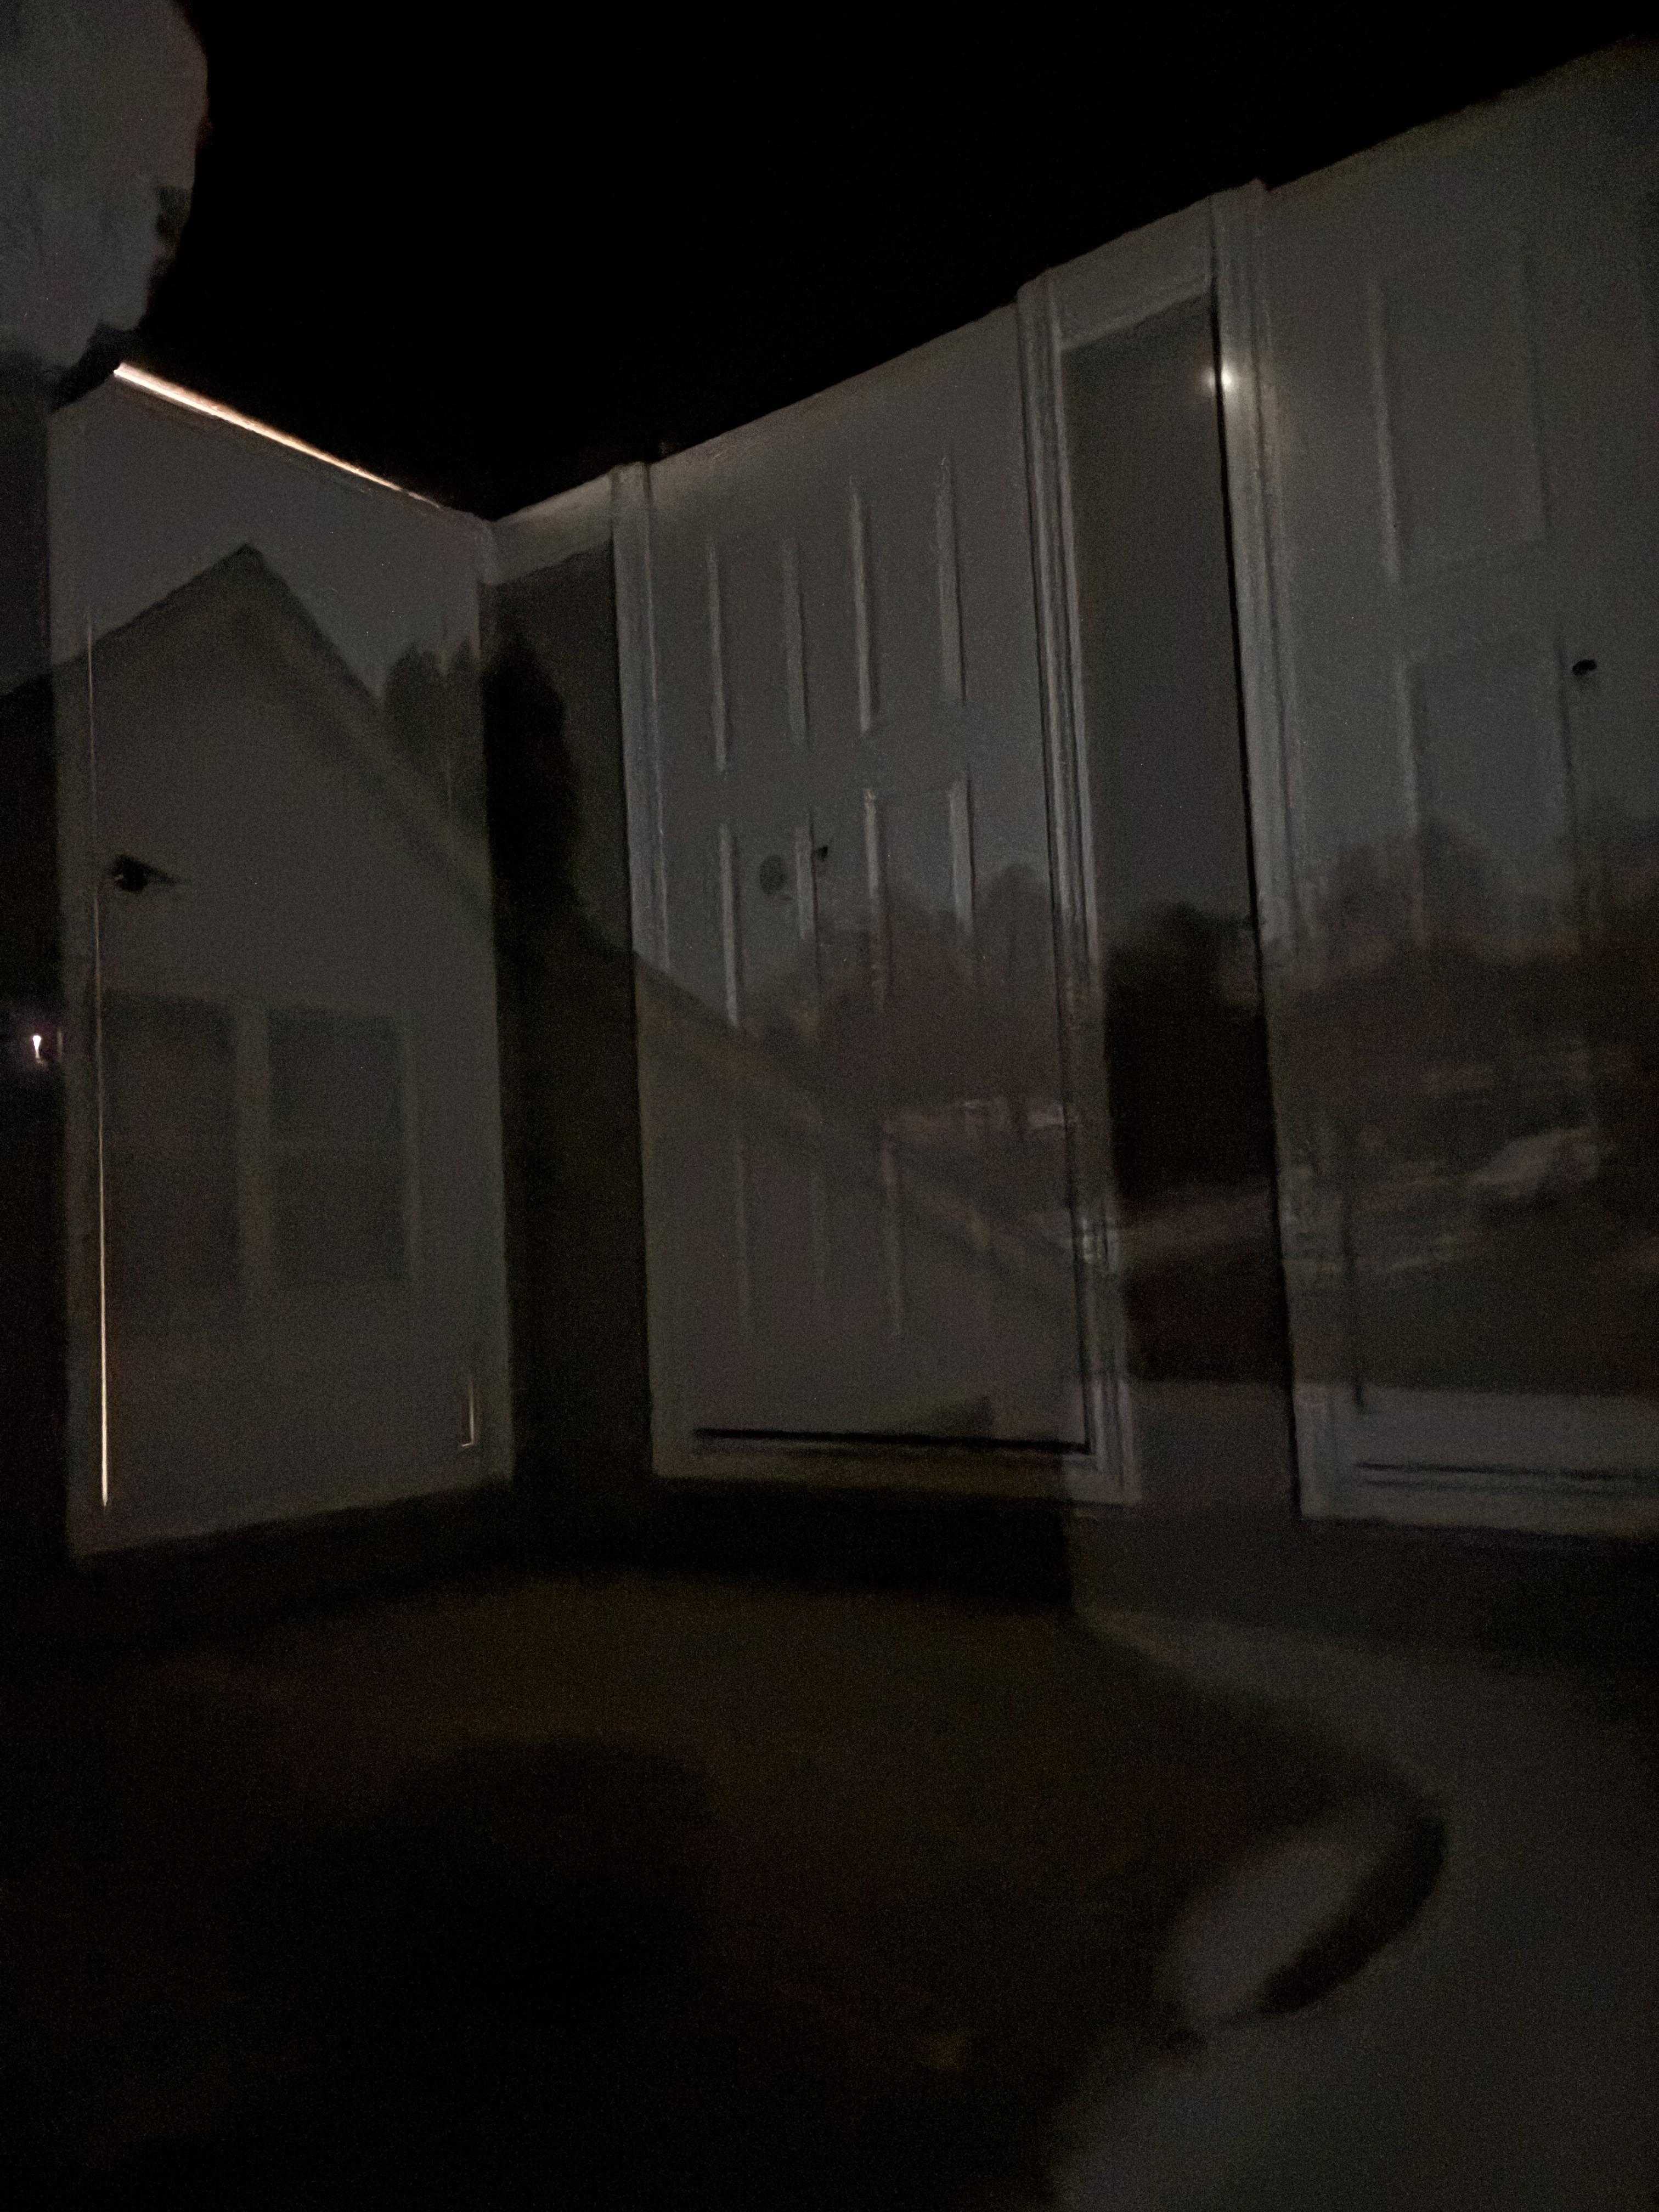
Room Pinhole Camera


.jpg)
.jpg)


Converting a room into a camera obscura is a dramatic way to visualize the principle:
- Completely darken the room.
- Cover the window with a lightproof black sheet or cloth, leaving a small aperture.
- Aim for a pinhole diameter of a few millimeters, depending on how large the projection surface is.
- Wait a few minutes for your eyes to adapt to the dim light, and you will see a clear, upside-down image of the outside world on the walls.
3D Printed Pinhole Camera Film Rolling Camera


Another approach is to 3D print a pinhole camera that holds photographic film or photo paper:
- Design a 3D model of a pinhole camera with an internal mechanism to roll and hold film.
- Print the parts, assemble them, and install a thin sheet of metal or foil for the pinhole.
- Adjust pinhole size using the same formula, ensuring you measure the focal distance from the pinhole to the film plane.
- Use Kodak Tri-X 400 Black White Film and rotate film using the knob to capture pictures using the manual shutter, and send the film to chemically process after film is finished.
Conclusion
.jpg)
.jpg)

In summary, the lab demonstrates how pinhole size, focal length, and diffraction effects interact to create a clear, albeit dim, image. The key observations include:
- Smaller pinholes improve sharpness from a geometrical optics standpoint but can degrade image quality once diffraction dominates.
- Larger focal lengths generally require larger pinholes for a good balance of brightness and resolution.
- By using the approximate formula
(with c around 1.56 to 2 and lambda around 550 nm), one can choose a reasonable starting diameter. Experimentation around that theoretical value allows fine-tuning for specific materials and lighting conditions.
Long exposures (for example, 30 s at ISO 3200) are typically needed to compensate for the reduced light through a small aperture. Ultimately, experiencing metavision by observing the image formed in a “camera obscura” not only teaches the fundamentals of optics but also highlights the interplay between classical ray-based models and wave-based diffraction in real-world imaging systems.
- In conclusion, larger pinhole (such as a room pinhole camera) generally yields sharper, more detailed images, resulting in superior overall photo quality compared to smaller pinhole setups.