Dog Leash Hook From Tree Branches
by cobinrox in Workshop > Woodworking
7406 Views, 44 Favorites, 0 Comments
Dog Leash Hook From Tree Branches

Here's a useful hook you can make from left-over tree branches. Use them for dog leashes, coats, hats, keys, smelly gym shoes, calendars, and many other things.
They are fun to make and give as gifts.
They are fun to make and give as gifts.
Tools and Materials

Tools
Table saw
Dremel tool
Chisel (be sure to buy chisels pre-sharpened)
Drill
1/8 inch drill bit
5/16 inch drill bit
Materials
Branches
Stain
Polyurethane
Hat pins
Table saw
Dremel tool
Chisel (be sure to buy chisels pre-sharpened)
Drill
1/8 inch drill bit
5/16 inch drill bit
Materials
Branches
Stain
Polyurethane
Hat pins
Find a Good Starting Branch With "crotch"

This is a good piece of a branch; it is substantial, has a good crotch, and can be split so that it can lay flat against a wall (more on that in a bit).
Strip the Bark


Use a chisel to strip off the bark.
Beware of sharp chisels and klutzy hands.
Beware of sharp chisels and klutzy hands.
Cut Off Excess Appendages

If there are branchettes sprouting out of the branch other than the main hook, trim them off.
Mark Wall Side for Rip Cut

Place the branch down on its side (the hook facing to the left or right) and mark a rough line down the side of the wall-side of the branch.
Position the branch roughly in line with the blade.
Position the branch roughly in line with the blade.
Rip Cut the Wall Side


Start with the saw blade at a low height (about a centimetre into the branch).
Place the table saw's fence lightly along the right part of the branch.
Use a rip stick to help to guide the branch back through the blade, and use a regular push stick to guide the branch from its end.
Complete one pass, turn off the saw, raise the saw blade another centimetre or so, and repeat.
Place the table saw's fence lightly along the right part of the branch.
Use a rip stick to help to guide the branch back through the blade, and use a regular push stick to guide the branch from its end.
Complete one pass, turn off the saw, raise the saw blade another centimetre or so, and repeat.
After Finishing Rip Cut...

Now it's starting to look like a hook that will sit flush against a wall.
Cut to Length

Cross-cut the branch to your desired hook size. Leave the wall-side of the hook a little longer than the hook, we'll see why in a bit.
Round Off the Hook

Round off the hook with a chisel or Dremel tool.
Drill Holes

Drill a hole near the top and near the bottom. You'll want to have the top of the wall-side a bit higher than the hook so that it peeks above the hook when a coat, hat, or other object occupies the hook. As you'll also see in a bit, keeping the wall side higher than the hook allows you to display designs or other decoration.
Use a 1/8 bit or so for the main holes, then recess the hole slightly using a 5/16 inch or so bit.
Use a 1/8 bit or so for the main holes, then recess the hole slightly using a 5/16 inch or so bit.
Sand

Sand using 150 and then 220 grit sand paper.
Optional: Add Some Decoration


Here, I added a tribal decoration.
First, lightly sketch out your design, then use a Dremel tool to carve along the guide lines.
Be sure to re-sand over the decoration after using the Dremel tool. Fold the sand paper to get into the little design cracks. Canned air will help remove the sand dust from the cracks.
First, lightly sketch out your design, then use a Dremel tool to carve along the guide lines.
Be sure to re-sand over the decoration after using the Dremel tool. Fold the sand paper to get into the little design cracks. Canned air will help remove the sand dust from the cracks.
Prep for Staining

Wipe off sandpaper dust and dead bugs with denatured alcohol. Canned air is also very helpful to remove sand dust.
Stain


I used three coats of stain here, each photo shows the next layer of stain (did not sand between coats).
Hint:
Use the little pyramid thingies to hold the hook up off of the table surface.
Tip:
Use a hammer and nail to create little holes in the inner lip of the stain can; it will help keep the drips in the can.
Hint:
Use the little pyramid thingies to hold the hook up off of the table surface.
Tip:
Use a hammer and nail to create little holes in the inner lip of the stain can; it will help keep the drips in the can.
Polyurethane

After the stain has dried, add two or three coats of Polyurethane.
Tip 1:
Be sure to stir well first.
Tip 2:
Watch out for bubbles when applying.
Tip 1:
Be sure to stir well first.
Tip 2:
Watch out for bubbles when applying.
OPTIONAL: Wood Plug Cover for Hat Pins

If you give a hook as a gift, BE SURE TO PROVIDE THE RECIPIENT WITH A WAY TO ATTACH THE HOOK TO A WALL! Otherwise, they will never get around to using it.
A set of hat pins (the kind with the pretty coloured ball ends) work great to hold the hook to a wall, but for an added flourish you can cover the balls with a wood plug that looks pretty cool.
This photo shows a plug head using Cottonwood. Cottonwood has a vein running right through the centre of its branches and, when looking at a branch head-on, almost looks like a star.
Optional Wood Plug, Step 1

You'll basically need three items:
- A pinky-sized slice of a stick, about 1/3 inch thick.
- A 5/32 inch drill bit.
- The hat pin.
Optional Wood Plug: Drill Partial Hole

Use the 5/32 drill bit to drill a partial hole that the ball of the pin will eventually sit in.
Pre-measure using the drill bit just how far down into the stick slice you can go without drilling all of the way through. Stick a piece of tape at the location on the drill bit to mark the depth. You can also use a drill press.
Pre-measure using the drill bit just how far down into the stick slice you can go without drilling all of the way through. Stick a piece of tape at the location on the drill bit to mark the depth. You can also use a drill press.
Optional Wood Plug: Glue in the Pin

Once the partial hole is drilled, dab some glue on the ball of the hat pin and insert into the hole.
Optional Wood Plug: Sand Down

Sand down the slice into a nice round tip using the Dremel. Since the plug is pretty small, holding it with pliers can help keep it from slipping around. And sanding your fingers. Ahem.
Optional Wood Plug: Stain, Polyurethane

Carefully smooth the plug with 220 grit sandpaper, then stain (if desired, you may want to keep the plug unstained for variety), and polyurethane.
g0 wOk daWG
g0 wOk daWG
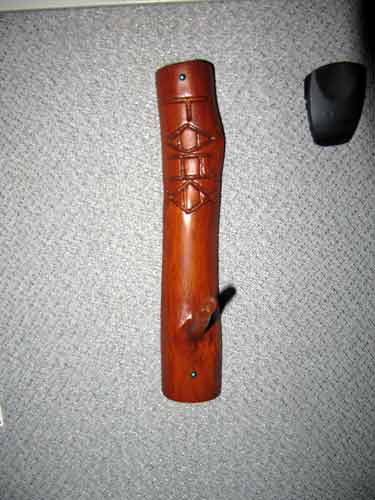
Other Uses for Hooks: Coat Hook for Cubicle Prisoners
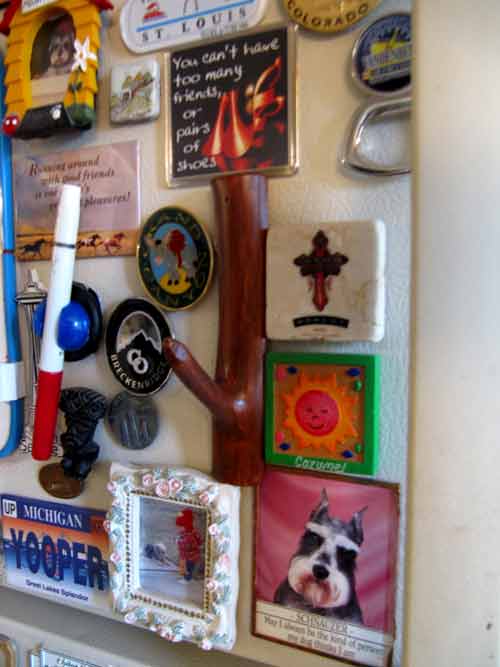
Fridge Magnet
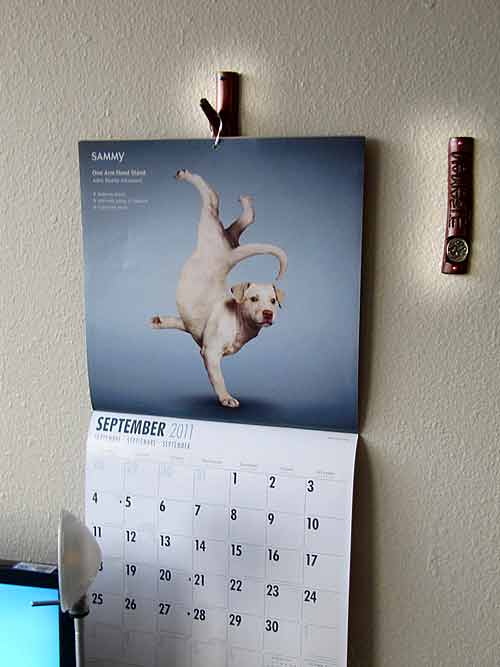
Calendar Holder
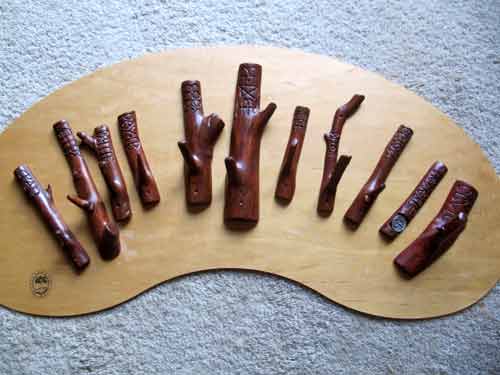
Gifts
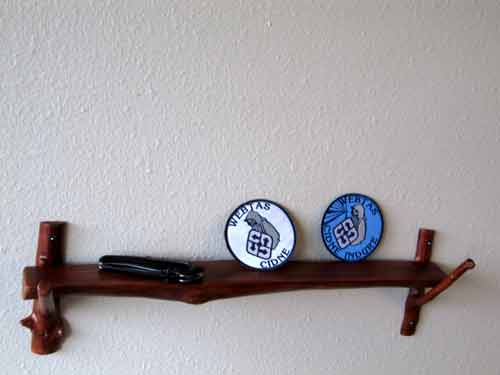
Hooks for Shelf Unit
Key Holder
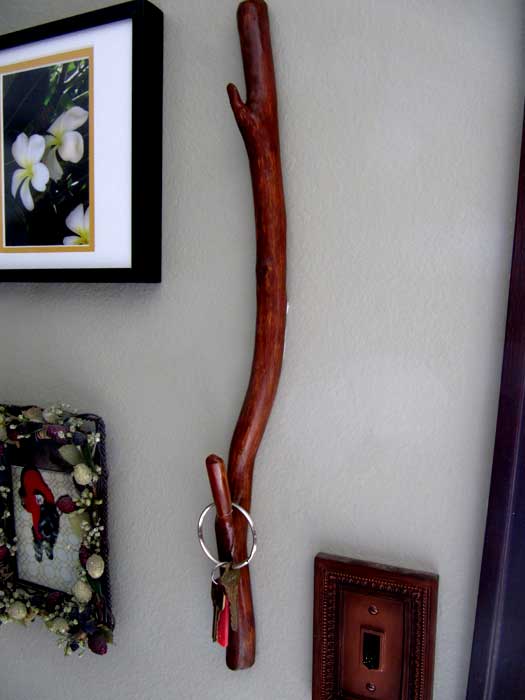
This is actually a double-hook branch.
The branch is from France that I picked up near the Maginot Line.
The branch is from France that I picked up near the Maginot Line.
Other Stuff You Can Make From Tree Parts
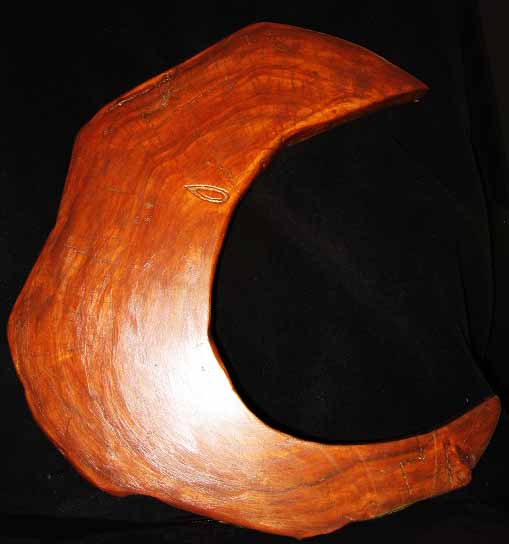
See
https://www.instructables.com/id/What-to-do-With-a-Felled-Tree/
https://www.instructables.com/id/What-to-do-With-a-Felled-Tree/