Driving a Salvaged Graphical LCD With Arduino Via SPI
by arduinocelentano in Circuits > Reuse
3448 Views, 11 Favorites, 0 Comments
Driving a Salvaged Graphical LCD With Arduino Via SPI

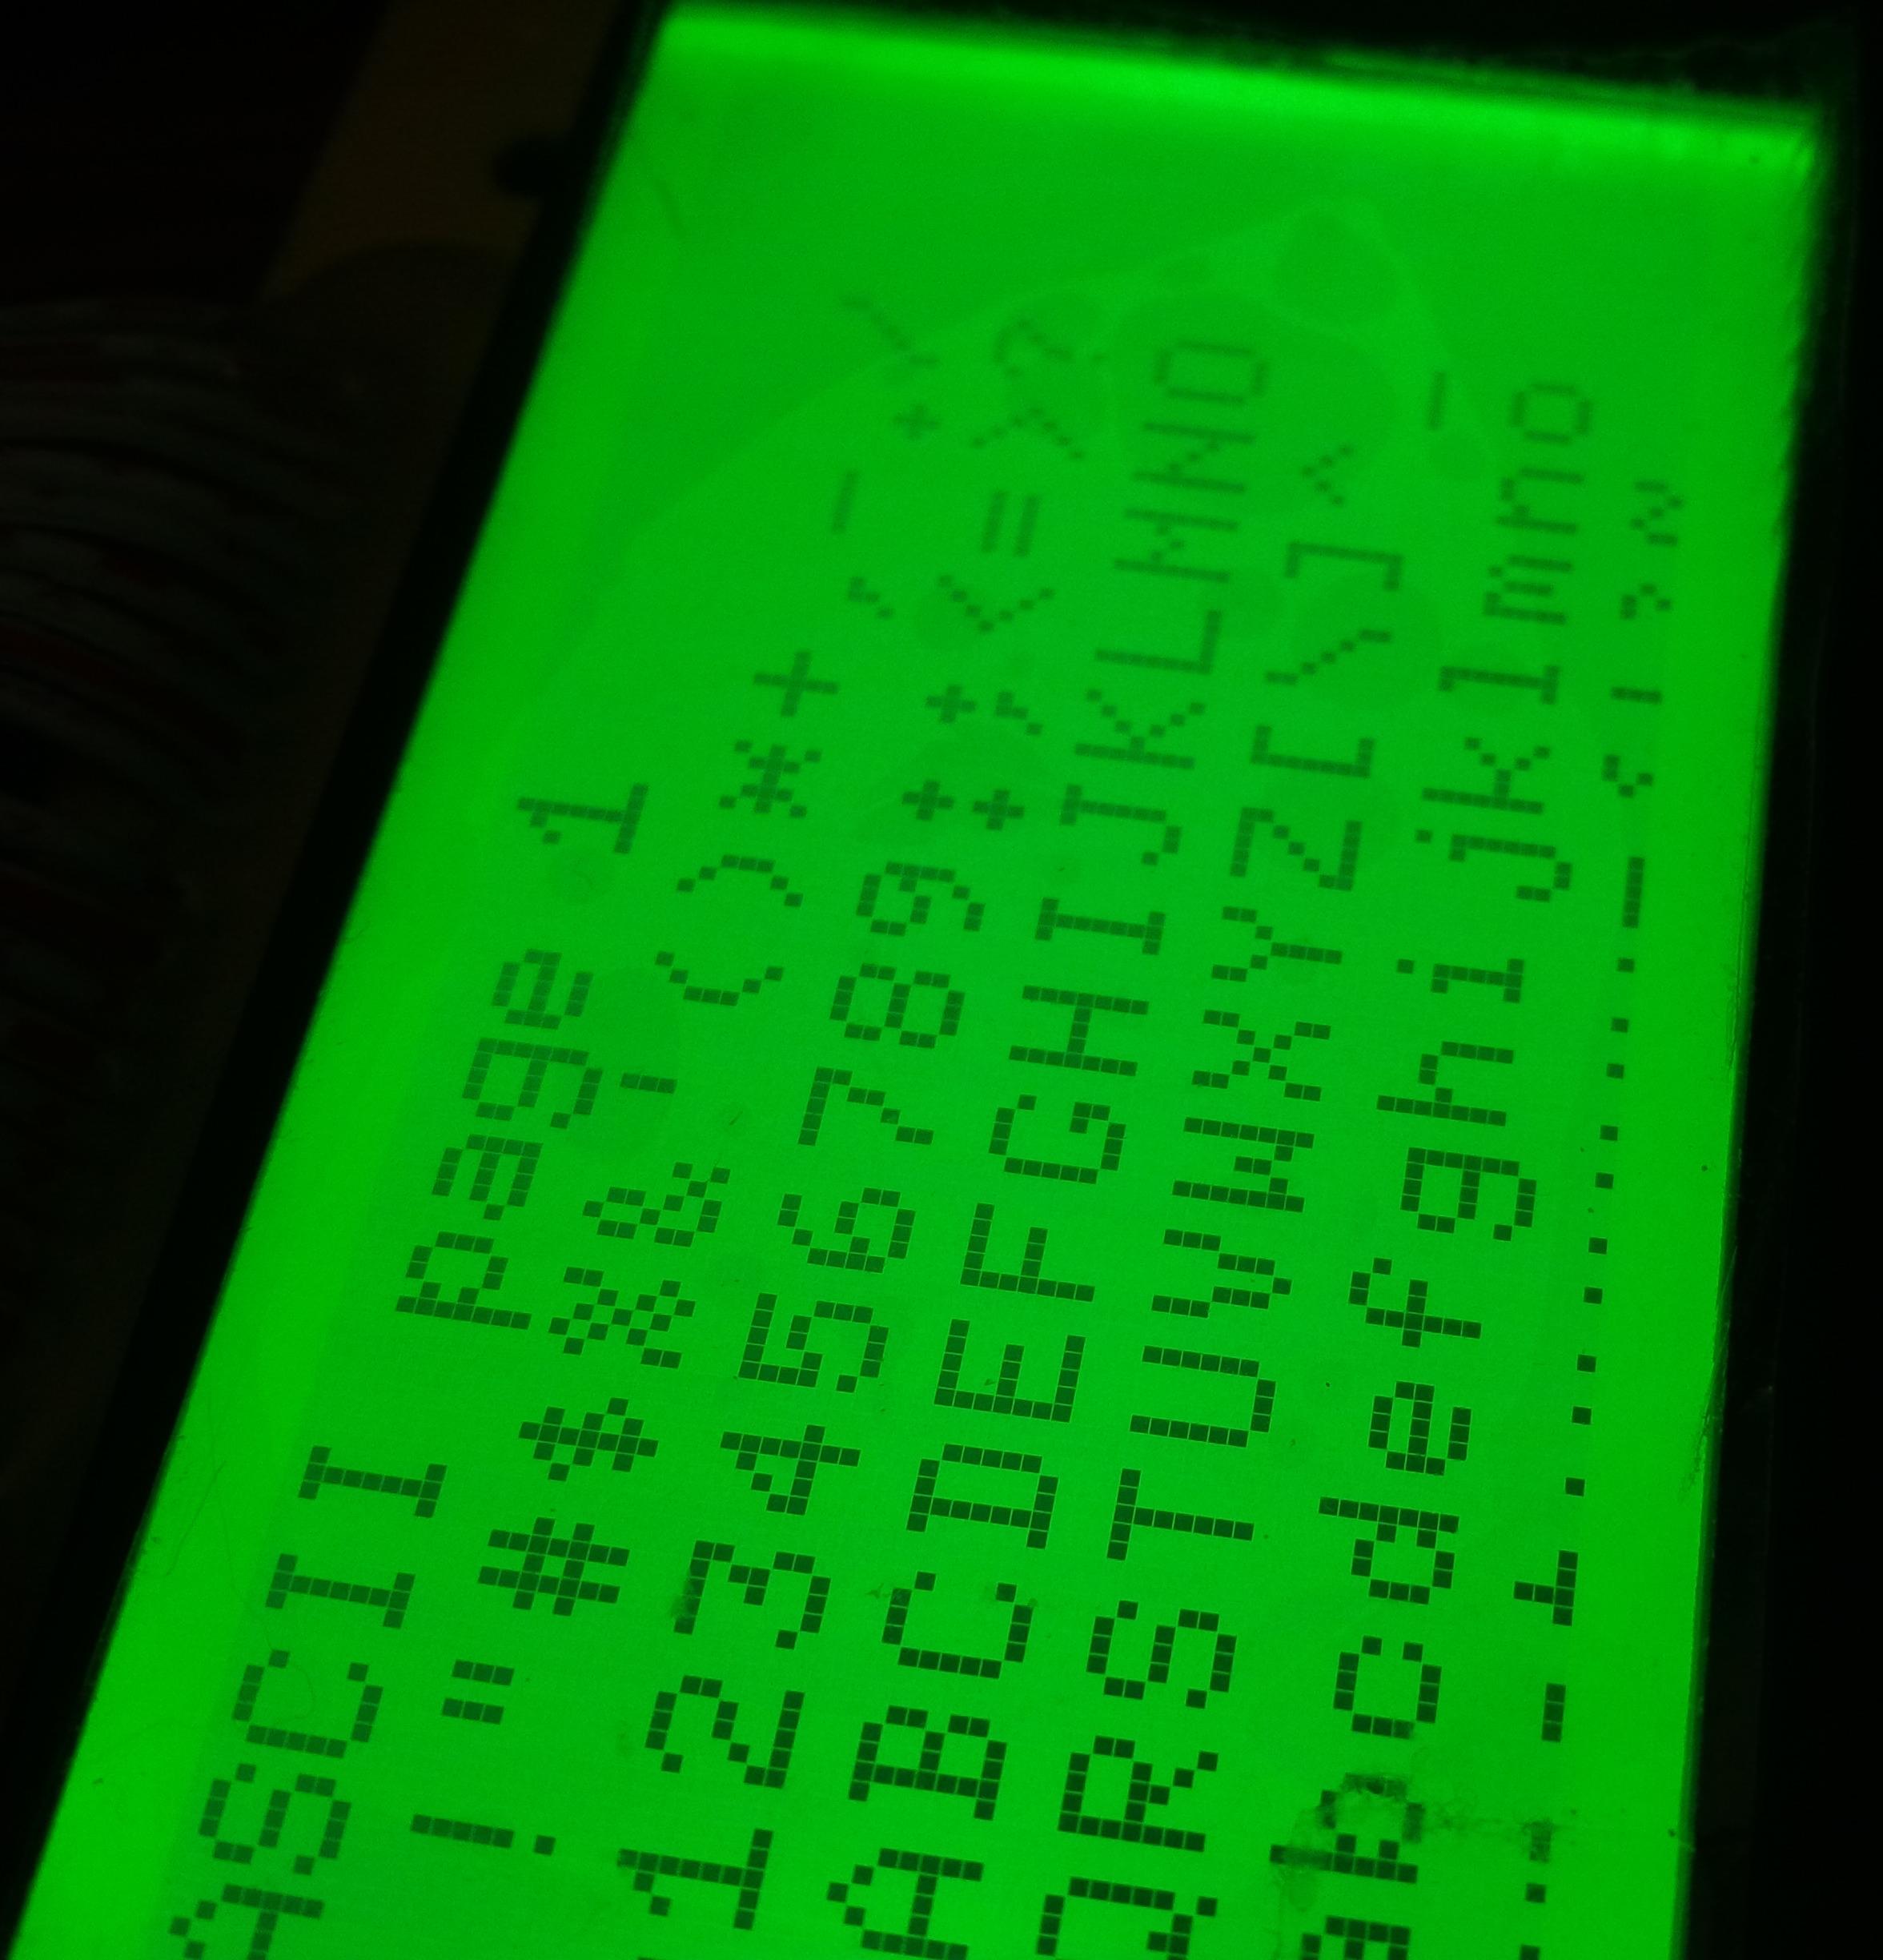

Sometimes you may pick up a used LCD for a couple of bucks in a spare parts store or extract it from some outdated piece of hardware (phones, POS terminals, printers and many others). The typical drawback of such displays is the lack of documentation. But if an LCD uses some standard controller, there should be a way to drive it with Arduino. Looking ahead, the LCDs I will discuss in the following text appeared to have pretty much common ST7565 controllers. I share my results to save your time. And your money. Because with minimal soldering skills and some reasoning you could turn a piece of electronic waste into an Arduino-compatible graphical LCD.
🔗 If you are interested in salvaging LCDs, I suggest that you also read this great instructable which mostly considers text displays. Source code of the 👾Space Invaders👾 game can be found here. You might also like the video streaming LCD hack I published here and my text-based LCD Invaders game.
Supplies

- LCD Display;
- 3.3V Arduino board;
- Soldering iron, solder and some wires;
- FPC PCB adapter (optionally, depends on your particular display).
Figuring Out LCD Model


The first thing you have to try is to find out your display model if possible. Let’s look at the first LCD. The model name is apparently VTM88870B V4.0. It did not give many relevant search results. Mostly Chinese. It took some time to collect necessary information, but I finally managed to reveal its pinout.
Activating Serial Interface
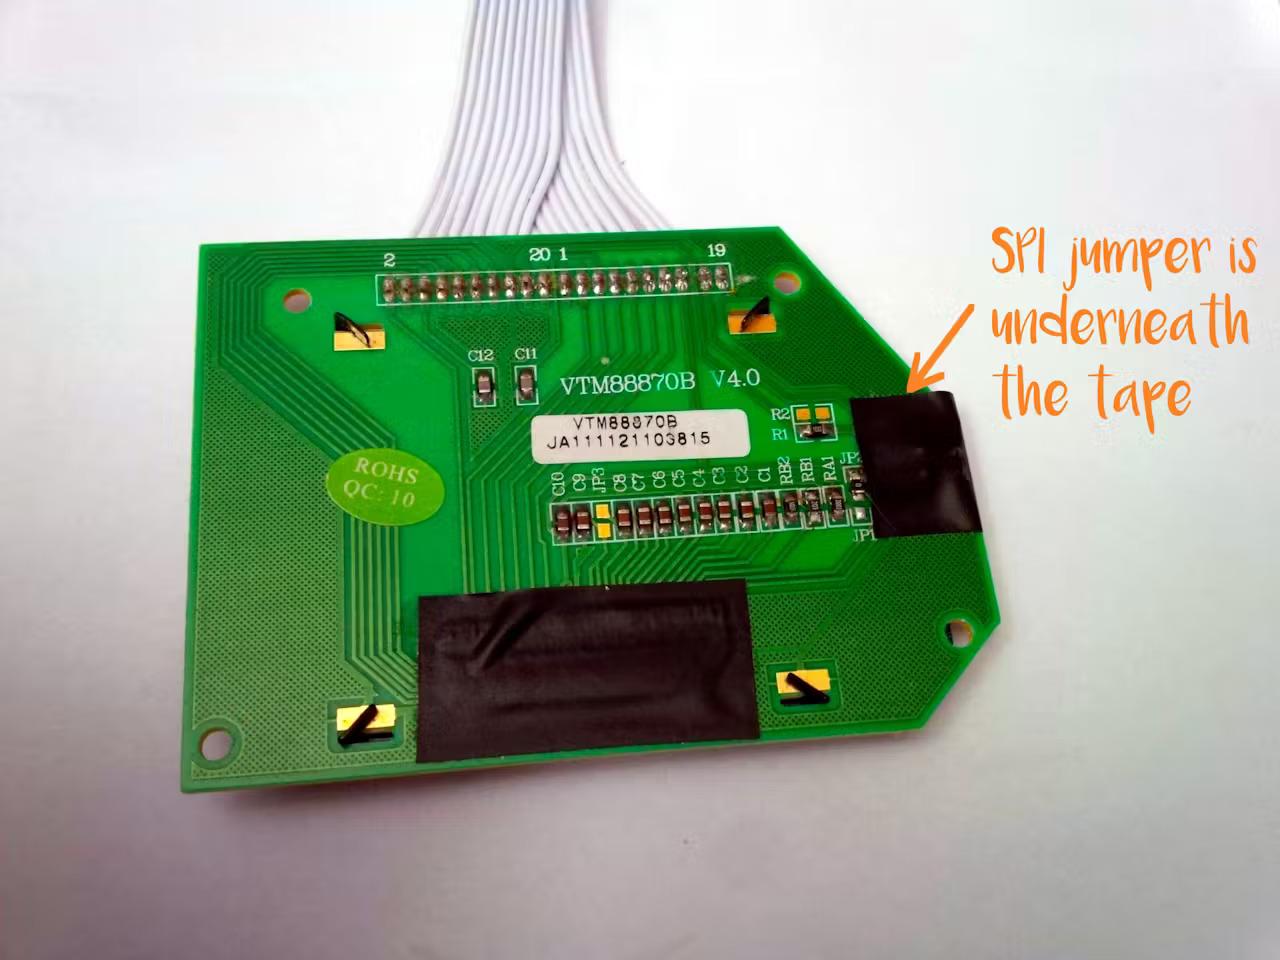

This display features both parallel and serial interfaces. No wonder, since it has 20pin connector. To activate SPI mode, you should solder corresponding jumper as it is shown on the attached pictures.
Reverse Engineering

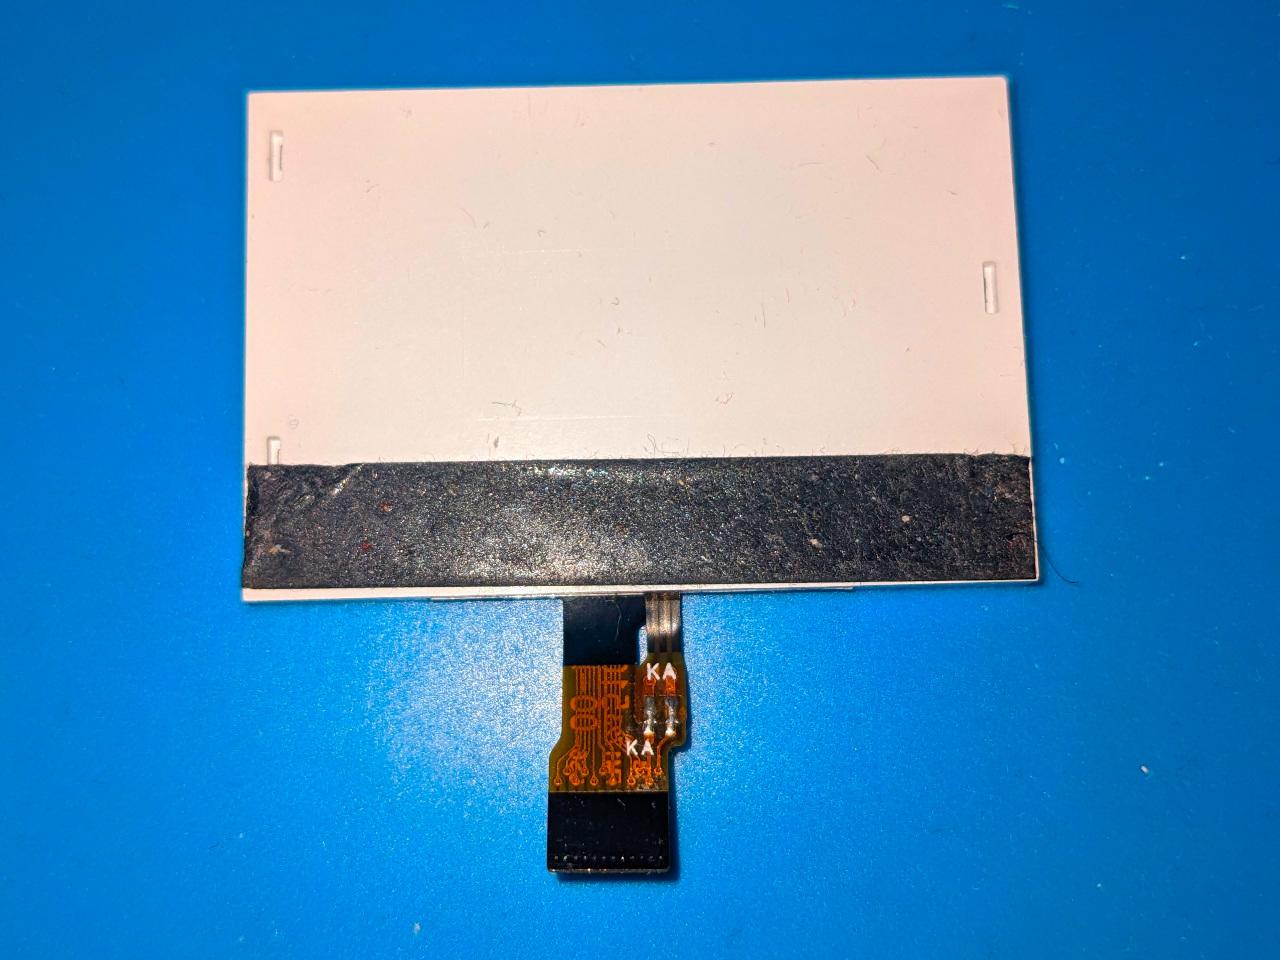


The second display is tricky since there is no clue to its model. It has 12pin 0.5mm connector, and two pins are marked A and K which apparently means anode and cathode of LED backlight. I also noted that A and K tracks were on a separate ribbon that was attached upside down to another 3-12pin ribbon, that is to say, the pinout I was looking for might be partially reversed. If we look closely, it is possible to notice that two traces of the ribbon connector, namely 6 and 7, are definitely wider than others. They are nearly as wide as A and K tracks, therefore I assumed that they were power inputs of the display logic. I guessed that pins 8-9 were SPI interface which takes exactly five pins like on the LCD I reviewed in the previous step. So, at this point we have the following hypothesized pinout.
Evaluating and Working Out the Exact Pinout

After googling 12pin LCD pinouts with a given pattern I was nearly sure it was some sort of ST7565 or ST7567 display. So after a few experiments I was able to detect the pinout.
It turns out we need a couple of capacitors, one between pins 3 and 4 and another between 5 and GND.
💡 I am not sure about exact capacitor values. I used values from similar displays as an estimation.
Connecting to Arduino


After figuring out which pins are related to the SPI interface, we could connect them to our Arduino board. I used an FPC 12P 0.5mm connector for the small LCD which is very handy. The large display had a DuPont-friendly connector, so I used standard Arduino wires.
This is how your wiring may look like:
- VCC — Arduino 3.3V
- GND — Arduino GND
- Backlight — Arduino 3.3V
- CS — Arduino D10
- RS — Arduino D9
- SDA — Arduino D11
- RST — Arduino D8
- SCK — Arduino D13
⚠️ Note that you'll need a 3.3V Arduino board to drive the display!
Installing U8G2 Library


u8g2 is a library for interfacing graphical LCDs. If you don't have it, just open Library Manager in your Arduino IDE and search for u8g2.
Initializing

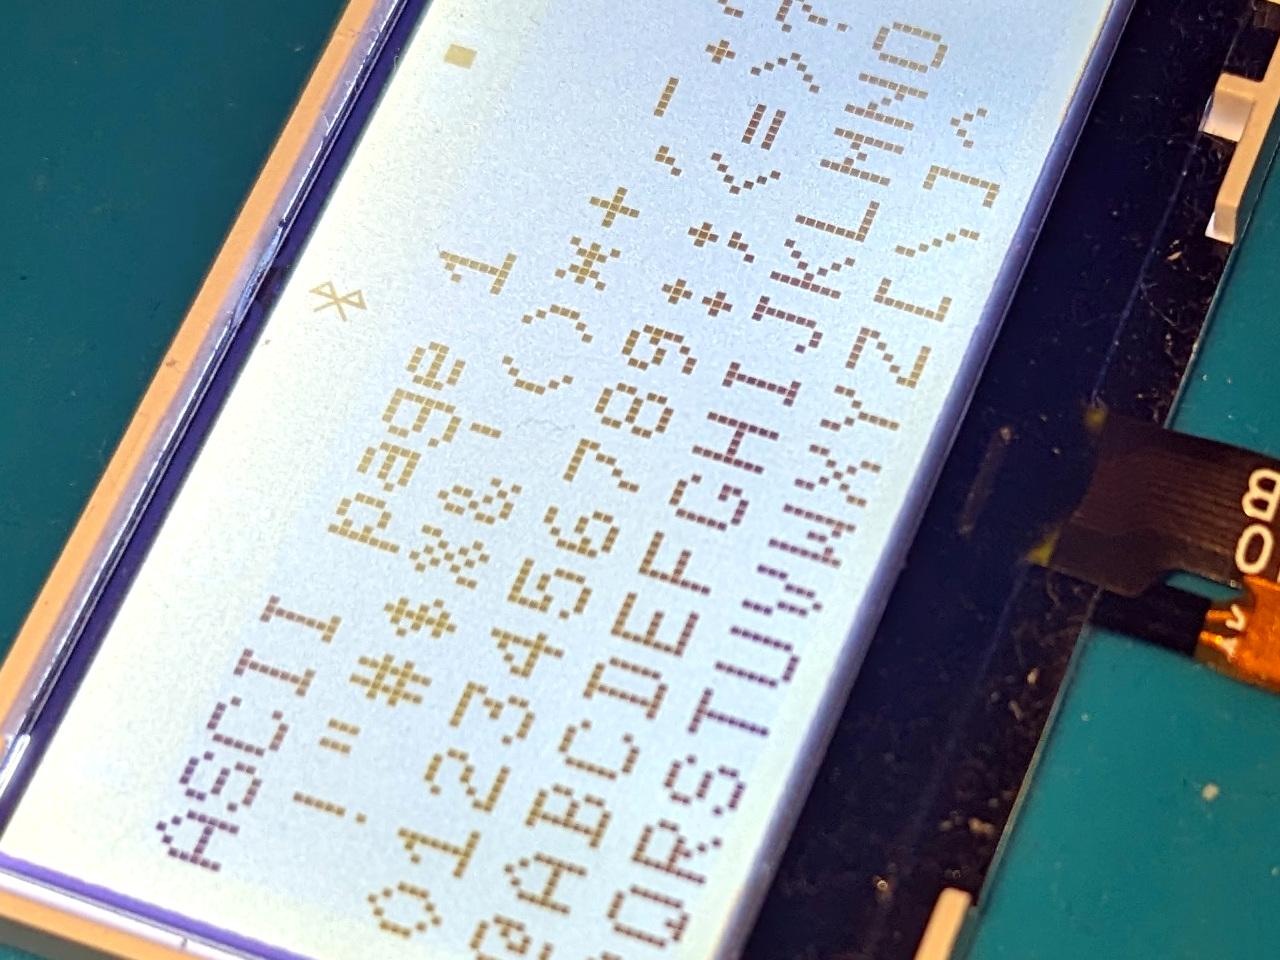
I used the u8g2 library since it supports ST7565 and ST7567 controllers. If you open any example from u8g2, you'll see a lot of commented display initializing lines. I tried all ST7565 and ST7567 displays. If you see mirrored or displaced images, keep on trying. For example, the following initializing line worked for the large LCD:
U8G2_ST7565_LM6059_1_4W_HW_SPI u8g2(U8G2_R0, /* cs=*/ 10, /* dc=*/ 9, /* reset=*/ 8);
For the small LCD each of these two lines seemed to work well:
U8G2_ST7565_ERC12864_F_4W_HW_SPI u8g2(U8G2_R0, /* cs=*/ 10, /* dc=*/ 9, /* reset=*/ 8);
U8G2_ST7565_ERC12864_ALT_F_4W_HW_SPI u8g2(U8G2_R0, /* cs=*/ 10, /* dc=*/ 9, /* reset=*/ 8);
However your display will probably have other settings. Maybe you'll even need to implement your own LCD class.
⚠️ Note! I was able to see something on the small display only after setting minimal contrast. So if you see nothing, maybe you should play with contrast level:
u8g2.setContrast(contrast);
Now you should be able to use your display normally.
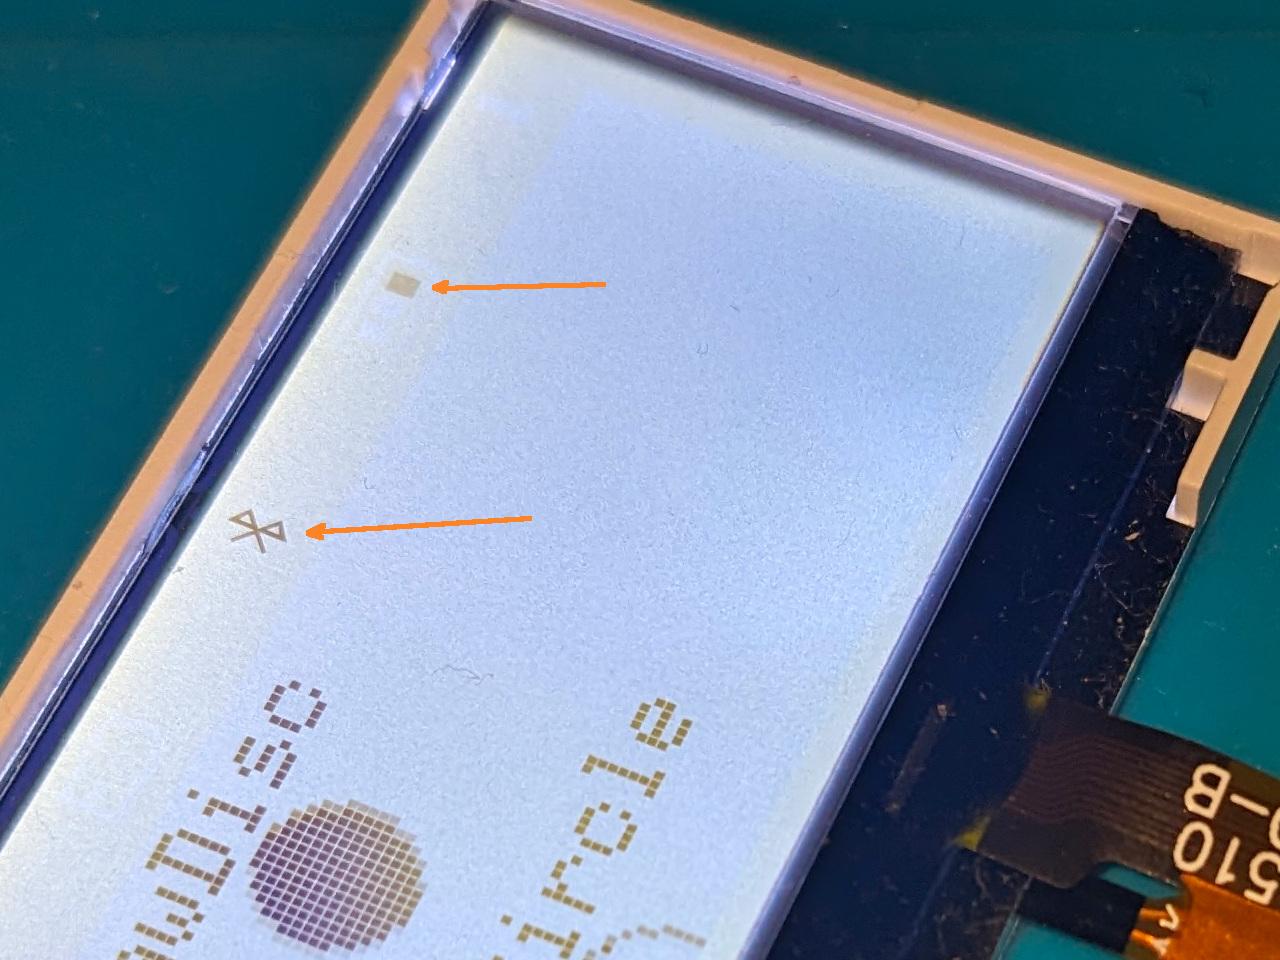
💡 Interesting enough, the small display has some icons at the top area, like Bluetooth and battery indicator. At the moment I was not able to figure out how to control them. Your ideas are welcome.
If you were able to discover pinouts and features of other LCDs, share your findings in the comments. It might be helpful for someone.