Drum Pad

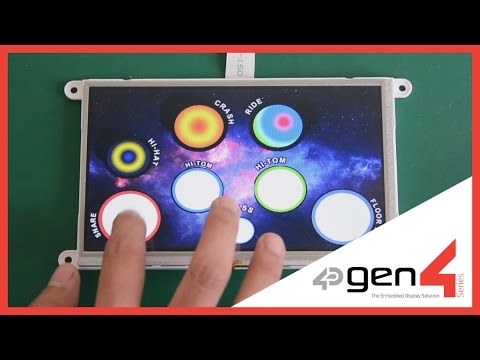
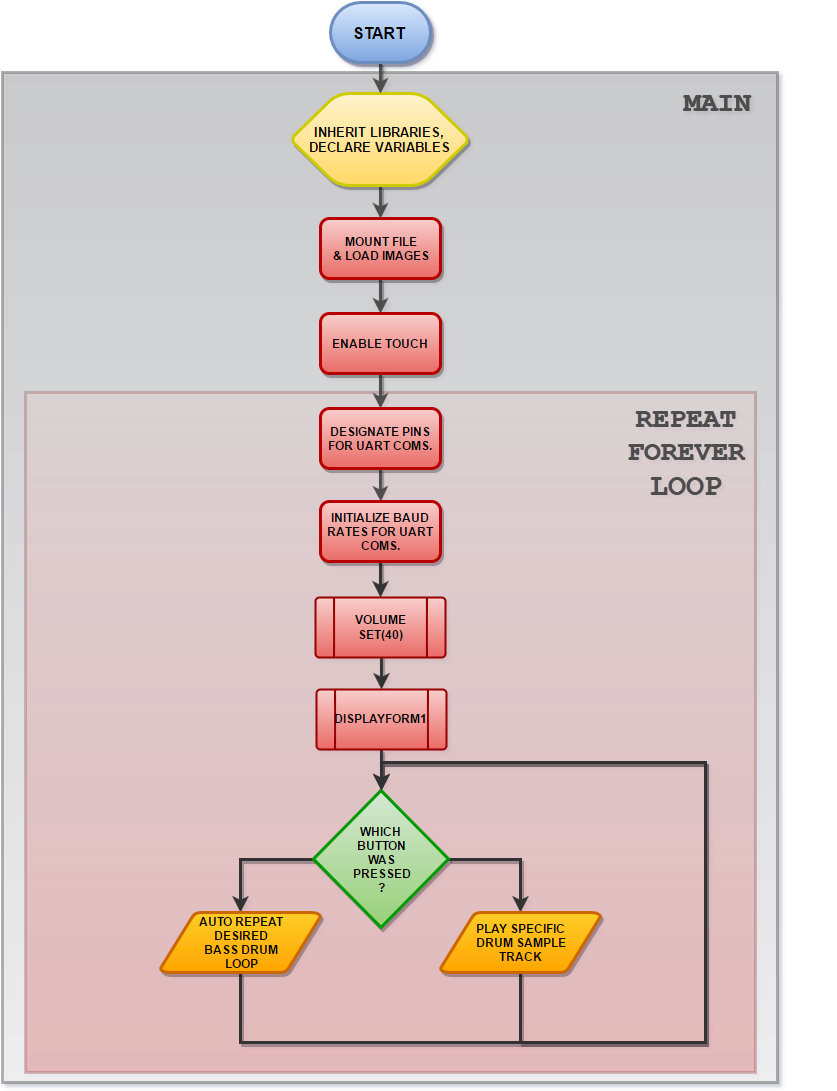
The gen4 uLCD-70DT Drum Pad project is a virtual and complete drum set that are played using the touch functions, As the users press each drum instrument, the gen4 will command the SOMO-II to play each sample drum instrument. The bass drum is automatically played in a loop and can be set in different tempo or beat signatures.
The snare drum sound sample is on medium tension, the base drum sound sample is muffled with a pillow.
The project is best using a gen4-ulcd-70DT because of the large screen area to play and place the buttons, it also uses the super-fast DIABLO16 processor that makes the drum set receptive to simple or soft touches.
How It Works

Components


- gen4-uLCD-70DT
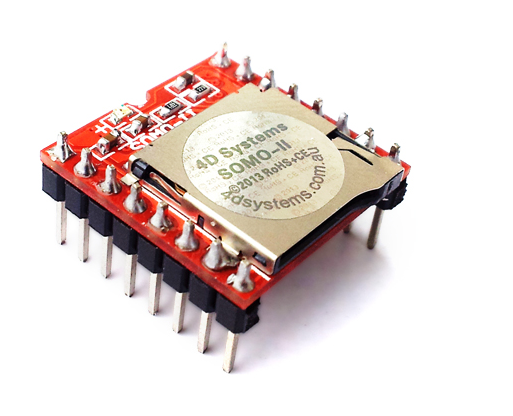
- 2 x SOMO-II
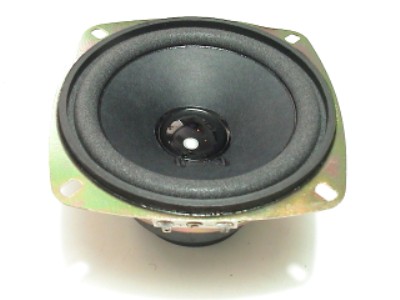
- 2 x 4 Watt Speaker
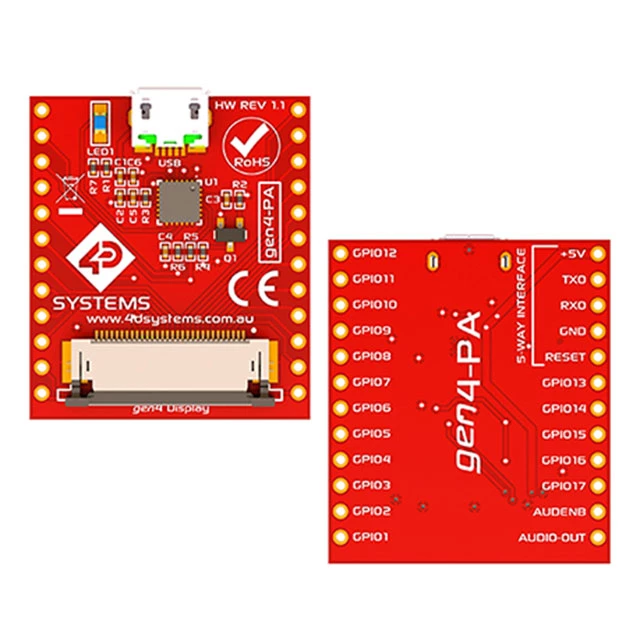
- gen4-PA
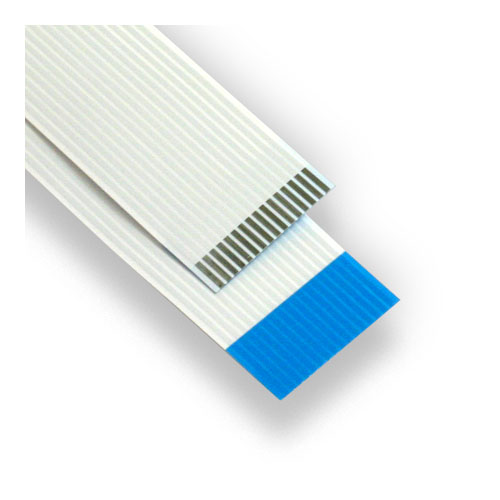
- 30 way FFC Cable
- uSD Card for gen4-uLCD-70DT
- 2 x uSD Card for SOMO-II
- Micro USB Cable
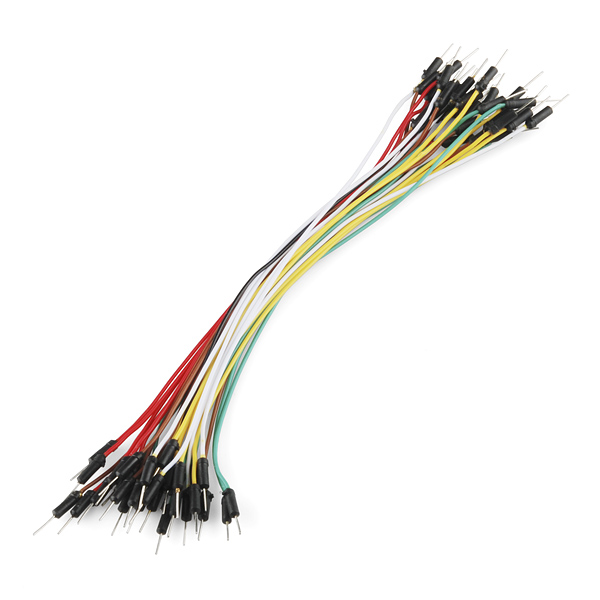
- Connecting Wires
Build


Build the circuit as shown in the diagram. (1st and 2nd image)
If you are using gen4-PA board, connect the display to the PC like the image below. (3rd image)
Program


Download the project file here.
Open the project using Workshop 4. This project uses the Visi Environment.
You can modify the properties of each widget.
Click on the “Build Copy/Load” button.
Note: This step could be skipped. However, compiling is essential for debugging purposes.·
Connect the display to the PC using uUSB-PA5 and a mini USB cable. Make sure that you are connected to the right port. Red Button indicates that the device is not connected, Blue Button indicates that the device is connected to the right port.
Now click on the “(Build) Copy/Load” button.
Workshop 4 will prompt you to select a drive to copy the image files to a uSD Card. After selecting the correct drive, click OK.
The module will prompt you to insert the uSD card. (1st image)
Properly unmount the uSD Card from the PC and insert it to the uSD Card slot of the display module. The image below must appear on your display after completing the steps above. (2nd image)
Drum Samples for SOMO - II USD Card
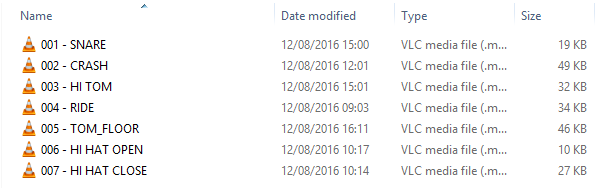

Download and save the drum samples in one uSD Card. Follow the same File name and numbering.(1st image)
Download and save the bass drum sample in another uSD Card. Follow the File name and numbering (2nd image)
Insert the usD Cards to their respective SOMO-II modules. Wire and connect the SOMO-II with the gen4-uLCD-70DT accordingly.
Demonstration

Flowchart