ESP32 Aviator Clock With Twin Aircraft Radar Displays & Spoken Alerts for Special Aircraft Types
by oliverb in Circuits > Clocks
34 Views, 0 Favorites, 0 Comments
ESP32 Aviator Clock With Twin Aircraft Radar Displays & Spoken Alerts for Special Aircraft Types
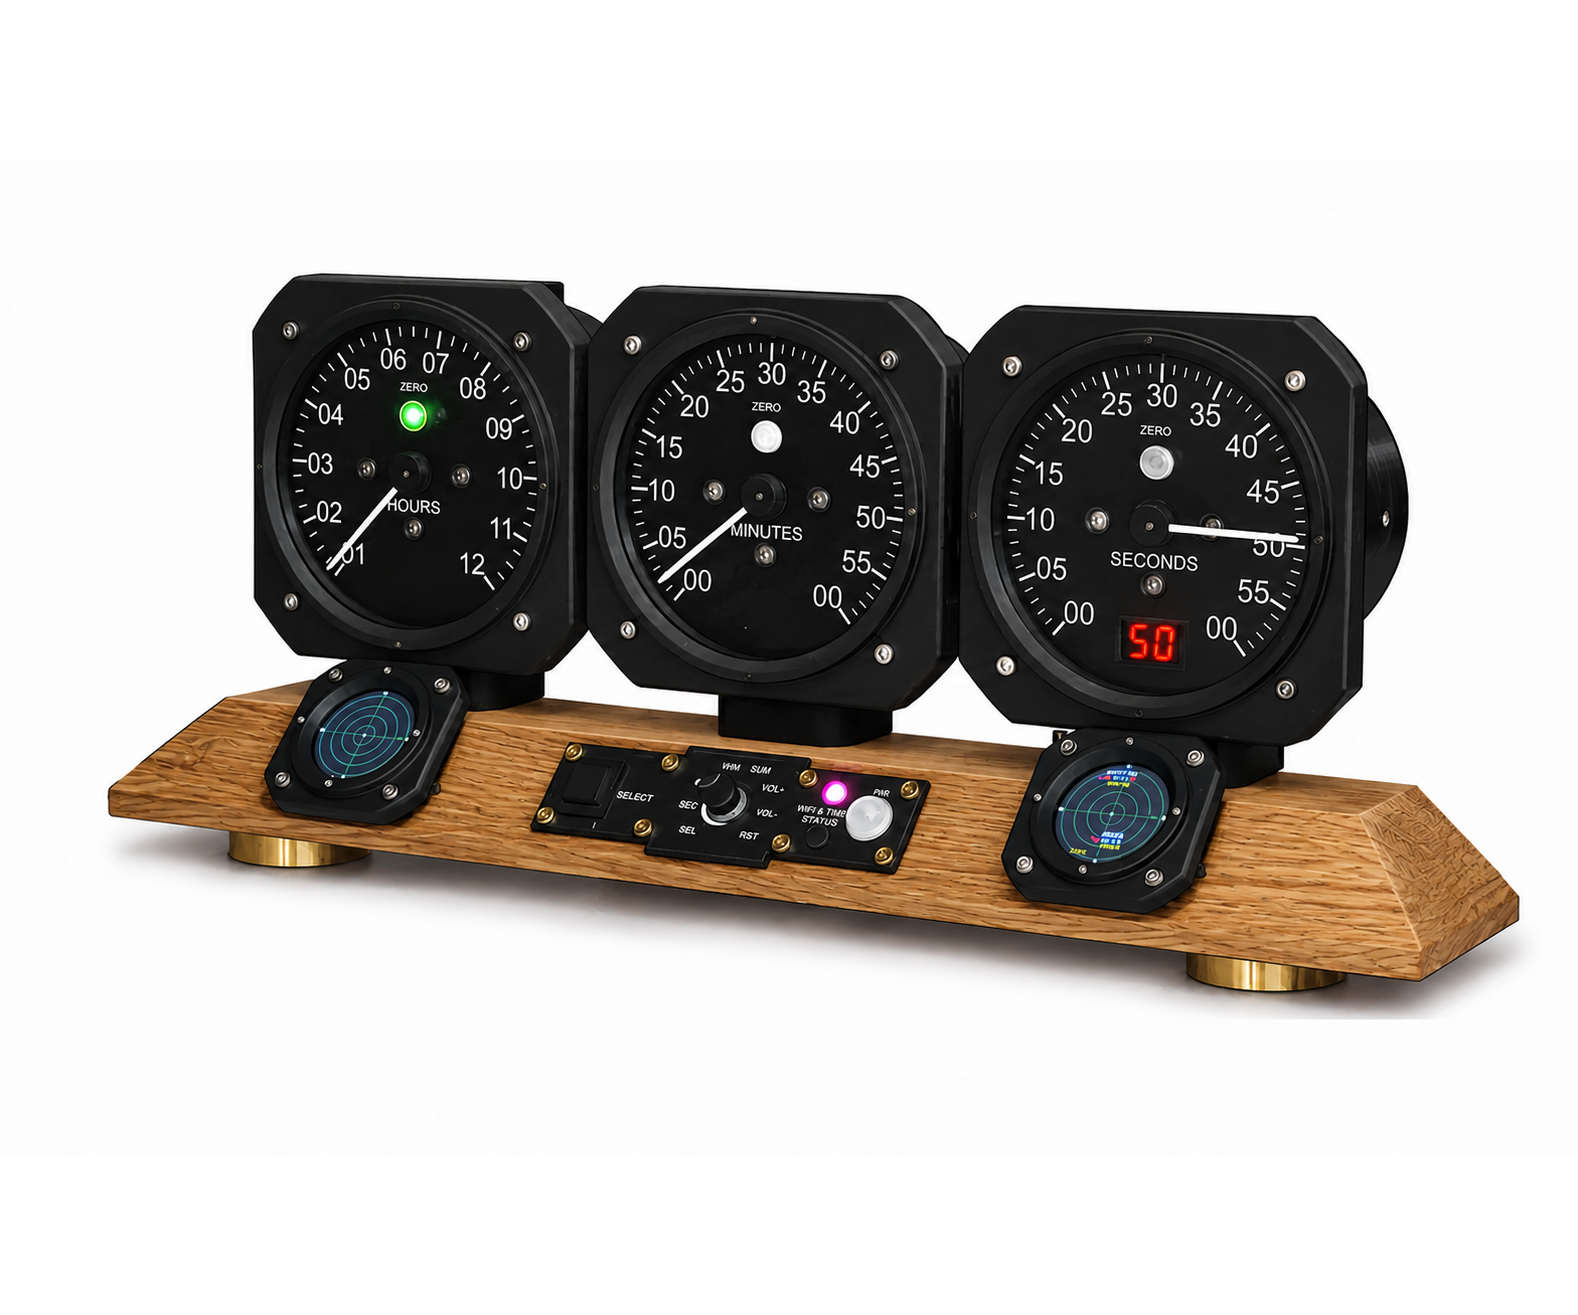
This instructables details the addition of two TFT plane RADARs and spoken alerts to my Aviator Clock.
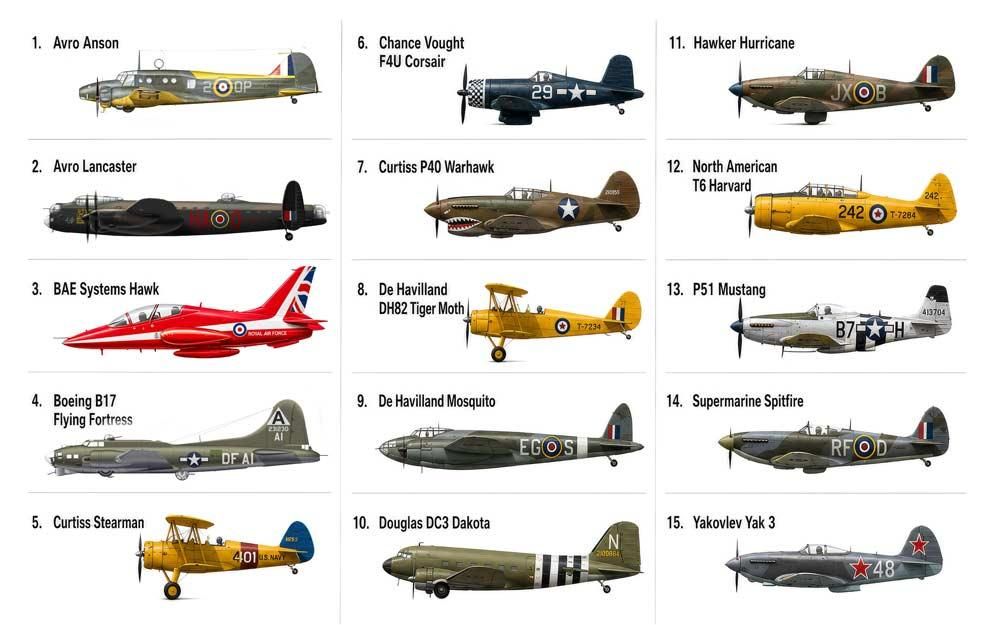
Spoken warnings are given for 15 different WW2 era planes.
This list can be customized to include any "special" aircraft types you are looking out for.
The RADAR displays can be set independently to any location in the country and distances of 3miles to 16miles from that location.
I normally have my one centered my house at 3miles and one at 6miles.
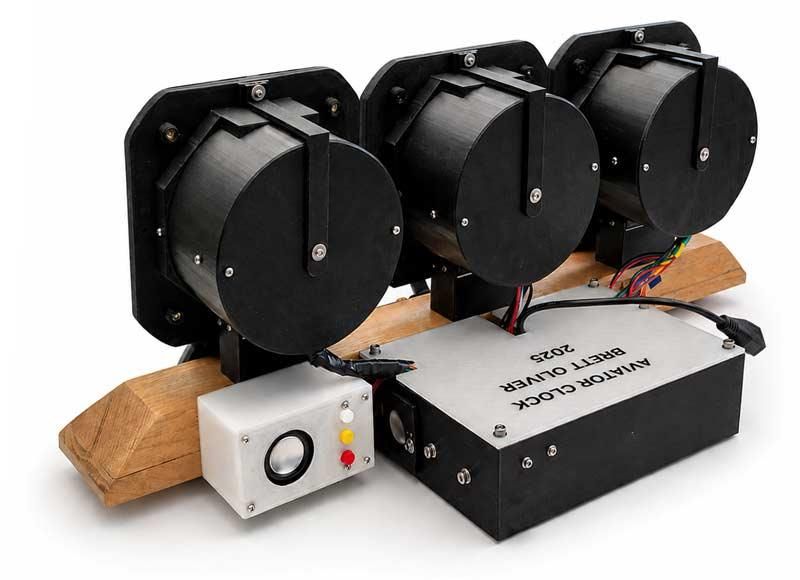
Image 1 shows the completed clock.
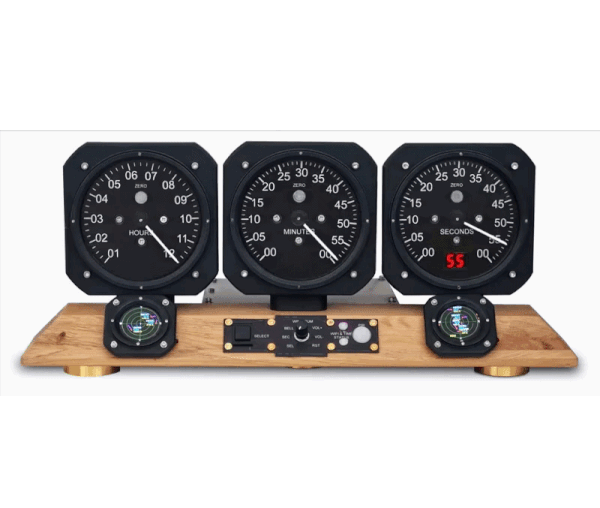
Image 2 animation shows the clock and RADAR displays changing from 12:59 to 01:00.
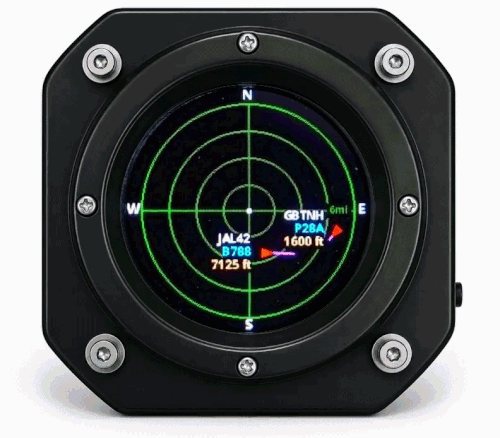
Image 3 shows a time-lapse animation of one of the RADAR displays.
Parts
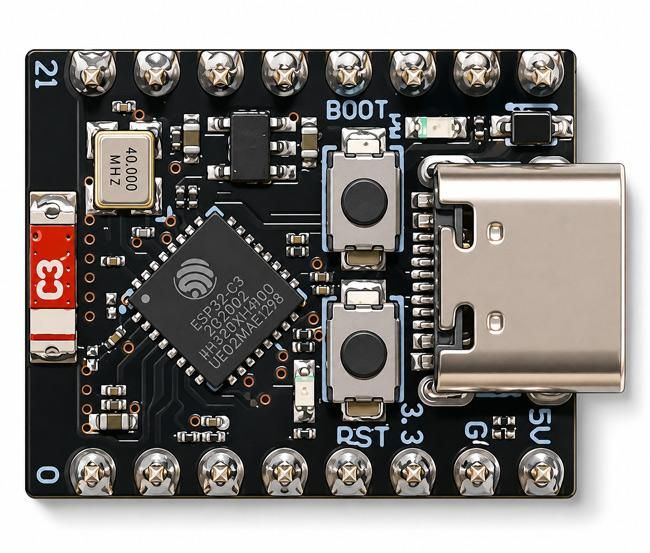
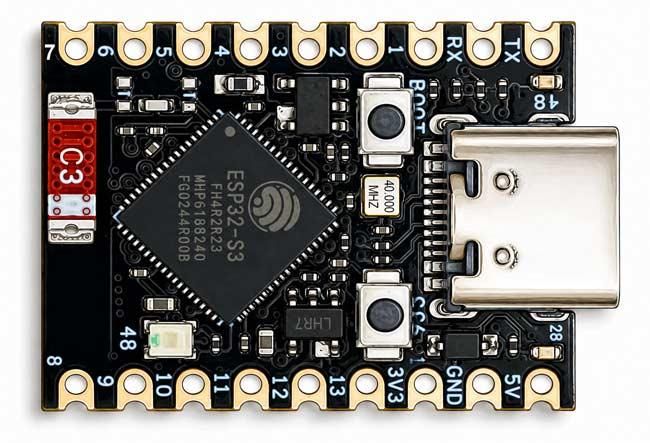
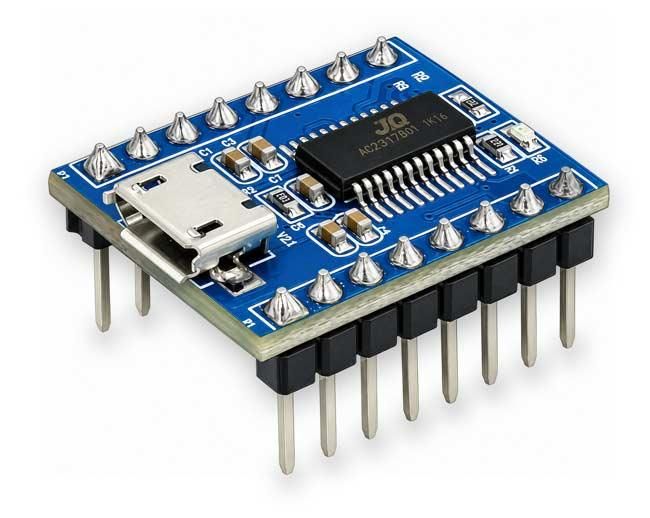
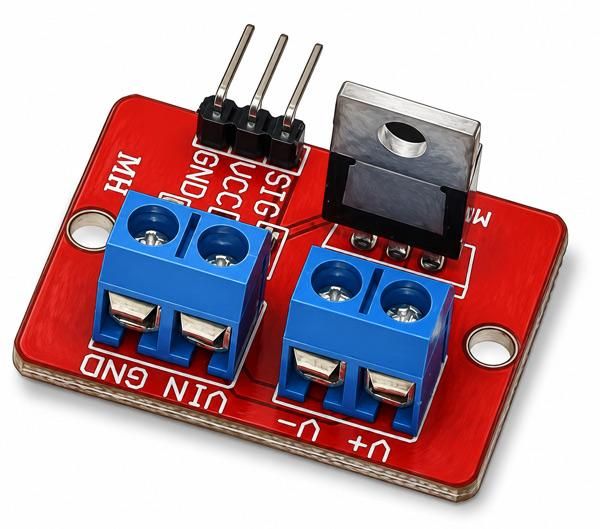
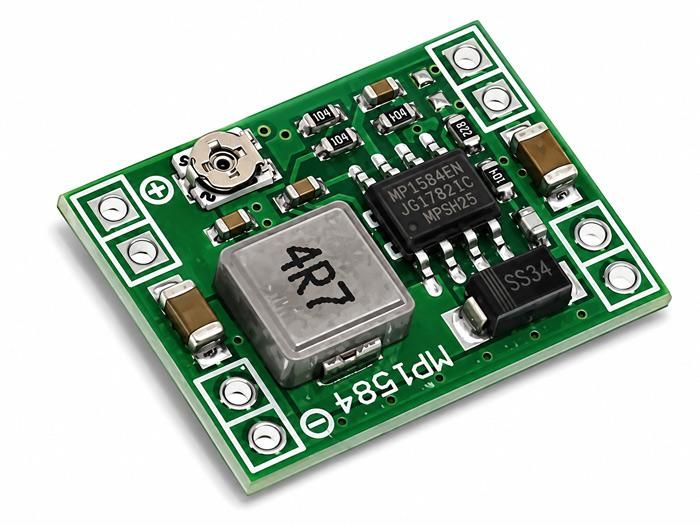
Part 1. ESP32 C3 Supermini
or
Part 2. ESP32 S3 Supermini
Parts 1 or 2. 2 off total required but can be mixed and matched. S3 modules are faster so work better with the spoken alert add on.
Code and schematics available for any combination.
Part 3. JQ6500 sound module for spoken alert option only
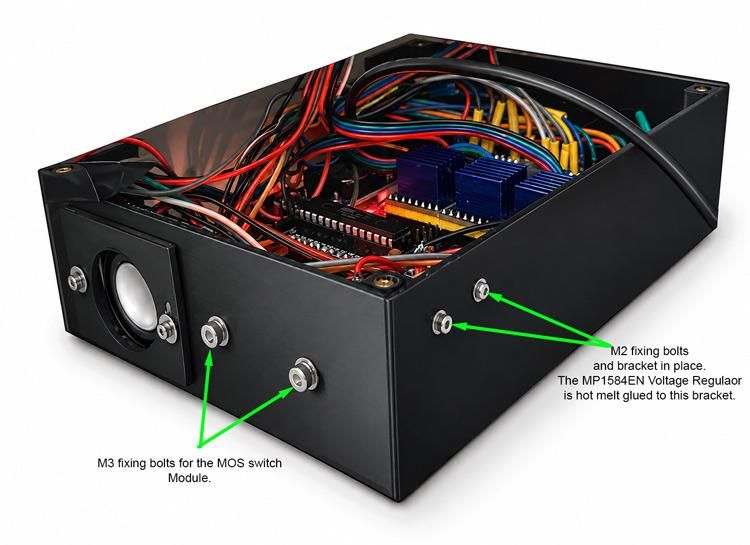
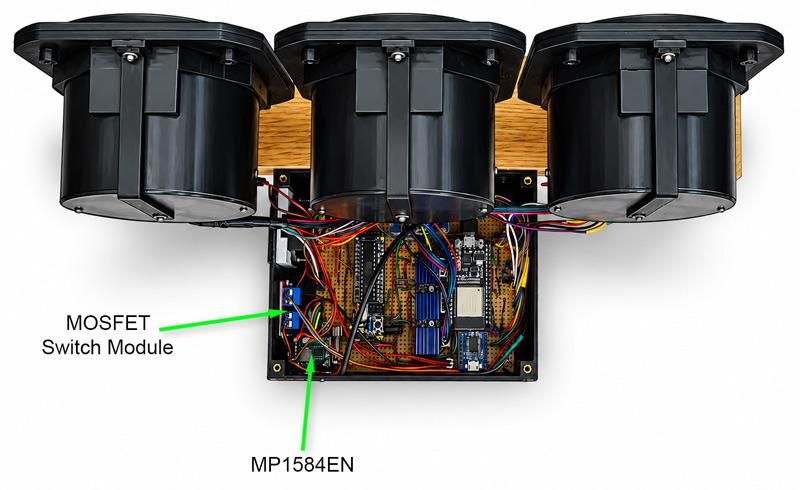
Part 4. IRF520 MOSFET Switch Module 1 off
This module is used to switch the power to the ESP32 Radar Display Module on and off as the Aviator clock is switched on an off by the PIR when no movement has been detected.
Part 5. MP1584EN DC to DC buck converter step-down module 1 off
Used to drop the 5volts from the Aviator Clock power module down to the 3.3v required by the ESP32 C3/S3 and the TFT display.
Both of these modules have their own 3.3v regulators but they are both analogue and generate a lot of heat.
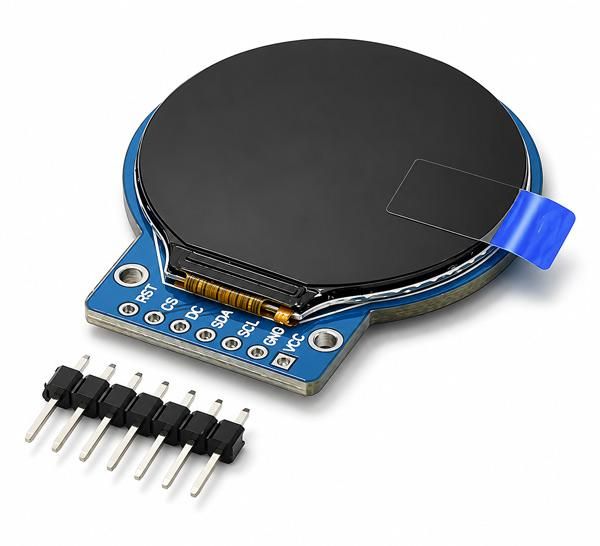
Part 6. GC9A01 1.28" Round 240x240 TFT displays show real time Air Traffic Data. 2 off
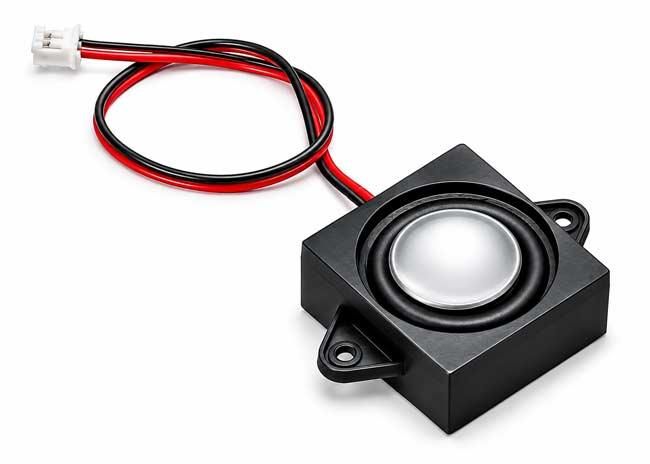
Part 7. Micro 3W speaker https://amzn.eu/d/0hcTCUjU
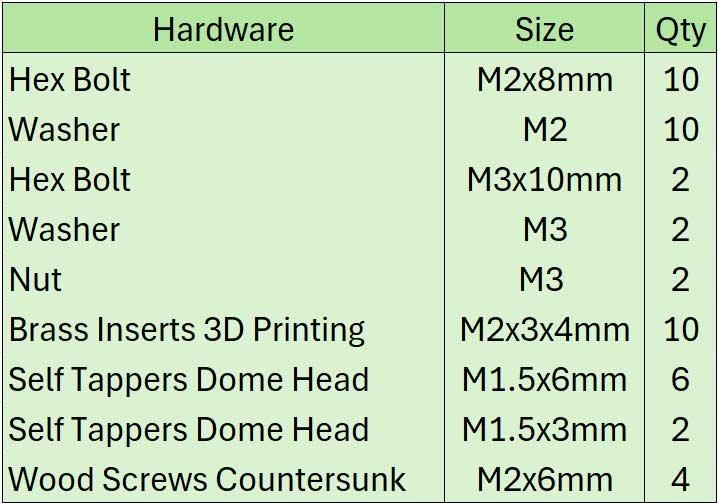
Image 8. Shows the hardware for these add ons.
Note M1.5x3mm self tappers are just for show cut down 6mm screws will be fine.
Videos
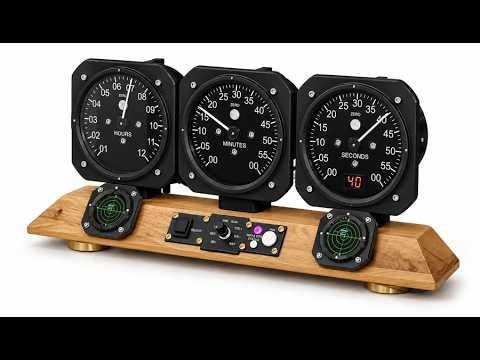
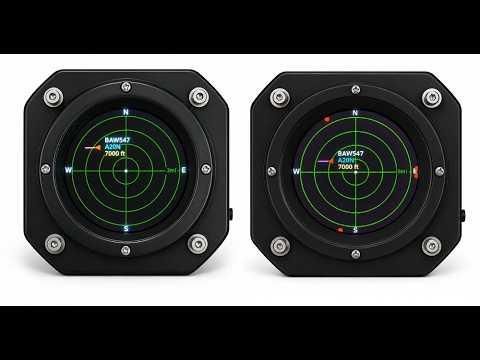
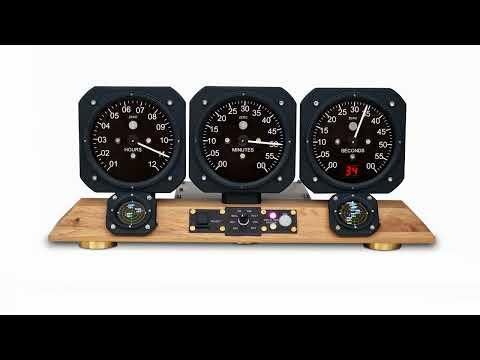
Video 1 shows information on the clock and also shows the spoken alerts when aircraft from the special list are detected.
Video 2. This shows the clock waking from sleep mode.
Video 3. This video shows the radar displays and also the clock chiming 12 o'clock then 1 o'clock.
Spoken Aircraft Alert Add On
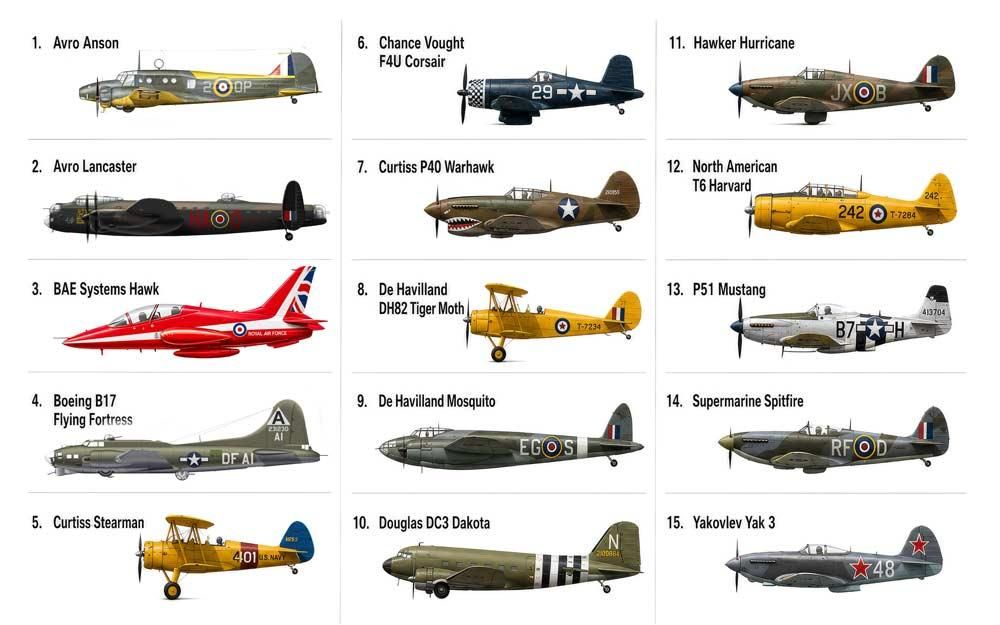
A Spoken warning eg "Supermarine Spitfire Detected" is given when a plane on your list is detected at 6miles out.
This gives you time to quickly check the radar screen and then rush out and watch it.
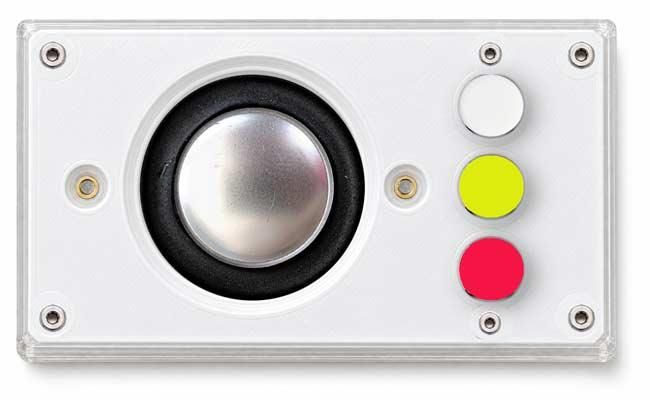
Image 01. This box screws to the rear of the clock and contains a mini speaker and audio chip module.
There are 3 buttons that let you play the current recorded alert, next recorded alert, previous recorded alert, spoken alert volume up and spoken alert volume down.
Image 2. Custom aircraft alert list.
This list can be customized as required.
A new audio file will need to be made and the planes added or removed from the code.
Step 9: Modifying the List of Audio Alerts
RADAR Screen Information
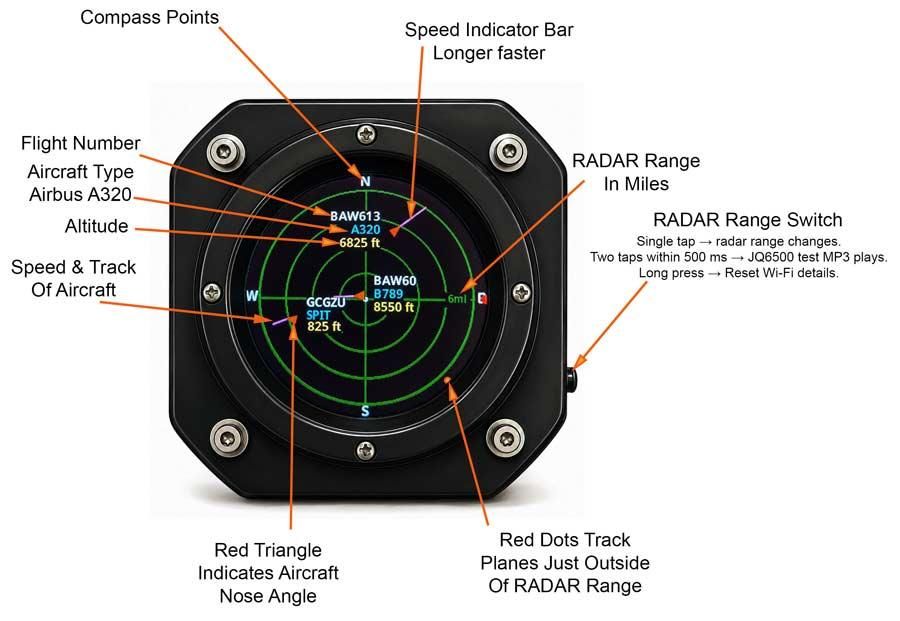
image 01. Each plane has the following information displayed on the screen.
Speed indicated by the length of the purple bar.
The purple bar also shows the track of the aircraft.
Each aircraft is indicated by a red triangle.
The point of the triangle indicated the nose direction which can be different from the aircraft track.
Aircraft Flight number, aircraft type/model and altitude in feet are display by each aircraft.
The original RADAR displays were by matixovi and detail can be found on his GitHub site.
3D Printed Parts
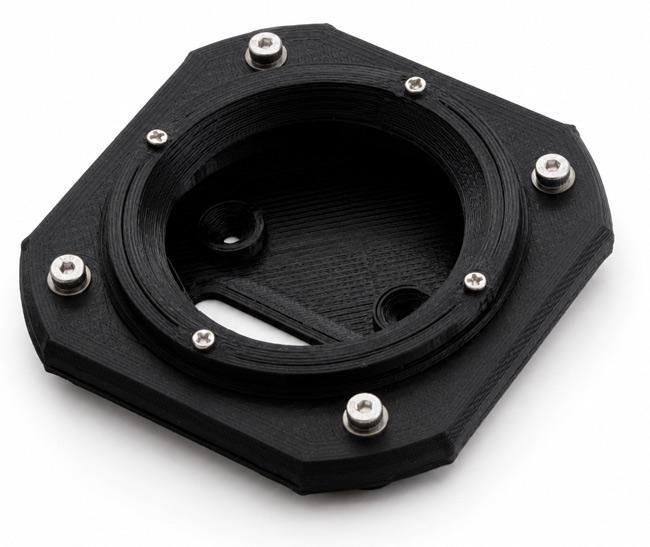
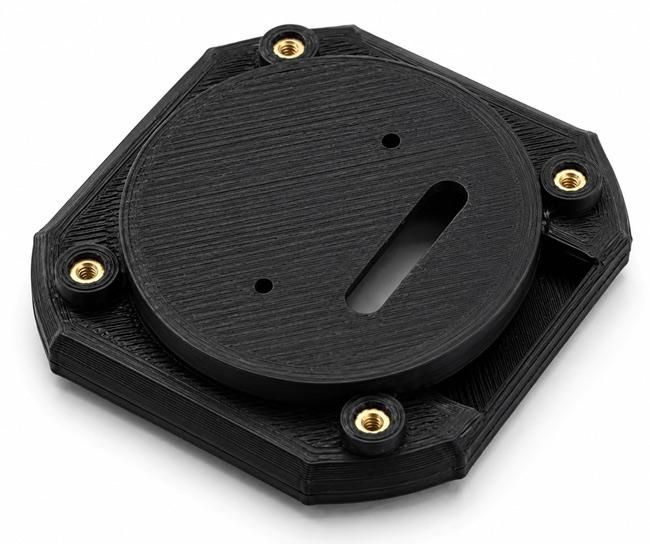
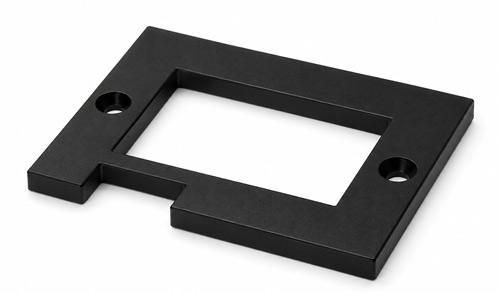
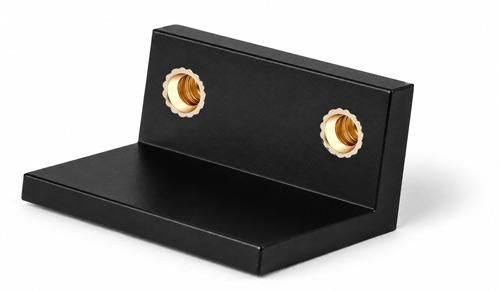
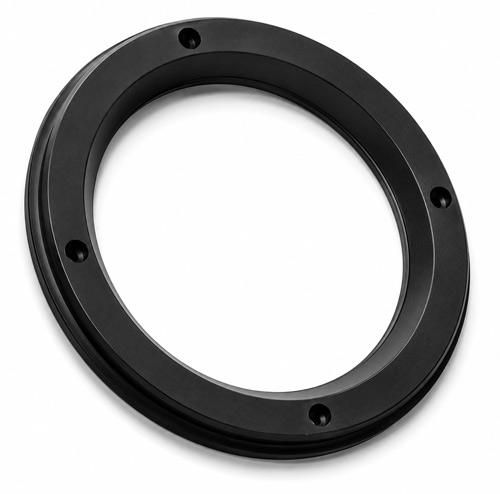
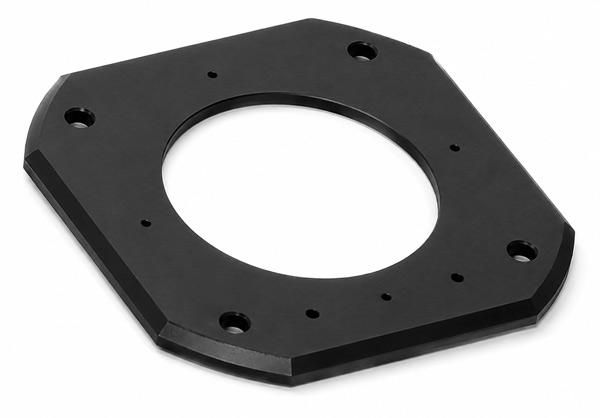
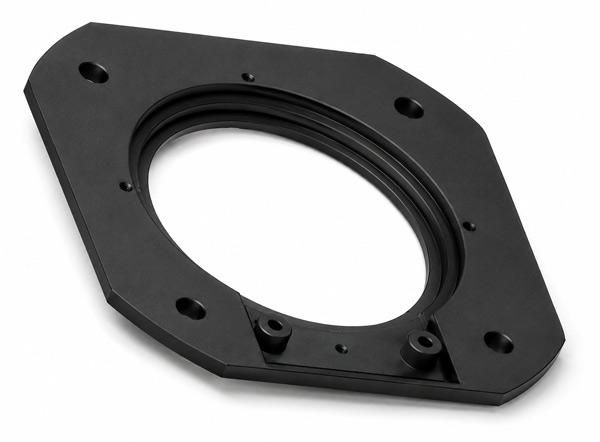
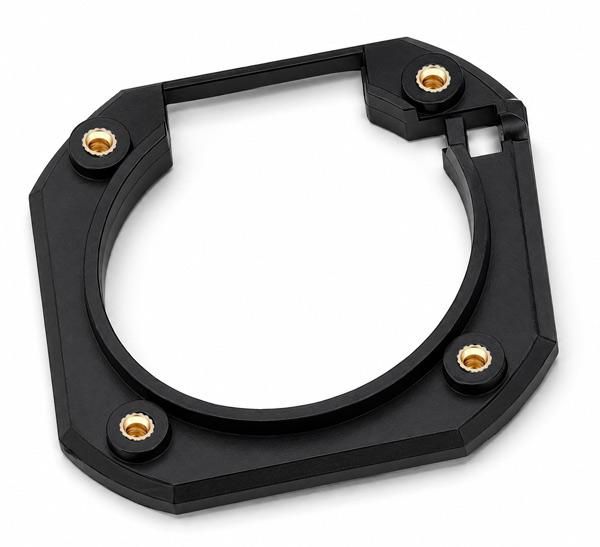
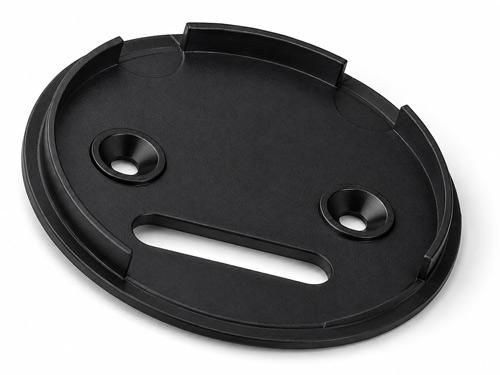
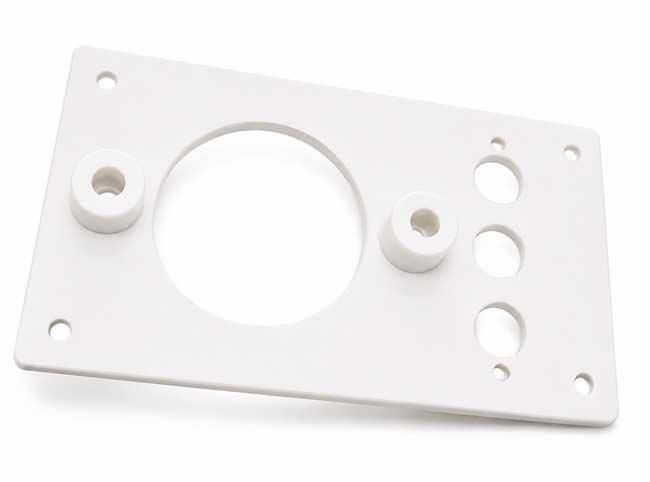
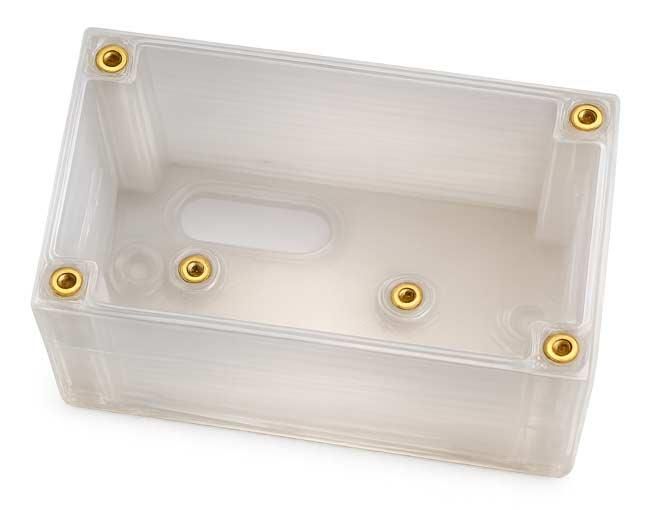
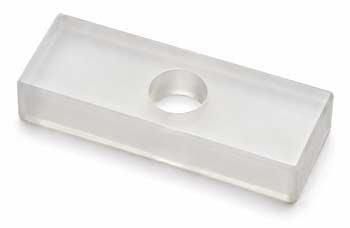
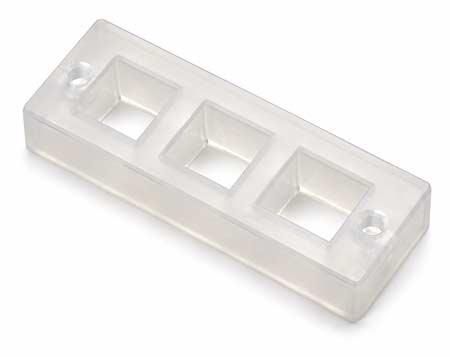
The 3D parts can be downloaded from my Cults3D site below.
Wiring
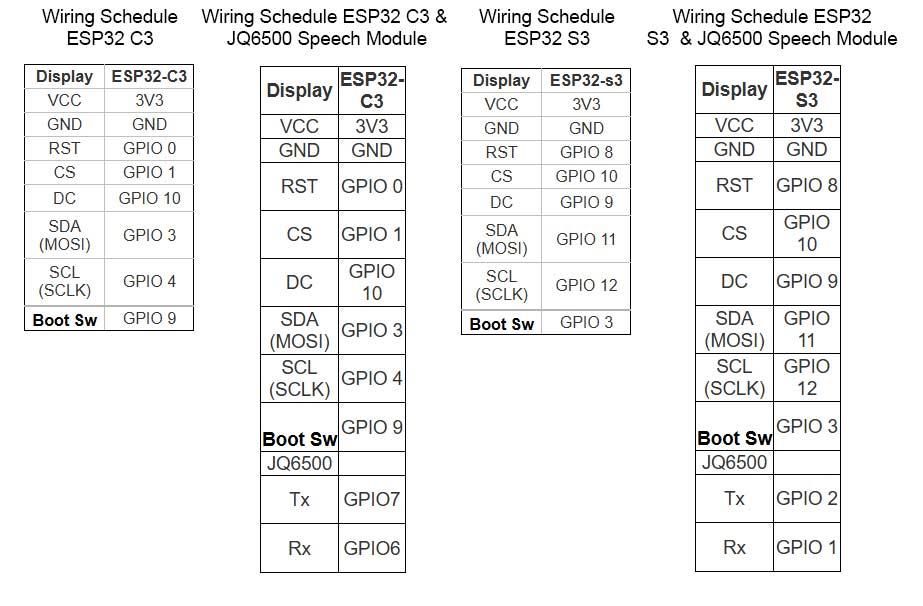
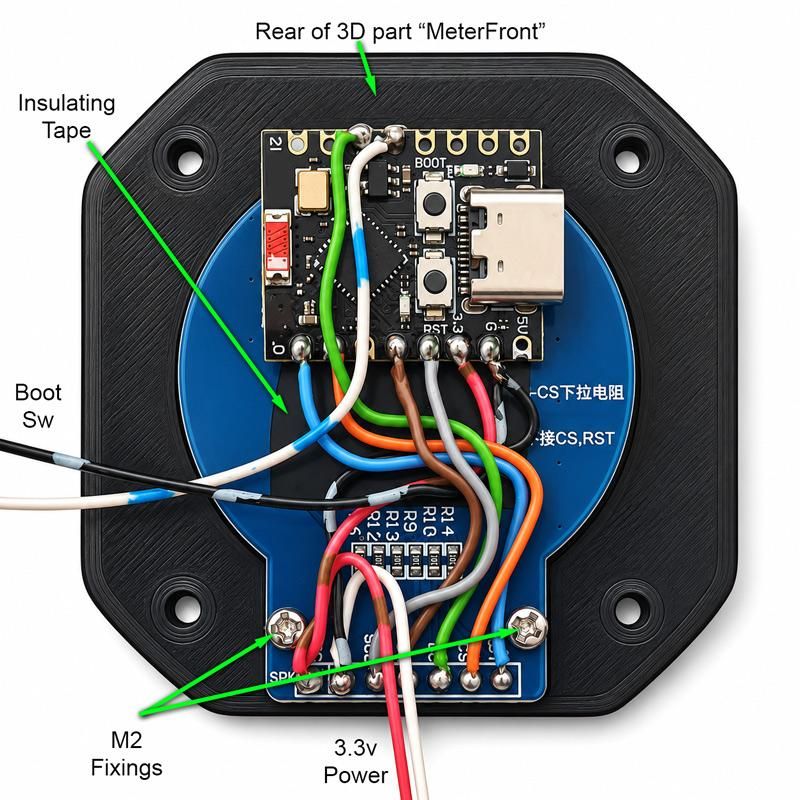
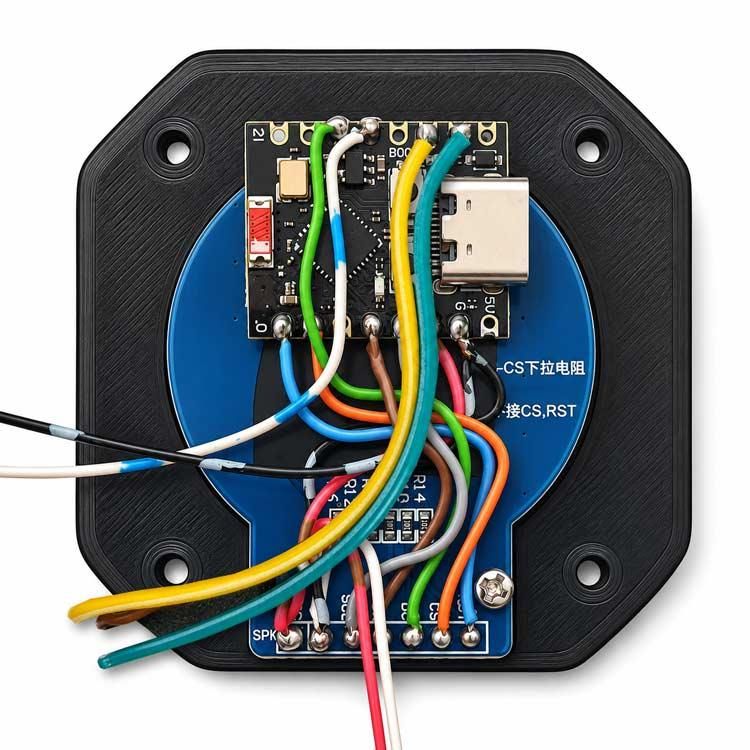
Wiring shedules for C3/S3 versions with and without JQ6500 sound modules.
Schematic
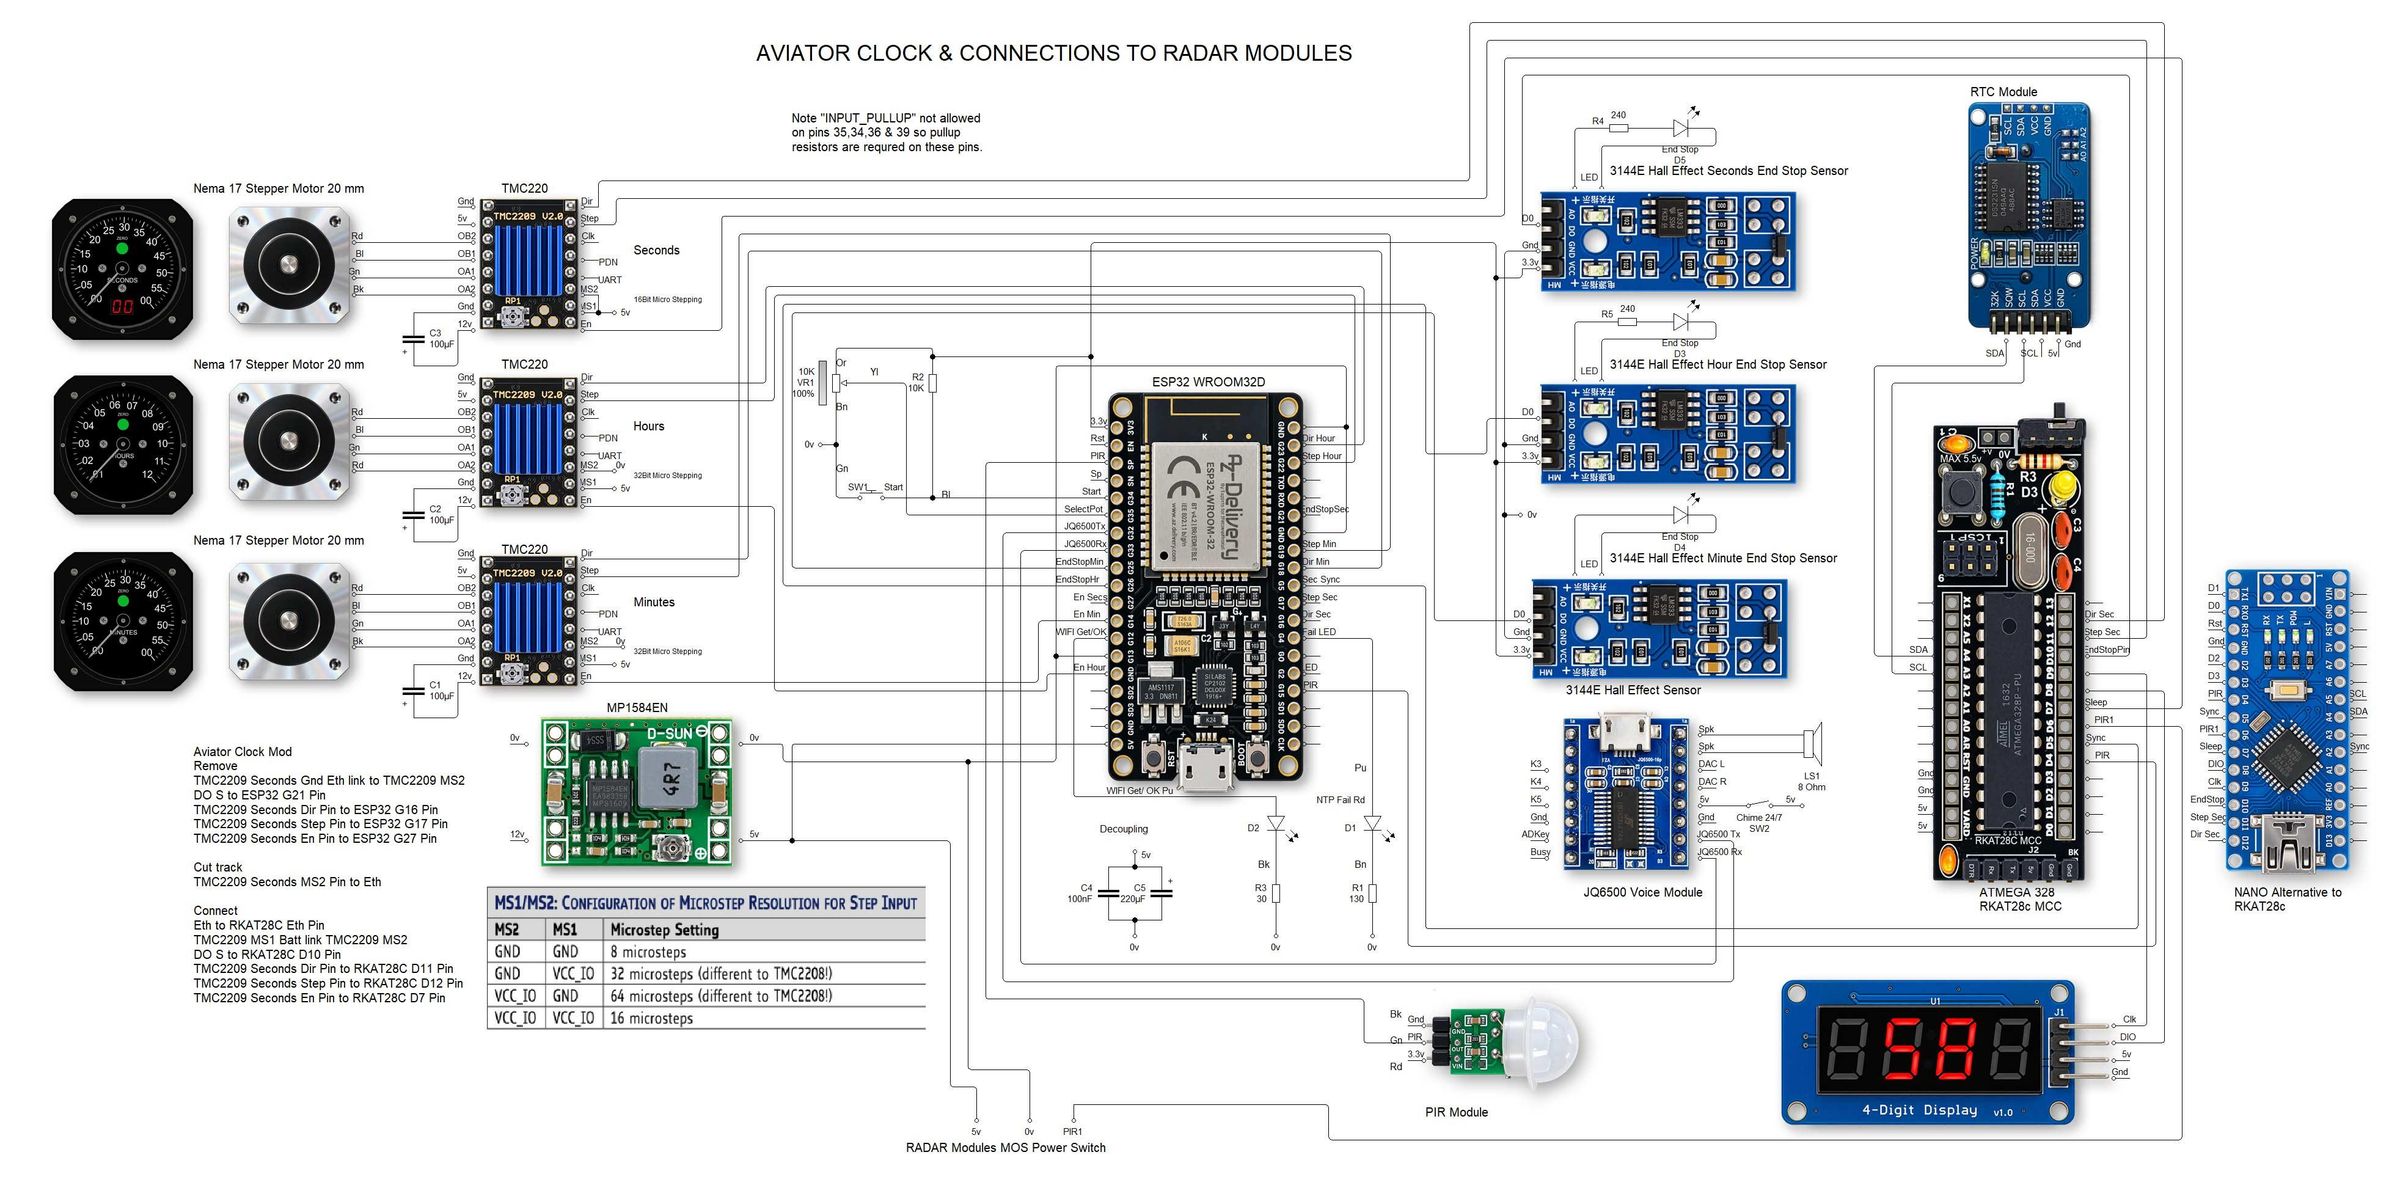
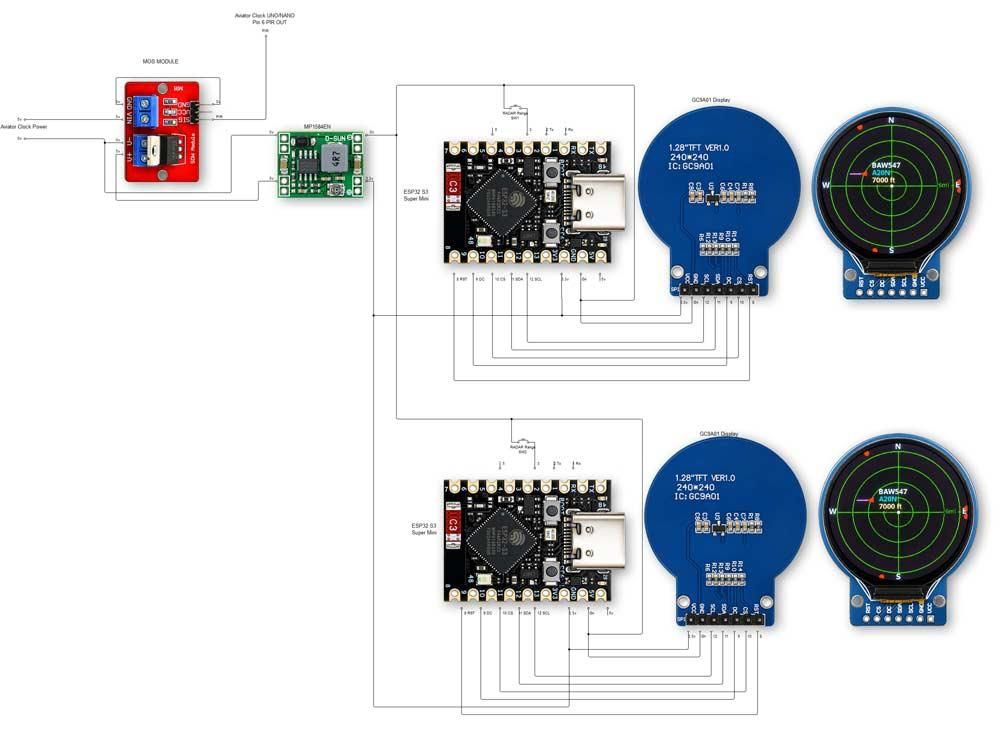
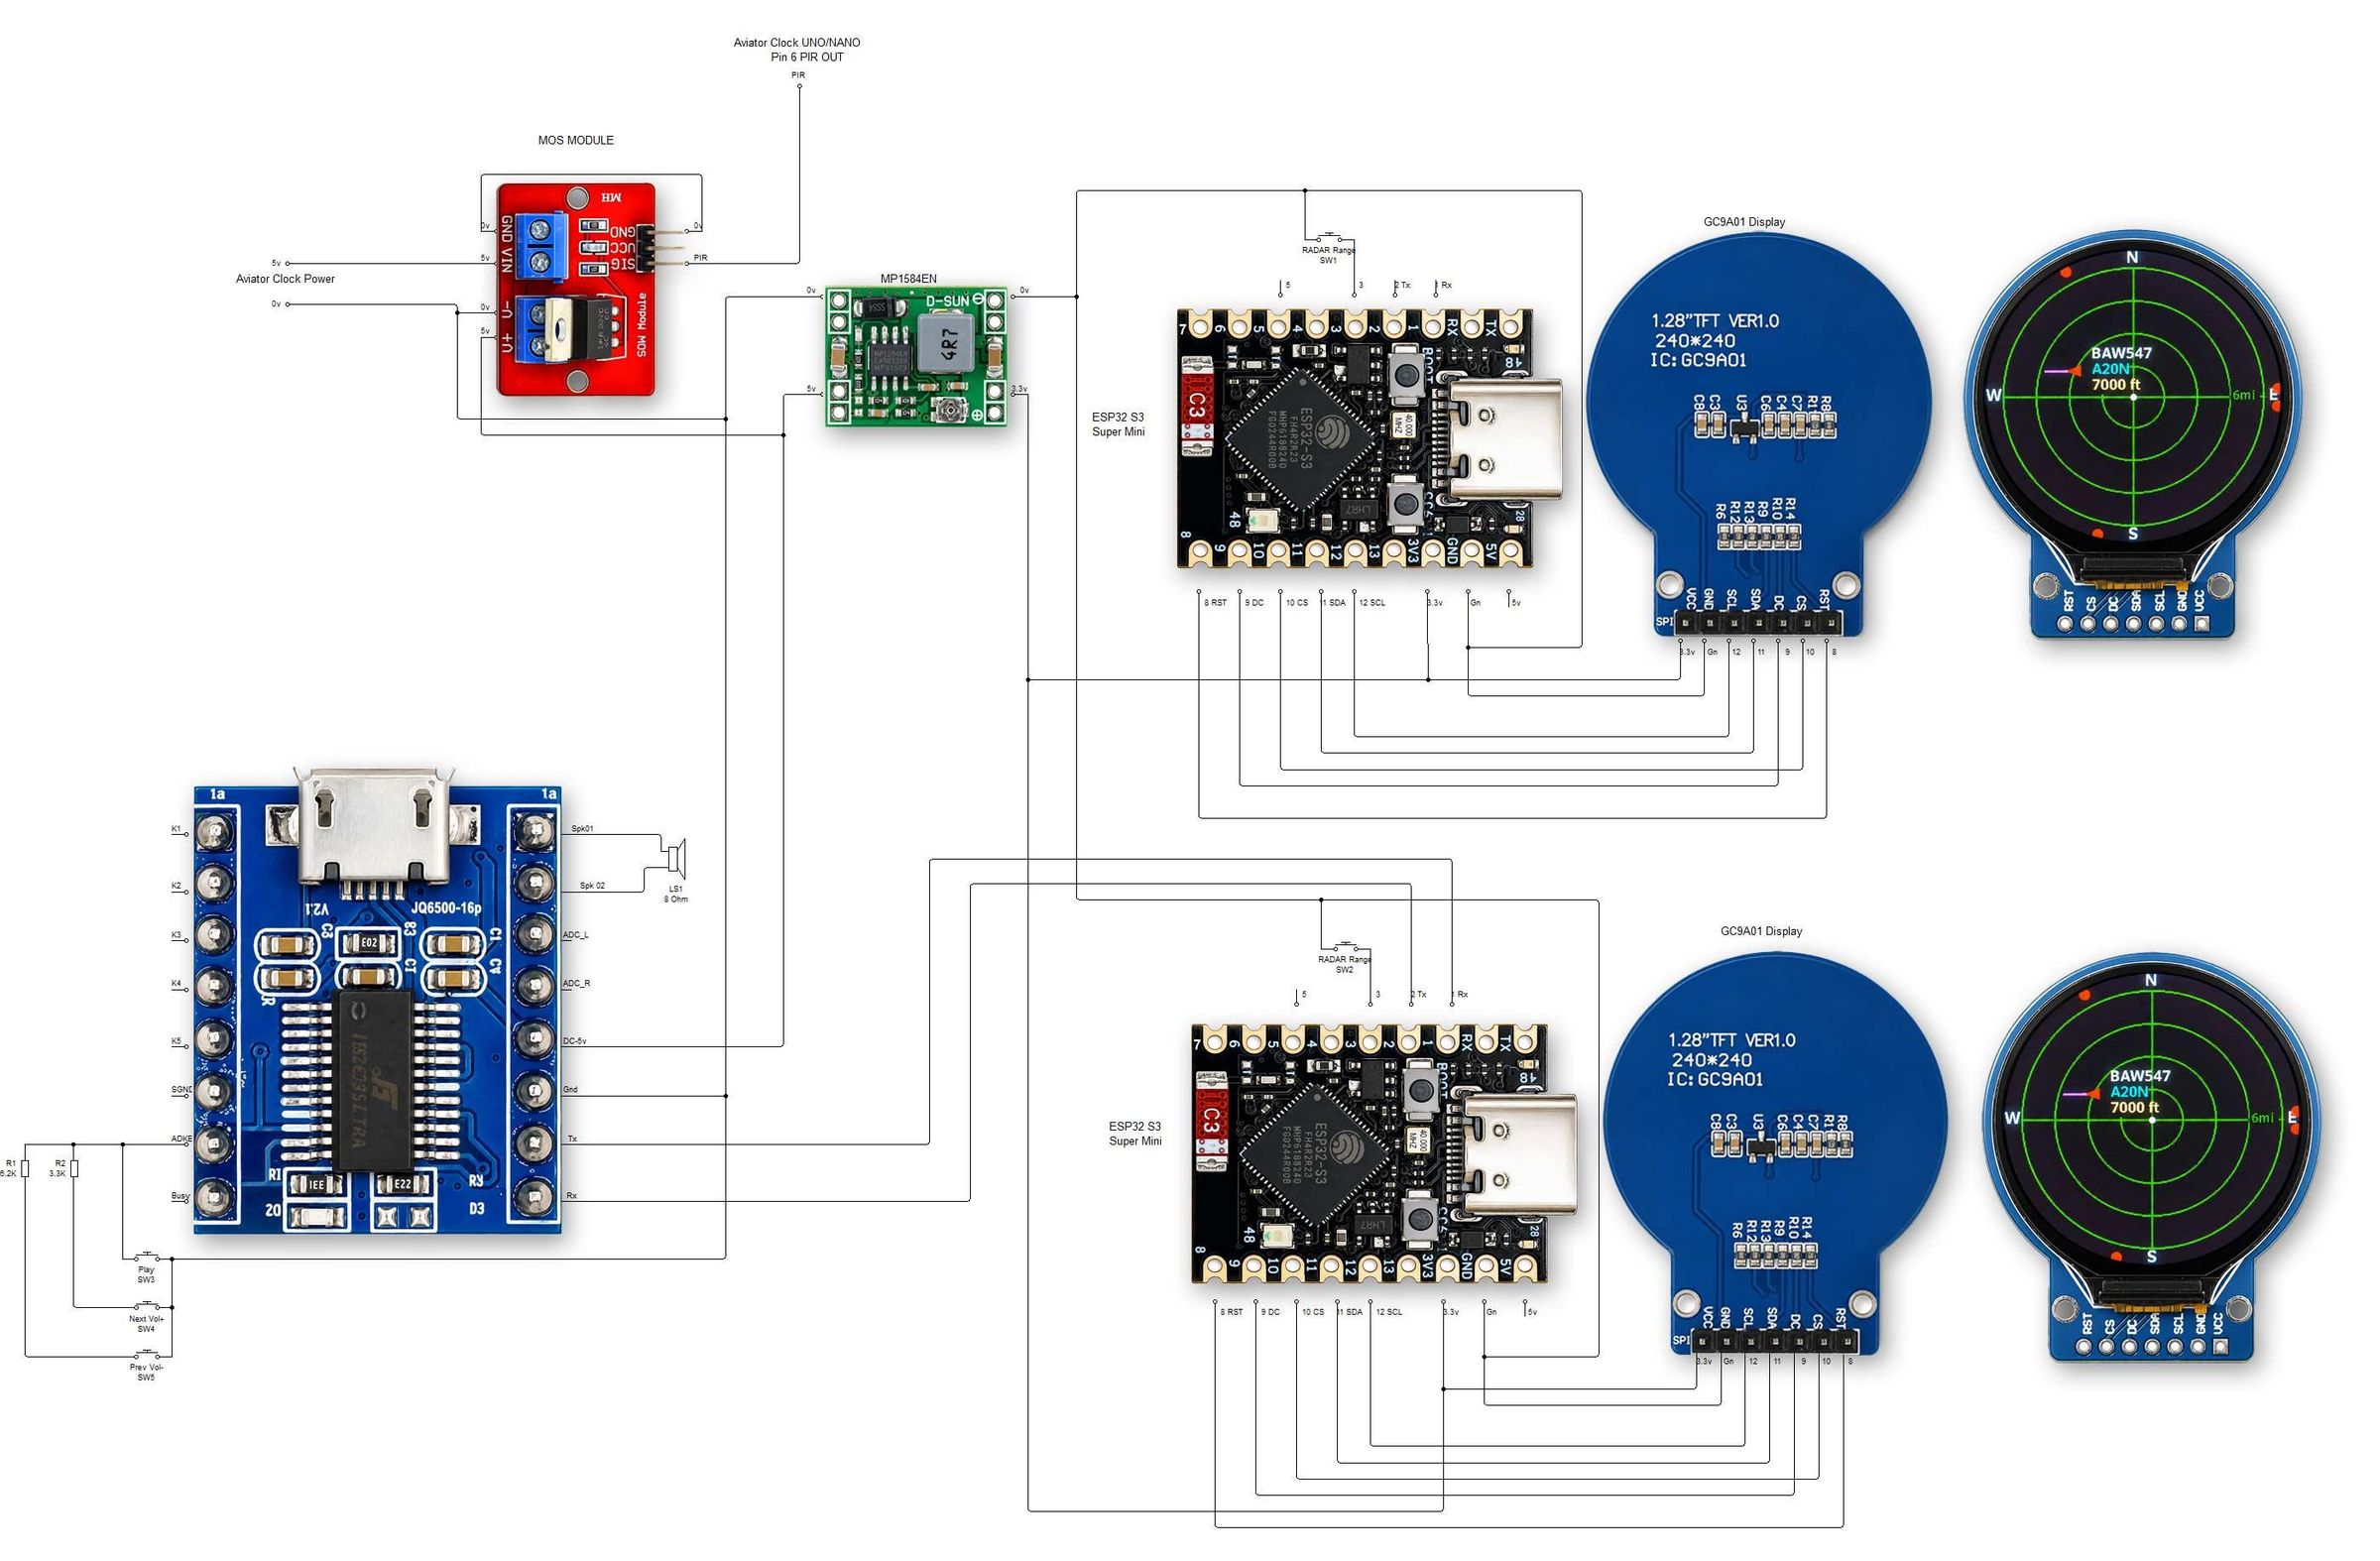
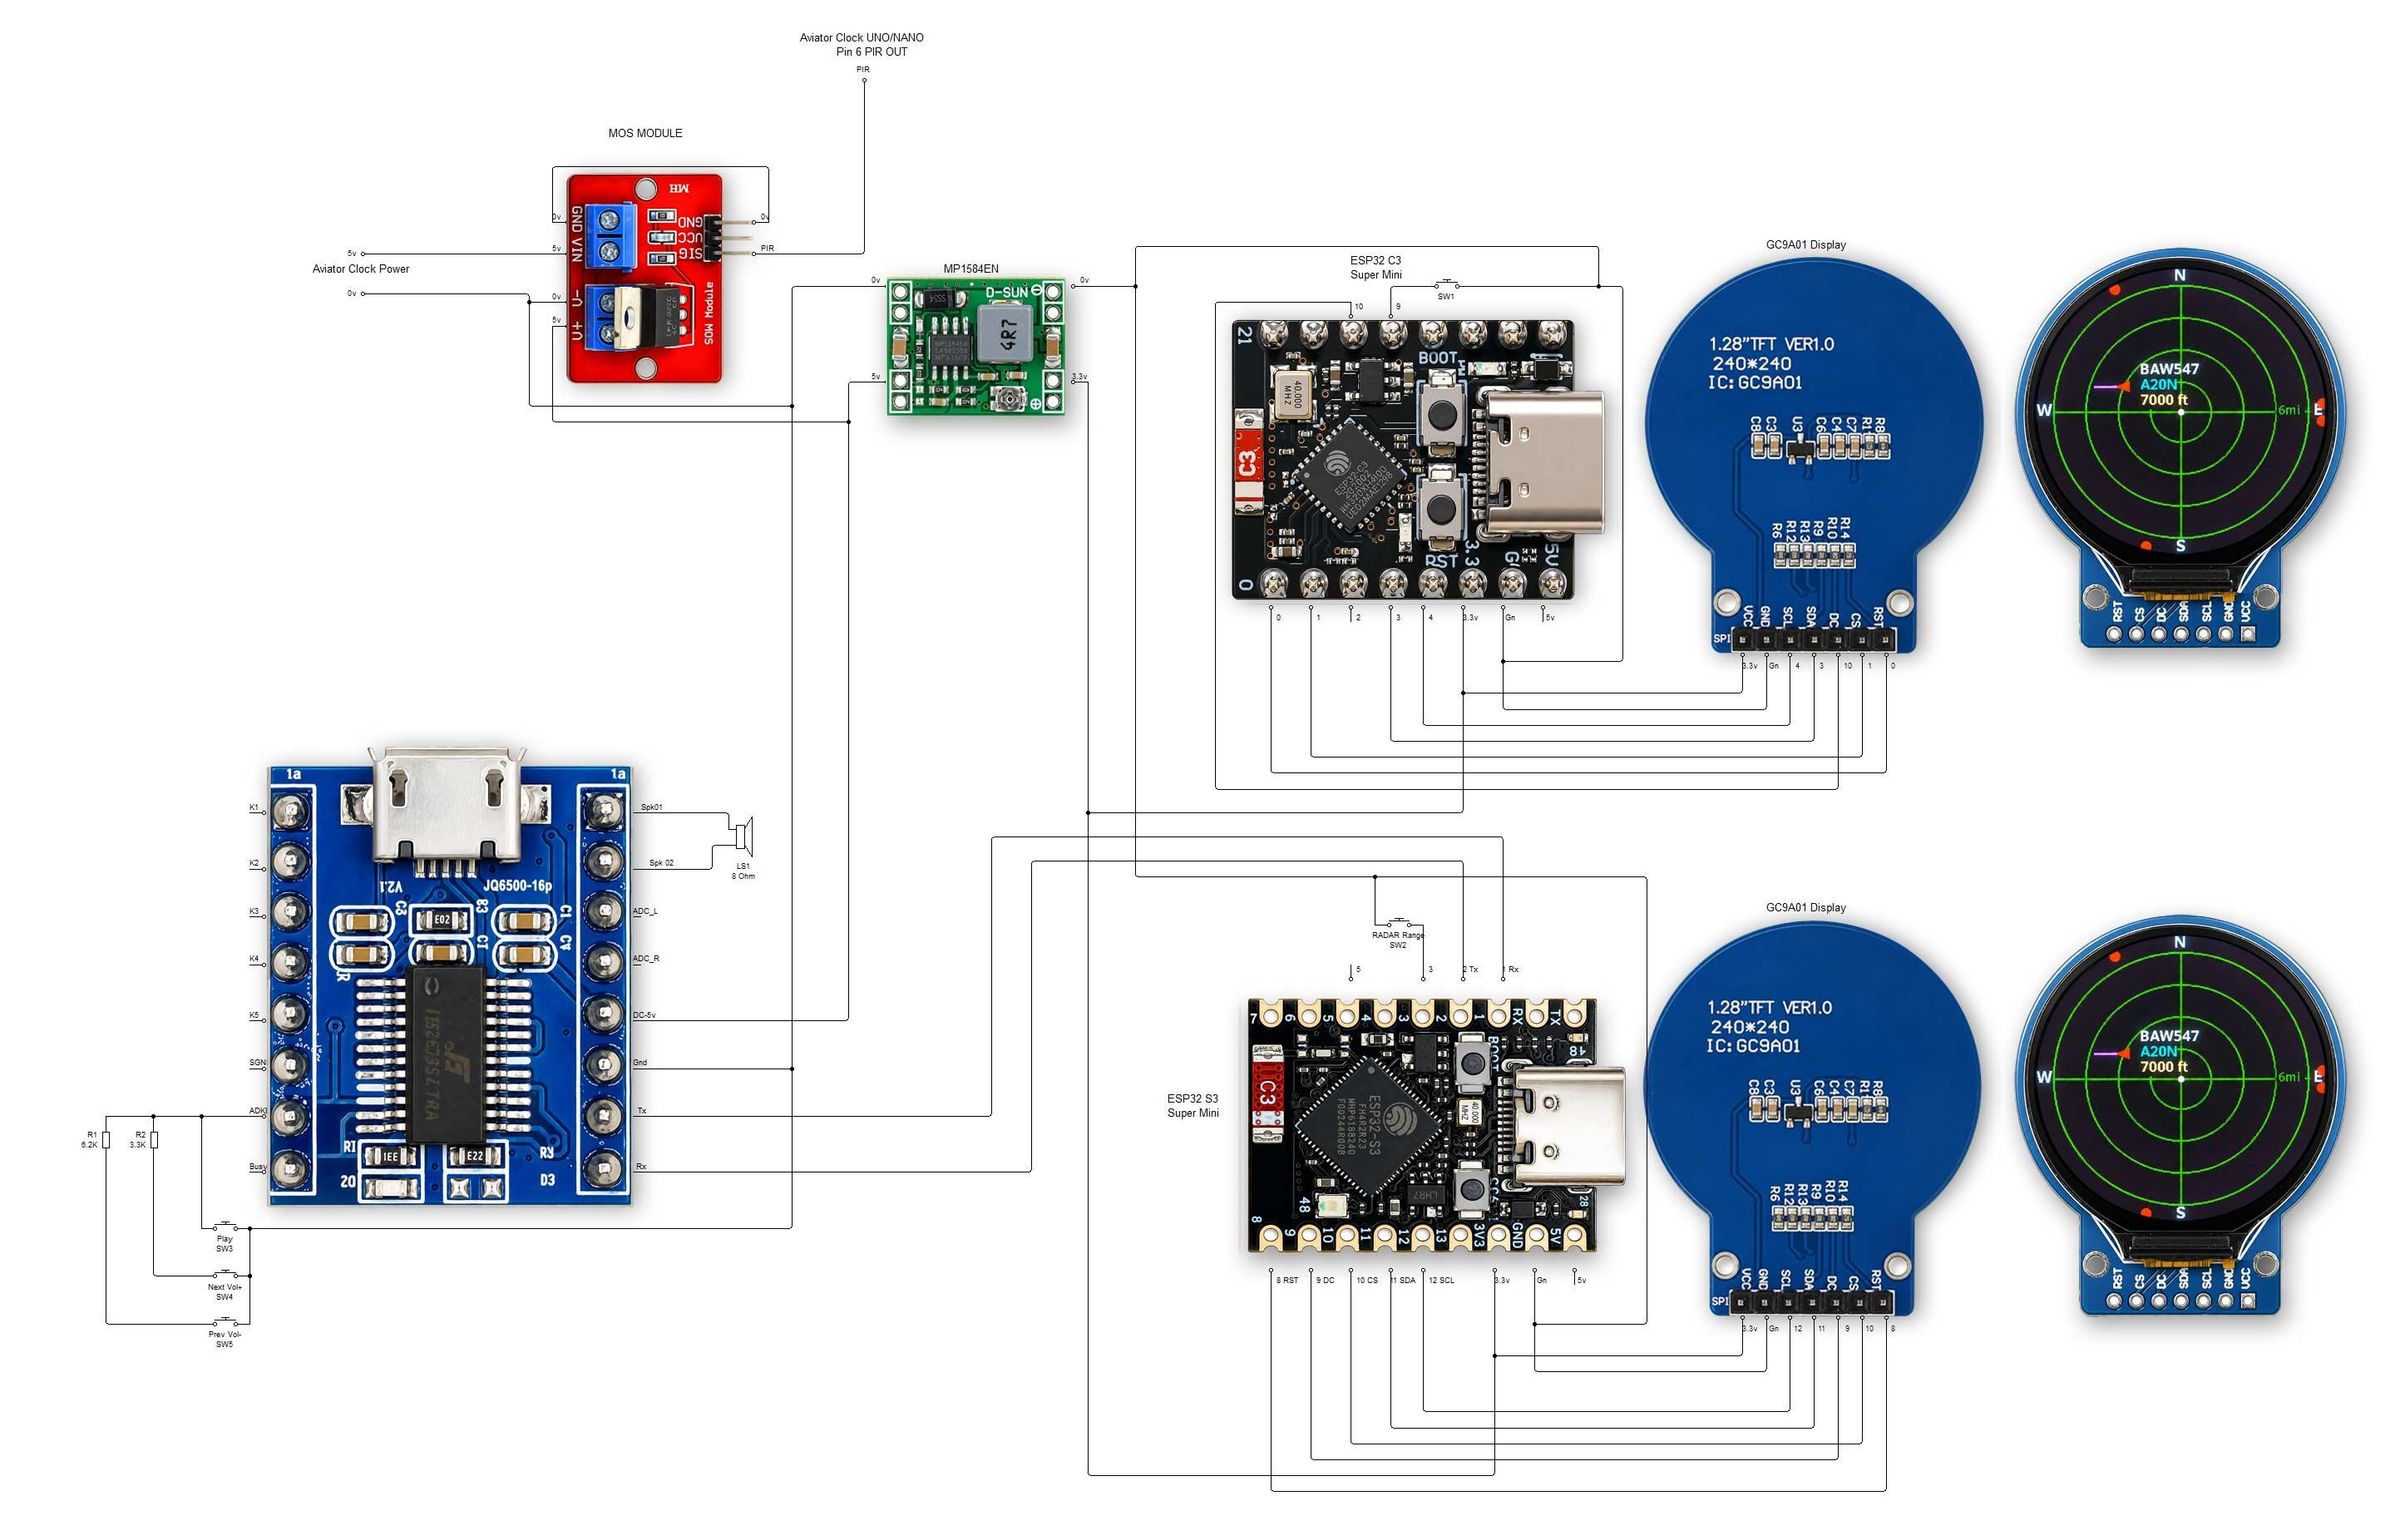
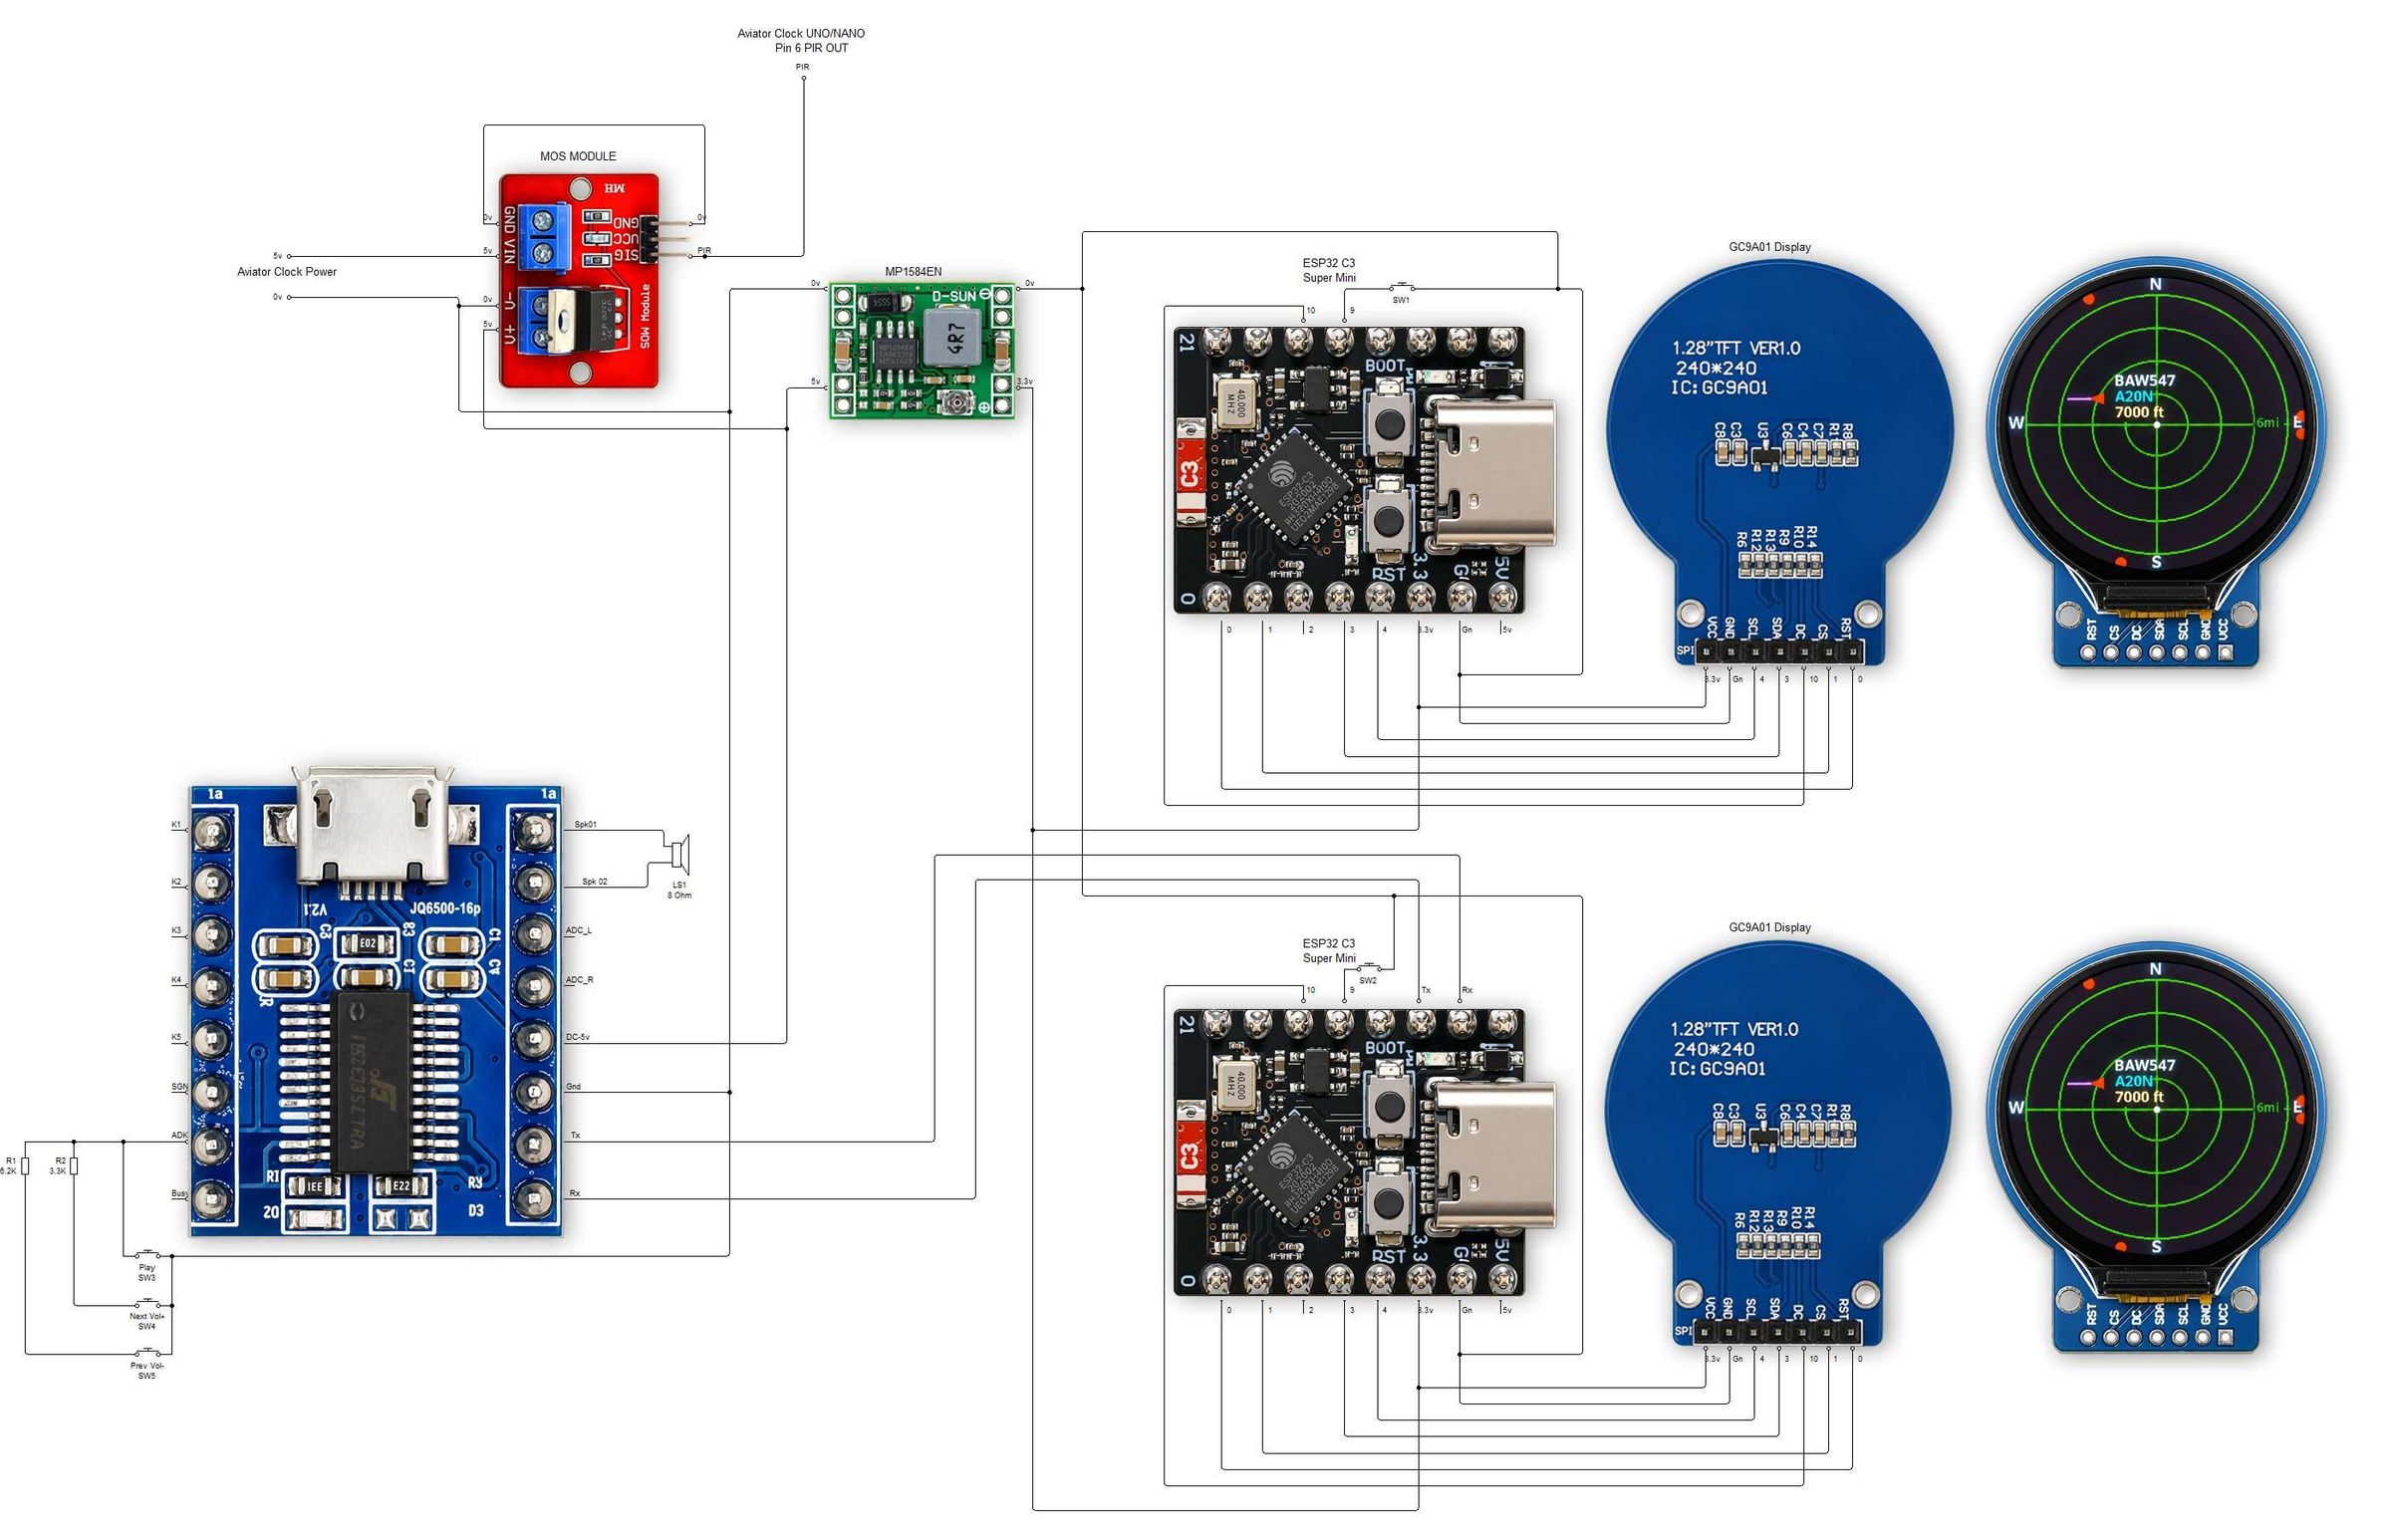
Full size Schematics can be downloaded here.
Schematic 01. Aviator clock schematic.
Schematic 02. 2 off S3 modules with no spoken alerts.
Schematic 03. 2 off S3 modules with spoken alerts.
Schematic 04. 1 off S3 and 1 off s2 modules with no spoken alerts.
Schematic 02. 2 off S3 modules with no spoken alerts.
Veroboards
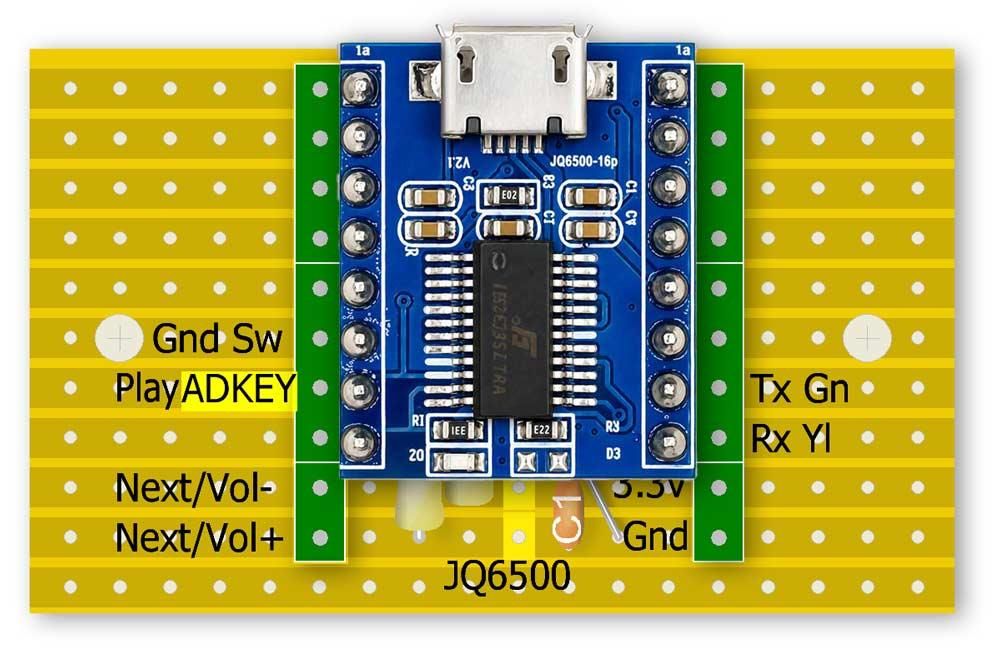
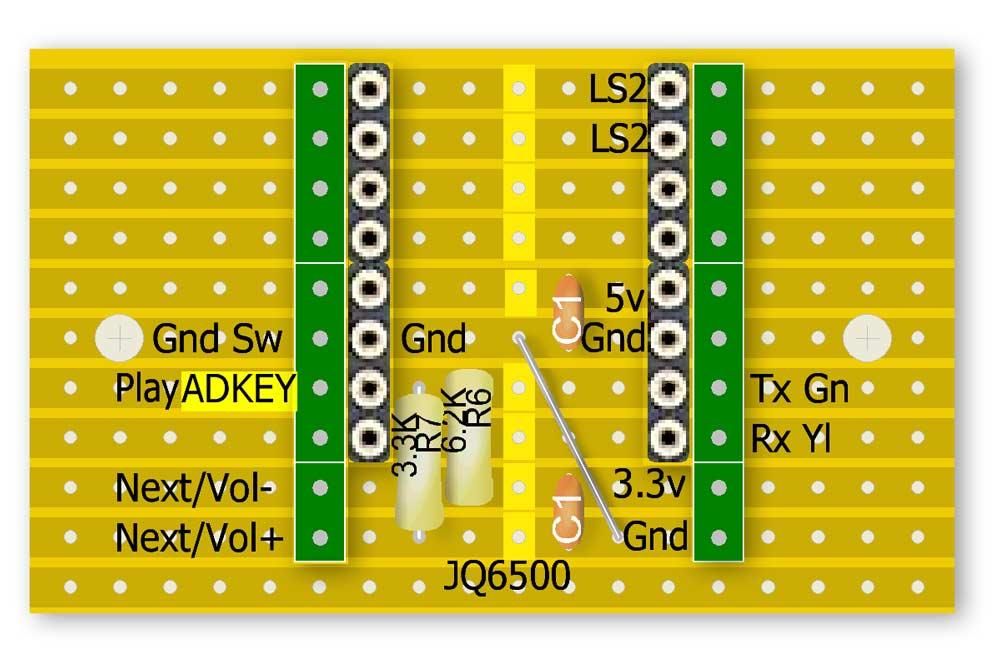
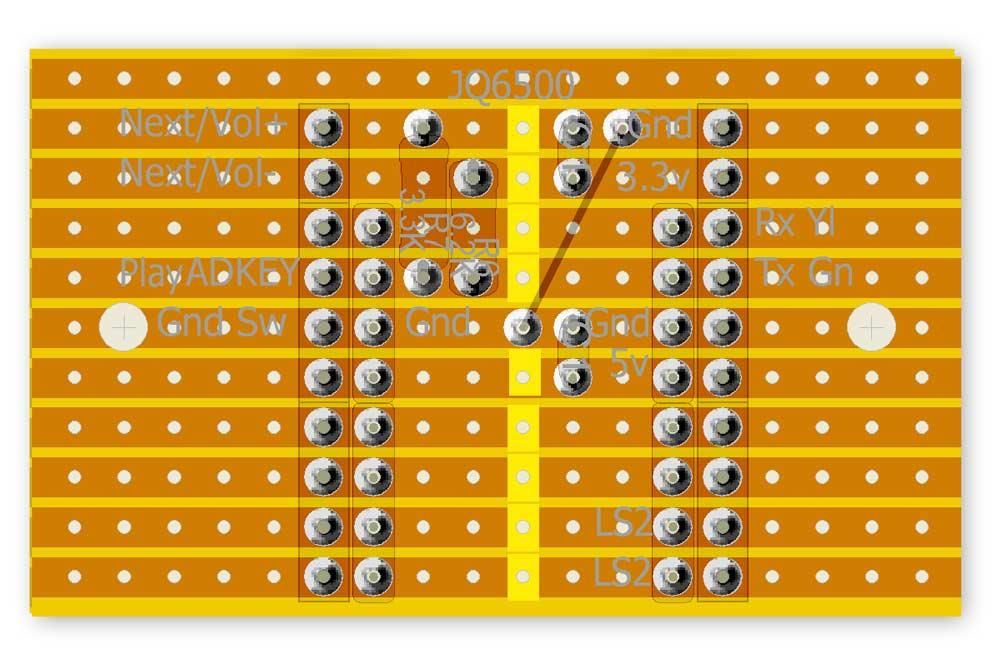
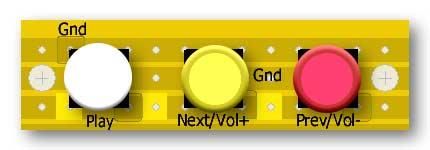
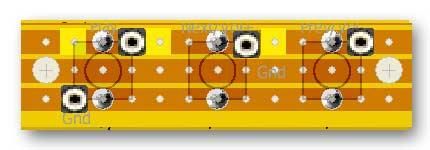
There are only 2 veroboards for the add ons and they are both for the spoken aircraft alerts. The RADAR displays require no boards.
The first board holds the JQ6500 module and the second board holds the three JQ6500 control switches.
Modifying the List of Audio Alerts
Location of files
Go to your Visual Studio folder location \src\services and open adsb_client.h in an editor.
At around line 33
// ============================================================
// Aircraft detection / voice announcement
// ============================================================
constexpr float kVoiceDetectionRadiusKm = 9.4f;
-------------------------------------------------------------------------------------------------------------------------------------------
VoiceDetectionRadiusKm is the distance in which the aircraft in your list will be announced.
Note 9.4f is in km not miles.
Look for the following around line 38
This is the list of MP3 files stored on the JQ6500.
-------------------------------------------------------------------------------------------------------------
// JQ6500 file indexes.
// Change these numbers to match the files stored in your JQ6500.
constexpr unsigned int kVoiceAnson = 1;
constexpr unsigned int kVoiceCatalina = 2;
constexpr unsigned int kVoiceCorsair = 3;
constexpr unsigned int kVoiceCurtesWarhawk = 4;
constexpr unsigned int kVoiceDakota = 5;
constexpr unsigned int kVoiceFlyingfortress = 6;
constexpr unsigned int kVoiceHarvard = 7;
constexpr unsigned int kVoiceHawk = 8;
constexpr unsigned int kVoiceHurricane = 9;
constexpr unsigned int kVoiceLancaster = 10;
constexpr unsigned int kVoiceMosquito = 11;
constexpr unsigned int kVoiceMustang = 12;
constexpr unsigned int kVoiceSpitfire = 13;
constexpr unsigned int kVoiceCurtesSteerman = 14;
constexpr unsigned int kVoiceTigermoth = 15;
constexpr unsigned int kVoiceYak3 = 16;
constexpr unsigned int kVoiceHawkerHunter = 17;
-----------------------------------------------------------------------------------------------------------------
For example Avro Anson is MP3 file 1.mp3 on the JQ6500.
At around line 495 to around line 750 you will also find the list of aircraft'
The list below continue to line 750 listing 17 aircraft types.
----------------------------------------------------------------------------------------------------------------
// --------------------------------------------------------
// Anson
// --------------------------------------------------------
if (aircraftTypeIs(ac->type, "ANSO"))
{
announceAircraft(hex, kVoiceAnson,"Avro Anson");
}
// --------------------------------------------------------
// Catalina
// --------------------------------------------------------
else if (aircraftTypeIs(ac->type, "CAT"))
{
announceAircraft(hex, kVoiceCatalina,"Catalina");
}
---------------------------------------------------------------------------------------------------------------------
Every 3 seconds the software reads the aircraft date from the internet.
When the system detects the aircraft type "ANSO" in the aircraft data and it is within 9.4km it will play "announceAircraft(hex,kVoiceAnson,"Avro Anson");"
In the list line 38 this corresponds to file 1.MP3 on the JQ6500
If you want to change the list of aircraft types you will need to do the following.
1. Record a new MP3 file for the aircraft you want to change and use MusicDownlaod.exe to upload it to your JQ6500 module.
2. Modify the JQ6500 file indexes.
3. At line 495 onwards modify the aircraft announcement code.
Record a new MP3 file
I use Immersive Reader in Word to read aloud my typed in words and record them as MP3 files in mono at 320kbps 44.1kHz using Audacity software.
Place your recorded MP3 files in a folder and label them 1,2 3 etc.
Even if you are only changing one file all the files have to be uploaded at once.
Using the file here English Language MusicDownload.exe v1.2a upload the files to your JQ6500.
There are instructions on how to upload files on my Aviator clock site here. https://www.brettoliver.org.uk/Aviator_Clock/Aviator_Clock.htm#jq6500
Modify the JQ6500 file indexes
Open the file adsb_client.h in a file editor and change the relevant line in the code.
Modify the aircraft announcement code
Modify the section of code for the plane you are adding.
Use the correct code type for your aircraft by looking it up here https://www.icao.int/operational-safety/doc-8643-aircraft-type-designators/search
Change the KVoice name to match you code from line 38.
Upload the code to your ESP32 C3/S3s.
WIFI Setup
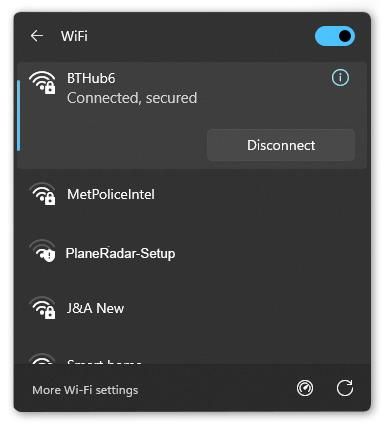
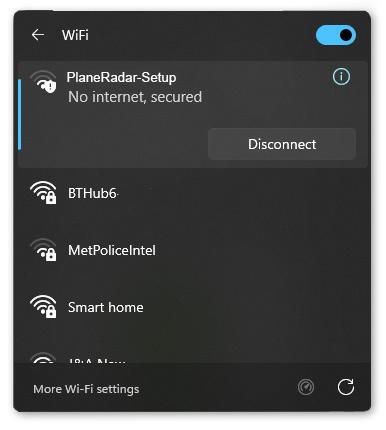
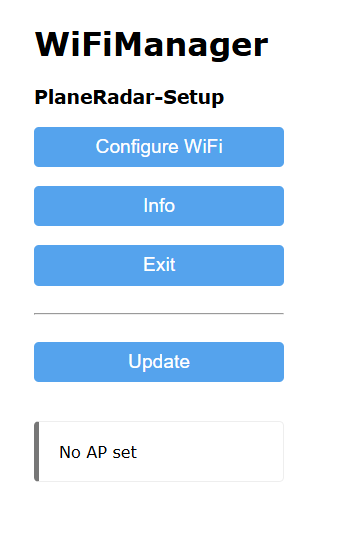
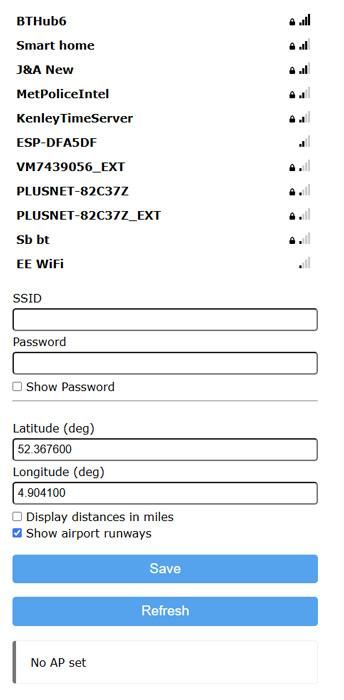
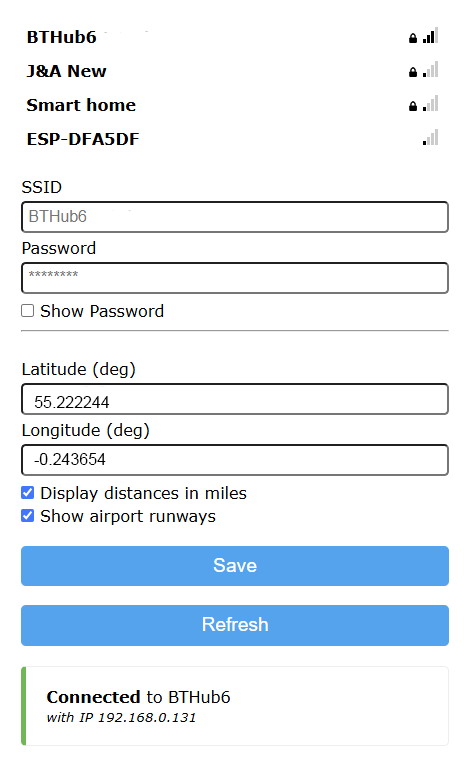
Image 01 Once the ESP32 C3/S3 has loaded it will create a WIFI network called PlaneRadar-Setup
Goto your WIFI settings and you should see the PlaneRadar-Setup listed under WIFI networks.
Image 02 Connect to PlaneRadar-Setup
Image 03 Then open http://plane-radar.local or http://192.168.4.1 in a web browswer.
Image 04 This should open the WIFI Manager Page and it will have no access point set.
Click on Configure WiFI
Select your Home WiFi from the list enter your home WiFi, password. Enter the latitude and longitude of the place you wish to monitor.
Select display distances in miles if required.
Click Save and wait for reboot.
Image 05
The ESP32-C3 only works on 2.4 GHz WiFi. It does not work on a 5 GHz only network.
Reconnect your PC or mobile to your home Network.
To see the WiFi Manager screen stay on your home network and in a browser type the IP address your router has allocated it.
The WiFi manager will now show connections via your home WiFi
Image 06 Your device should now be up and running.
The screen should show connecting to you home WiFi.
Image 07 If it fails to connect maybe you password or SSID was incorrect.
Image 08 If all is well the radar screen will be shown.
Pressing the button on the right of the display increases the distance of the radar in steps 3,6,9 and 16miles then back to 3 again.
Software Download
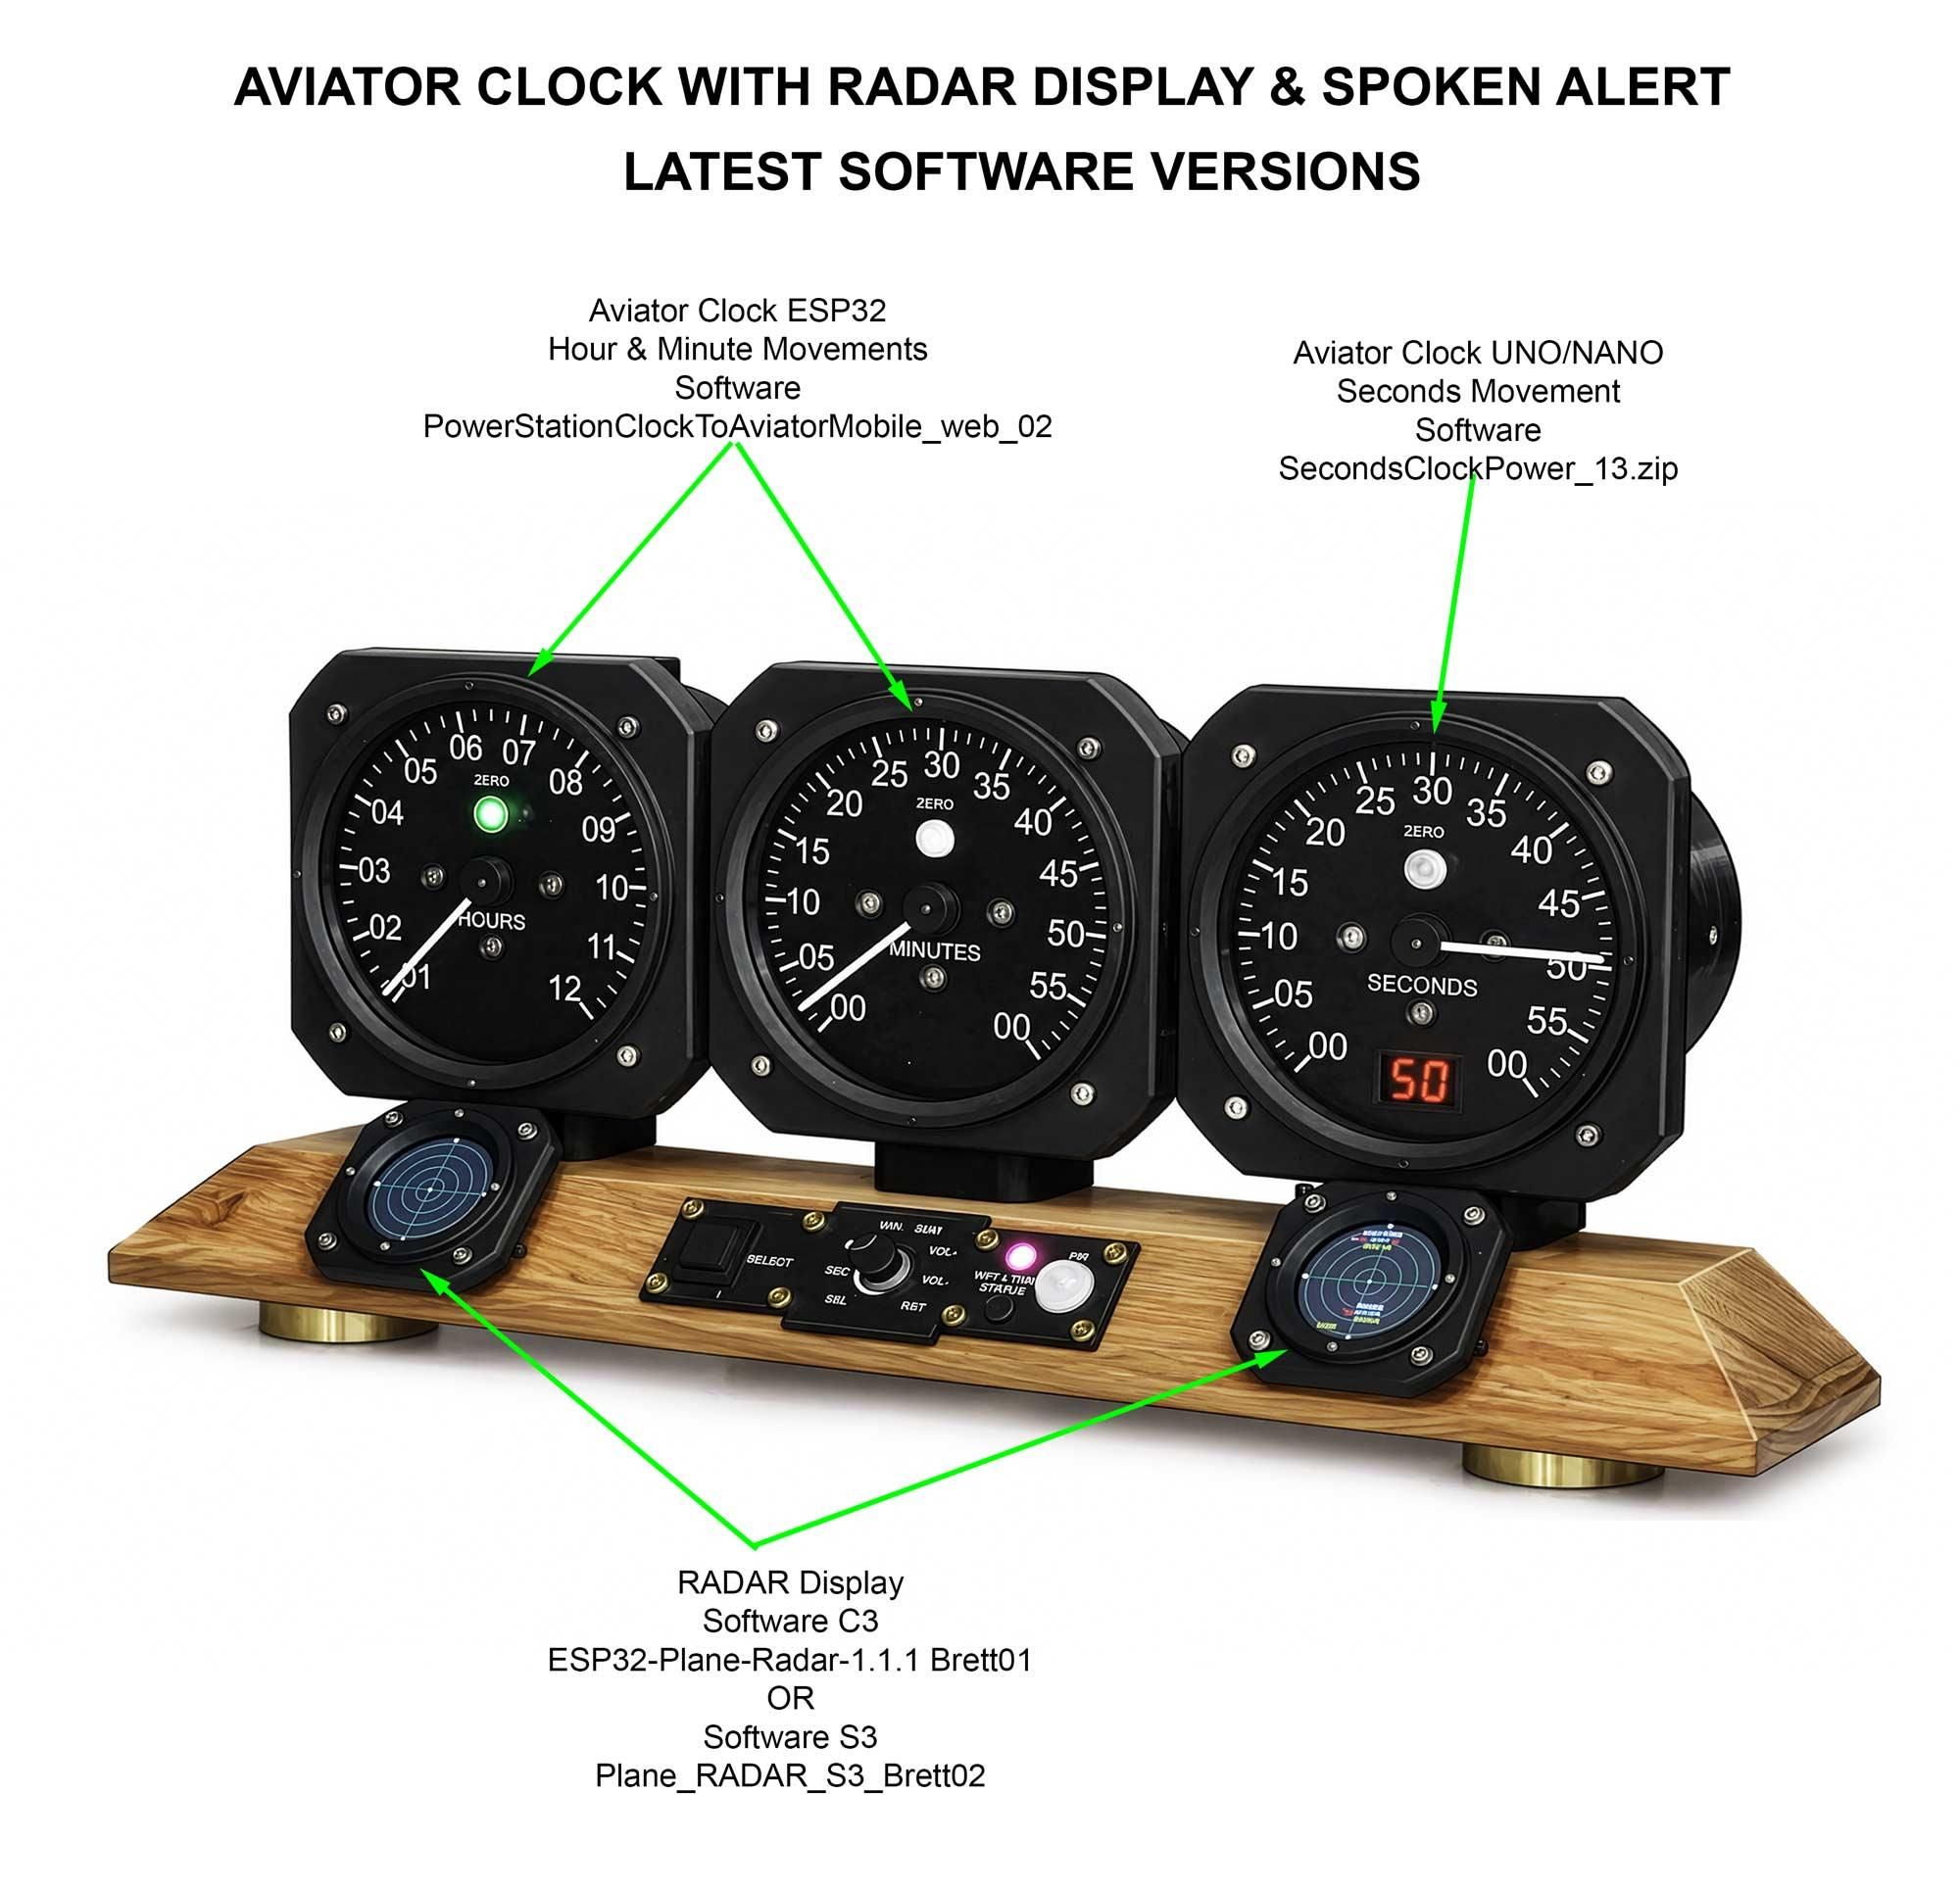
This Clock has four microprocessors and latest software versions are shown on the image above depending on the type of modules and add ons you are using.
You will need software for
1 Aviator clock hours and minutes - uses Arduino AVR
2 Aviator clock seconds - uses Arduino AVR
3 RADAR display left - uses Visual Studio Code
4 RADAR display right - uses Visual Studio Code
Download the software from my web site here.