Professional ESP32 Weather Station Non-blocking Architecture, WMO-compliant & Remote Management
by giano2002 in Circuits > Microcontrollers
166 Views, 2 Favorites, 0 Comments
Professional ESP32 Weather Station Non-blocking Architecture, WMO-compliant & Remote Management
Purpose of the Firmware
This project implements an automated weather station based on the ESP32, designed for continuous, unattended operation.
The software architecture is highly advanced: it utilizes cooperative state machines to avoid code blocking (non-blocking), ensuring that sensor reading, data transmission, and error management occur simultaneously without interruptions.
This project:
- is capable of remote management (as it needs to be positioned in a location that is not easily accessible);
- is able to automatically send alerts for anomalies detected in sensors or connections;
- Ensure automatic rebooting, and therefore never stop sending data to the three websites, in the event of a Wi-Fi network interruption, Internet connection failure, or other anomalies;
- is World Meteorological Organization (WMO) compliant.
The starting point was a project based on a NodeMCU8266 board, written by RimvydasP (https://www.instructables.com/NodeMCU-Wireless-Weather-Station/), to whom I extend my thanks. I've been using his project for about five years for my station.
That project has been extensively revised, updated, and modified to adapt it to a board with more performance than the NodeMCU, such as the ESP32 I use. This board is capable of easily managing all the objectives set and the numerous functions implemented.
Since I am not a programmer, I asked for help from various AIs available online, specifically utilizing Gemini Pro, Claude, ChatGPT and Codex.
Today I am presenting this project, which has been operational for a few days. Naturally, I would be grateful to anyone interested in testing it if they would like to provide suggestions for improvement.
The new code has been working for several days on my weather station, which can be viewed at: https://www.wunderground.com/dashboard/pws/ICASACAL2.
In August 2026, I made numerous modifications to make the code more resilient, given that it needs to run on a remote ESP32 board. You can find the new version of the code below.
Below is the project sketch.
Downloads
Supplies
What this code does
- Acquisition of temperature, humidity, pressure, rain, wind speed, and direction;
- Calculation of wind averages and gusts using a 10-minute sliding window logic;
- Data publication to Wunderground, Weathercloud, and ThingSpeak;
- Local web interface with status and log endpoints;
- Remote firmware updates via ElegantOTA;
- Telegram notifications for startup, connectivity restoration, and sensor anomalies;
- Resilience mechanisms to prevent prolonged freezes.
The code is structured as a monolithic sketch but with well-separated and easily recognizable sections.
Hardware used and wiring diagram
- Davis 6410 Wind vane
- SHT31 (or SHT35) humidity sensor
- DS18B20 temperature sensor
- BMP280 pressure sensor
- Misol rain sensor
- Some resistors and capacitors
- 2 x RJ45
- connectors
- Perfboard
- Power supply 5v 2amp
- ESP32
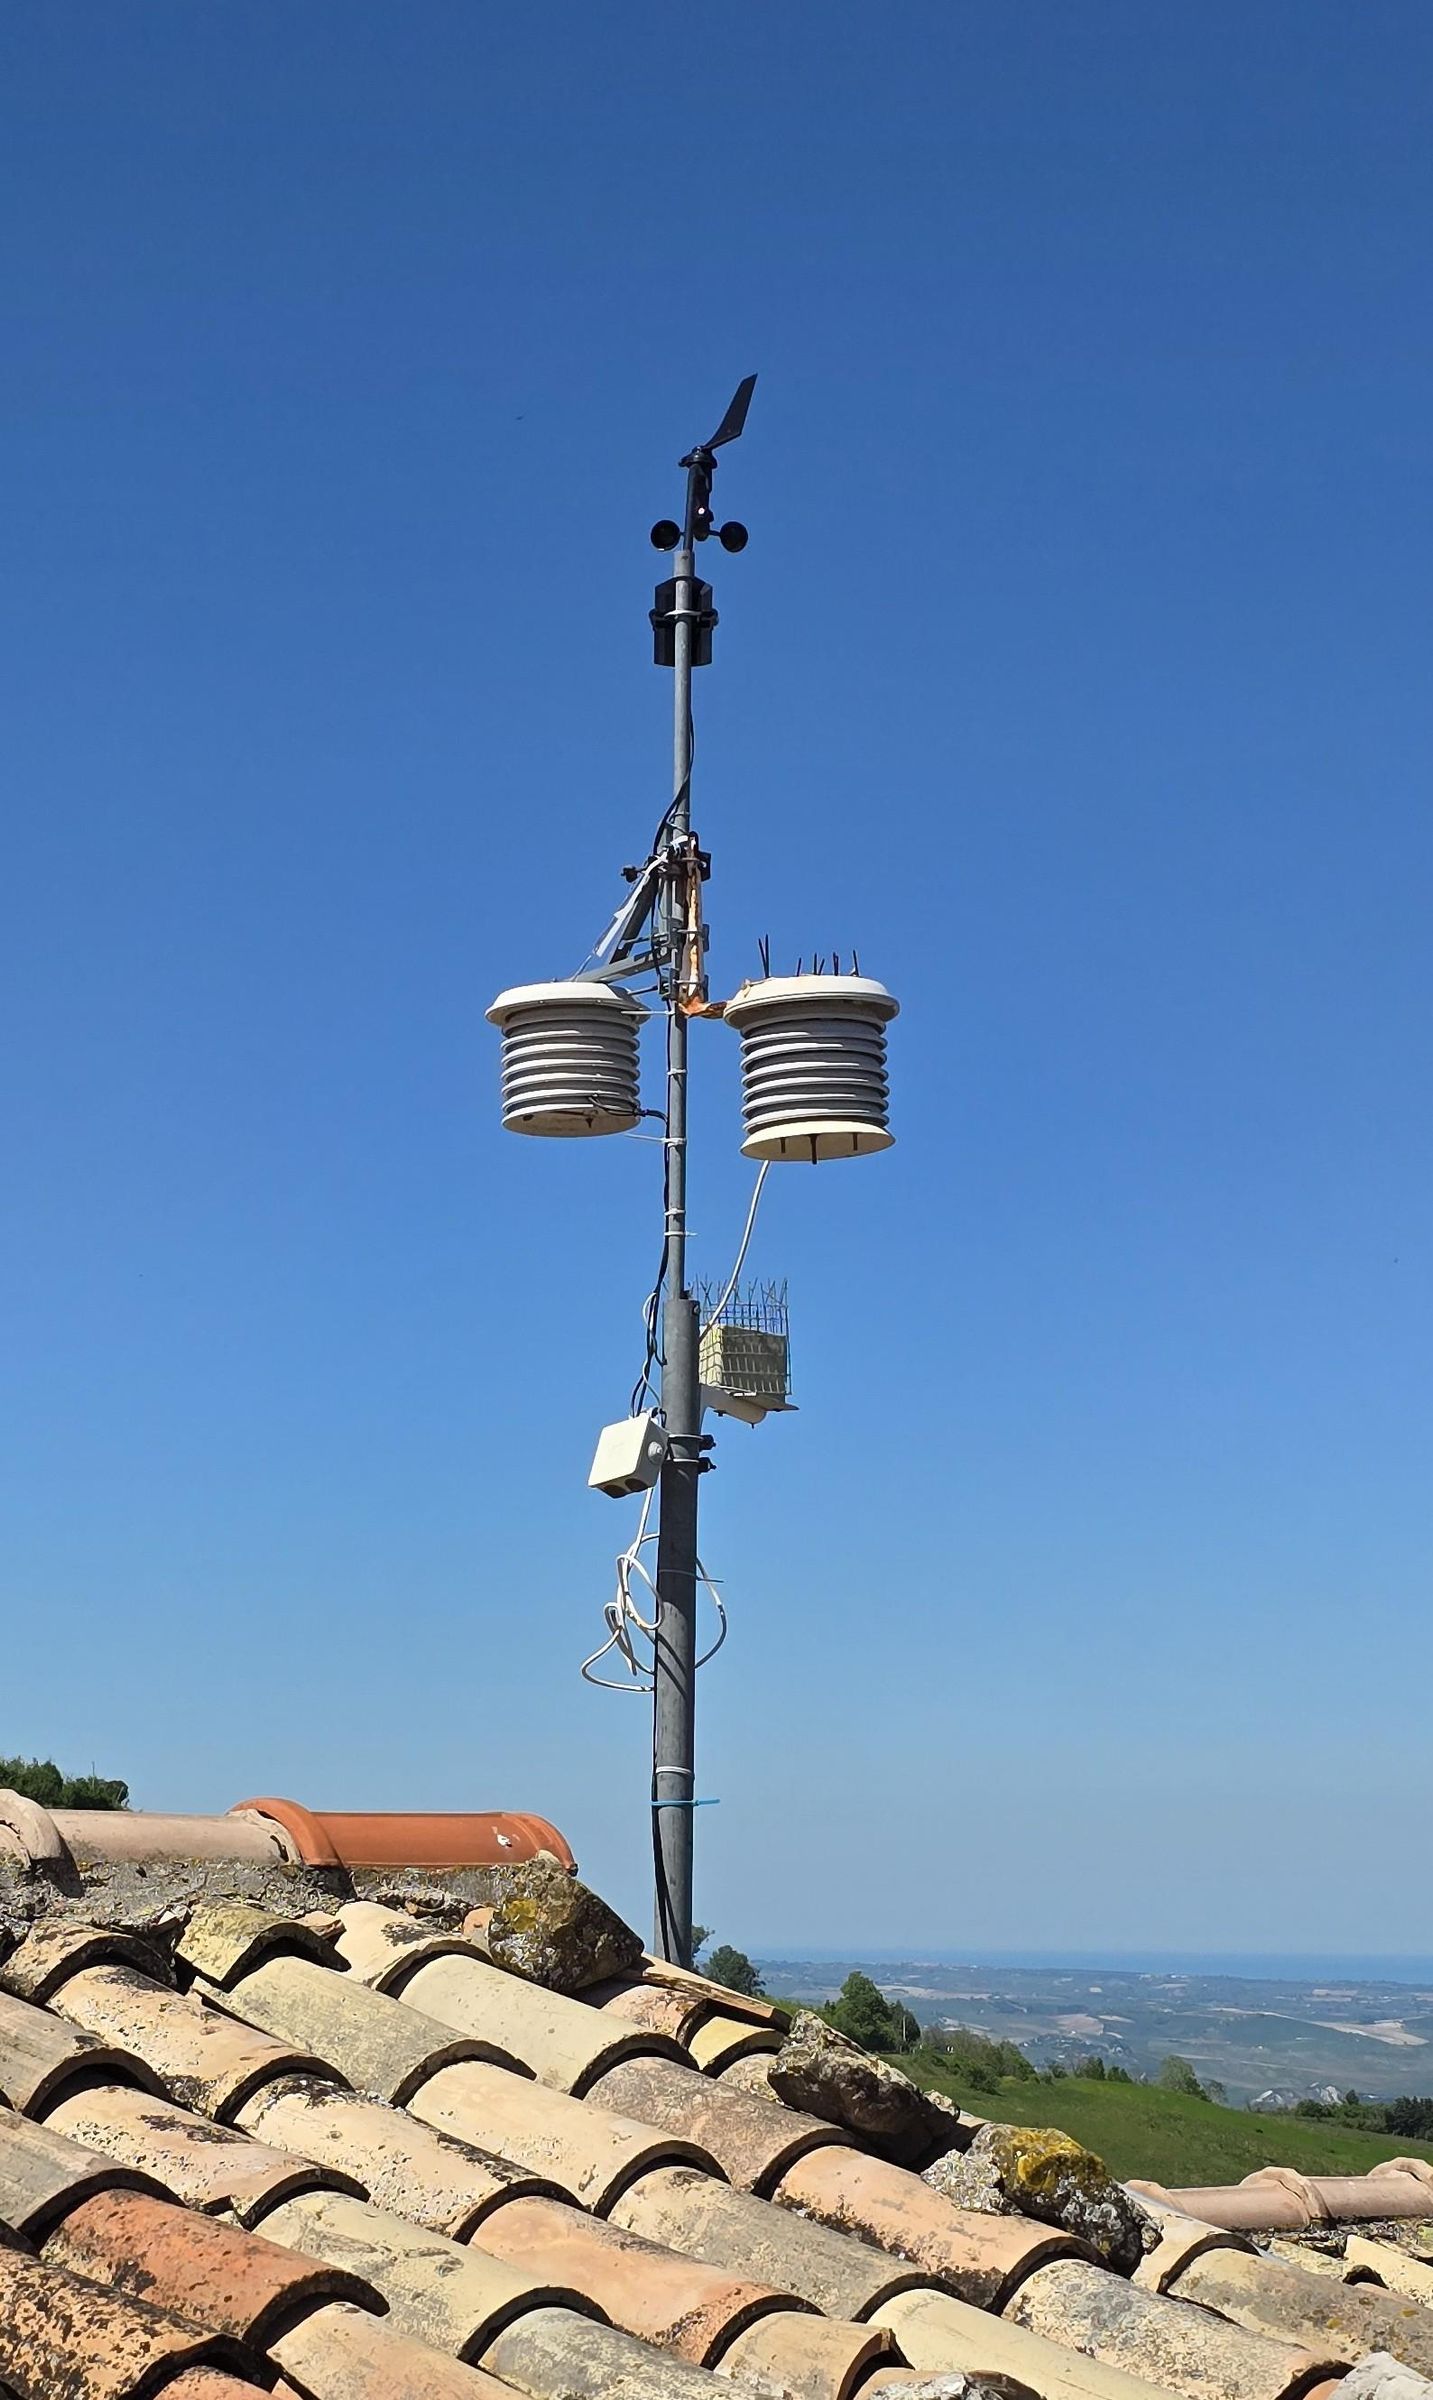
The temperature and humidity sensors are housed in a self-built solar shield, installed on a steel pole positioned on the roof, as are the wind vane and the rain sensor. The pressure sensor, however, is located inside the house.
To use the I2C protocol with very long cables
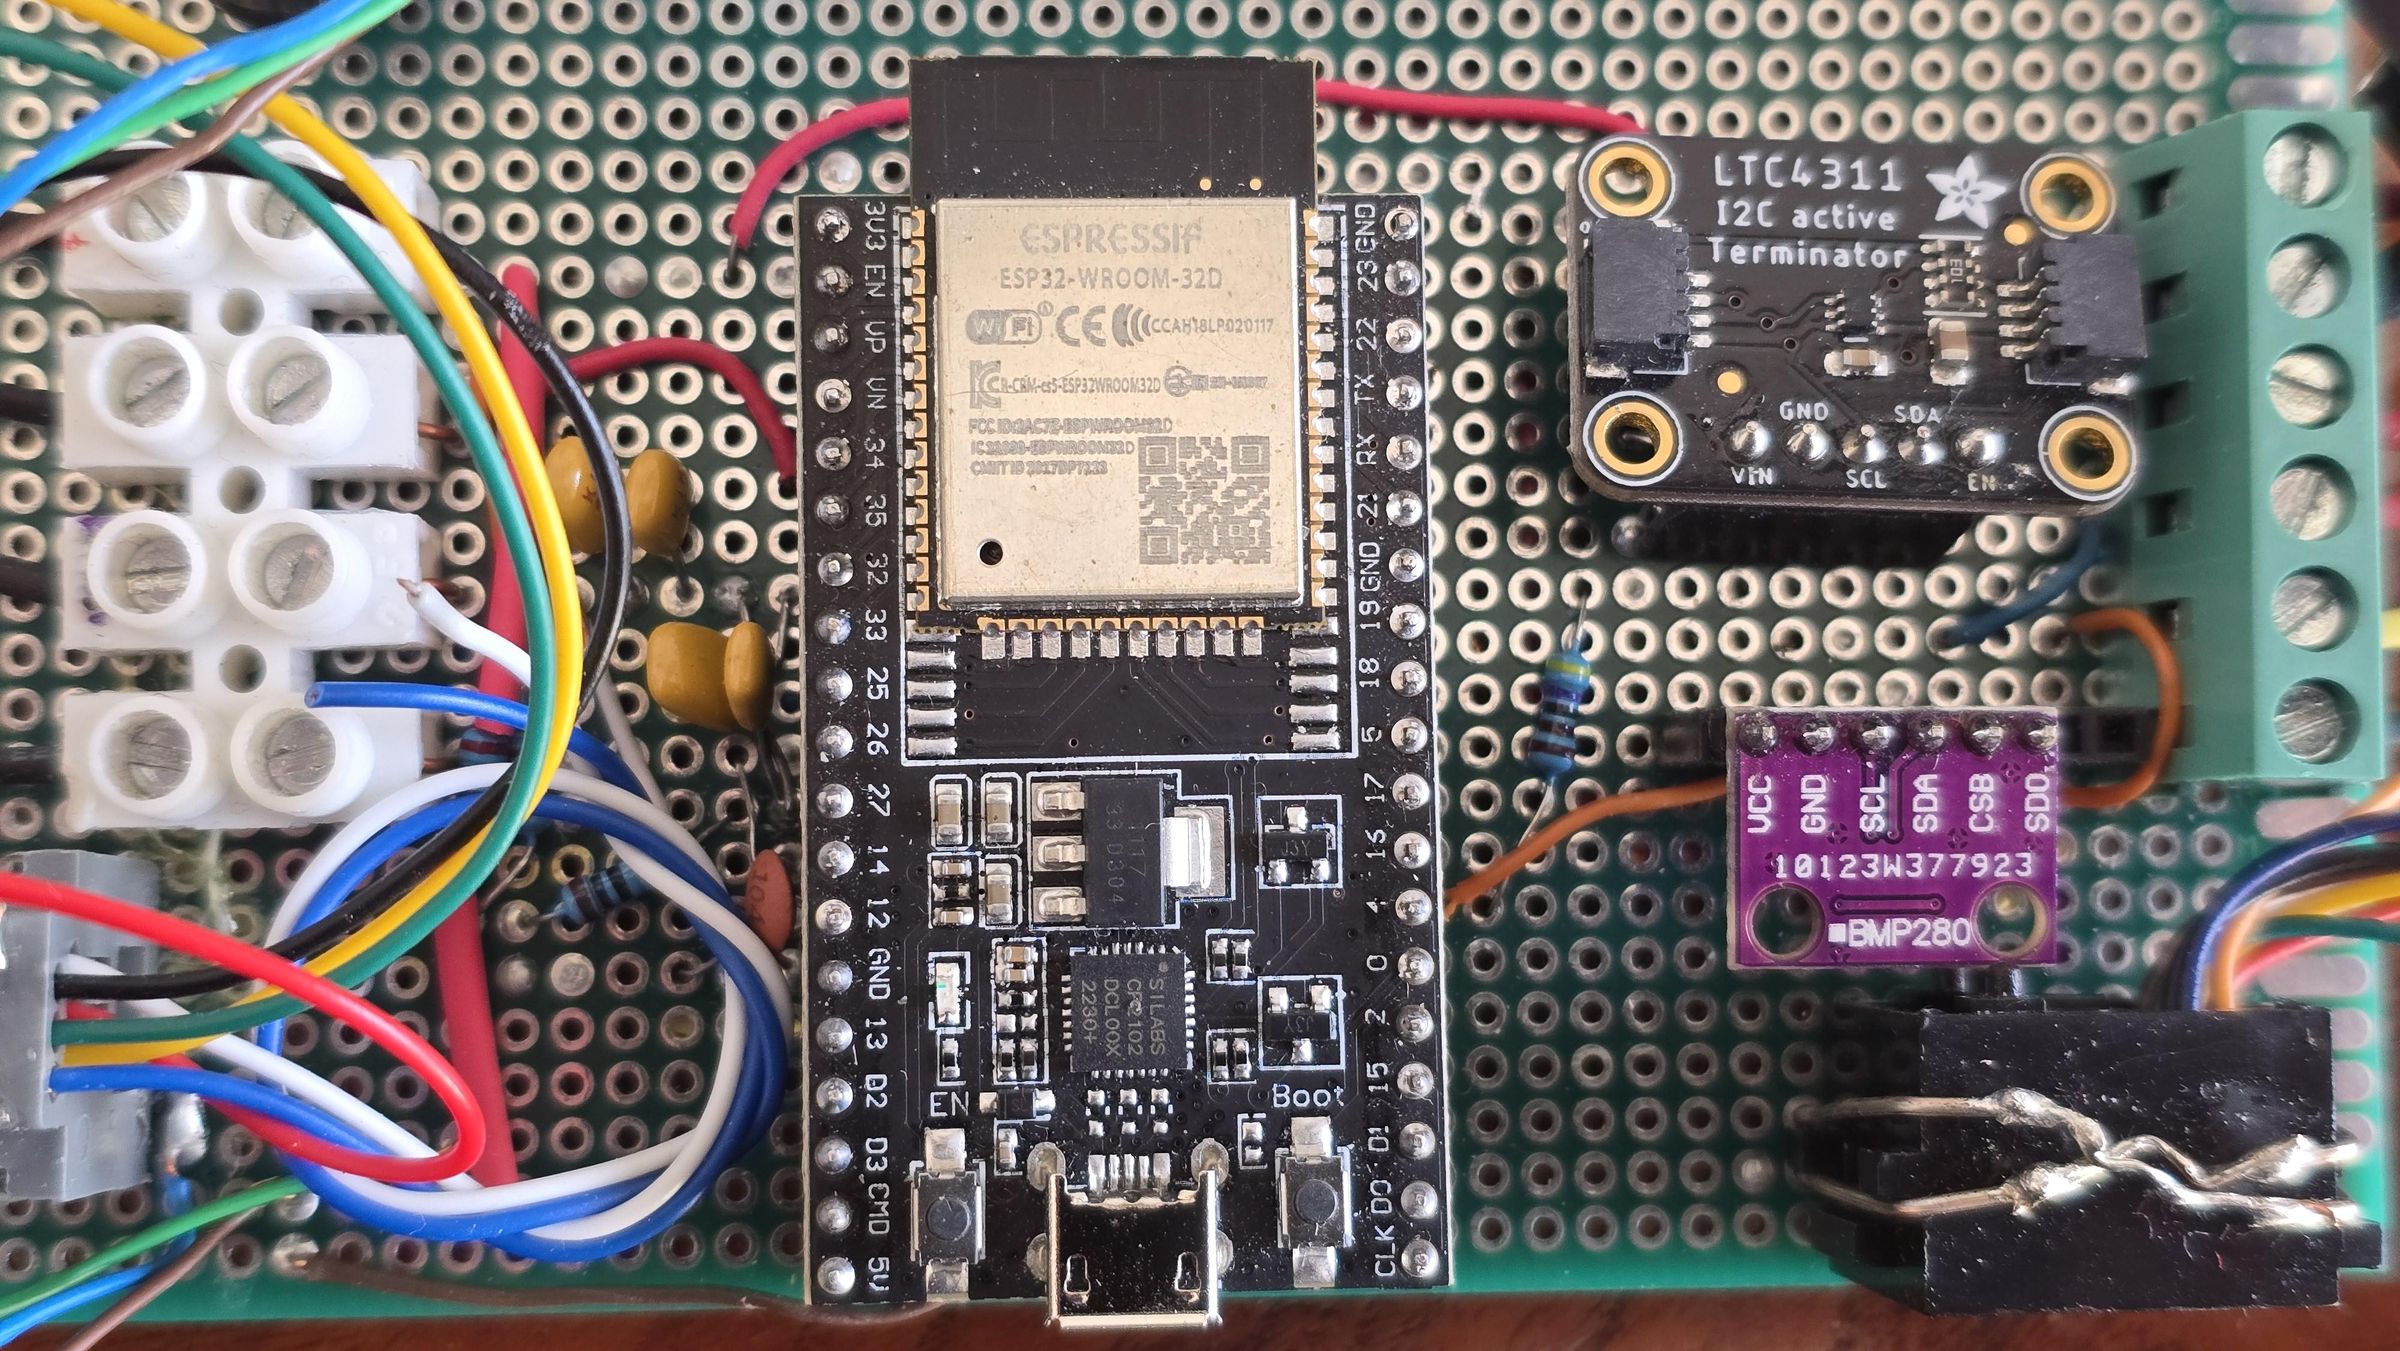
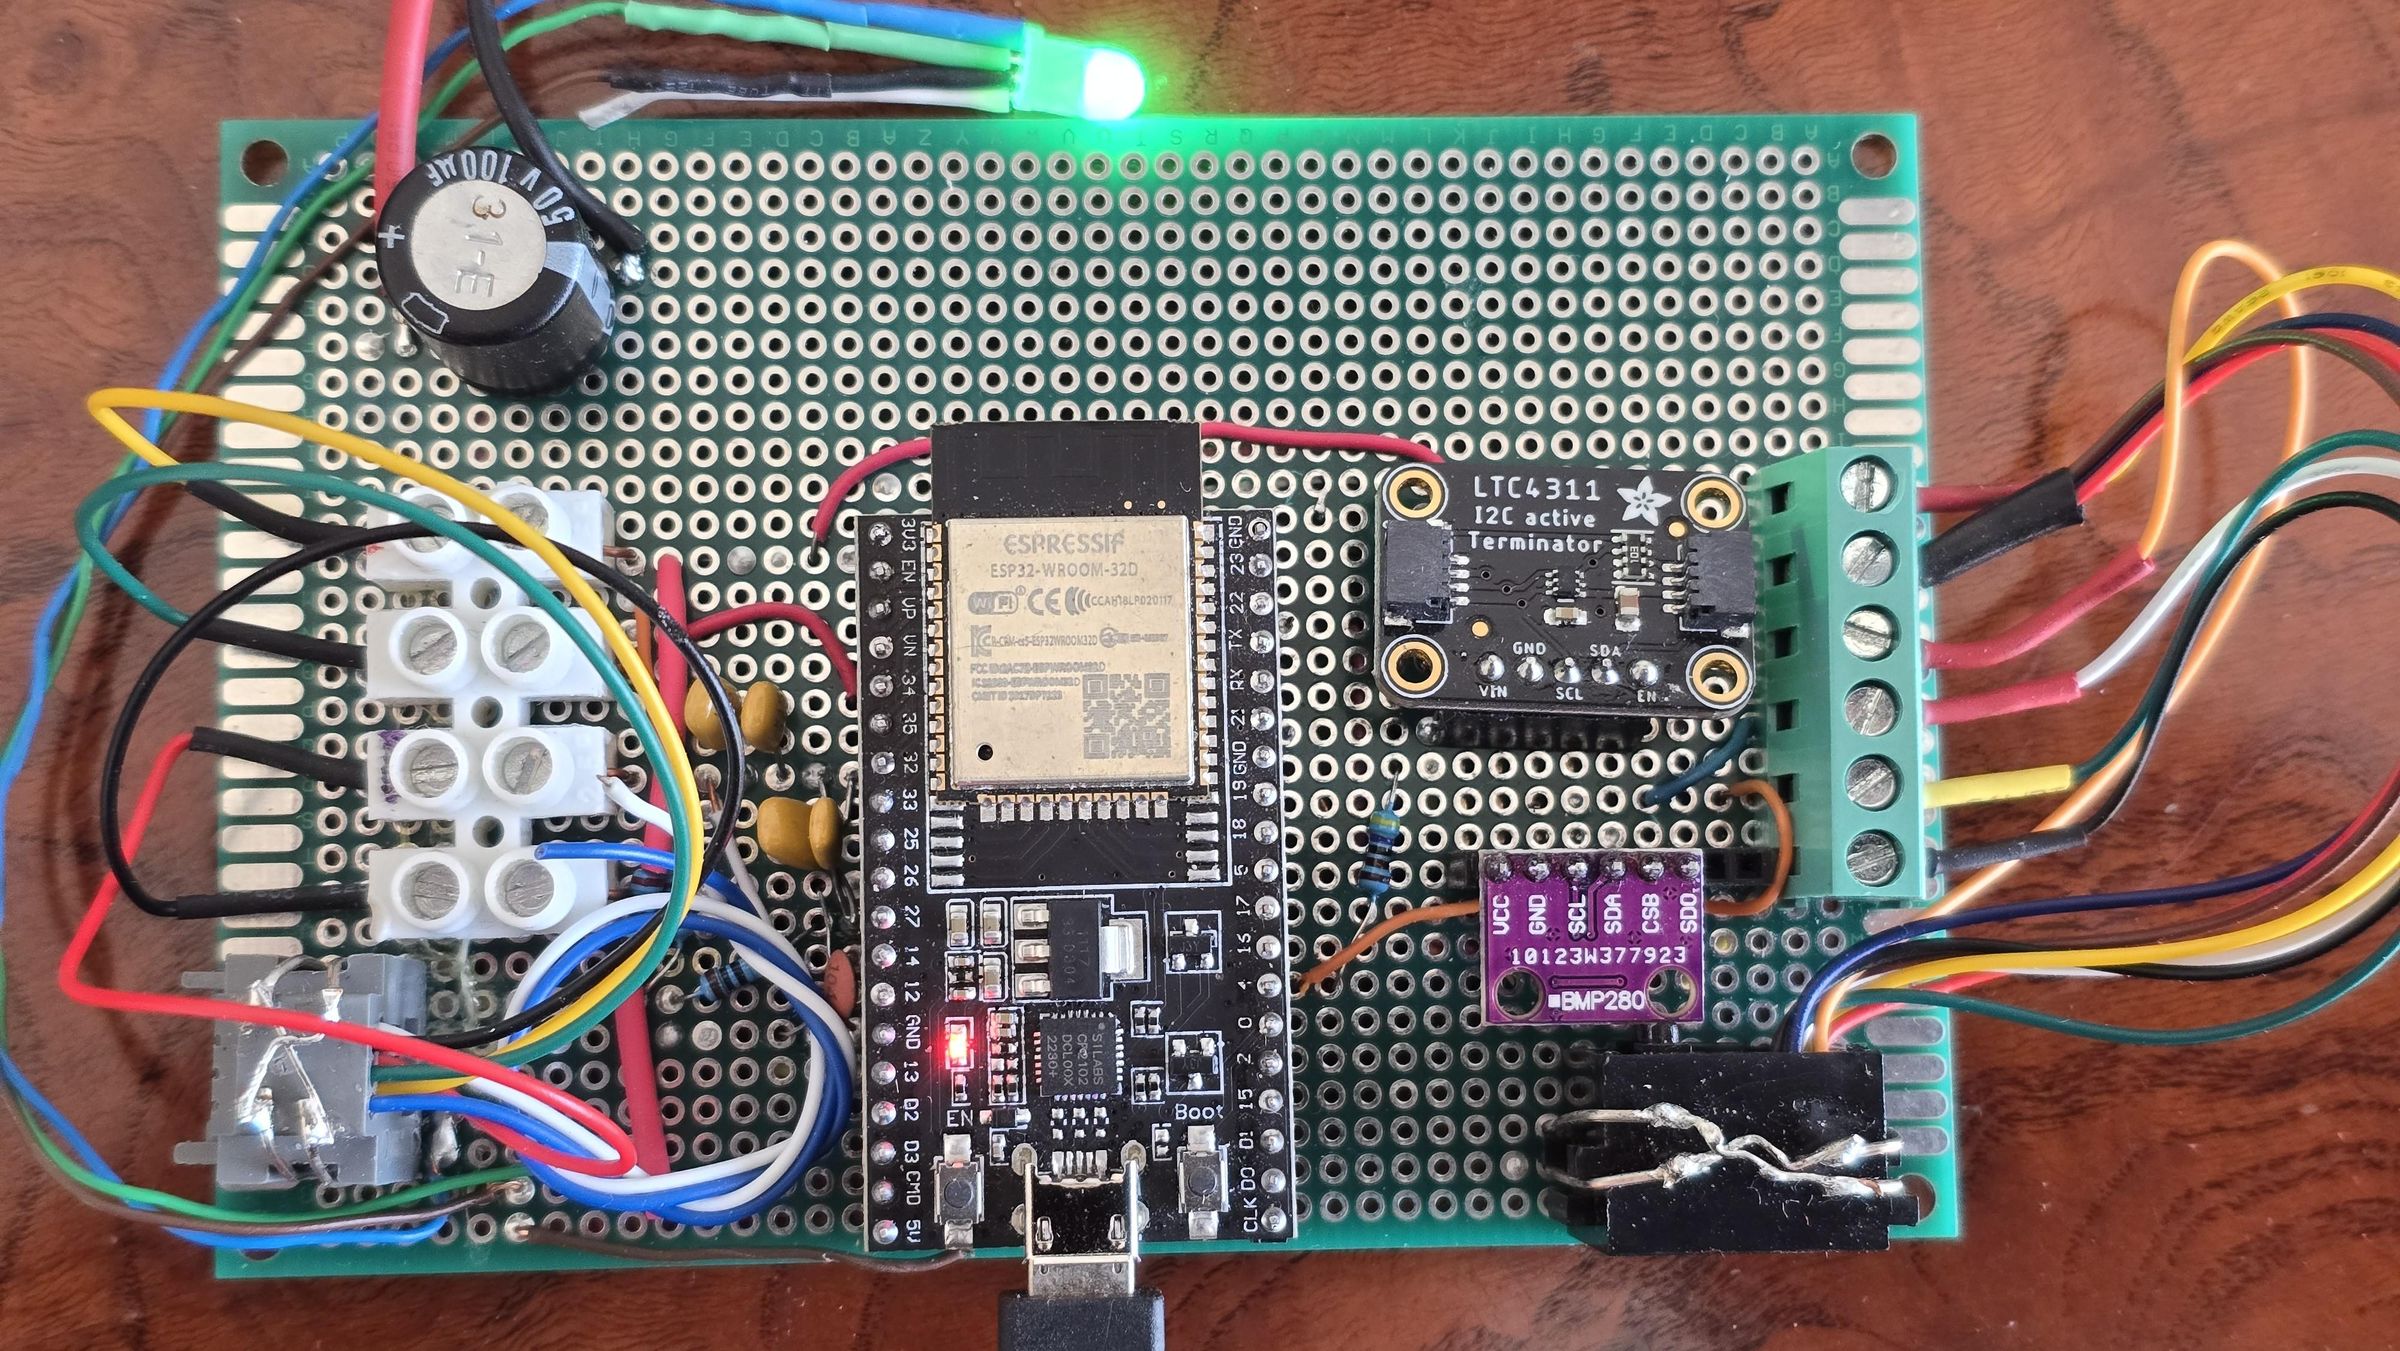
To use the I2C protocol with sensors located about 15 meters from the board, I used an Adafruit LTC4311 circuit, a Low Voltage I2C/SMBus Accelerator.
The station diagram is attached.
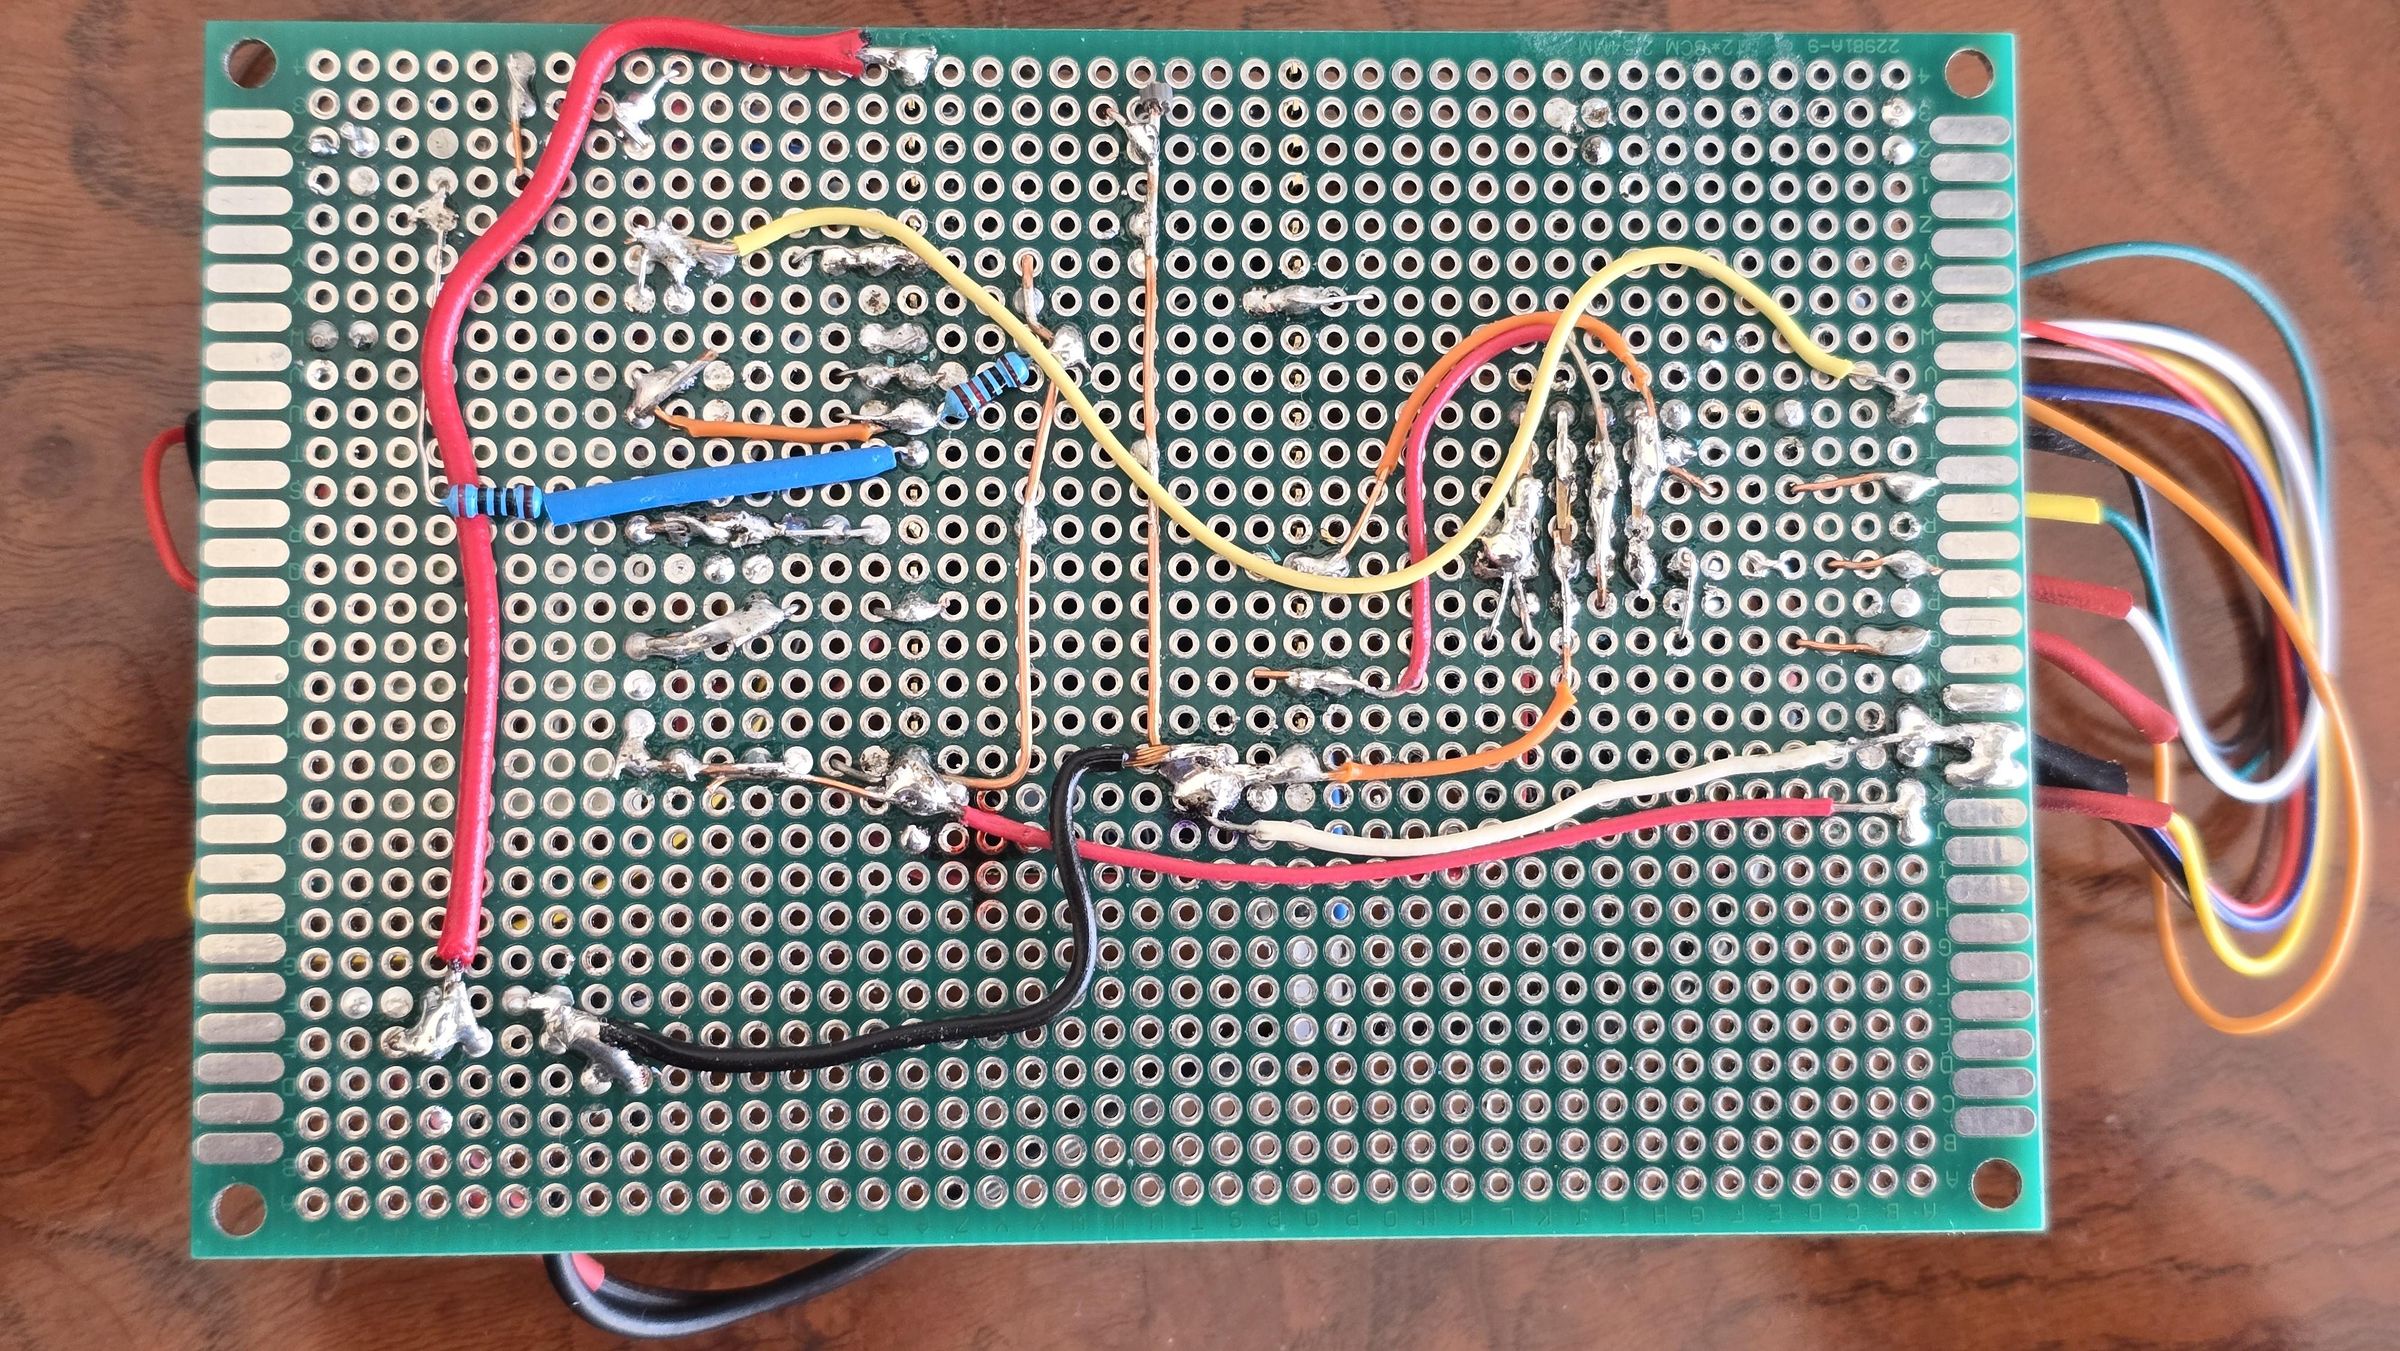
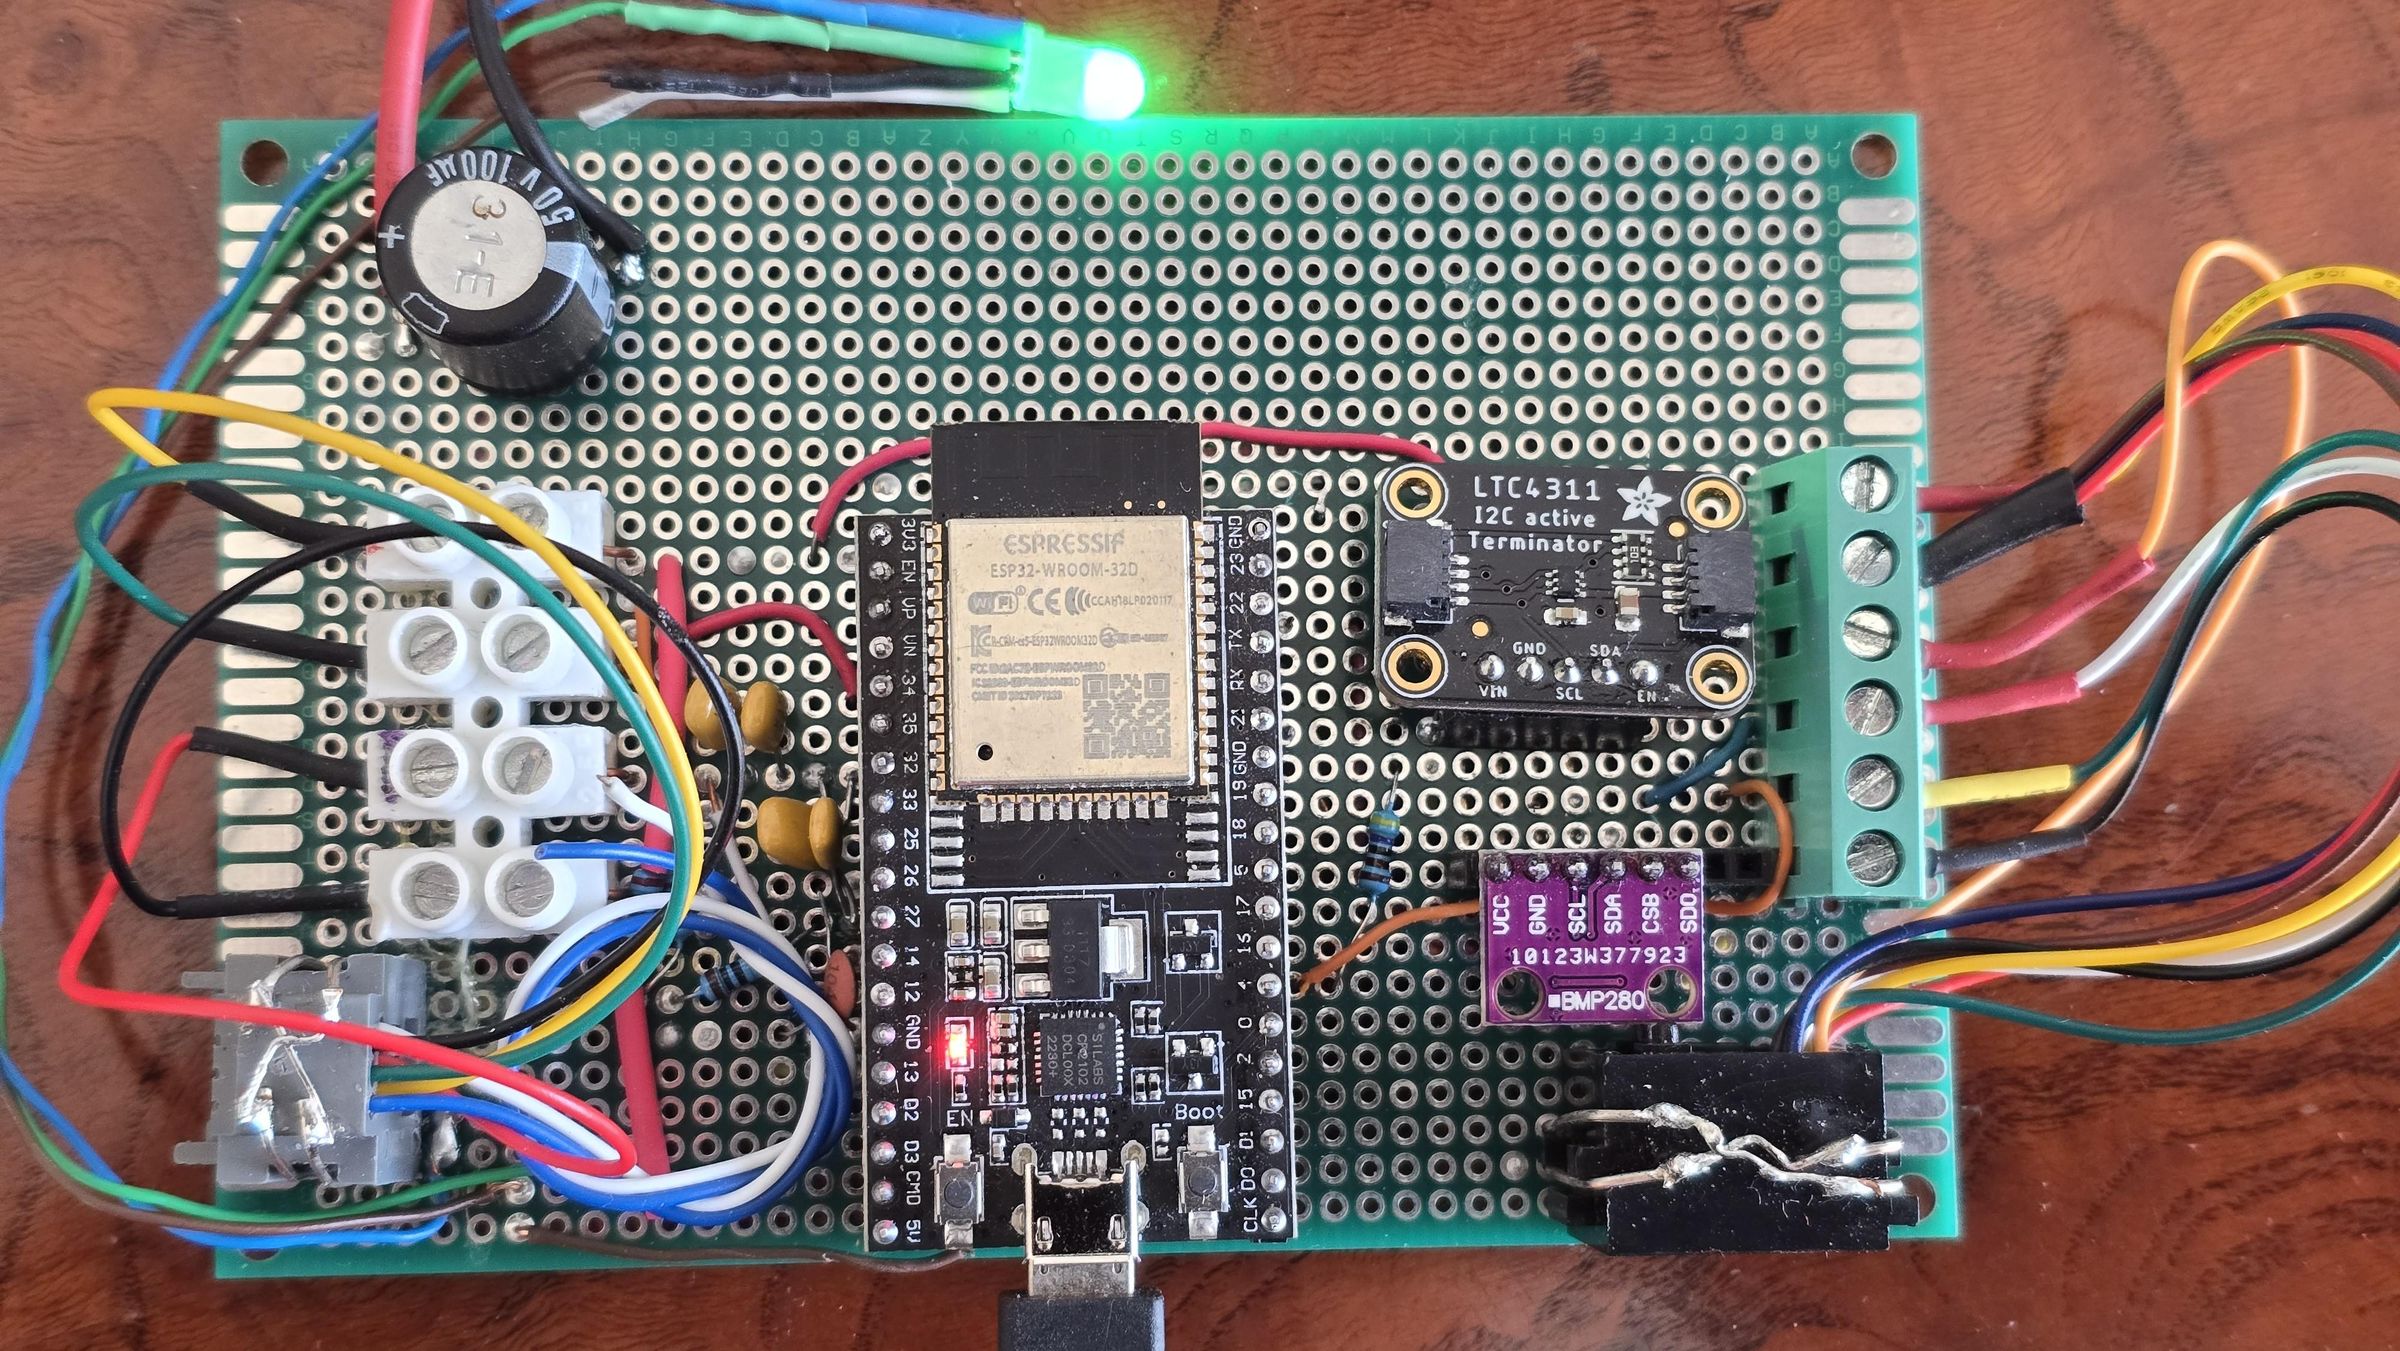
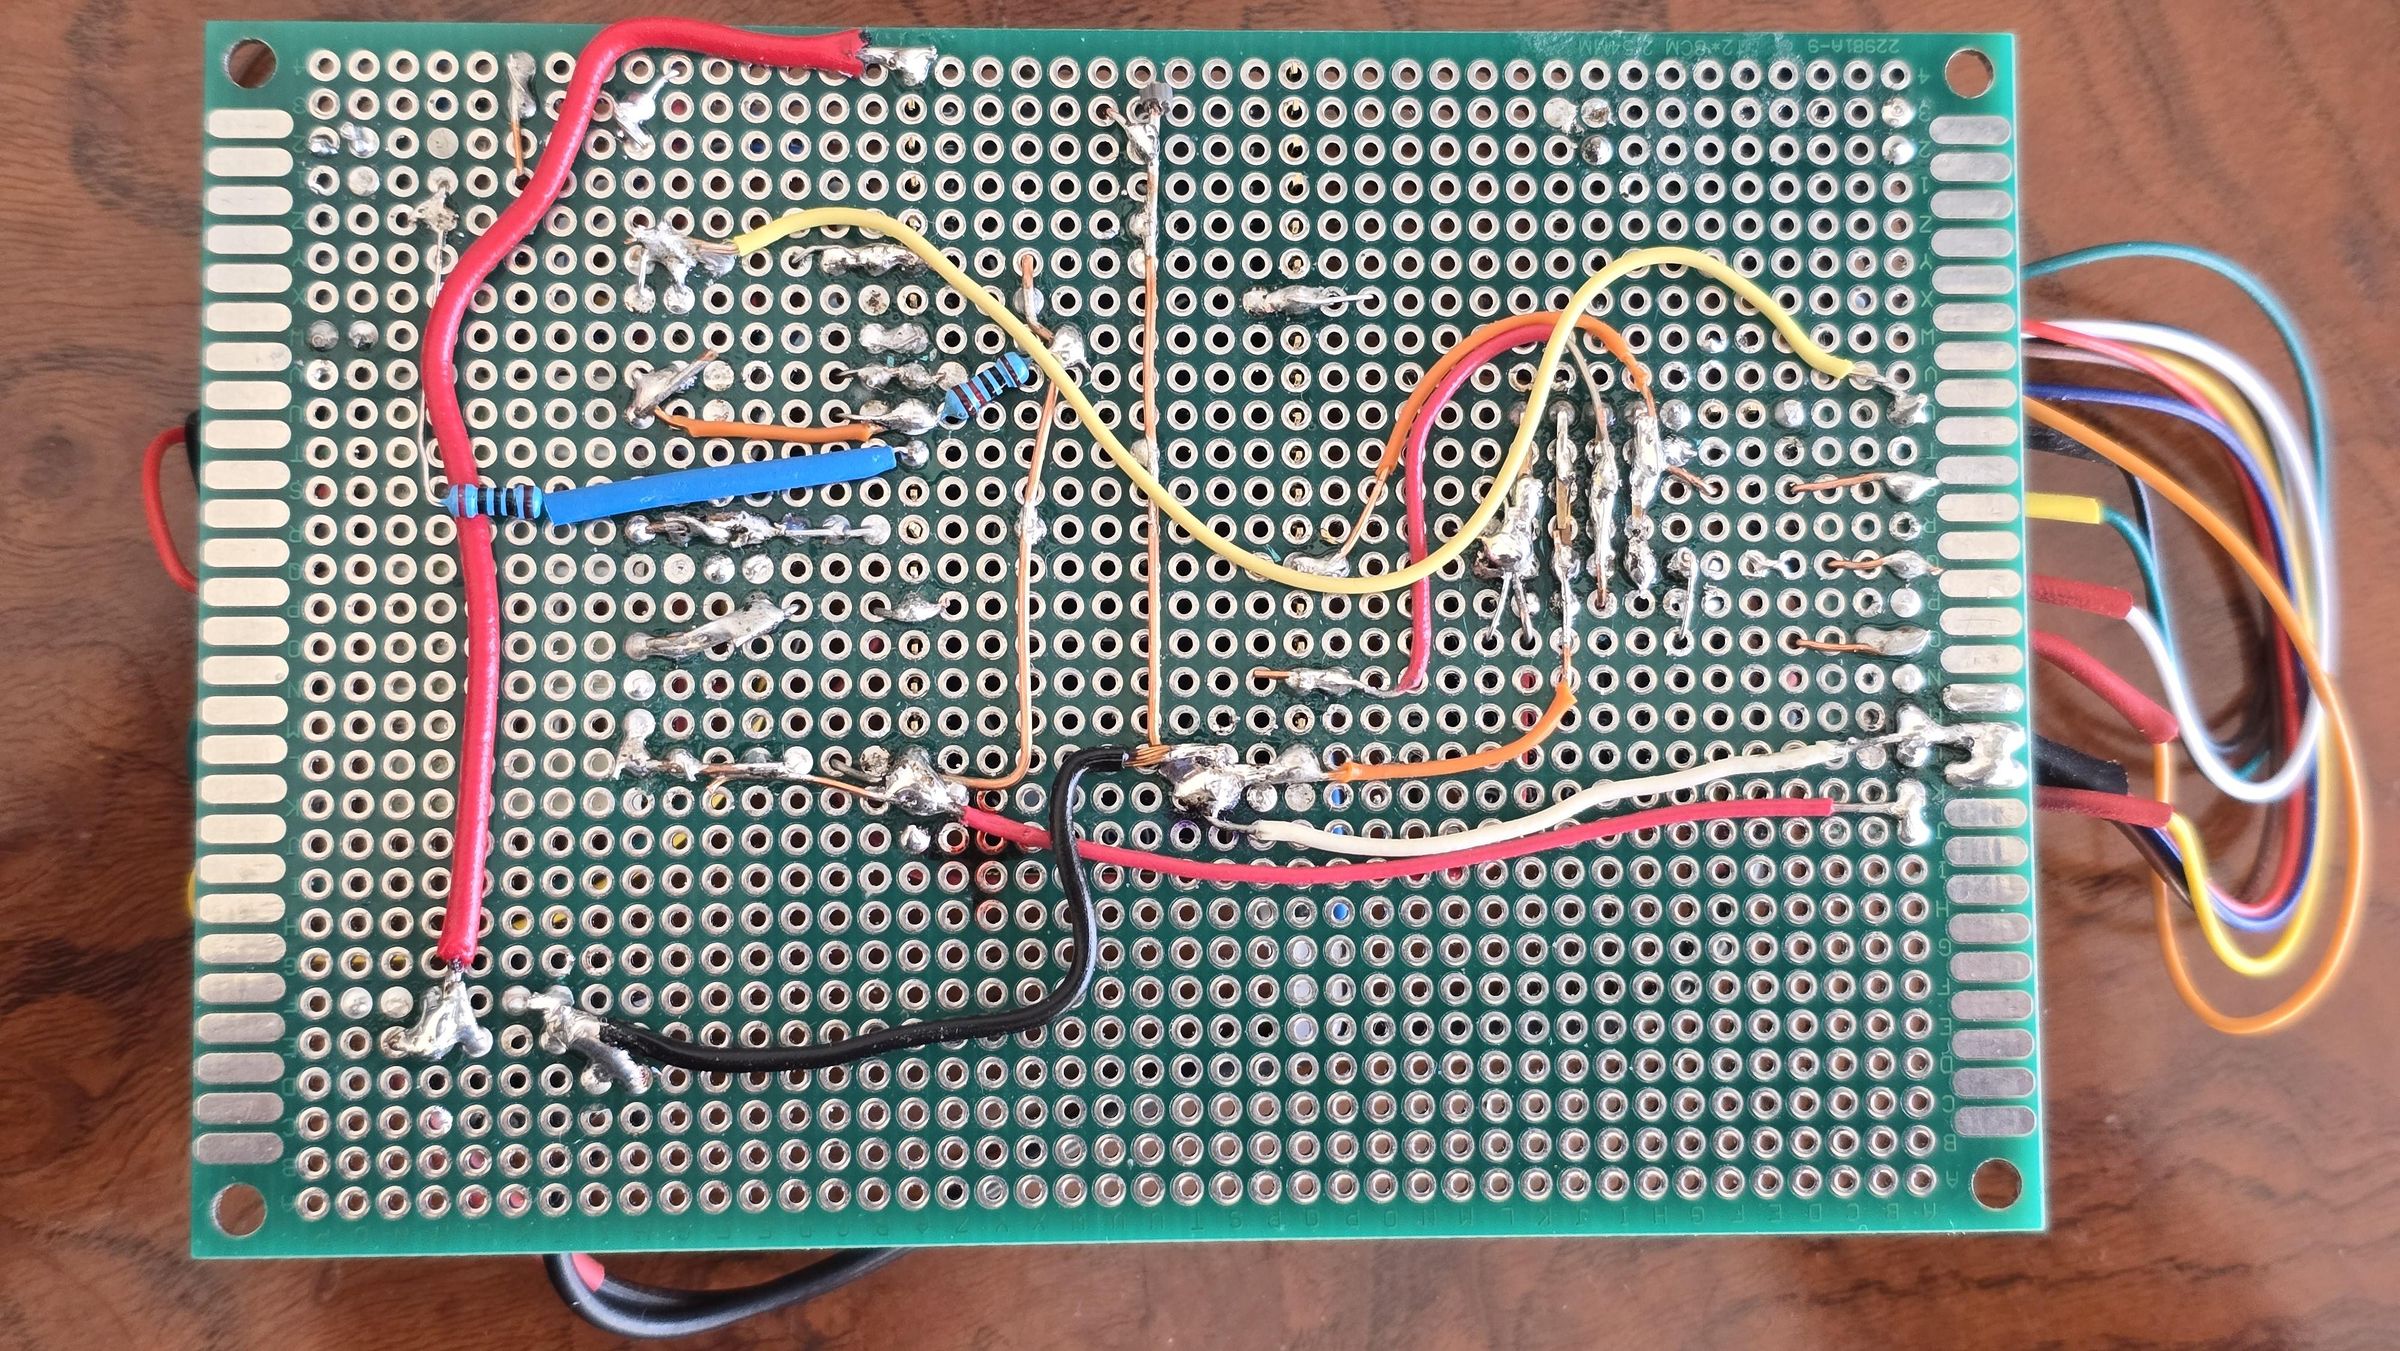
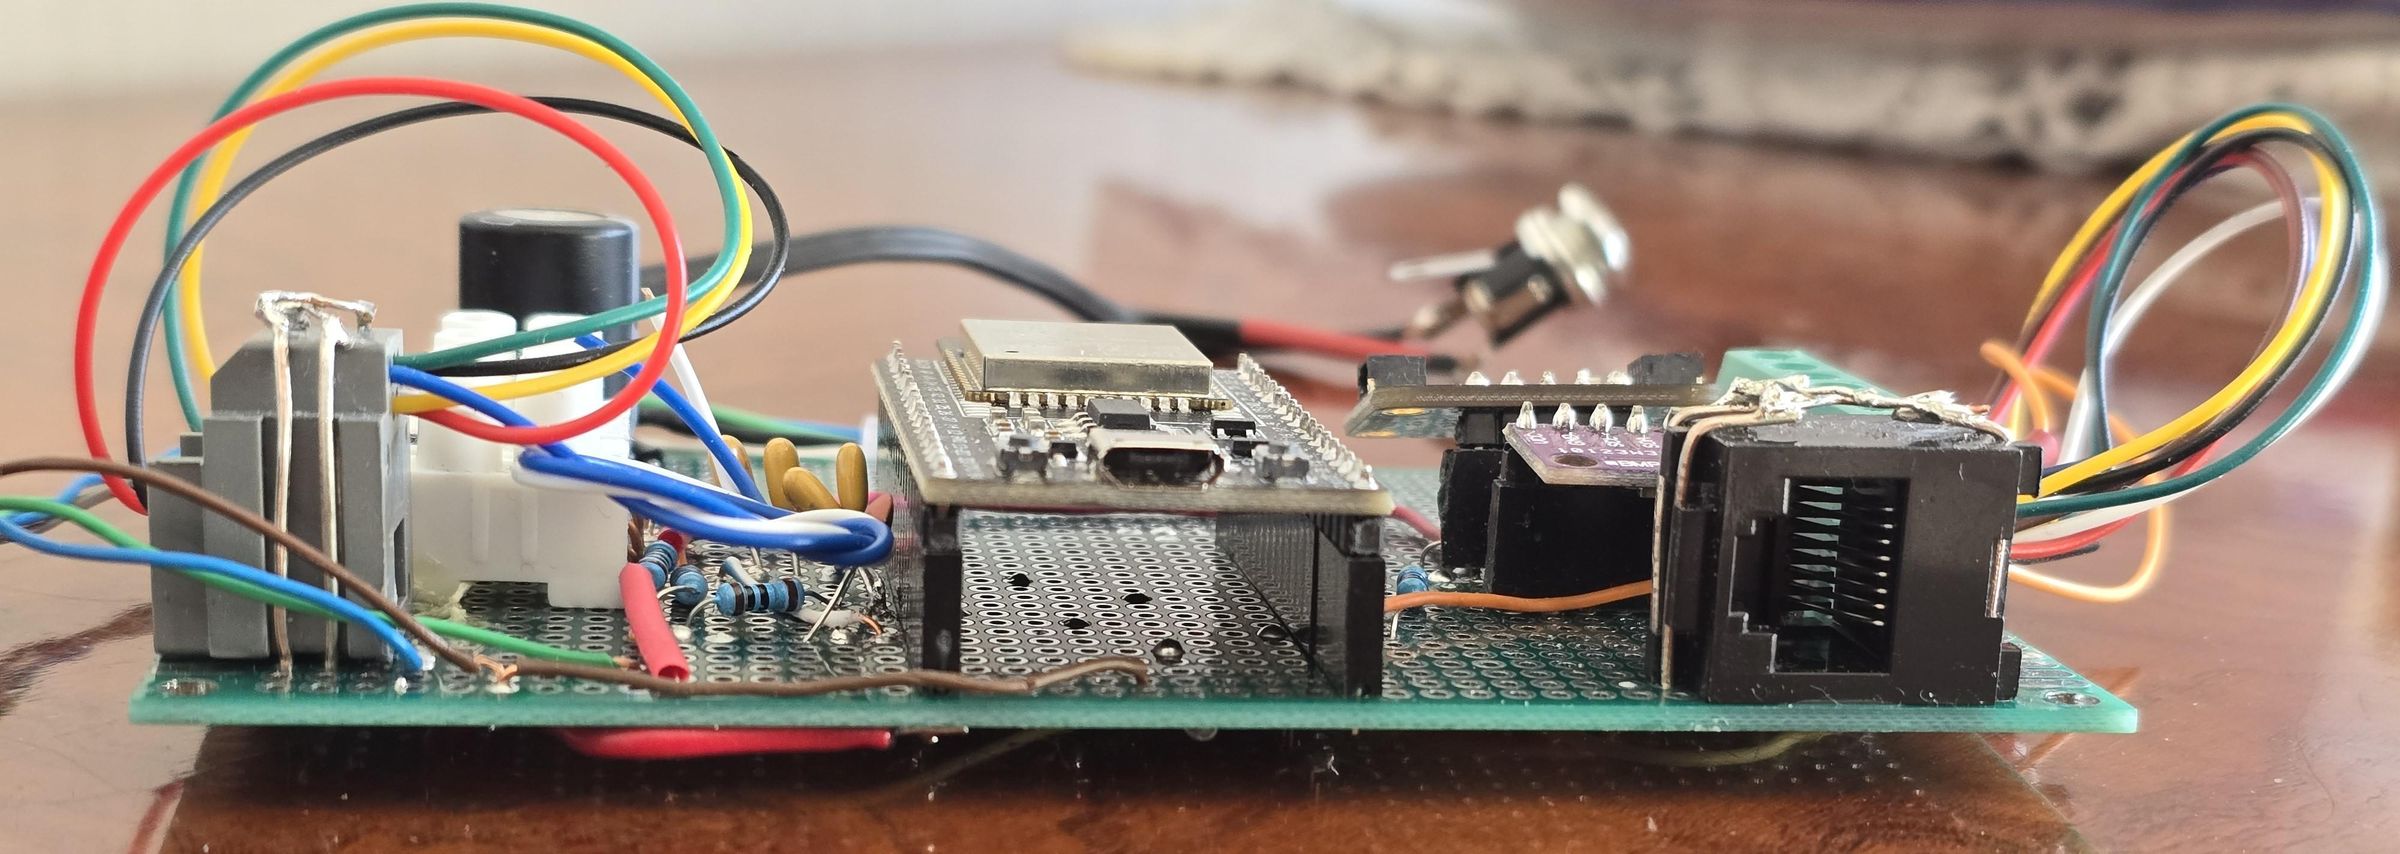
The station was built using a perfboard, onto which I soldered the connectors to insert the ESP32, the LTC4311 module, and the BMP280 sensor. Additionally, I used two RJ45 connectors: one with 6 contacts for the network cable used for the humidity, temperature, and rain sensors, and a second 4-contact RJ45 for the connections to the Davis wind vane.
Obviously, if anyone interested in the project would like to design a PCB, it would be the ideal solution.
Use Arduino IDE to upload the code to the ESP32, choosing the Esp32 Dev module as the board, of course after loading the libraries (if not already in use).
The first time you need to upload the code to the ESP32 using the USB cable, but the next time you do this, just enter the IP address assigned to the board into your browser, followed by /upload.
Downloads
SKETCH STRUCTURE OVERVIEW
Hardware And Pin Mapping
Main pins are:
- GPIO26 for wind speed
- GPIO27 for rain
- GPIO34 for wind direction
- GPIO21/22 for I2C
- GPIO4 for OneWire / DS18B20
Libraries
The firmware relies on:
- #include "LittleFS.h"
- #include <WiFi.h>
- #include <WiFiMulti.h>
- #include <WiFiClientSecure.h>
- #include <WebServer.h>
- #include <OneWire.h>
- #include <DallasTemperature.h>
- #include <Adafruit_BMP280.h>
- #include "Adafruit_SHT31.h"
- #include <Wire.h>
- #include <EEPROM.h>
- #include <time.h>
- #include <ElegantOTA.h>
- #include <Ticker.h>
- #include <math.h>
- #include "esp_system.h"
Supported Sensors and Hardware Management
The system supports an array of standard I2C and 1-Wire weather sensors:
Temperature and Humidity: High-precision SHT31 sensor.
Atmospheric Pressure (& Backup Temp): BMP280 sensor.
Outdoor/Soil Temperature: DS18B20 1-Wire sensor.
Anemometer, Wind Vane, and Rain Gauge: Managed via physical pins (Pins 26, 27, 34) with
hardware interrupts (ISR) and software debouncing to prevent false readings.
Special Anti-Freeze/Condensation Function: The code includes a control system for the
SHT31. If the detected humidity remains fixed above 99% for a prolonged period (indicating
condensation on the sensor), the system automatically activates the SHT31's internal heater for
5 seconds to dry it out.
Detailed Explanation of the Sketch
You will find a documentation of the project in the attached file.
Remember to Enter Your Data in the Sketch
For the sketch to work, you need to enter the following data in the appropriate lines:
1) SSID and Password of the WiFi networks to which it must connect;
2) Wunderground ID and password;
3) Weathercloud ID and Key;
4) Thingspeak API Key, which can be obtained by registering on the respective sites;
5) the height in meters of your station above sea level.
Finally, also add the Bot Token and Chat ID created by Telegram.
HOW TO UPLOAD THE SKETCH
HOW TO UPLOAD THE SKETCH
It's essential to upload the sketch to the ESP32 the first time using the USB cable. Subsequent versions can be uploaded via ElegantOTA, without using the physical connection.
To upload the code to the ESP32 without using the USB cable, via ElegantOTA, you must first ensure that the new code contains the SSID and password of the Wi-Fi network(s) it is connected to, and then that it compiles correctly.
You will then need to save the code in .bin format.
To do this, in the Arduino IDE, choose Sketch>Export Compiled Sketch. The file, which has the same name as the saved sketch, with the final .ino.bin, is located in the sketch folder, in the Build subfolder.
To upload it, simply open the browser, type the IP address of the ESP32, followed by :8080/upload.
From the page that opens, select the .ino.bin file and upload it. After a few seconds, the message "Uploaded successfully" will appear.
This procedure is especially useful when you are out of your wifi network, through:
- VPN, the preferred method
- DDNS with forwarded port, possible but less secure
Interrupted uploads are usually not catastrophic because ESP32 uses separate OTA partitions. The main operational risk is installing a logically broken firmware that boots but fails to reconnect or continue serving the web interface.
IMPORTANT! After uploading a new version of the sketch via ElegantOTA, the ESP32 must be restarted.
Since the board is located remotely, I added a Sonoff device to restart it, allowing me to switch the board on and off remotely.
This way, after an upload, I turn the board off and then back on, making the new version of the sketch operational.
Remote Firmware Update Workflow (VPN / DDNS)
Remote Firmware Update Workflow (VPN / DDNS)
Preferred method: VPN
- Connect to the remote network over VPN.
- Check http://STATION_IP:8080/.
- Open /status and verify Wi‑Fi, internet, heap, and sensors.
- Confirm that the station has been stable for several minutes.
- Open the OTA page.
- Upload the new .bin.
- Wait without interrupting browser or VPN session.
- Allow the ESP32 to reboot.
- Recheck / and /status.
- Verify sensors, Wi‑Fi, and cloud uploads.
Alternative method: DDNS
- Verify DDNS resolution.
- Verify forwarding of port 8080.
- Confirm / and /status are reachable.
- Perform the same pre-checks as in the VPN workflow.
- Upload the .bin.
- Wait for reboot.
- Verify that the new firmware is operating correctly.
Pre-upload checks
- stable power
- stable Wi‑Fi
- correct compiled .bin
- local validation of the build
Post-upload checks
- web server reachable
- /status coherent
- sensors plausible
- startup Telegram received
- cloud uploads resumed
Successful update signs
- OTA completes
- proper reboot
- /status online
- normal sensor and network operation
Problem signs
- reboot loop
- unreachable /status
- no Wi‑Fi reconnection
- null or obviously invalid sensor values
VERIFY THE Status of the STATION
TO VERIFY THE STATUS OF THE STATION AND LOGS
Once the code has been uploaded to the ESP32 board and all the sensors are connected, and it is running, to check the status of the station, when you are on the same network, simply type the IP address of the ESP32, followed by :8080/status.
The station's status can be checked in the same way (simply typing the IP address of the ESP32, followed by :8080/) even if you are on another network, using the VPN active on the network hosting the weather station.
Using the ESP32's IP address you can also request the logs (IP:8080/logs) and clear the logs (IP:8080/clearlogs).
Final Thoughts
Known Limitations
Current limitations include:
- monolithic single-file structure
- use of ESP32 internal ADC for wind direction
- linear model for Davis 6410 direction conversion
- some use of String in network/web logic
- WMO-like rather than certified instrument-grade implementation
Overall Assessment
This firmware is strong for an advanced amateur remote weather station. Its best features are:
- complete multi-sensor integration
- rolling 10-minute wind processing
- multi-service uploads with retry handling
- detailed JSON status API
- remote OTA updates
- persistent logs
- watchdog and automatic sensor recovery
- useful Telegram notifications for remote supervision