ESP32-S3 Stealth Deploy Case (for GhostESP)
by crackd engie in Workshop > 3D Printing
51 Views, 0 Favorites, 0 Comments
ESP32-S3 Stealth Deploy Case (for GhostESP)
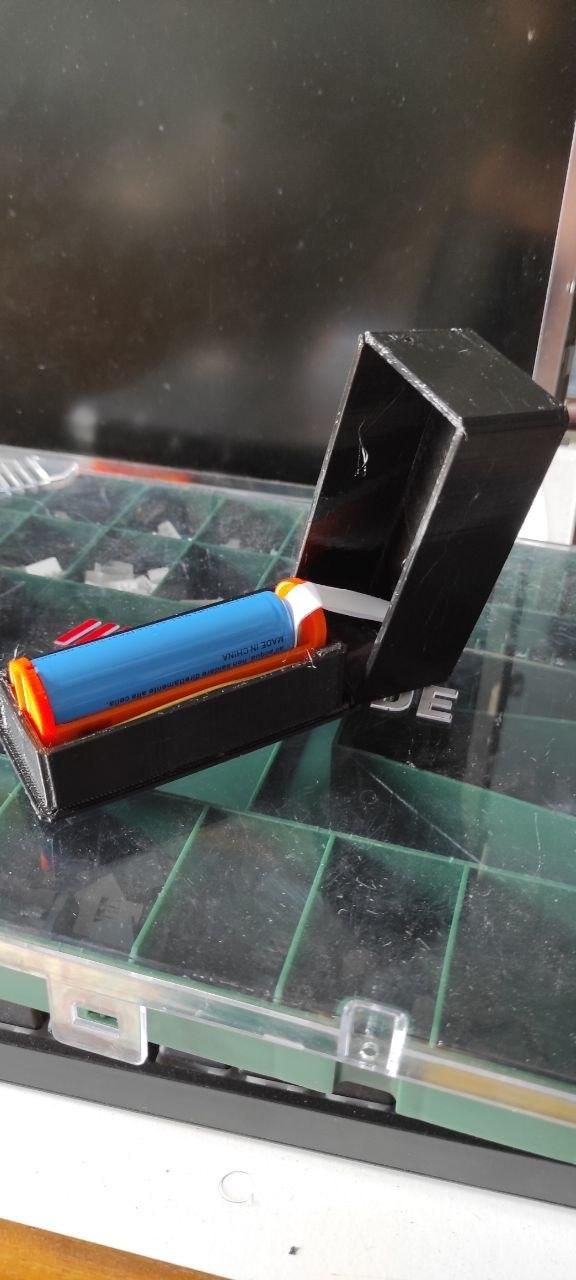
I was playing around with GhostESP on a ESP32-S3 and then I thought "Hm, wouldn't it be kinda cool if I had a way to deploy the ESP without having it physically on myself and maybe just placing it and retrieving it later?" so I searched and searched everywhere but i could NOT find a simple case for the ESP with just a 18650 battery, veeeery annoying so I just decided to make one myself. I made something that you can just stick under the table and leave there. There's a pull tab made out of paper for my personal case so I can just dispose of that or if I lose it I won't care about it.
Supplies
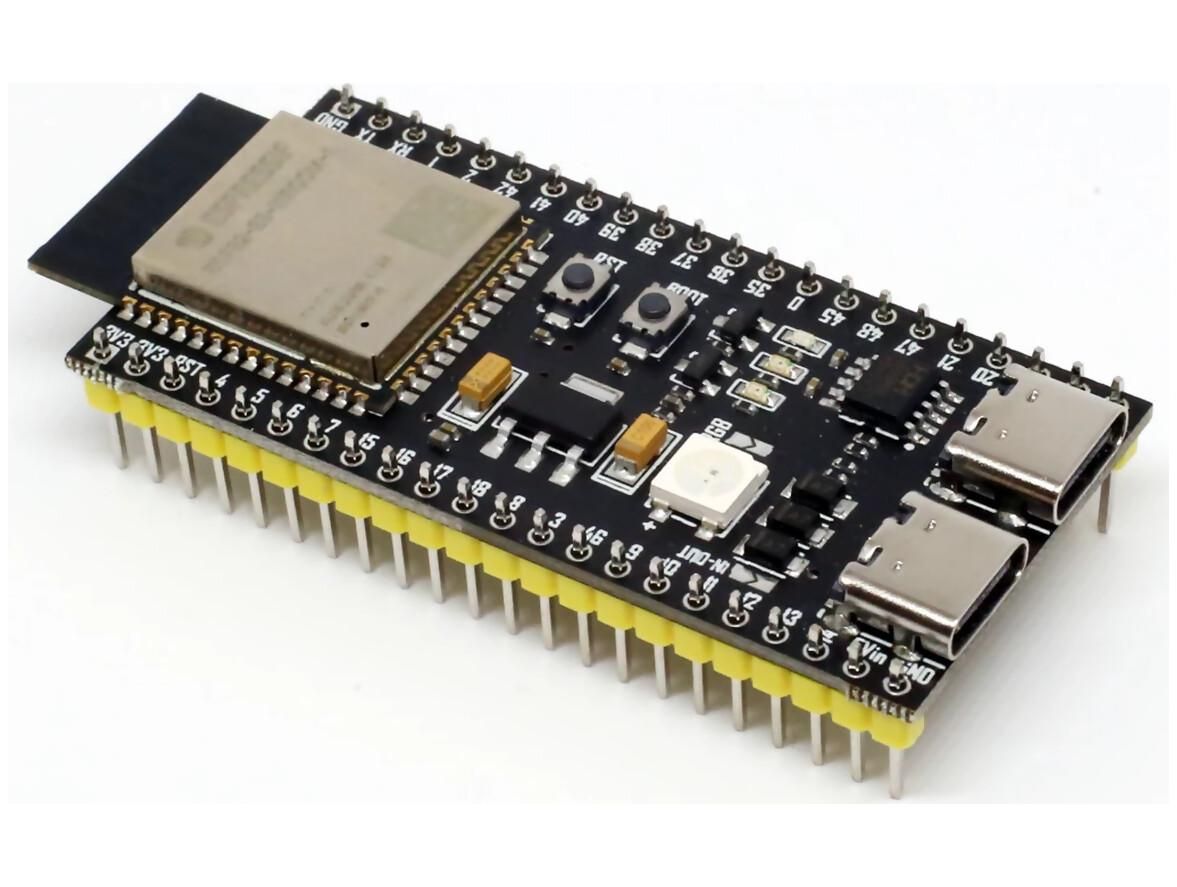
- 1x ESP32-S3 (or any other ESP32 that can fit the case and is compatible to your software of choice).
- 1x 18650 Li-Ion battery 3.7v (and whatever mAh you can find, I'd go for at least 2000mAh).
- 2x M2 bolts, 4mm should be more than enough.
- 2x metal wire, diameter of 1.5mm, anything that is conductive will work (I used brass wire).
- 10cm of double-sided tape, to put on the bottom of the case where there's no pull tab slit.
- Enough electrical tape to cover the pins next to the wires.
- (Optional) 2x Neodymium magnets, to stick to the bottom of the case with superglue. This might however negatively affect the already abysmal range of an unmodified ESP32-S3 integrated antenna.
- Filament! obviously... Use something good like PETG because it can get warm (there is almost no ventilation, except for tolerance slits on the side of the outer case [top case]). I used PLA Pro which is not bad but uhm I don't think vibrant neon ORANGE is a good option. To be fair mine is just a test print :')
Print Everything
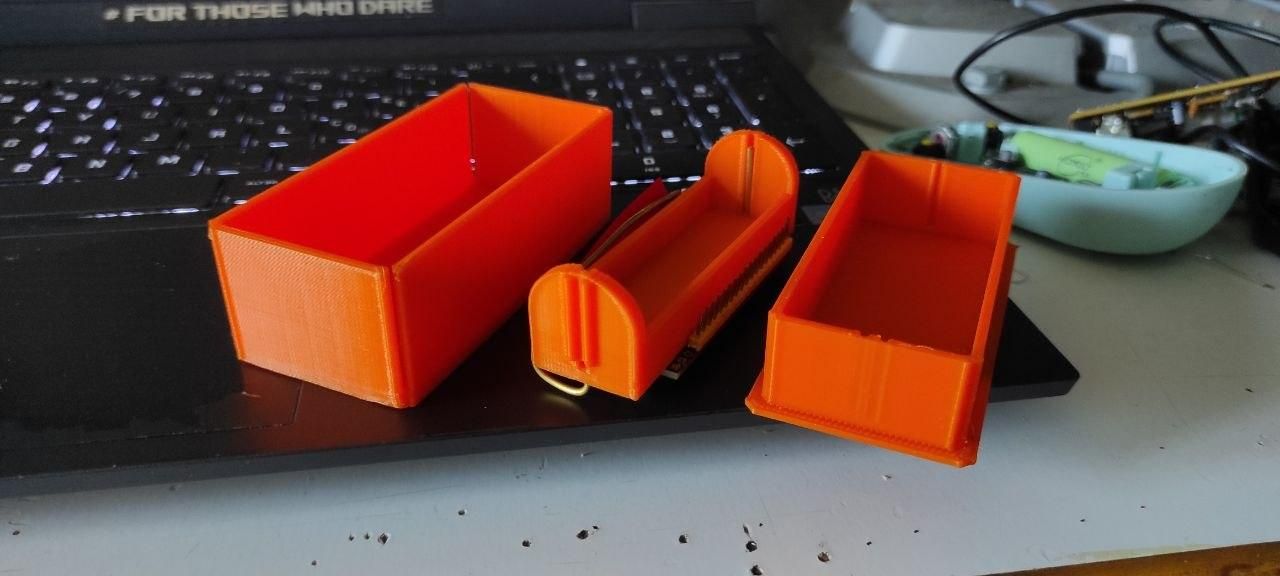
Yup, ya know, the stuff you need for the case? Yeah that!
For real though, I tried using PETG from Creality and it's a bit harder than what I initially thought, maybe just stick to good ol' PLA+. You don't really need to use any support material but maybe you should use some form of bed adhesion.
You might need to strech out a bit the screw holes after printing, I'm not 100% sure they align but I have a warped bottom shell so...yeah. These orange ones are version 1.0 but the black ones (PETG) are version 1.2, this is just how they are supposed to look.
Bending the Wires to Form the Battery Contacts
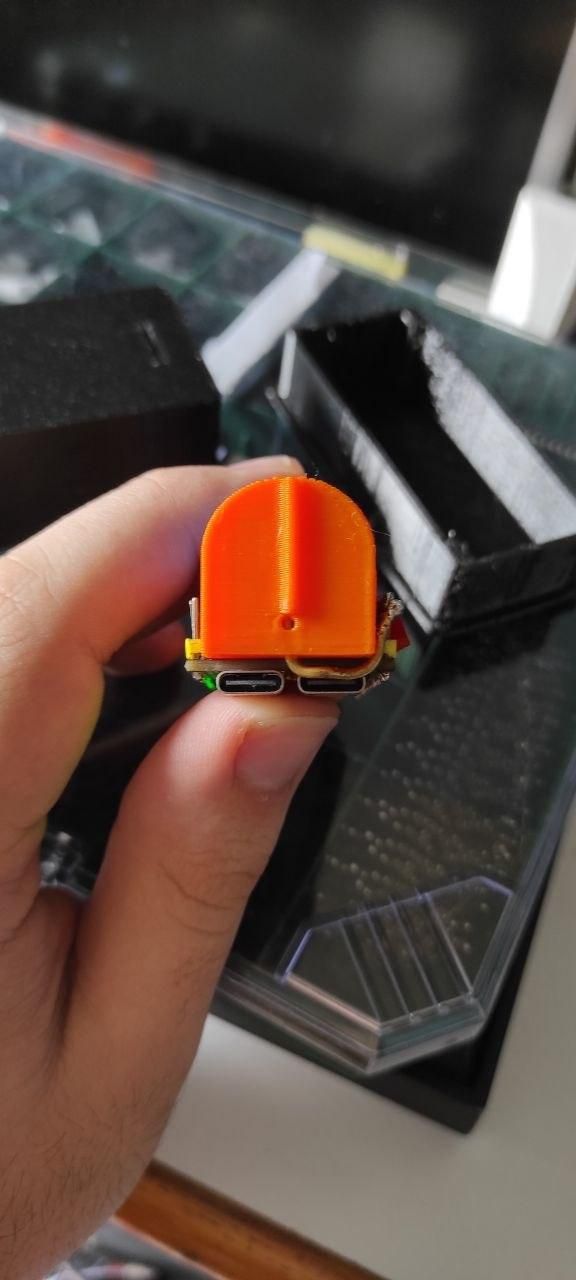
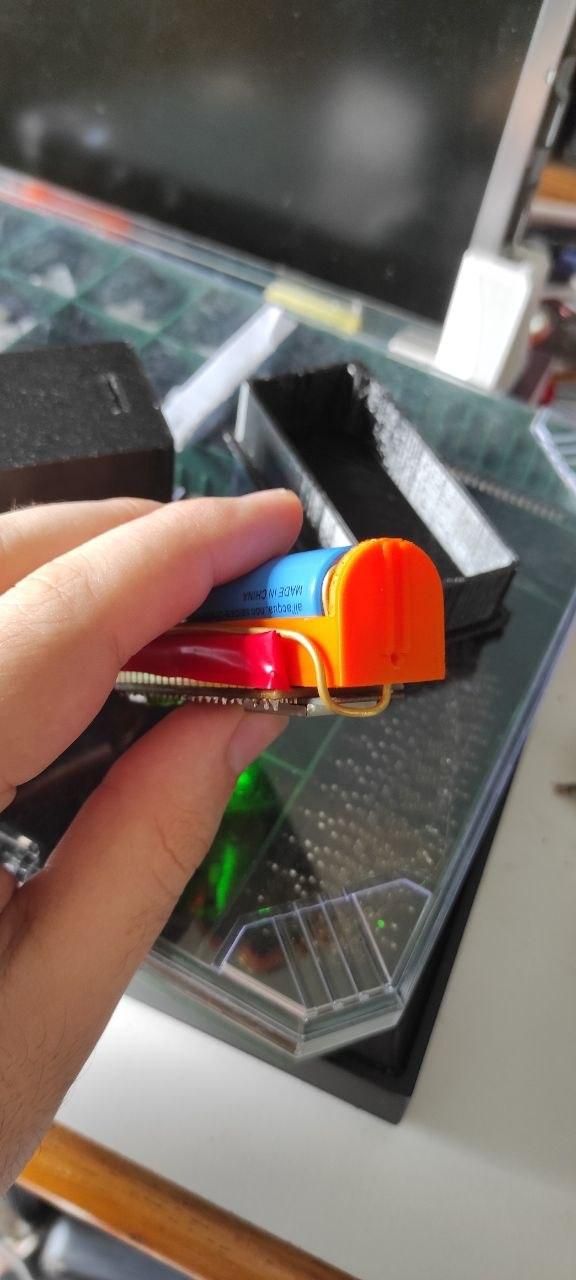
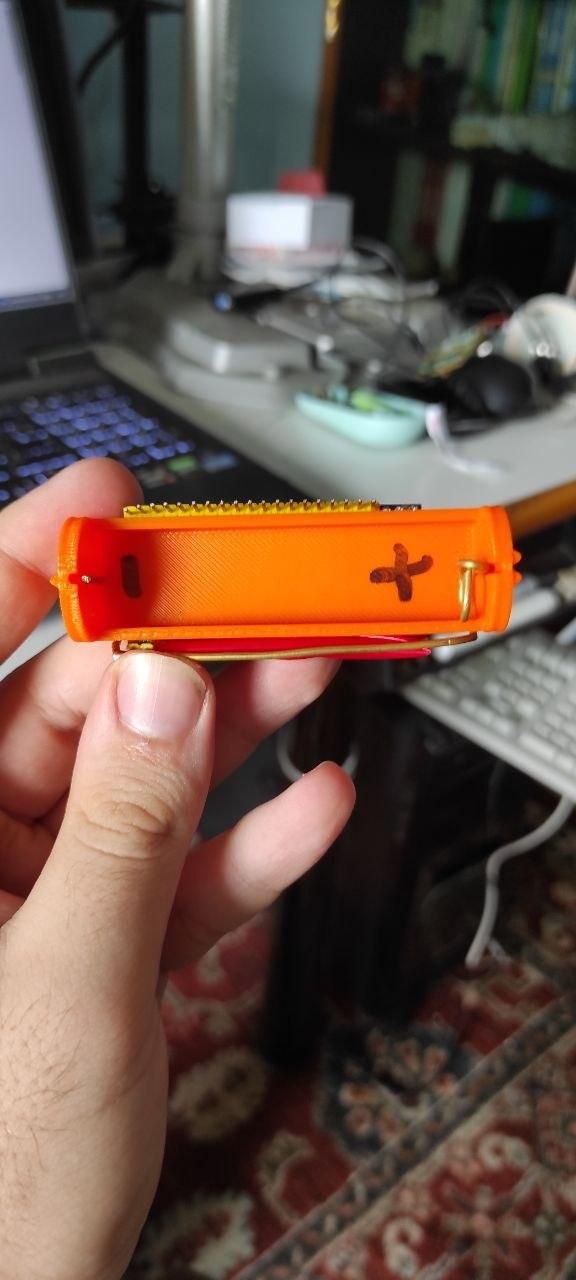
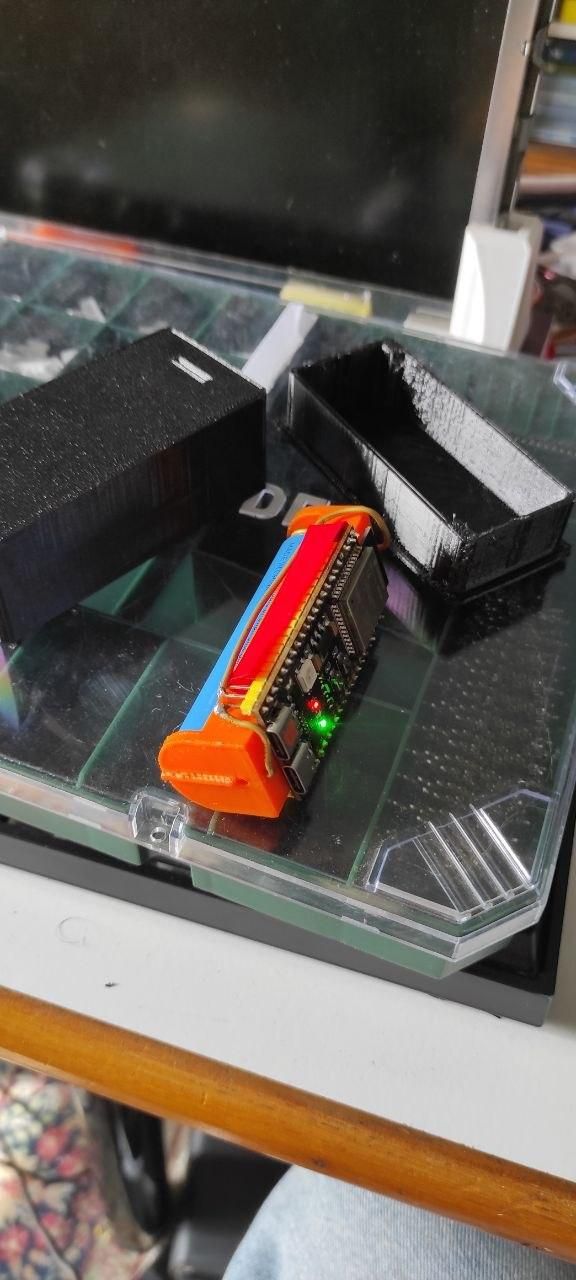
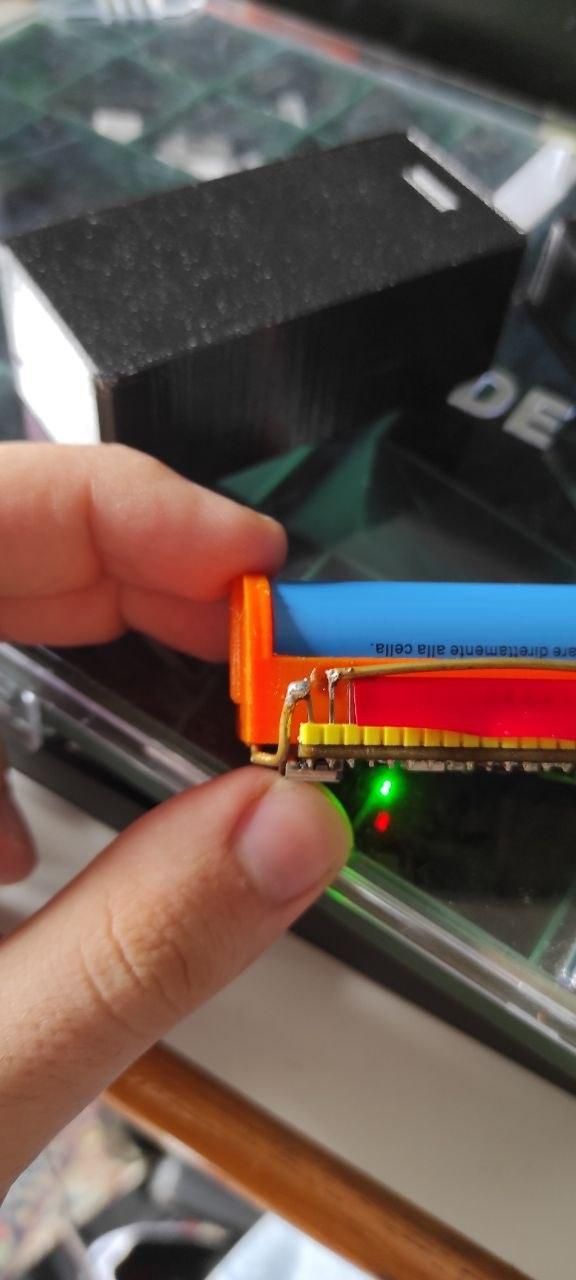
If you use brass it's very simple, just do it by hand or with a set of pliers. DO NOT, I repeat, DO NOT run the wire on the side where there are guiding notches, those are for aligning the battery compartment with the shell and keeping it from vibrating/letting it have enough space without crushing the ESP. Run them from the bottom and then bend them in the direction of the power pins.
I'd suggest using some foam on the bottom of the case but it's optional and I have yet to hear the case rattle.
I don't have measurements for the wires, just cut them accordingly to the 5Vin and GND pin with flush cutters and then solder them directly. Use flux and enough heat but be ware, 1.5mm of brass is rather good at spreading heat so don't burn yourself! I added on the model directly the - and + sign so you don't have to do what I did with a marker.
Use the electrical tape to then cover the contacts of other pins.
Give It a Test Run!
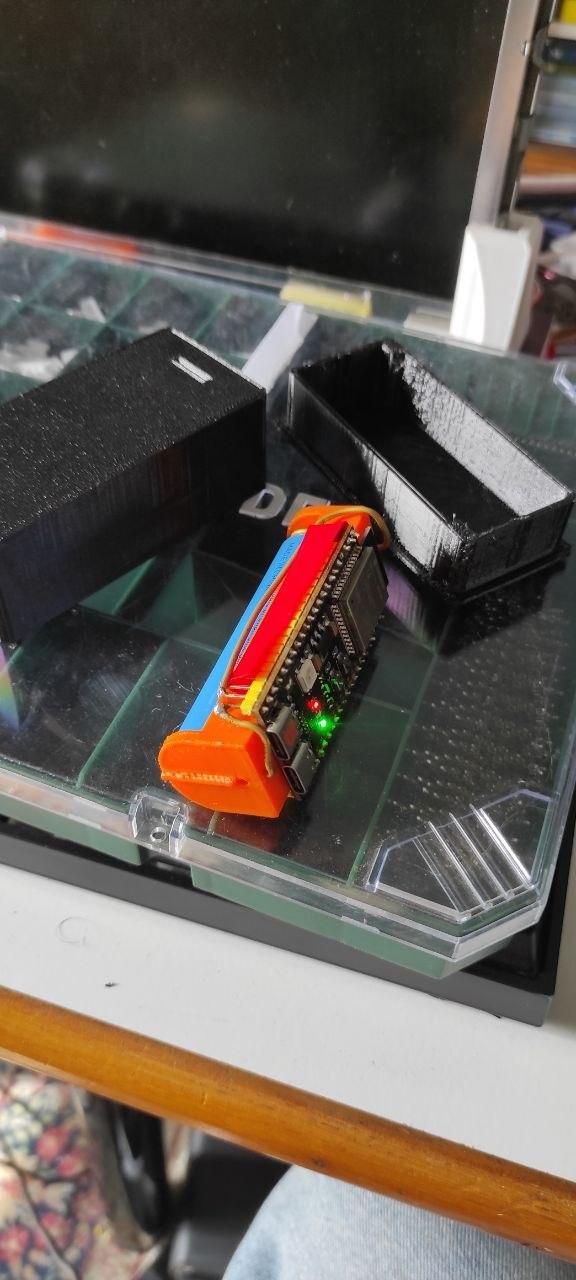
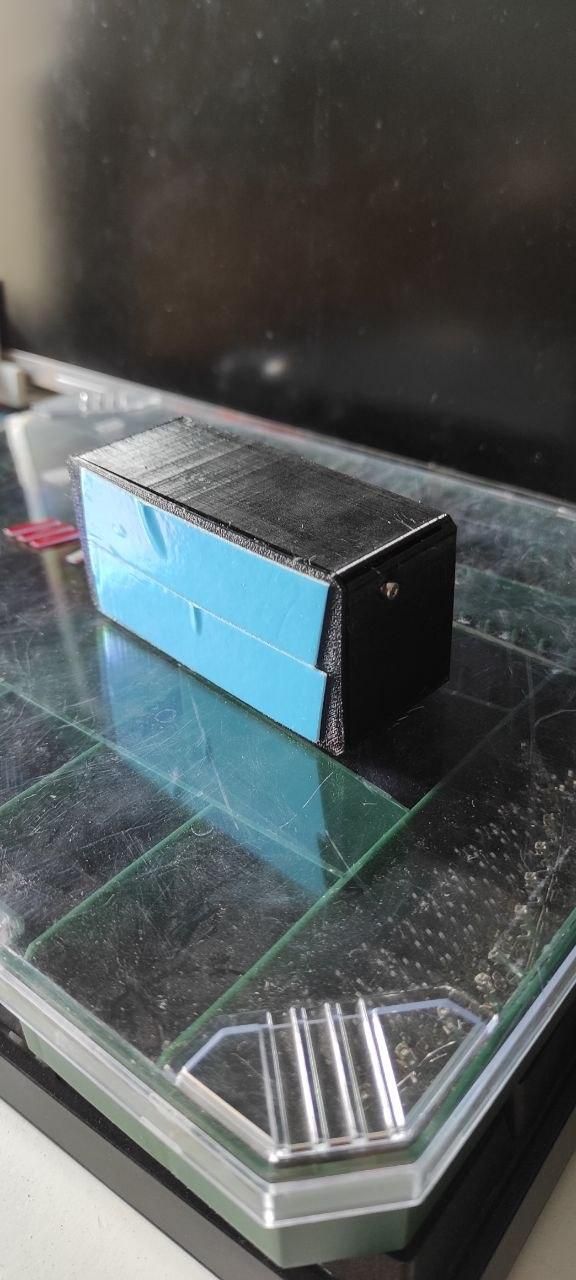
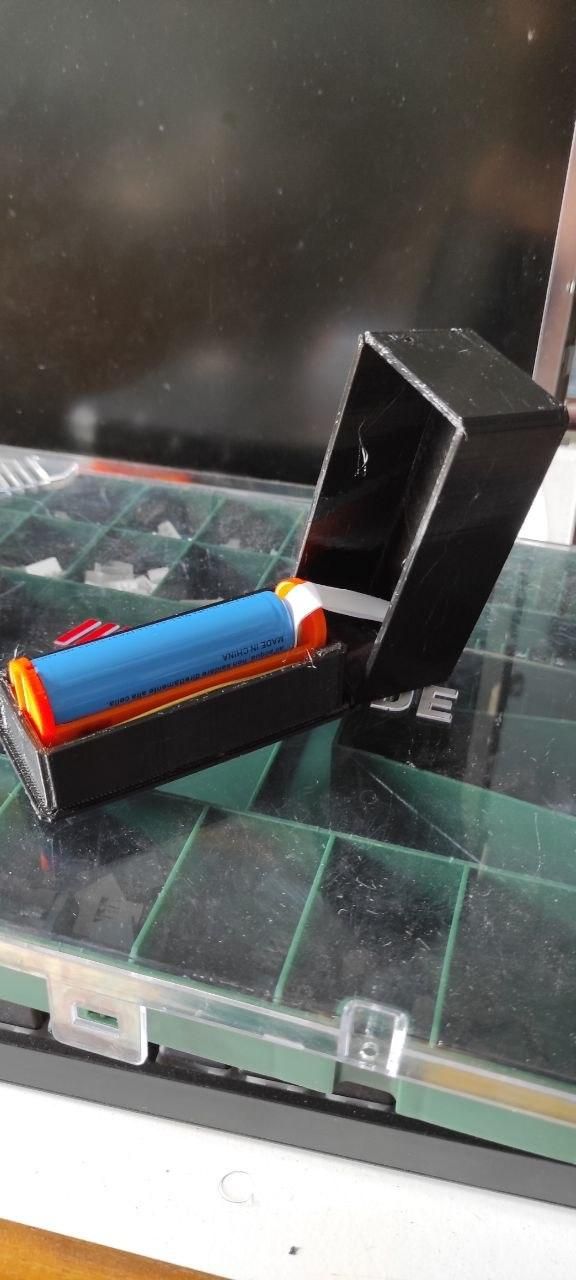
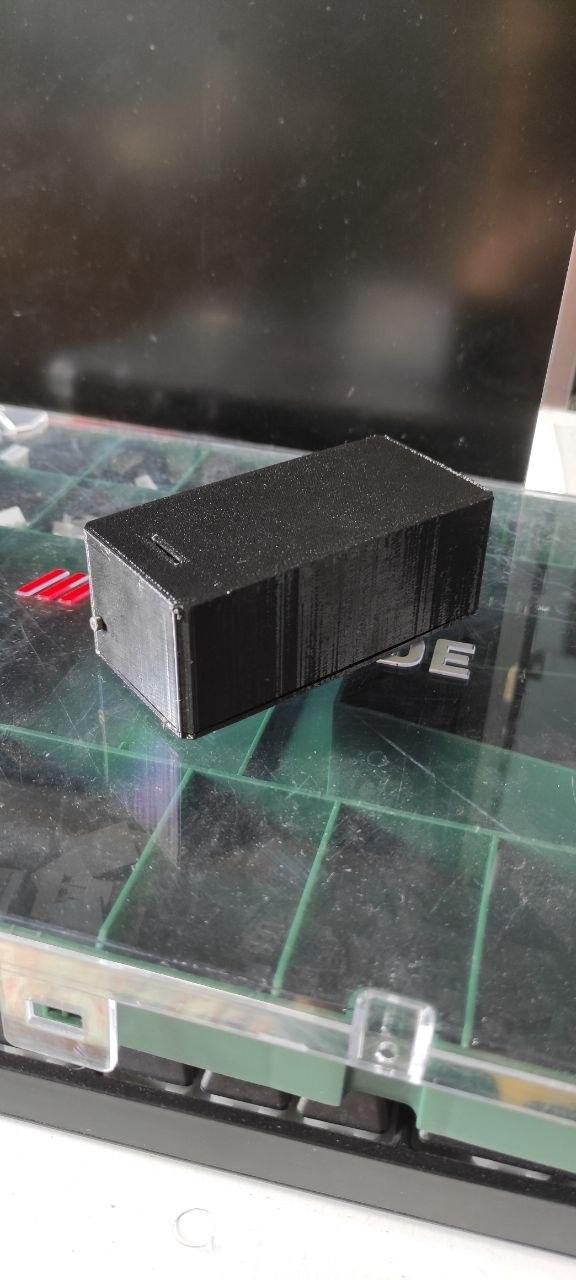
Just put in a 18650 battery, put the screws on, attach the double-sided tape and see if the contacts are good. I had to re-bend the positive and negative pole a bit before it actually started working properly. To put the pull tab do it before closing the case. If everything turns on then just put the pull tab on one of the contacts and you're ready. Put the double-sided tape and/or the magnets and your Stealth Case is done! You can store it like this untill needed.
If you enjoyed this minimalistic and funcional case plz consider donating to my ko-fi, ok? I need the money to feed my very evil and cute black cats, they bite and scratch me ≽^•⩊•^≼ (here's a video of one of them, just for you, since you managed to read all of this).