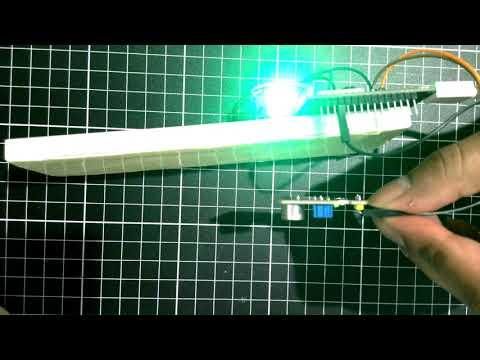
ESP32 Sound-Reactive RGB Light
by drahul1103 in Circuits > Arduino
109 Views, 1 Favorites, 0 Comments
ESP32 Sound-Reactive RGB Light
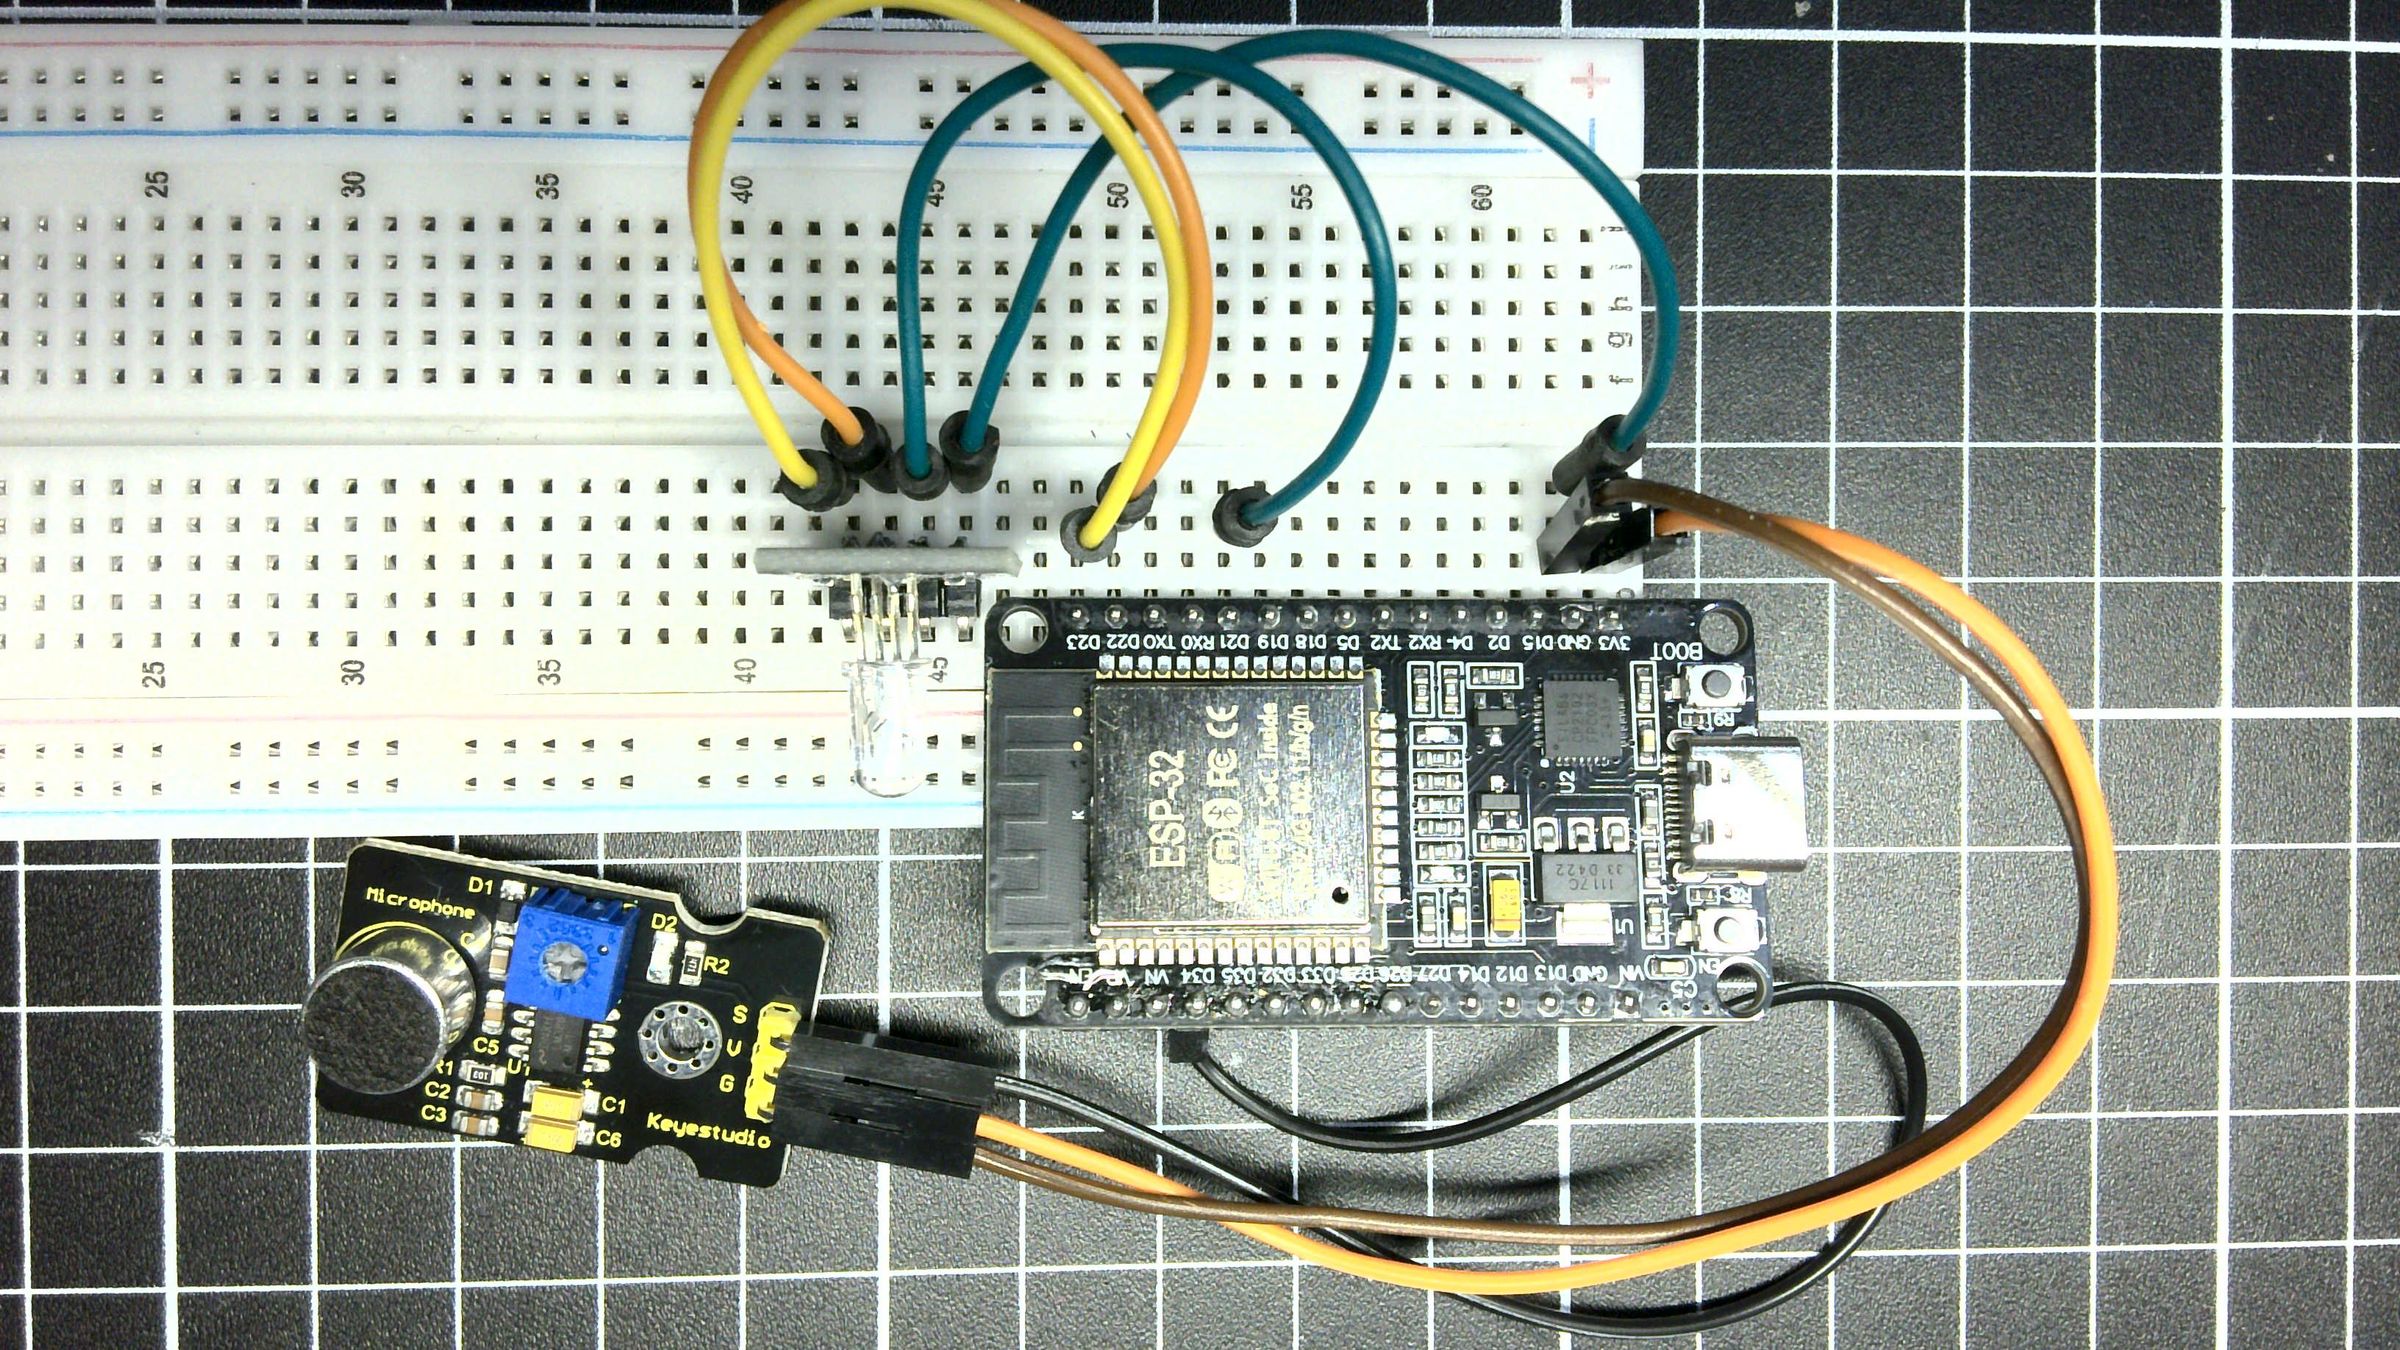
This project combines a sound sensor and RGB LED to create a color-changing light that responds to noise. Perfect for learning analog input, PWM output, and basic state management on the ESP32.
Supplies
What You'll Need:
- ESP32 (Microcontroller)
- Keyestudio Sound Sensor (KY-038) (Analog microphone with A0 output)
- KY-016 RGB LED (Common cathode, 5V tolerant)
- Breadboard (Solderless prototyping board)
- Jumper Wires (Male-to-male connectors)
- USB Cable (For programming the ESP32)
Wire the Circuit
Follow these connections carefully:
Sound Sensor → ESP32
- S (Signal) → GPIO 34 (ADC input)
- (Power) → 5V
- (Ground) → GND
RGB LED → ESP32
- R (Red) → GPIO 21 (PWM)
- G (Green) → GPIO 22 (PWM)
- B (Blue) → GPIO 23 (PWM)
- (Ground) → GND (Common cathode)
Upload the Code
Copy the code below into the Arduino IDE.
Select Tools → Board → ESP32 Dev Module.
Plug in the ESP32 via USB and select the COM port.
Click Upload and wait for the compile to finish.
Downloads
Understanding the Code
Audio Input & Filtering
The code reads the analog microphone on GPIO34. Because the sensor outputs noisy values, a simple exponential moving average filter (SMOOTH = 0.4) smooths the signal. This prevents the LED from flickering on every tiny sound fluctuation.
Three-Zone Color Logic
- Green (calm): Sound level below 300
- Yellow (getting loud): Sound level 300–800
- Red (too loud): Sound level above 800
Color Hold Timer
When a sound level crosses a threshold, the corresponding color "latches" on for 2000 milliseconds (HOLD_MS). This prevents the color from jumping around constantly and gives a more satisfying visual effect. After 2 seconds of silence, it resets to green.
Testing & Tuning
- Open Tools → Serial Monitor (115200 baud) to see raw sensor values.
- Snap your fingers near the mic and watch the numbers jump.
- If colors aren't triggering at the right times, adjust YELLOW_LEVEL and RED_LEVEL in the code. Lower numbers = more sensitive.
- If the LED flickers too much, increase SMOOTH (0.4 → 0.6) for more filtering.
Example Tuning Guide:
- Too sensitive → Triggers at whispers → Raise YELLOW_LEVEL
- Not sensitive enough → Needs loud claps → Lower YELLOW_LEVEL
- Colors too fast → Flickers constantly → Increase SMOOTH
- Colors too slow → Sluggish response → Decrease SMOOTH
Video Demo