Easy-Build Handwashing Station
by Merilee D Karr in Living > Health
20201 Views, 125 Favorites, 0 Comments
Easy-Build Handwashing Station

Without running water, how can you wash your hands? Without running water, how will your neighbors, your whole community, wash their hands? If they can't wash their hands — they're bound to get sick, and spread disease.
We all need a way to wash our hands when a major (or even minor) disaster takes out safe running water. Same when we're away from plumbing, like at a farmer's market or a camping trip.
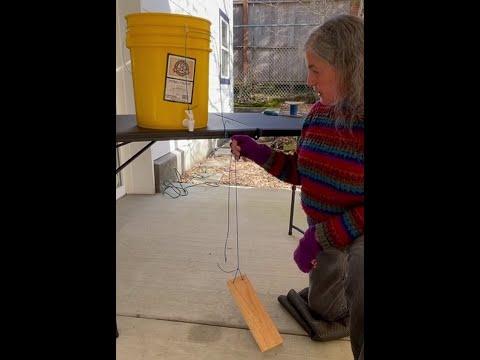
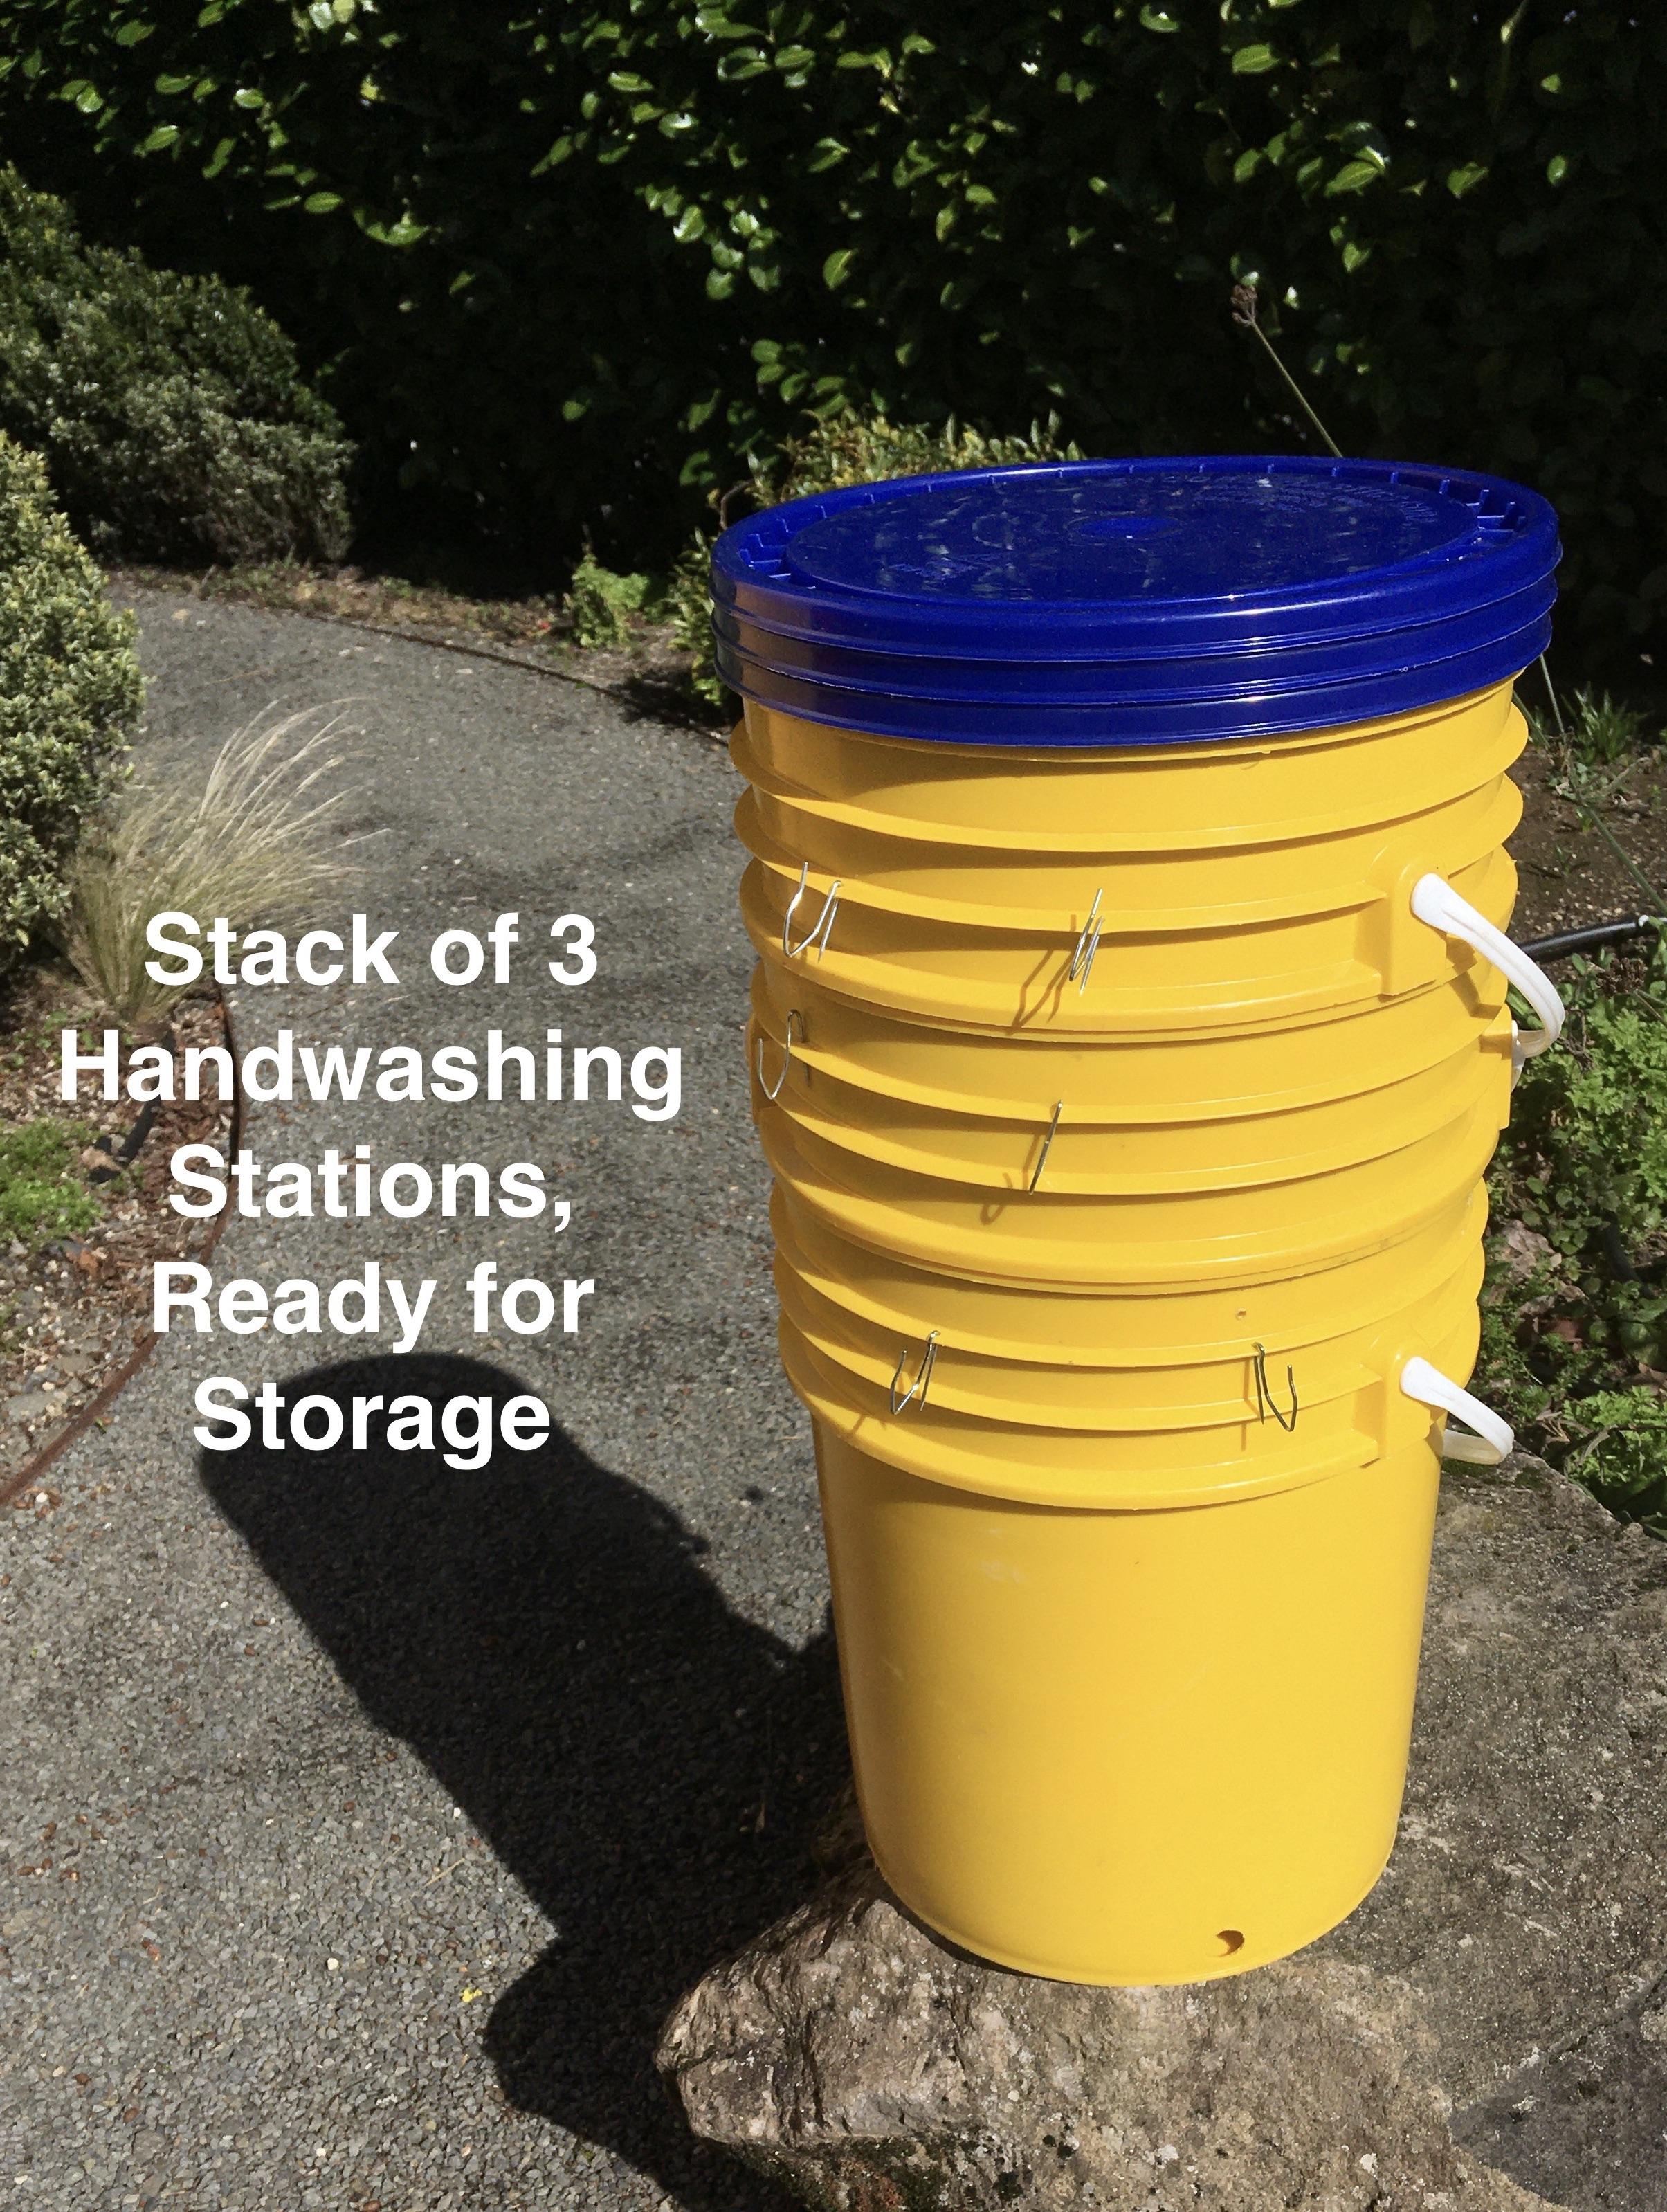
Here's the answer: A PORTABLE HANDWASHING STATION that's easy, cheap, and quick to build, made from a plastic bucket. You can make one, and take it on a camping trip. Or you can call a work party and make a bunch. If your community has 4 or 5 of these stacked in garages every few blocks (along with stored water), they'll be ready to set up immediately when needed.
How many do you need? The World Health Organization (WHO) recommends at least 1 sanitation station for every 20 people. If you have fewer than that, people start getting sick. So, a stack of 5 Handwashing Stations can help protect 100 people.
Let's get to work!
Supplies


MATERIALS
- 5-gallon bucket, with lid.
- Tip: Buckets are FREE. Ask businesses that receive food in buckets (groceries, delis, bakeries, restaurants) to set them aside for you. Otherwise, they go in the landfill.
- Try to get the lid with the bucket. Separate lids cost about $2. The lid does not have to seal perfectly. It's there to keep leaves and such out of the water.
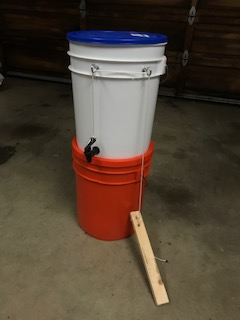
- Tip: If you want to use the Handwashing Station indoors, or don't want to create a mud puddle, use a 2nd bucket to catch the water.
- Spigot. Cooler Spigot, NOT a Carboy Spigot.
- Cost: About $3, down to $1.30 in bulk.
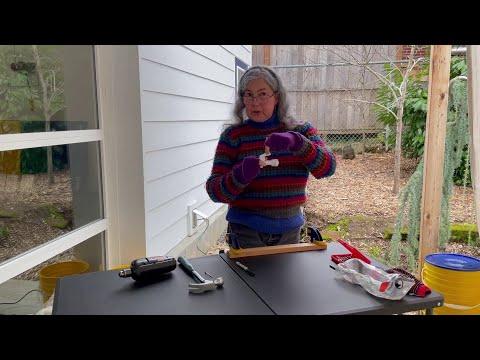
- Scrap of wood, about 12 inches long, 3 to 4 inches wide, to be the foot pedal
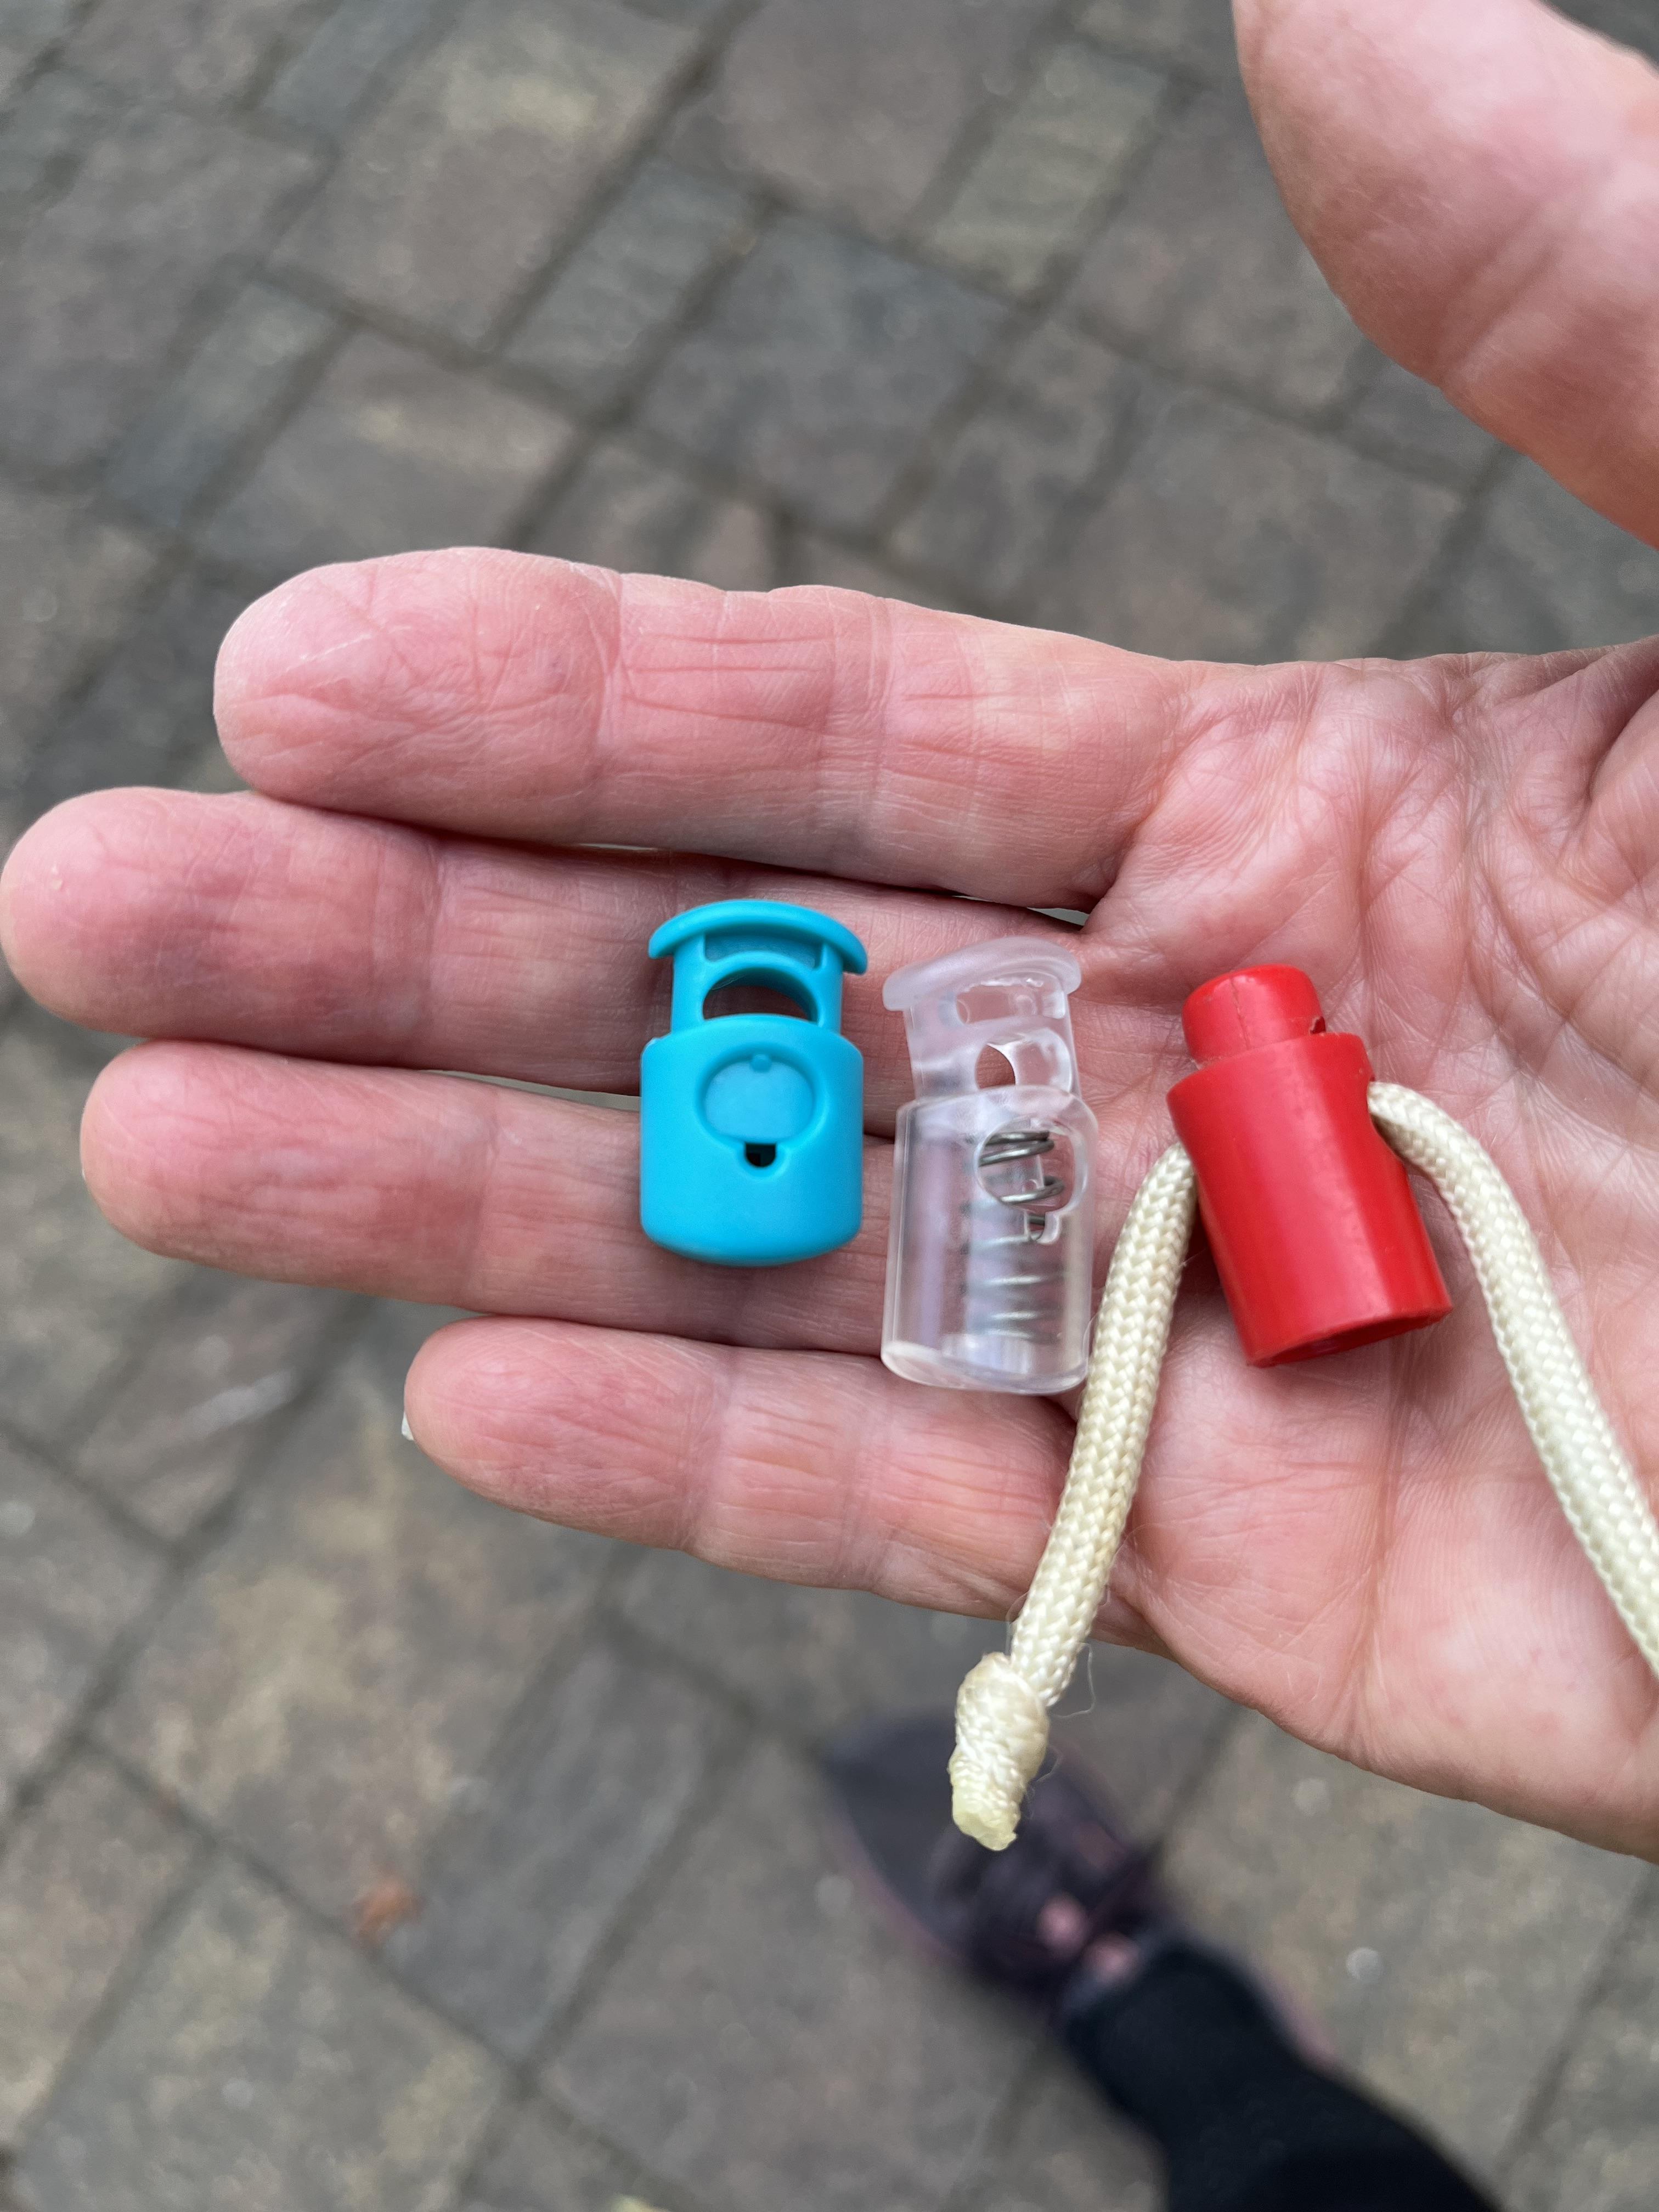
- 2 Offset Drapery Hooks. Cost: About 15 cents each. See photo
- Sturdy string or cord, about 3 yards.
- Bar of soap, on a string or in a nylon stocking.
TOOLS
- Electric drill
- 3/4 inch Hole Saw (explained in video)
- 3/4 inch Spade Bit will also work, but edges of hole will be a bit rougher.
- Hammer
- Nail
- Candle, or lighter, to flame the ends of cord so they don't ravel.
Overview


Here's how it works. Based on a design from EVCNB, the Emergency Volunteer Corps of Nehalem Bay, on the Oregon Coast. It's a great community resilience organization. I've learned a lot from them. You can, too.
I modified the EVCNB design by replacing their eye bolts to carry the cord, with drapery hooks that are easier to install and cheaper. The drapery hooks also don't protrude into the bucket, so this design can be stacked, and the stacks placed around neighborhoods, for rapid deployment when needed in disasters.
The Spigot: Drill the Spigot Handle


On the underside of the spigot handle, mark the point where you want to drill the hole for the cord.
Make a guide for the drill at that spot, by hammering a nail just deep enough to make a divot, so the drill won't skitter around on the plastic. This is an important step when working with plastic.
Drill the hole. Use a roughly 5/32 inch drill bit, 3-4 mm. It's easier to drill from the underside, so you can hold the handle flat on a stable surface.
The Bucket: Drill a Hole for the Spigot With a Hole Saw


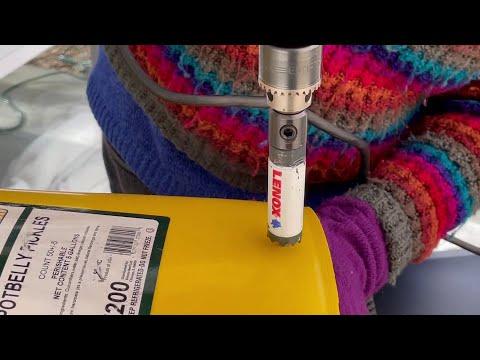
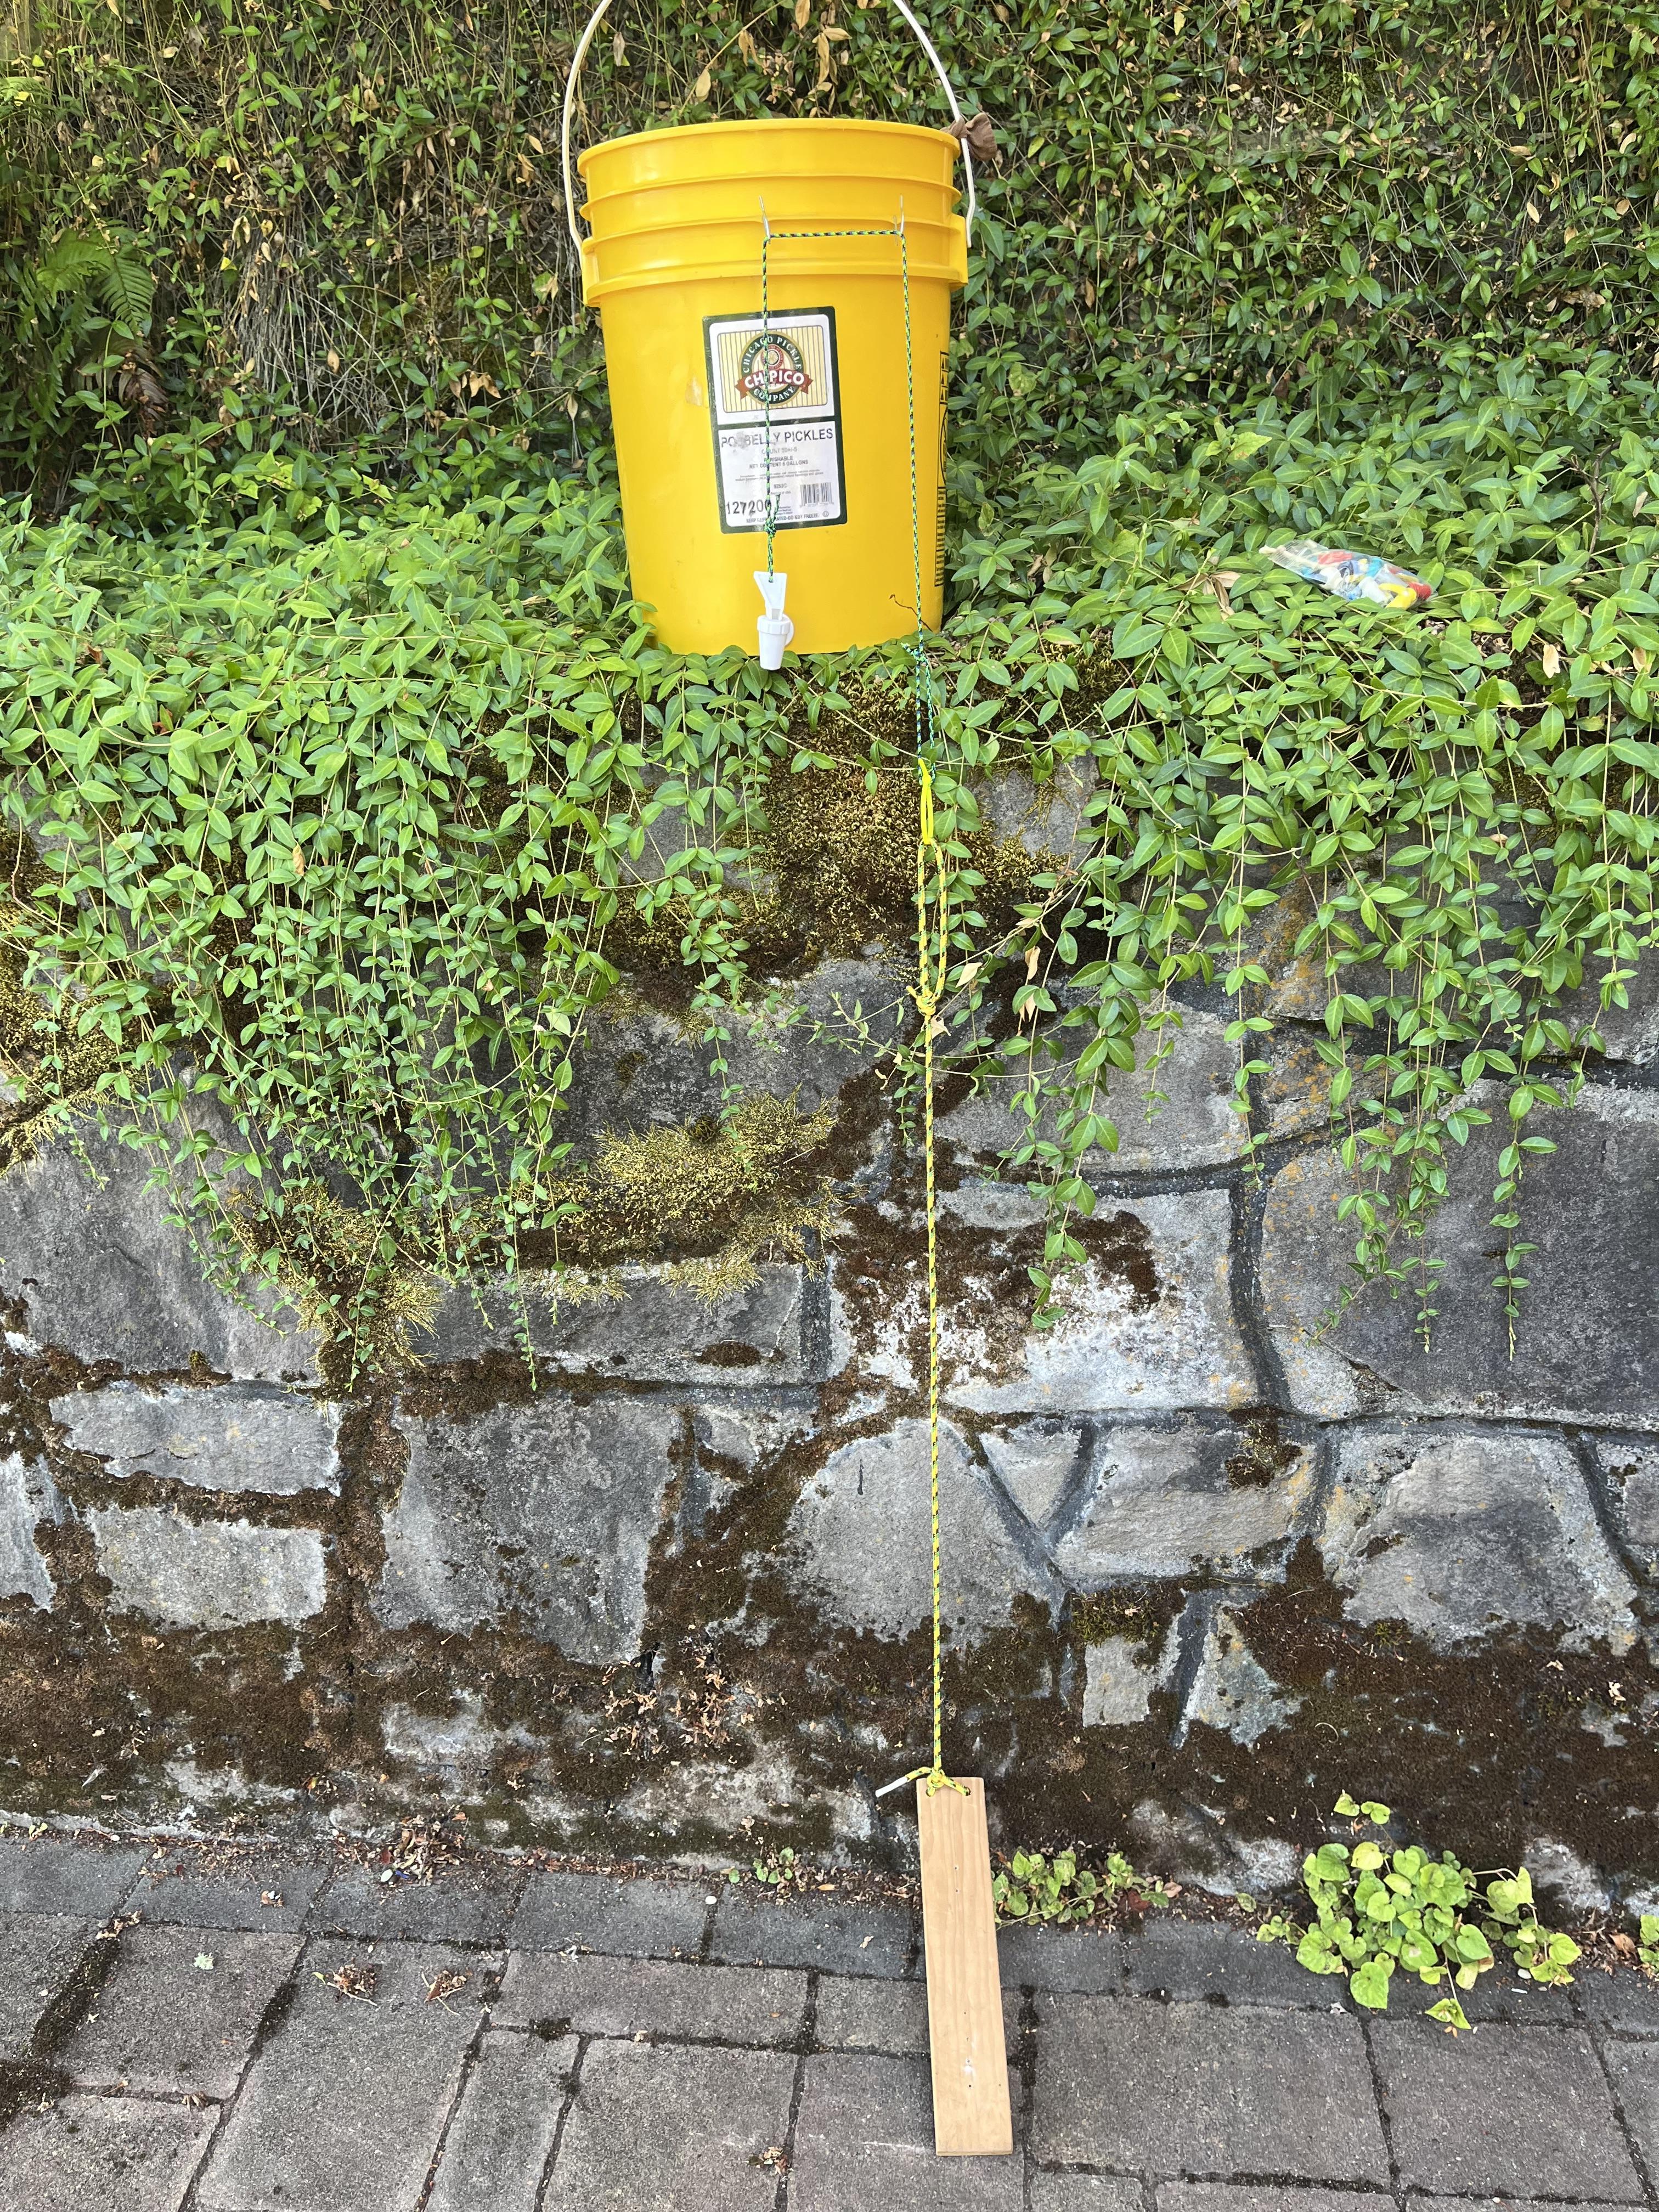
Locate where to drill the 3/4 inch hole for the spigot: About 1.25 inch, or ~3 cm, above the bottom of the bucket, midway between the two handle attachments. Mark the spot.
Make a guide for the drill at that spot, by hammering a nail just deep enough to make a divot, so the drill won't skitter around on the plastic.
Attach the 3/4 inch hole saw, or spade bit, to your drill.
Stabilize the bucket with clamps or bumpers.
Drill the hole. Clean up the microplastic shreds.
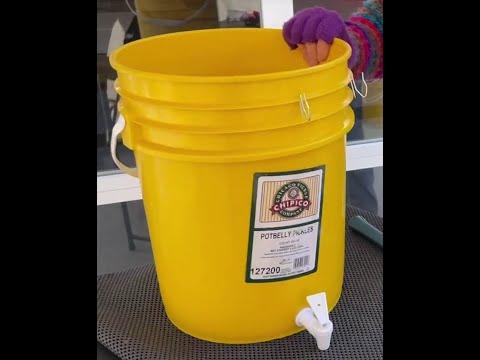
Attach the Spigot to the Bucket

Be sure your spigot has one hex nut, and two silicone washers. Remove the hex nut, and one silicone washer, from the stem -- leaving one silicone washer on the stem.
Slip the spigot stem into the hole you just drilled in the bucket. Reach inside the bucket, and slide one silicone washer onto the stem. Snug the washer up against the inside of the bucket. Screw the hex nut onto the stem, as far as you can. If it's awkward to turn the nut, because it's so close to the bottom of the bucket -- just hold the nut stable with your hand on the inside of the bucket, and turn the spigot clockwise on the outside of the bucket. Same result!
Drive in the Drapery Hooks to Carry the Cord That Operates the Spigot

Mark the two points where you want to attach the drapery hooks, in one of the circumferential bucket ribs.
One point should be straight above the spigot, midway between the bucket handles.
The other should be to the right OR left, one-third to one-half of the way to the bucket handle.
Mark the two points. You can either drill these two holes, or pound a nail through them. Then slide the drapery hooks into place.
With a wire cutter, clip off the pointy ends of the two drapery hooks. The reason to do that is that they can cause minor scratches to people handling the buckets. It's easier to clip off the pointy ends before you install the hooks, but then the blunt ends are a little harder to pop into the holes. Either order works.
Run the String From the Spigot Through the Hooks
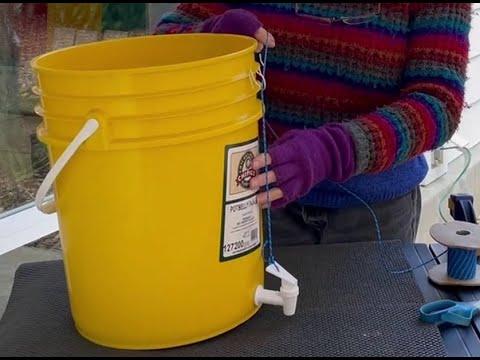
Tie a smooth light cord through the hole in the spigot. Smooth light cord slides better across the drapery hooks than thicker cord, like paracord. You'll need about 3.5 feet, or 1 meter.
Pass it over the drapery hook straight above the spigot, then over the drapery hook to the side.
The last step will be joining this cord from the spigot, to the cord from the foot pedal, so the foot-pedal tension can be adjusted for the height of the handwashing station placement.
Drill & String the Foot Pedal, Tie It in to the Spigot String

Mark two spots near the end of a scrap of wood, about 12 inches long, 3 to 6 inches wide. Pound a nail into both spots, just deep enough to make a divot to stabilize the drill. Drill.
Use a fairly large drill bit, like 1/4 inch, because you can use heavier cord on the foot pedal than the spigot.
Tie any size cord, whatever you have around, through the two holes, and make a knot. You'll need about 4 feet, or 1.25 meters.
Another idea for the foot pedal: A piece of PVC pipe. From Lamorinda CERT, California. No, I don't know how they drill it.
In the Learn-From-My-Mistakes Department: Don't make a foot pedal out of heavy material, like, say, a piece of plastic decking board -- which is, surprisingly, much denser than wood. If the foot pedal is too heavy, the spigot's internal elastic won't be able to pull the weight back up, and close itself. With a too-heavy foot-pedal, the spigot will stick in the open position and waste water.
Adjusting for Different-Height Placements


The flexibility of this handwashing station can also be a challenge. It has to be set on a raised surface, so the water can fall on your hands. And the foot pedal has to rest a few inches above the ground, so there's room to push it down, and pull on the spigot handle. The distance from the spigot handle, over the two drapery hooks, and down to the foot pedal, varies a lot depending on placement. How to adjust the length?
There are probably several solutions. Here are a couple.
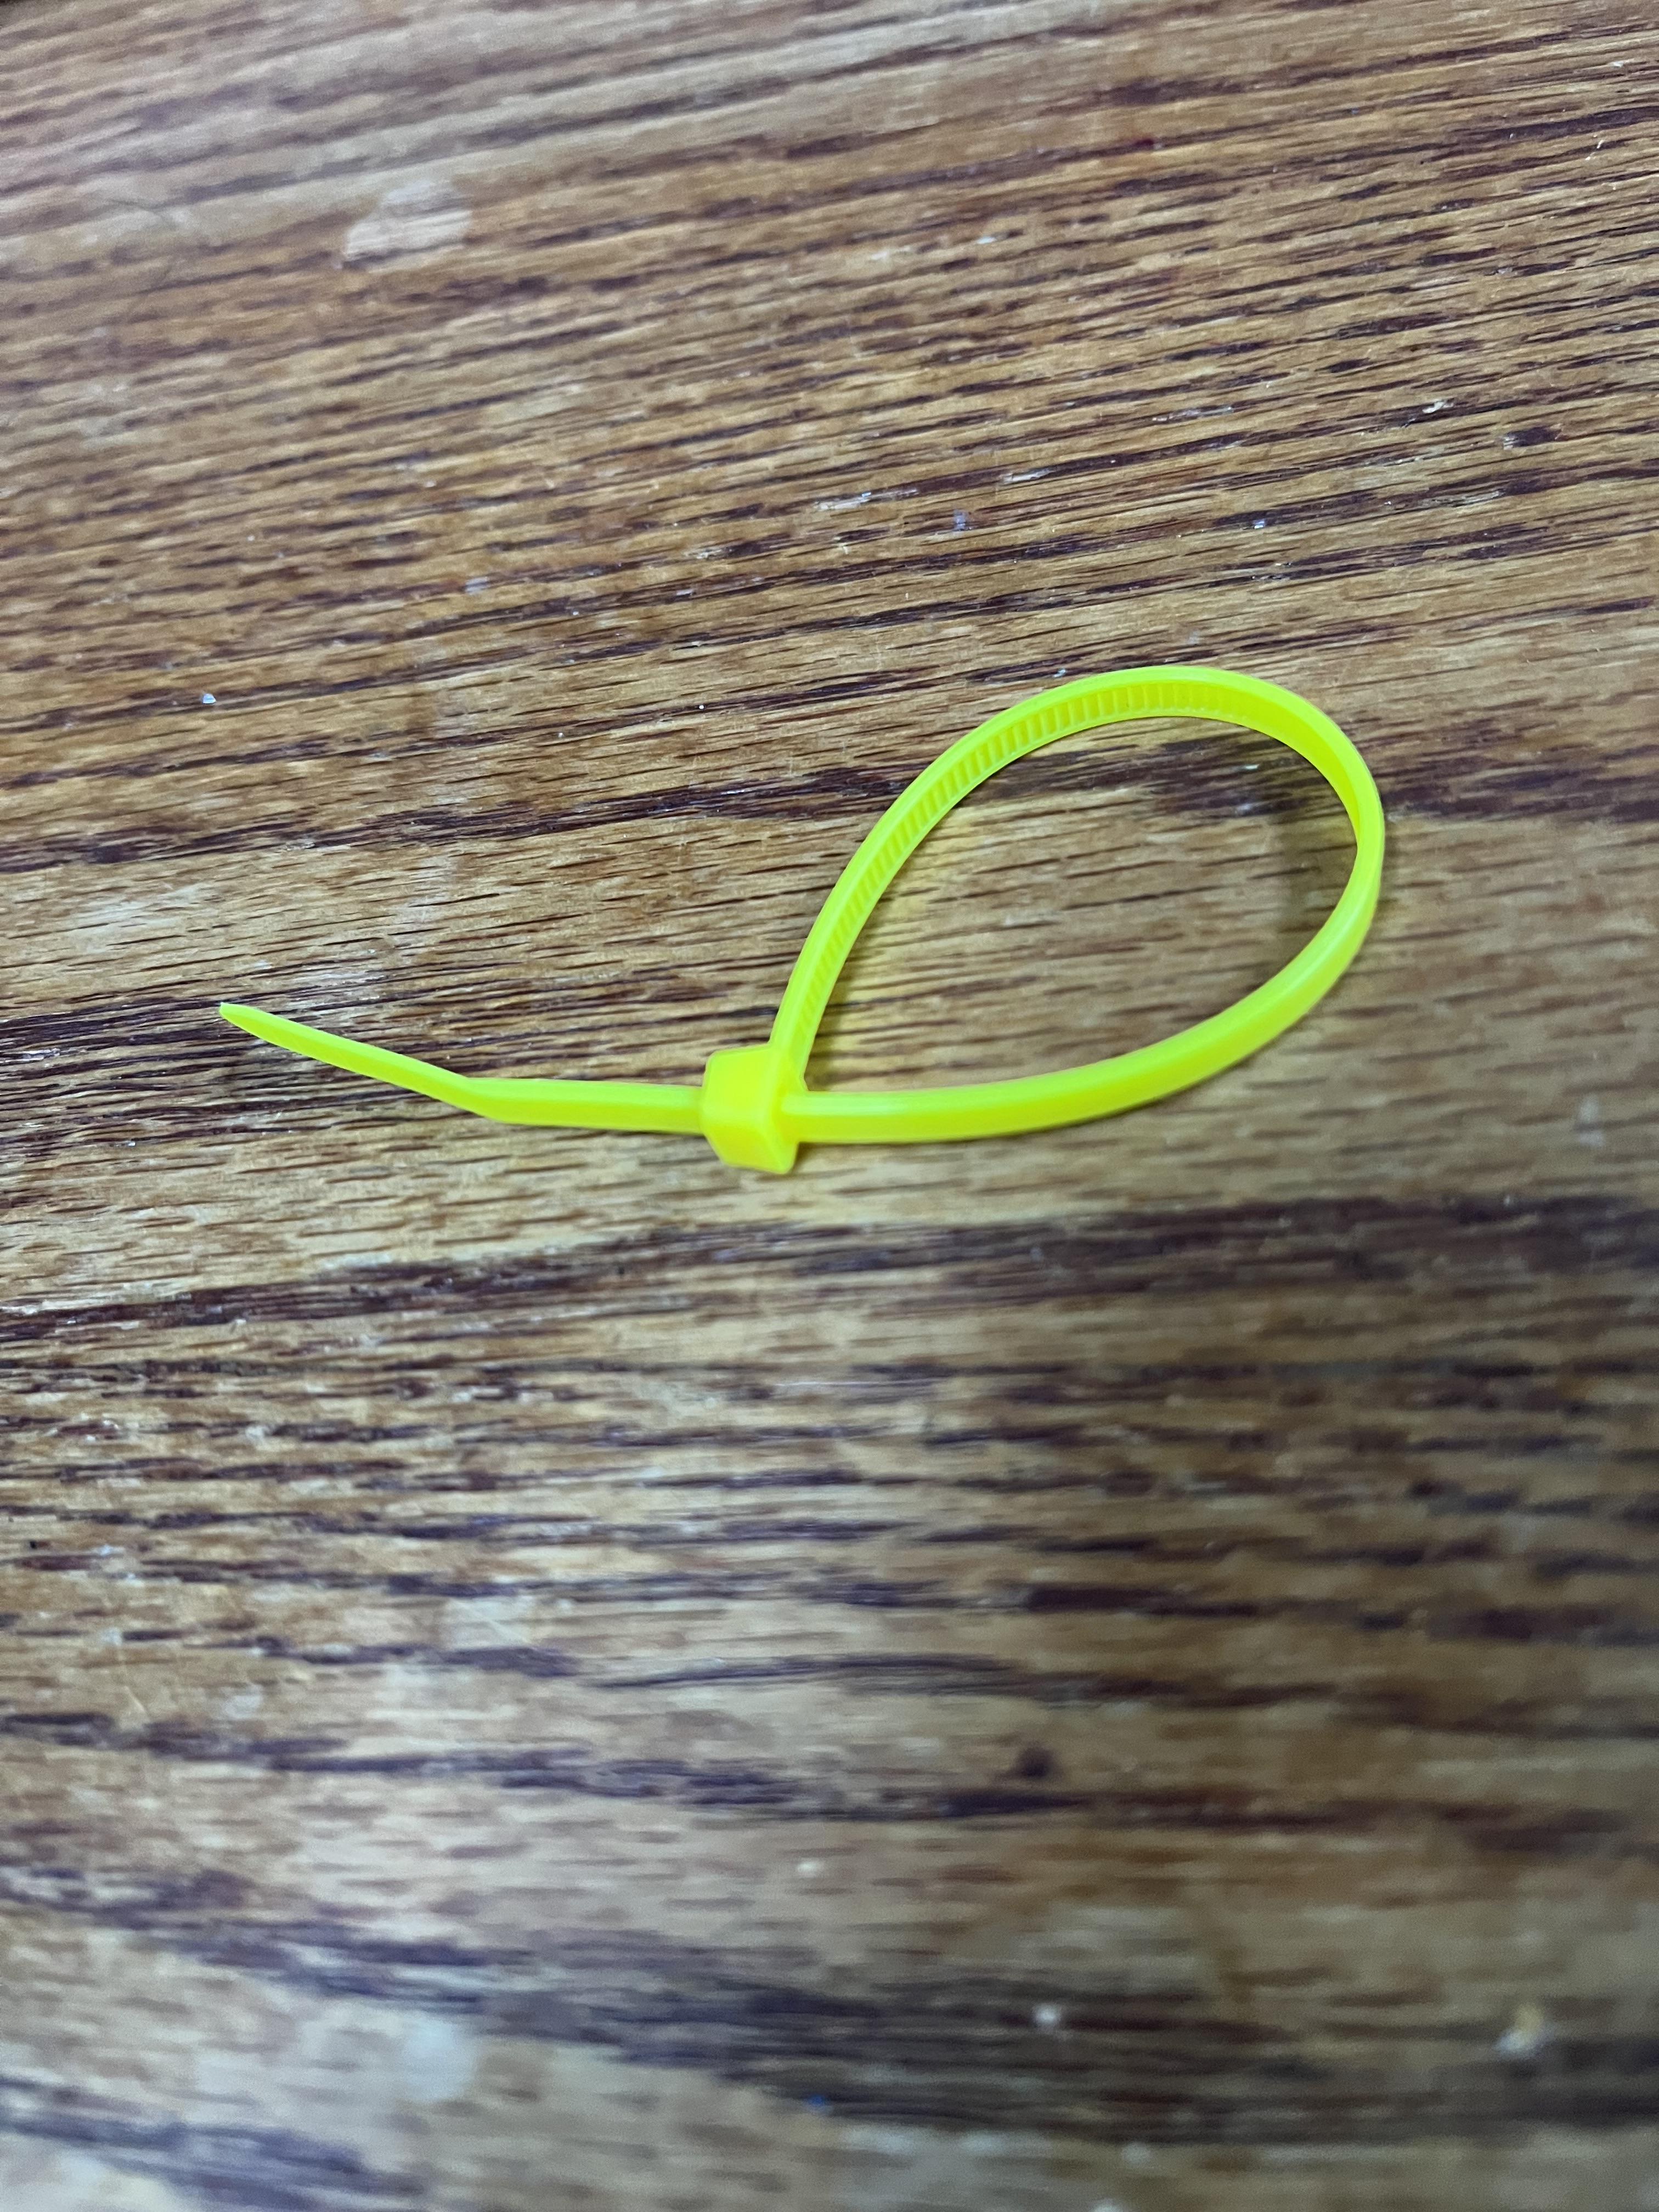
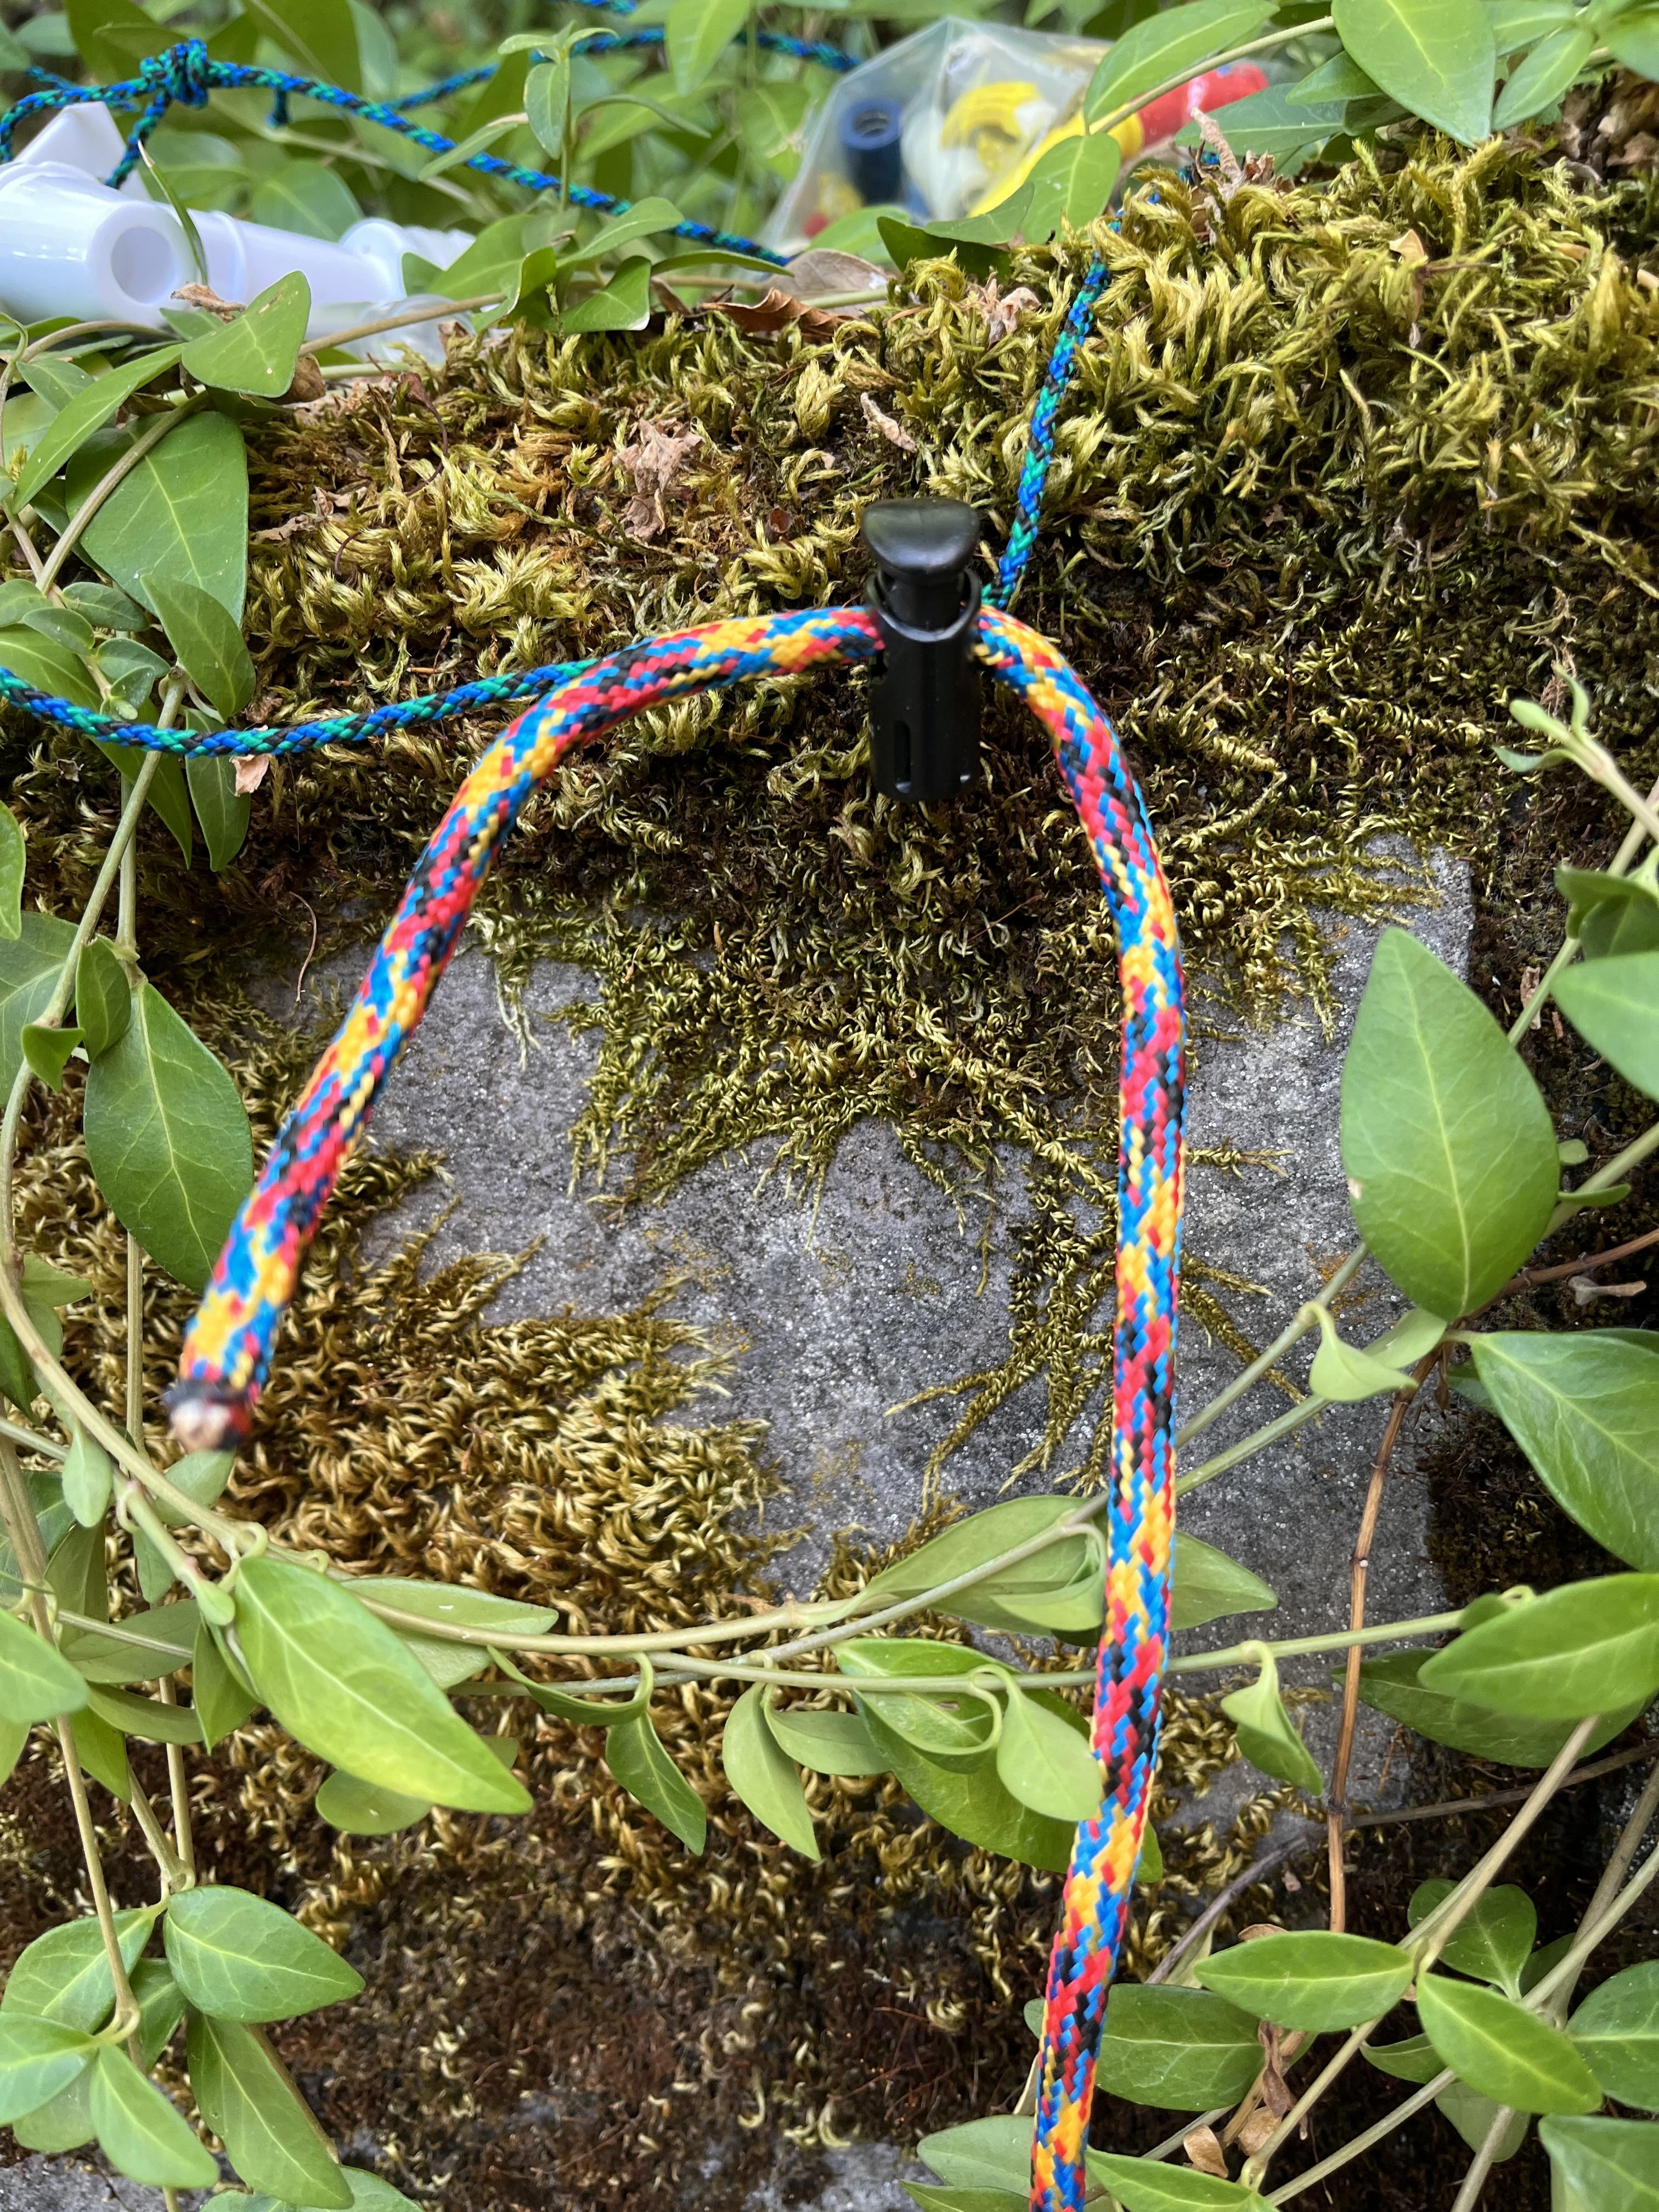
METHOD 1. Take a ring. An inch or two in diameter. Here I've used a small zip tie. Could be anything, an inch or so in diameter.
Run the cord from the spigot through the ring. Tie a sliding knot, like a Taut-Line Hitch. Now you have the spigot cord hanging in an adjustable loop, with the zip-tie ring hanging from it.
Now run the cord from the foot pedal up through the zip-tie ring. Tie a sliding knot, as before. Now you have both cords united by the zip-tie ring. You can adjust the height of the foot pedal by sliding either knot, or both.
If you stare at this for a bit, you may realize that you don't need the ring. You can just make a sliding loop in one cord, and tie the other through it, so each cord serves as the other's ring.
METHOD 2. Take a cord lock, with a big enough aperture to hold both cords. Feed them both through. Tie a simple overhand knot in the ends of the cords, so they can't slip through the cord lock.
To adjust length, squeeze the cord lock, and pull on either or both cords.
Re-assembling for Use
To store the handwashing station, unscrew the spigot, and return both silicone washers and the hex nut to the spigot stem.
Leave the spigot cord and the foot-pedal cord tied together, or cord-locked together. Put the spigot, foot pedal, and cords in the bucket. Put the soap in the bucket.
If you are stacking several, put the attachments in the top bucket of the stack.
People using the stations need instructions to assemble them. Here they are.
Downloads
Acknowledgements
Thanks to
Patrick Pangburn, videographer and director
Trampoline Town, for a quiet space to film
EVCNB, Emergency Volunteer Corps of Nehalem Bay, for the cooler-spigot-pulled-upward design paradigm, and for leading the way on widely distributed DIY handwashing stations.