Easy DIY Purple Pipe Cleaner Flowers
by MakerNimu in Craft > Fiber Arts
423 Views, 3 Favorites, 0 Comments
Easy DIY Purple Pipe Cleaner Flowers
.jpg)
.jpg)
.jpg)
.jpg)
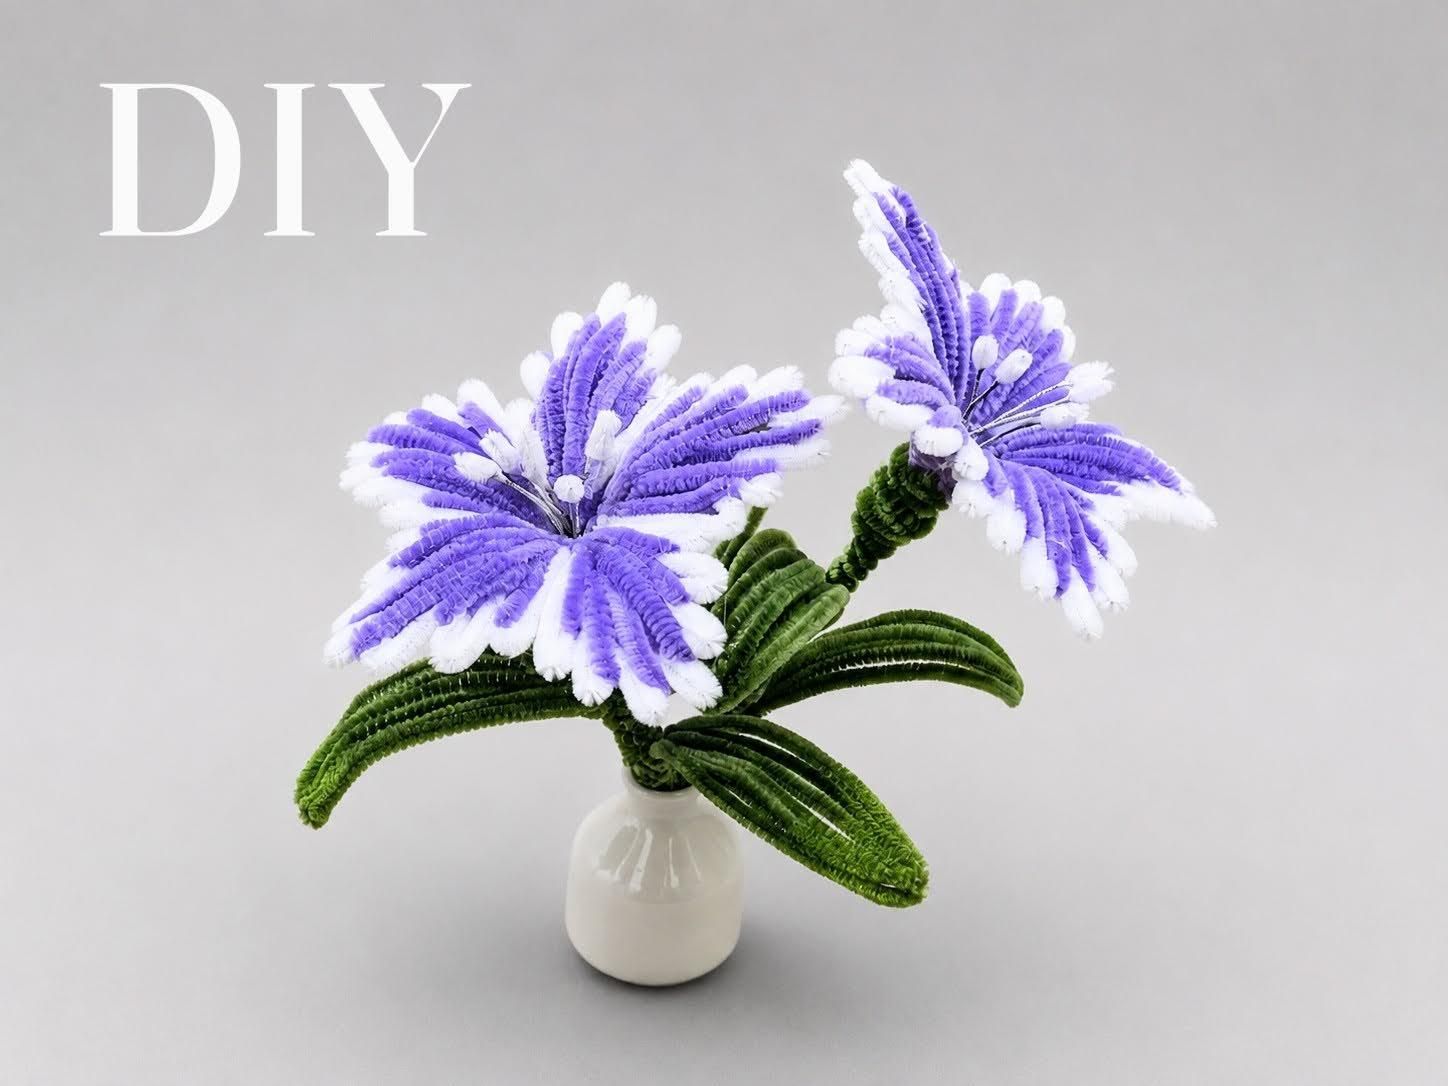
Flowers are a beautiful way to decorate any space, but fresh flowers don't last very long. In this Instructable, I'll show you how to make a DIY purple pipe cleaner flower arrangement using simple craft materials. This is beginner-friendly, affordable, and doesn't require any special crafting experience. Moreover, you can display it in your home, decorate your desk, or even give it as a handmade gift.
I chose purple and white for the petals and green for the stem and leaves. Feel free to experiment with different color combinations to create your own unique flower design.
Let's get started!
Gather Your Materials
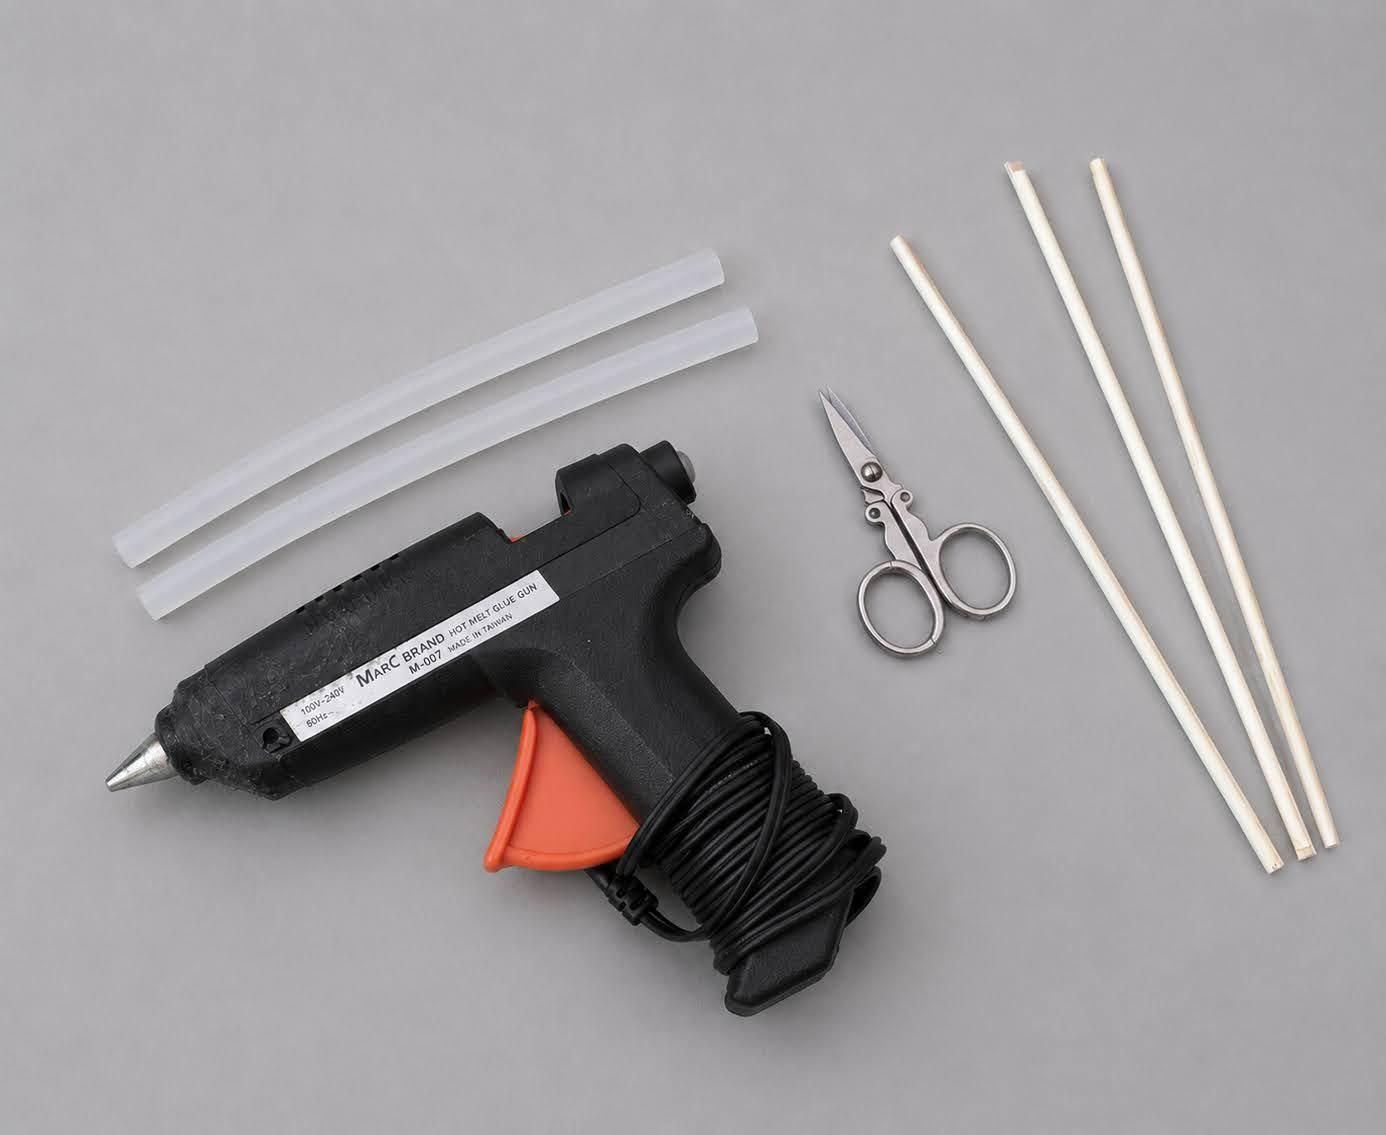
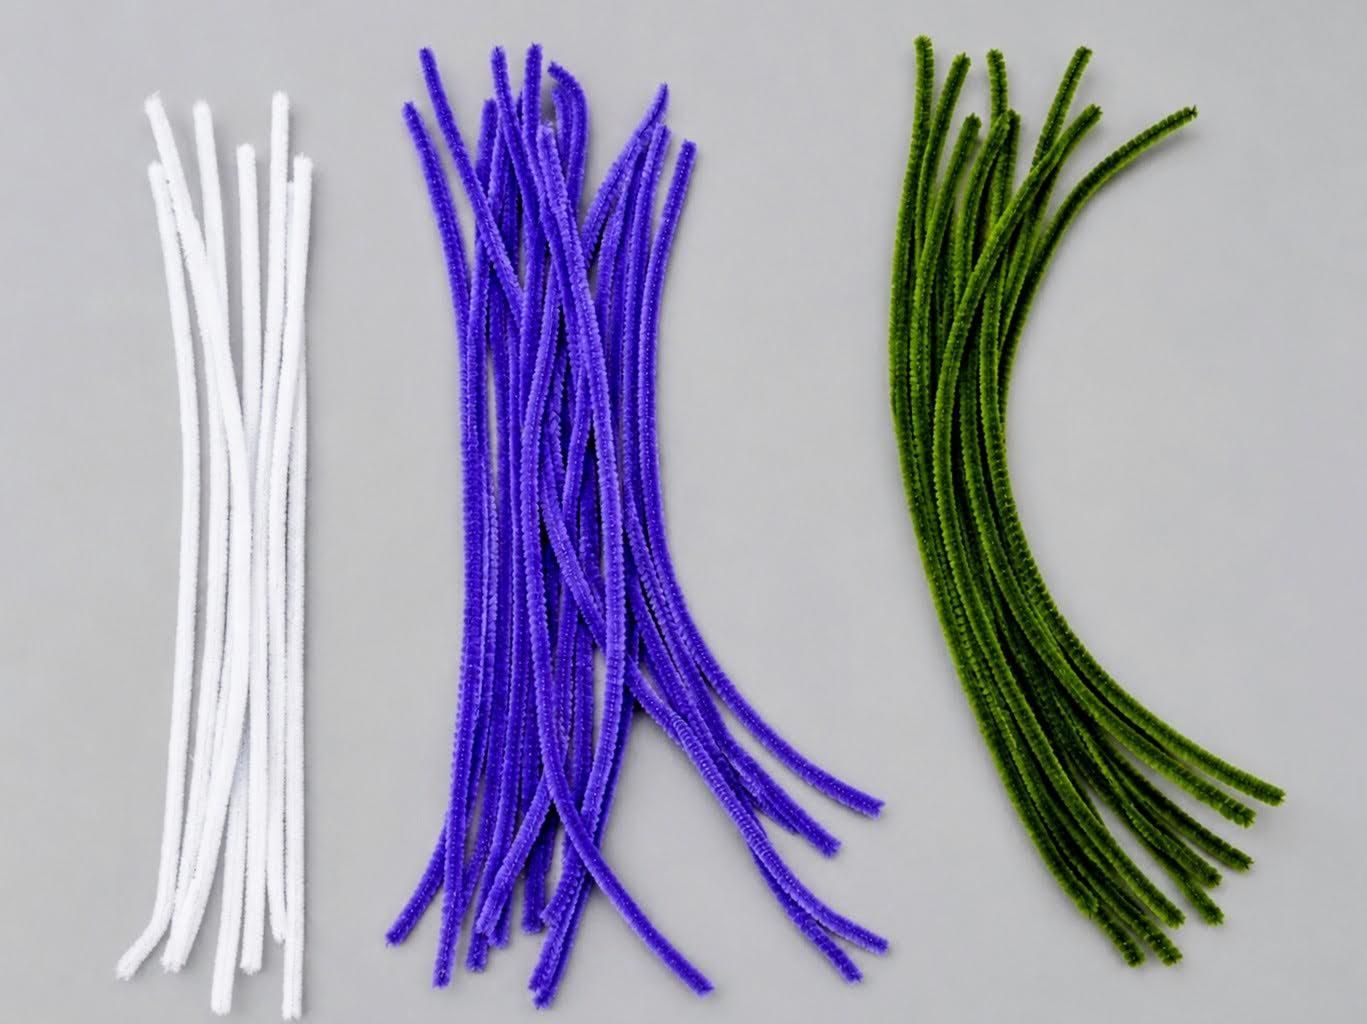
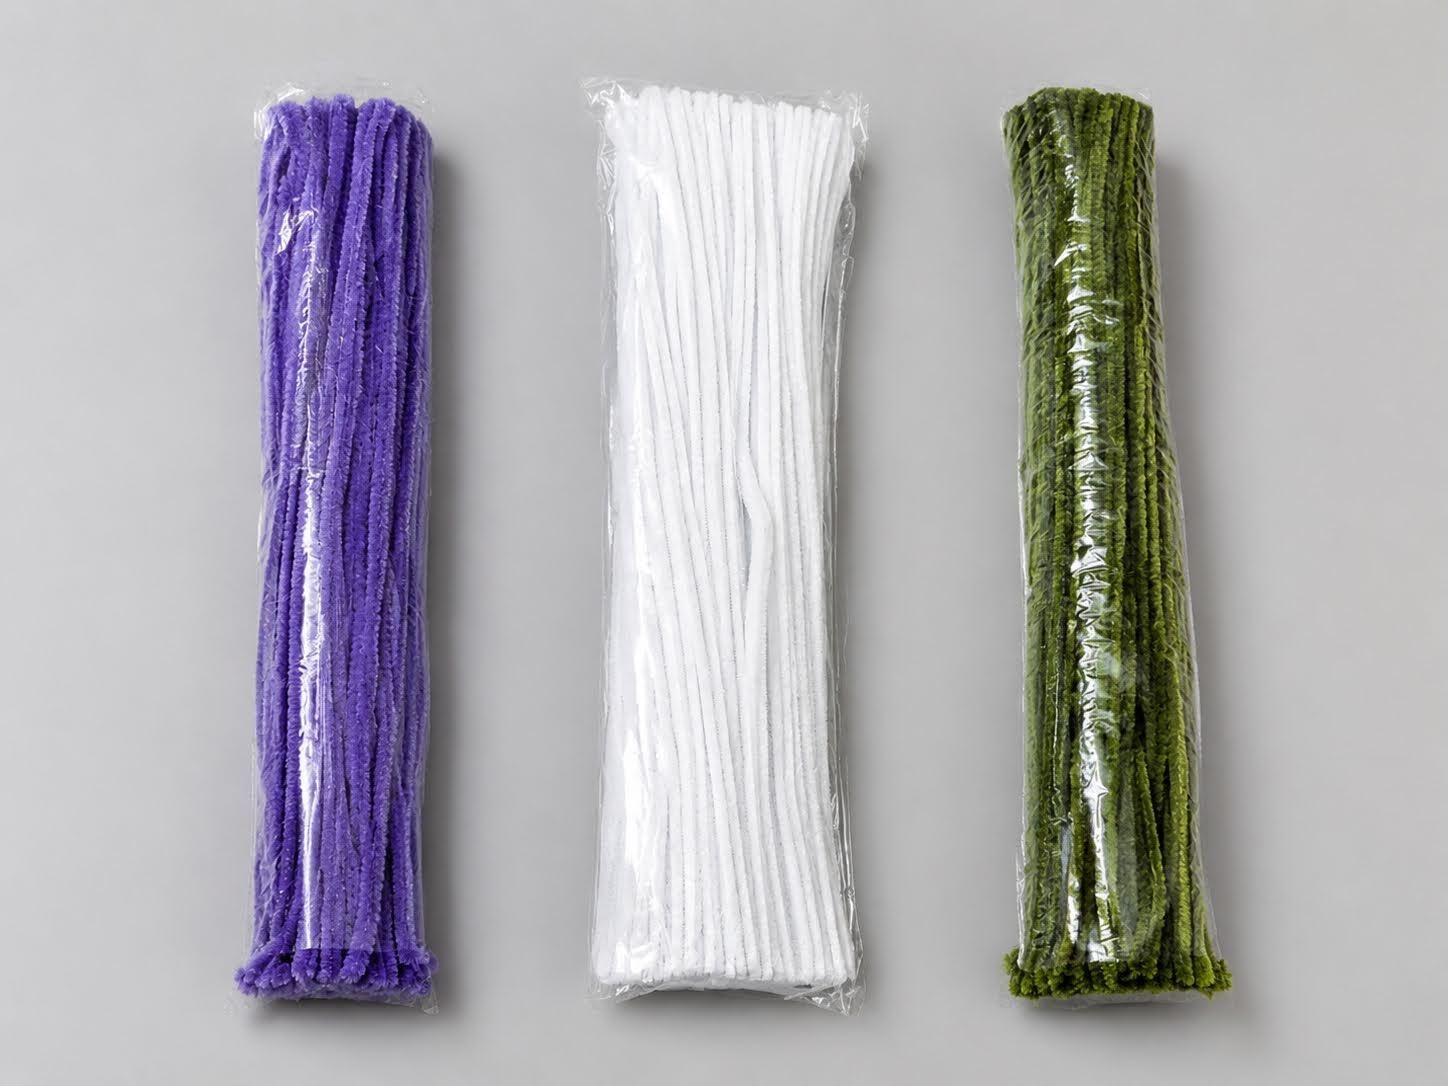
Before you begin, gather all the materials you'll need and organize them on your workspace. Having everything prepared beforehand makes the project much easier to assemble and helps keep the flower petals consistent in size and shape.
For this, you'll need:
- 15 Purple, 6 white, and 9 green pipe cleaners
- Bamboo skewers or wooden sticks
- Glue gun and glue sticks
- Small scissors
Prepare the Petal Pieces
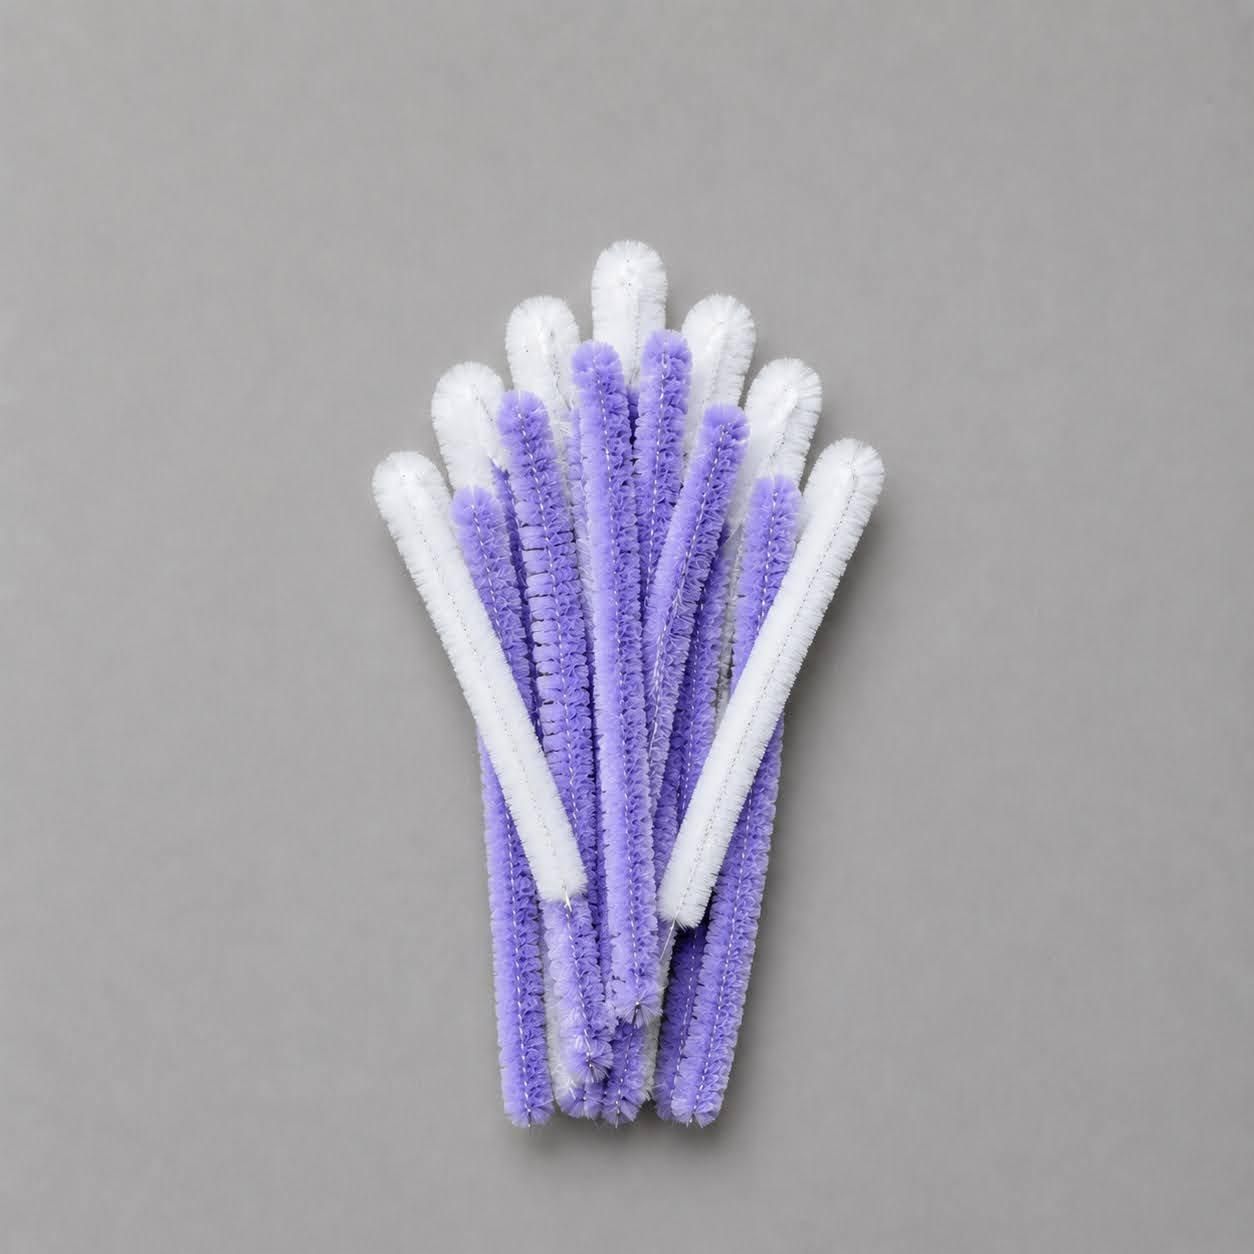
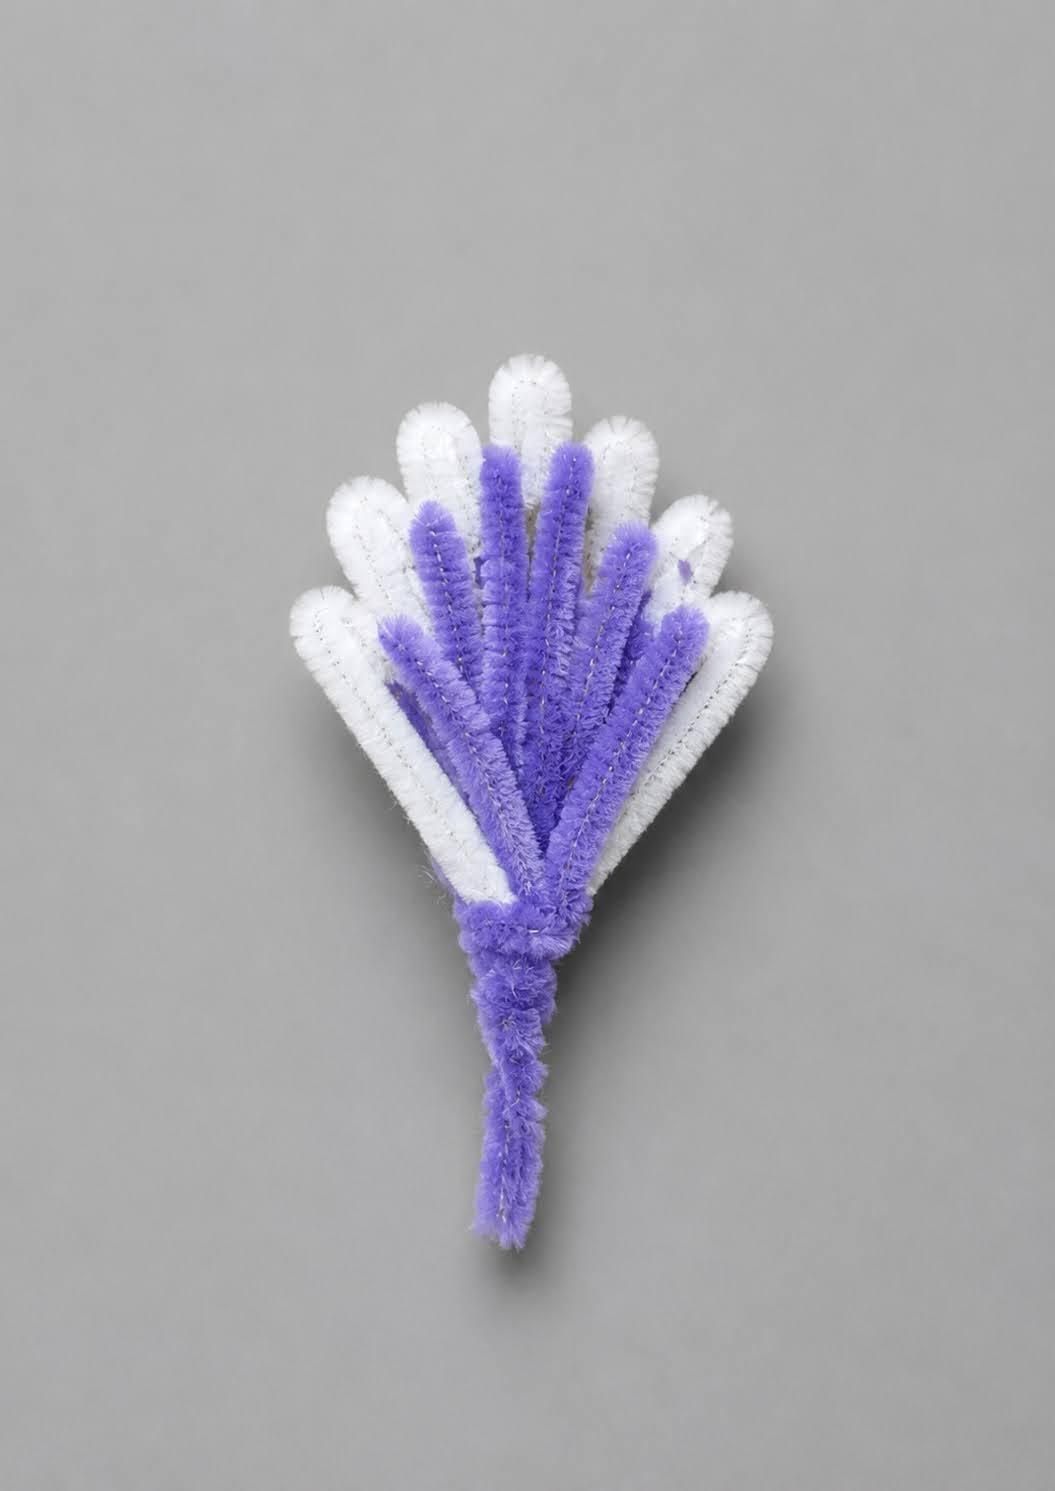
Materials for One Petal -
- 1 White pipe cleaner
- 3 Purple pipe cleaners
- Scissors
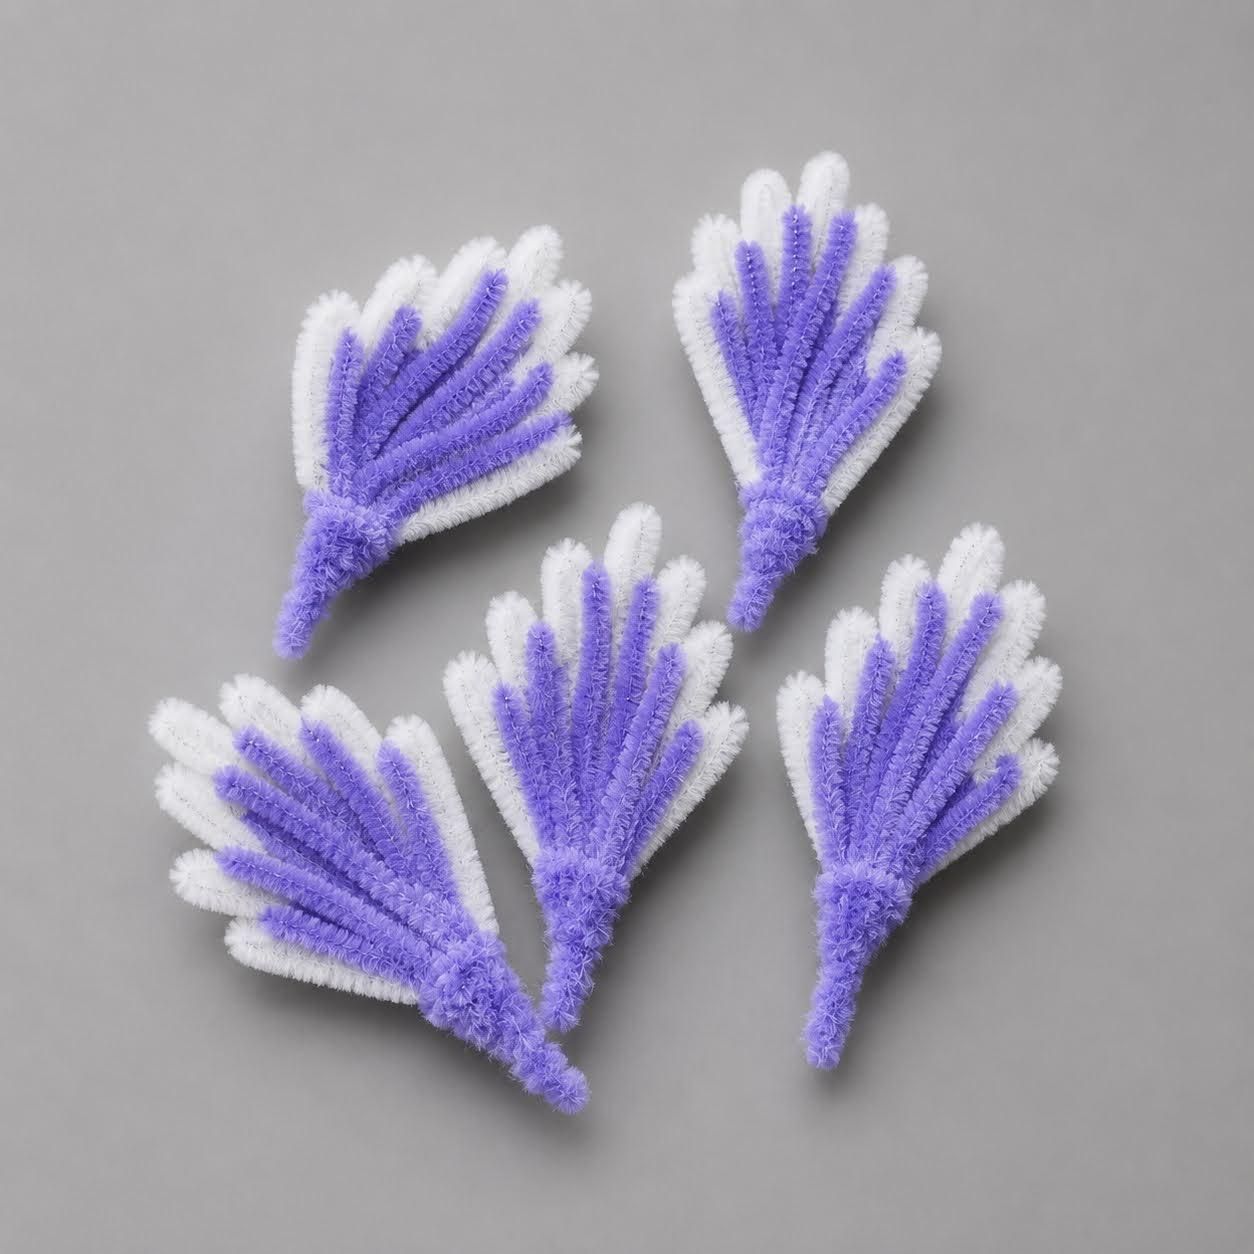
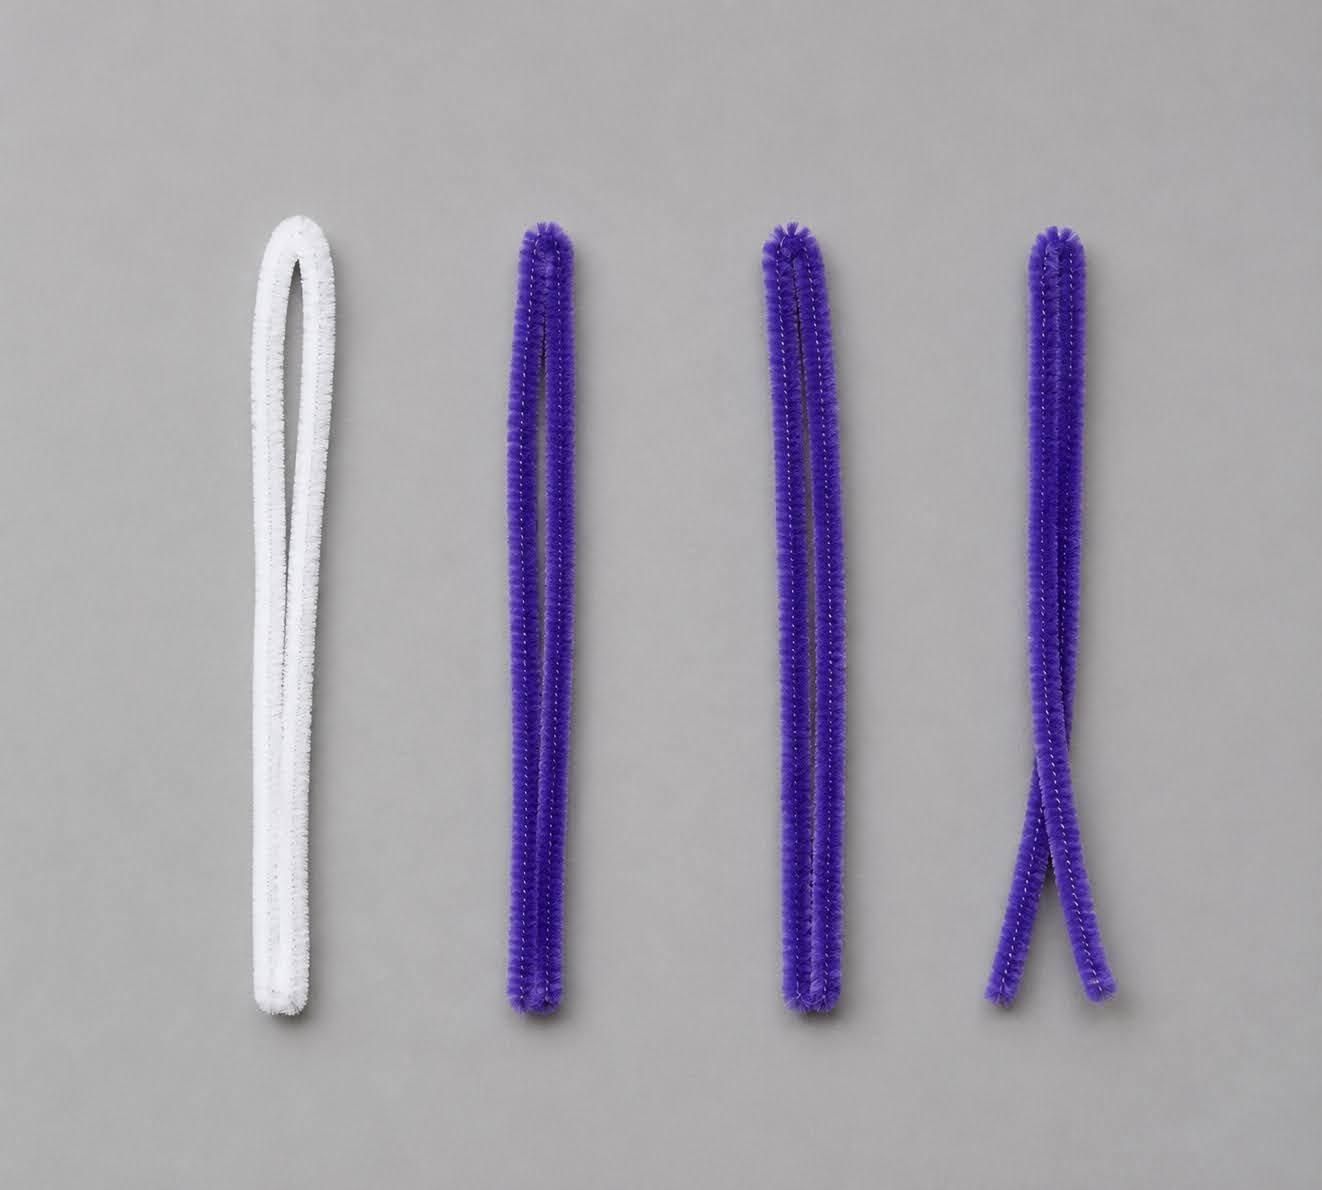
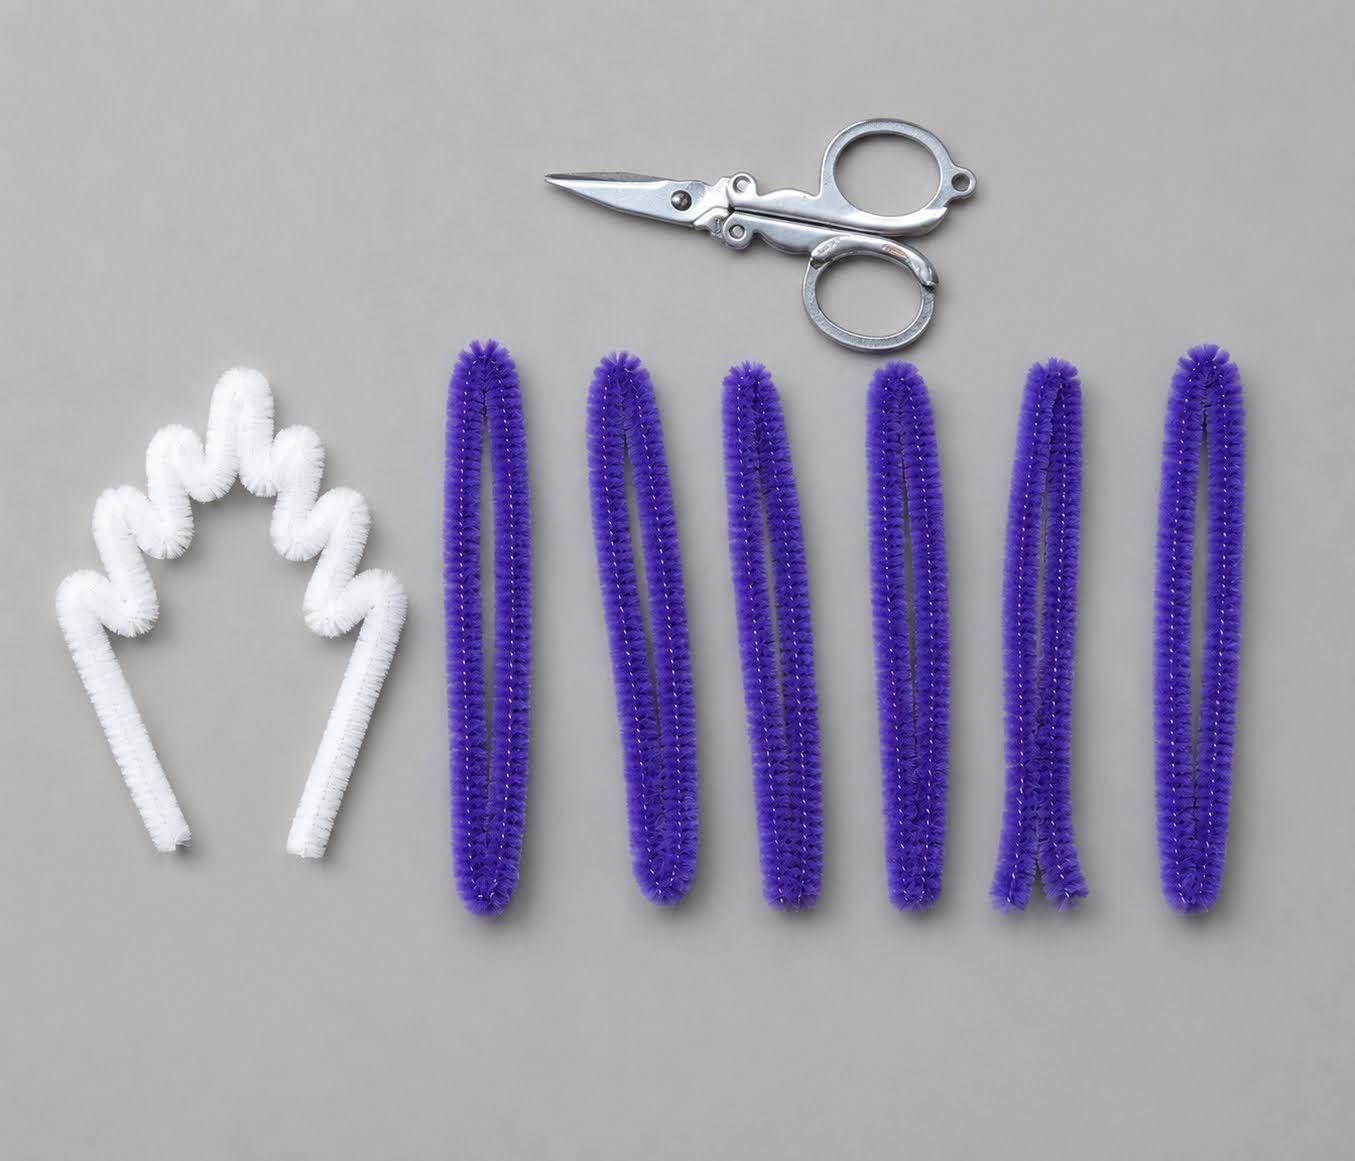
Now it's time to make the flower petals. Each petal is made using 1 white pipe cleaner and 3 purple pipe cleaners. Start by bending the white pipe cleaner into a zigzag shape, as shown in the picture.
Next, take the 3 purple pipe cleaners and cut each one in half, giving you 6 equal pieces. Place these 6 purple pieces inside the white zigzag frame and gather all the ends together.
Twist the bottom tightly to secure everything in place. Once finished, gently spread the purple pieces to give the petal a full and even shape. Repeat this process until you have 5 petals for one flower.
Make the Stamens
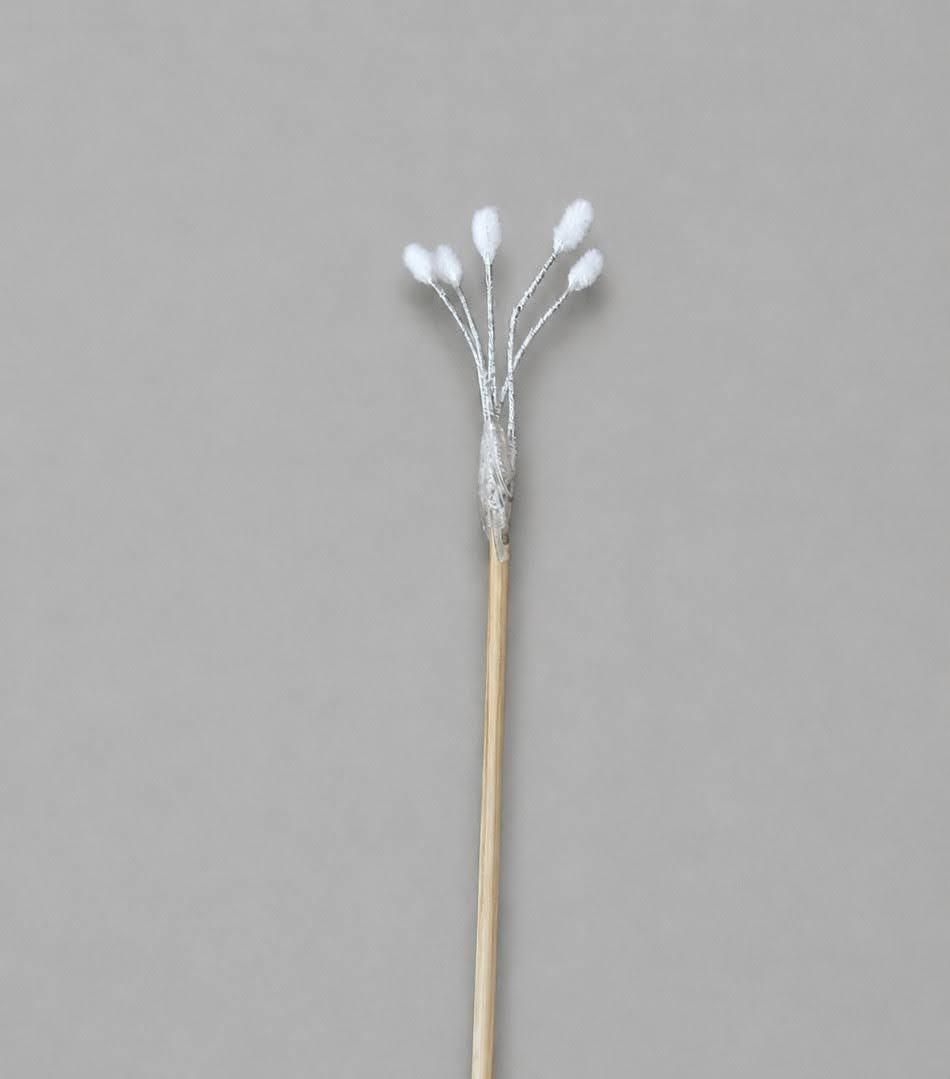
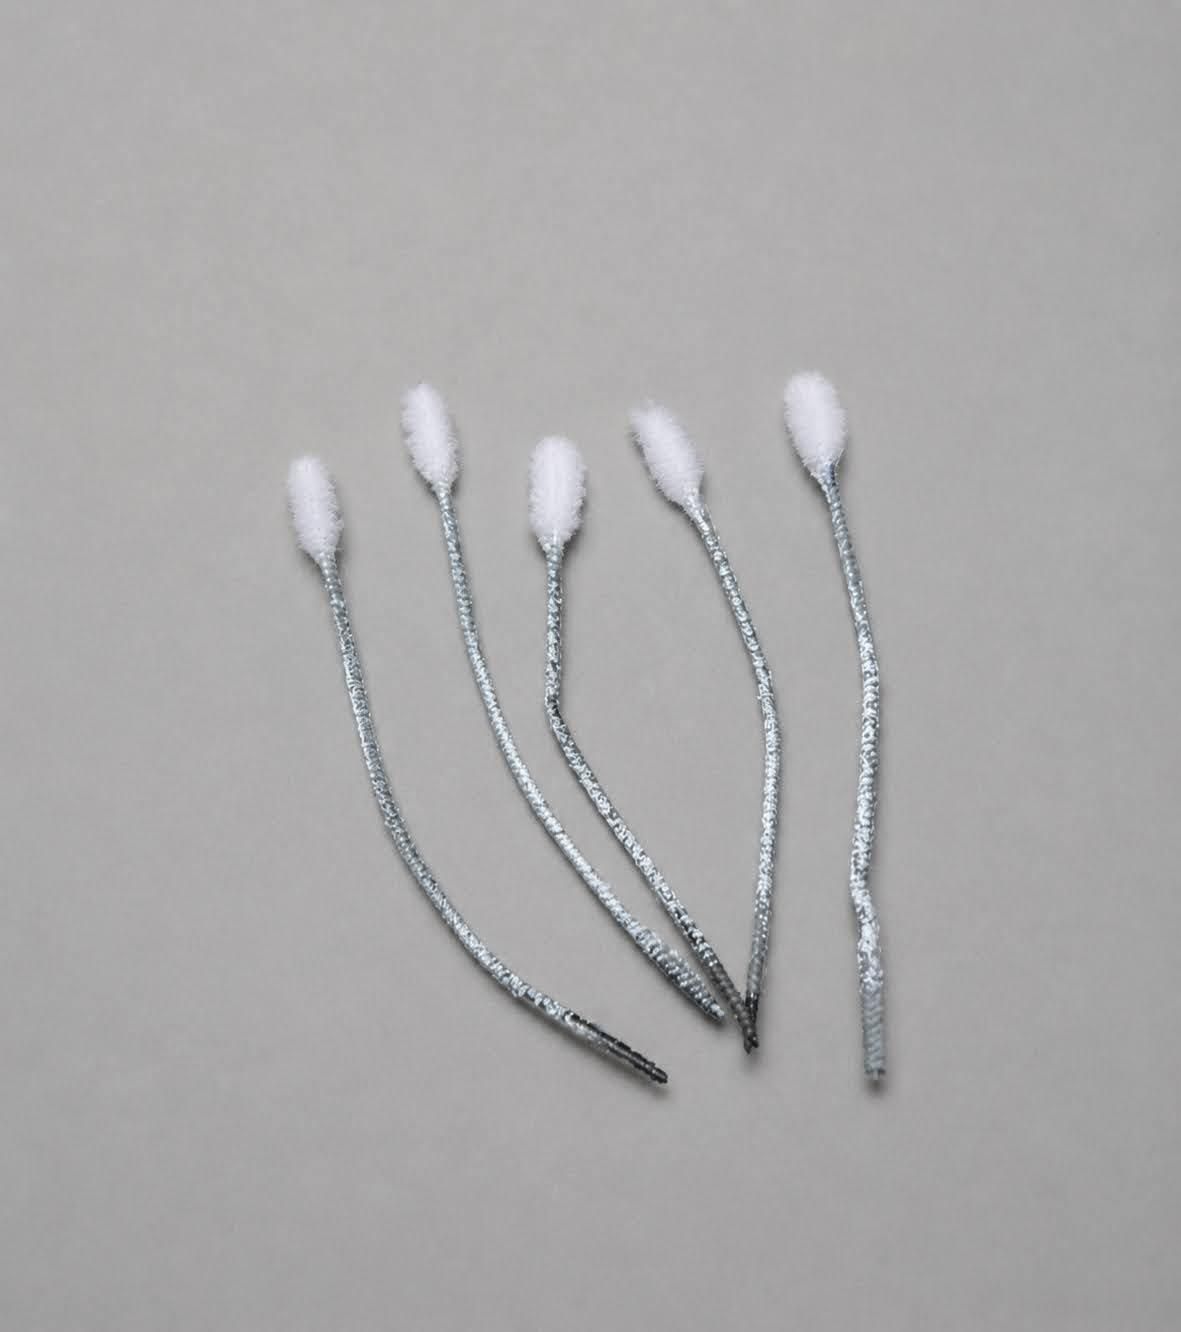
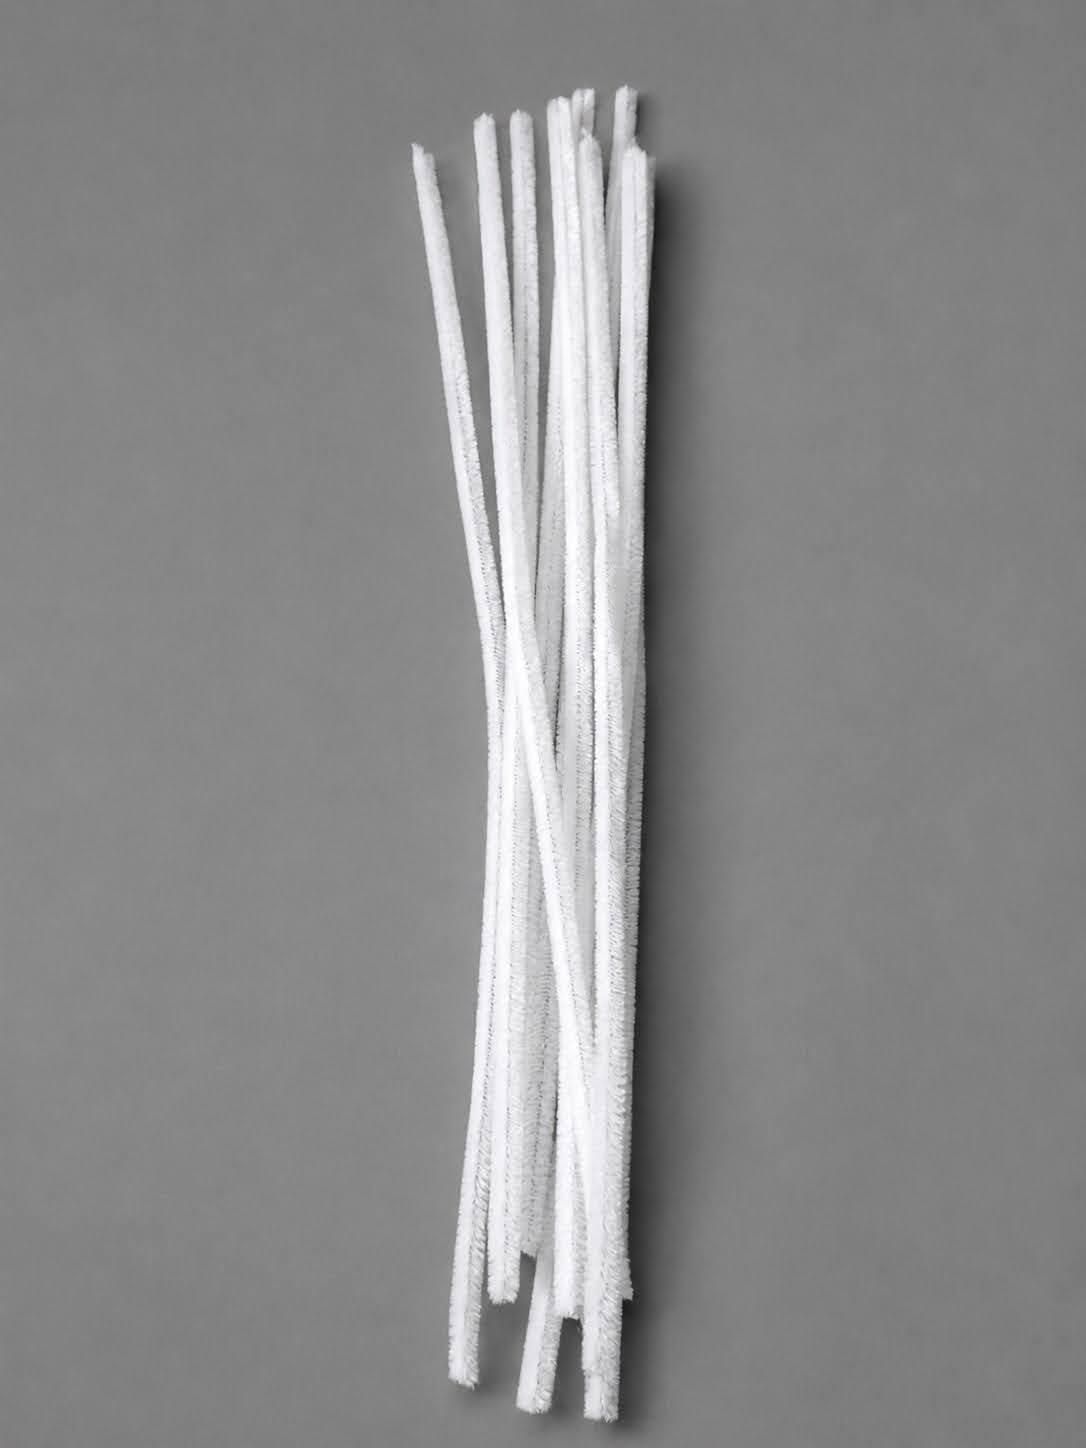
Materials to Make 5 Stamens -
- 2 White pipe cleaners
- Scissors
- Candle or lighter
Instead of using store-bought stamens, I made my own from pipe cleaners. Take 2 white pipe cleaners and cut each one into 3 equal pieces (about 10 cm each). This gives you 6 pieces, which is enough to make the 5 stamens needed for one flower.
Using a candle or lighter, carefully heat about 9 cm of each piece while slowly rotating it. As the fibers burn away, they leave behind a thin wire stem with a small white fuzzy tip that closely resembles a natural flower stamen. Repeat this process for all the pieces until you have 5 finished stamens ready for assembly.
Assemble the Flower
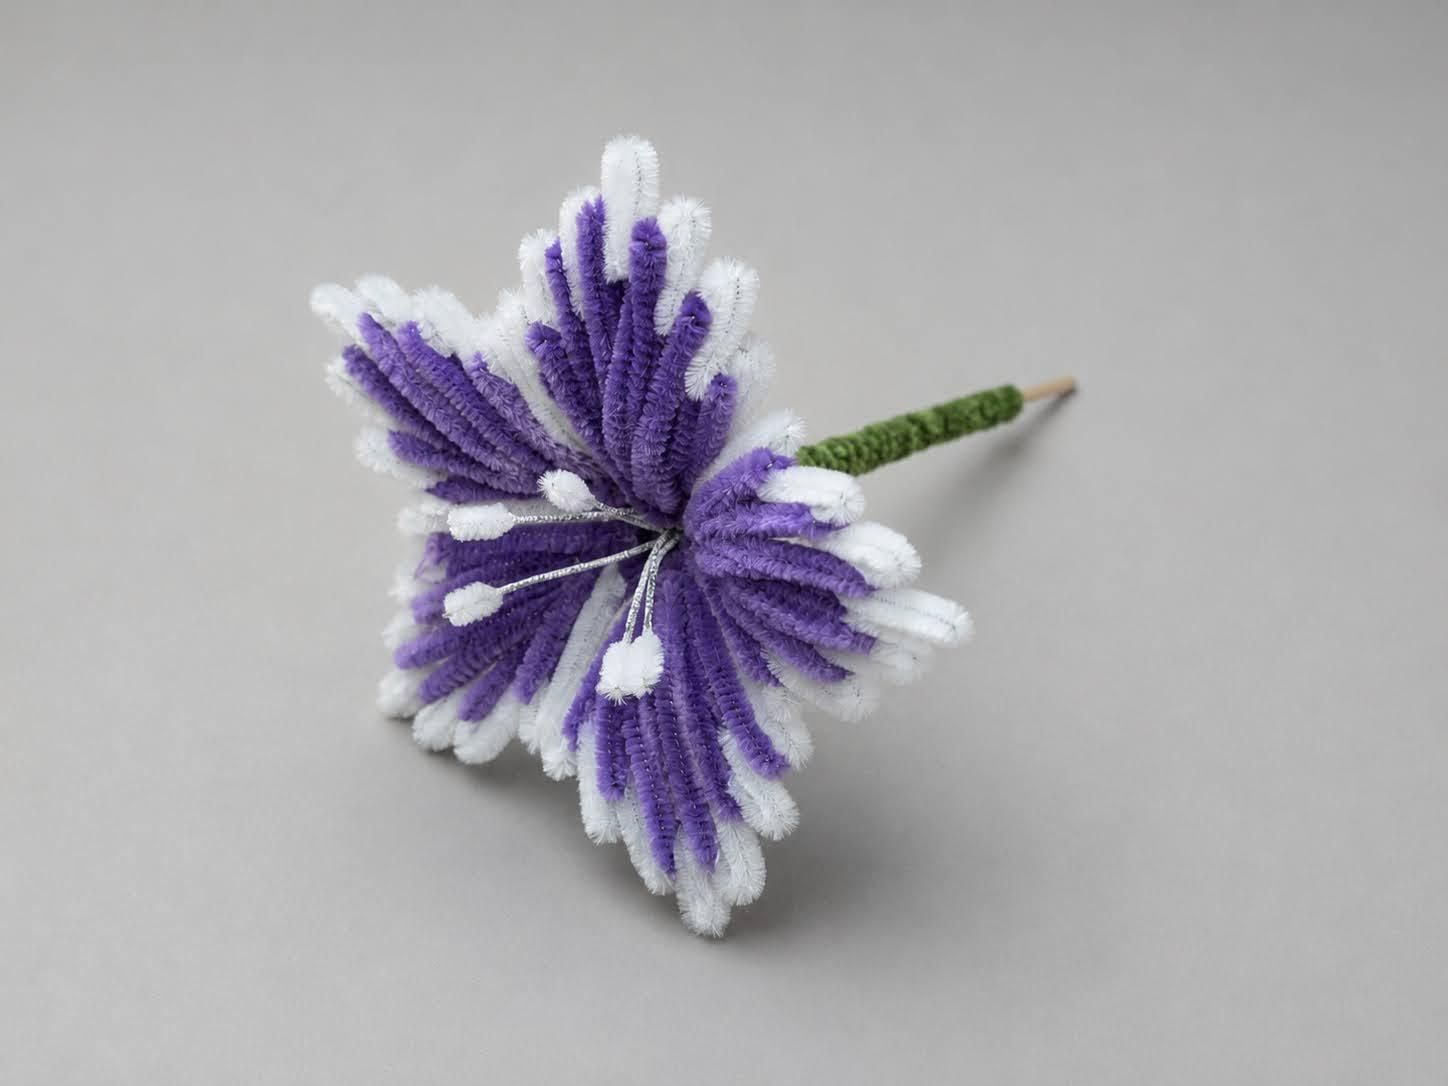
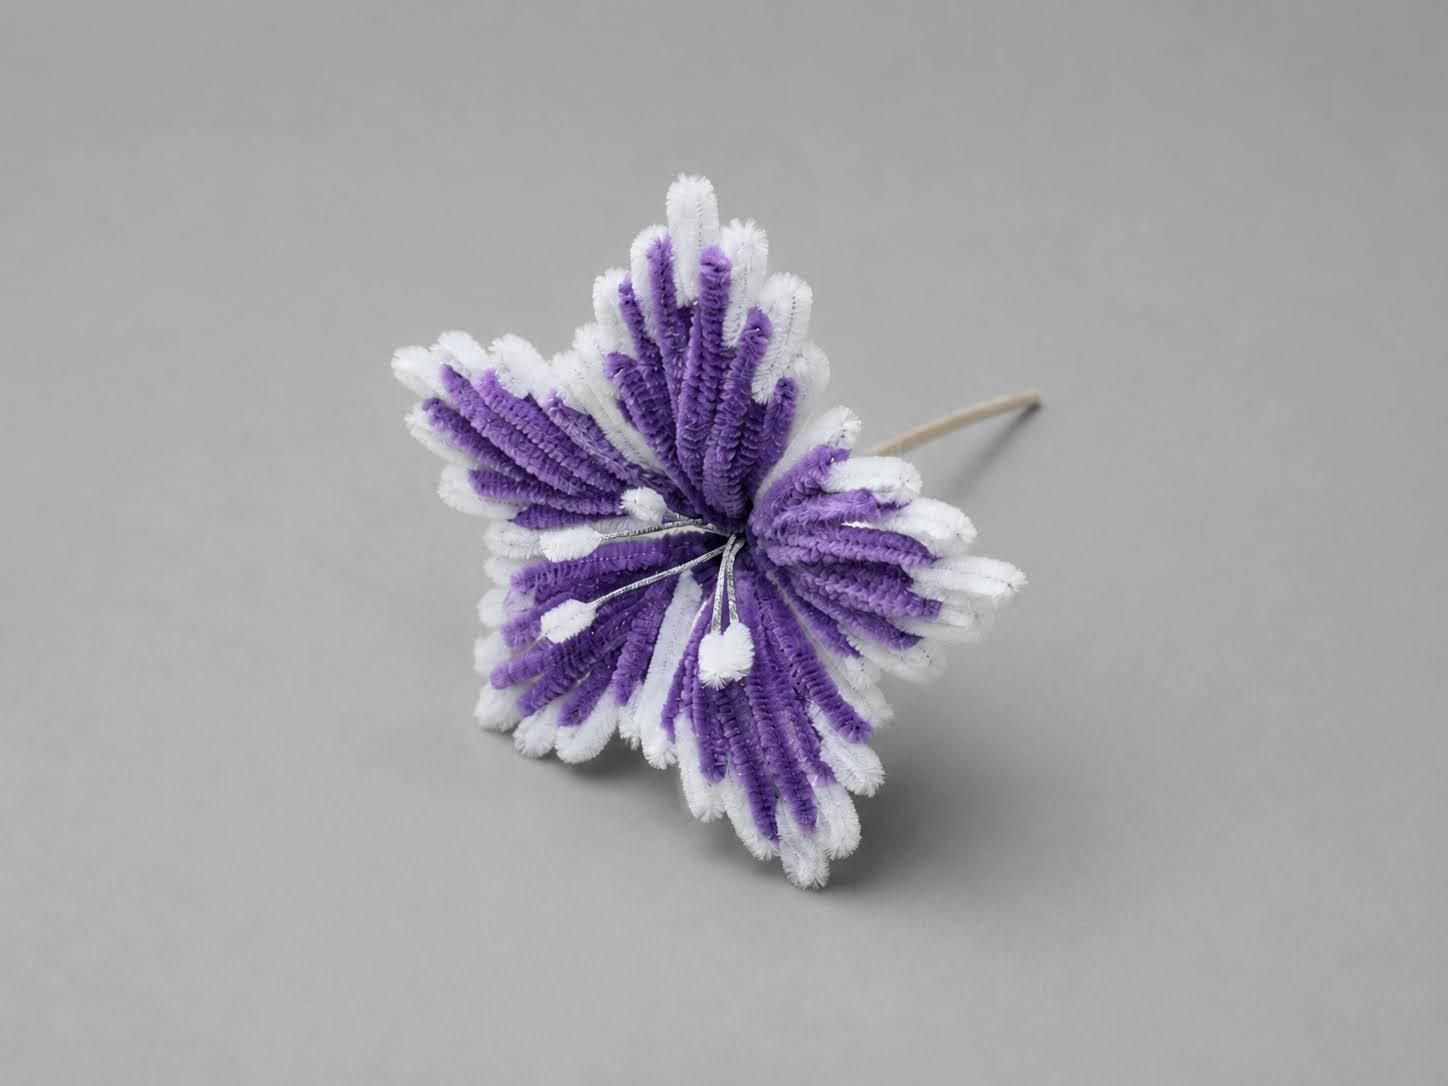
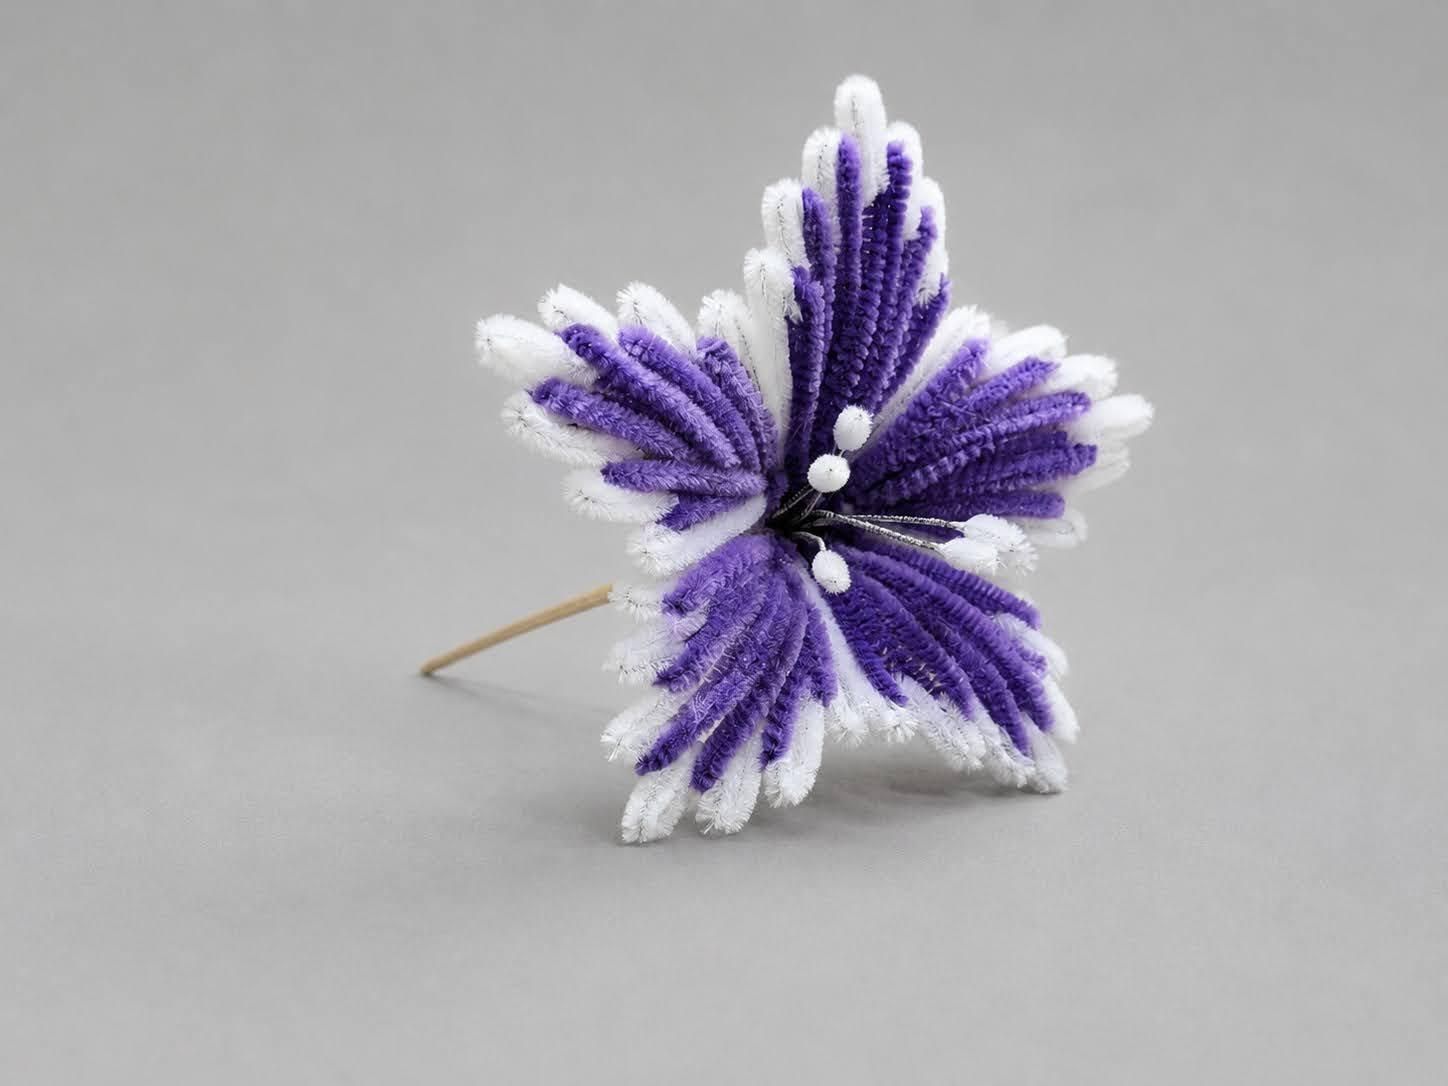
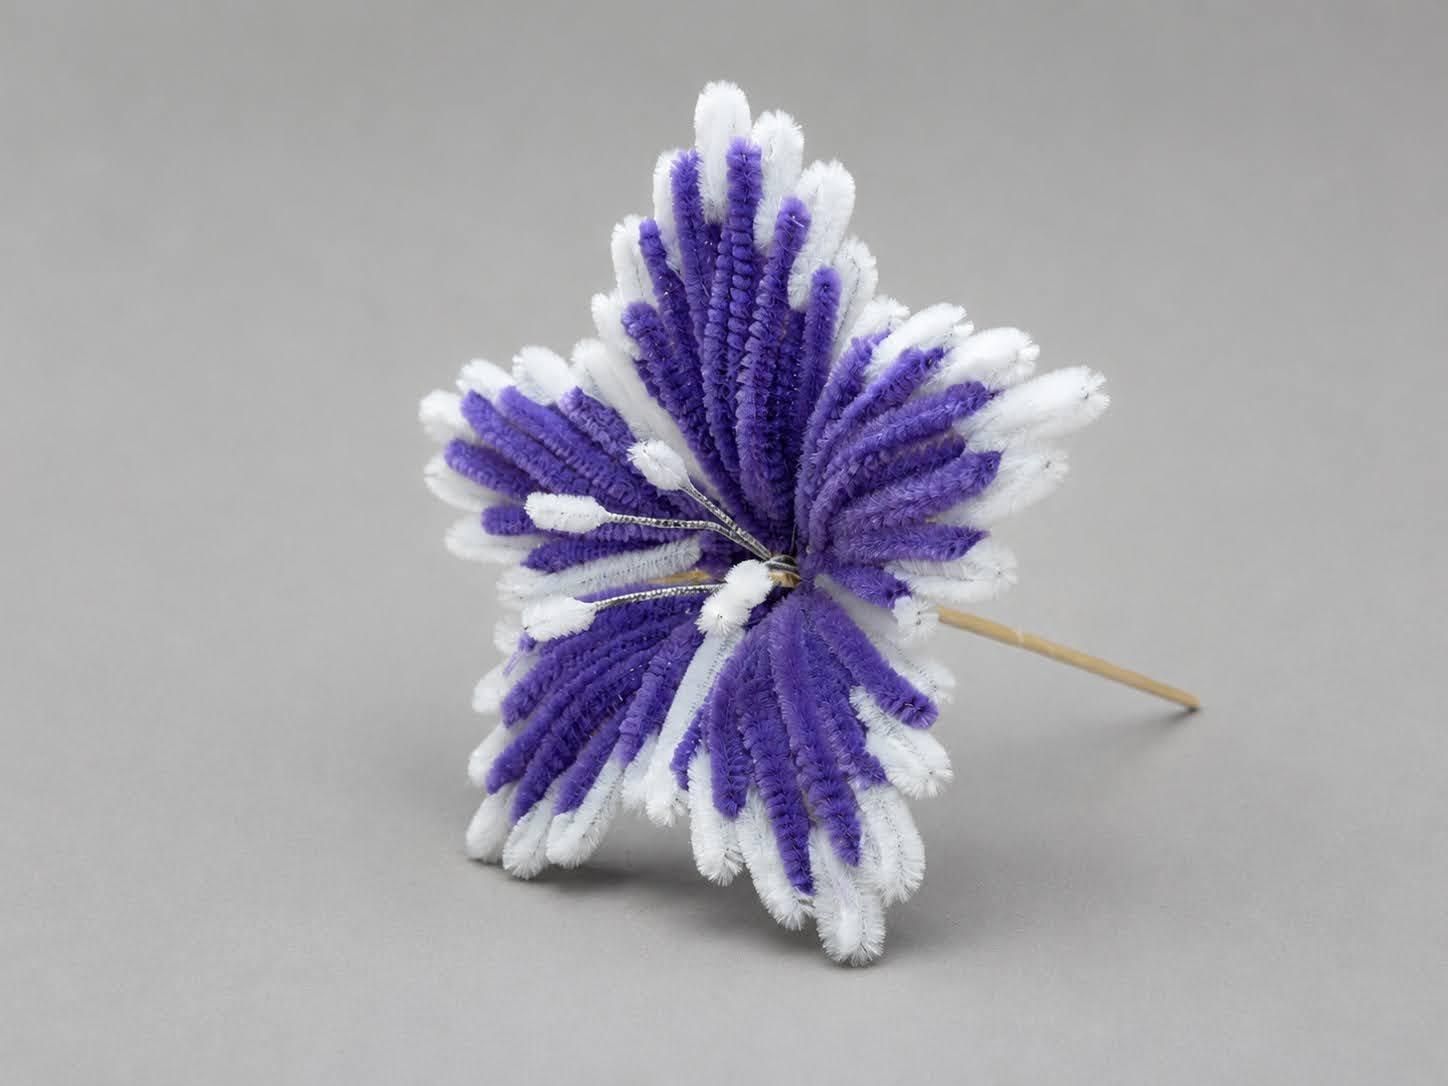
Now it's time to assemble the flower. Start by arranging the 5 petals evenly in a circular shape. Apply a small amount of hot glue at the base of each petal and glue them together one by one until a complete flower is formed.
Next, place the 5 handmade stamens in the center of the flower. Secure them by wrapping the base tightly with floral tape or a green pipe cleaner. If needed, you can also add a small drop of hot glue to keep the stamens firmly in place.
Once everything is secured, gently adjust the petals and stamens until the flower looks full and balanced.
Next, take a green pipe cleaner and begin wrapping it tightly around the base of the flower and down the entire wooden stick. This hides the skewer, strengthens the stem, and gives it a clean, natural appearance. If needed, apply a small amount of hot glue at the beginning and end of the wrapping to keep the pipe cleaner securely in place.
Create the Leaves
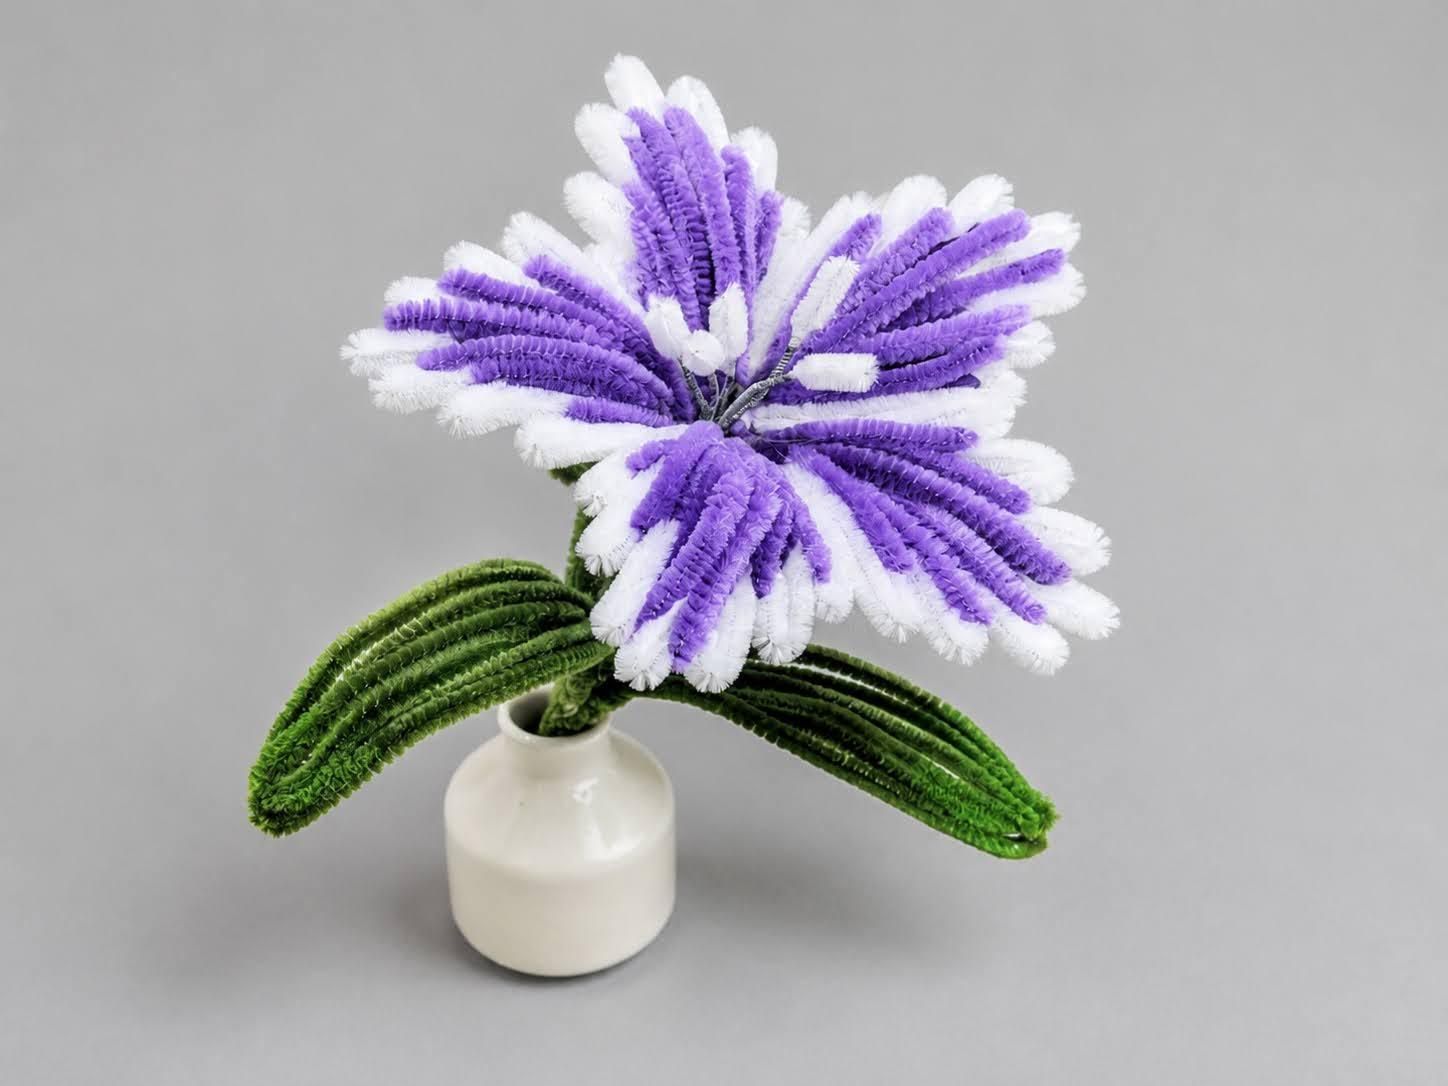
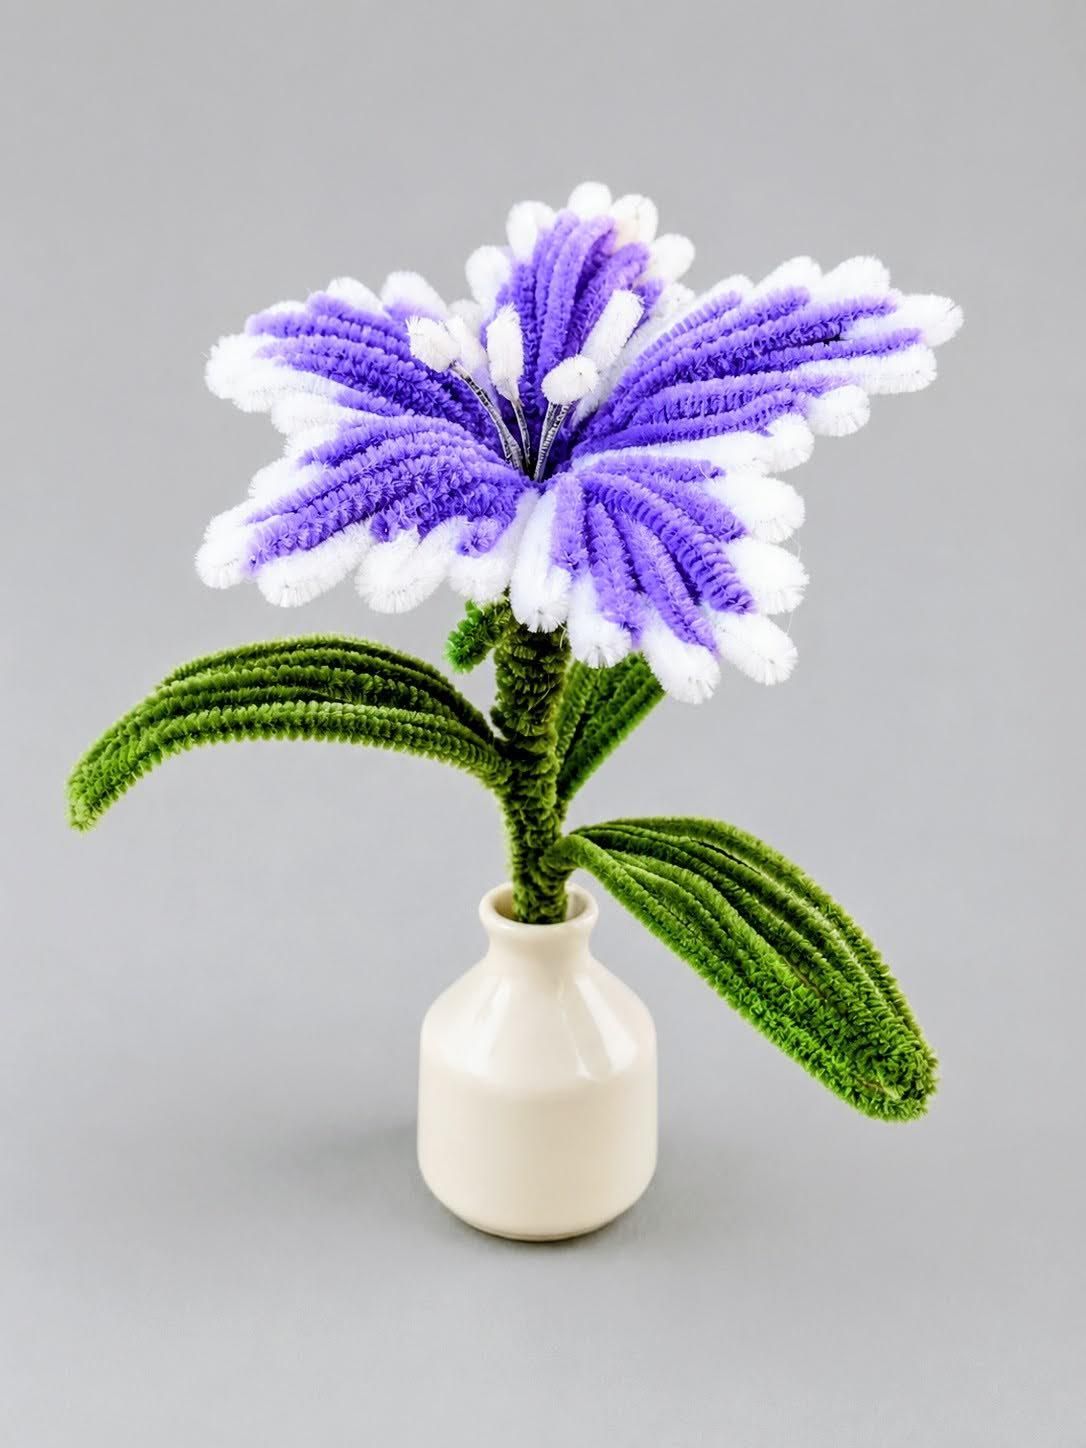
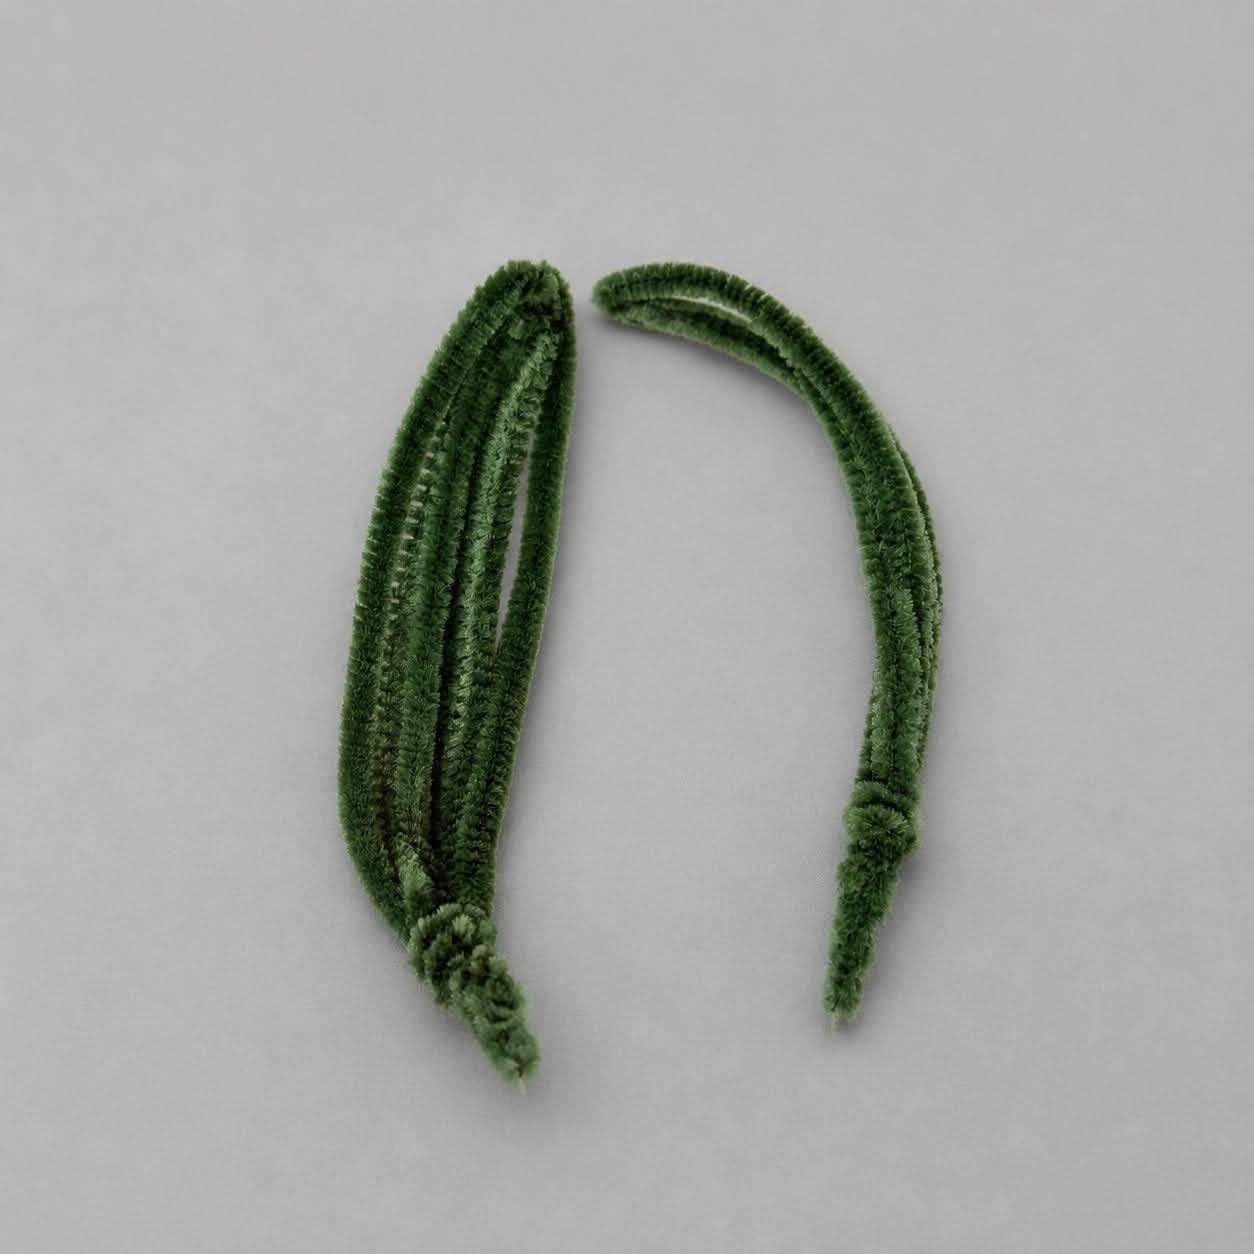
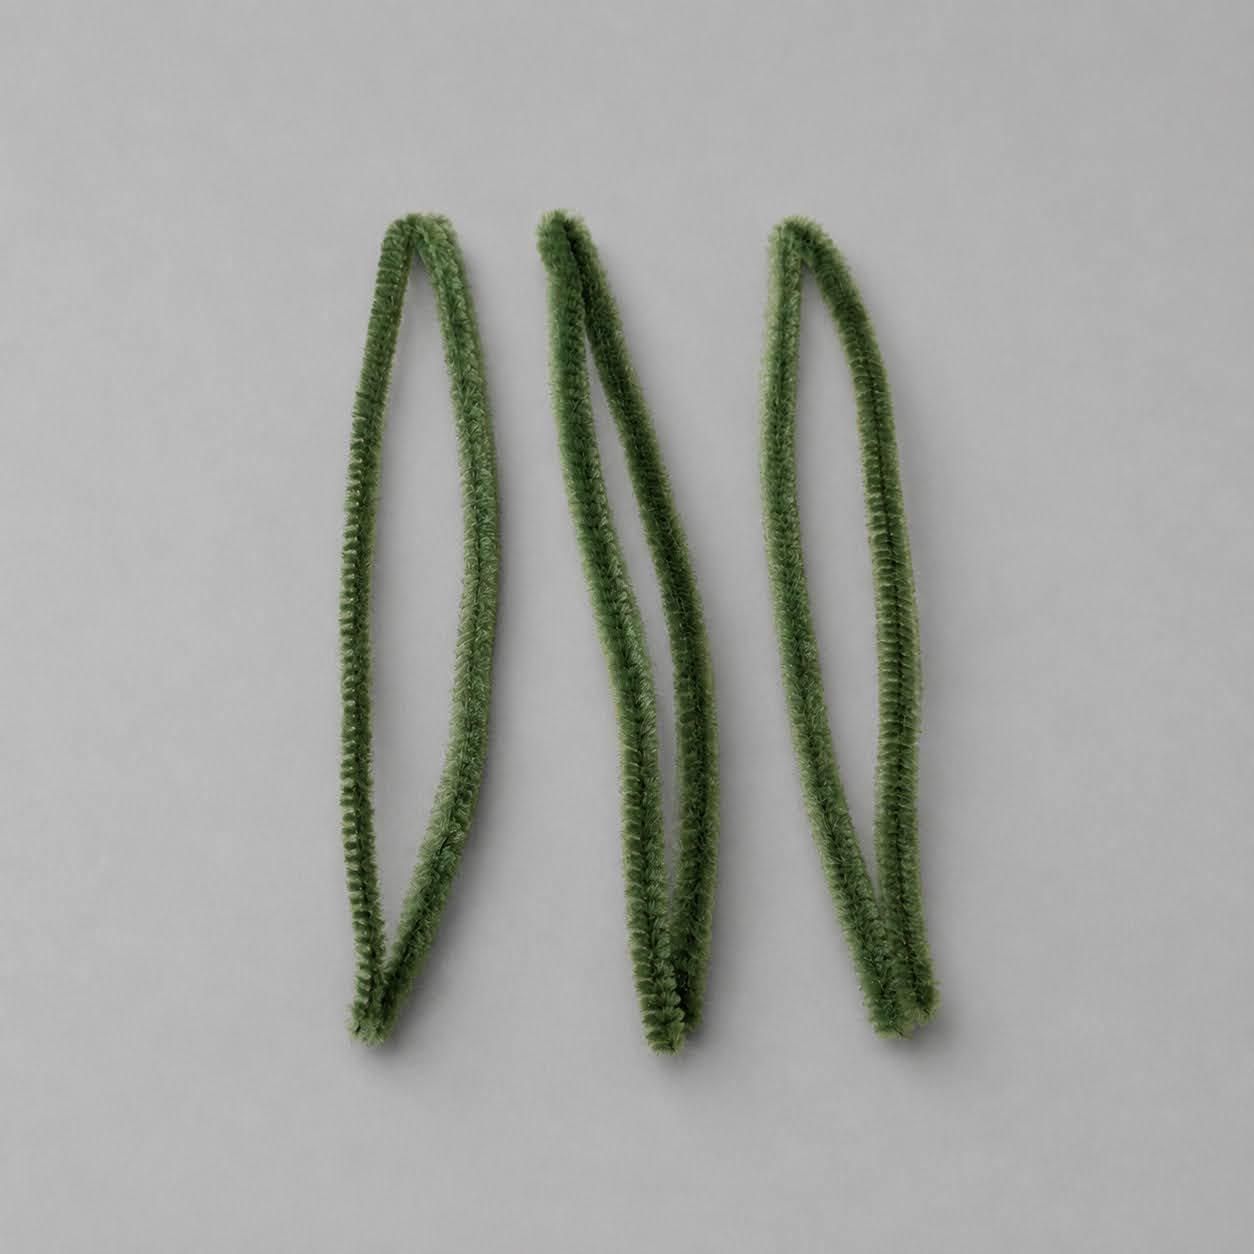
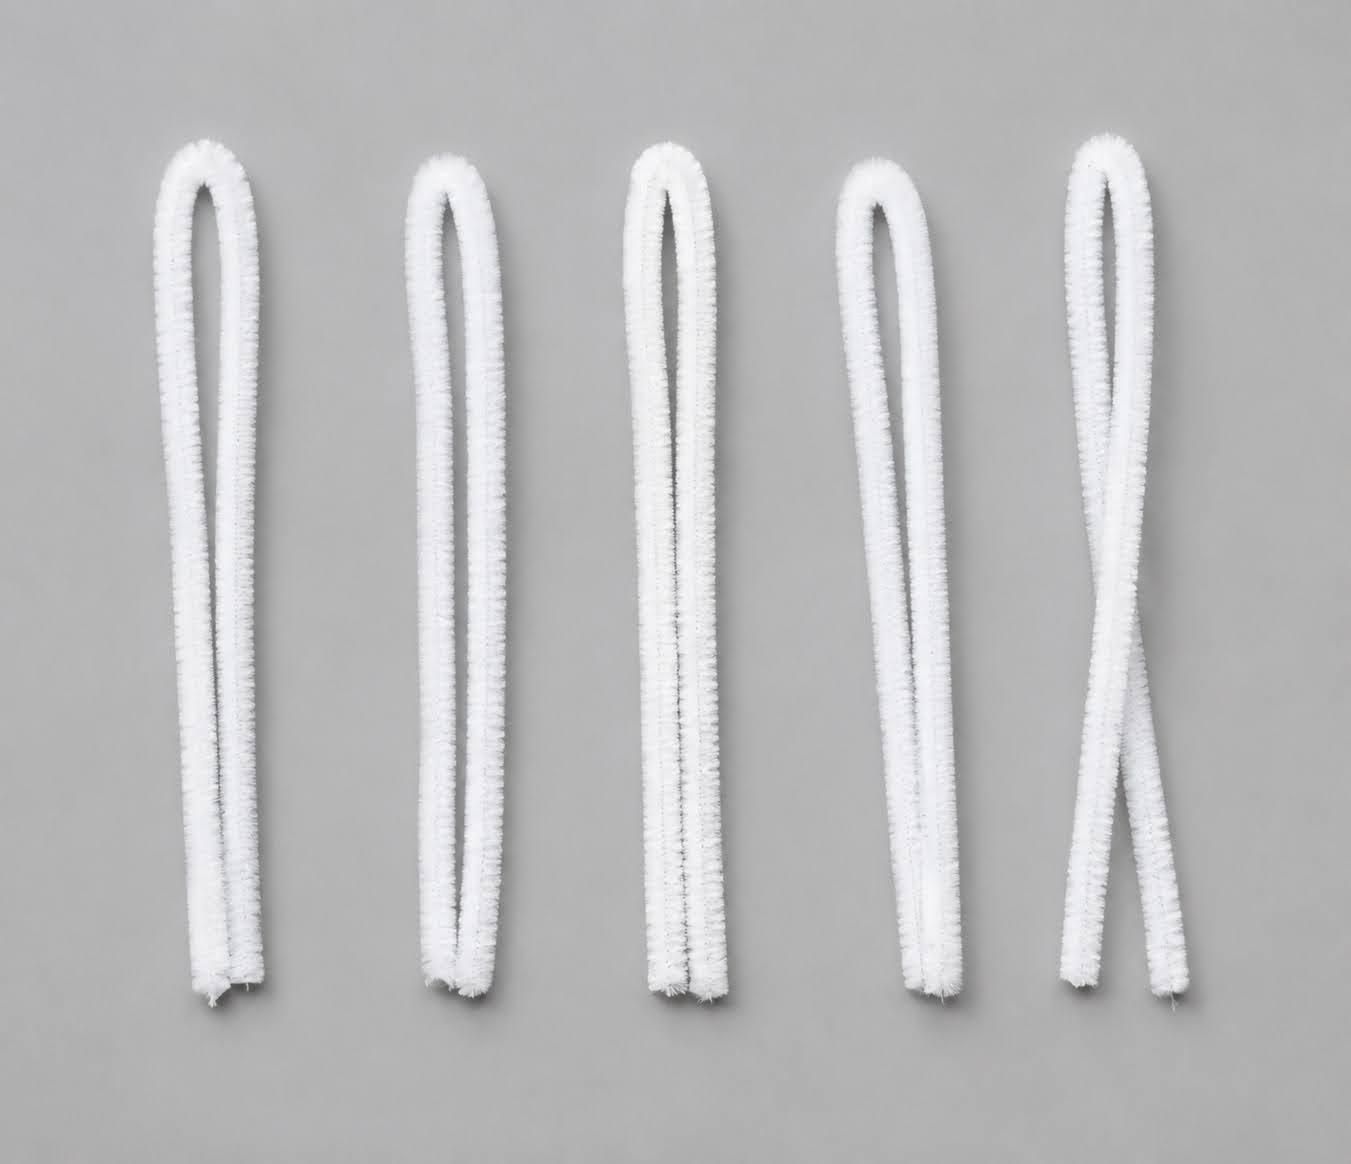
Now it's time to make the leaves. Take 2 green pipe cleaners and fold each one in half to create a long loop. Twist the two loose ends together tightly to secure the loop.
Next, gently flatten and shape the loop with your fingers to form a natural leaf. Repeat the same process to make a second leaf. Once both leaves are finished, slightly curve and adjust them until they have a smooth, realistic shape.
Attach the Leaves
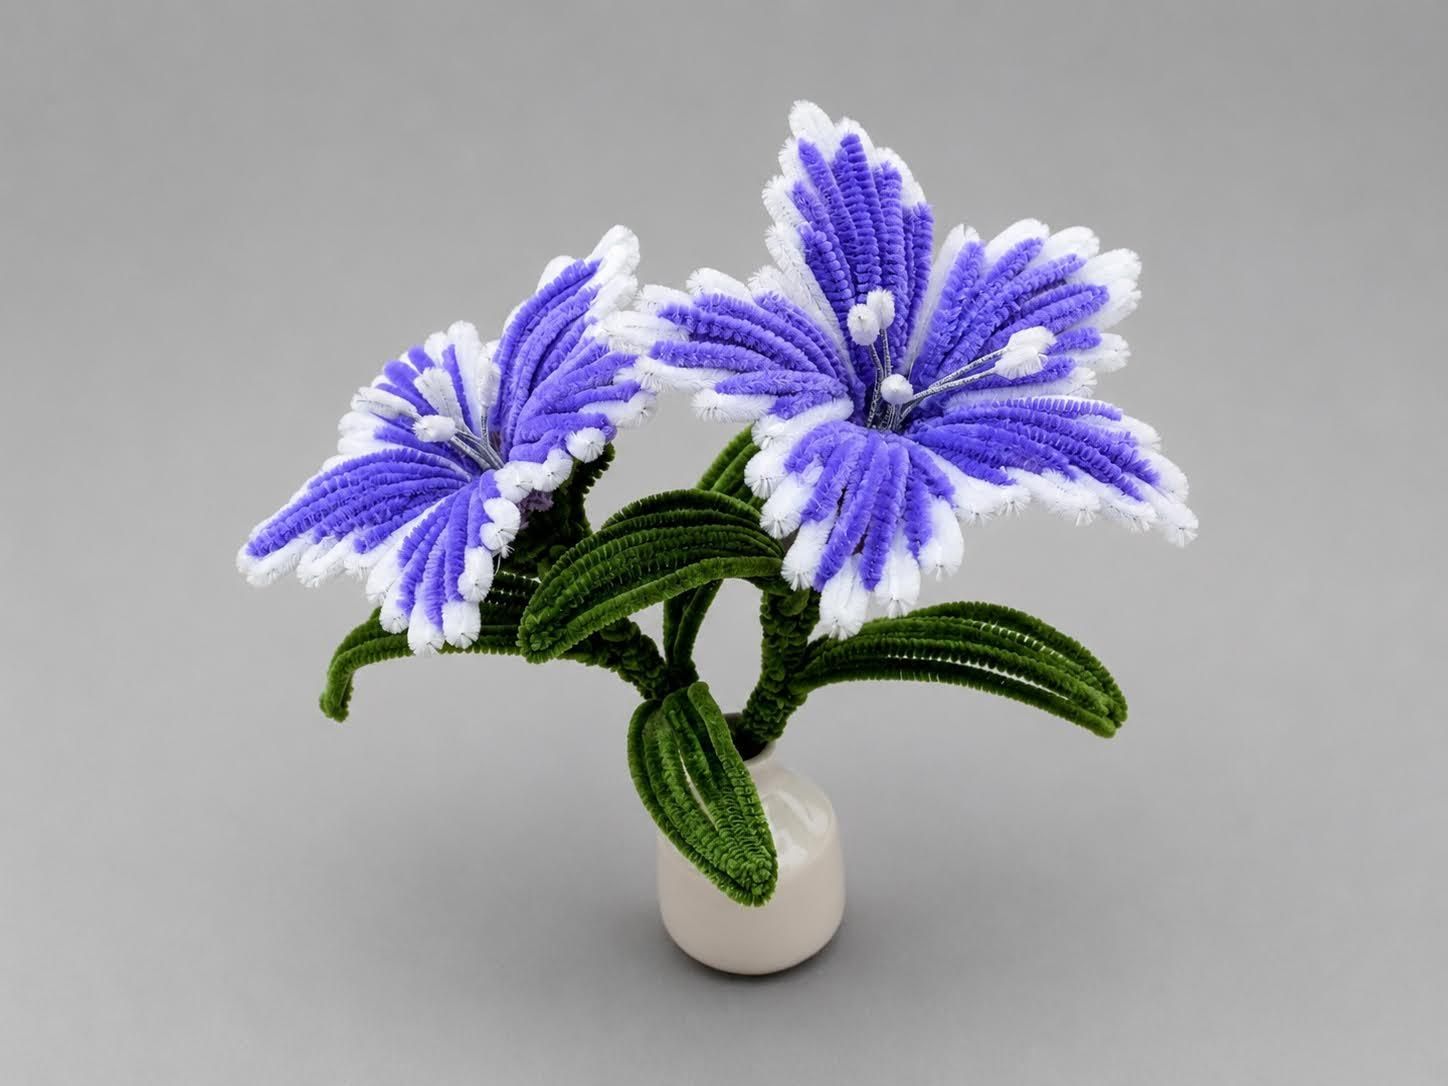
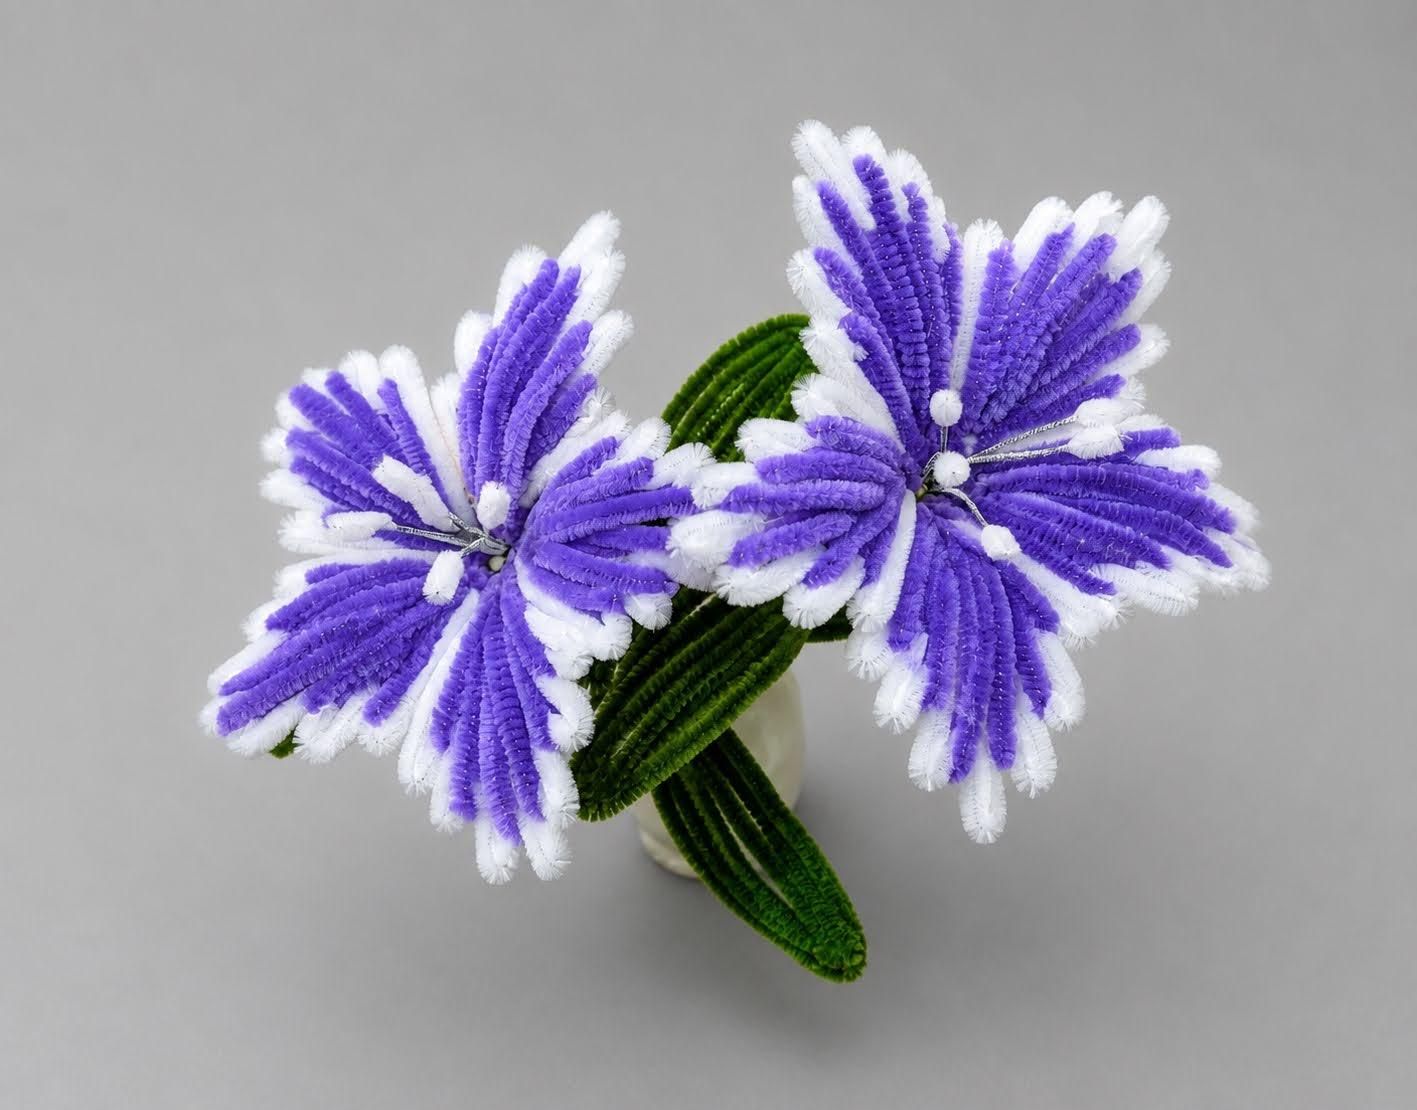
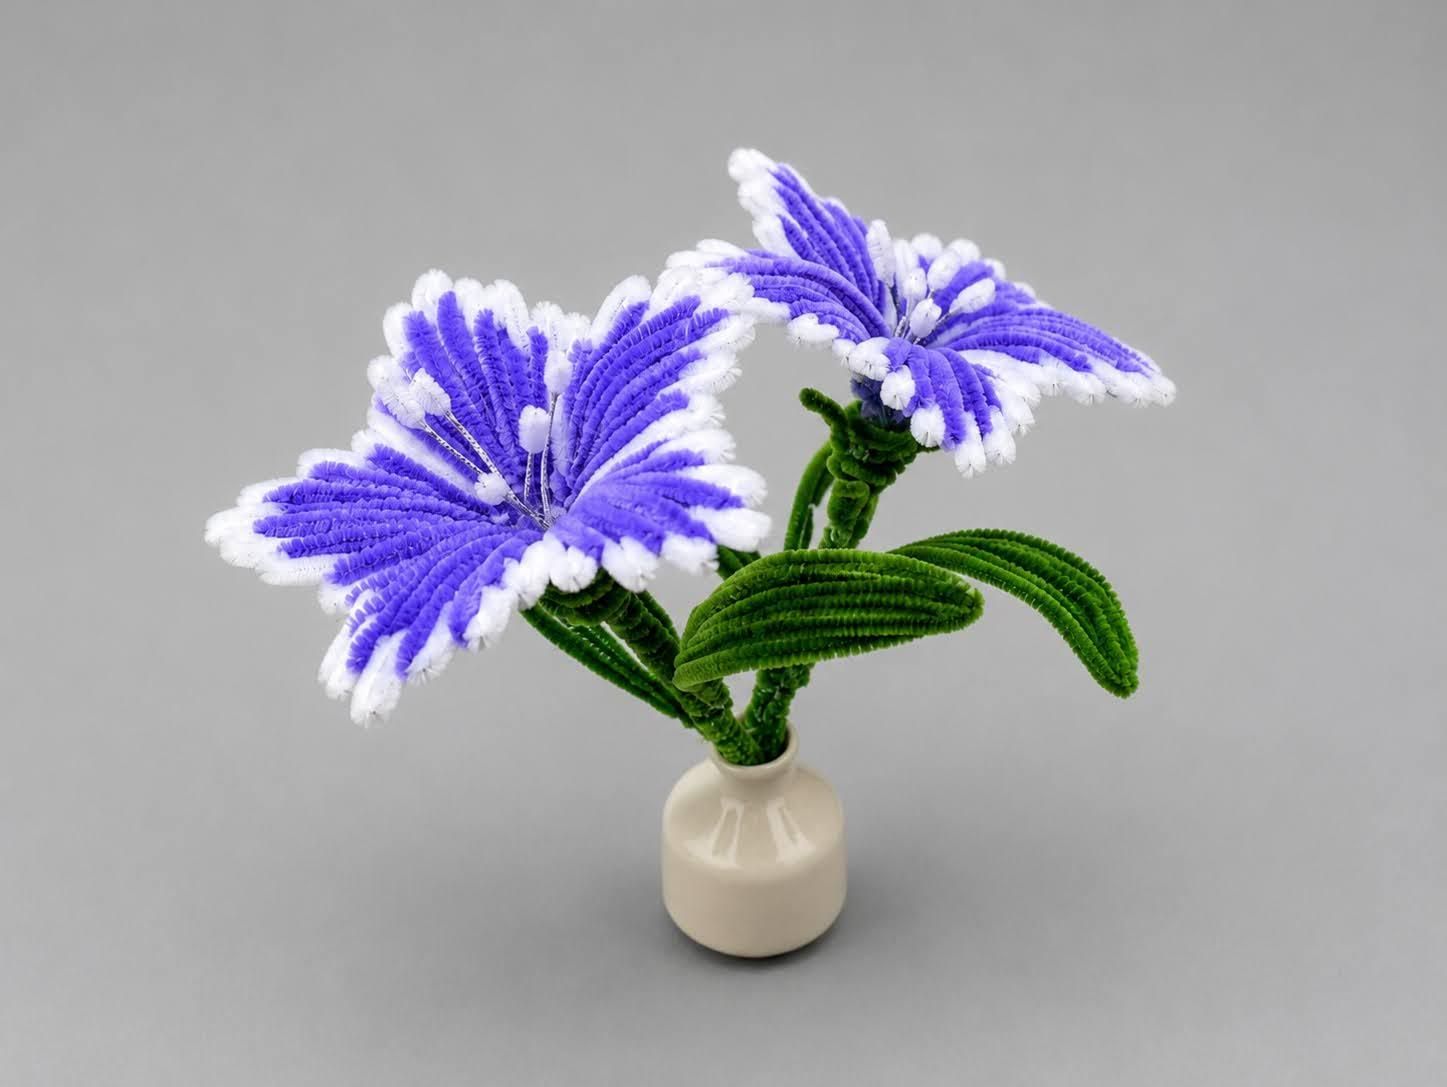
Now it's time to attach the leaves to the stem. Position the 2 handmade leaves at different heights on the stem to create a more natural and balanced look. Apply a small amount of hot glue to the base of each leaf and press it firmly against the stem.
Next, take a green pipe cleaner and wrap it tightly around the stem, covering the glued areas and securing the leaves in place. Continue wrapping until the stem looks smooth and neat. If needed, add a small drop of hot glue at the end of the wrapping to keep everything firmly secured.
Finally, gently bend and shape the leaves to give them a realistic curve. Adjust their position until you are happy with the overall appearance. Your flower is now complete and ready to be arranged into a bouquet.
Arrange Your Bouquet
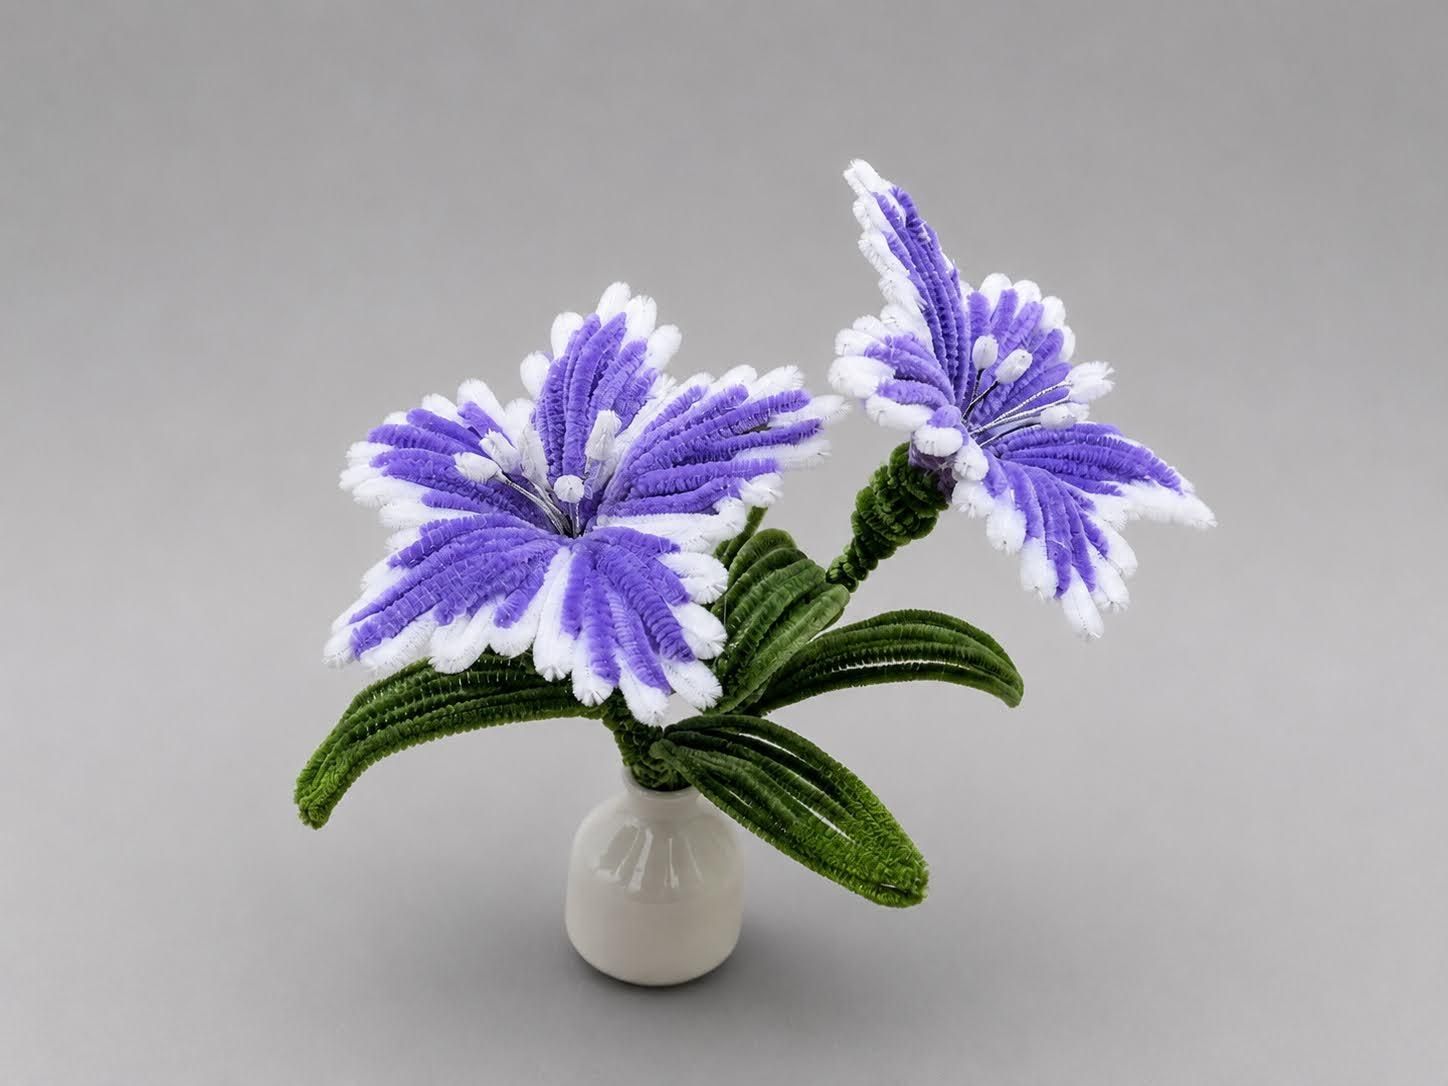
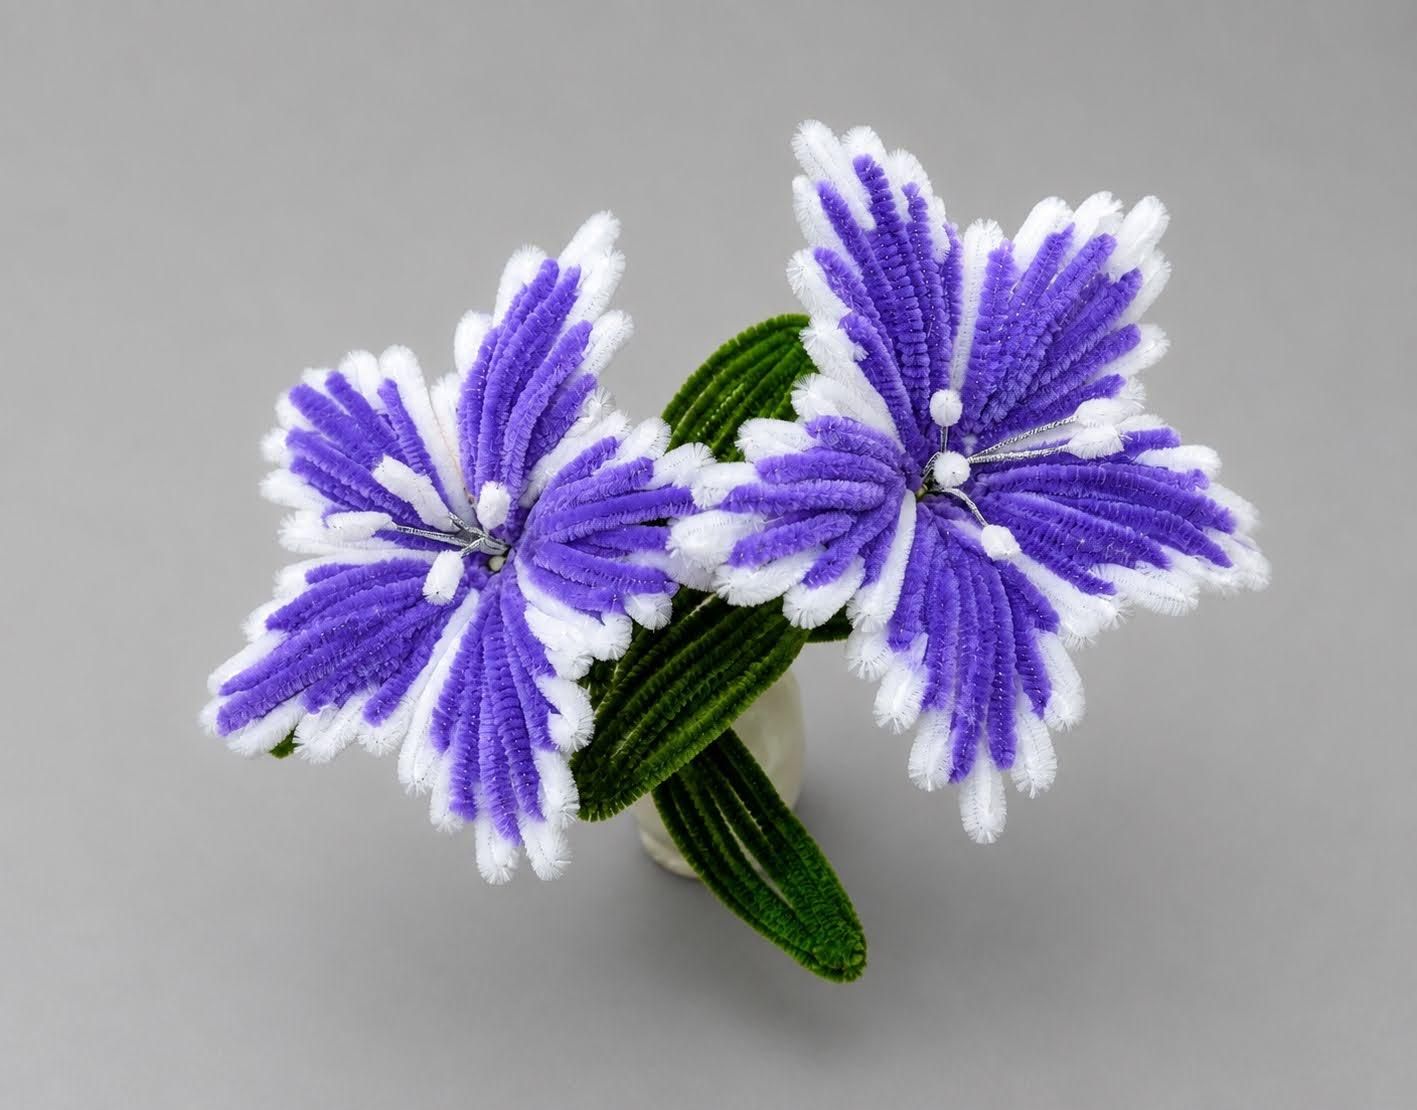
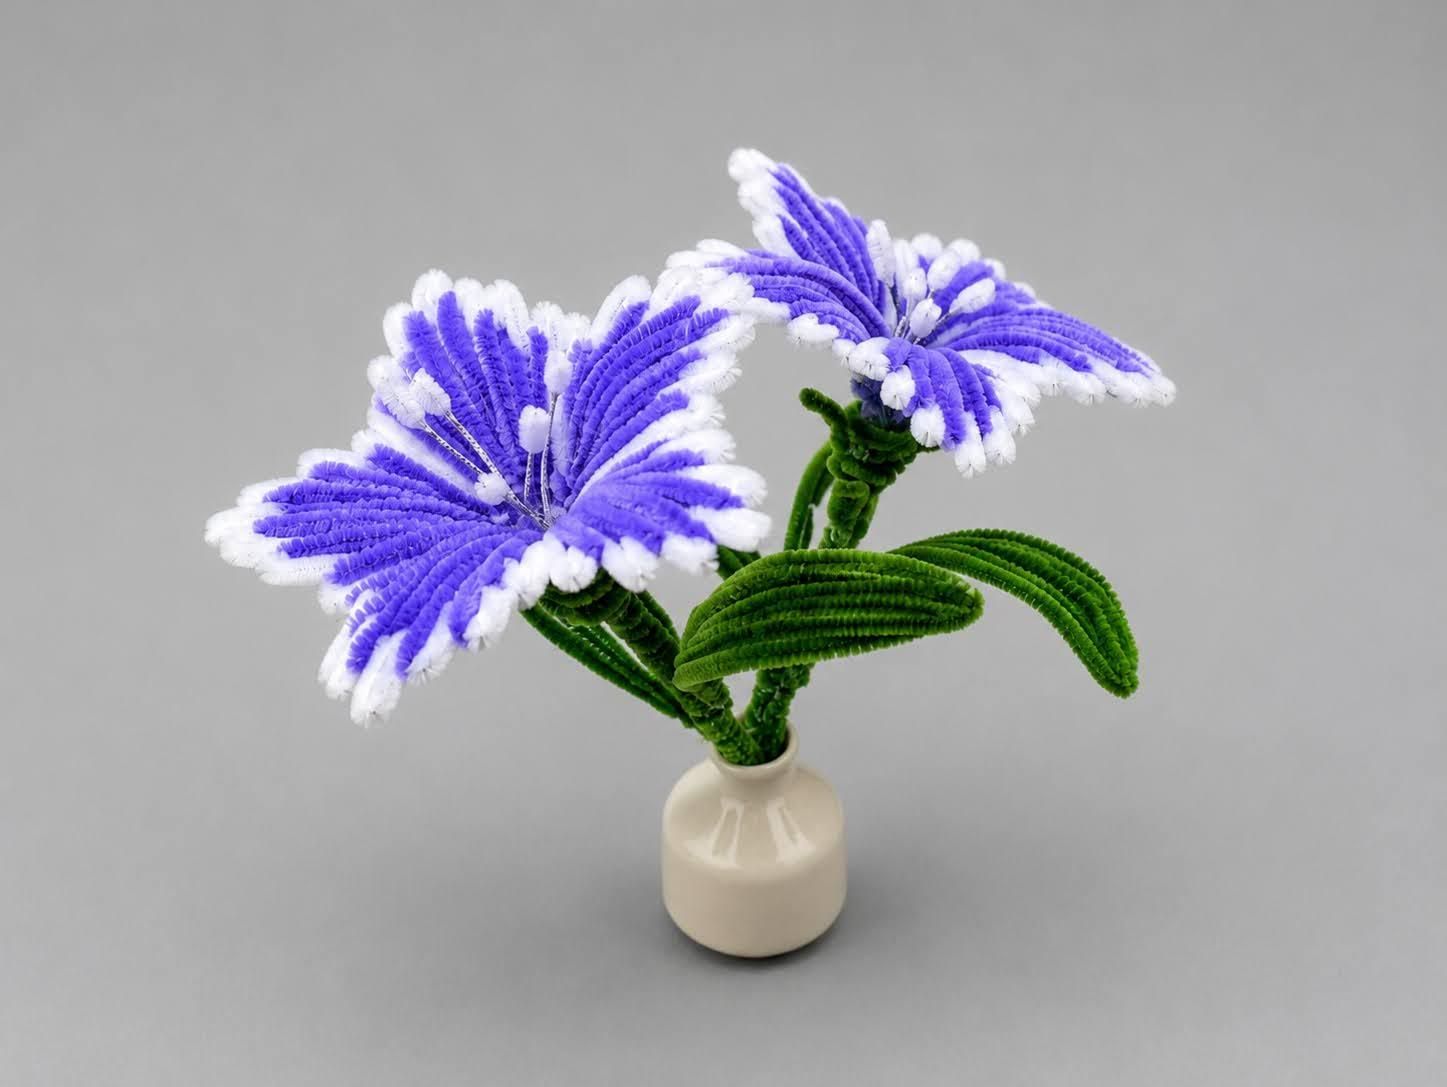
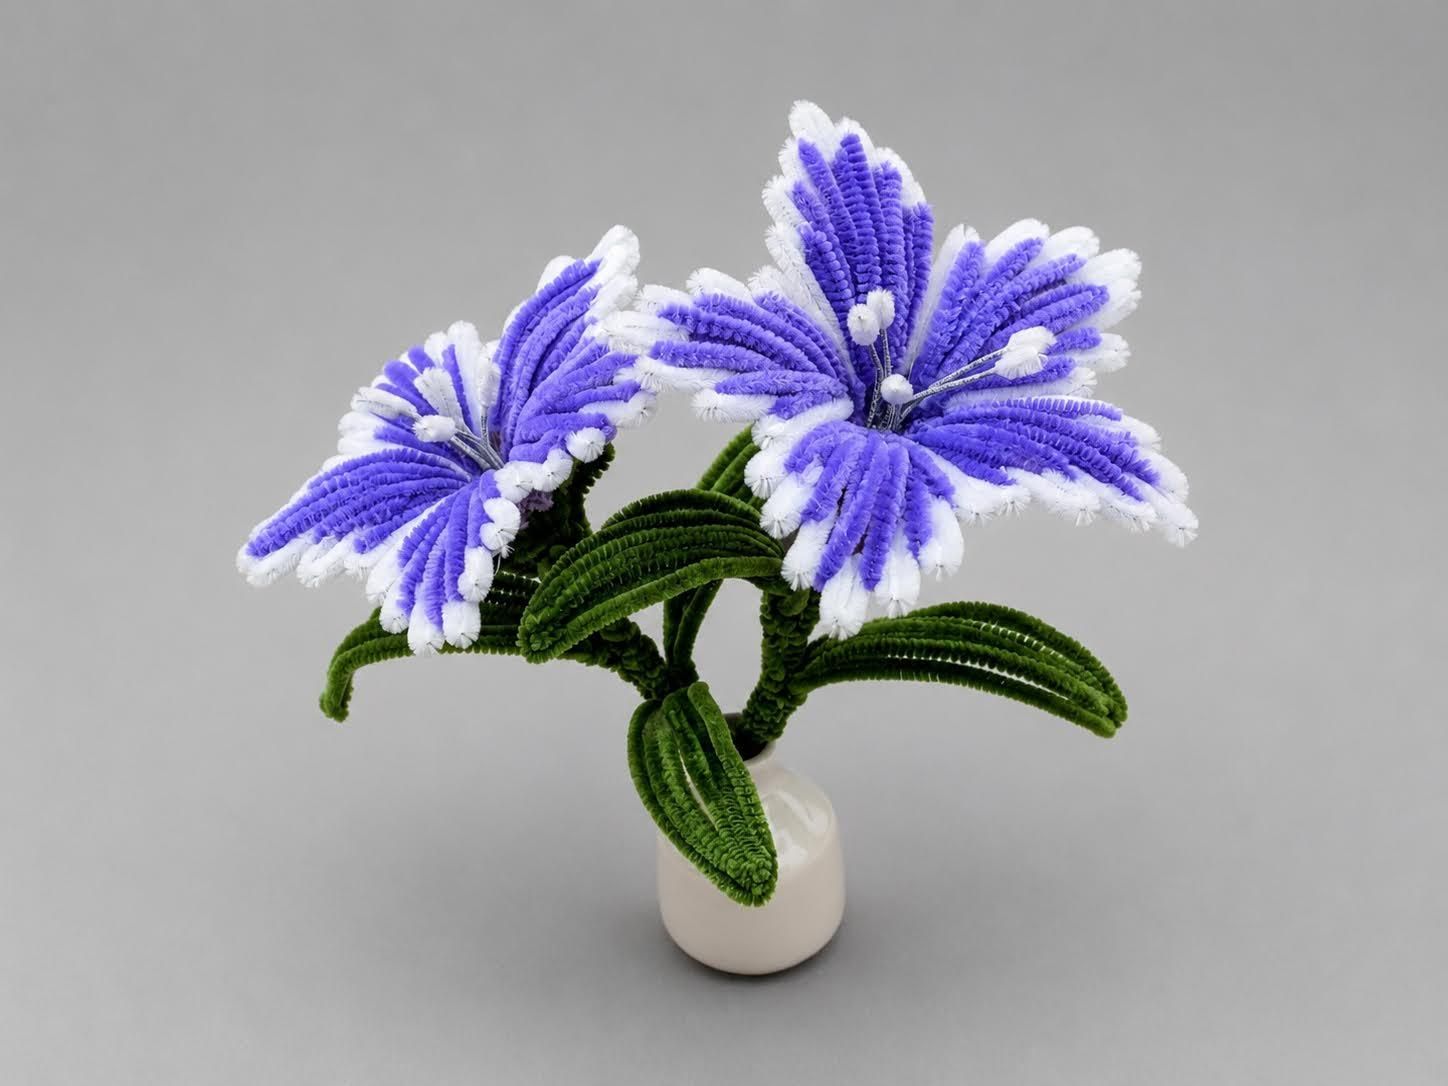
Now that both flowers are complete, it's time to arrange them into a beautiful bouquet. Place the flowers inside a small vase and gently bend the stems until you're happy with their position. Adjust the petals and leaves to make the arrangement look full and natural from every angle. Feel free to experiment with different vase styles or create additional flowers in other colors to make your own unique bouquet.