Easy Jute Fan ☀️
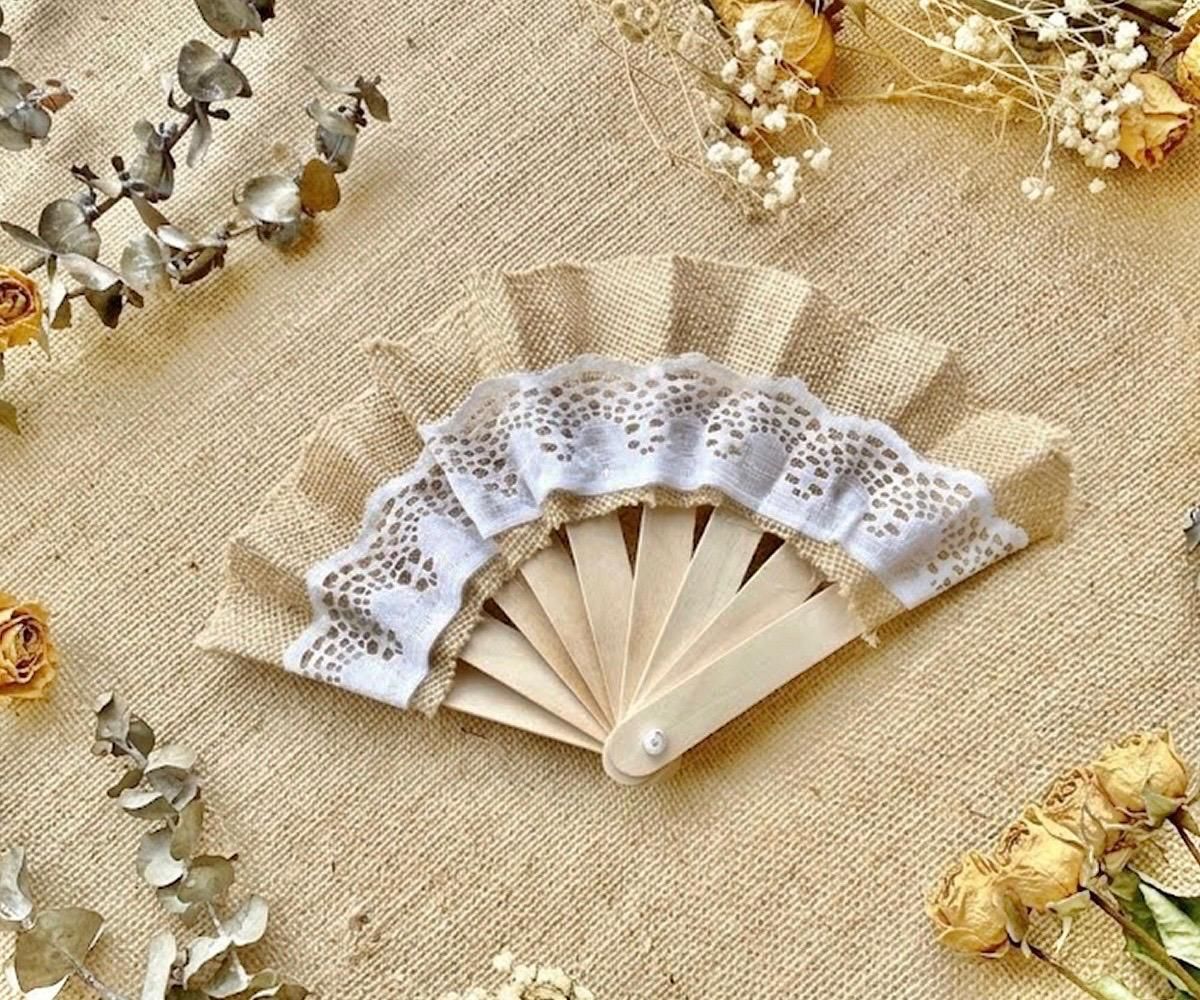
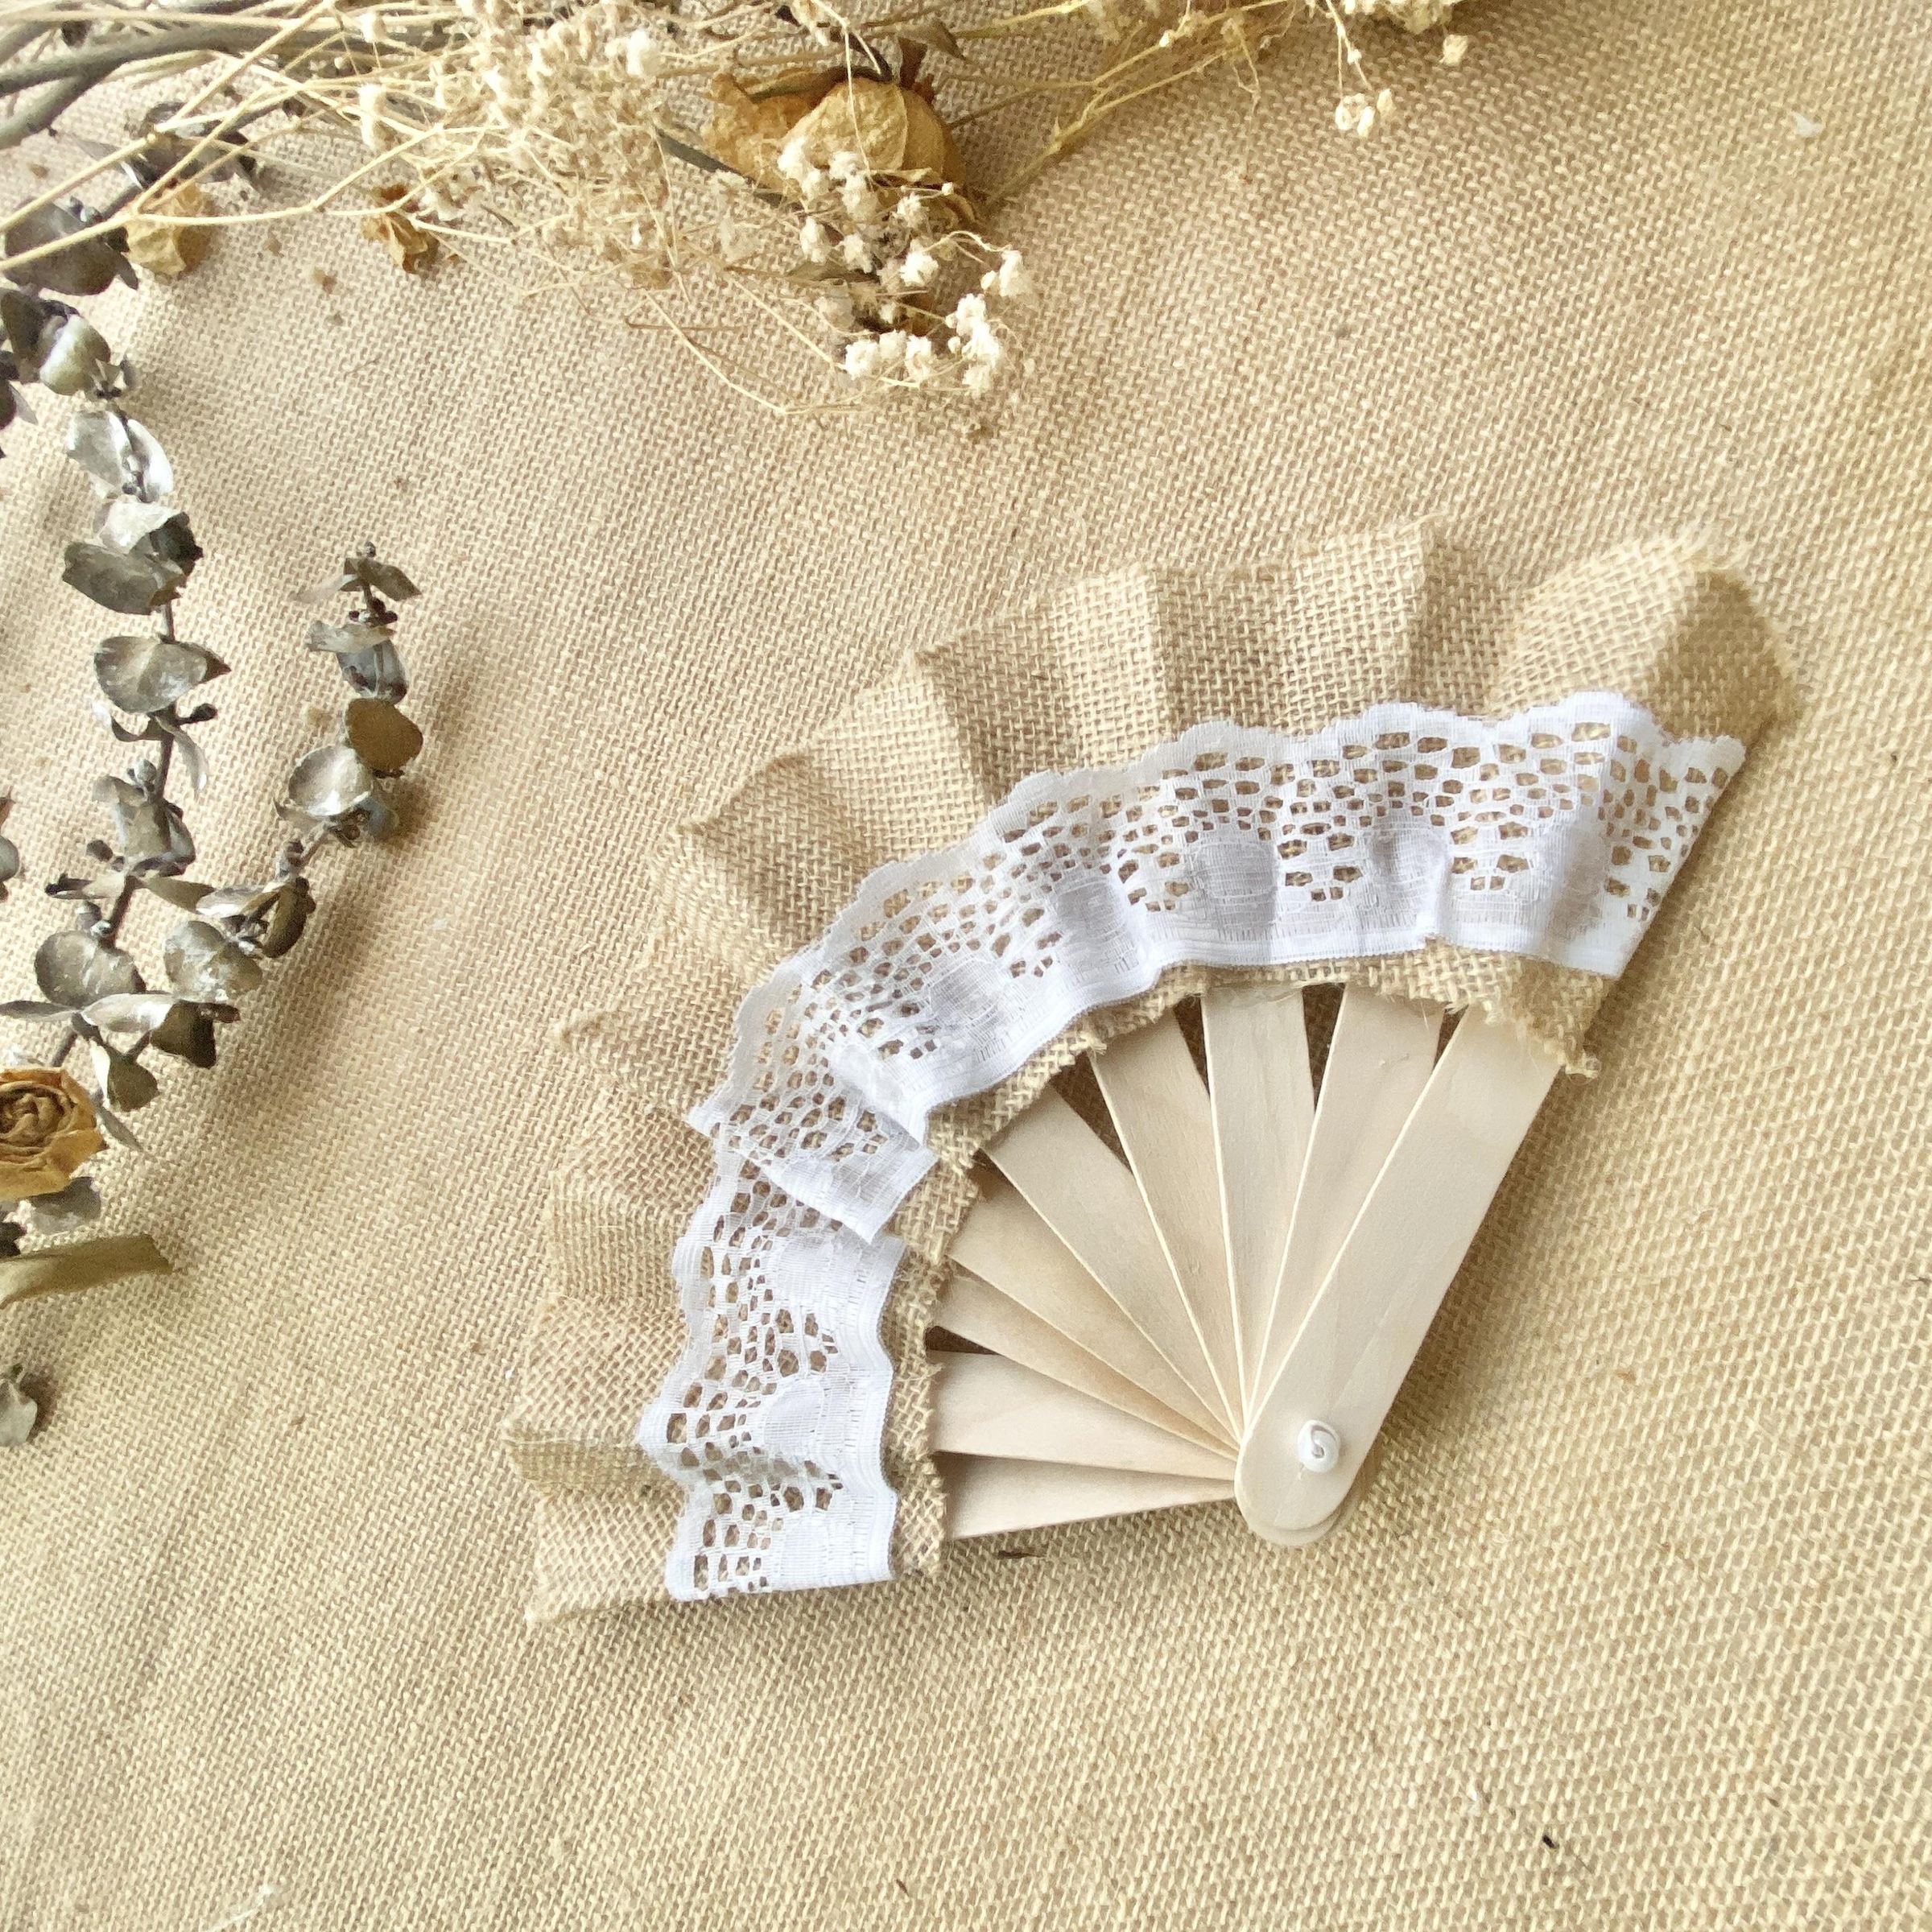
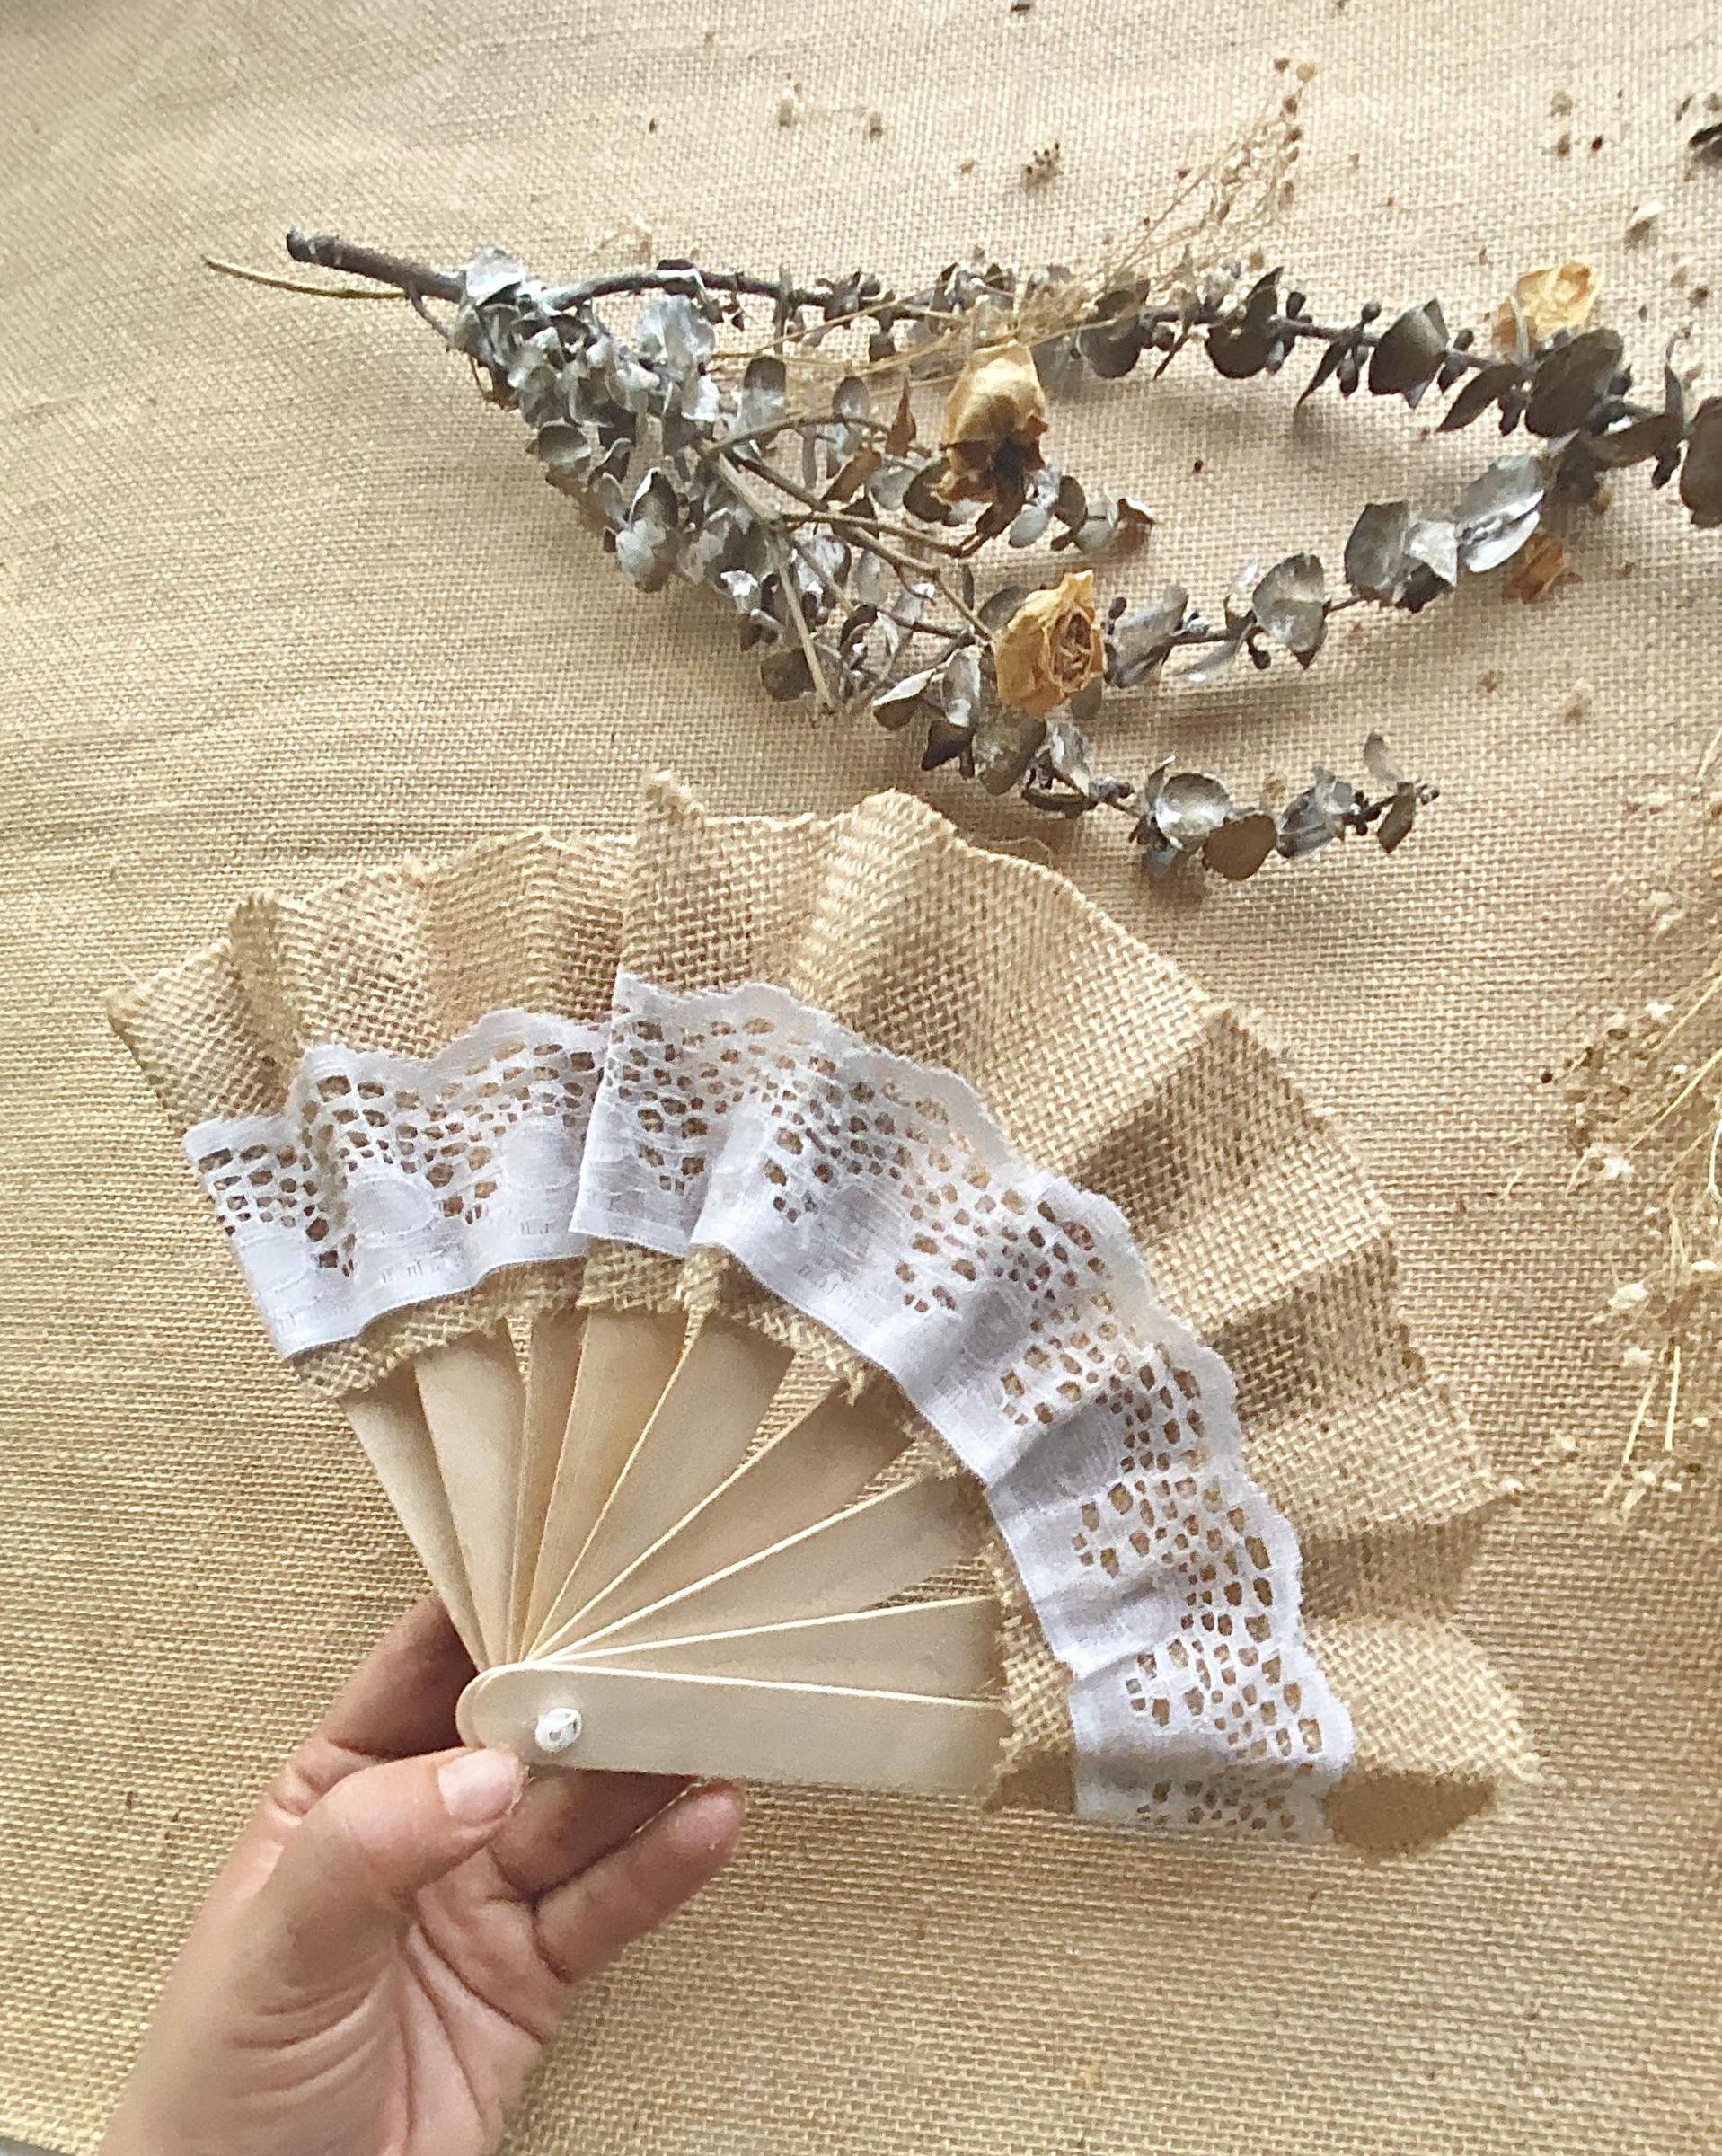
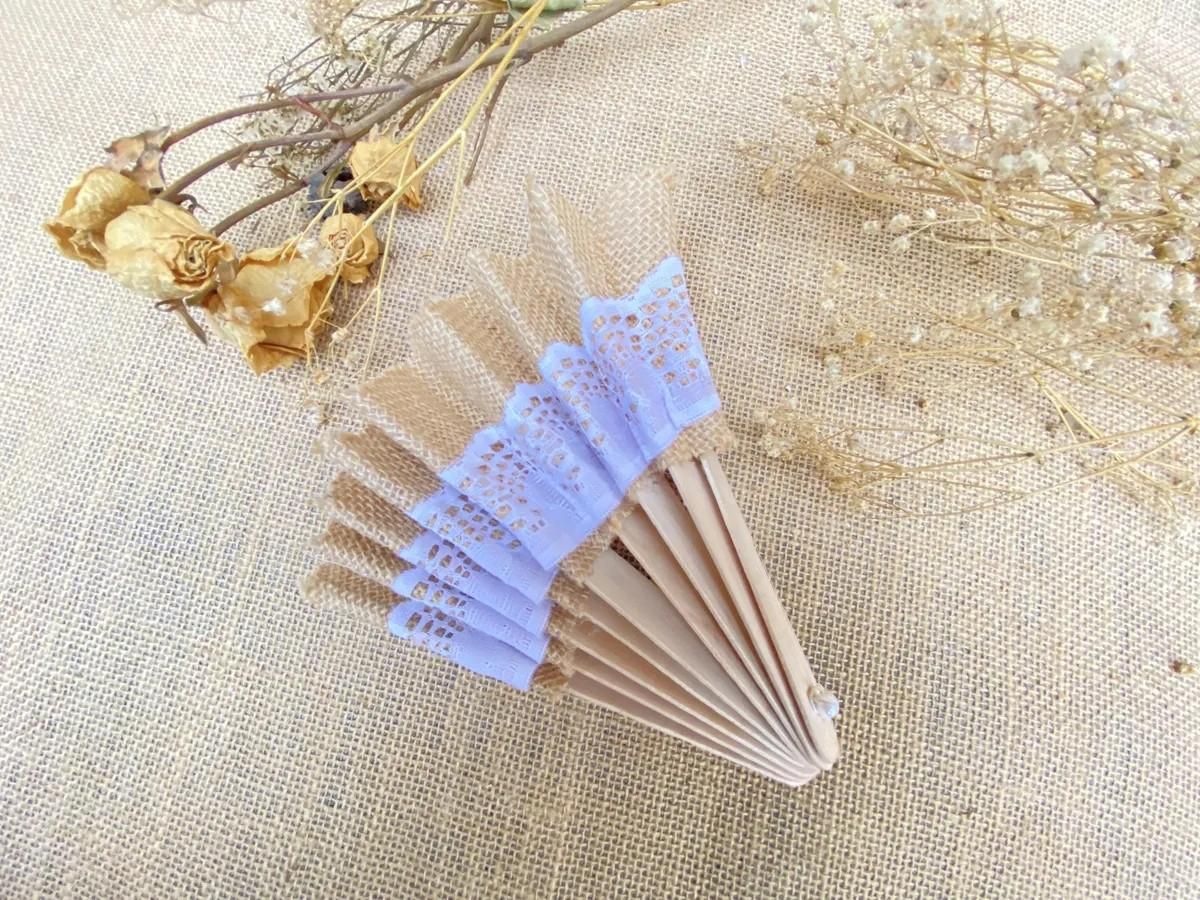
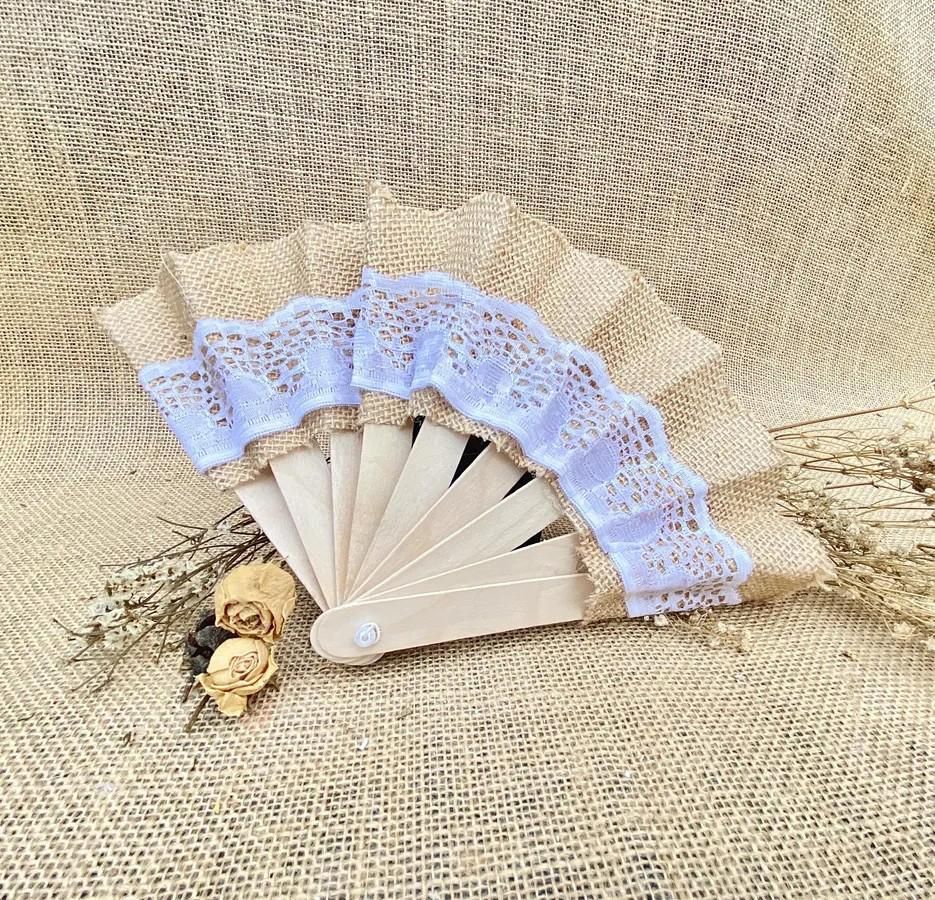
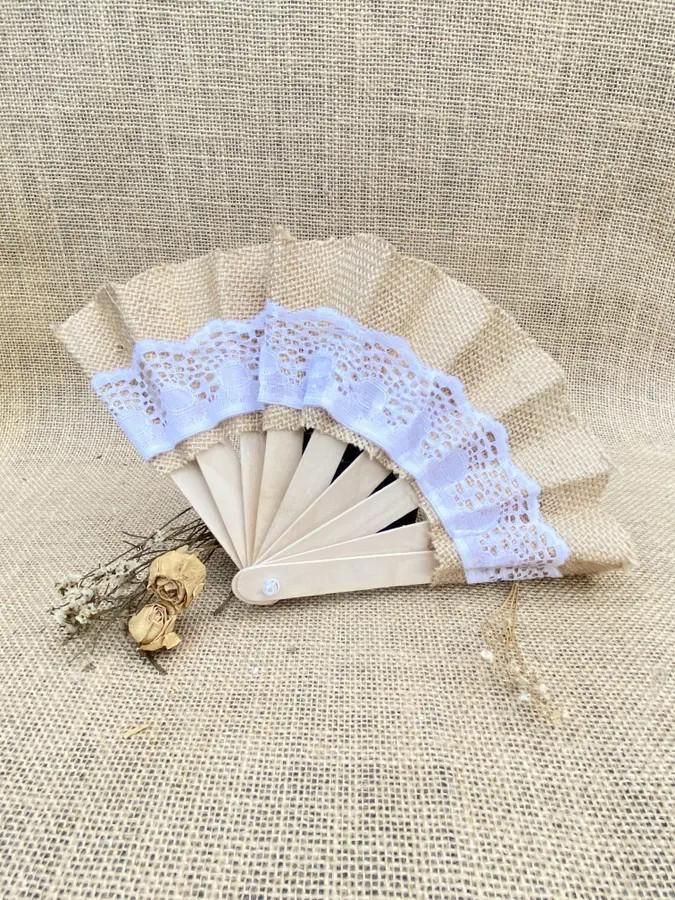
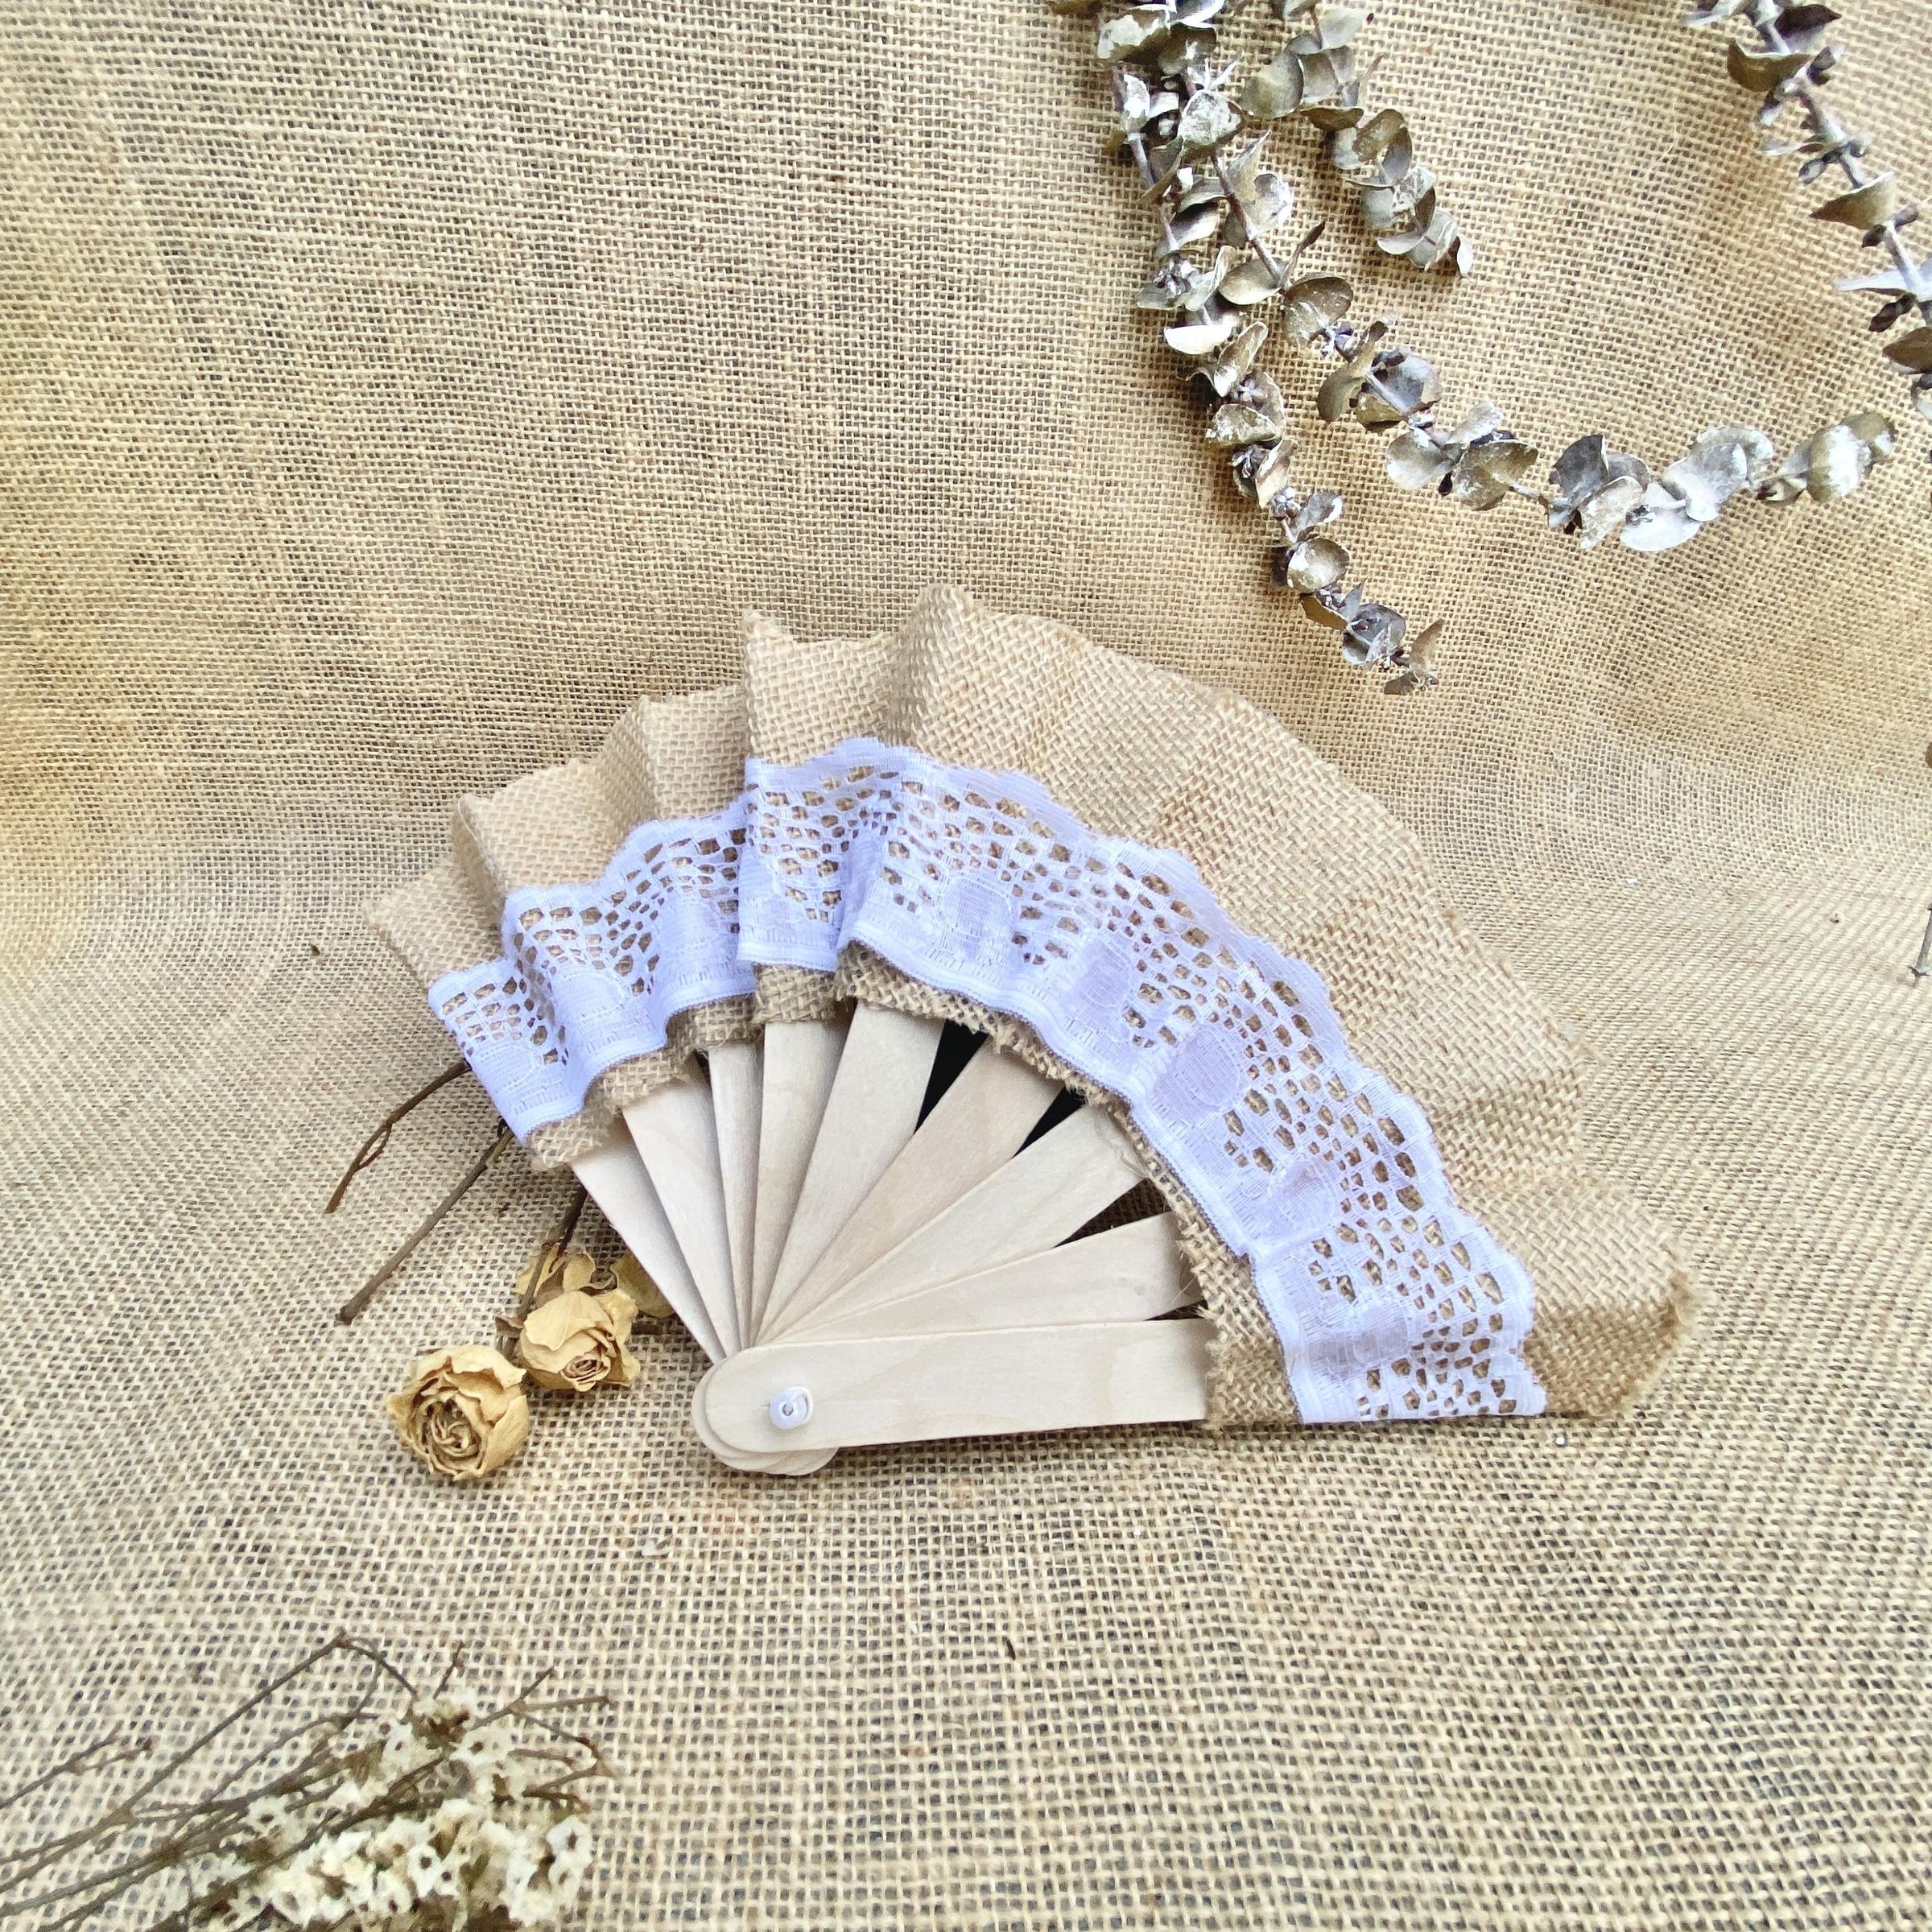
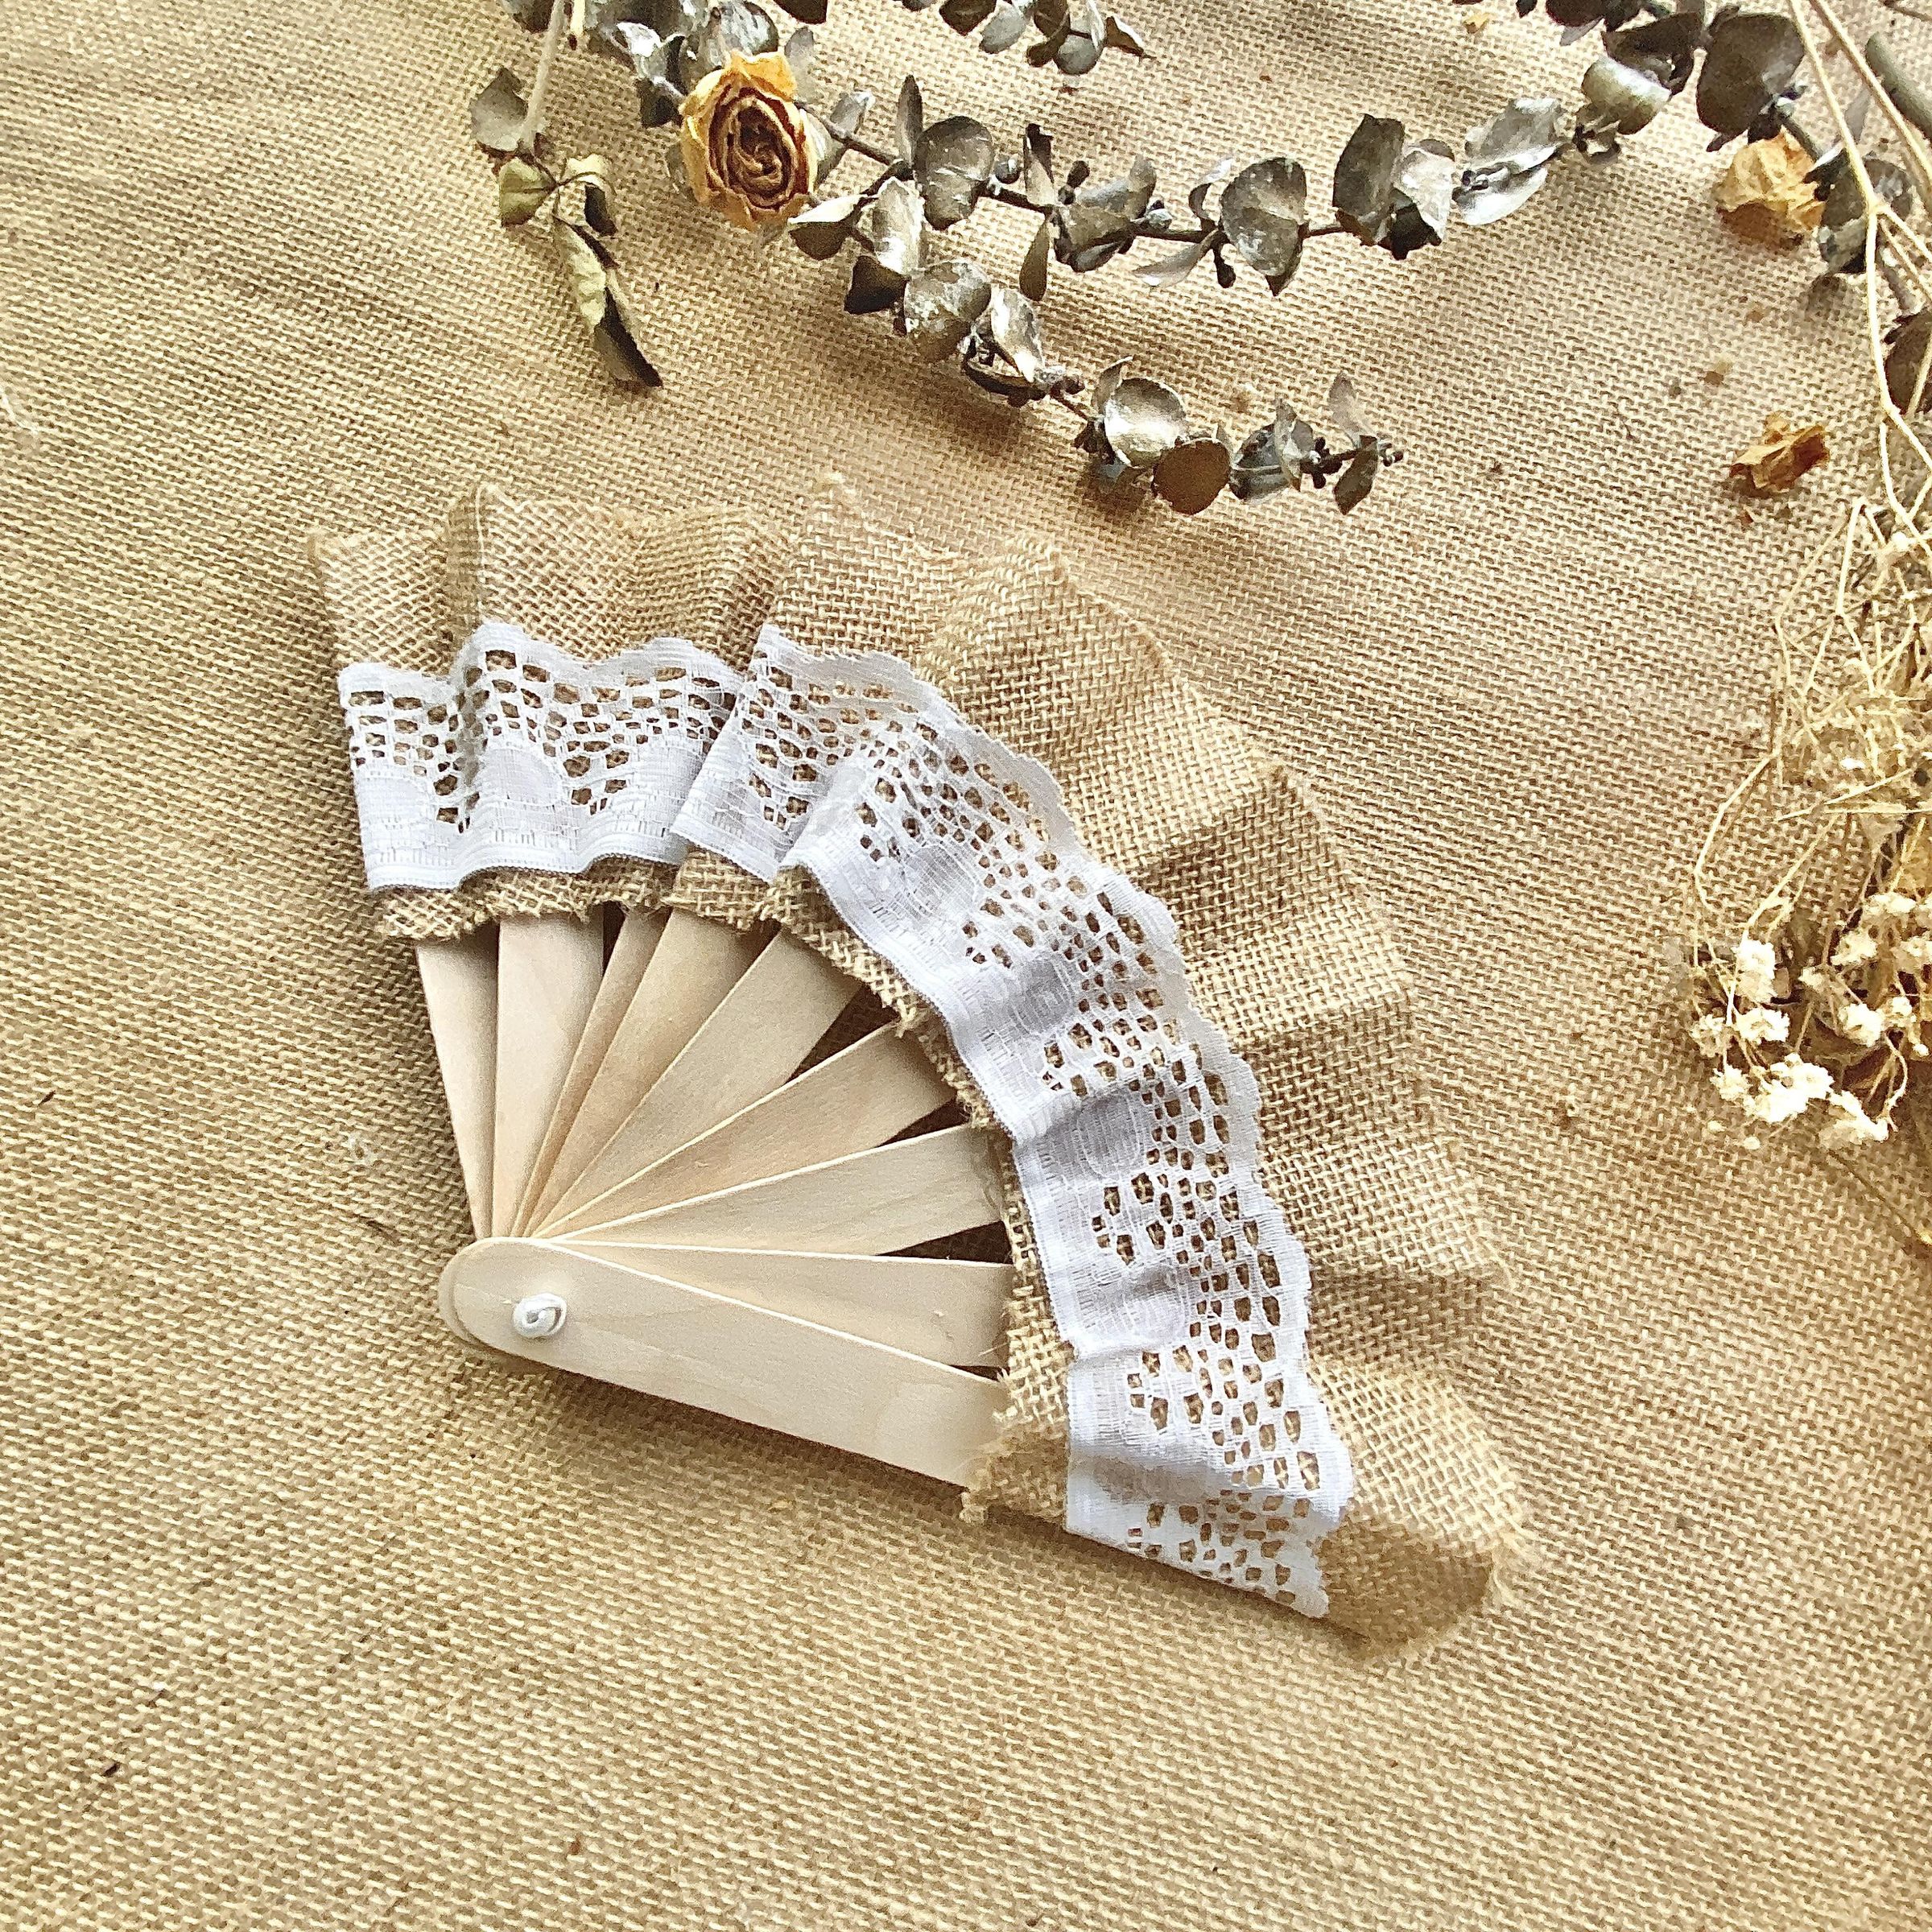
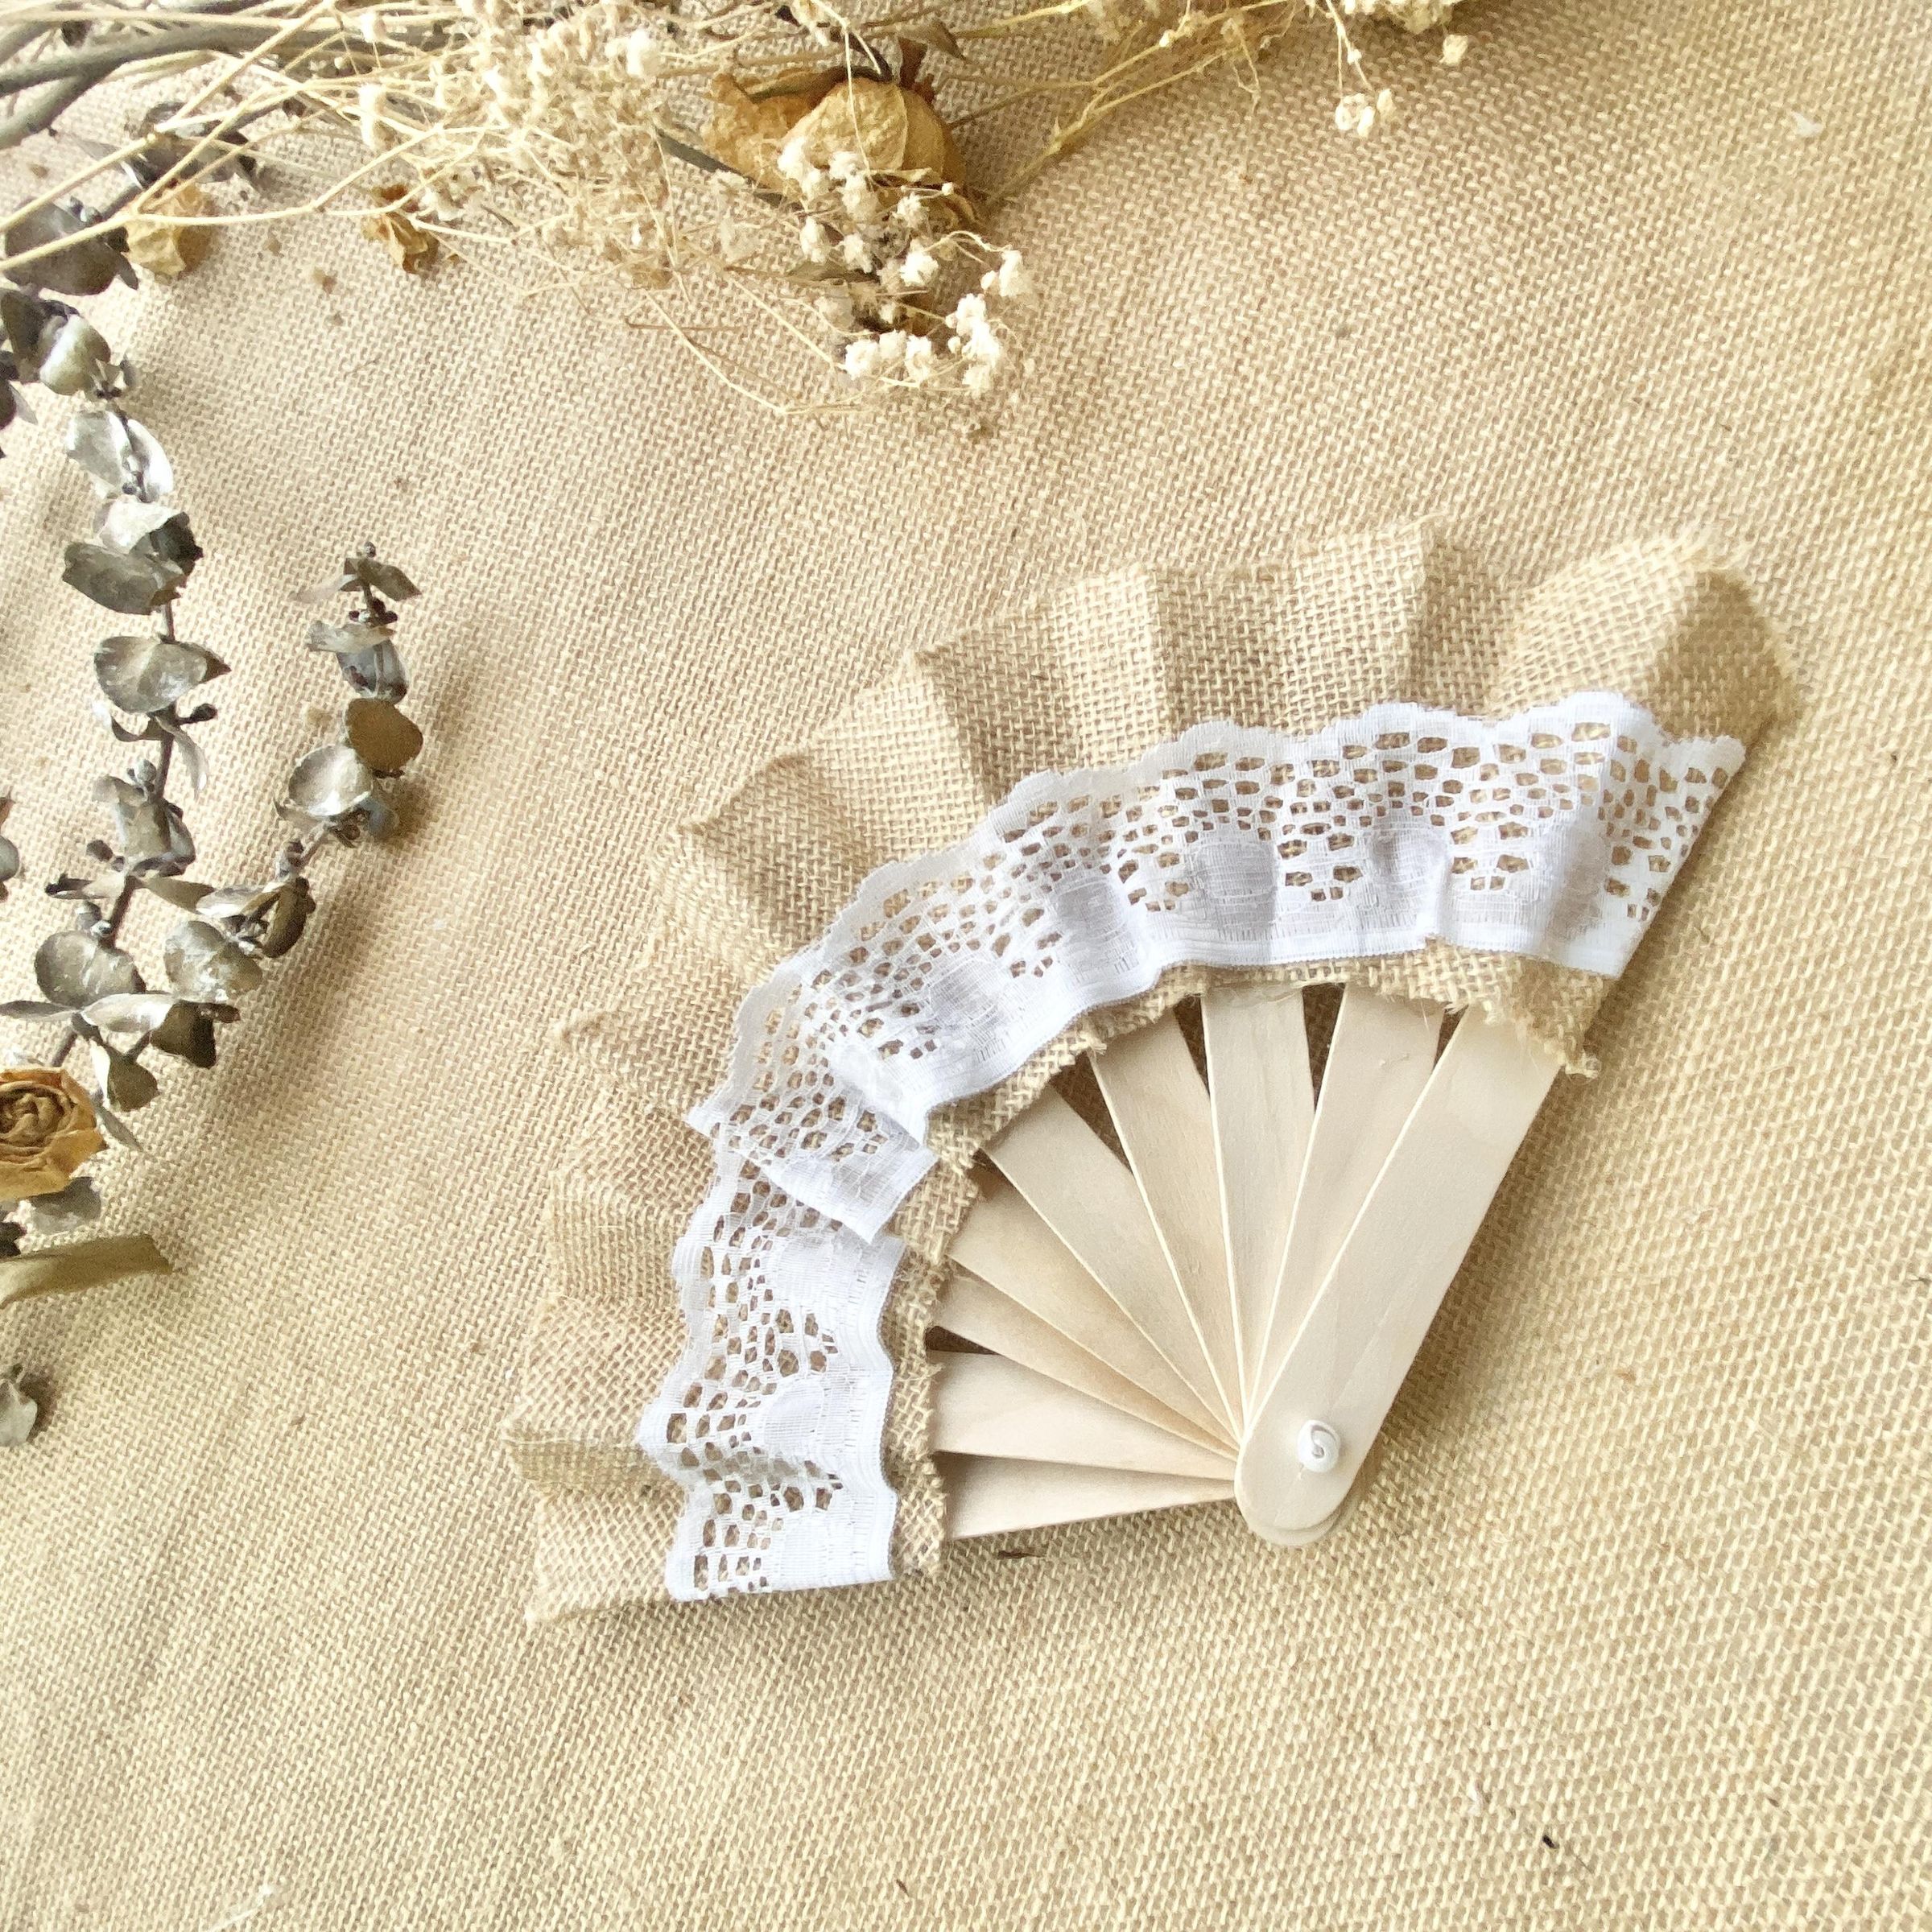
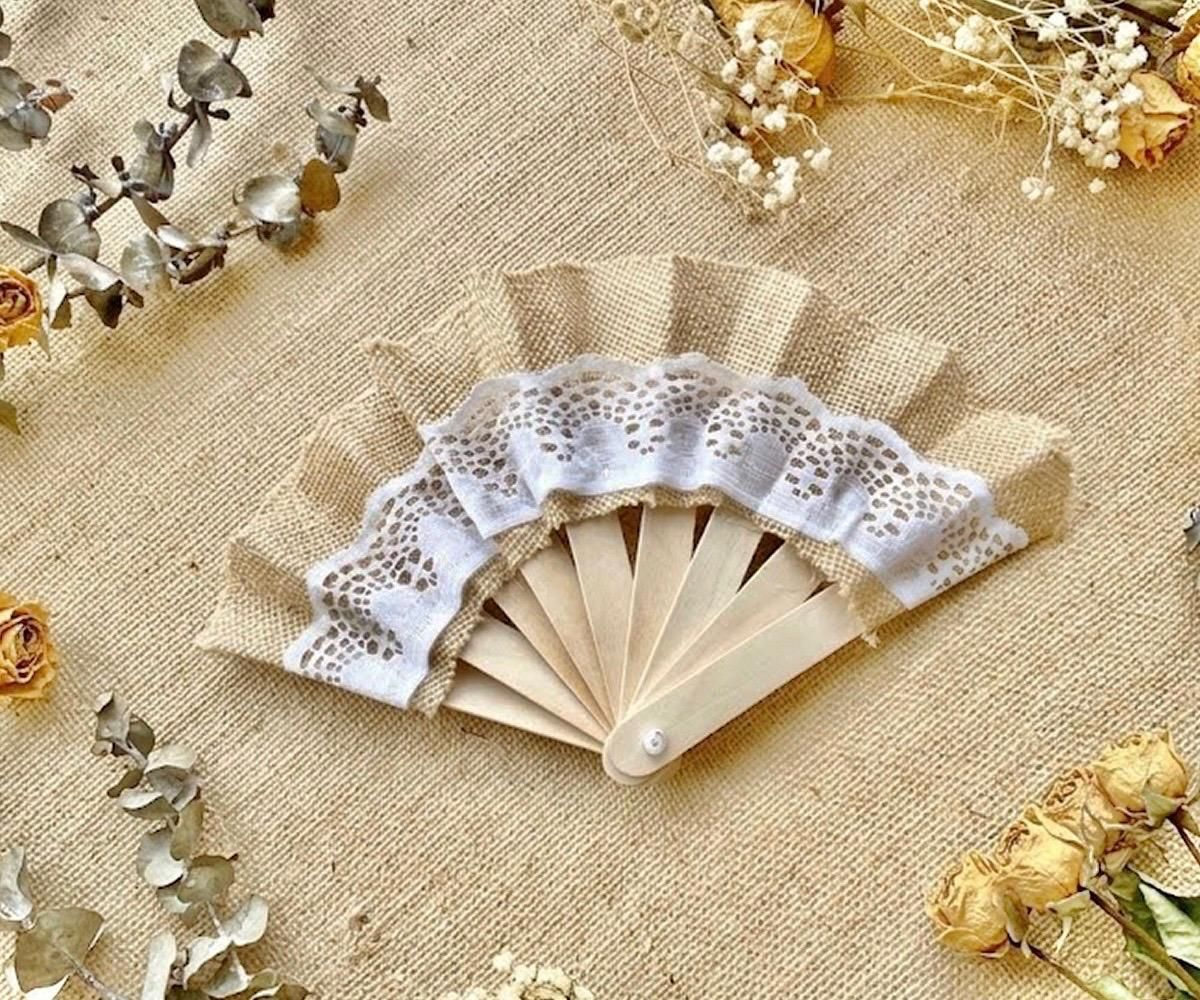
Hand fans are an essential accessory for hot days when the sun offers no respite. They are incredibly practical, lightweight, and easy to take anywhere, making them the perfect ally for cooling off in seconds. For this project, I wanted to design my own fan to show how—using everyday materials that are easy to find—we can create a useful, stylish object with our own hands.
Supplies
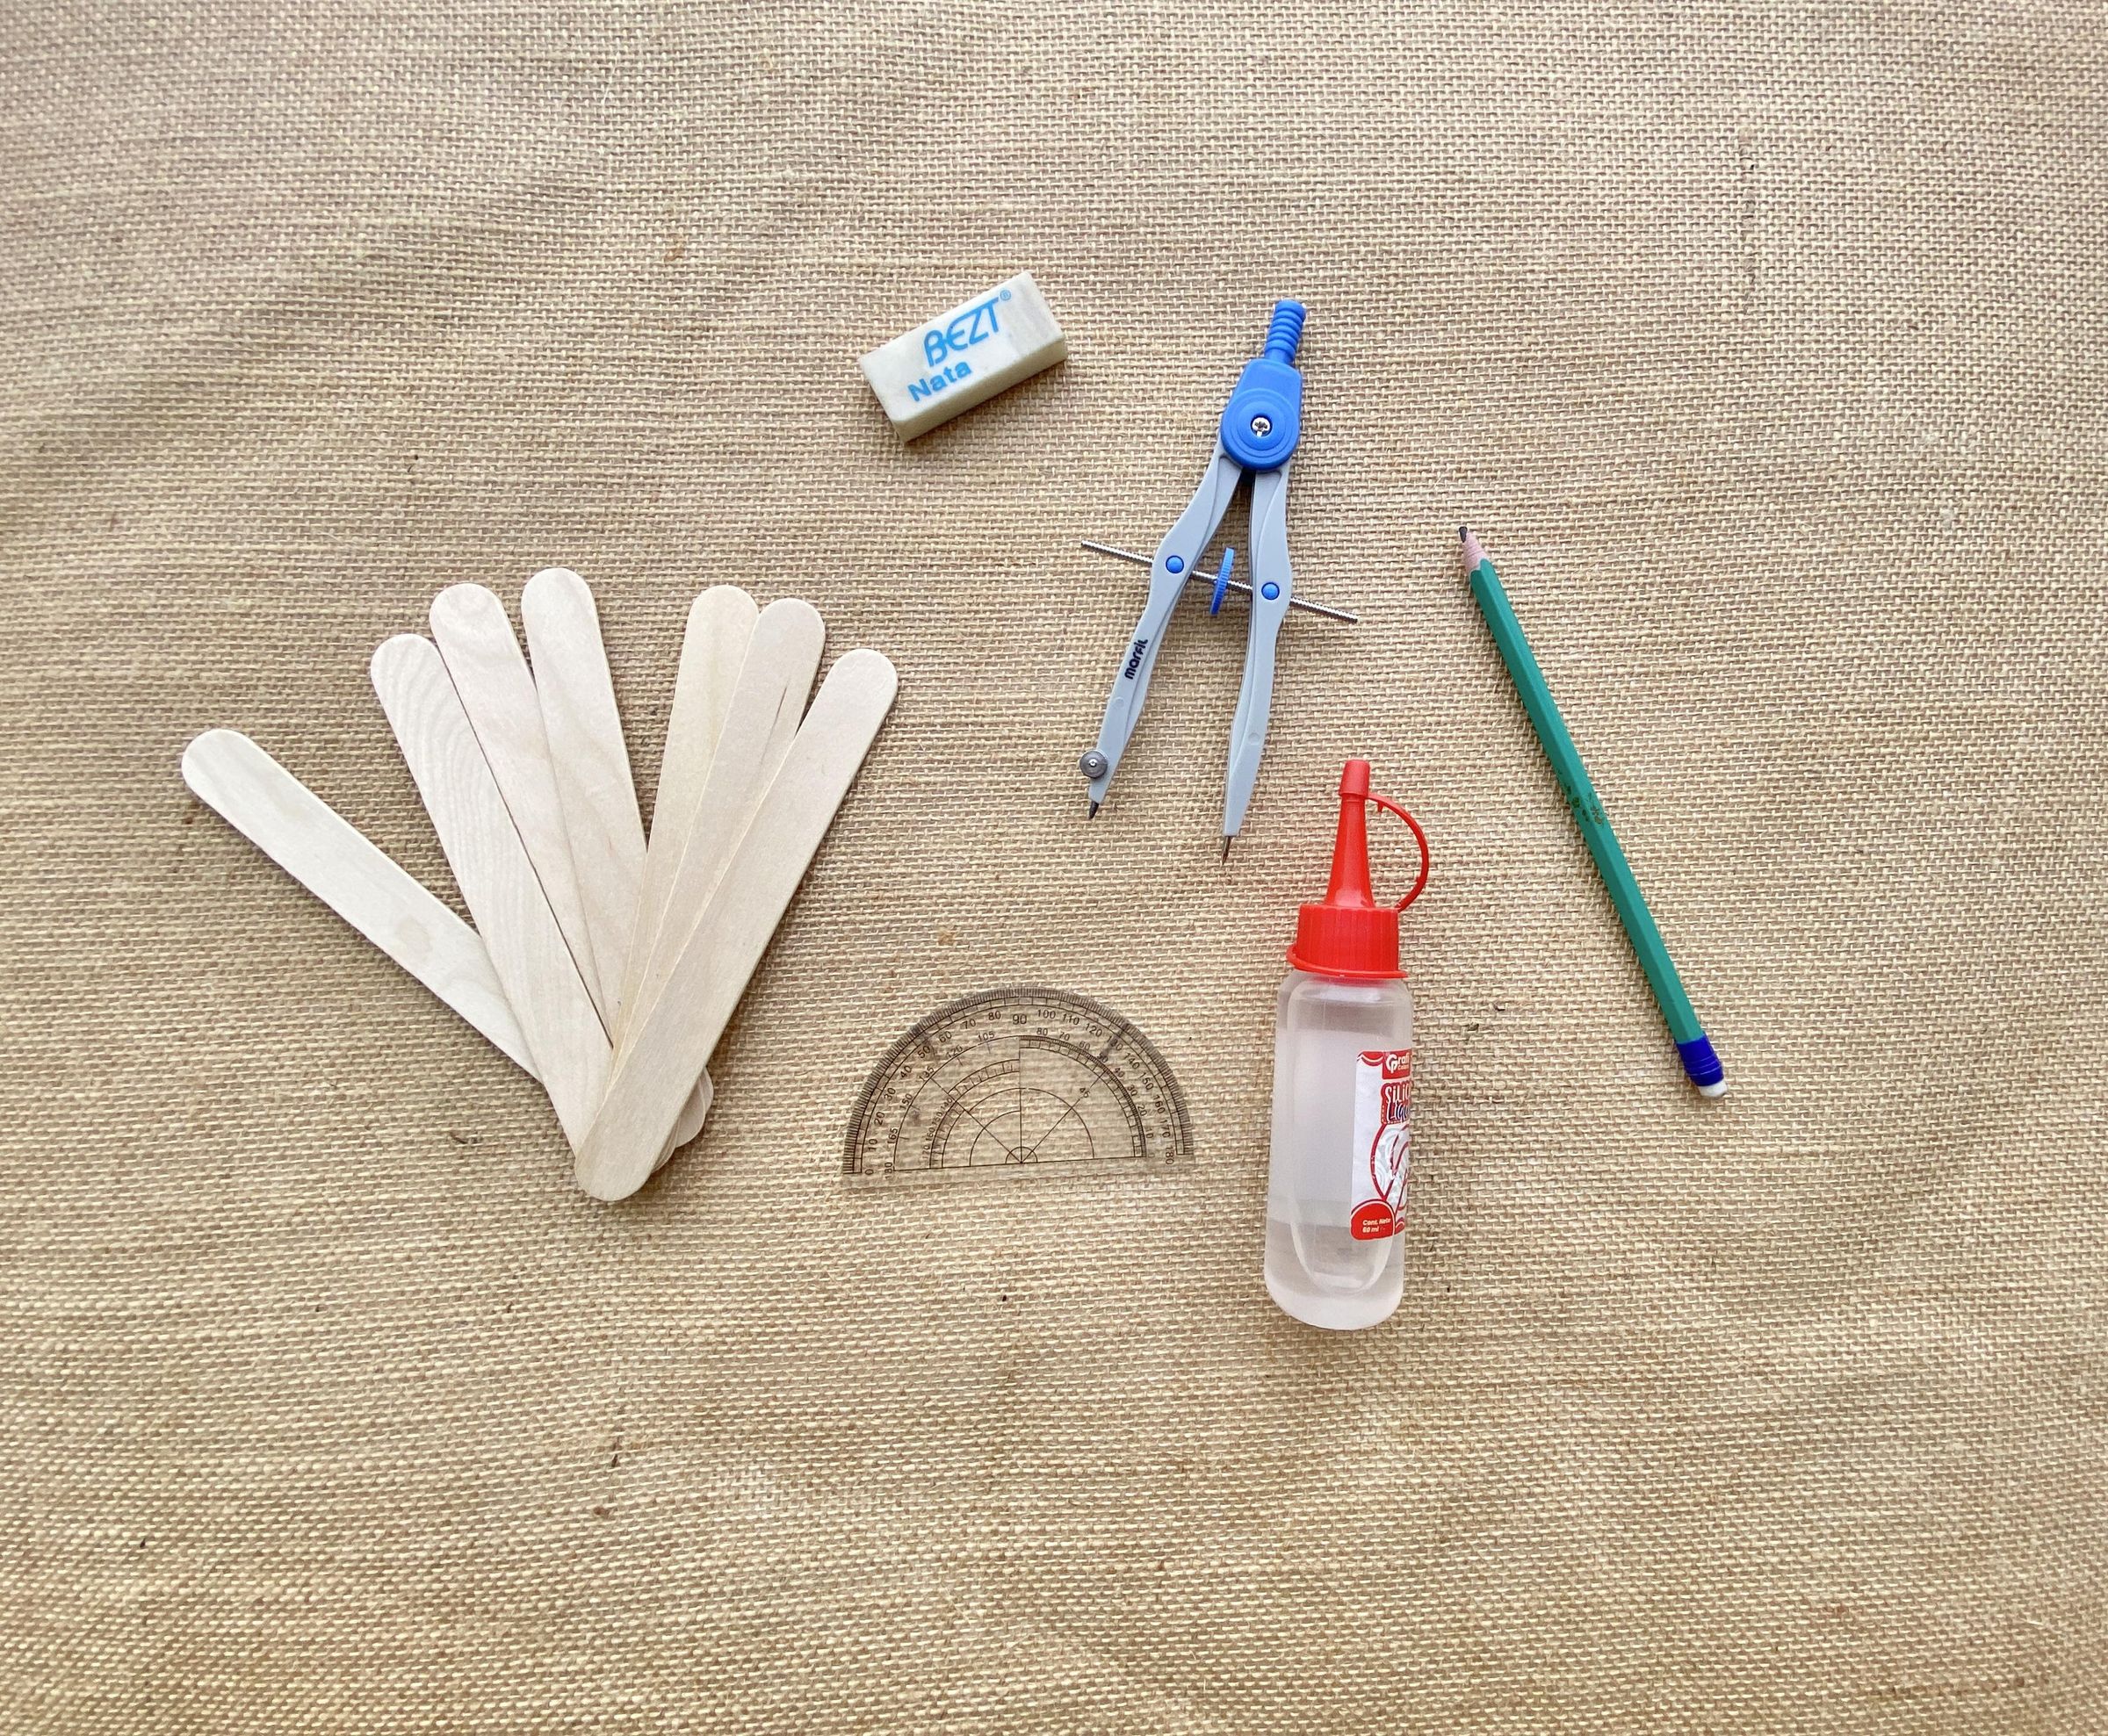
- Jute fabric (or any fabric you like)
- 9 wooden tongue depressors Wire
- 2 beads
- Hot glue
Create the Mold
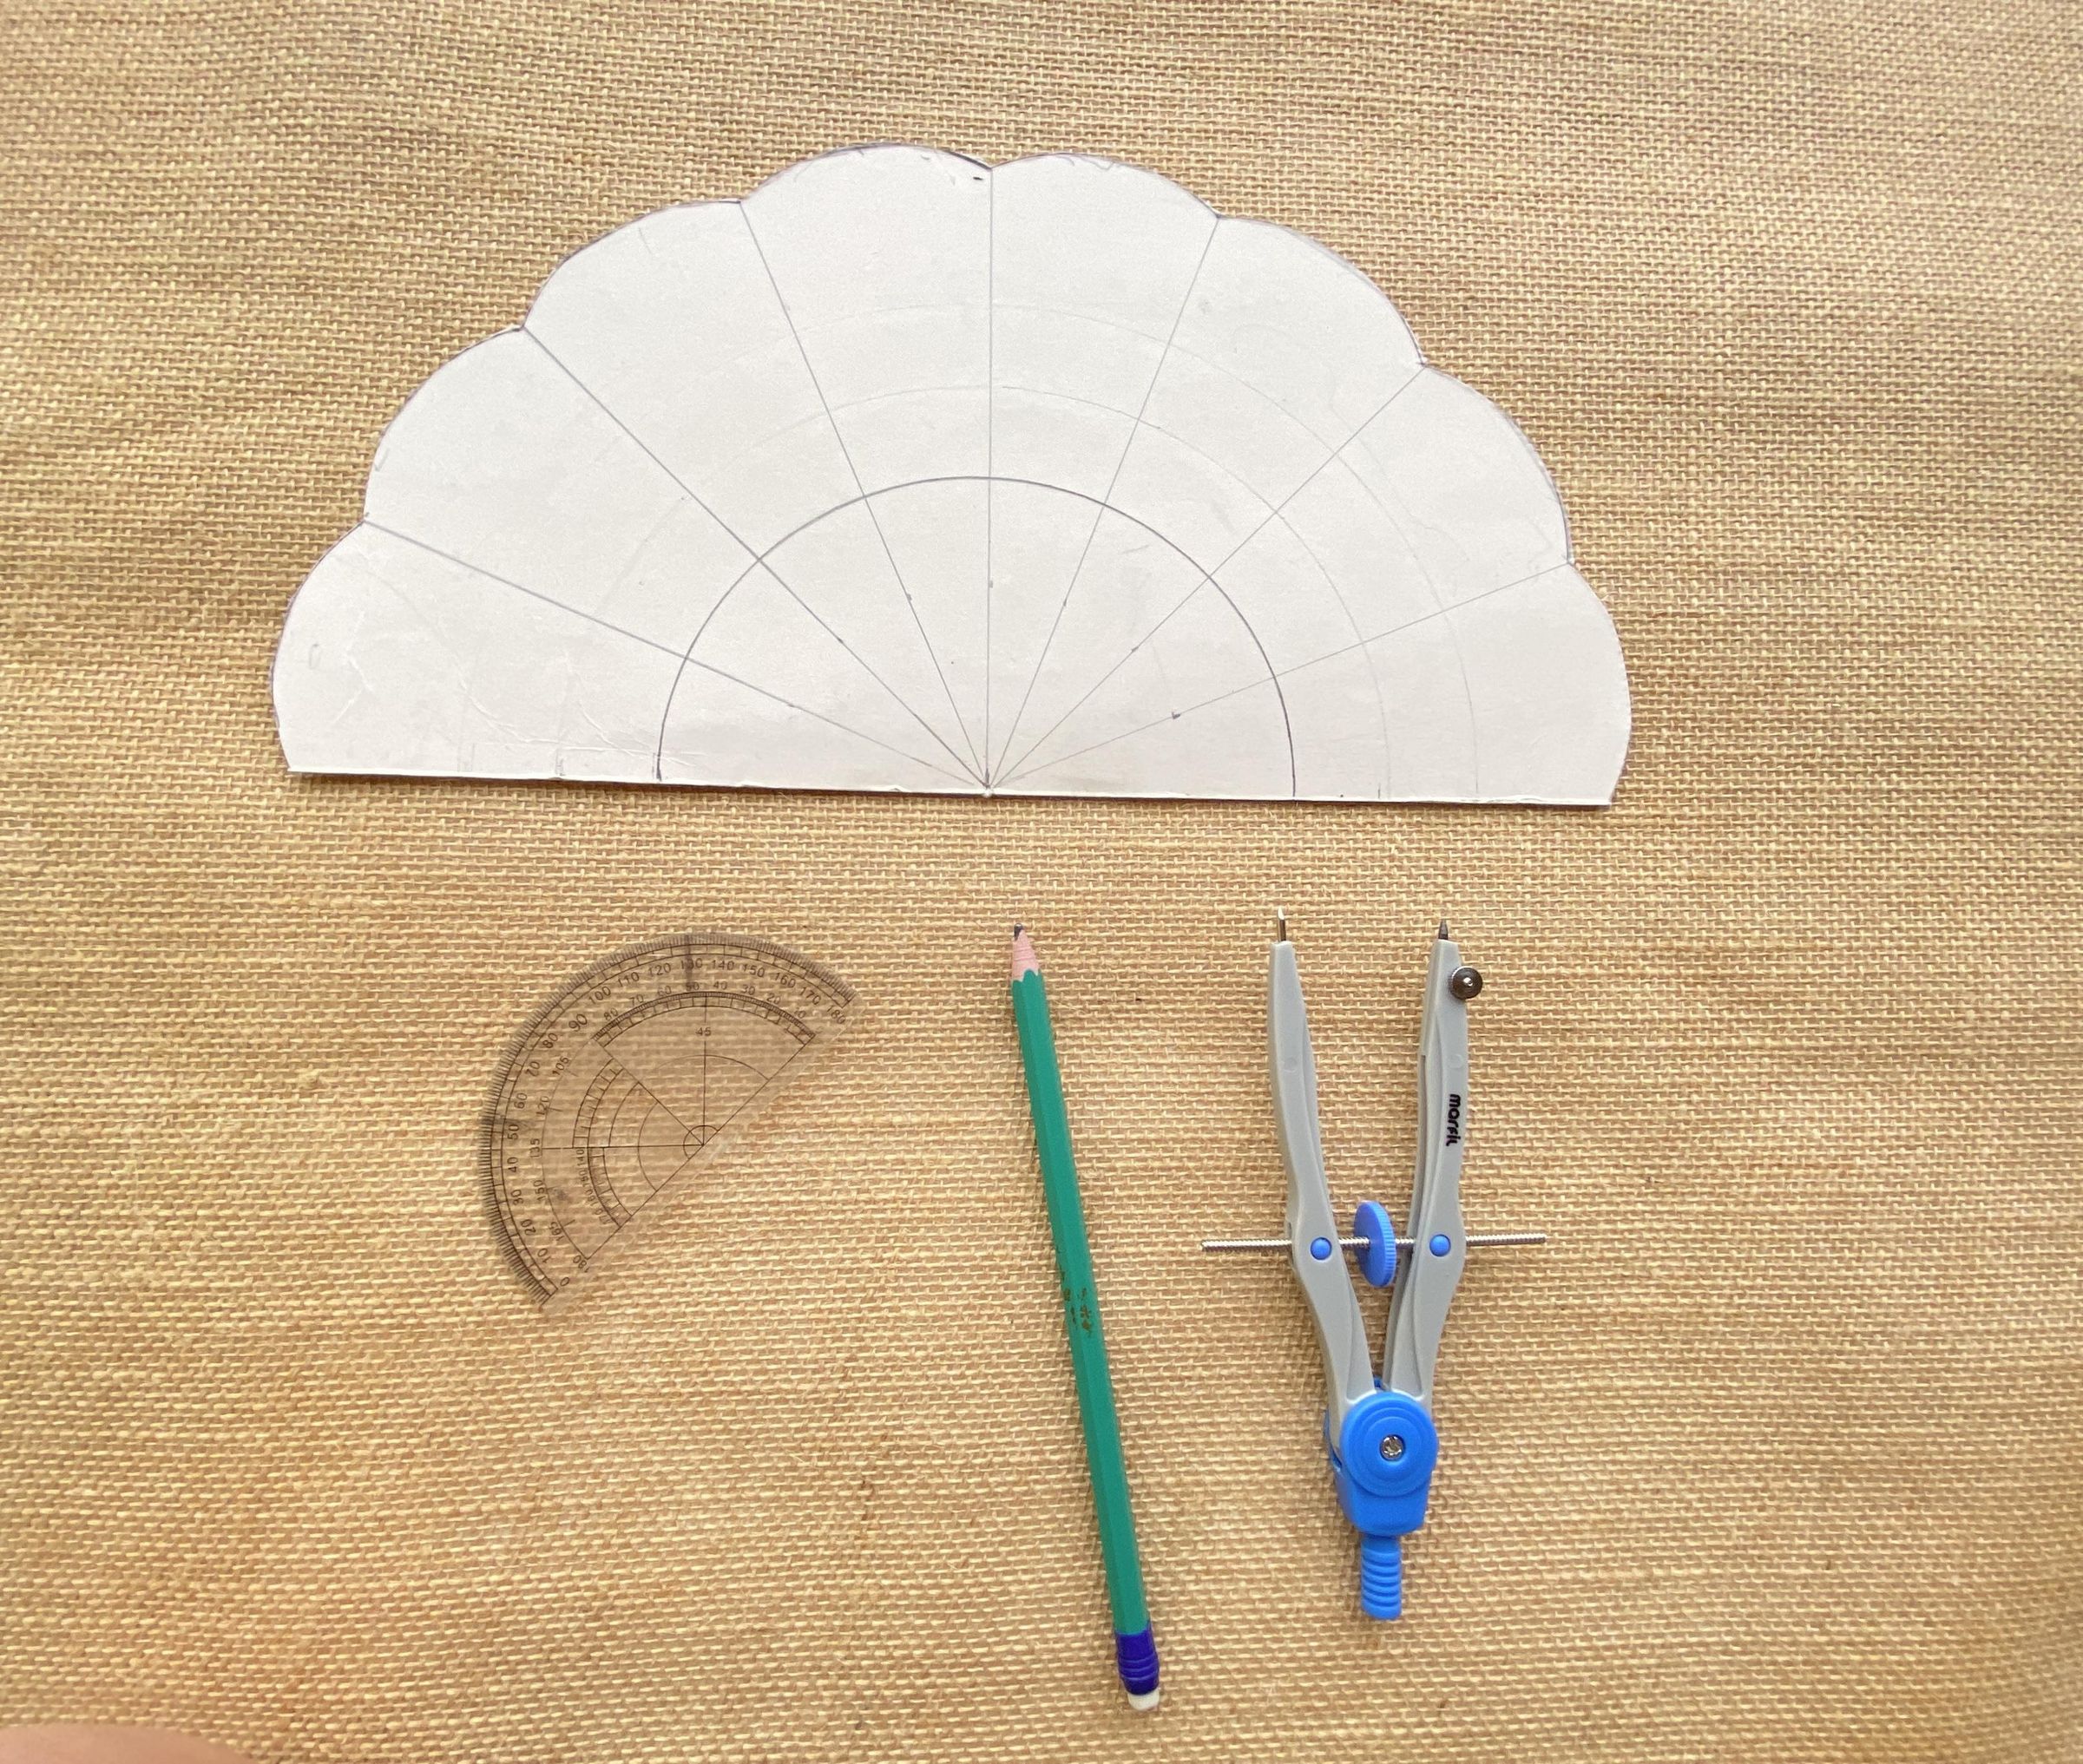
1: Draw a 30 cm horizontal line at the bottom of your paper or cardstock.
Step 2: Find the exact midpoint of that line (at 15 cm) and mark a point. This point will be the center of the template.
Step 3: From that center point, measure 7 cm to the right along the same line and make a small mark.
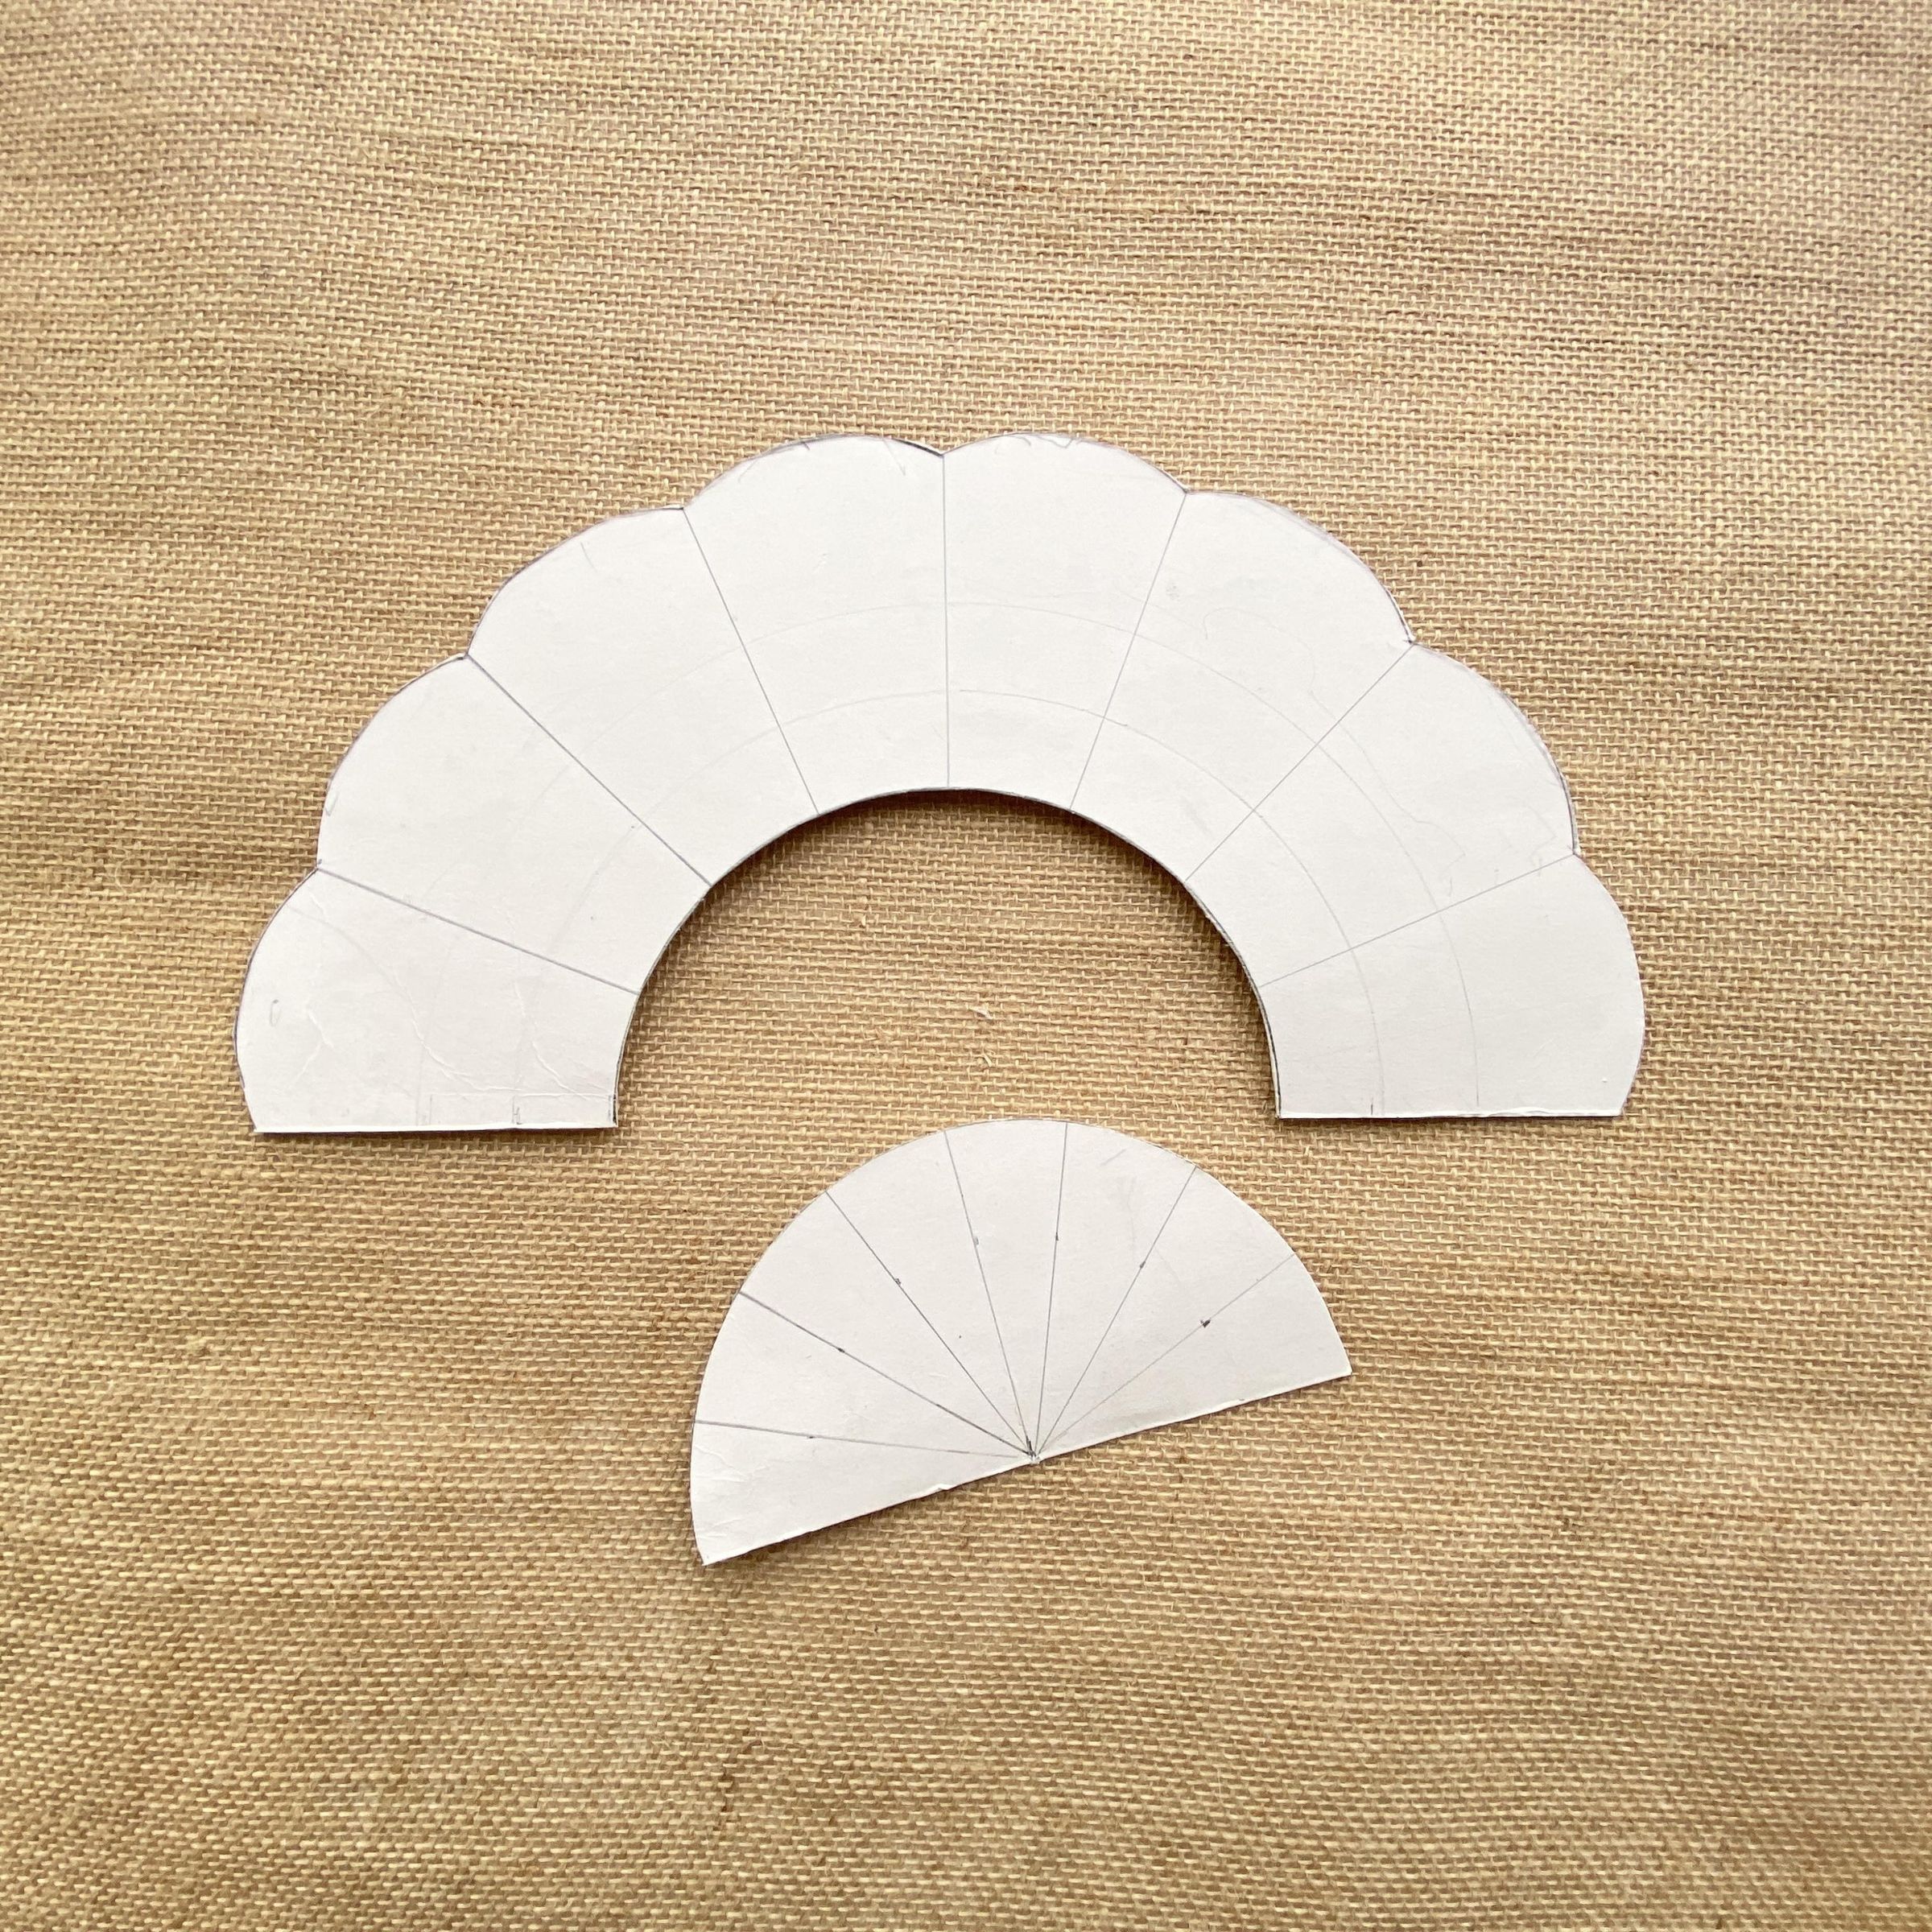
Step 4: Place the metal point of the compass on the center of the template (at the 15 cm mark), open it to the 7 cm mark, and draw a semicircle from side to side. This arc will mark the first cut.
Step 5: From that 7 cm mark, measure another 8 cm to the right and make another mark. Place the compass point back at the center, open it to this new 15 cm mark, and draw the large semicircle from side to side to define the outer edge.
step 6: Place the center of your protractor directly over the center of the mold and align its straight edge with the 30 cm line. Since you will be using 9 sticks, use your pencil to mark the following exact angles to space them evenly from side to side: 0°, 22.5°, 45°, 67.5°, 90°, 112.5°, 135°, 157.5°, and 180°.
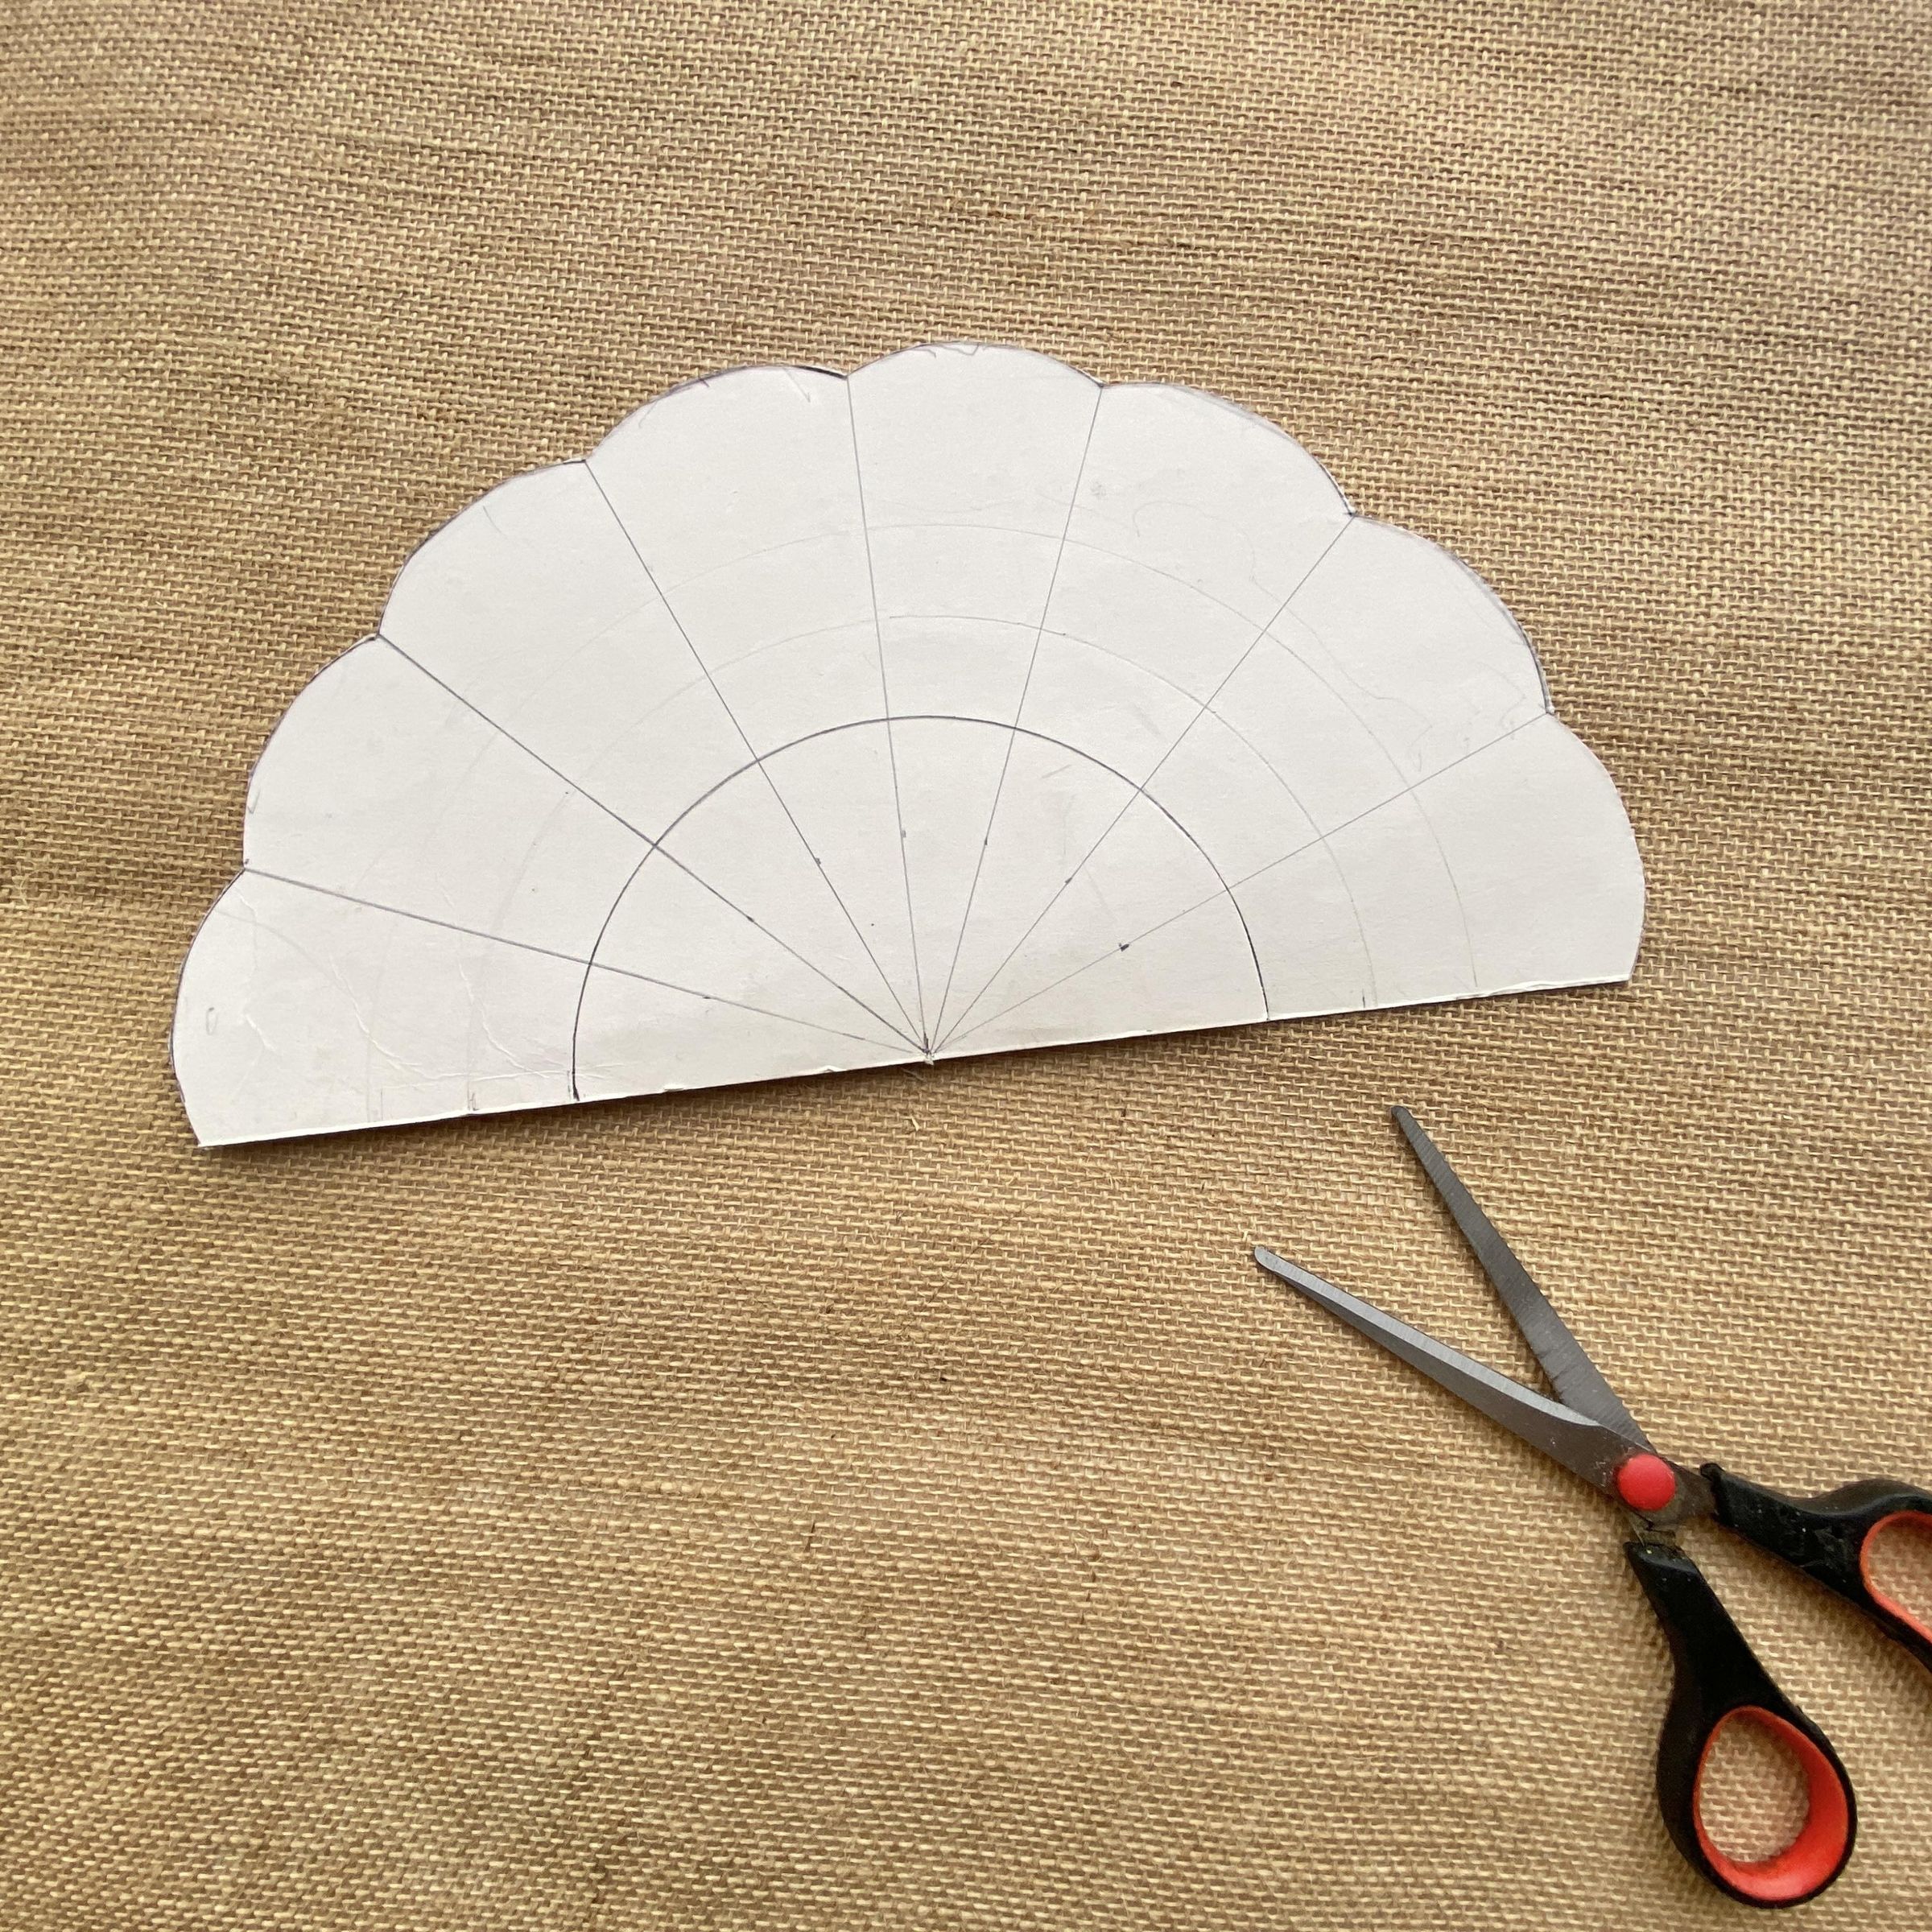
To make the petals, we’ll use the rounded edge of the protractor like a curved ruler. Place the protractor at the top of each section, connect the lines by drawing a wavy shape, and cut along that line. It’s that easy to swap the straight edge for a floral shape!
Make Holes.
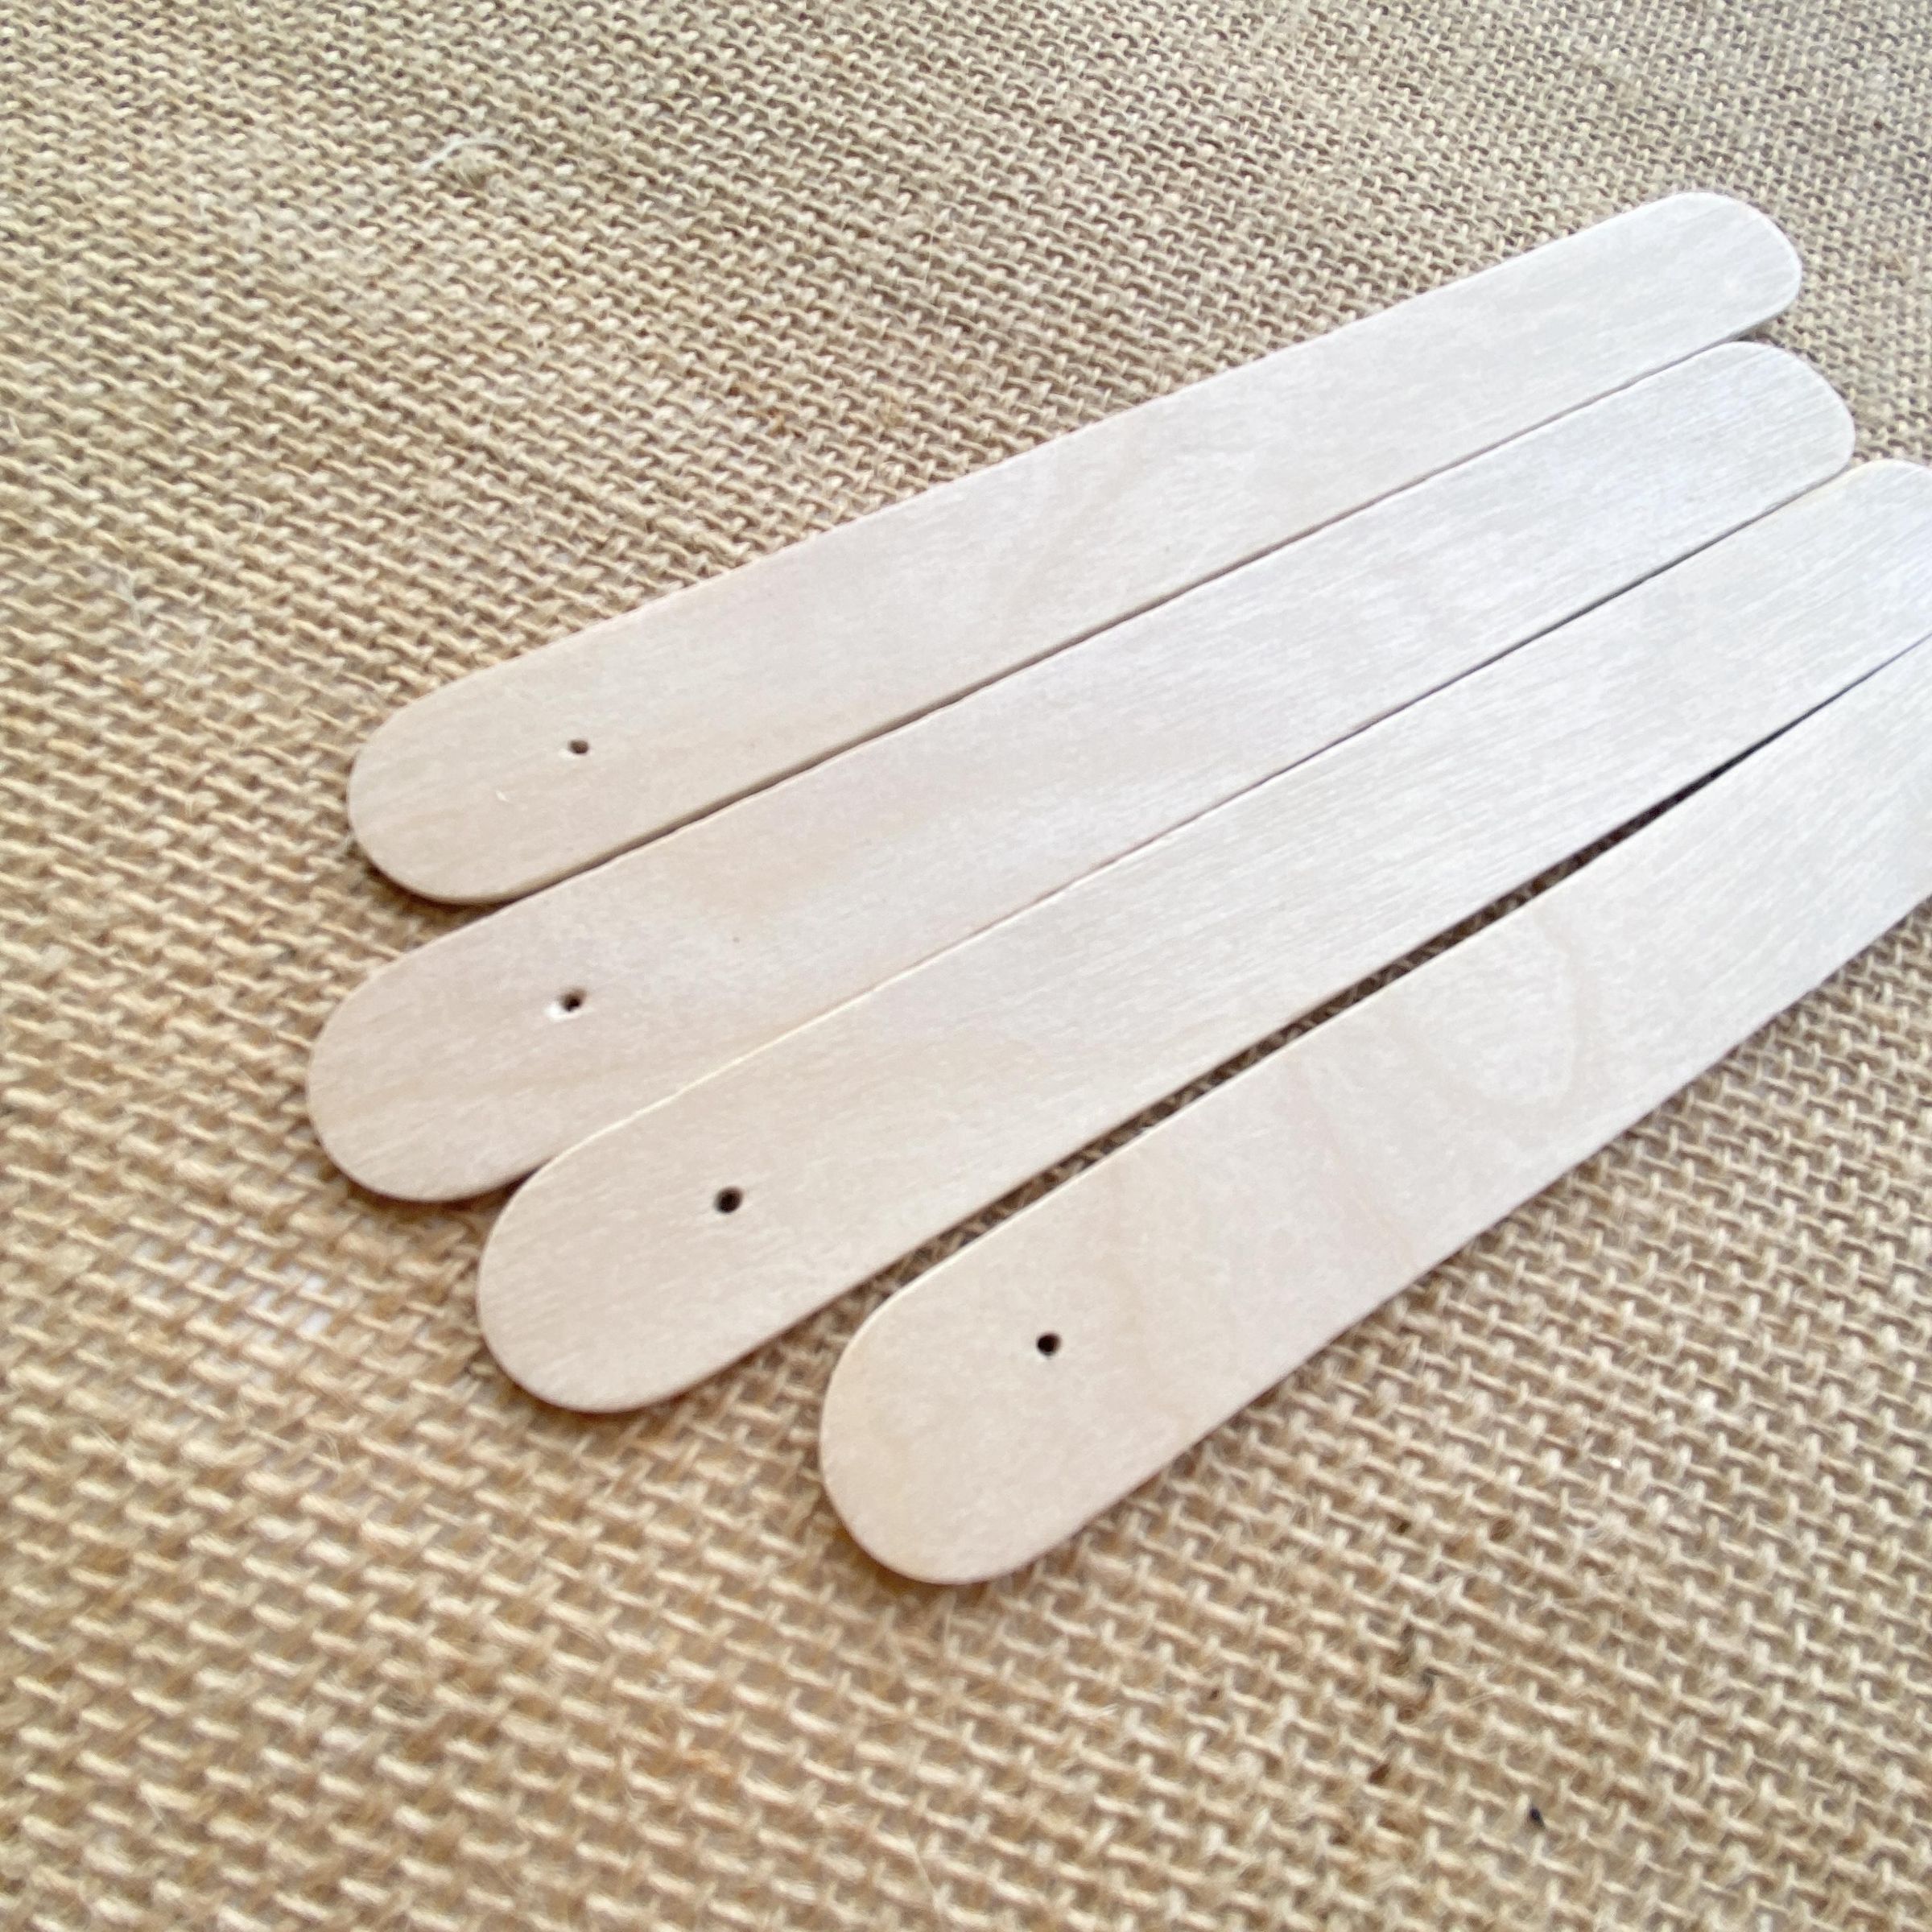
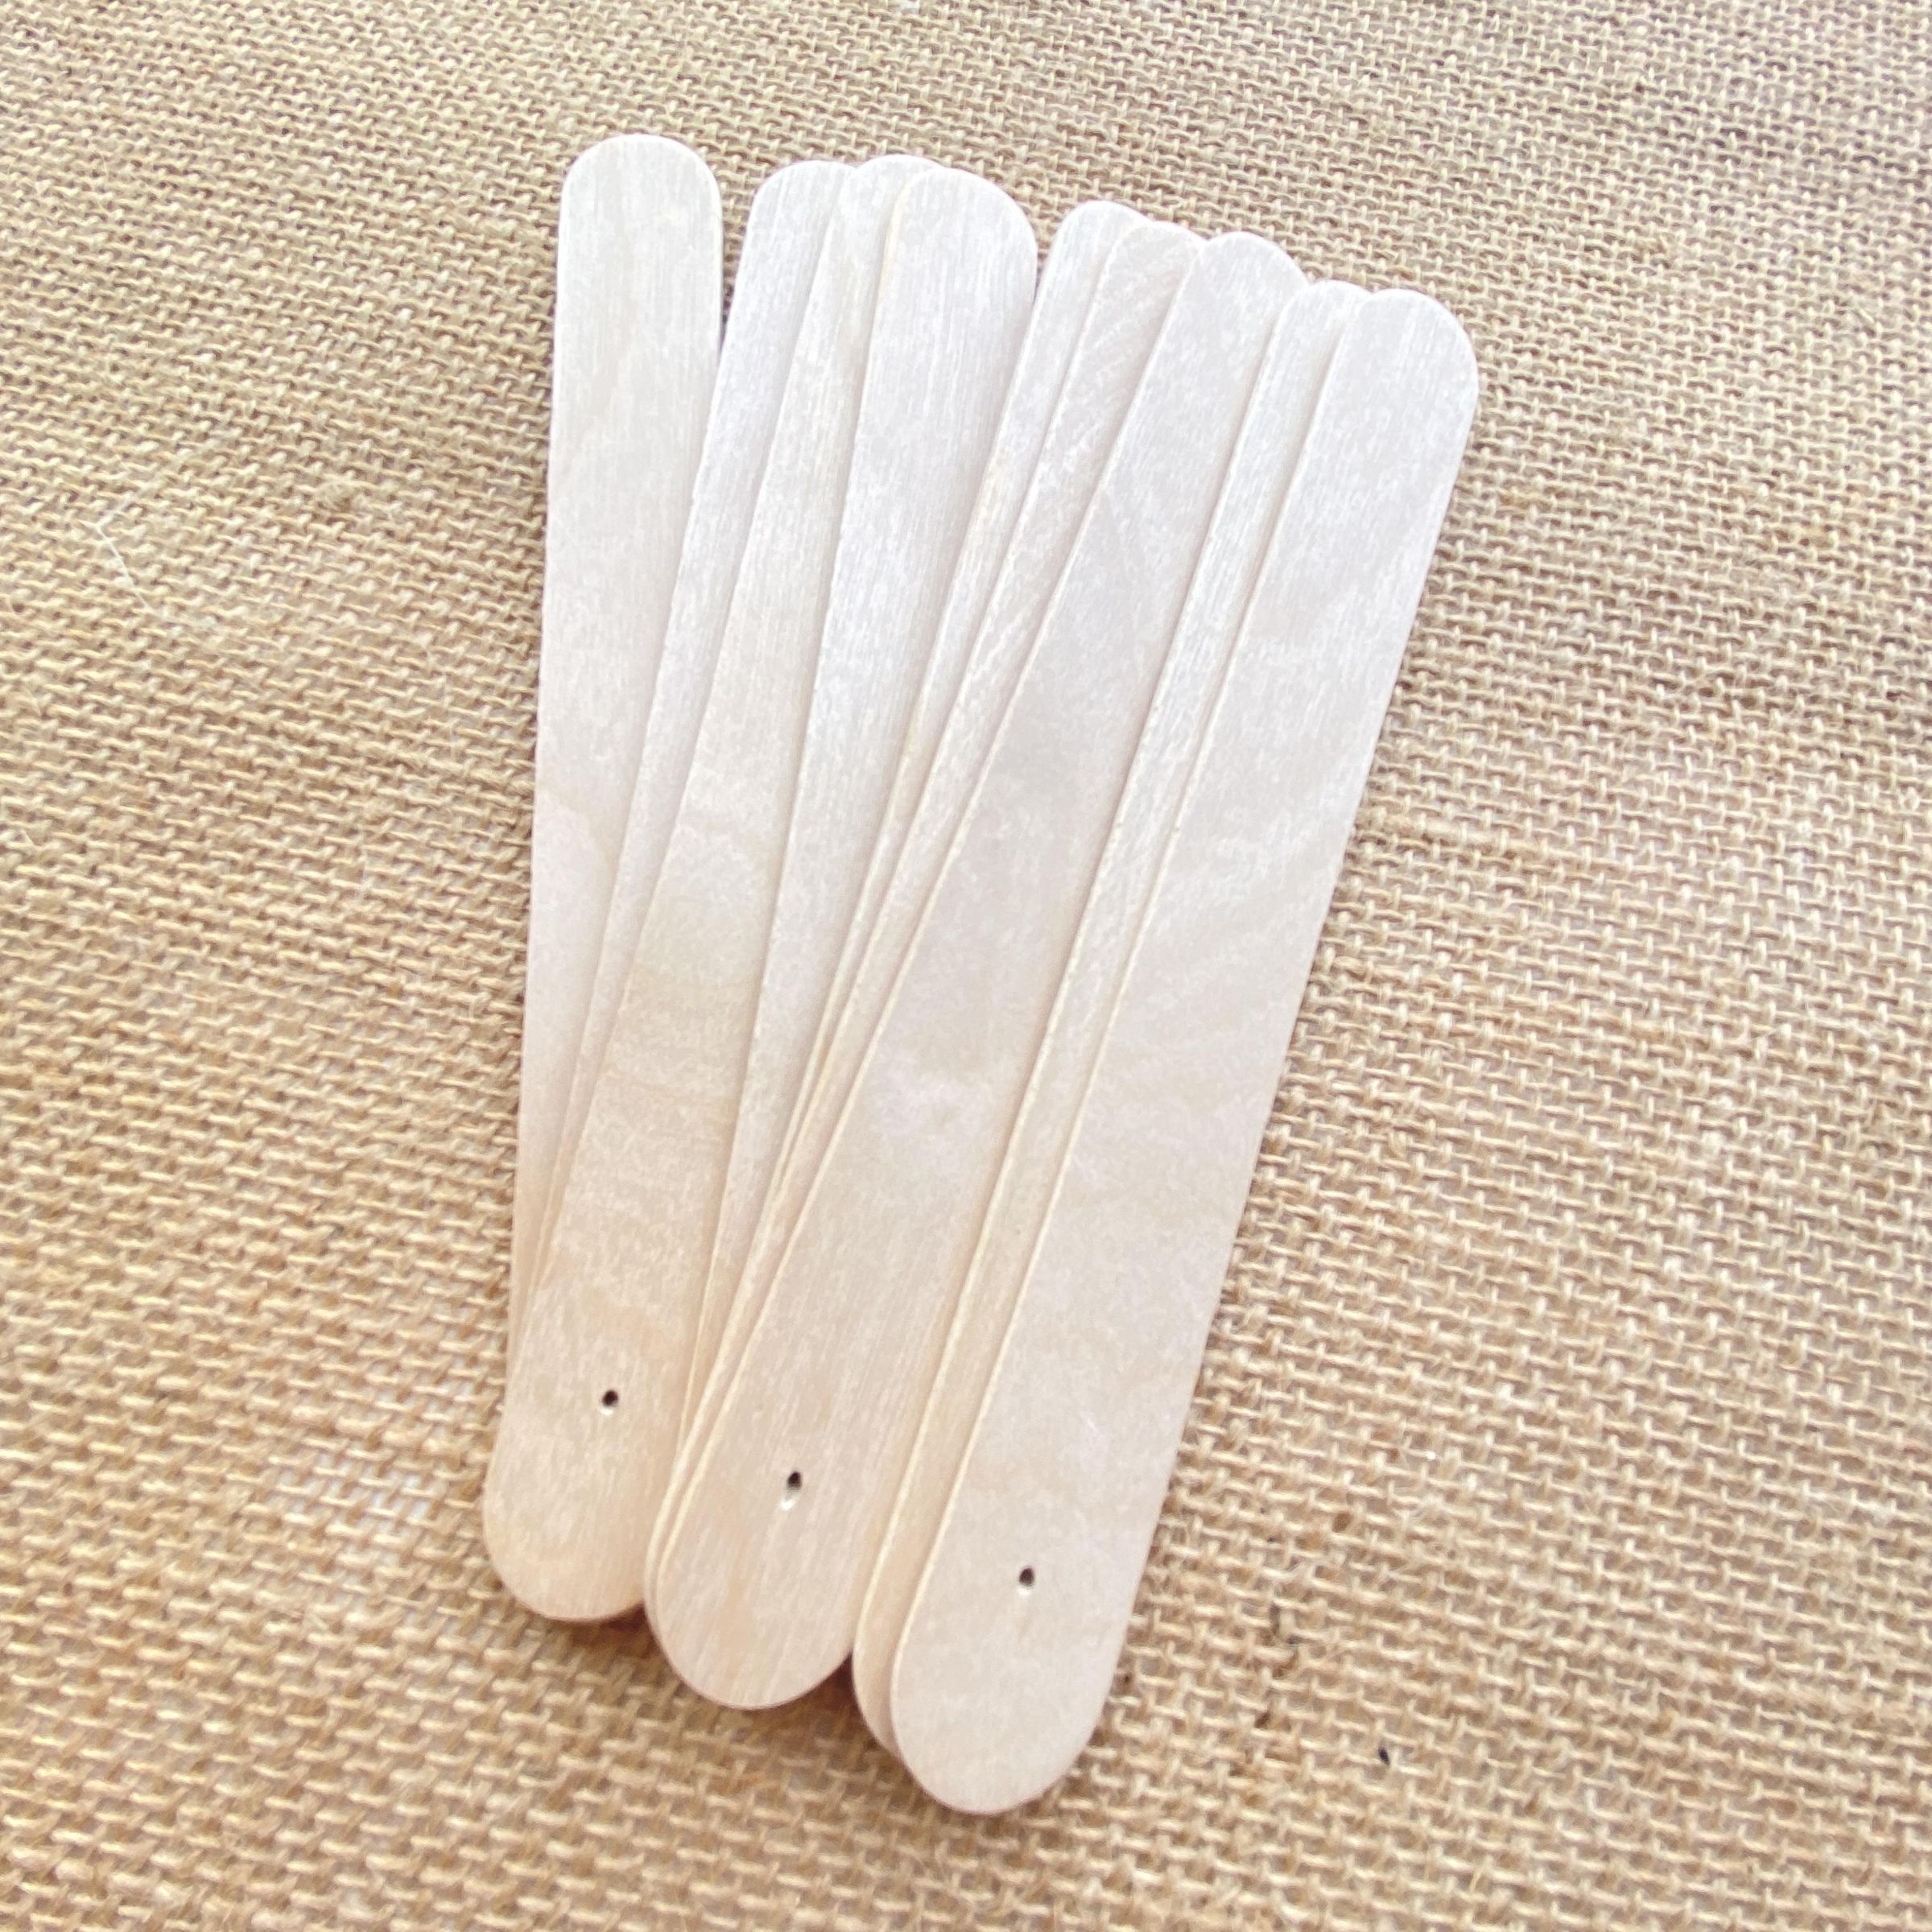
Step 7: Take the nine 15 cm wooden craft sticks; then, at one end of each stick, measure 1.5 cm up and mark a point in the center. Do this for all nine sticks to ensure they align correctly.
Subject
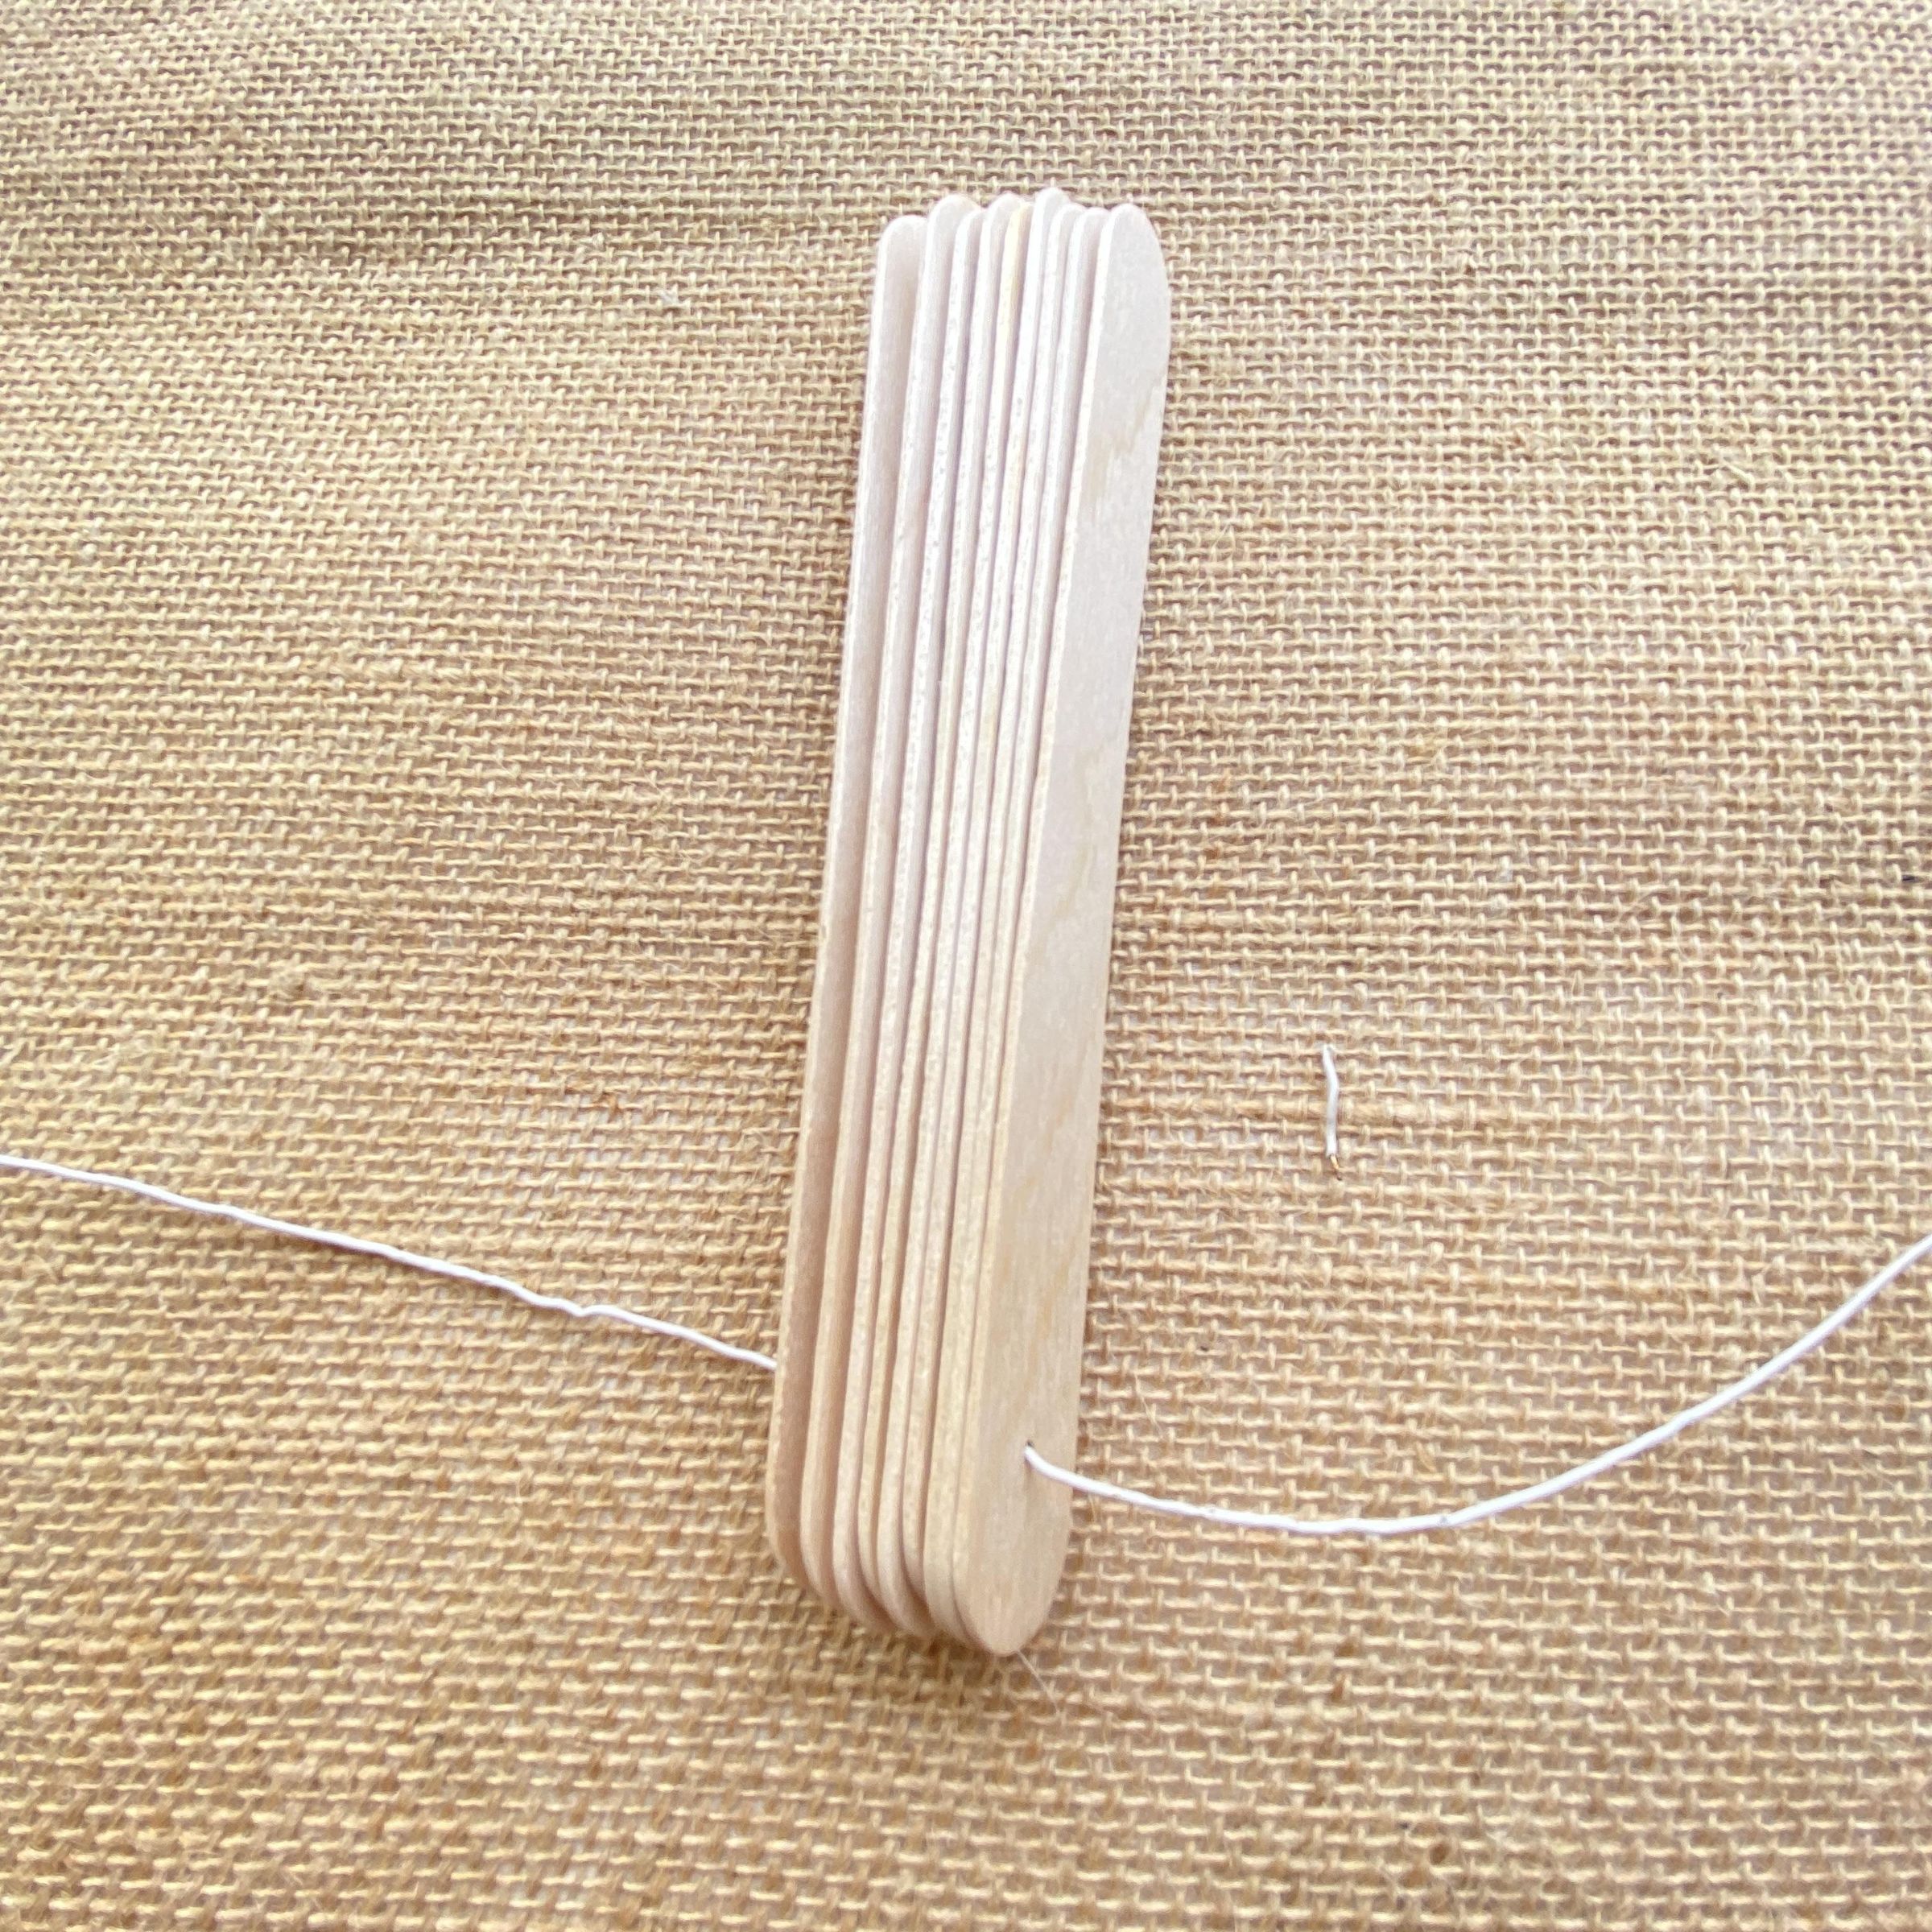
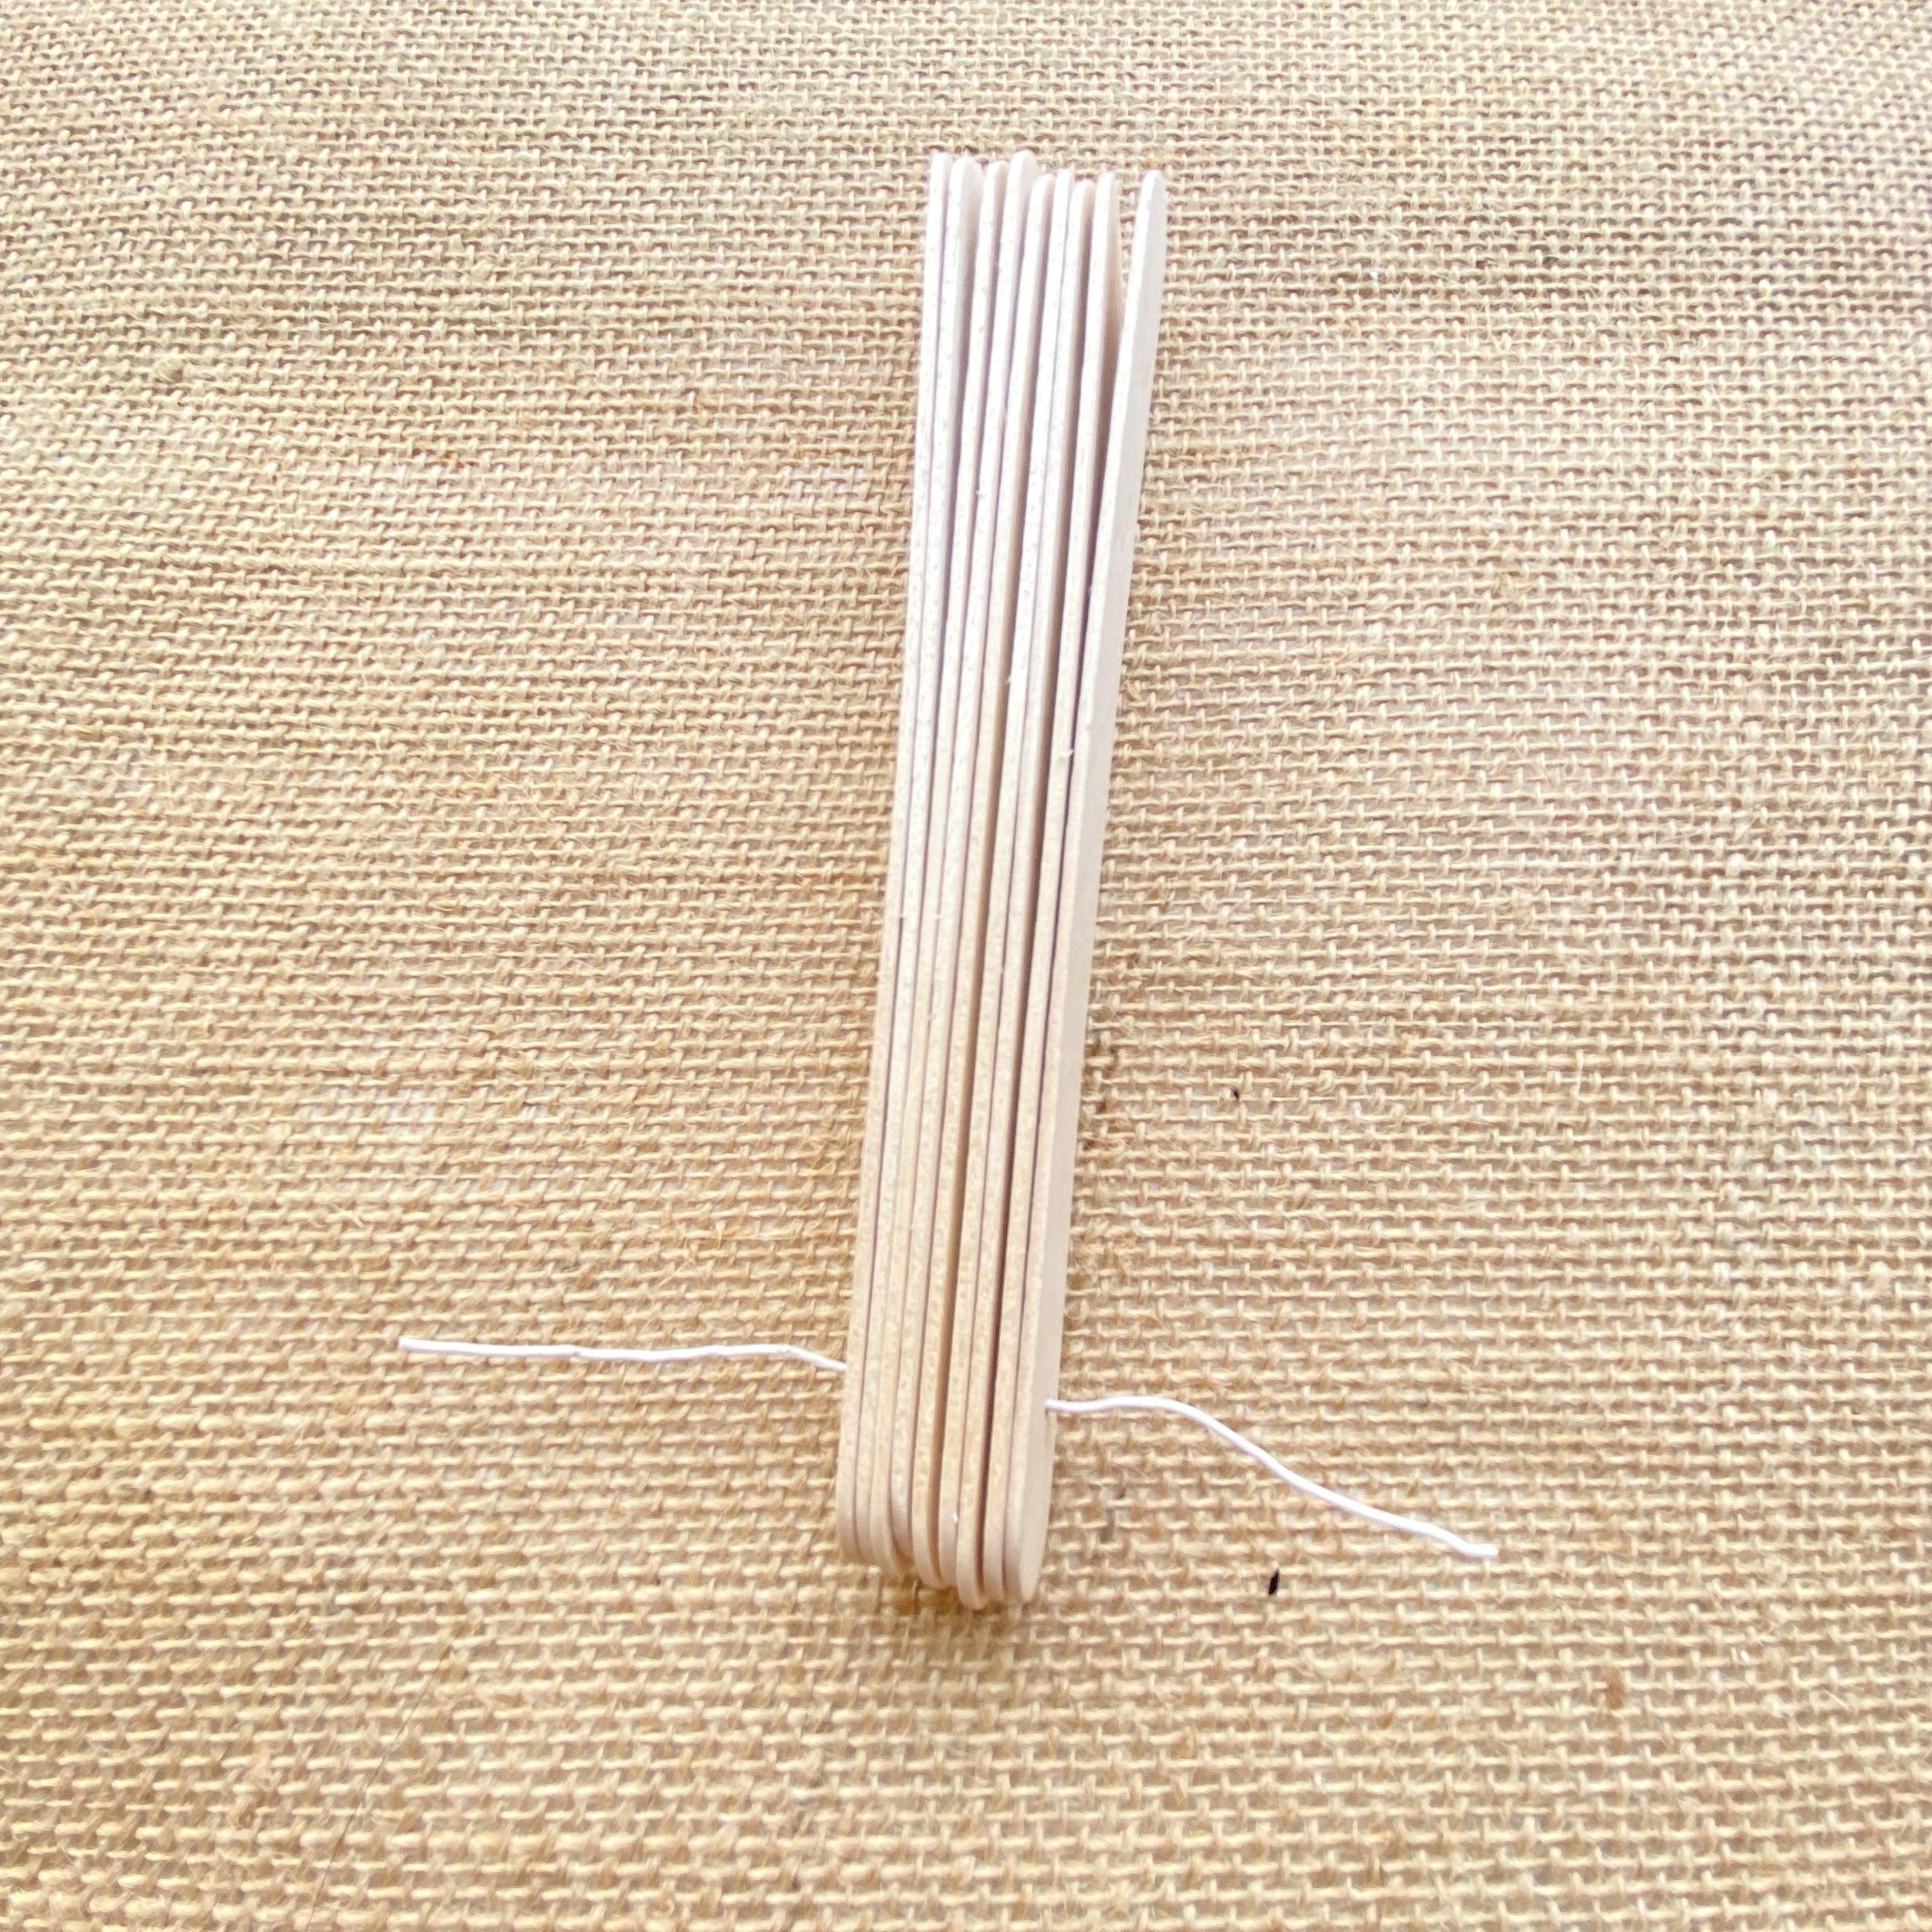
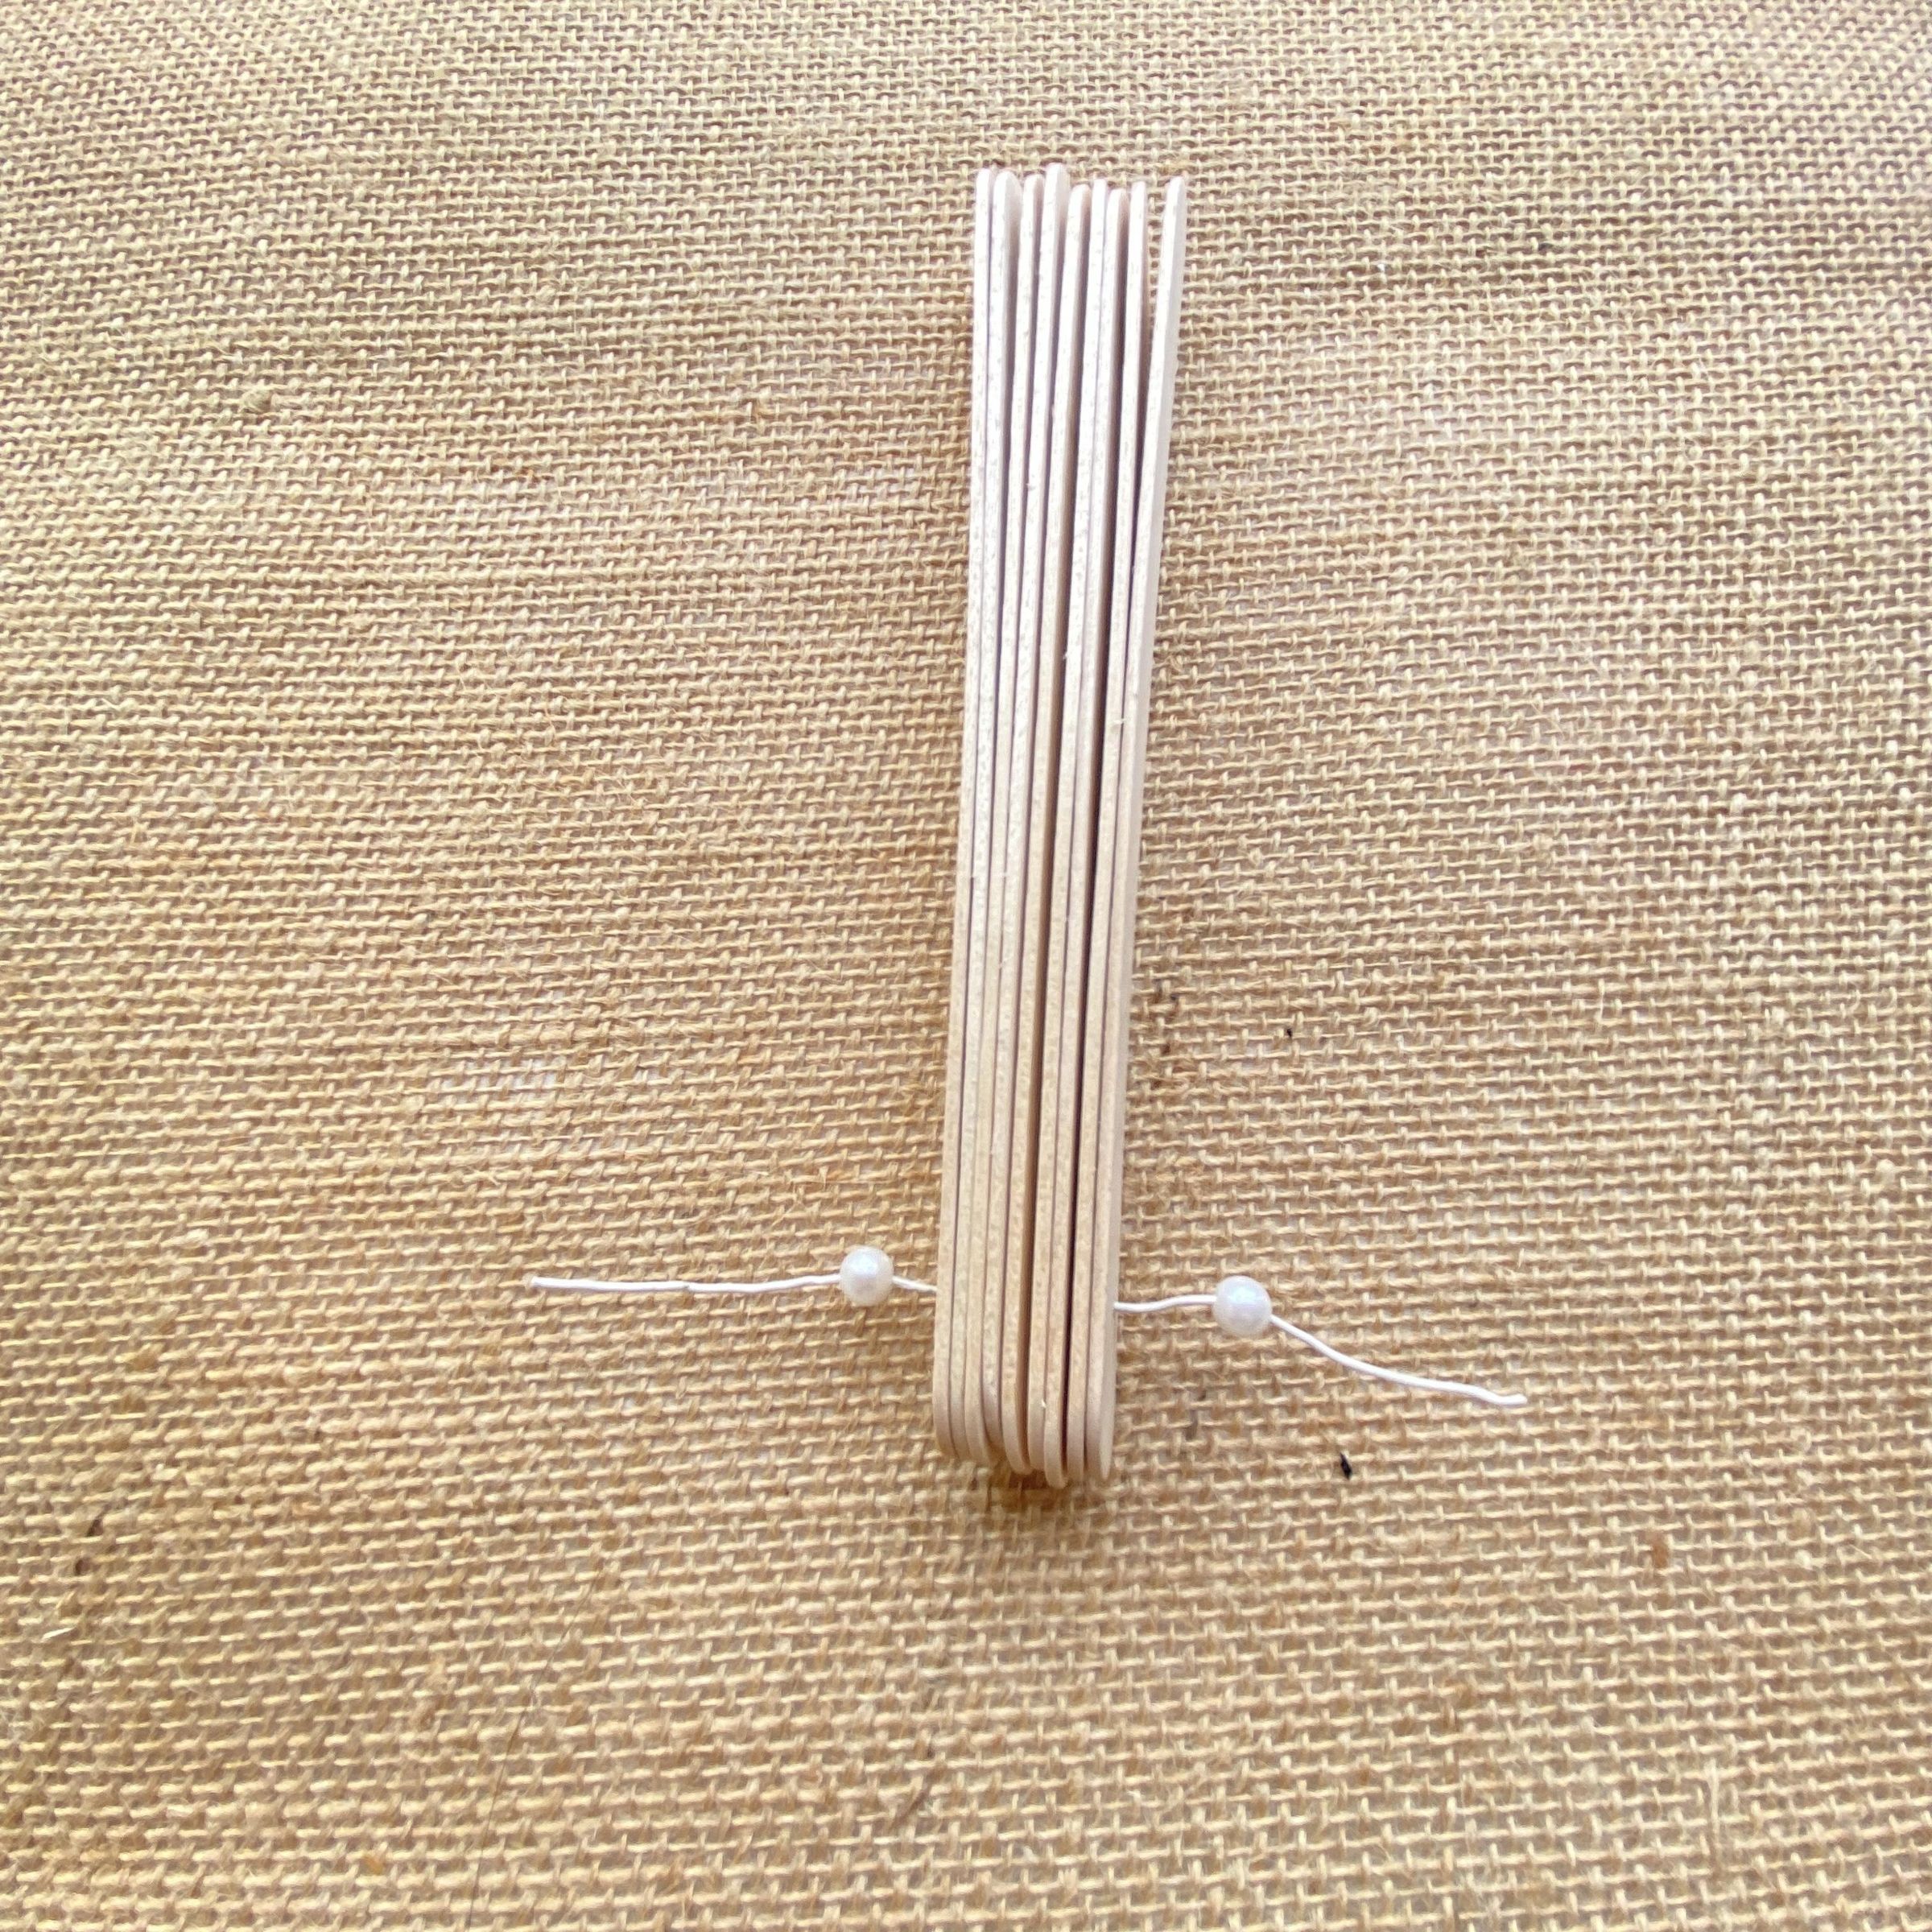
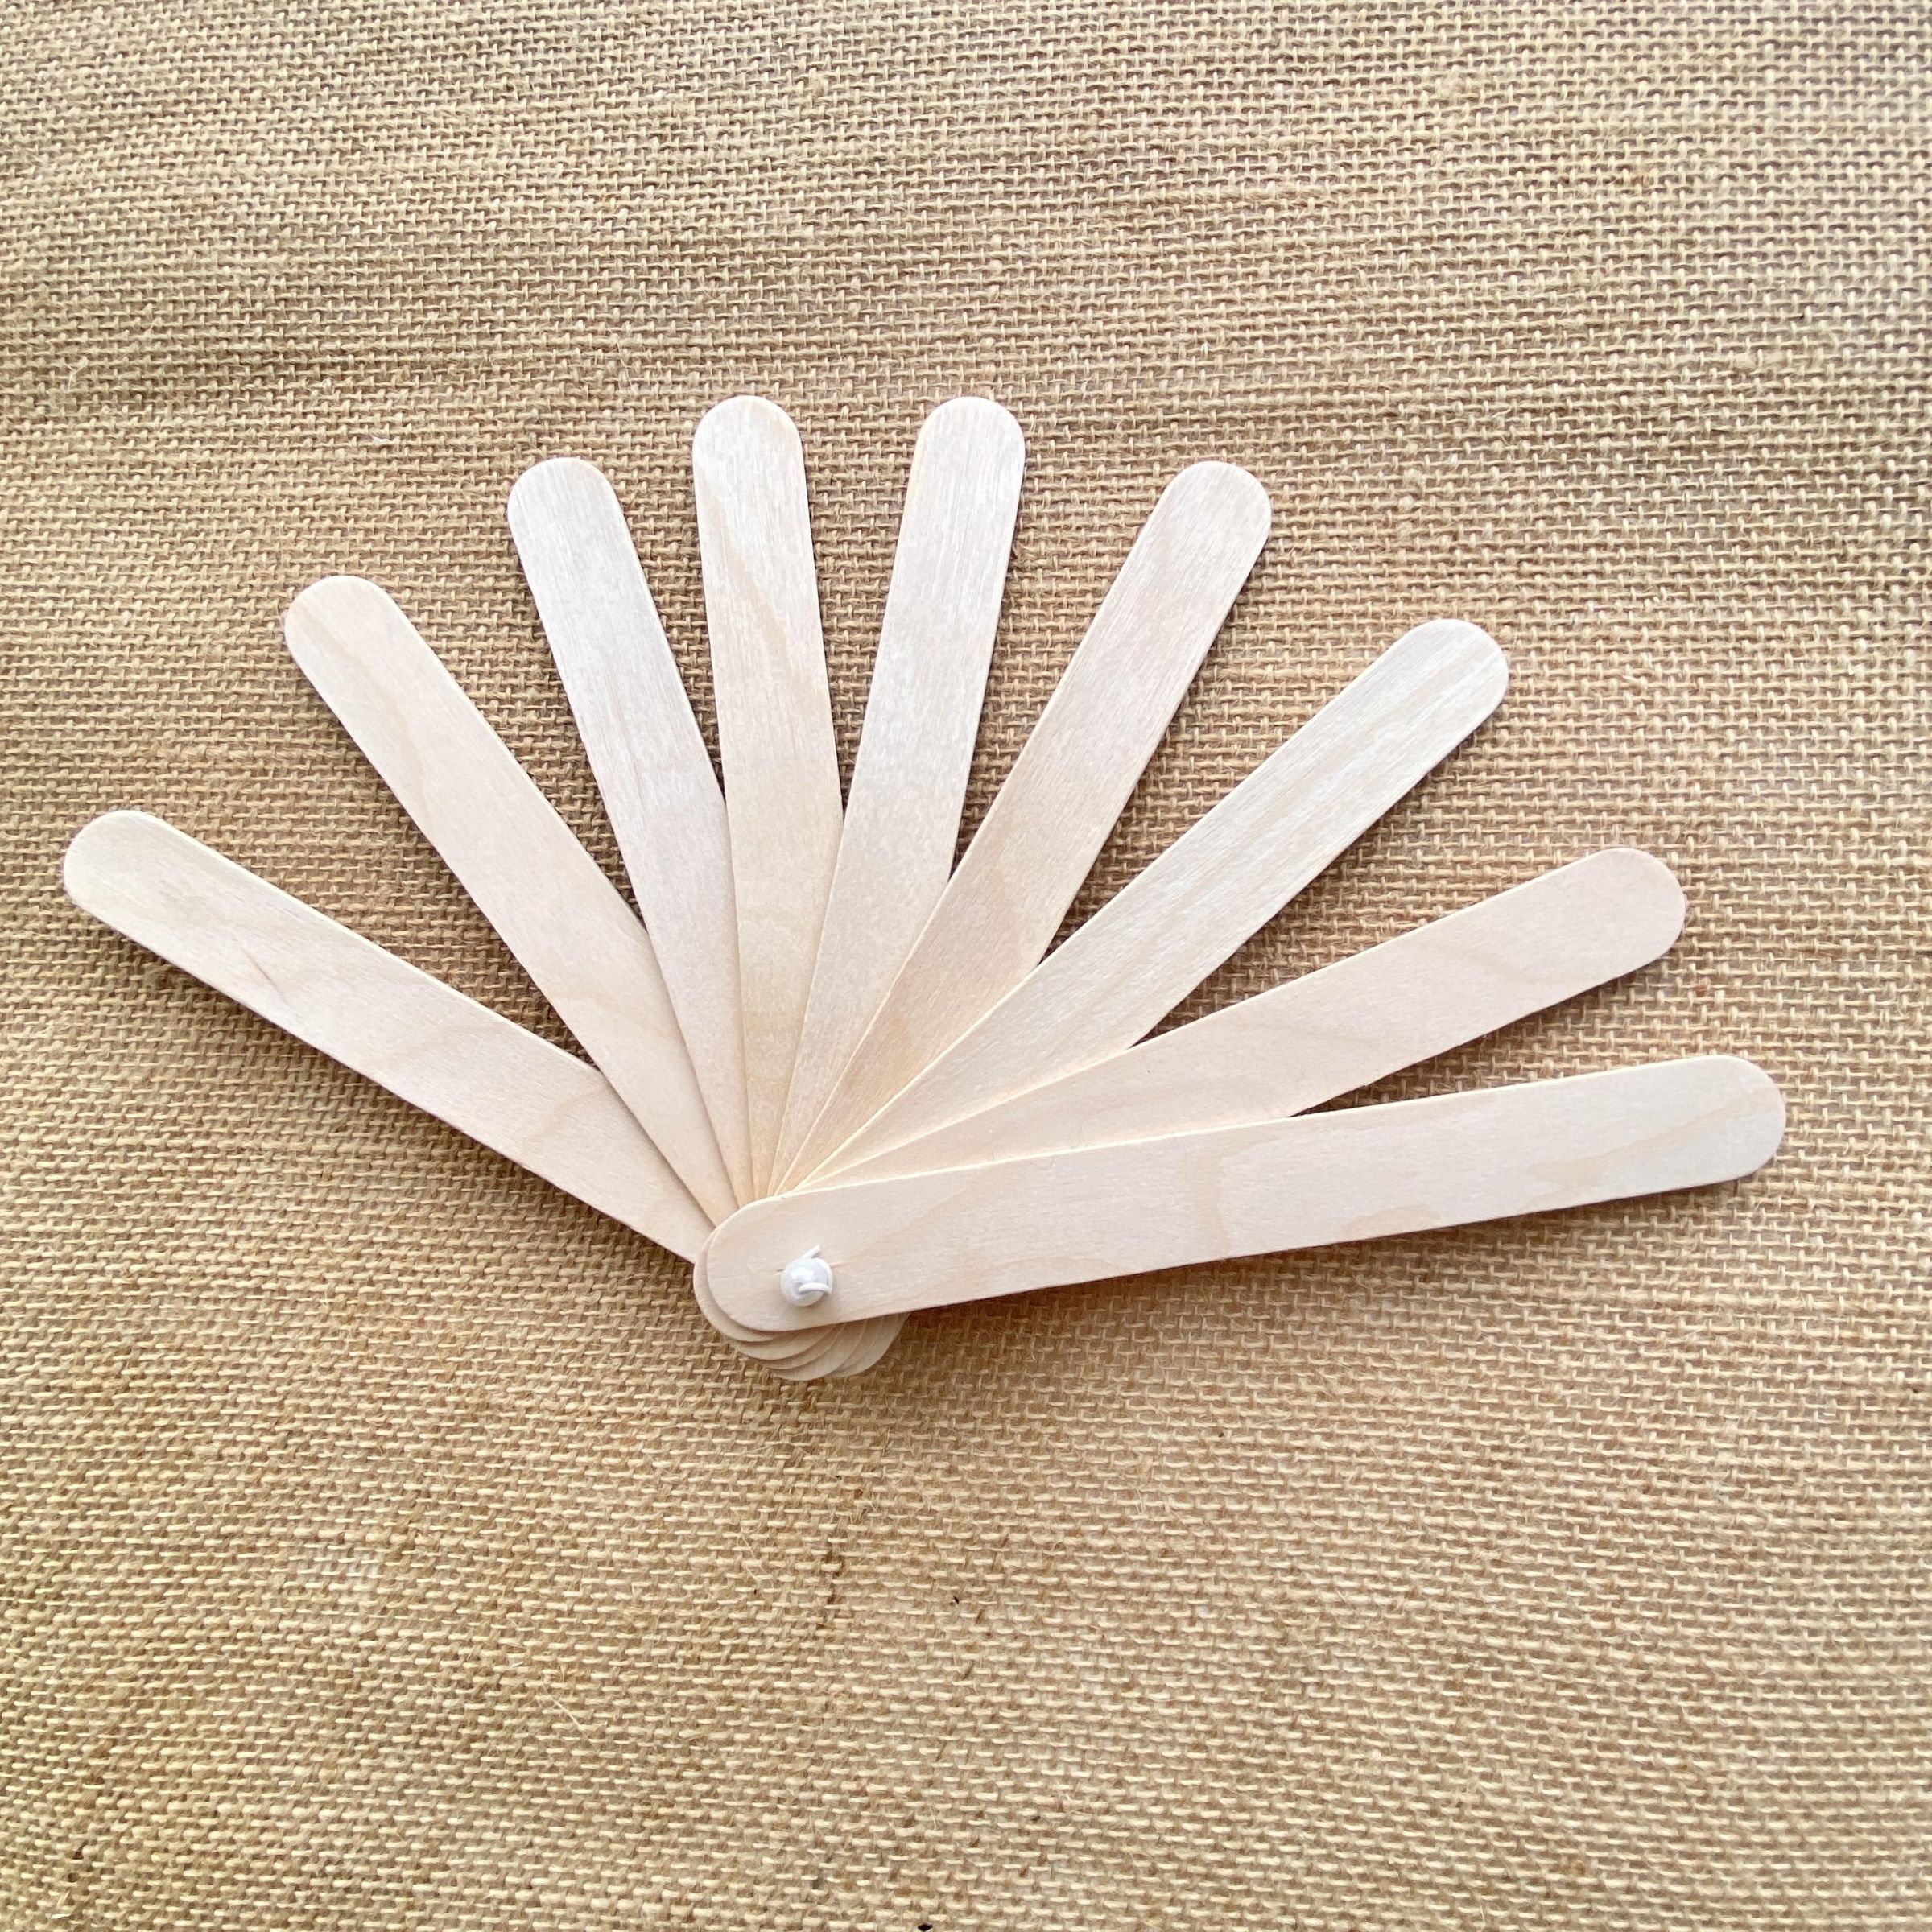
Step 8 (Drilling and assembl Using a heated nail or a small drill, make a clean hole at the marked point on each stick. Finally, join the nine sticks together by inserting a small screw, a paper clip, or a piece of wire through the holes to create the pivot point that will hold the base of the fan together.
I used two white beads to adjust the wire and make it look nicer.
Glue
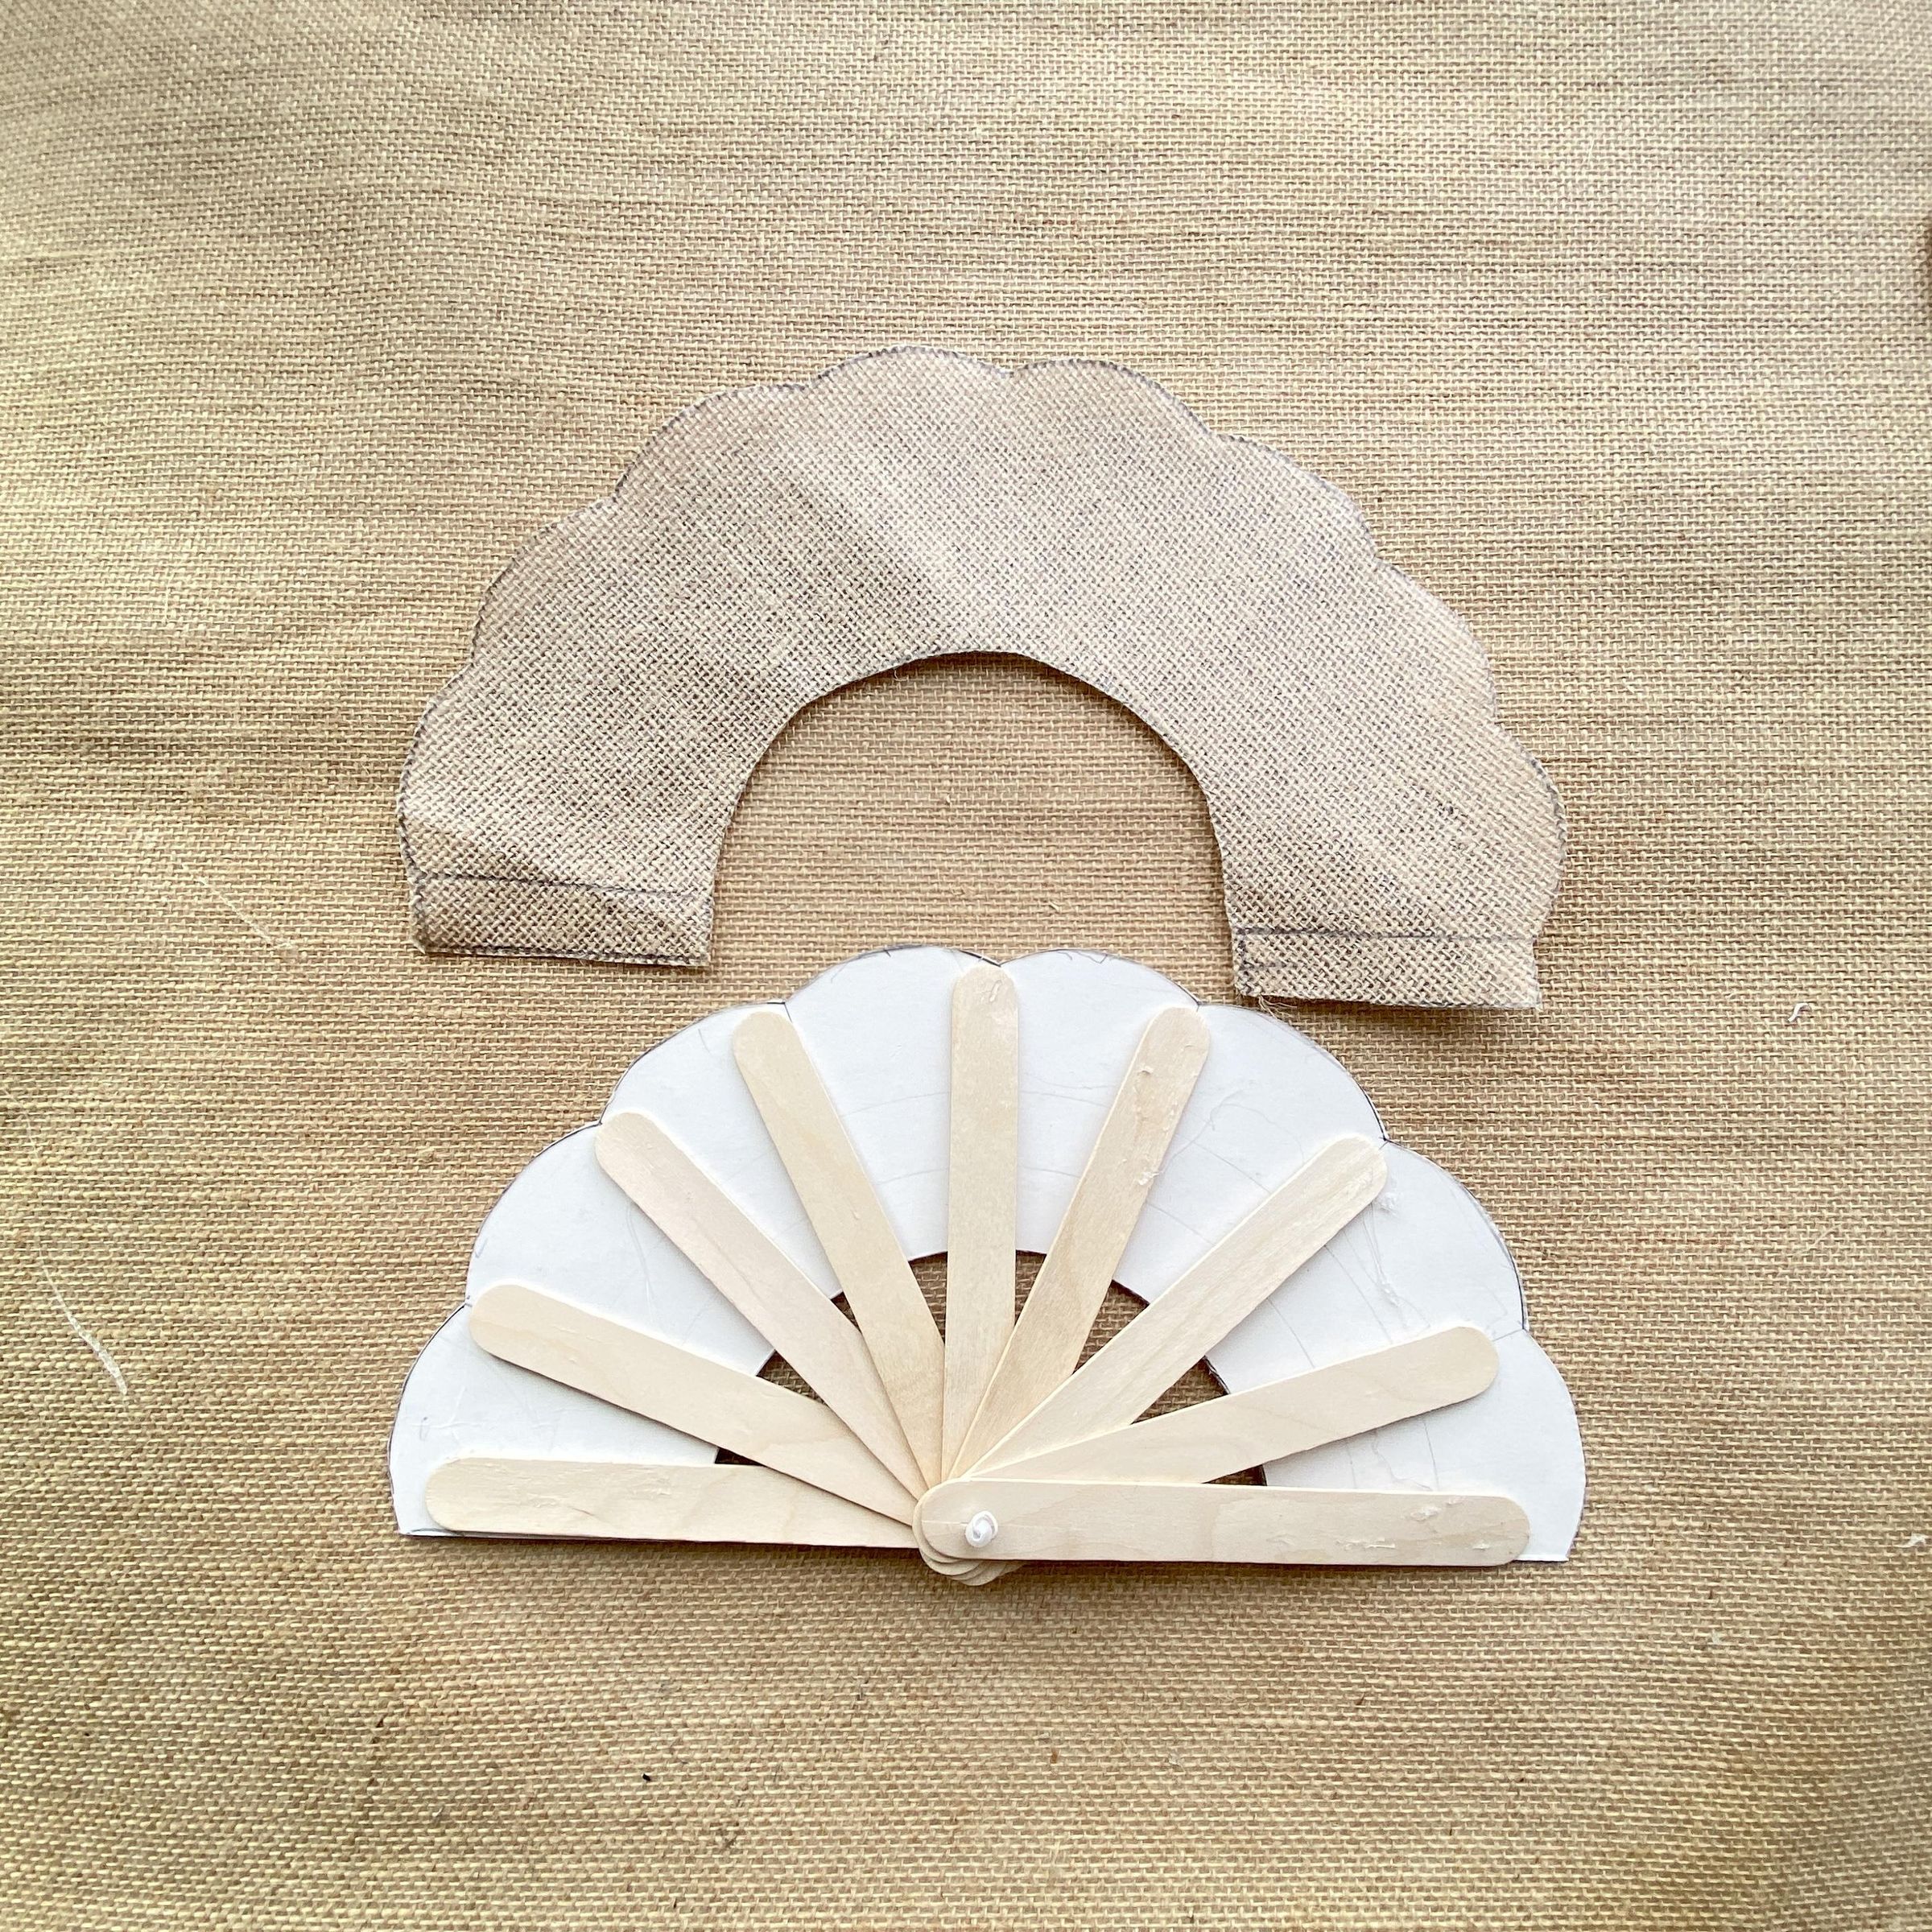
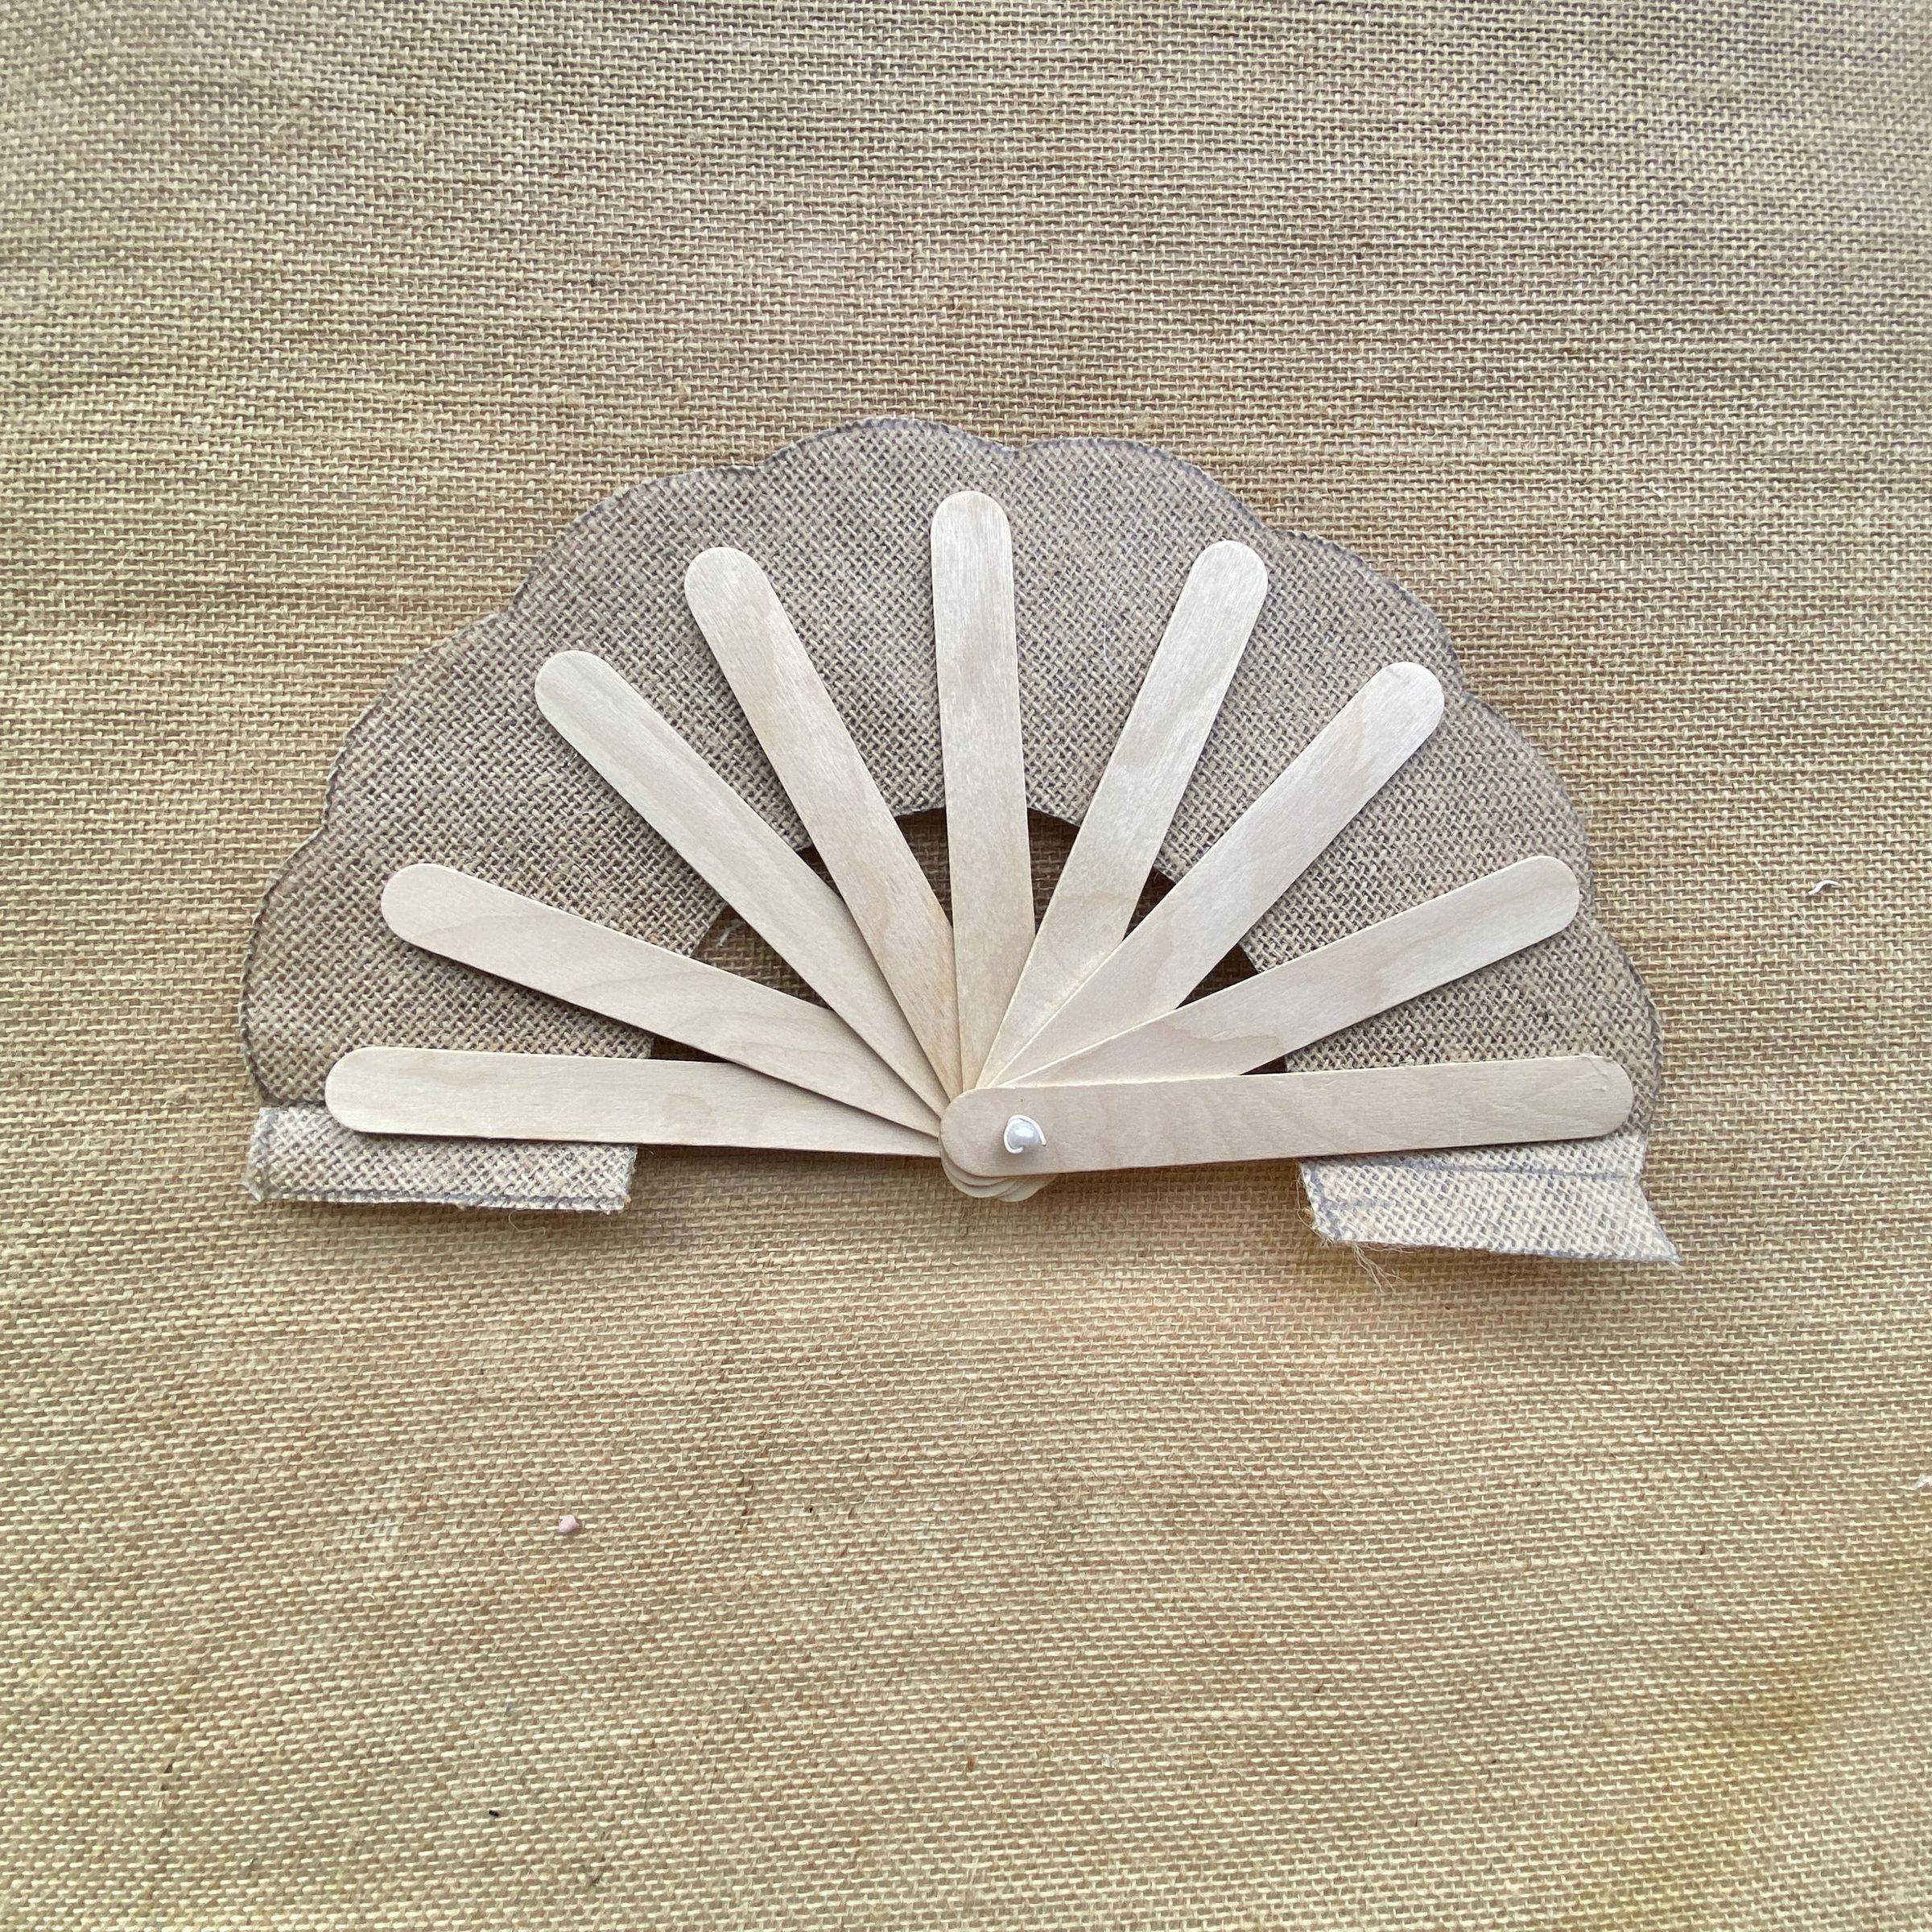
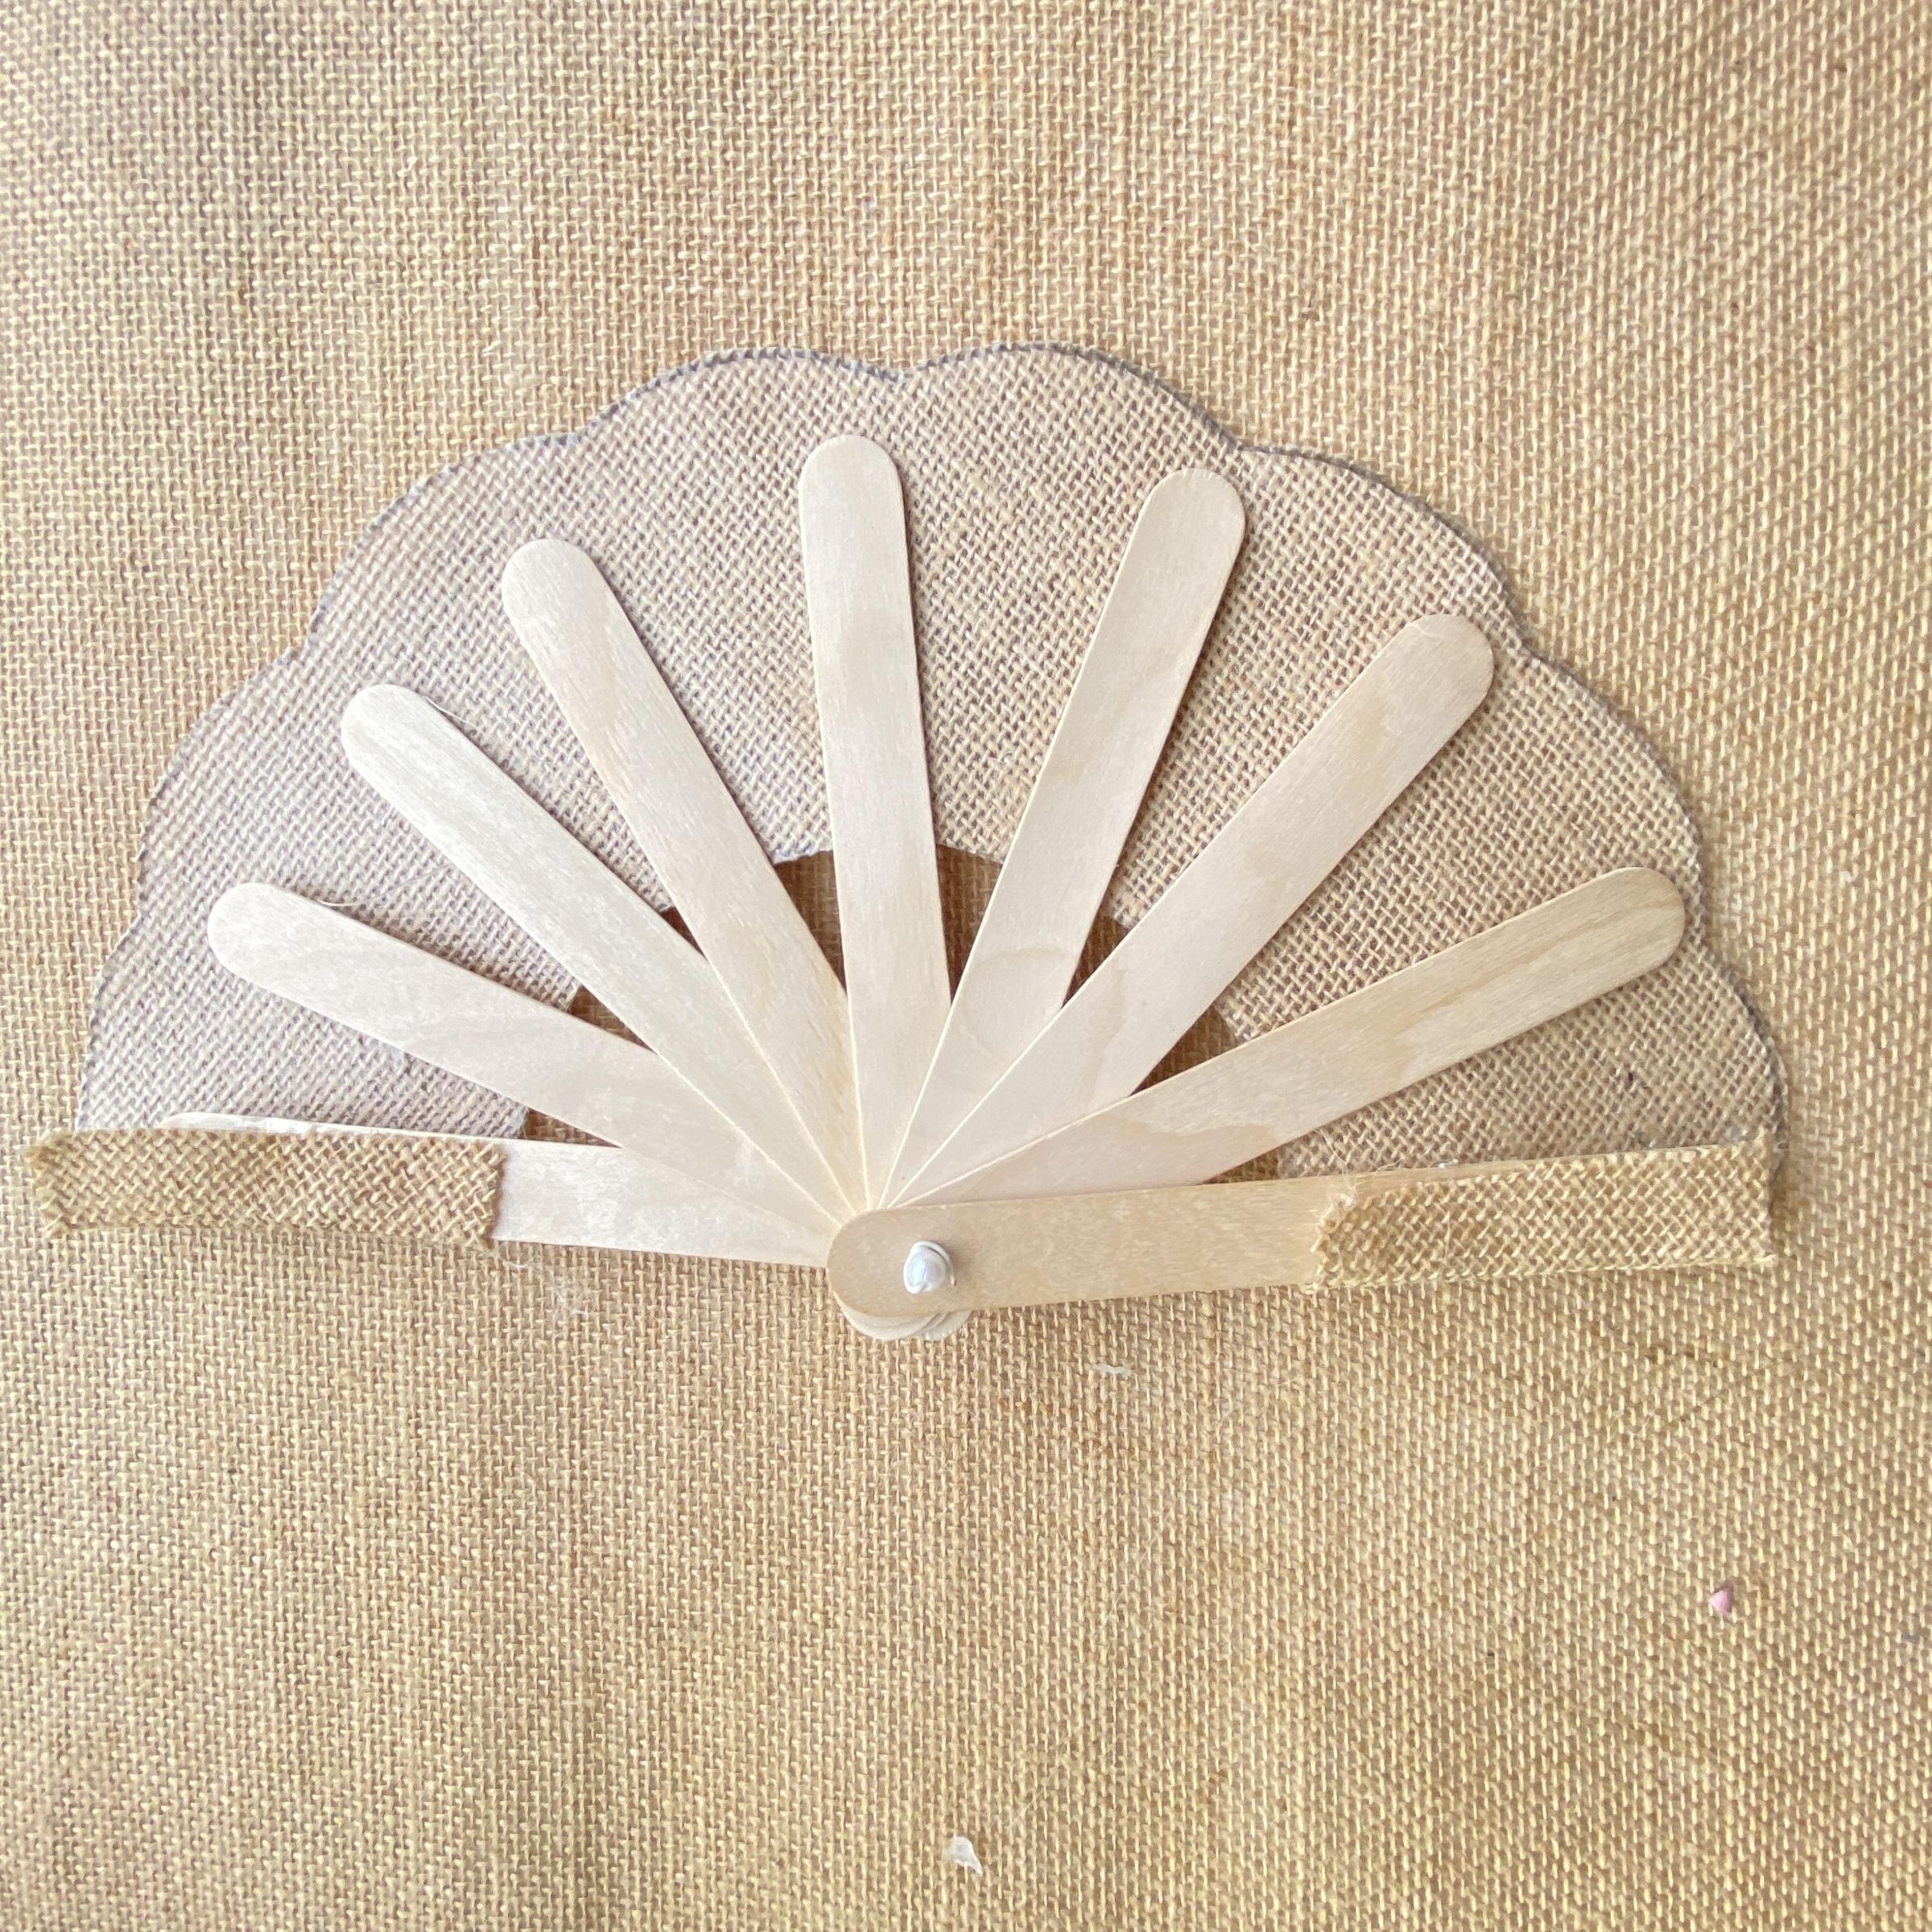
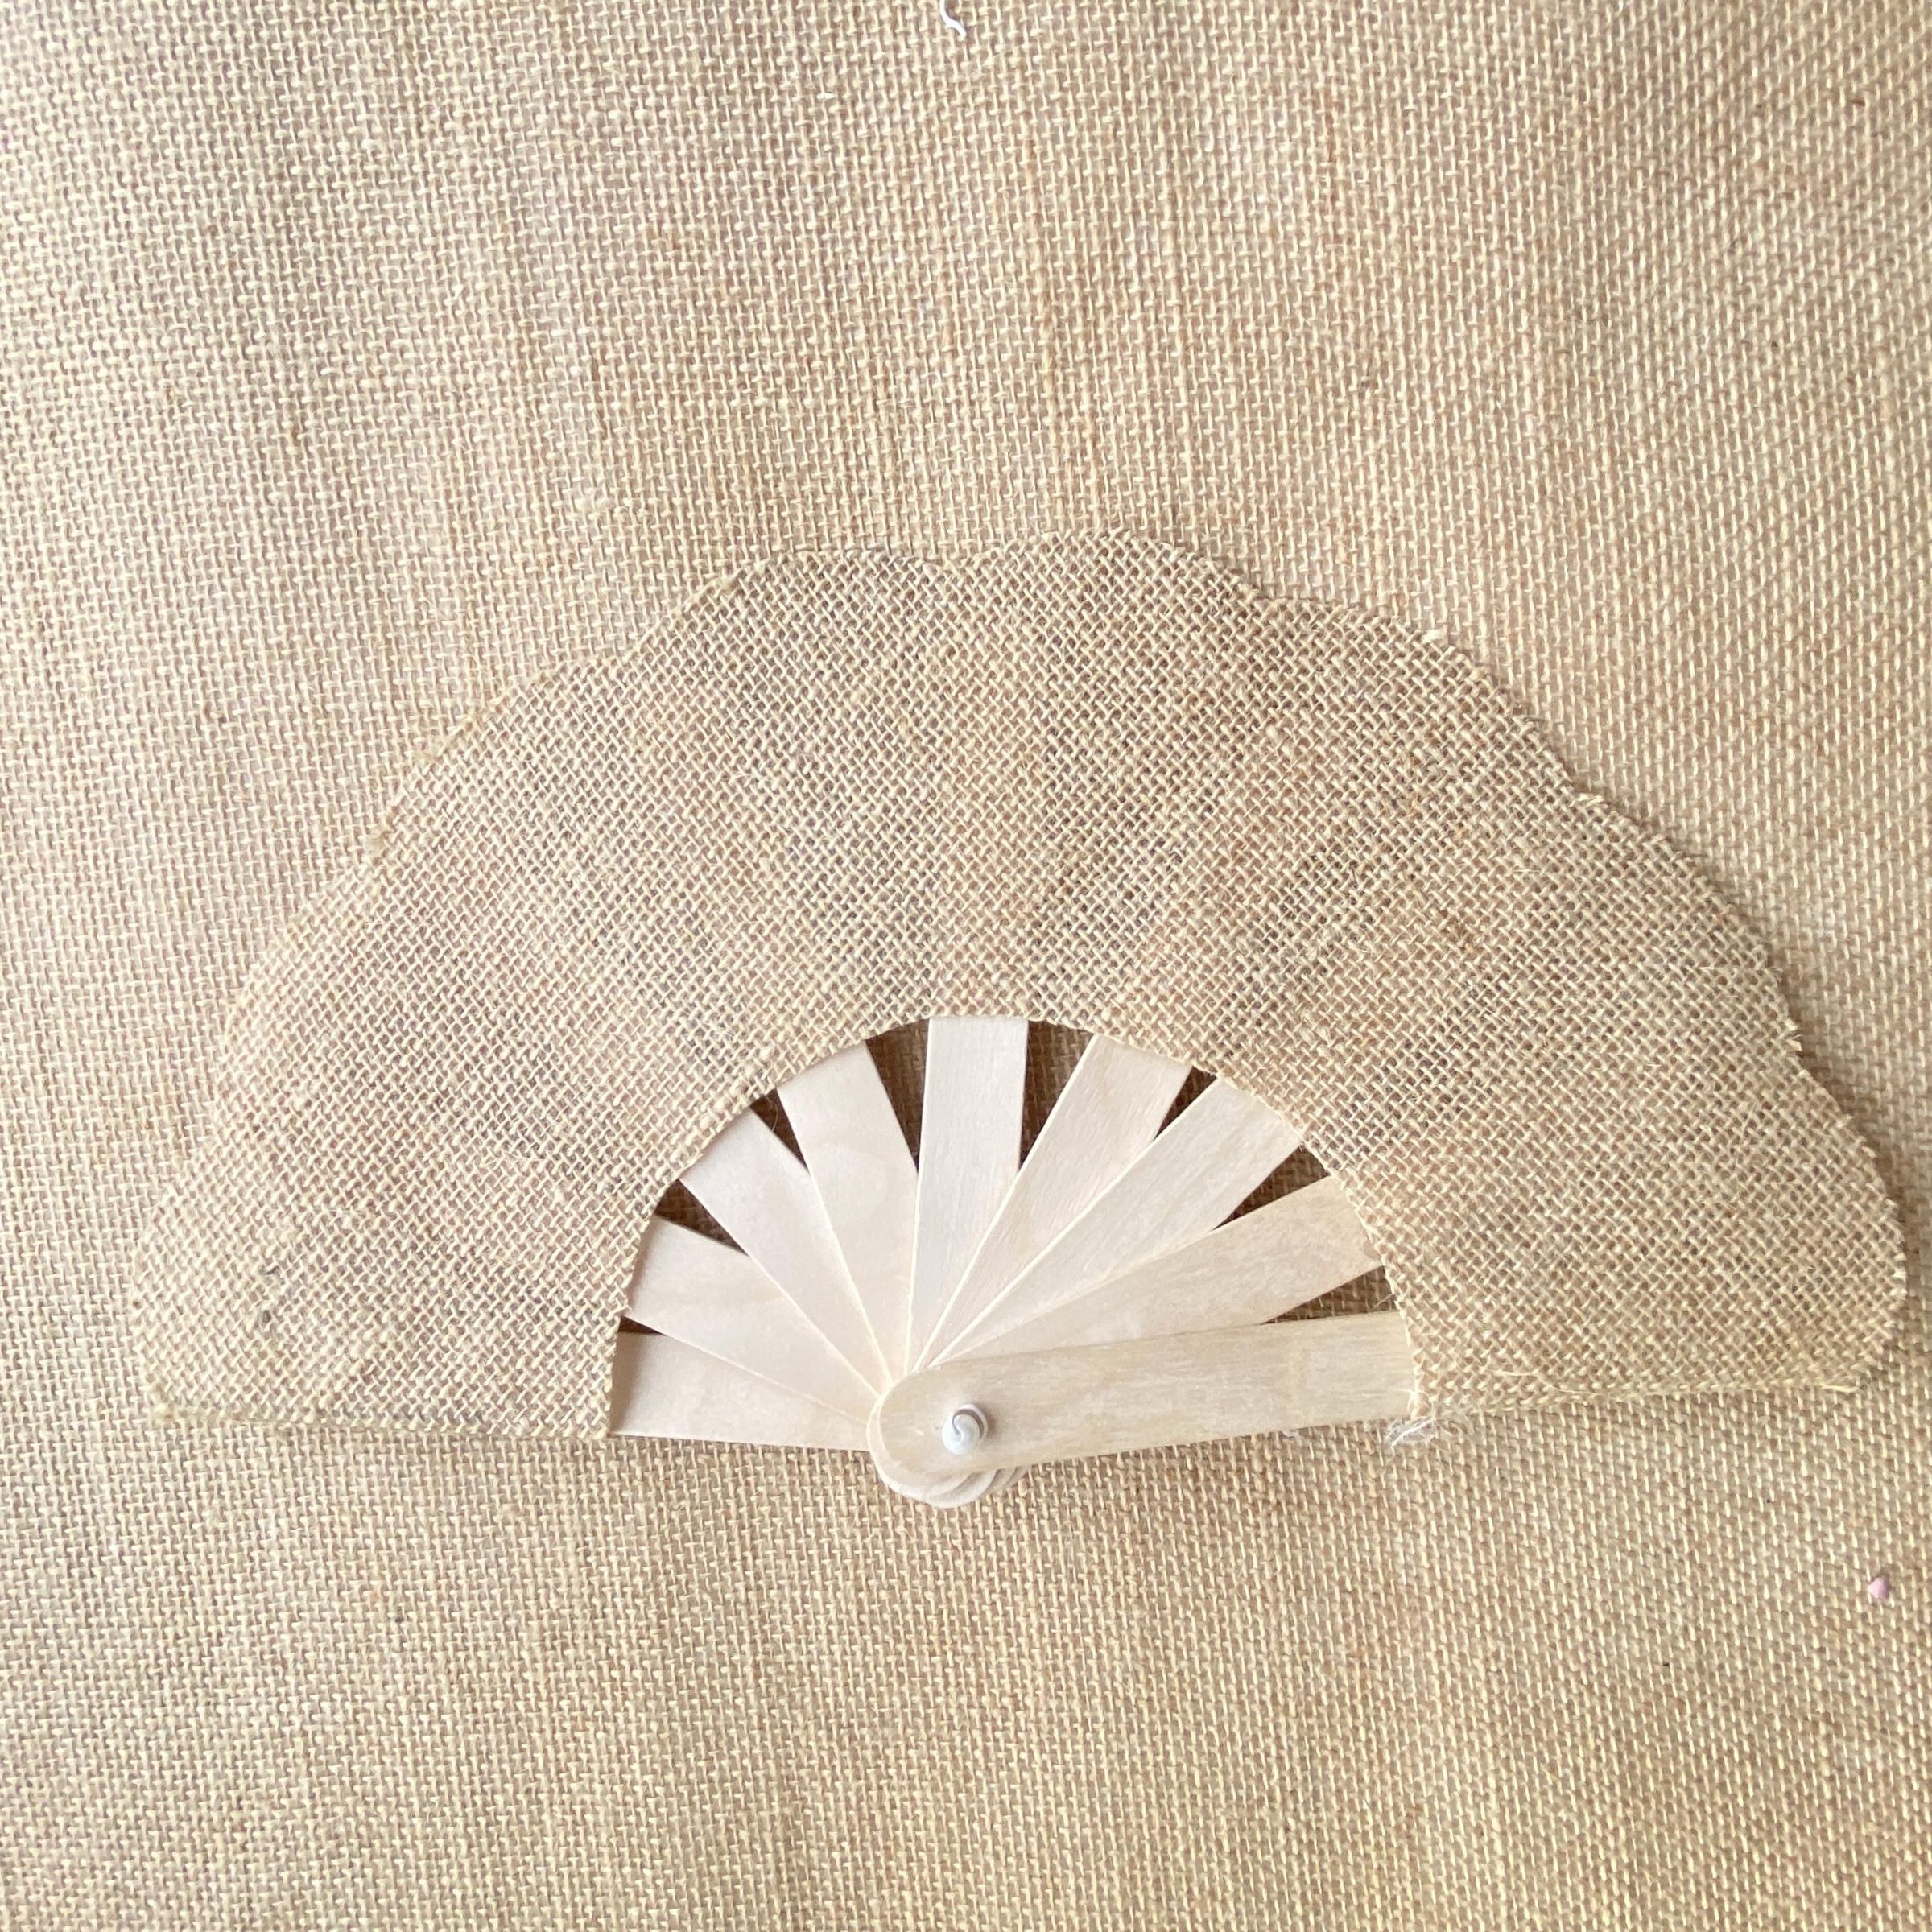
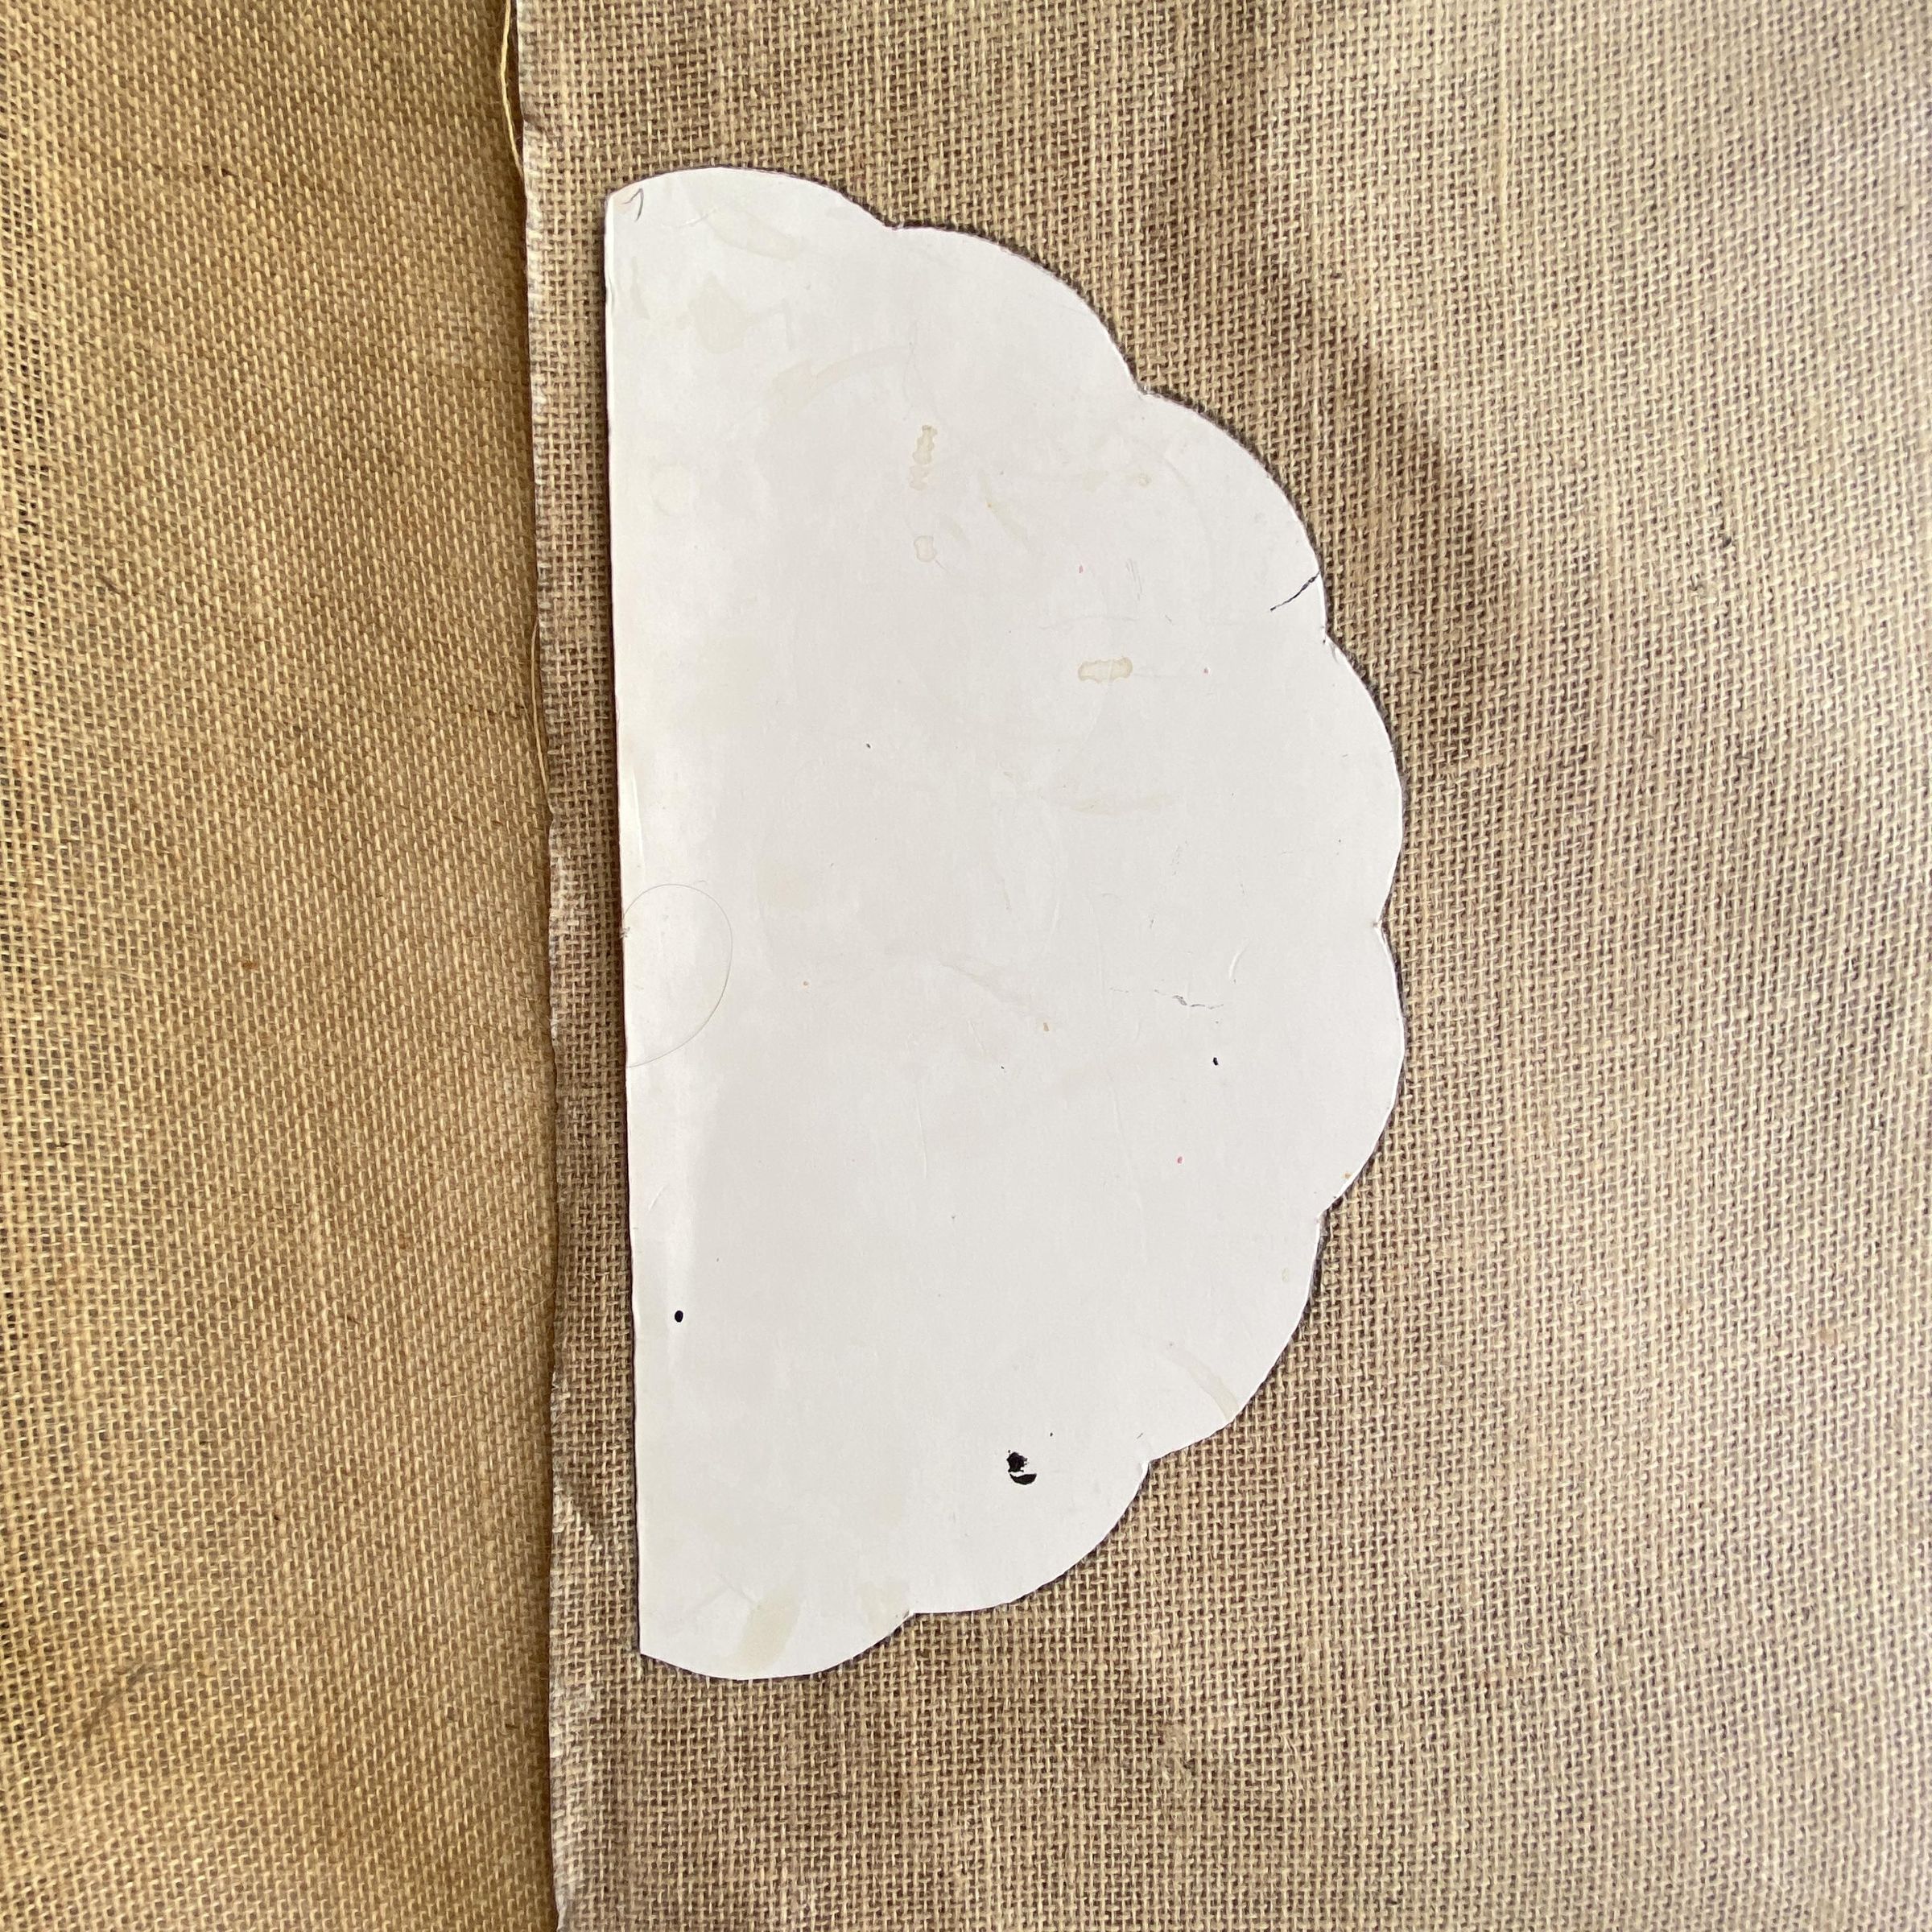
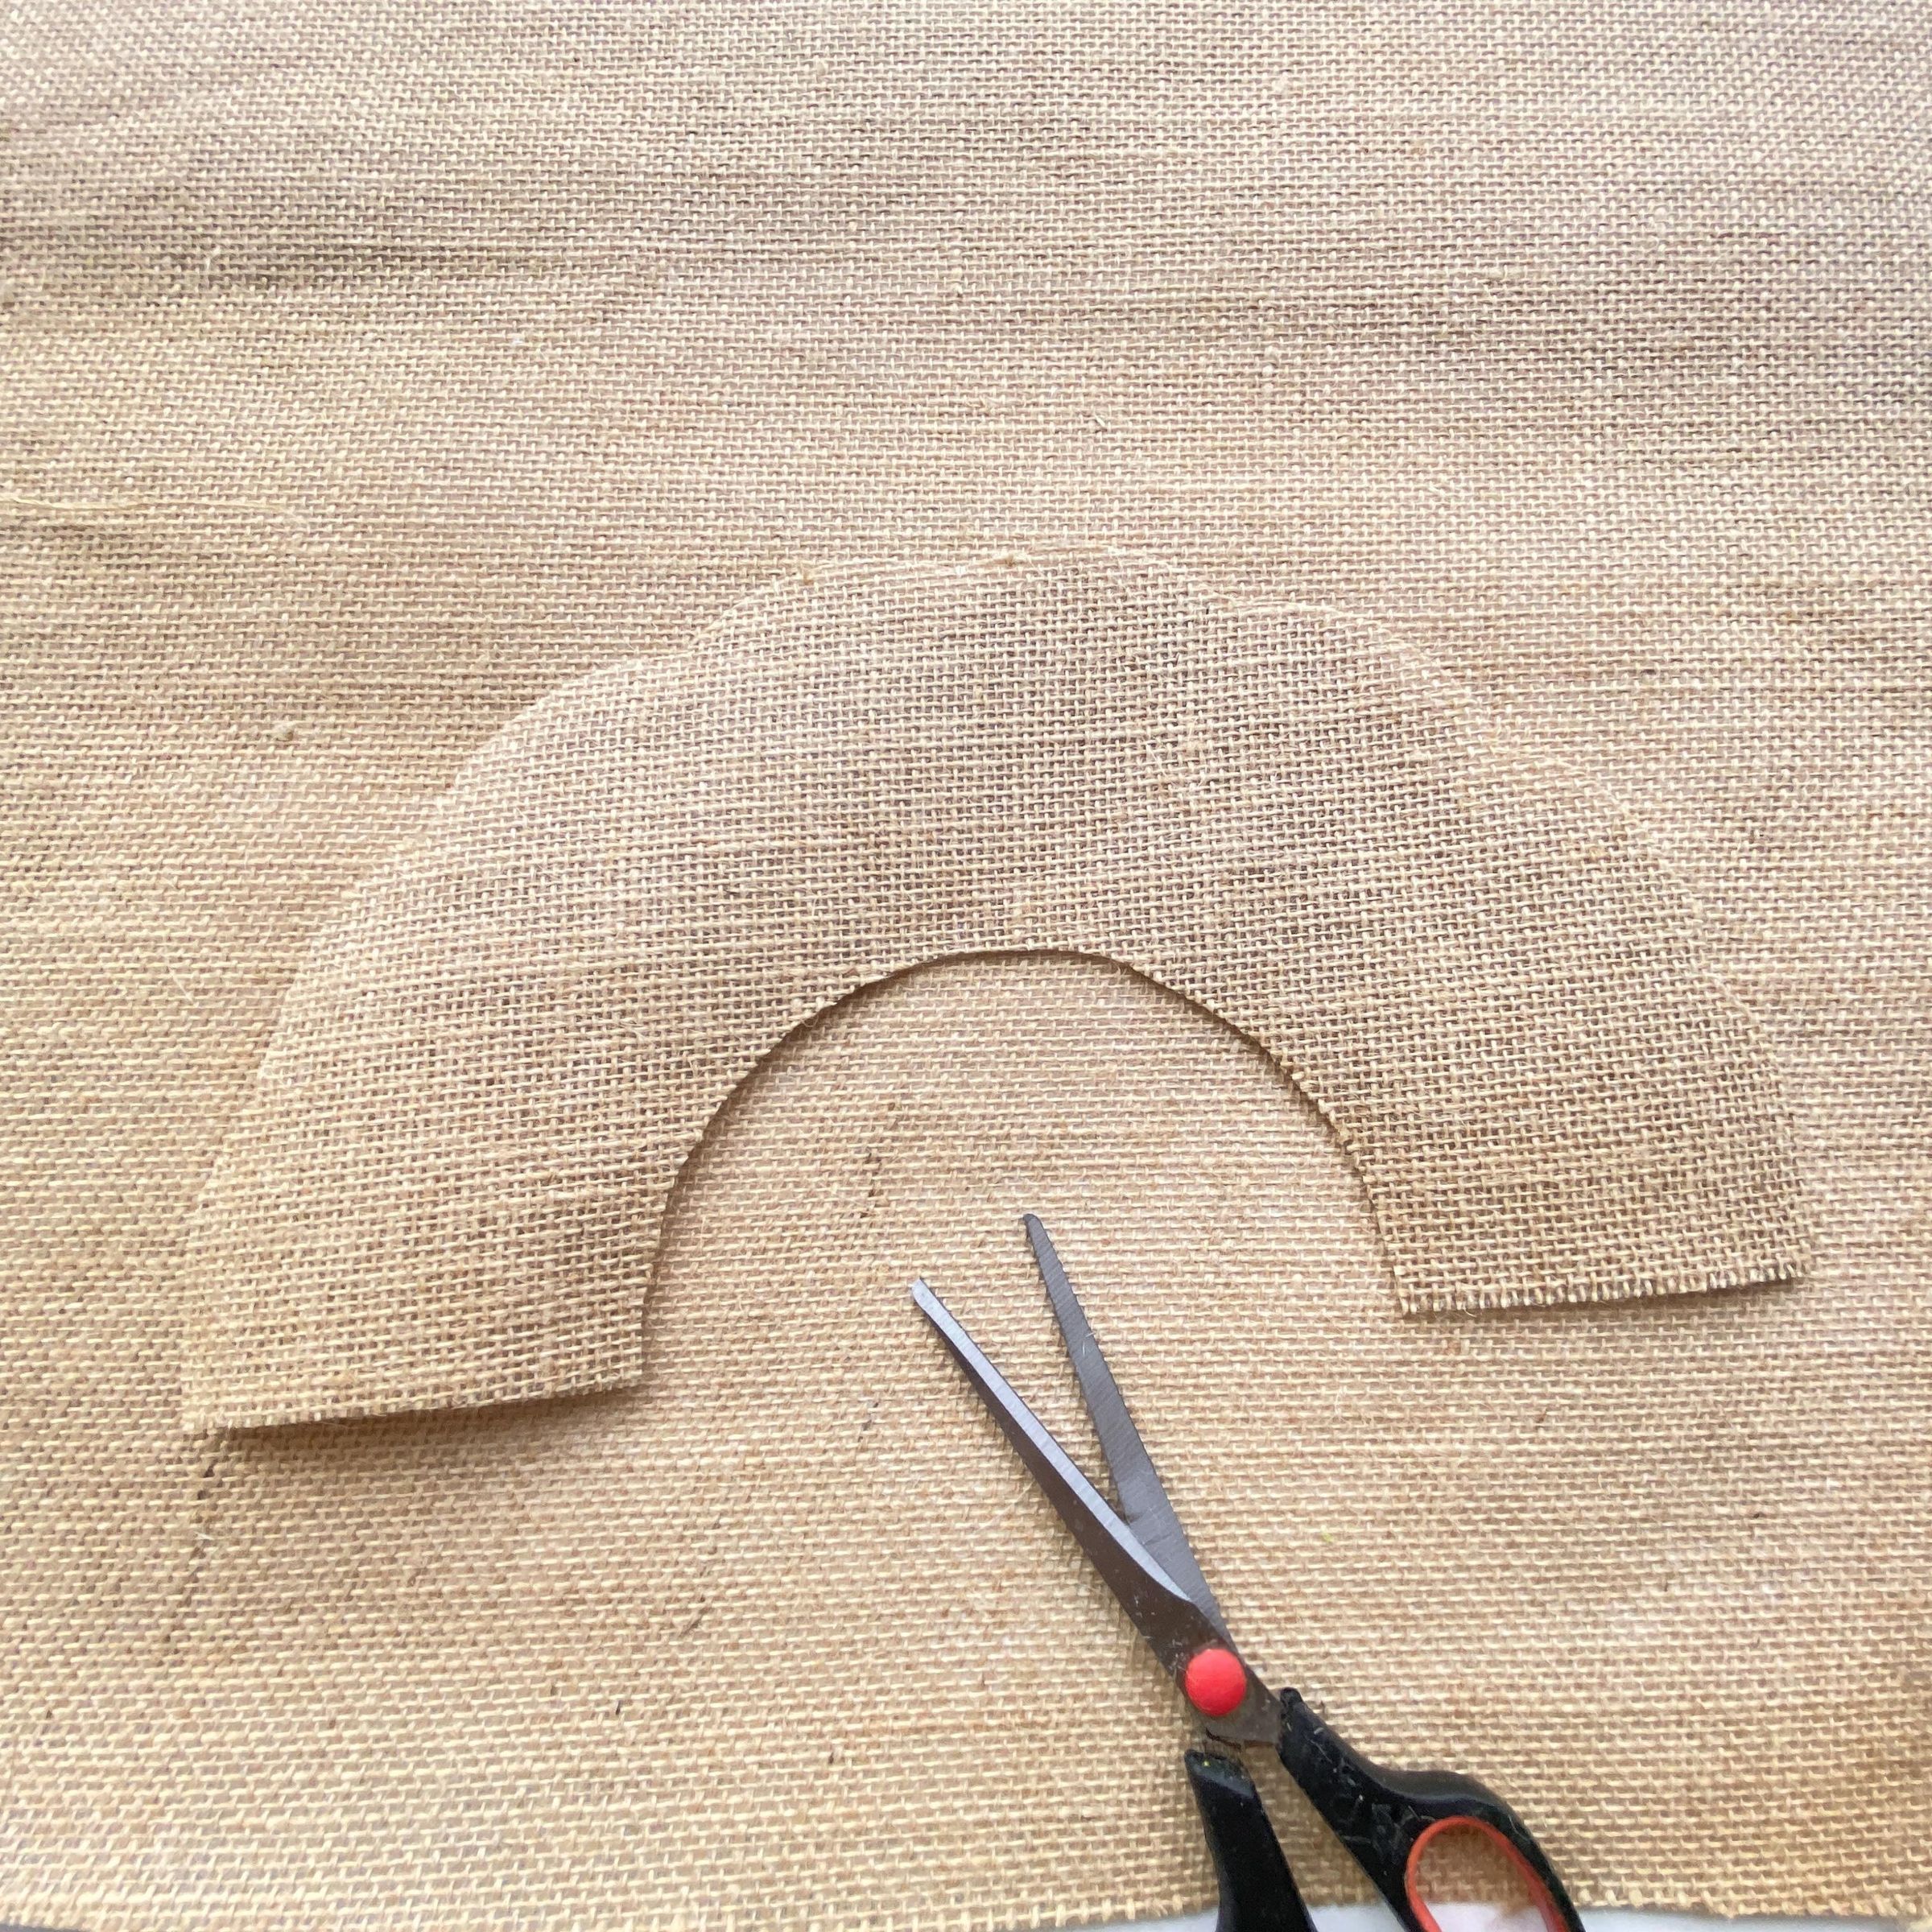
Step 9: Place the paper template you made earlier onto the jute fabric. Secure it firmly and cut out the jute, following the exact outline of the pape
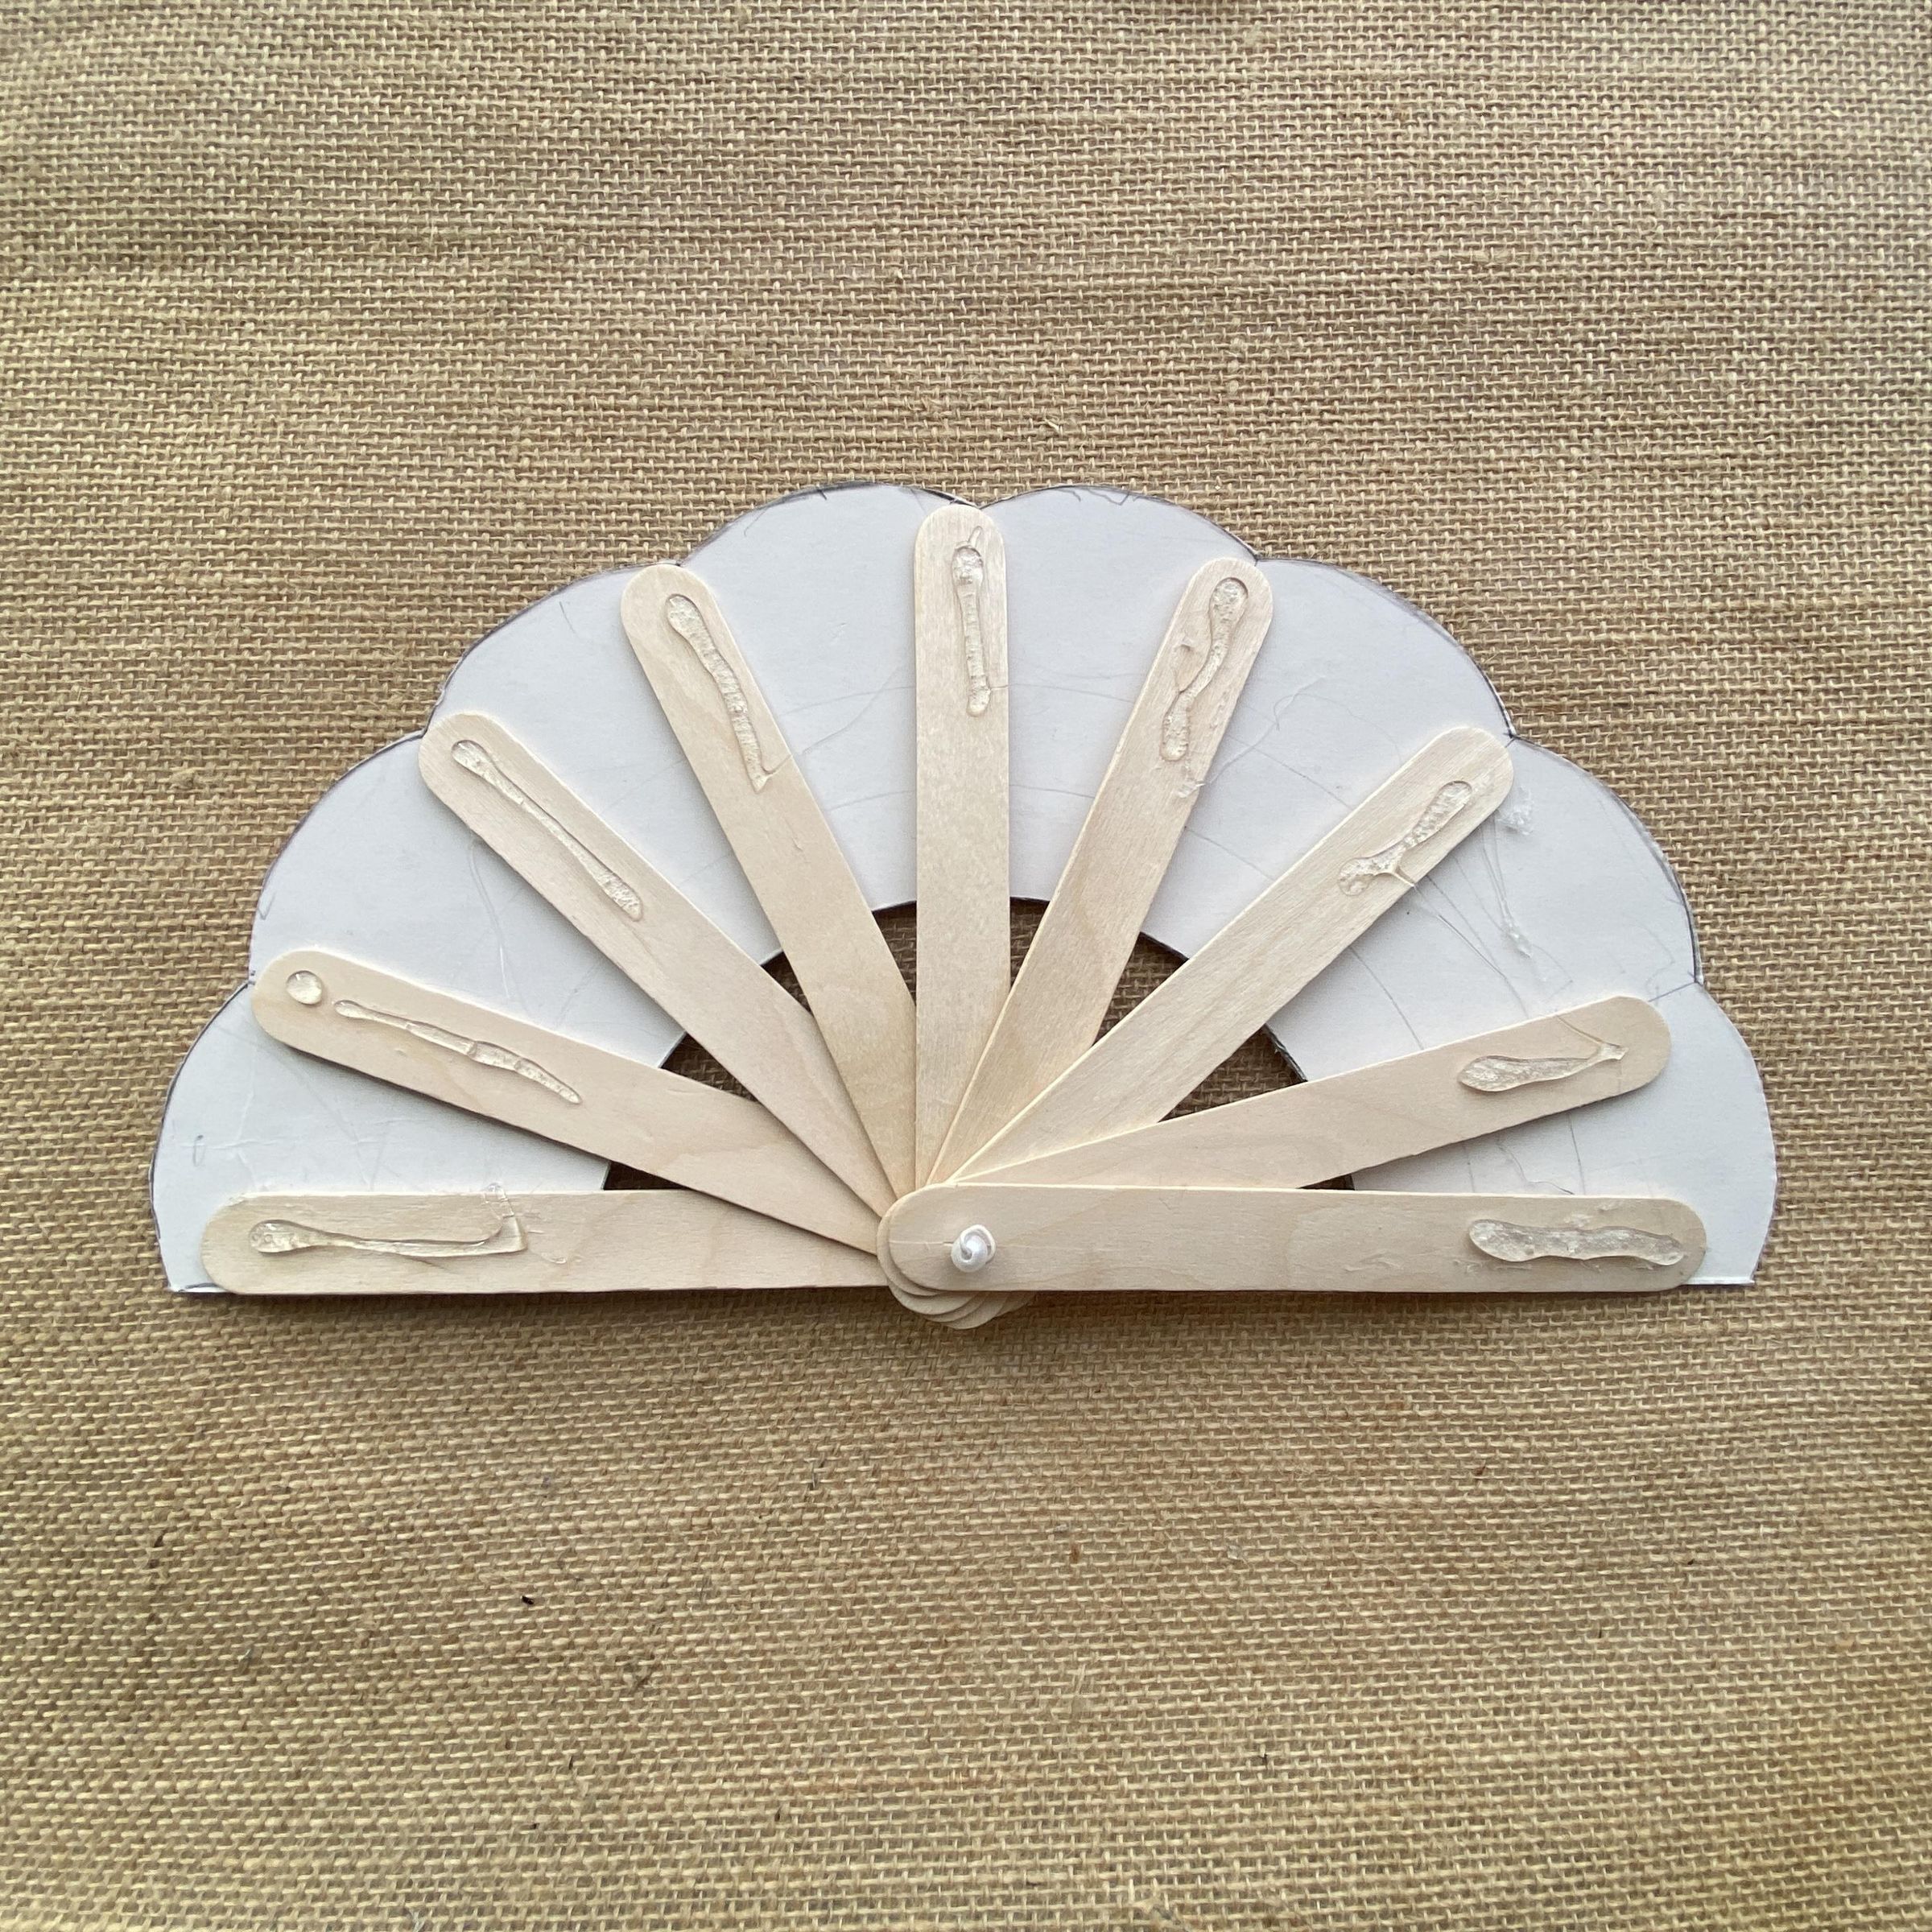
. Step 10: Lay the wooden frame (the 9 sticks already joined at the central axis) flat on the table. Place the paper template—with the angle markings—underneath to ensure each stick is positioned exactly right.
Step 11 Carefully lift the jute fabric and apply lines of hot glue along the top surface of each of the 9 wooden sticks. Step 12 Place the cut jute fabric over the glued sticks. Gently press down with your fingers over each stick to ensure the fabric adheres firmly and lies flat without wrinkles.
Step 13 Before the glue cools completely, slowly close the fan, guiding the fabric with your hands so that accordion-style folds form naturally. Leave it closed for a few minutes to set the shape.
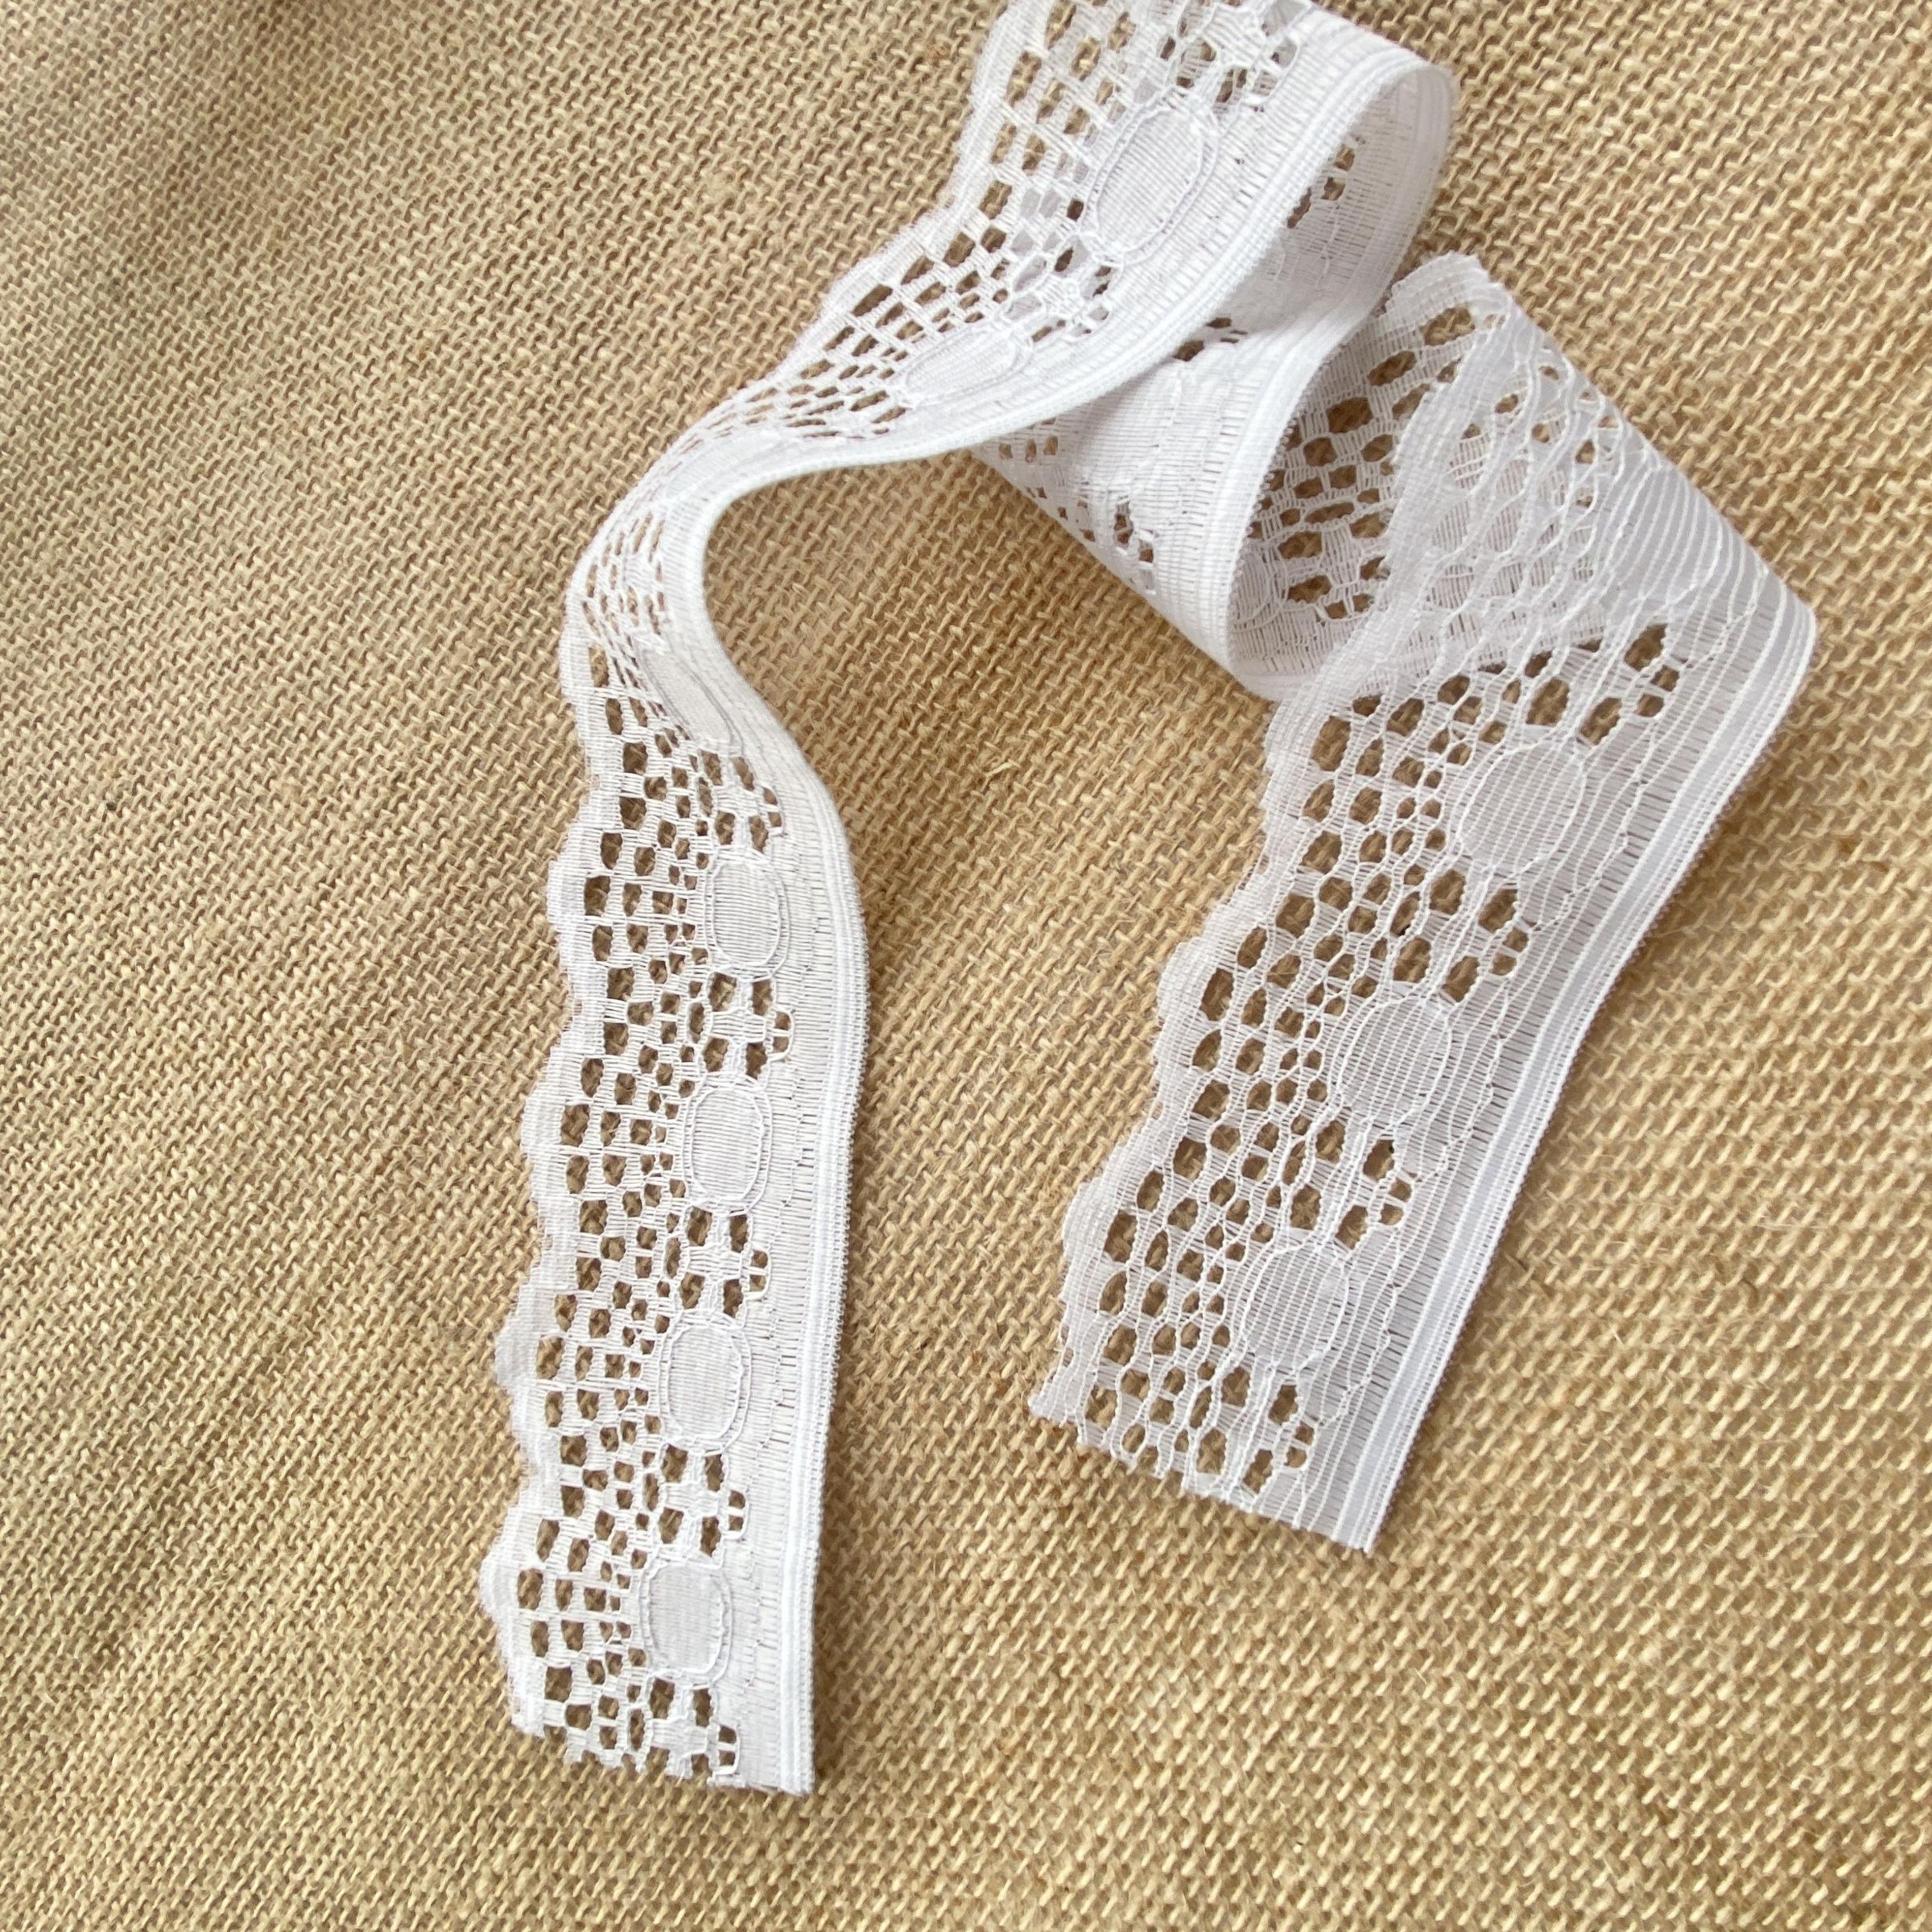
Step 14 Open the fan again. Find the center of the jute's curved edge, apply a few dots of hot glue, and attach the lace strip from side to side to create the finishing touch.
Fan
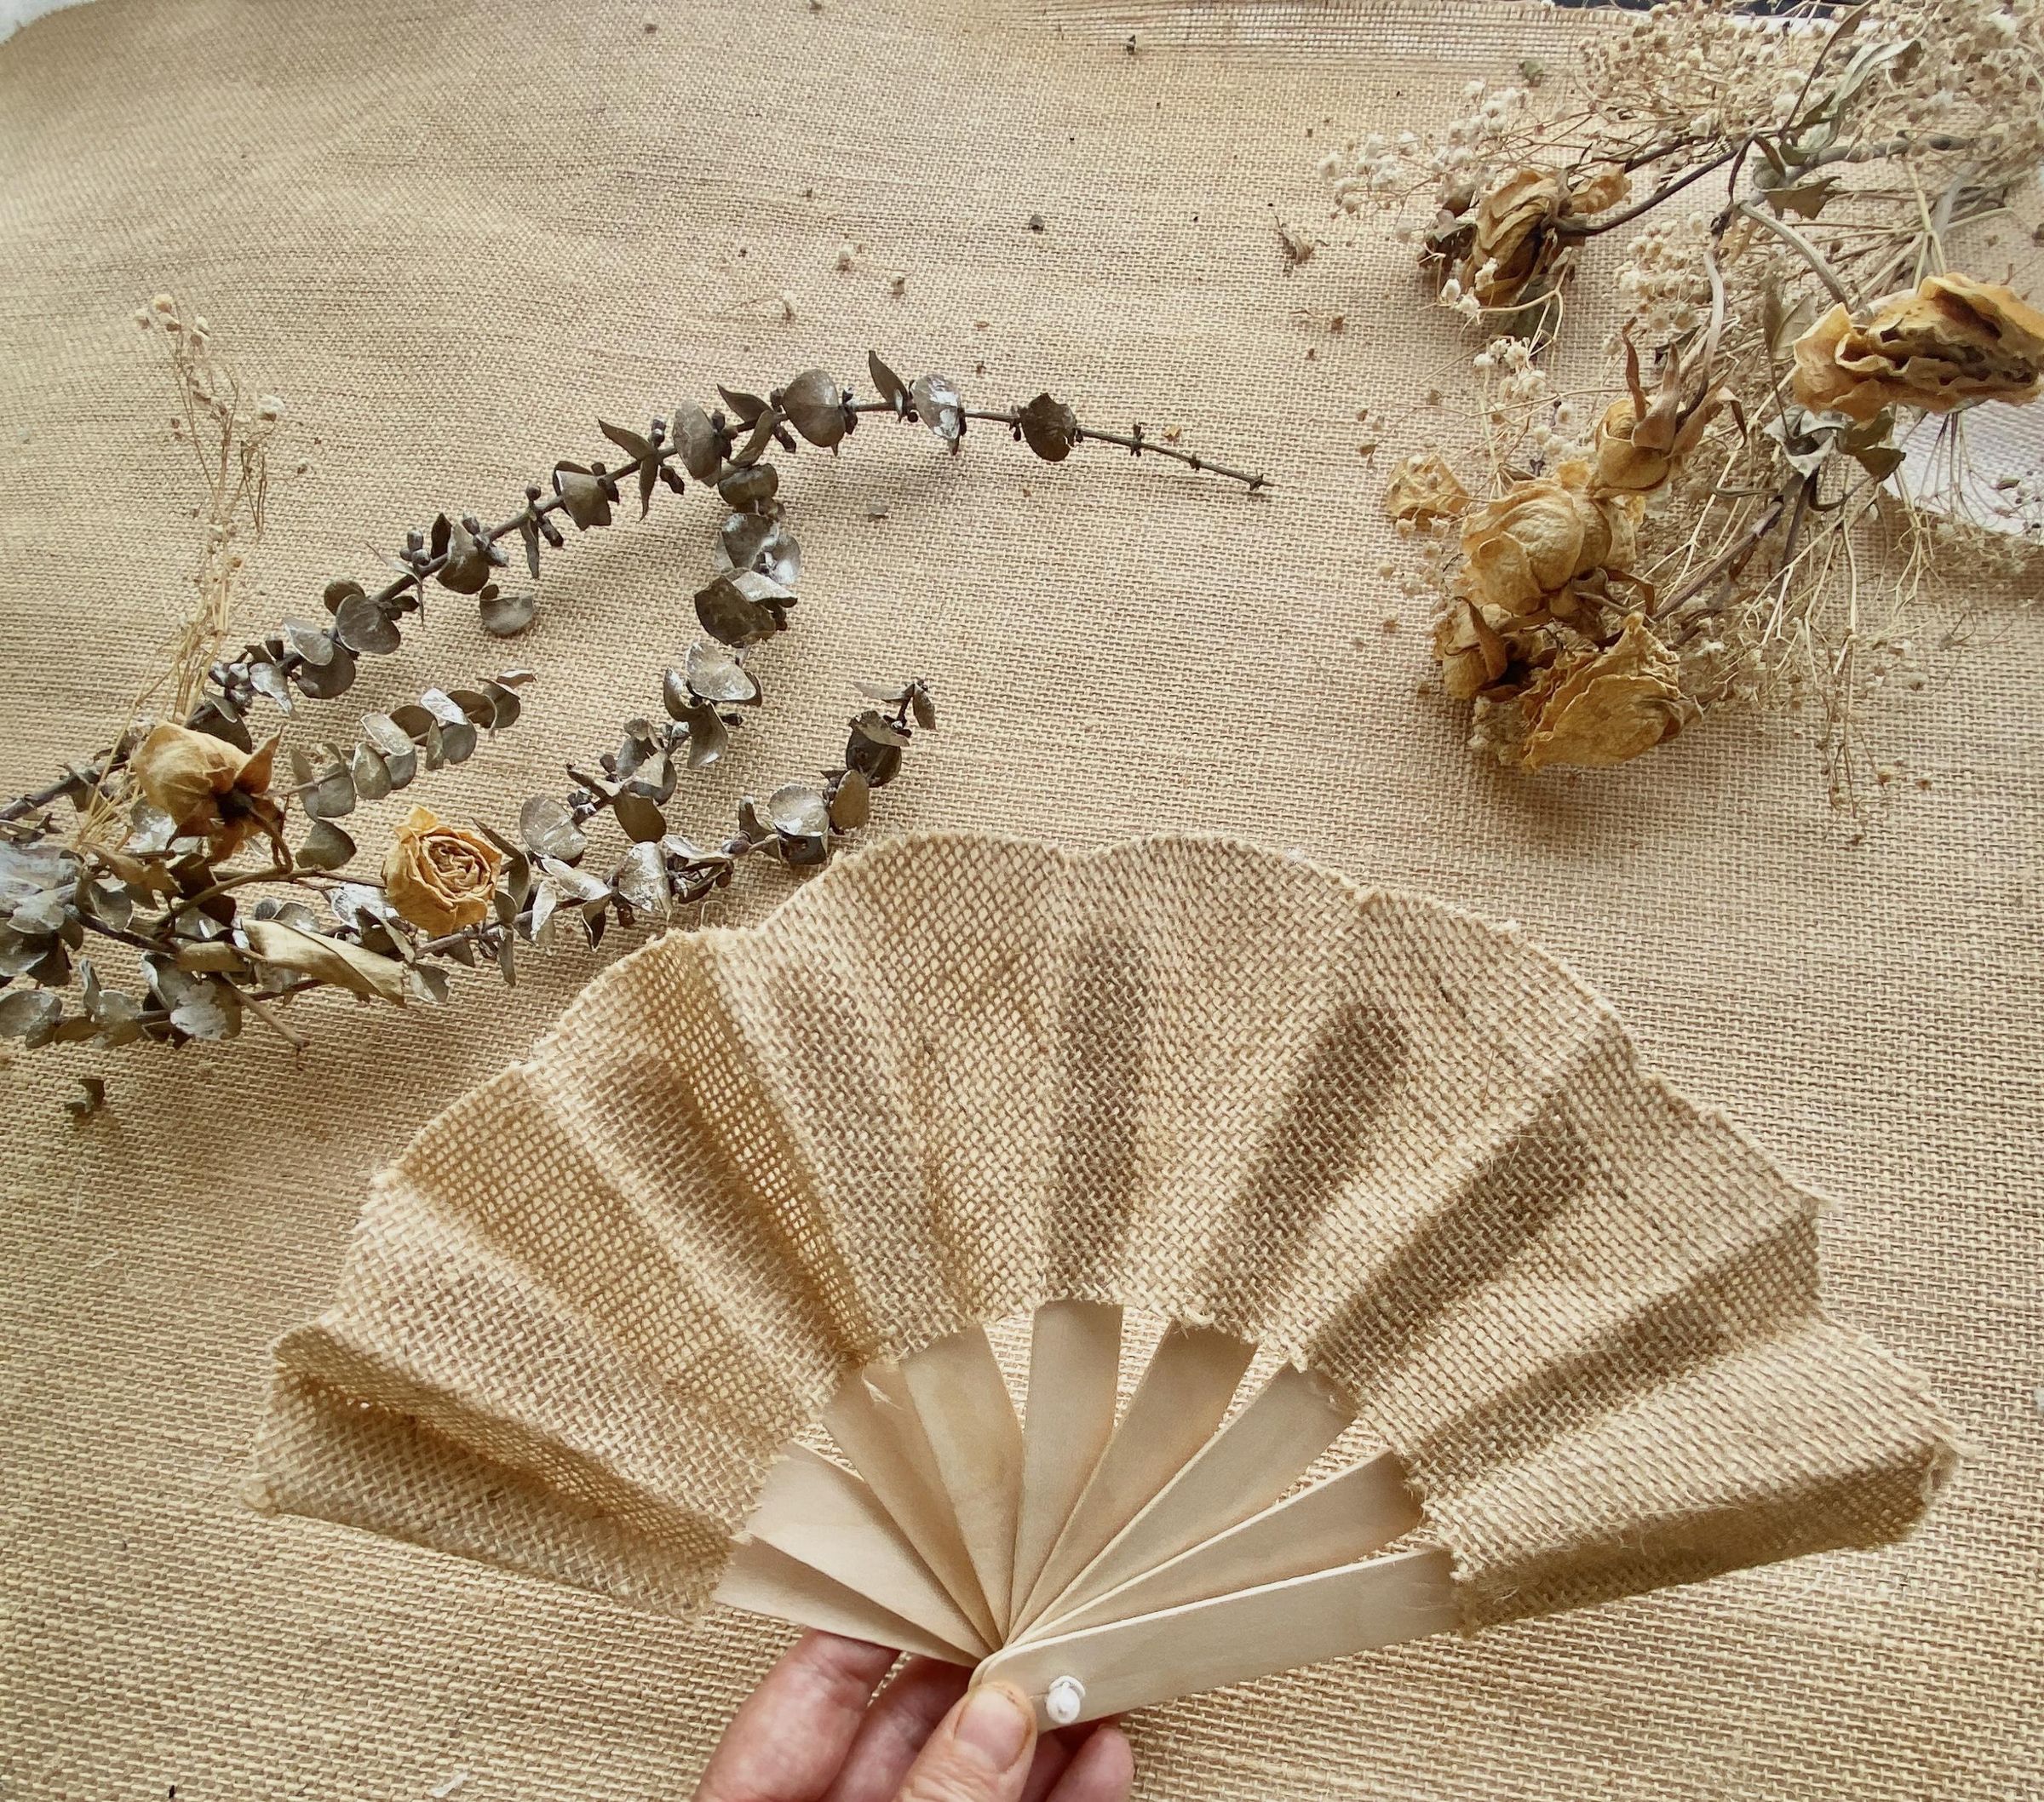
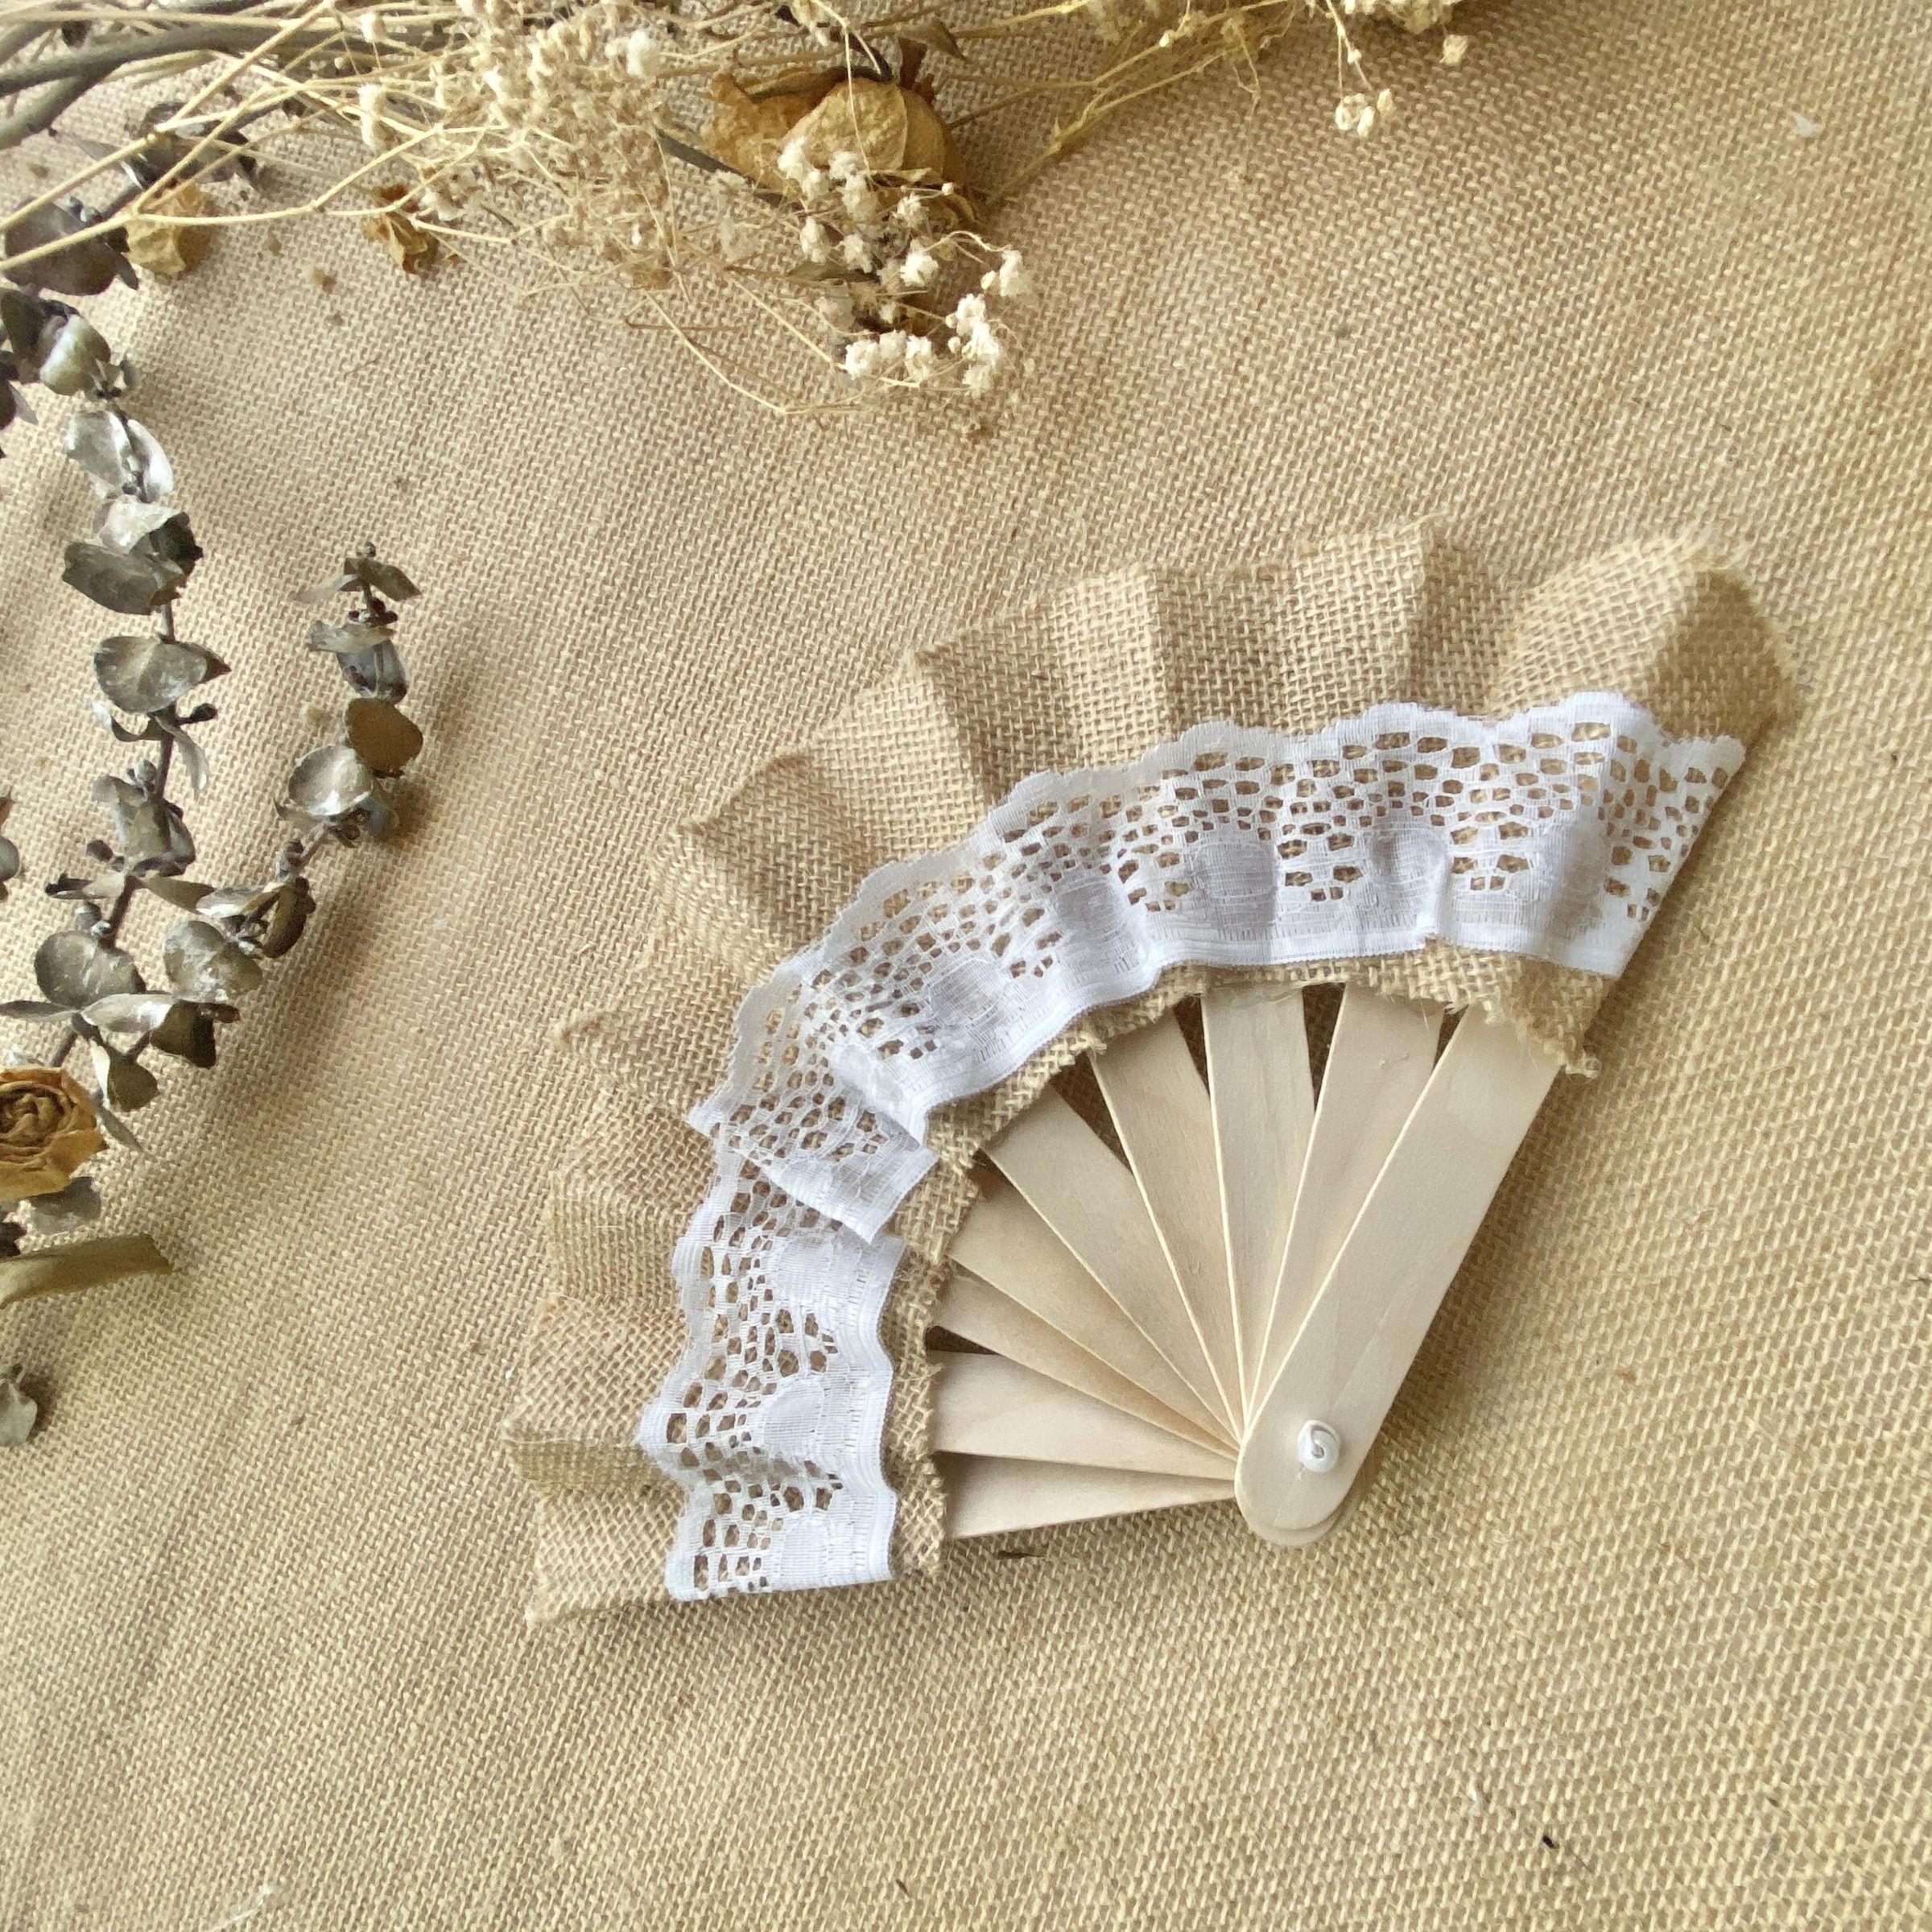
Step 14 Open the fan again. Measure the center of the jute curve, apply a few dots of hot glue, and attach the strip of lace from side to side to provide the finishing touch.
Finally
.jpg)
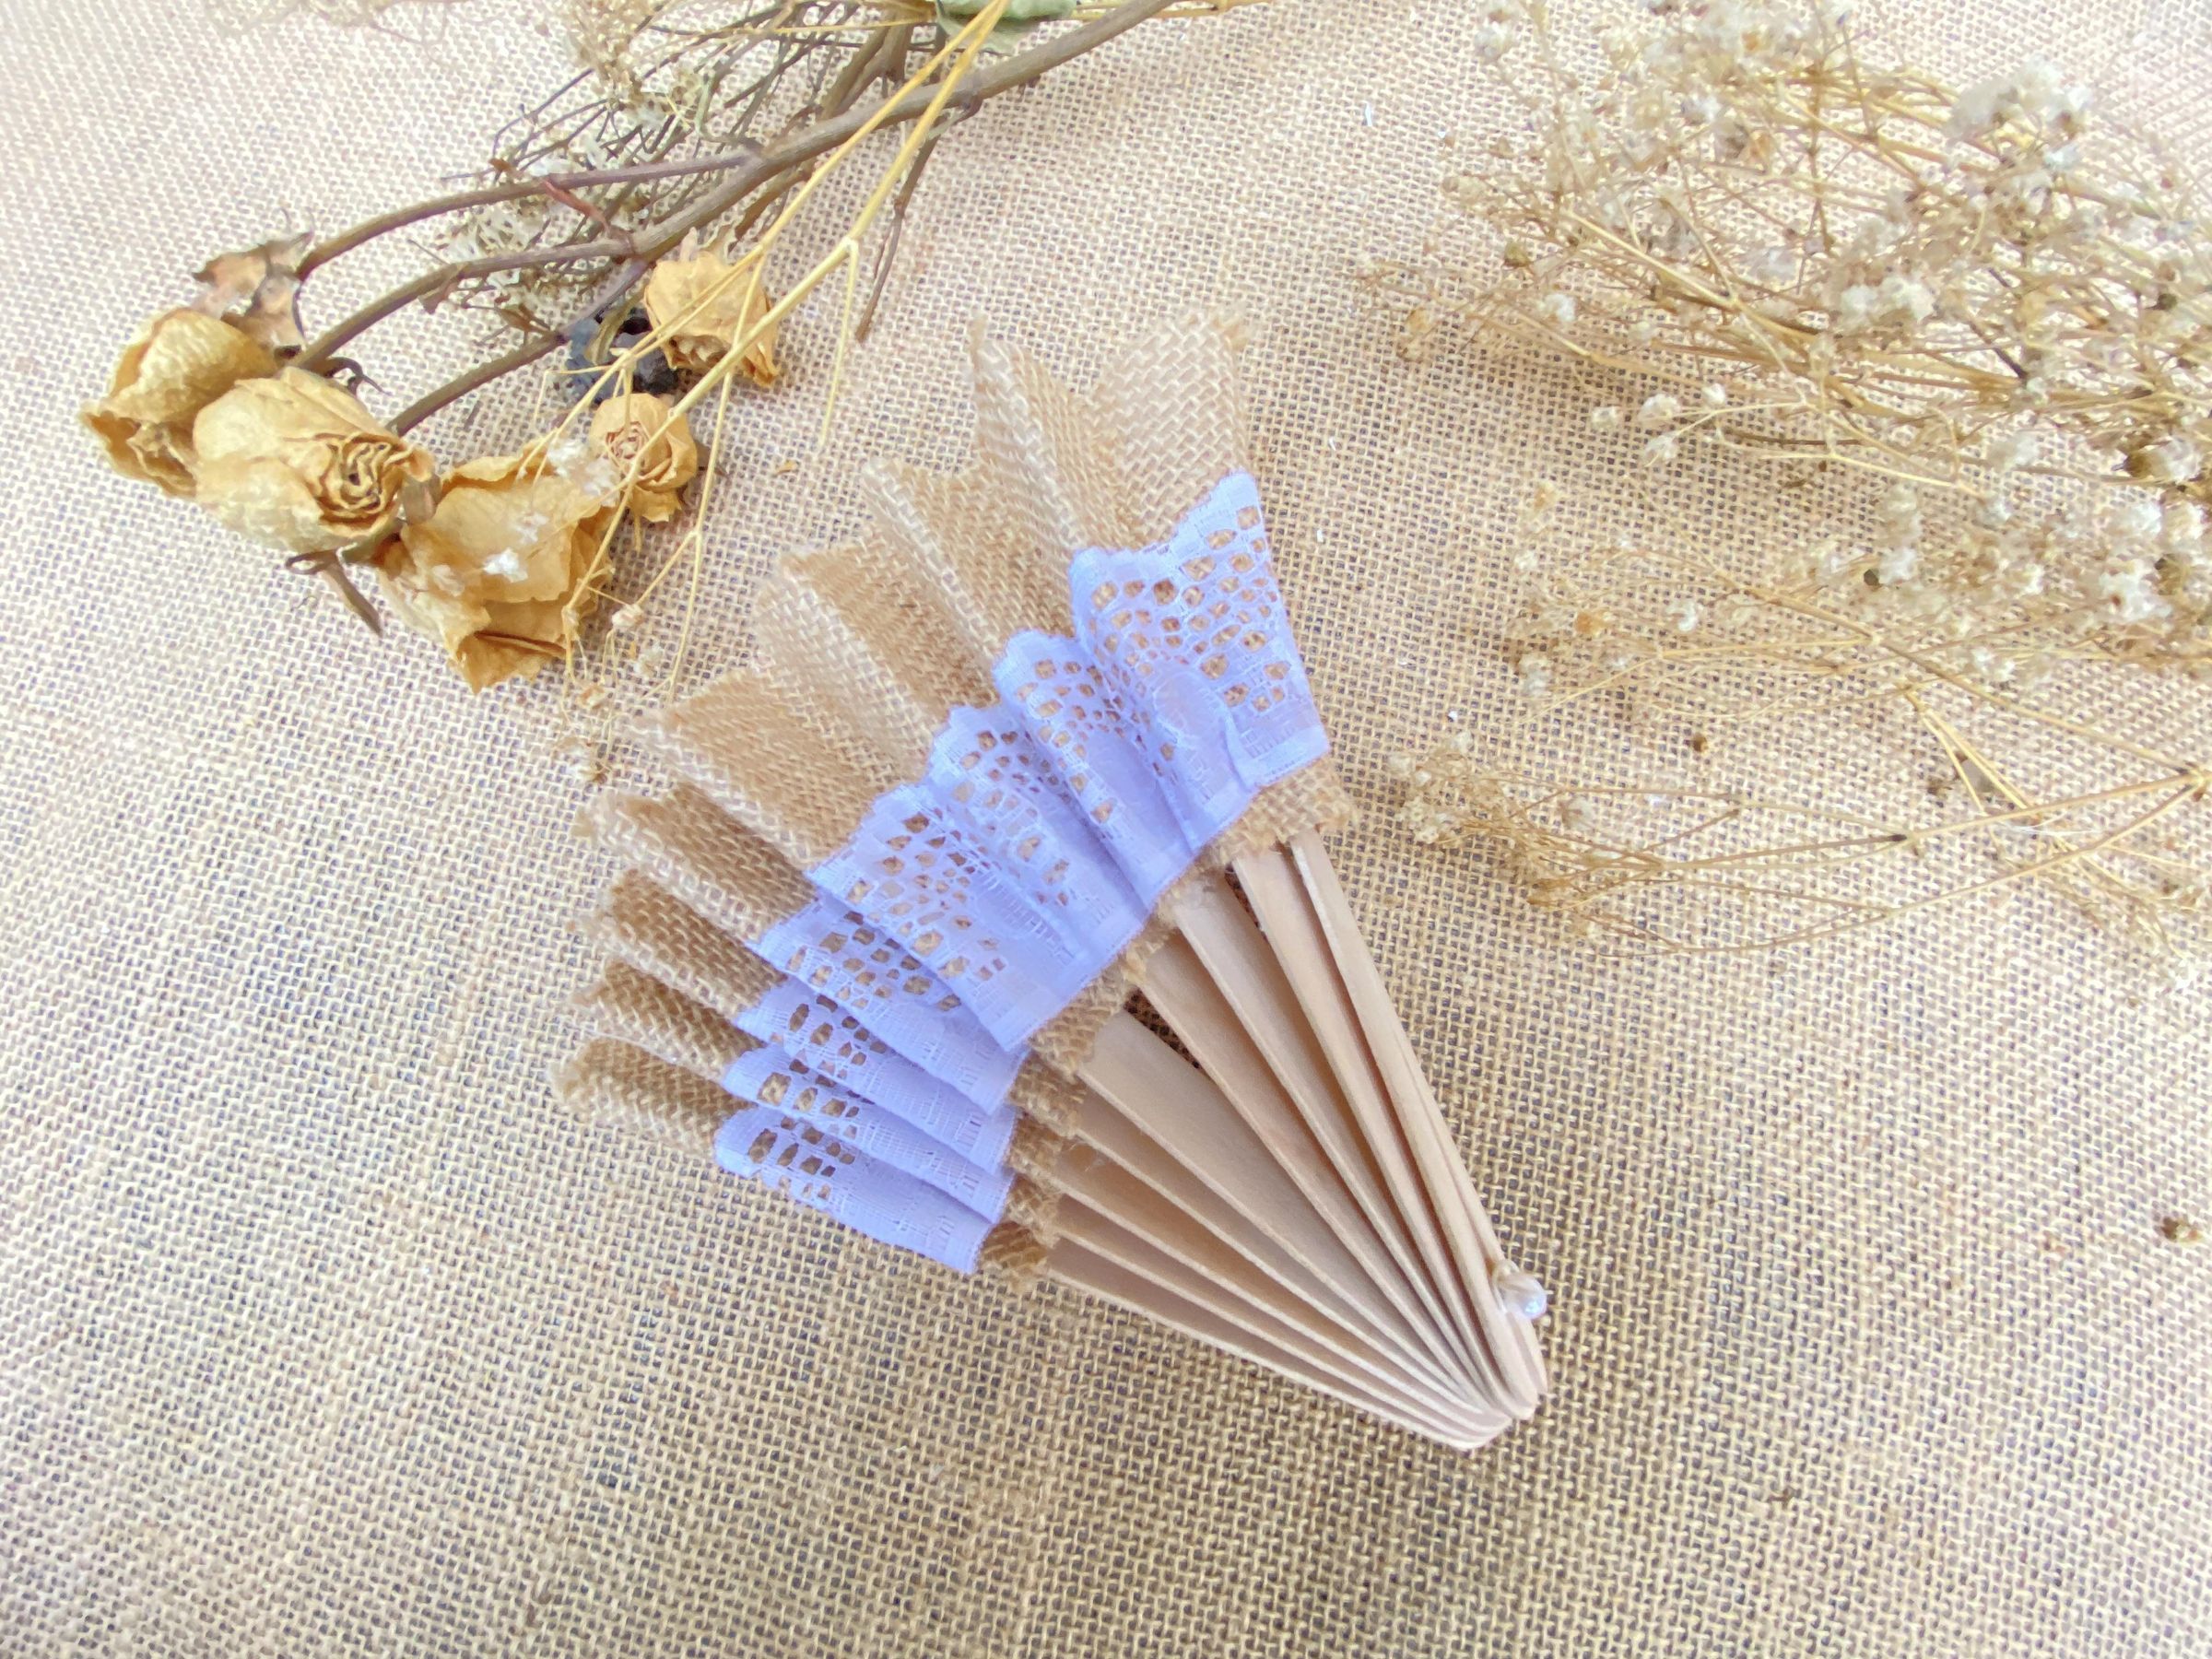
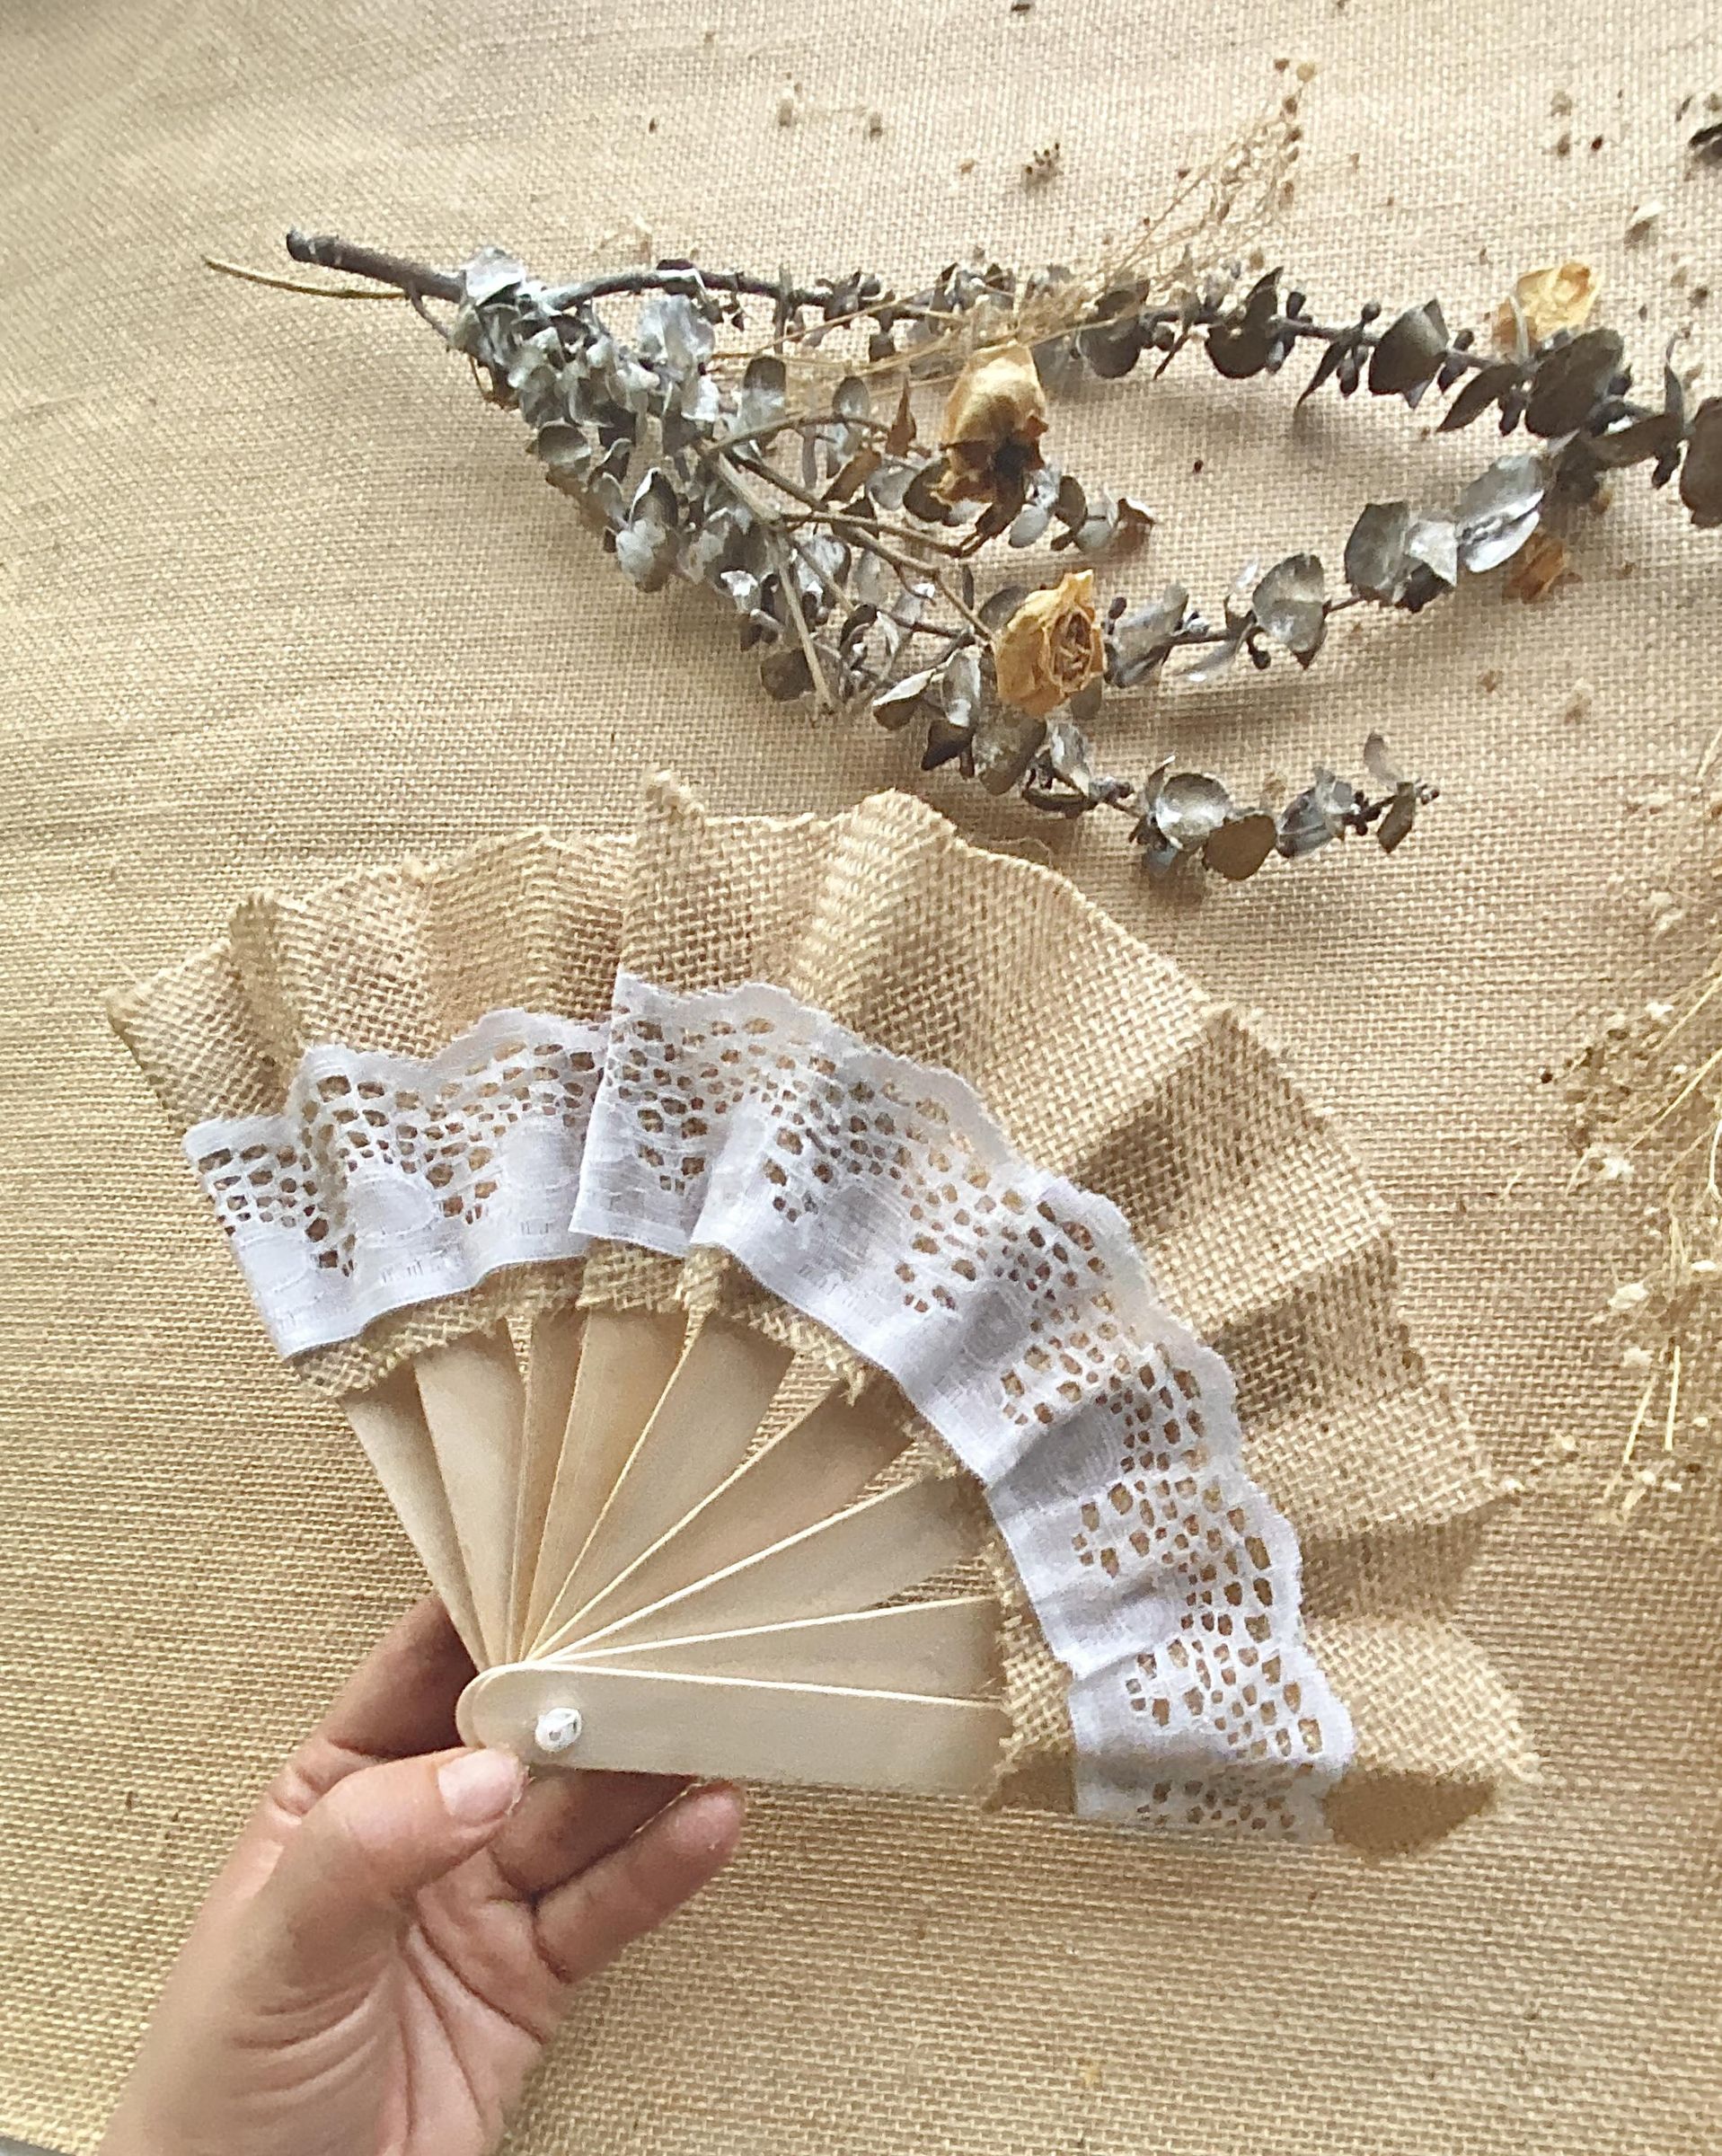
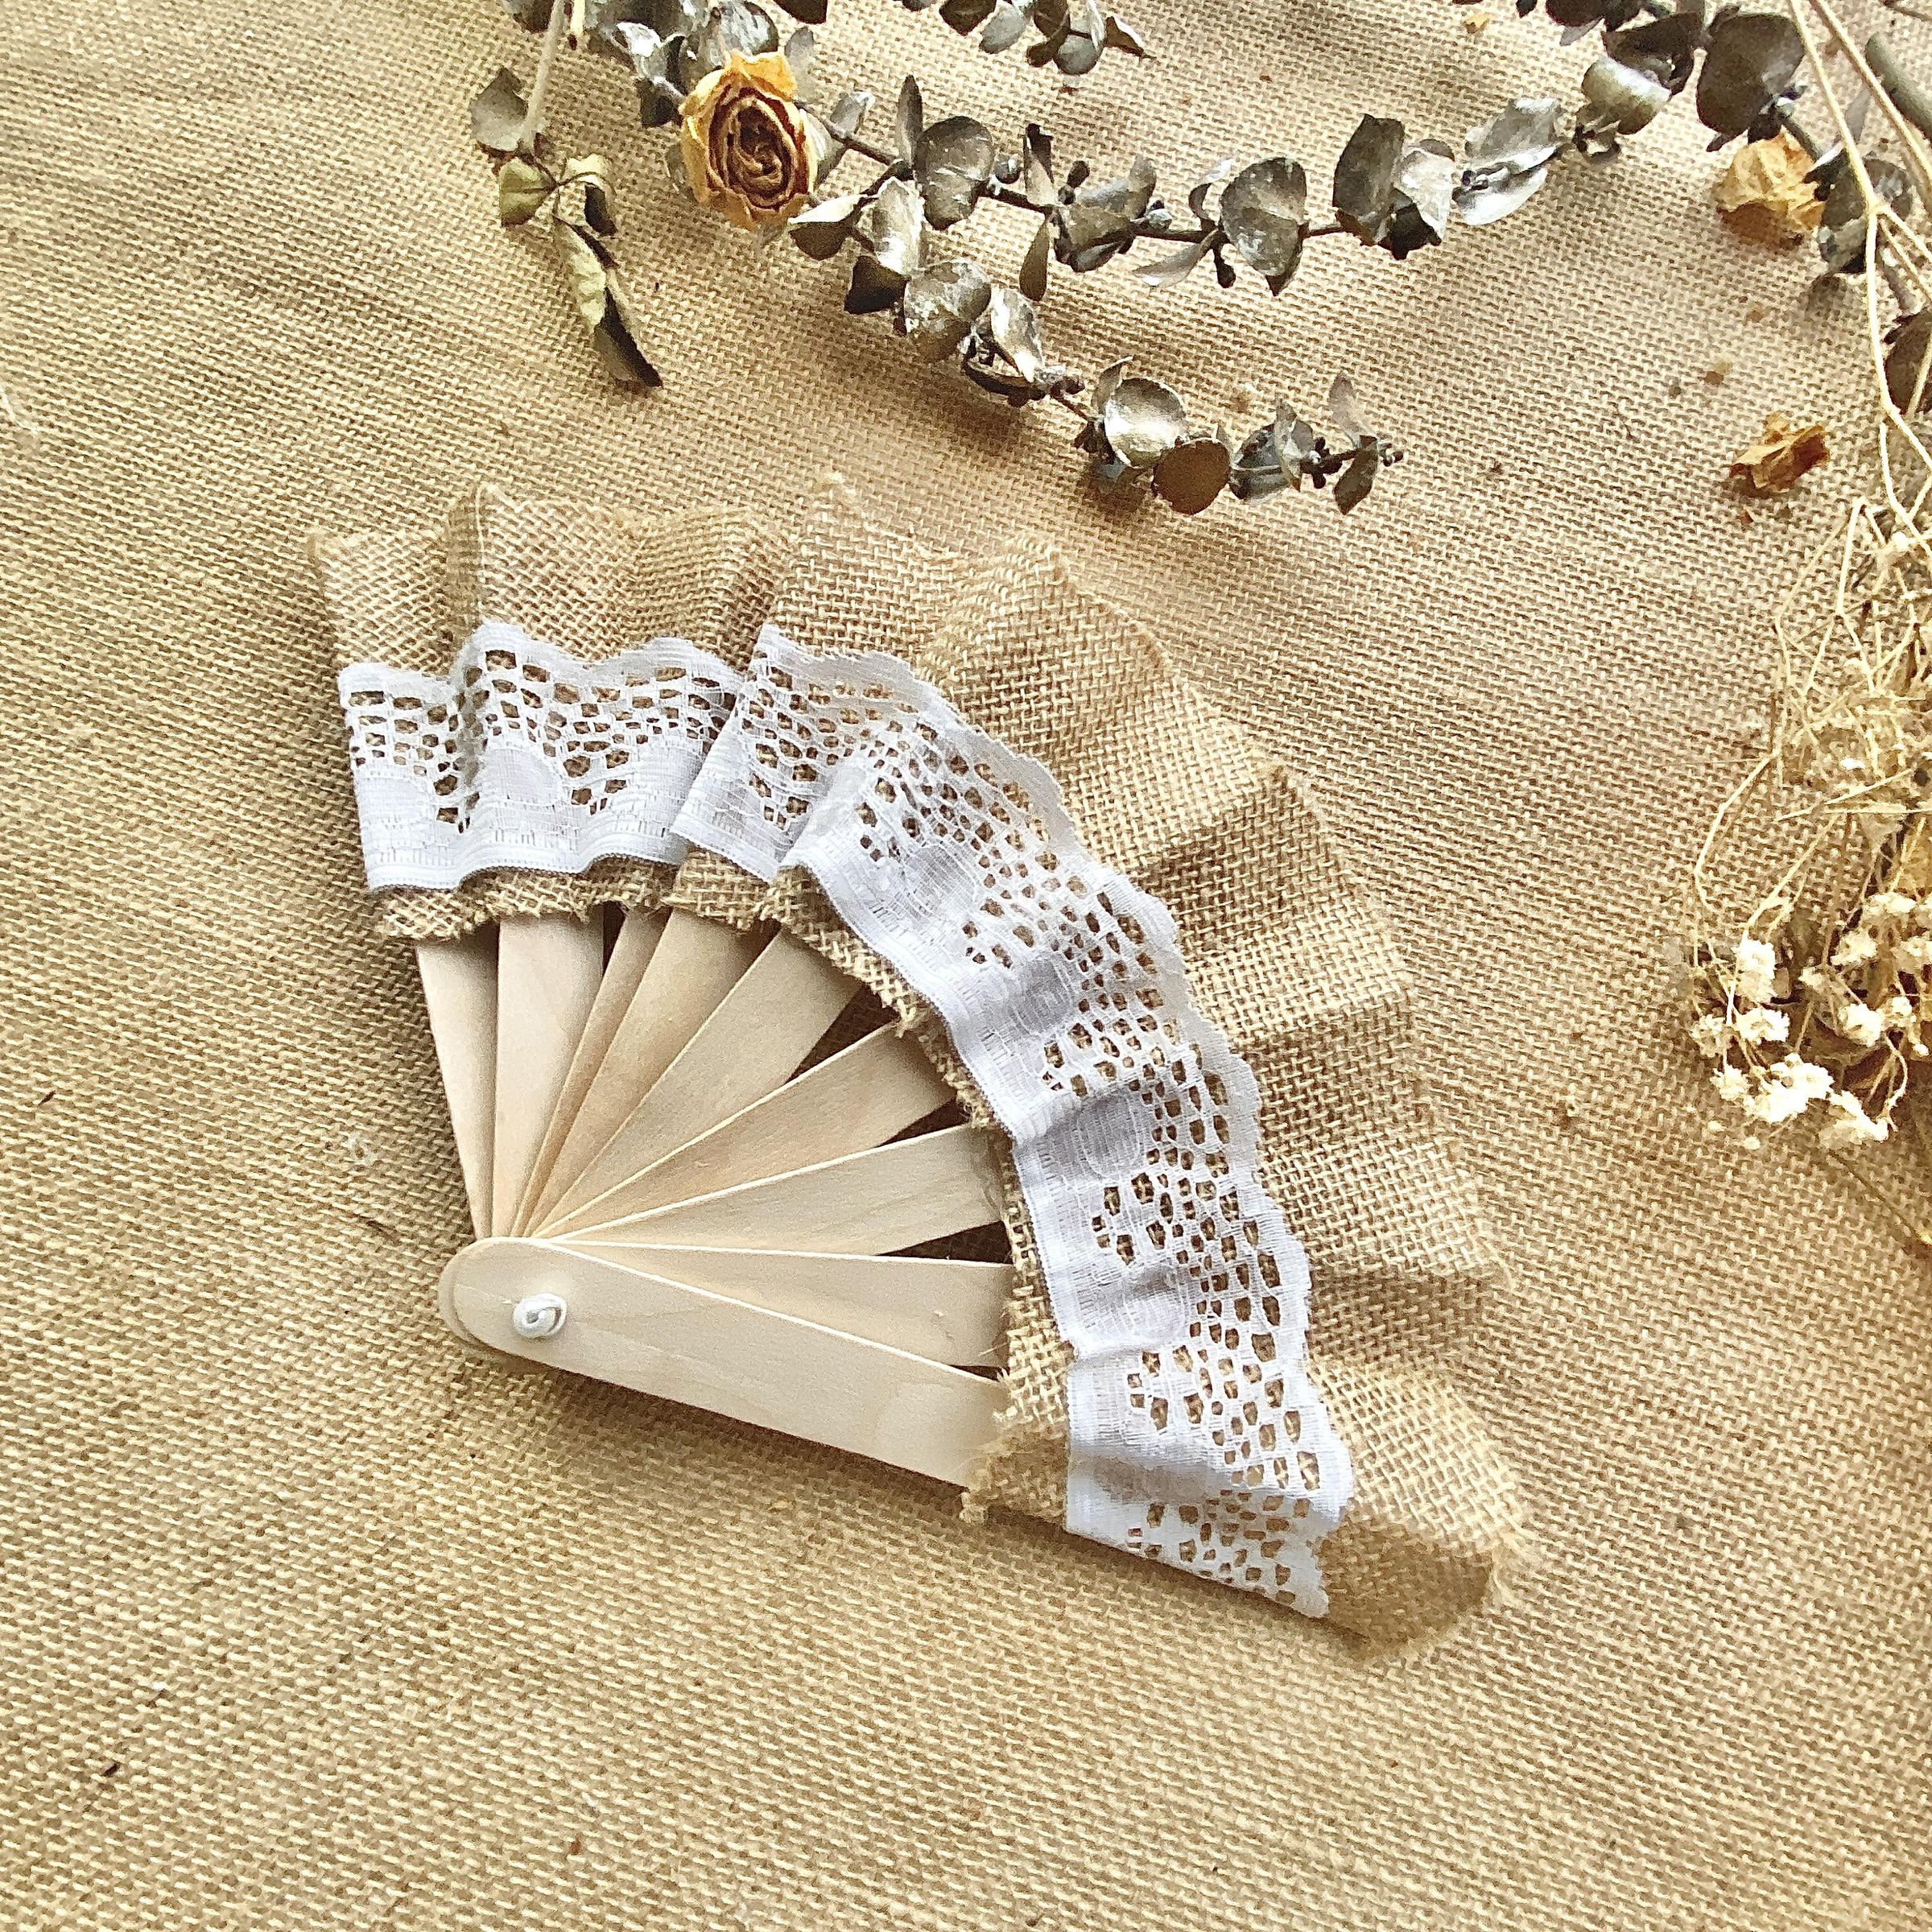
It’s that easy! And just like that, you have a super practical and lovely fan to help you get through hot days. Best of all, it takes up hardly any space in your bag, making it the perfect companion to keep you cool wherever you go.