Easy Vintage Photo Effect in Adobe Photoshop
by CharlesPerrault in Design > Photography
3603 Views, 32 Favorites, 0 Comments
Easy Vintage Photo Effect in Adobe Photoshop

Today I want to show you how to create vintage photo effect in Adobe Photoshop in just few simple steps.
Tutorial Assets

To create this effect you will need the following assets:
- Any photo you want to use, I chose this photo by Ivan Dodig
- Free textures and brushes from my Coffee&Paper pack.

Once you've download brushes and textures you need to create new document. Open Adobe Photoshop and then use Control-N keys combination. Set the following parameters: 1500x2000 px; 300 dpi.

Go to File>Place and place your image inside the document then hit Enter.

Go to Layer>New Adjustments Layer>Channel Mixer and create a new Channel Mixer Layer.

Double Click on Channel Mixer Layer and then set the following settings: Monochrome: On; Red: -50%; Green: +150%; Blue: 165%.

Change the opacity of the Channel Mixer Layer to 90%.

Go to File>Place and then select Paper Texture (02) and put it above all layers.

Select the texture layer and use Alt-Control-Shift-B and then set the parameters as listed on picture above.
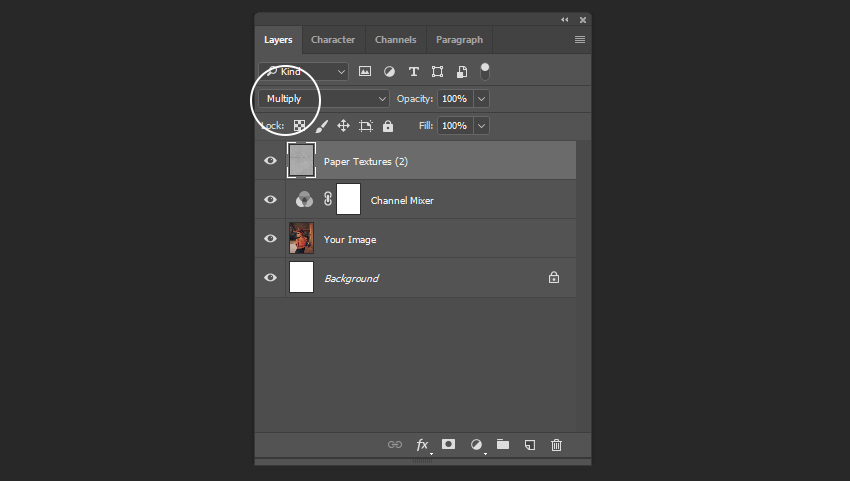
Change the Blending Mode of the layer to Multiply.
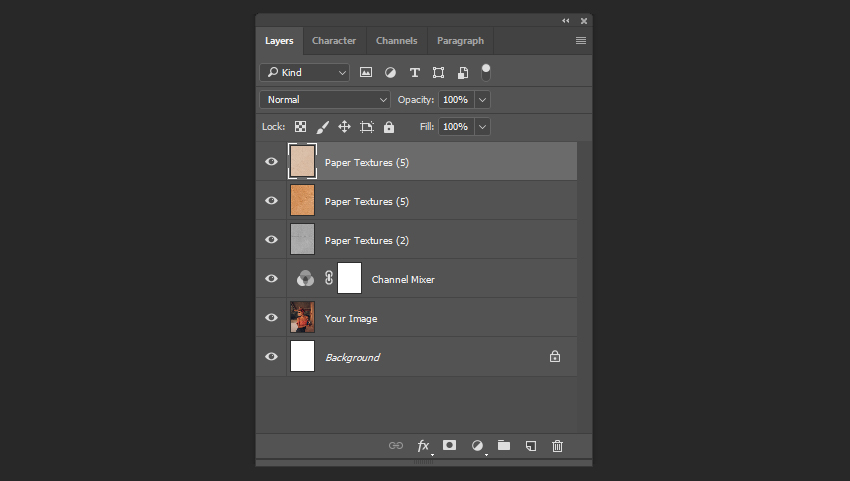
Go to File>Place and place the Paper Texture (5) above the previous paper layer.

Select you new texture and then use Alt-Shift-Control-L combination to add auto-contrat to the layer.

Change the Blending Mode of the layer to Overlay.

Select the layer with your photo and then Right Click - Duplicate.

Move the duplicate of the layer above all other layers and then change the Blending Mode to Color and the Opacity to 15%.
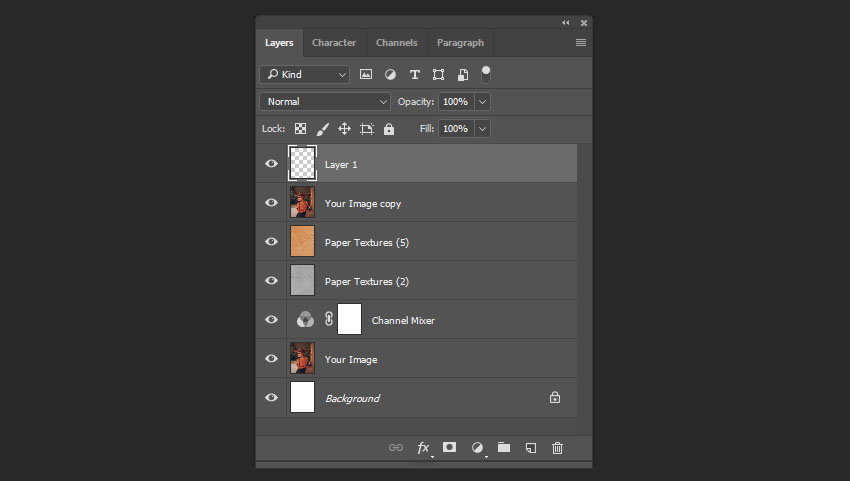
Use Shift-Control-N to create new layer.

Now we need to install our brushes to Photoshop. The easiest way to install brushes: Go to File-Open and then select Samples of the Brushes.abr
You can learn some more ways to install brushes here.

Use B to activate Brush Tool and create a stroke on your empty layer using Coffee Stains 27 brush.

Create a new layer with 50% Opacity and then create a new stroke using Coffee Drops 23.
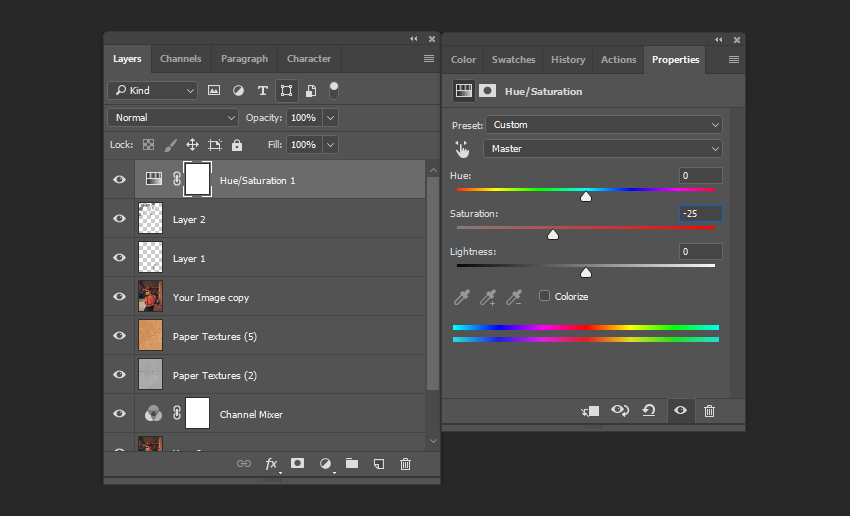
Go to Layer > New Adjustments Layer > Hue/Saturation and set the following settings: Hue: -25.

Awesome Work, You're Now Done!
In this simple way, we can create vintage photo manipulation using free brushes and textures. If you want to expand your collection of graphics resources check my Coffee&Paper Pack. This pack was created in the Creative Supplies Co laboratory using best coffee, brushes, paper sheets and cups. In this package you will find 10 awesome hight-quality texture and 150 handmade brushes and two more tutorials.
Don't forget to hit Follow button if you want some more Photoshop tutorials.