Electric Go Kart in Retro Style (for Kids)
by woodenProjects in Workshop > Electric Vehicles
57677 Views, 401 Favorites, 0 Comments
Electric Go Kart in Retro Style (for Kids)

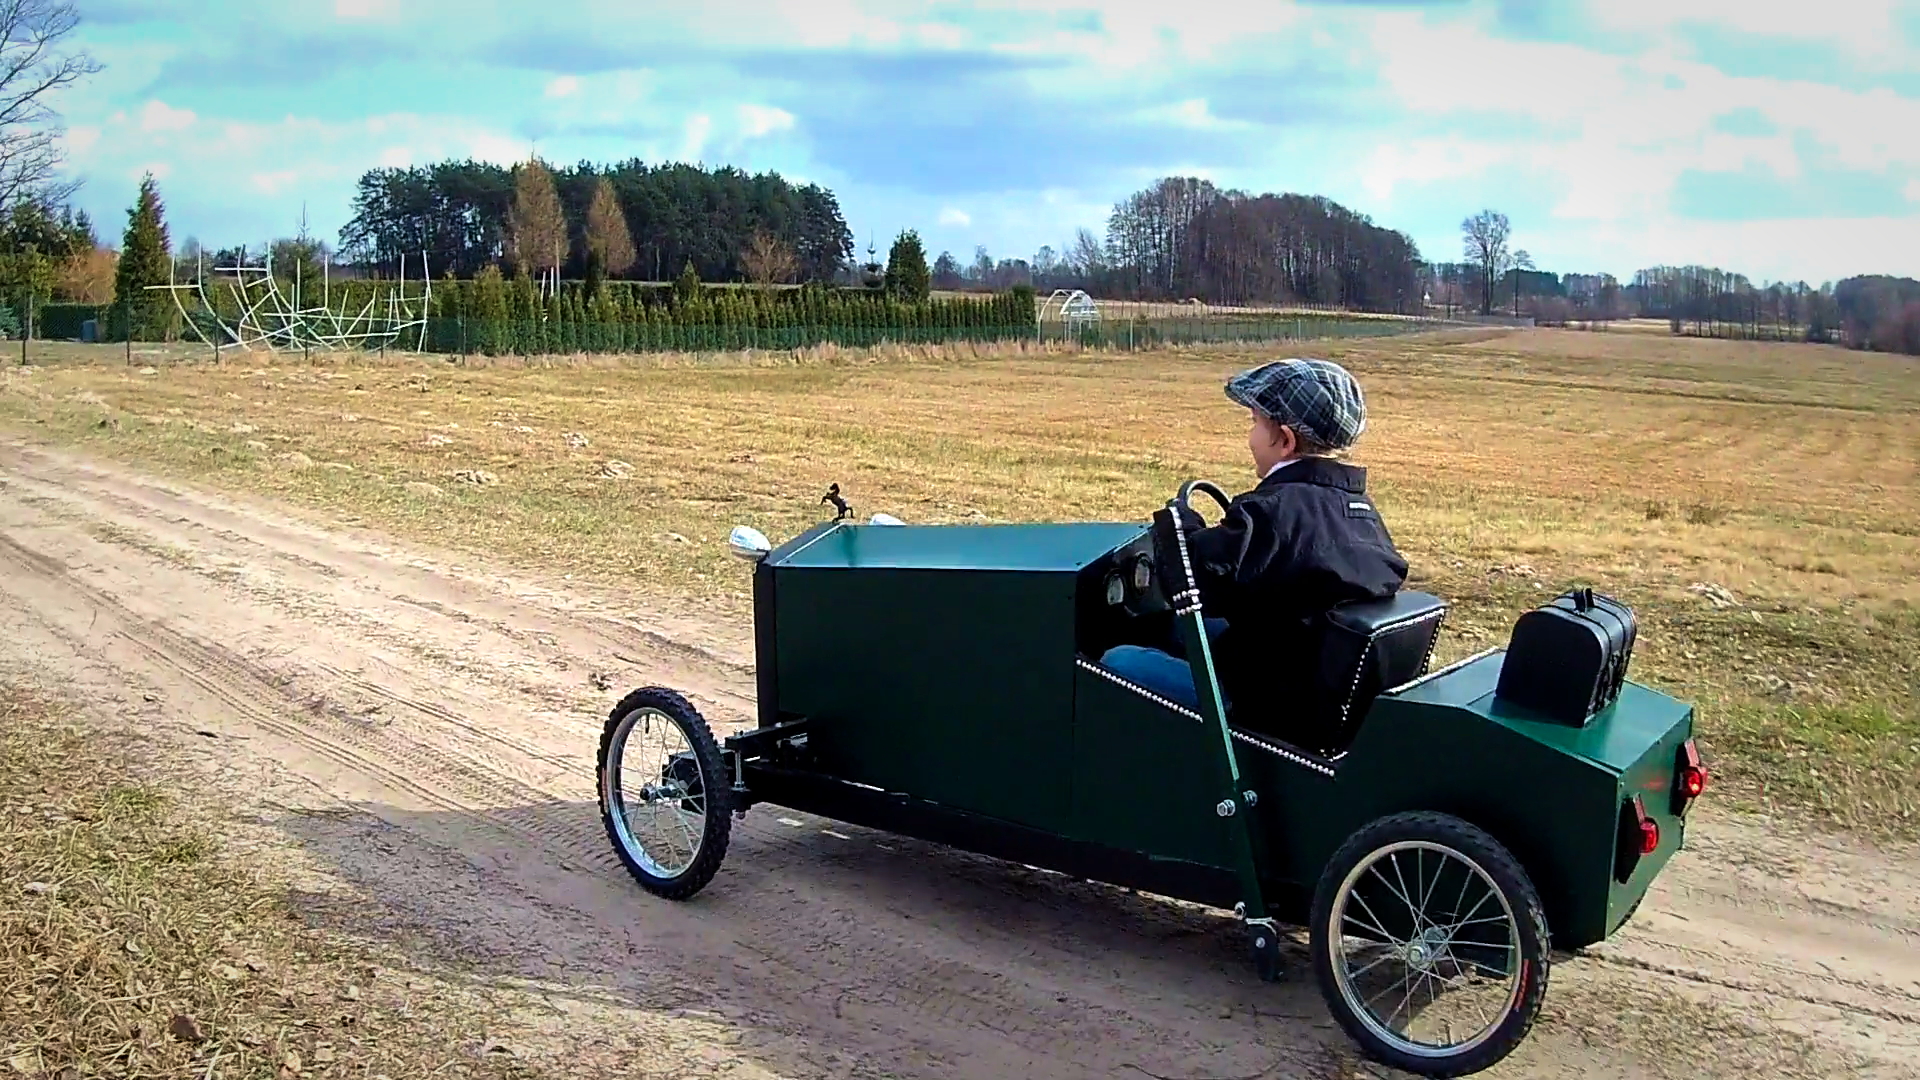
What ?
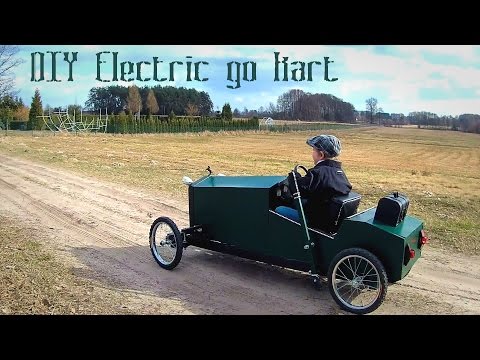
Electric go kart for kids which looks like retro cars from 20th. Made mainly from wood (no need for metalworks talents) and with ordinary tools like saw, drill etc.
I encourage to watch the video attached to this instructable to see how electric car look and how it drives.
Why ?
Oh, there are plenty reasons why to build a car for kids. Ask kids, especially boys and they will tell You why ;-)
What will be needed ?
- wood (pine)
- bicycle wheels
- electric engine with controller (more about it later)
- 12 batteries
- two long construction screws
- some tools but mainly saw, drill
- strong glue for wood (polyurethane would be the best)
- nails and screws
Project Plans and Design - Boring Part ;-)
Project plan
It's important thing to know what are You going to build ;-) Don't ignore this step. Search for inspirations in the internet. Do Your research using the keywords like: go kart, kids car, cycle kart etc. When You will have in Your mind what exactly You want to build then measure Your child. Not only height, legs length but also wight. It is important property cause we are building an electric car and we have to estimate the total car+driver weight to buy proper batteries and engine.
Body/chassis design
OK, so If You have all measurements try to draw the car body shape taking in consideration following things: - how long are kids legs - this will determine the length of the mask/hood - how long are the kids hands - this will determine how high should be the steering wheel to provide comfortable grip and to avoid kicking it with the knees - what is the weight of the kid - this will determine such things like engine power, but also how strong should be the car's frame. Less weight and dimensions -> less wood for frame -> less total weight->longer driving time.
Electronic and mechanics design
The last part of Your design is to decide what engine and batteries You have to buy and how the power would be transmitted to the wheels. All of that is too complicated to describe, so I will just show You how I decided about my project.
So, I chose the 350W engine with brushes and with built in gears/transmission which reduces the RPM to 600. Why such engine ? Power - 350W is just enough to get the go kart running with top speed up to 25 km/h. Moreover, bigger power consumes bigger energy. Voltage 24V - I wanted to have 2 * 12V batteries to make my car better balanced. Batteries in front, engine in the rear part of the car. Brushes - engines with brushes are a lot of cheaper than brush-less ones. Built in RPM reduction - standard engine gives more than 2500RPM this is waaaay to much. Reduction also provides more power at slower speeds
The Frame
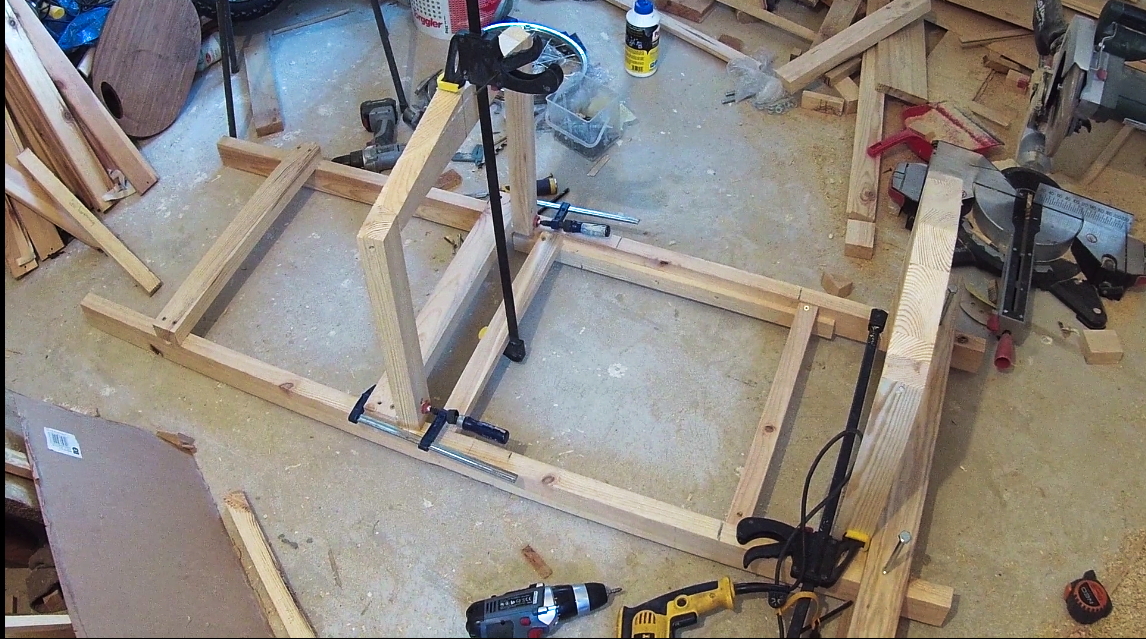

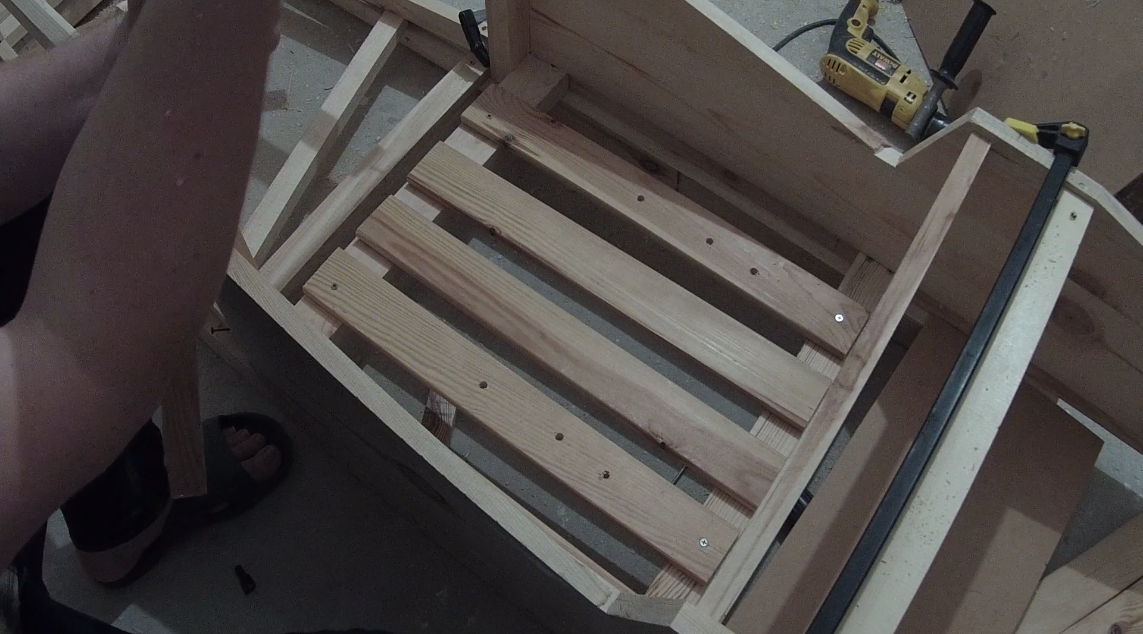
First of all - You don't have to build the frame from the metal. I choose the pine wood for the frame (because it is light and flexible enough to suppress the vibrations) and the oak wood for the suspension (because it is hard and durable).
During building the frame You have to remember that only gluing or just screwing the wood isn't enough. So mix this both techniques. Nails are of course pretty bad idea ;-)
Chassis / Car Body

The body could be made from thin plywood. It is light and easy to work with. In my project I've build some parts from plywood (the hood and the rear), but the 'door' sides I've made from 2" desks. It is because those elements will have to support the weight of the child during entering to the car.
Painting
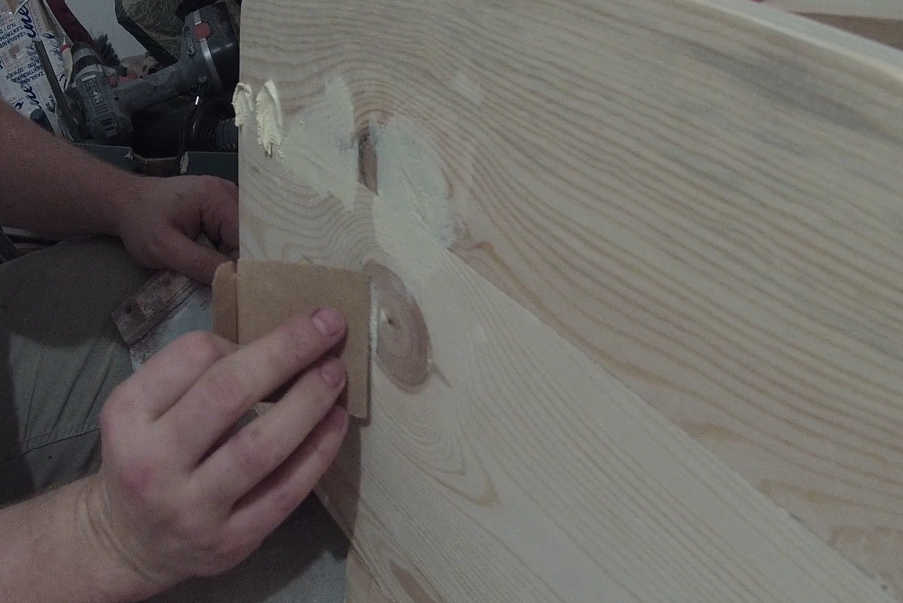

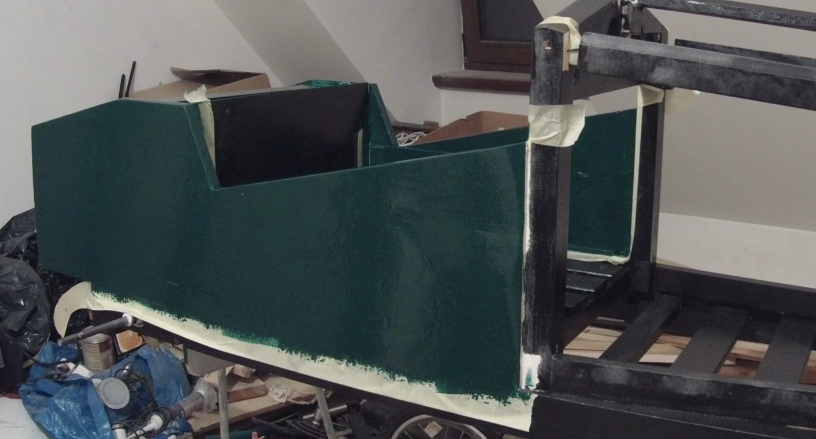
If You have spray gun - use it, You will have very smooth surface. If You don't have such device I recommend to use paint roller instead of brush. Roller gives smoother surface.
To get the smoothest as possible surface use the undercoat paint. If You skip this step You won't be able to cover all wood pores and the surface won't be flat. I recommend also to dilute the paint. It will give thinner coats and dry faster. This will give You more control to produce fine, flat coats.
One more thing. If You find the holes, even the smallest ones, use the spatula to cover them. If You don't do that, they will be visible after painting.
Axles, Suspension and Wheels
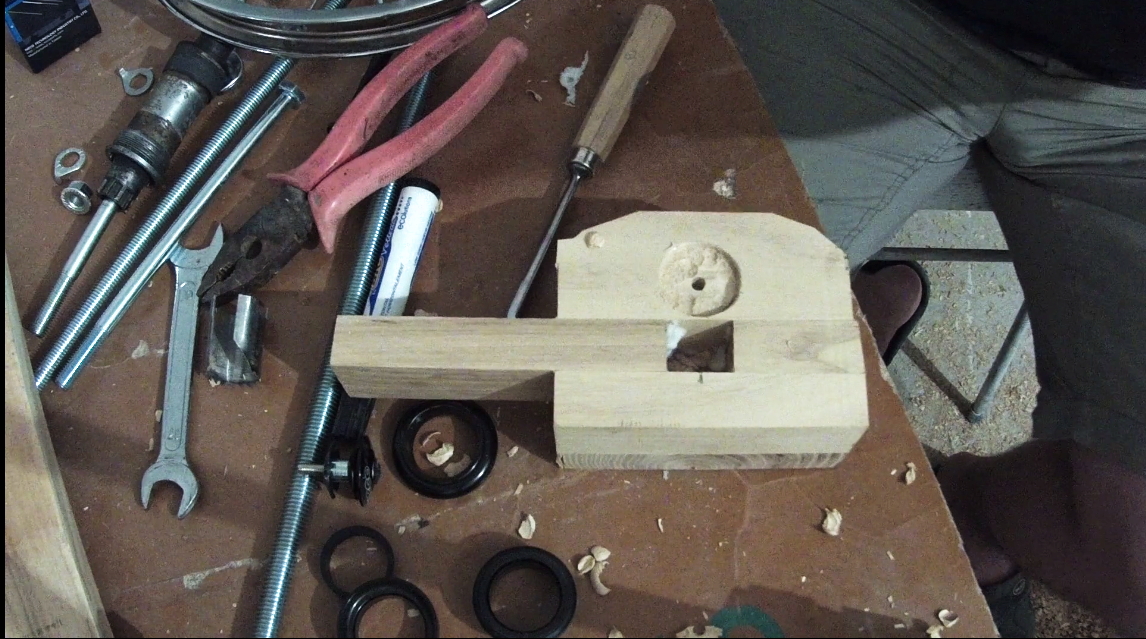

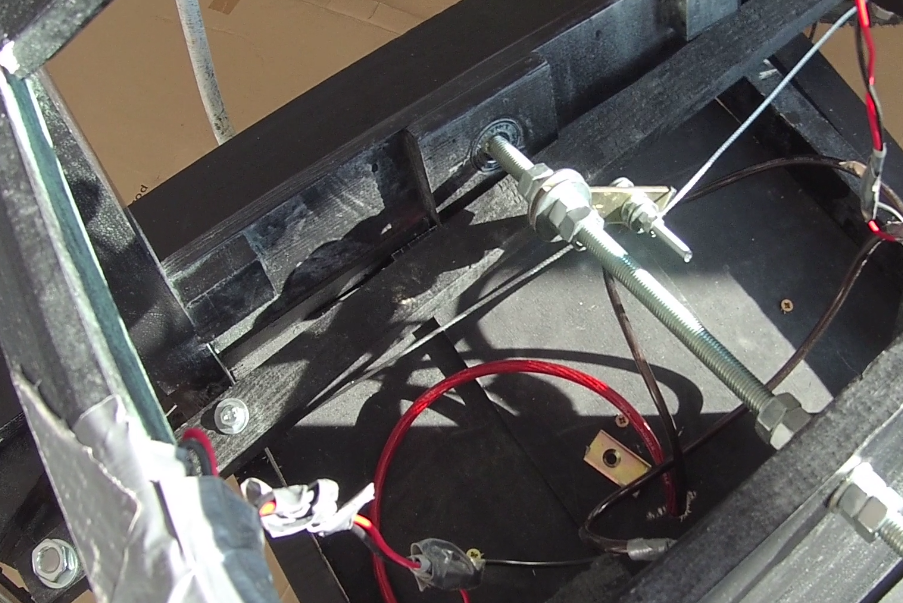
Front axle
Front suspension is the trickiest part of whole project. It's hard to get parts which would work with standard bicycle wheels in the shops, You probably would have to make those parts yourself.
I've created the front suspension parts from oak and bicycle headstes (because I don't have any experience with metalworks). They are working perfectly fine even when my child is driving off road. I saw however that some people are making front suspension from ordinary pipes - i didn't try that.
Rear axle
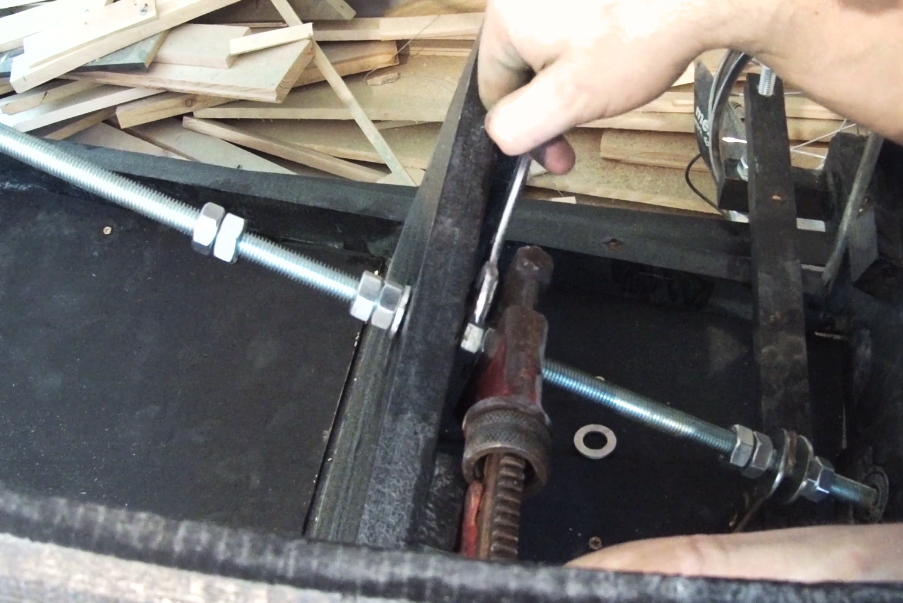
I decided to make only one wheel powered by engine. Why ? To avoid need of differential and rigid axle. Now I know that rigid axle would be better when driving offroad, but during the build i decided not to make it because of the friction during turnings. Such friction would consume more power and drain batteries faster.
So the right wheel is attached to the heavy construction screw (with the highest strength atests) and the left wheel is spinning freely on the bicycle support.
Power is transmitted through the motorcycle chain from engine to the wheel using 'freewheel'. It's important part to avoid back current generations in the engine and avoid broken engine controller.
Engine, Power and Electronics
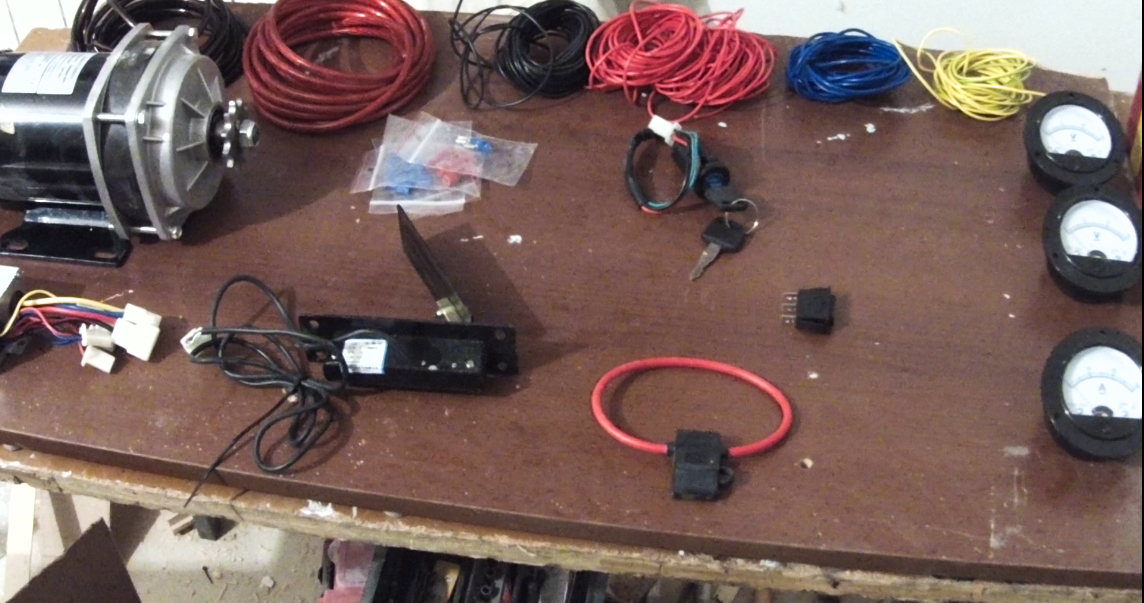
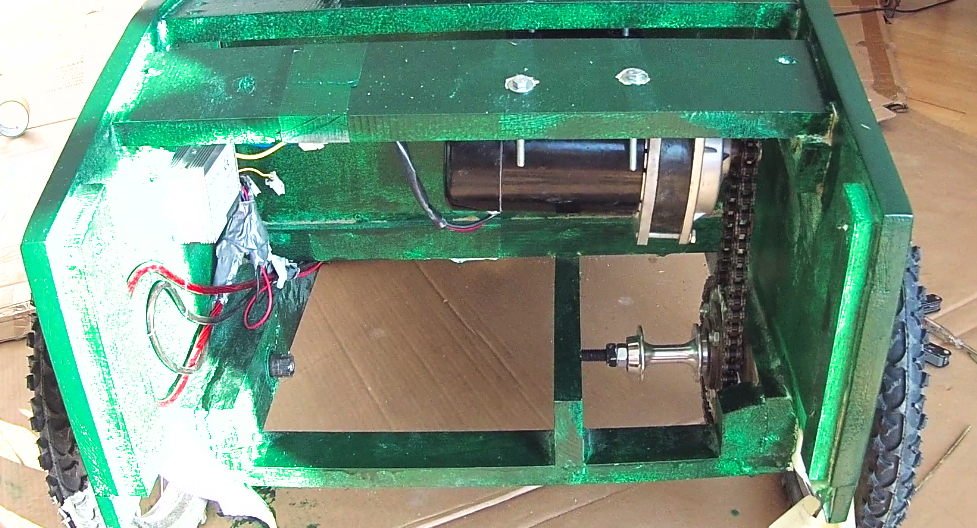
As I wrote in the design section, I've used 350W electric engine. Such engine needs 24V and consumes up to 28A. It is quite a lot, so I need the really thick wires to support such current. It is the formula which You can use to determine the wire thickness considering the current, voltage and the wire length. You have to remember, that wires and DC current will generate the voltage loss. Losses depends on wire length and diameter - shorter, wider wire will produce less voltage loss.
If You don't want to play with formulas, just use the power wires from ordinary car.
To power the engine I've used two 12V (18Ah) batteries which each one weights almost 4,5kg (simmilar to those from cars). Such batteries are the cheapest but not the best for electric engines. Batteries and engines are the really wide topics, so I won't write about it more - search in the internet about this if You are curious about the best solutions. My batteries gives my son several hours of fun, so they are enough.
To control the engine You need also two more parts - the hallotron (gas pedal) and the electronic controller. Those parts could be easly bought in the shops. I've used the parts from some Chinese scooter. One thing to remember - controller must be capable to handle the engine power (and current).
Finishing and Detailing


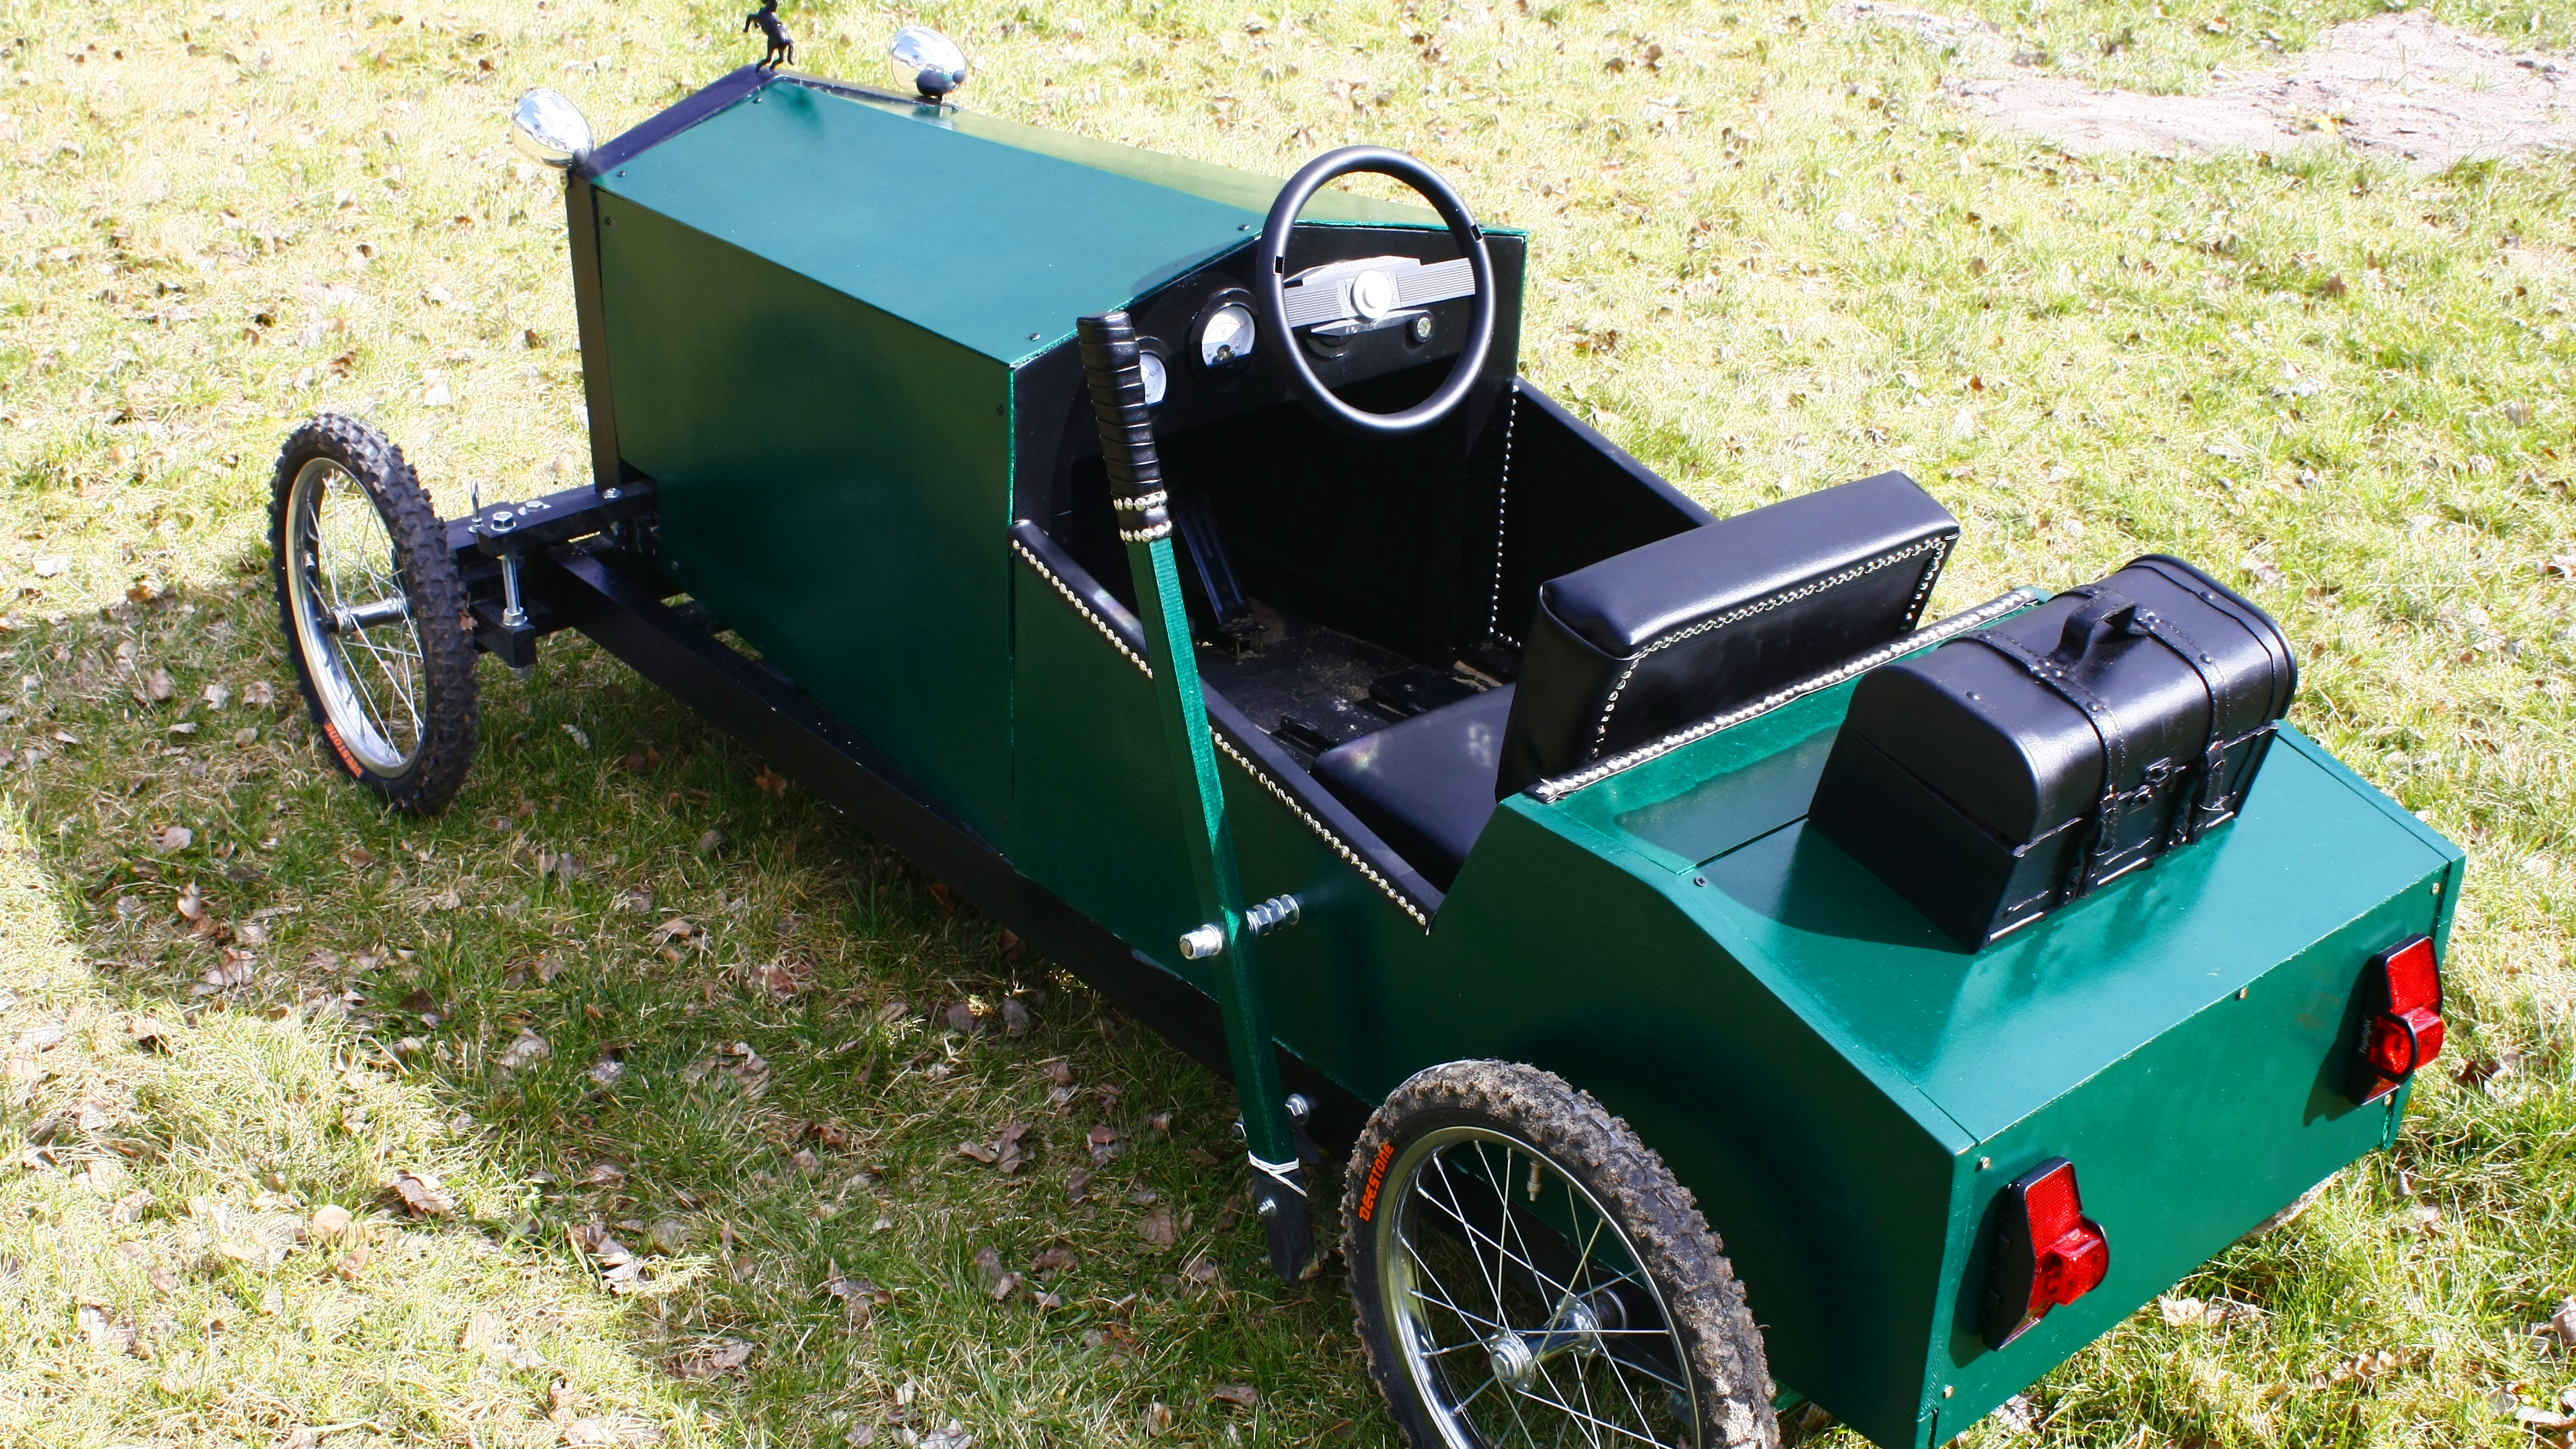
Finishing is so individual process that I won't write much about it. Use Your imagination. I've added to my go kart - upholstery, lights, fake radiator and of course the black horse statue on the hood :)
So that's all :)
If You are interested in this project, watch my video which is step by step tutorial on how to build electric car for kids.
Any questions ? I will answer all of them ;)