Electric Pea Shooter
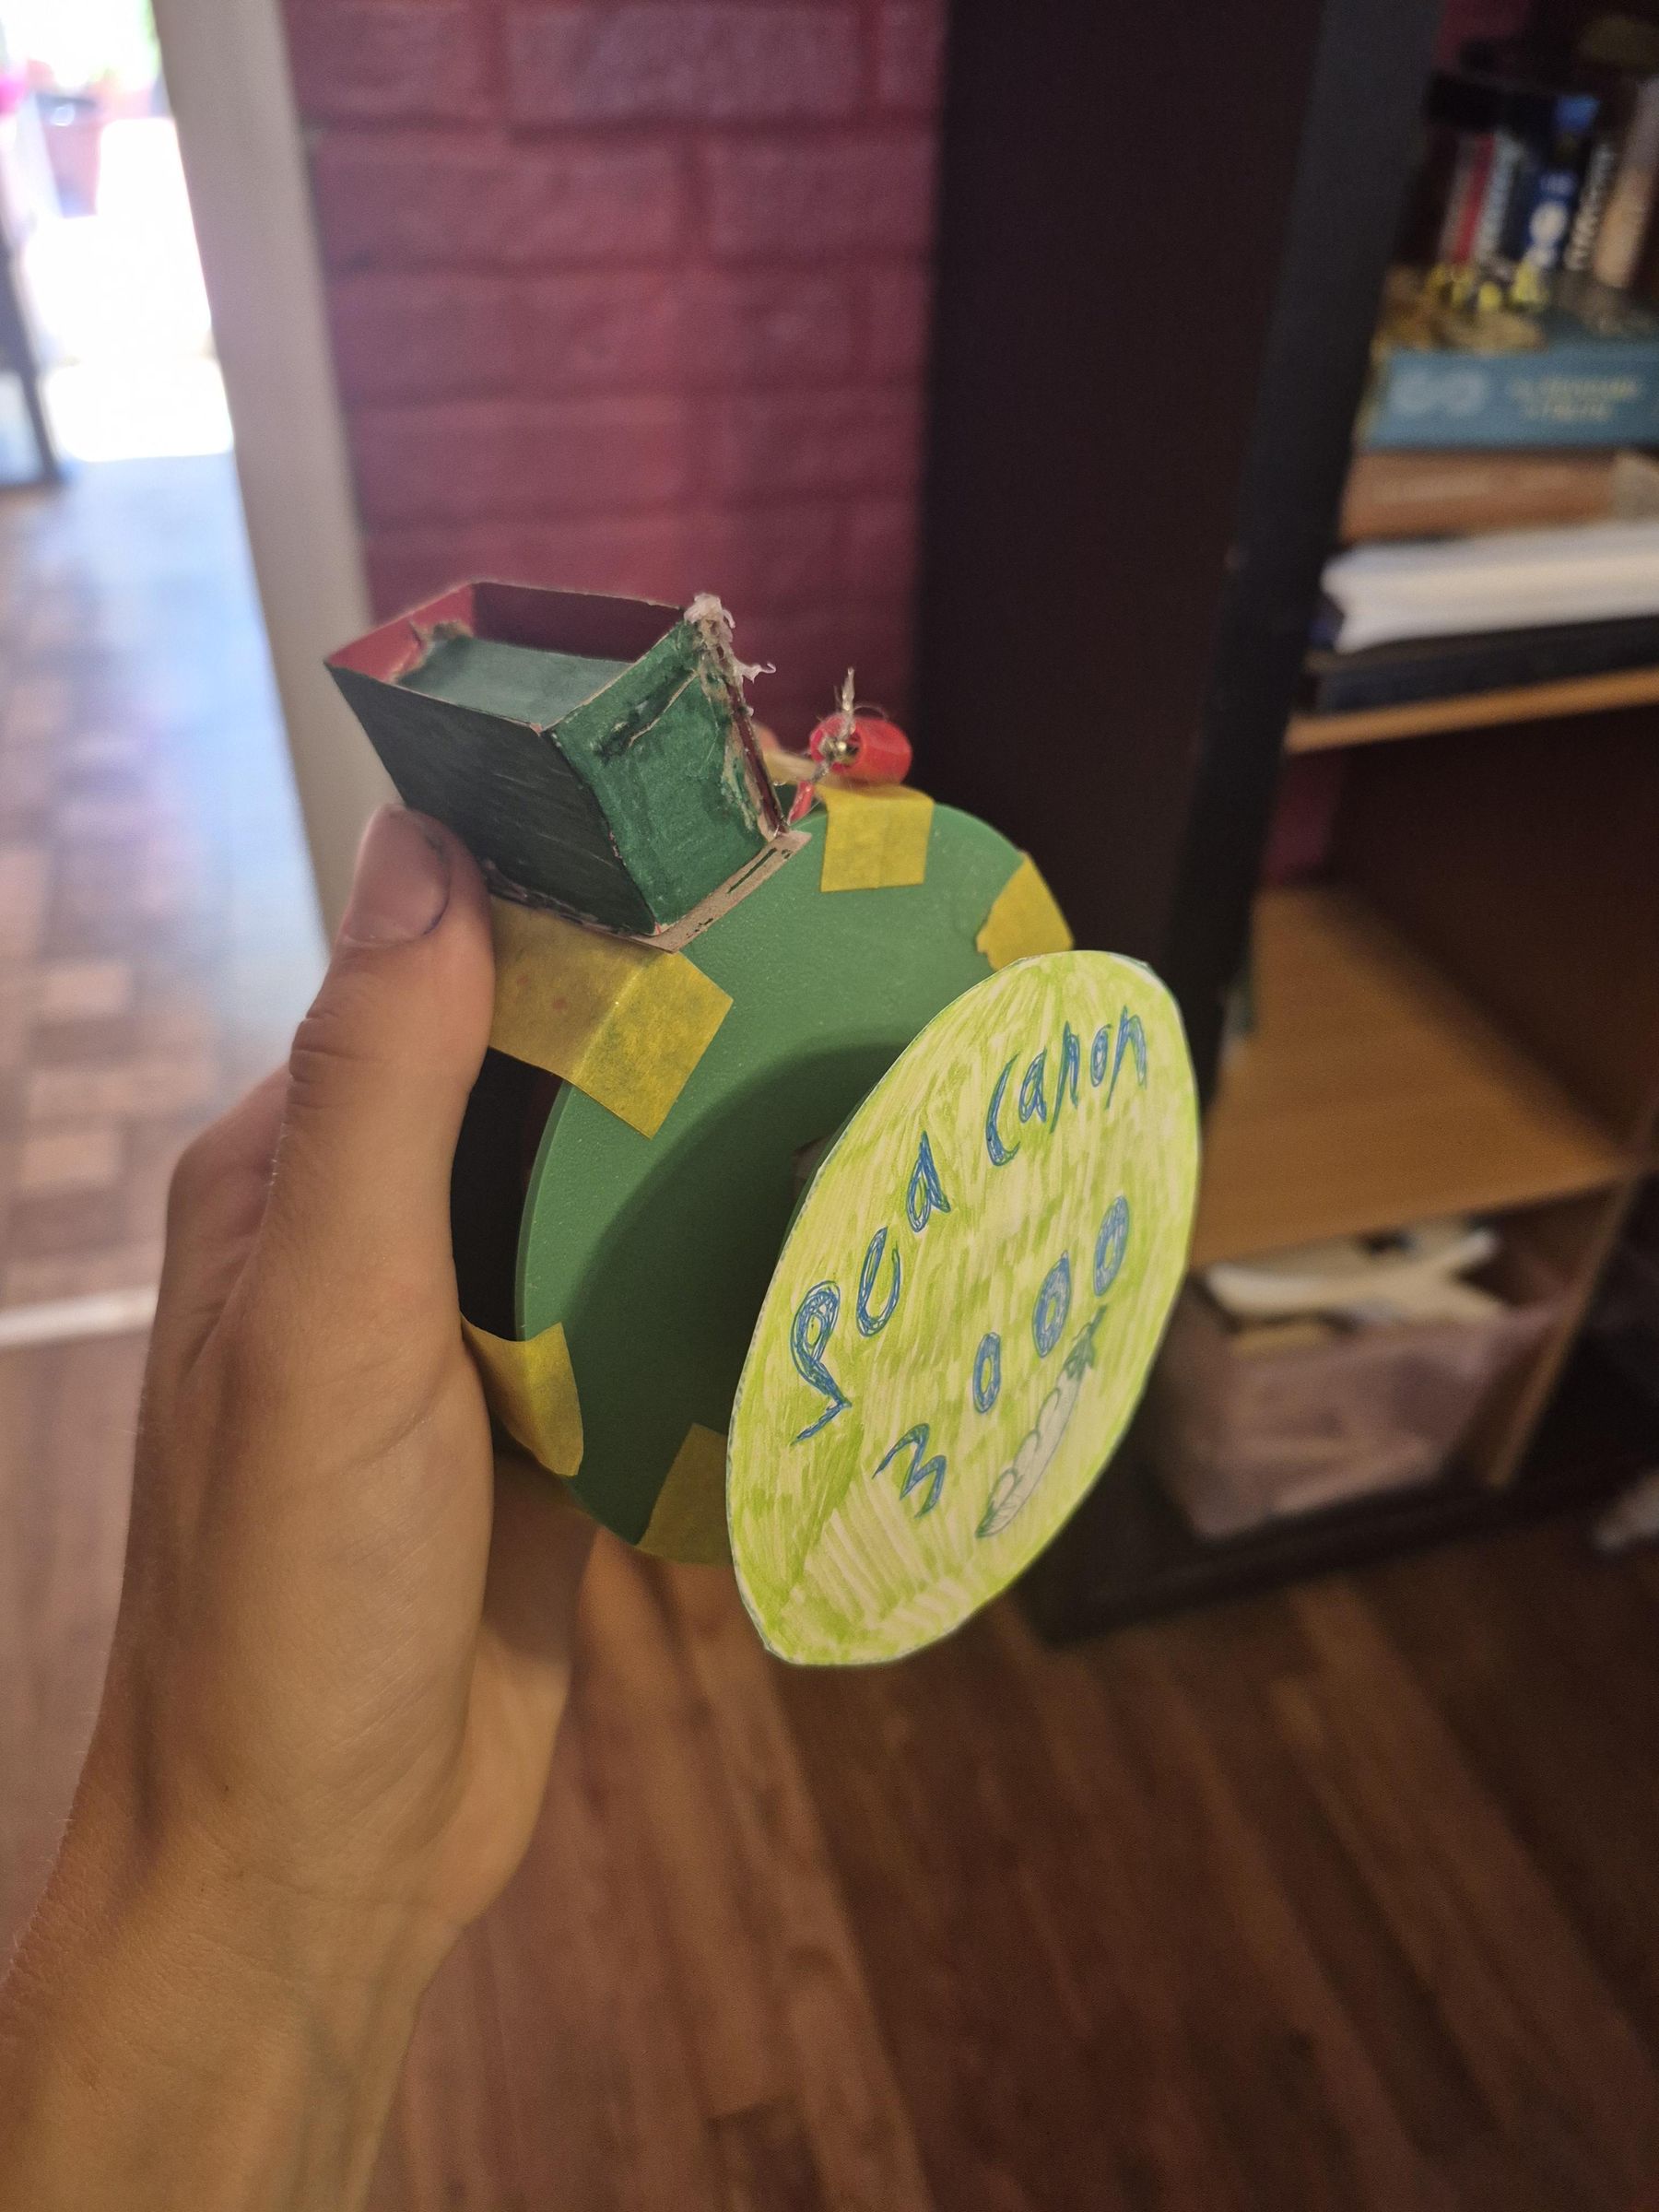
We're under attack! From... peas? Me and my siblings love to have food fights, so this battery-powered pea-shooter is great for after dinner games. With a similar design to a baseball cannon, this pea shooter uses a rubber-band lined cylinder attached to a rotating motor shaft to propel light, round objects such as peas and beads. It can be created using any small motor, or even some devices that already have motors. They are also customizable to make you look extra cool in battle!
These should be able to shoot peas between 6-8 feet away, but it largely depends on your motor speed and the angle you drop the pea. It takes practice!
Downloads
Supplies
.jpg)
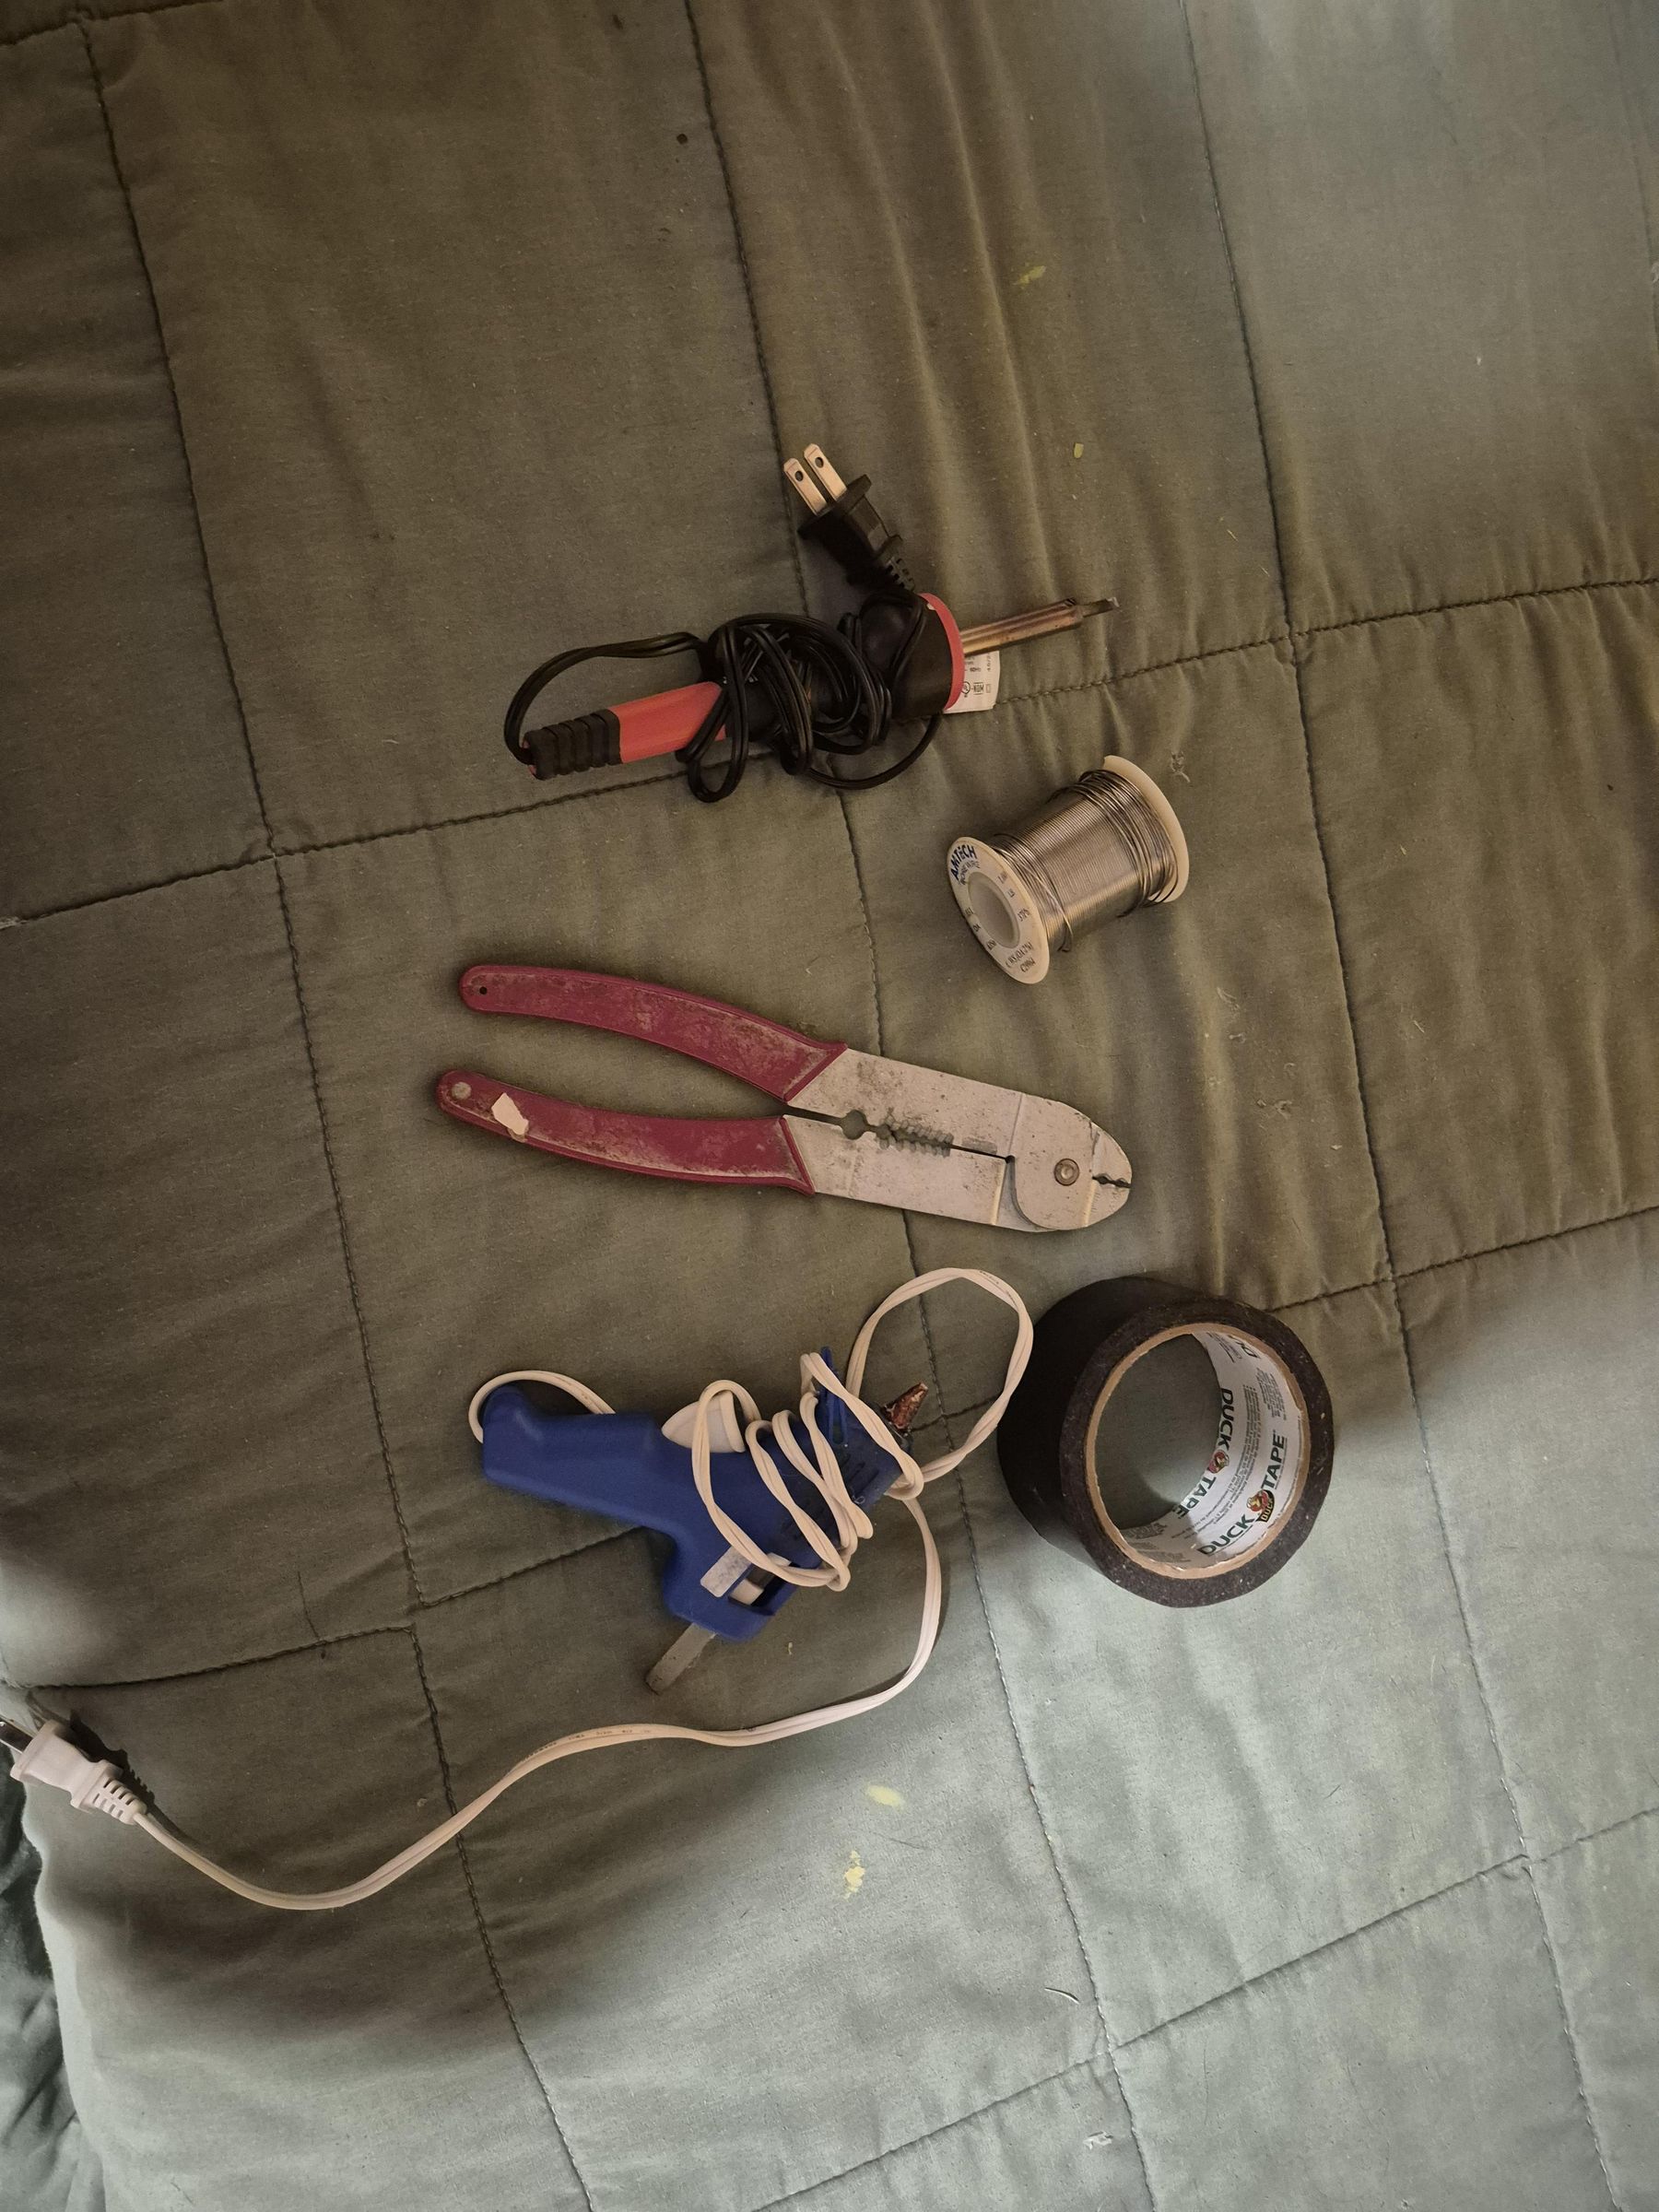
- Components A, B, and C
- 3d printer
- Rubber bands (ideally smaller than average)
- Small DC motor
- Battery pack with on/off switch or clipper wires
- Hot glue gun
- 3d modeling software: I used Fusion 360 (conditional)
- Soldering iron (conditional)
- Duct tape
- Wire strippers (conditional)
- For decorating (optional): Markers, stickers, paint, paper, tape, and/or lace
- For pea holder: Scissors/knife and cardboard
- For hand-holder: Fabric (ideally stretchy)
Print Components
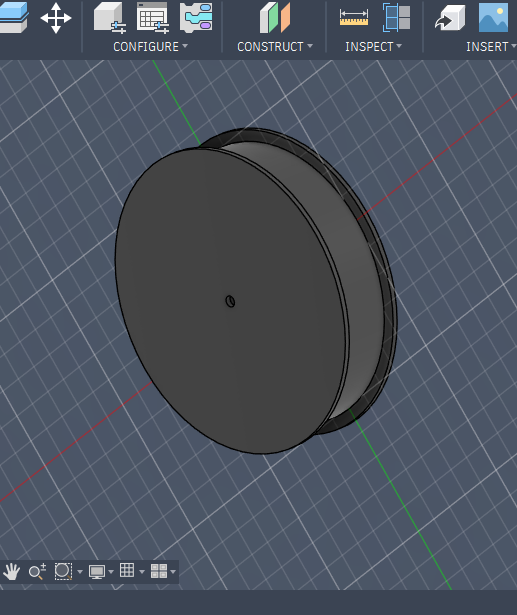
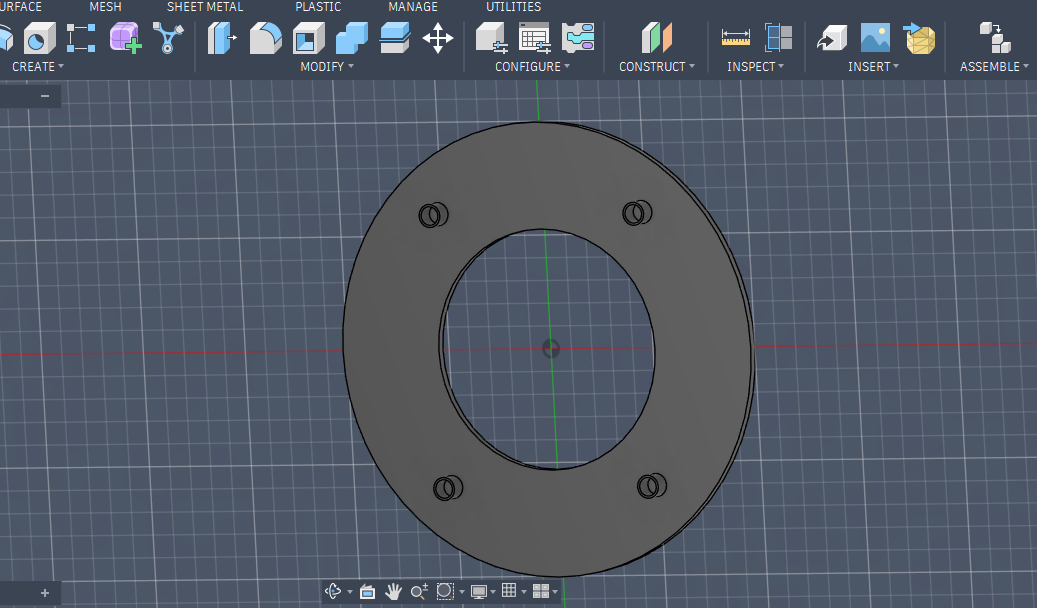
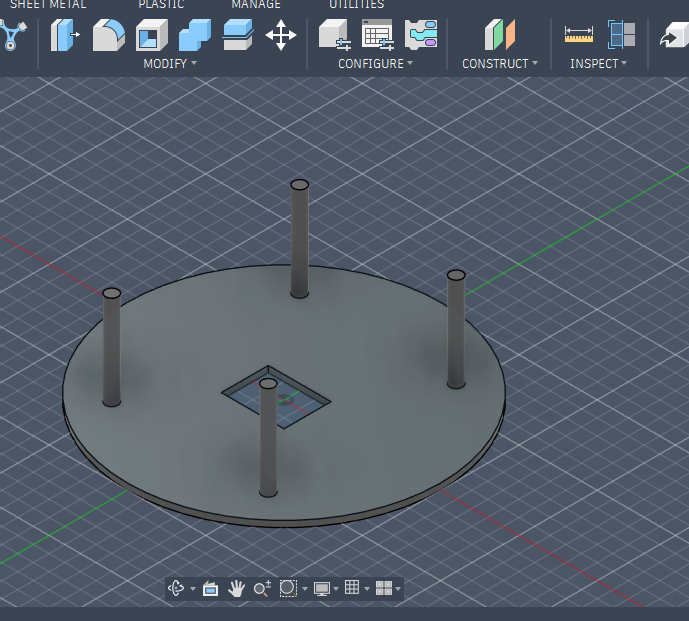
Download the files and print each one. I used a Bambu mini, but many other types will work. Before you print, however, you may need to adjust the dimensions of the hole in component B to fit your motor. Make sure it will be a snug fit, but not so much that you can't get it in or out. You may also need to adjust the size of the hole in the middle of component A for the motor shaft. I recommend making the hole slightly larger than the actual make sure it will be able to slide through the hole and remain firm in it. To make these changes you can use Fusion 360, blender, or another 3d design software. If you like, you can also adjust the diameter of components B and C to suit larger or smaller hands.
This entire print requires no extra support and should take about an hour and a half to print using a .4mm nozzle.
Prepare Component A
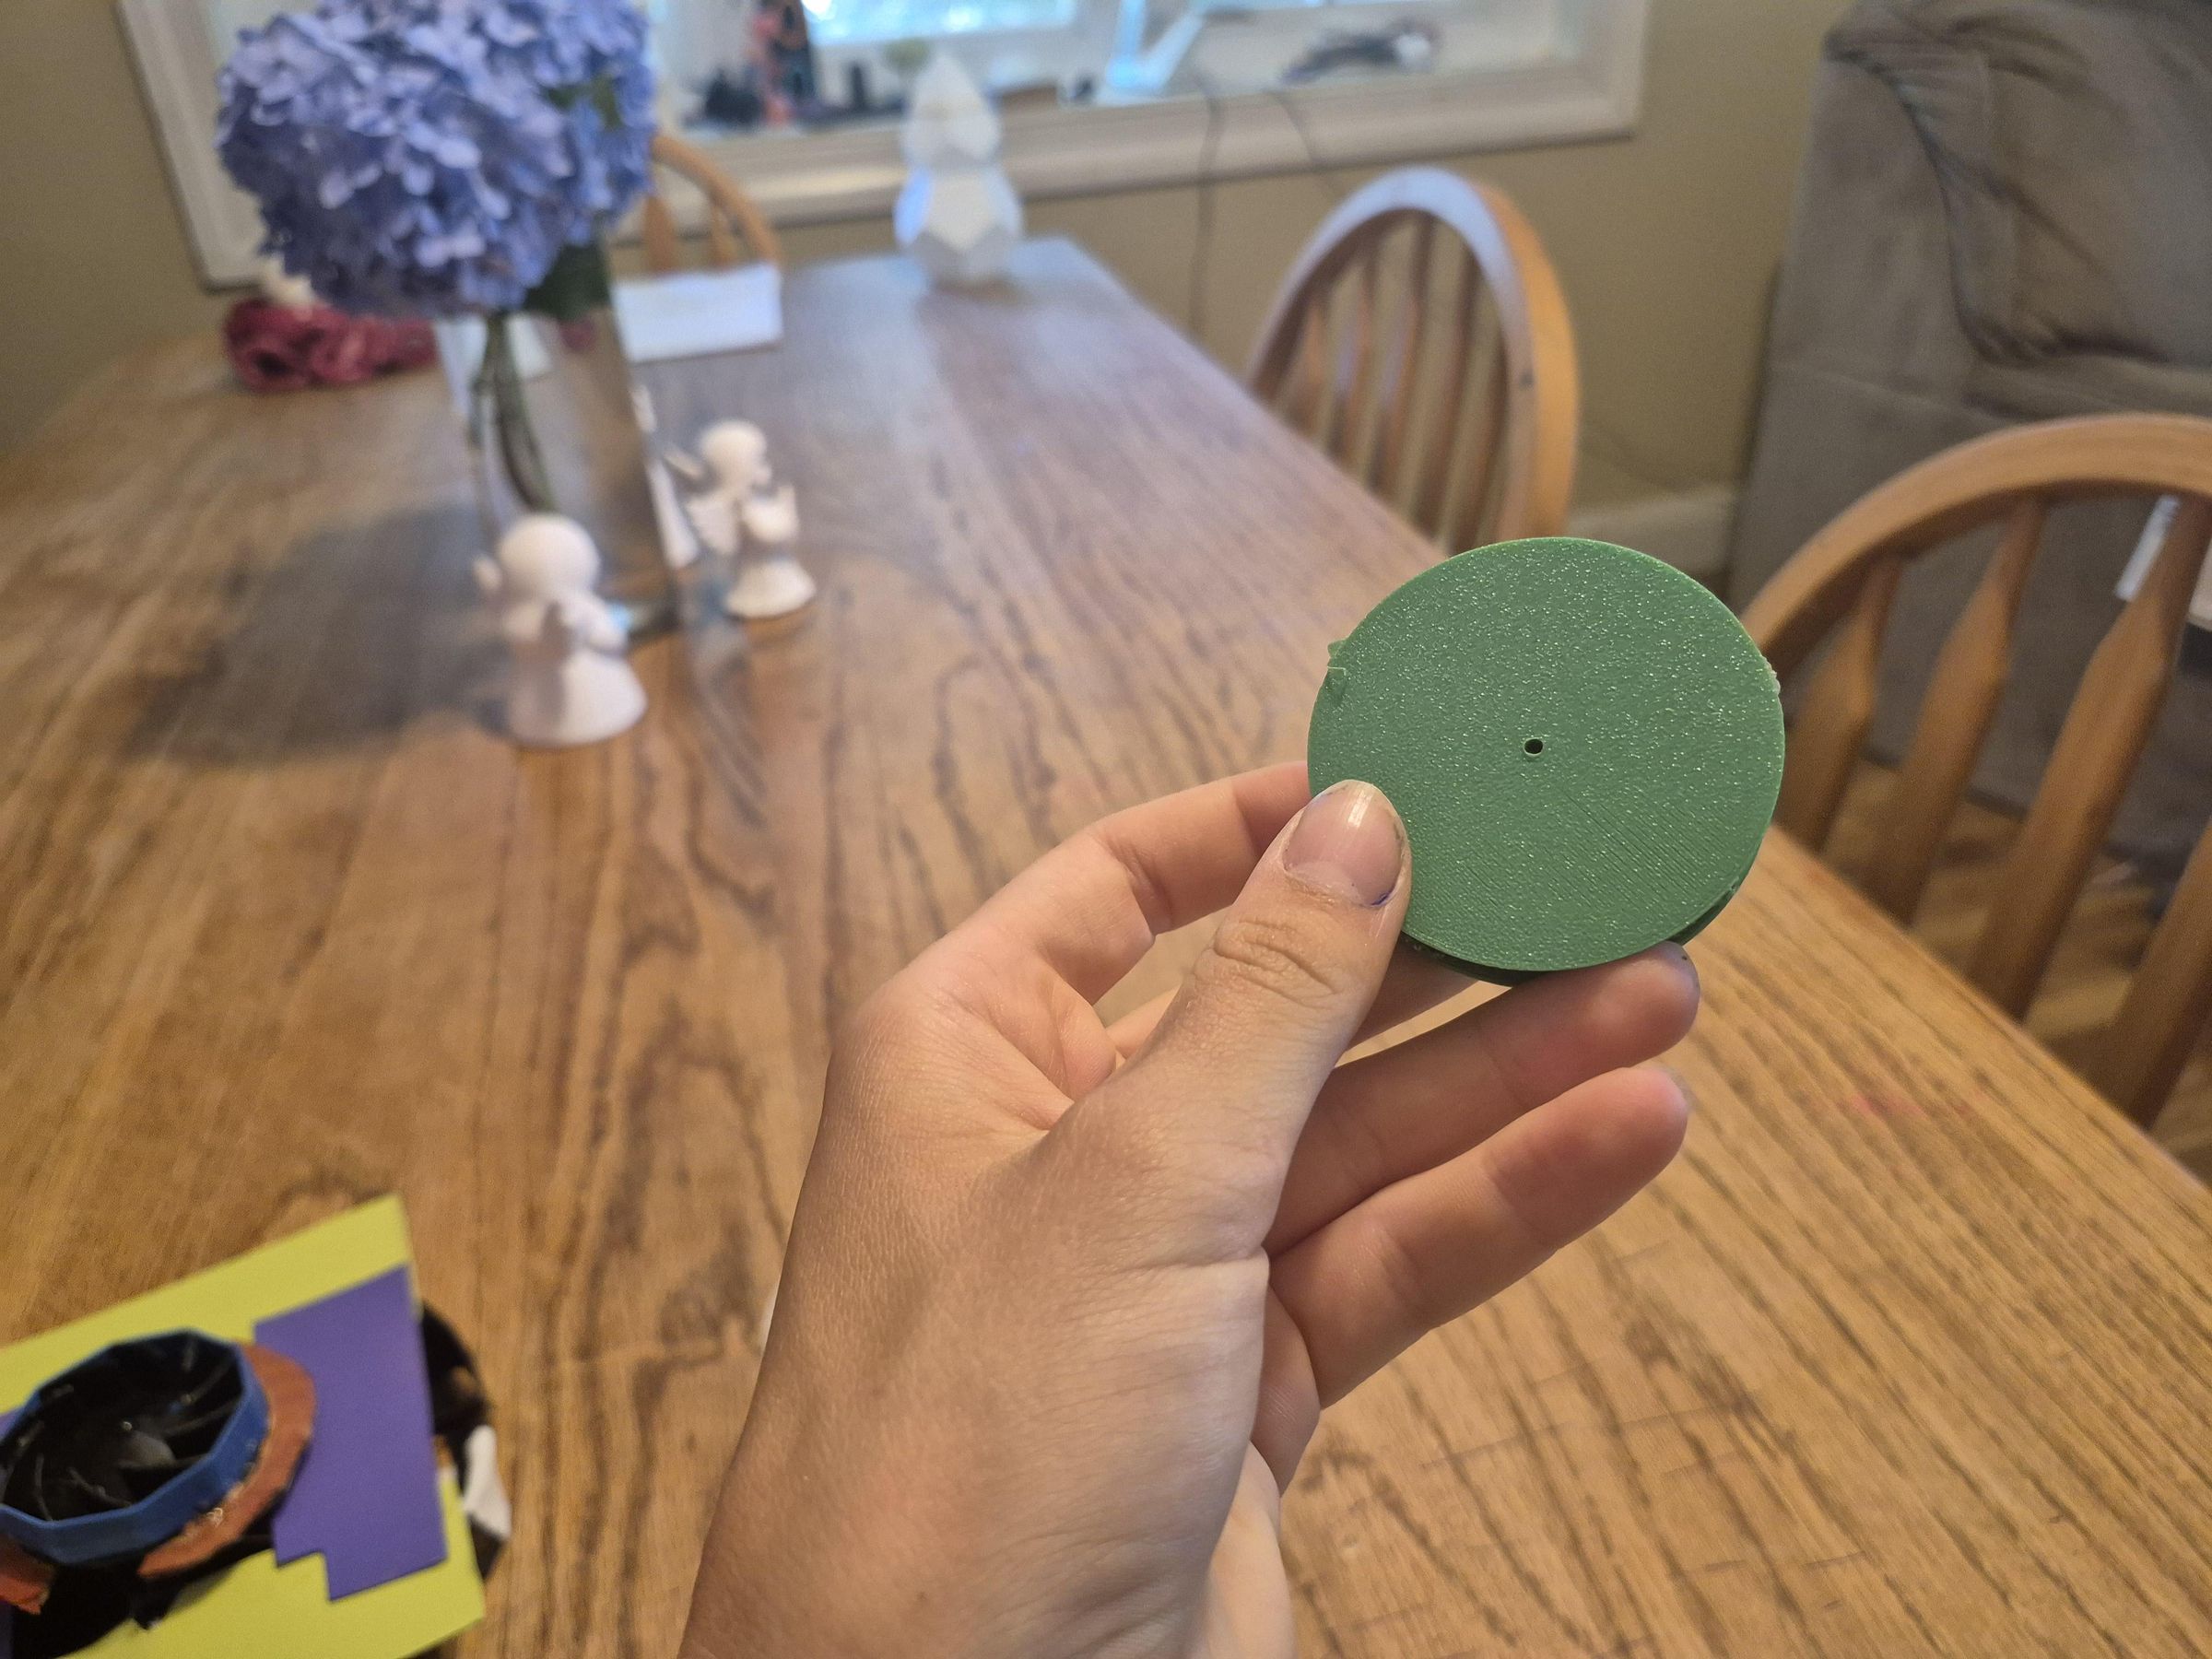
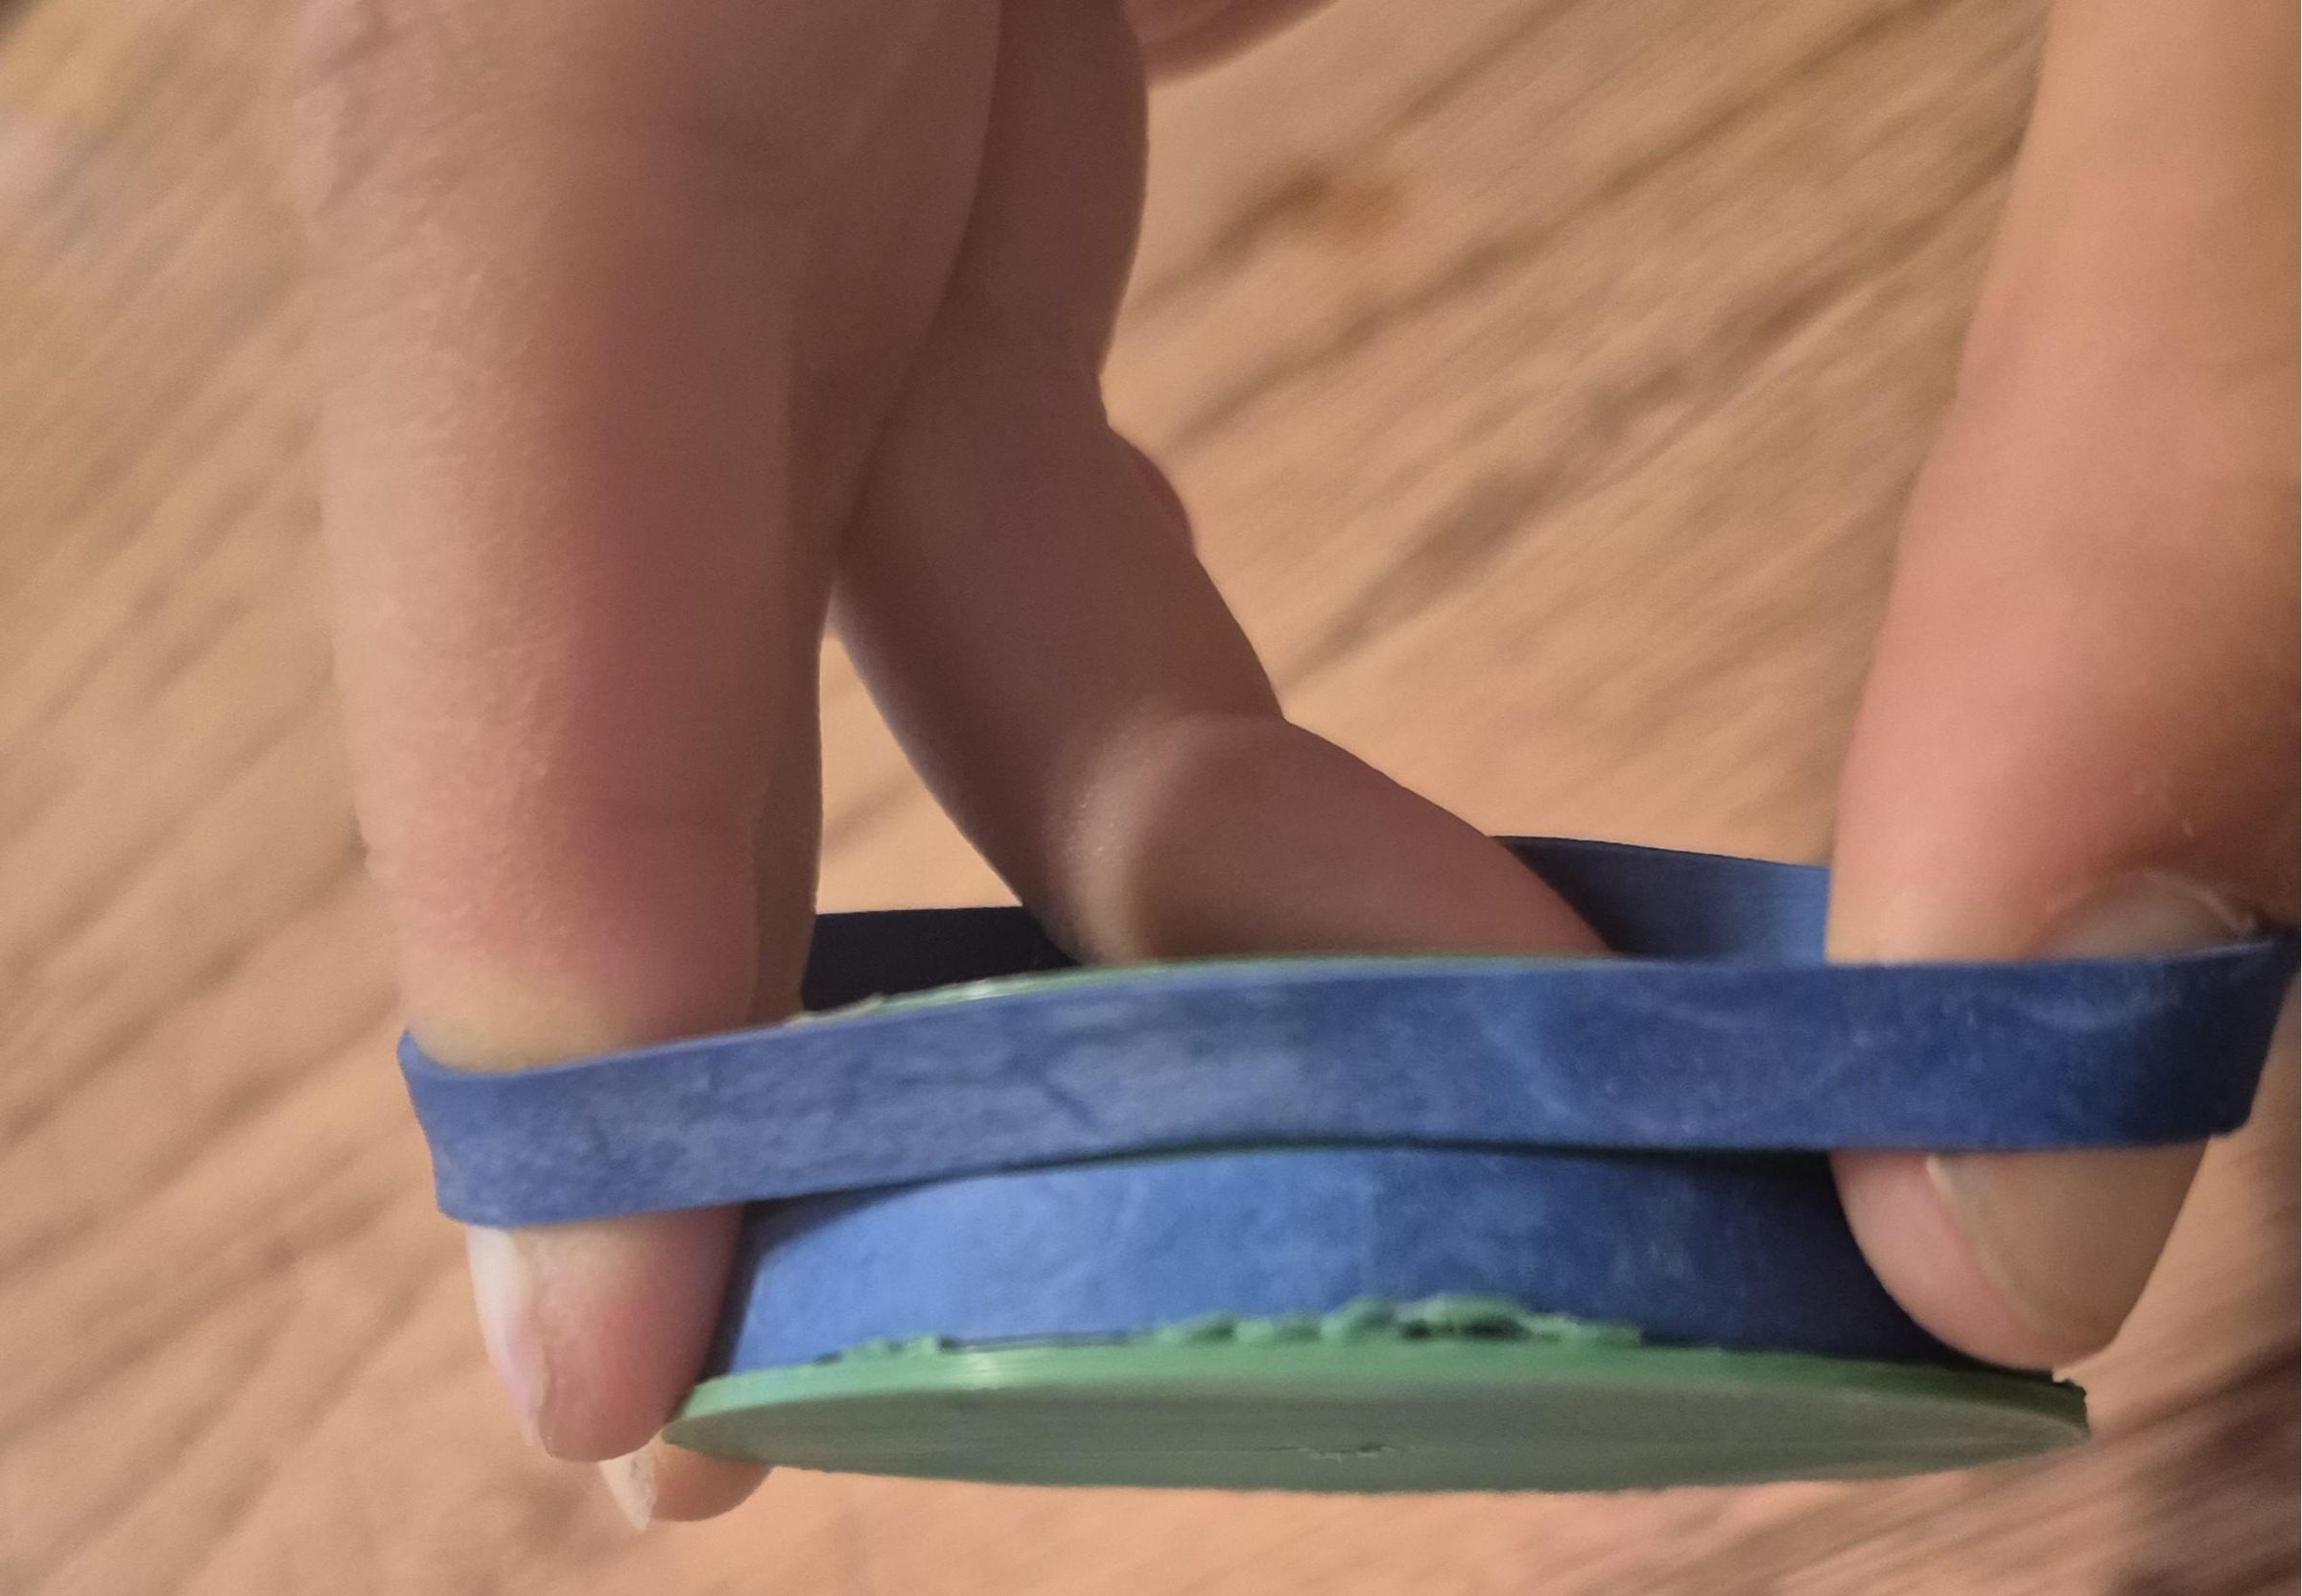
Once all components are printed, take a couple of rubber bands and loop them around the inner ring of component A until all of that surface is covered. This is the surface that will rotate and which you will drop the pea on to make it go flying.
Slide Motor Into Component B
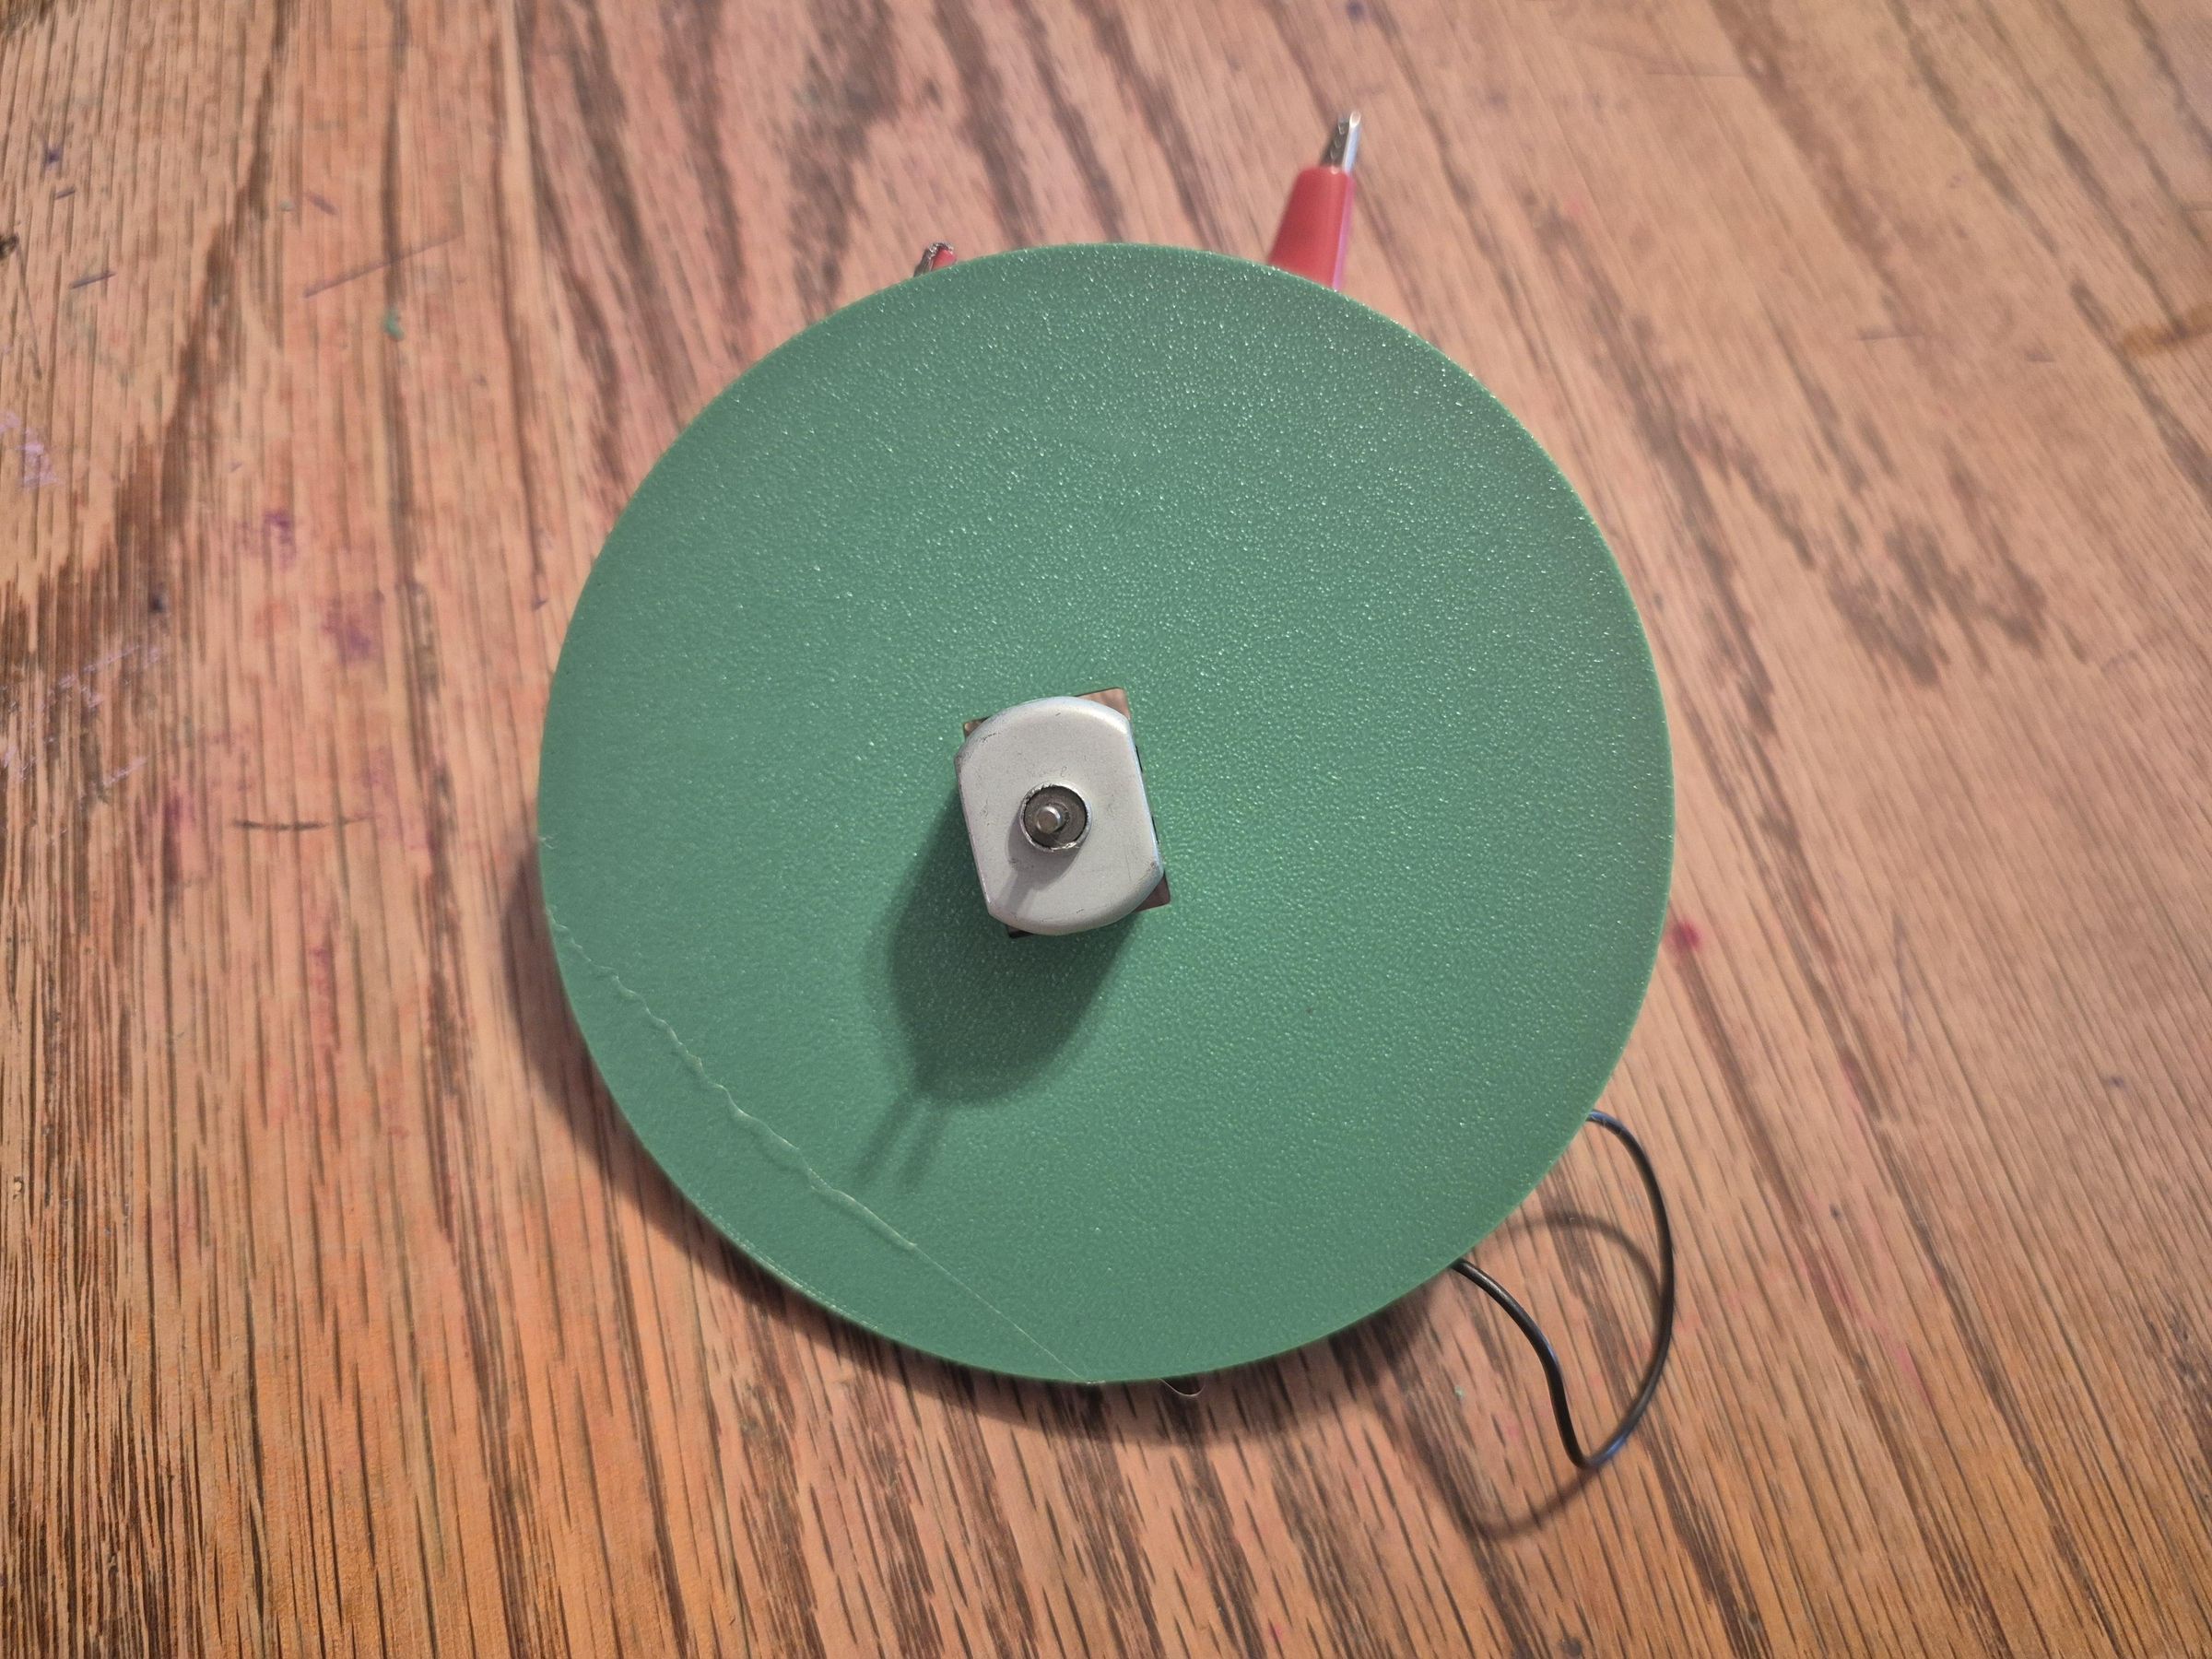
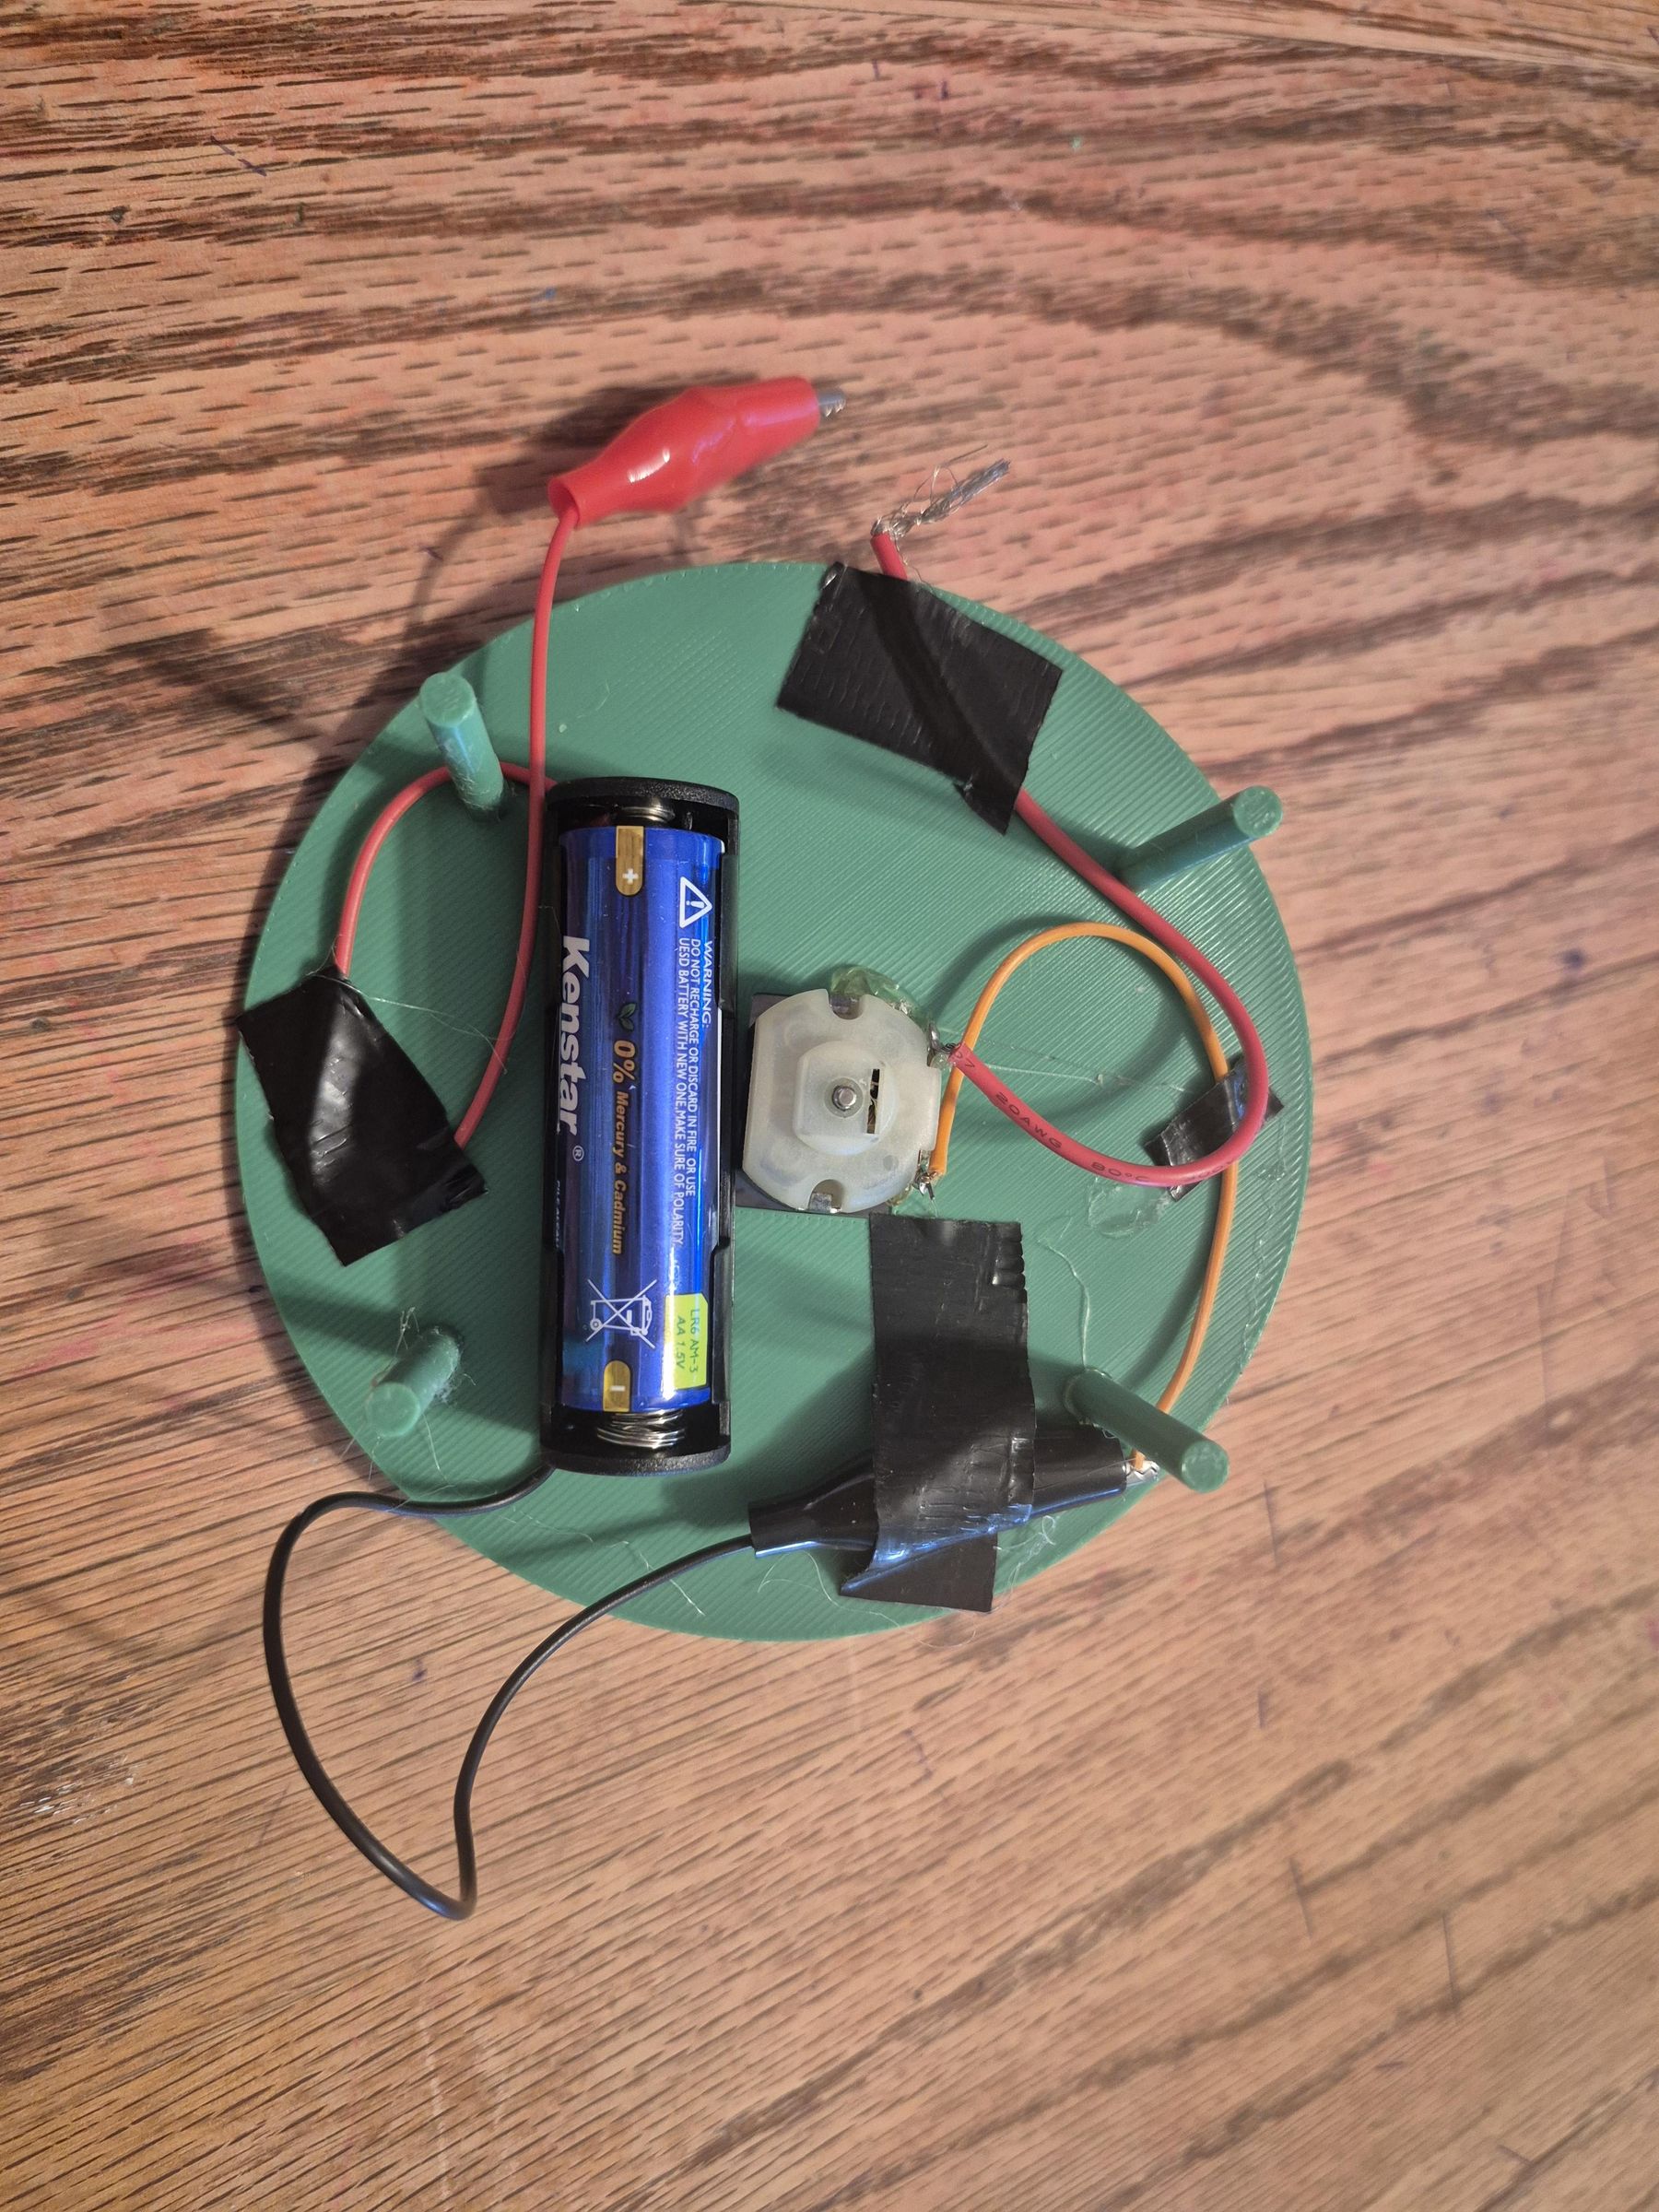
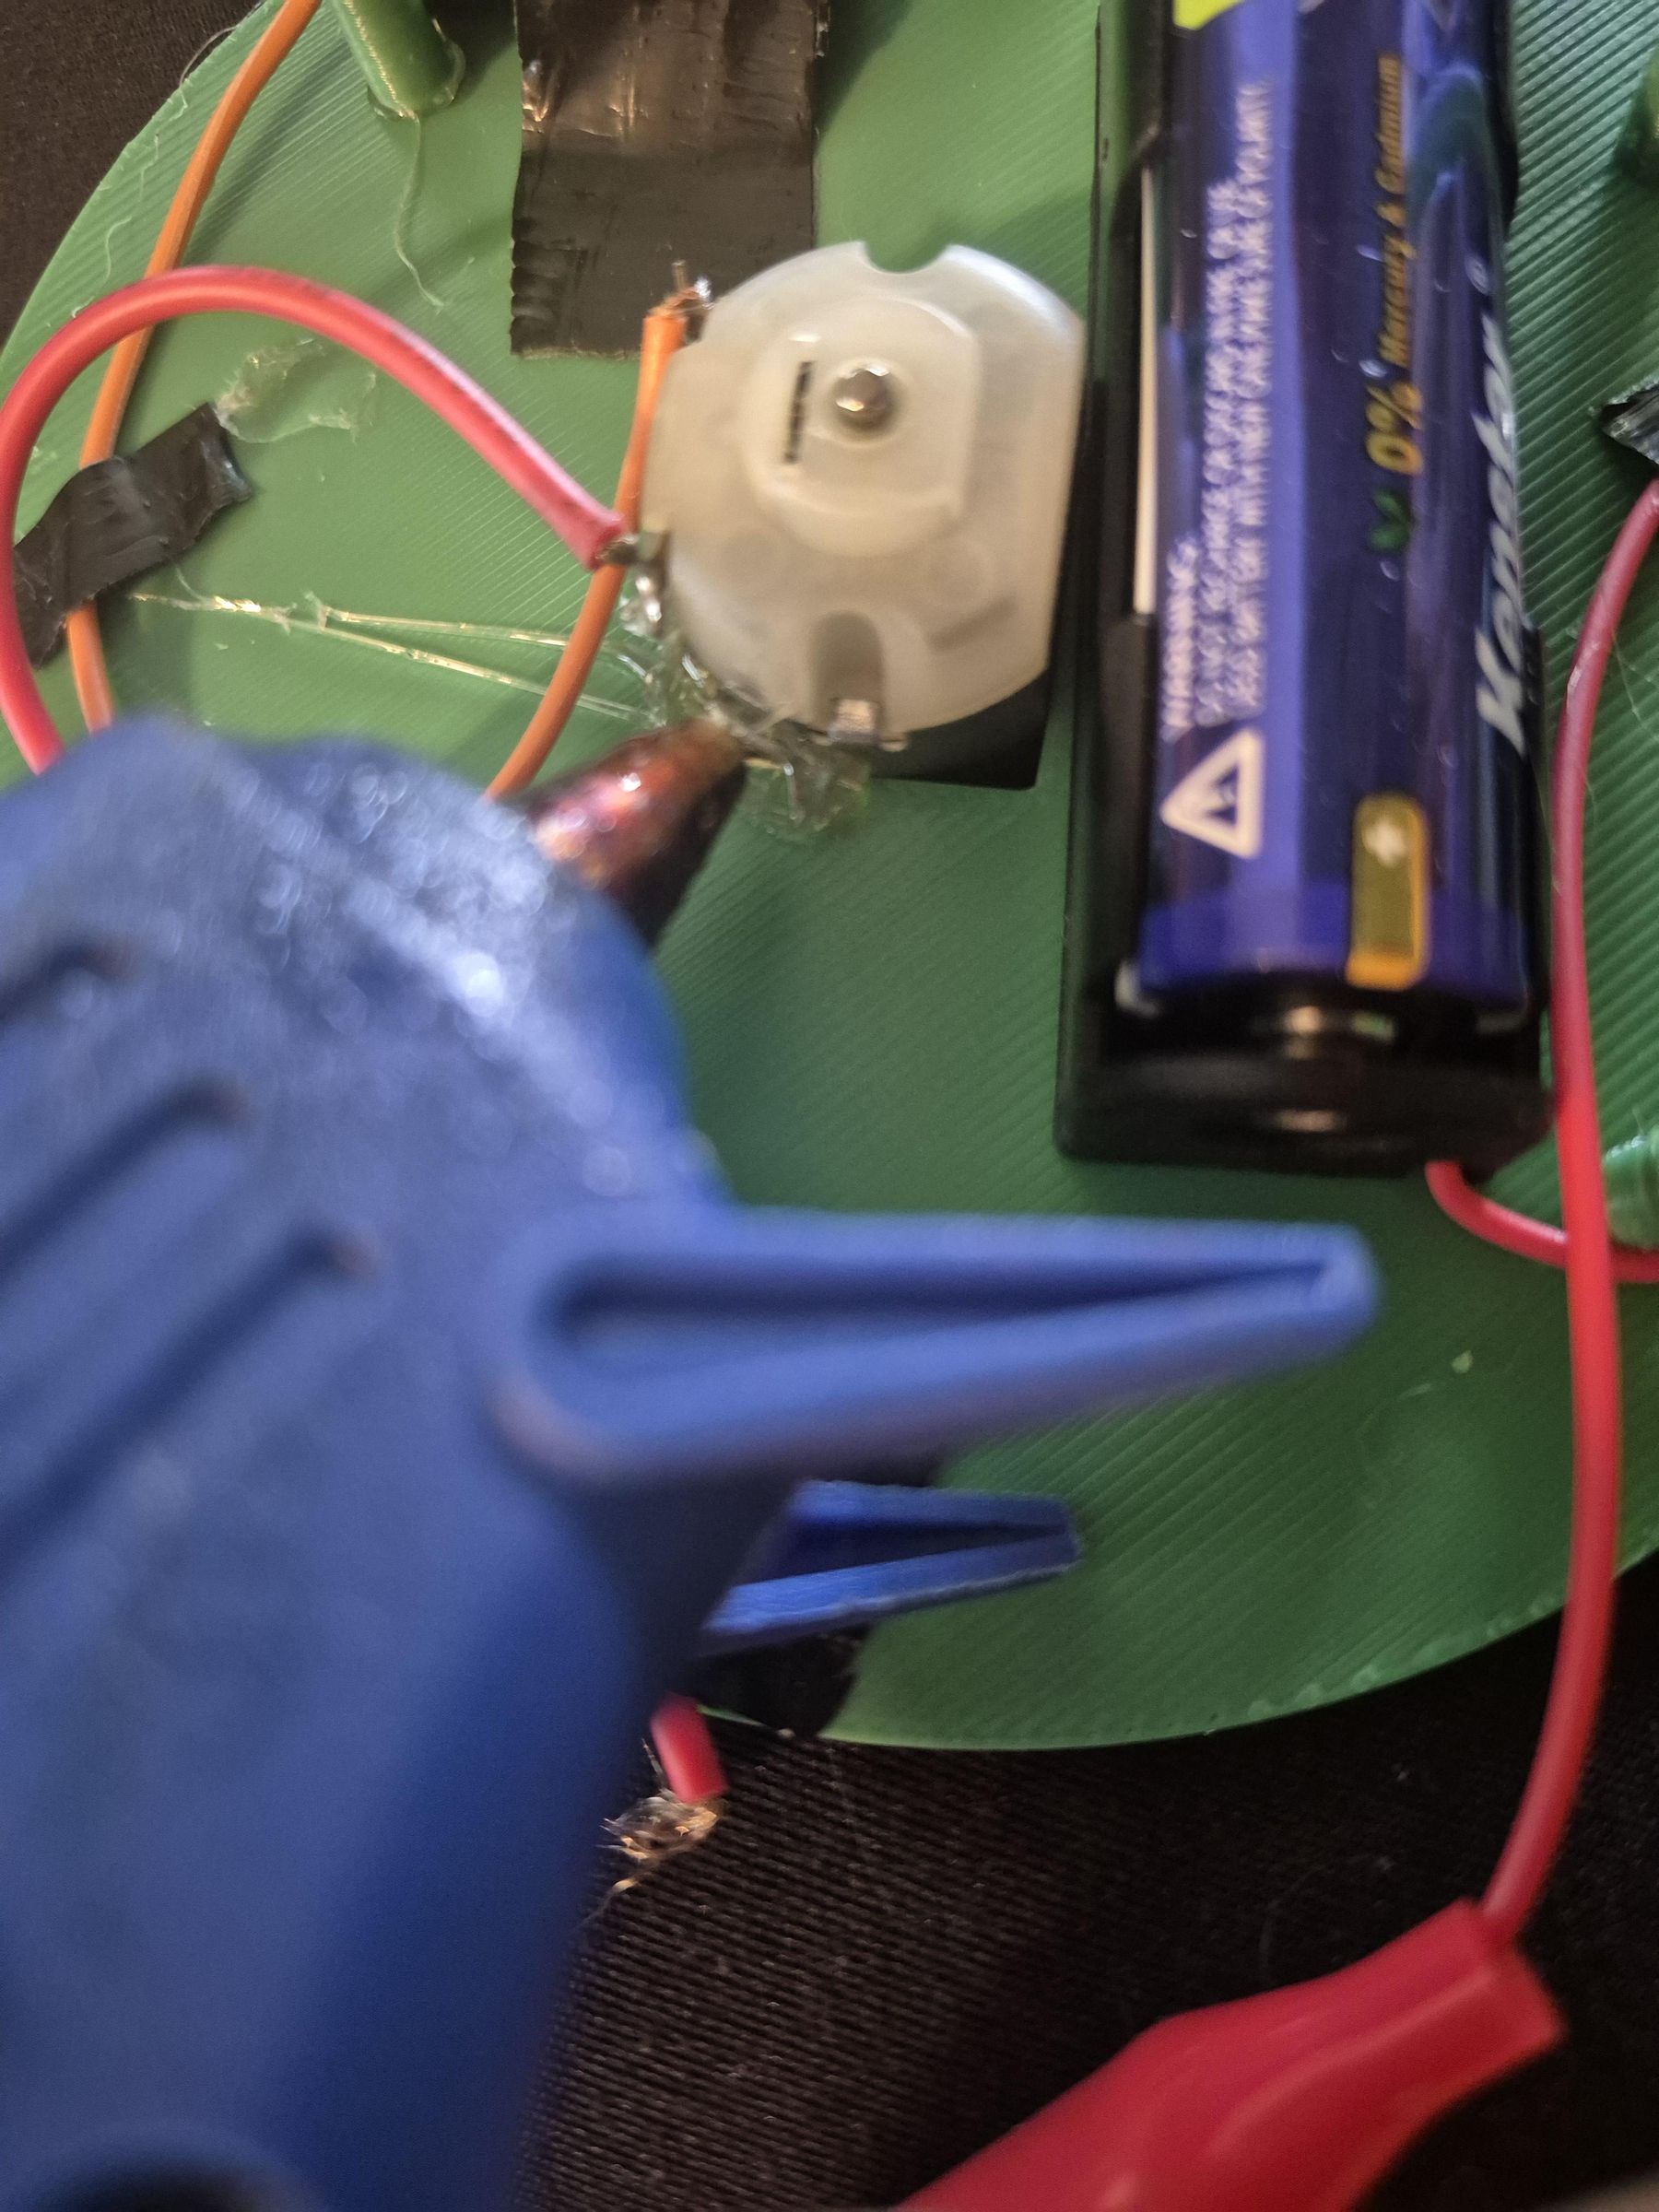
Slide in your motor so that it is about halfway through the hole. Before you do this make sure you have attached your battery to your motor. You can either do this by soldering the motor wires to a battery pack with a switch, connecting the motor and battery pack using clipper wires (this is what I did), or another method that will allow you to turn the motor on and off. Tape/glue your battery pack and wires to the back of B so that they are out of the way.
Also, if you are using a battery pack with an on/off switch make sure to glue it near the top with the switch facing up so that you can access it. The same goes if you are using clipper wires like me: tape them near the top, but ensure you can clip and unclip the wires.
Note: if you want to change the direction of the motor, switch the wires connecting the motor and battery pack.
Attach Component a to Shaft
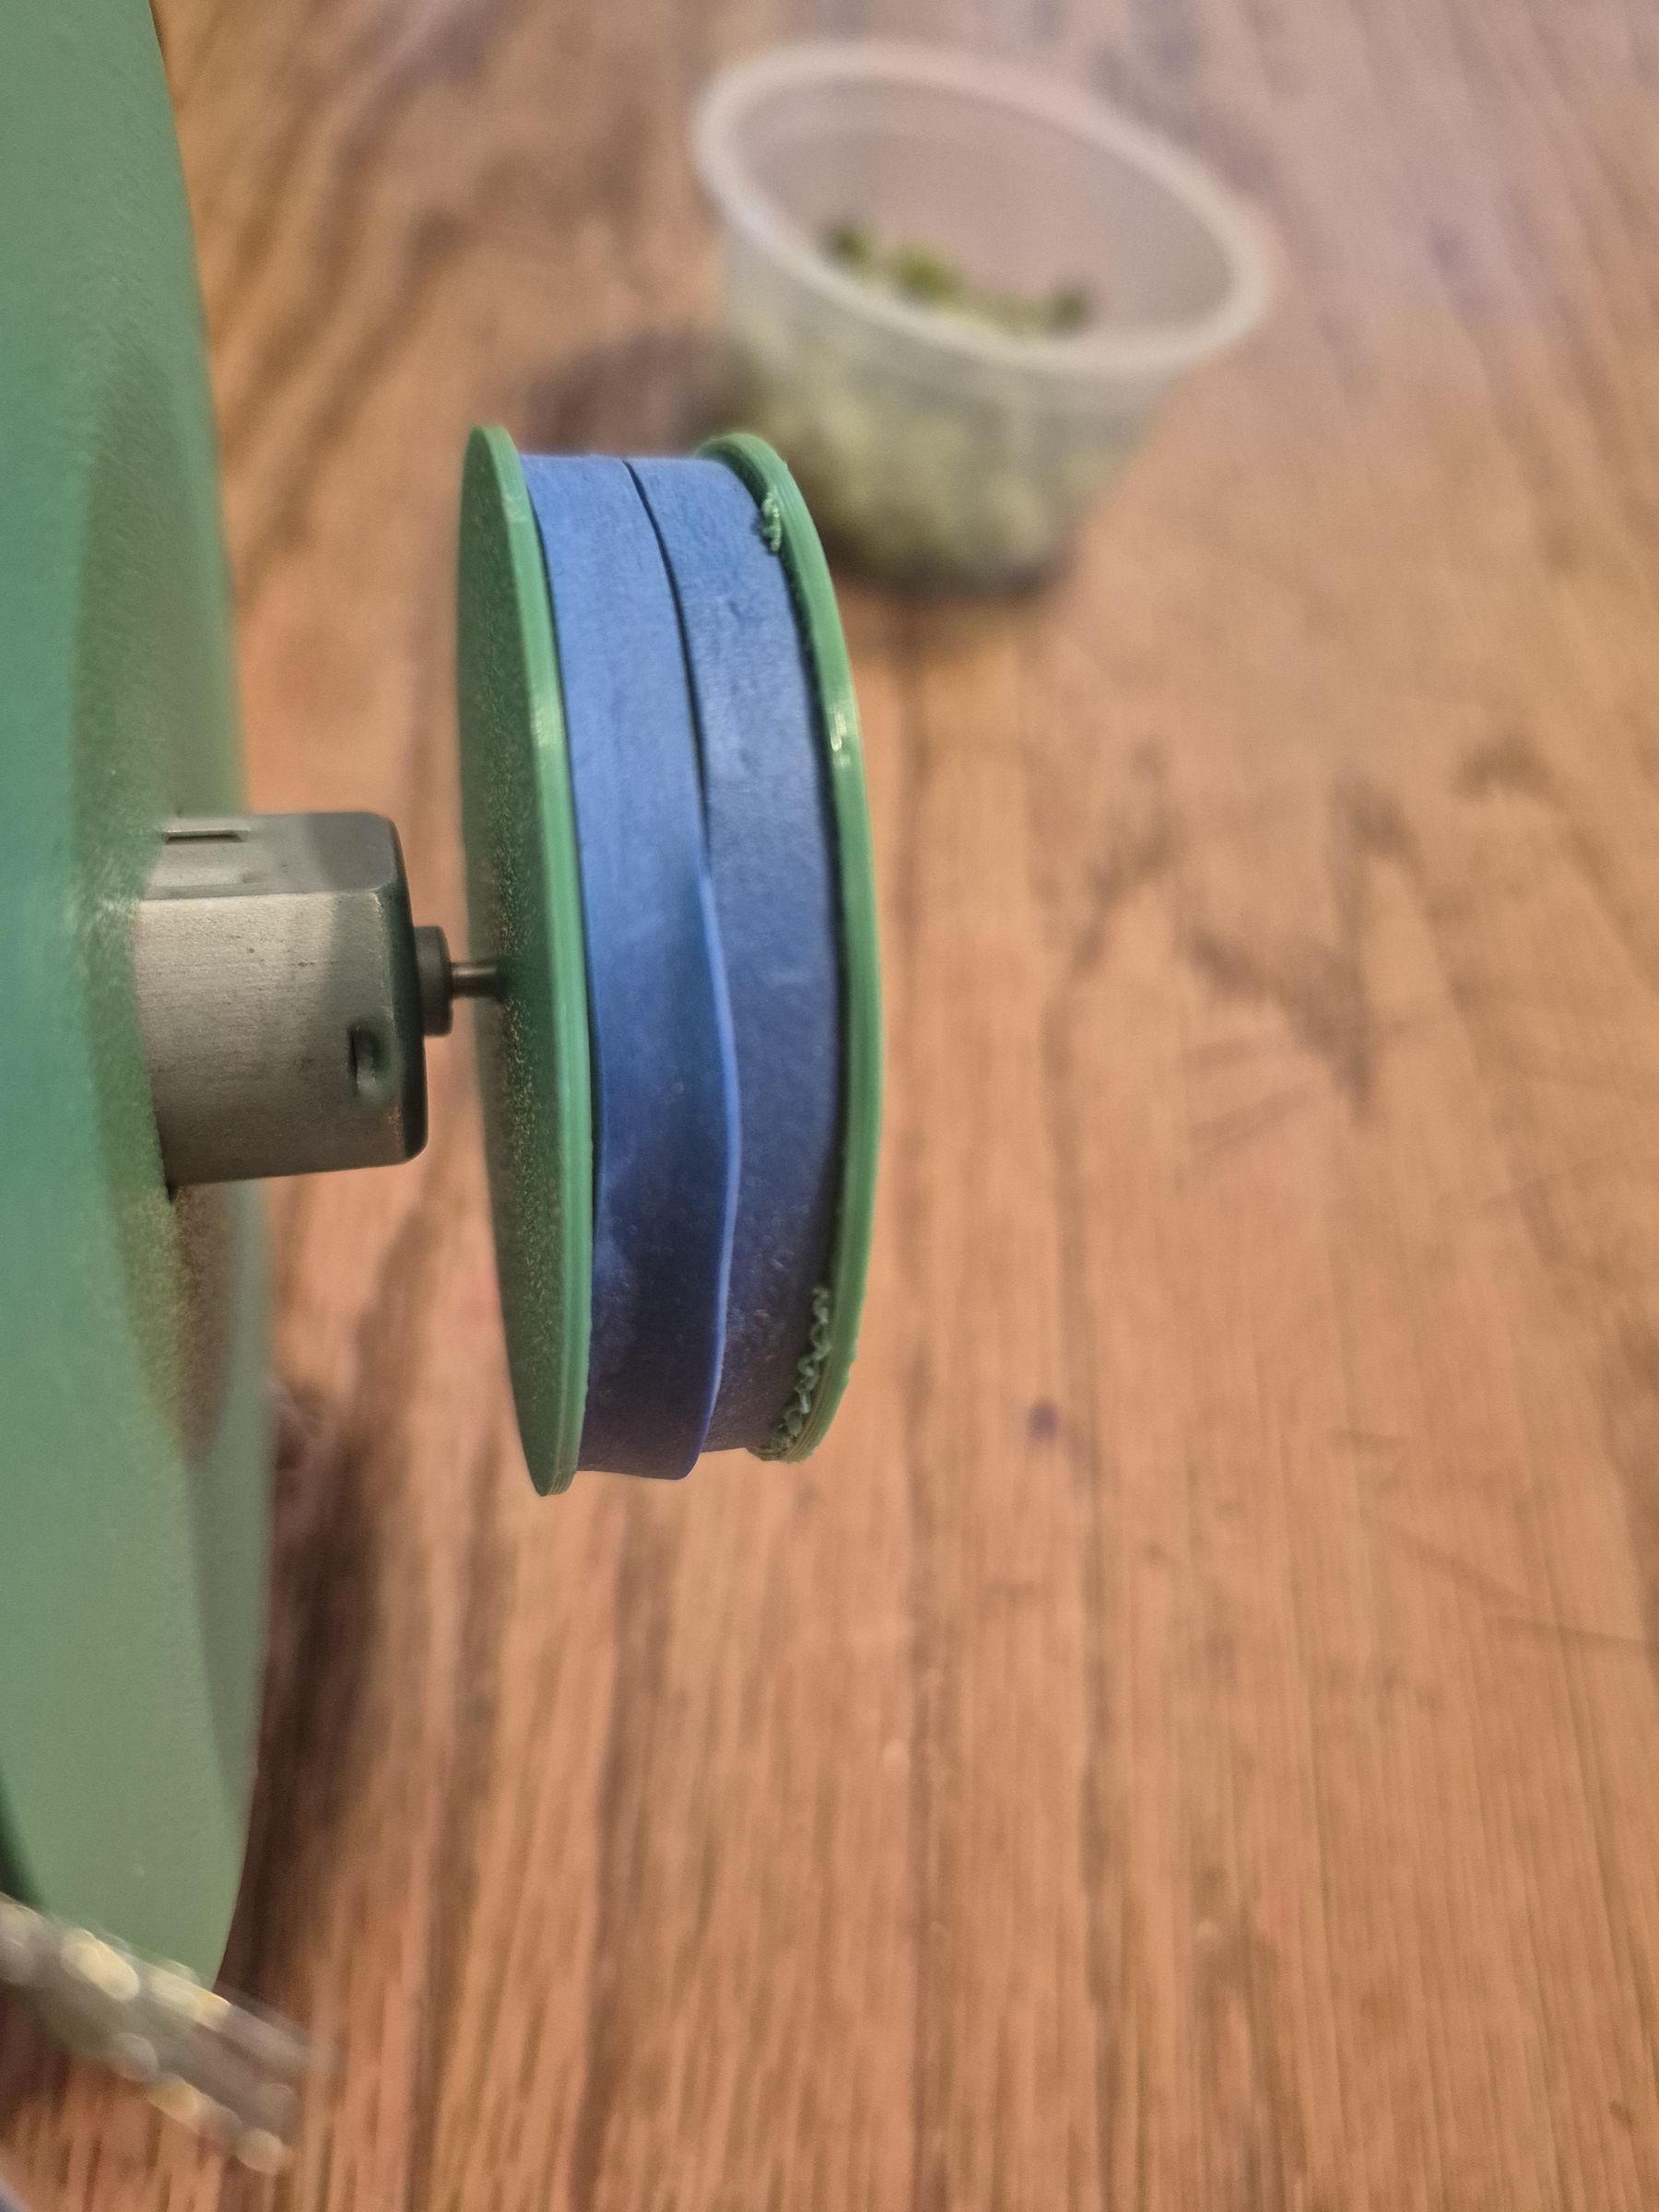
Slide component A onto the motor shaft using the small hole in the middle until it can't go anymore. Test it to make sure the shaft will spin it. if the fit is too loose and the shaft does not spin A, then use hot glue to secure it in place.
Attach Component C to B
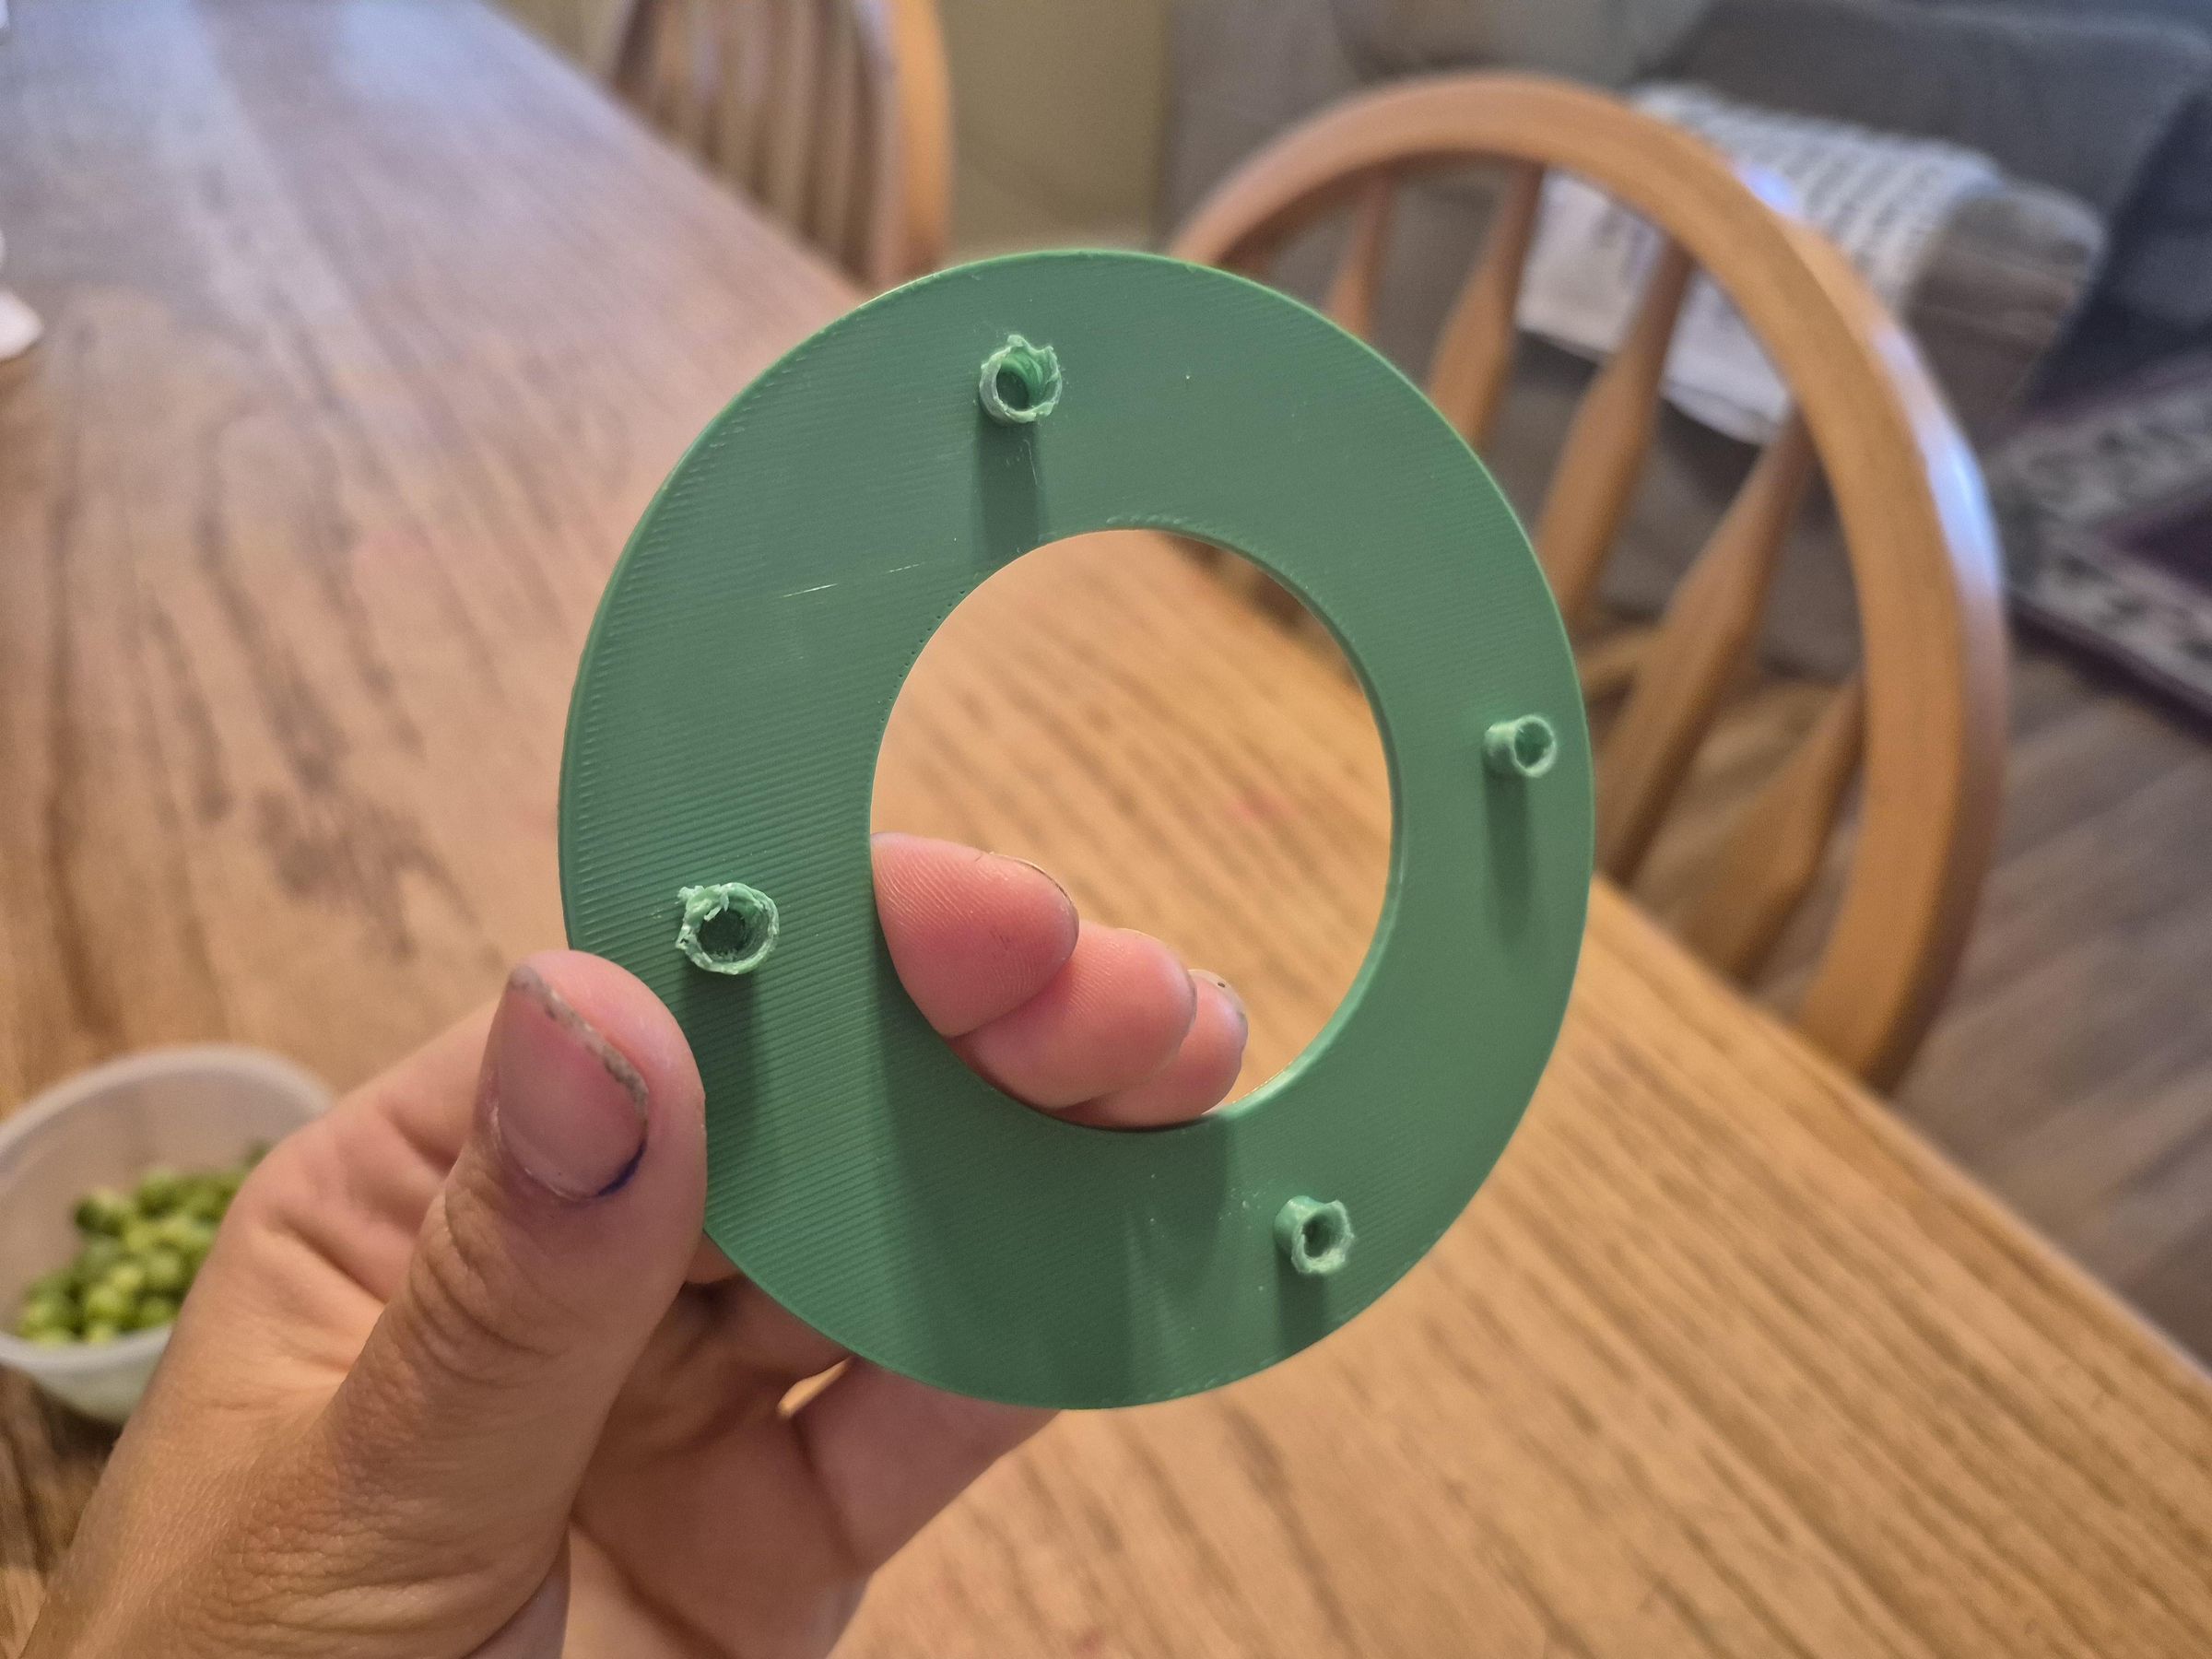
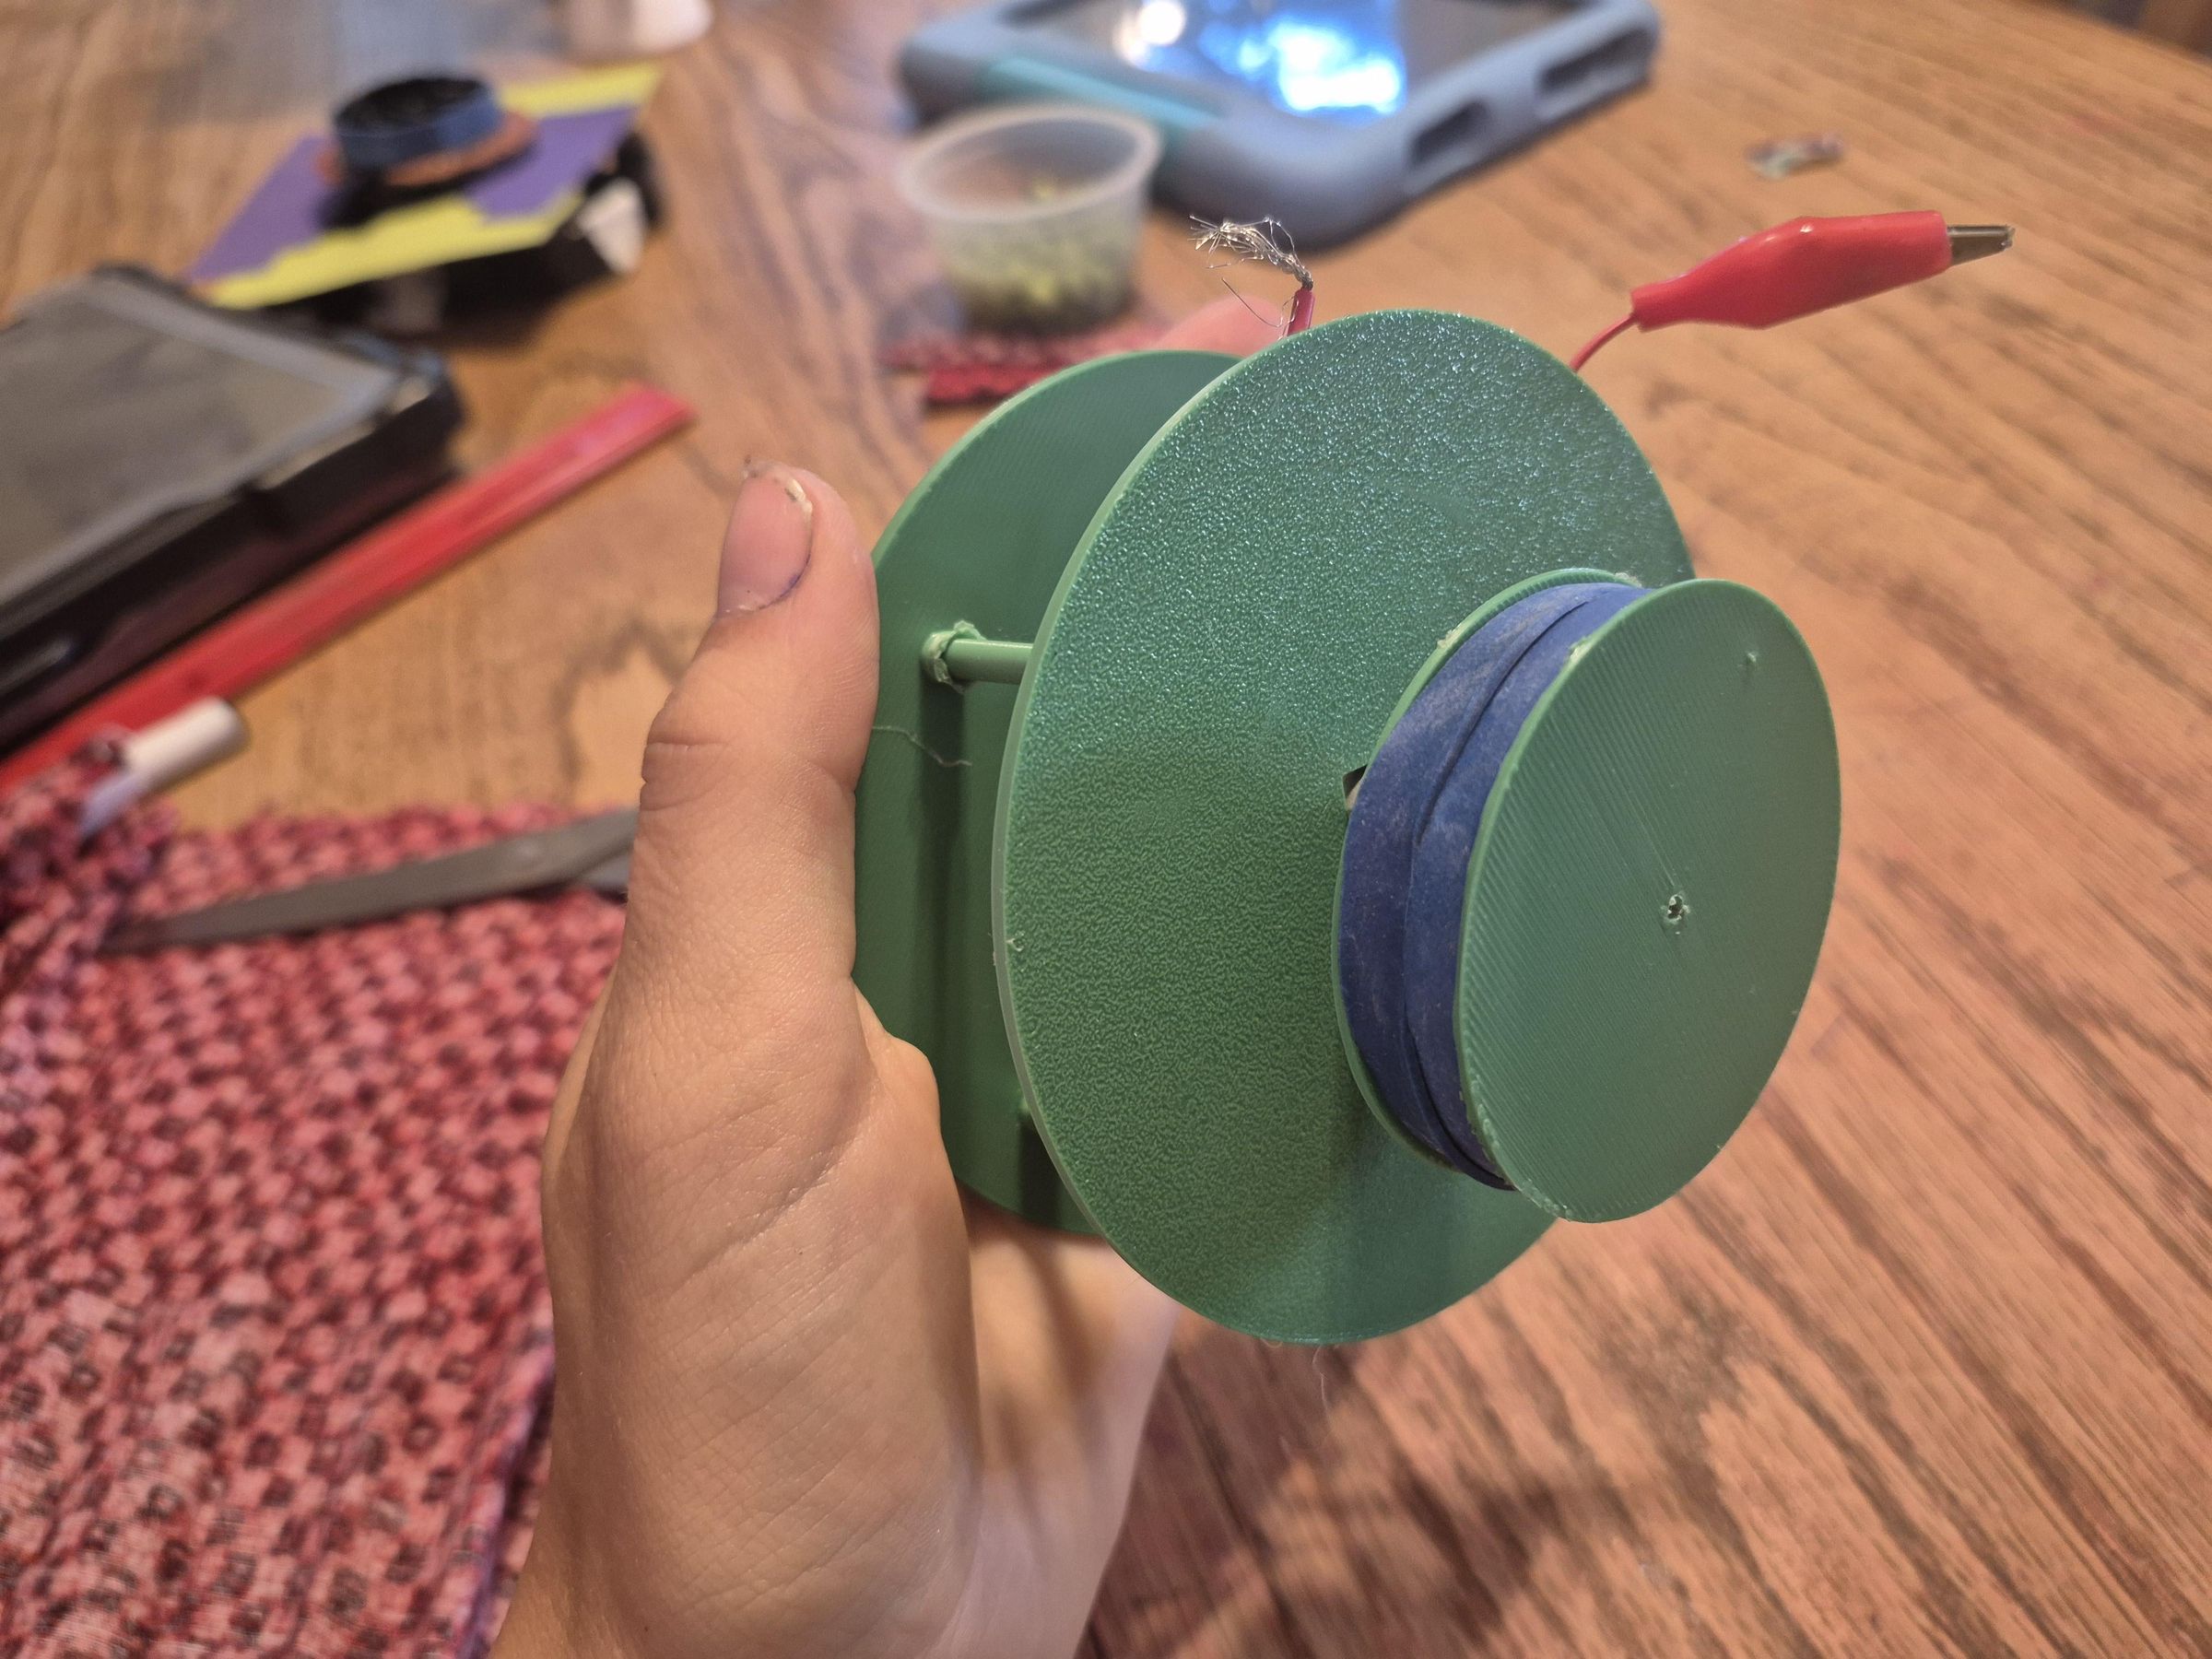
slide the poles on B into the hollow cylinders on C. Make sure these are a tight enough fit that it can easily stay together. Again, anything that is not as secure as you like can be adjusted in 3d modeling software.
Note: the reason the nubs on C look messy in the photos is because one of my intial designs had them as being too small and I had to use a drill to widen them. This is fixed in the files I have provided.
Decorate! (optional)
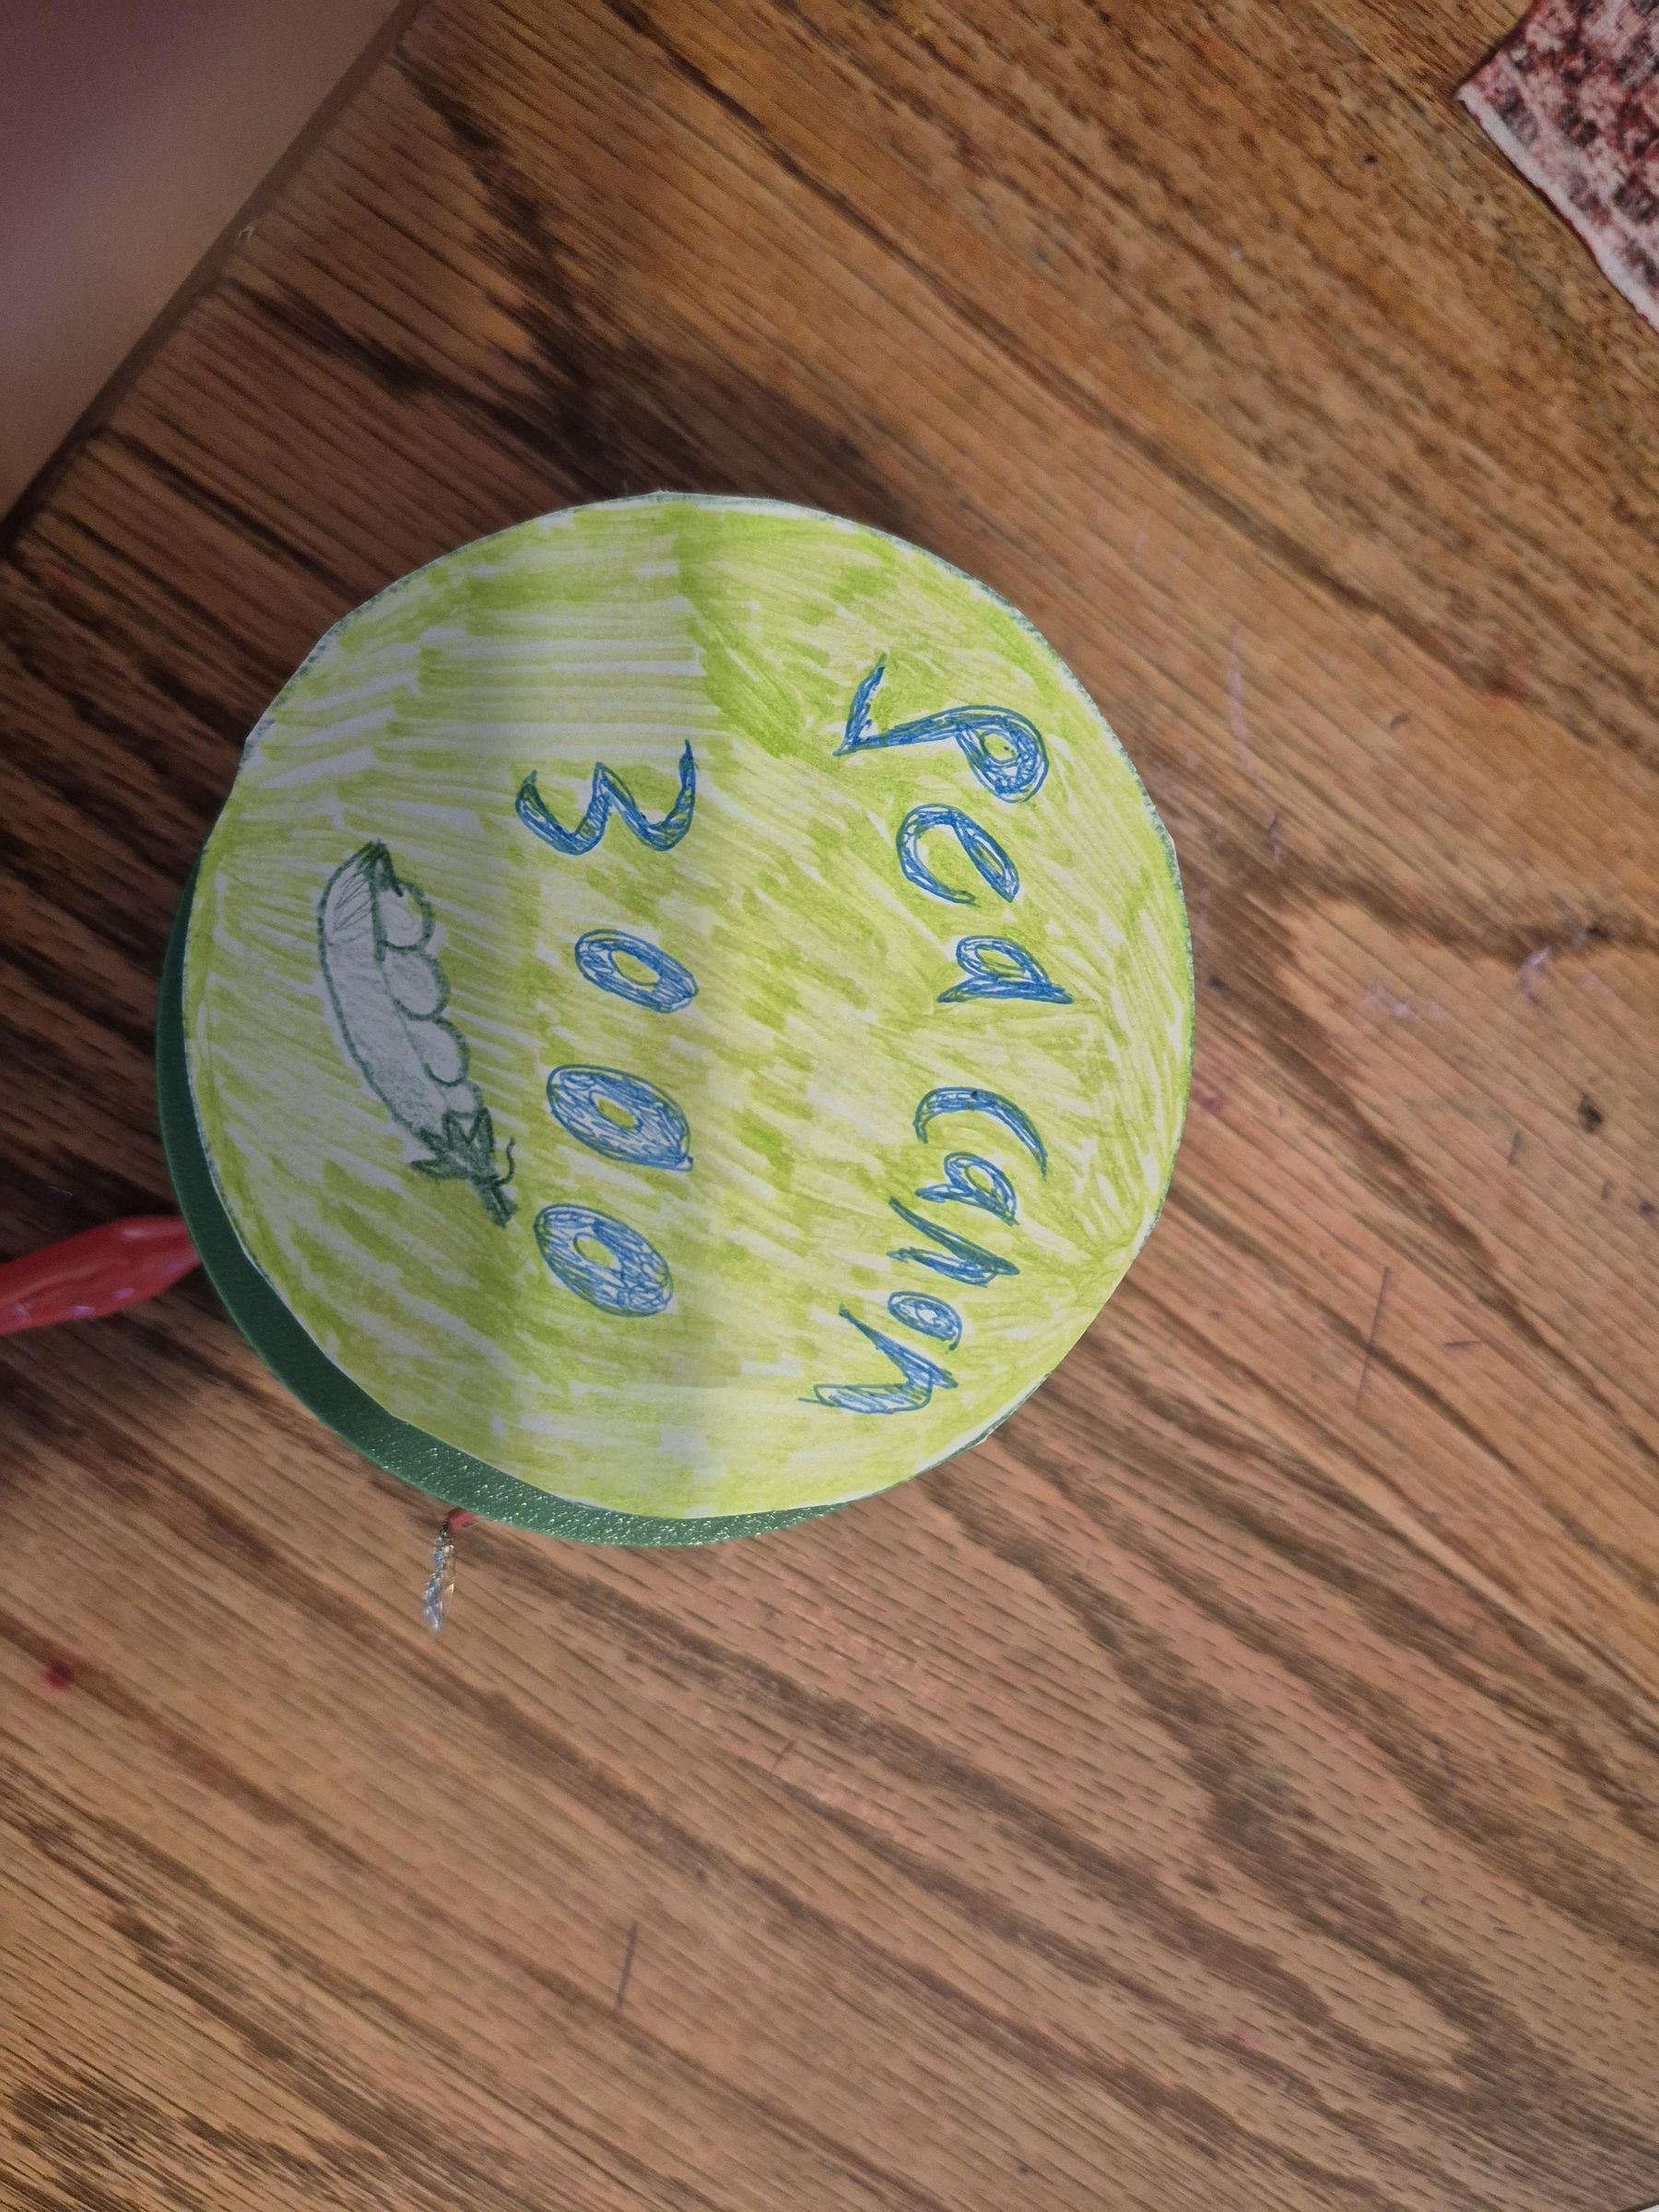
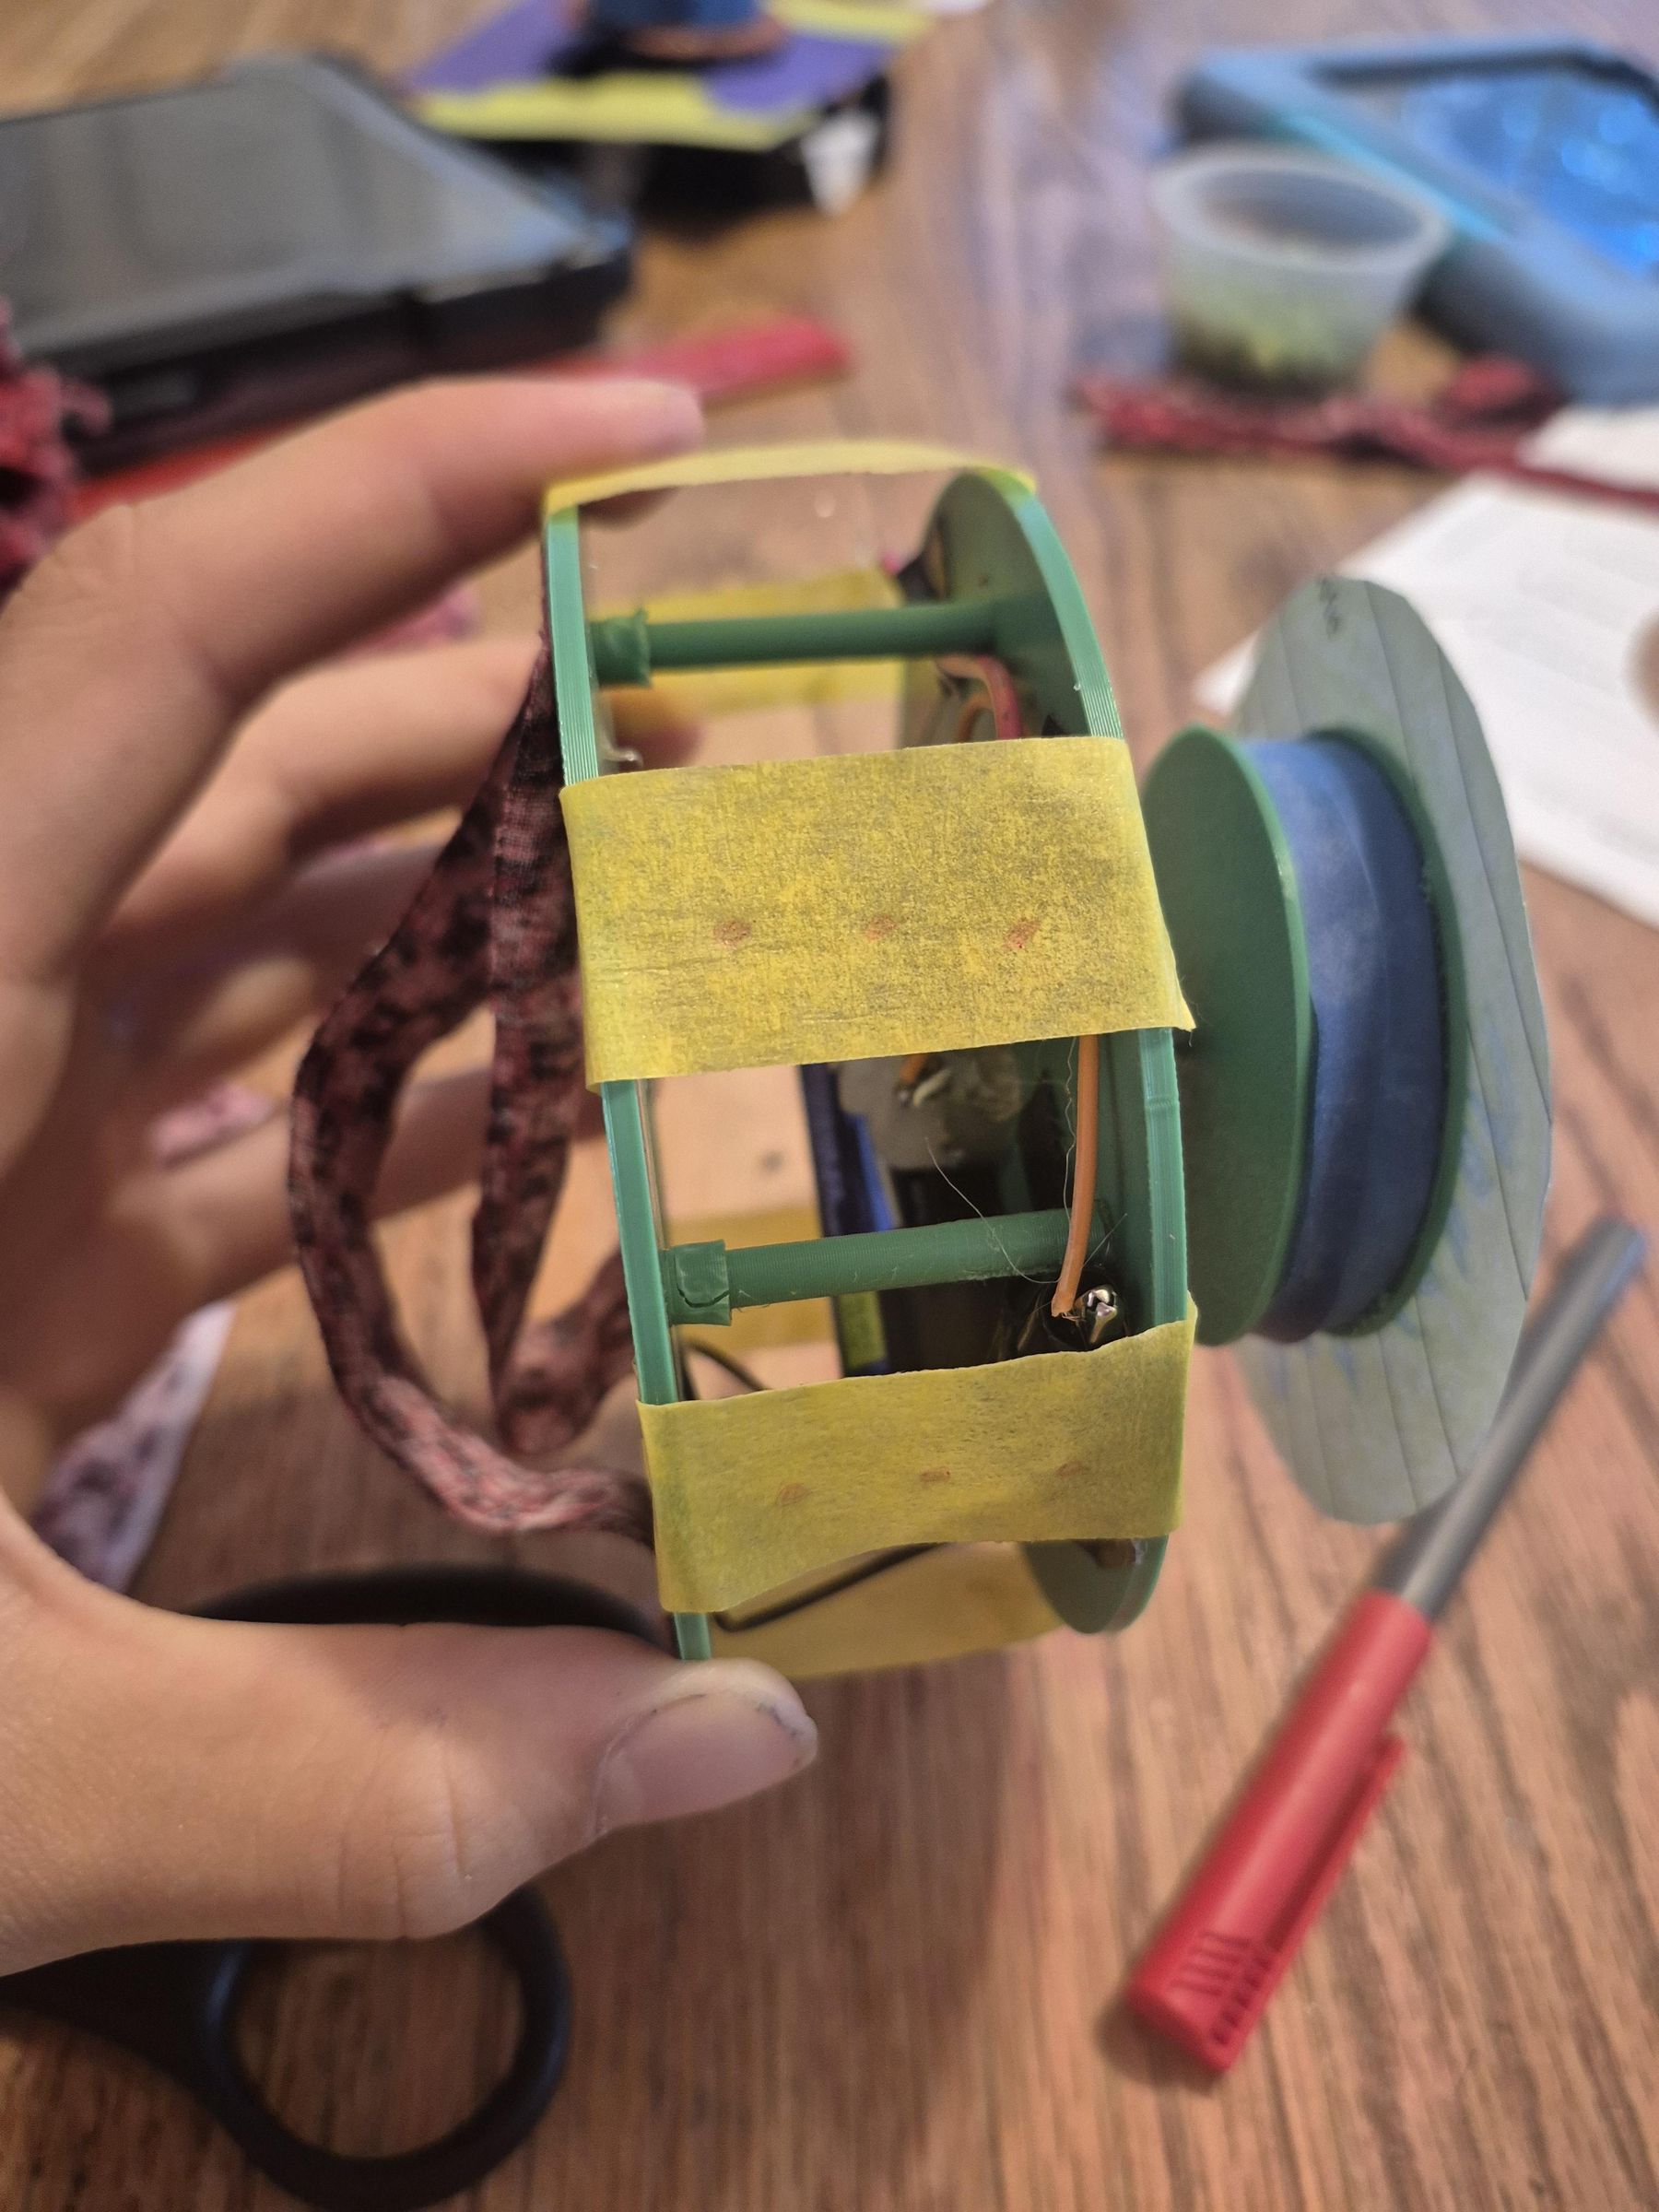
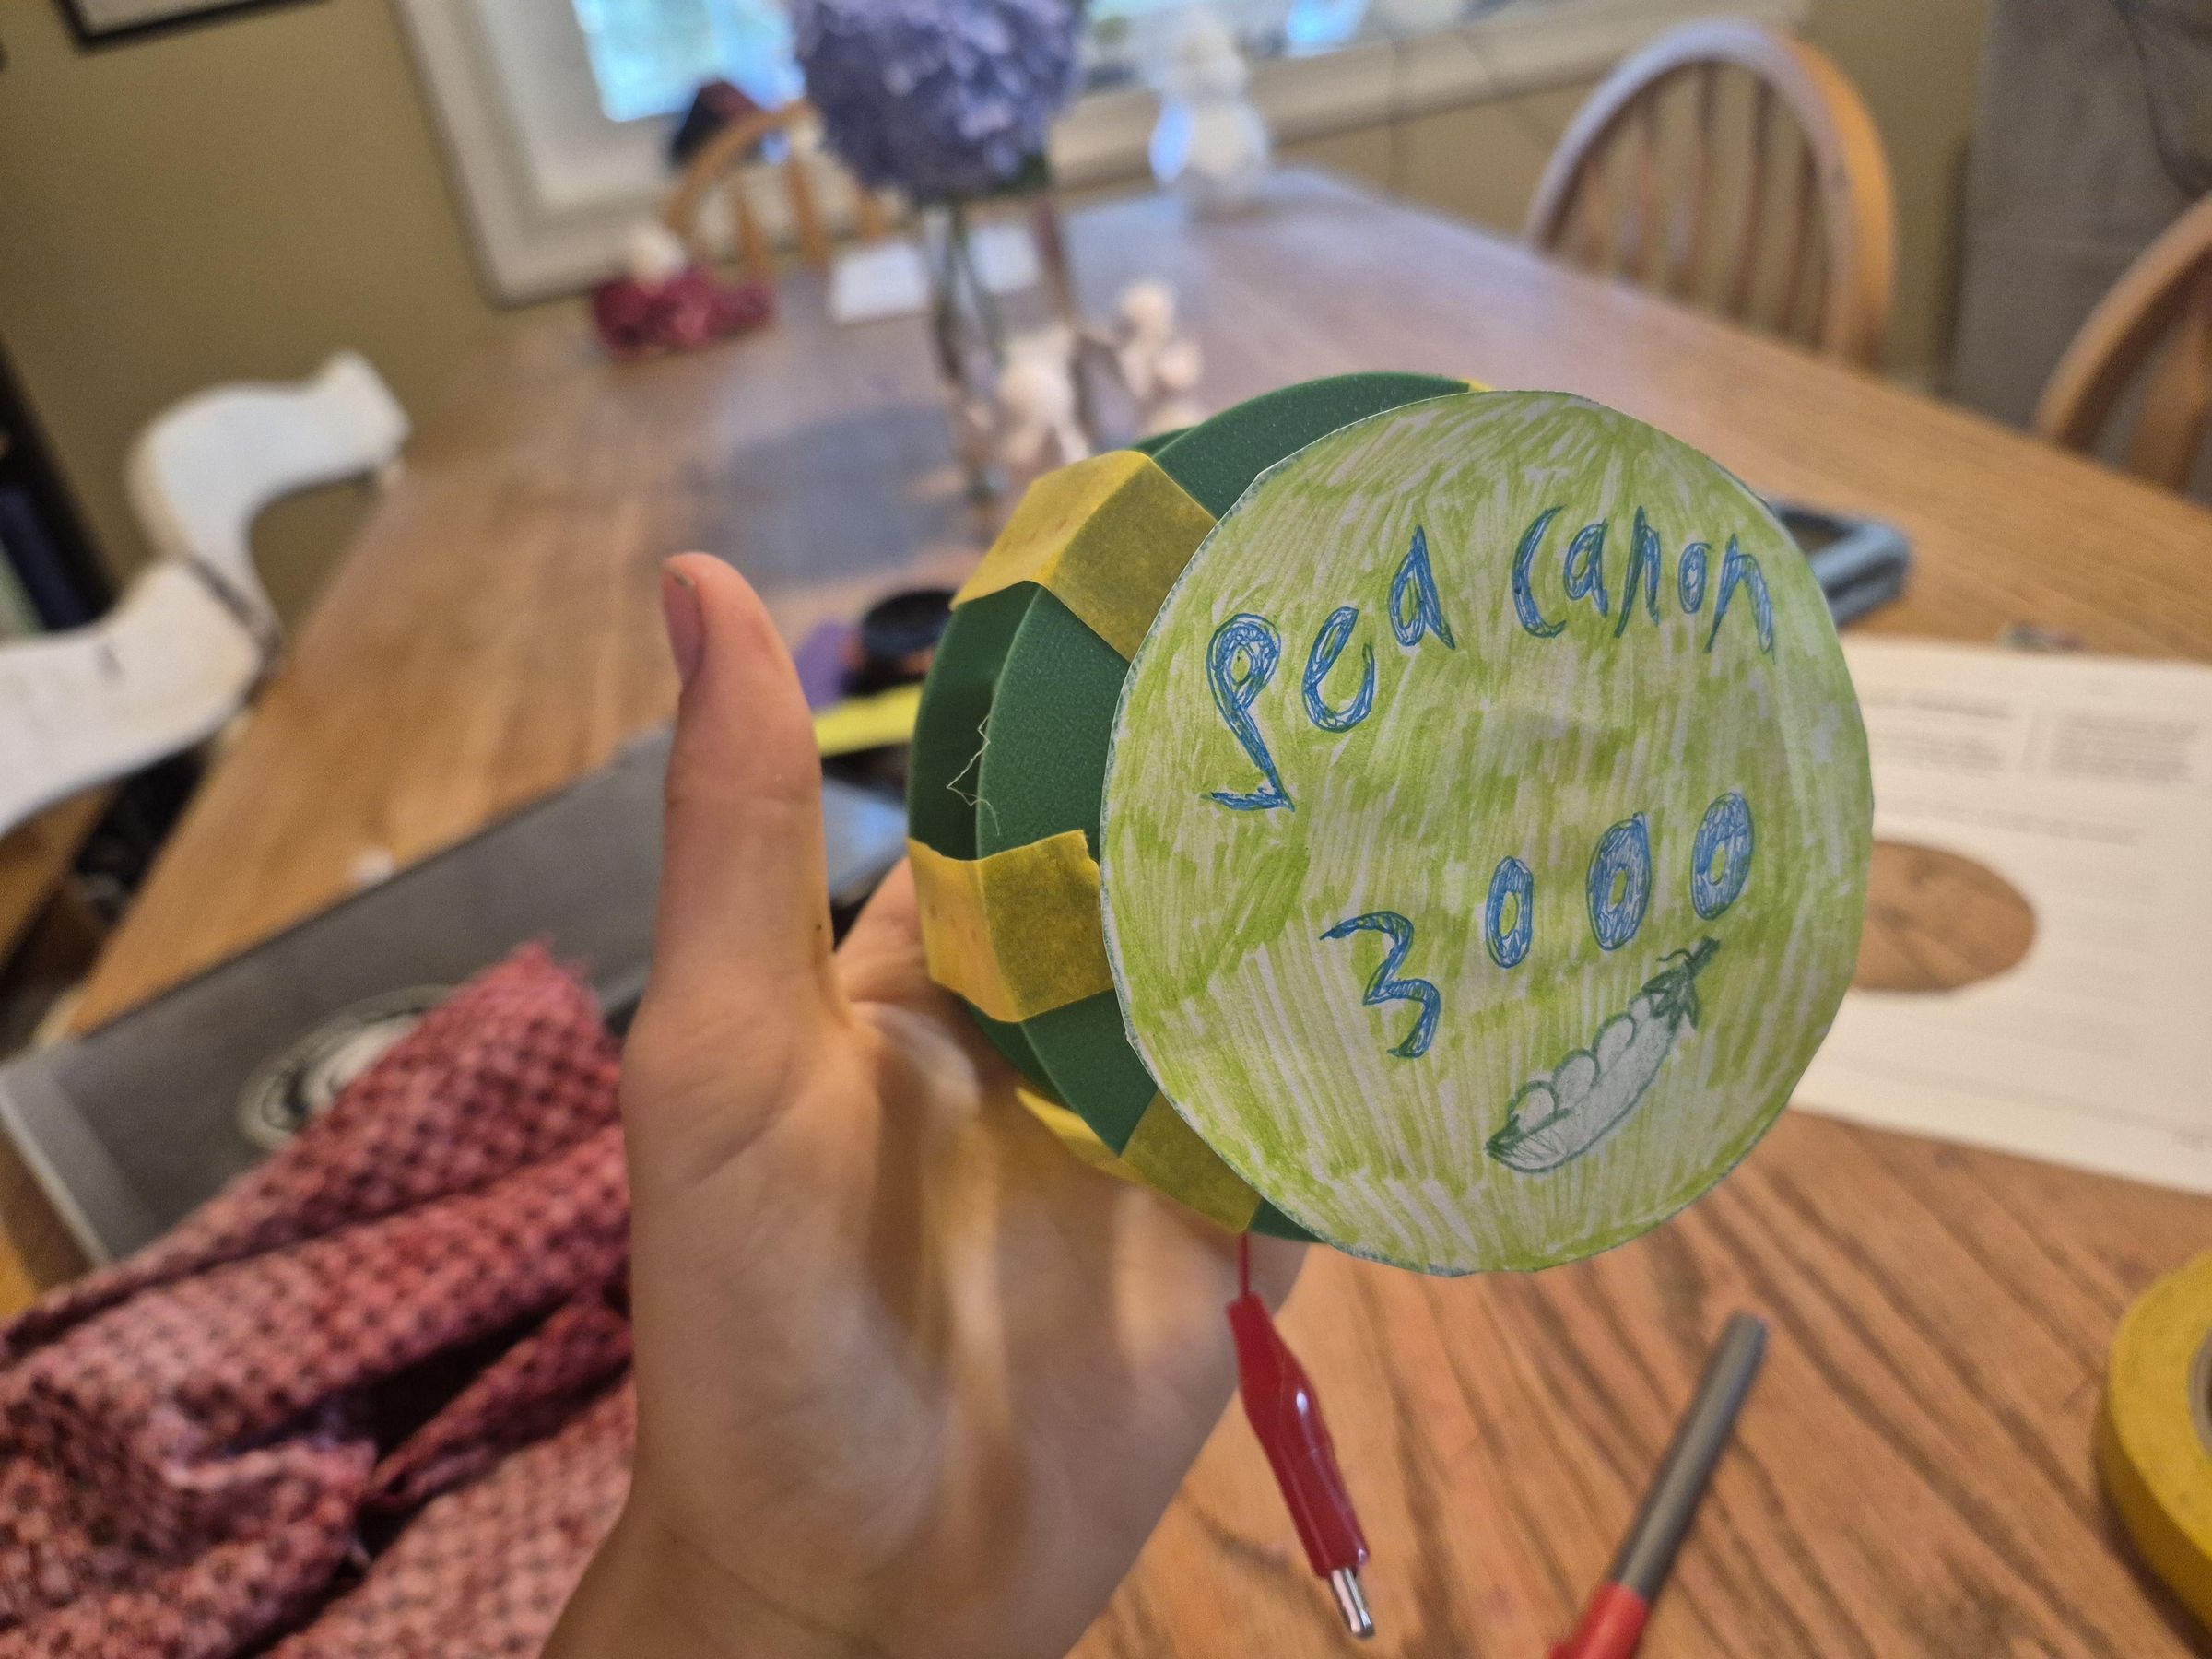
At this point you are done the actual shooter and can start practicing with it. But I think it is funnest when you personalized it, so here are some decorating ideas:
- A liner over the gap between B and c using tape or fabric
- An object or label over the face of A
- Stickers/paint/sharpie to create pictures on the Pea canon
Add Hand-hold (Optional)
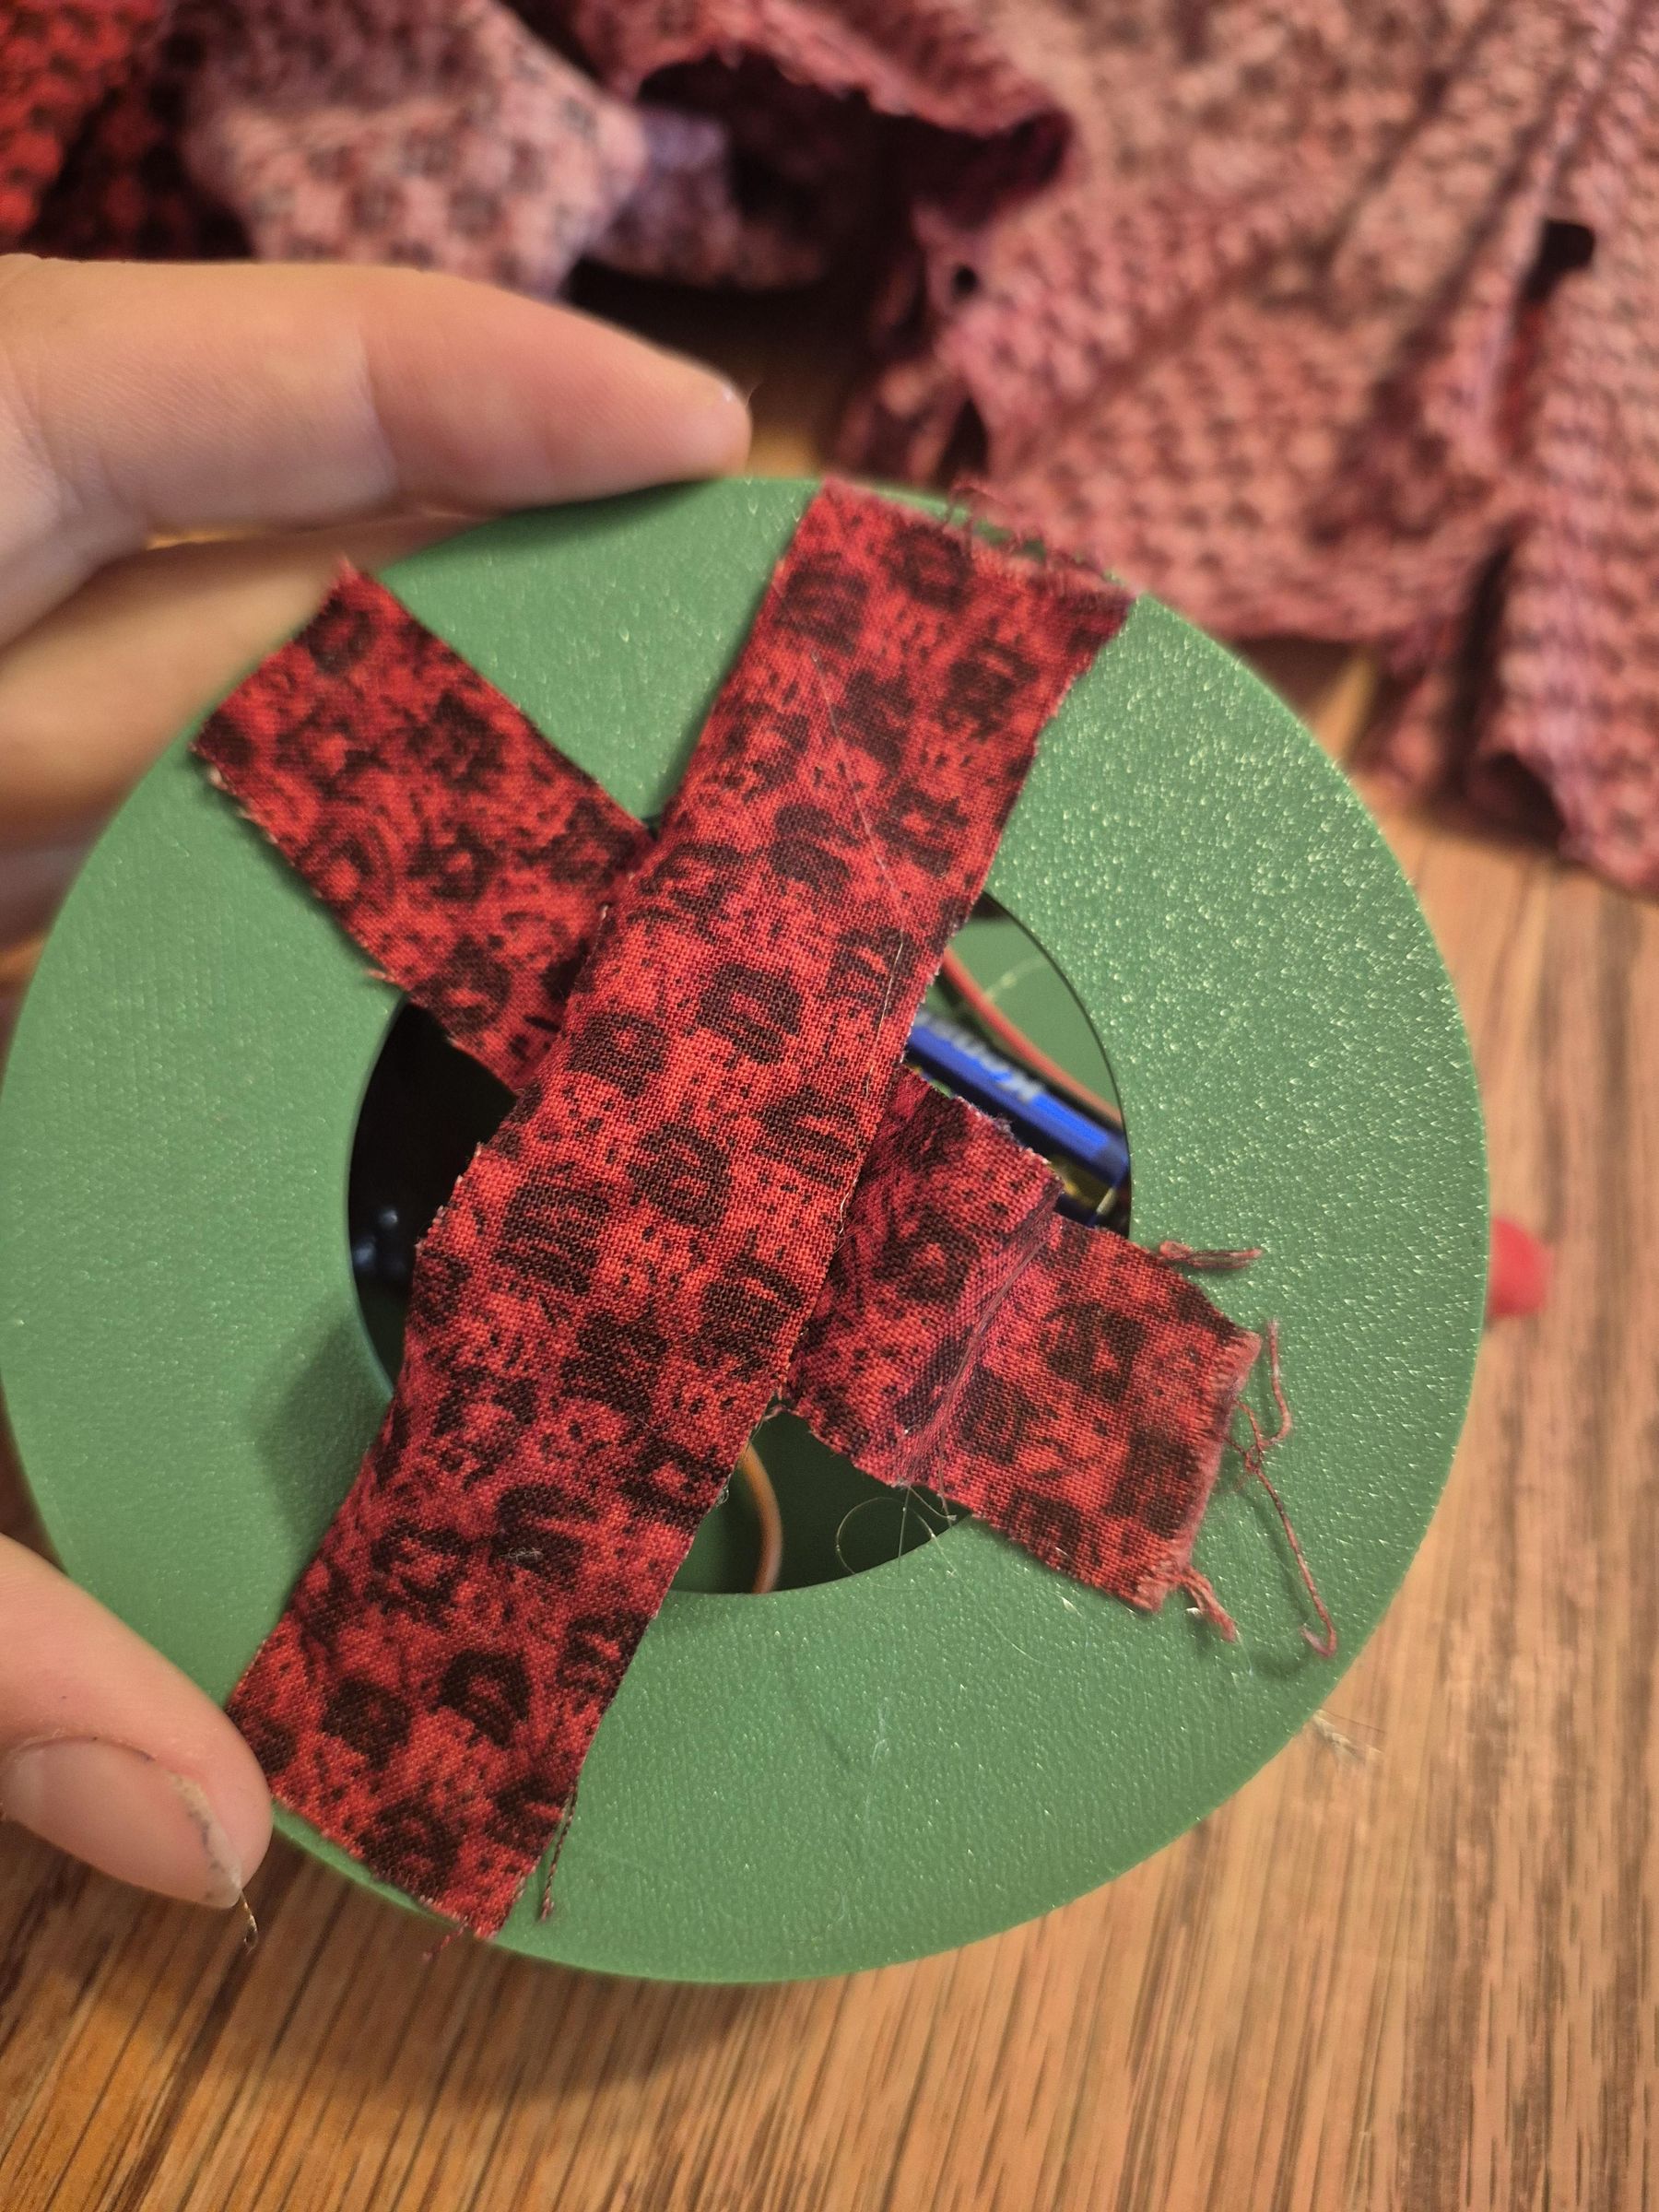
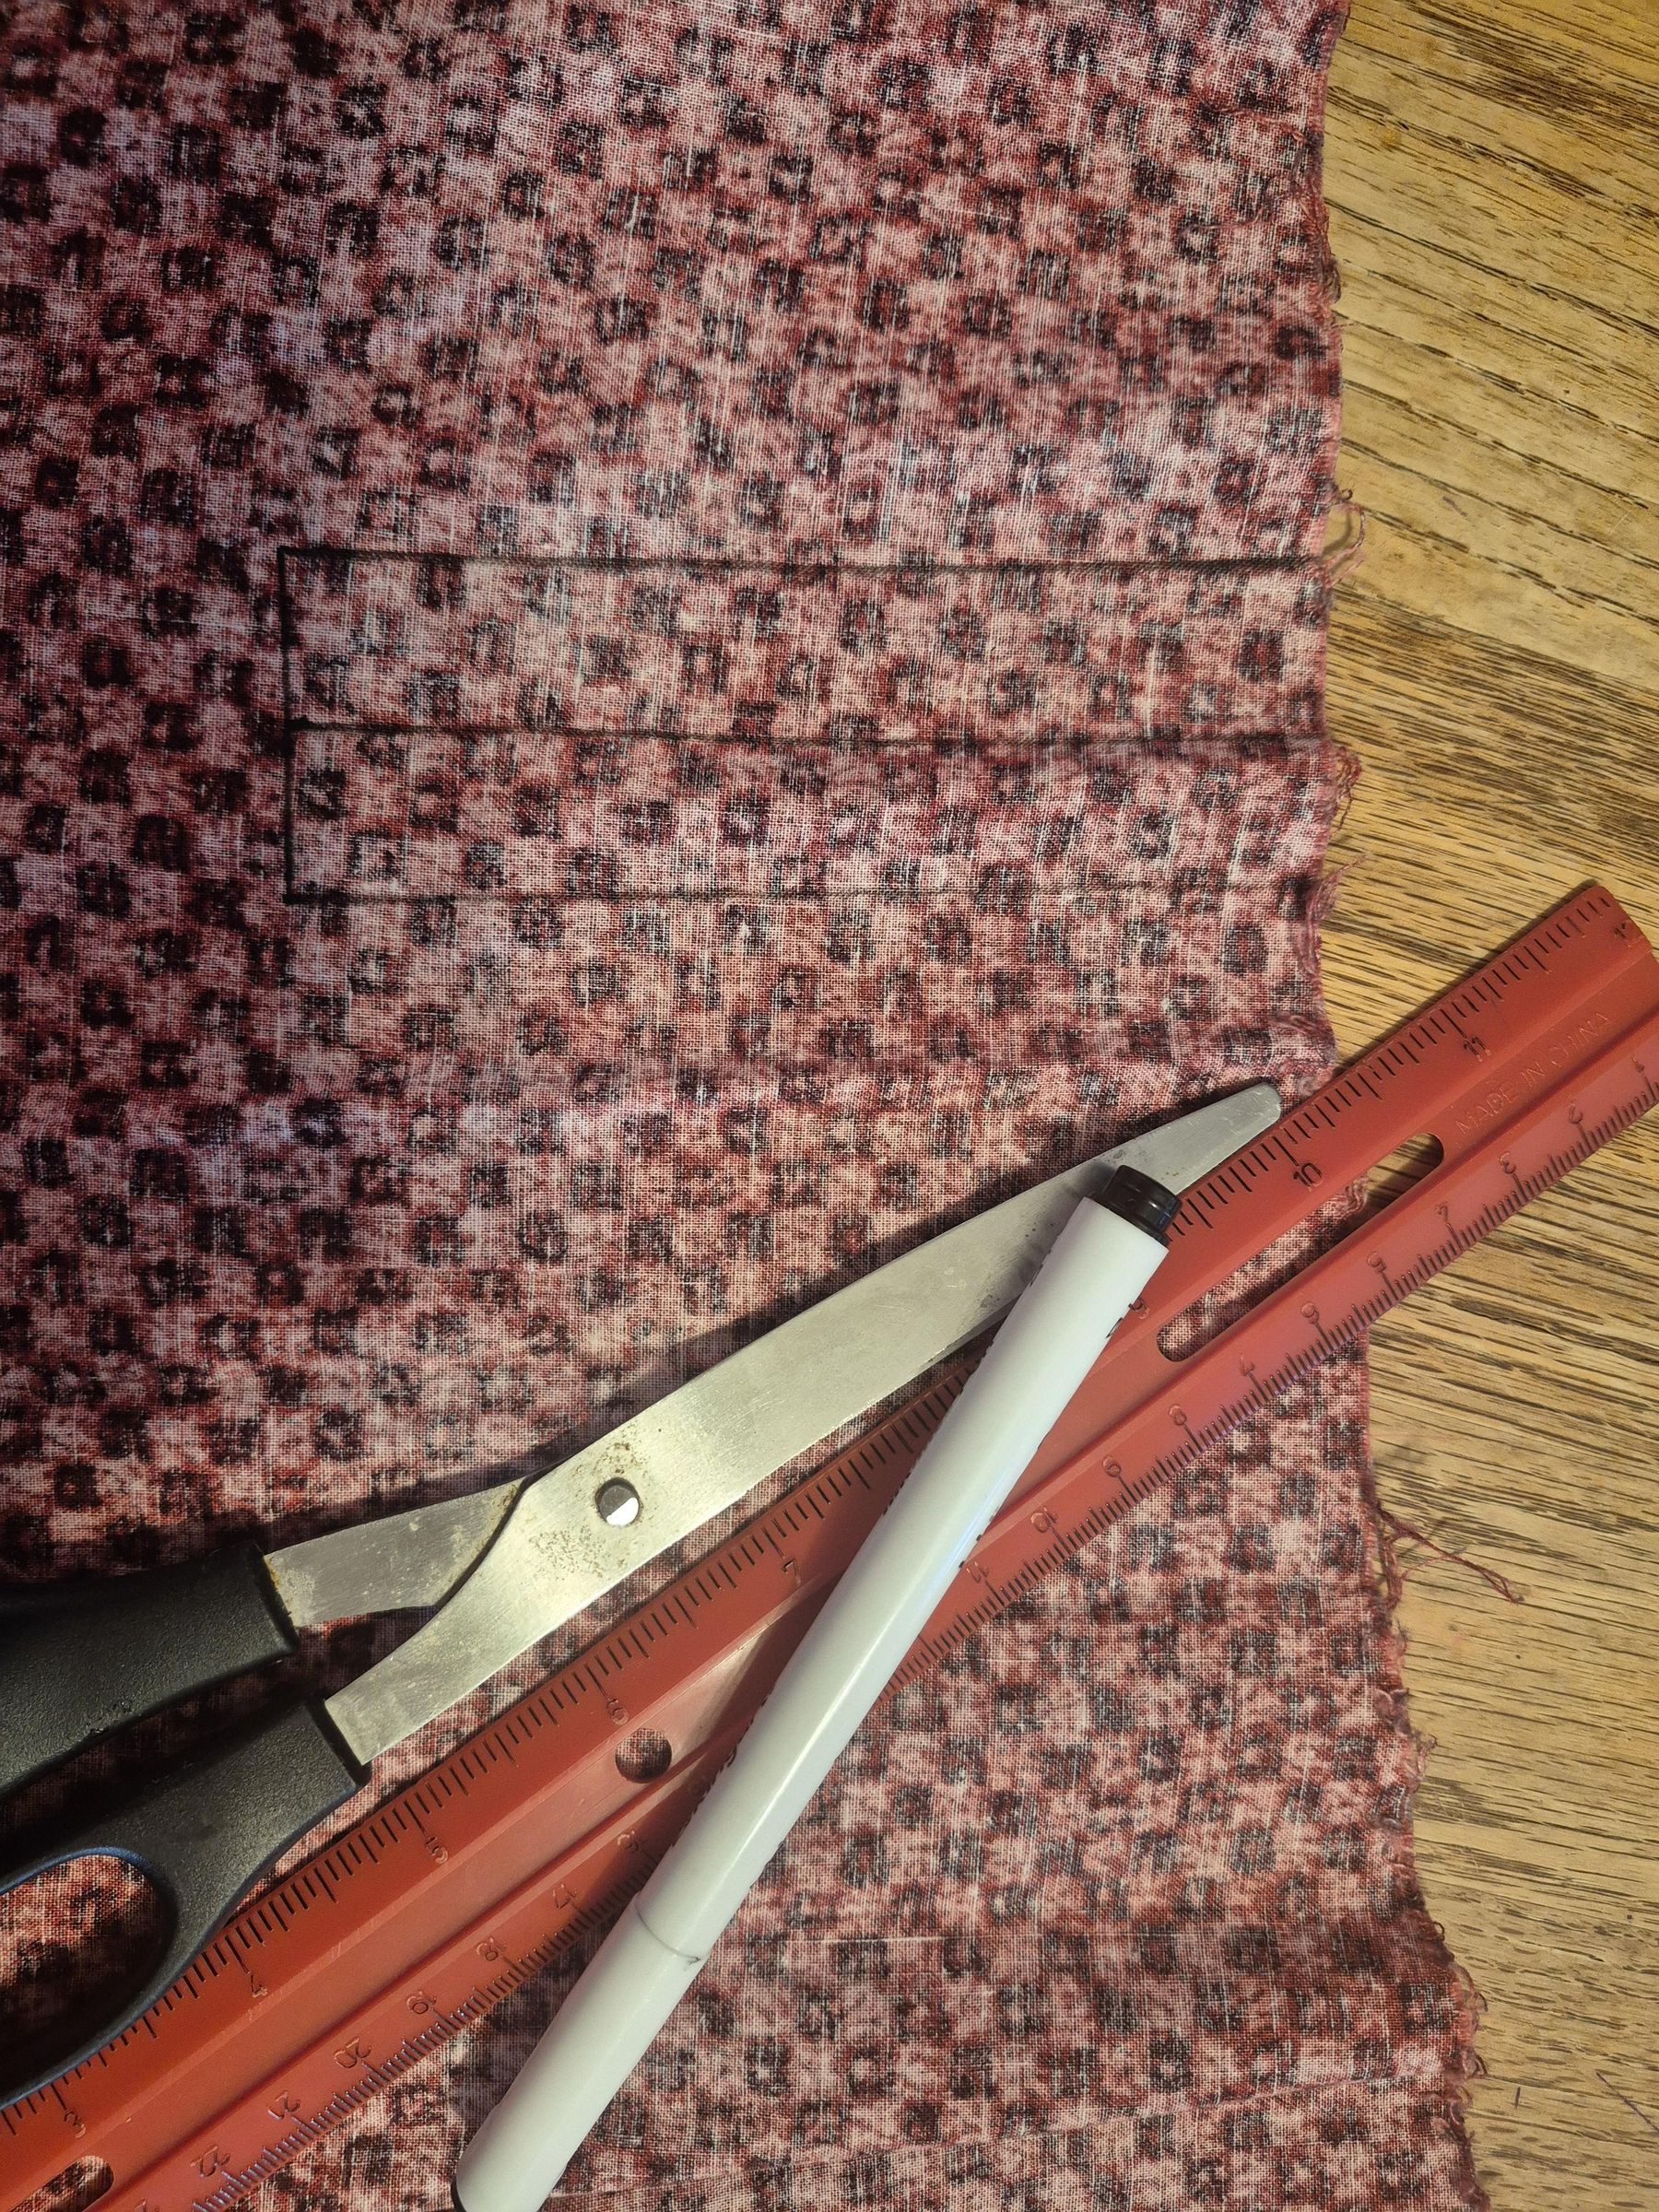
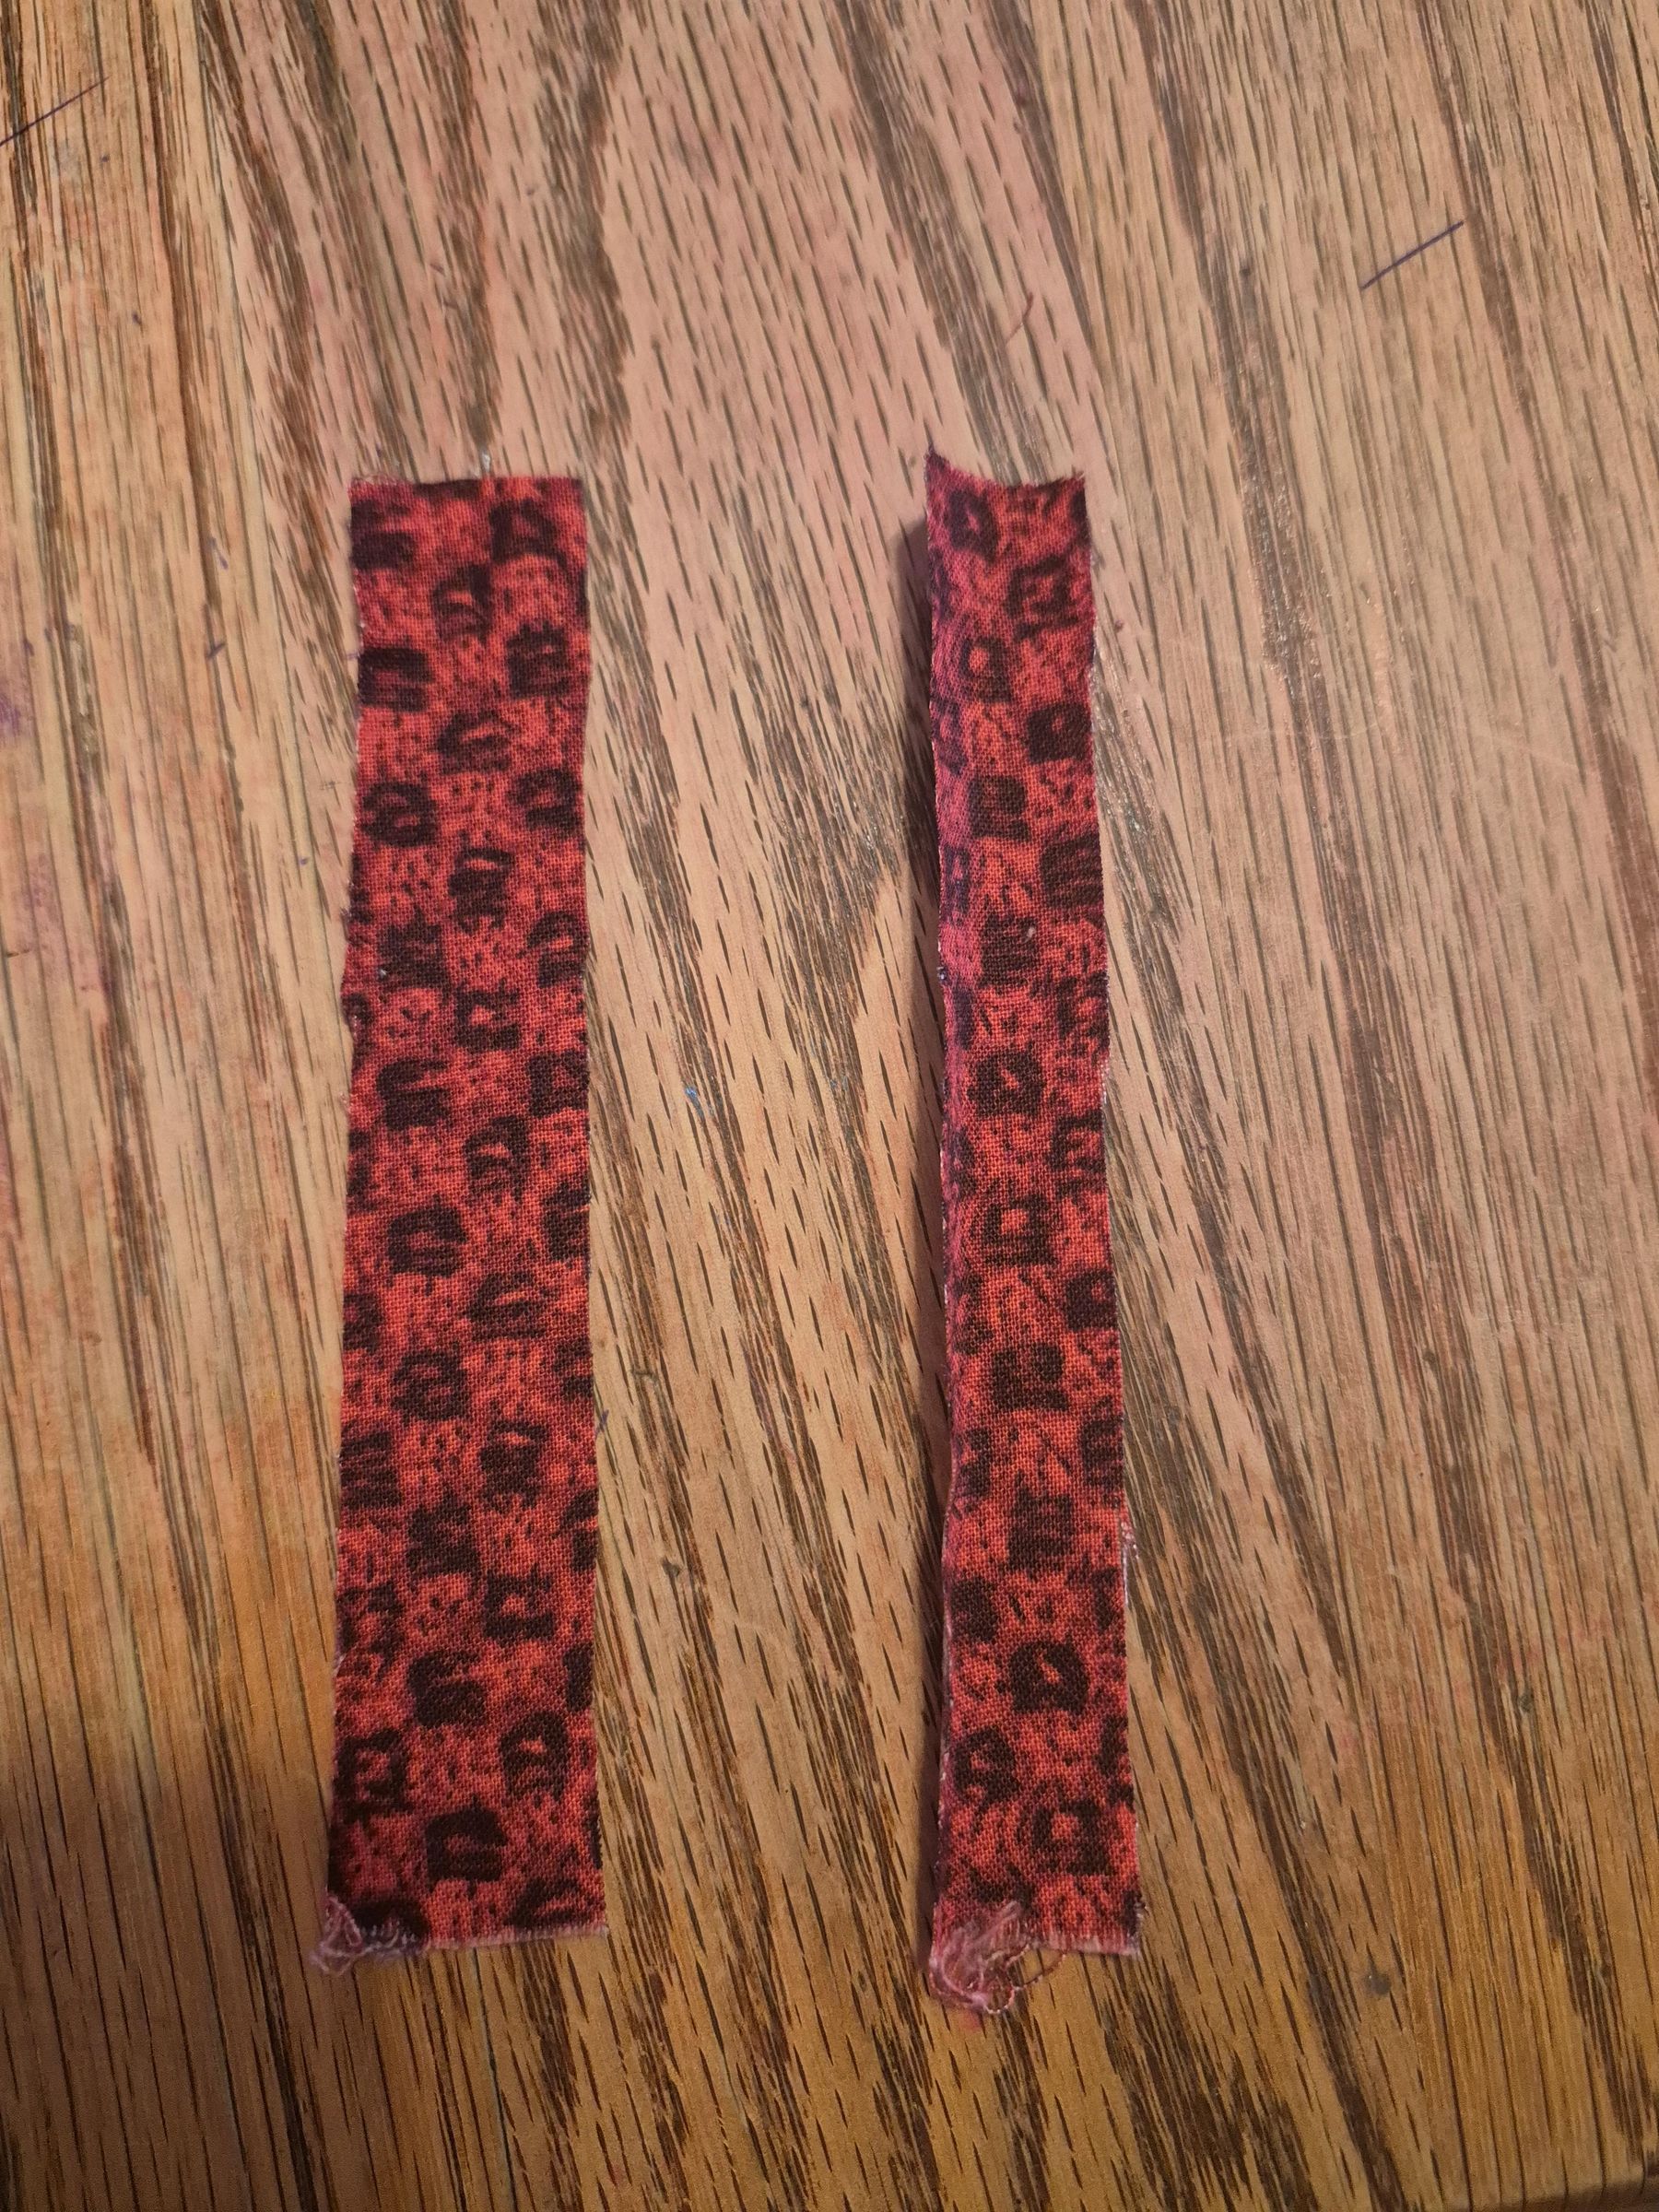
This is also part of the decorating. If you want a little sleeve to slide you fingers through to make it easier to hold while moving, then I would recommend adding this. These are the steps to make it:
- Cut 2 rectangular strips of fabric that are 12cm by 2cm.
- Glue them in a short, but wide x across the back of C (make sure to have them be loose enough for you to stick at lead three finger through, remember that you're wearing it!)
Add Pea-holder (Optional)
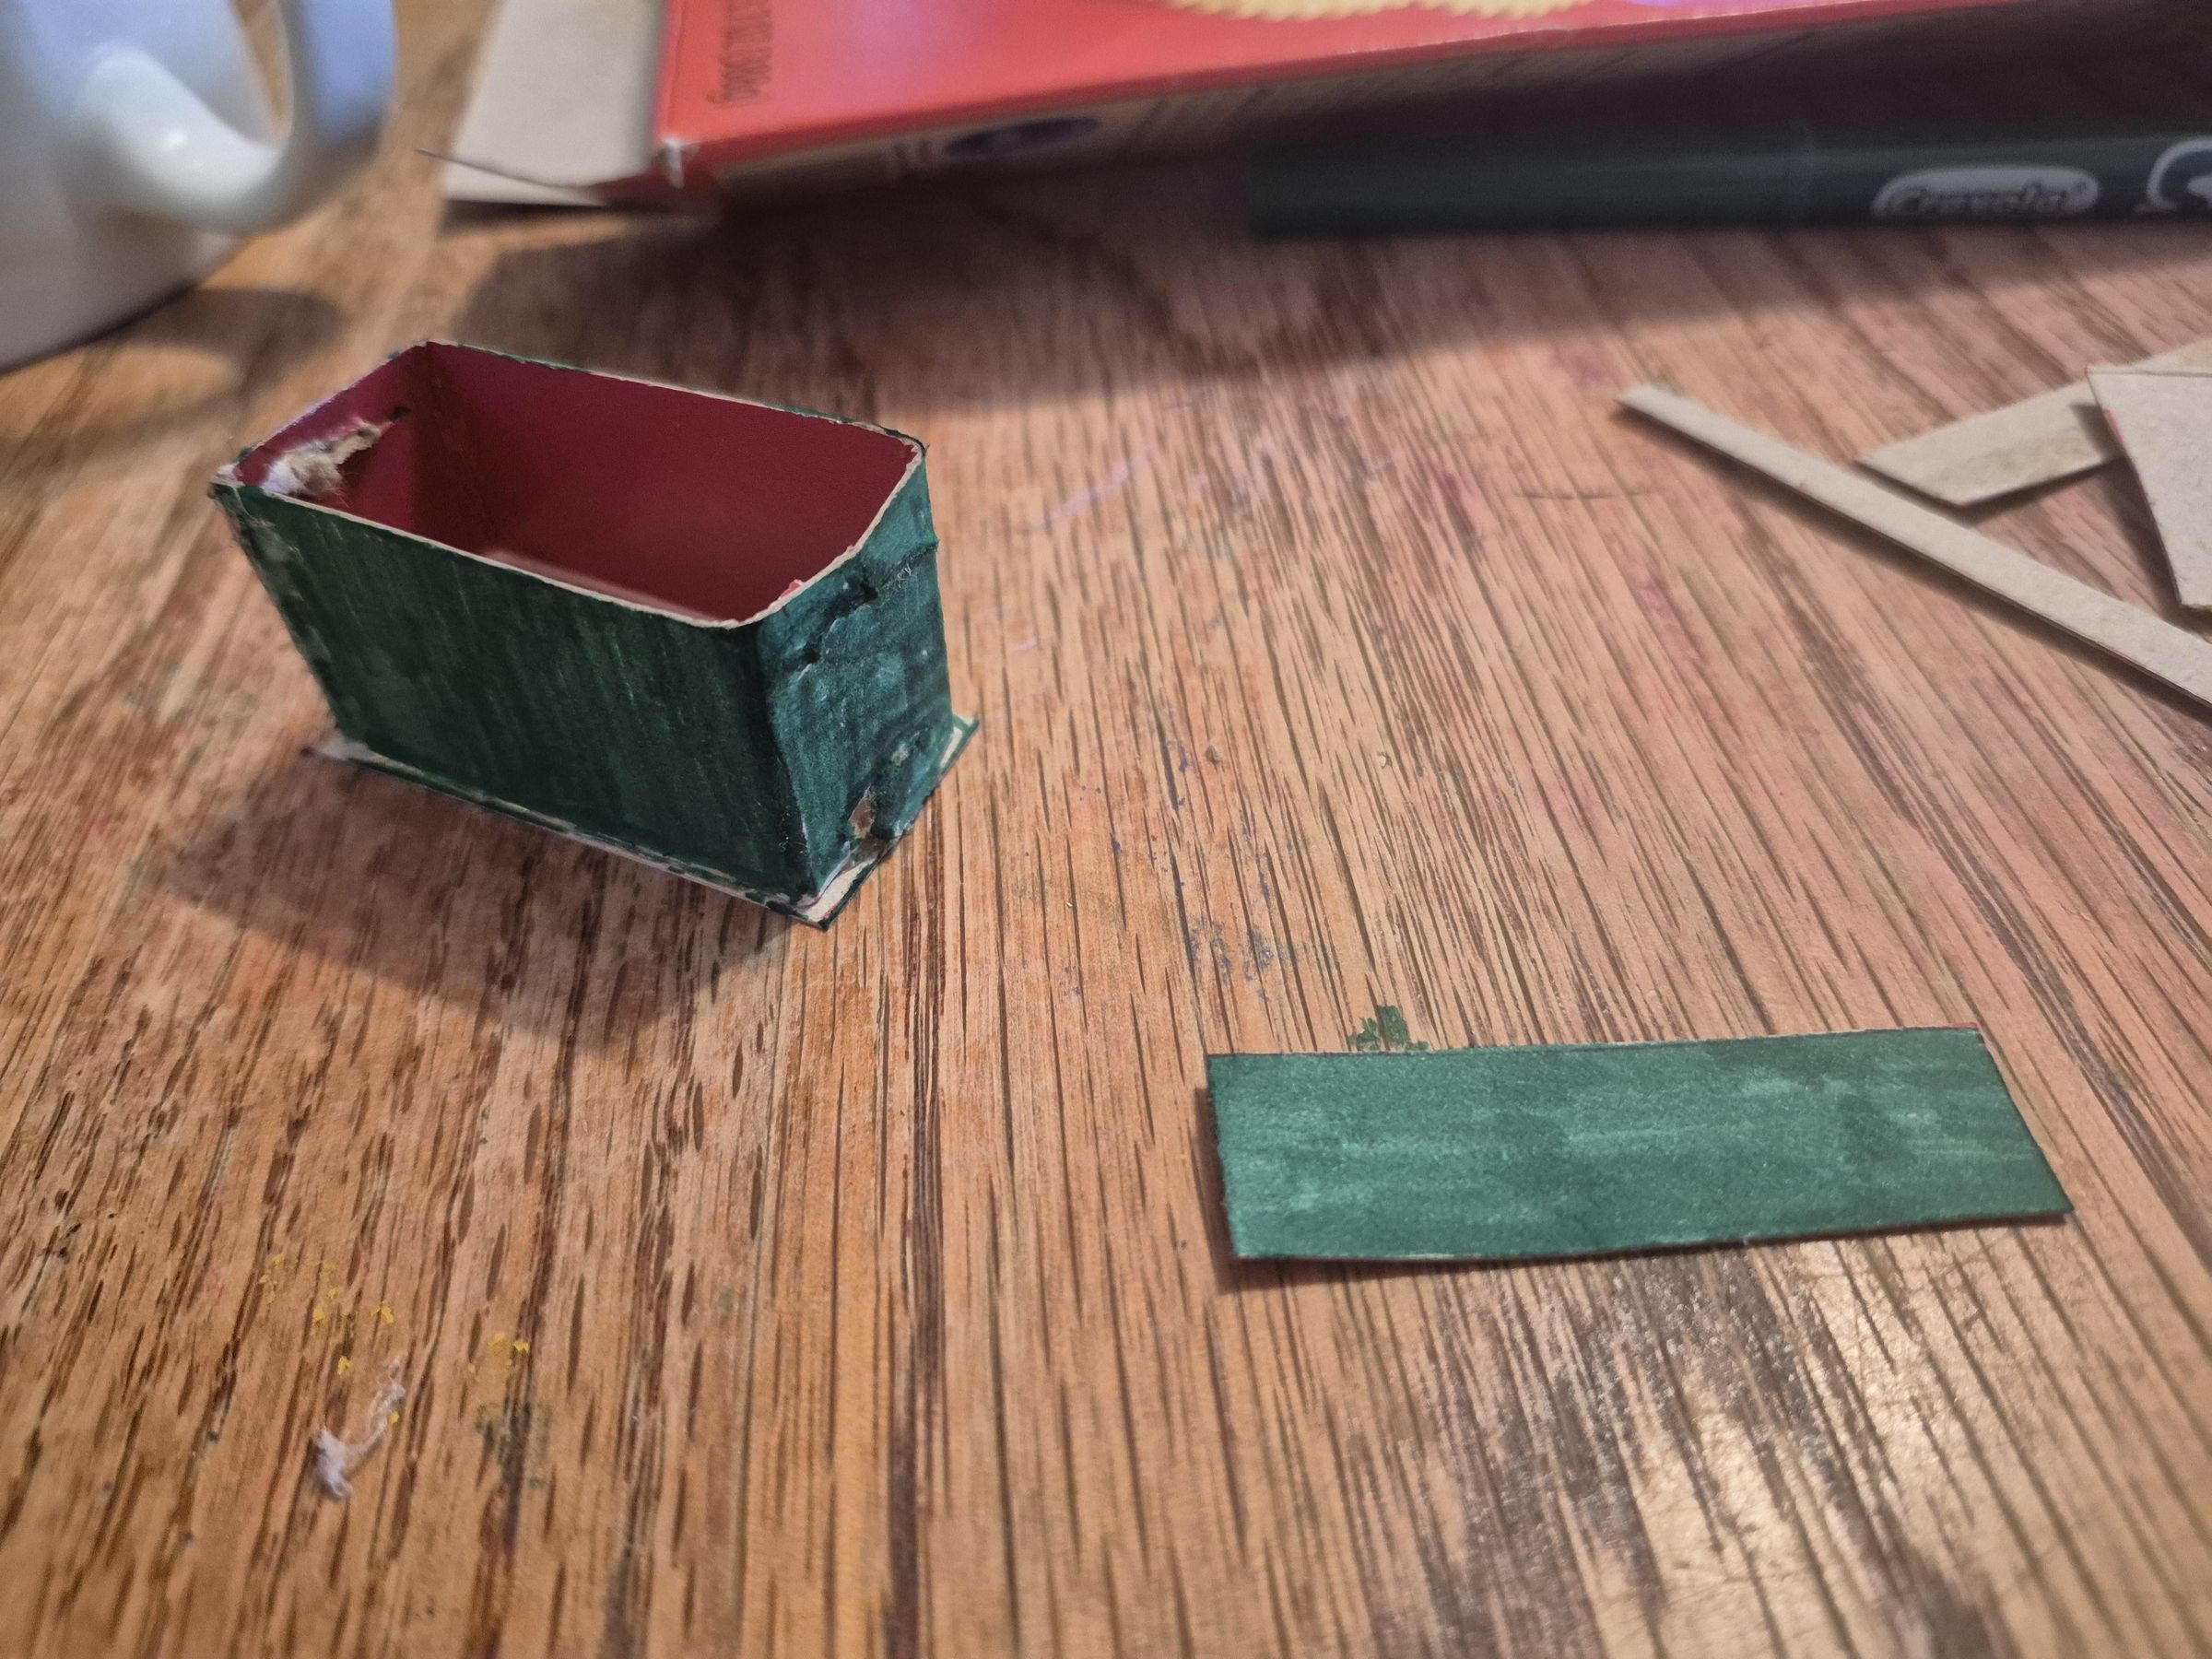
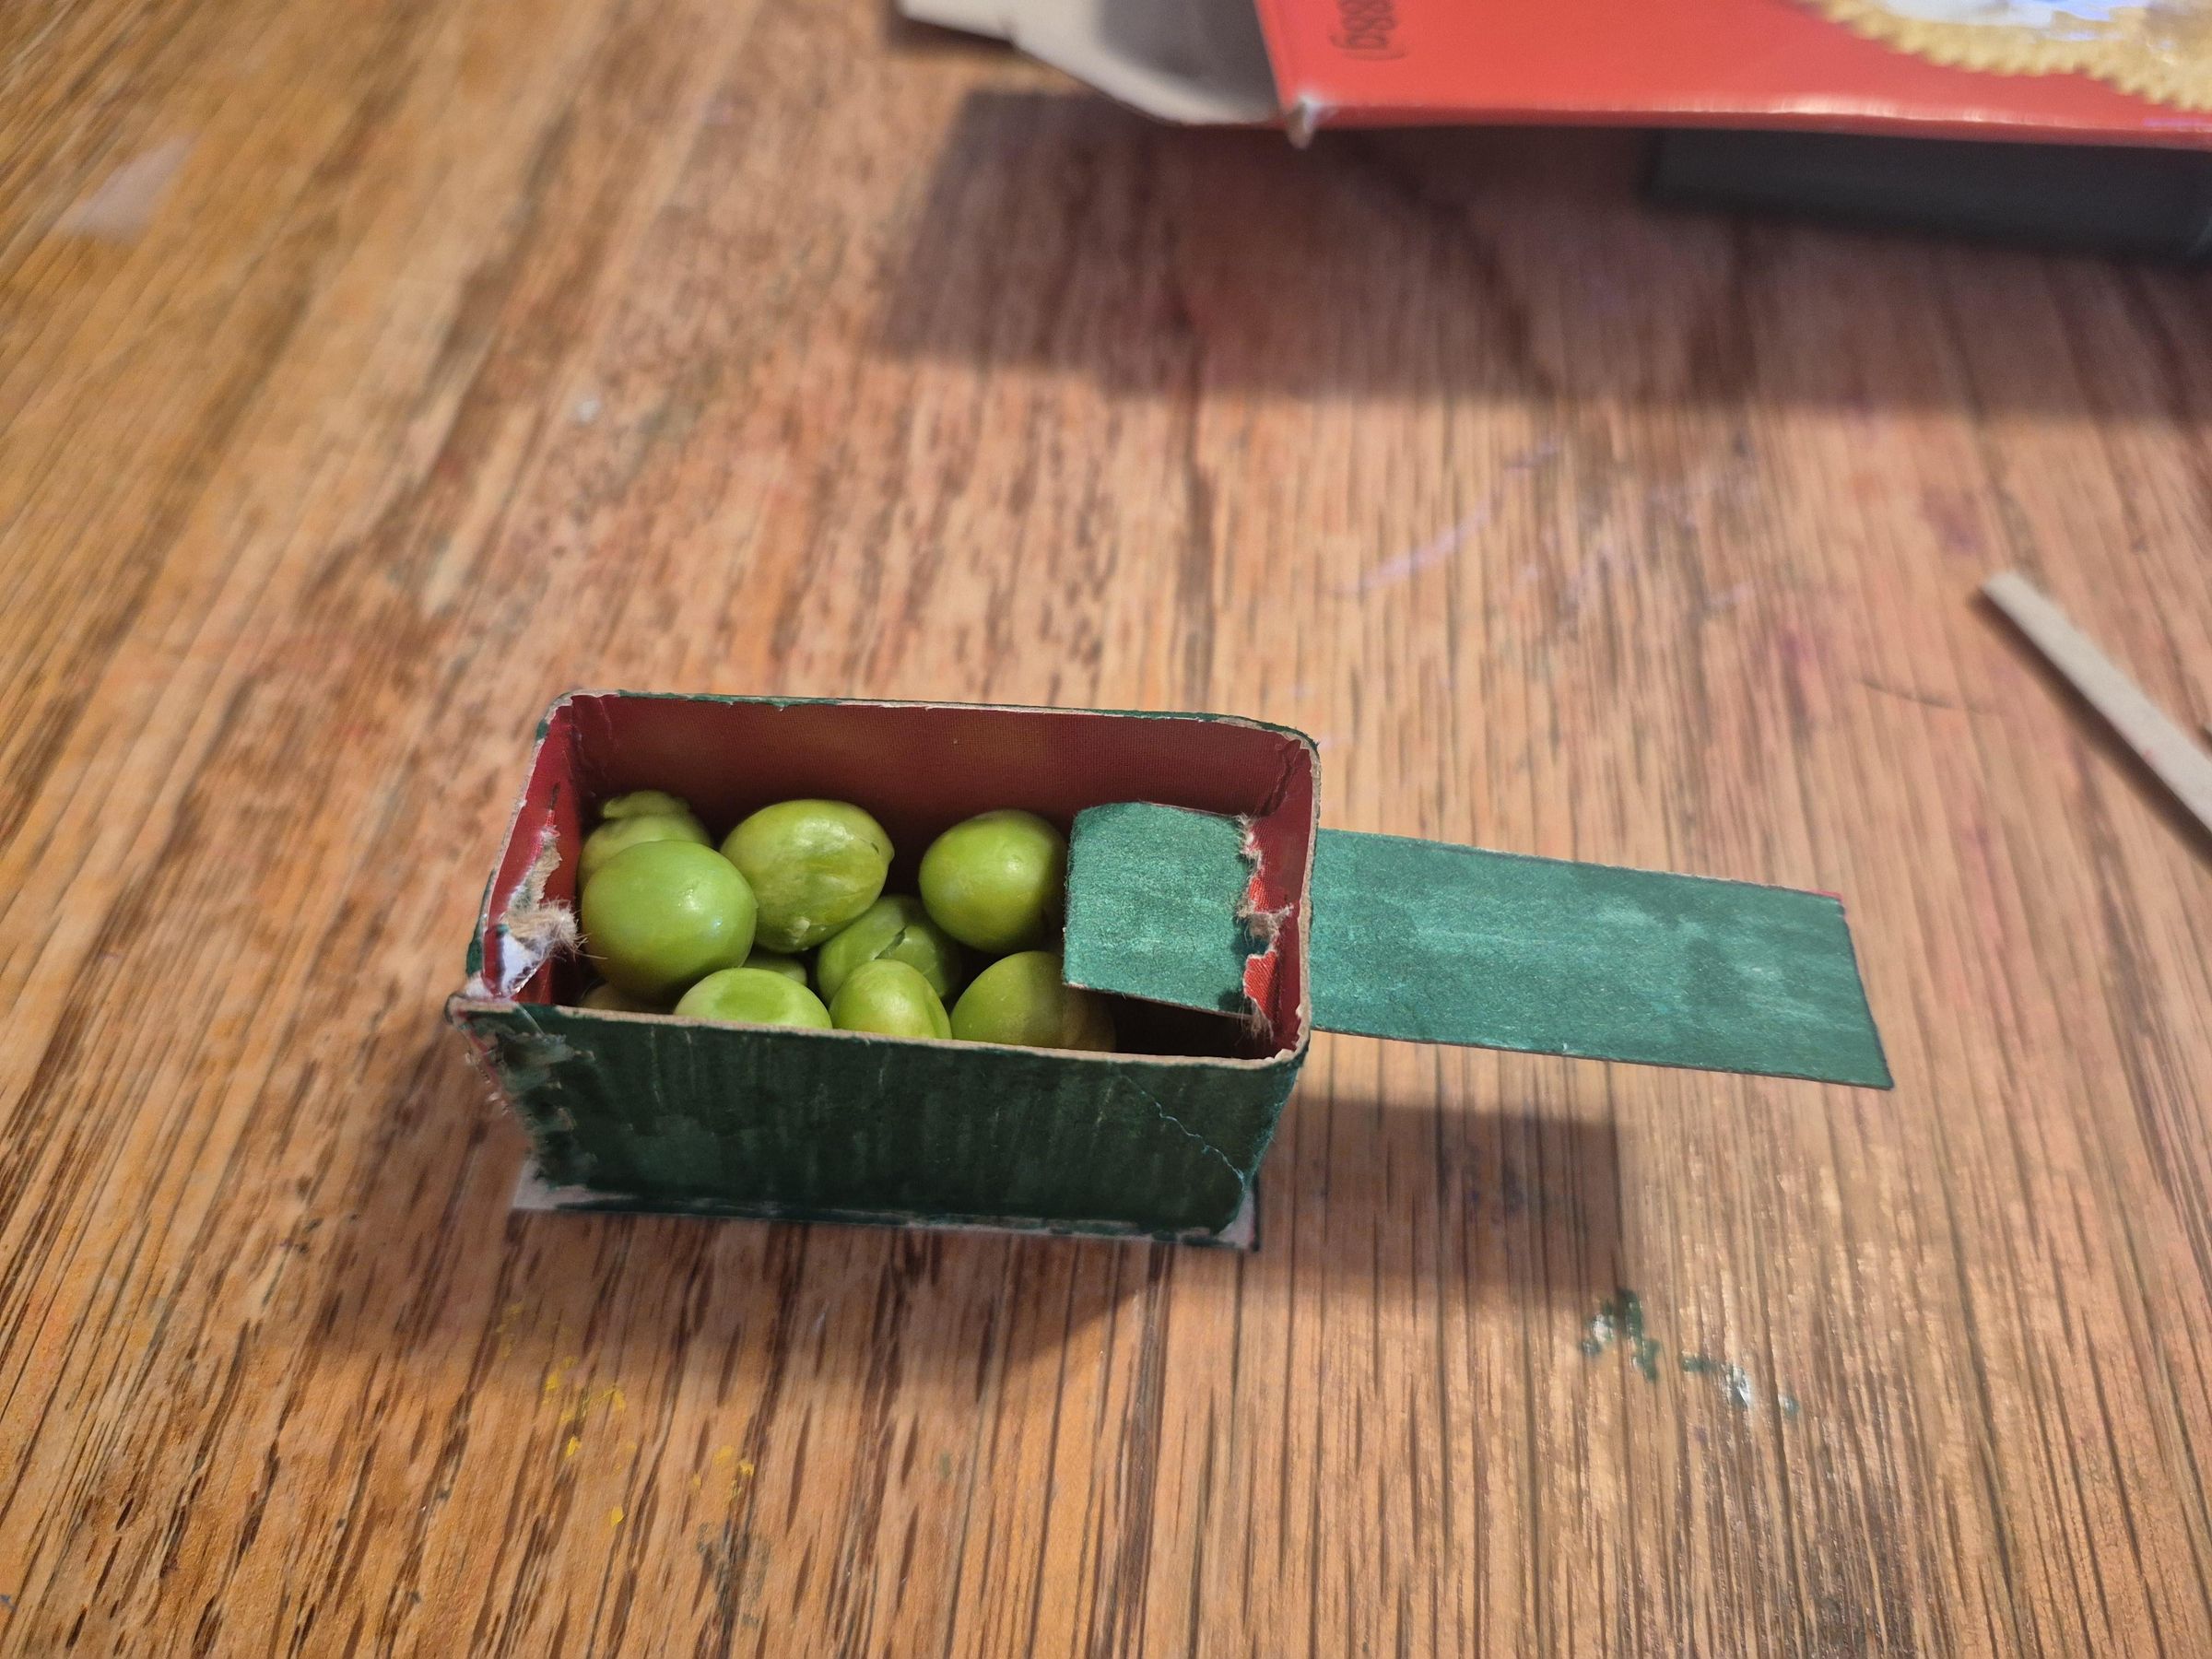
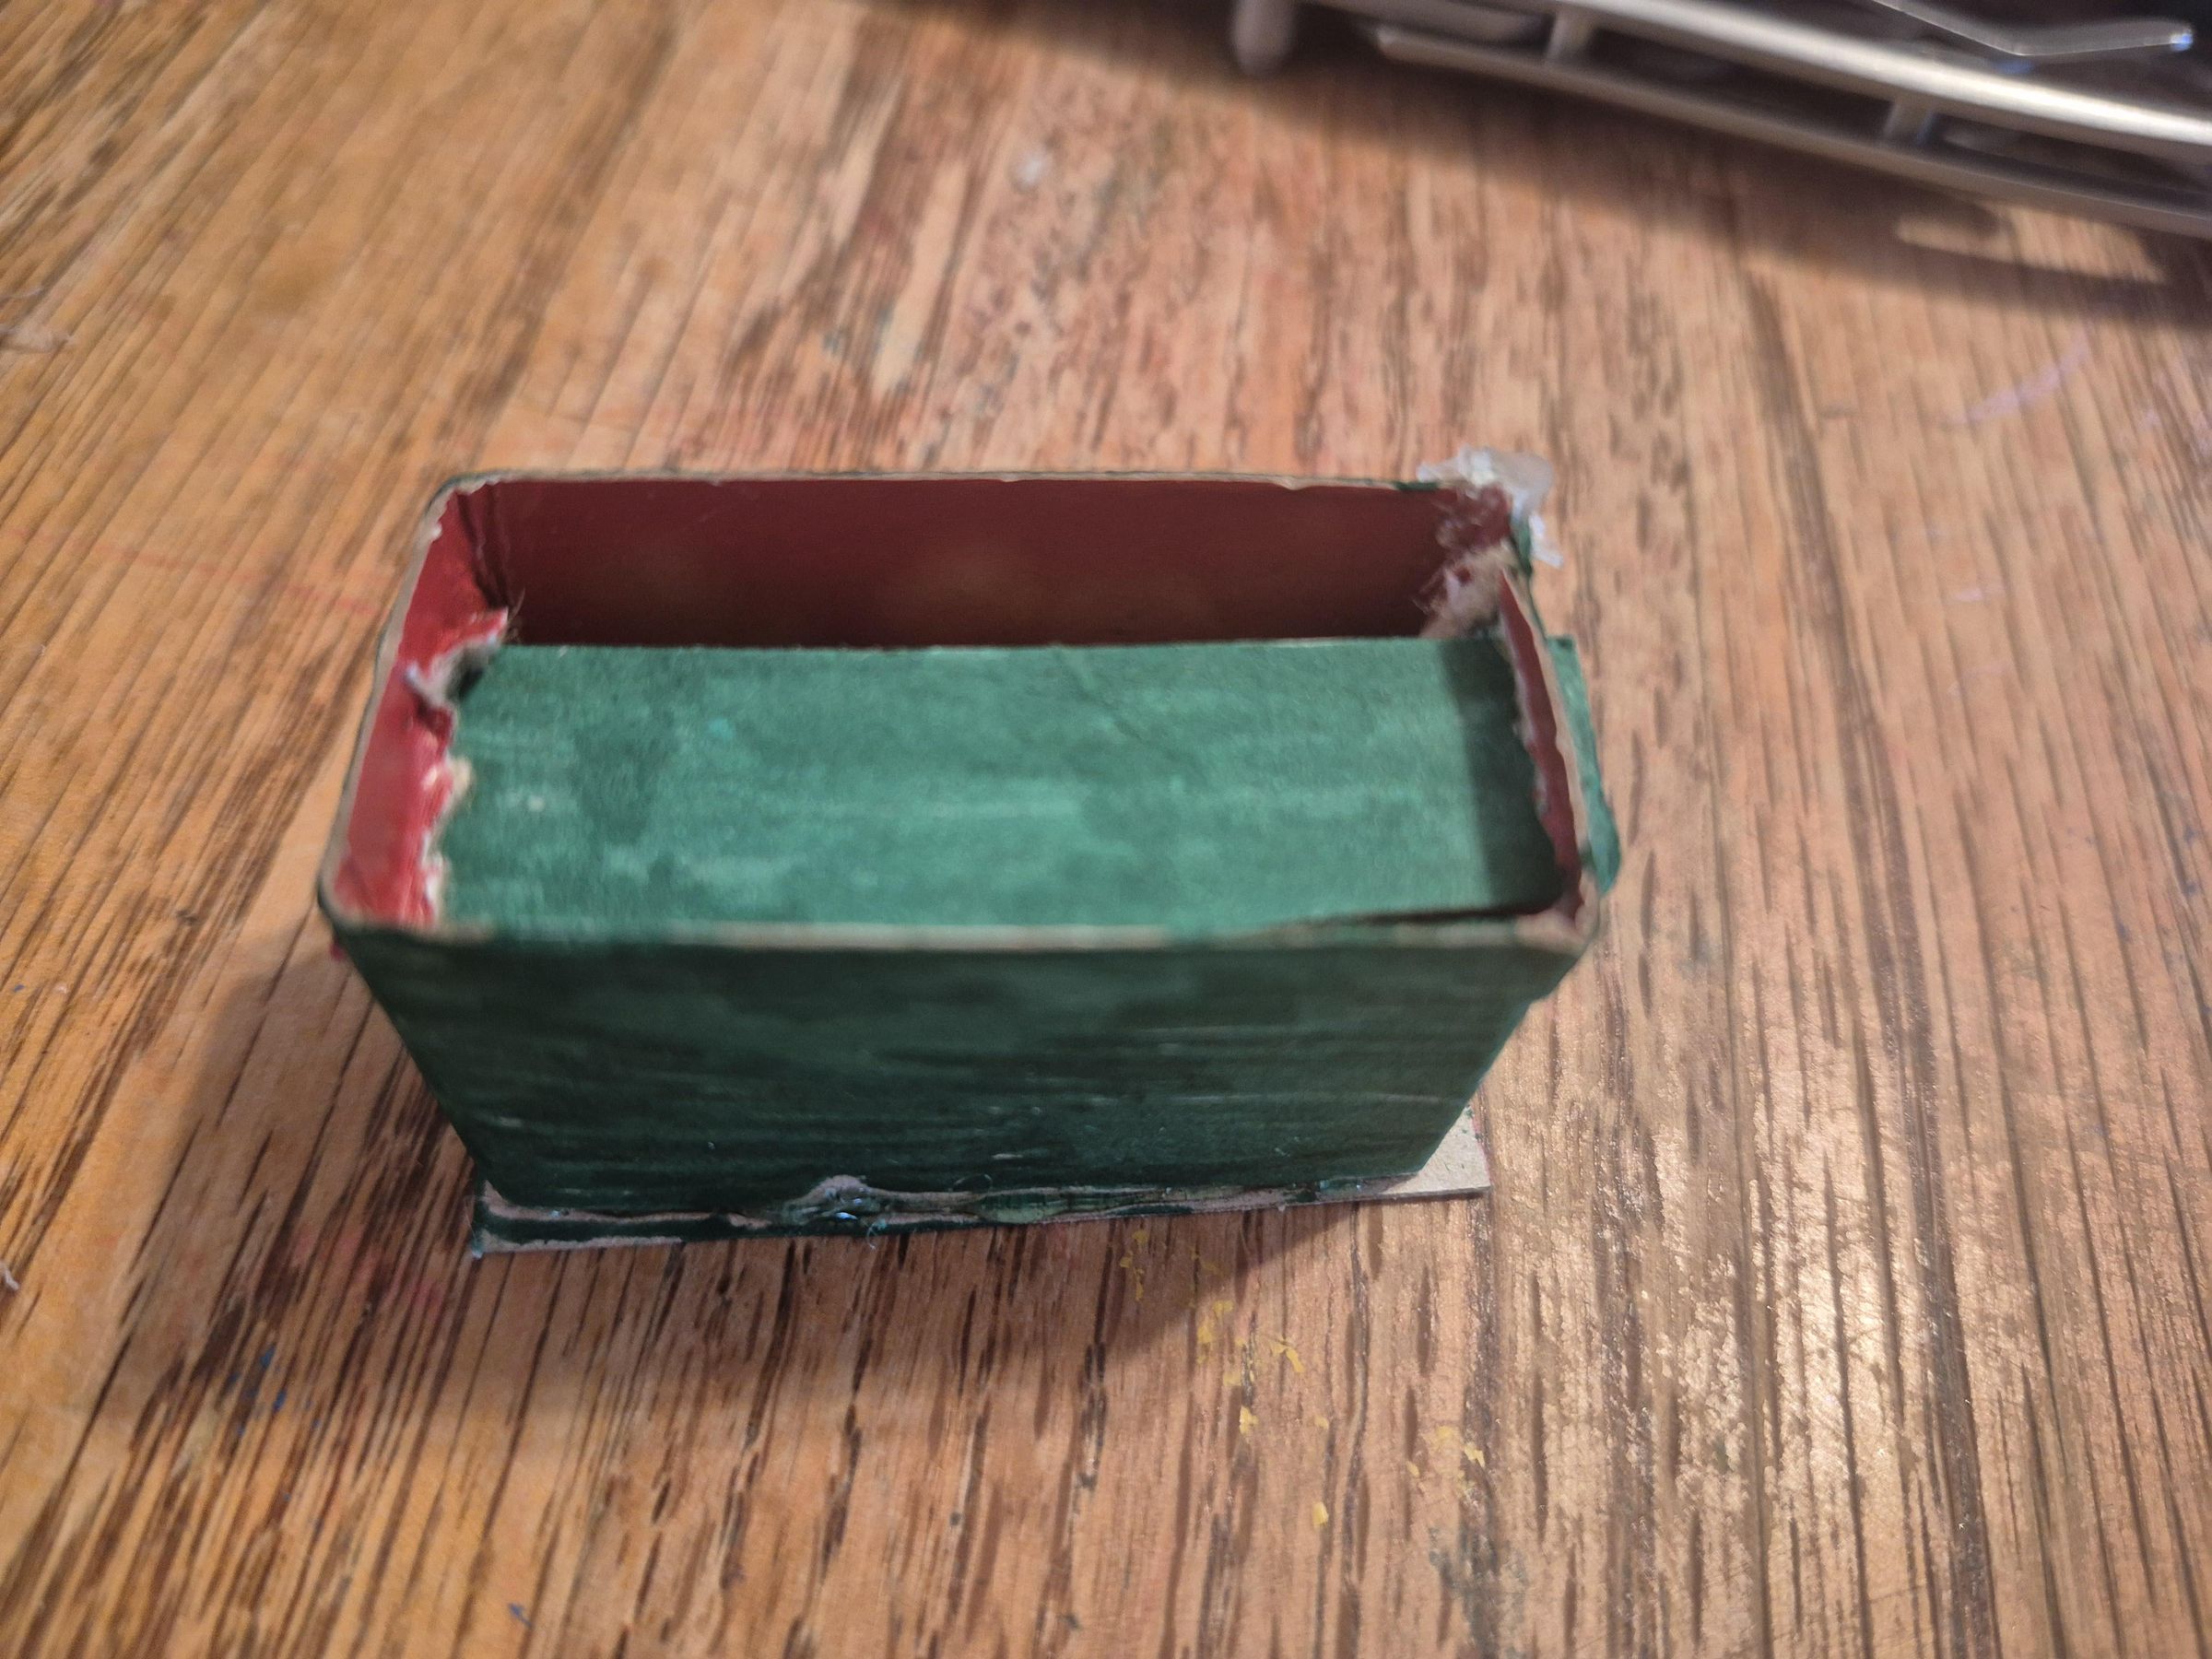
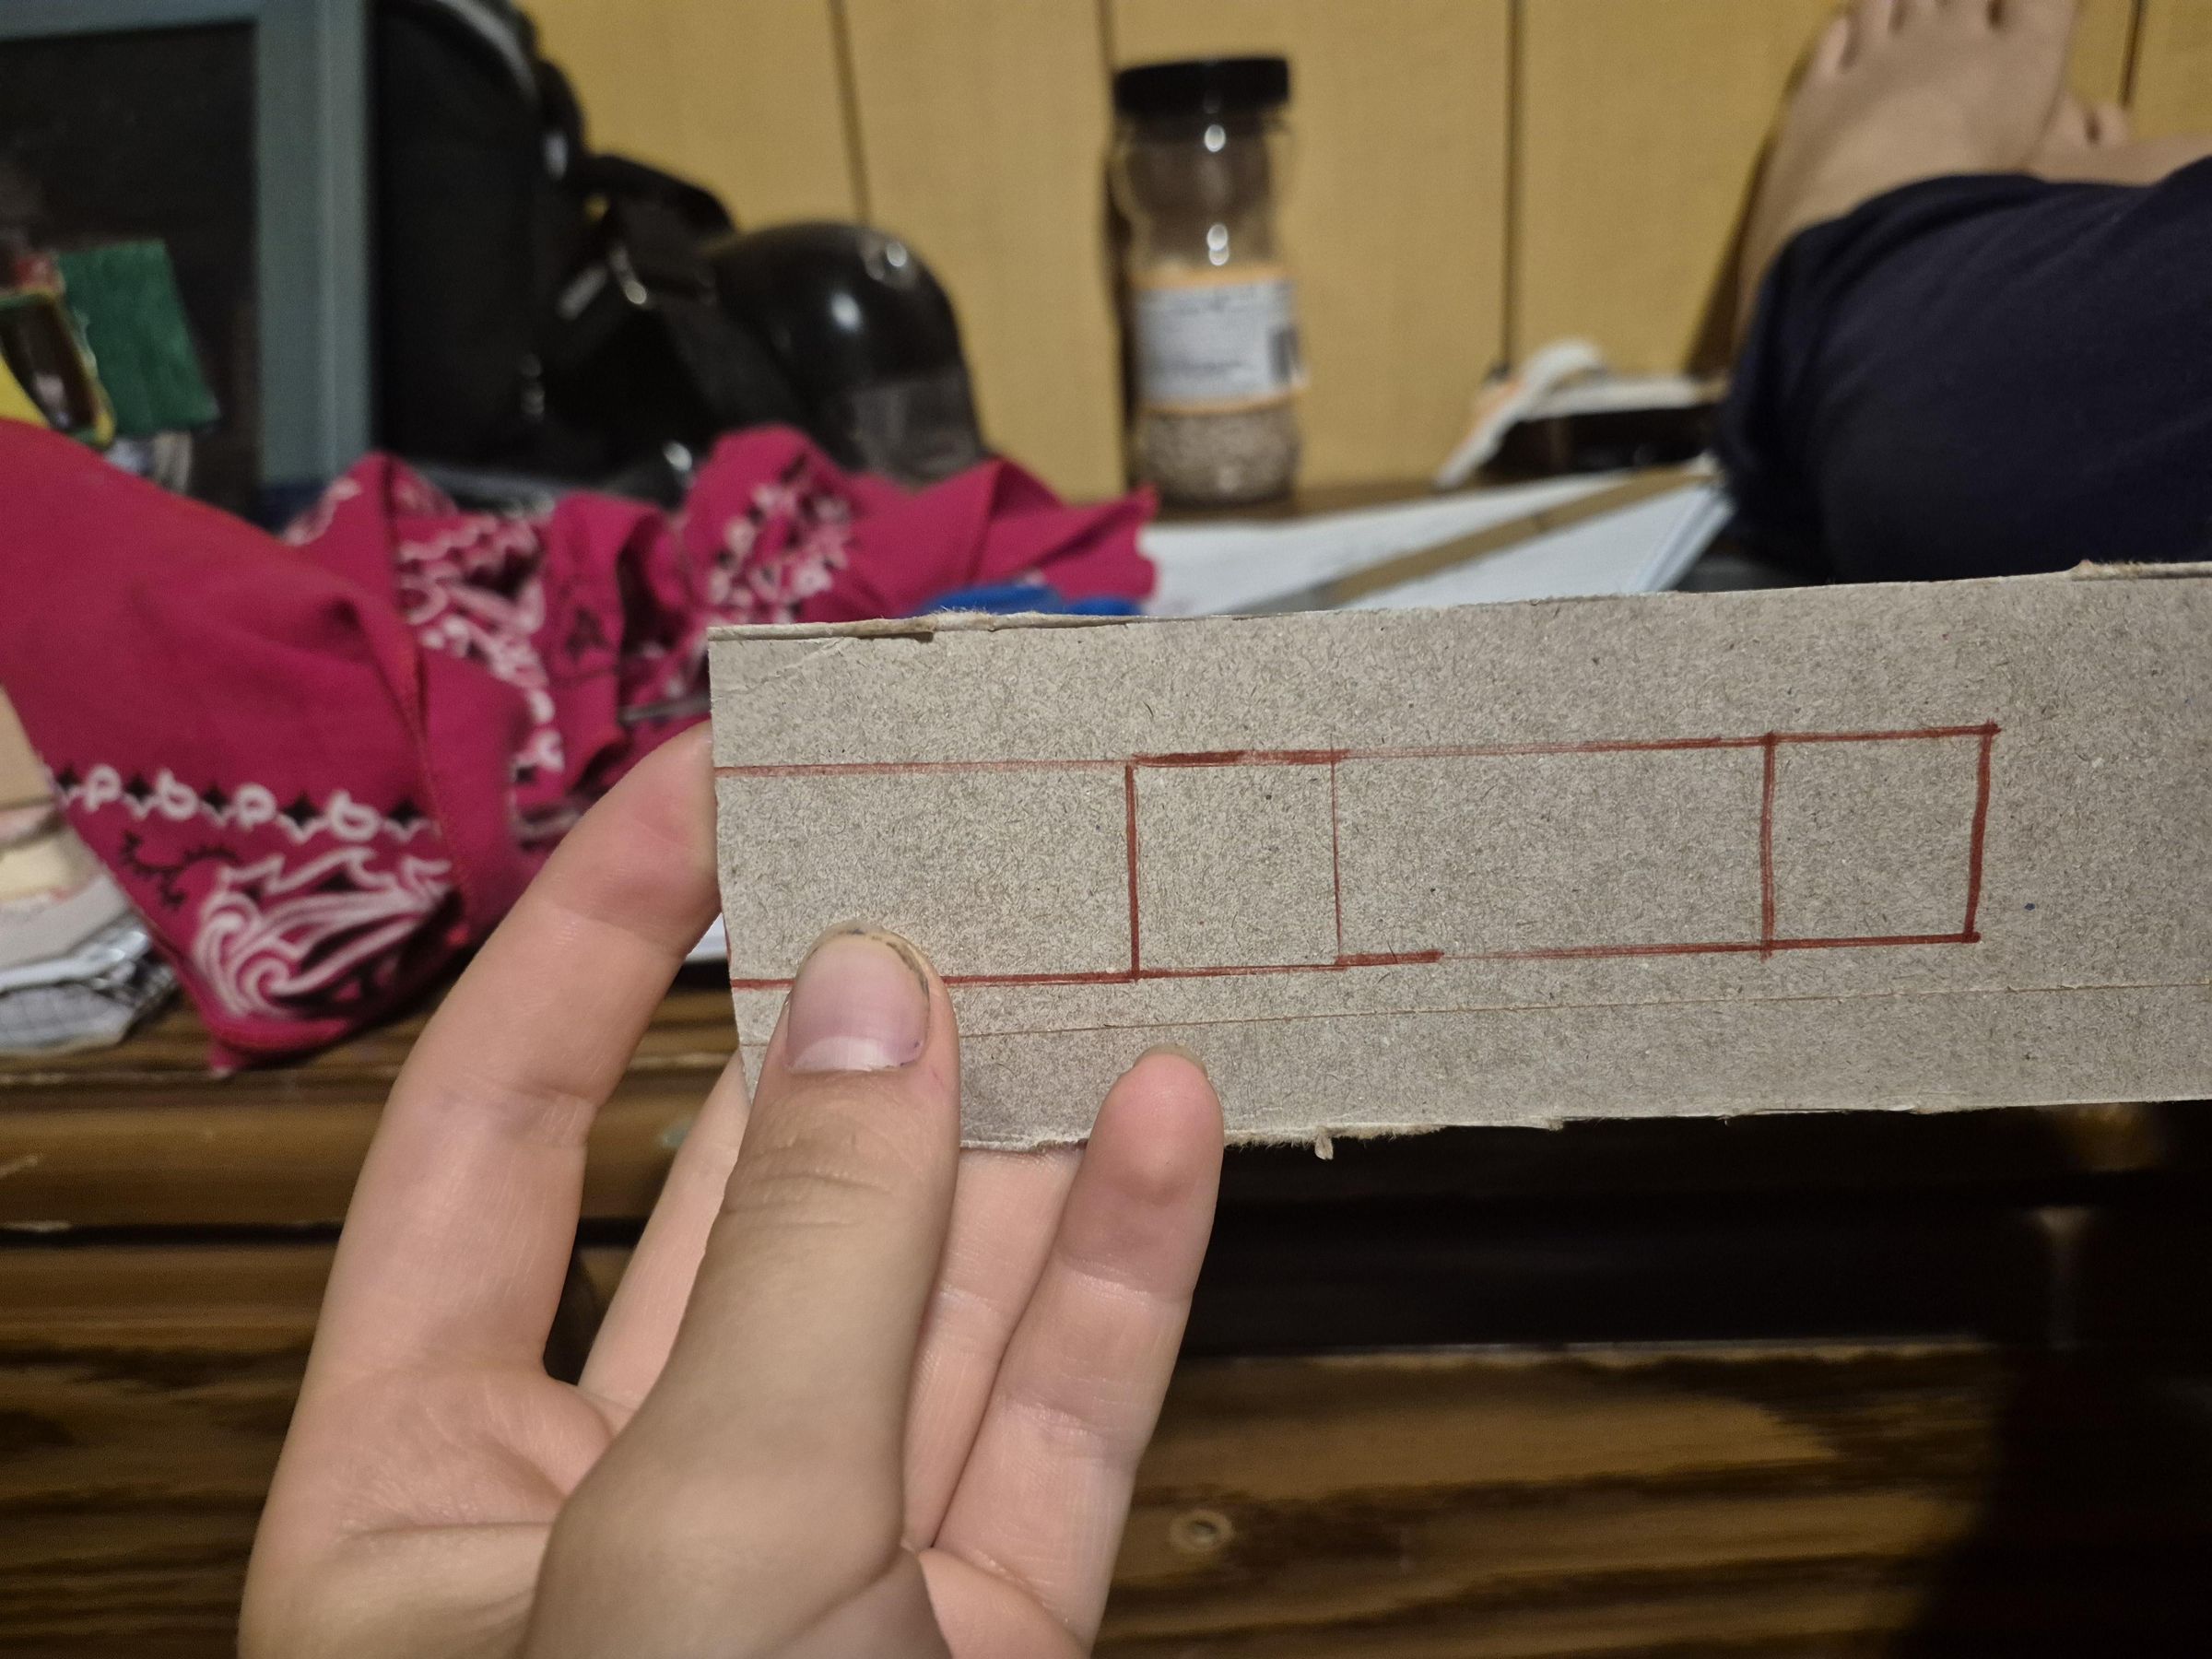
This is to hold extra peas while you are in the middle of battle. These are the steps to make it:
- Draw out the pattern of rectangles shown in the photo. the short lengths are 2cm, the height is 2cm, and the long lengths are 4cm.
- Draw out two additional rectangles, one measuring 1.5x5cm and the other measuring 2.5x4.5.
- Cut the rectangles out and fold the first four rectangles into the sides of a box
- Glue the larger, separate rectangle on the bottom of the box
- Use scissors or a knife to cut slits across the top of the ends of the box
- Slide the last rectangle through the slits to create a lid
- Color it in and fill with peas or beads
War!!!
Now you're ready to challenge your friends or siblings to a pea duel! If you position everything correctly on the back of C, you should be able to change out the batteries when you need to. It can take a bit of practice to drop the peas onto the rubber bands at the right angle, but the challenge is part of the fun!
Happy summer!
Note on Other Designs
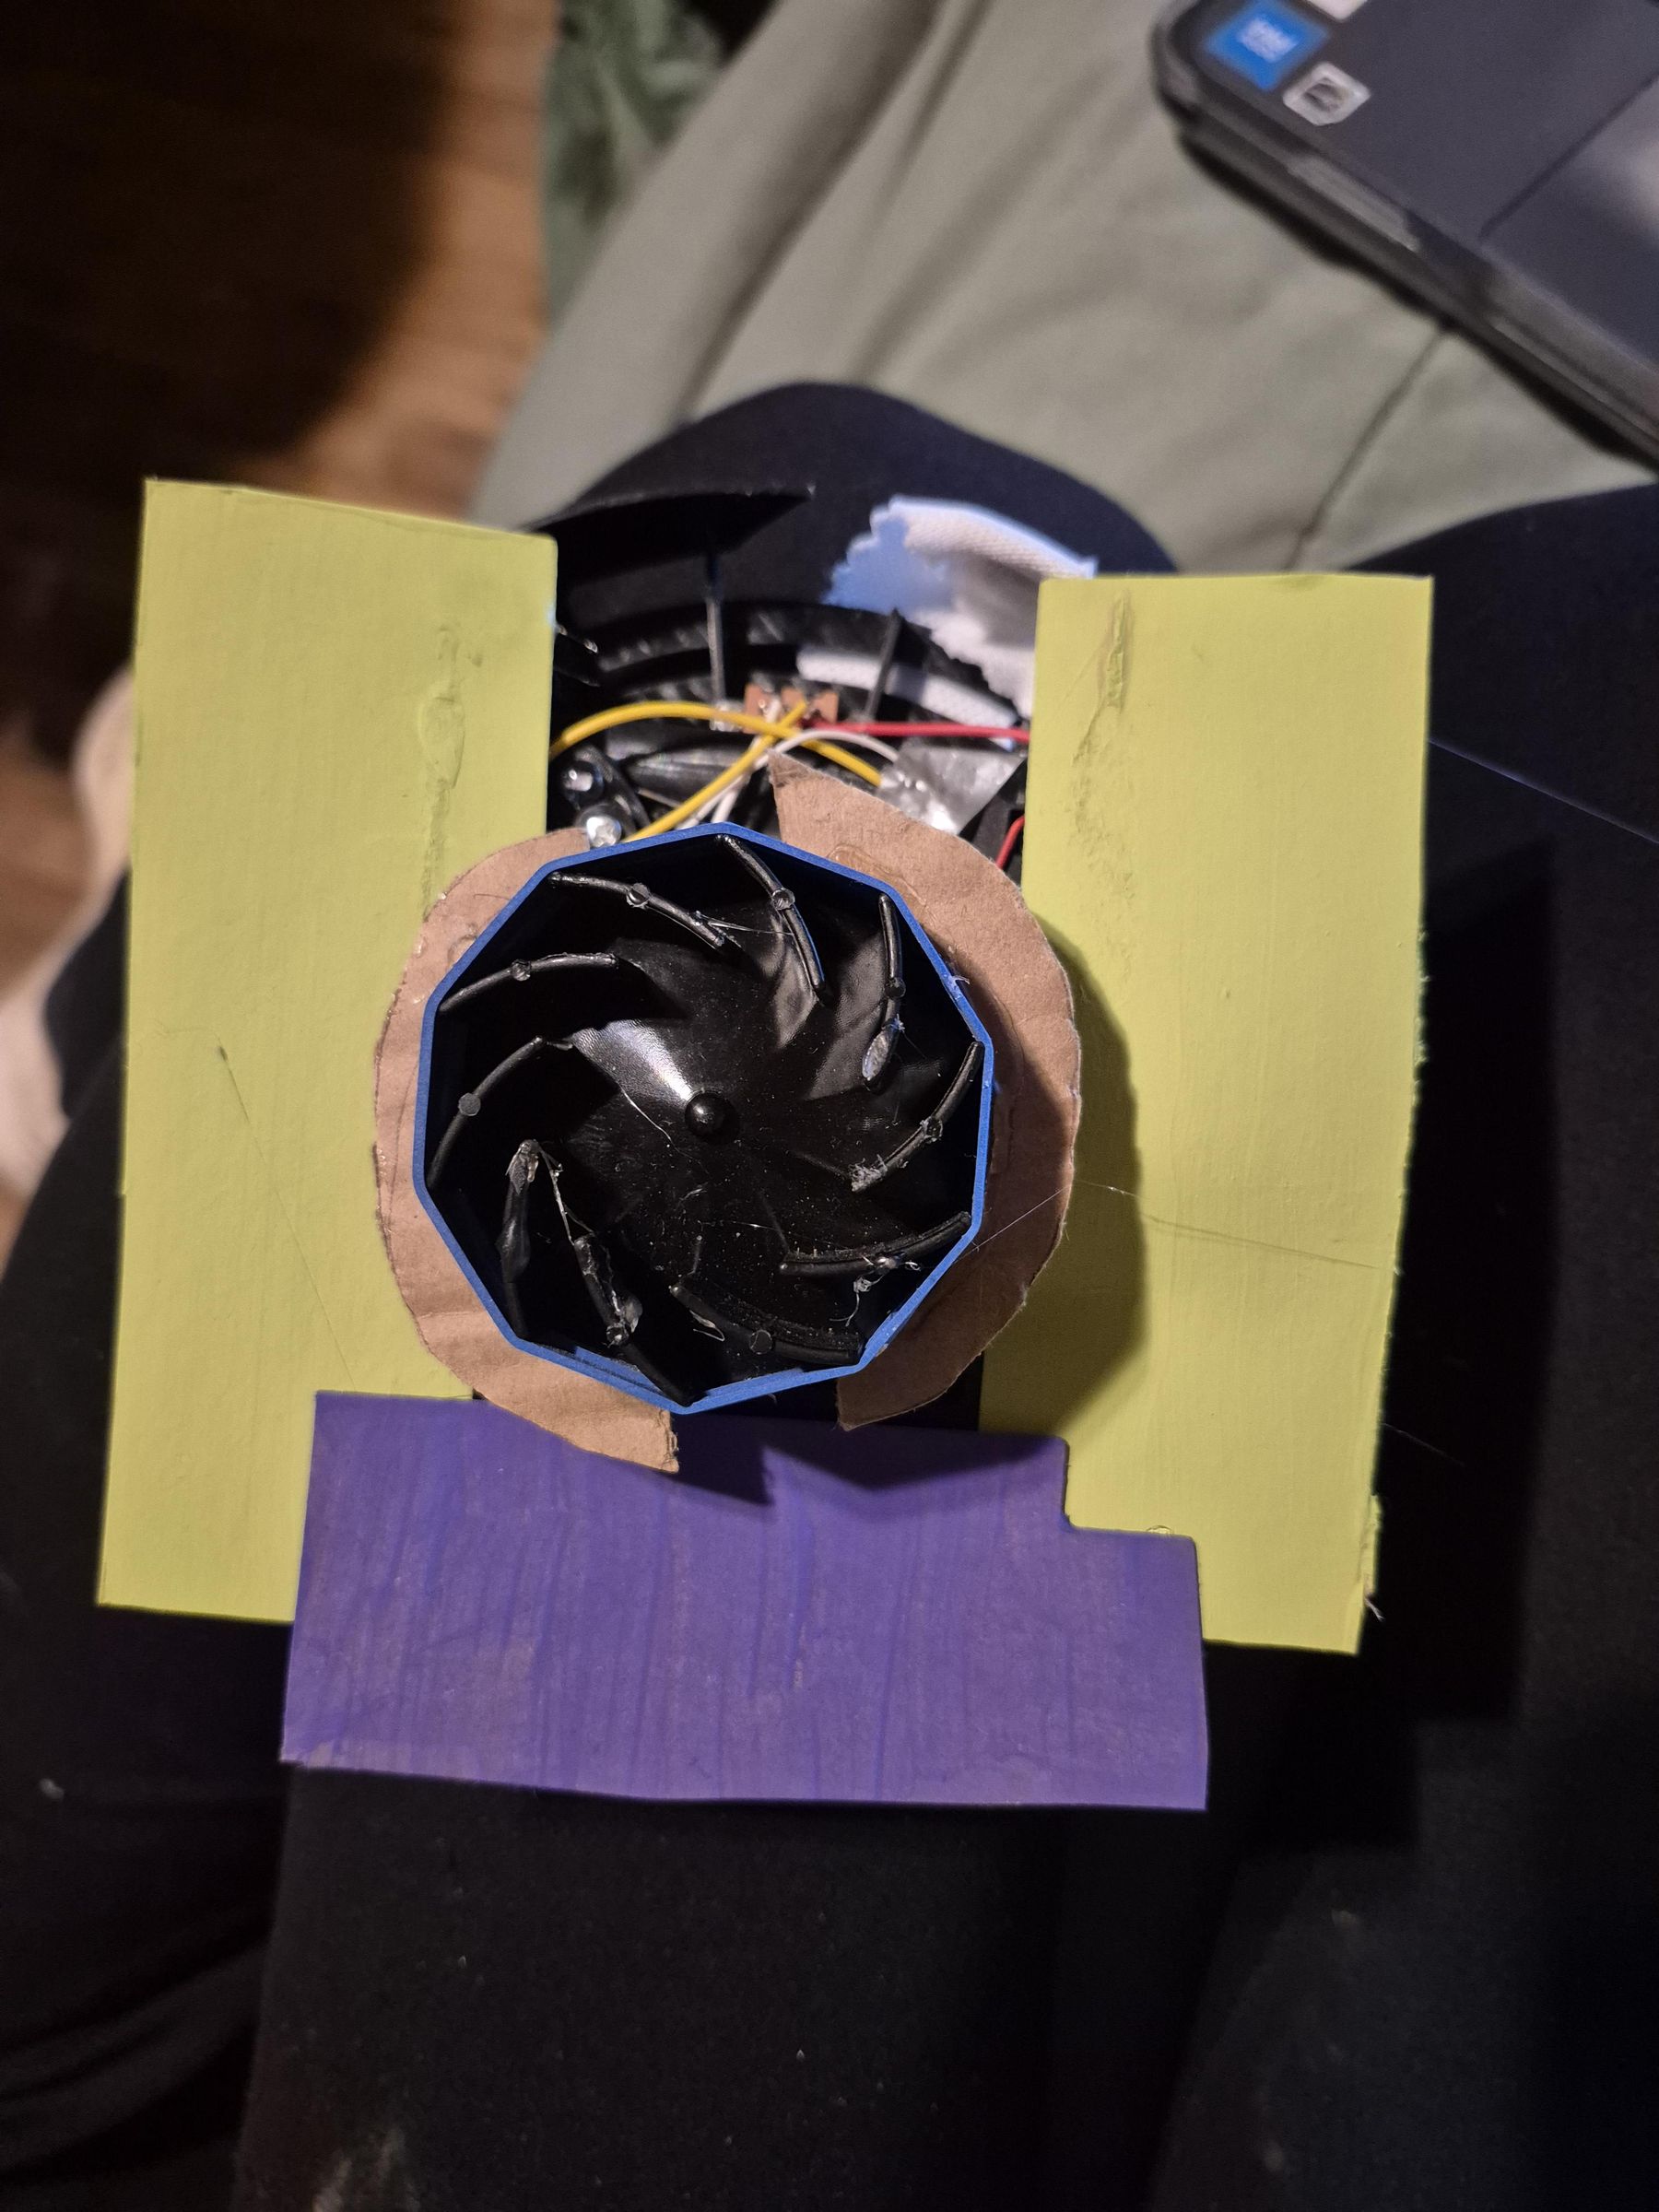
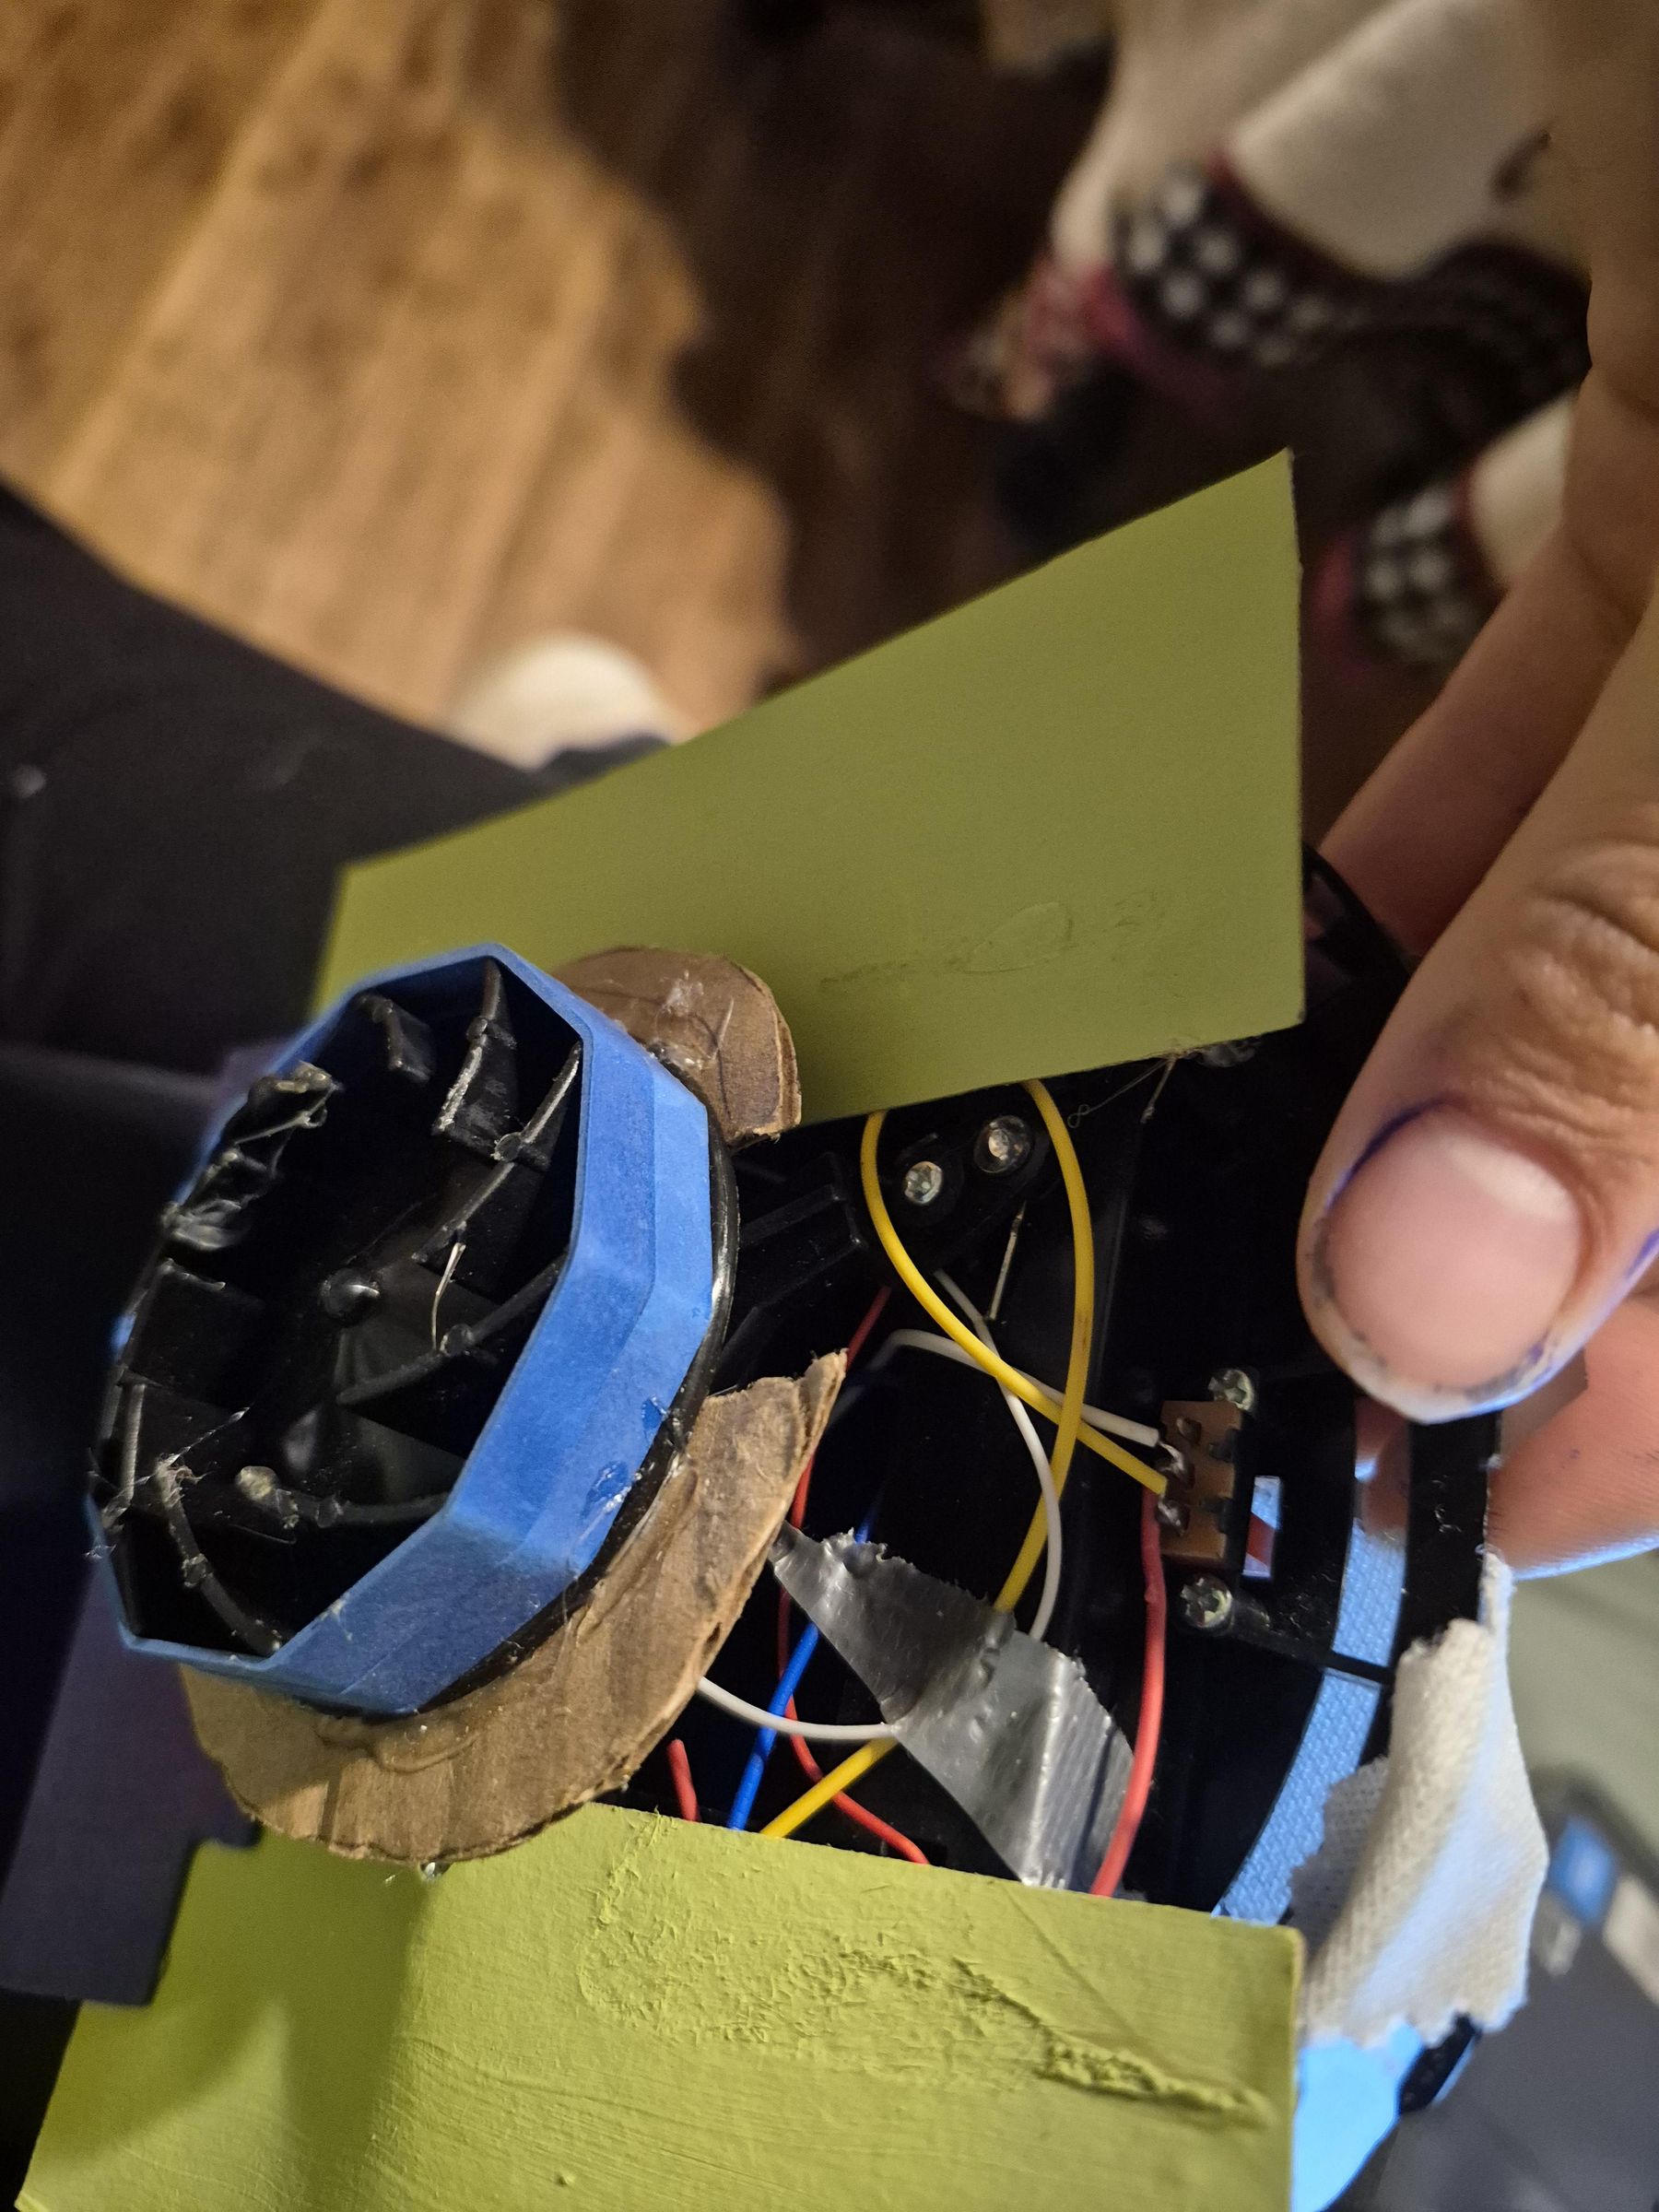
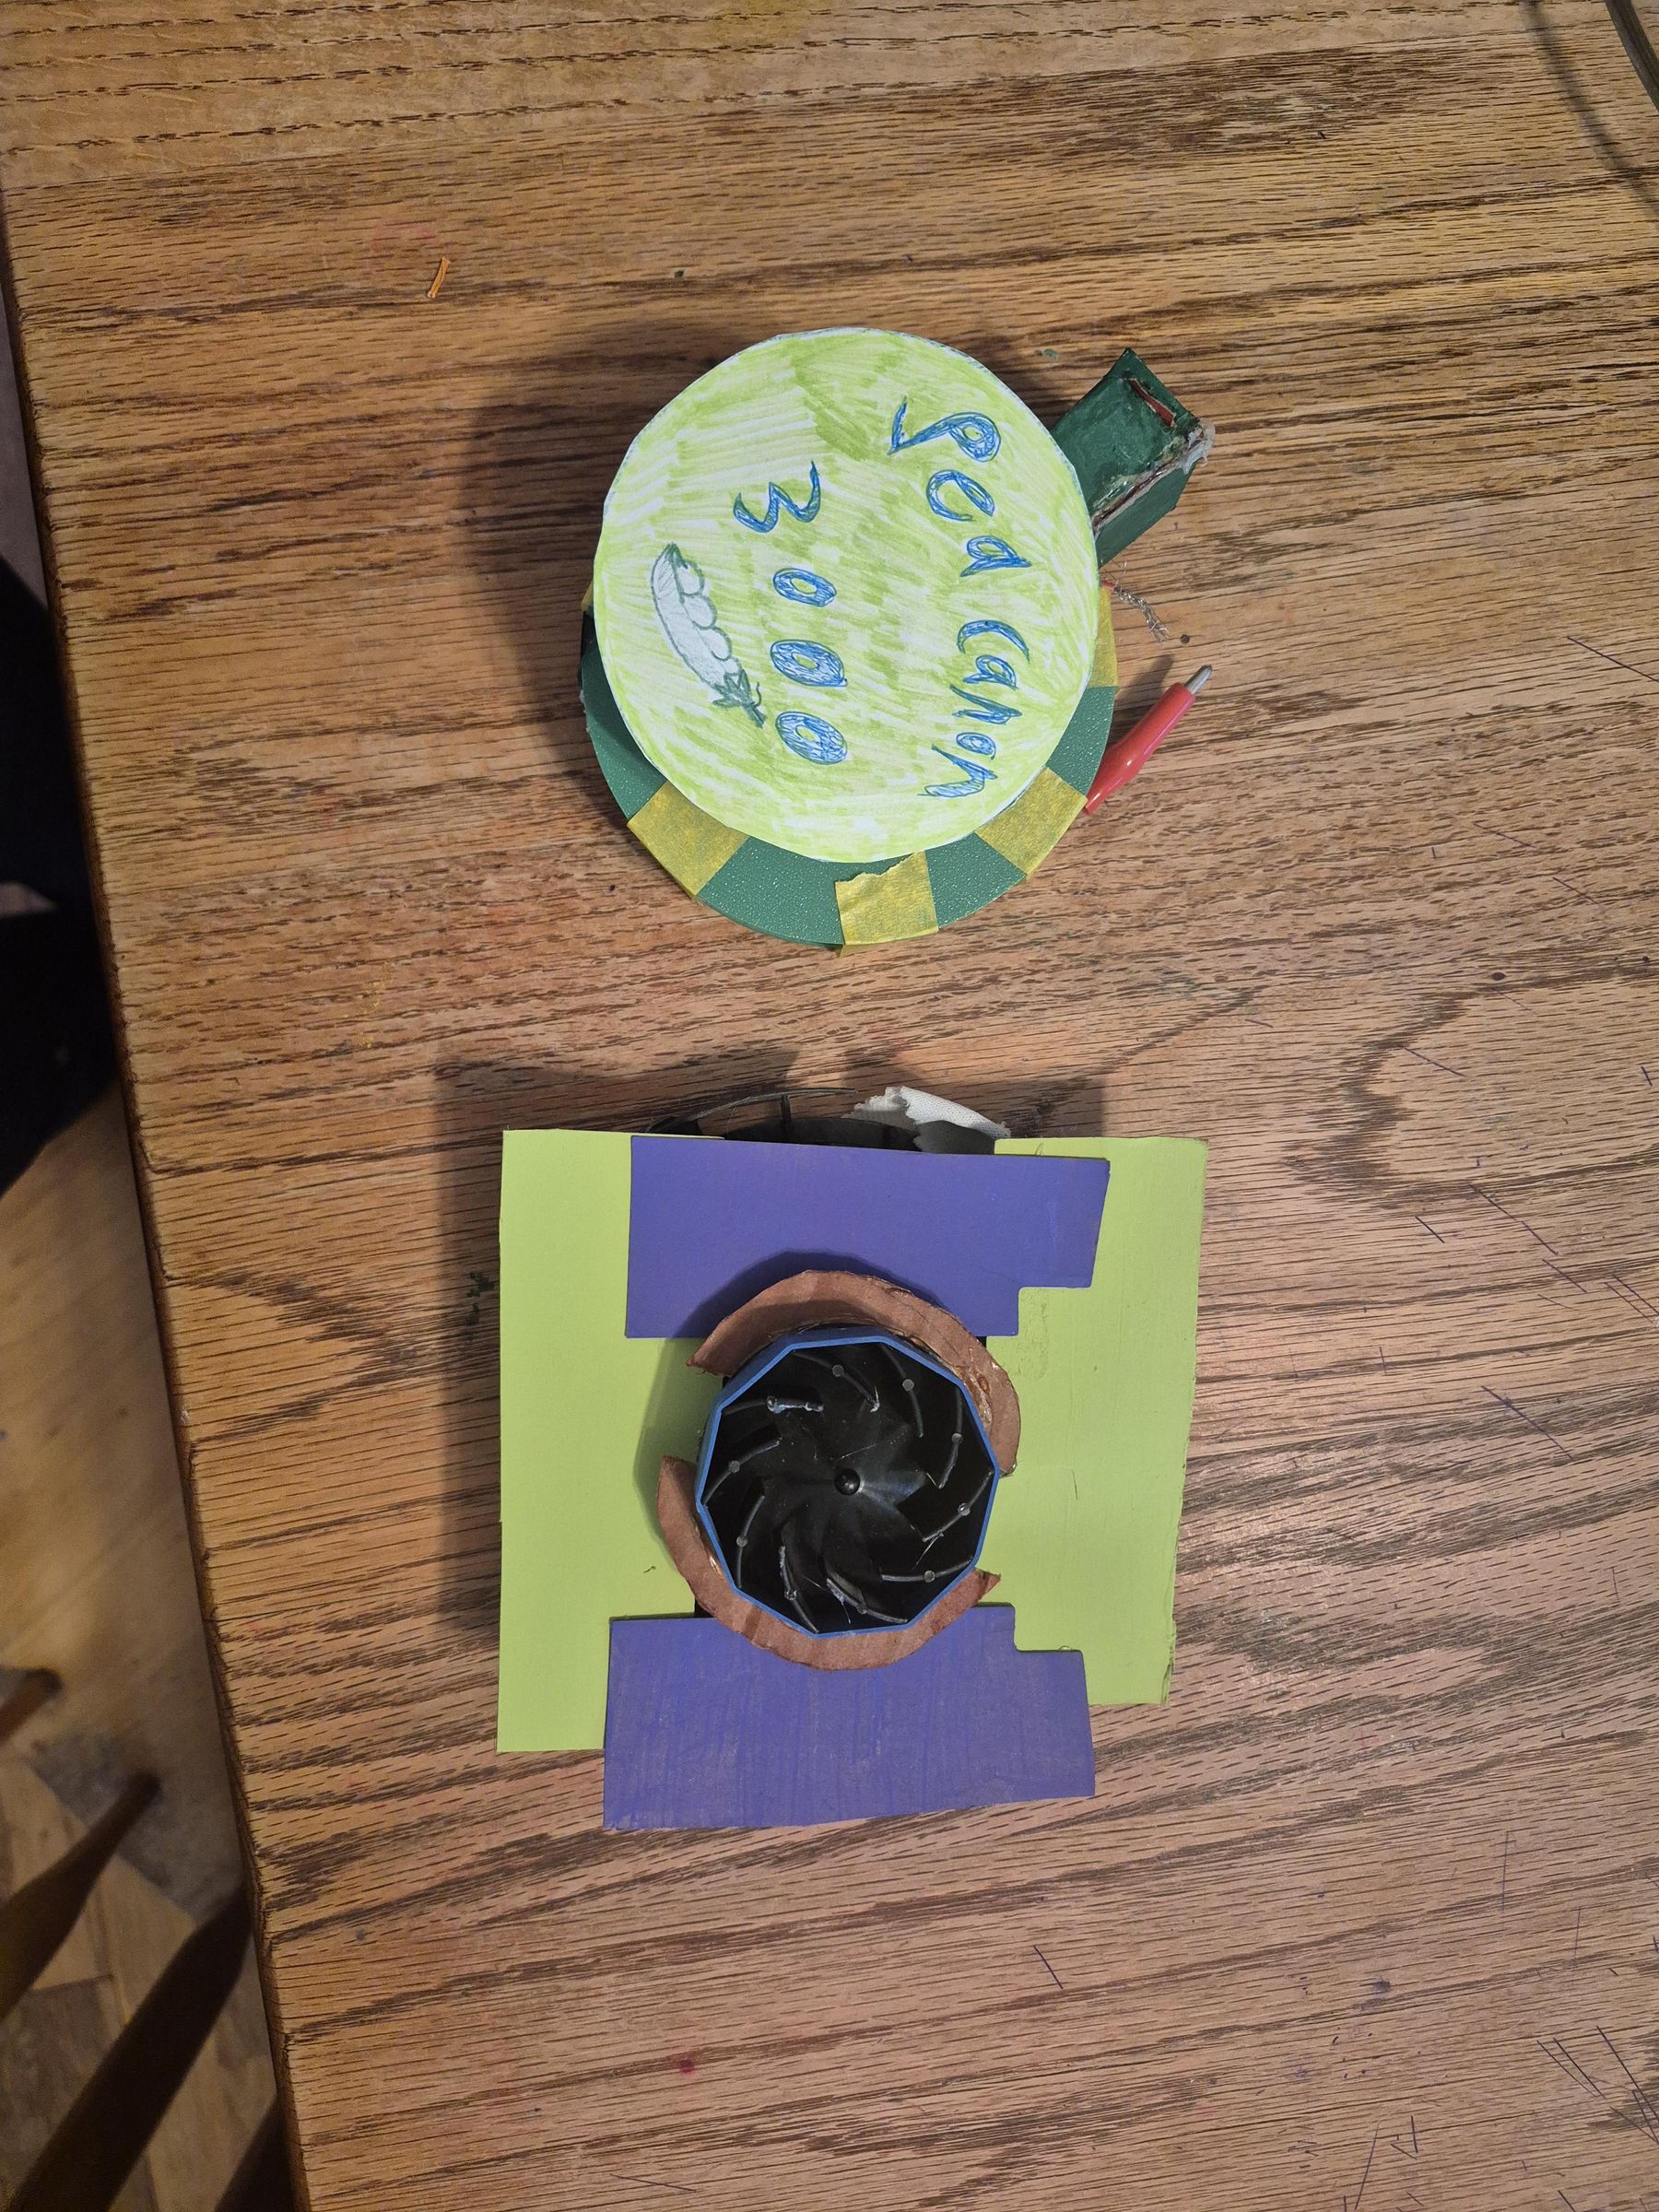
my first model of this was a modification of a hovering soccer ball toy. It had a motor with an attached plastic cylinder which I put the rubber bands on, and the soccer ball part was what held the batteries and is what i attached the hand-holder to.
I'm mentioning this to explain that if you do not have a 3d printer or have an item with similar parts, it may be a good idea to try converting it into the pea shooter. it proved a new engineering challenge and gives you the chance for increased creativitiy and sustainability.