Emotion Recognition Model -
by ellenflamee in Circuits > Cameras
1703 Views, 19 Favorites, 0 Comments
Emotion Recognition Model -

Understanding emotion recognition via ADHD is more than just insightful; it's practical. This intersection of neuroscience and technology provides valuable insights into the unique cognitive and emotional processes of ADHD. By exploring this area, we can develop more effective support strategies.
Supplies

Here is the Bill of Materials (BOM) that provides a comprehensive overview of the supplies and components utilized in this project. The BOM details each item required, including quantities and descriptions, ensuring that all necessary materials are accounted for. This document serves as a critical reference for understanding the full scope of the resources employed in the project's execution.
Getting & Annotating Data


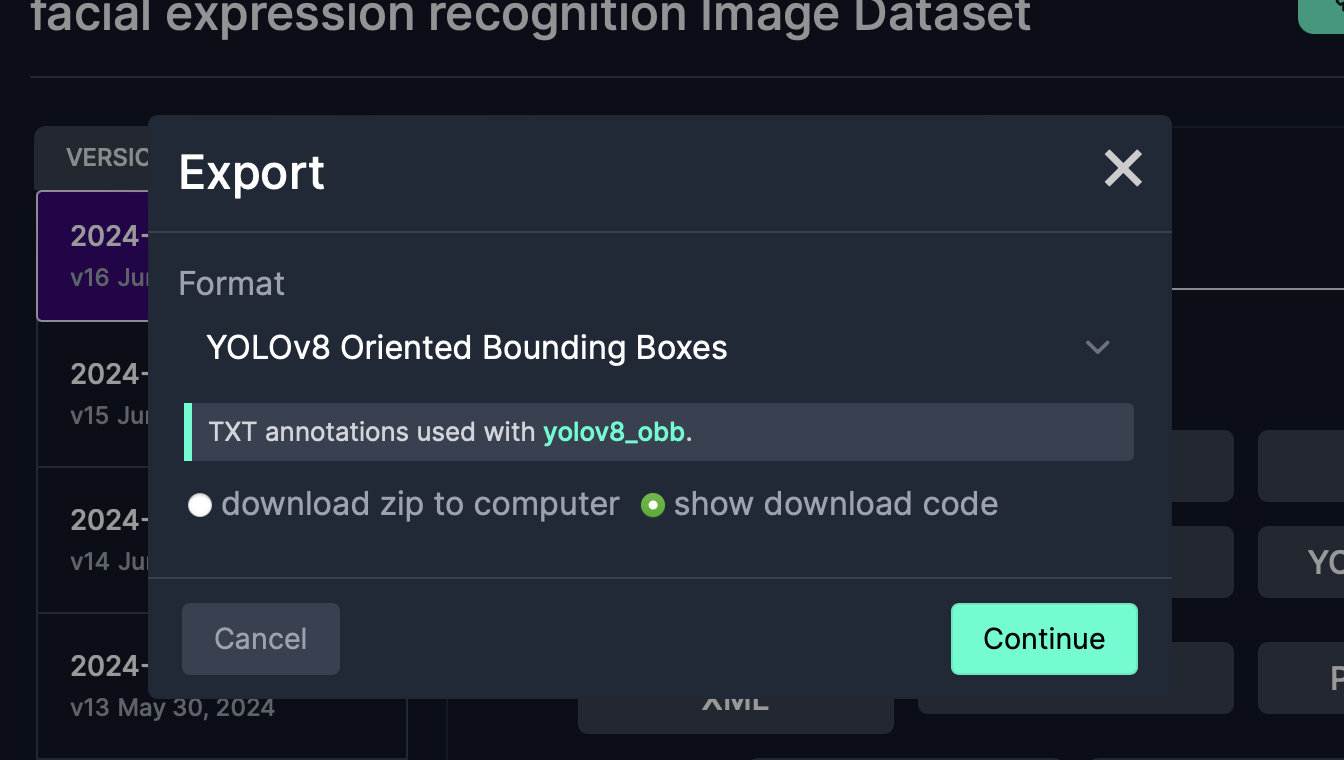
Initially, I collected all the necessary data before importing it into Roboflow. Following this, I undertook the task of annotating the data, which is now accessible on Roboflow. To ensure high quality and precise classification, I personally handled the majority of the annotations. This meticulous approach was taken to guarantee the accuracy and reliability of the annotated data.I created four classes (Angry, Sad, Neutral, and Happy) representing the four basic emotions. This approach was chosen to prevent the model from becoming overly complex. You can use my dataset by visiting Roboflow and searching for 'Facial Expression Recognition'. Once there, select the dataset and choose the latest model. After selecting it, download the dataset. Once this is done, you can begin training your own model!
Training the Model


I trained the model in VSCode to provide thorough and transparent feedback throughout the process. This setup enabled better monitoring and debugging, ensuring that high-quality results were consistently maintained. the code snippets is what I used to train my model
Train Further (if You're Still Not Satisfied With the Results)

I trained my previous model on a new dataset, which provided more photos and resulted in higher overall accuracy. This helped improve the accuracy by 7%. However, the model's performance on the 'Sad' emotion was still unsatisfactory. To address this, I oversampled the 'Sad' class, which specifically increased its accuracy. The code that I provided first declares the previous model and then trains further on another dataset.
Connection With Raspberry Pi


Next, I established a connection to my Raspberry Pi using socket communication. During this process, I implemented a feature to display the detected emotion and its accuracy on the LCD display. This task was straightforward: the emotion appears on the first line of the display, and the accuracy on the second line. Additionally, I connected my camera directly to my computer. This setup was chosen for convenience, eliminating the need to send video footage from the Raspberry Pi to my computer for processing and then back again.
I also added a feature to notify the user if the person is too far from the camera, prompting them to come closer.
To organize the project, I created two separate files: `rpi-server.py` and `ai-client.py`. The `rpi-server.py` file manages the connection with the LCD display, while the `ai-client.py` file sends the model's findings through the socket to the LCD display. (Refer to the first three pictures for `rpi-server.py` details.)
You will also need a `requirements.txt` file for `rpi-server.py`. This is necessary when creating a virtual environment (venv) on the Raspberry Pi. A virtual environment helps manage dependencies, ensure project isolation, improve portability, enhance security, and provide greater control over the development environment.
The `client.py` file will resemble the examples in the following pictures. Make sure to include the `best.pt` file in your AI project folder, as it is essential for the system to function correctly. Additionally, adjust the path in the code, as it will be different for each user. make sure when you want to run the model that you first run the rpi-server.py on the raspberry environment and then the ai-client.py on your computer.
Makerskills


I crafted a personalized wooden box for my Raspberry Pi, meticulously designed without using any screws. Instead, I used wooden cookies and wood glue for assembly. Before making the holes, I sanded everything thoroughly to ensure a smooth and even finish. The box features three precisely cut holes for the Ethernet cable, power supply, and LCD display. To ensure easy access to the Raspberry Pi, I incorporated a piano hinge into the design. Finally, for a sustainable and aesthetically pleasing look, I whitewashed the entire box.