DIY LED Glass Light

Easy to make, and yet easy to impress as well. Basically, it's just a piece of glass that we etch a cool design into, and then shine an LED light under to really make it pop. And the best part is, it's just as easy to make as it sounds! As far as material costs, it will cost less than $20 too!

What You'll Need.
MATERIALS:
-A plate of 10"X16" tempered glass. I got mine from www.smartfurniture.com. It's the cheapest I could find at a very nice quality.
https://www.smartfurniture.com/fixtures/products/...
-A plank of wood. I got mine from Home Depot. Mine is 4 inches wide, but anything between 3 and 5 inches should be just fine.
-LED strip. The 5050 type from eBay is what I got. Here's the link.
https://www.ebay.com/itm/Super-Bright-5M-3528-5050...
-Power supply. If you don't mind it coming from China, these work great.
https://www.ebay.com/itm/AC-DC-12V-2A-110-240V-POW...
-Female jack power connector. I got ten of them, so you may want to find just one for sale, but here's the link to them anyways.
https://www.ebay.com/itm/10Pcs-12V-Female-2-1x5-5m...
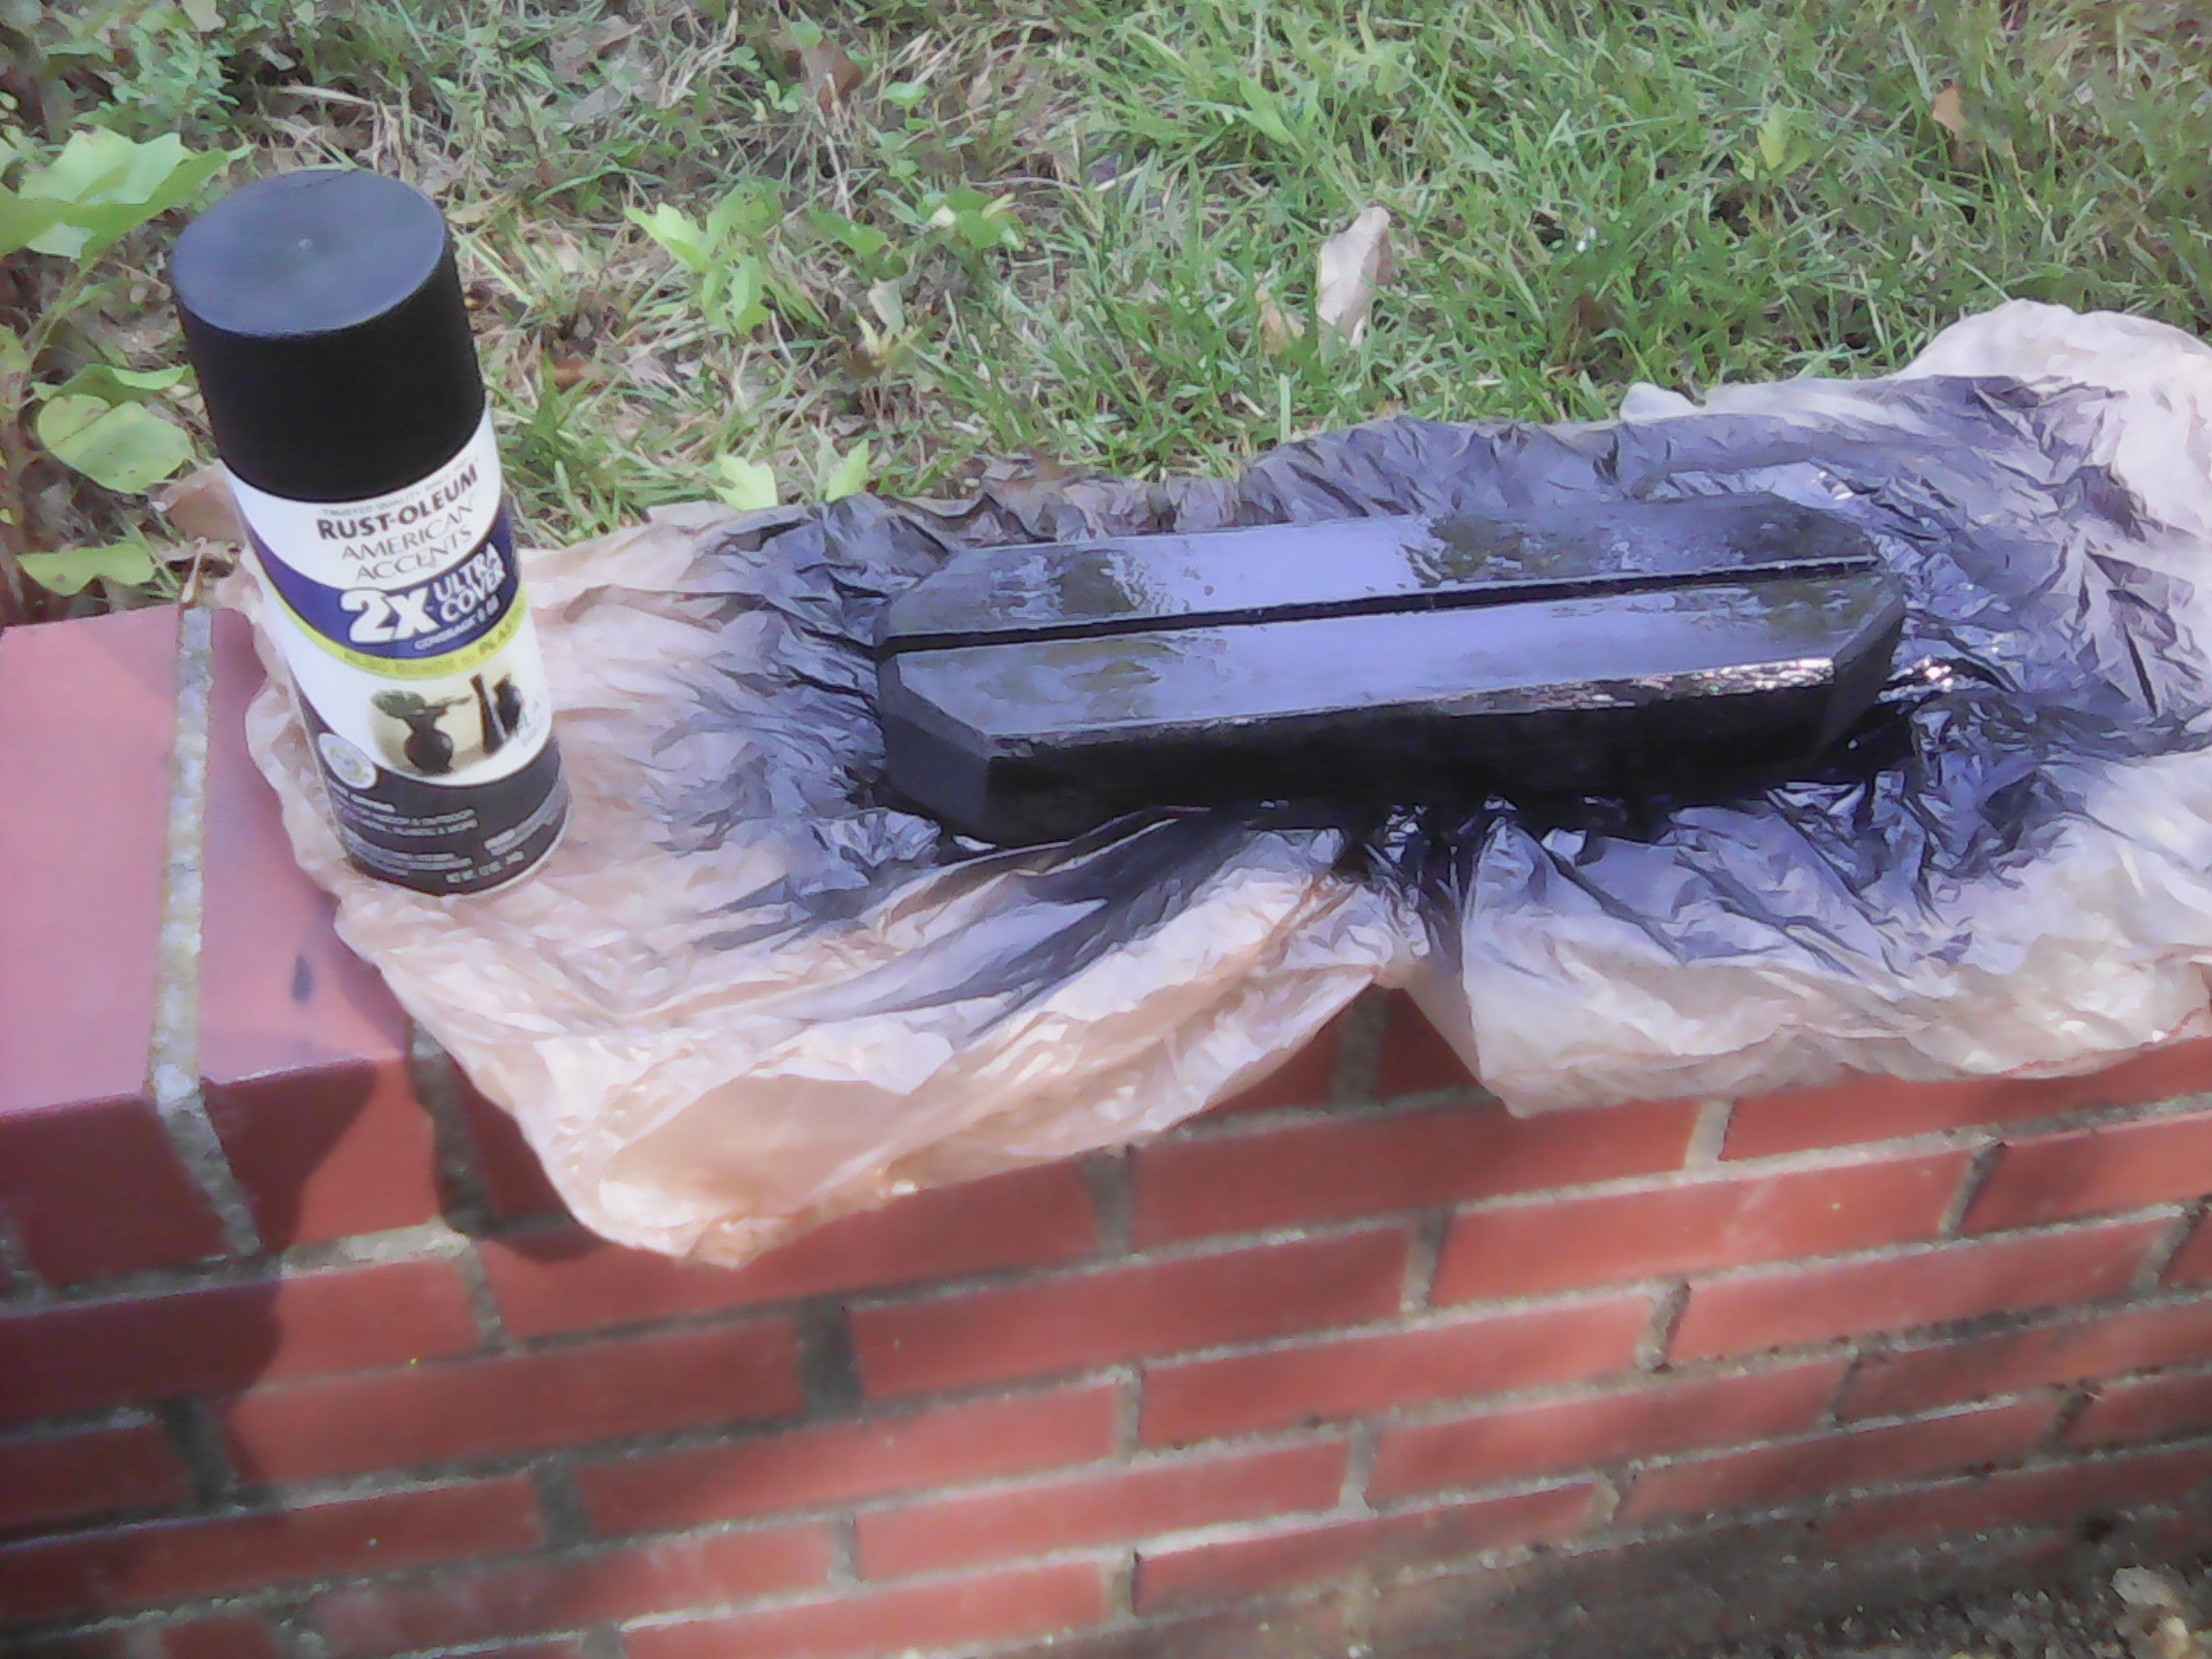
-Spray paint. You can get whatever color you want, but I use black.
-Wood glue.
-Super glue.
-Painter's tape.
TOOLS:
-Table saw. A Jigsaw works too, if you're like me and somehow managed to lose an entire saw.
-Dremel/rotary tool with diamond encrusted bit. If you don't have one, don't worry! You don't need to go super expensive here. Mine was only $20, and I couldn't be more happy with it.
https://www.amazon.com/WEN-2305-Rotary-Tool-Shaft/...
-Soldering iron.
-Clamps.
-A Philips head screw-driver.
-A printer. This is only if you don't have any artistic ability. If you want to draw the design yourself, feel free to go ahead and do so.
-A sander. You can use regular sand paper if you want, but I will be using an electric sander.
Etching the Glass.

This is the part where all of the magic happens. You get to start with a piece of clean, ordinary glass, and make it so epic, it could be Chuck Norris' window!
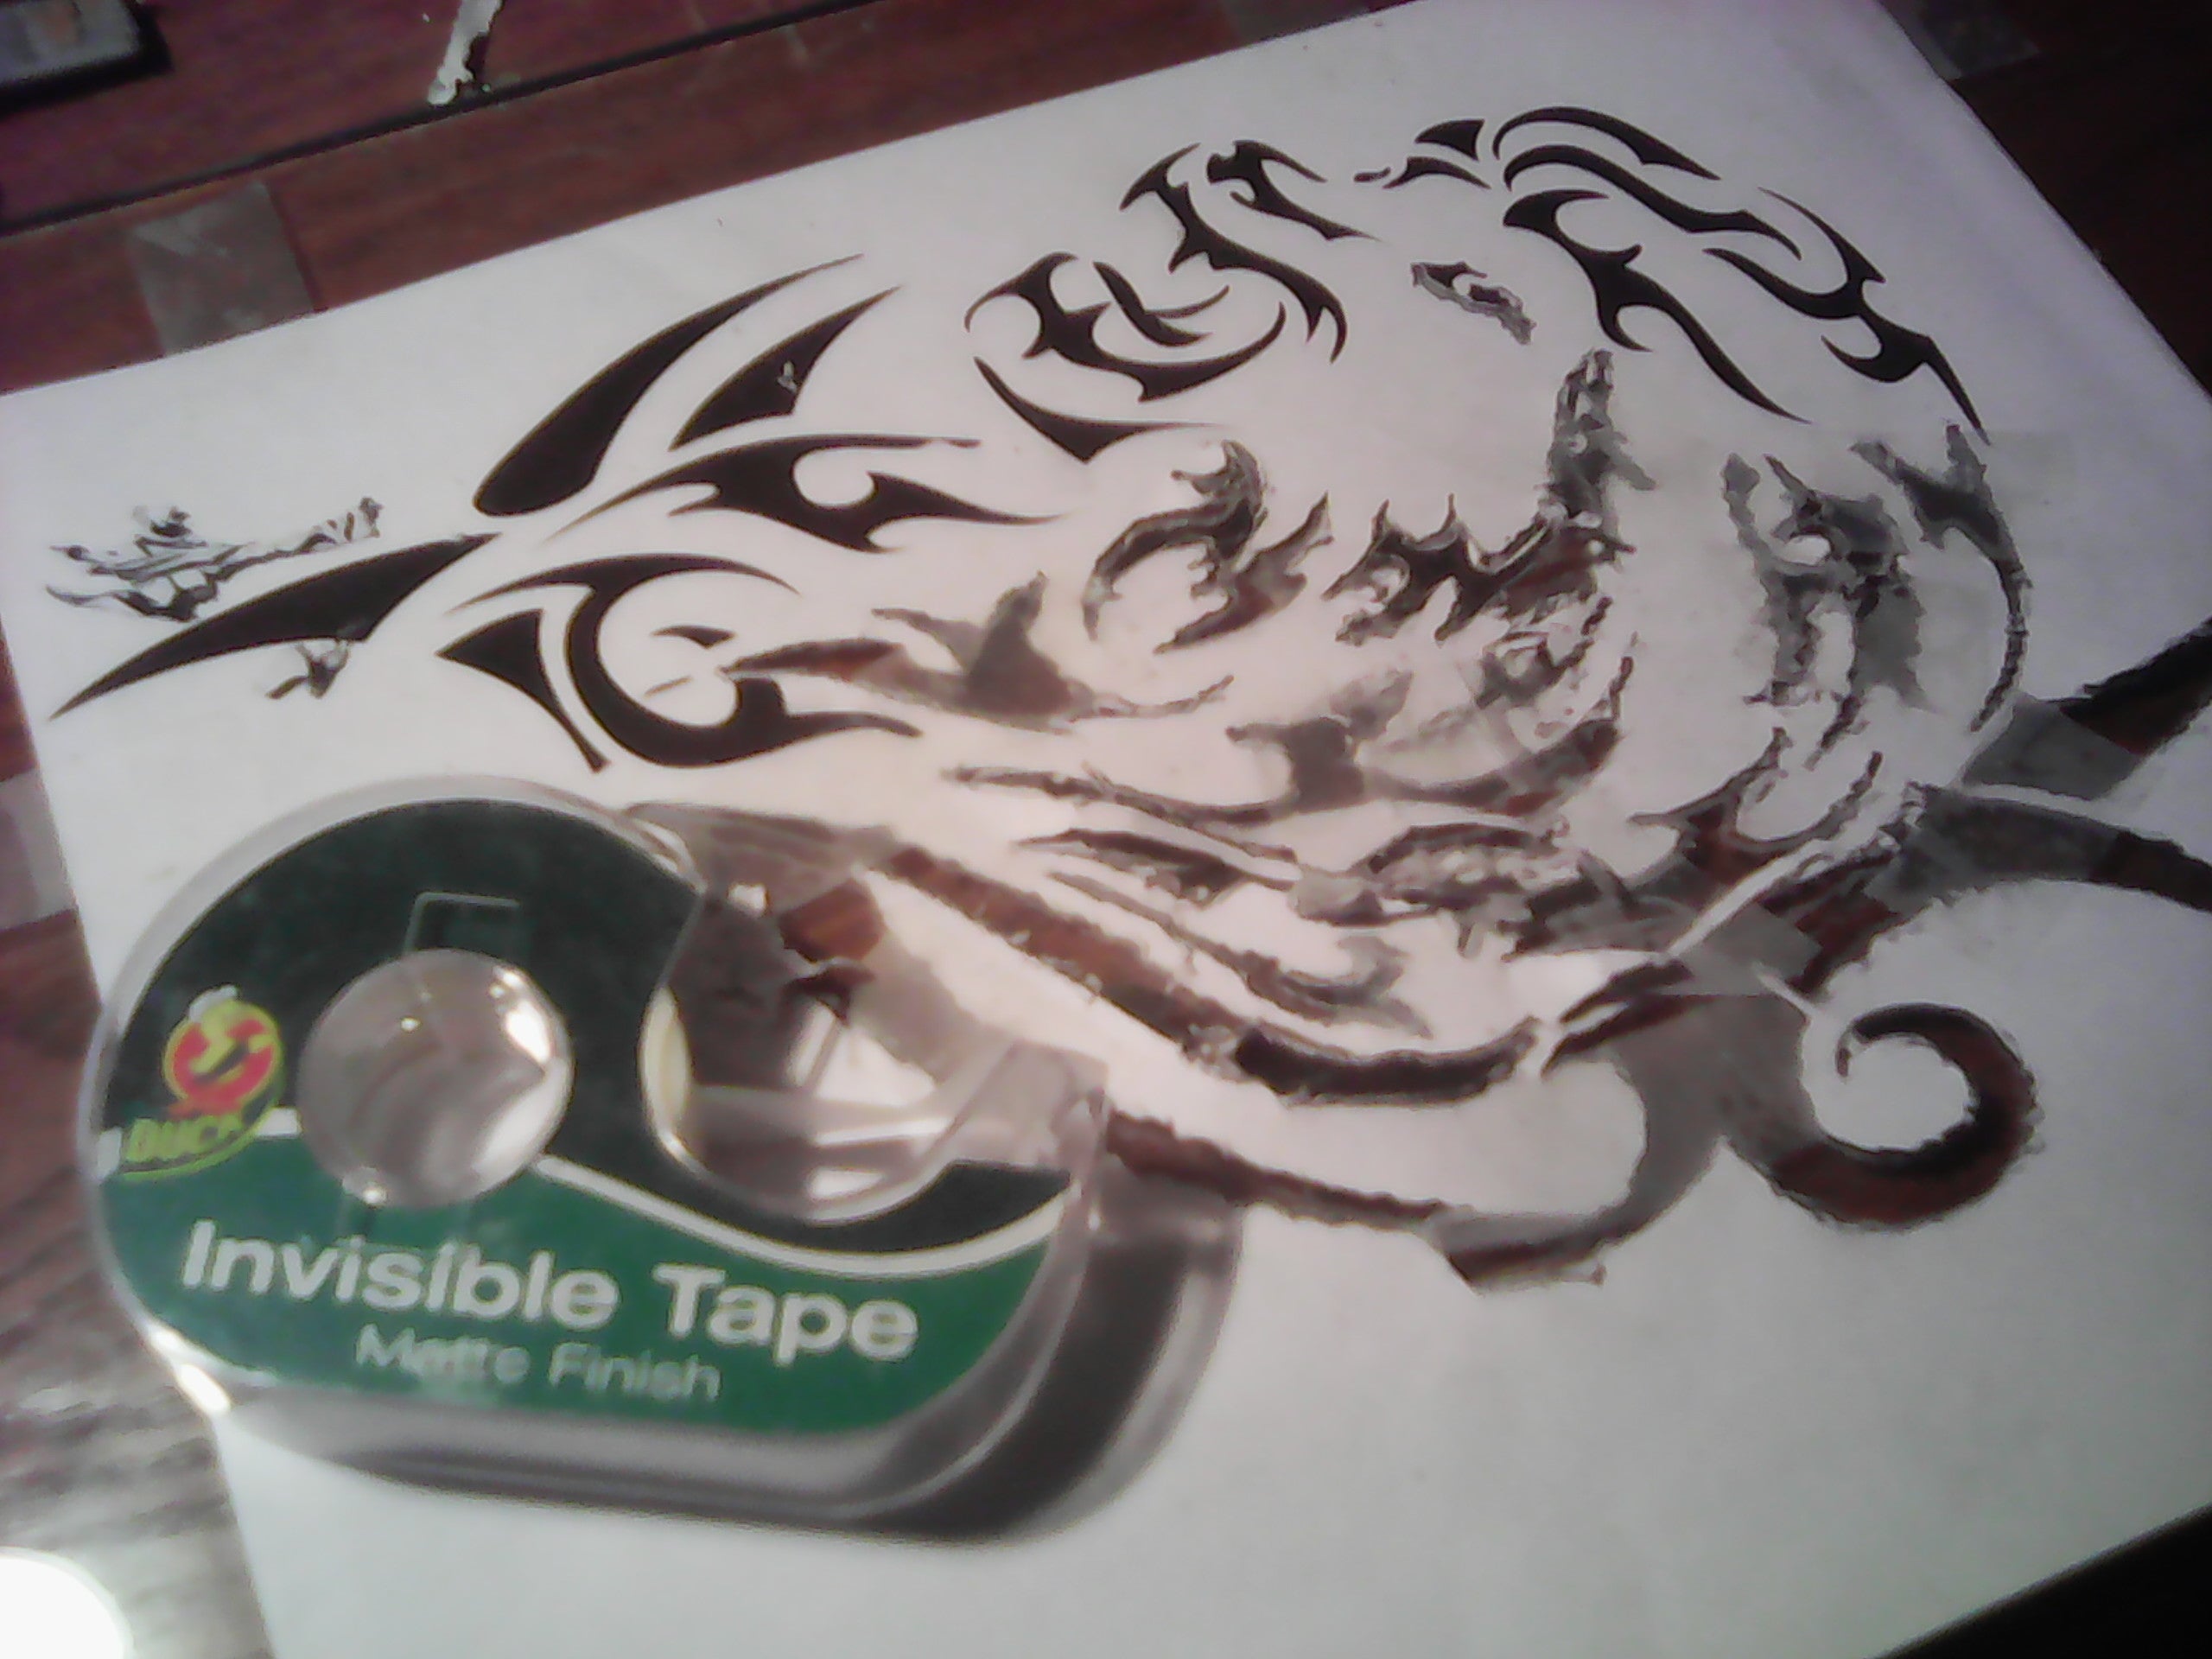
1. First, we're going to print off the picture we wish to etch. In my opinion, tribal art looks best, but you can etch whatever you want. If you want to do something in the style of what I made, search for "tribal lion" in google images.

2. Center the sheet of paper over the glass (lion-side up) and tape it down.

3. Now we will take the rotary tool and begin etching along the outline of every part of the lion. Try to get as precise as you can, although small mistakes won't have a huge impact.

4. You can tape along as you go, to make sure that the paper stays flush to the glass. If the paper coming up becomes an issue, try working from the center outwards.

5. Once you finish etching the outline, you can remove the paper. It's not going to look great yet, but we'll touch it up.

6. Fill in the gaps between the lines and add definition to the existing lines to make it look more crisp.

7. We will now fill in the outline by etching. This is where it starts to look really cool.

8. Take a deep breath and... admire the awesomeness of your work. You have just finished the most important part of this project, the glass!

Building and Wiring the Base.

Well done on the glass, now that we've gotten the hard part out of the way, on to the easy! (well, easier anyway) Pull out that plank of wood, and let's turn it into something useful!

1. Draw a line at 1 foot as well as 2 feet from the edge, and cut it. This will leave you with two equally sized boards.

2. Leave a mark 1 inch from the edge of both sides at roughly the center of the board's width. Do steps 2-5 on both boards.

3. Find the center of the board using a ruler, and draw points 1/8th of an inch on either side of the center down the length of the board. And, past the one inch mark we made in step 2, 5/16th's of an inch.
4. Connect the dots into a line. (Just a reminder, make sure you are doing this to both boards). 
5. Make another line 3/4th's of an inch from the right edge of the board. 
6. Cut between the lines on one of the boards, making sure to leave the other board whole.

7. Cut off five complete sections of the LED strip and peel off the backing. Apply carefully within the lines on the board that we didn't cut down the middle. If it has pre-soldered wires, point them towards the side where we left the 3/4" mark.
8. Cut off the wires at the 3/4" mark and then strip off the tips. 
9. Screw the wires into the female adaptor power jack, making sure to put negative to negative, and positive to positive. 
10. Now we're going to use the wood glue to seal the two boards together. If it is an expansive glue, make sure to not be too lavish, as we don't want the glue to cover the LED strip. 
11. Clamp it together, being careful to make sure the boards are lined up well. (don't worry, it doesn't have to be perfect, we'll sand it down later.) Allow to dry before moving onto the next step.
12. Make marks at 1 inch from every corner in both directions, and then connect them; creating "dog ears" on every corner. 
13. Cut off the dog ears, and then cut roughly 1/5th of an inch at a 45 degree angle on all of the top edges. This gives it a nice aesthetic appeal. 
14. Go ahead and sand down all of the edges. 
15. Glue down the adapter with super glue. 
16. Use painter's tape to cover the adapter. If you're using black paint like I am, then the only real concern is the actual plugin. 
17. Paint it up! 
18. Plug it in and admire your work! You're done!

Epilogue.
If you liked this Instructable, vote for me in the contests I entered! This instructable was entered into:
- LED contest.
- Homemade Gifts contest.
- Epilog IX contest
And if you found the pictures to be lack-luster, the grand and first prize for the Homemade Gifts contest includes a tablet, which would take much better pictures... just putting that out there.
Also, I'd like to give a shout out to SelkeyMoonbeam for showing me how to embed photos. It was a huge help, so check out her instructables!