FTM Packing Pouch - Free Sewing Pattern
243 Views, 0 Favorites, 0 Comments
FTM Packing Pouch - Free Sewing Pattern
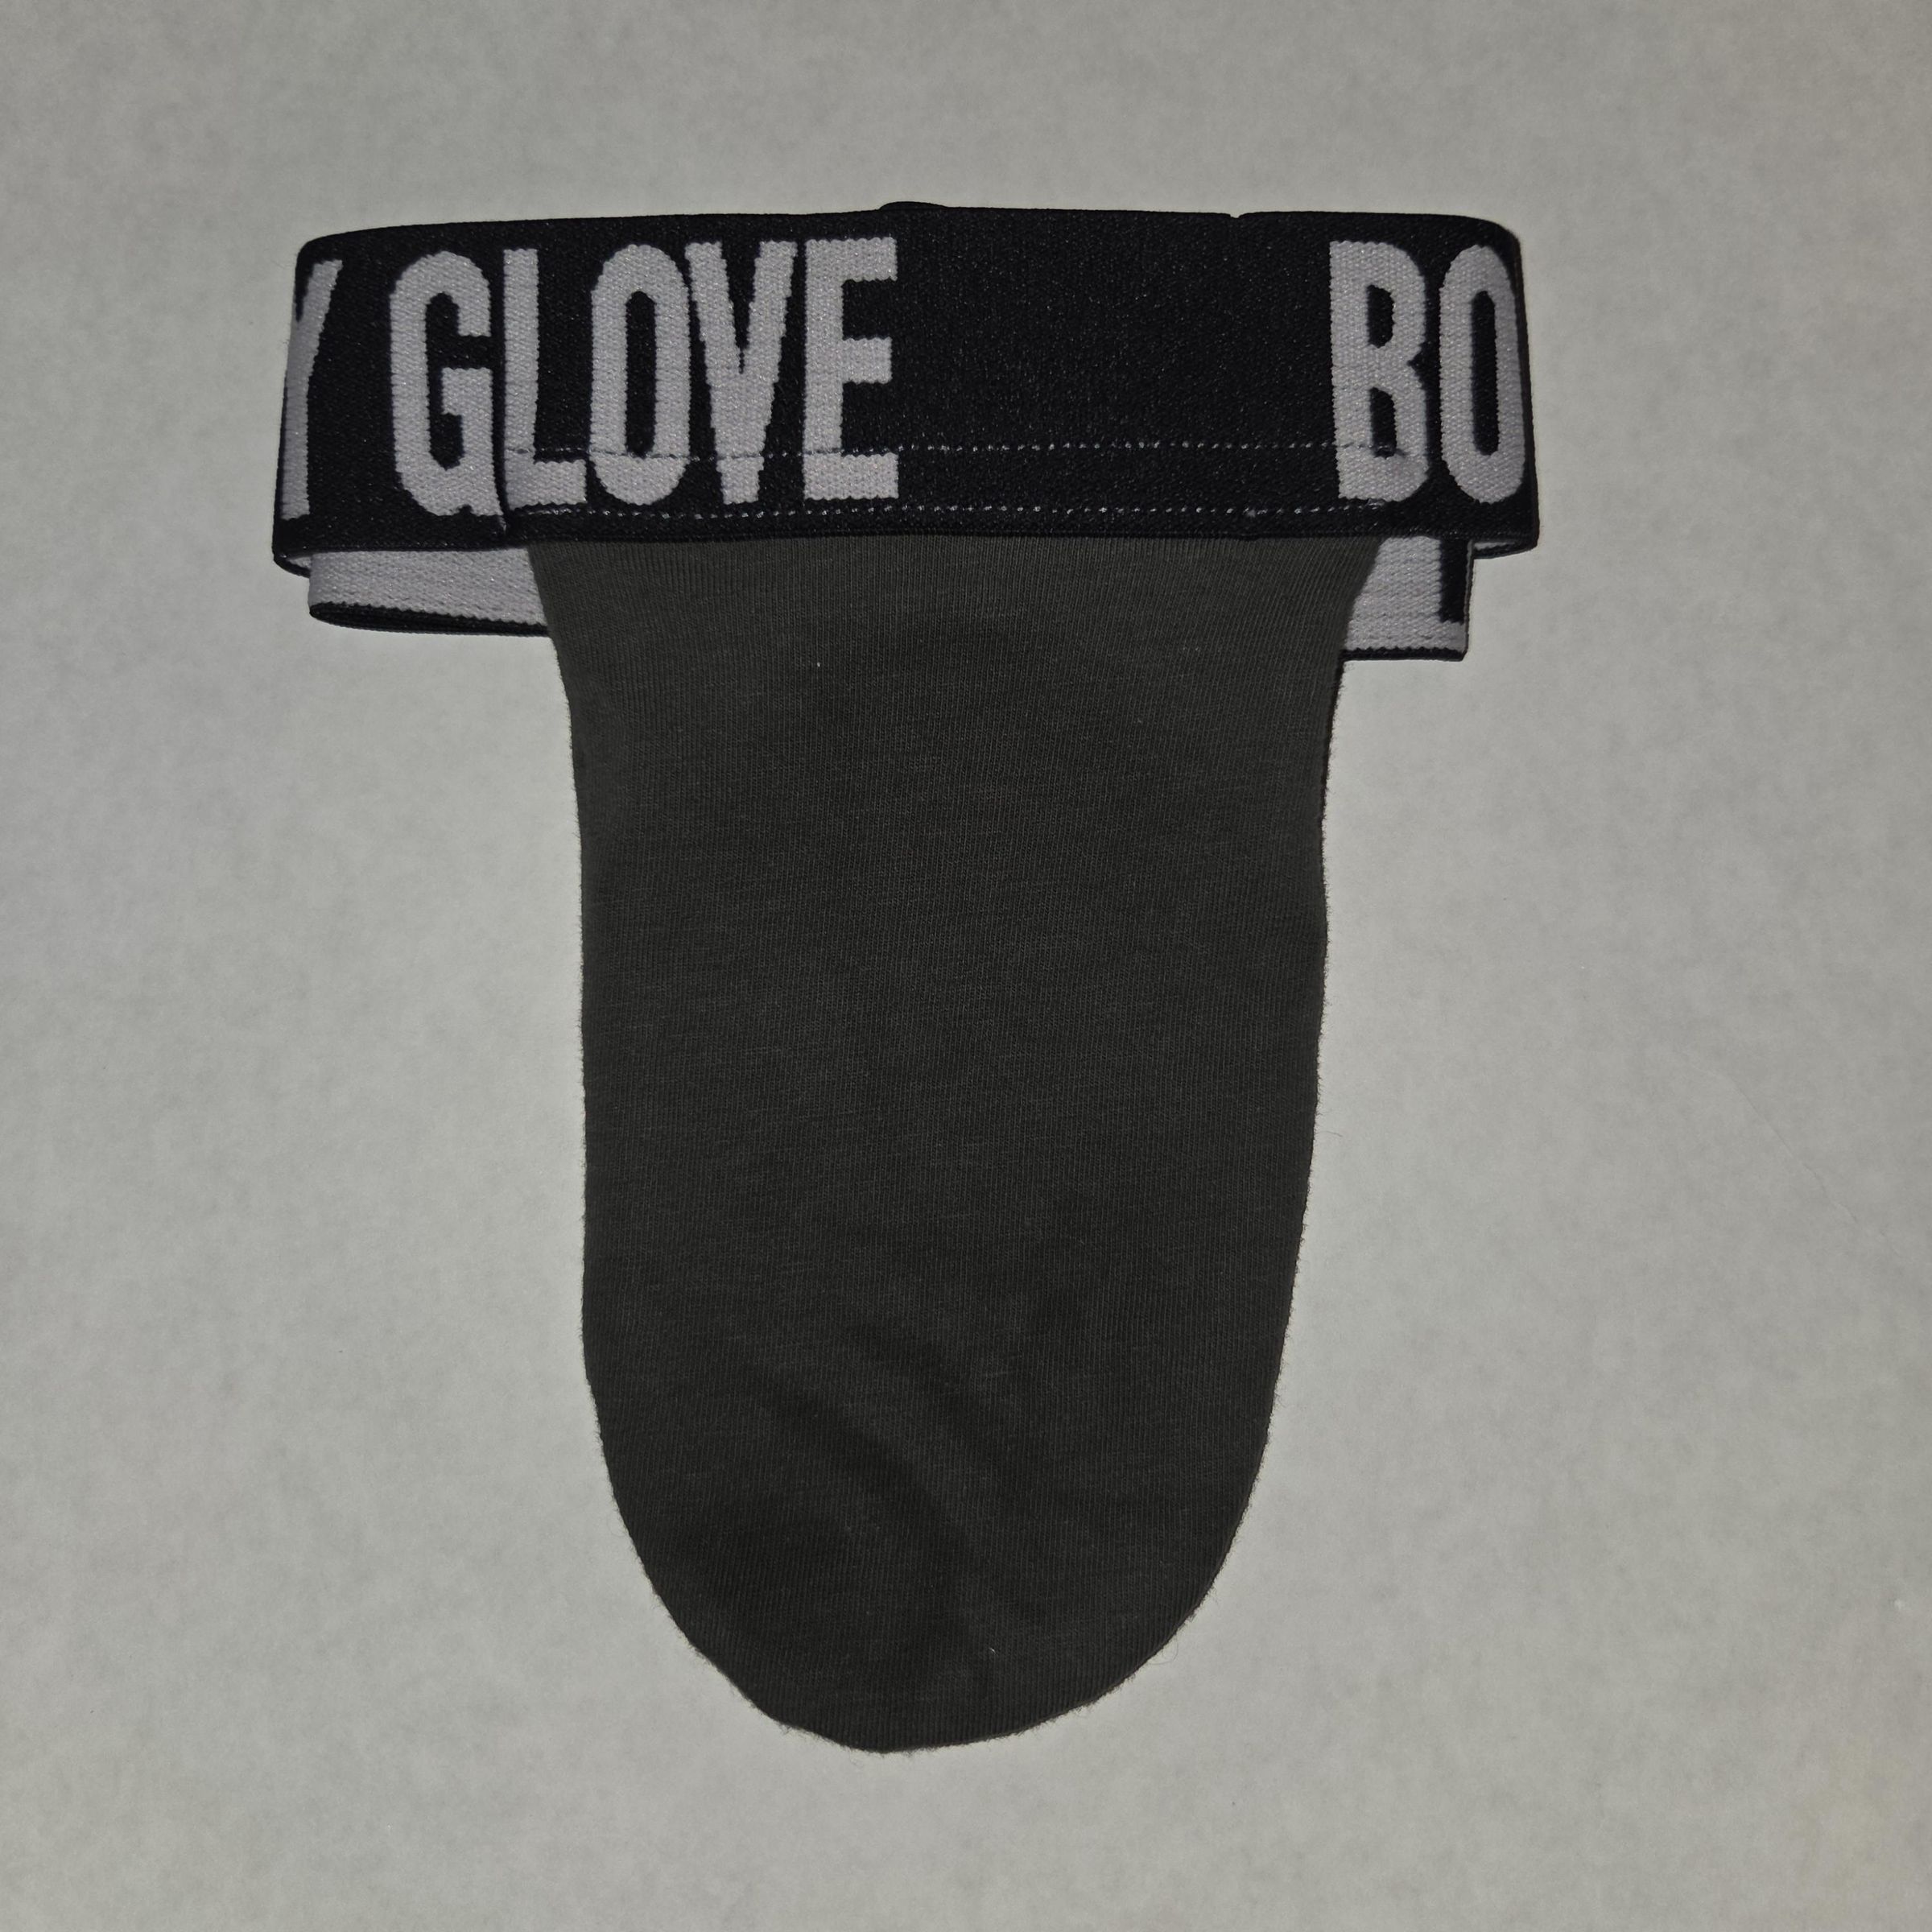
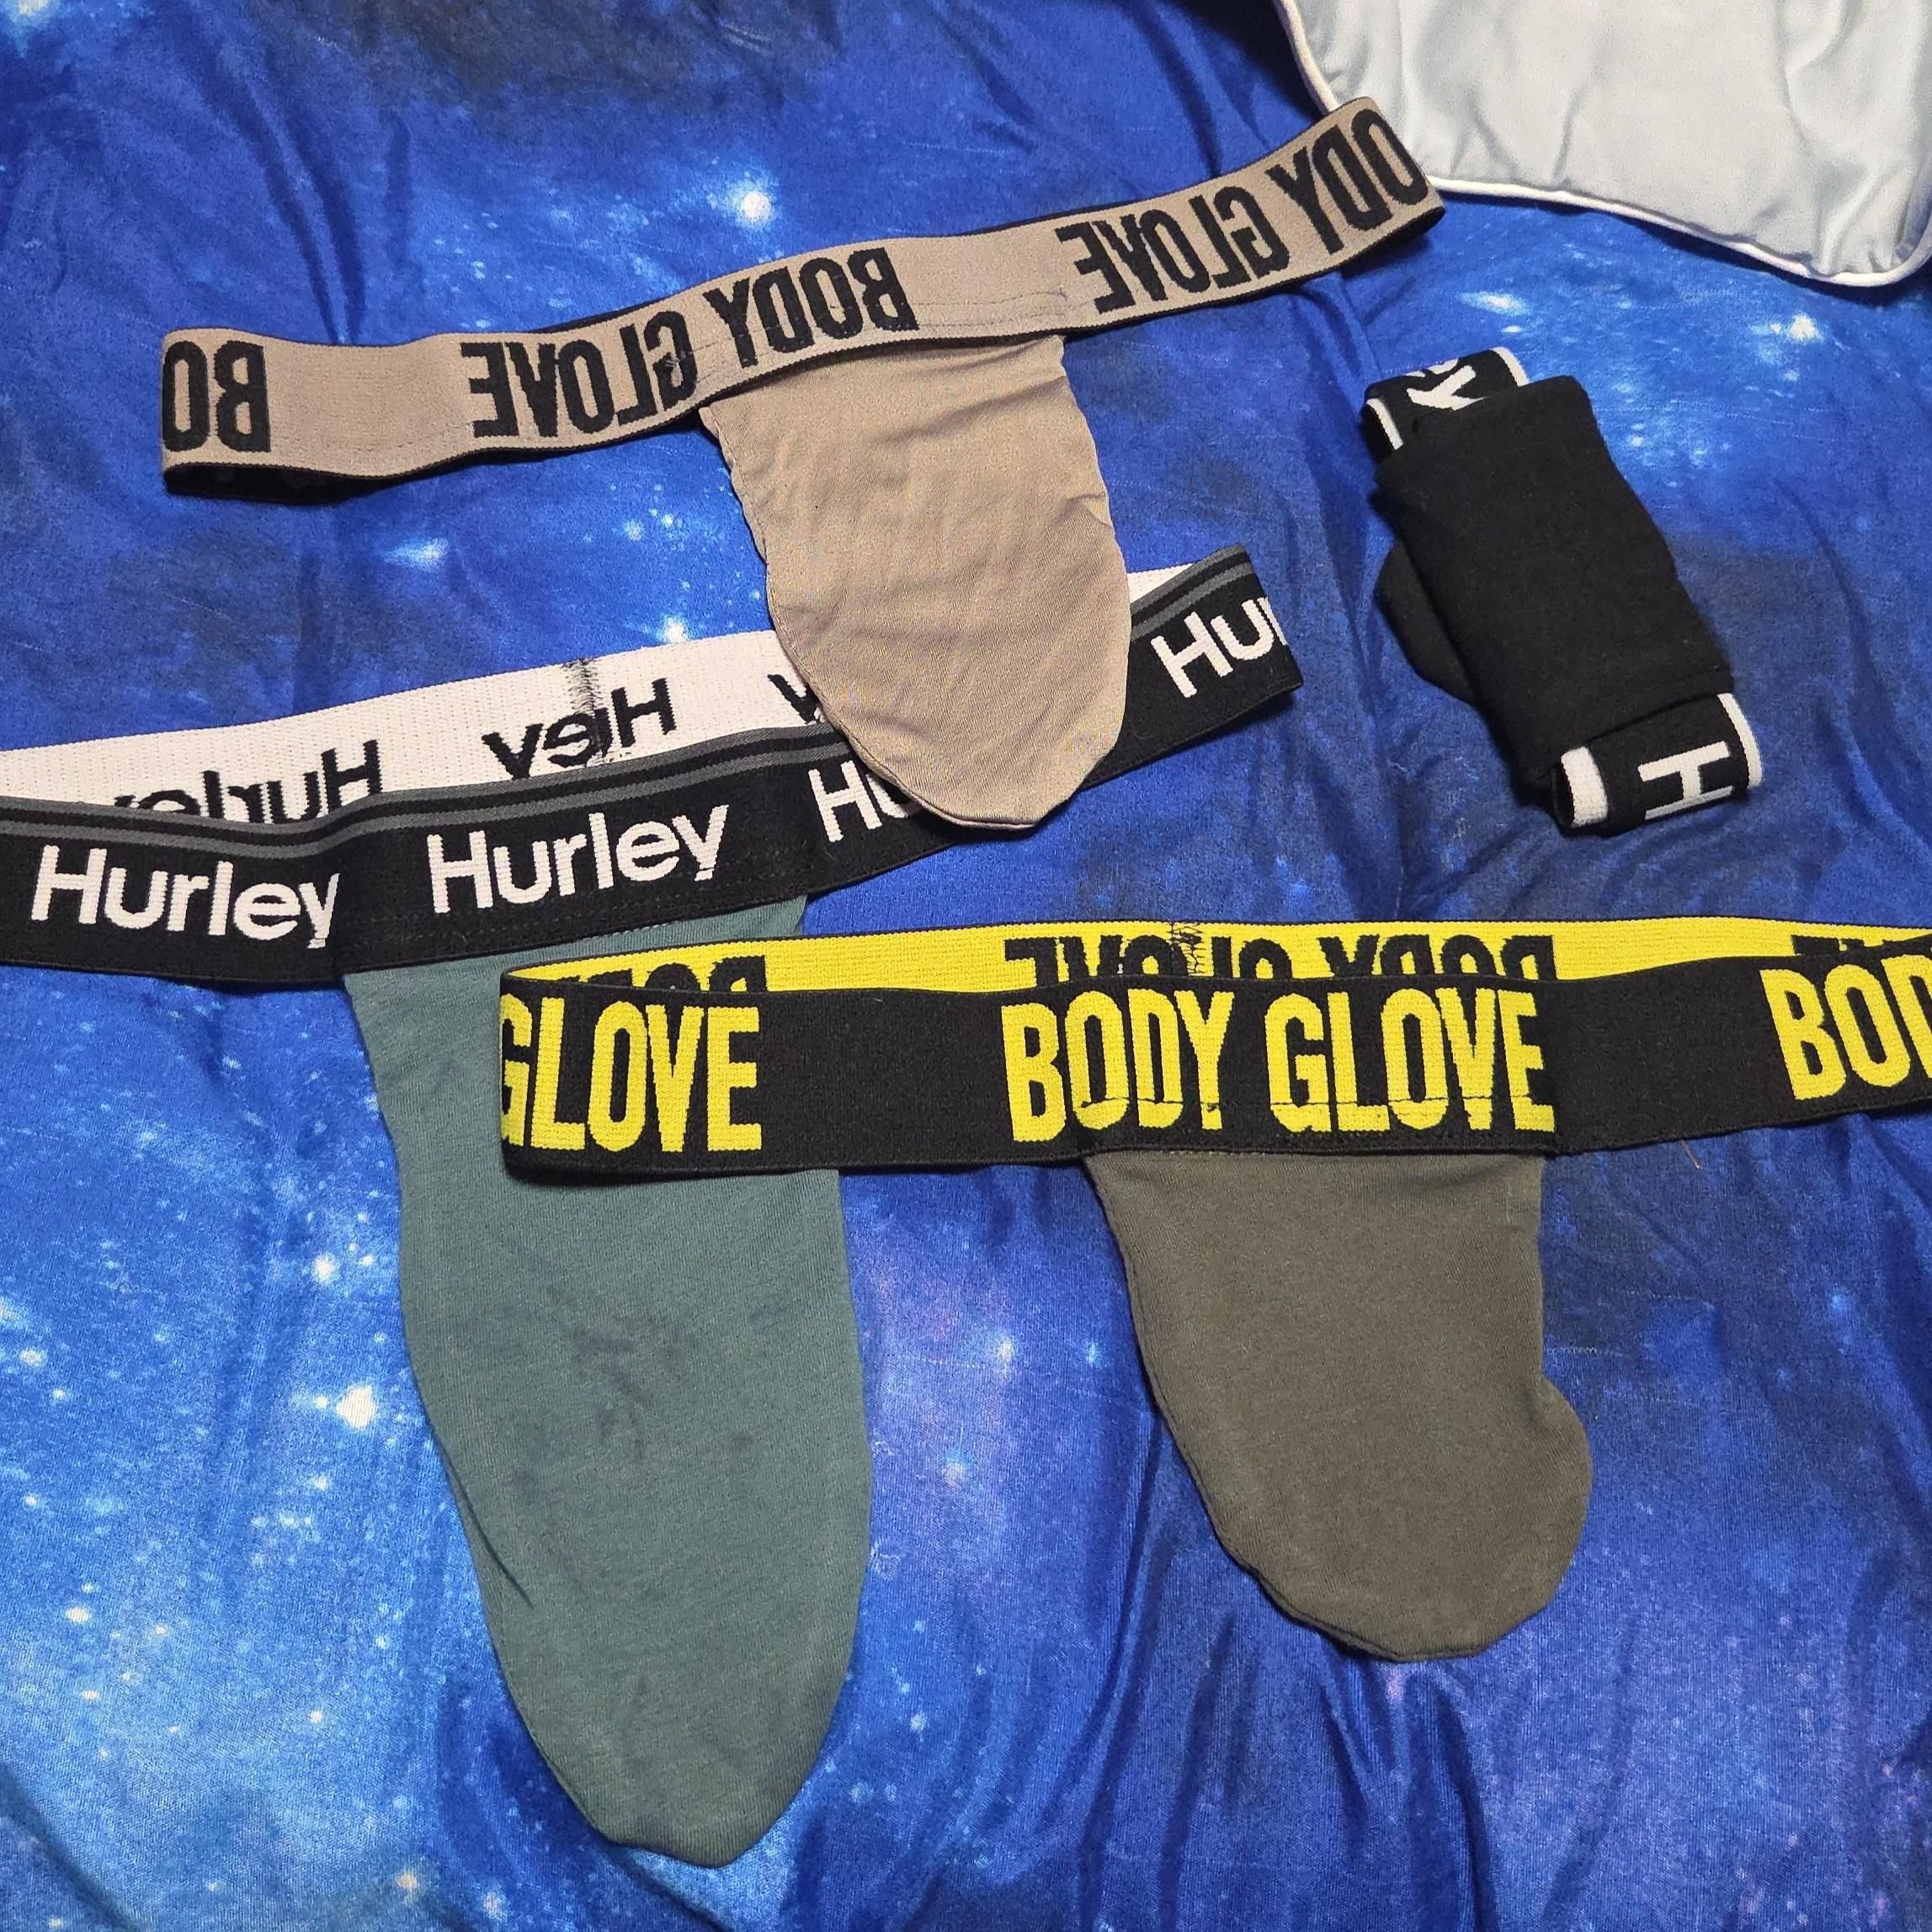
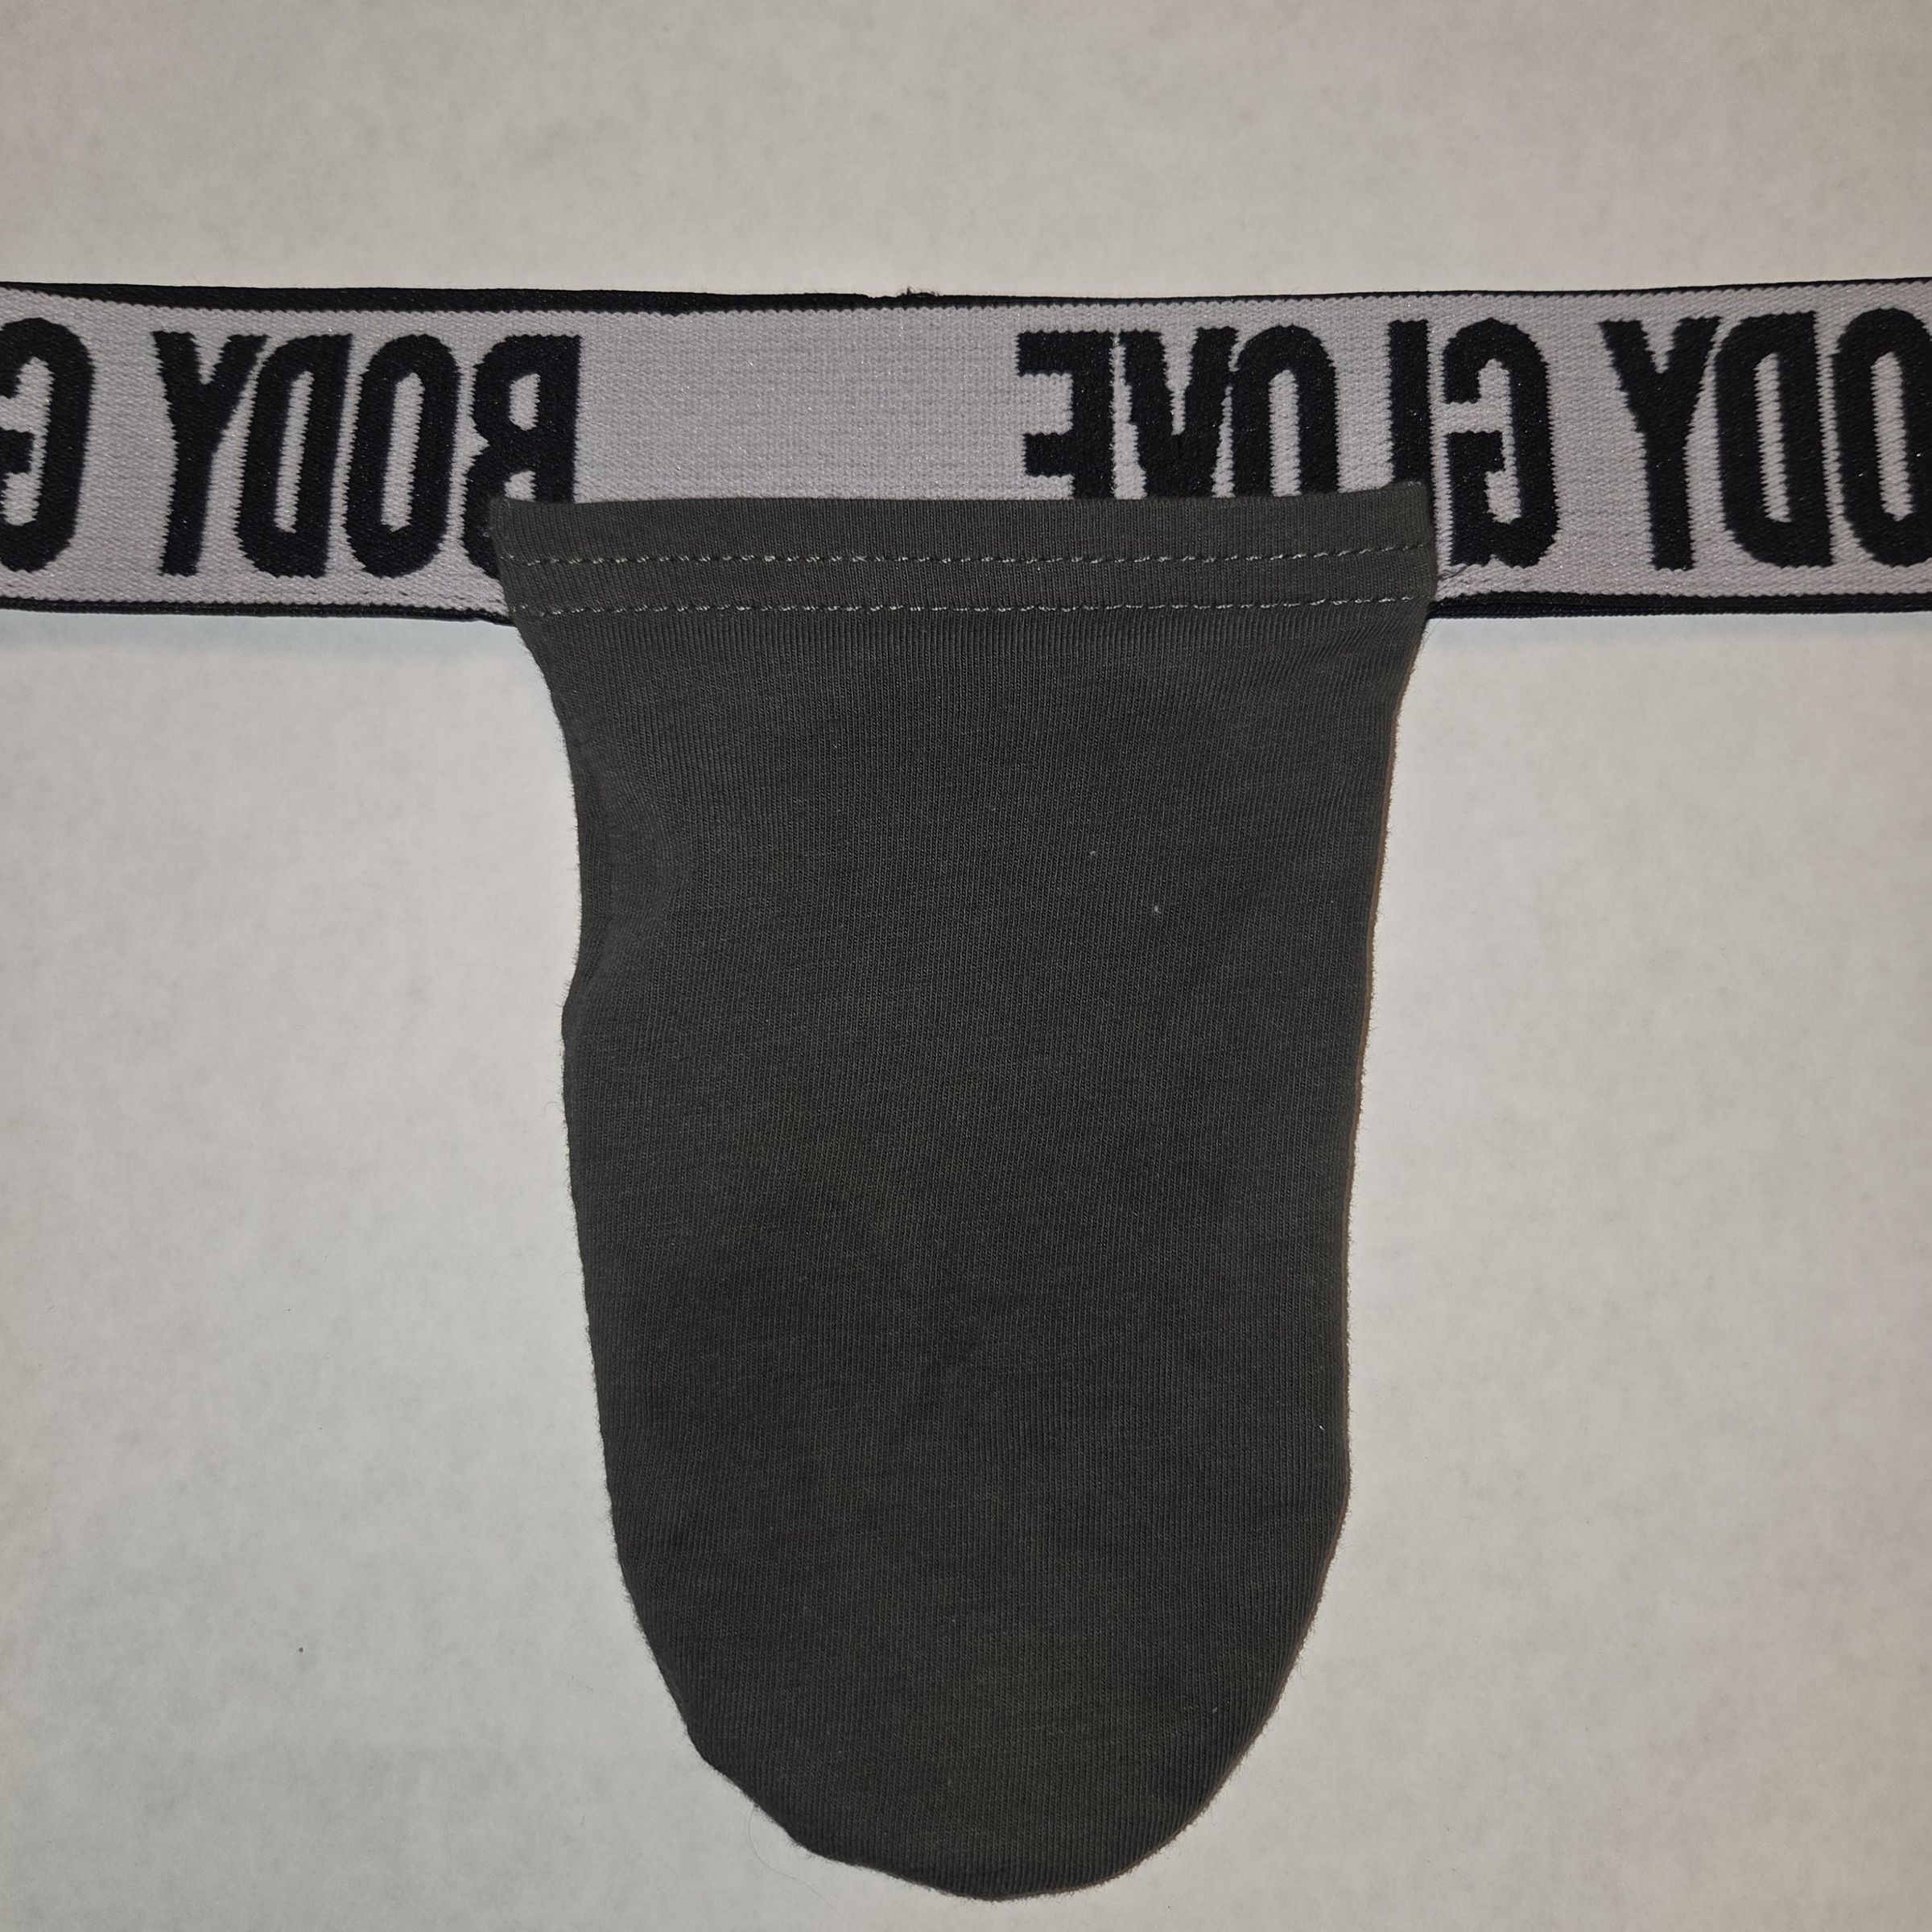
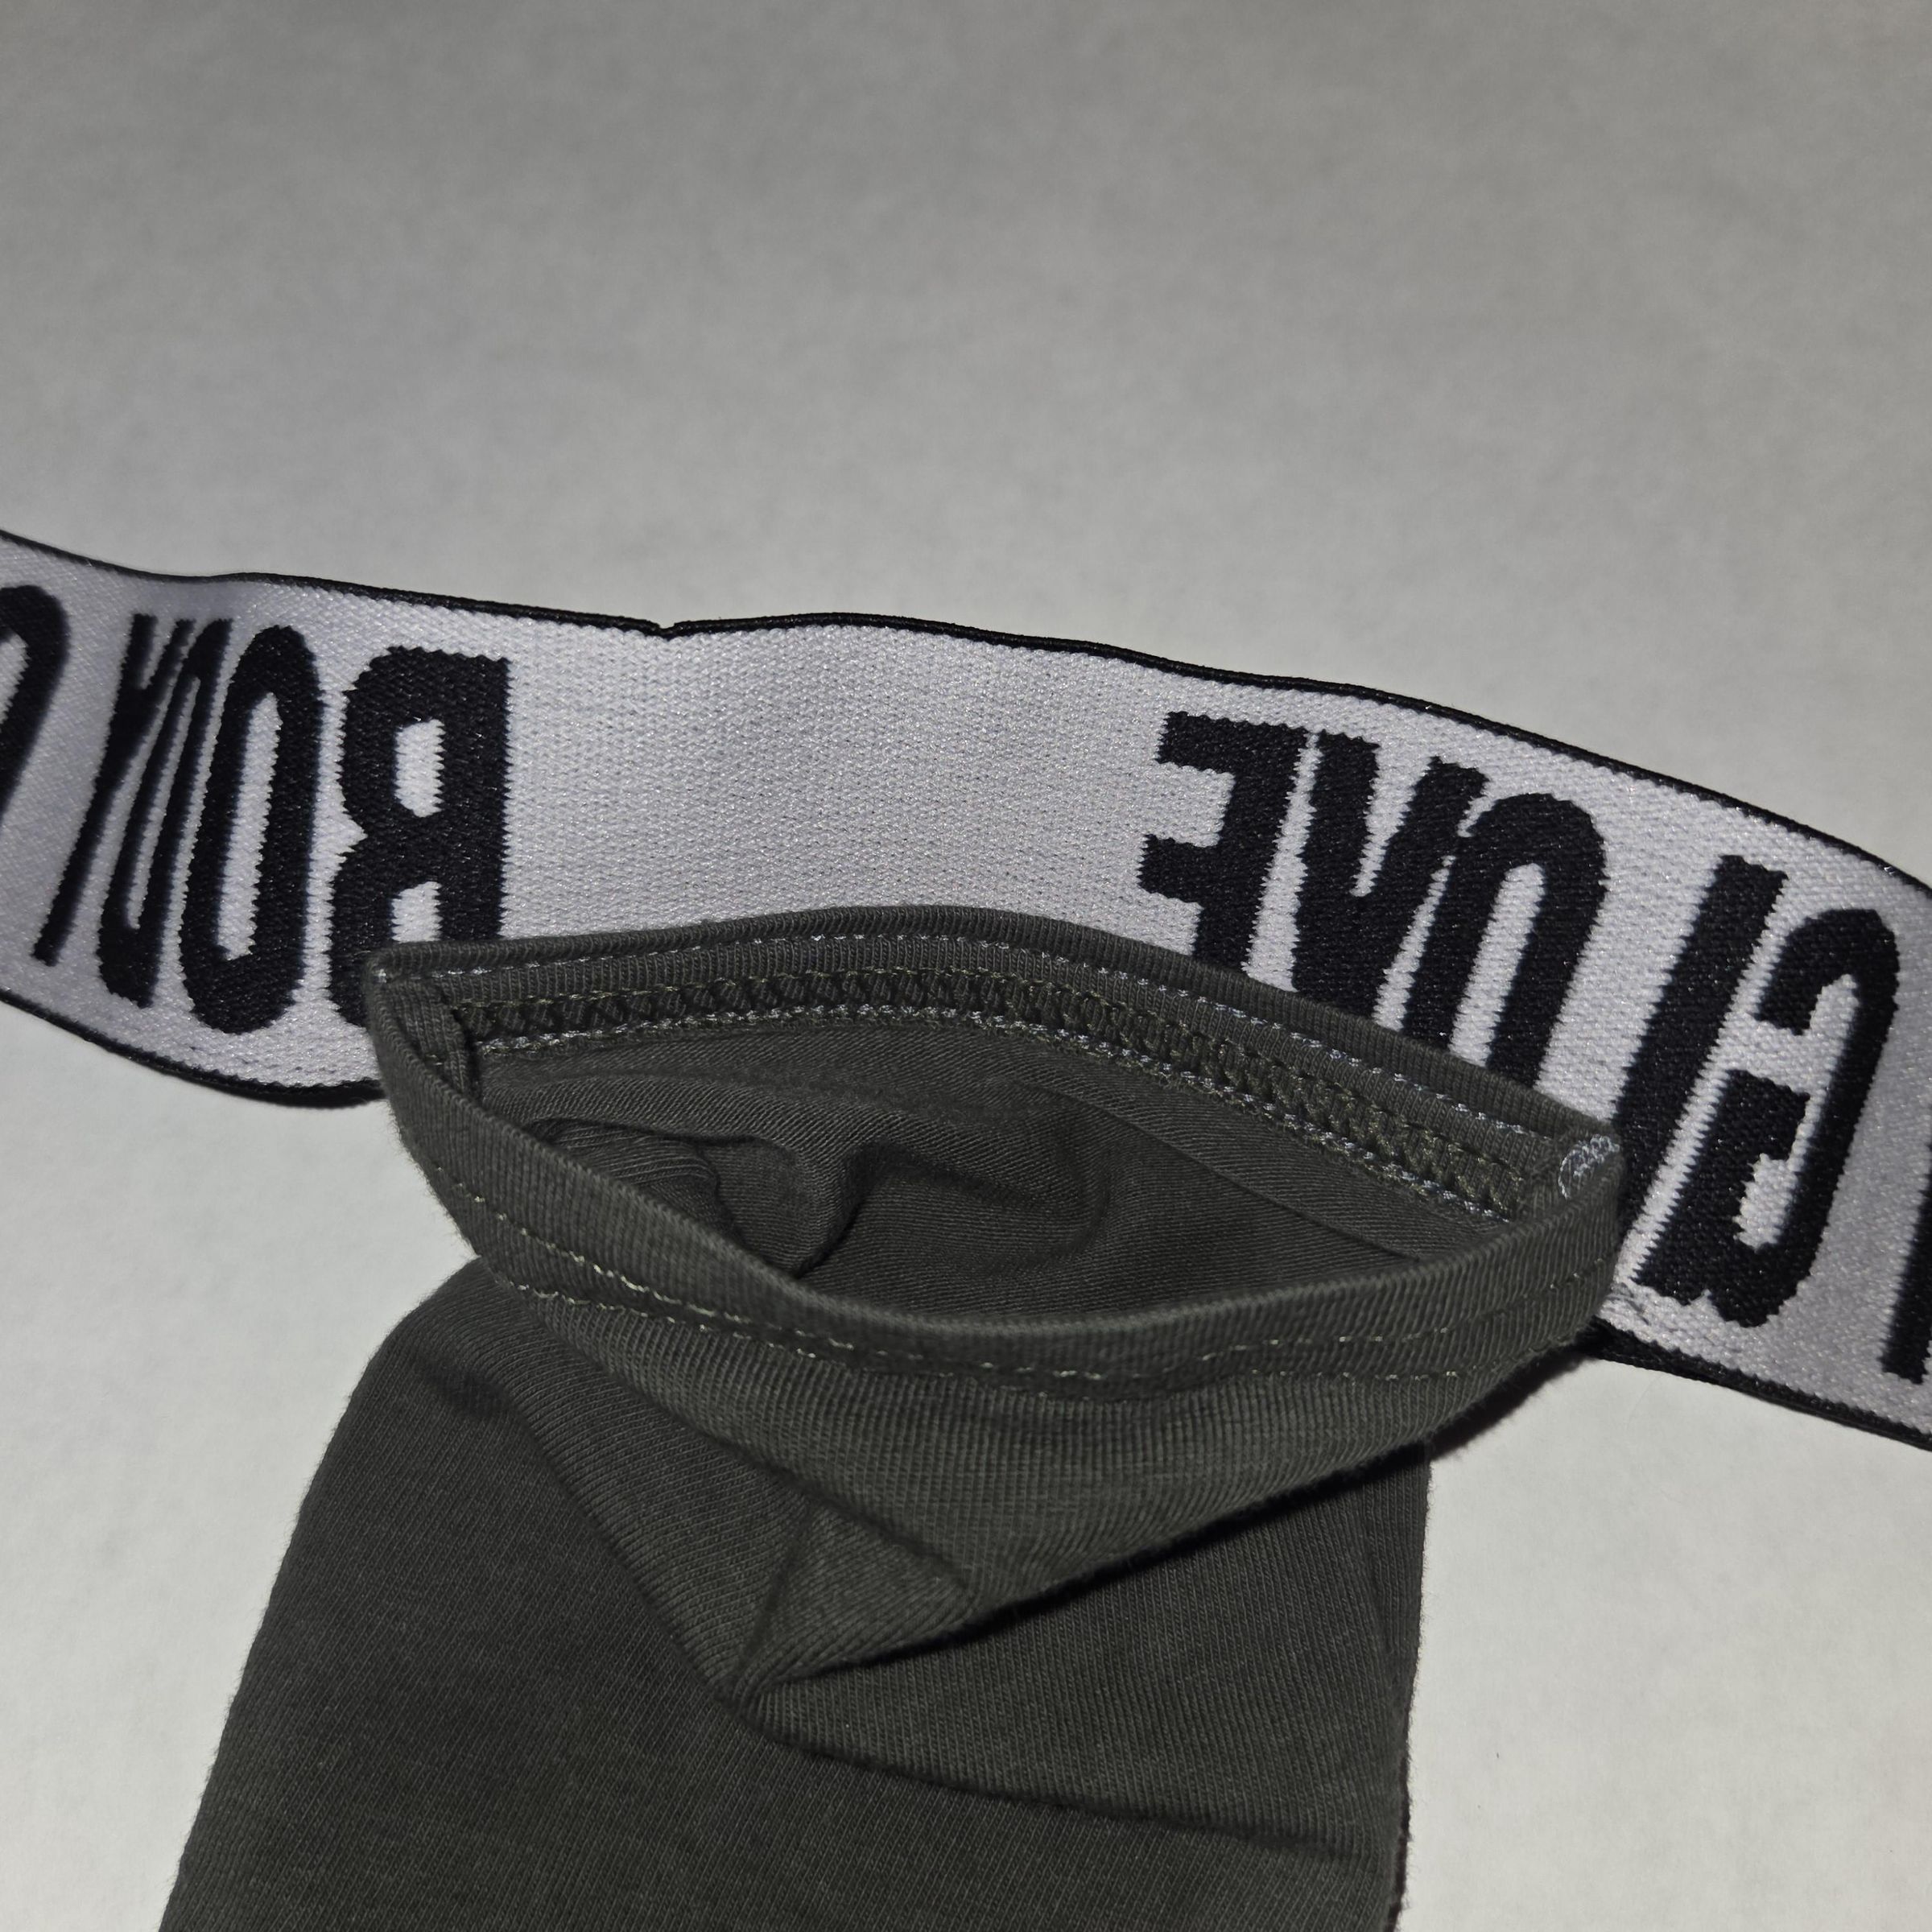
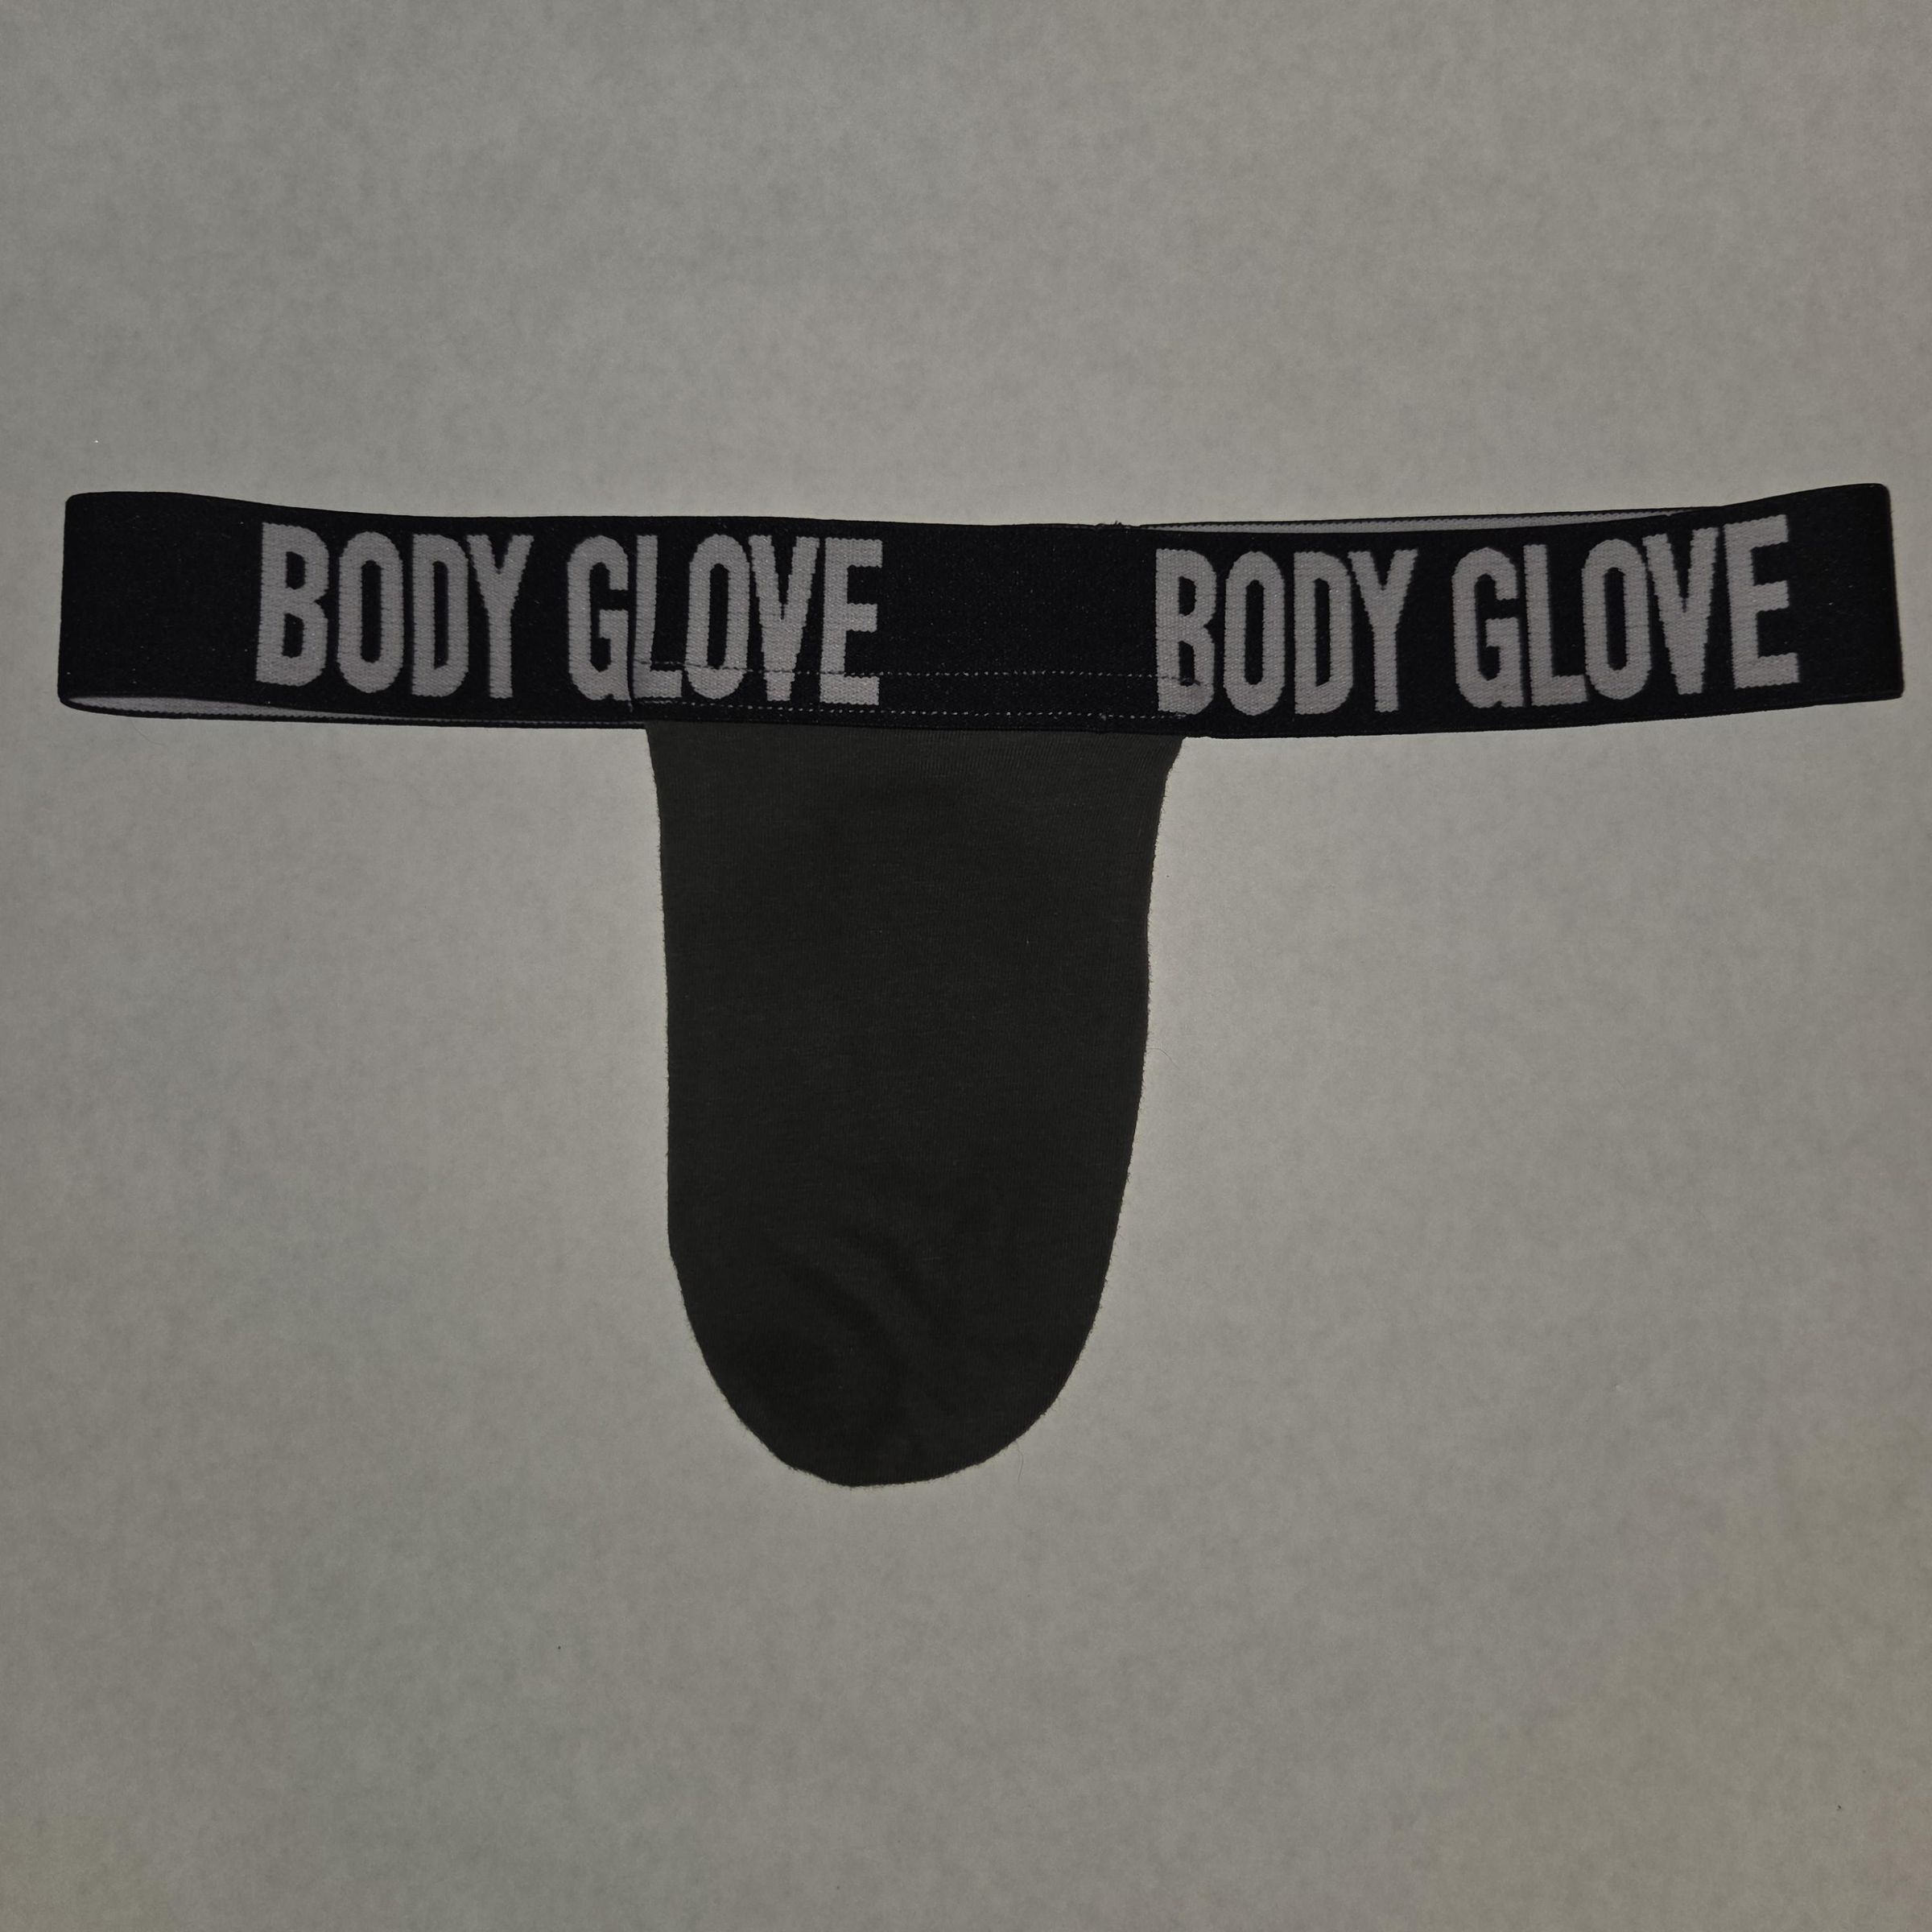
After searching for a while, I've noticed there aren't many online DIY resources for packing harnesses (or even underwear). So I decided to make my own! The pouch can be sewn into the waistband of a pair of boxers or onto an elastic waistband to wear under any of your underwear. The pouch should work with rolled socks, foam bulge inserts, fabric packers, and any silicone packers that aren't Stand-to-Pee or Pack-n-Play.
This project is at an intermediate level and takes about 45 minutes to complete. You can find the pattern download on step 2 if you want to follow the simplified instructions on the printout. Accessible gender-affirming care, like packing, is so important, so I hope this tutorial is easy to follow and brings you lots of gender euphoria! (If sewing isn't your thing, go check out AndyCoreByEmmett on Etsy or MyPack for premade packing pouches similar to this one.)
Supplies
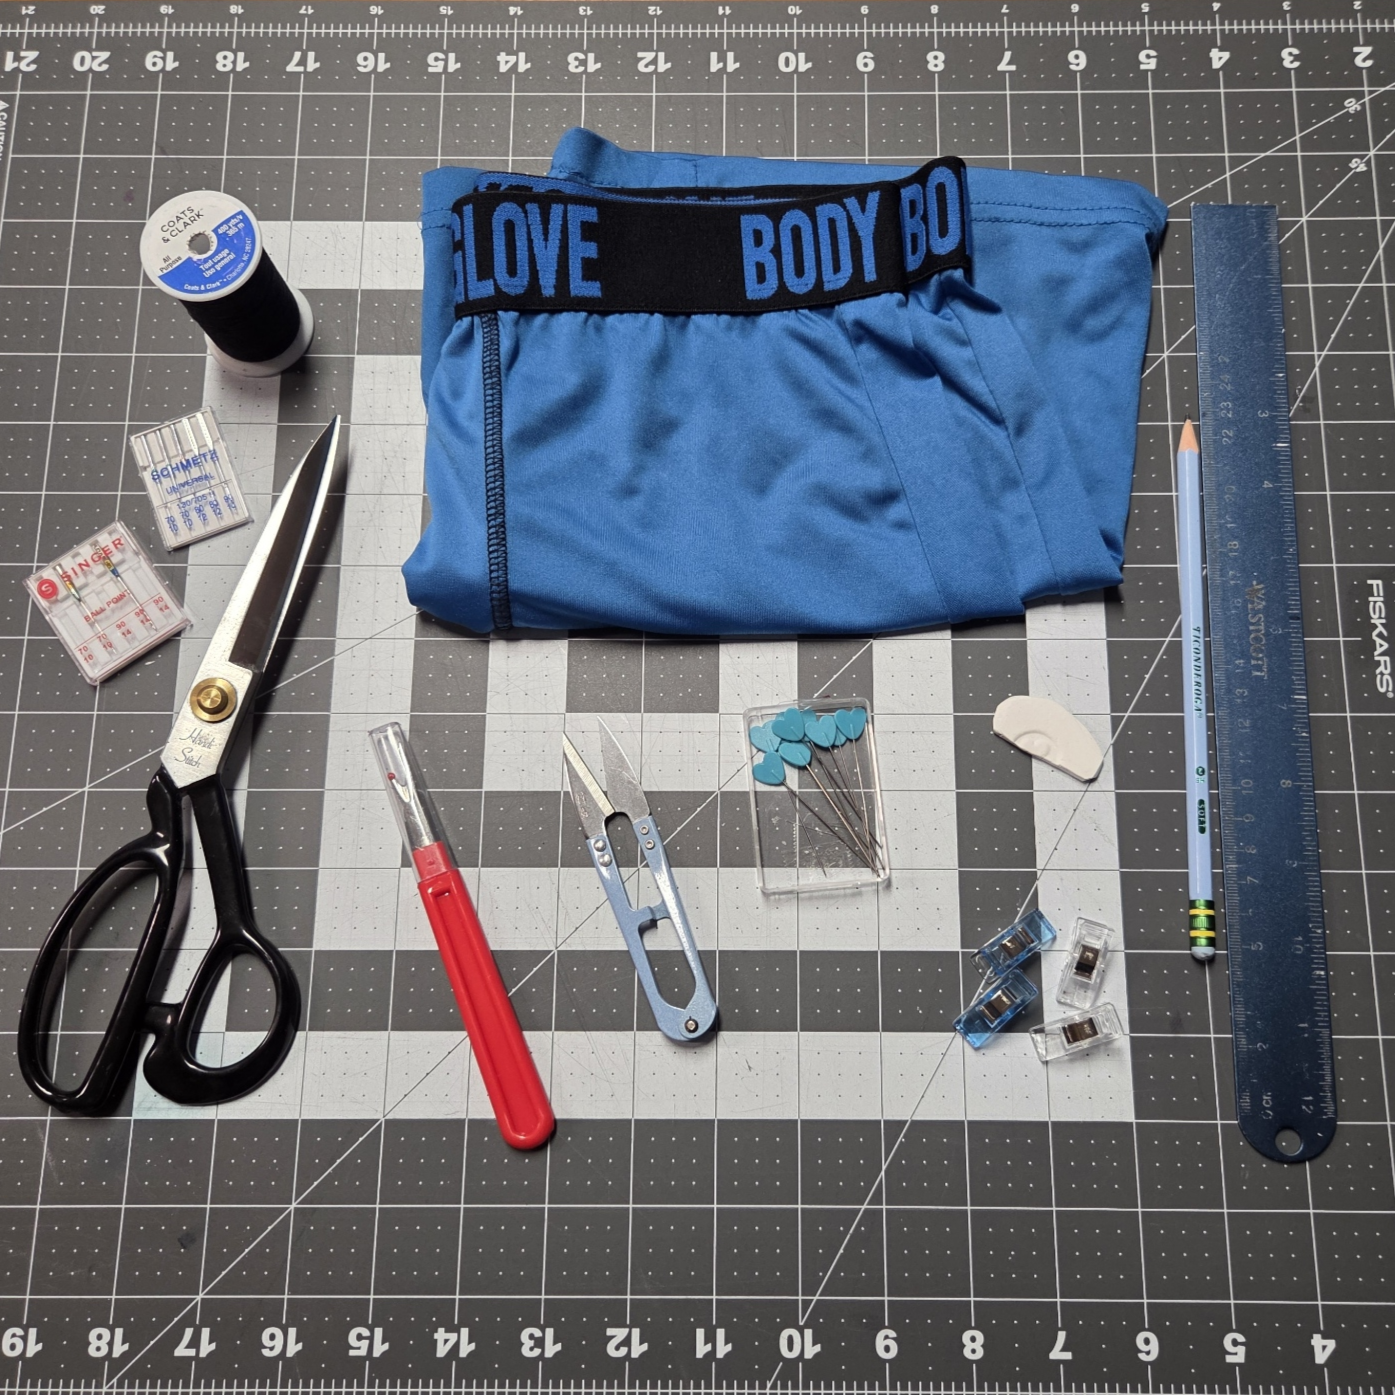
- Old pair of boxers (preferably cotton ones since they're better for skin health and easier to sew with)
- Seam ripper
- Pins or clips
- Chalk
- Scissors and/or snips
- Thread
- Universal or ballpoint sewing needle
- Ruler, pencil, and paper (if you're drawing your own pattern)
- Sewing machine (optional)
Obtain Waistband
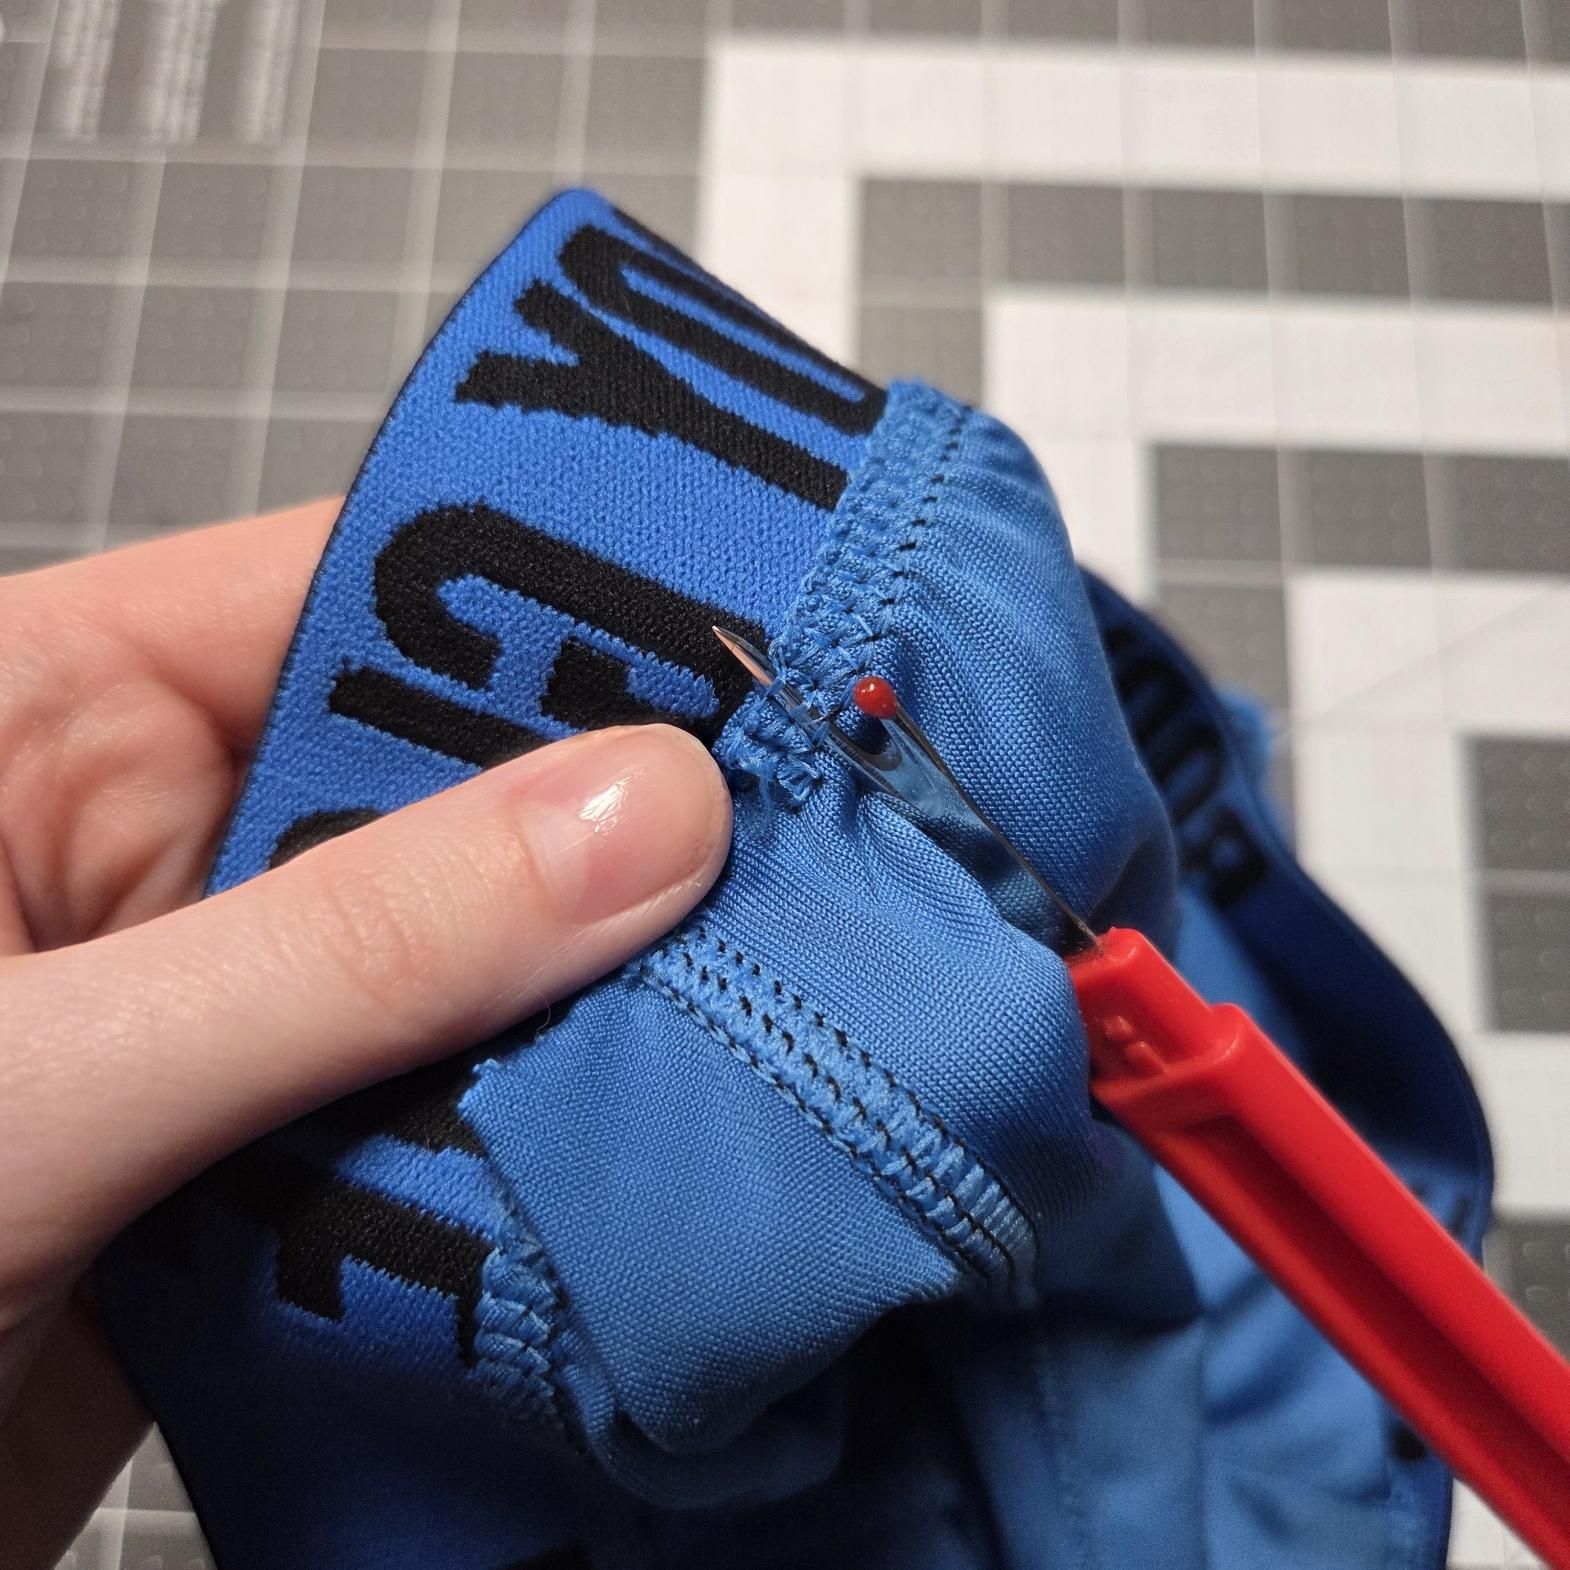
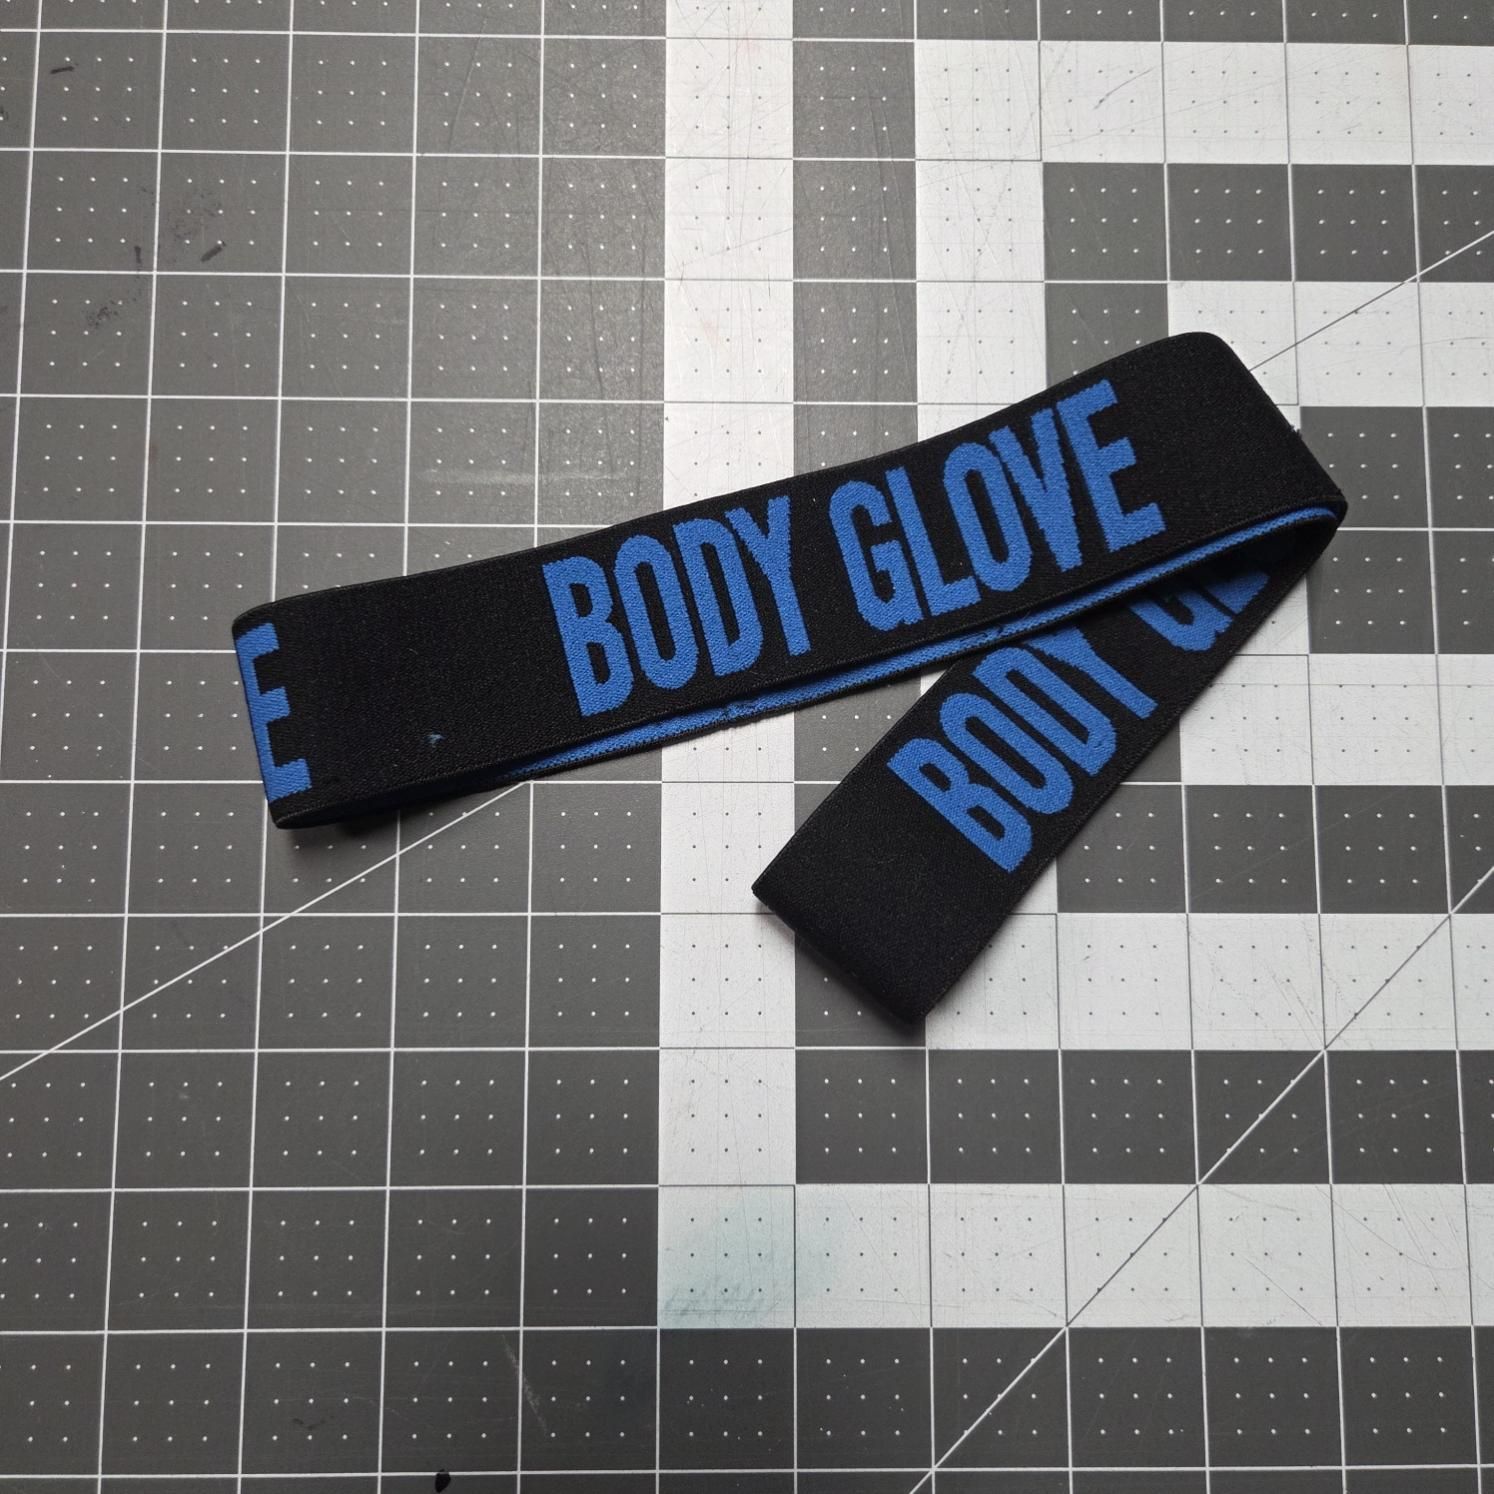
Seam rip the waistband from a pair of old boxers. Make sure to take your time to remove all excess thread and not tear the elastic band!
Determine Size
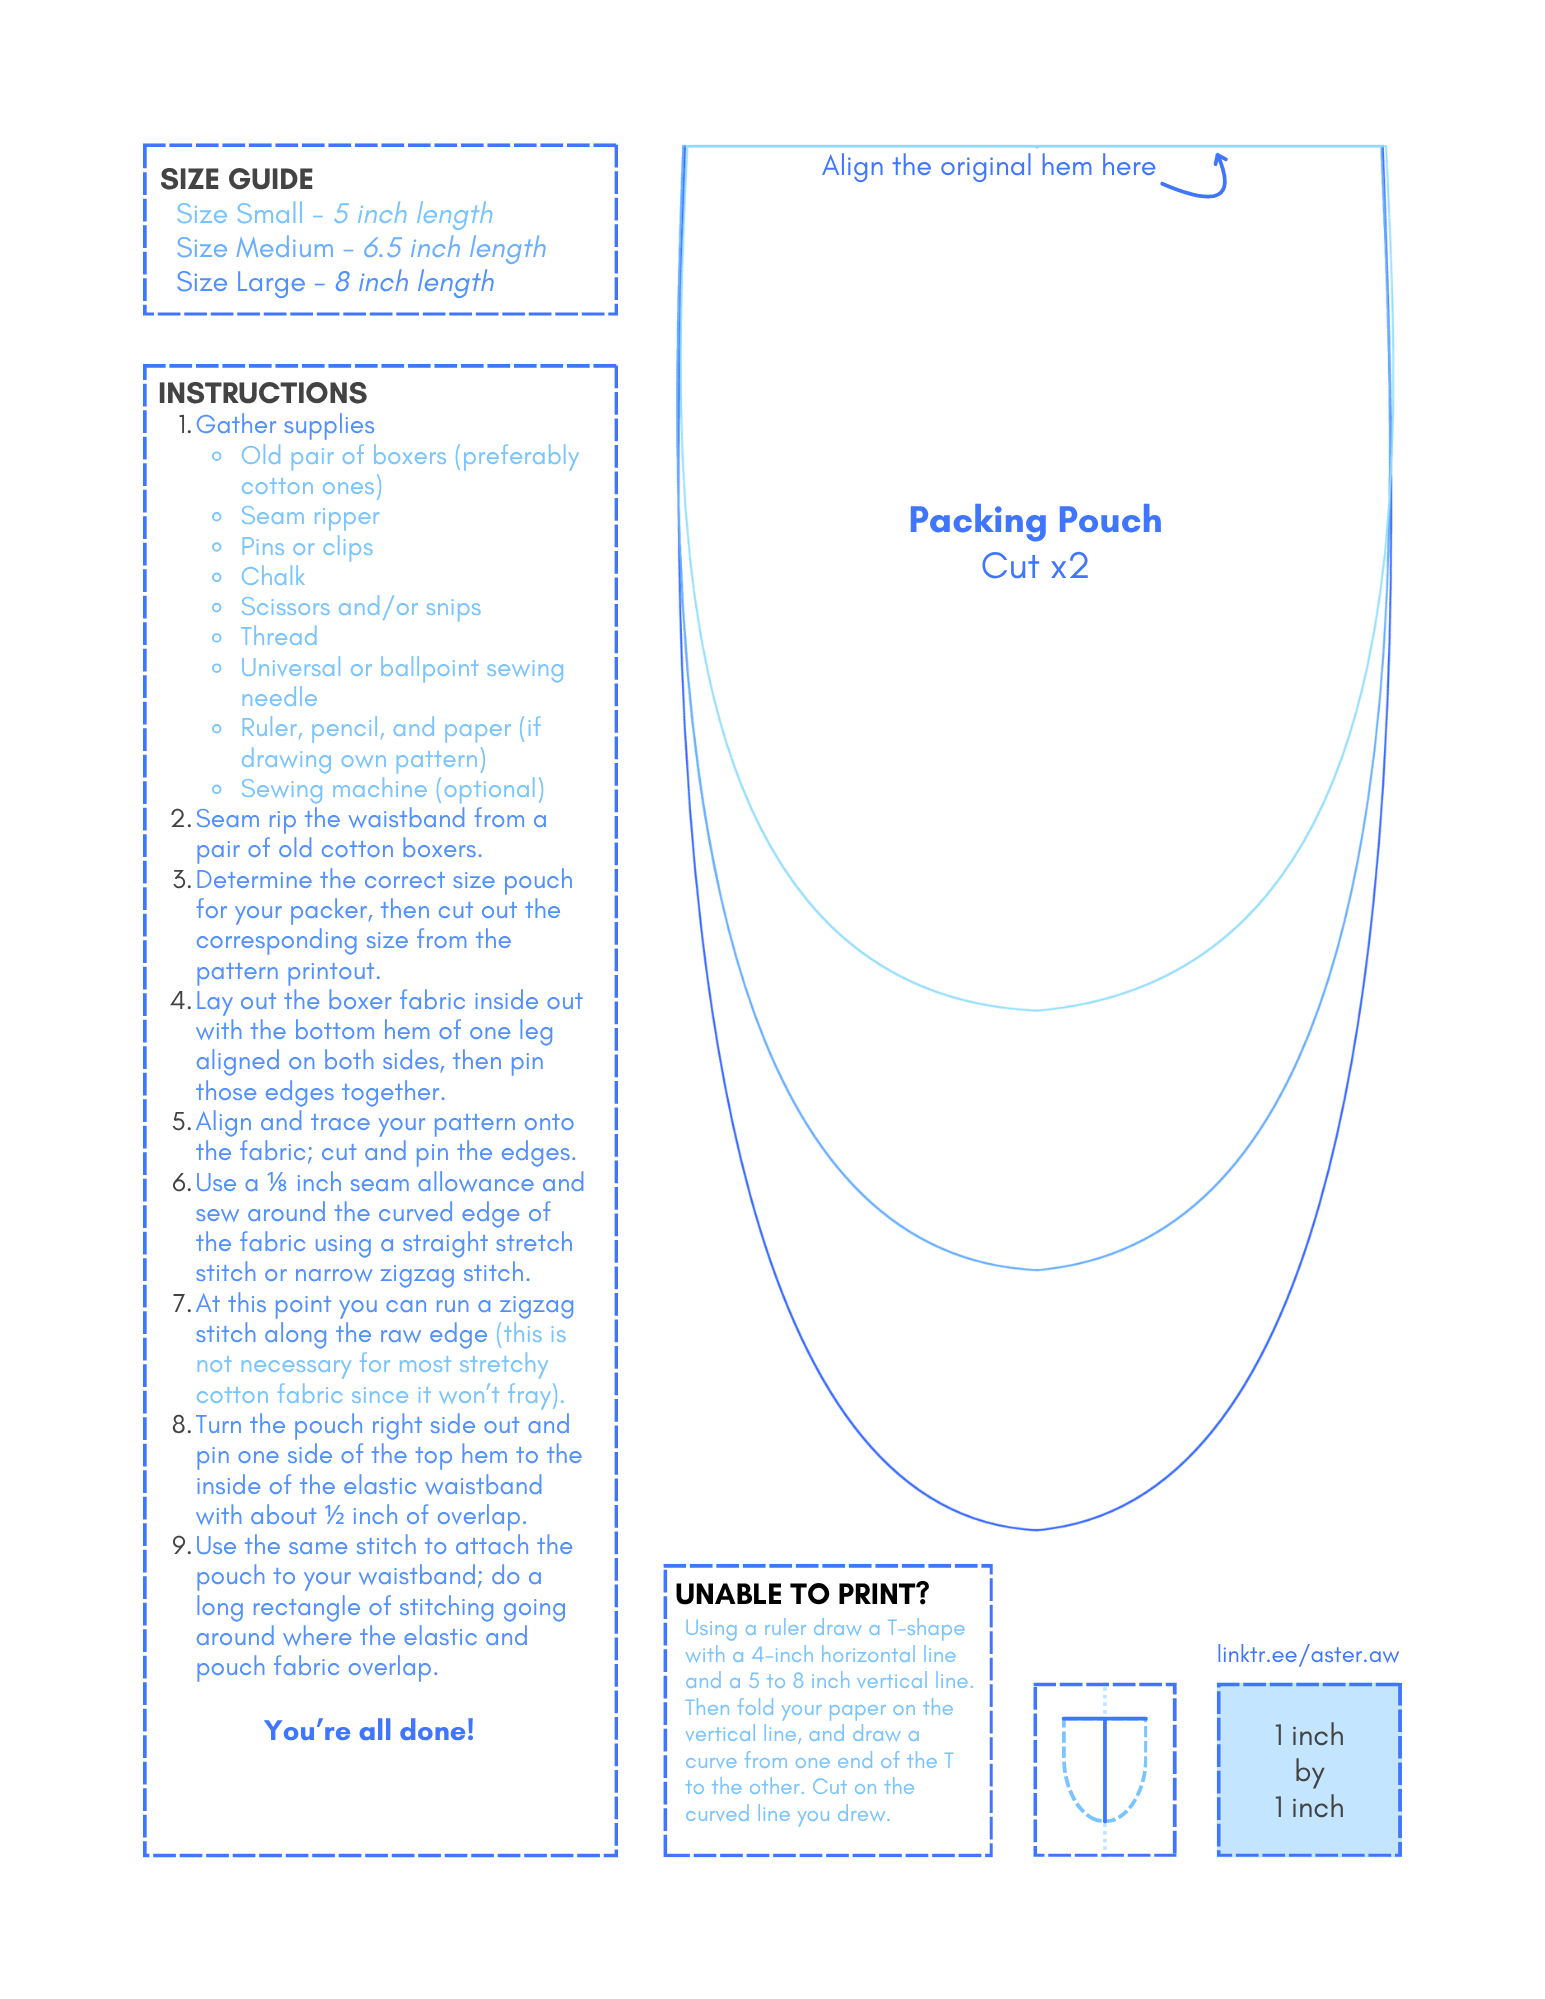
Determine the correct size pouch for your packer, then cut out the corresponding size from the pattern printout. If you are unable to print out the PDF, follow the next step.
Downloads
Skip This If You Printed the Pattern
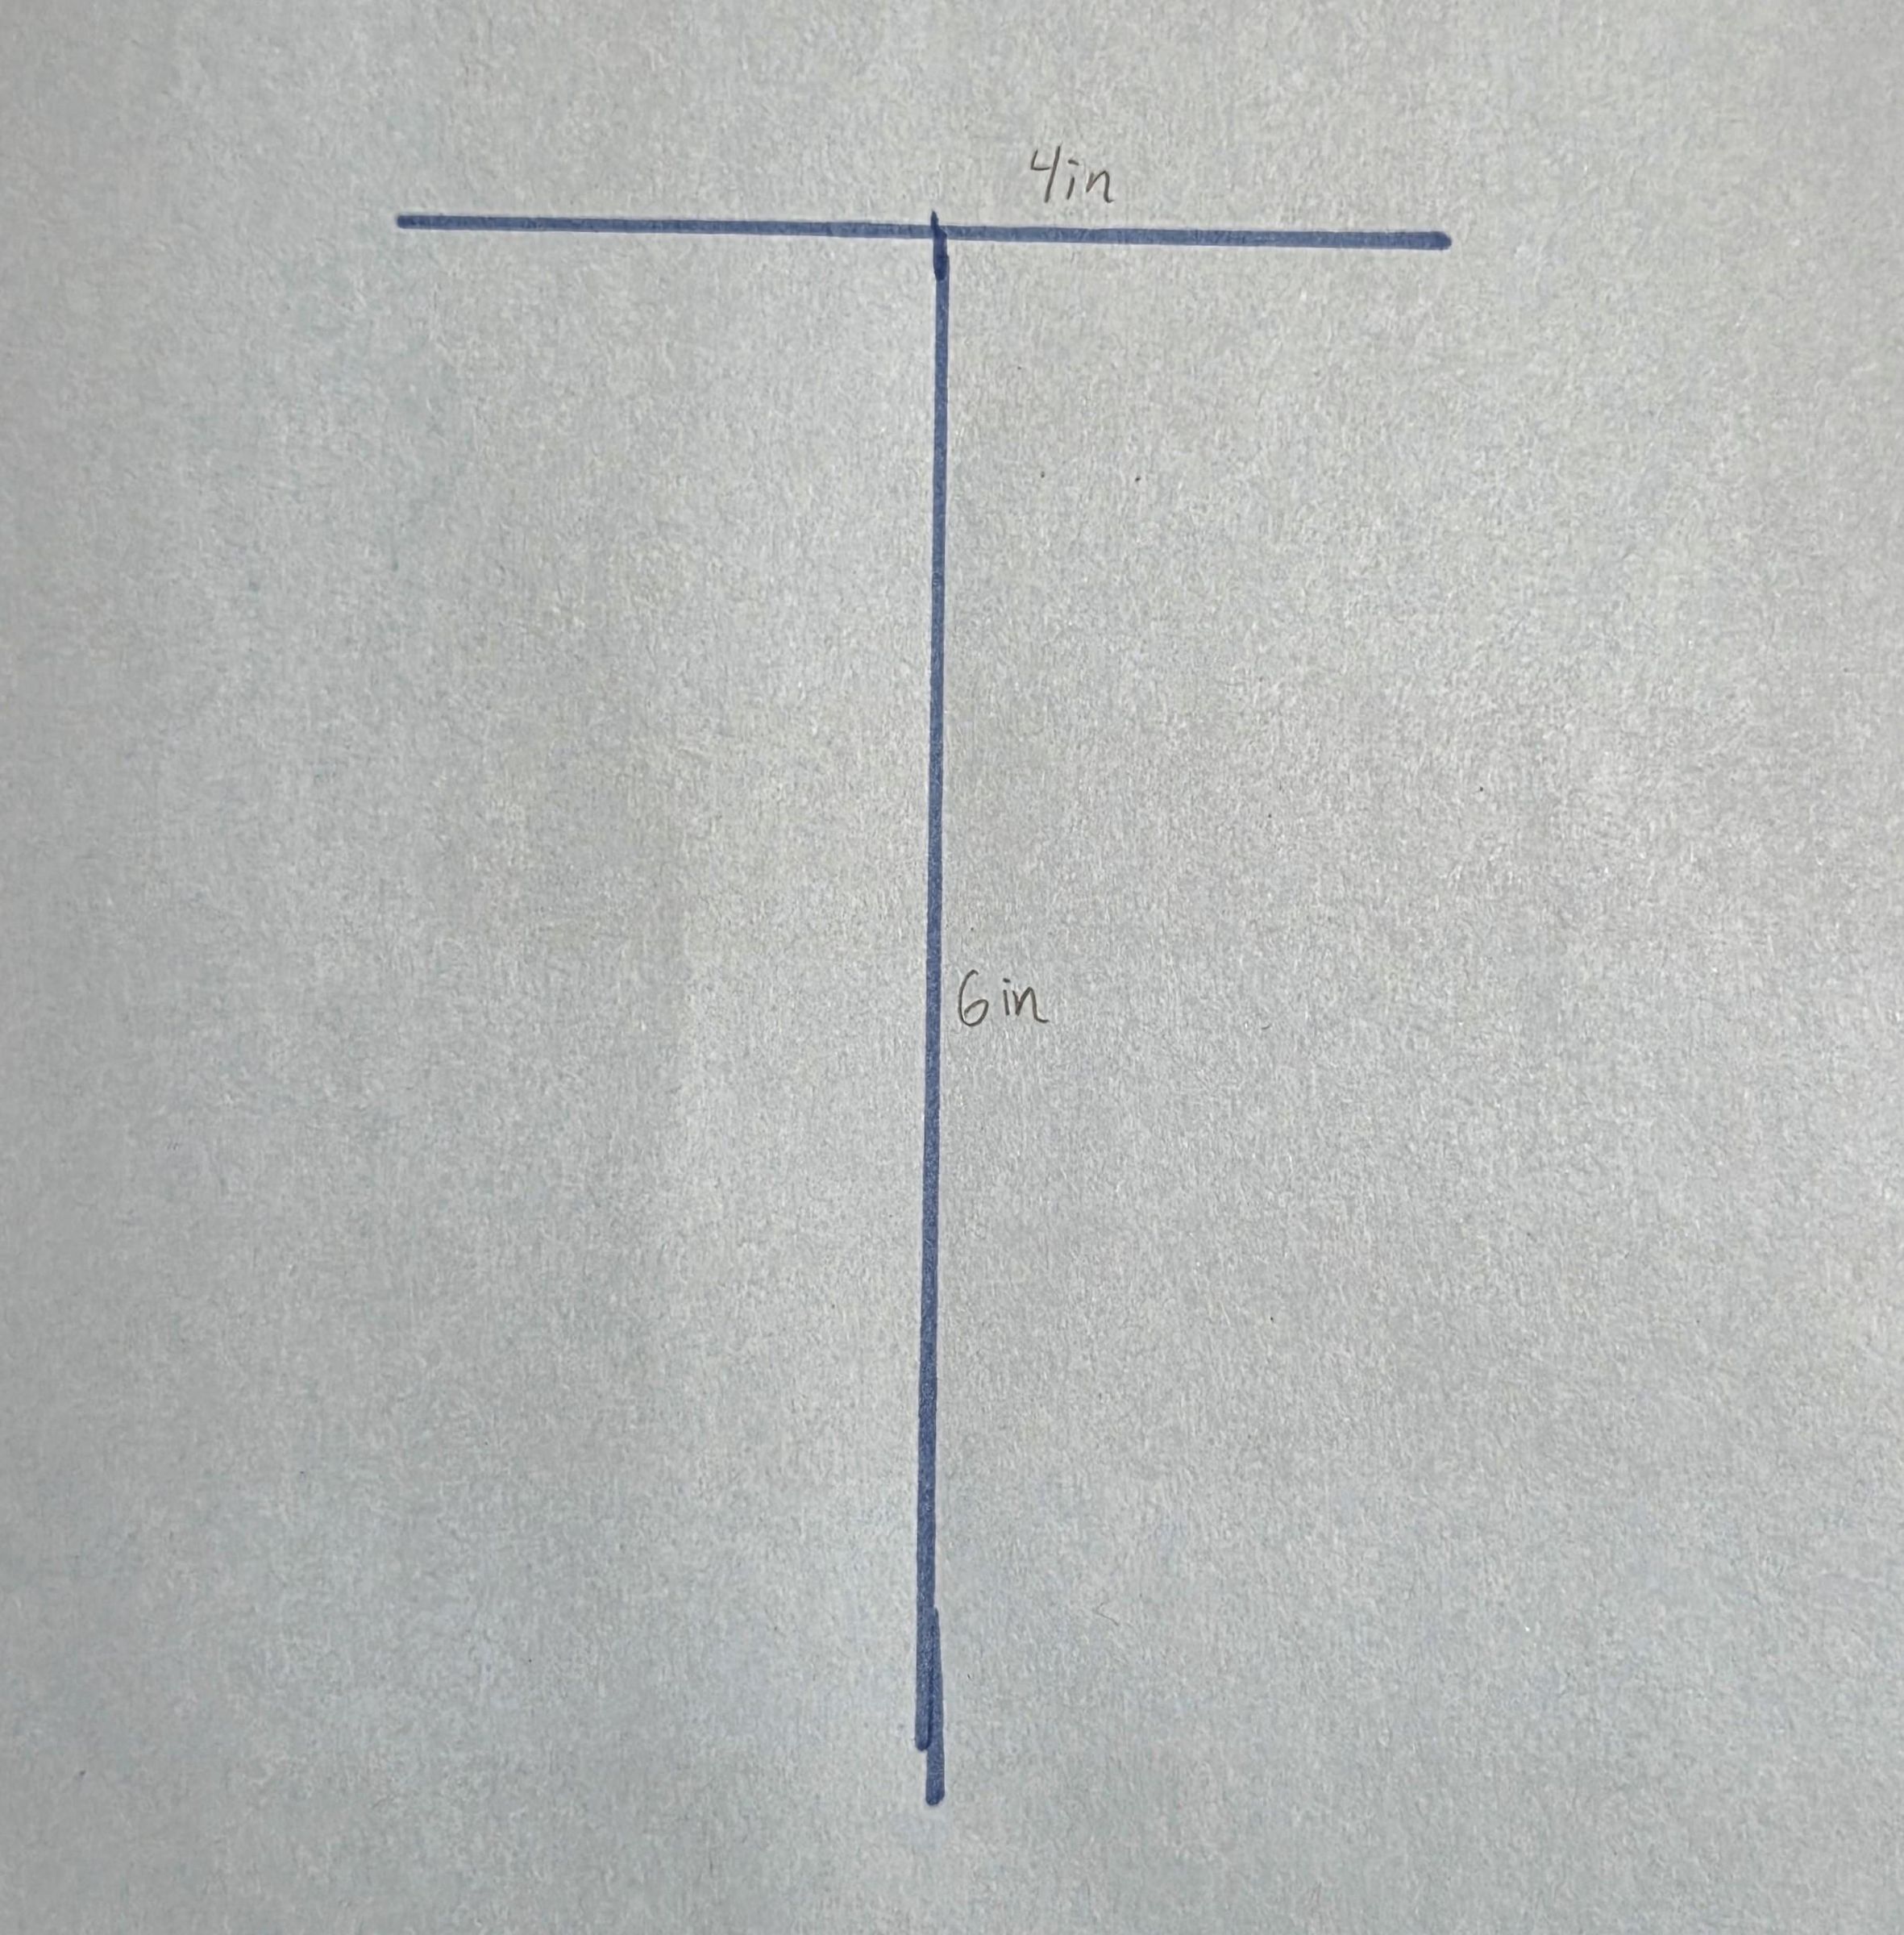
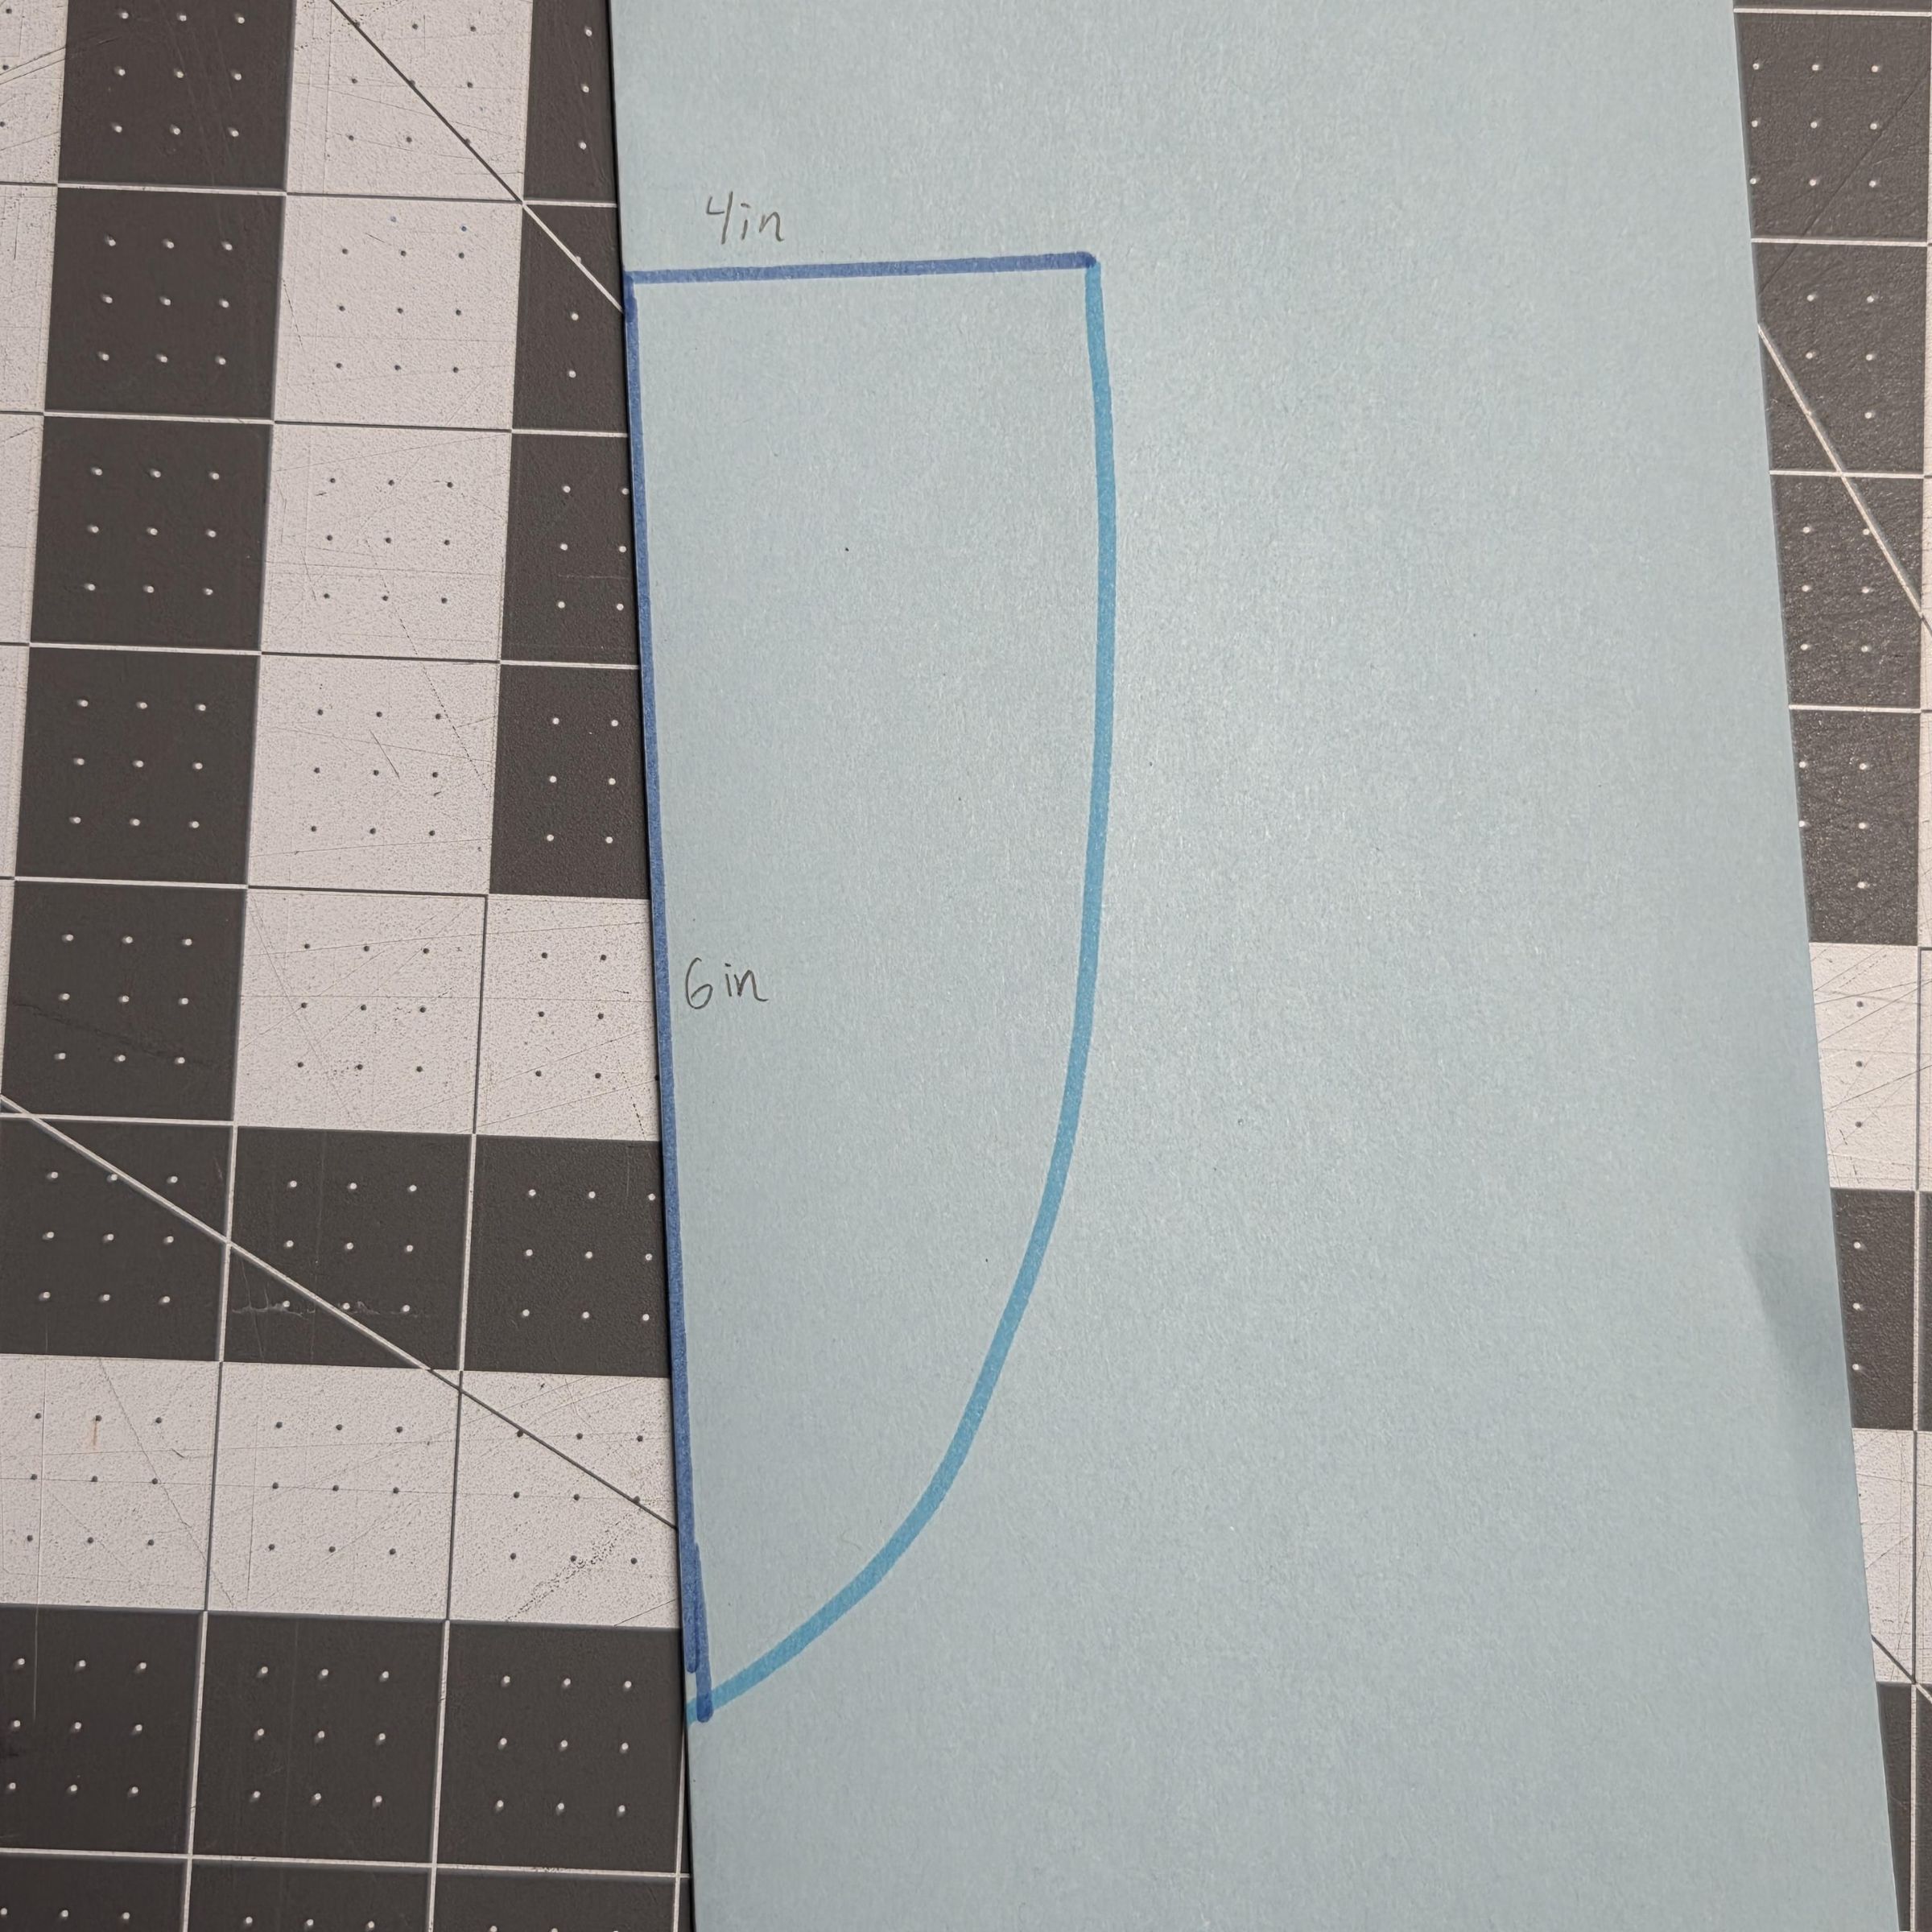
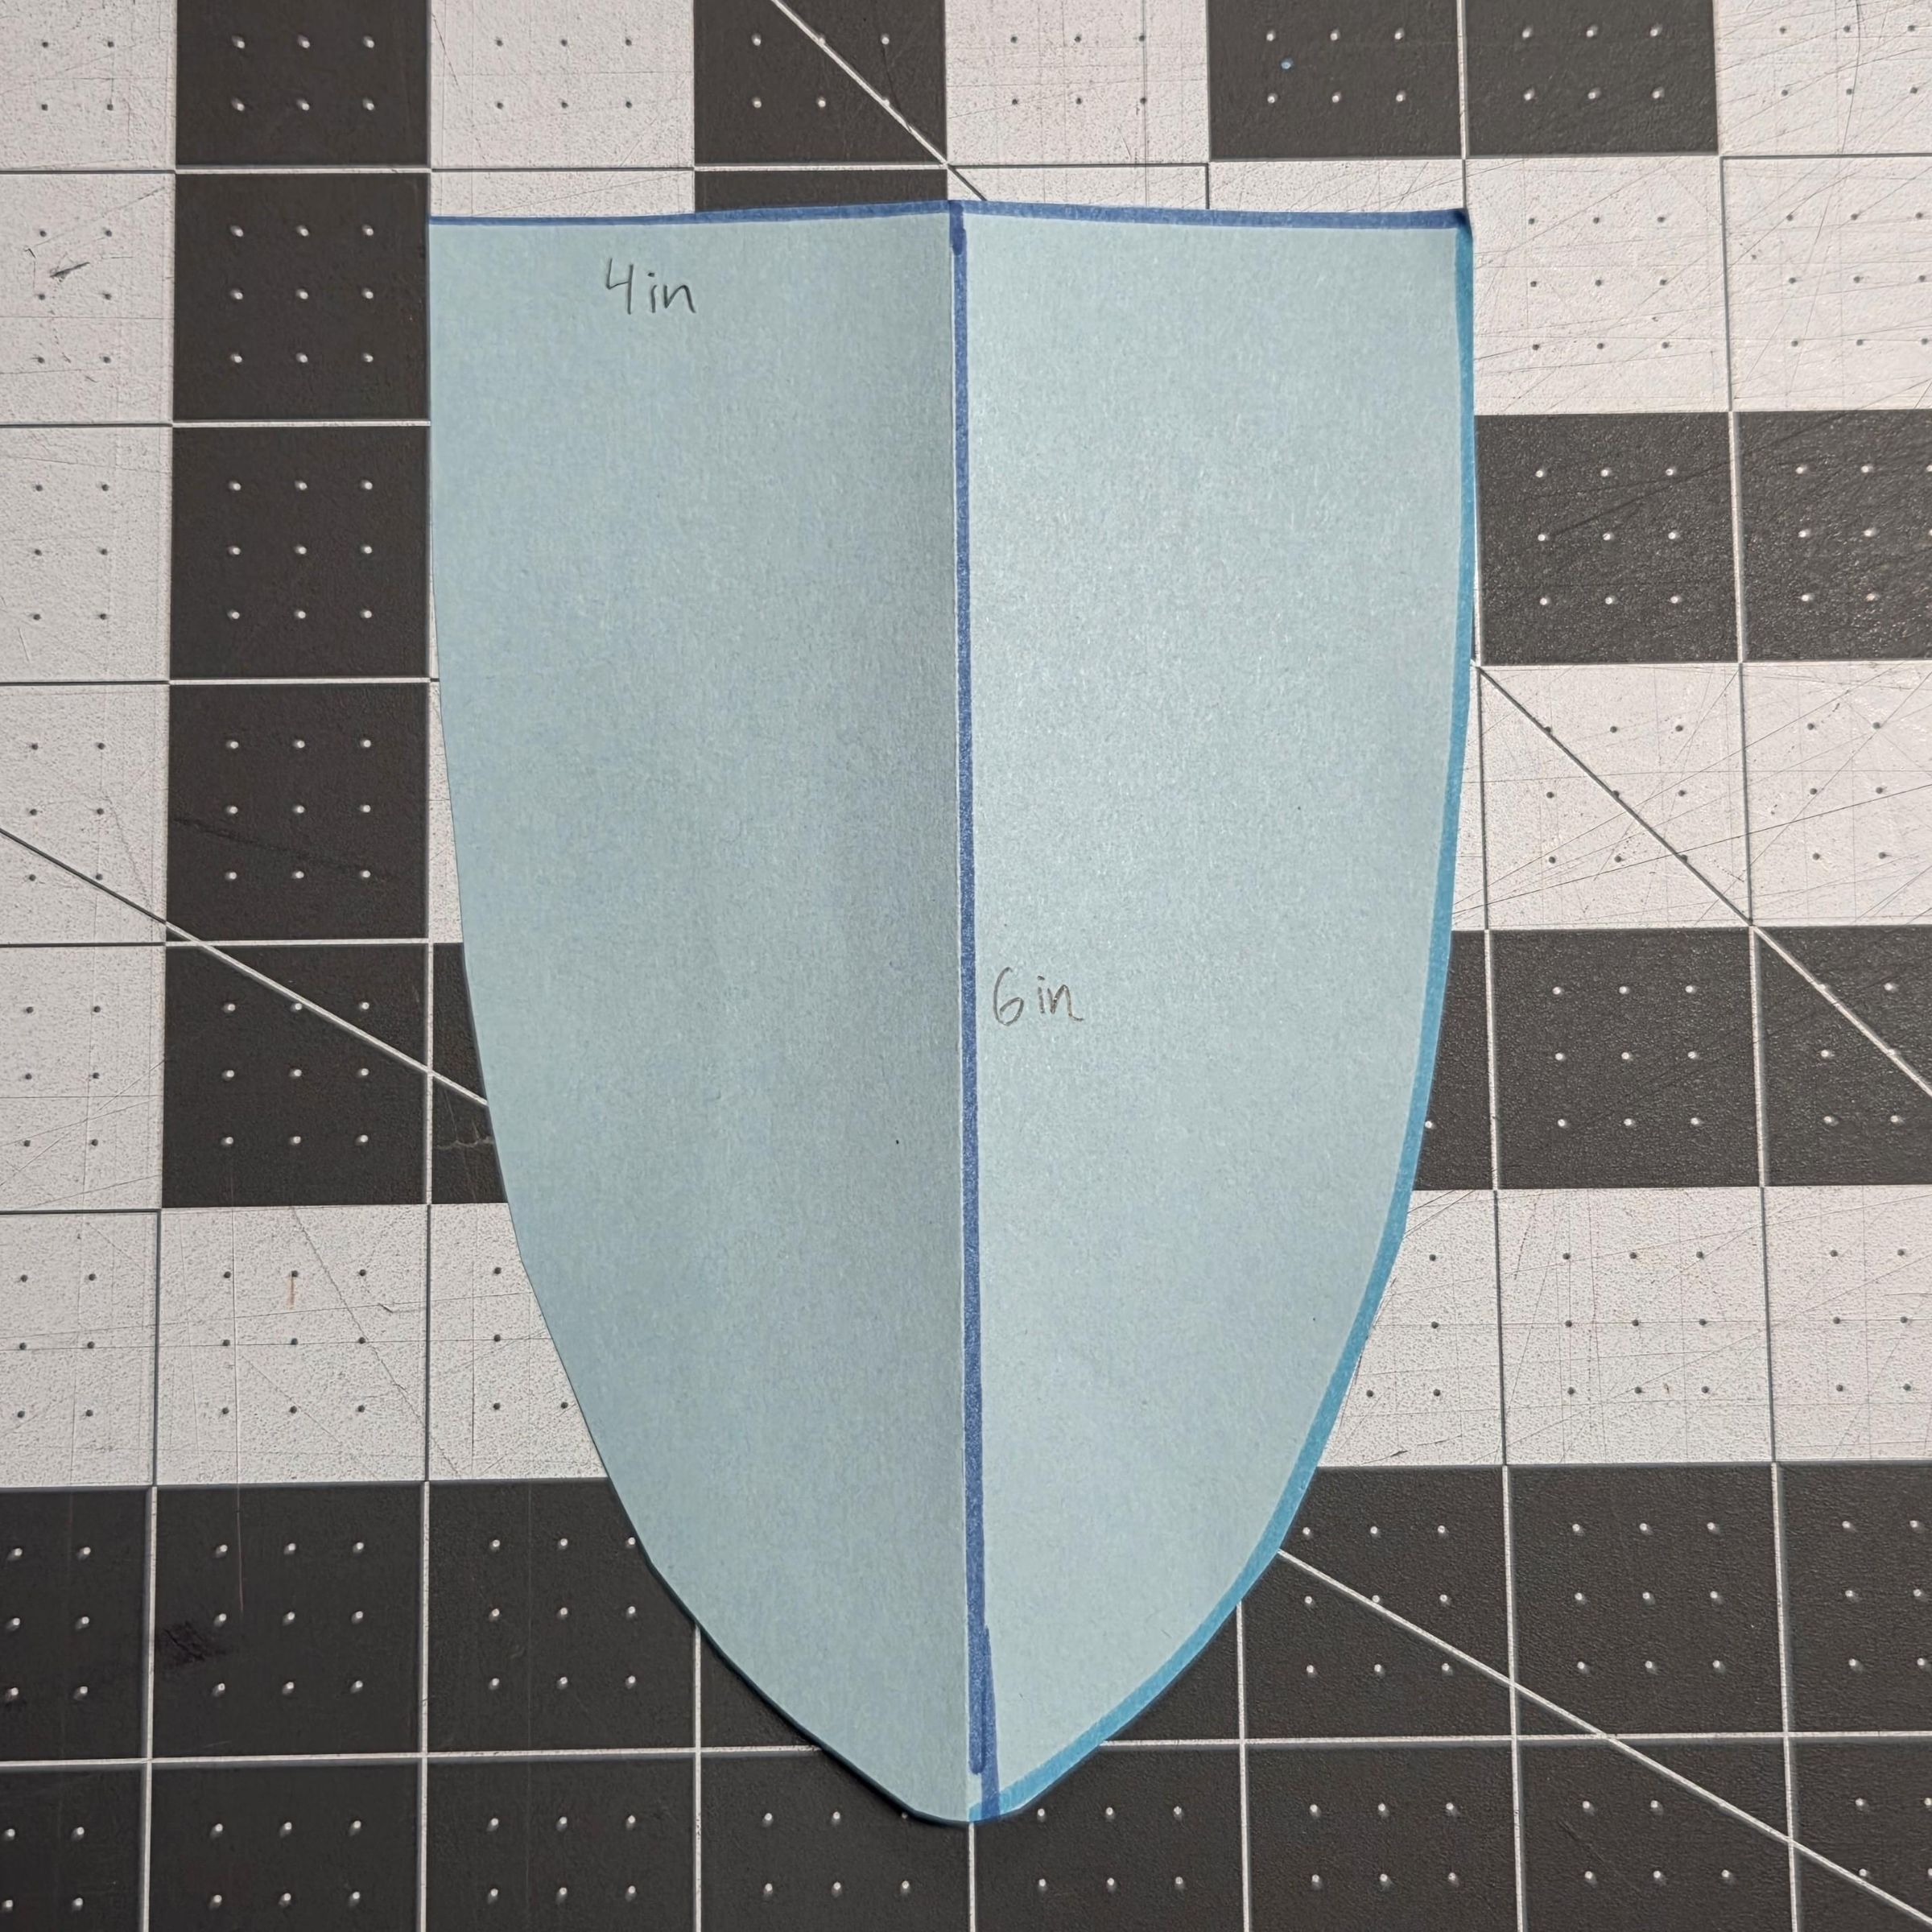
Using a ruler, draw a T-shape with a 4-inch horizontal line and a 5 to 8 inch vertical line. Then fold your paper on the vertical line and draw a curve from one end of the T to the other. Cut on the curved line you drew.
Pinning
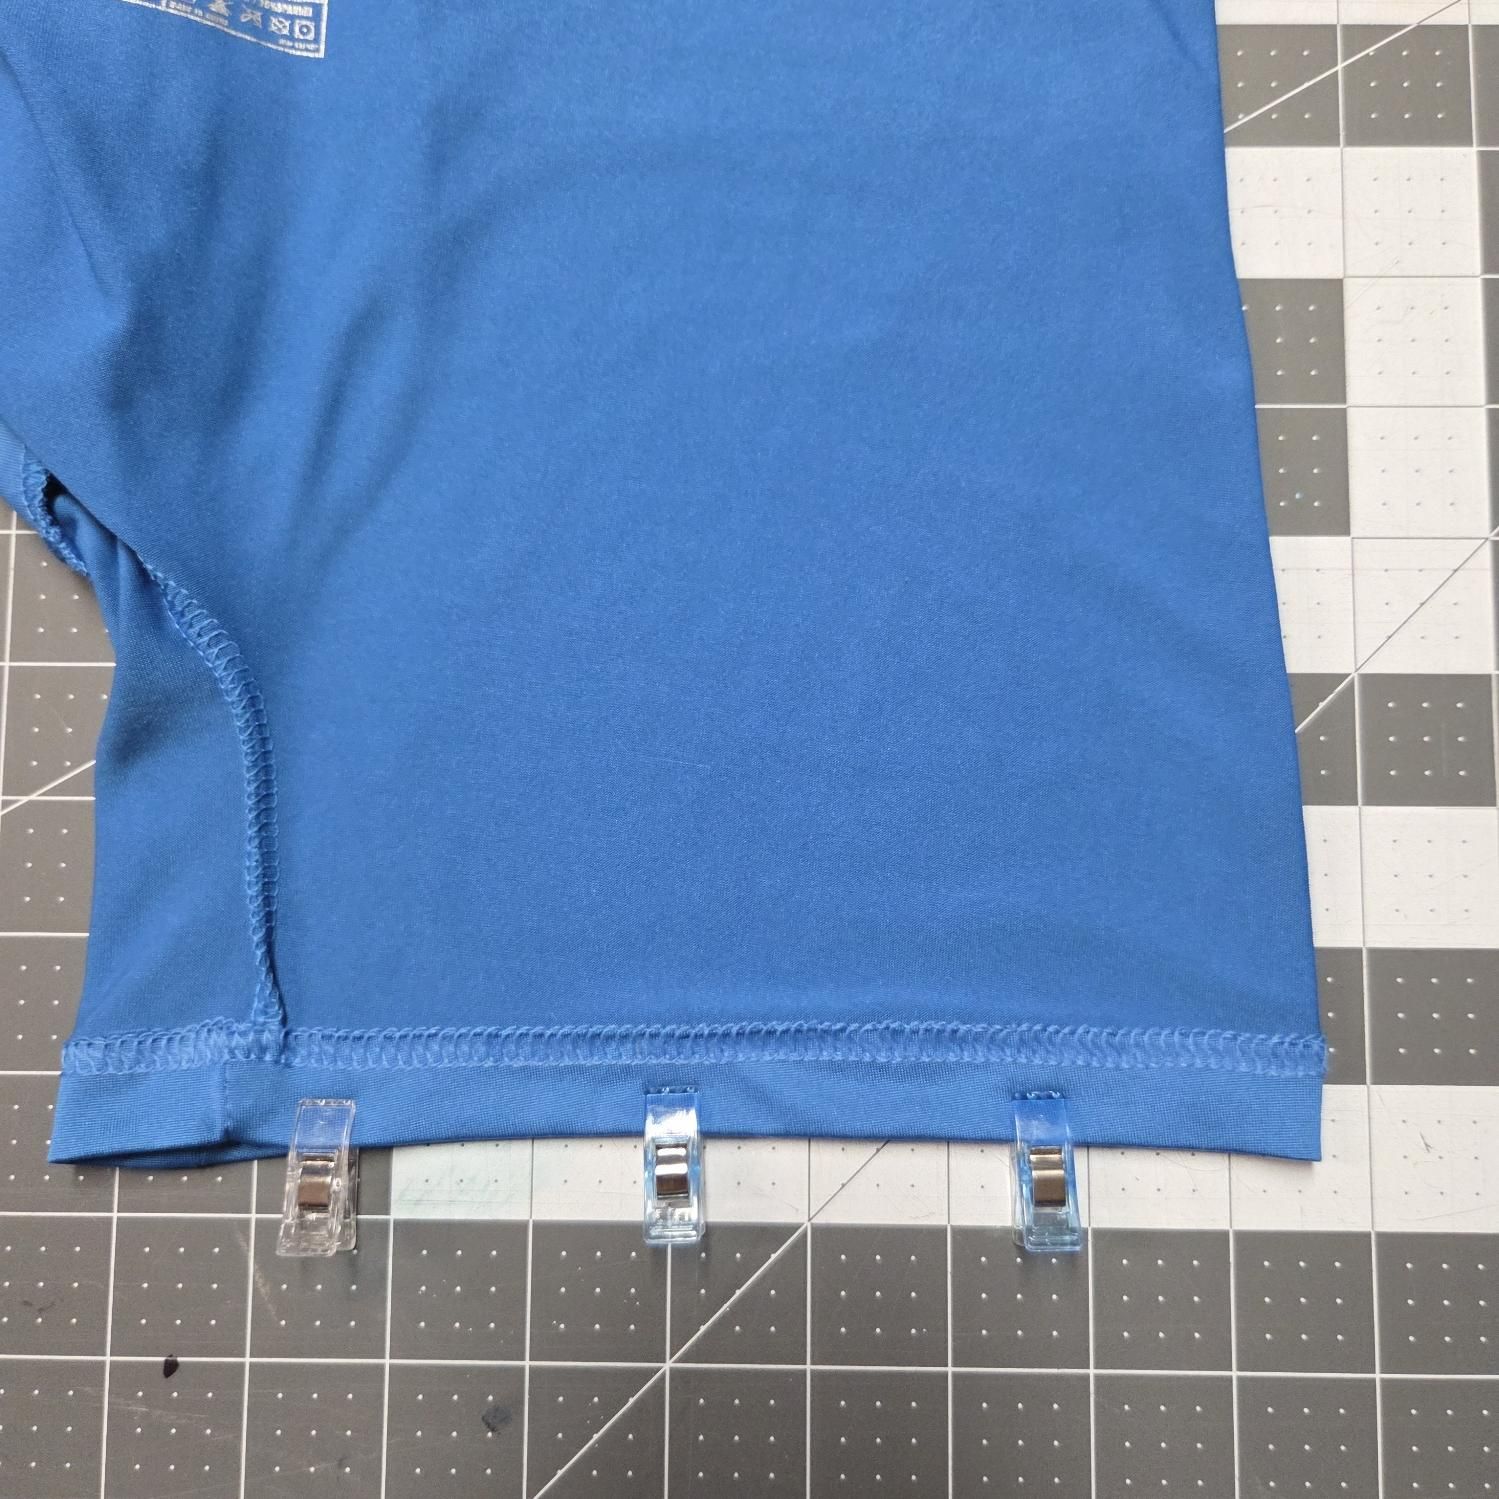
Lay out the boxer fabric inside out with the bottom hem of one leg aligned on both sides, then pin those edges together.
Transferring Pattern to Fabric
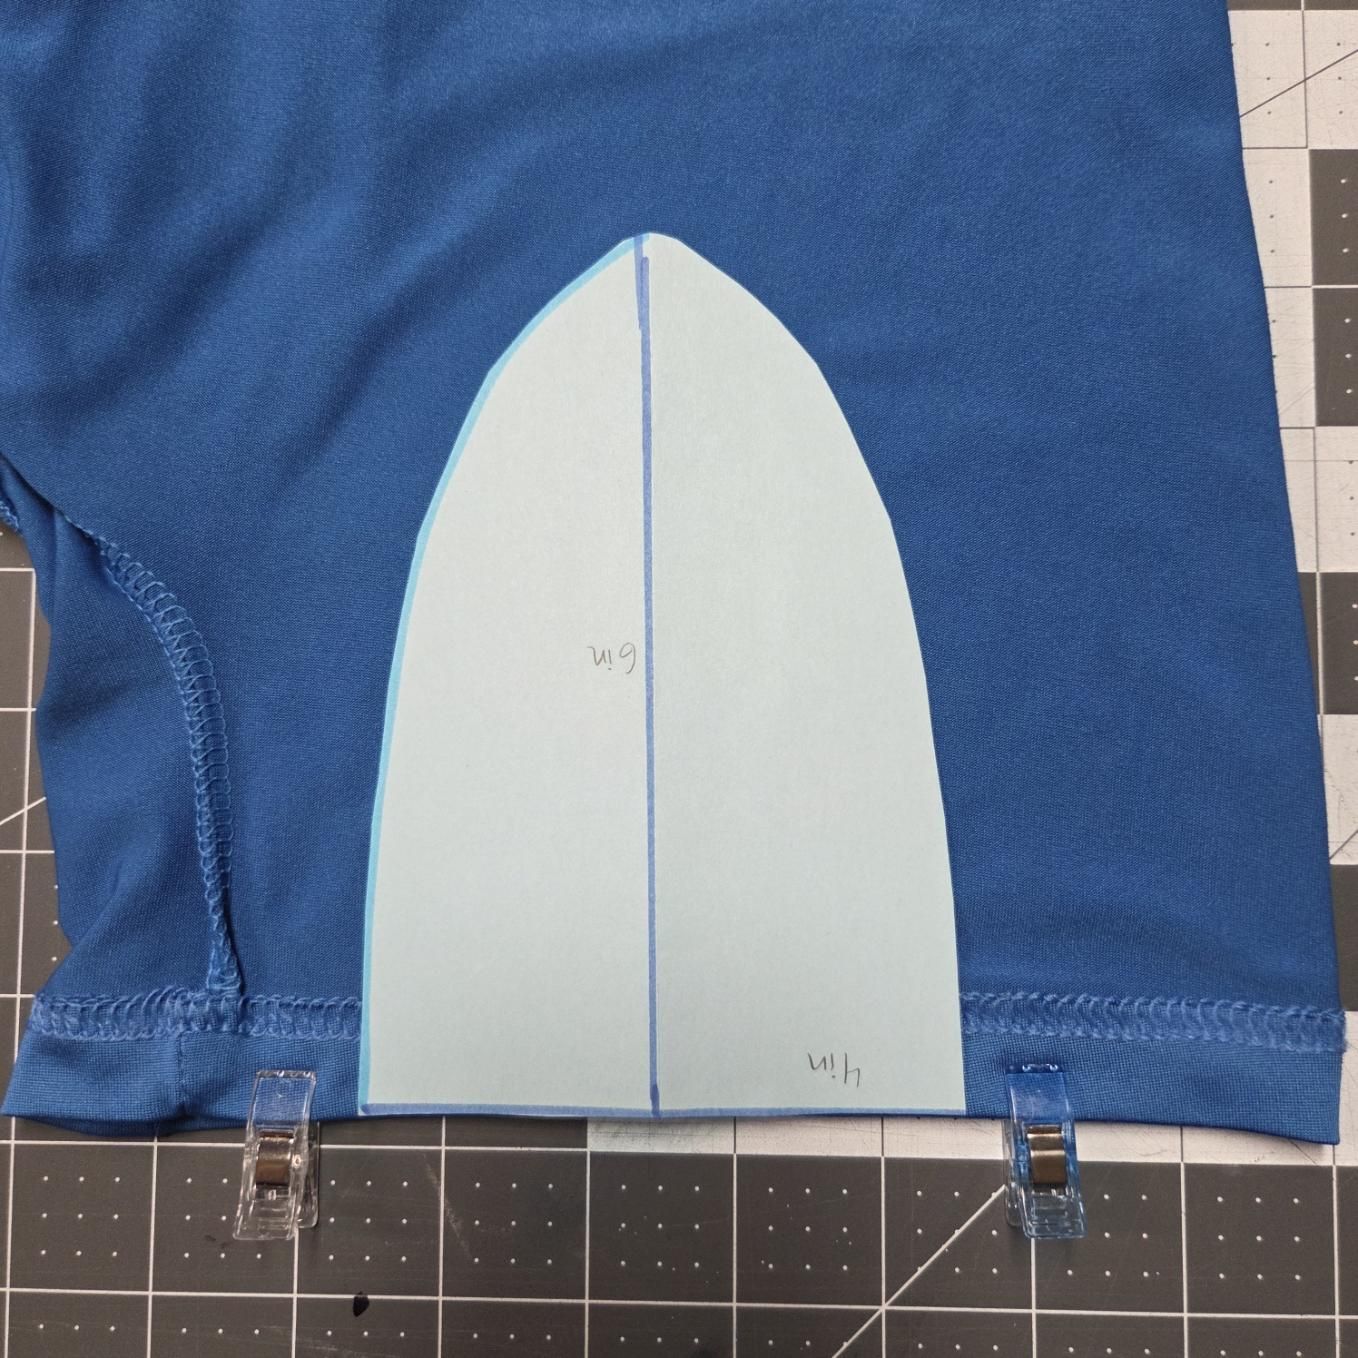
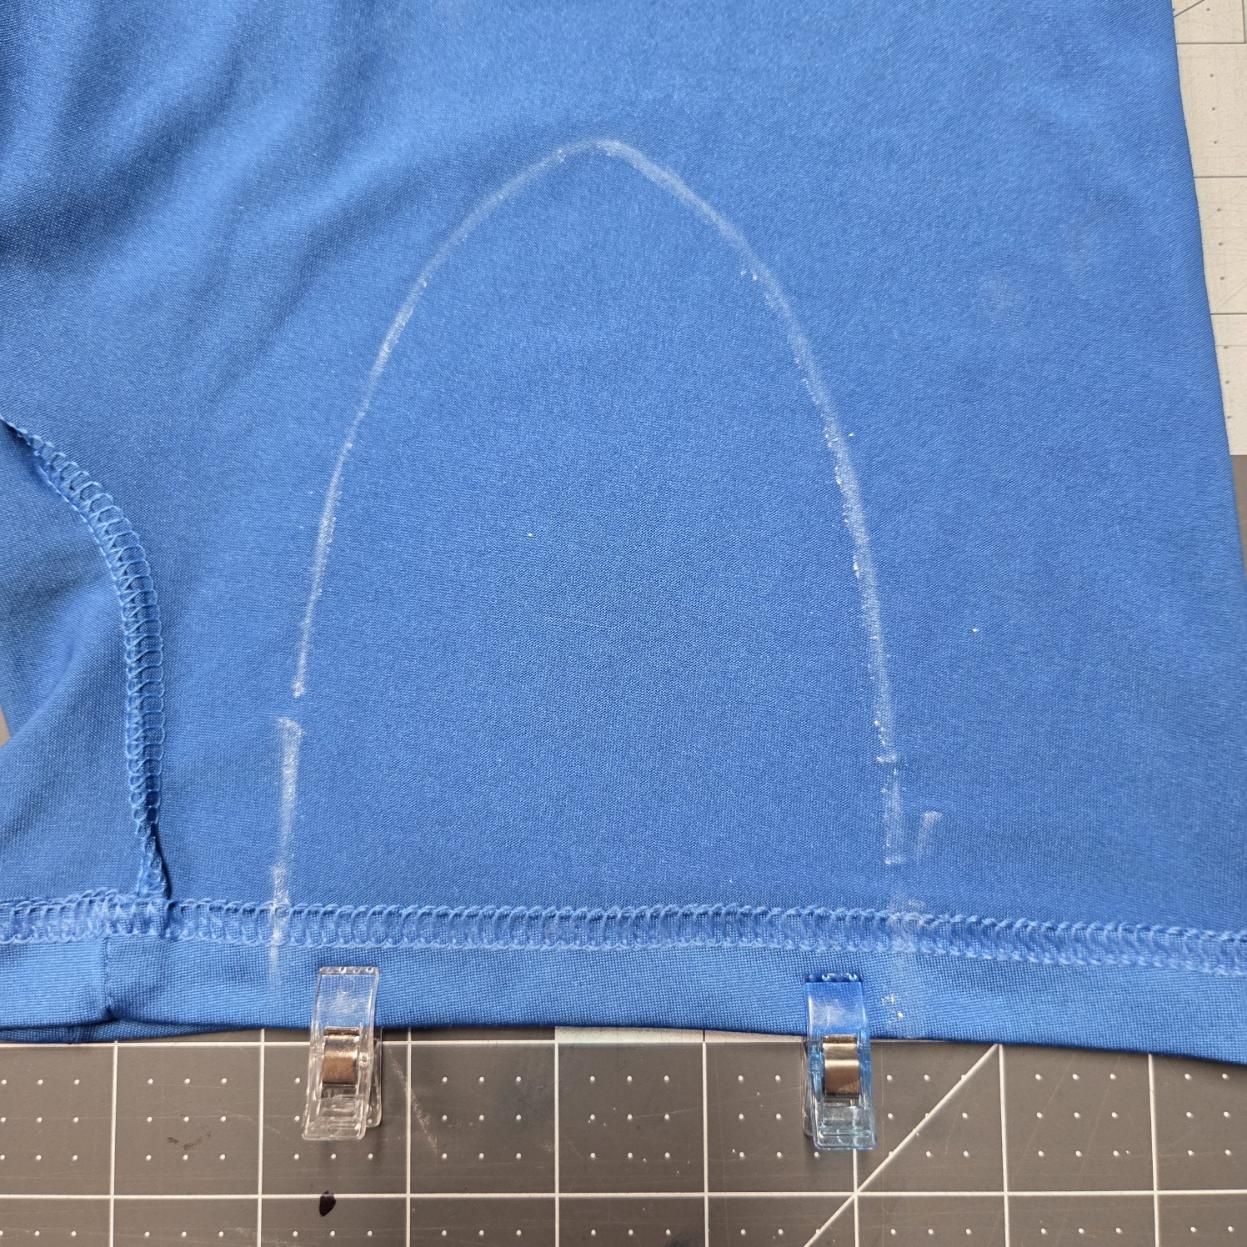
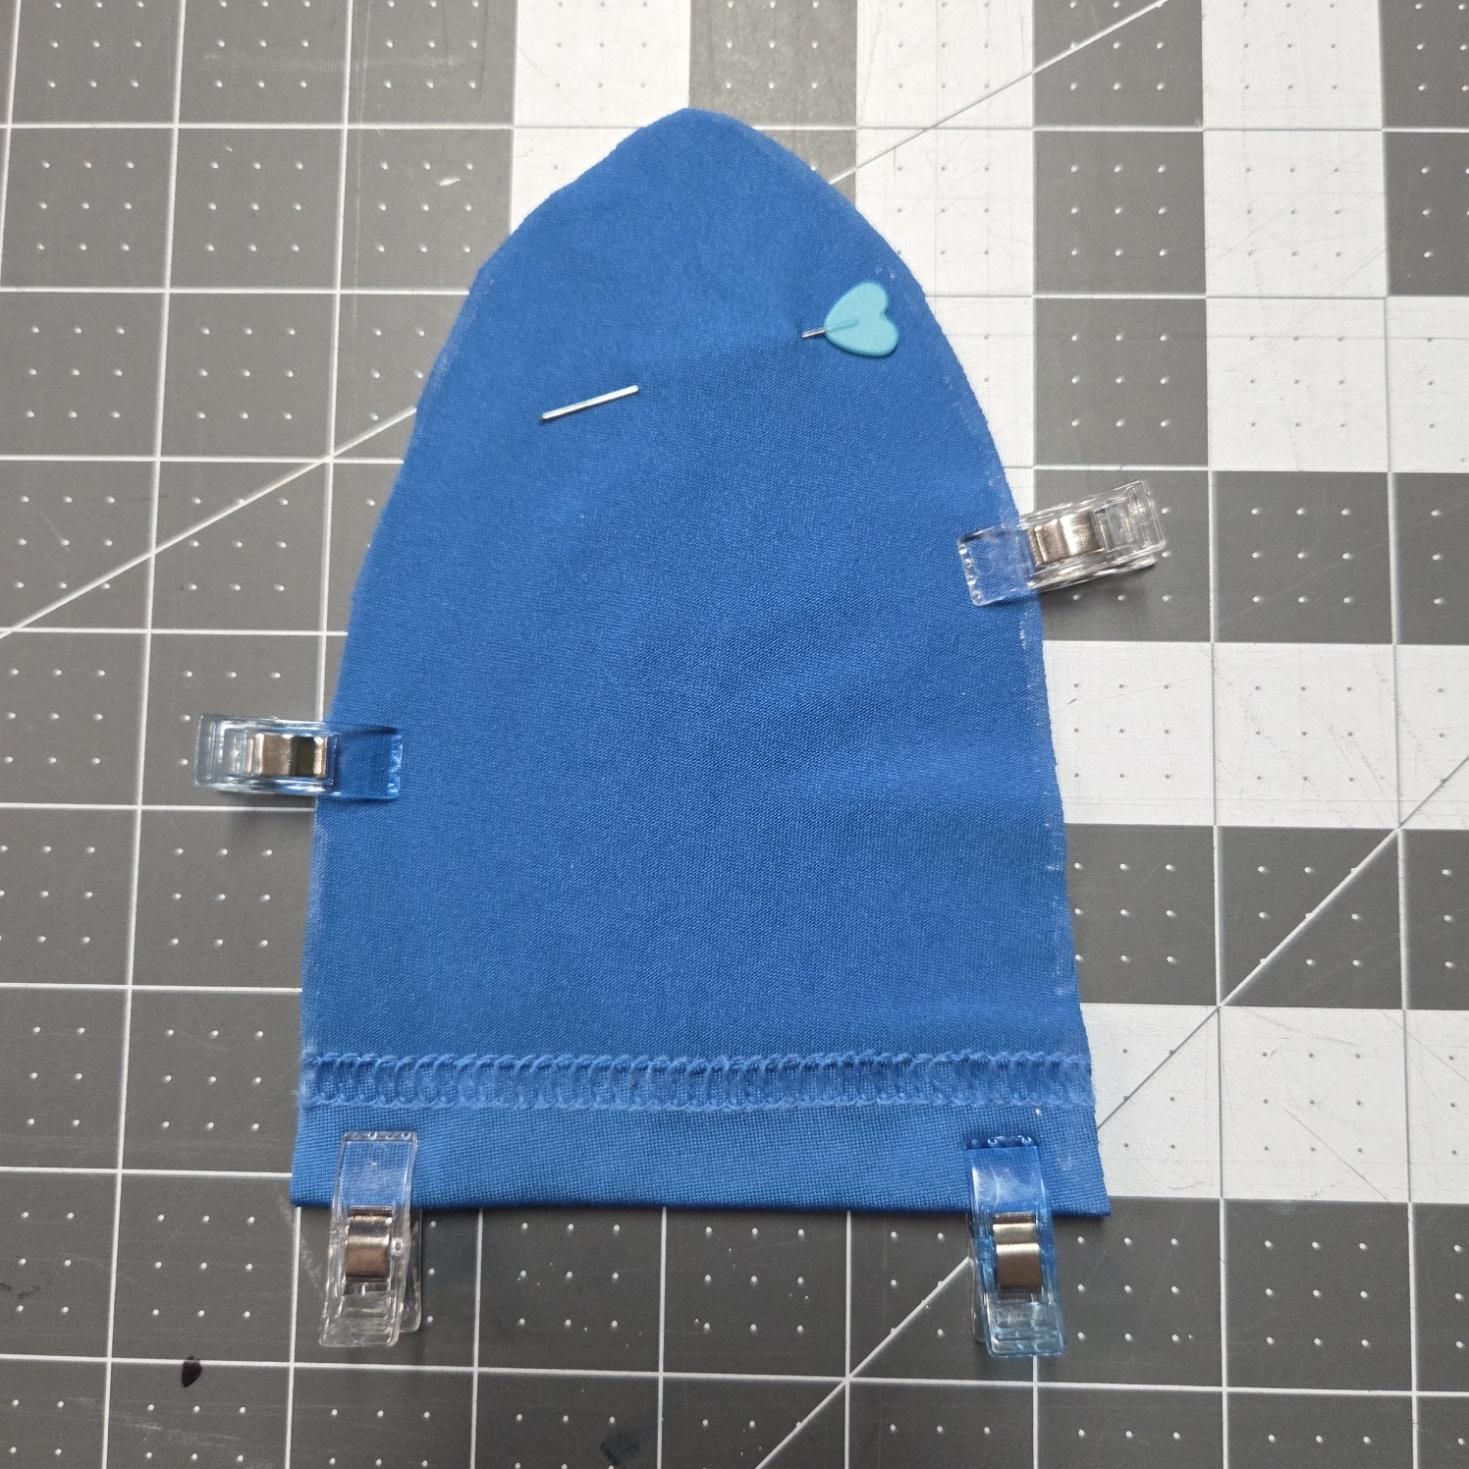
Align and trace your pattern onto the fabric; cut and pin the edges.
Stitch Together
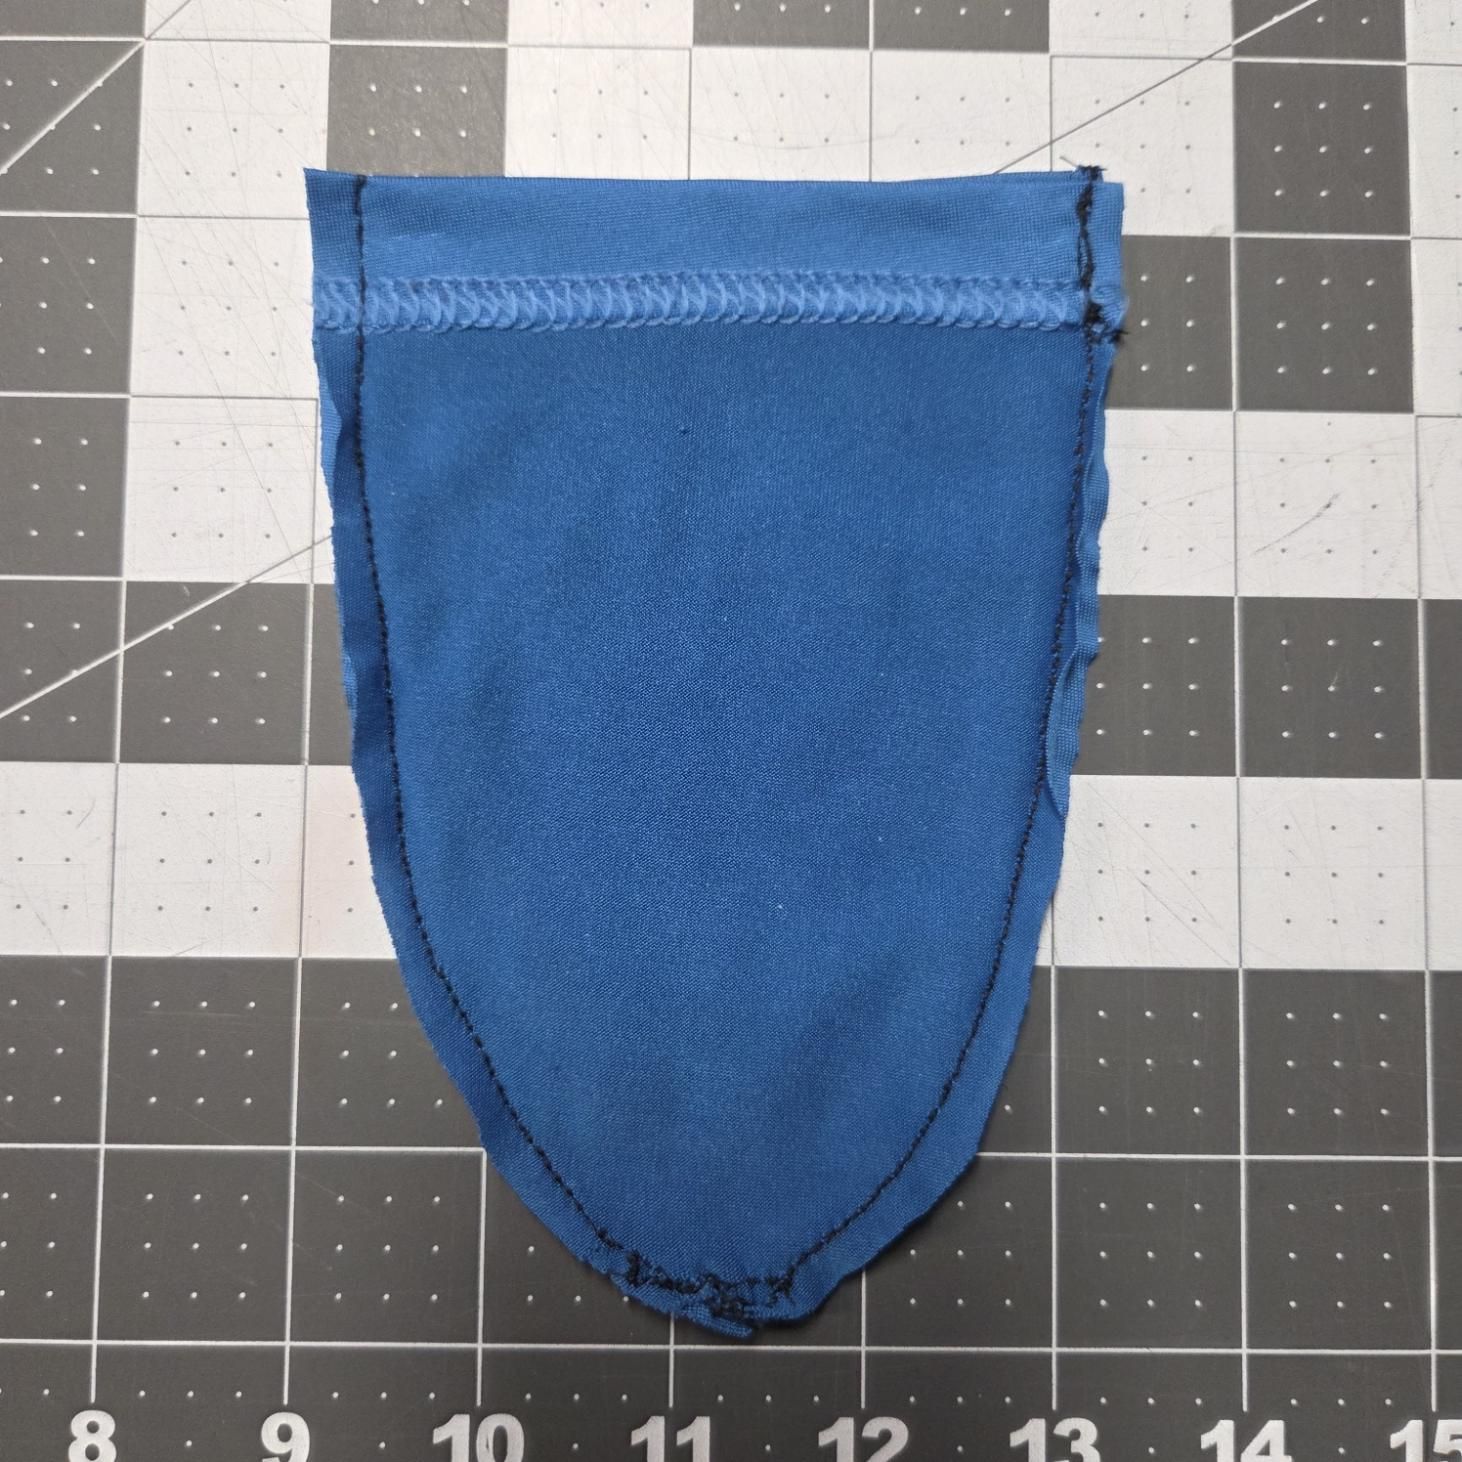
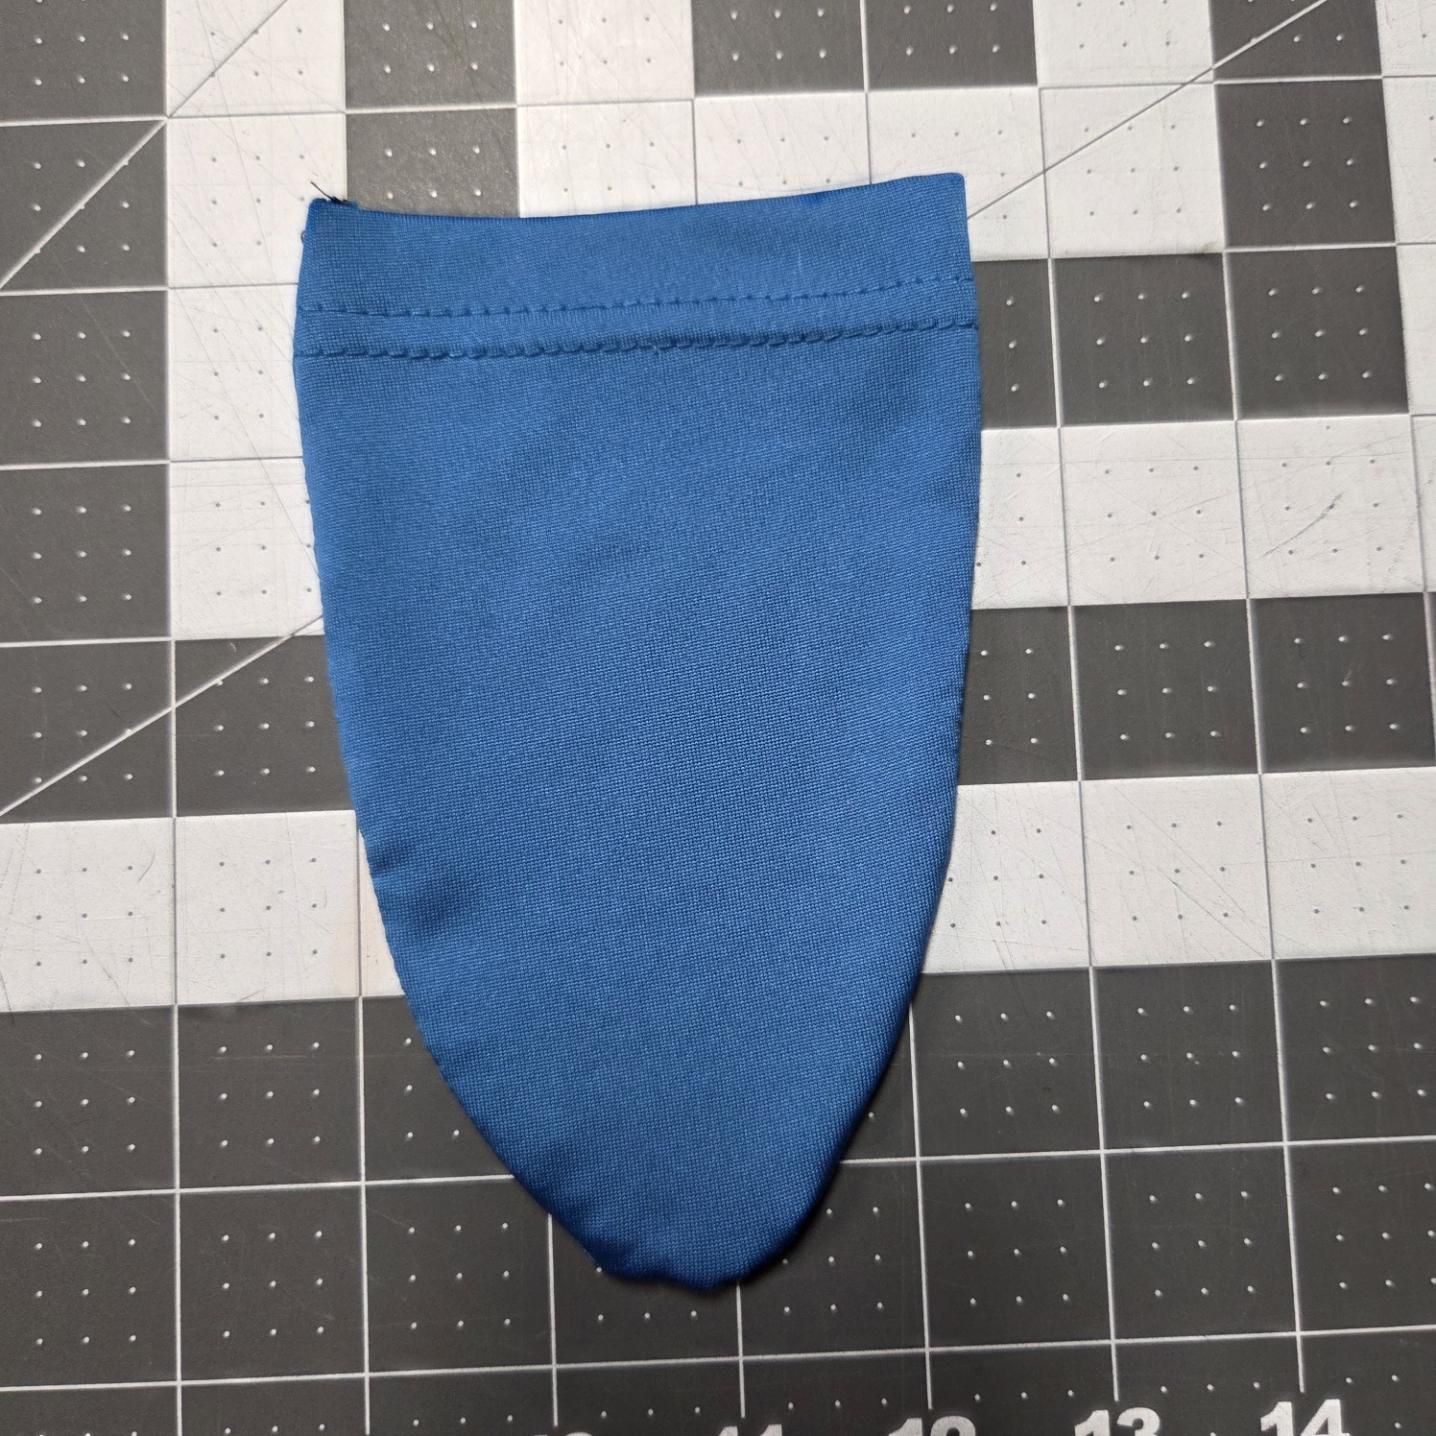
Use a ⅛ inch seam allowance and sew around the curved edge of the fabric using a straight stretch stitch or narrow zigzag stitch. It's okay if your stitches come out a bit wonky; the pouch will still work just fine. If you're doing this by hand, check out this tutorial: Stretchy Hand Stitches For Beginners
Optional Finishing Edge
At this point you can run a zigzag stitch along the raw edge (this is not necessary for most stretchy cotton fabric since it won’t fray).
Pin to Waistband
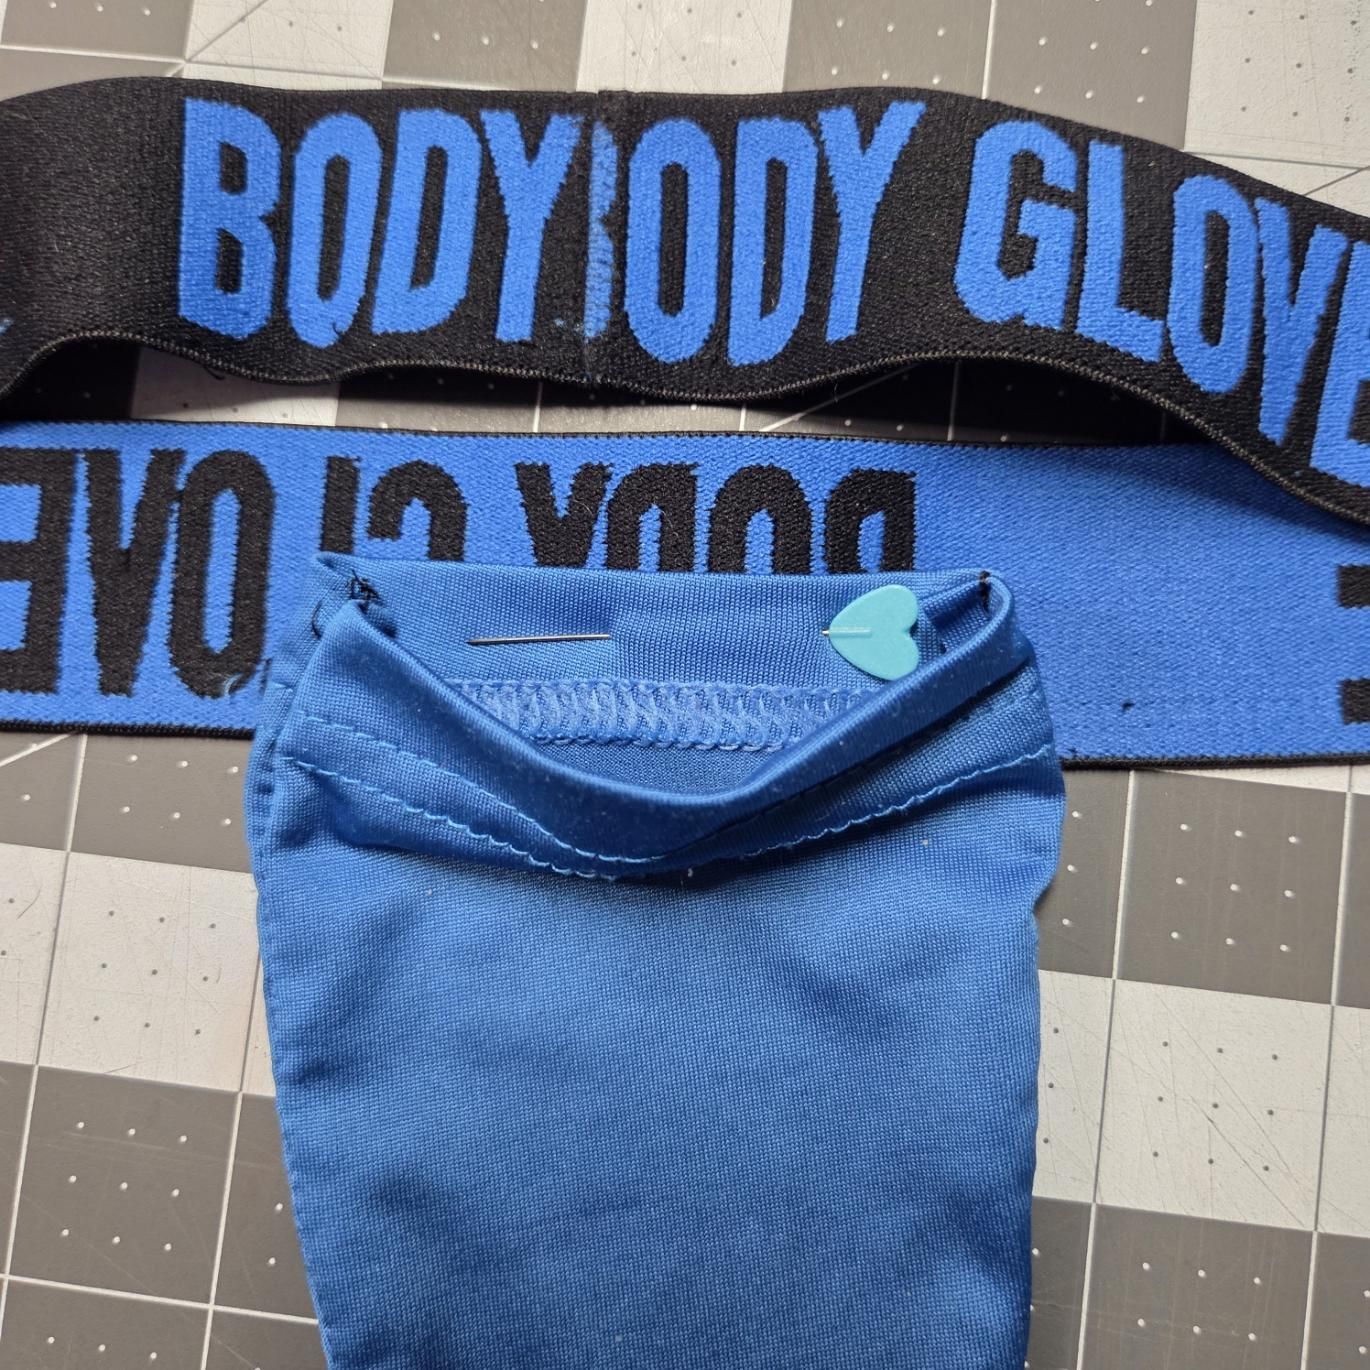
Turn the pouch right side out and pin one side of the top hem to the inside of the elastic waistband with about ½ inch of overlap.
Last Step
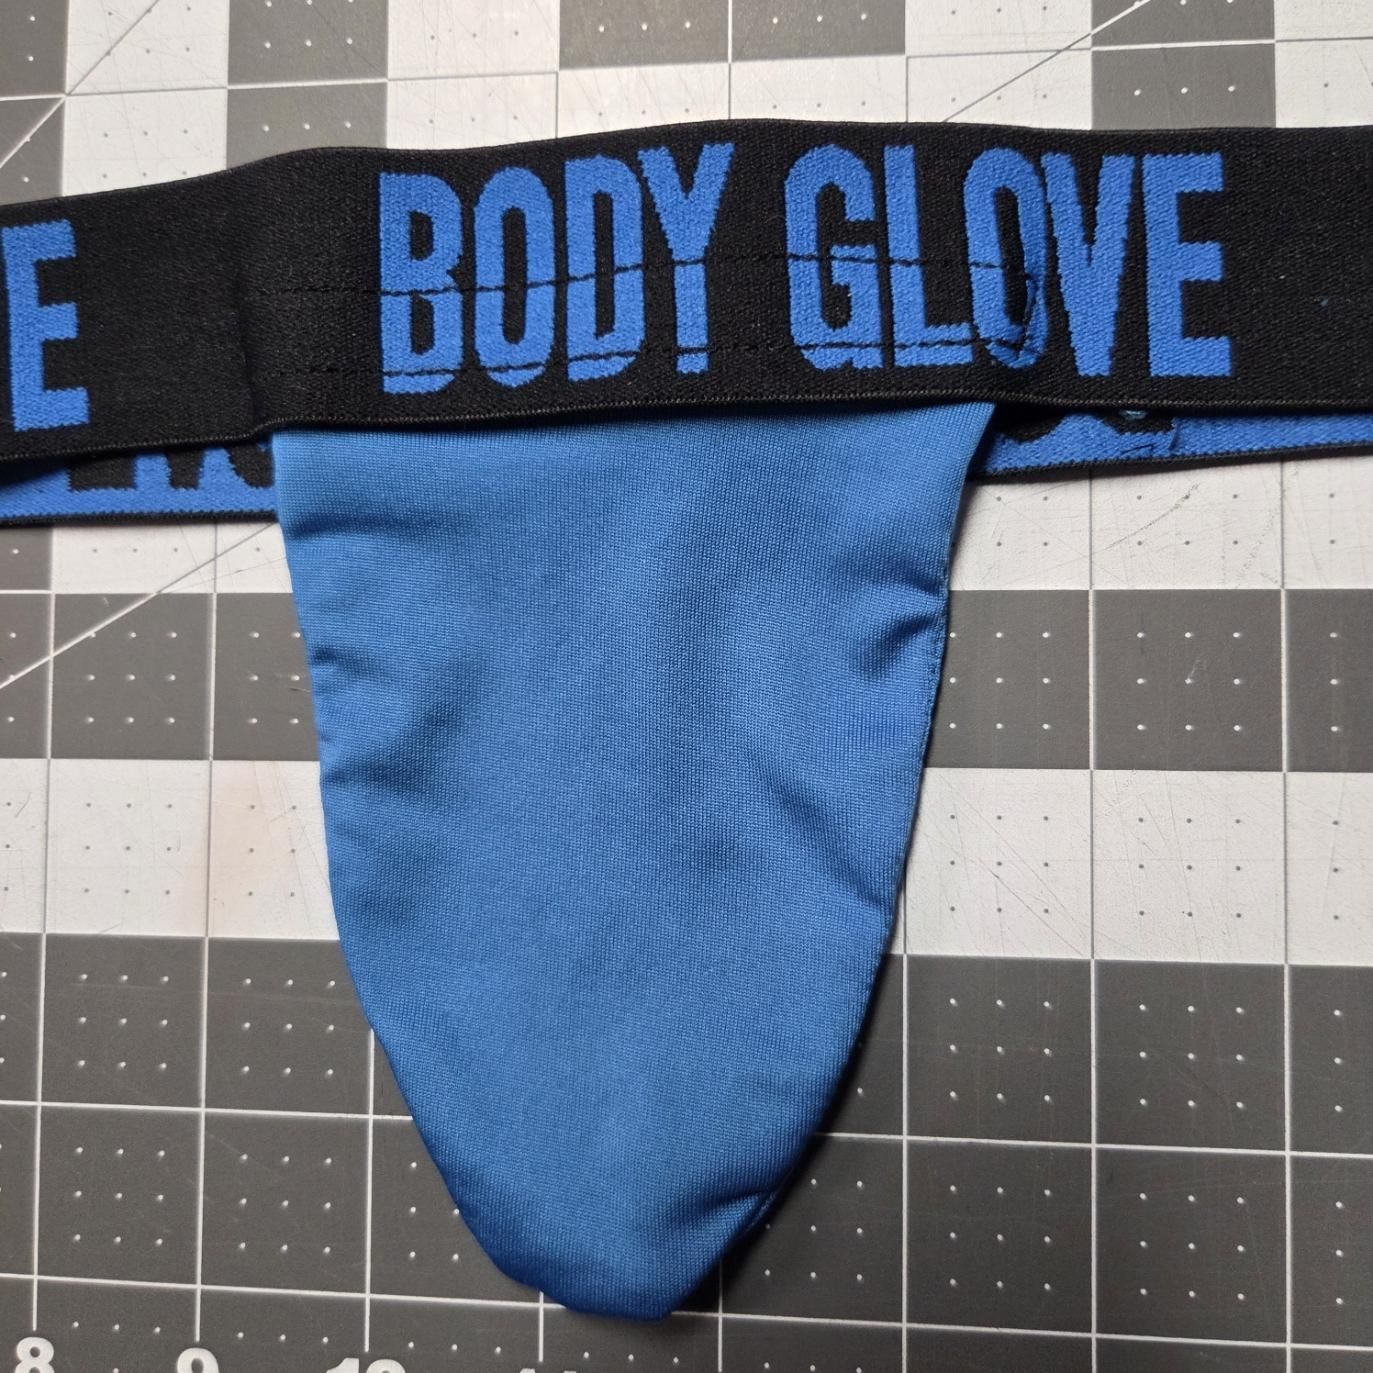
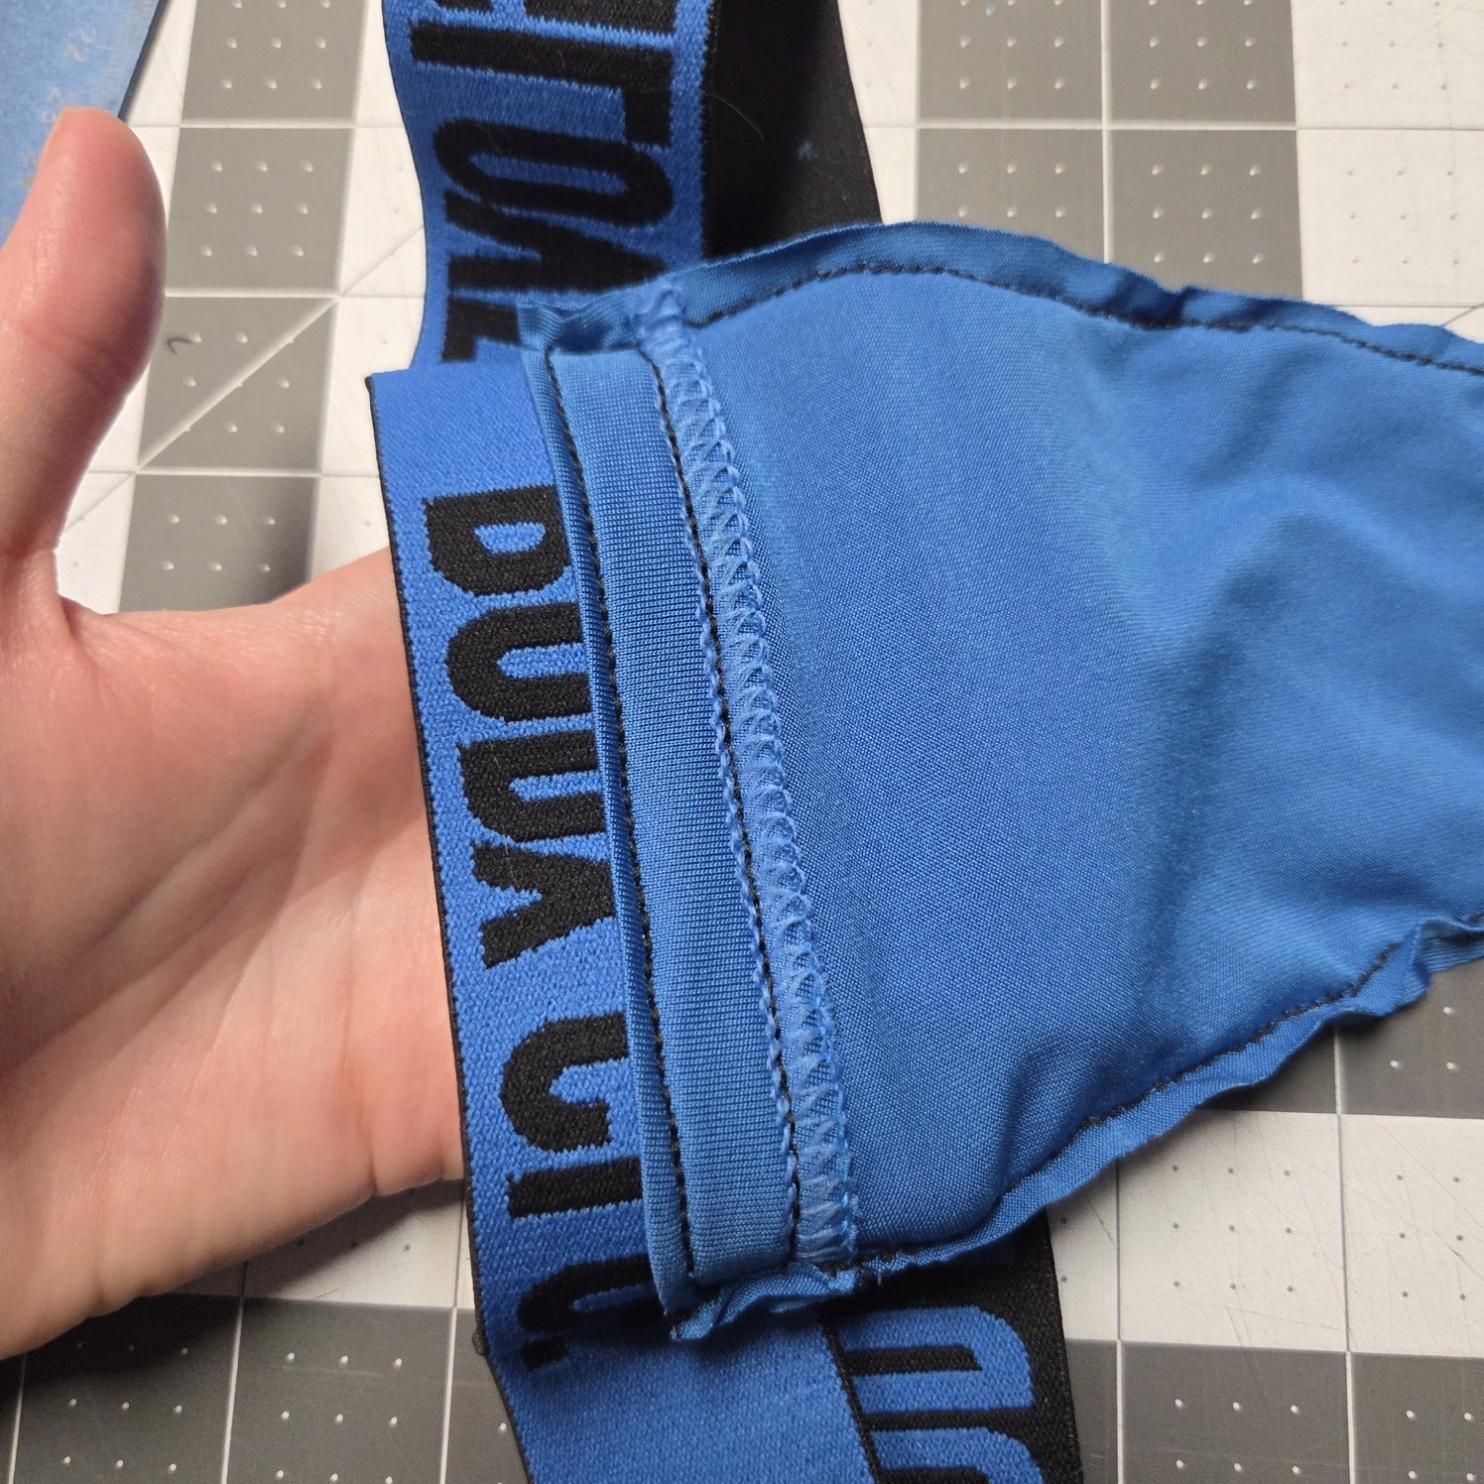
Use the same stitch to attach the pouch to your waistband; do a long rectangle of stitching going around where the elastic and pouch fabric overlap.
You Did It!!
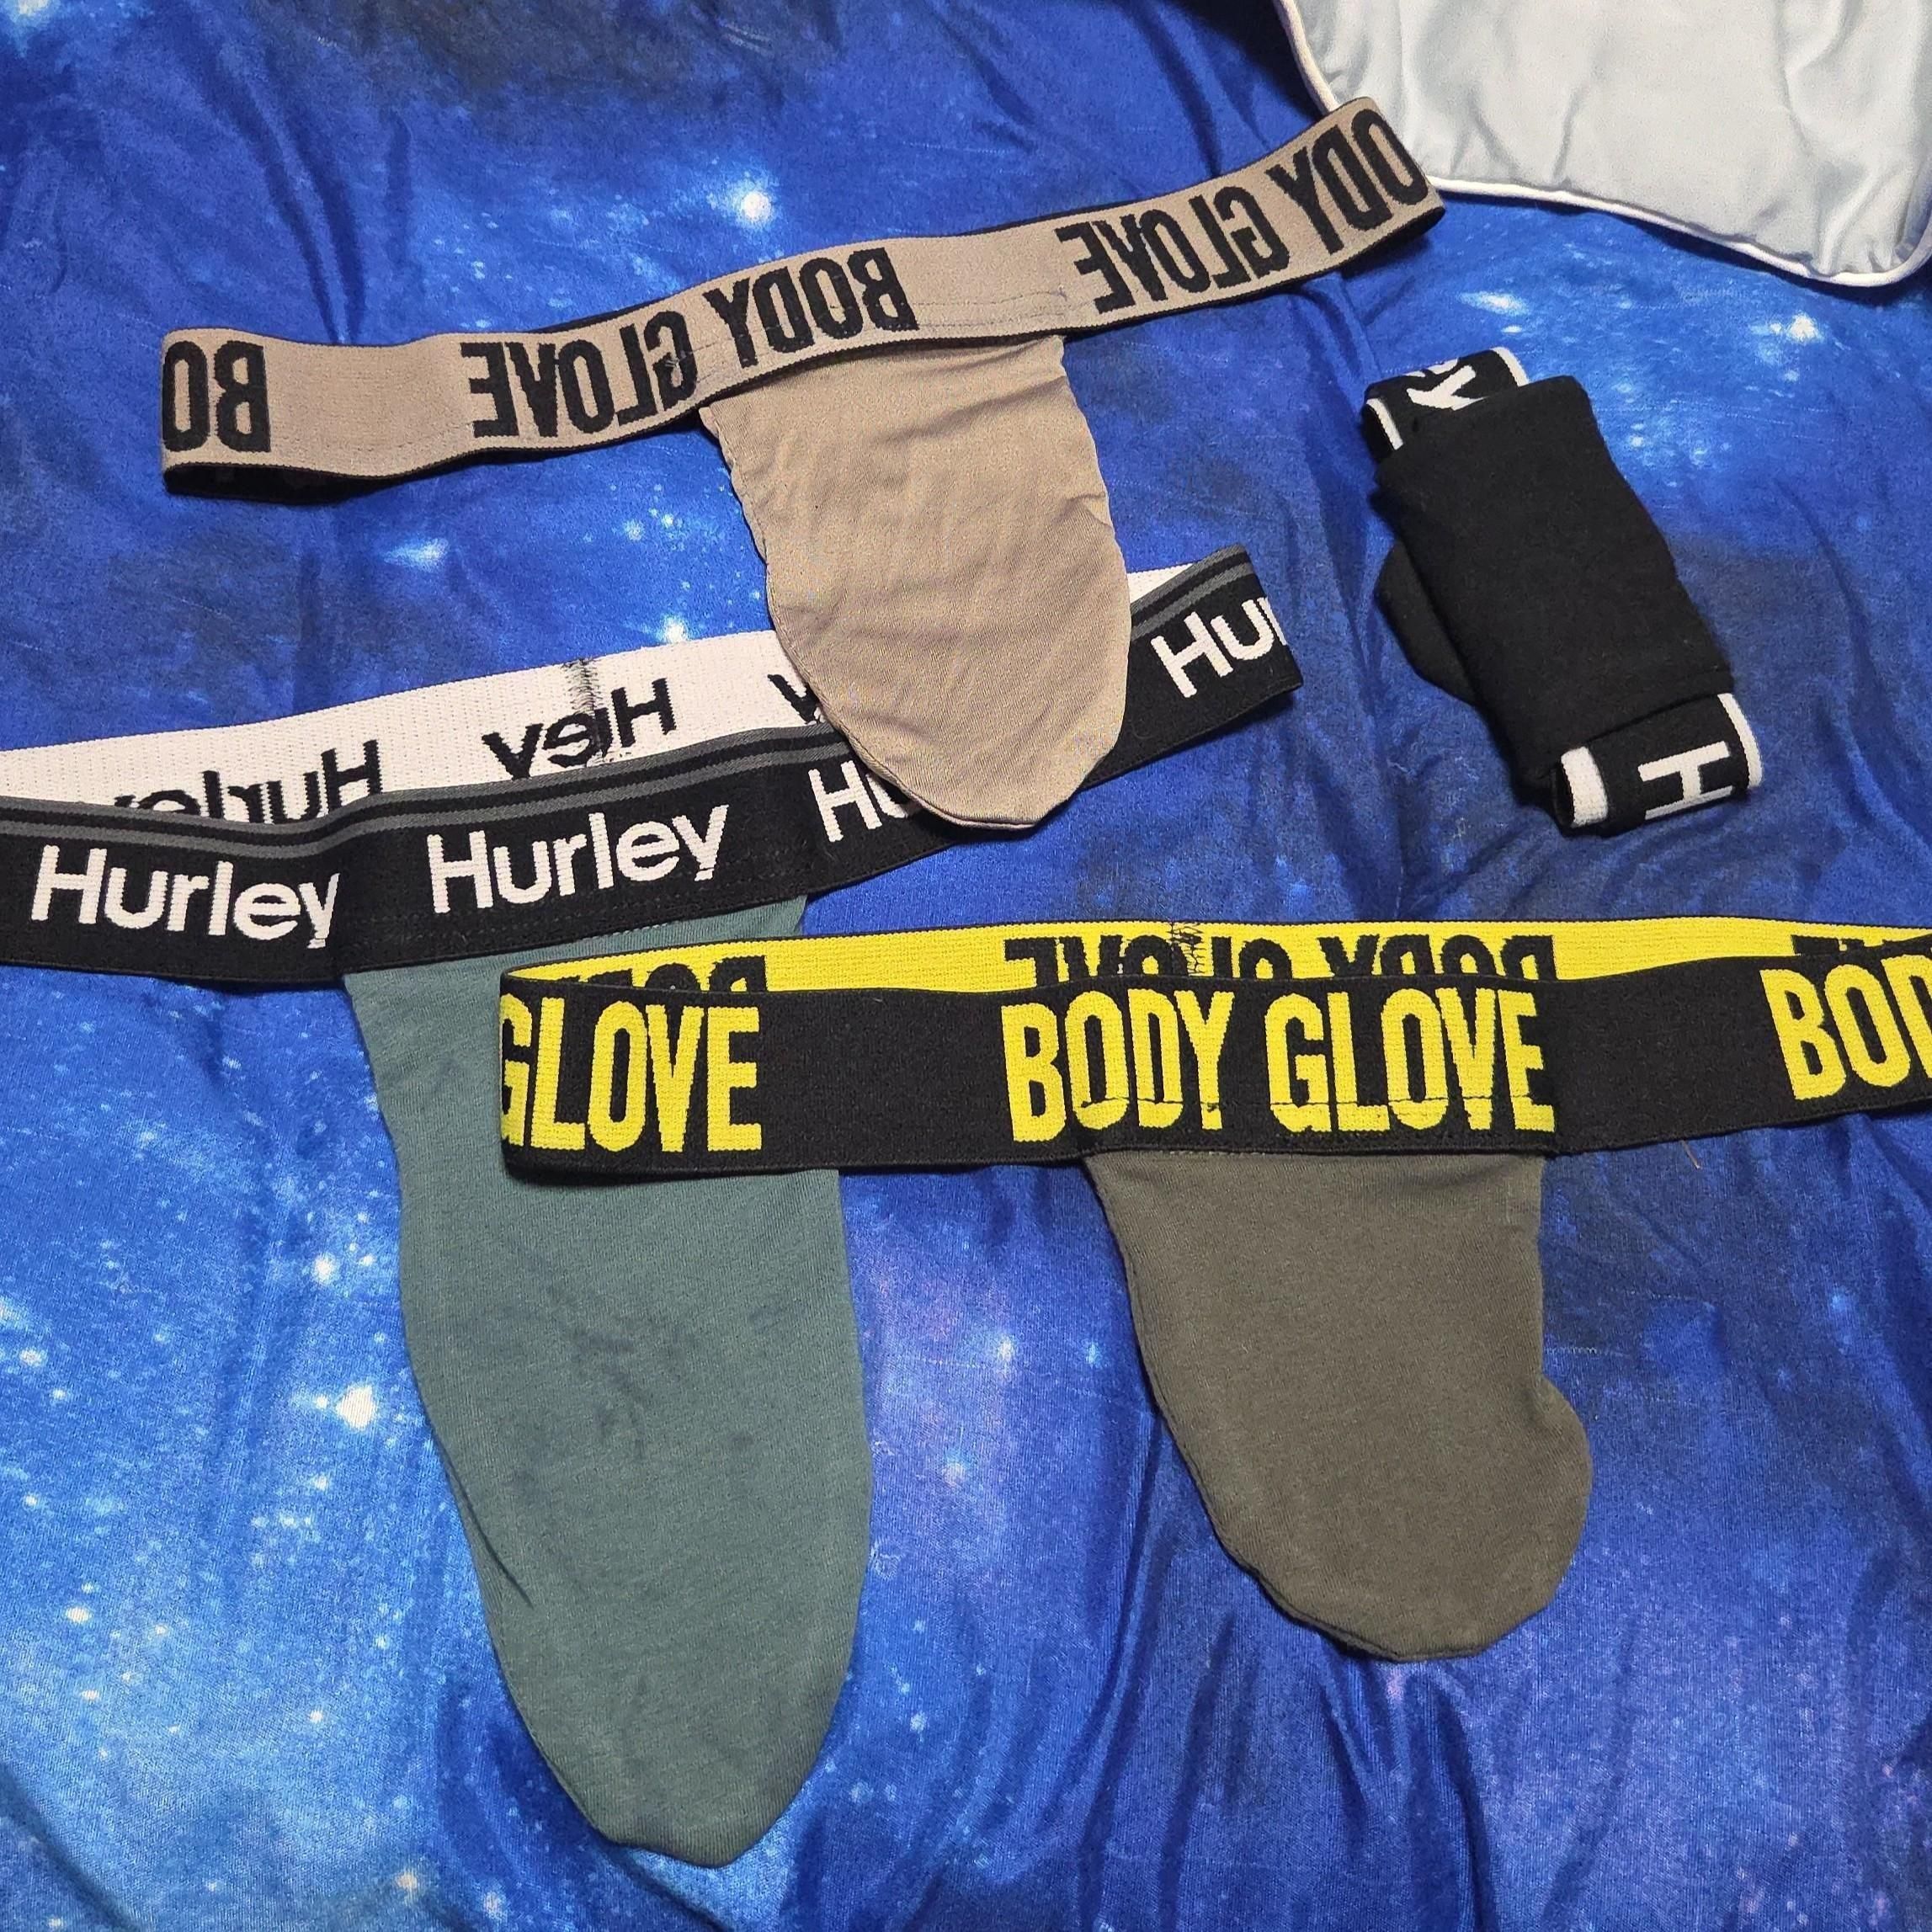
Nice work; go try out your new packing pouch! If you liked this pattern, please consider leaving a tip on my Cash App! $chaoticaster