Face Detection Security System Using Pi,IBM-Watson,Node-red,Twilio,Email Service
by TryxCorp in Circuits > Gadgets
34036 Views, 457 Favorites, 0 Comments
Face Detection Security System Using Pi,IBM-Watson,Node-red,Twilio,Email Service

_cr.png)
.png)
Disclaimer: You may get scared by looking at so many new terms that you will come across in this Instructable if you are a total beginner to Raspberry Pi. ;-) But trust me, there is literally NO CODING employed here and also this instructable is actually very simple and easy to implement. Hence there is no reason for you to get scared.
Ever wanted to know who had arrived at your door step when you were away from home?
Ever wanted to know when they had tried to visit your home?
Also, are you curious to find out if any activity is detected, like maybe a cat waking in front of your home during night?
Wouldn't it be good to receive some kind of notification when someone arrives at your doorstep or if some activity is detected and you are away from home and offline at the same time.
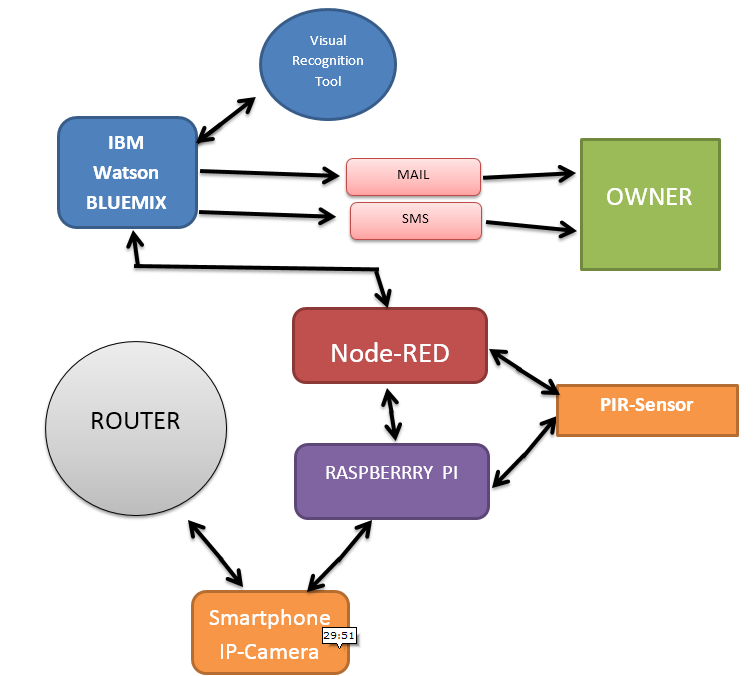
This tutorial helps you set up a system where you can get SMS to your mobile, and an email with attachment containing the photo of a person who has visited your house as an attachment file , by using an old smartphone as IP-Camera, Raspberry-Pi and a PIR-Sensor, Node-Red programming tool, Watson's Visual recognition tool ,Twilio and Email service.
A demo video on this instructable can be found in this LINK.
This project can be fit to Home or Office or your Room. The smartphone has to be placed on the door so that people who came near your door was seen. You will be able to see who had passed by your door when you were away.
You'll get to know if any suspicious activity takes place in front of your door.
If Watson detects a face or a person in the image, You'll get an SMS saying that "someone has arrived".
If no person is detected in the image, You'll get an SMS saying that "some activity is detected in front of your door"
An old smartphone is used as an IP-Camera which allows us take the snapshot at any moment when it is connected to a local network with the help of a Raspberry-Pi. Decision of when to take the snapshot is determined with the help of a PIR-Sensor
This tutorial uses NODE-RED visual programming tool which takes the help of IBM-Watson by making use of its services through nodes, IBM-Watson's visual recognition service which detects a face and then execute other commands based on the response obtained from Watson , Twilio SMS - Service allows you to send sms to your number or multiple numbers containing message that someone is at the doorstep, and an email service which allows us to send an email containing the face of a Person who had visited your home. As you can see that since we are using a visual programming tool, almost no code is being written by us!
In this project, The raspberry Pi doesn't do any image processing, All the computation is done by Watson.
This tutorial shows how to create a service in Bluemix and setup a Raspberry Pi which will be connected to your Bluemix's IoT Platform service.
If you like the idea of this Instructable, please vote for this in the IoT builders contest. It means a lot :)
Advantages:
Provides security for your home
Allows you to monitor your home remotely
Get notified when someone visits your home even when you are offline through SMS.
Allows you to check people who visited your home
Uses only cheap equipment instead of expensive security cameras and storage devices
Your email account acts like cloud storage
Easy to setup
Solves the real life problem of taking action against intruders visiting your home when your away from home or when you are asleep.
How the Security System Works
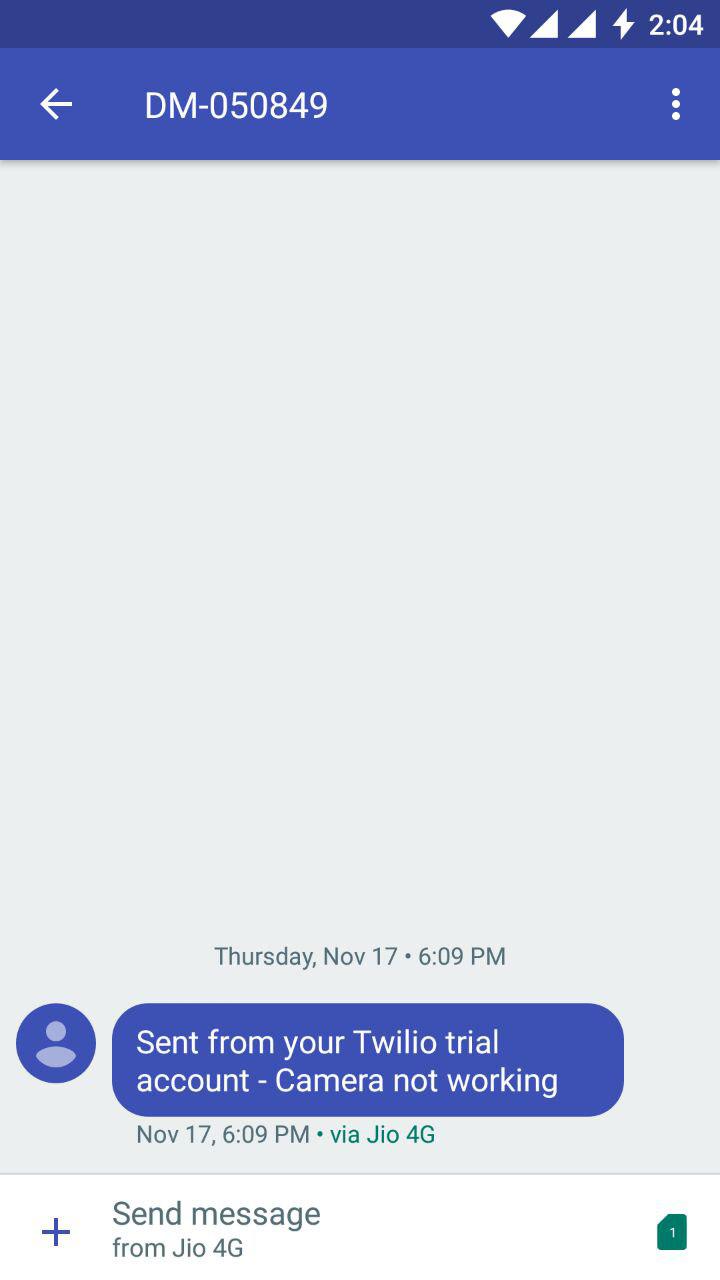
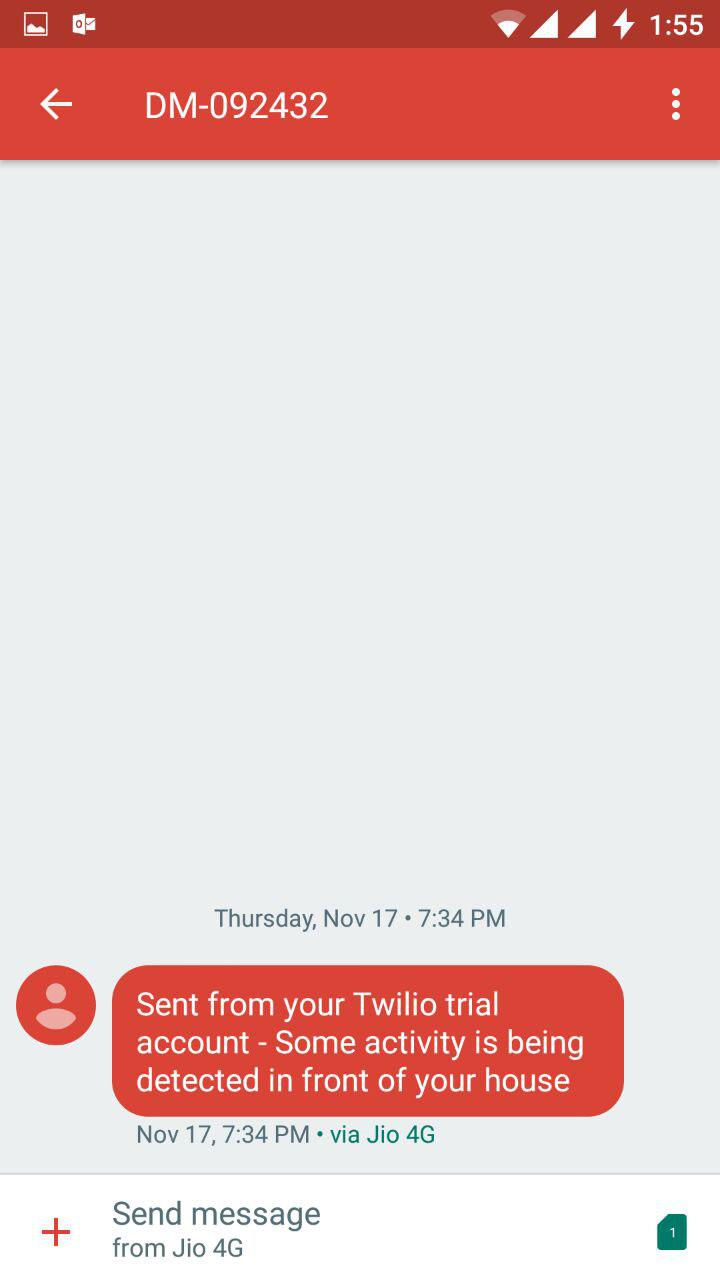
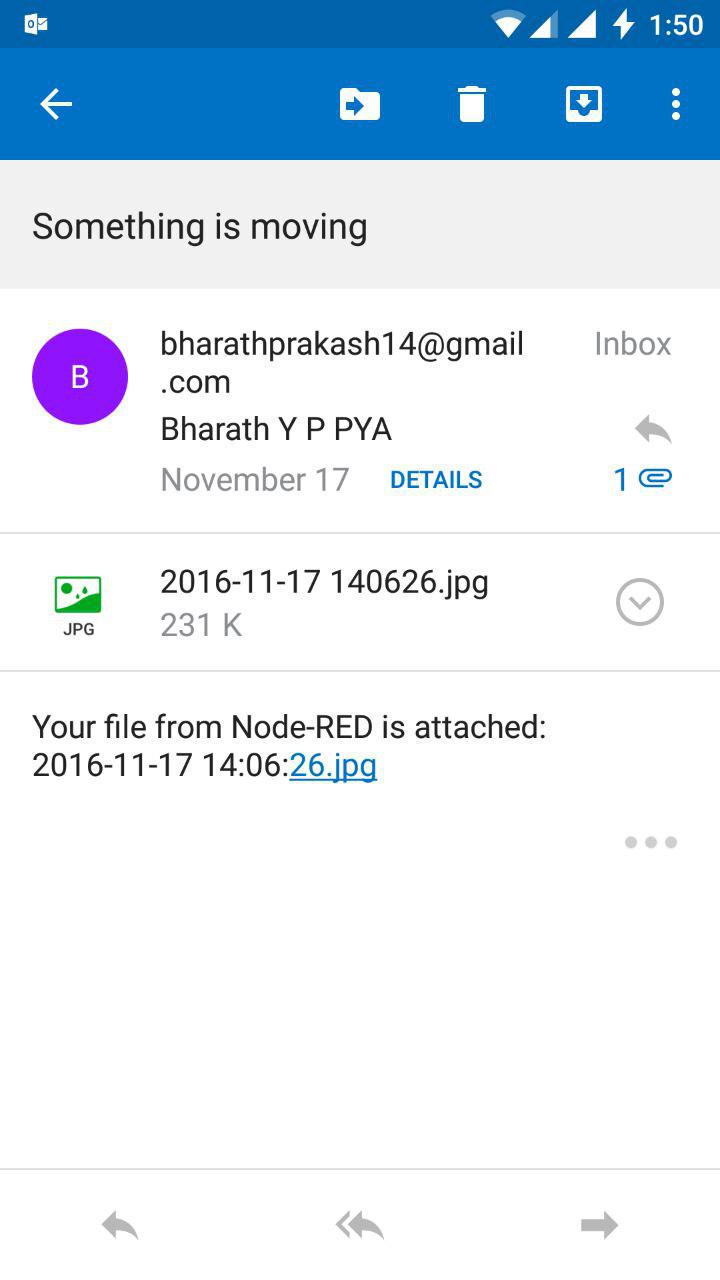


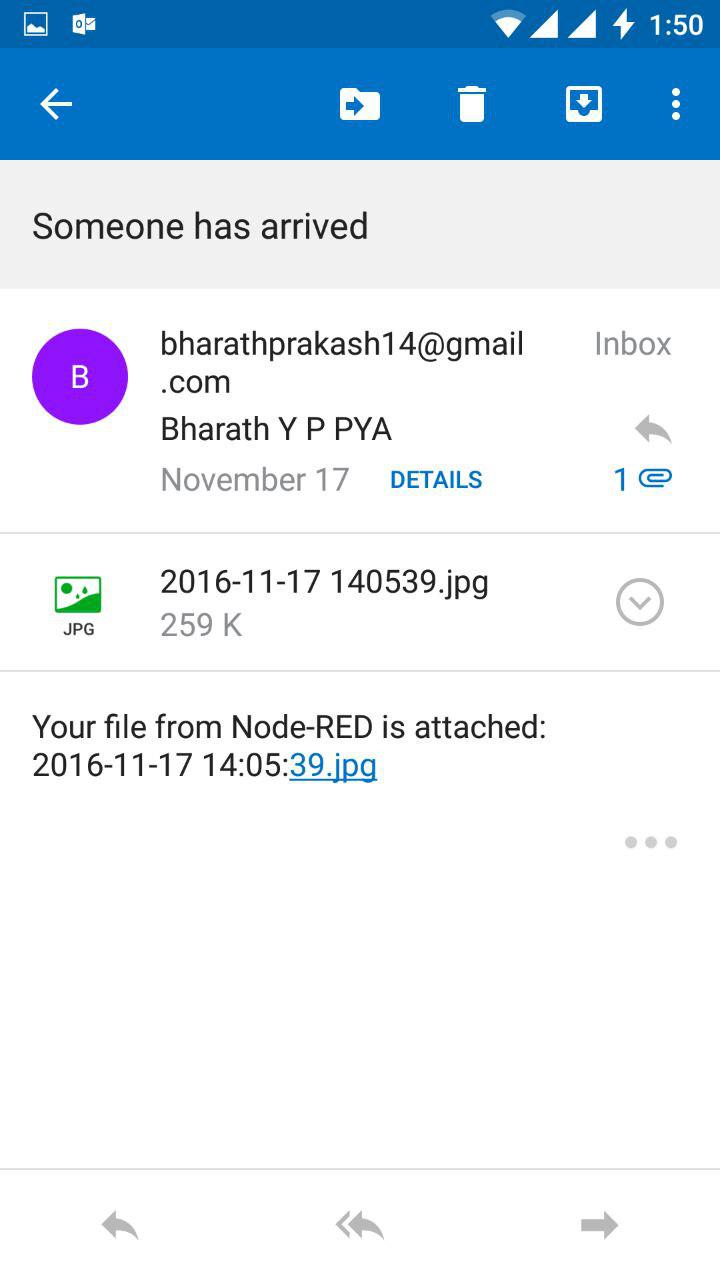

The system triggers when the PIR detects motion. Based on this , we can have three different scenarios.
Scenario 1: Camera is not working.
Reason for this could be ------- the Phone might not be connected to the network. This would send an SMS to your number with message "Camera is not working
Scenario 2: No person is detected in the image.
This would be the case when small movements like a cat moving by, or when objects move by the PIR sensor which triggers the PIR sensor and then the image captured will be checked for a person in it. If there is no person in the image, SMS and EMAIL(with image attachment) will be received immediately with an appropriate message in it.
Scenario 3: A person or a face is detected in the image.
If a person is detected in the image when the PIR sensor gets triggered, Again, a SMS and an EMAIL(with the attachment file) will be sent accordingly.
How the System Will Be Setup


All we need is a
----------Raspberry Pi (with WiFi)
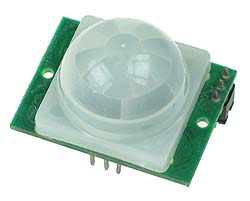
----------PIR sensor
----------Power bank or a socket to power up the PI
----------Old SmartPhone or IP-Camera (connected to the same network as Pi)
The smartphone or the camera is placed in such a way that it can have a clear view of the doorstep.
A tiny pinhole can be made, or the camera can be placed behind a transparent window.
The Raspberry Pi is placed somewhere near the door so that the PIR sensor can detect motion at the doorstep. A power bank can be used to power up the Pi.
The Raspberry Pi can run on a 10000 mAh battery for more than 10-12 hours straight.
Another good alternative would be to place it near the power socket and extend with wire for the PIR sensor.
Prerequisites



_cr.png)
_cr.png)
Materials Required:
1) Raspberry Pi - Any model
2) PIR-Sensor
3) Old smartphone or any Camera which can be connected to a network
4) Power bank or a constant power supply for Raspberry Pi
5) Wifi Router (or the smartphone itself can act as a wifi router if there is an option)
Assumptions:
1) Have basic knowledge in Raspberry Pi
2) Node-Red installed on Pi (you can visit this Tutorial on how to install Node-Red on Pi and connect it to Watson)
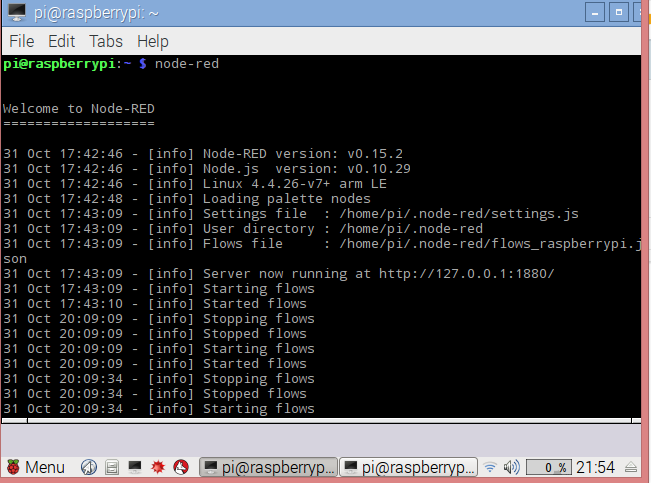
3) In raspberry Pi, the "node-red" command is executed in the directory ~/.node-red
(use the command "cd ~/.node-red" in terminal)
Keywords:
1) Nodes and Node-Red: Nodes are drag and drop icons in the Visual program editor Node-Red
2) IP-Camera: These are the cameras which can be operated by any other device connected to the same network
3) IBM-Watson-Bluemix: IBM has an AI Bot called Watson which can be used over cloud for various purposes
Bluemix is a platform to create Watson's application and services
4) Twilio: This is a cloud based SMS service app which can be used to send free text messages by running programs
Step 1: Setting Up Your PIR-Sensor


.png)
.png)
.png)
PIR-Sensor is used for motion detection. It helps to capture snapshots from the IP-Camera only when Activity is detected in front of door.
Steps:
1)The VCC pin and the GROUND pin of the PIR sensor is connected to the Pi's 5V pin and GROUND pin respectively.
2) The Digital OUTPUT pin of the PIR-Sensor is given as input to the Raspberry Pi's GPIO pin 11. Any GPIO pi can be used for this purpose
3)The DIGITAL status of the OUTPIN pin of PIR-Sensor can be seen in Node-Red page.
It sends a digital signal when a motion is detected. This is taken as an input to the Raspberry Pi. The GPIO input node in NODE-RED is used to read the input signal.
As soon as a signal is detected, The flow in NODE-RED programs halts for 5 seconds because of the DELAY node
Step 2: Setting Up an Old Smartphone As IP-Camera and Capturing a Snapshot From That Camera in Node-Red

.png)

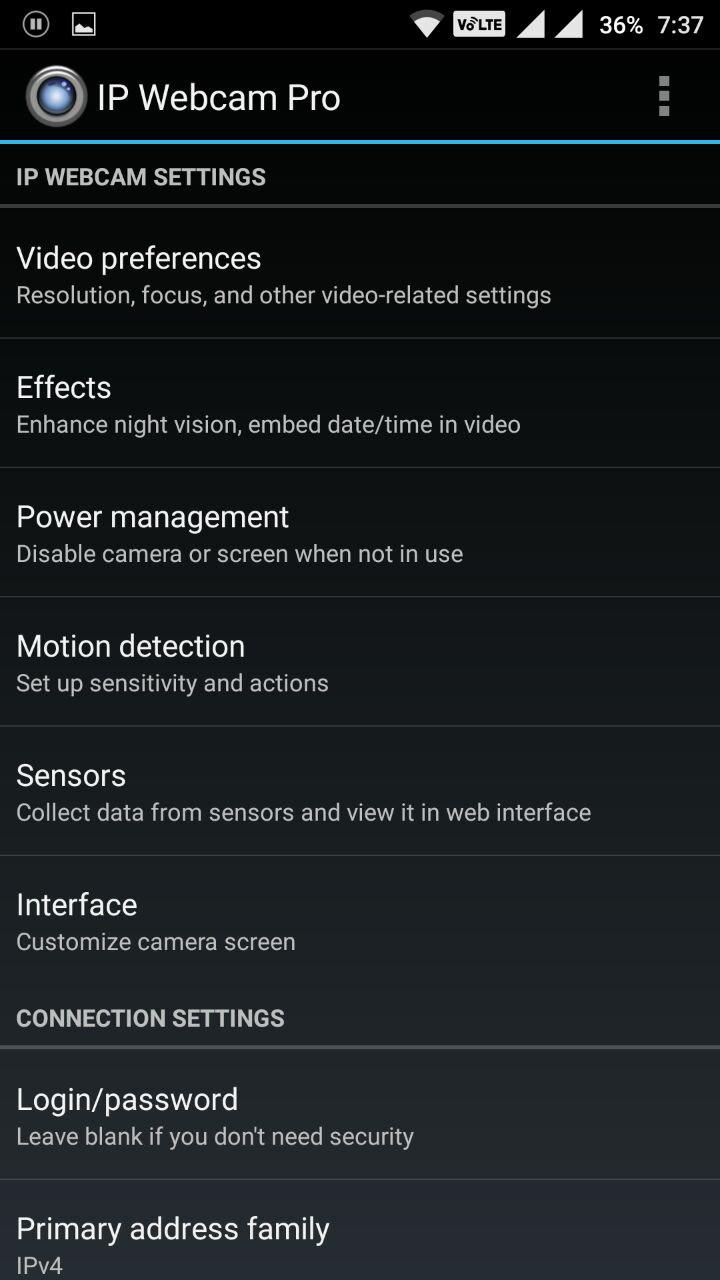
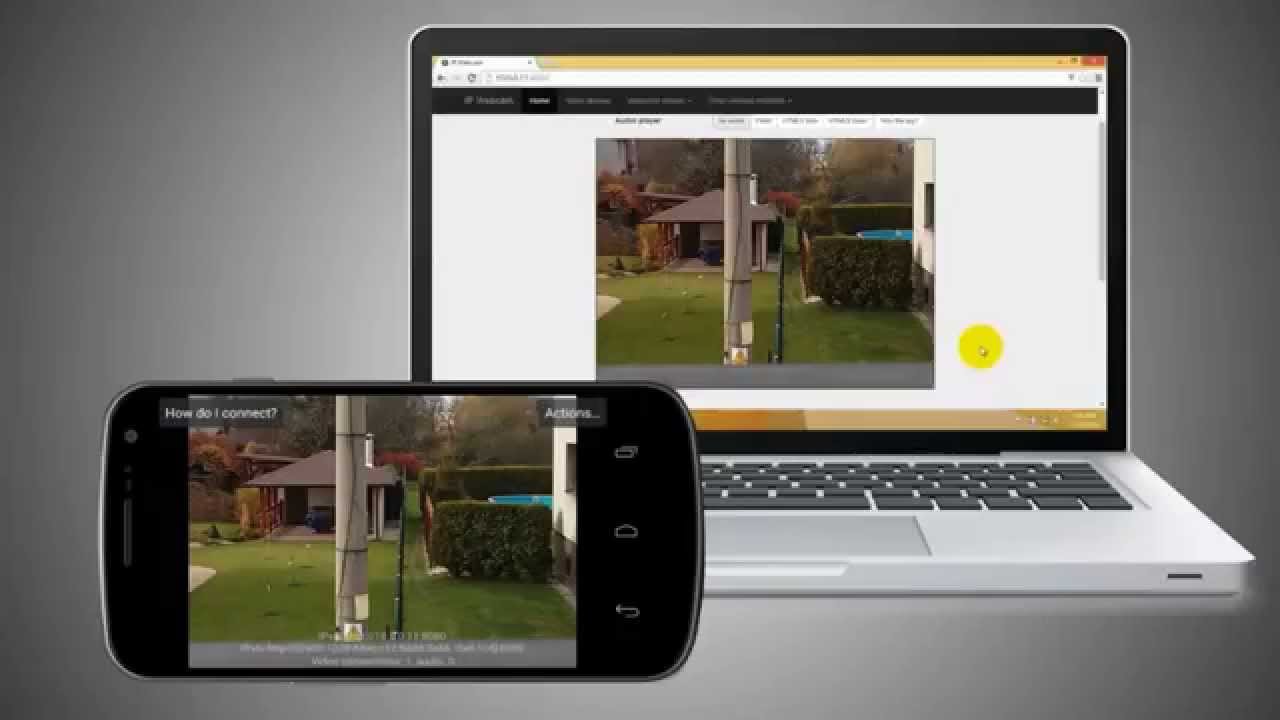
I have used my old smartphone to act as an IP-Camera, which allows me to control it using Raspberry Pi, both of which are connected to the same local network(Home Router).
The App which I used is called " IP Webcam" which is downloaded from playstore. Similar apps can also be found for other platforms too like iOS, Windows. In the end, all we need to do is to be able to get an image from the camera at any instant in the form of a download link.
I have used the curl command for the raspberry pi in the form of a exec-node in Node-Red.
The curl command helps me to download a file from the web. Here the smartphone hosts its own camera server which allows me to download an image from it's server. The downloaded image is nothing but the image which is seen from the camera at that time when the image was downloaded.
This allows me to save the snapshot in the form a jpg file in the local directory(~/.node-red) of raspberry Pi.
The file is saved as an image file with the name "photo.jpg"
For a Video tutorial on how to turn your smartphone into IP-Camera , visit this tutorial
Step 3: a Two Way File Node Is Used to Read the Image in the Local Directory

.png)
.png)
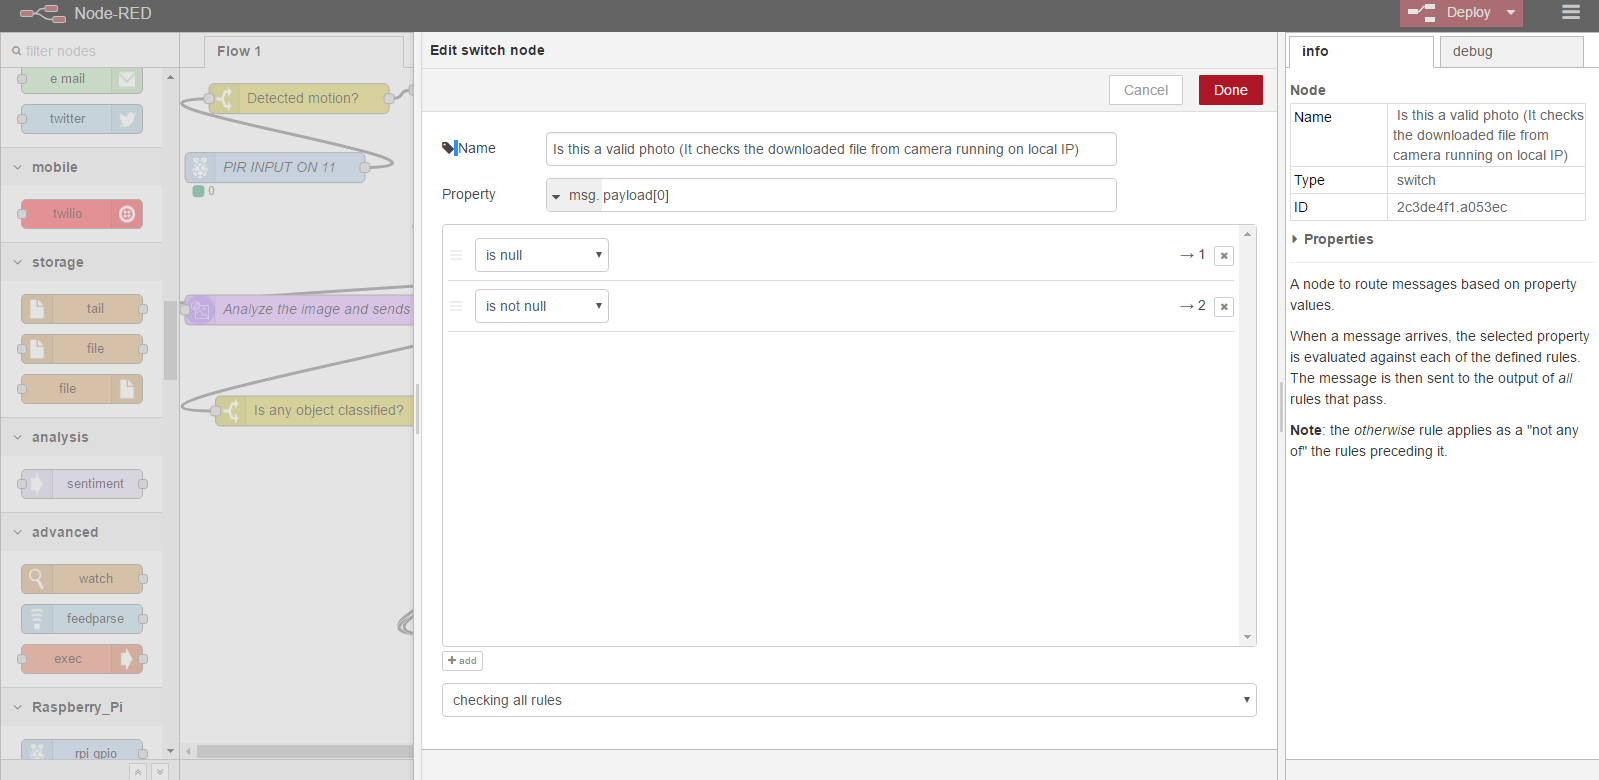
1) A two way file node in the Node-Red page is used to read the image in the local directory which is named as "photo.jpg".
The reason I used the word "two way file node" is because, The node is taking a file as an input from one side, and sending the output in the form of a buffer from the other side.
2) The data is read in Buffer mode and is checked for valid image before passing to the next node.
3) If msg.payload[0] == Null, The imaged obtained with the help of curl command is invalid file.(This happens when the IP-Camera is not running in the Local network and the download file is a ile)
If msg.payload[0] is not null, The image obtained from curl command is a valid image file and can be used.
Step 4: Setting Up a Twilio Account and Bluemix Account and Using Them in Node-Red
_cr.png)
.png)
_cr.png)


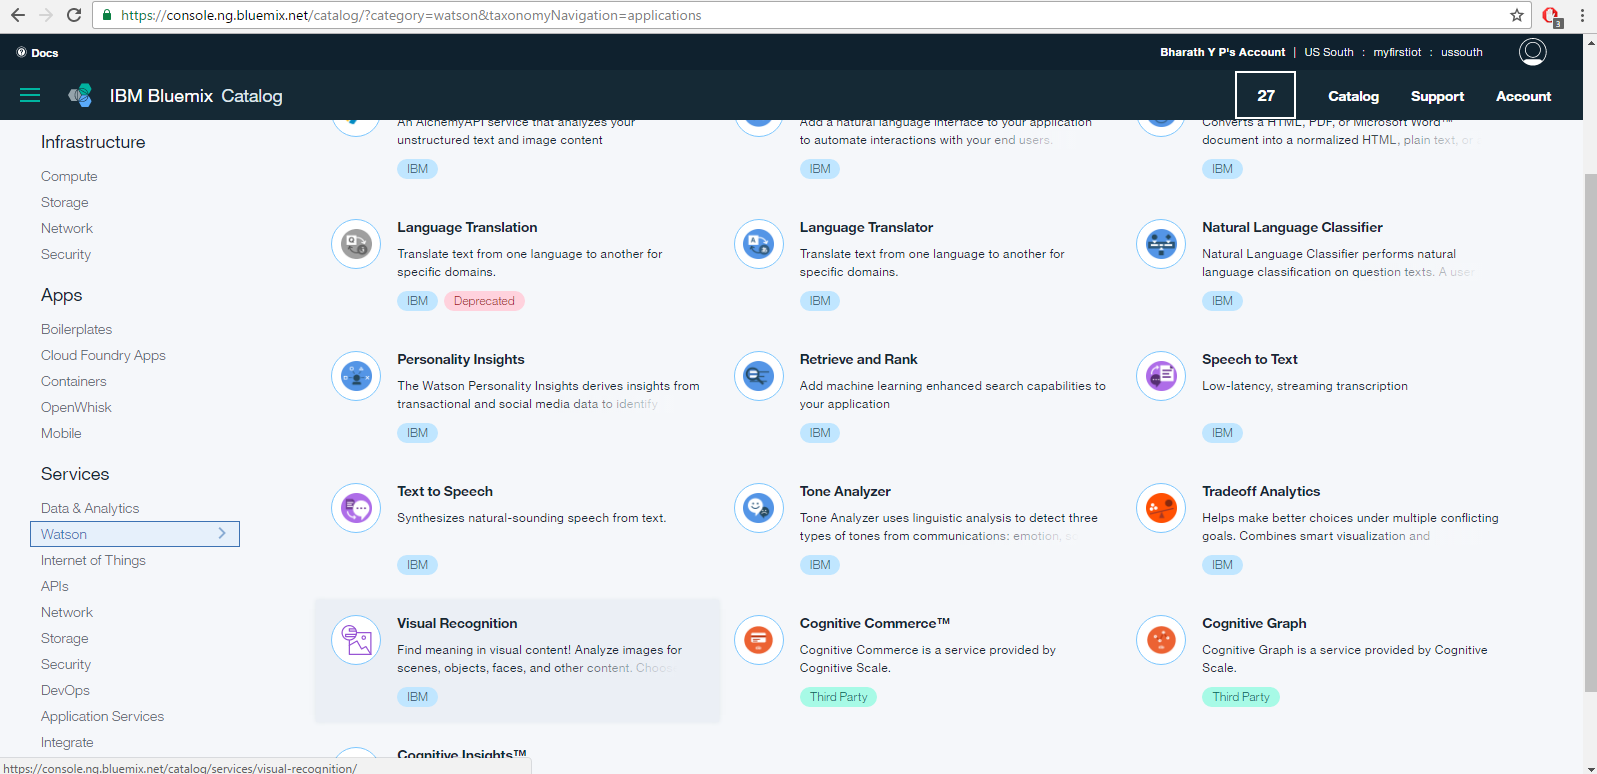
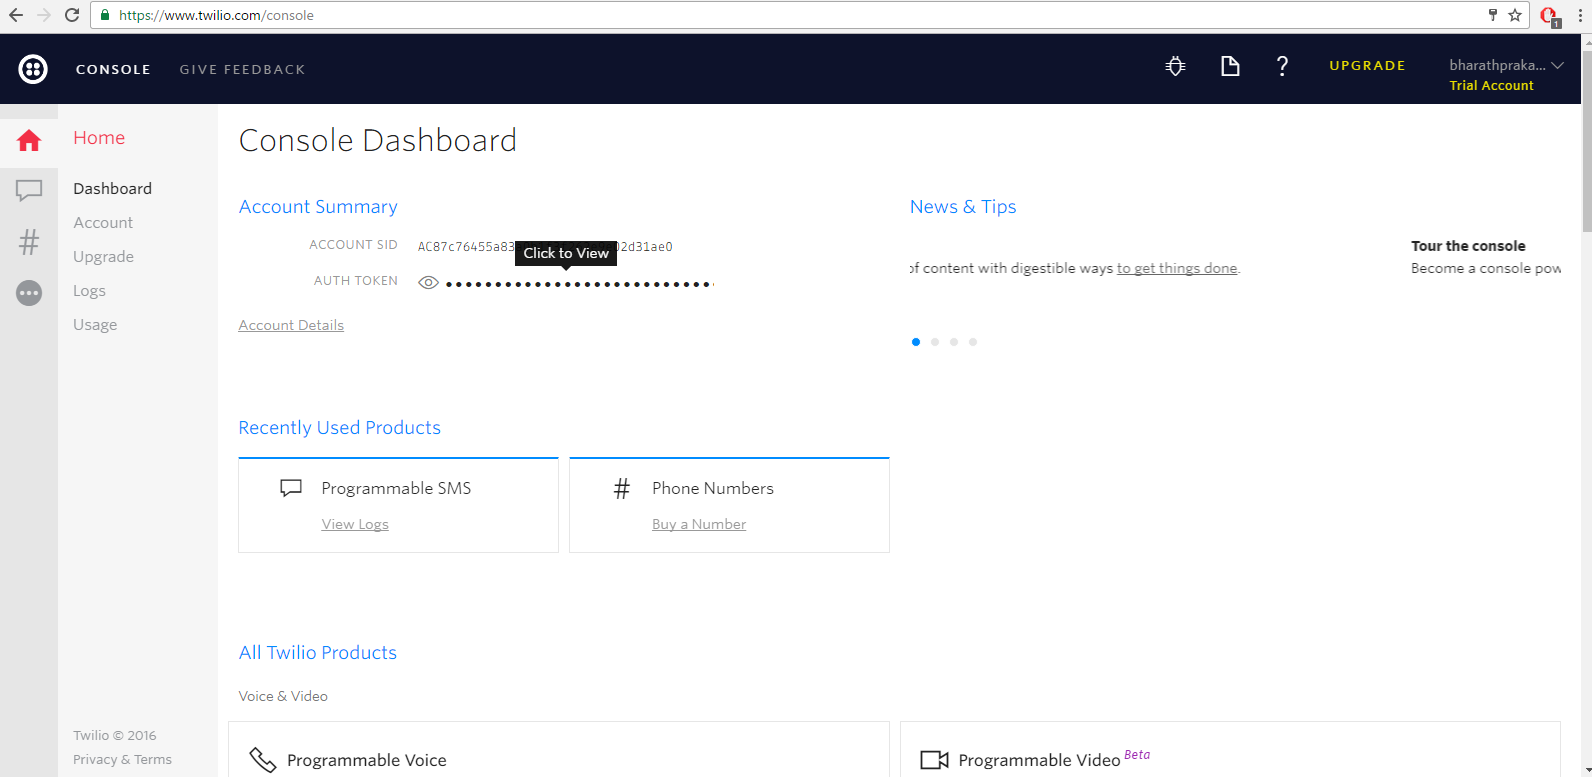
We are going to use Twilio service and IBM-Bluemix's Visual recognition service.
1) Twilio is a cloud platform used for SMS, Voice, and Messaging apps on an API.
Based on personal experience, Twilio's features are very easy to operate in Node-Red, instead of Running script file for sending sms. Its messages can be sent almost instantaneously when Twilio's service is called using node.
Follow this tutorial on to setup Twilio on Node-red. Note: The twilio library must be installed in ~/.node-red directory. Use the command "npm install node-red-node-twilio" to install twilio library
The Twilio node is configured in the Node-Red page itself by entering the required credentials in the node's settings menu under local credentials.To send a SMS to a number, the topic parameter of the msg object must be set to the number, e.g. +4416358000xx and the payload parameter is the actual message that is to be sent. In a simple test, you would use an inject node to create the msg topic and payload, this would feed directly into the Twilio node to send the SMS. How this is used would be up to your own imagination and requirements.
2) Create a Bluemix account and create Visual Recognition service app in bluemix and note the the credentials obtained.Under Visual Recognition Node, The credentials which you had noted down earlier when you created the Visual-Recognition service app, is insterted under the edit menu of the node.
You can find many other services under IBM-Watson tab in Node-Red. All you have to do is to create an app in your Bluemix account and note down the credentials and use it wherever required.
Step 5: Using Visual Recognition Node Under IBM-Watson
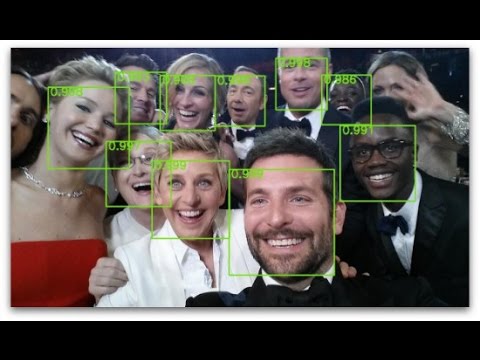
PS: This famous photo is shown only for your understanding to know how the Watson recognition service works
1) The visual recognition node from IBM-Watson takes image url or buffer of an image as input.
2) I gave the buffer of "photo.jpg" which was present in the local directory
3) Input is given through msg.payload.
4) The output is seen in msg.result
msg.result displays all the details which is obtained by IBM-Watson's analysis.
the result contains all the objects which are classified by Watson.
5) Based on the result, we can know if a person is detected in the image, or if something else is detected in the image.
6) From these two cases, we can send different messages for different conditions using the help of switch node.
Please Note: Here, by Visual recognition service , a person or a part of a person is being detected and not only the face. ( Face can only be with a person after all!! :p)
The reason I chose this is because a lot of times, the guest may not be facing the camera, but the our main goal was to detect if a human was detected or not. (If a person is detected, chances of getting the face in the image is also very high.)
If you want only Face to be detected by Visual recognition service, then you must choose the Classifier object under visual recognition node's edit menu as Faces and use switch case node appropriately. In this case, if you want a face to be detected in particular, msg.result.images[0].faces==(not null)
Step 6: Switch Nodes
The switch nodes are used to send sms and emails appropriately.
1) Is the Camera working? -->> Send Message 1
2) Person classified in the image?--->> Send message 2
3) Person not classified in the image?--->>>send message 3
Function nodes are used to write additional code to the blocks.
1) They are used to create subject name and attachment file with time stamp as its name to the msg JSON file..
Templates are used to make your own json files.
1) They are used to add messages to the msg.payload whicha re then sent to Twilio
The Conclusion
.png)
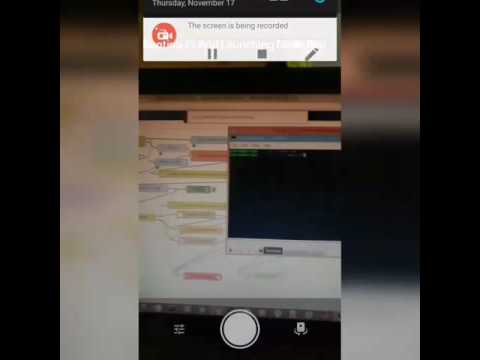
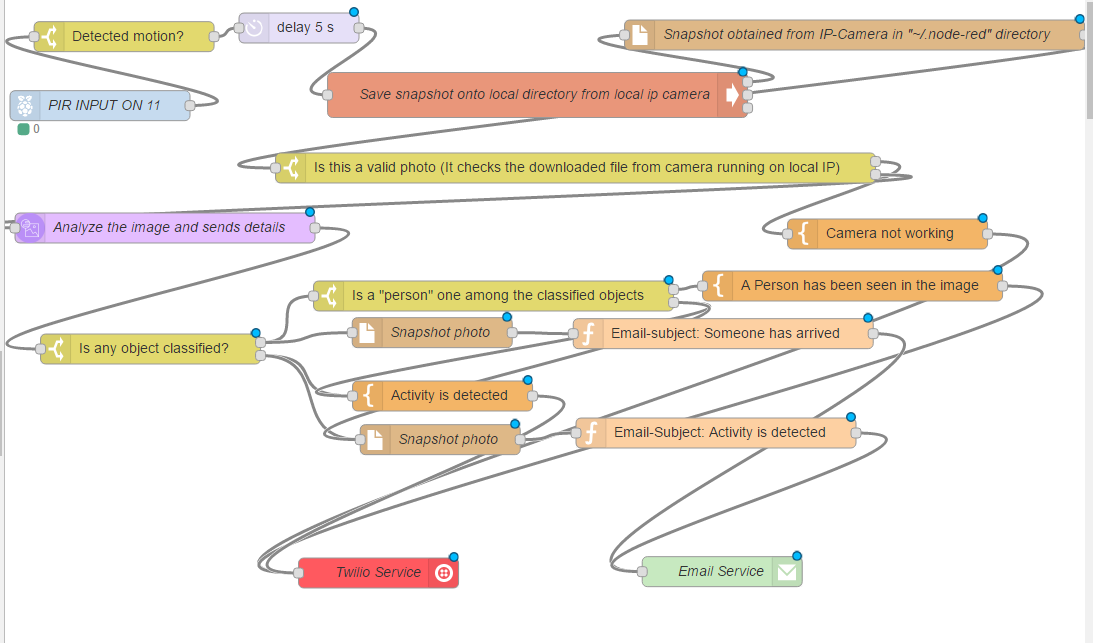
I have used several function nodes and file nodes as needed for the program to flow.
Feel free to explore the Node-Red. It has lot of other nodes too , all of which are very easy to understand.
Use the above screenshot for reference and try to create your own nodes. Ping me if you have any doubts regarding this instructables.
In case you want to add some extra features, like turn on led light during night time when PIR sensor detects motion, one could simply use the Rpi.GPIO nodes available as output nodes, and then capture the snapshot and save it to a file.
The IBM-Watson also supports speech to text service, So you can send your messages in the form of voice with the help of speakers when a Guest has visited your house.You can learn how to convert text to speech with the help of this link Tutorial for Connecting a Raspberry Pi to IBM Watson, Bluemix and Node-RED
Your email can also act like a cloud storage which stores all the images captured. In this way you can avoid the problem of saving long duration videos captured from the camera to detect activities. Images will be captured whenever an activity is detected. Hence there is no need to buy large capacity storage devices to save the data.
If you want to check my Node-red page nodes, Import the clipboard from the node-red webpage.
Demo video for this instructable can be found in this link.
I would also like to encourage people to utilize the features provided by TWILIO and Watson's services for small scale projects.
Face Detection and Twilio's sms service could have been implemented in a single python script file, But it all depends on the programmer's skill. If you have no prior experience in python or any other language which can implement this task, you could use NODE-RED VISUAL PROGRAMMING TOOL which is easy to work with.
Comment if you have anything to say at all regarding this instructables.
Hope you enjoyed reading this Instructable :)
If you liked this project, I would greatly appreciate if you could spare few seconds of your time and vote for this INSTRUCTABLE in IoT Contest by IBM.
Thank you!! Have a great day :)