Fixperts - Nadav's Folding Cane
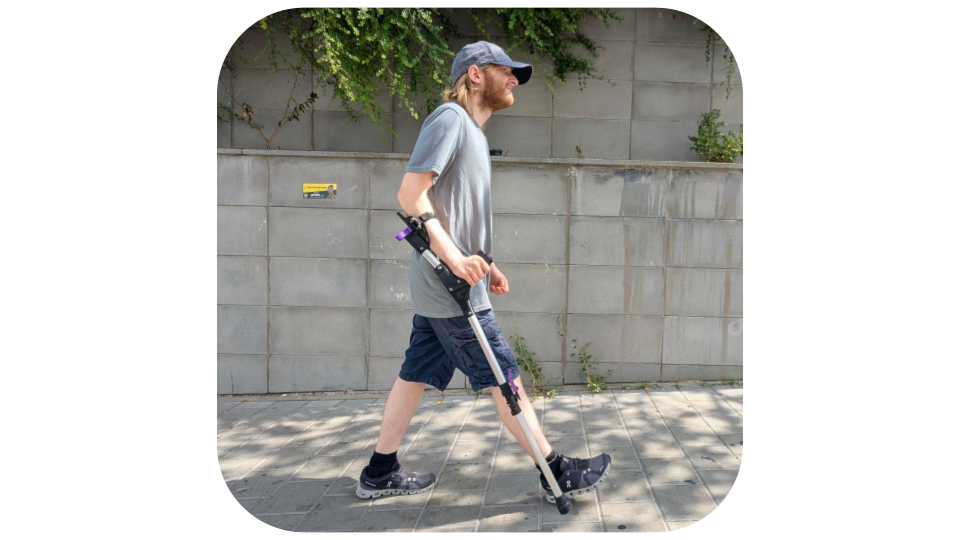
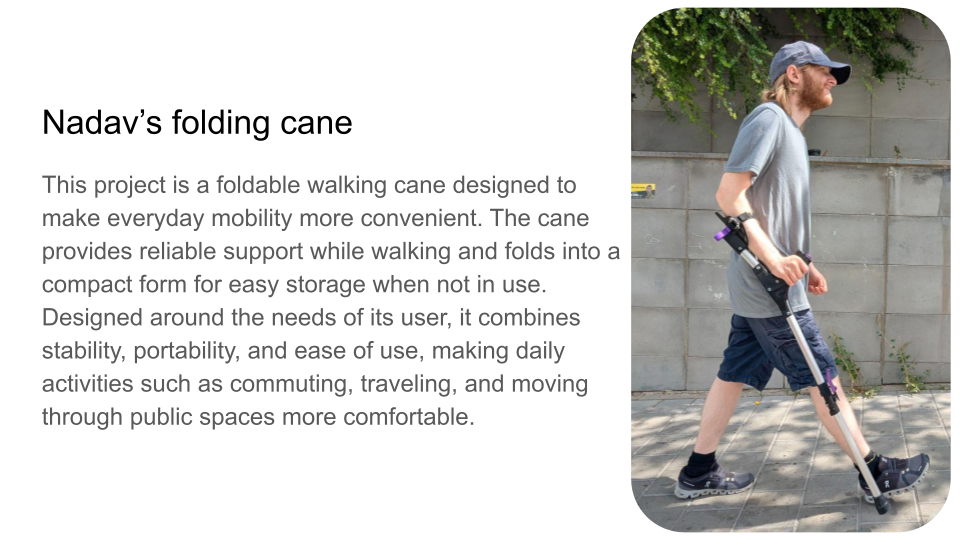
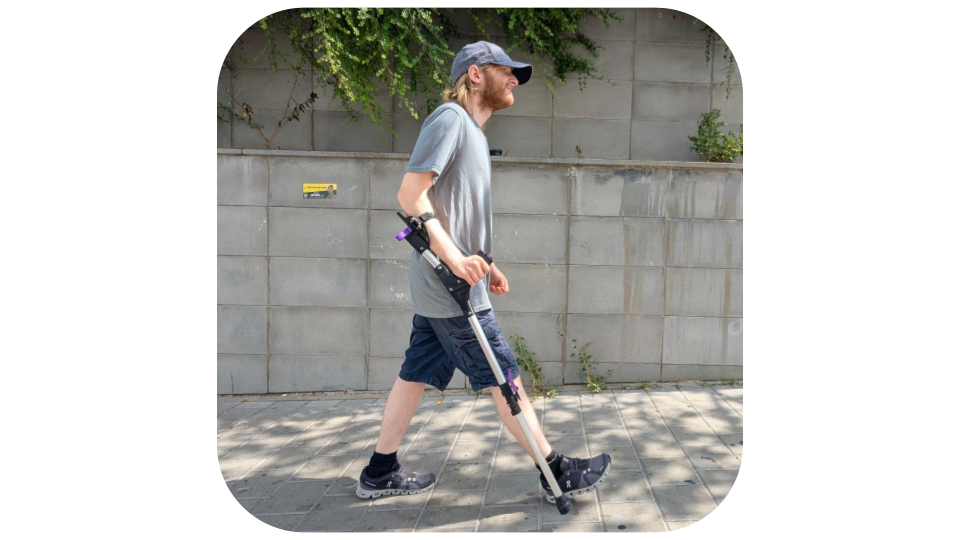
This project is a foldable walking cane designed to make everyday mobility more convenient. The cane provides reliable support while walking and folds into a compact form for easy storage when not in use. Designed around the needs of its user, it combines stability, portability, and ease of use, making daily activities such as commuting, traveling, and moving through public spaces more comfortable.
Mapping the Cane
.png)
.png)
map of the cane, reference for names and locations
Printing Right Handed Cane
.png)
.png)
.png)
.png)
choose to print either right handed (files beginning with RH) or left handed cane ( files begging with LH). there are 13 files for each cane. In the pictures are guides on recommended settings and orientation for each set of parts.
Downloads
Handle Section
.png)
.png)
.png)
.png)
.png)
.png)
- Take two halves of Lower handle shelf
- Put them together through the bottom coupler
- Separate the far corner and glue the corners together
- Insert the M5 nylon lock nut, into hex hole
- Put the Spring on the Button arm
- Insert the Button onto the arm closing it with a M3 15mm screw
- Compress the spring and place the button/button arm assembly into the Main upper handle. Make sure the motion is smooth.
- Place both main upper bodies together and insert the hand grip. Make sure spring is compressed for easy insertion
- Insert the M5 nylon lock nuts into hex hole
- Insert front grip coupler, onto handle until flush with part
- Insert Upper grip coupler until flush with part
- Insert M5 nylon lock nut into hex hole
- Align upper handle assembly and lower handle shelf assembly so that the holes align
- Screw in the M5 35mm screw
- Double check that the handle locks into place. If it does not lock check for unremoved support materials
Forearm Cuff
.png)
.png)
.png)
- Insert the M3 Brass inserts into designated holes
- Insert M5 nylon lock nut into hex hole
- Screw in the fidlock buckle using the M3 8mm screws with washers until tight.
- Sew the 20mm strap to the comfortable length
- Recommended: sew a loop of material to hold strap end down
- Sew a strap lock and insert it into the fidlock buckle
Attachment Parts of Folding Mechanism
.png)
.png)
- Attach the mech guard on top portion of the folding mech
- Take the 2 halves of the mech extensions and screw them together with the M3 15mm screws
Measuring for Cane
.png)
https://riderxep.github.io/folding-cane-calculator/
using the measurements taken using the first image, enter the measurement onto the calculator to get the sizes you need for the pole lengths.
Cutting Poles
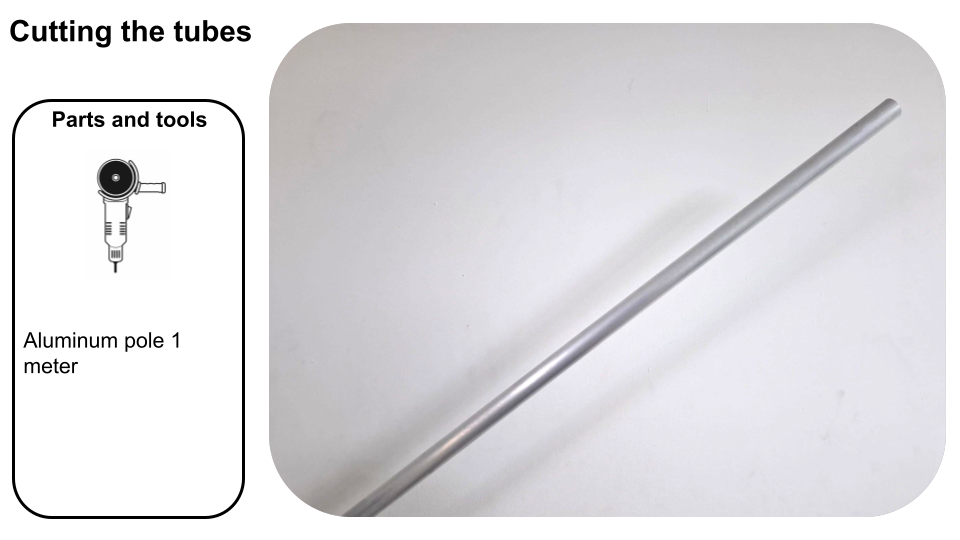
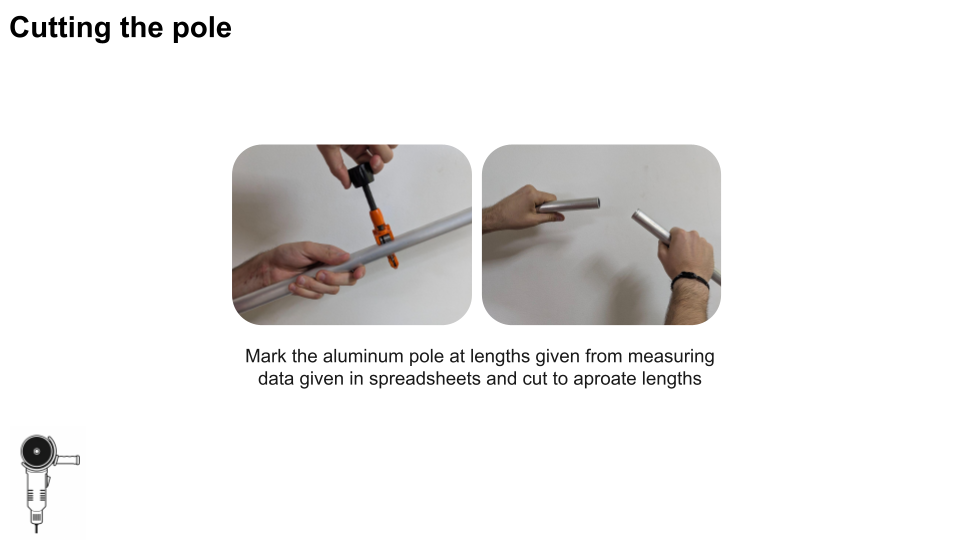
- Mark the aluminum pole at lengths given from measuring data given in spreadsheets and cut to appropriate lengths
Pipe Connections
.png)
.png)
.png)
.png)
- Insert the top pipe into the bottom of the grip, and mark the hole. Remove the pipe and drill a 5mm hole where marked.
- Repeat step for cuff pipe for its holes in the cuff grip and top of handle
- Insert the top pipe into the bottom of the grip rotating until all holes line up. Then insert M5 35mm bolt into the hole until tight
- For the connection of the cuff pipe to forearm cuff inset a M5 40mm bolt
- Insert the top pipe into the top of the folding mech and tighten the screws on the folding mech until both are tight and the top pipe is unable to move
- Repeat step 4 with bottom pipe into the bottom of the folding mech
- Insert rubber foot onto the bottom of the pipe
Enjoy
thank you and happy making