Flashing a Custom Kernel to a Poco X3 Pro With a Custom ROM
by Ahiyan Mahmud Haq in Circuits > Mobile
223 Views, 1 Favorites, 0 Comments
Flashing a Custom Kernel to a Poco X3 Pro With a Custom ROM

Disclaimer
- Installing a custom kernel incorrectly may result in the “bricking” of even the most "fool-proof" Android devices.
- I am not responsible for any of damages that you may have inflicted on your device. Flash your device at your OWN risk.
- ALWAYS BACKUP ALL YOUR DATA BEFORE MODIFYING SYSTEM SOFTWARE ON YOUR PHONE.
- This tutorial does not apply to Samsung devices.
Preface
I flashed a custom kernel by the name of 'Anymore Kernel' to my Poco X3 Pro because it would allow me to optimize the kernel to save battery more aggressively. The process was not straightforward and is not recommended for beginners. If a beginner wants to add a custom kernel, he/she should begin by installing a custom ROM to learn about and become acclimated to modifying system software on an Android device. Flashing a custom kernel could possibly hard-brick (irrepairable destruction to hardware in a computer system) your device (devices like the Poco X3 Pro have chips that run hot (i.e., the power management Integrated Circuit (IC) is known to become too hot and fry itself on this device.). However, this is uncommon. Please read/refer to the disclaimer if you have not yet. Read everything thoroughly or simply re-read to make sure that you understand the underlying concepts so that you have a lower chance of bricking your device. The advantages and disadvantages of installing a custom kernel include:
Advantages:
- You get full control of your device. So you can adjust kernel parameters to suit your needs. Performance can be increased instead of battery life and battery life can be increased instead of performance. [Advanced] Overclock or underclock your CPU, GPU or screen if your device supports it. This is not recommended for beginners because the phone may overheat if anything is overclocked, leading to hardware damage and less longetivity.
- You can tell your friends that your smartphone is very advanced and good. This gives you another chance to convince them to use free/libre and open-source (FLOSS) software.
- You can also increase frame rate in games. For example, if your kernel caps apps on your smarphone at 60 Frames Per Second (FPS), you can install a custom kernel to allow for 120 FPS at the cost of higher temperature and resource usage.
Disadvantages:
- Possibly brick your device and lose all data, which can escalate to be a very big mistake such as losing a job due to missed alarm. So it is NOT recommended for professionals to have unlocked bootloaders, root access and custom kernels on their work phones (have more vulnerabilities so you cannot access banking apps and certain enterprise-grade services like Samsung Pass).
- Very advanced and promotes system instability even more compared to stock kernel.
- You still need super user or root access to tweak kernel parameters.
This tutorial assumes that you have NOT rooted your device and know the basics of using a computer to install custom system software on your phone, have Android Debug Bridge (ADB) configured properly, the right kernel (as a zip file but not an image file, image files are usually not used and in my case bricked my device) downloaded on the computer or host device and a custom recovery installed on the phone. Please unroot your device before attempting to install a custom kernel as it can cause bootloops.
Supplies
Prerequisites (required tools and target hardware):
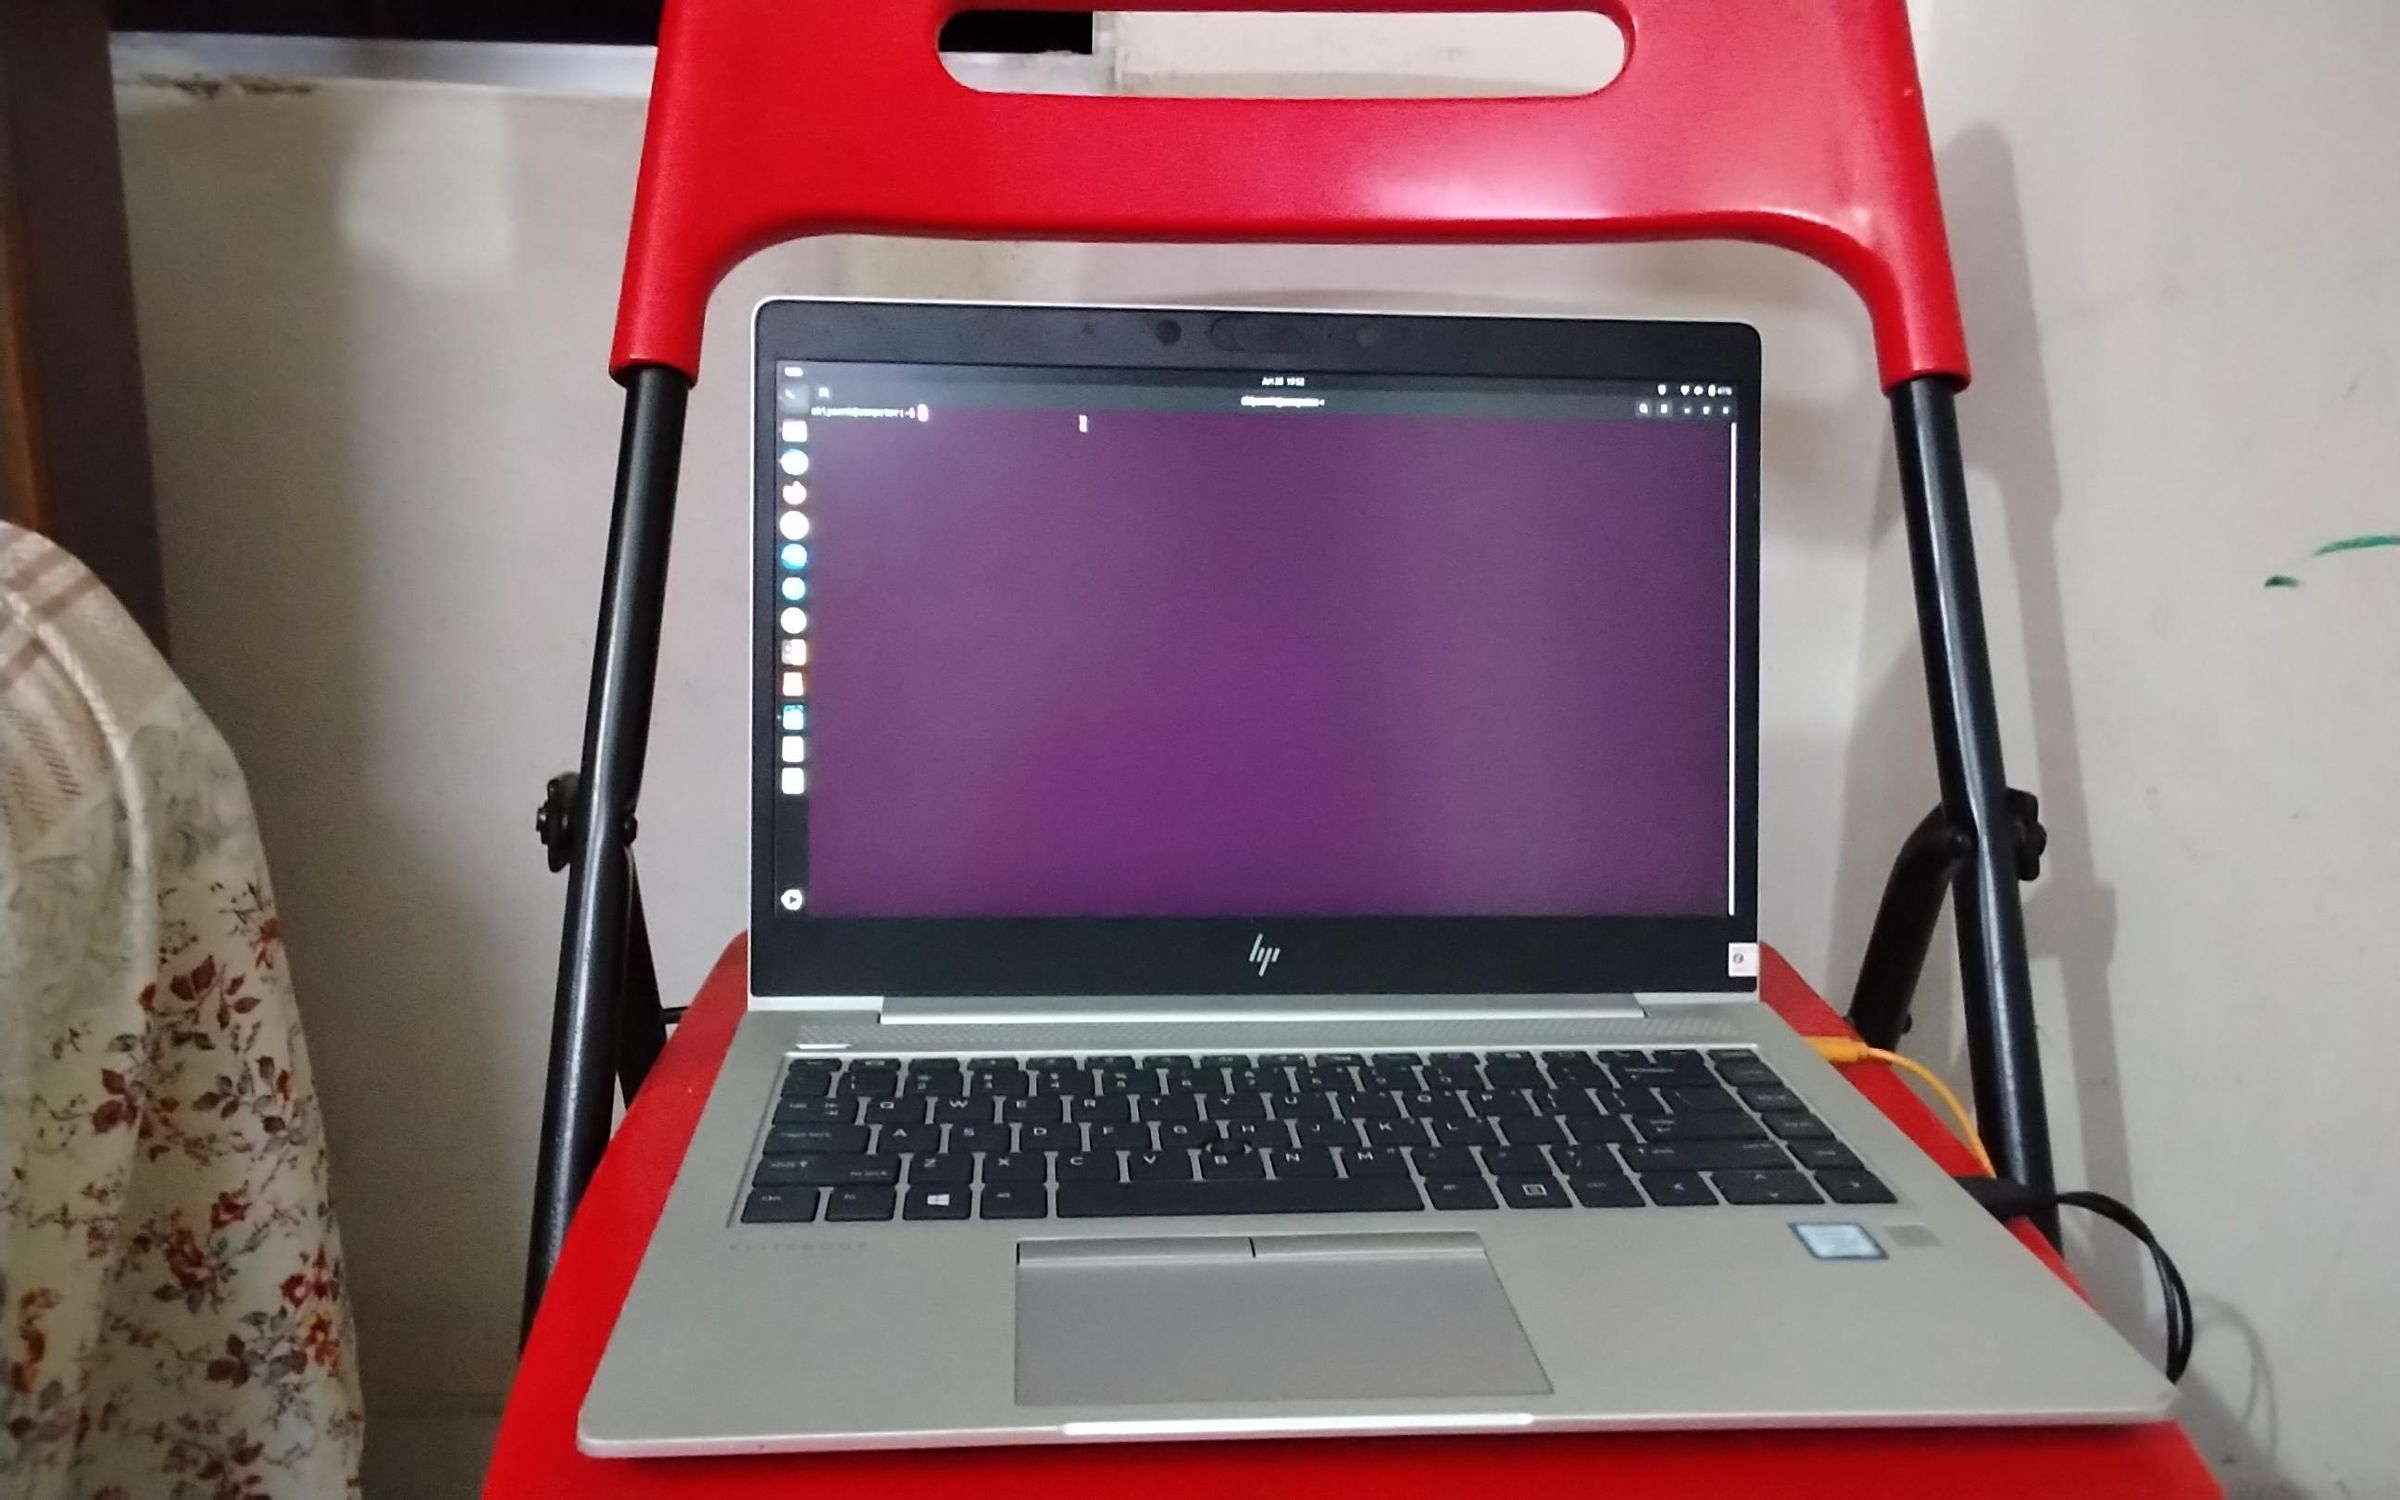
- A working personal computer (PC) (as Android Debug Bridge (ADB) host) with either GNU/Linux, Windows or MacOS (other Unix-like operating systems like FreeBSD or OpenBSD also work) because Android SDK tools are cross-platform. Using other devices is generally not recommended for beginners, like using another phone as ADB or fastboot host.
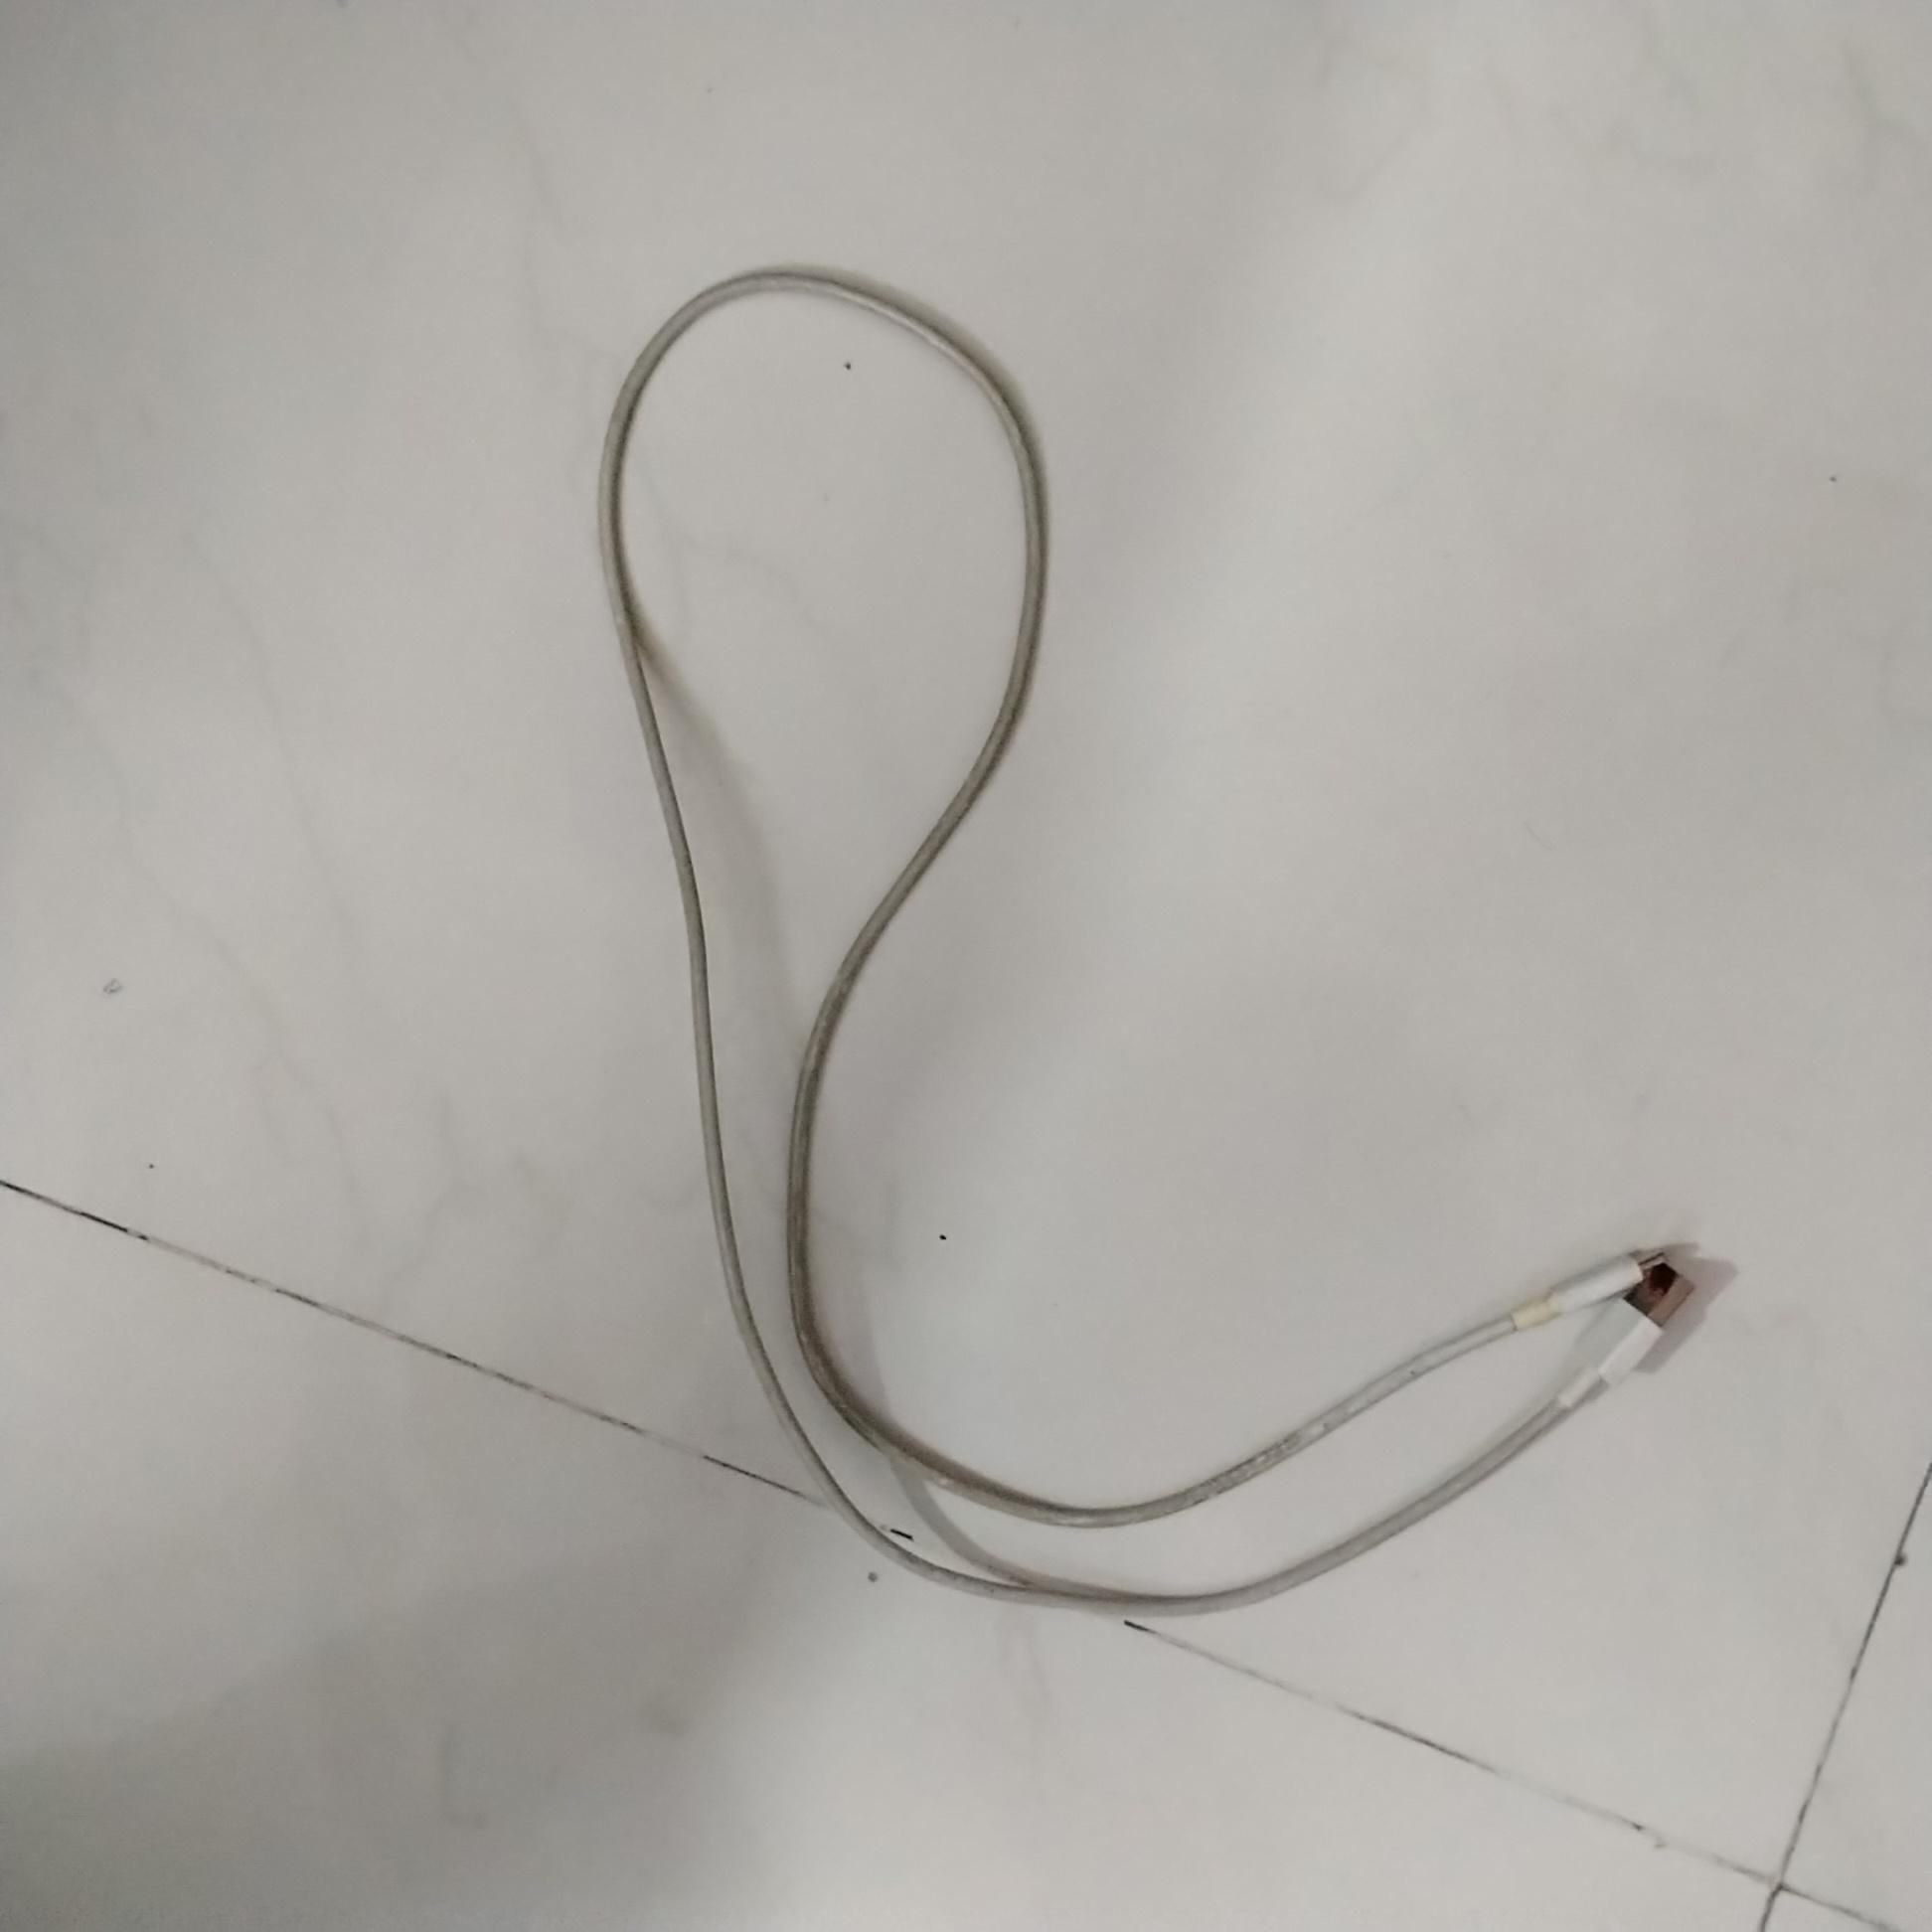
- The stock or Original Equipment Manufacturer (OEM) Universal Serial Bus (USB) cable that you got with your phone or a data-transfer enabled cable from reputable such as Ugreen or Anker.
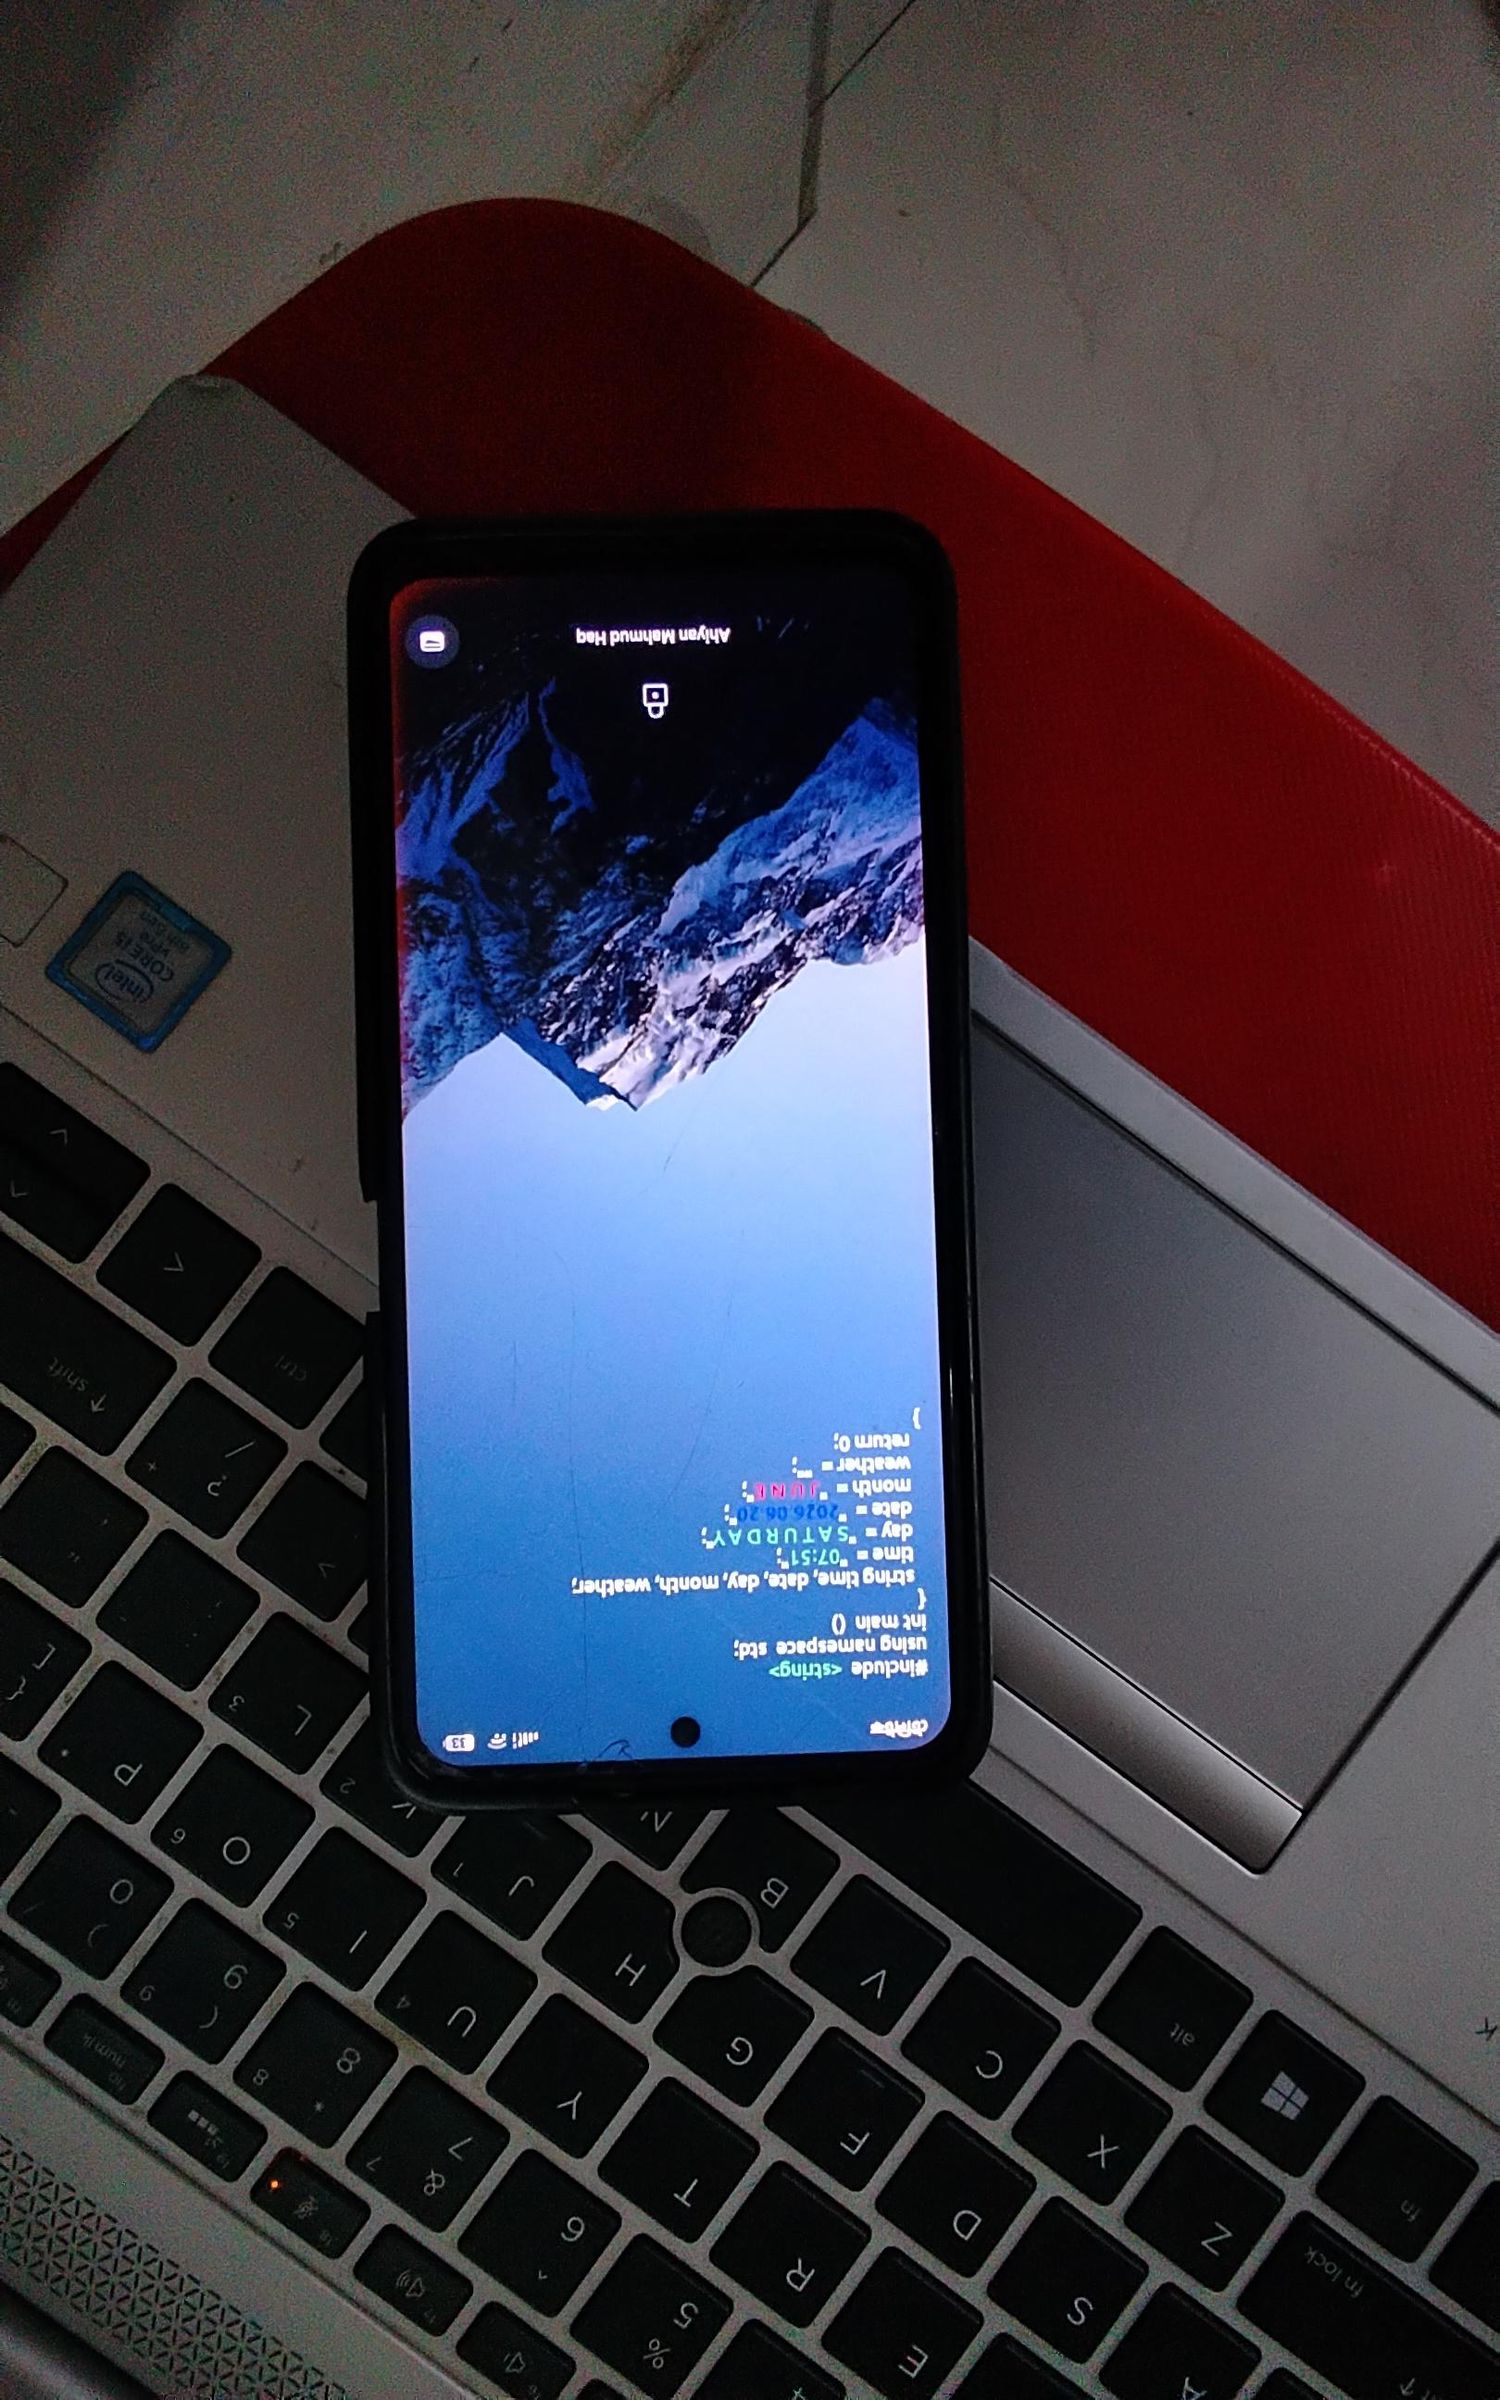
- Be in physical and personal possesion of the Android phone itself. Make sure that others are not harmed due to loss of data on your phone or take proper consent from other users of the phone.
Please note that the prerequisites given above only apply for the method I used to install a custom kernel on my device.
Rebooting Into a Custom Recovery
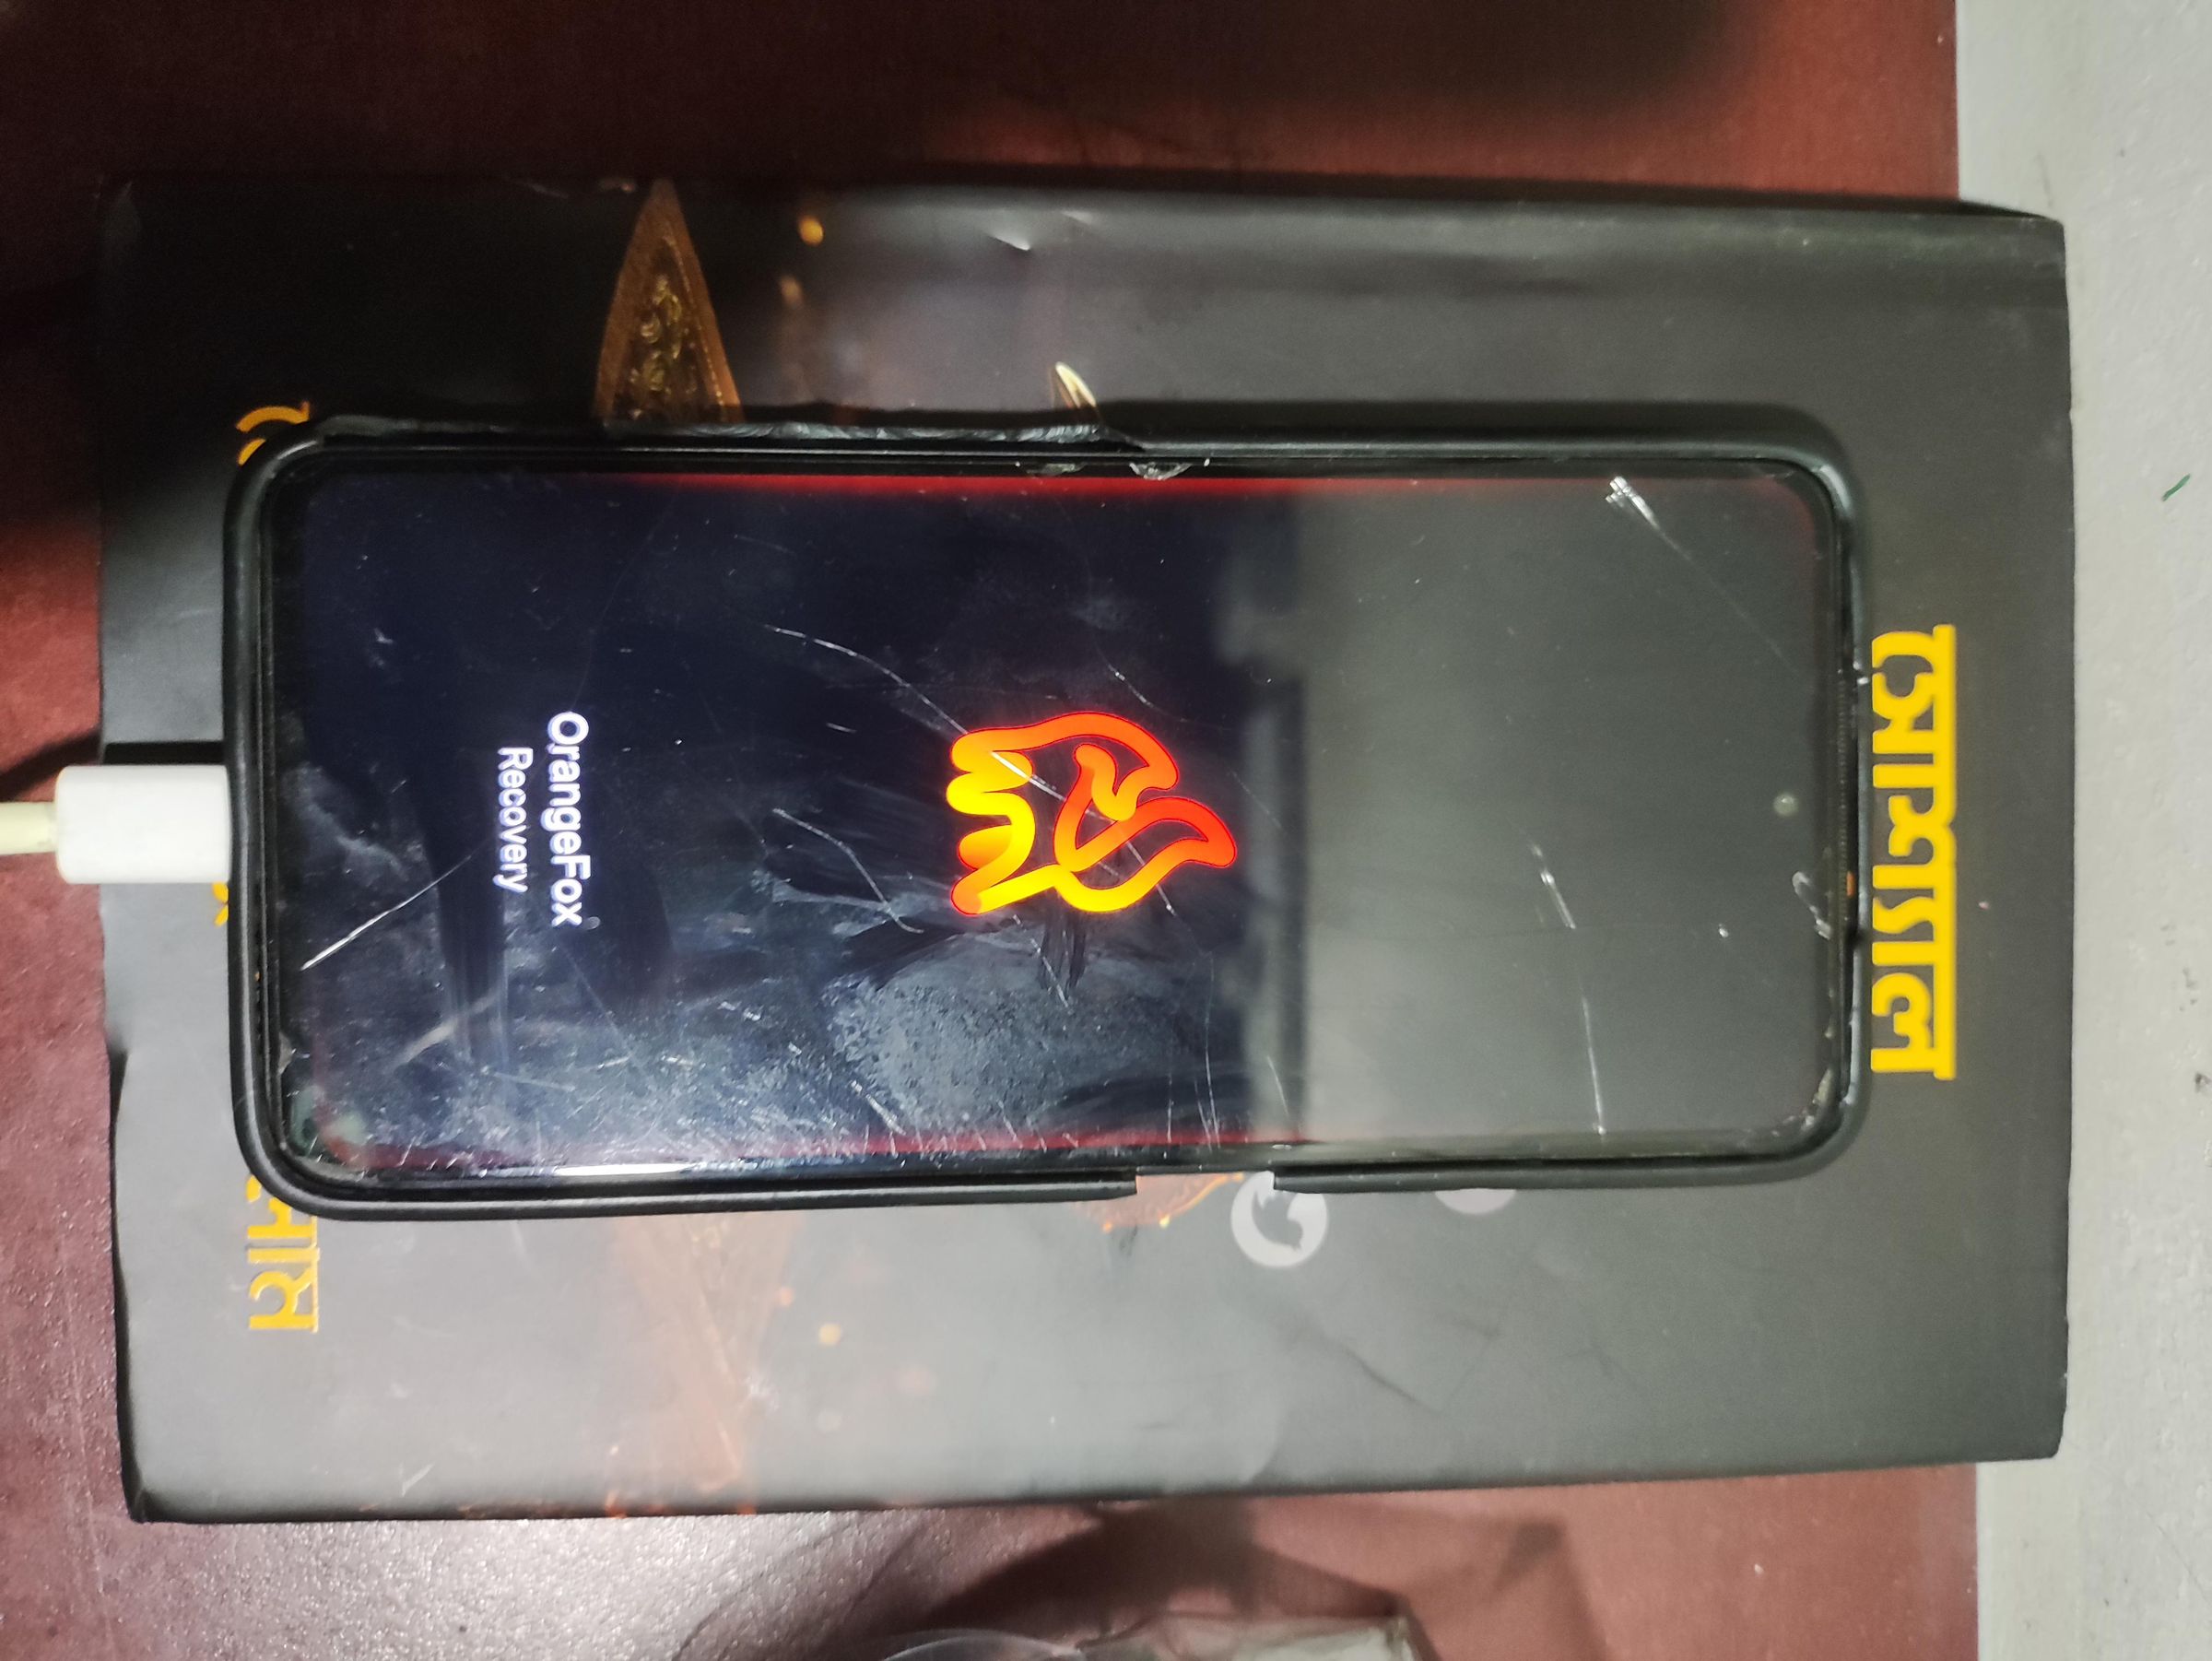
Reboot to a custom recovery by using the combination of hardware buttons on the side of the phone or by enabling developer options and ADB either wireless debugging or wired debgging via a USB cable. If you do not know the combination, a simple internet search will give you the combination. Make sure that it is not something like crDroid recovery or Lineage Recovery, as they are only intended for flashing updates.
Please note that the combination varies greatly from device to device.
Flashing/Sideloading the Custom Kernel
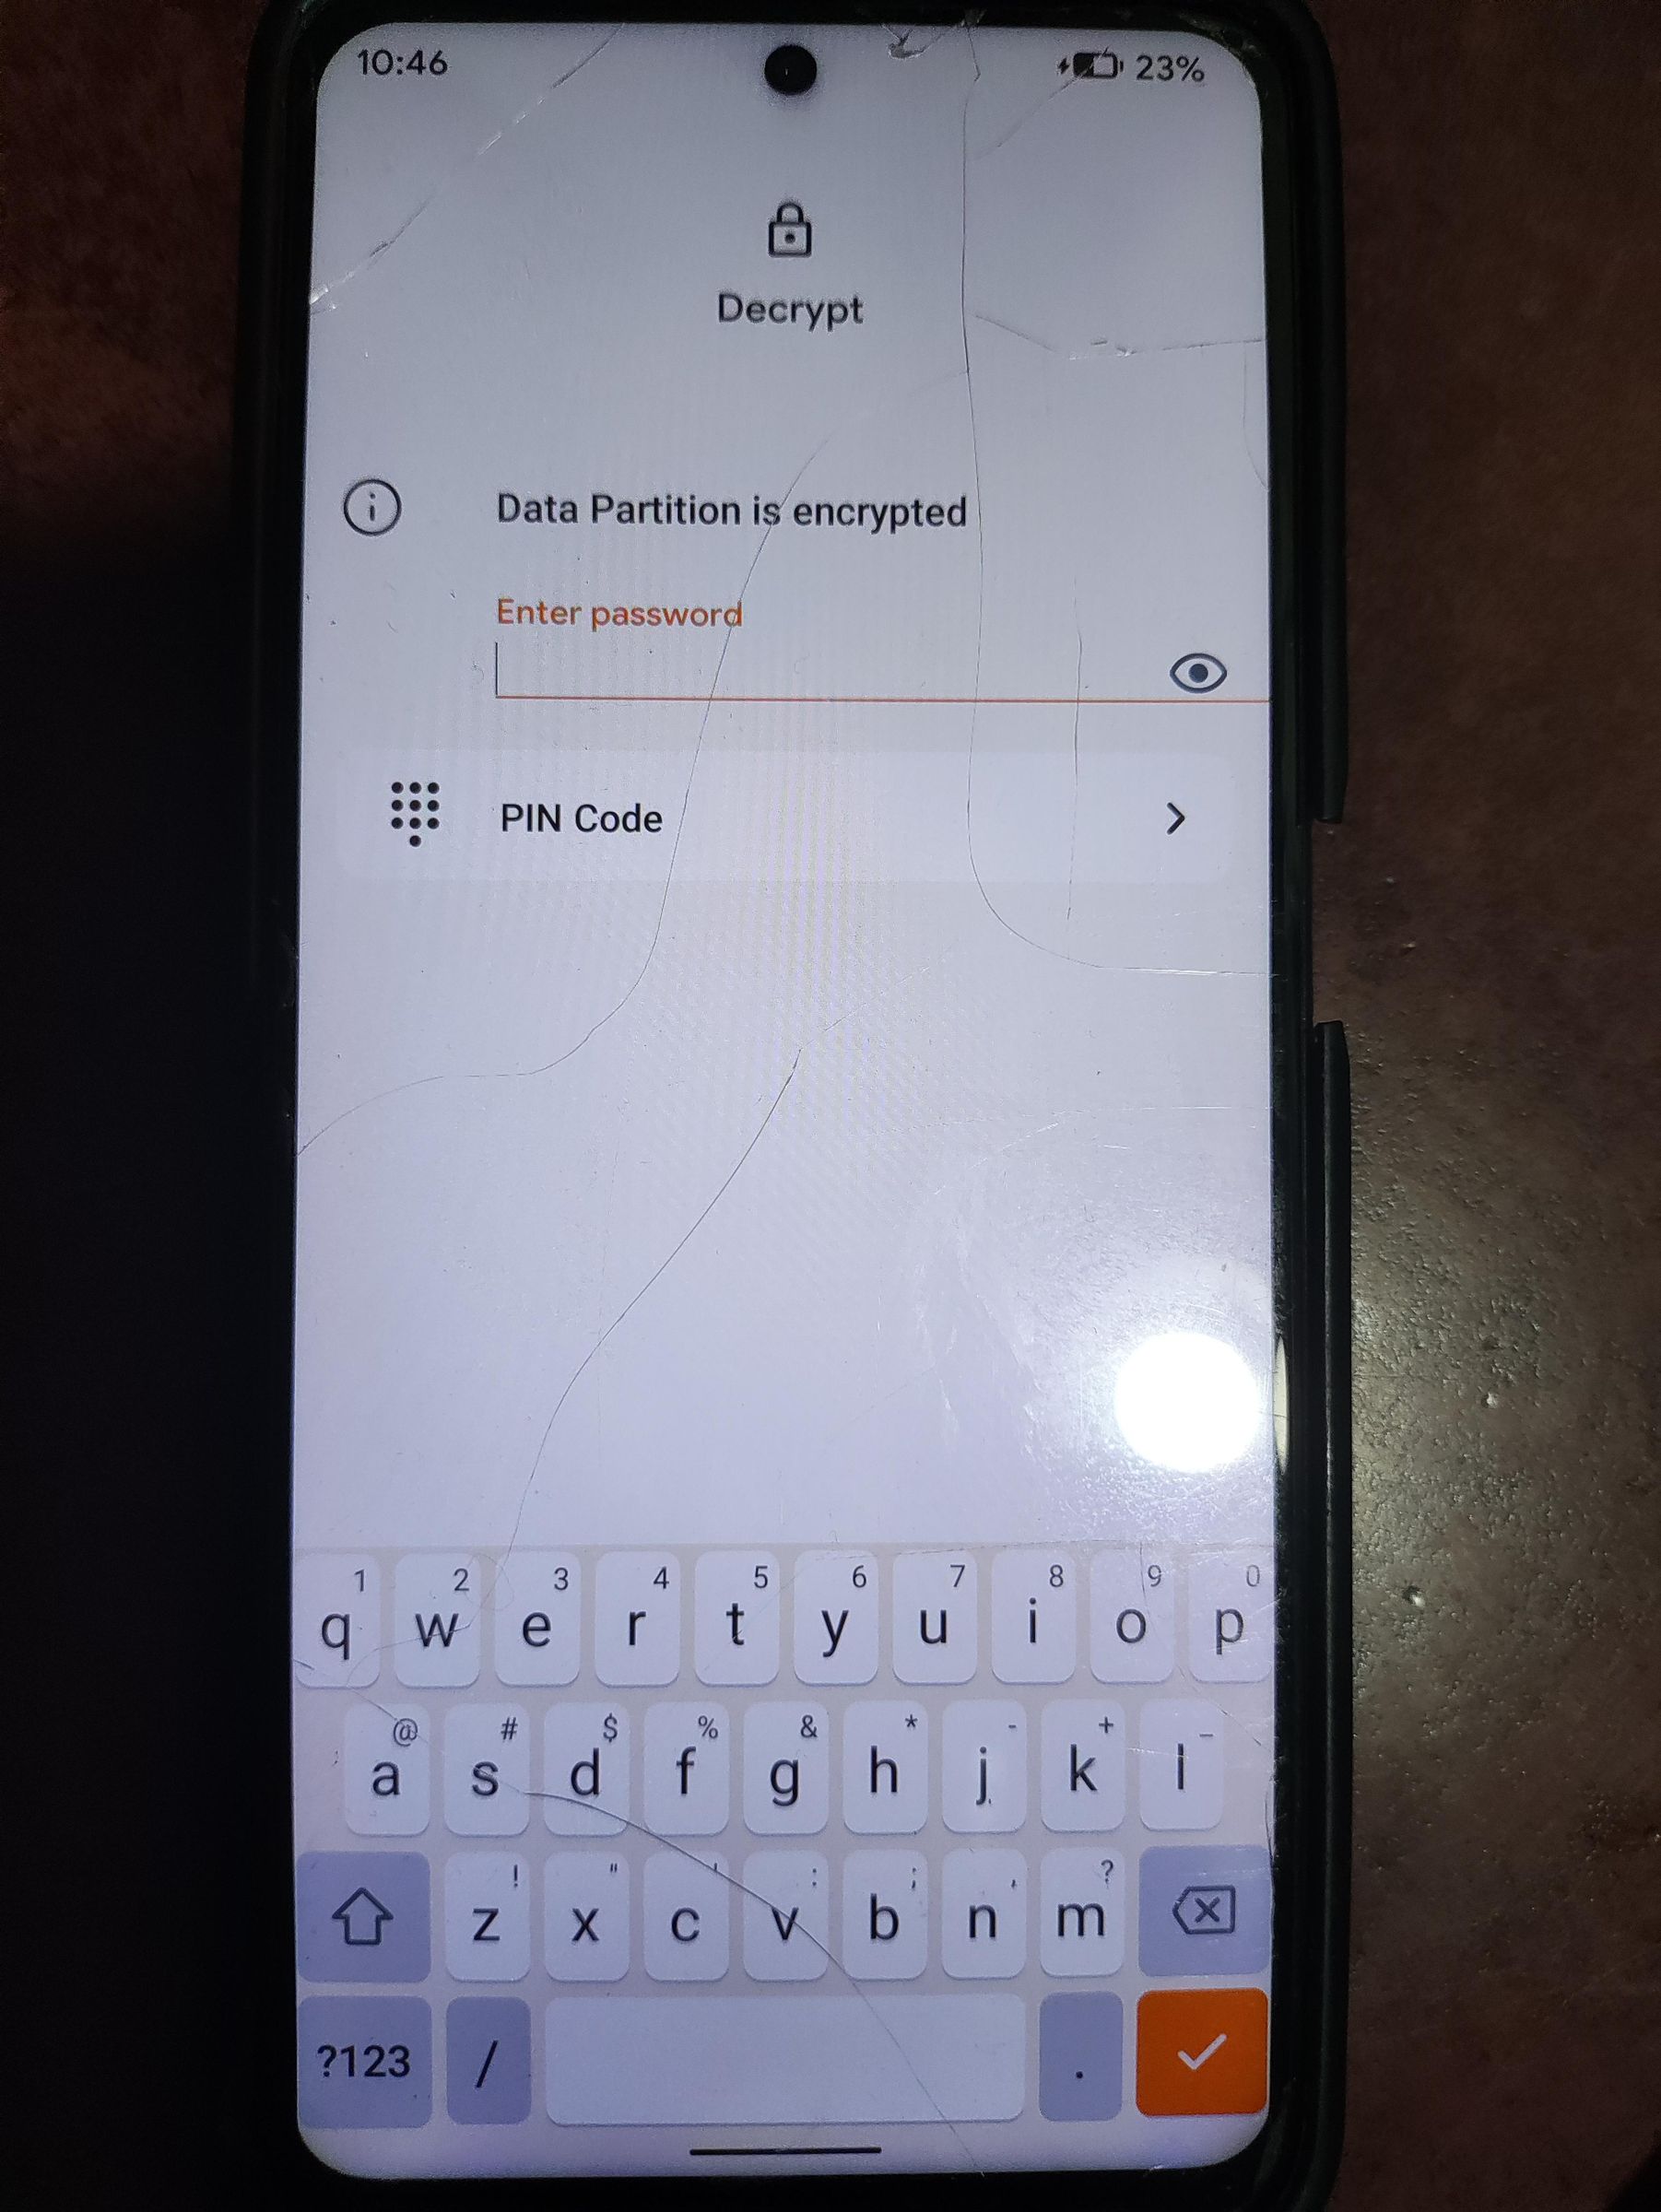
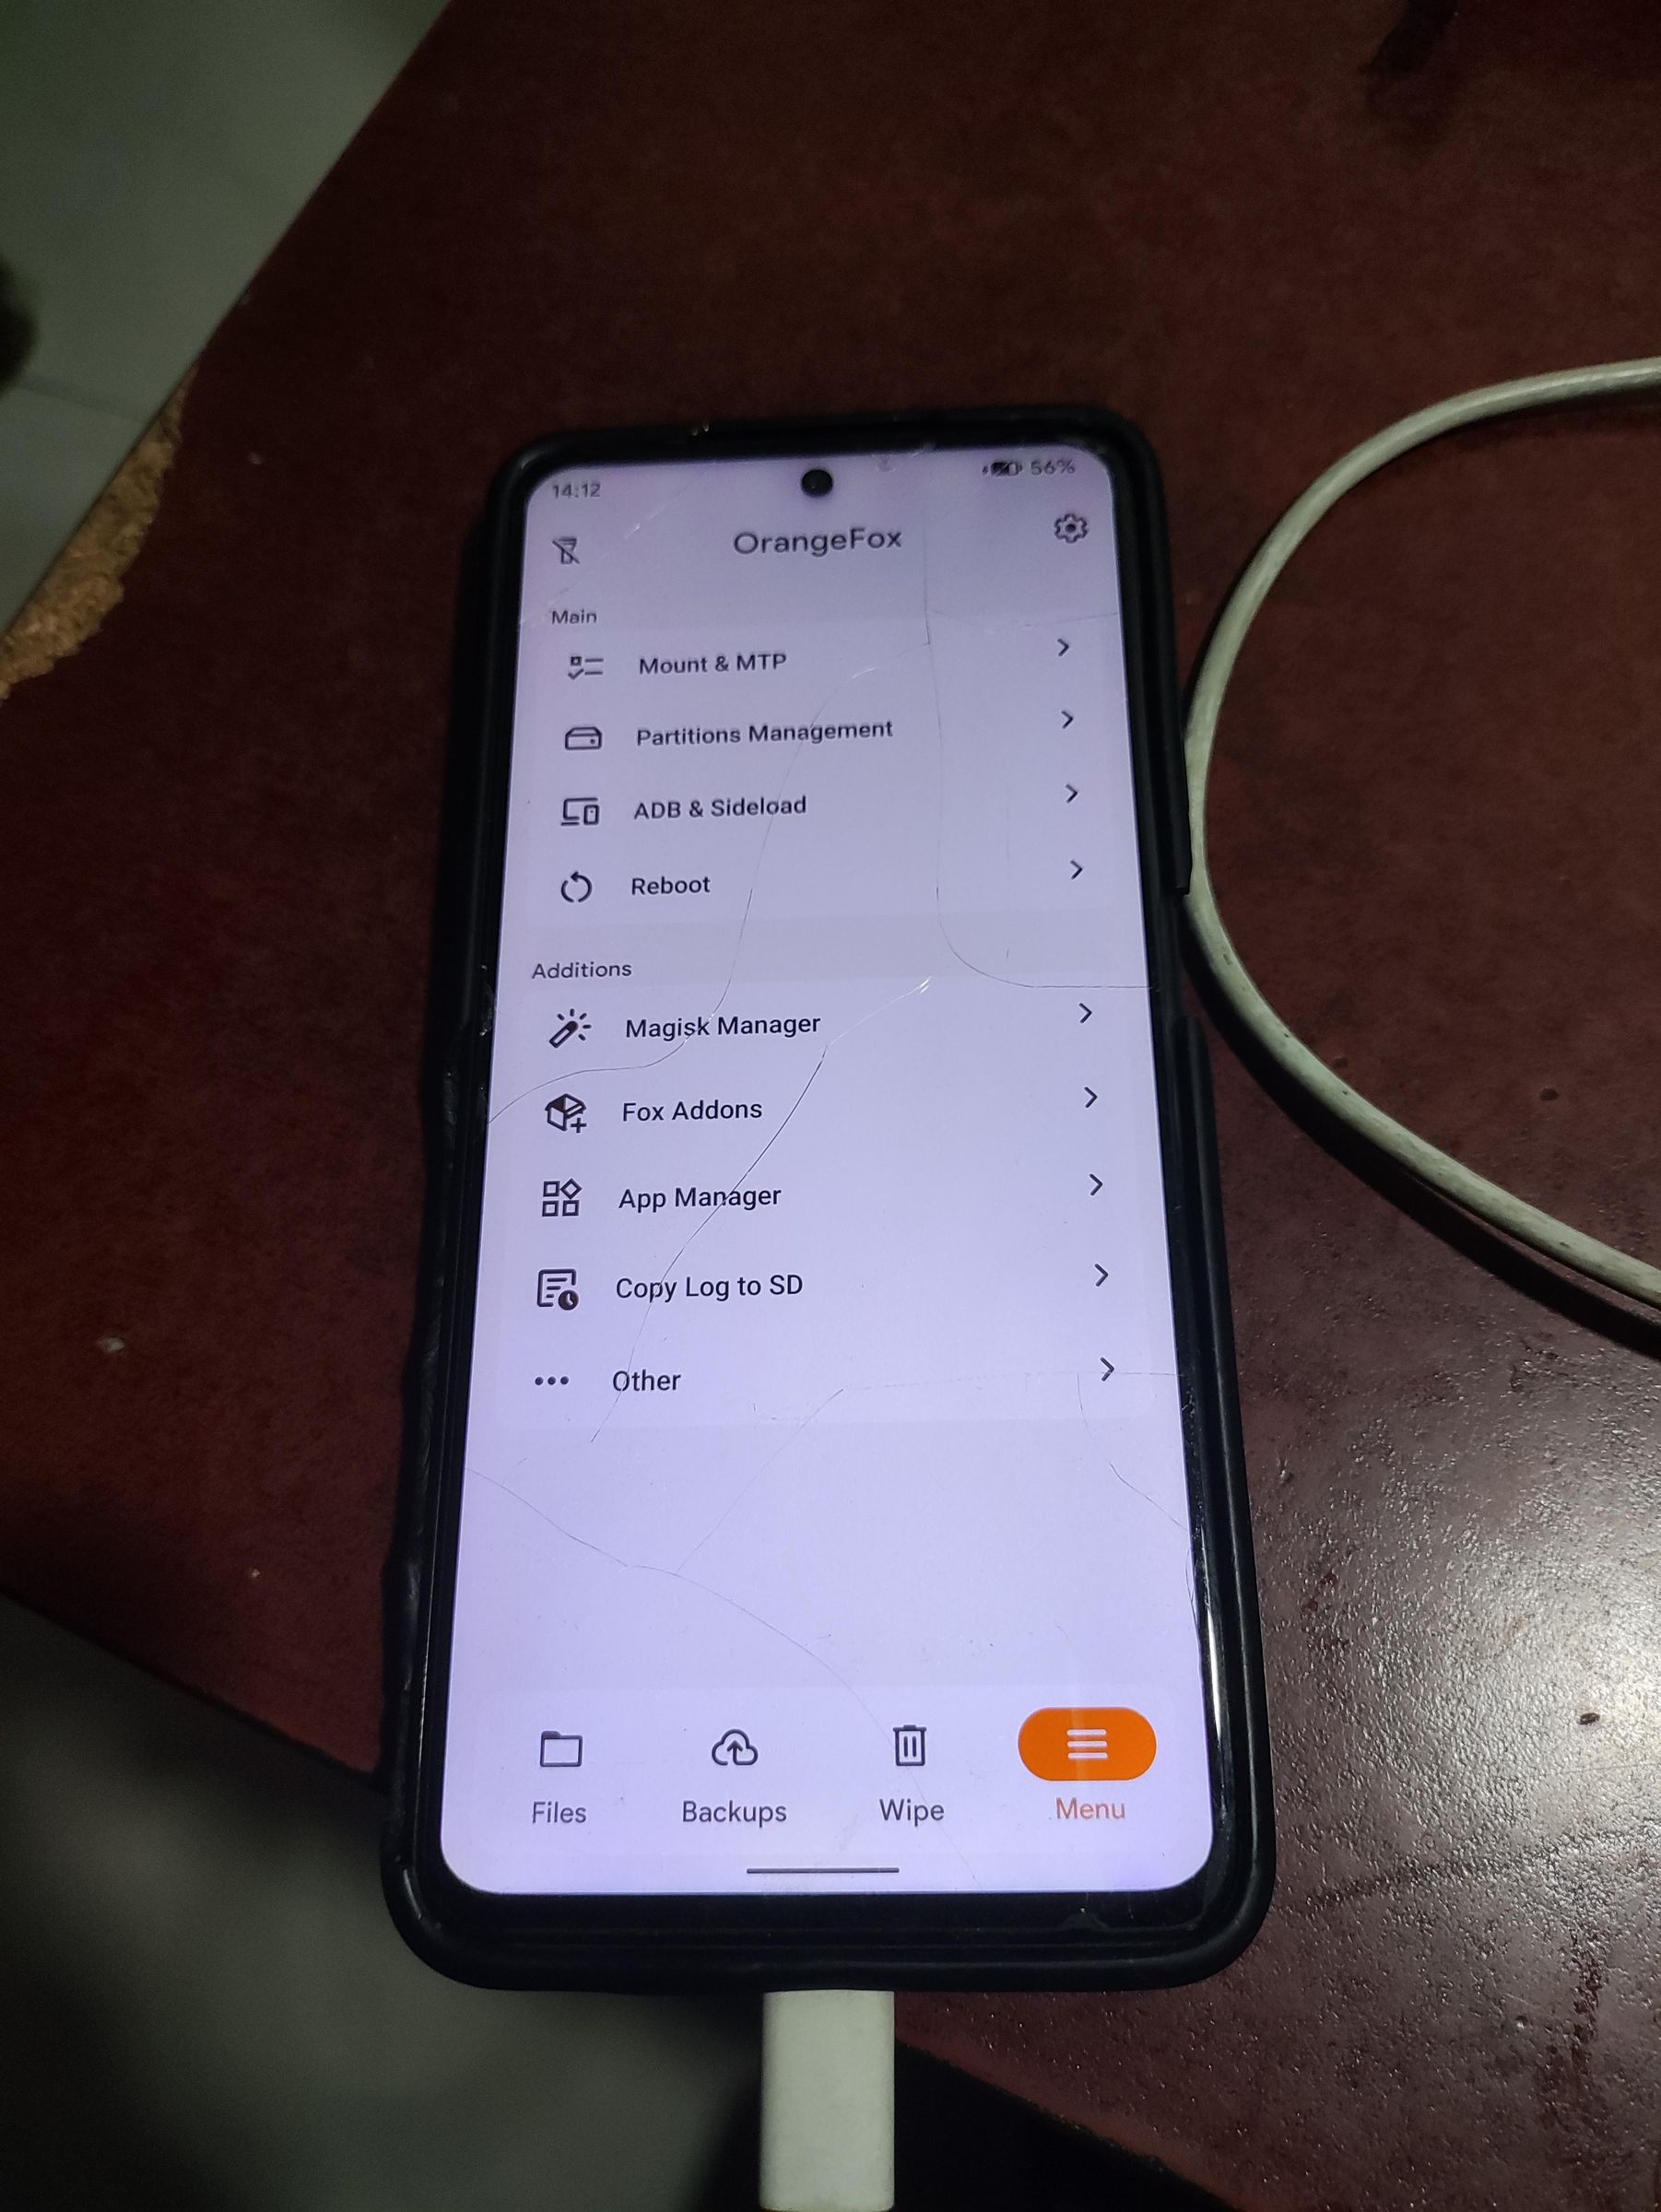
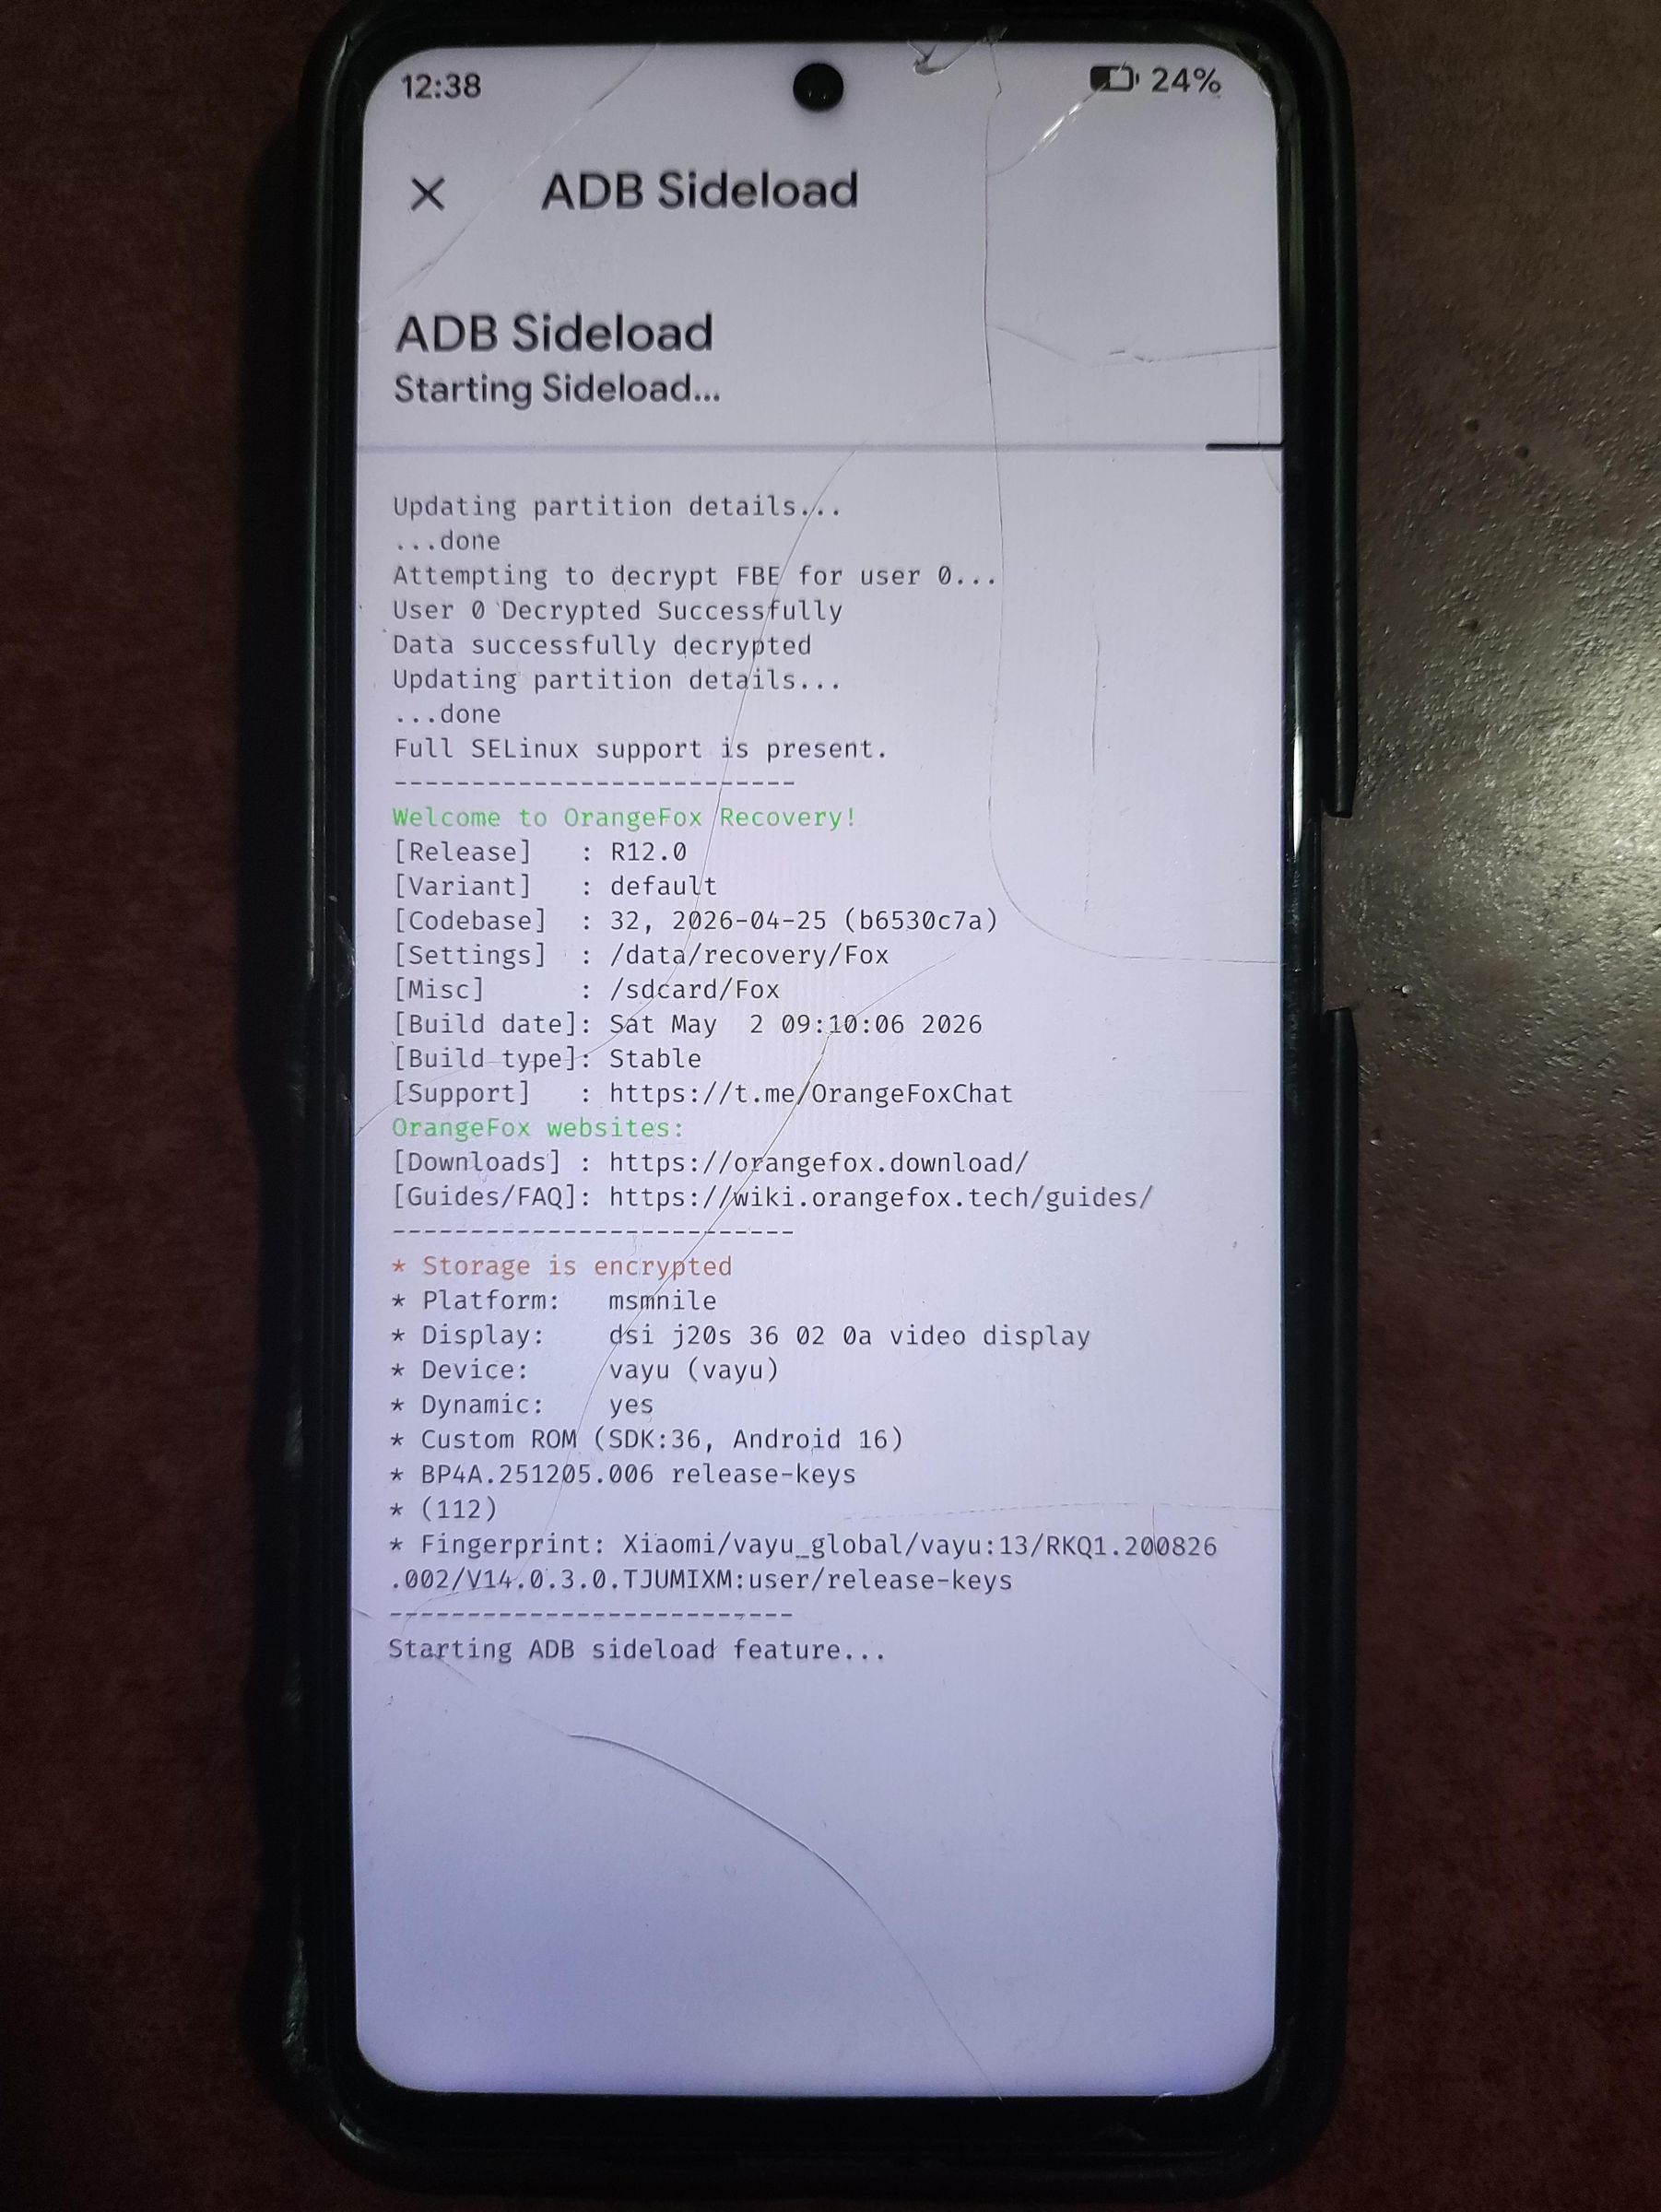
Enter the custom recovery and enter your password if prompted (decrypt user data partition) and use the recovery to start the ADB sideload feature and use the computer/host device to flash/sideload the kernel (zip file) by opening a terminal and entering the command (for simplicity, I recommend changing the directory to the path of the kernel first):
[Check if device is recognized properly]:
[Sideload the kernel]:
Please not that the above command is a template for flashing a kernel via ADB sideload and the name of the kernel zip file may differ. Identify the kernel file and then copy/cut and paste the name in the terminal and press enter to execute the command.
Check If the Kernel Works for Your Device
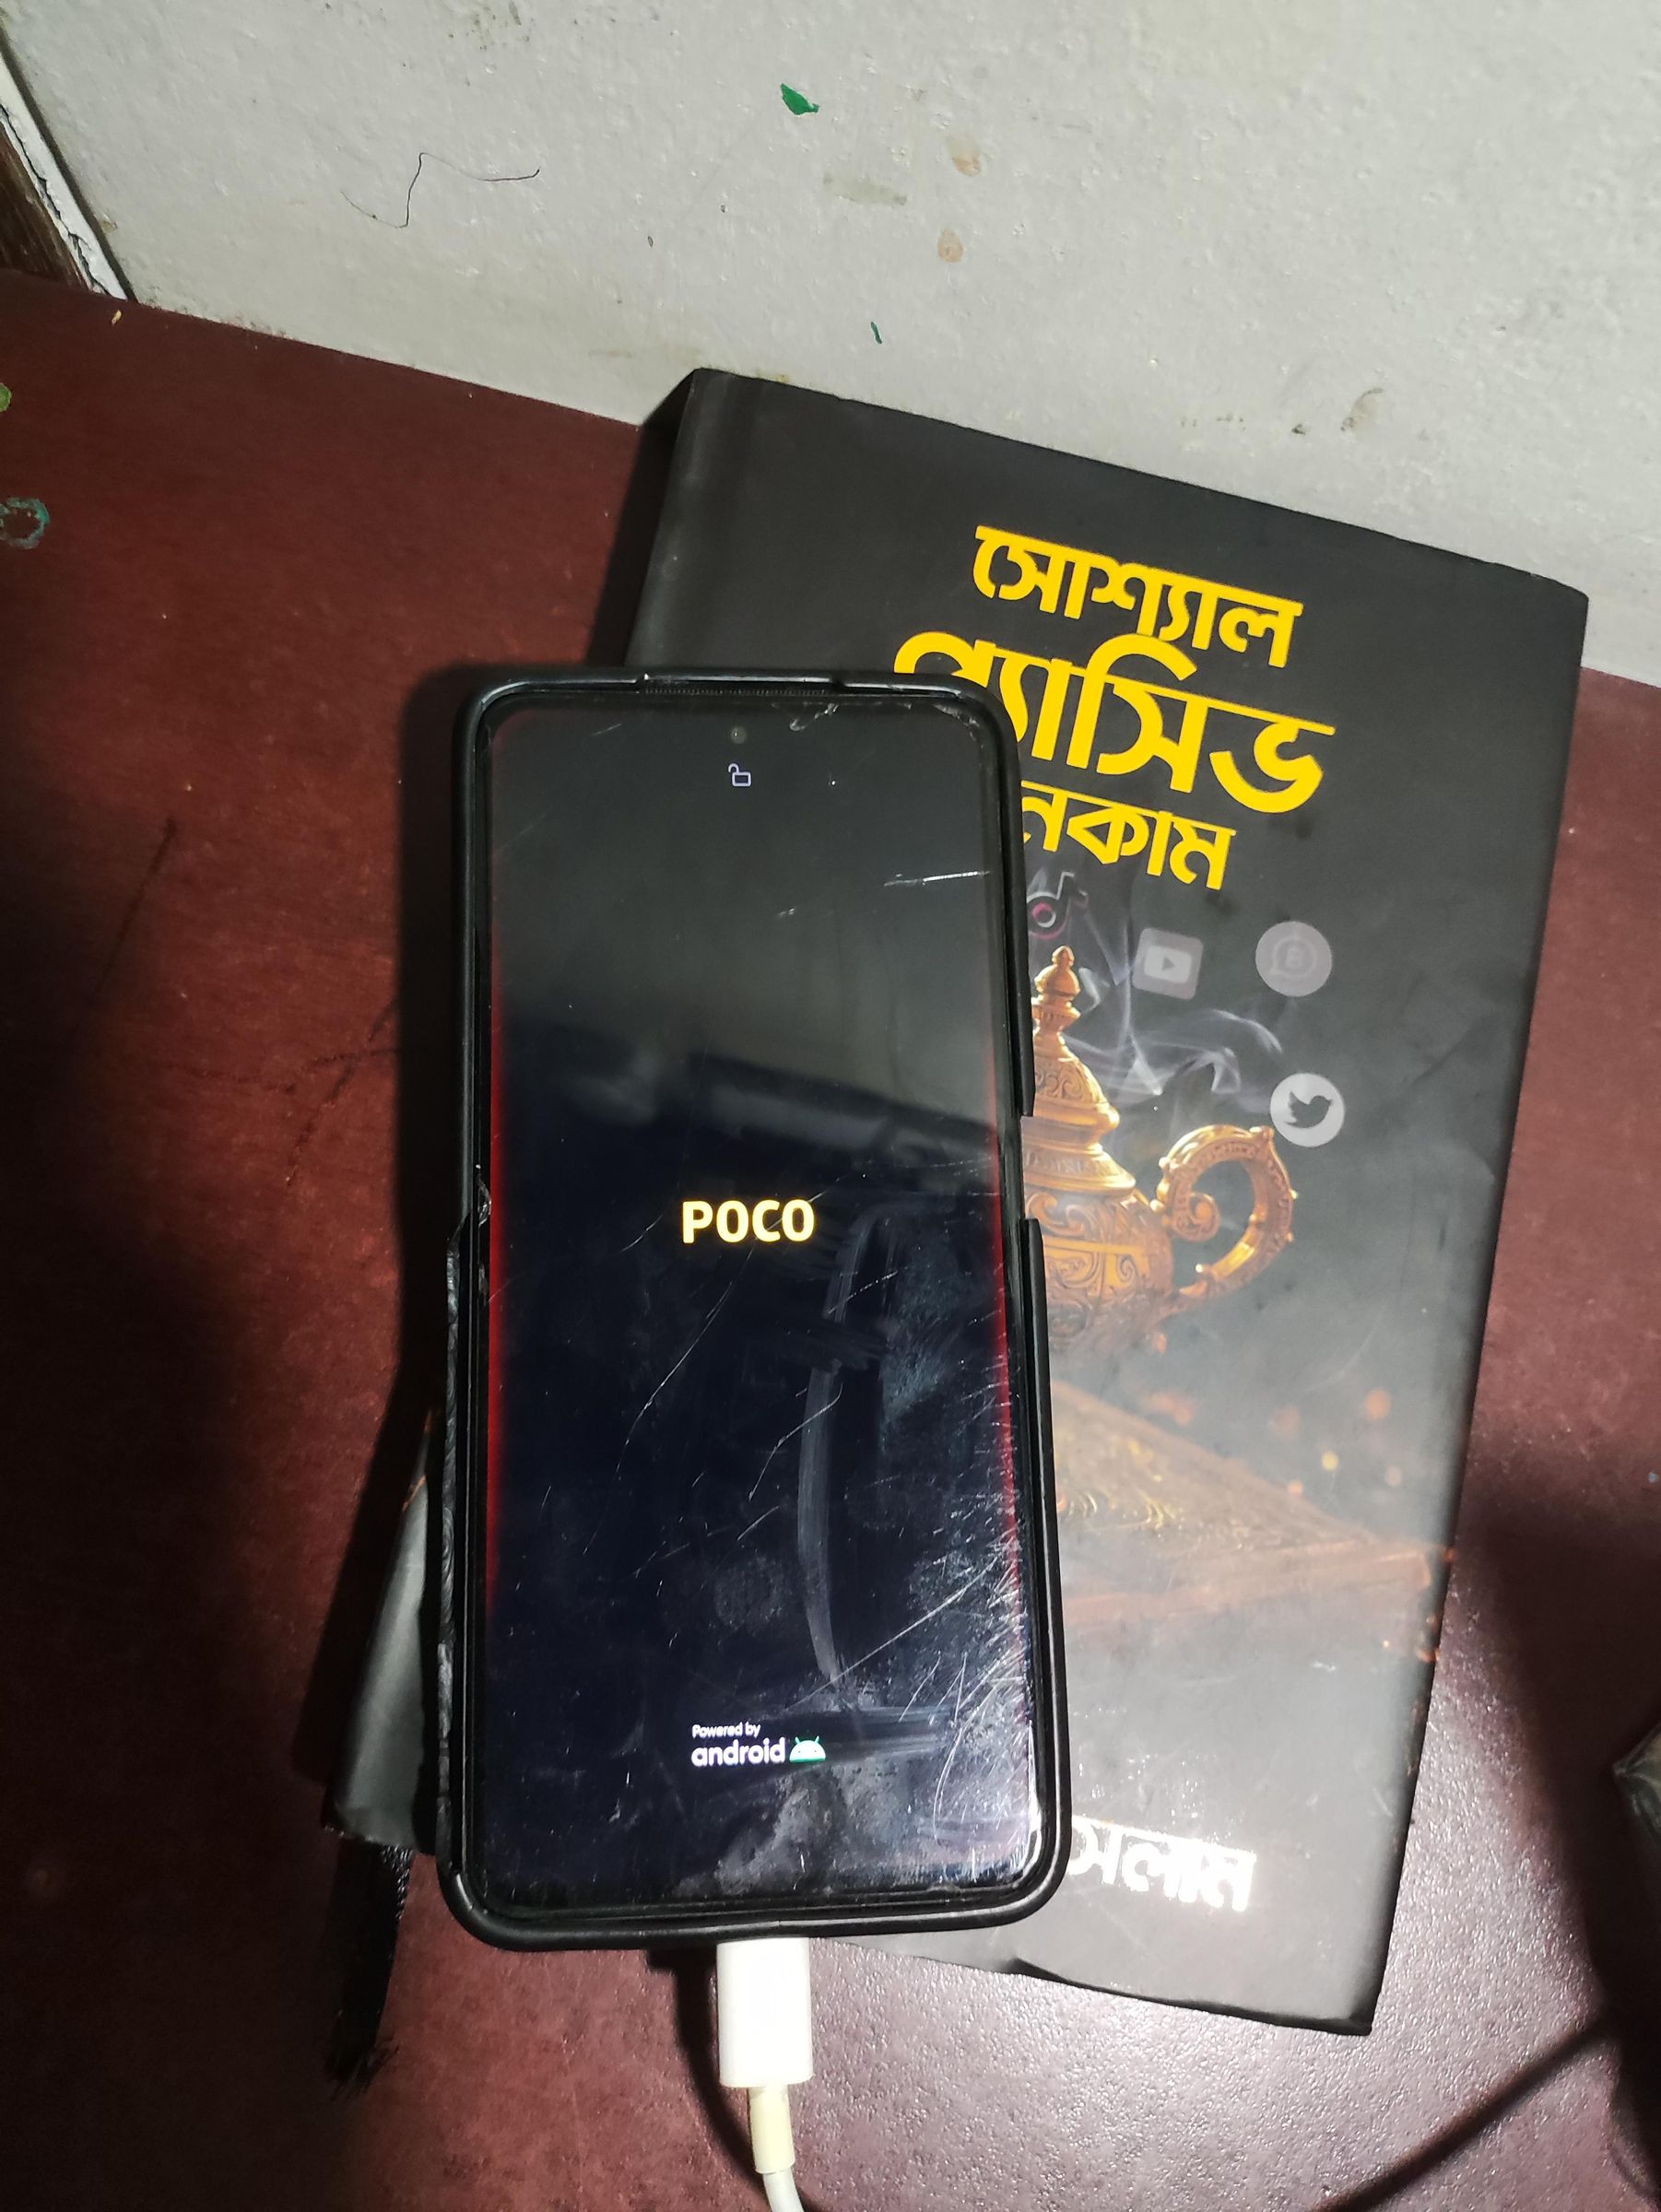
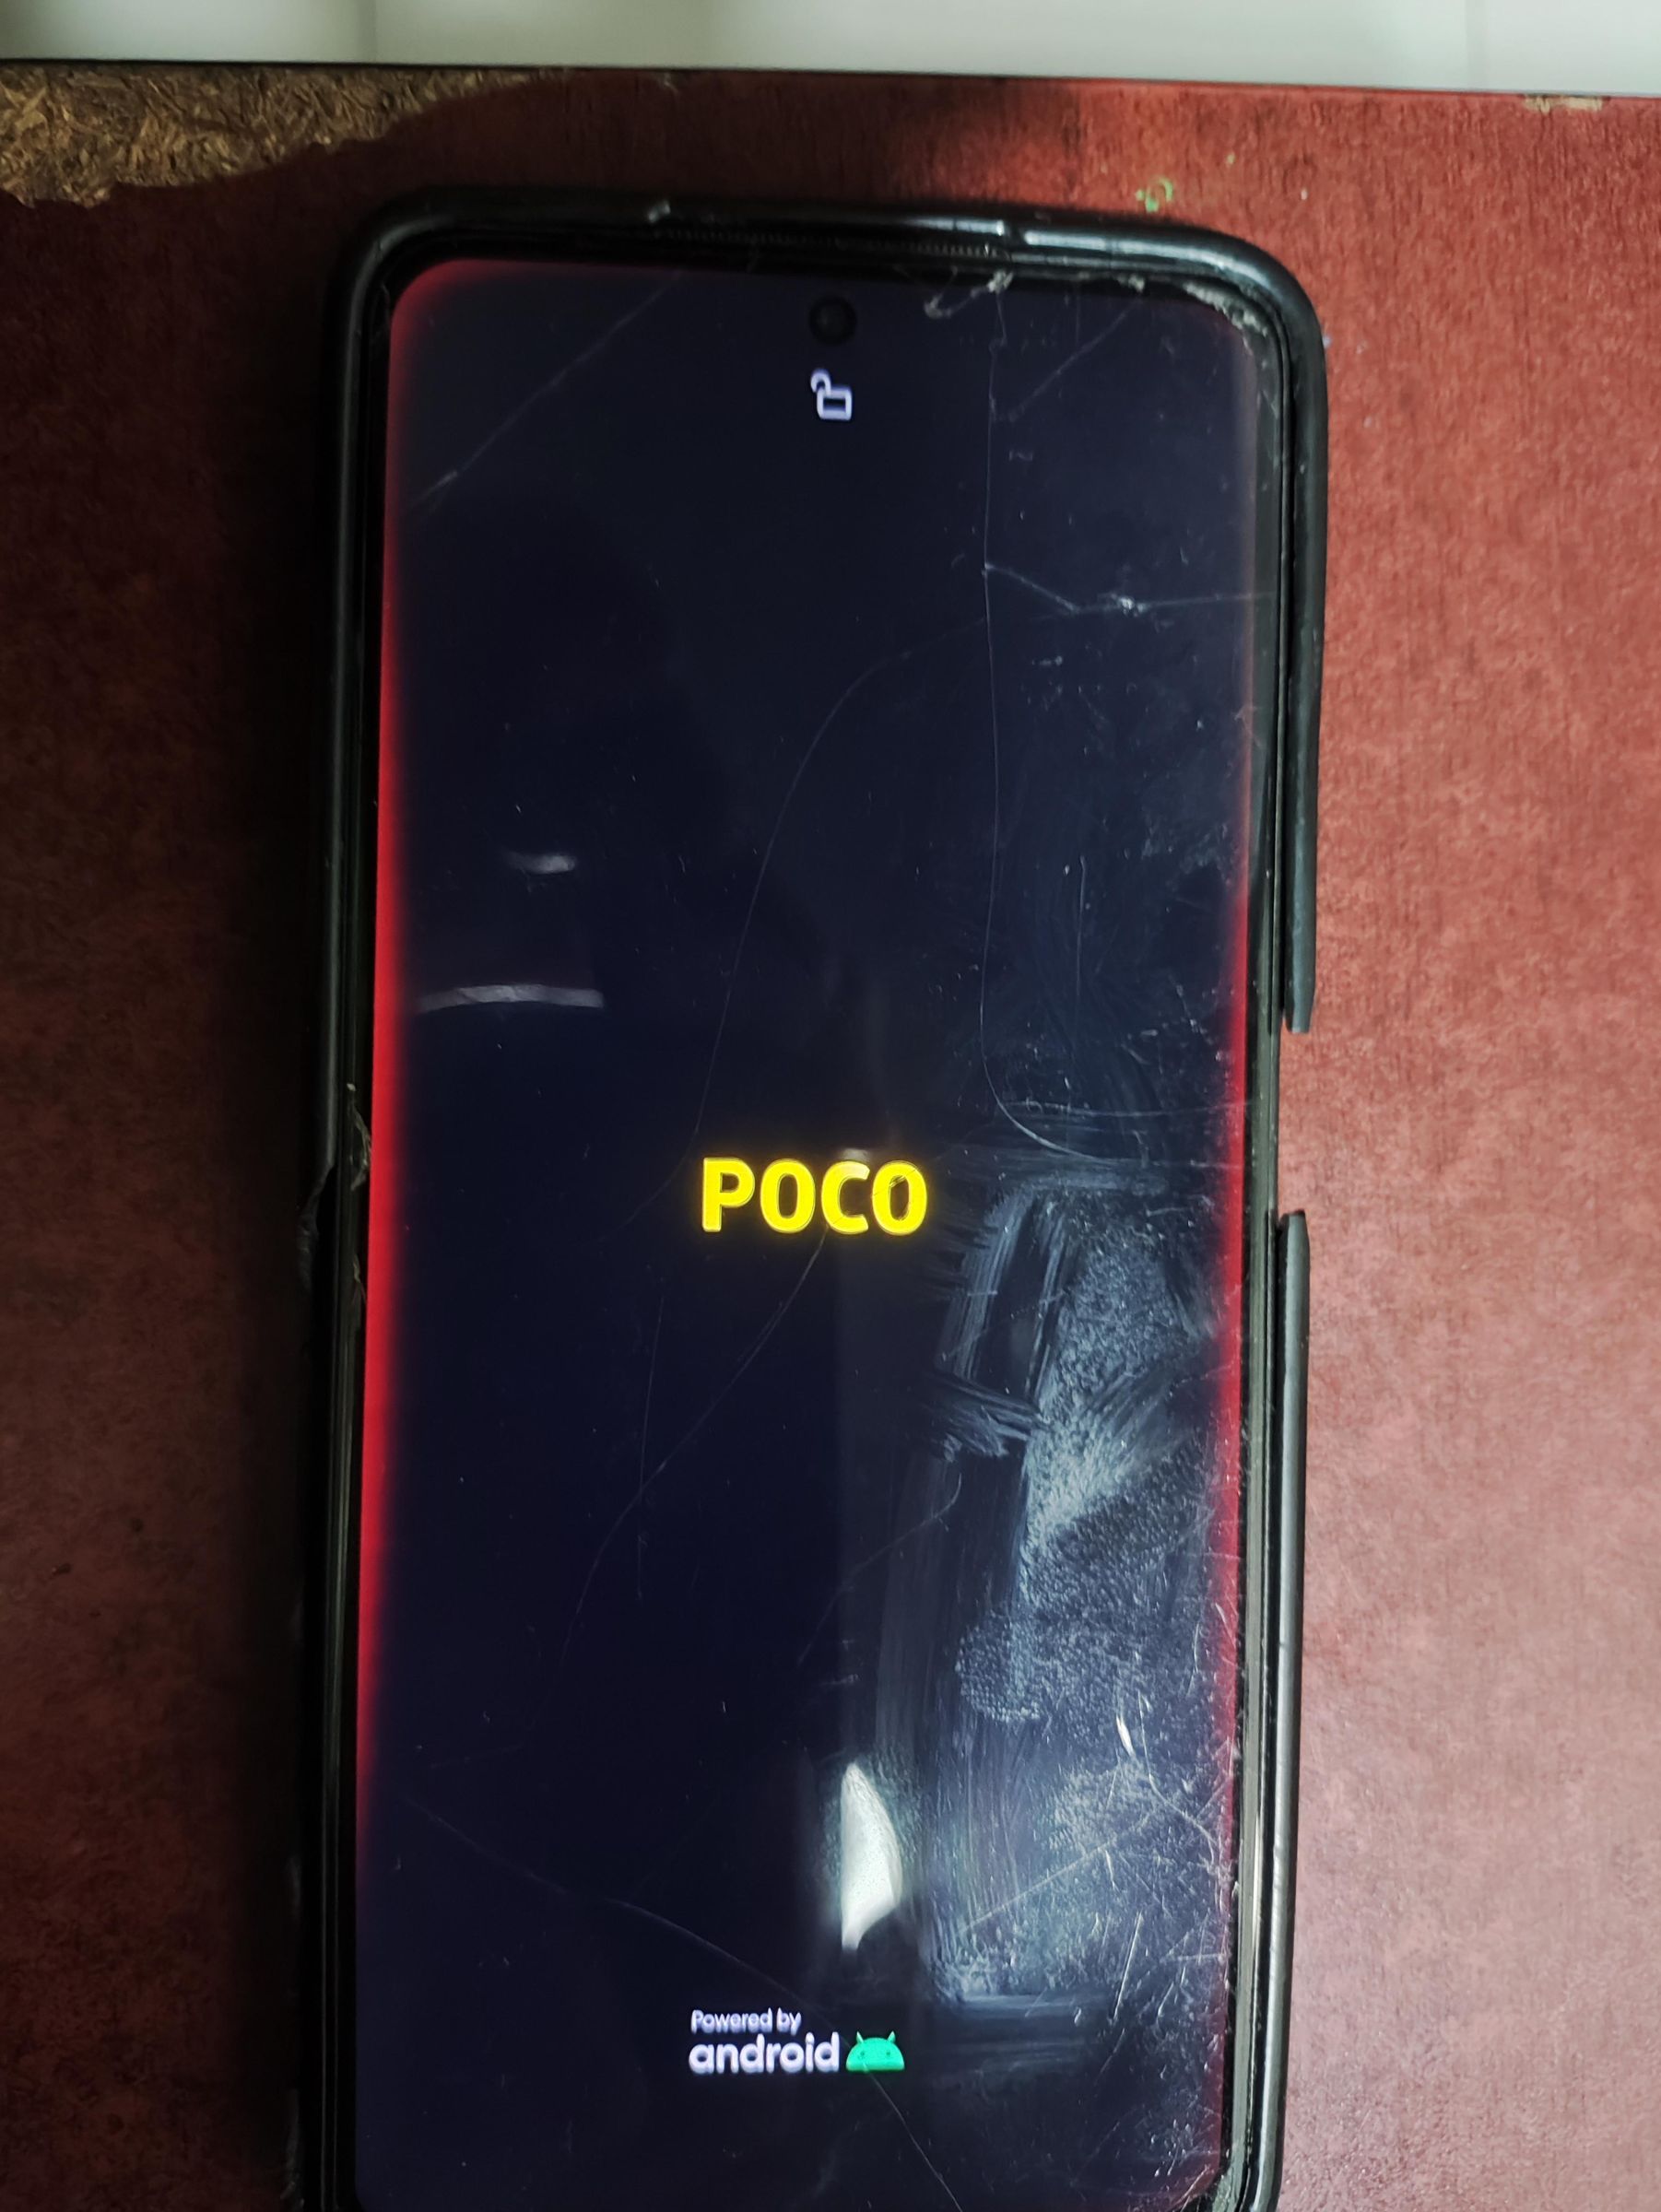
The kernel may cause bootloops even if it was made for your device using the name of the device (e.g., Poco X3 Pro) because there could be hardware differences in the variant. For this reason, you should try to reboot to your Android system and check if it works or not. Some scenarios of failure to boot with custom kernel (that I have faced) are given below:
- Bootloops: The device restarts and tries to boot again and again → Solution: Use the hardware combination of keys to reboot to fastboot mode, flash the image of the respective recovery compatible for updates of your ROM and reflash the ROM or try another kernel. This will erase the incompatible kernel with the compatible one. To do this:
Step 1: Reboot to fastboot mode.
Step 2: Flash the recovery image of your ROM by using the following command:
[Check if your device is recognized properly]:
[Flash the recovery image]:
Step 3: Enter the flashed recovery using the following command:
Please note that the above command is a template for flashing the recovery image via fastboot flash and the name of the recovery image file may differ. Identify the recovery image file and then copy/cut and paste the name in the terminal and press enter to execute the command.
Step 4: Start the ADB sideload feature on the phone and re-flash the ROM using ADB sideload:
Please note that the above command is a template for flashing the ROM via ADB sideload and the name of the ROM's zip file may differ. Identify the ROM's zip file and then copy/cut and paste the name in the terminal and press enter to execute the command.
- Boots to fastboot mode automatically after flashing the custom kernel: Use the method for bootloops but start from step 2.
If the New Kernel Works, Enjoy!
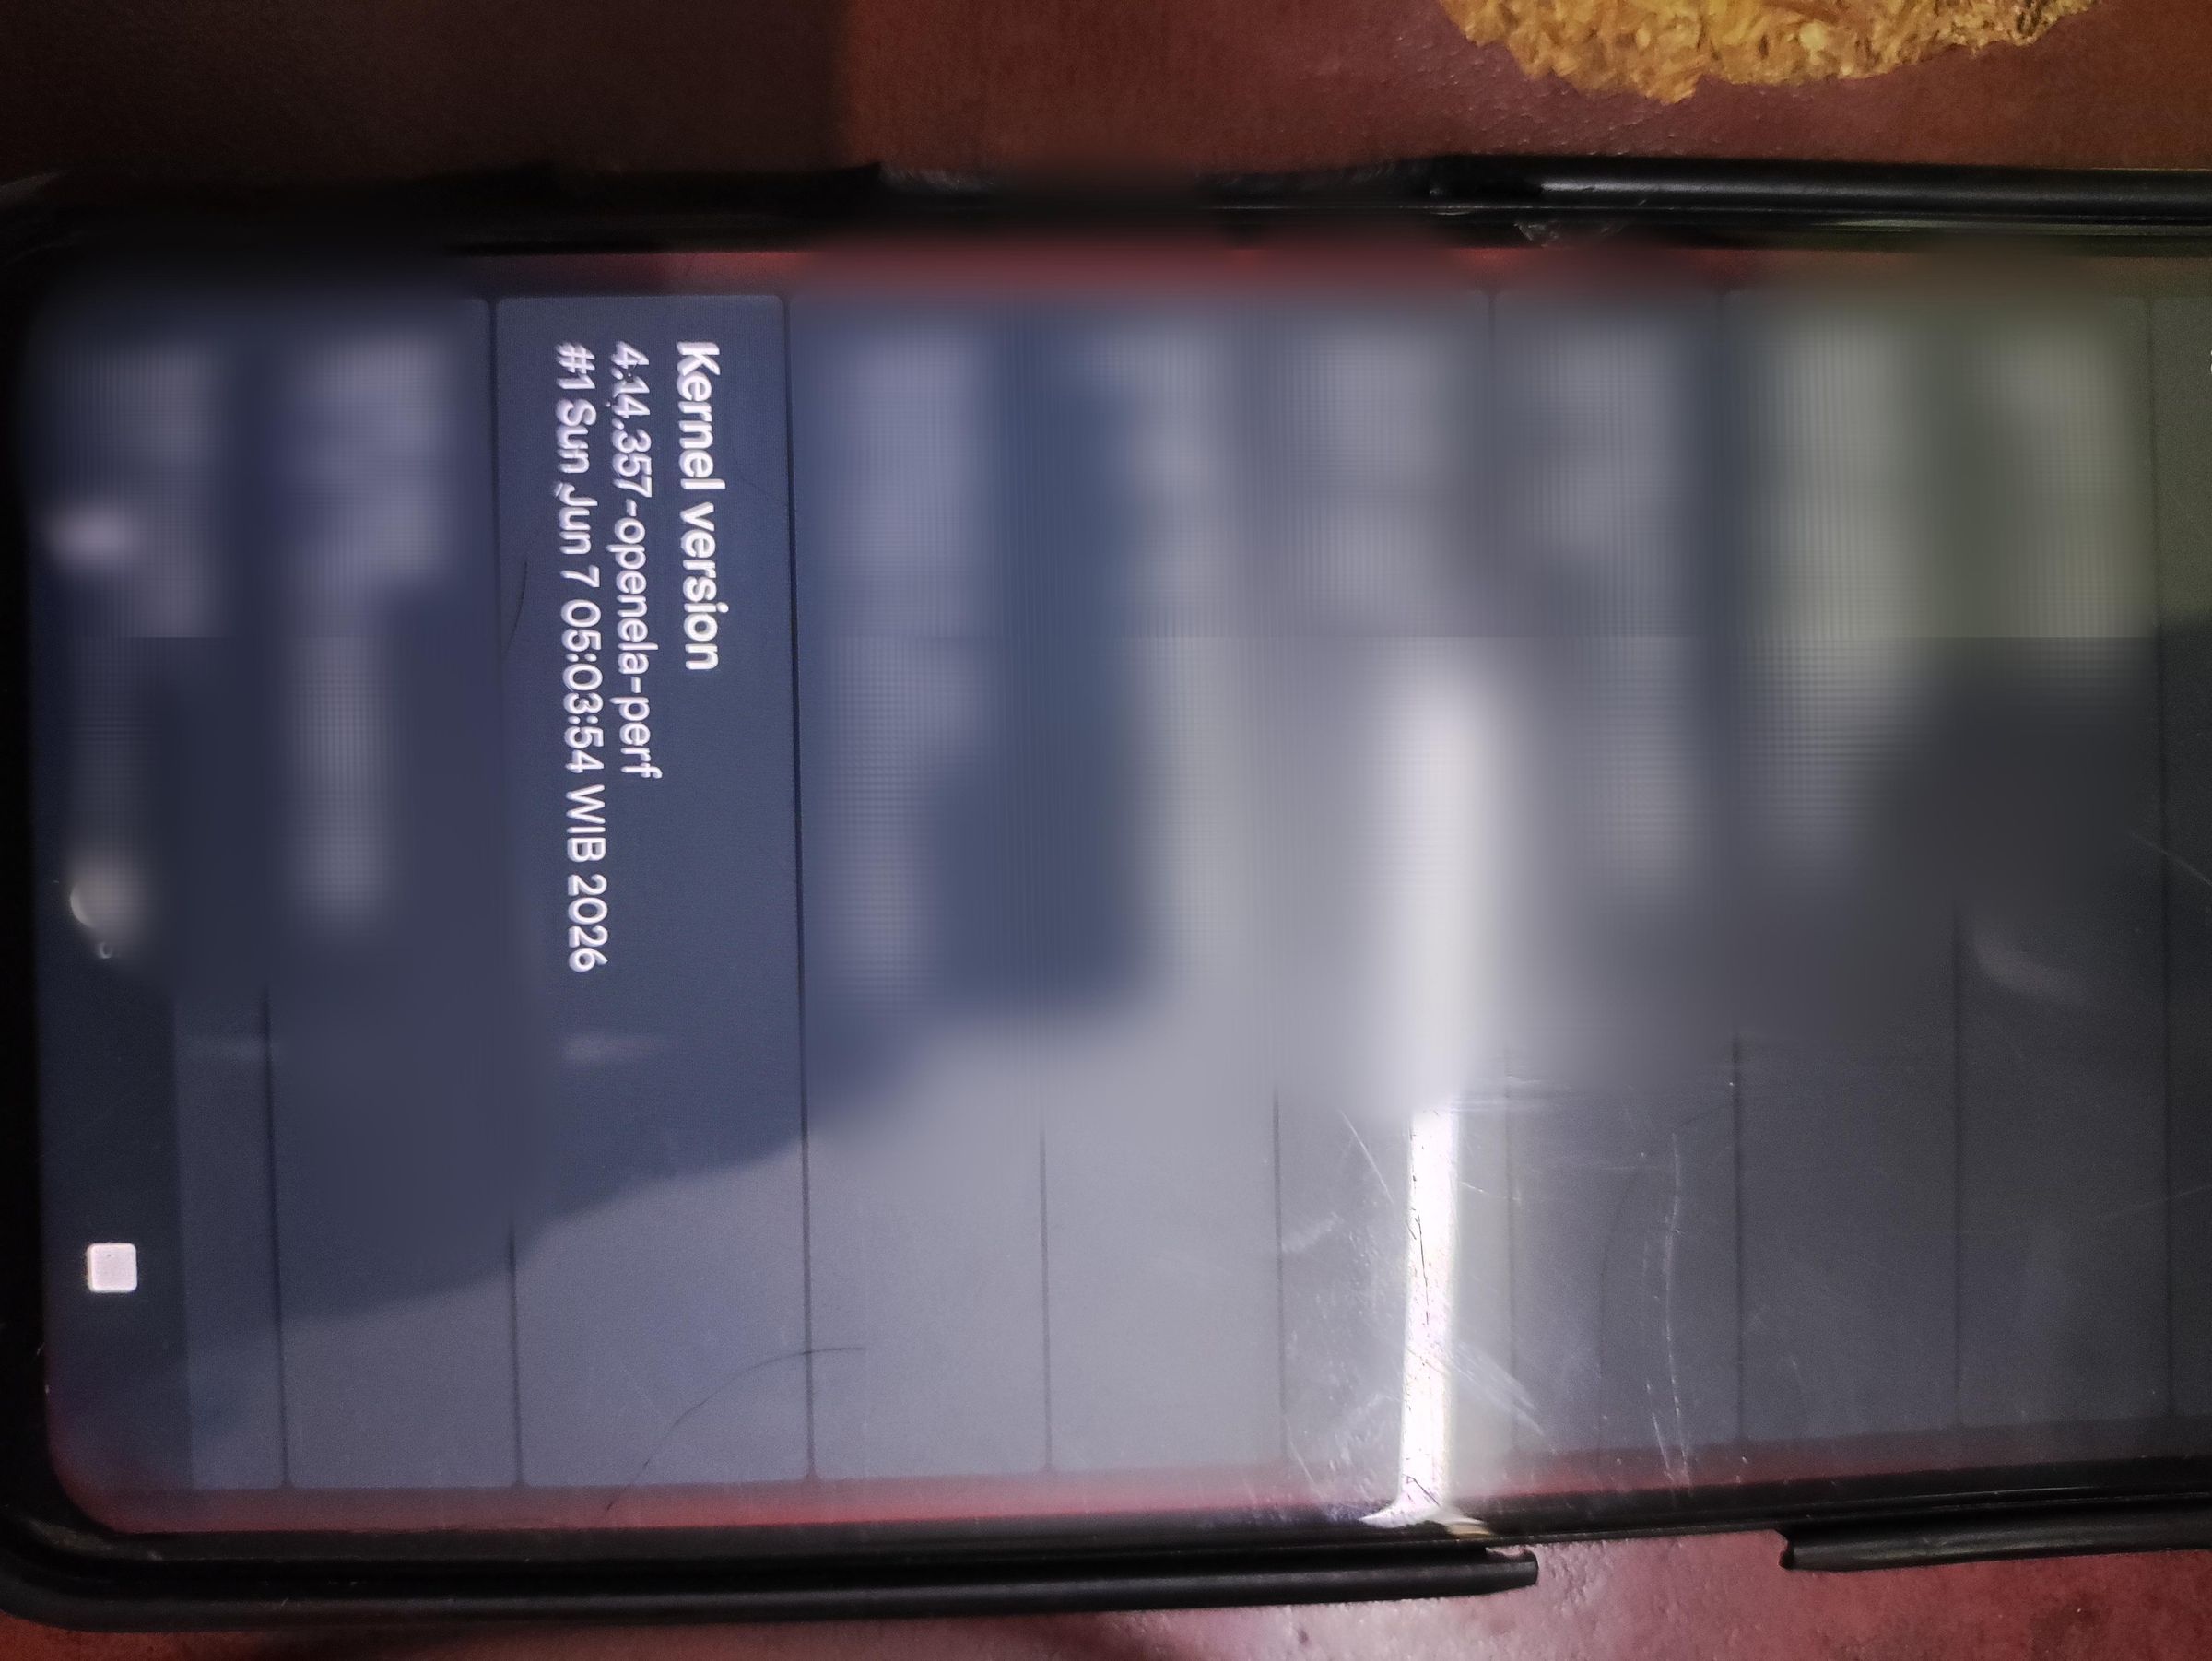
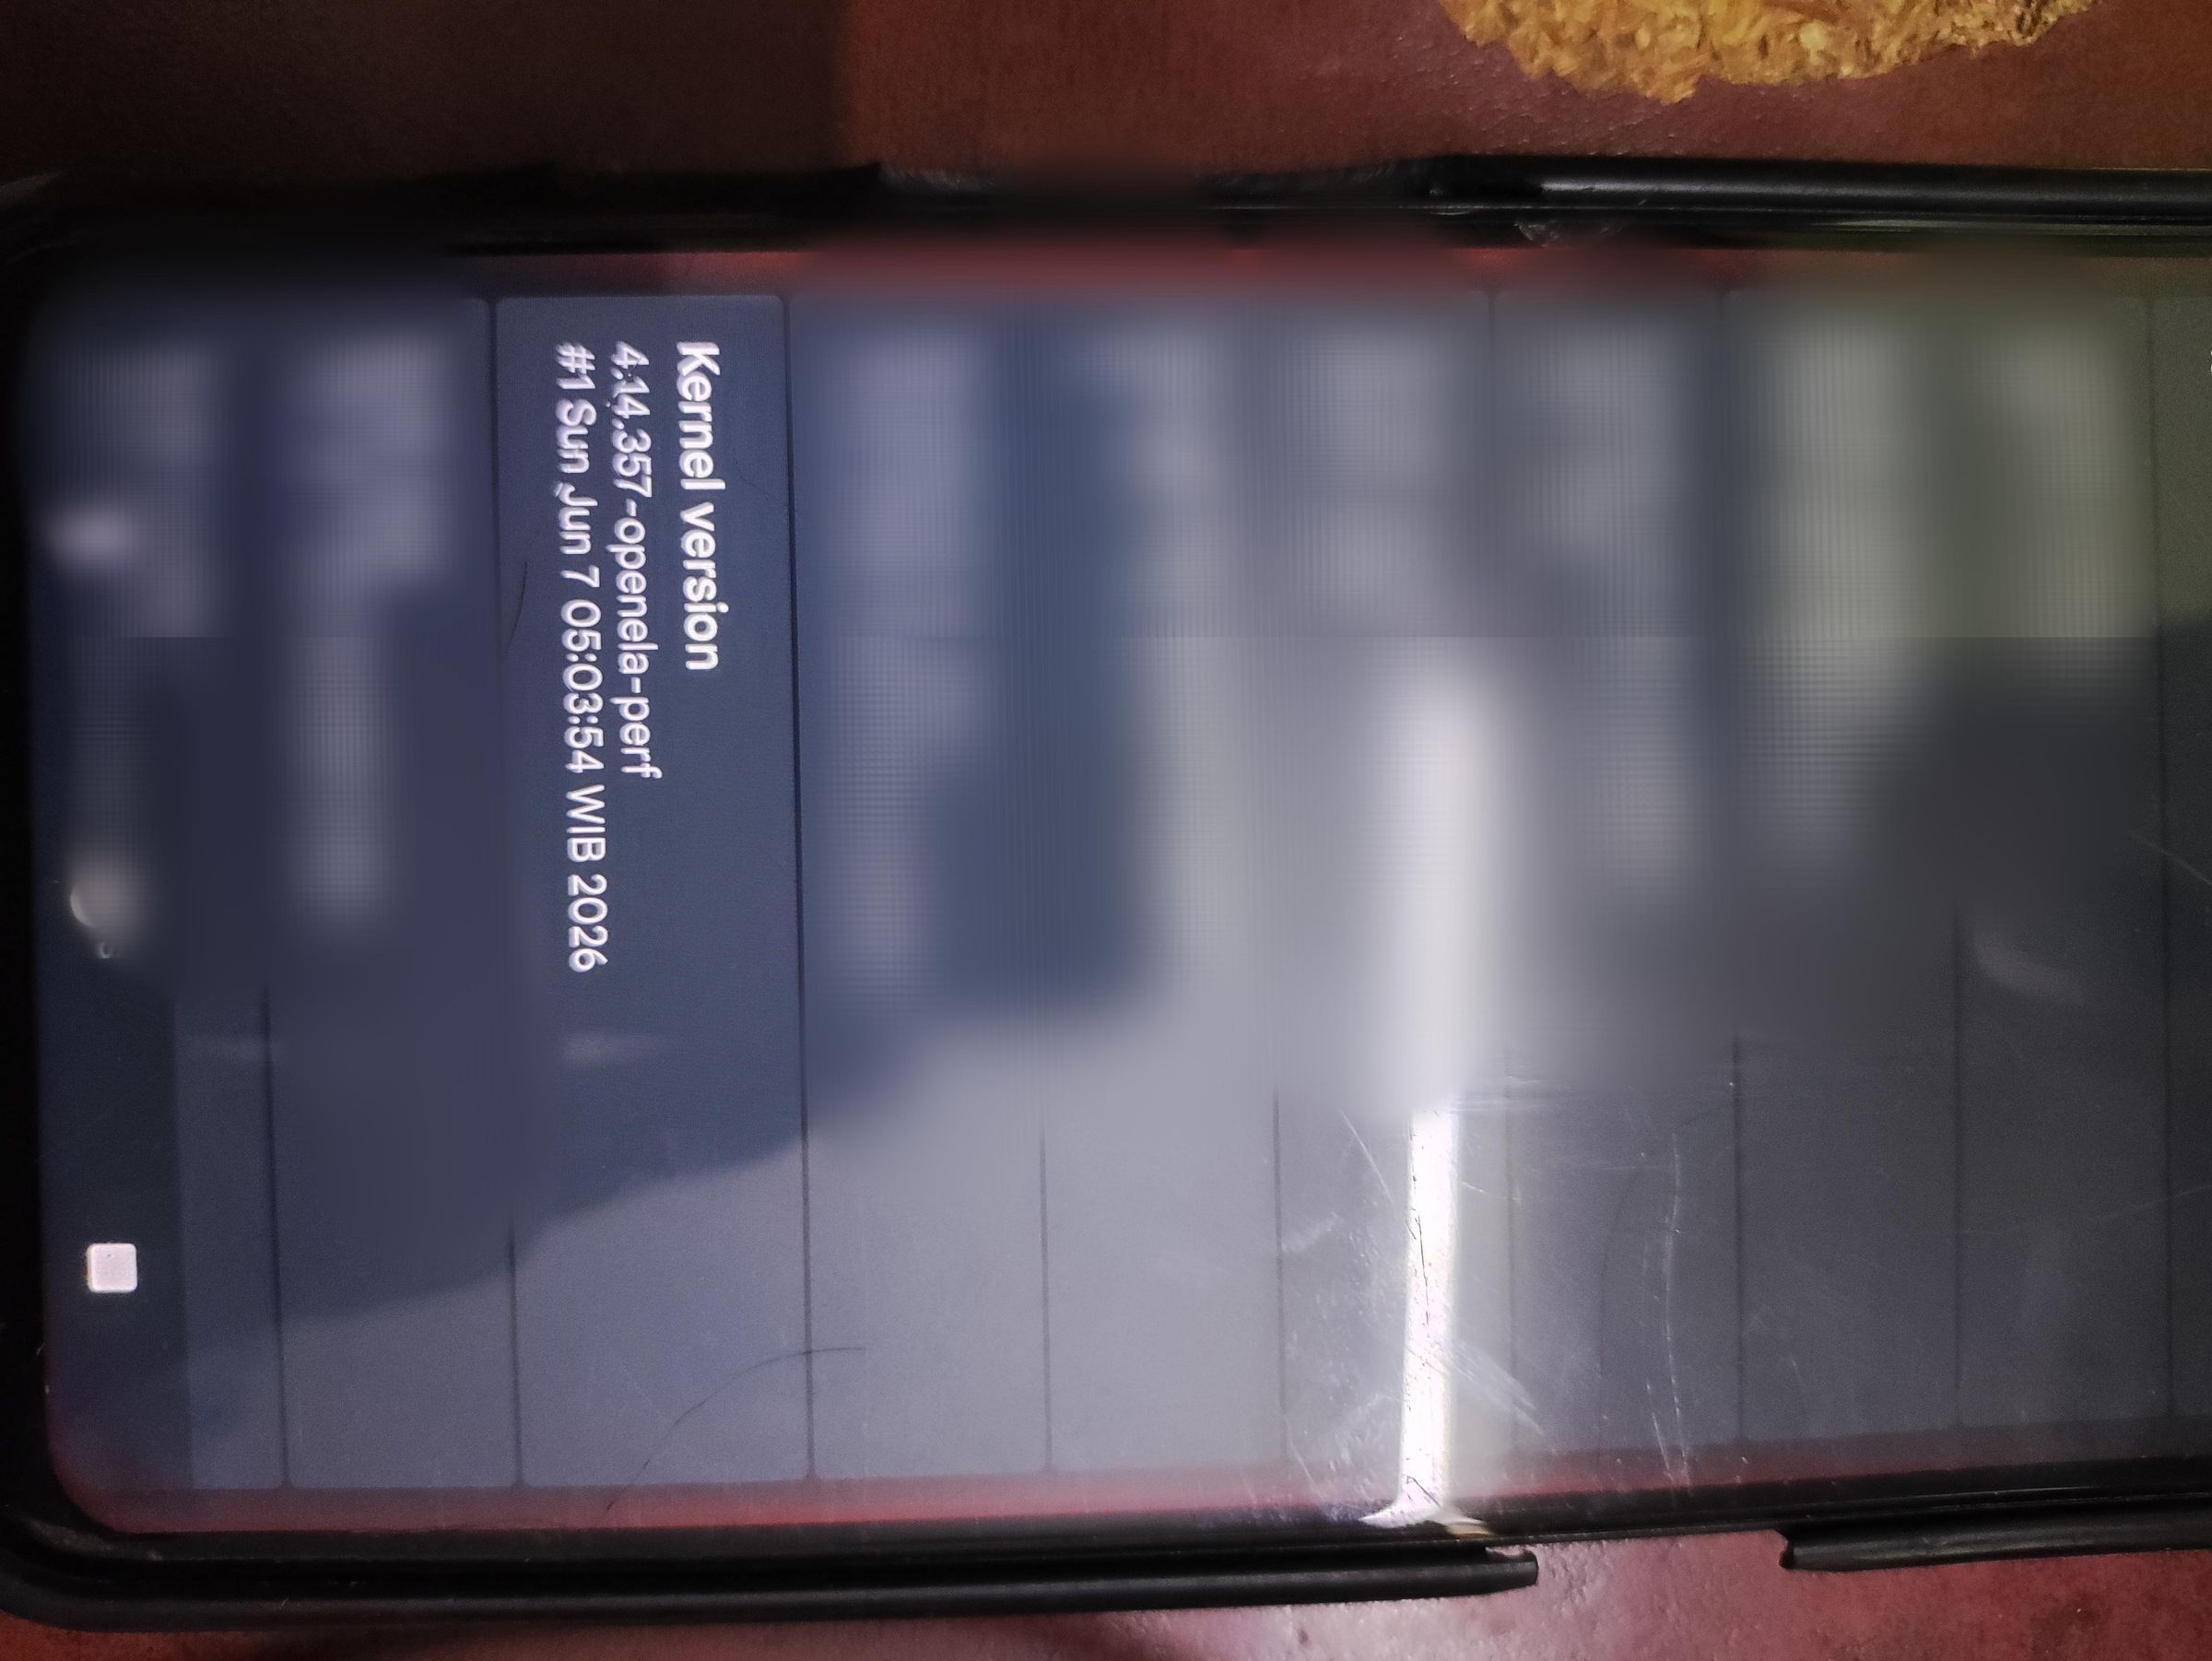
Check if the kernel is recognized in settings app in the Android version section and see if the kernel name has changed and enjoy your new kernel! Installing KernelSU (a root manager that works in the Linux kernel space) is recommended for custom kernels, but normal non-rooted systems will work but won't allow kernel parameter tweaking. So rooting your phone is recommended for custom kernels. You can use the Magisk root manager though, which works just fine with "normal" kernel builds. If you want to install Magisk, please use the link given below:
https://www.instructables.com/Rooting-a-Poco-X3-Pro-Vayu-Running-CrDroid-1211-A-/