FloodAid: a Solar-Powered Emergency Light & Power Bank for Flood-Affected Communities
by taifur in Circuits > Gadgets
293 Views, 5 Favorites, 0 Comments
FloodAid: a Solar-Powered Emergency Light & Power Bank for Flood-Affected Communities
Introduction
Flooding is one of the most common and devastating natural disasters in Bangladesh. Every year, large areas of the country are affected by floods caused by heavy monsoon rainfall, overflowing rivers, flash floods, and cyclones. During severe flooding, many families lose access to electricity, and in some areas power may remain unavailable for several days. For people staying in flooded homes, temporary shelters, schools, or evacuation centers, even a simple source of light and a way to charge a mobile phone can become extremely important.
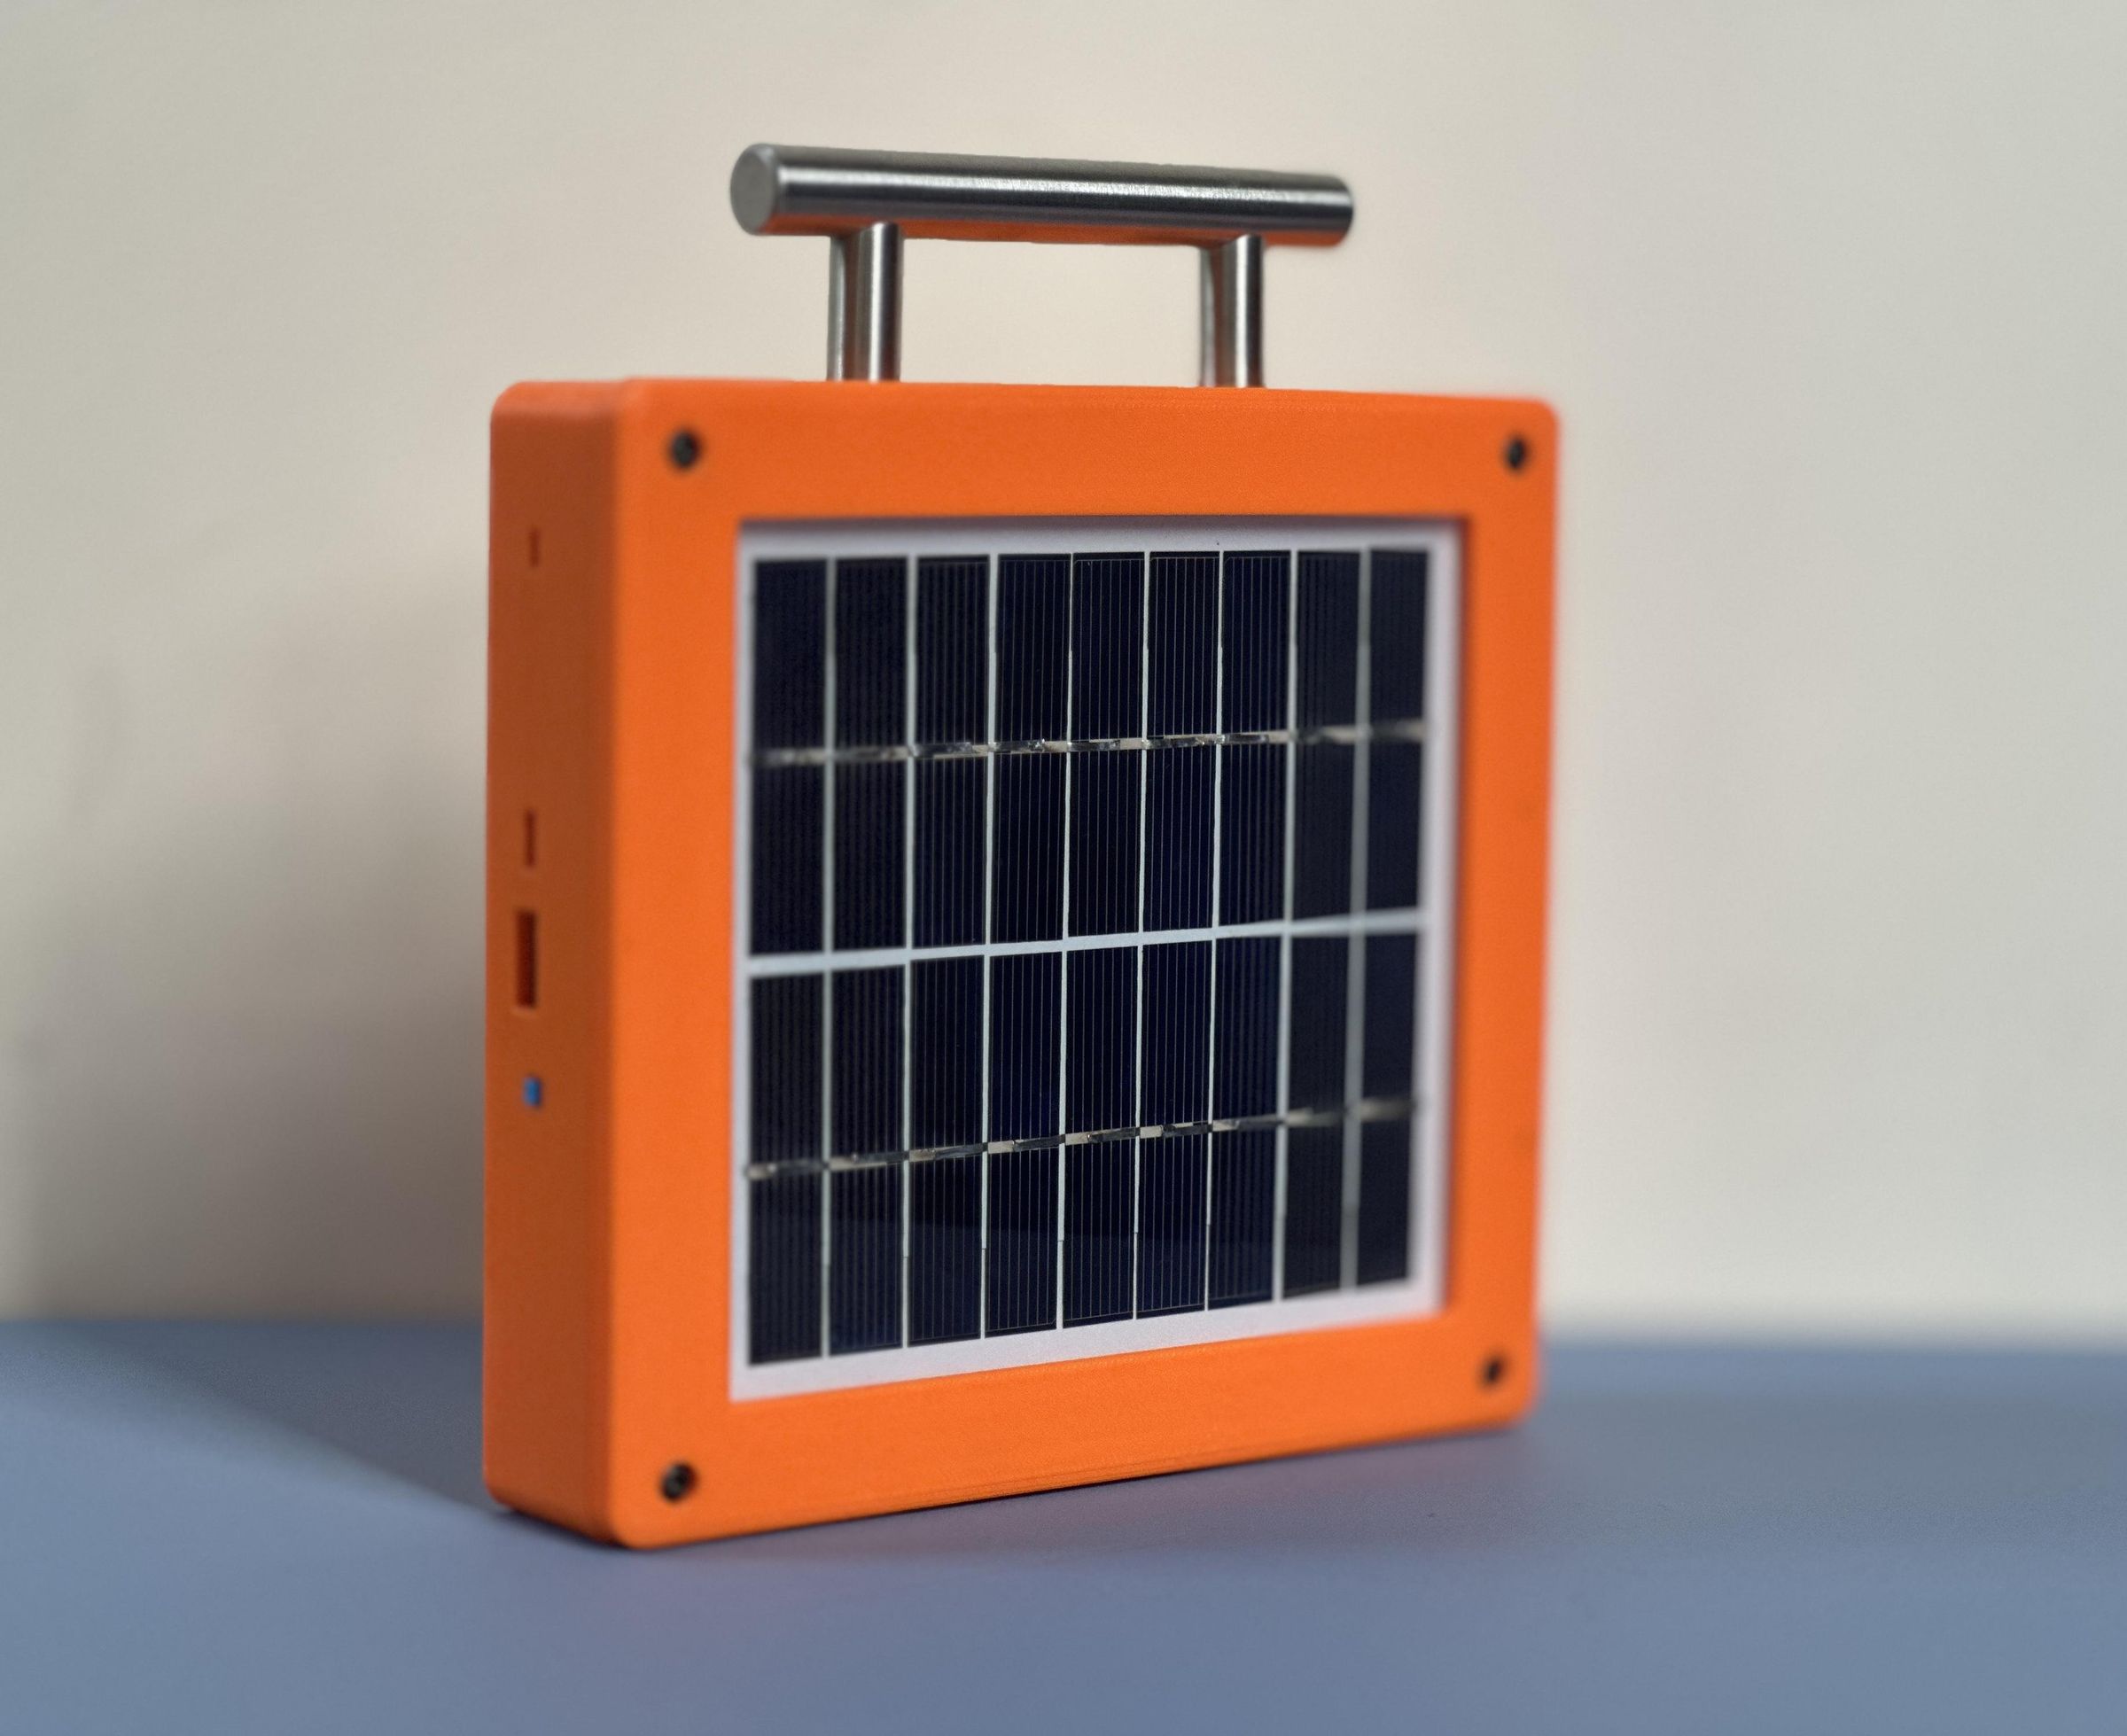
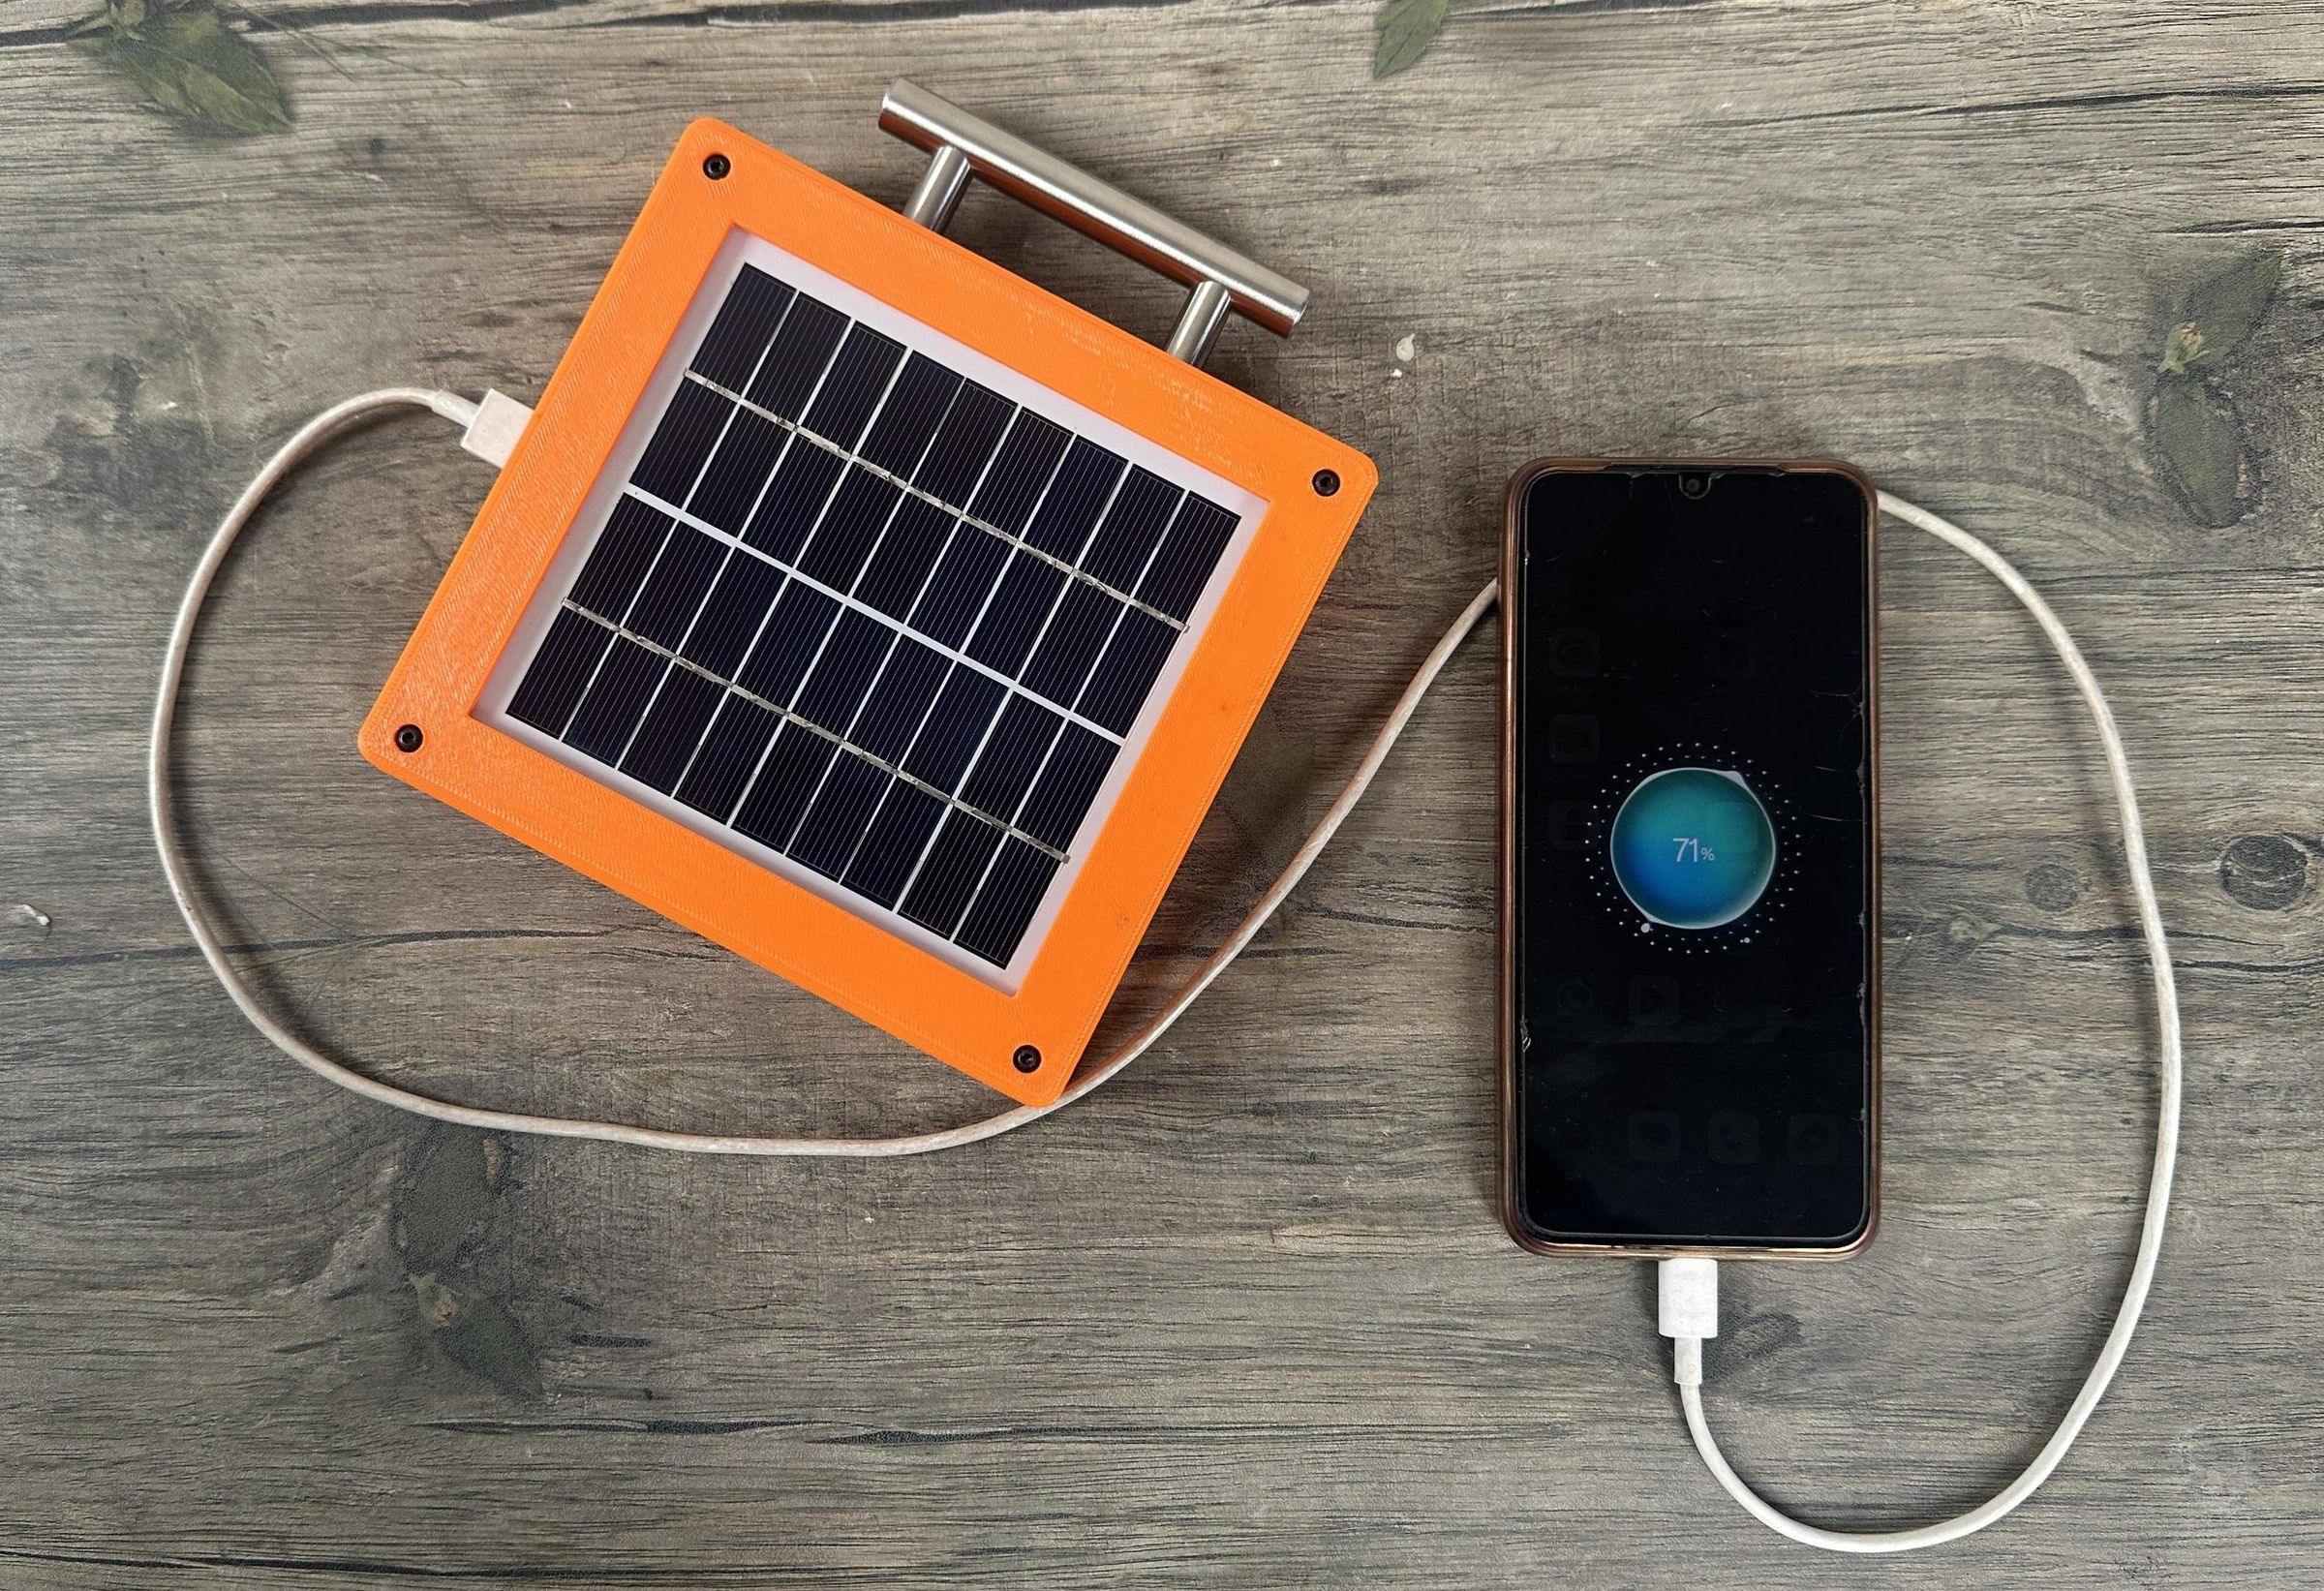
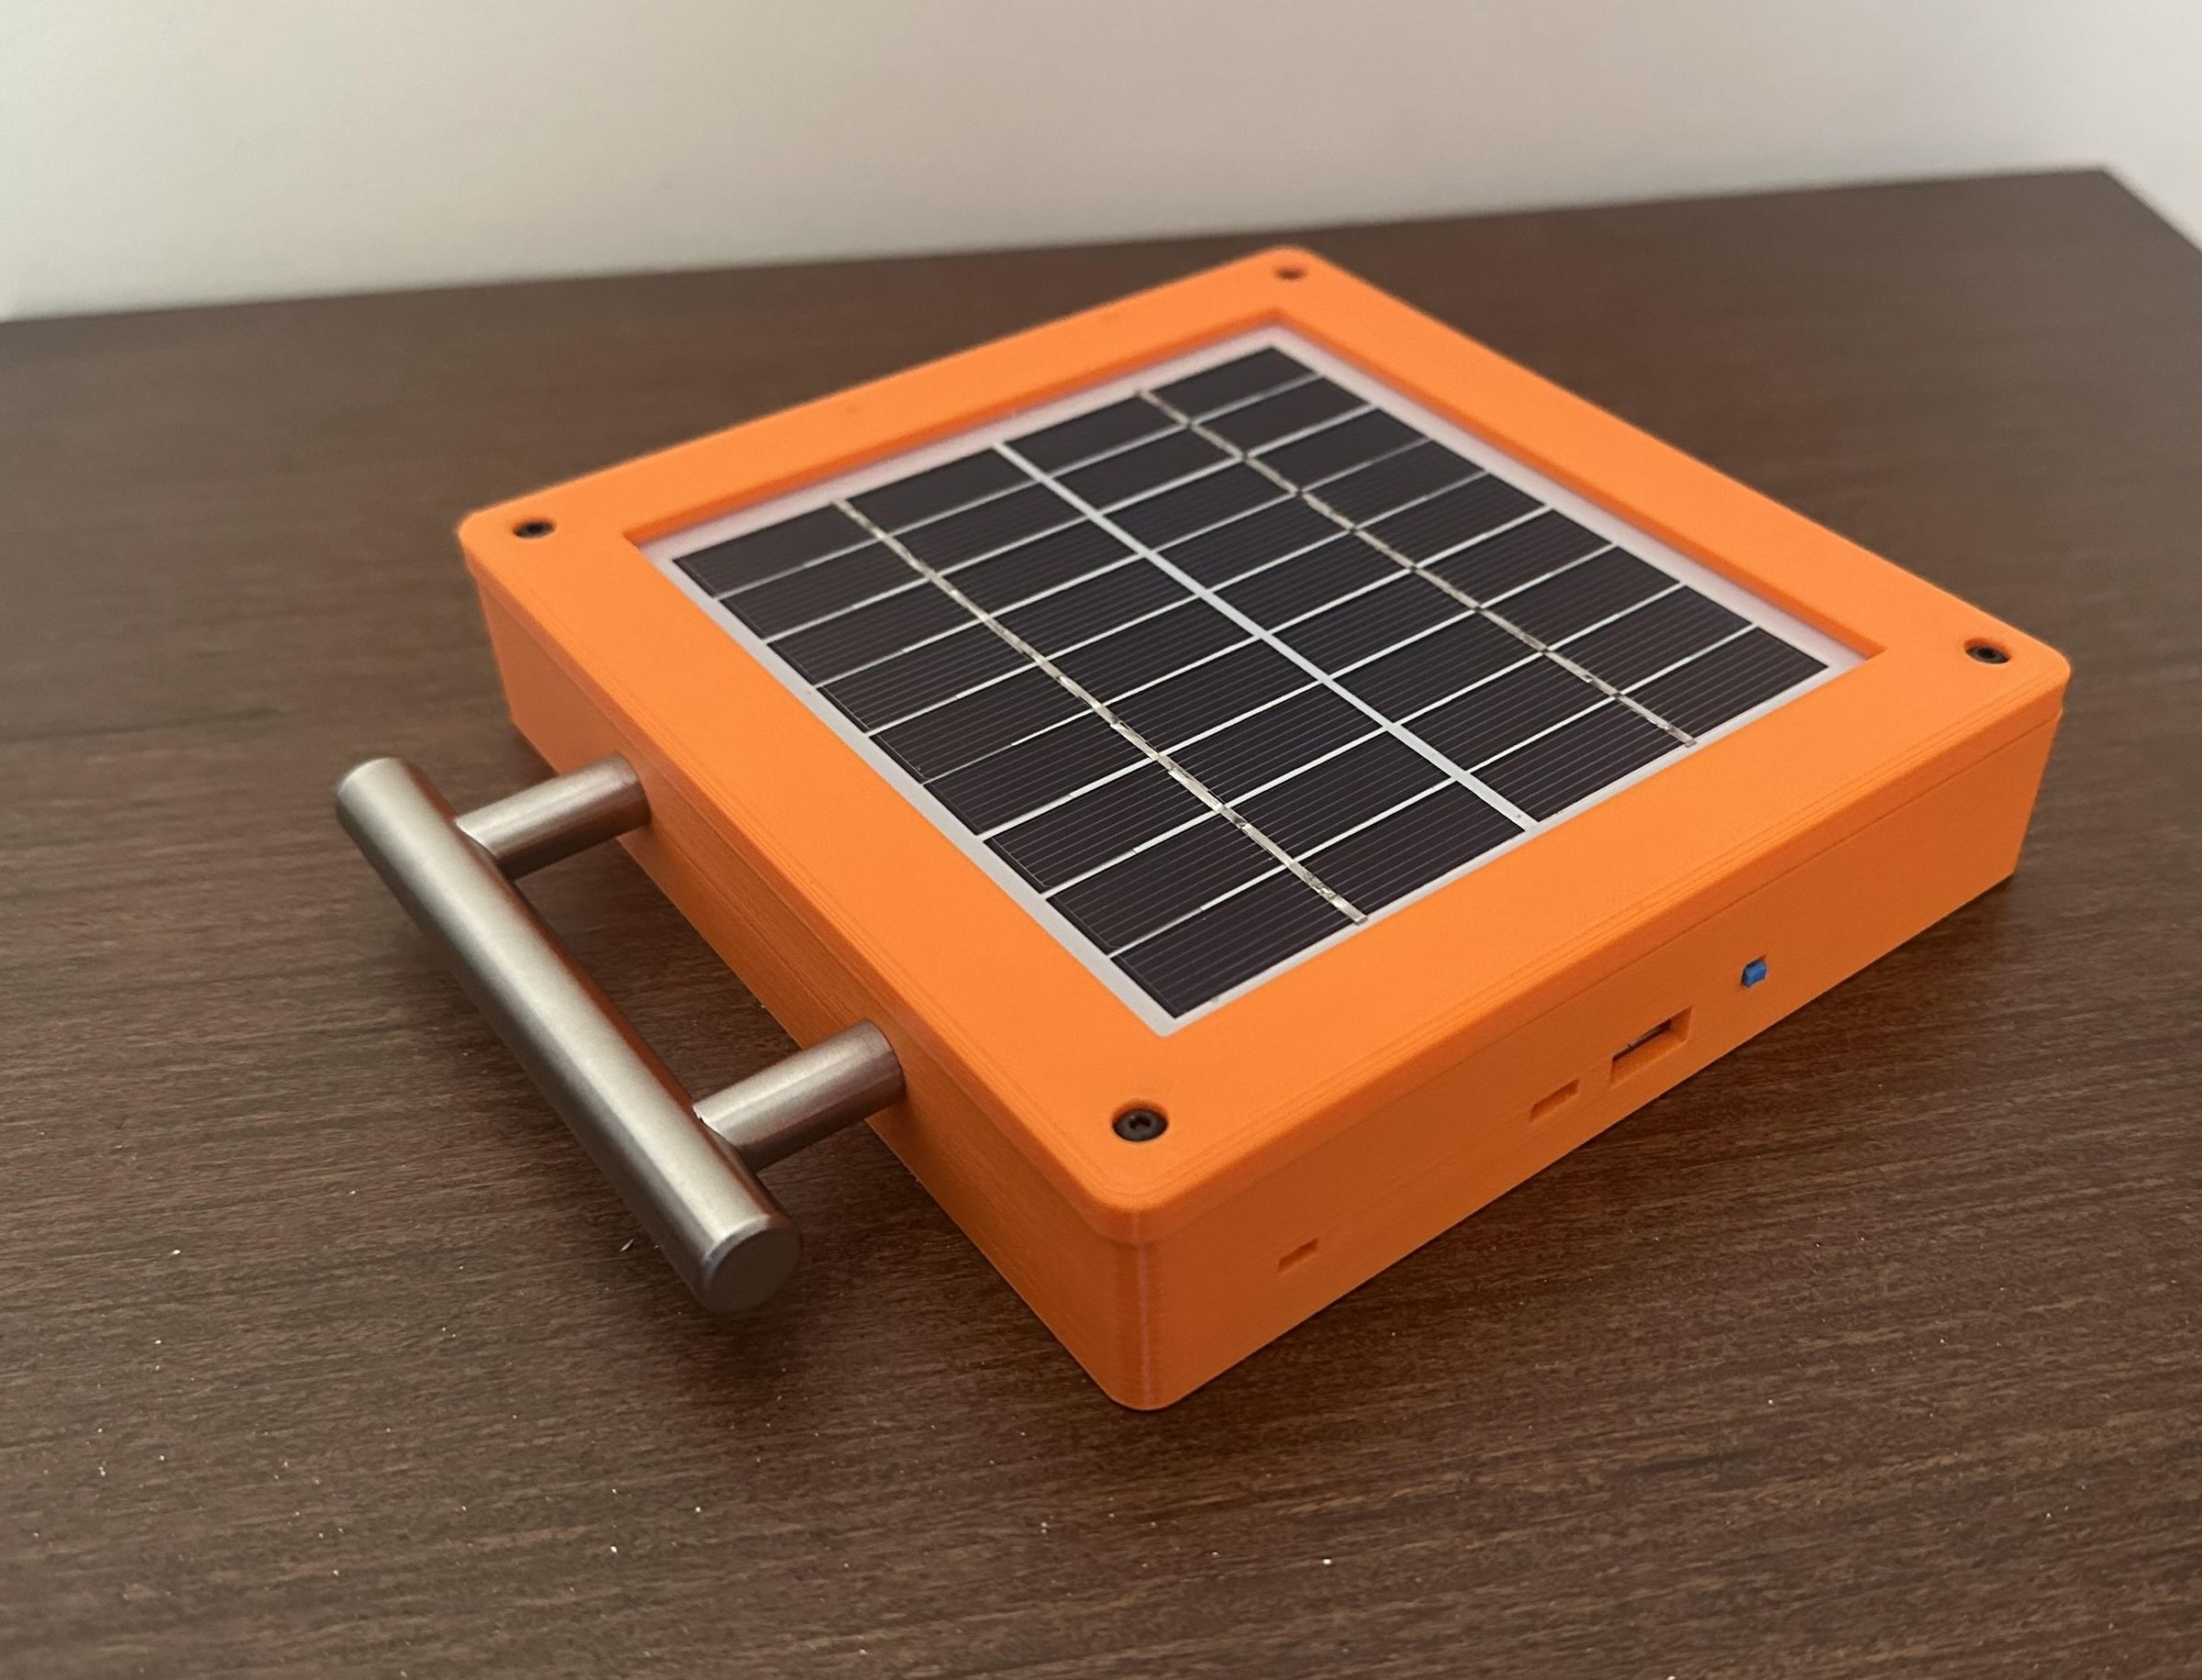
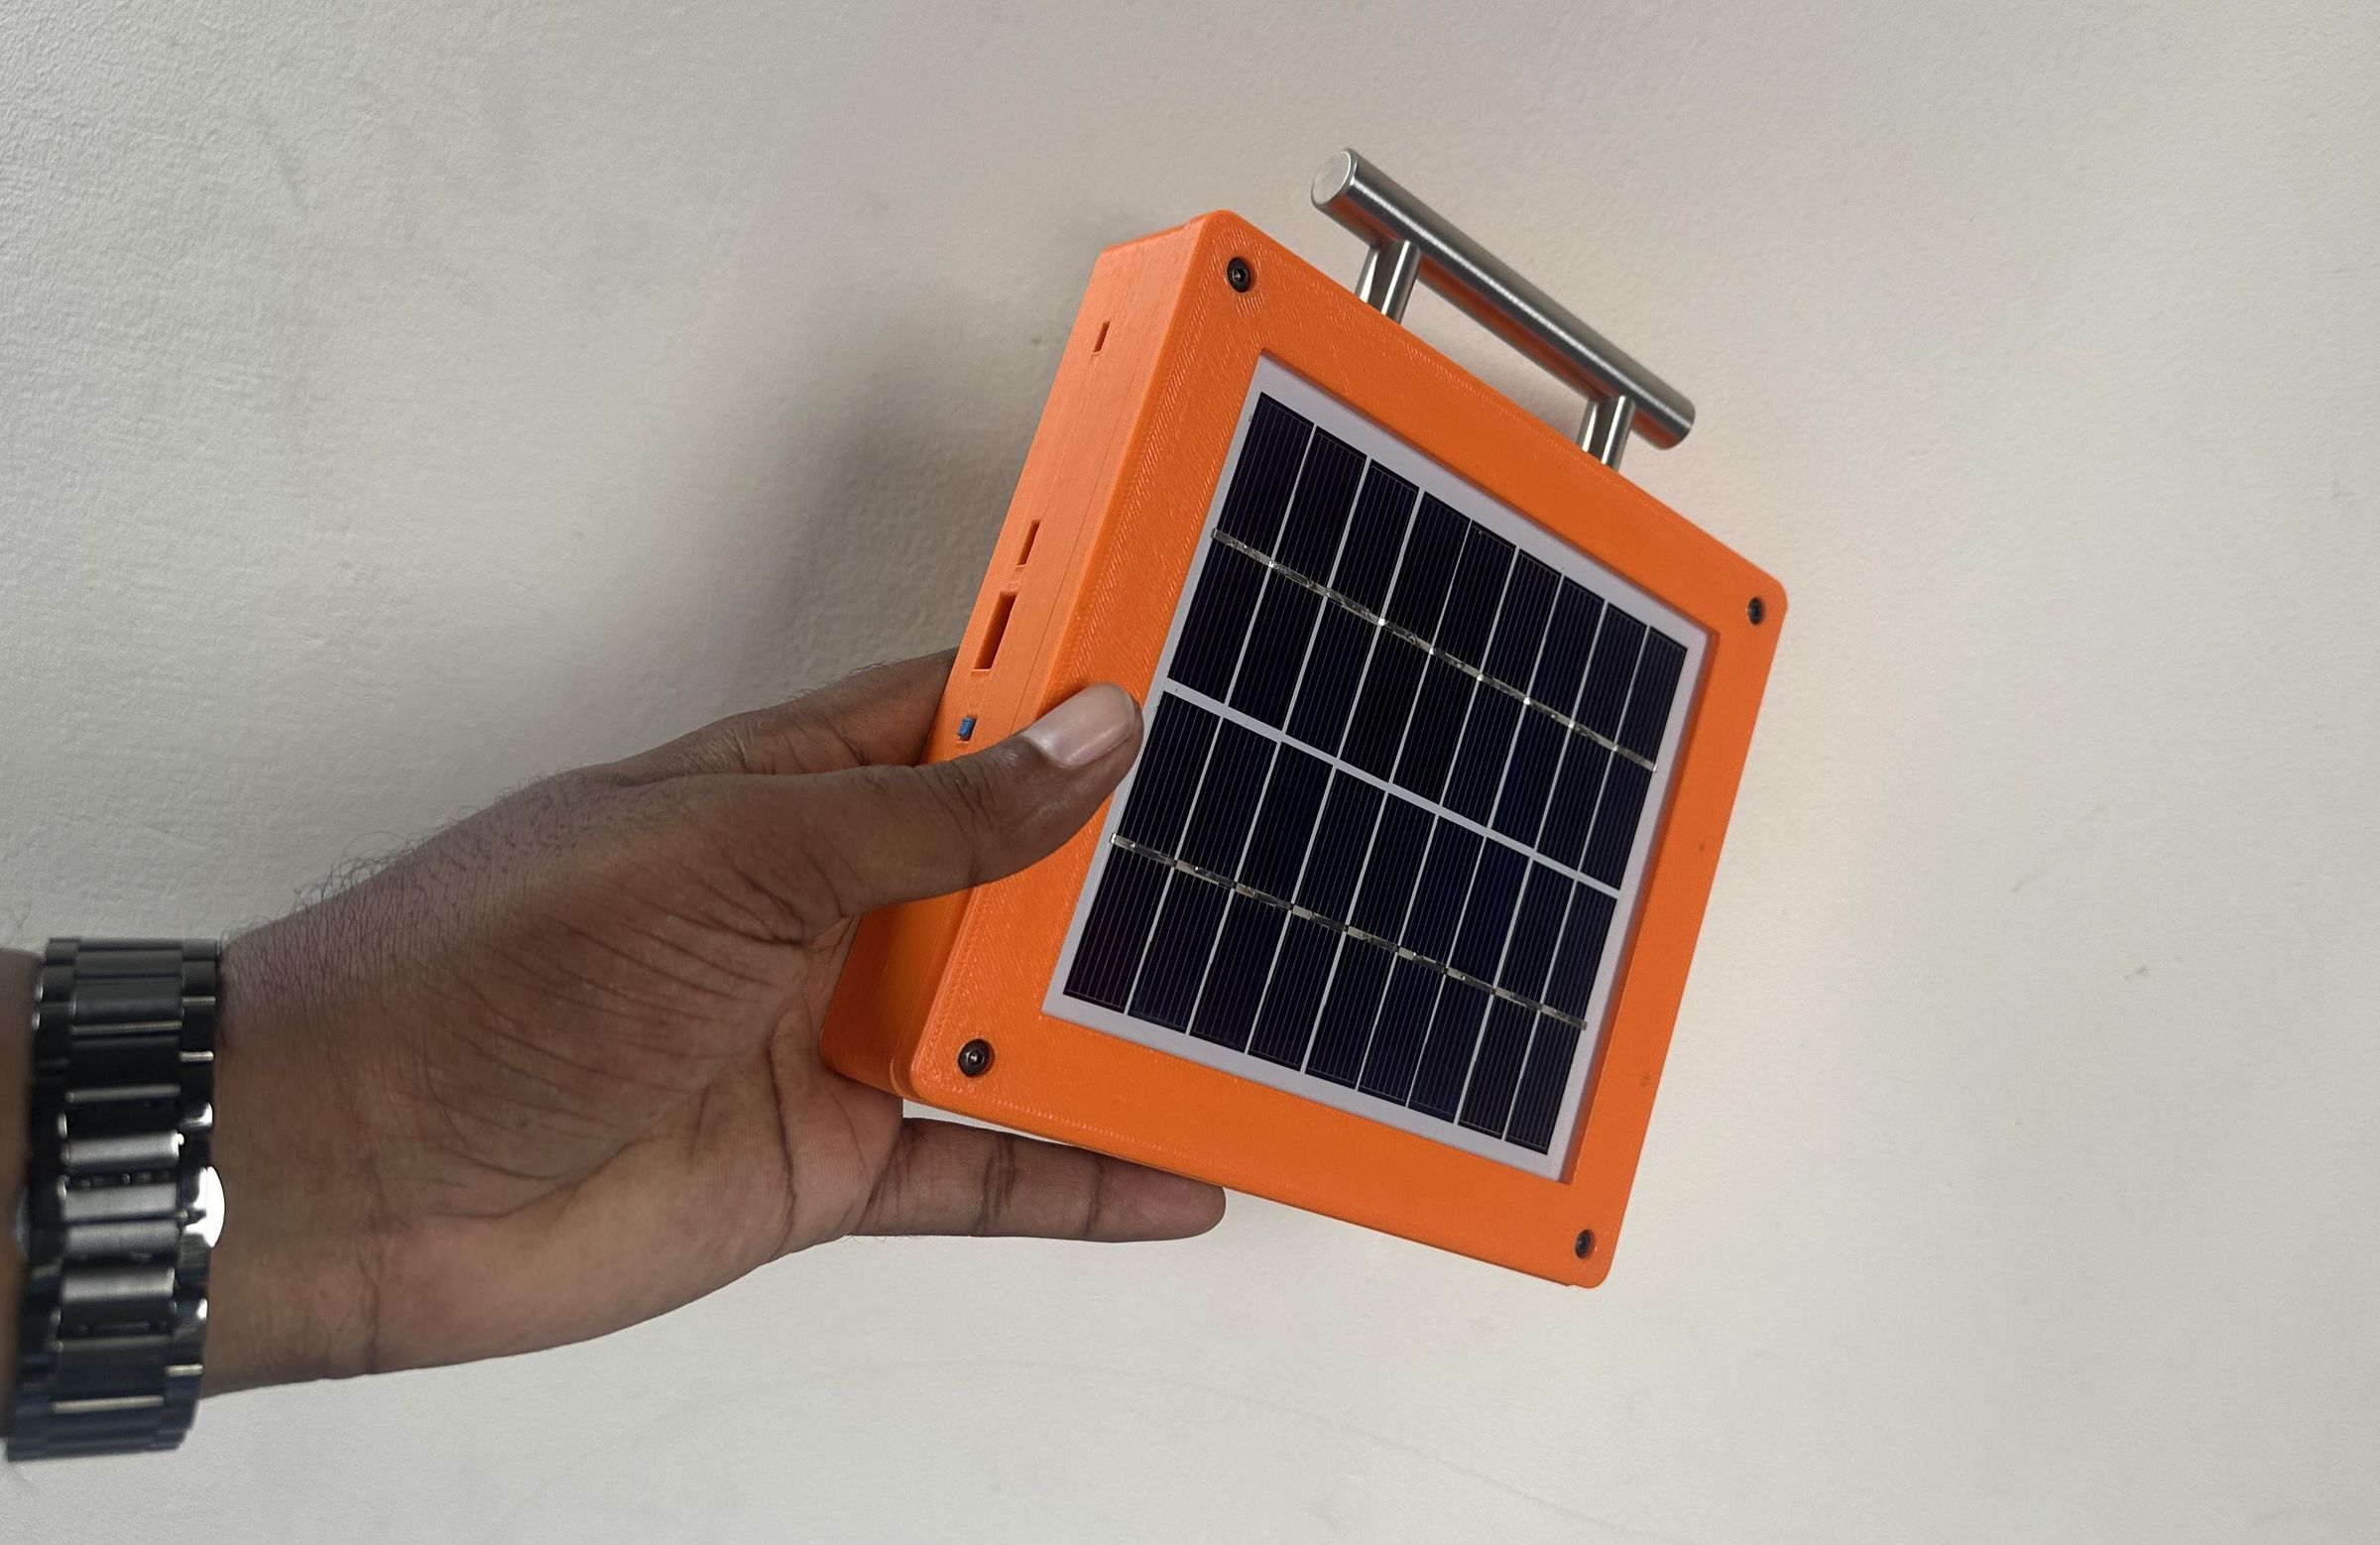
FloodAid is a simple, low-cost, solar-powered emergency light and power bank designed especially for situations like these. The system uses a solar panel to collect energy from sunlight and store it in a rechargeable battery. The stored energy can then be used to provide emergency lighting and charge small electronic devices such as mobile phones.
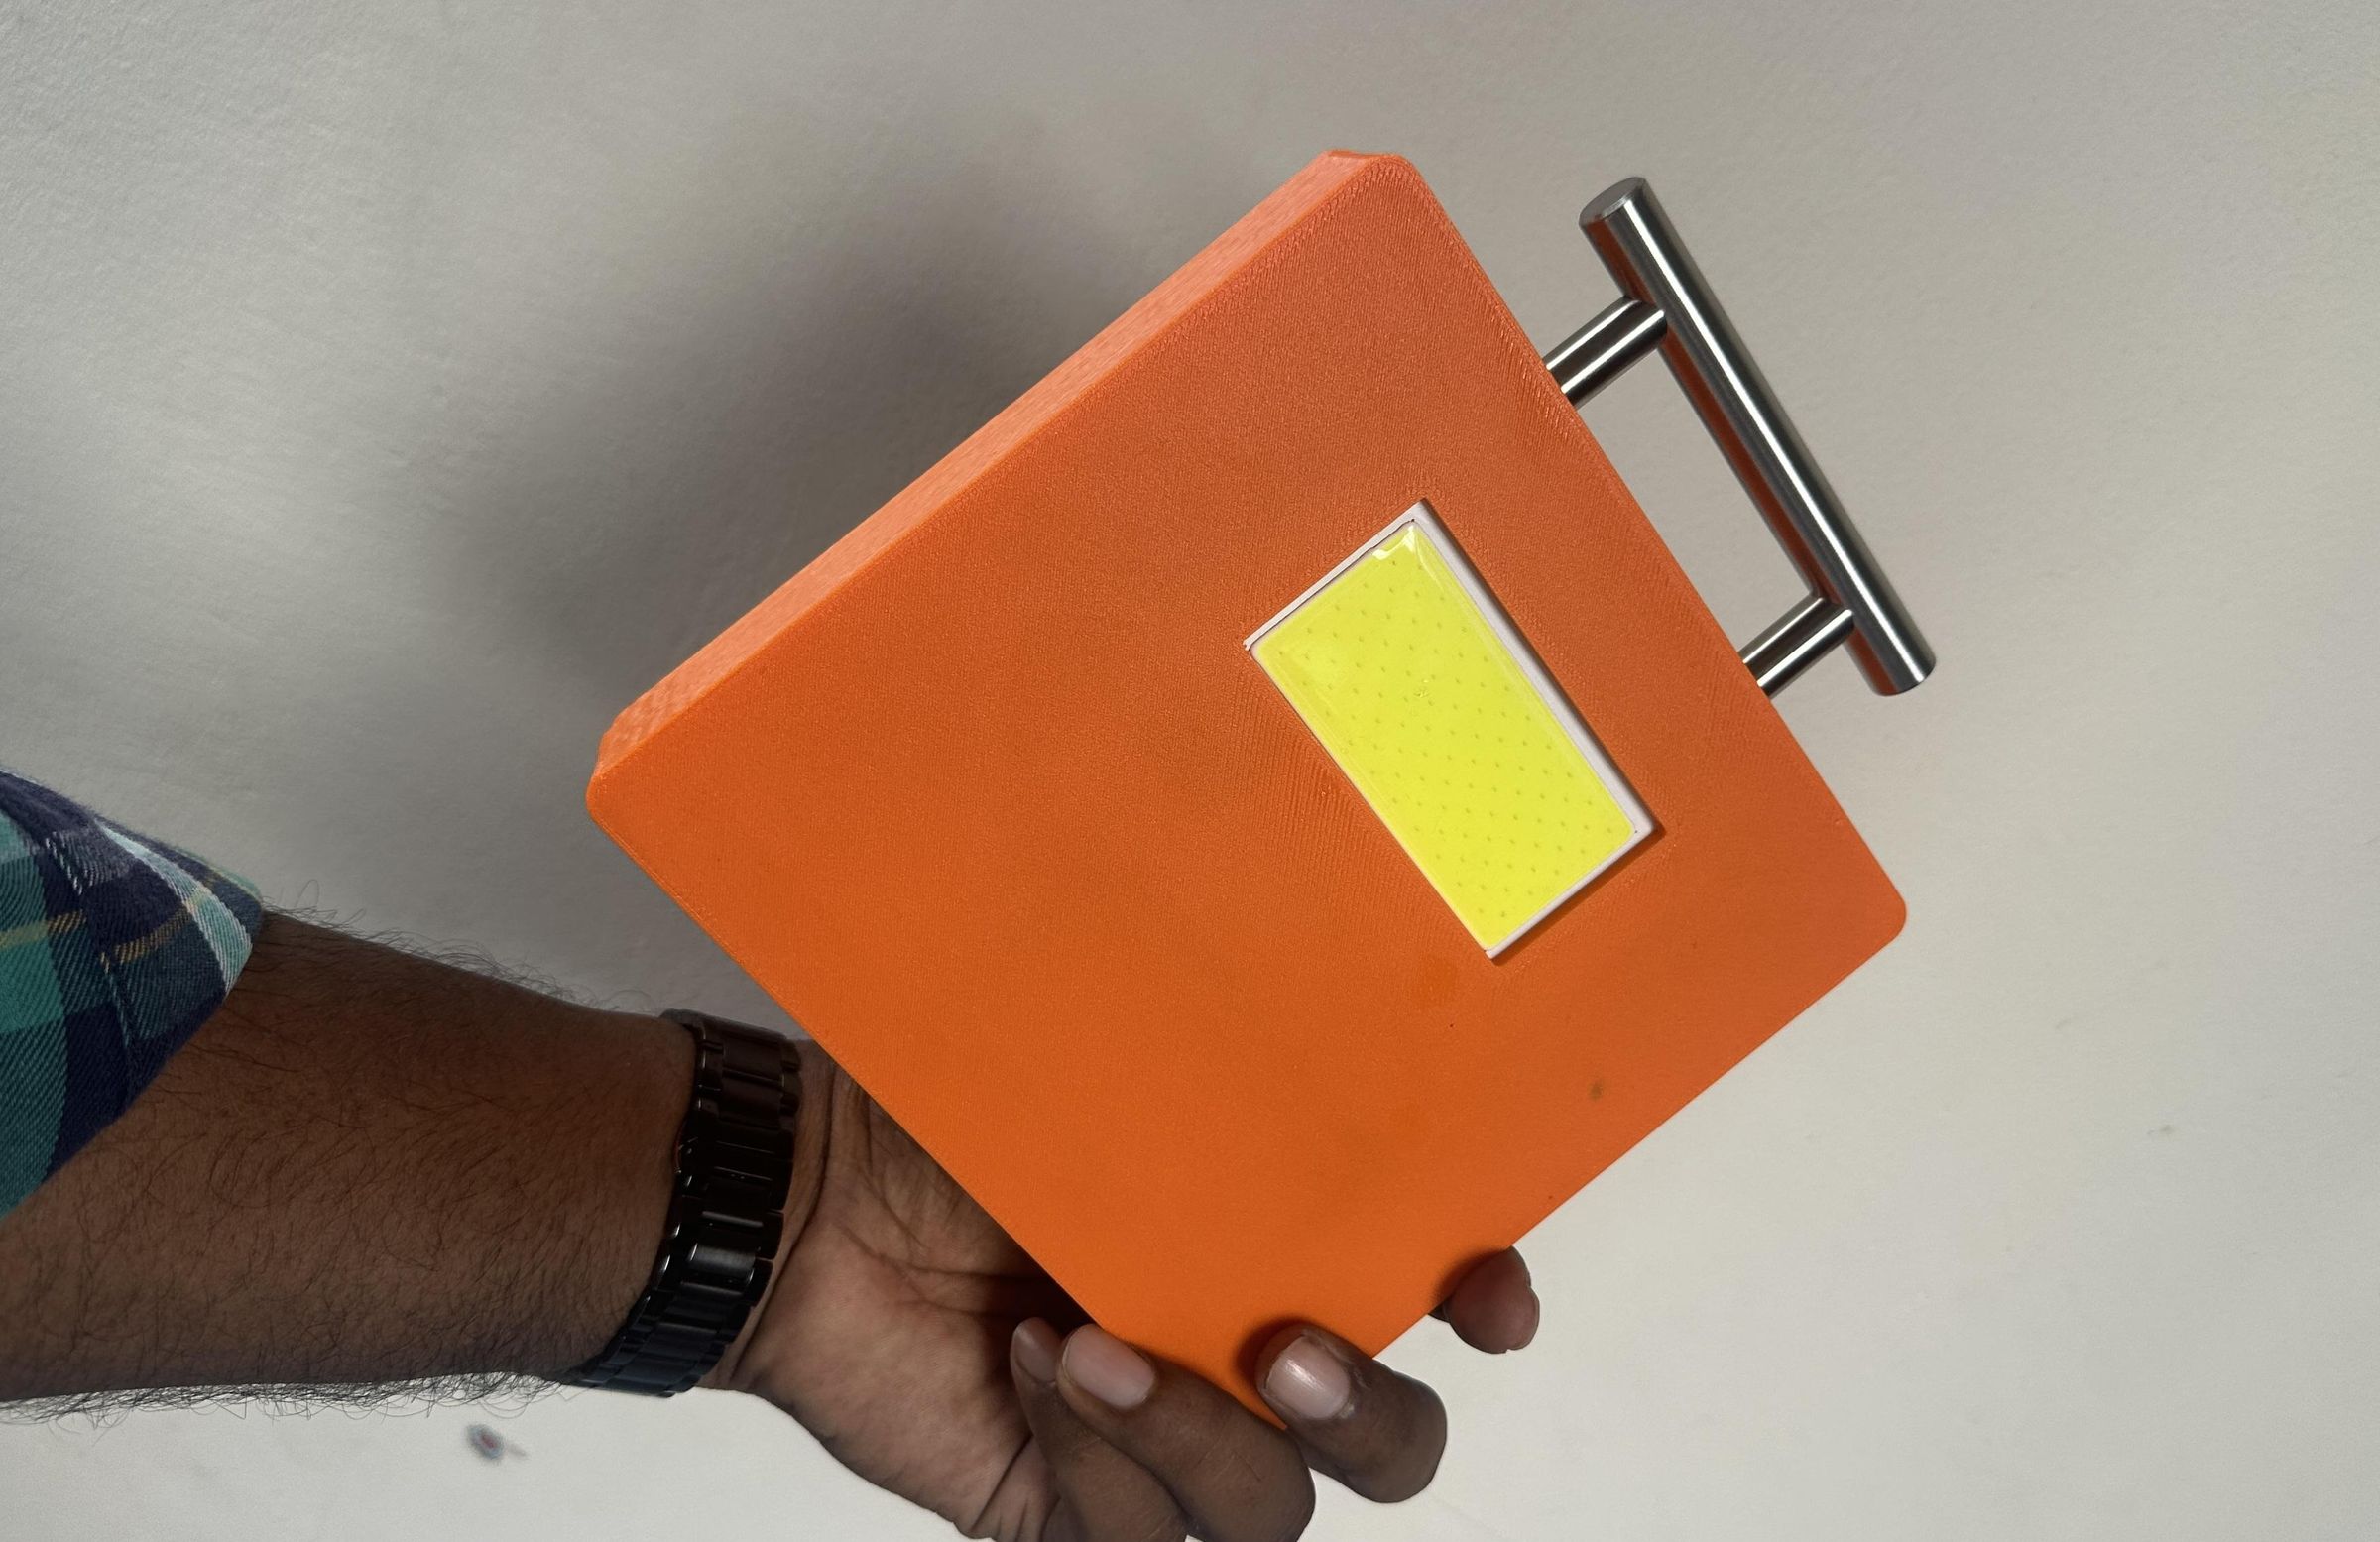
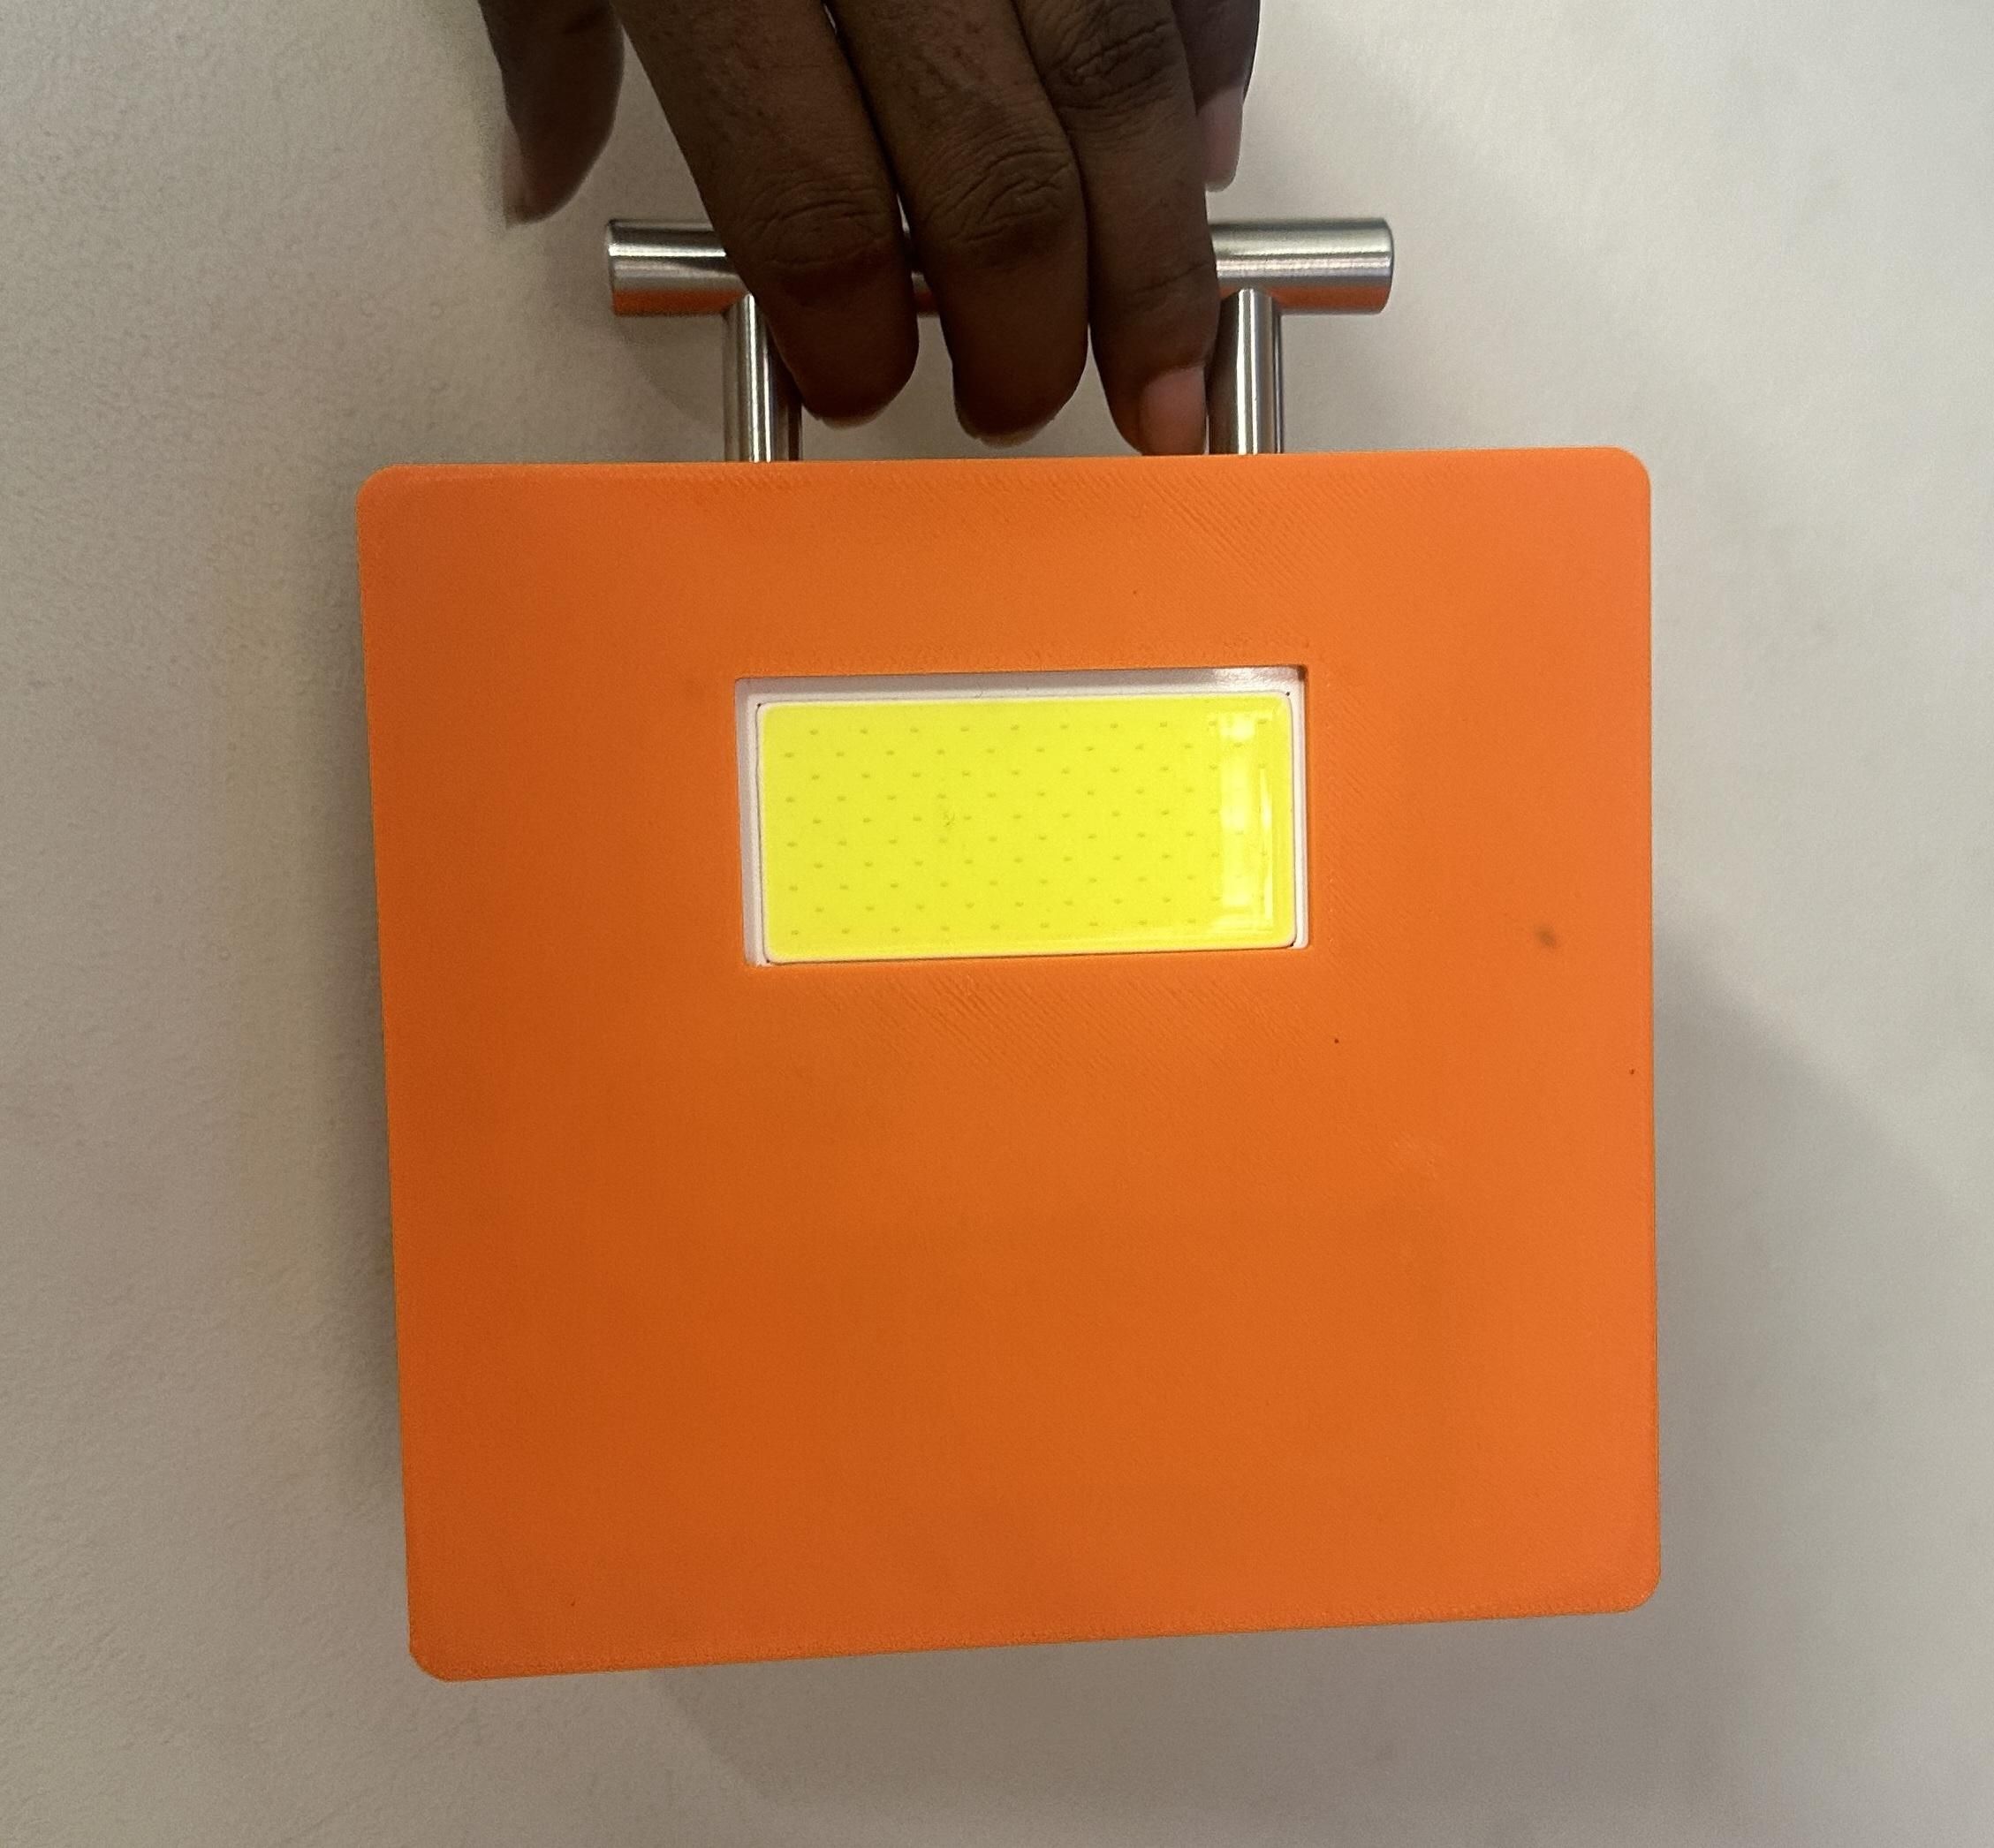
The idea behind this project is not to replace a household solar system or a commercial power station. Instead, it is designed as a small, portable and affordable emergency power source that can be useful when the electrical grid is unavailable. During a flood, the emergency light can provide illumination at night for basic activities such as moving around safely, preparing food, caring for children or elderly family members, and staying inside a temporary shelter. The power-bank function can also help people keep their mobile phones operational for communication, receiving emergency information, contacting family members, or calling for assistance.
I decided to build this project because access to electricity during a disaster is more than just a matter of convenience. When the grid goes down, lighting and phone charging can directly affect people's ability to communicate, move safely, and respond to an emergency. In Bangladesh, where many flood-affected communities have limited access to backup electricity, a small solar-powered device can provide a practical source of energy using a resource that is freely available during daylight hours.
Another important goal of this project is accessibility. Emergency equipment does not always need to be complicated or expensive. By using commonly available electronic components and a relatively simple circuit, this project demonstrates how a useful disaster-relief device can be built at a low cost. The design can also be modified or scaled according to available components, battery capacity, solar-panel size, and the requirements of a particular community.
Most importantly, FloodAid is built around a simple idea: when the electricity grid is unavailable, sunlight can still provide a lifeline. A small amount of stored solar energy can provide light at night and keep a communication device running when people need it most.
This project is therefore both an electronics project and an attempt to demonstrate how off-grid renewable energy can be used for practical disaster preparedness and humanitarian applications in Bangladesh.
Supplies
Core Components:
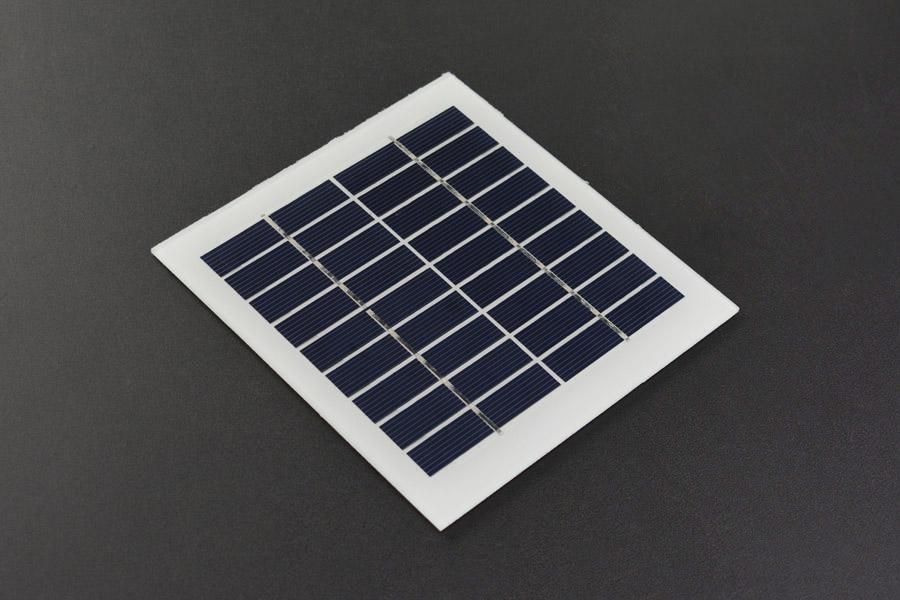
- 9V, 3W Solar Panel (DFRobot): Main power source, collects energy from sunlight.
- Power Bank Circuit (Aliexpress): Converts Li-ion battery voltage to 5V to charge the mobile phone.
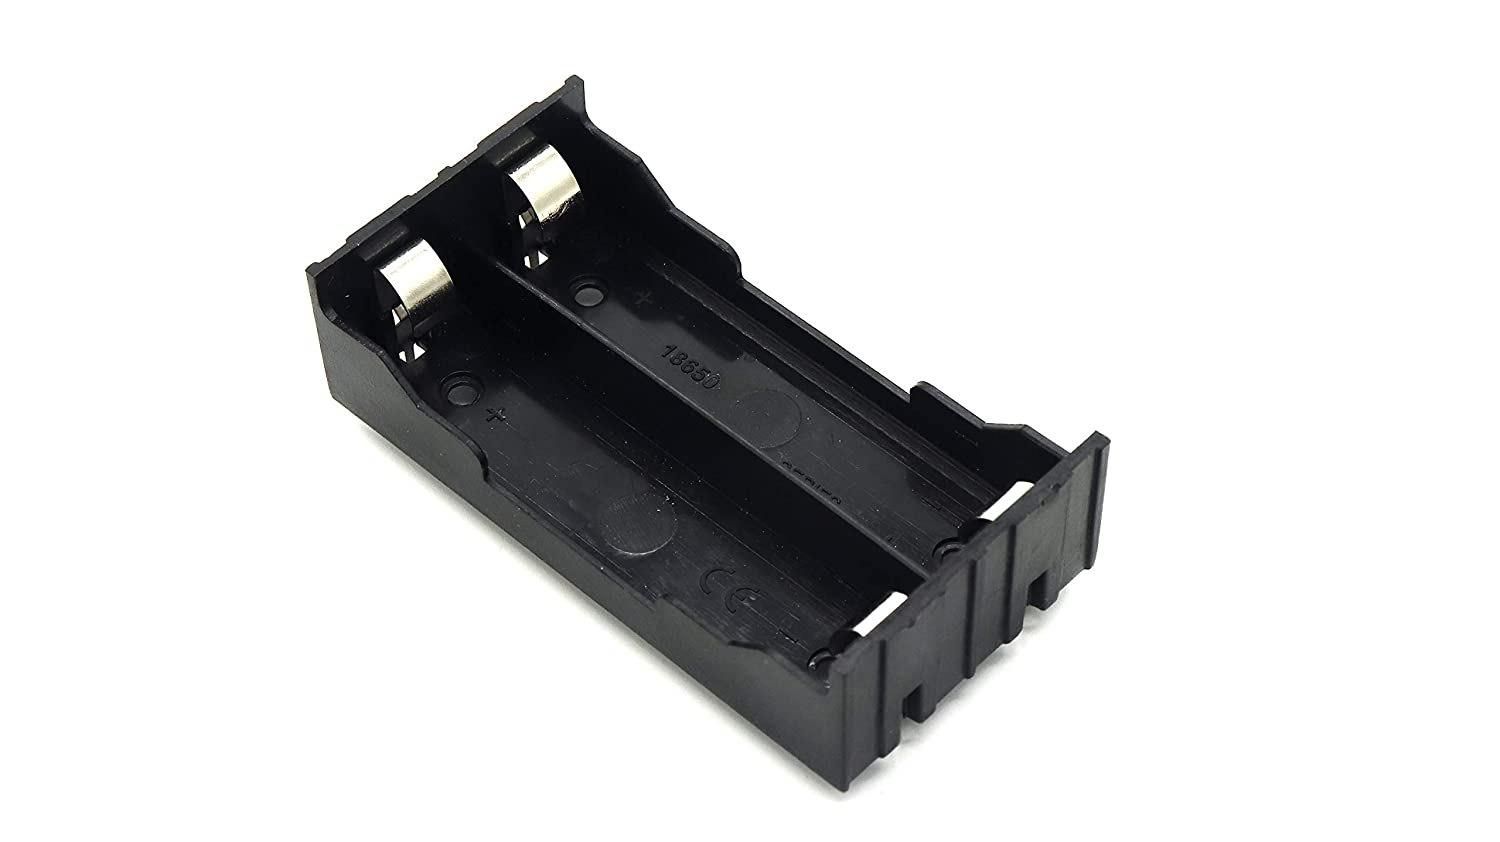
- 18650 Li-Ion Battery Case 2X (Aliexpress): Used to safely hold the 18650 Li-ion battery.
- 2x18650 Li-Ion Battery (Aliexpress): Provides portable power for the device.
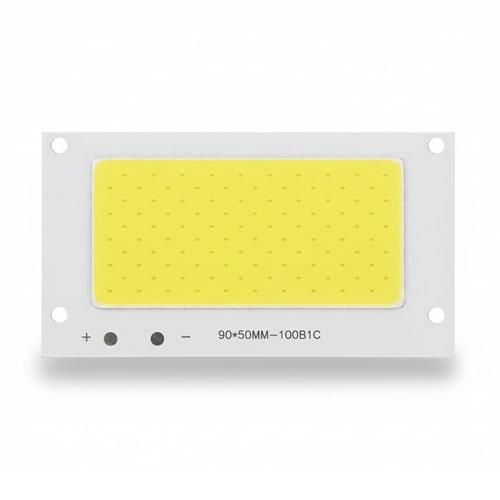
- 90x50mm 3.7V 10W COB LED (Aliexpress): Provides lighting from a single cell Li-ion battery
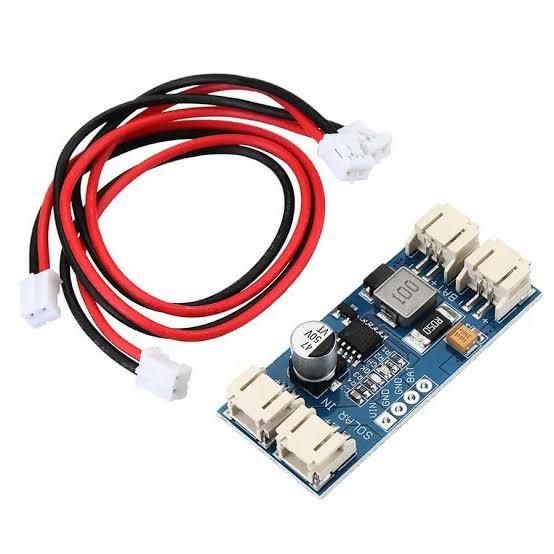
- 9V Solar Charger Module (Aliexpress): Charges Li-ion battery from solar panel
- Connecting Wires / Jumper Cables: For electrical connections between components.
- Access to a 3D Printer: For printing the Enclosure
- On/Off Switch (Aliexpress)
- M3 Screws (Aliexpress)
- M3 Heat Insert (Aliexpress): Heat inserts provide strong, durable metal threads in 3D-printed plastic parts, allowing reliable screw fastening without damaging the print.
Tools & Accessories:
- Soldering Iron and Solder (Aliexpress)
- Hand Tool Set (Aliexpress)
- 3D Printer (Aliexpress)
Disclosure: A few of the product links provided are affiliate links. This means I may receive a small commission if you make a purchase through them, without affecting the price you pay. Your support helps fund future builds and documentation.
3D Design in Tinkercad
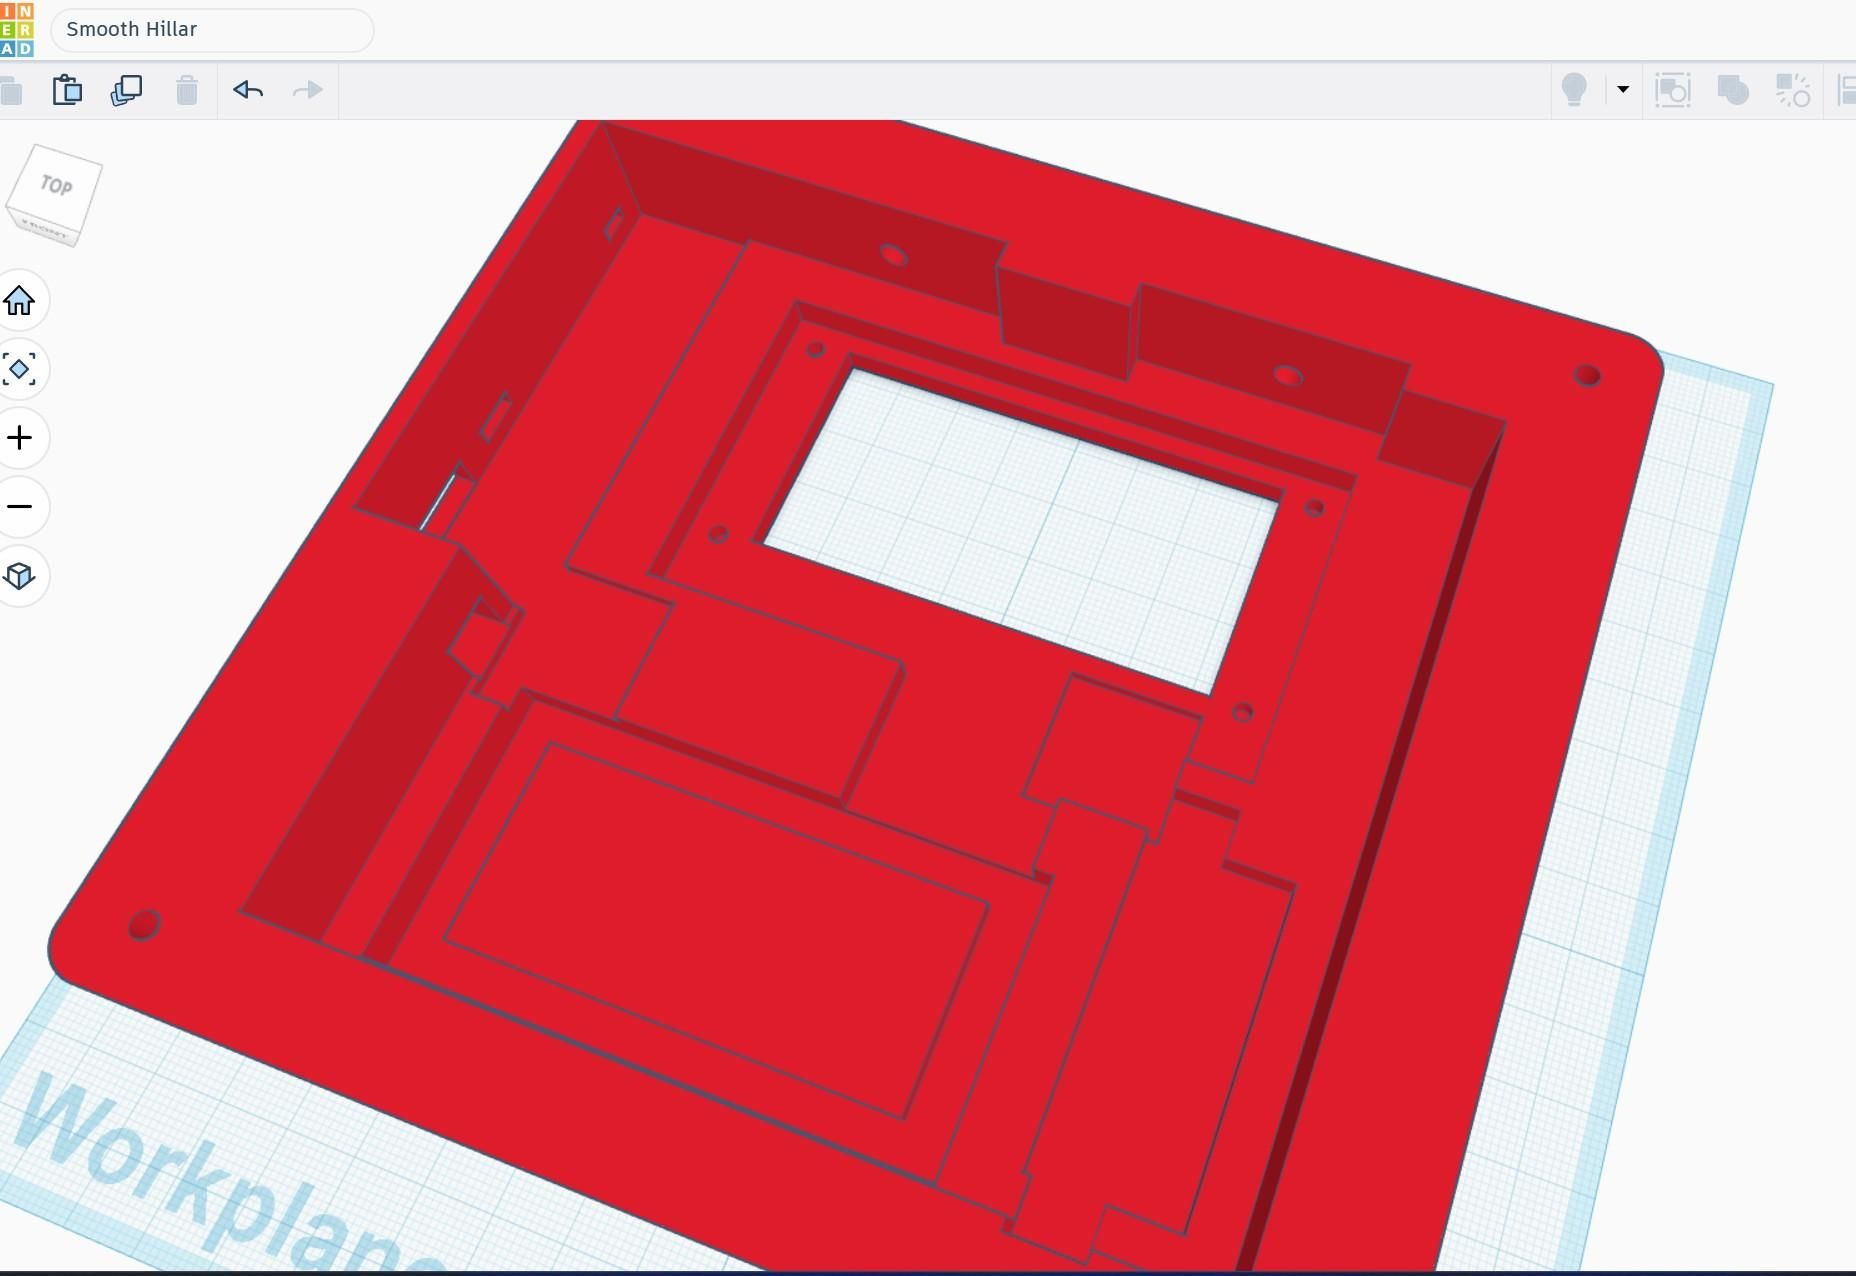
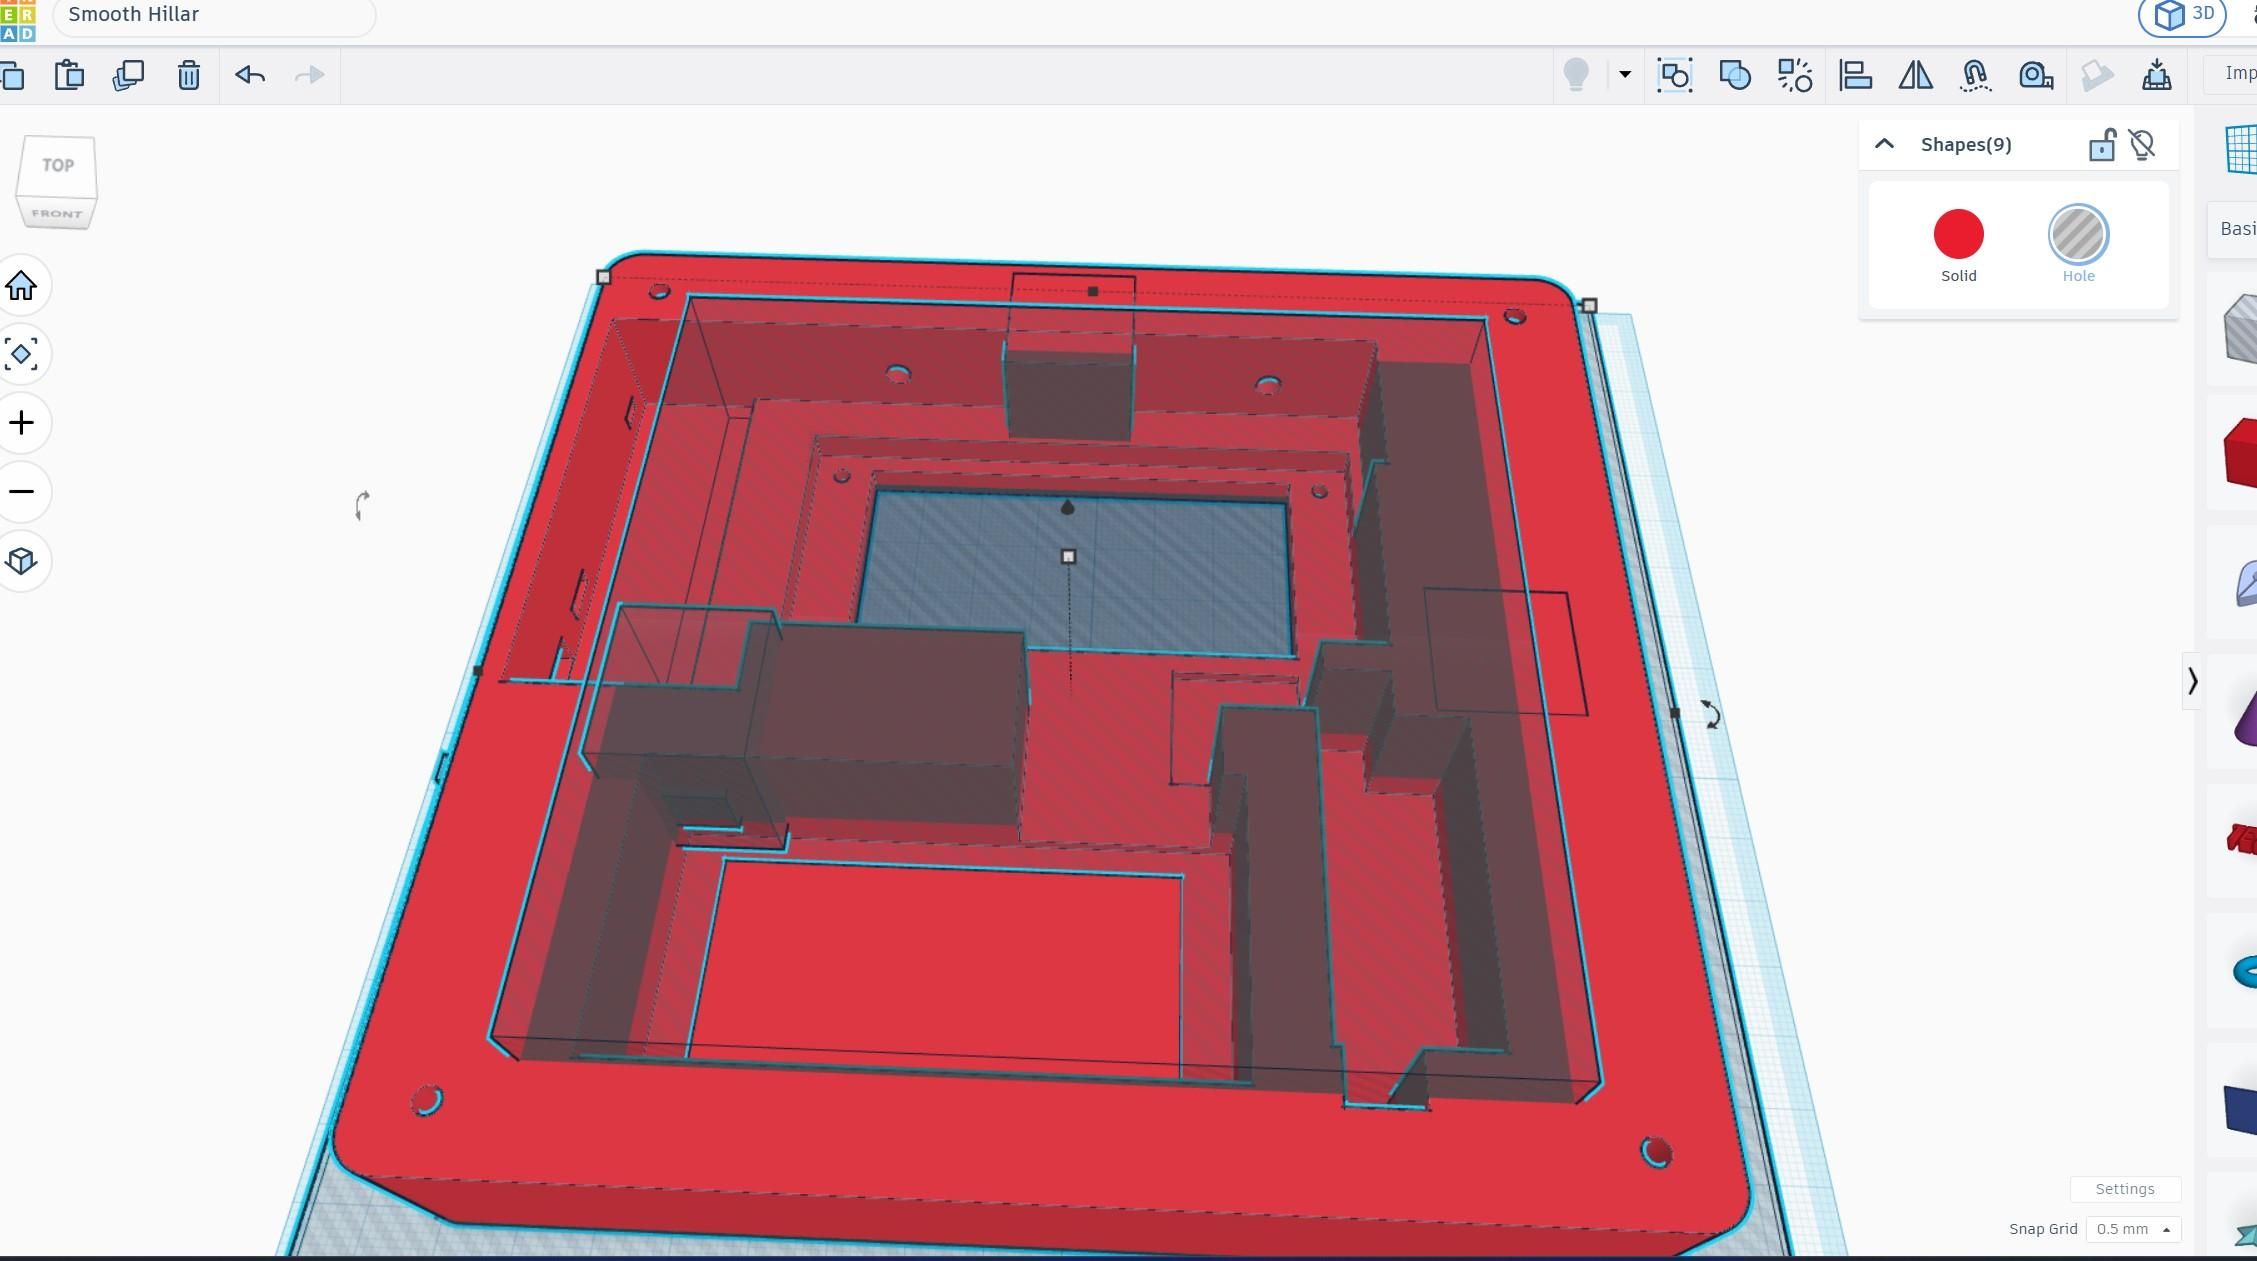
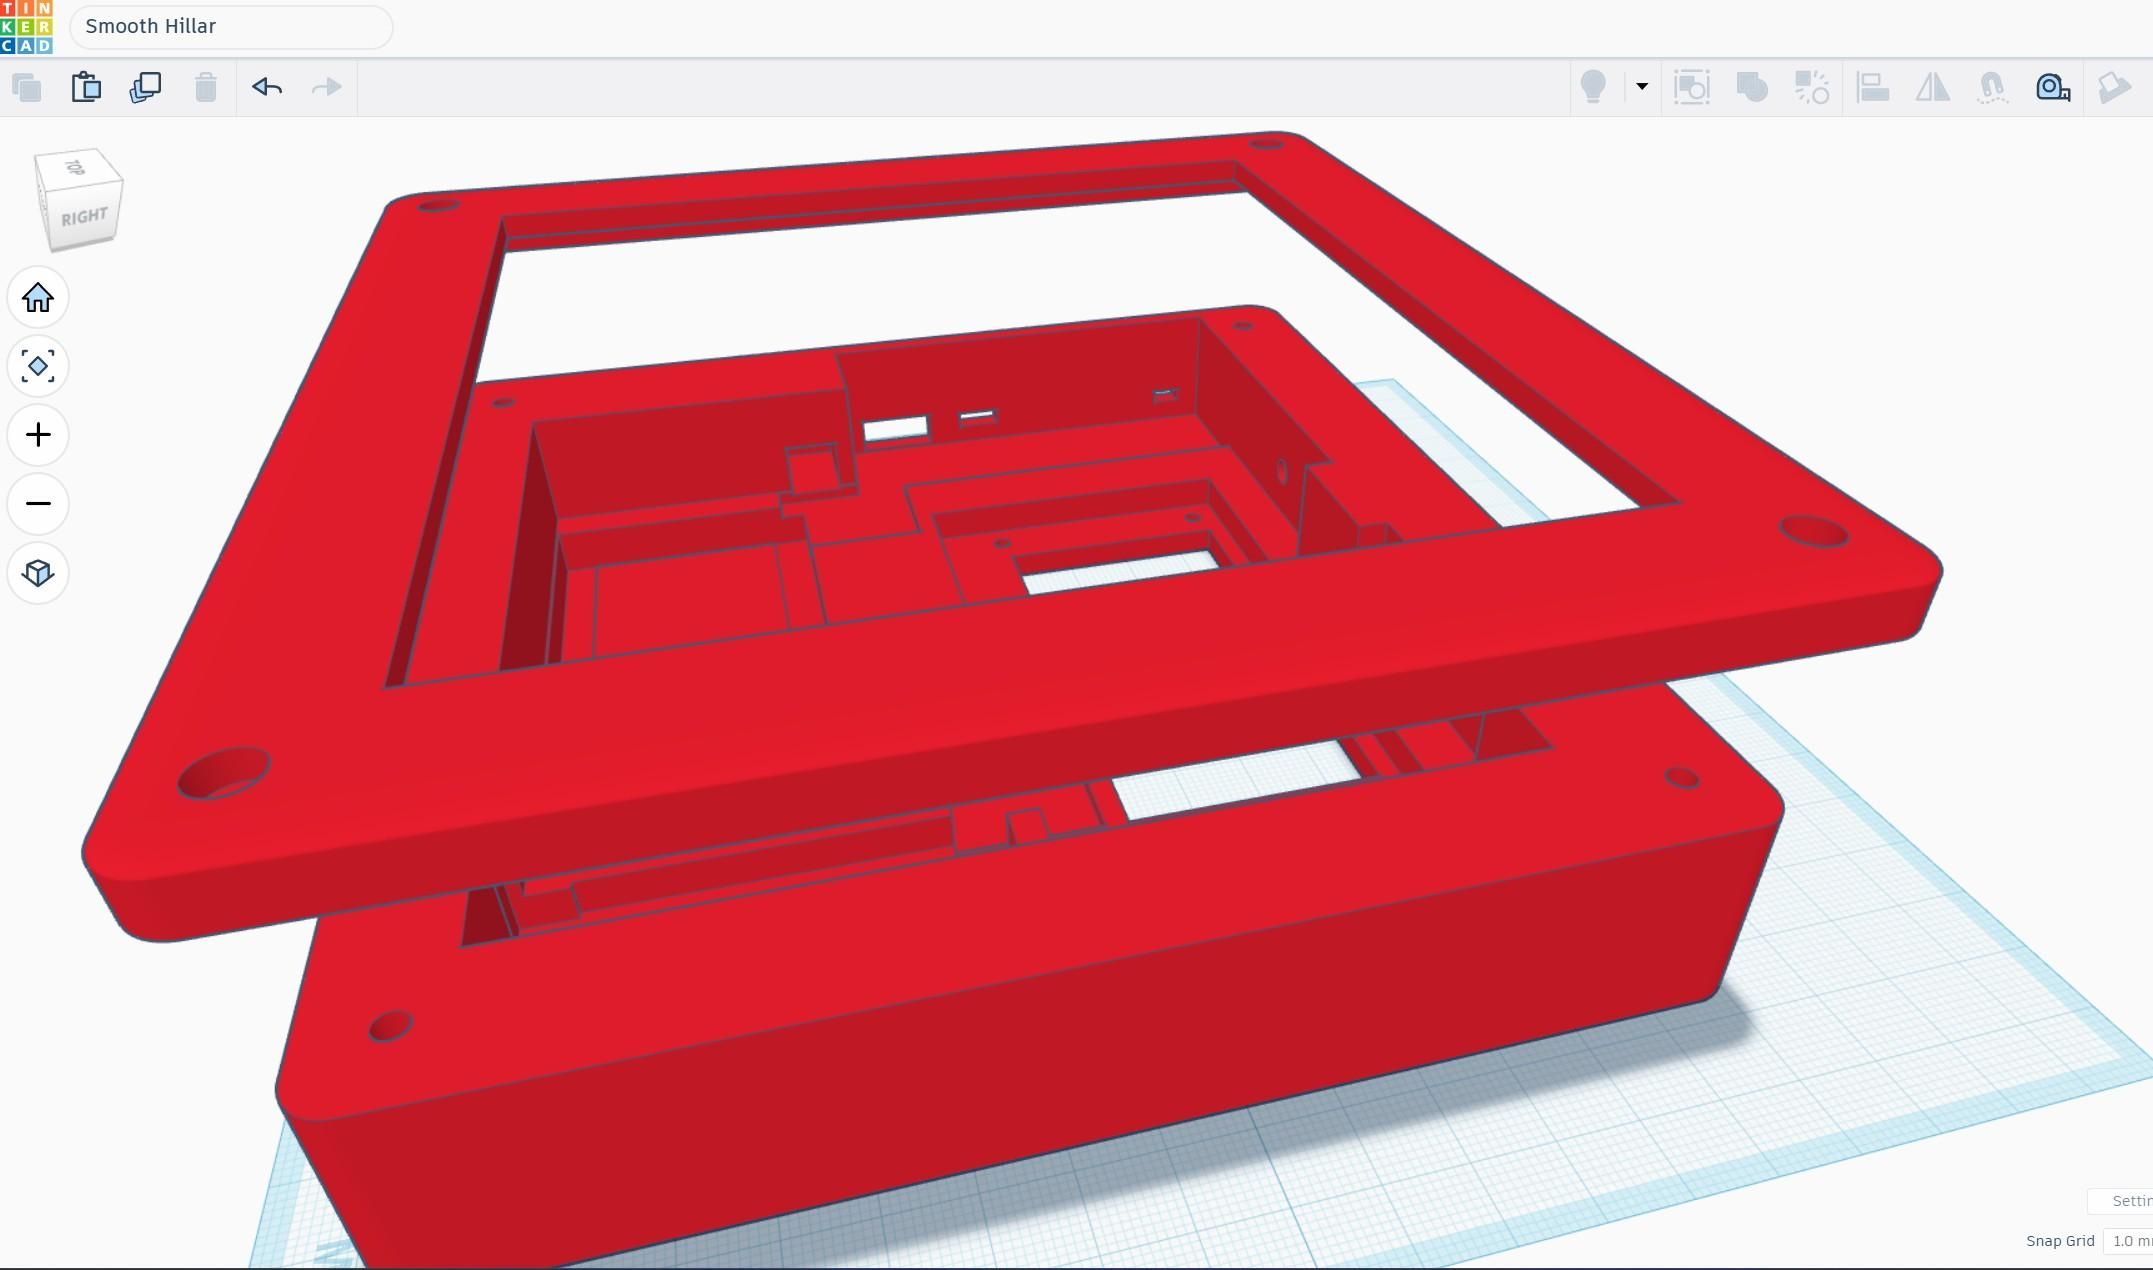
To make the project compact, portable, and suitable for outdoor emergency use, I designed a custom 3D-printed enclosure for FloodAid. The enclosure was designed using Tinkercad, which allowed me to quickly create and modify the housing according to the dimensions of the electronic components.
The enclosure consists of two main parts. The lower section is the main electronics housing. It contains the LED light panel, rechargeable battery, solar charging module, and power-bank charging circuit. The components are positioned inside the enclosure to keep the overall design compact while providing sufficient space for wiring and assembly.
The upper section of the enclosure is designed specifically to hold the solar panel. Keeping the solar panel on a separate top section makes it easier to position the panel toward the sunlight while keeping the electronic components protected inside the main housing.
The two sections are mechanically joined using four M3 screws. This screw-based assembly provides a secure connection while also allowing the enclosure to be opened easily for maintenance, battery replacement, troubleshooting, or future modifications. It also avoids permanently bonding the two sections together.
The enclosure was designed with portability and practical use during emergencies in mind. The final 3D-printed structure keeps the major components organized, protects the electronics from accidental contact, and gives the project a more compact and finished appearance compared with mounting the components on an exposed board.
The modular two-part design also makes the enclosure easy to modify. If a different solar panel, battery, LED panel, or charging circuit is used in the future, the corresponding part of the 3D model can be adjusted in Tinkercad without redesigning the entire enclosure.
3D Printing
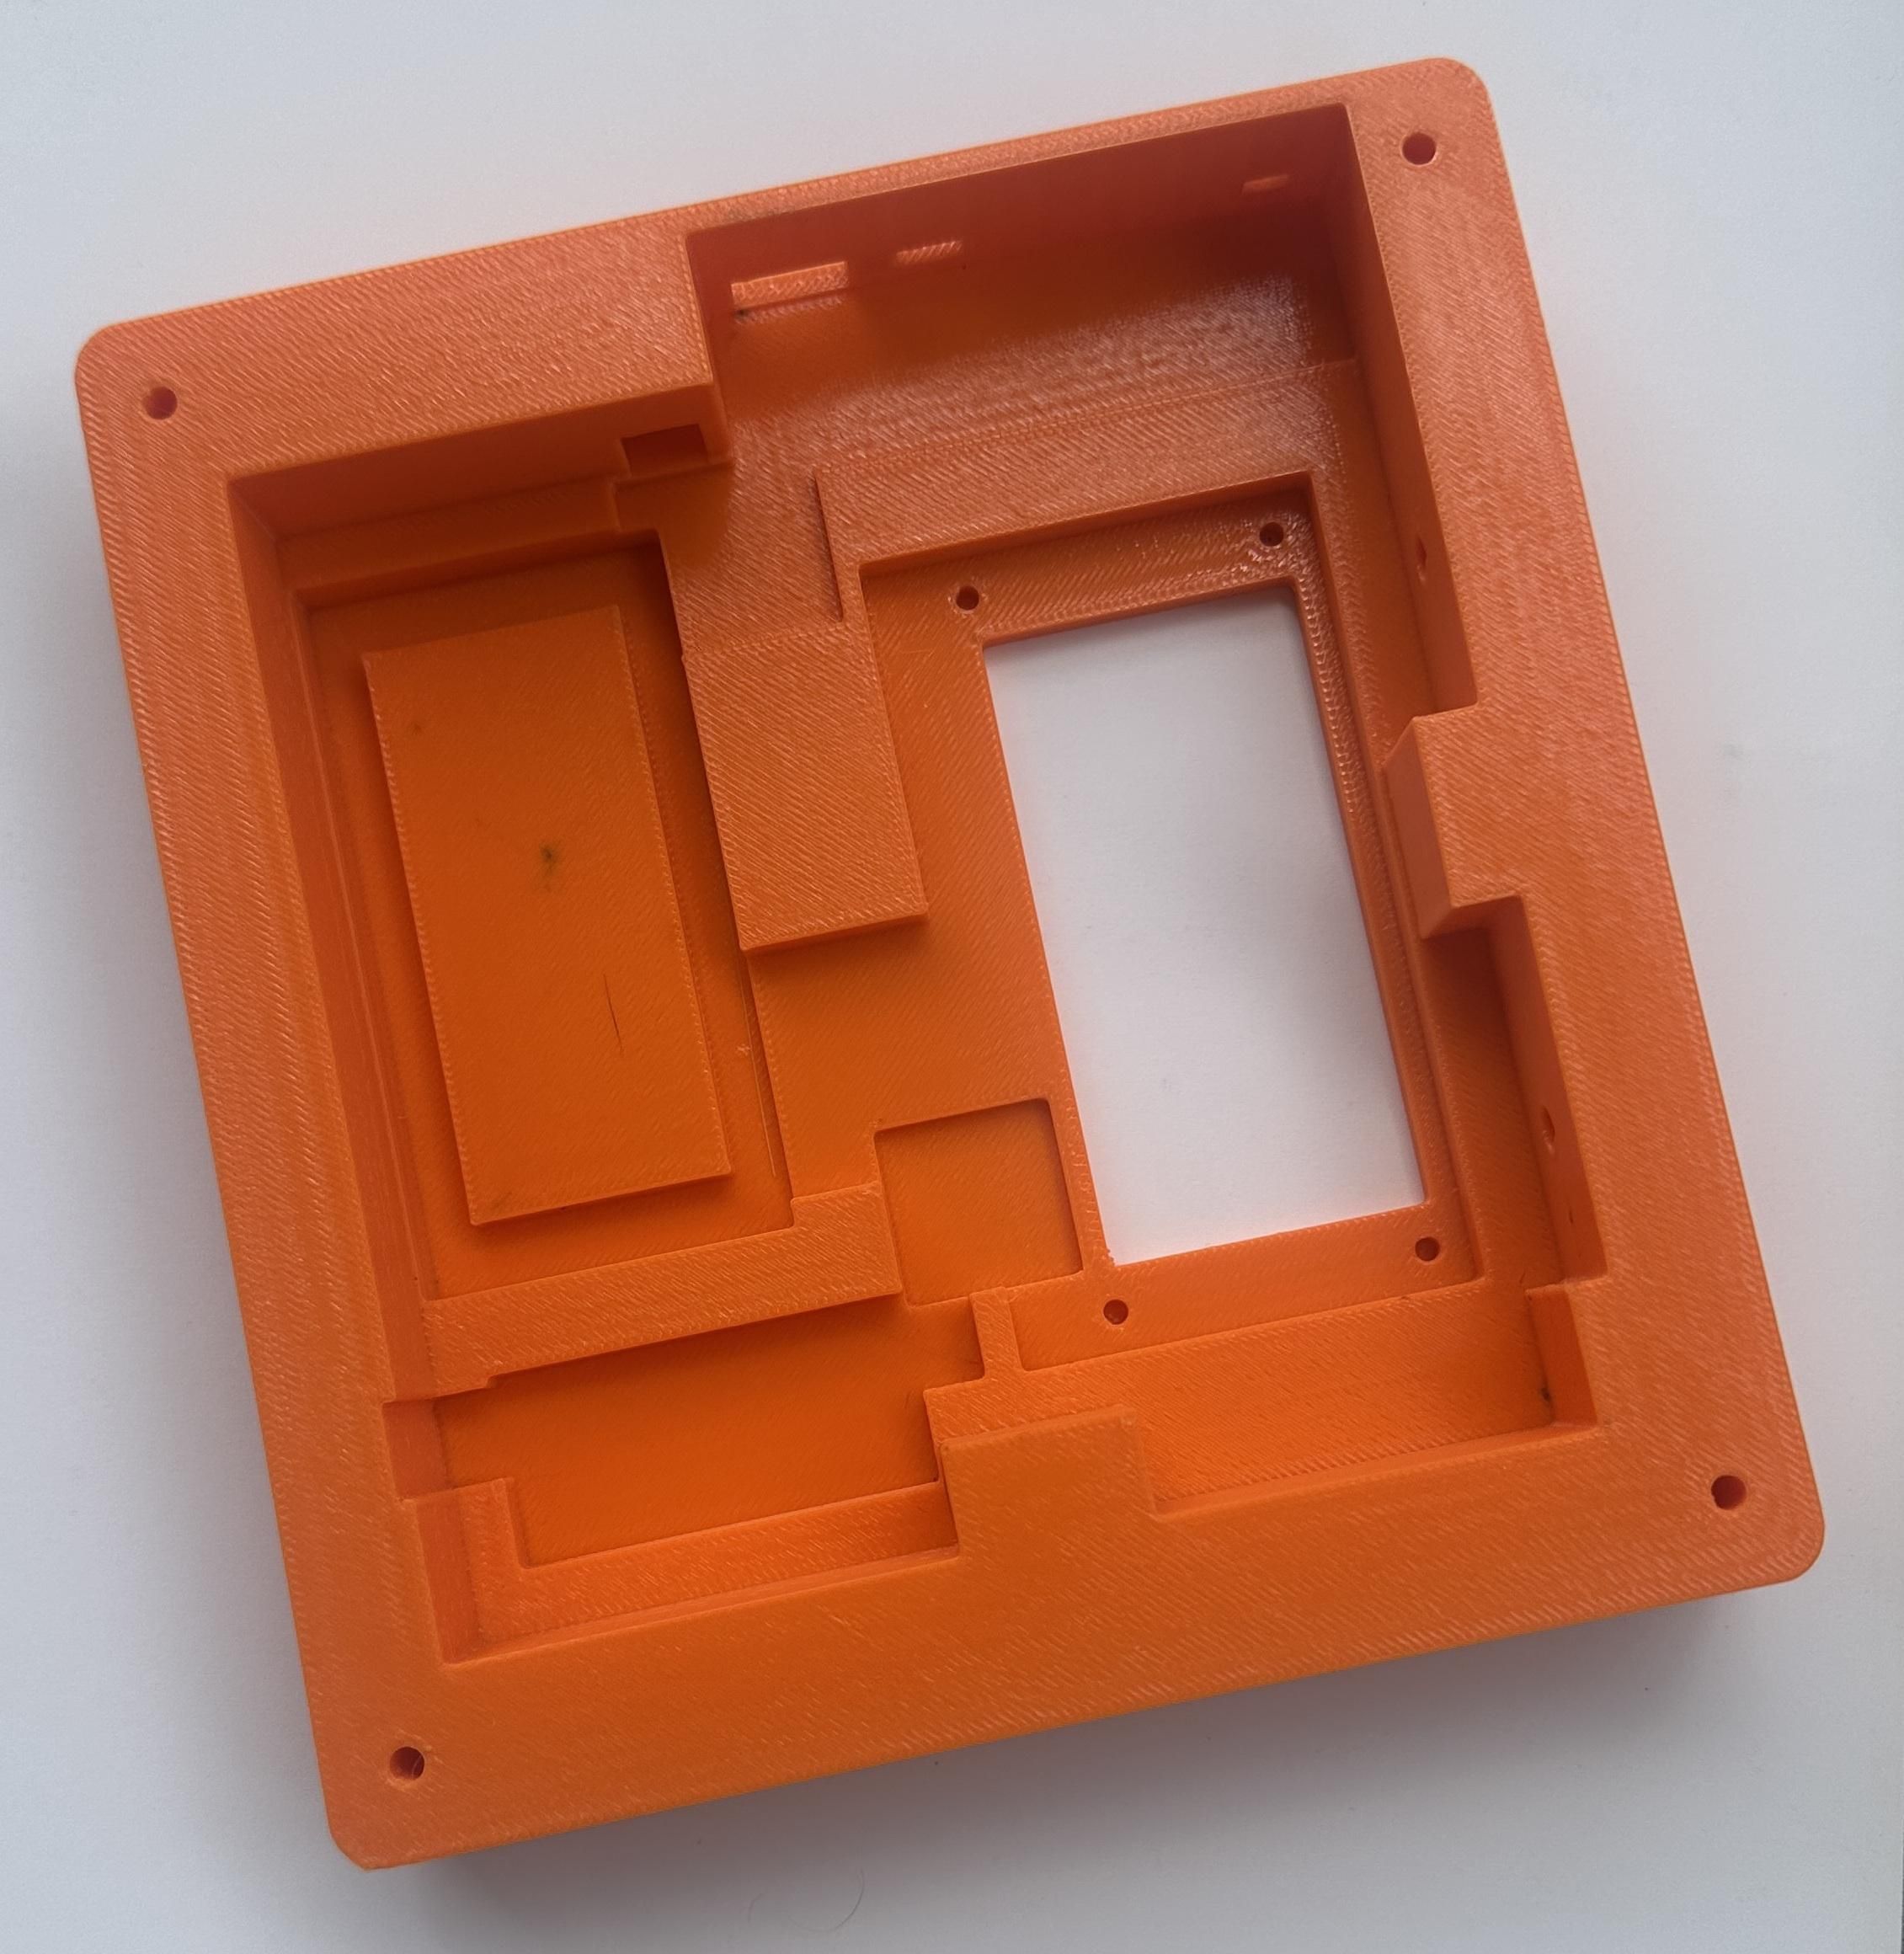
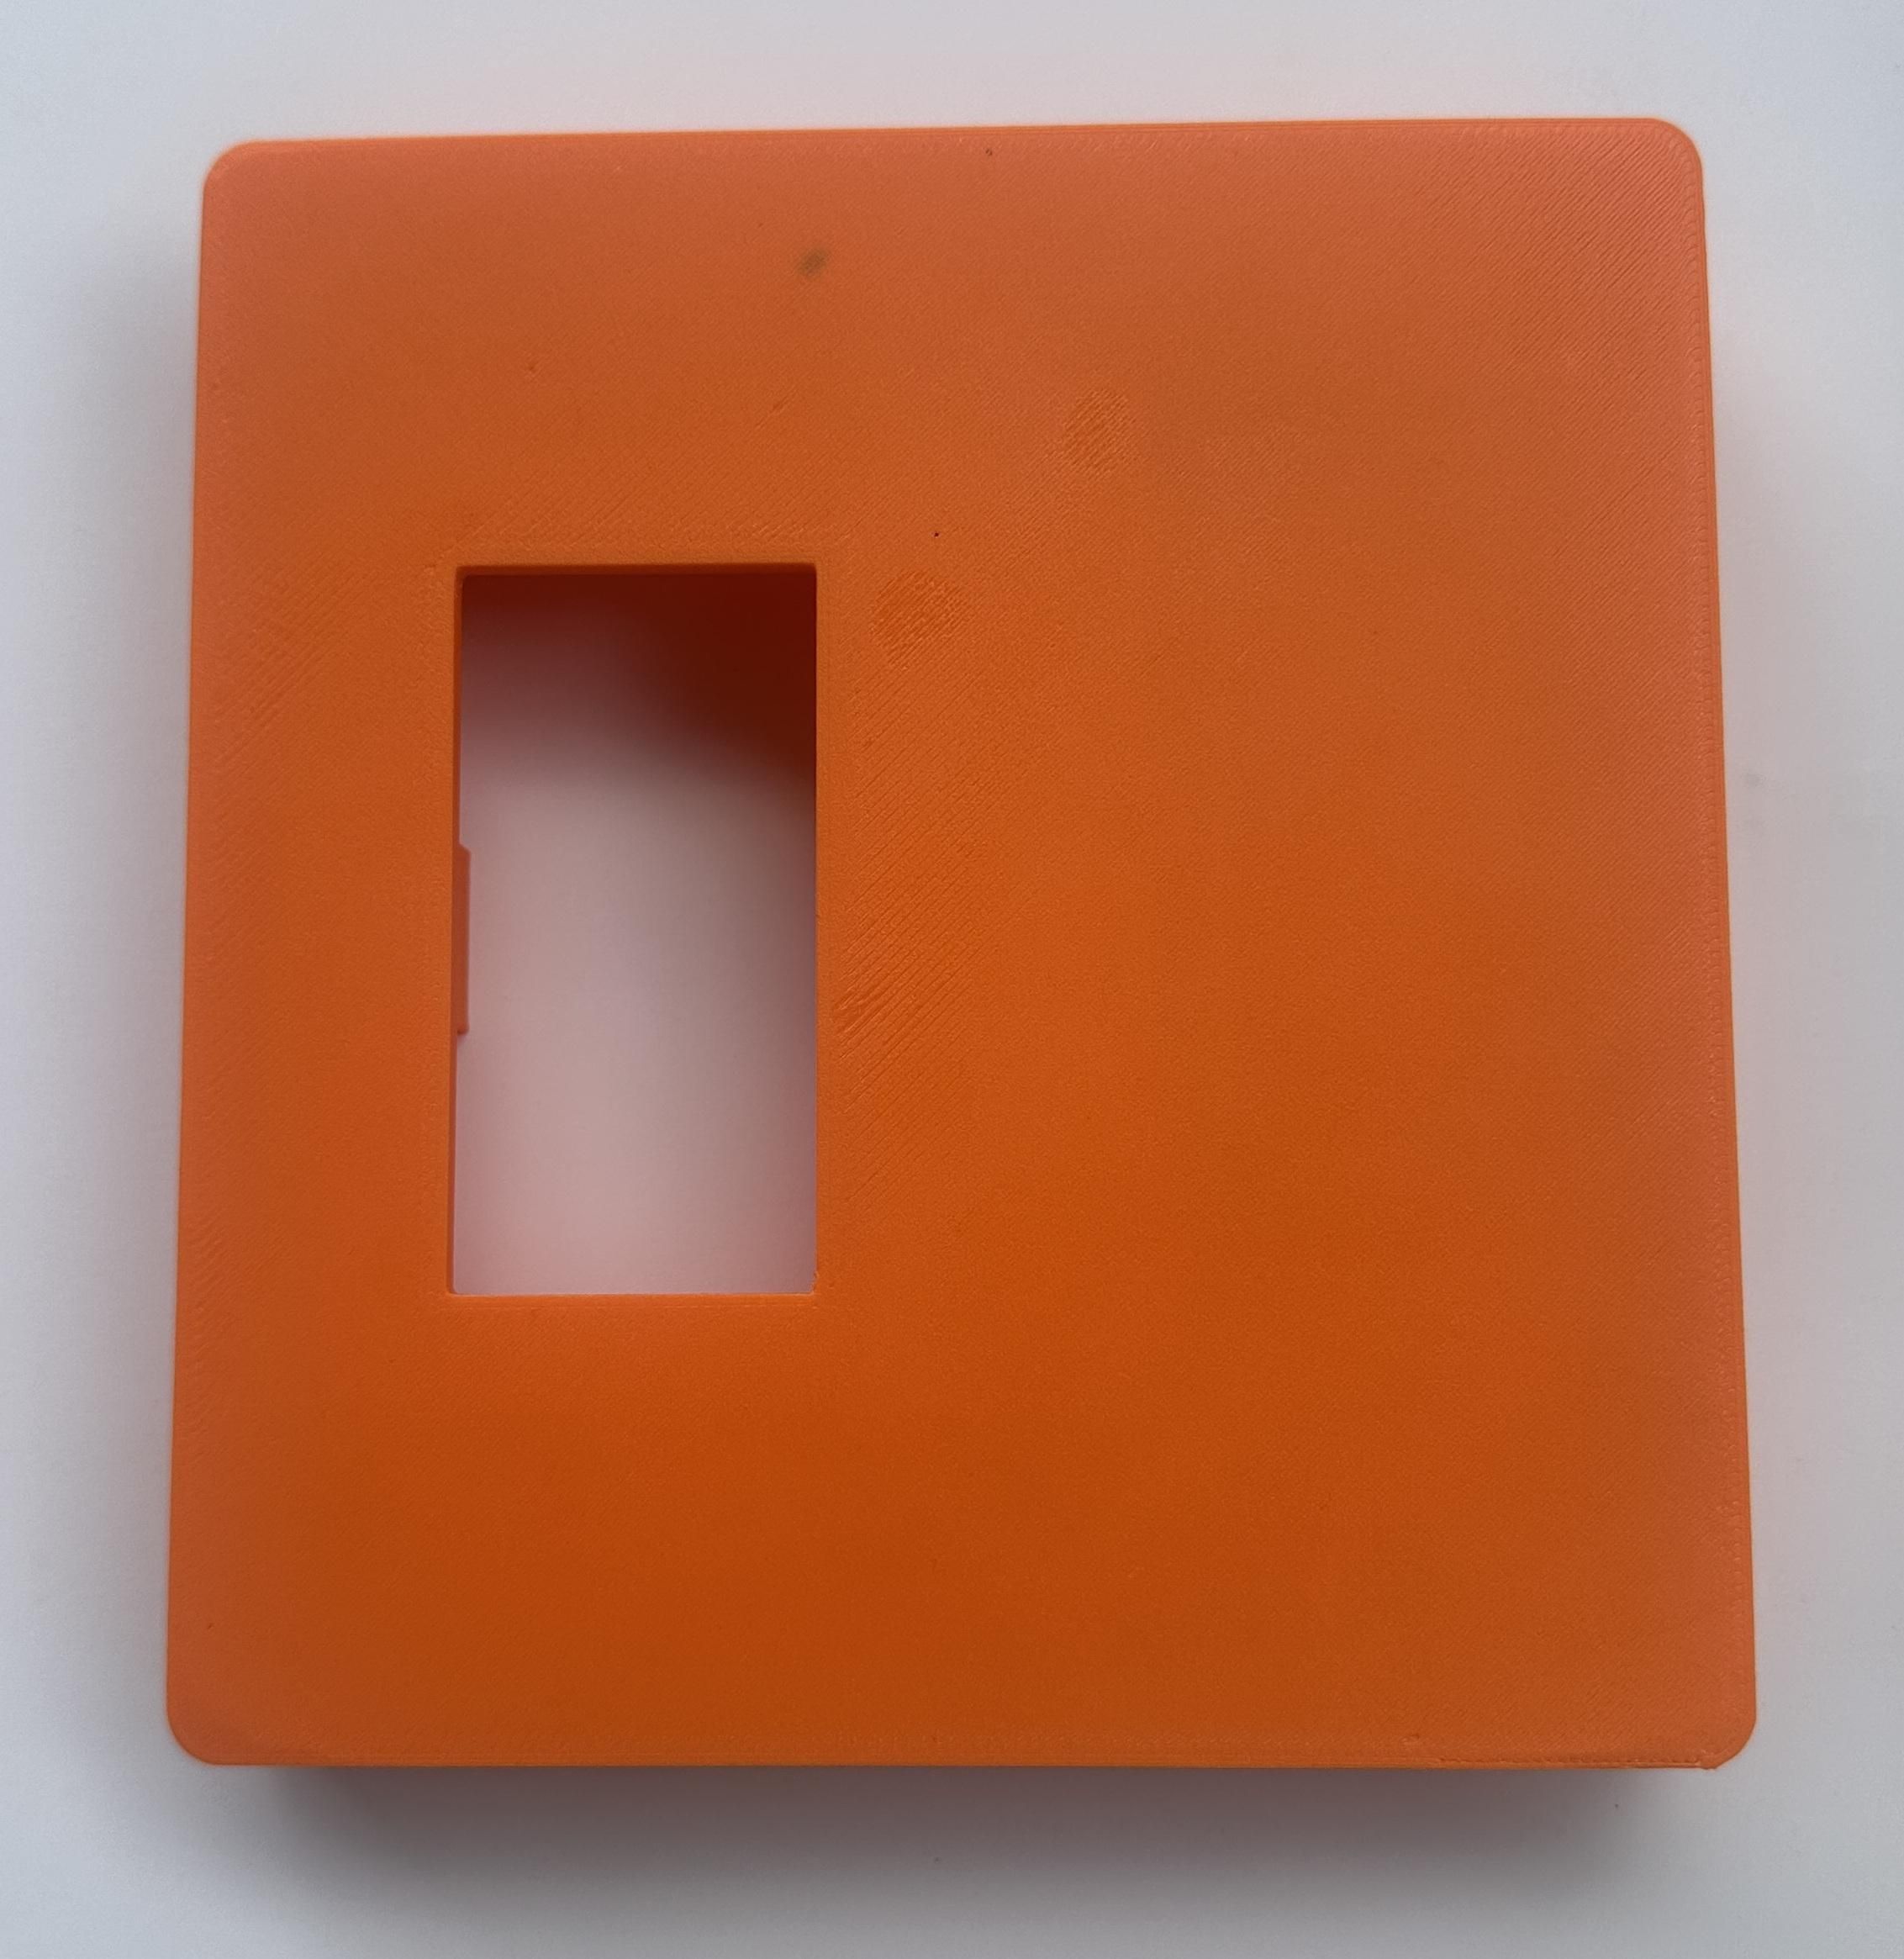
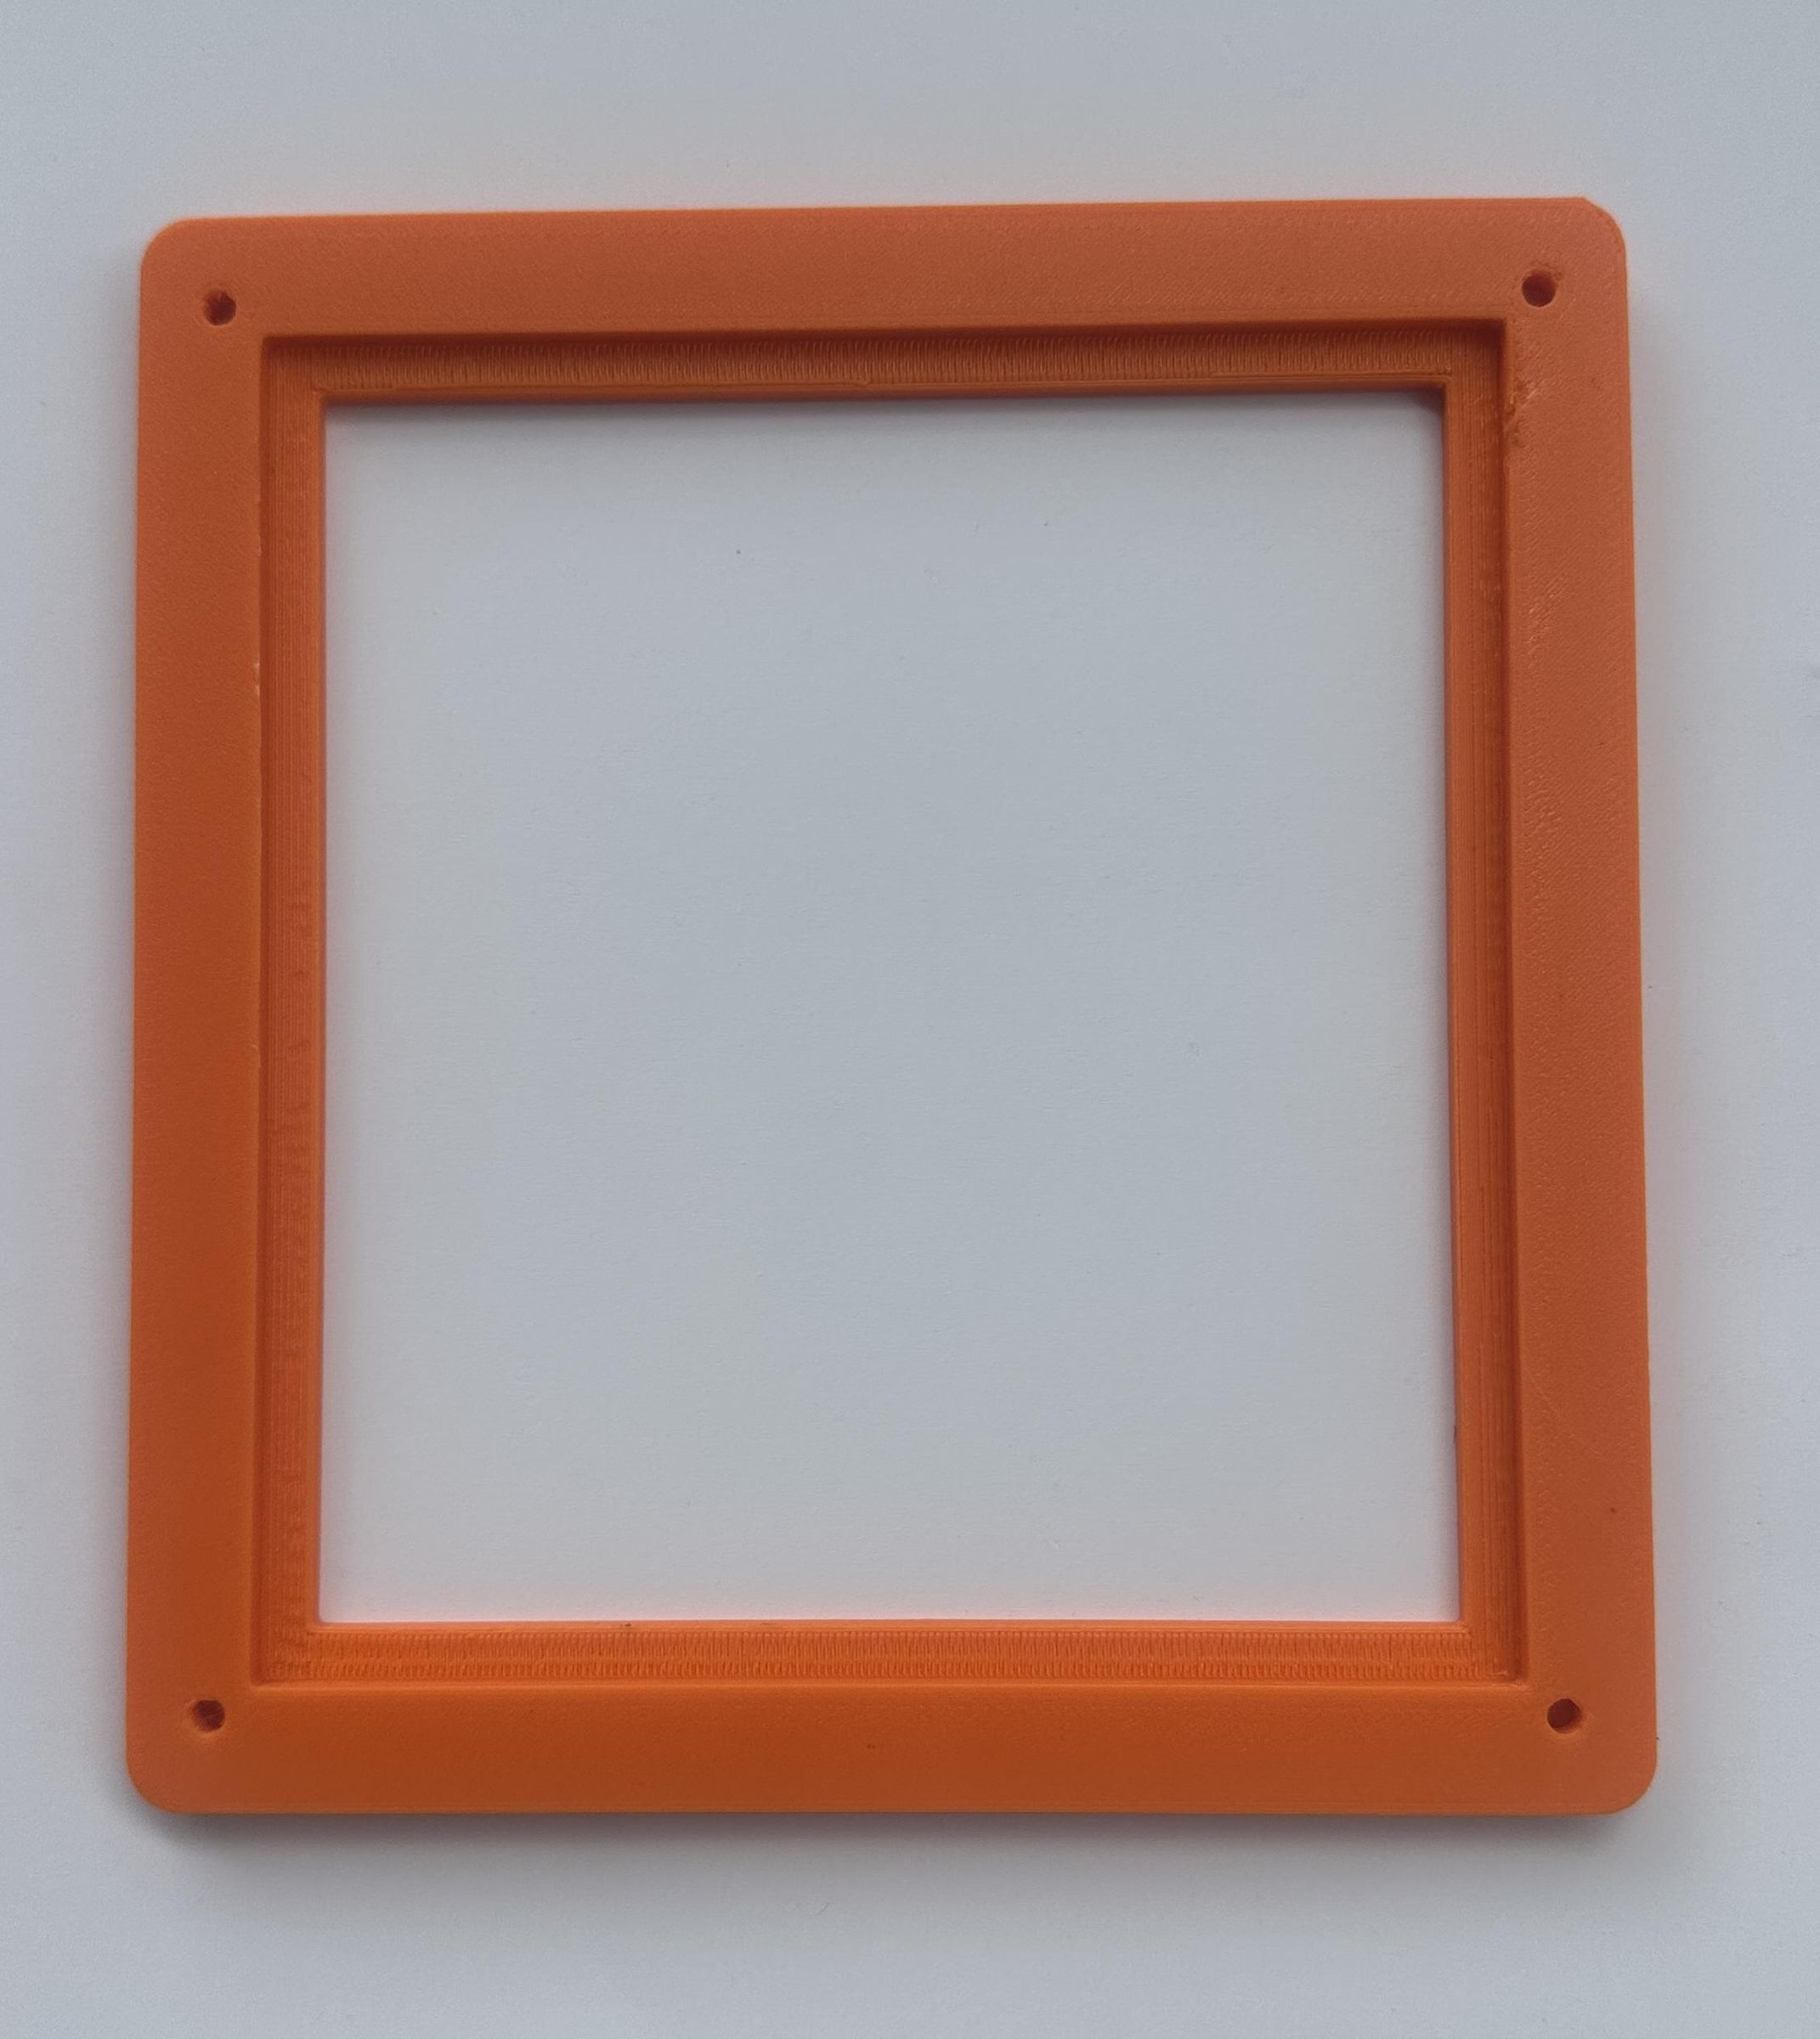
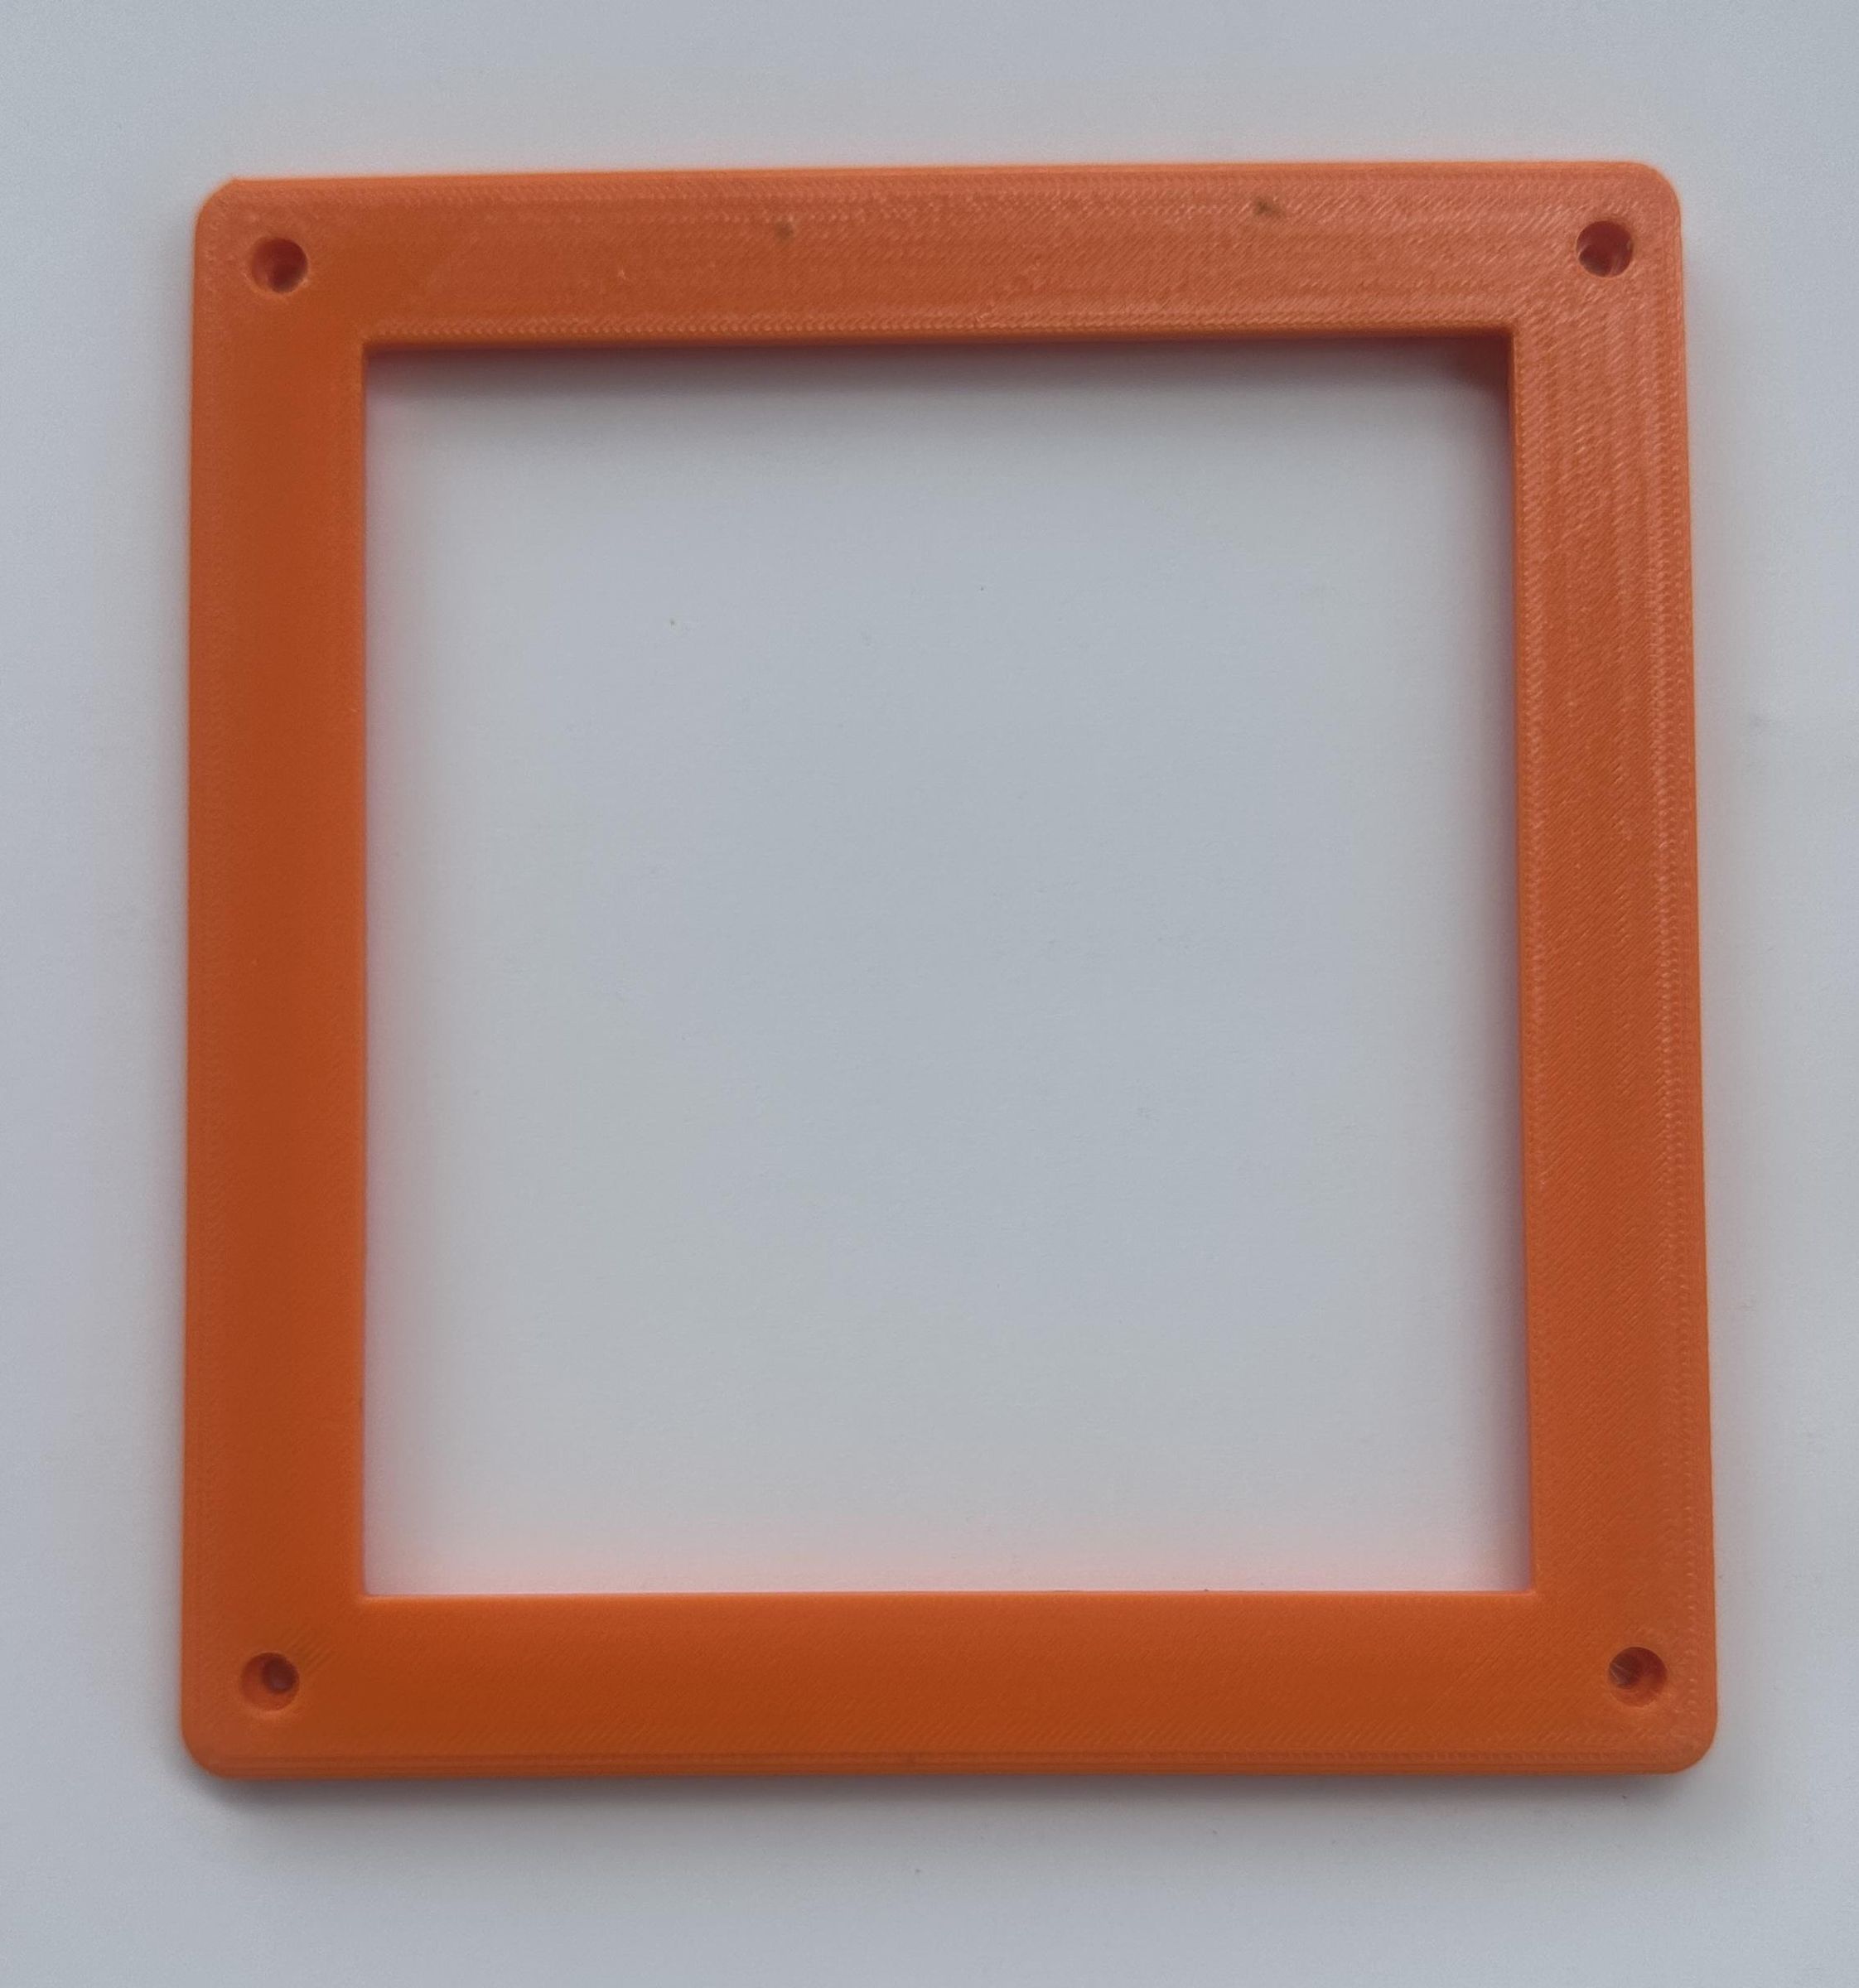
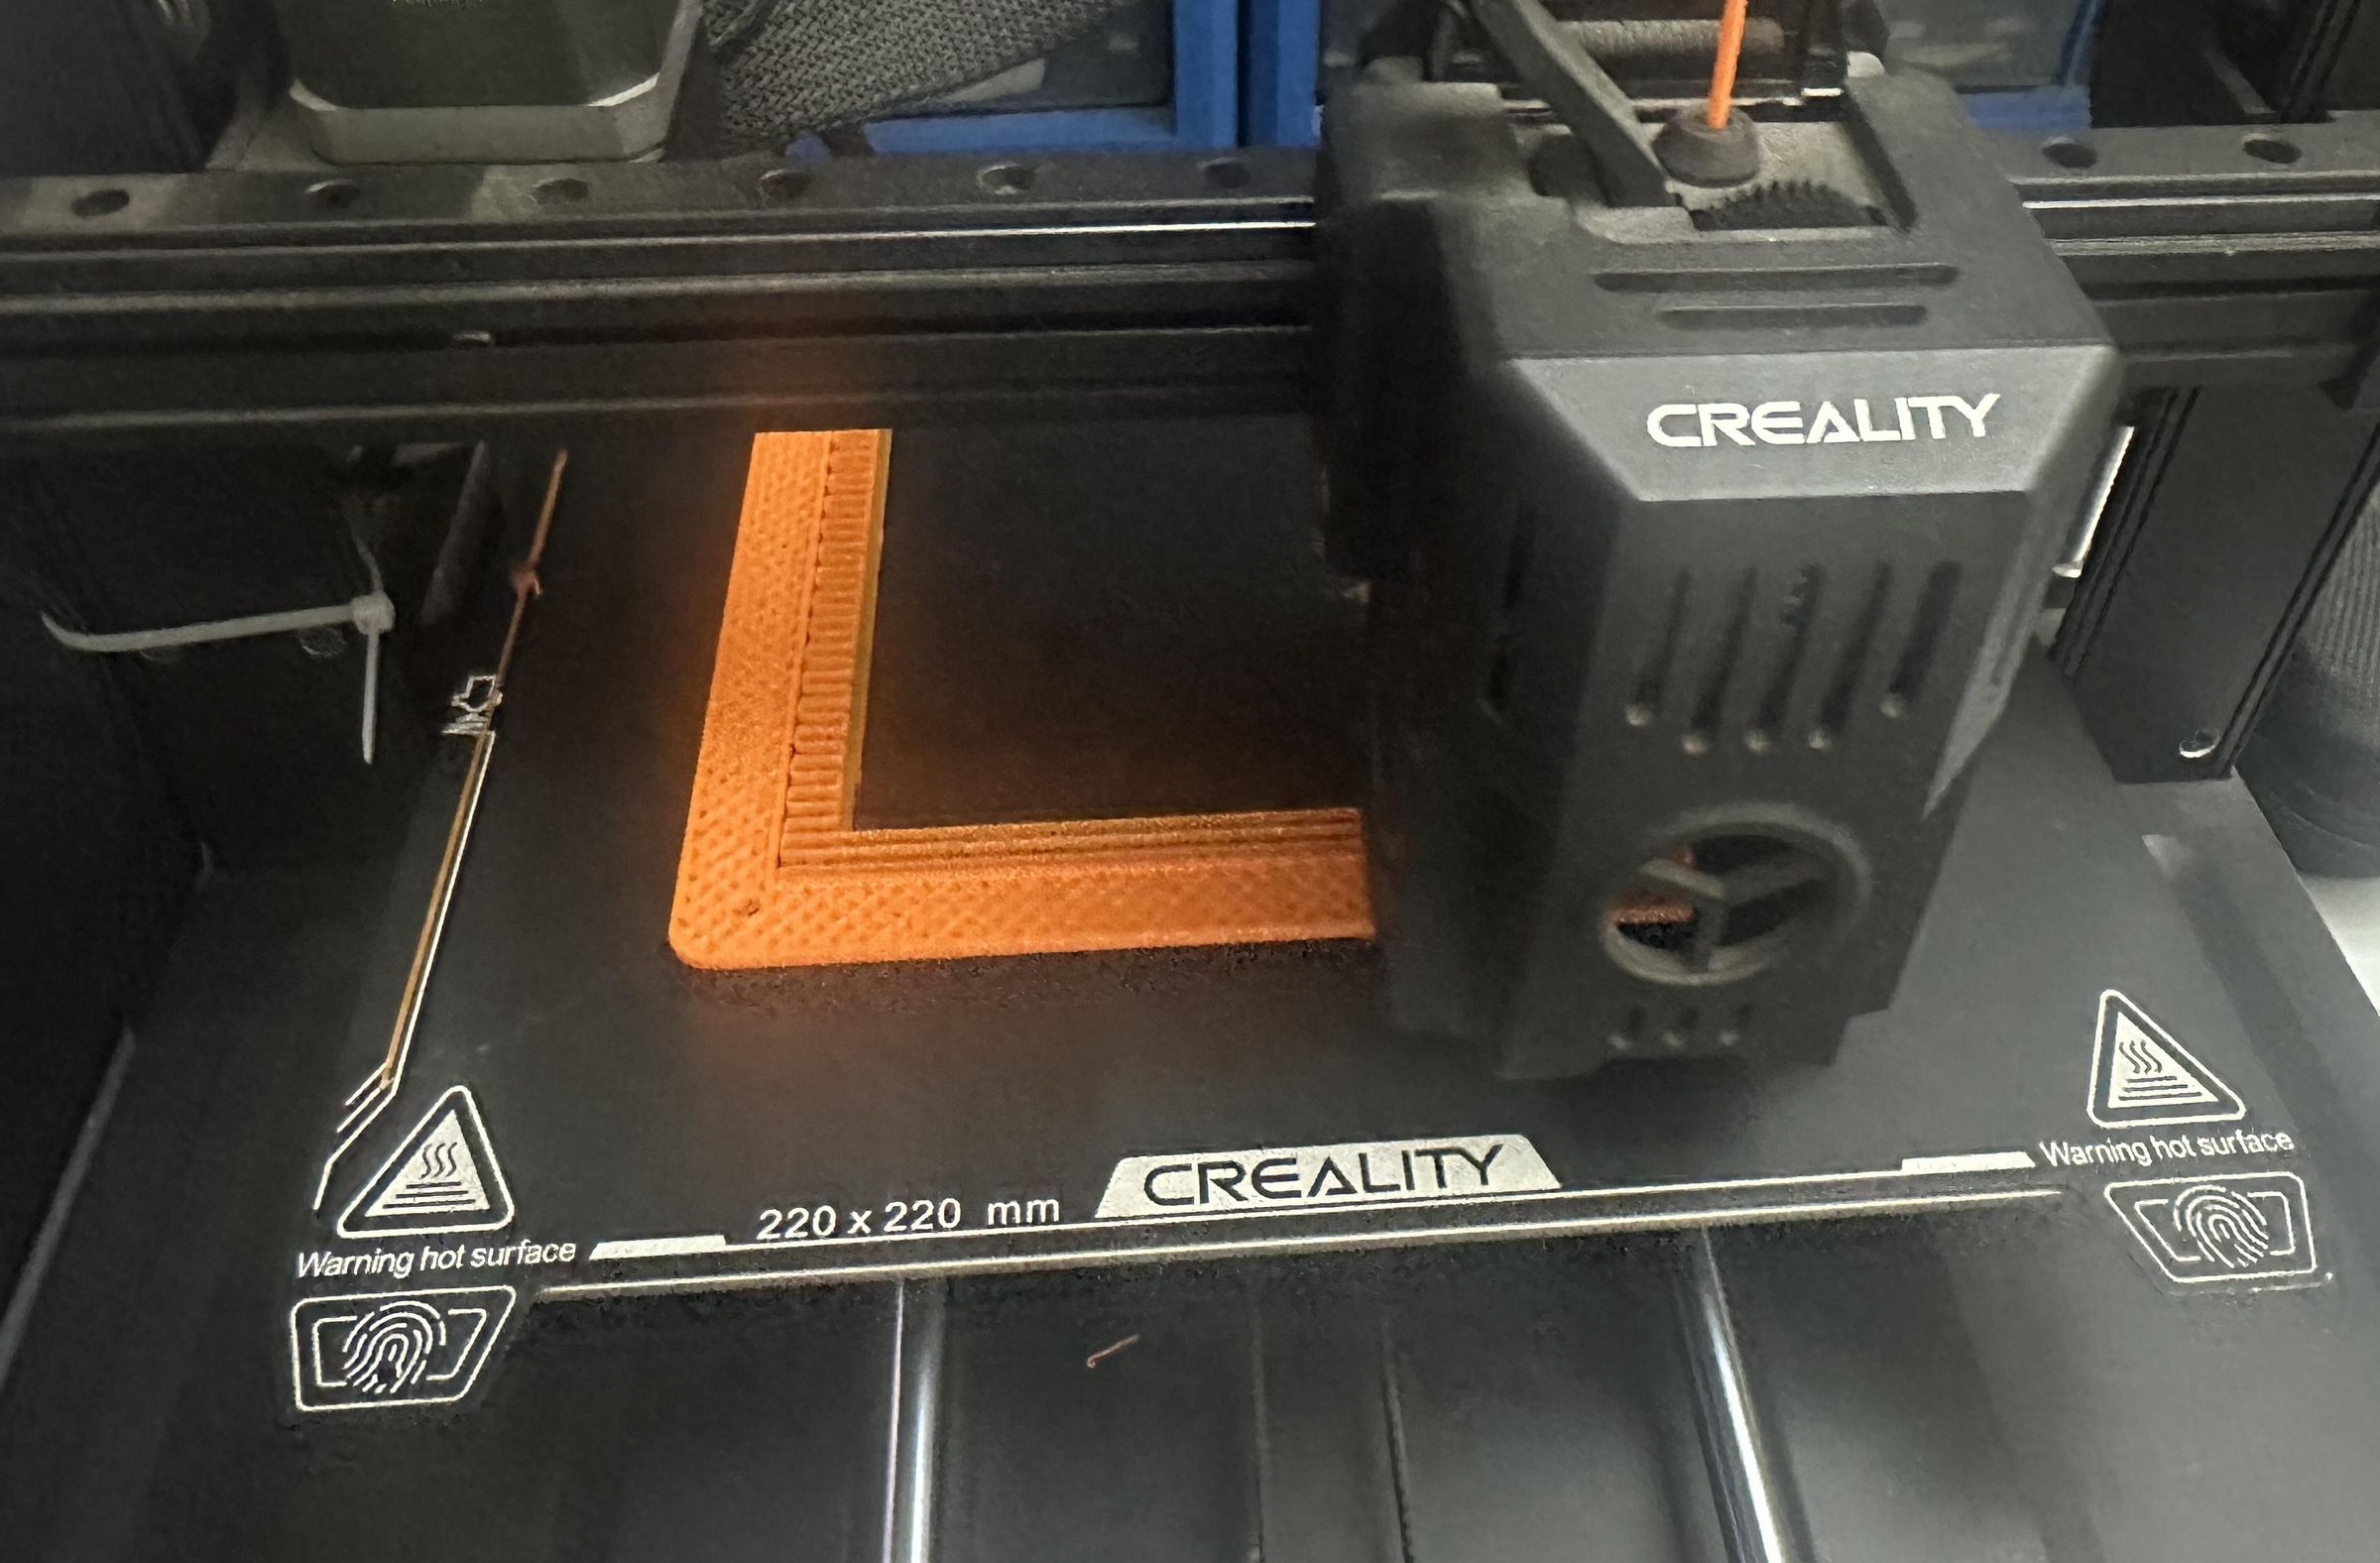
The next step is to 3D print the enclosure parts. I used a Creality Ender 3 Pro with orange PETG filament because PETG provides good strength, durability, and resistance to environmental conditions, making it a suitable choice for an emergency device that may be used for a long time.
The enclosure was designed in Tinkercad with 3D-printing in mind. Both the lower electronics housing and the upper solar-panel holder can be printed without any support material. This makes the printing process simpler and reduces both printing time and filament waste.
Before printing, make sure the two STL files are correctly oriented on the print bed and that the screw holes and component openings are not blocked. After printing, remove any small imperfections or excess material from the edges and mounting holes. In particular, check the four M3 screw holes to ensure that the screws can pass through properly.
Once both parts are printed and cleaned, they are ready for installing the electronic components and assembling the complete enclosure.
Adding the Handle
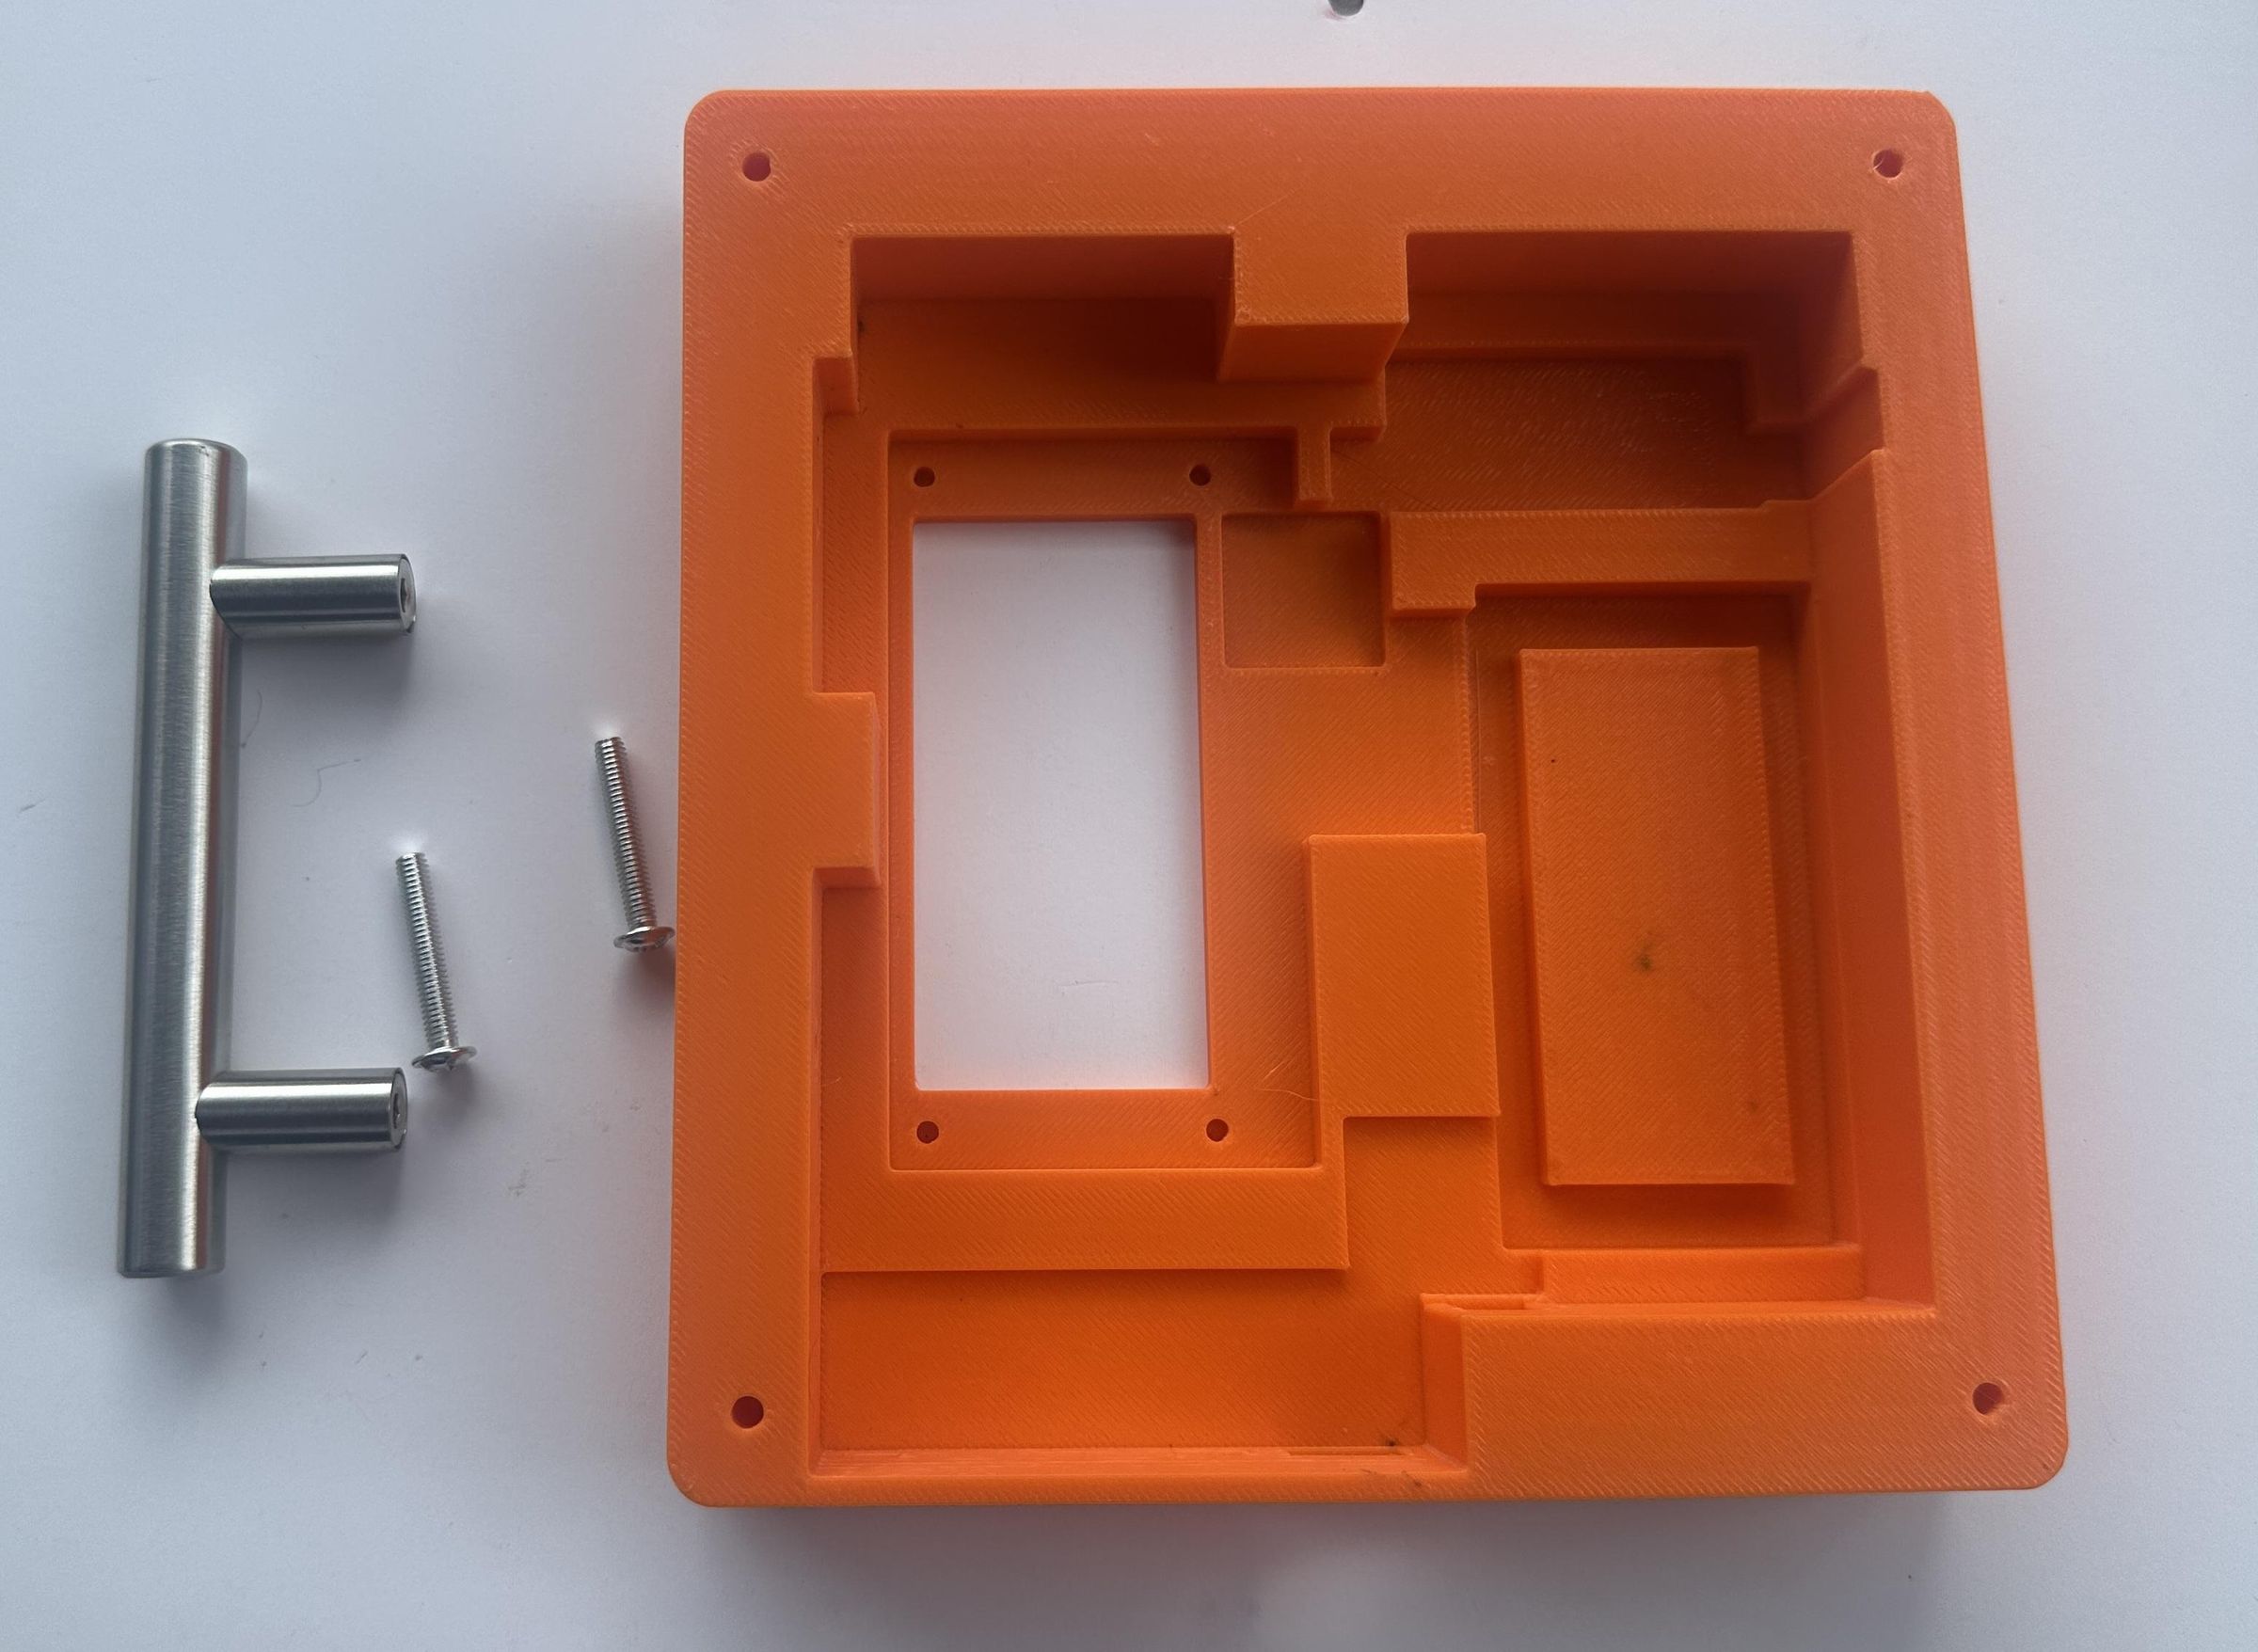
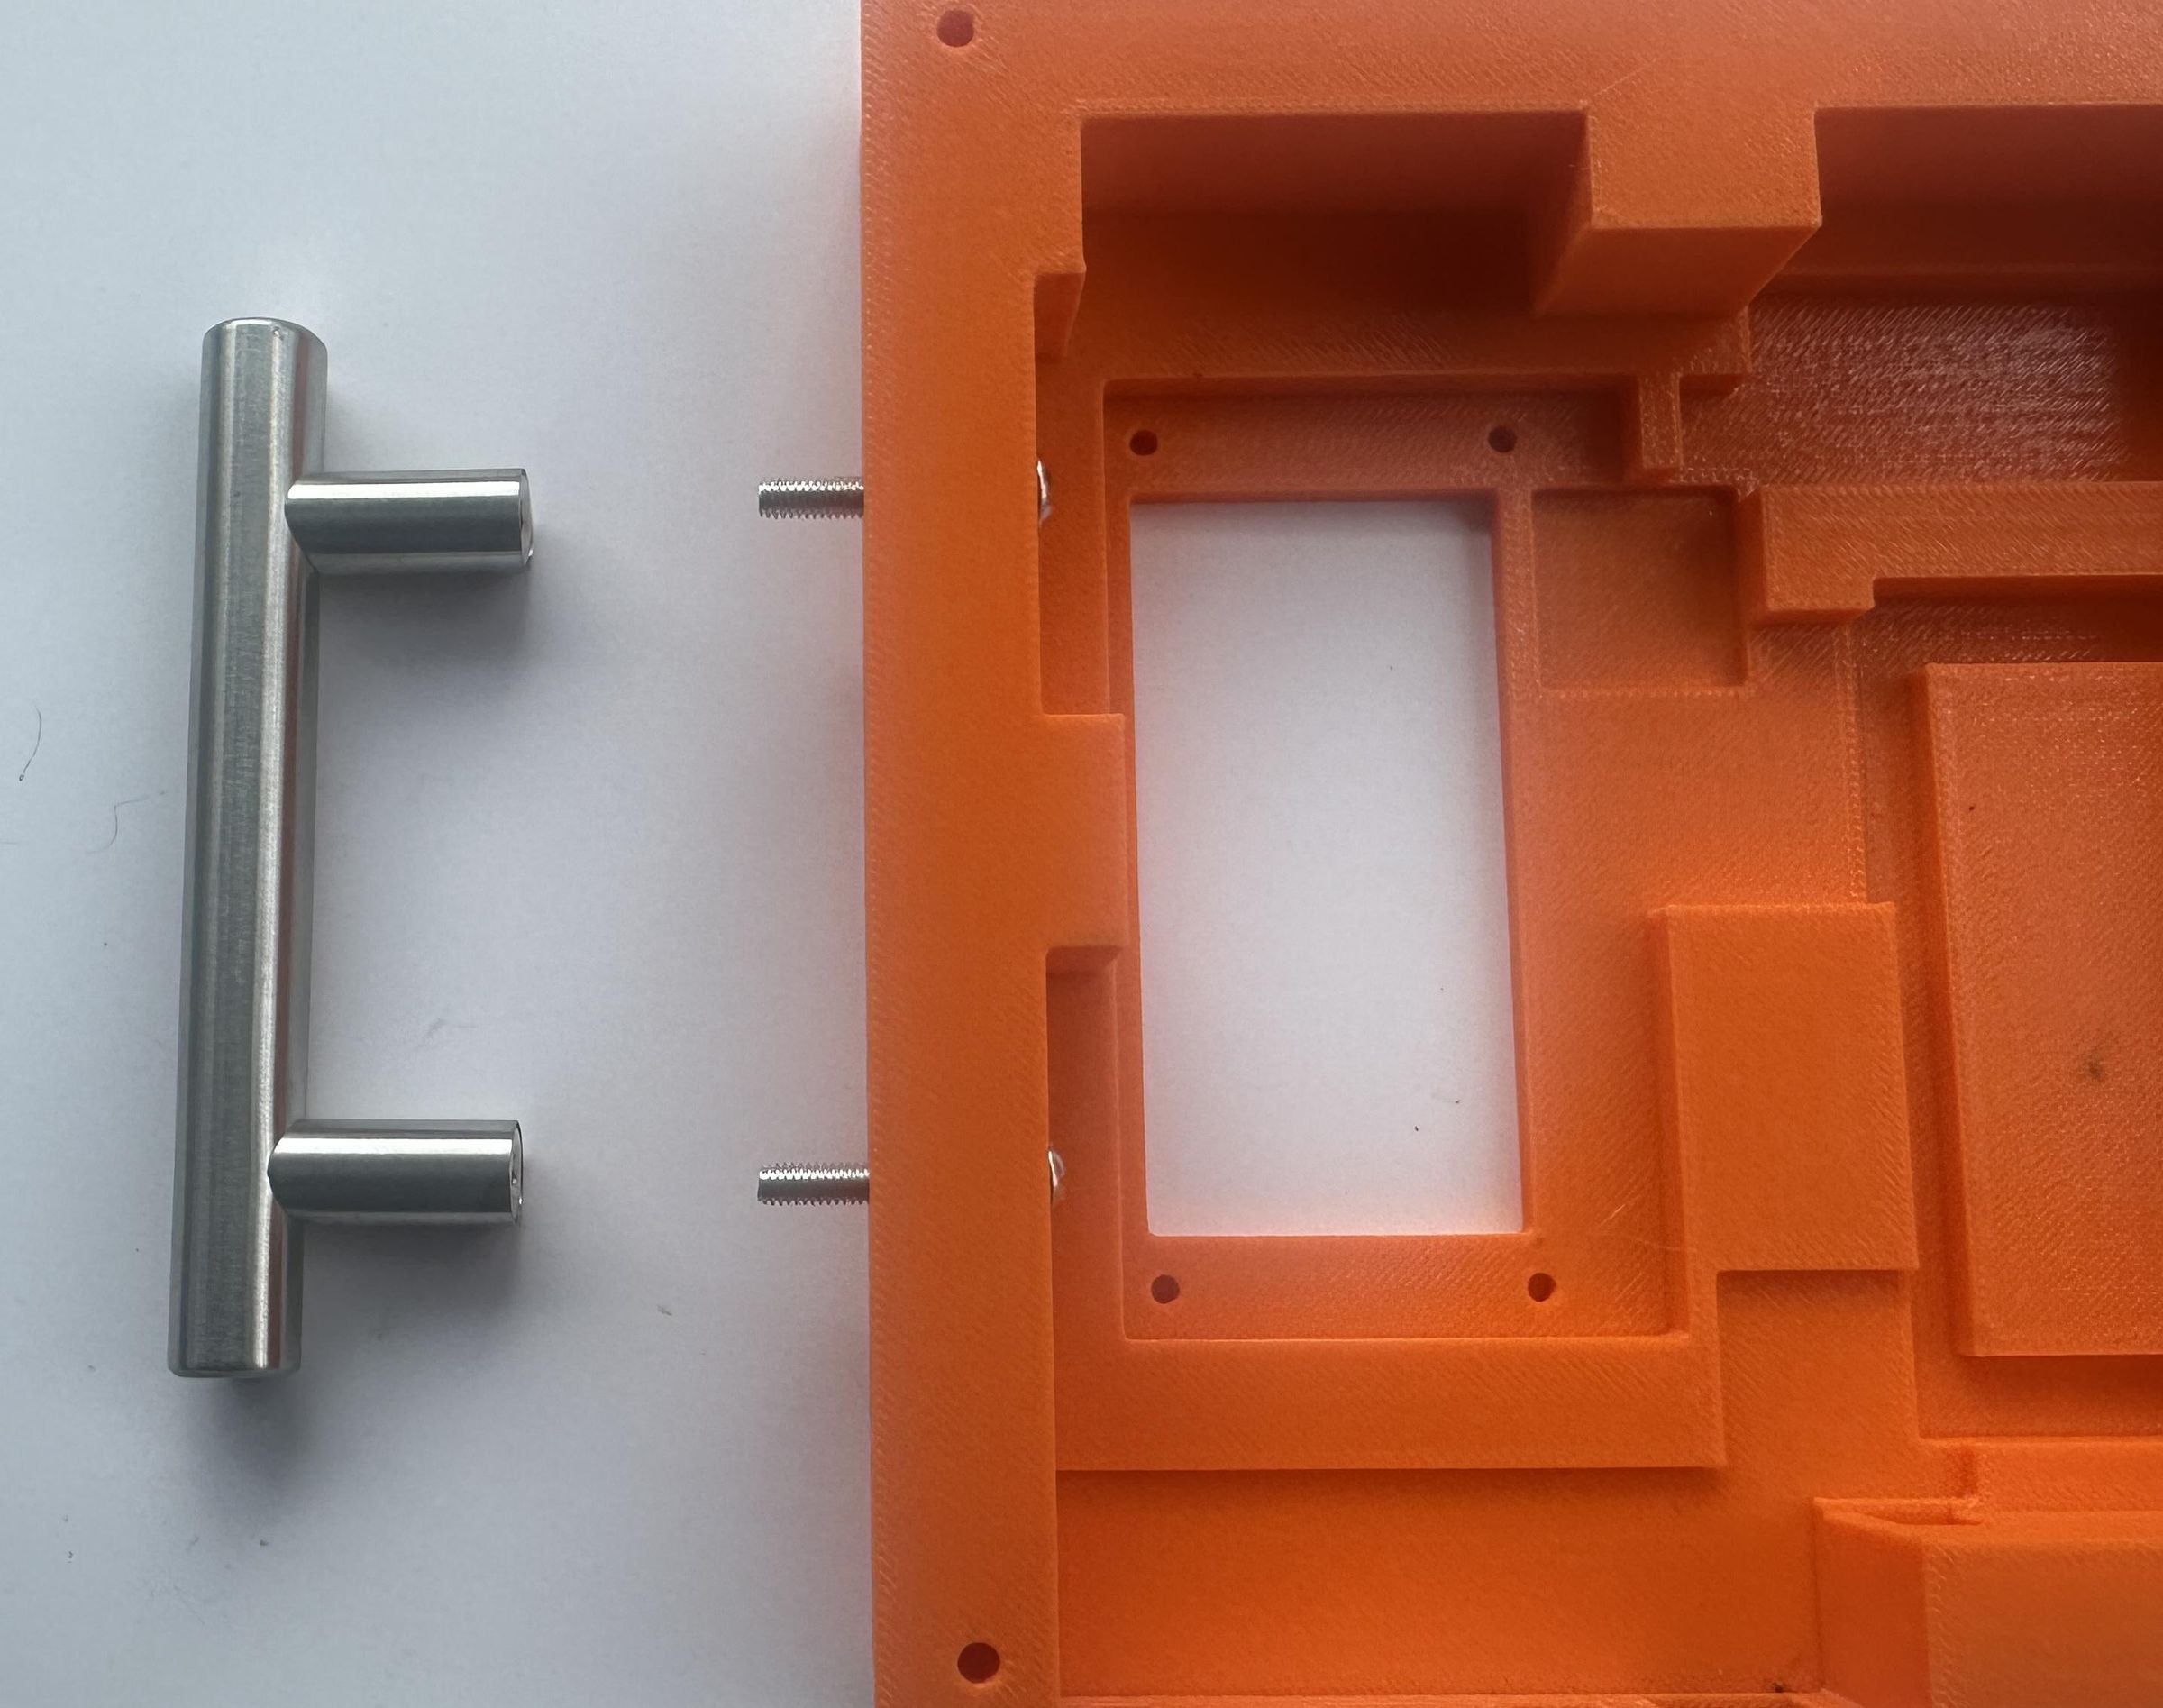
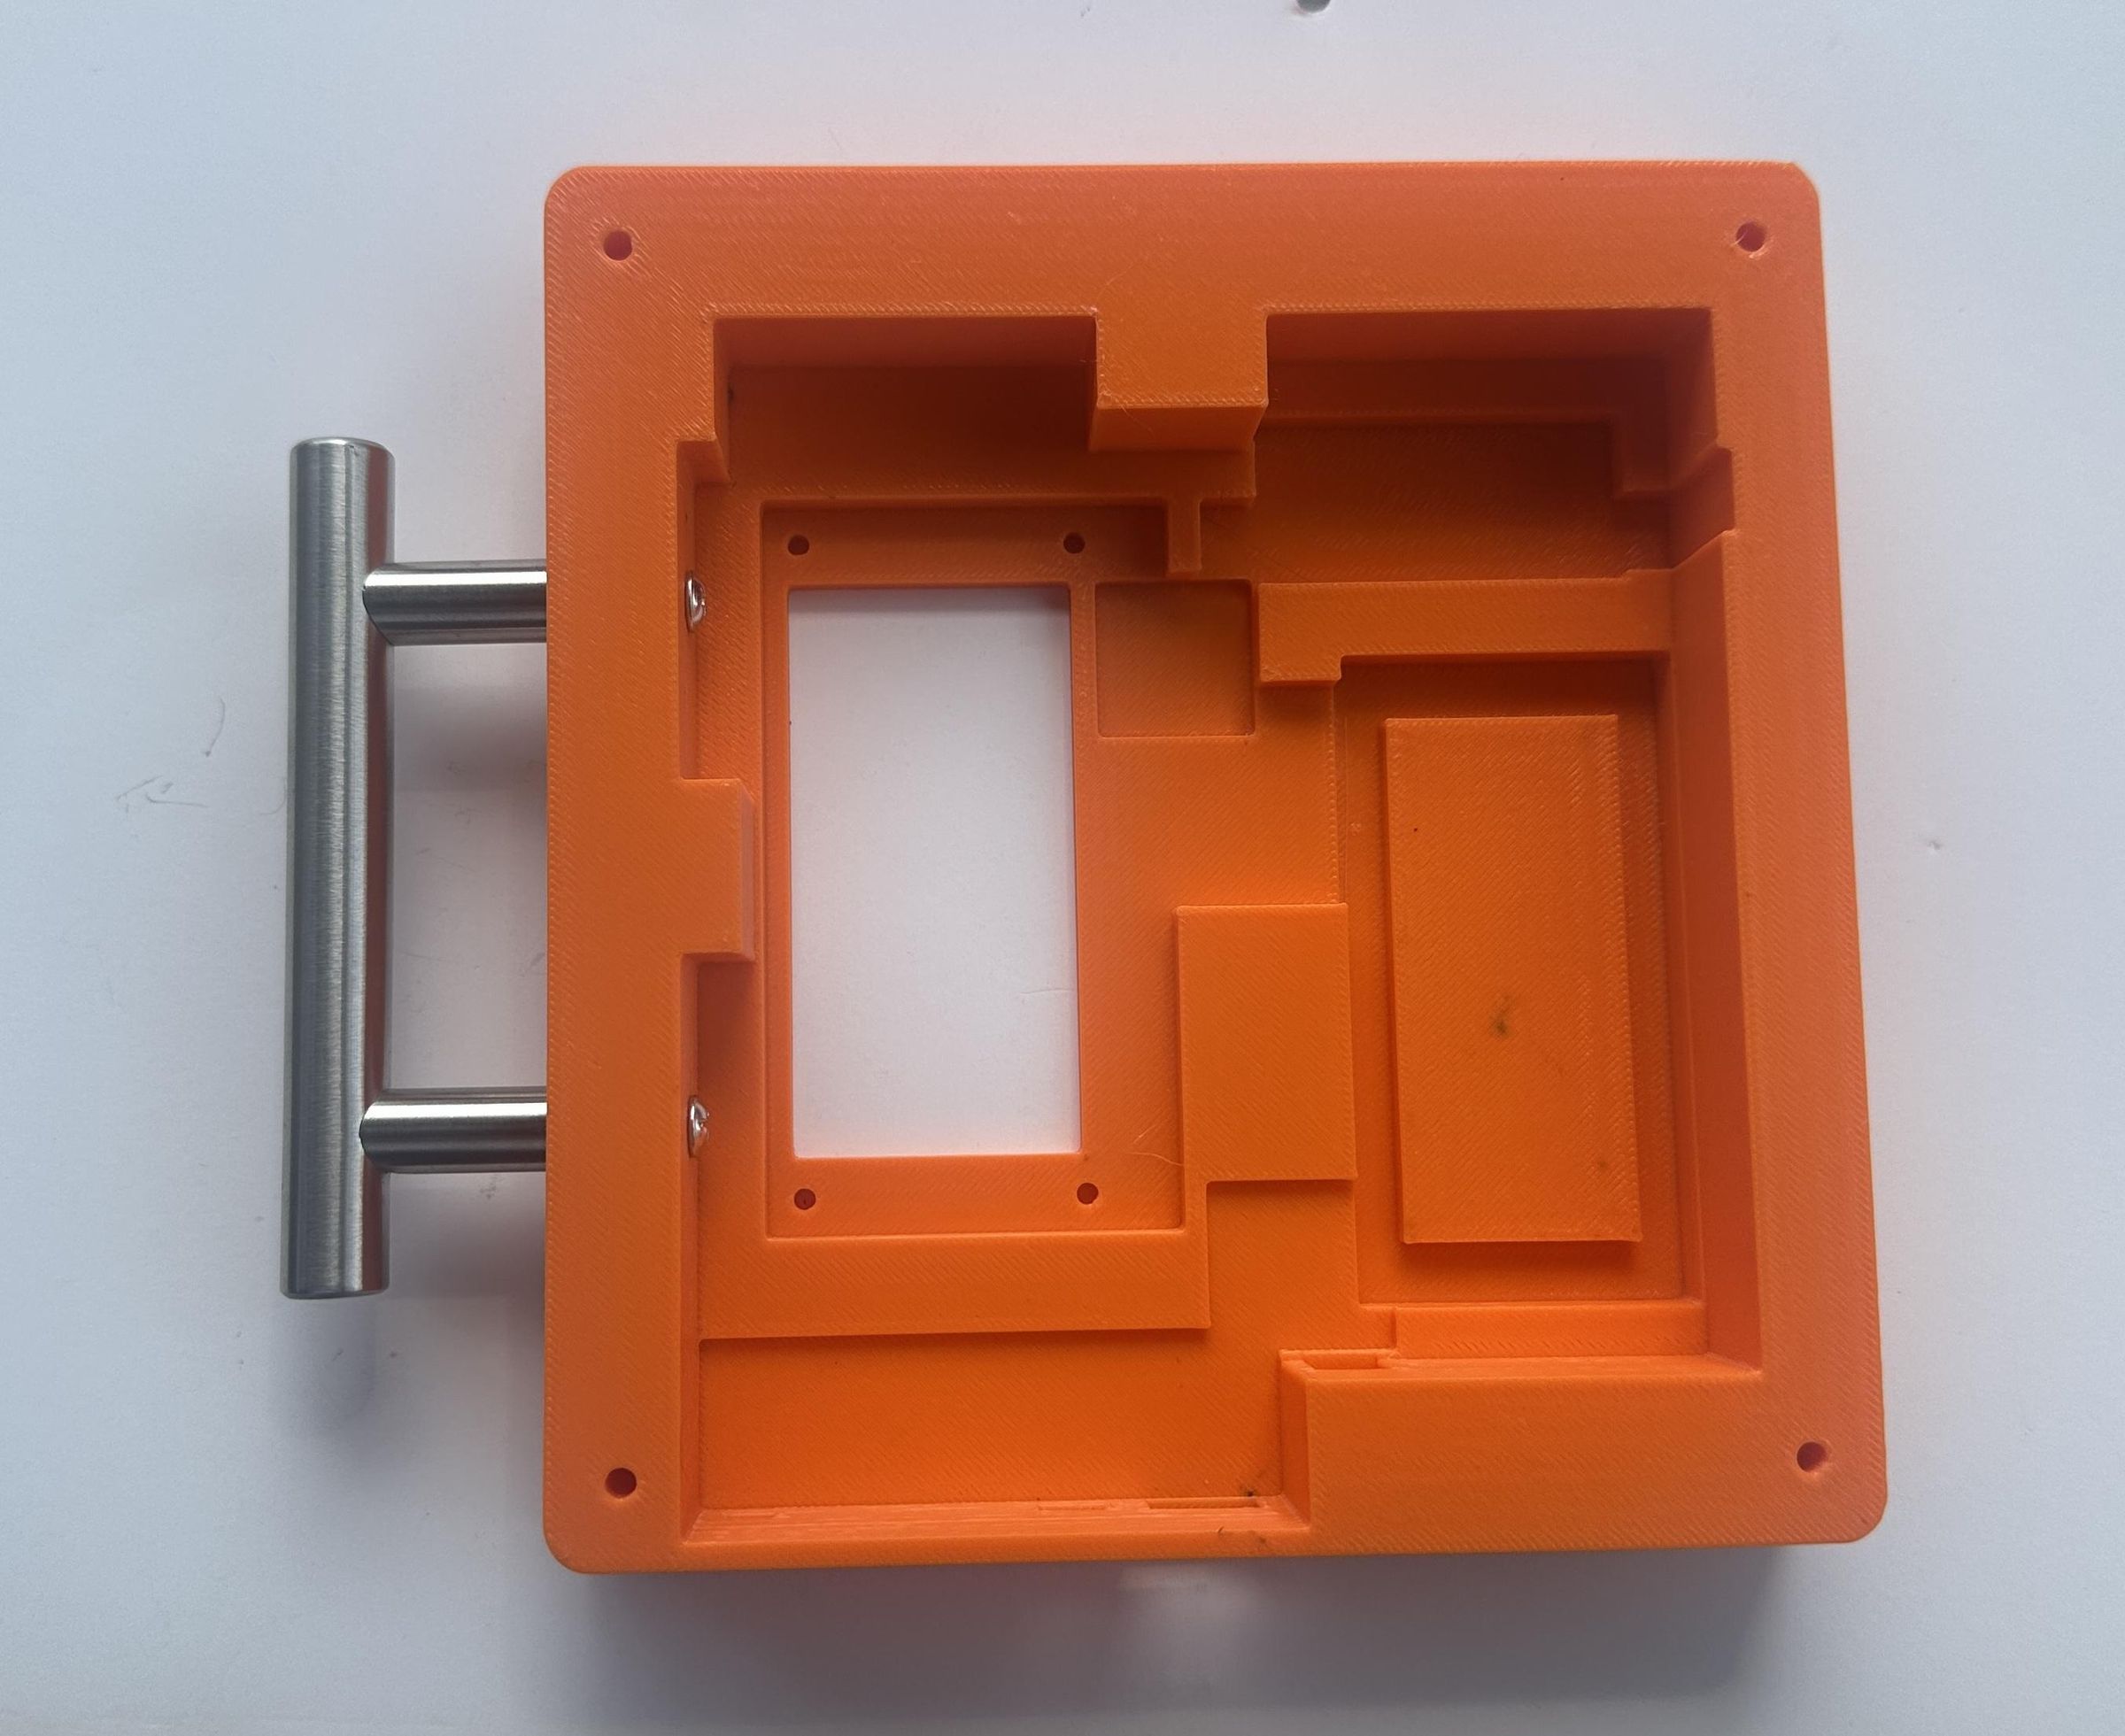
To make the device easier to carry during emergency situations, I attached an SS (stainless-steel) handle to the bottom section of the enclosure. The handle is secured using two M4 screws, providing a strong and convenient grip for carrying the device.
Placing Heat-Set Inserts
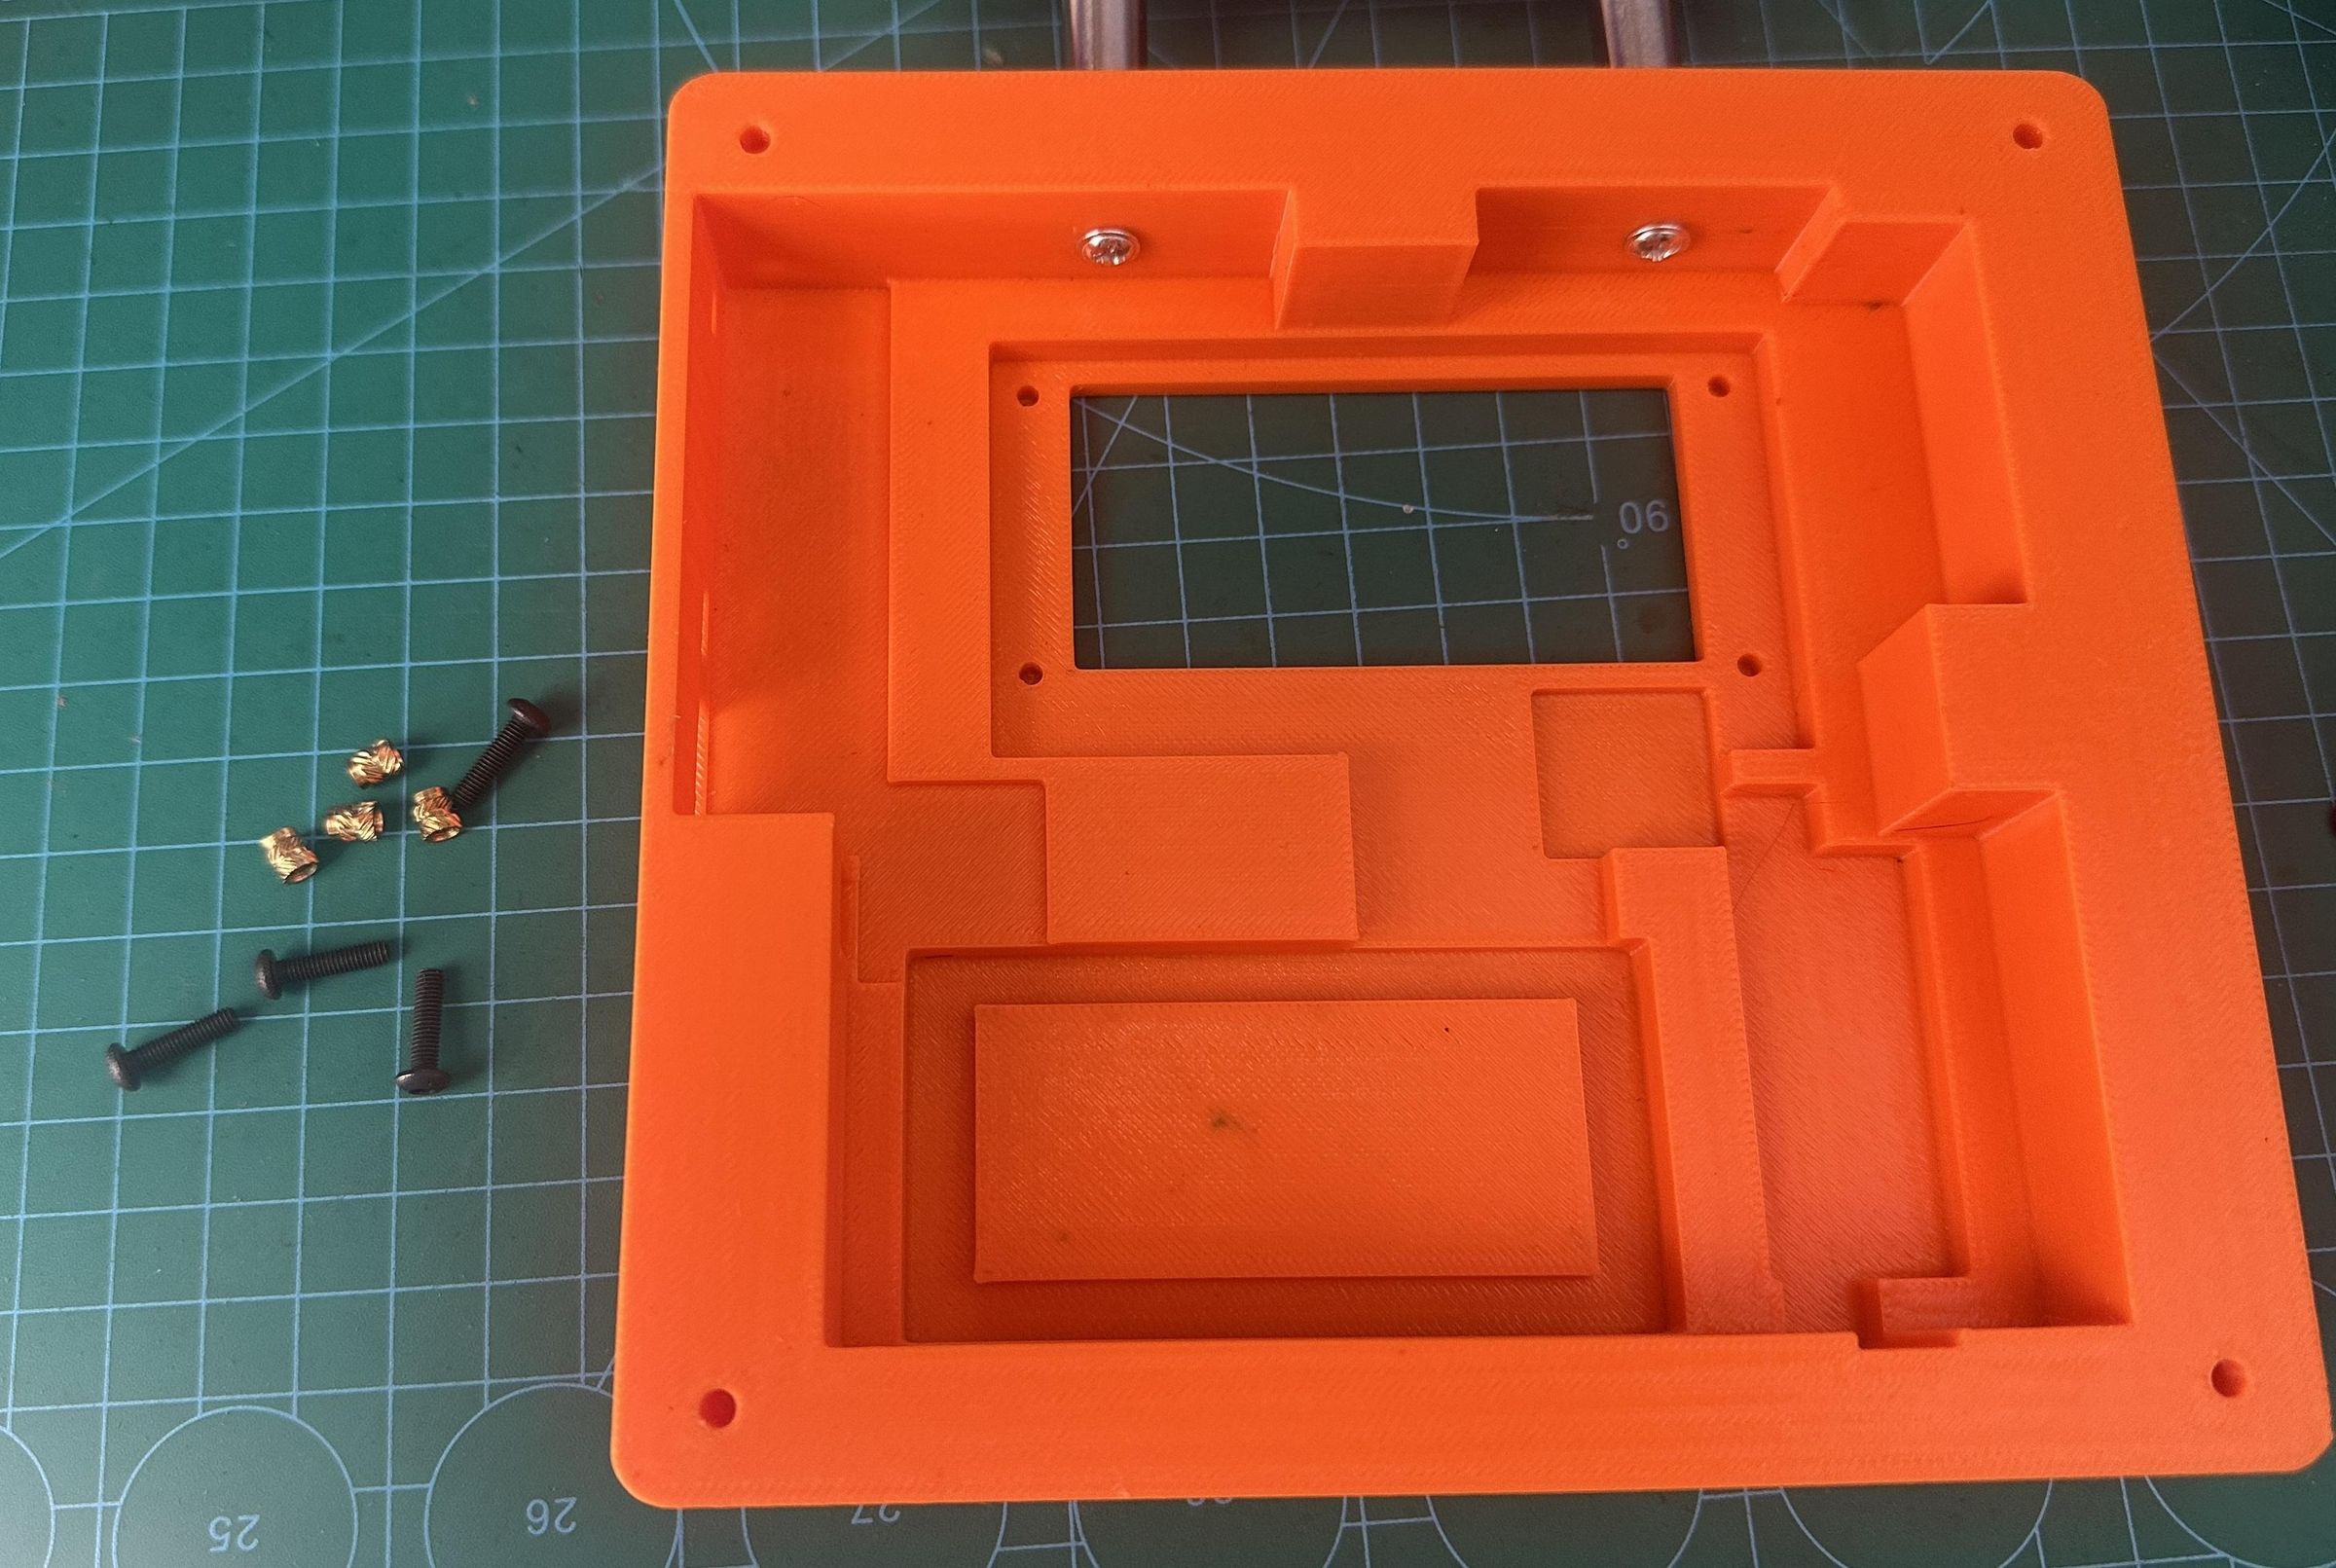
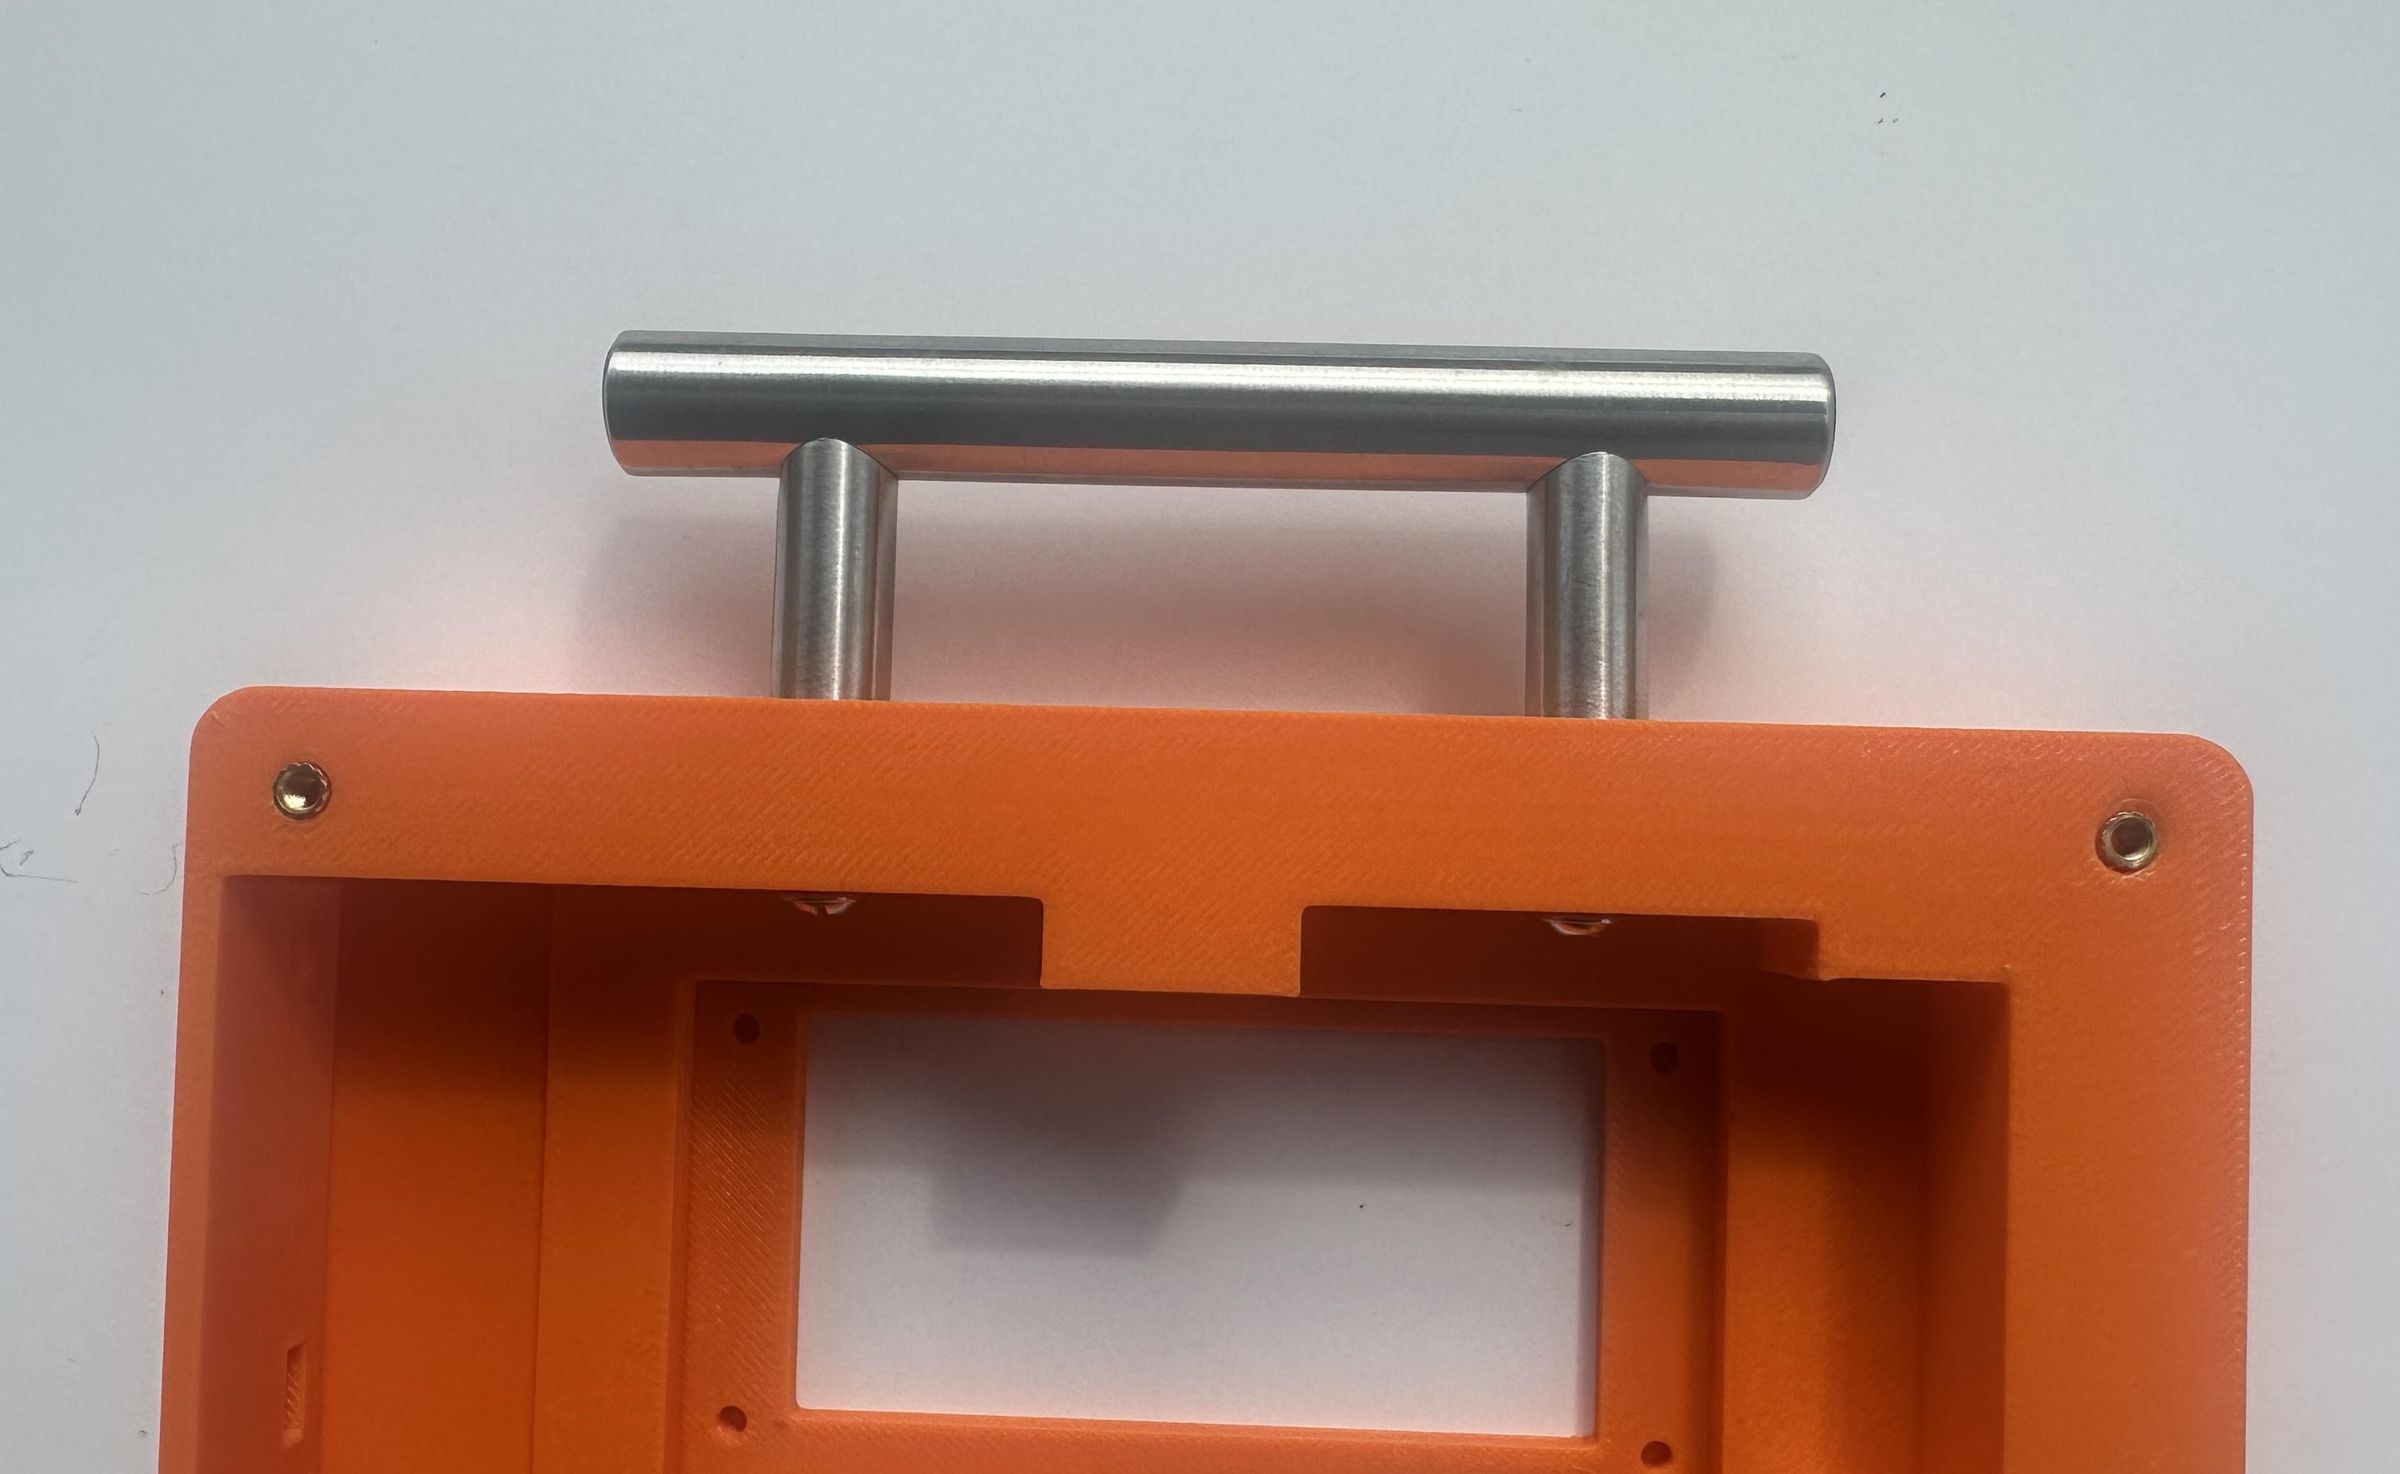
For assembling the two enclosure parts, I installed four brass heat-set threaded inserts into the corresponding screw holes. These inserts provide a durable internal thread for the M3 screws and allow the enclosure to be opened and closed repeatedly without damaging the 3D-printed plastic. This is particularly useful for maintenance, battery replacement, troubleshooting, and future modifications.
After installing the inserts, I aligned the two enclosure sections and secured them using four M3 screws. The result is a strong but easily removable assembly, allowing the electronics to remain accessible whenever maintenance is required.
Wiring & Soldering
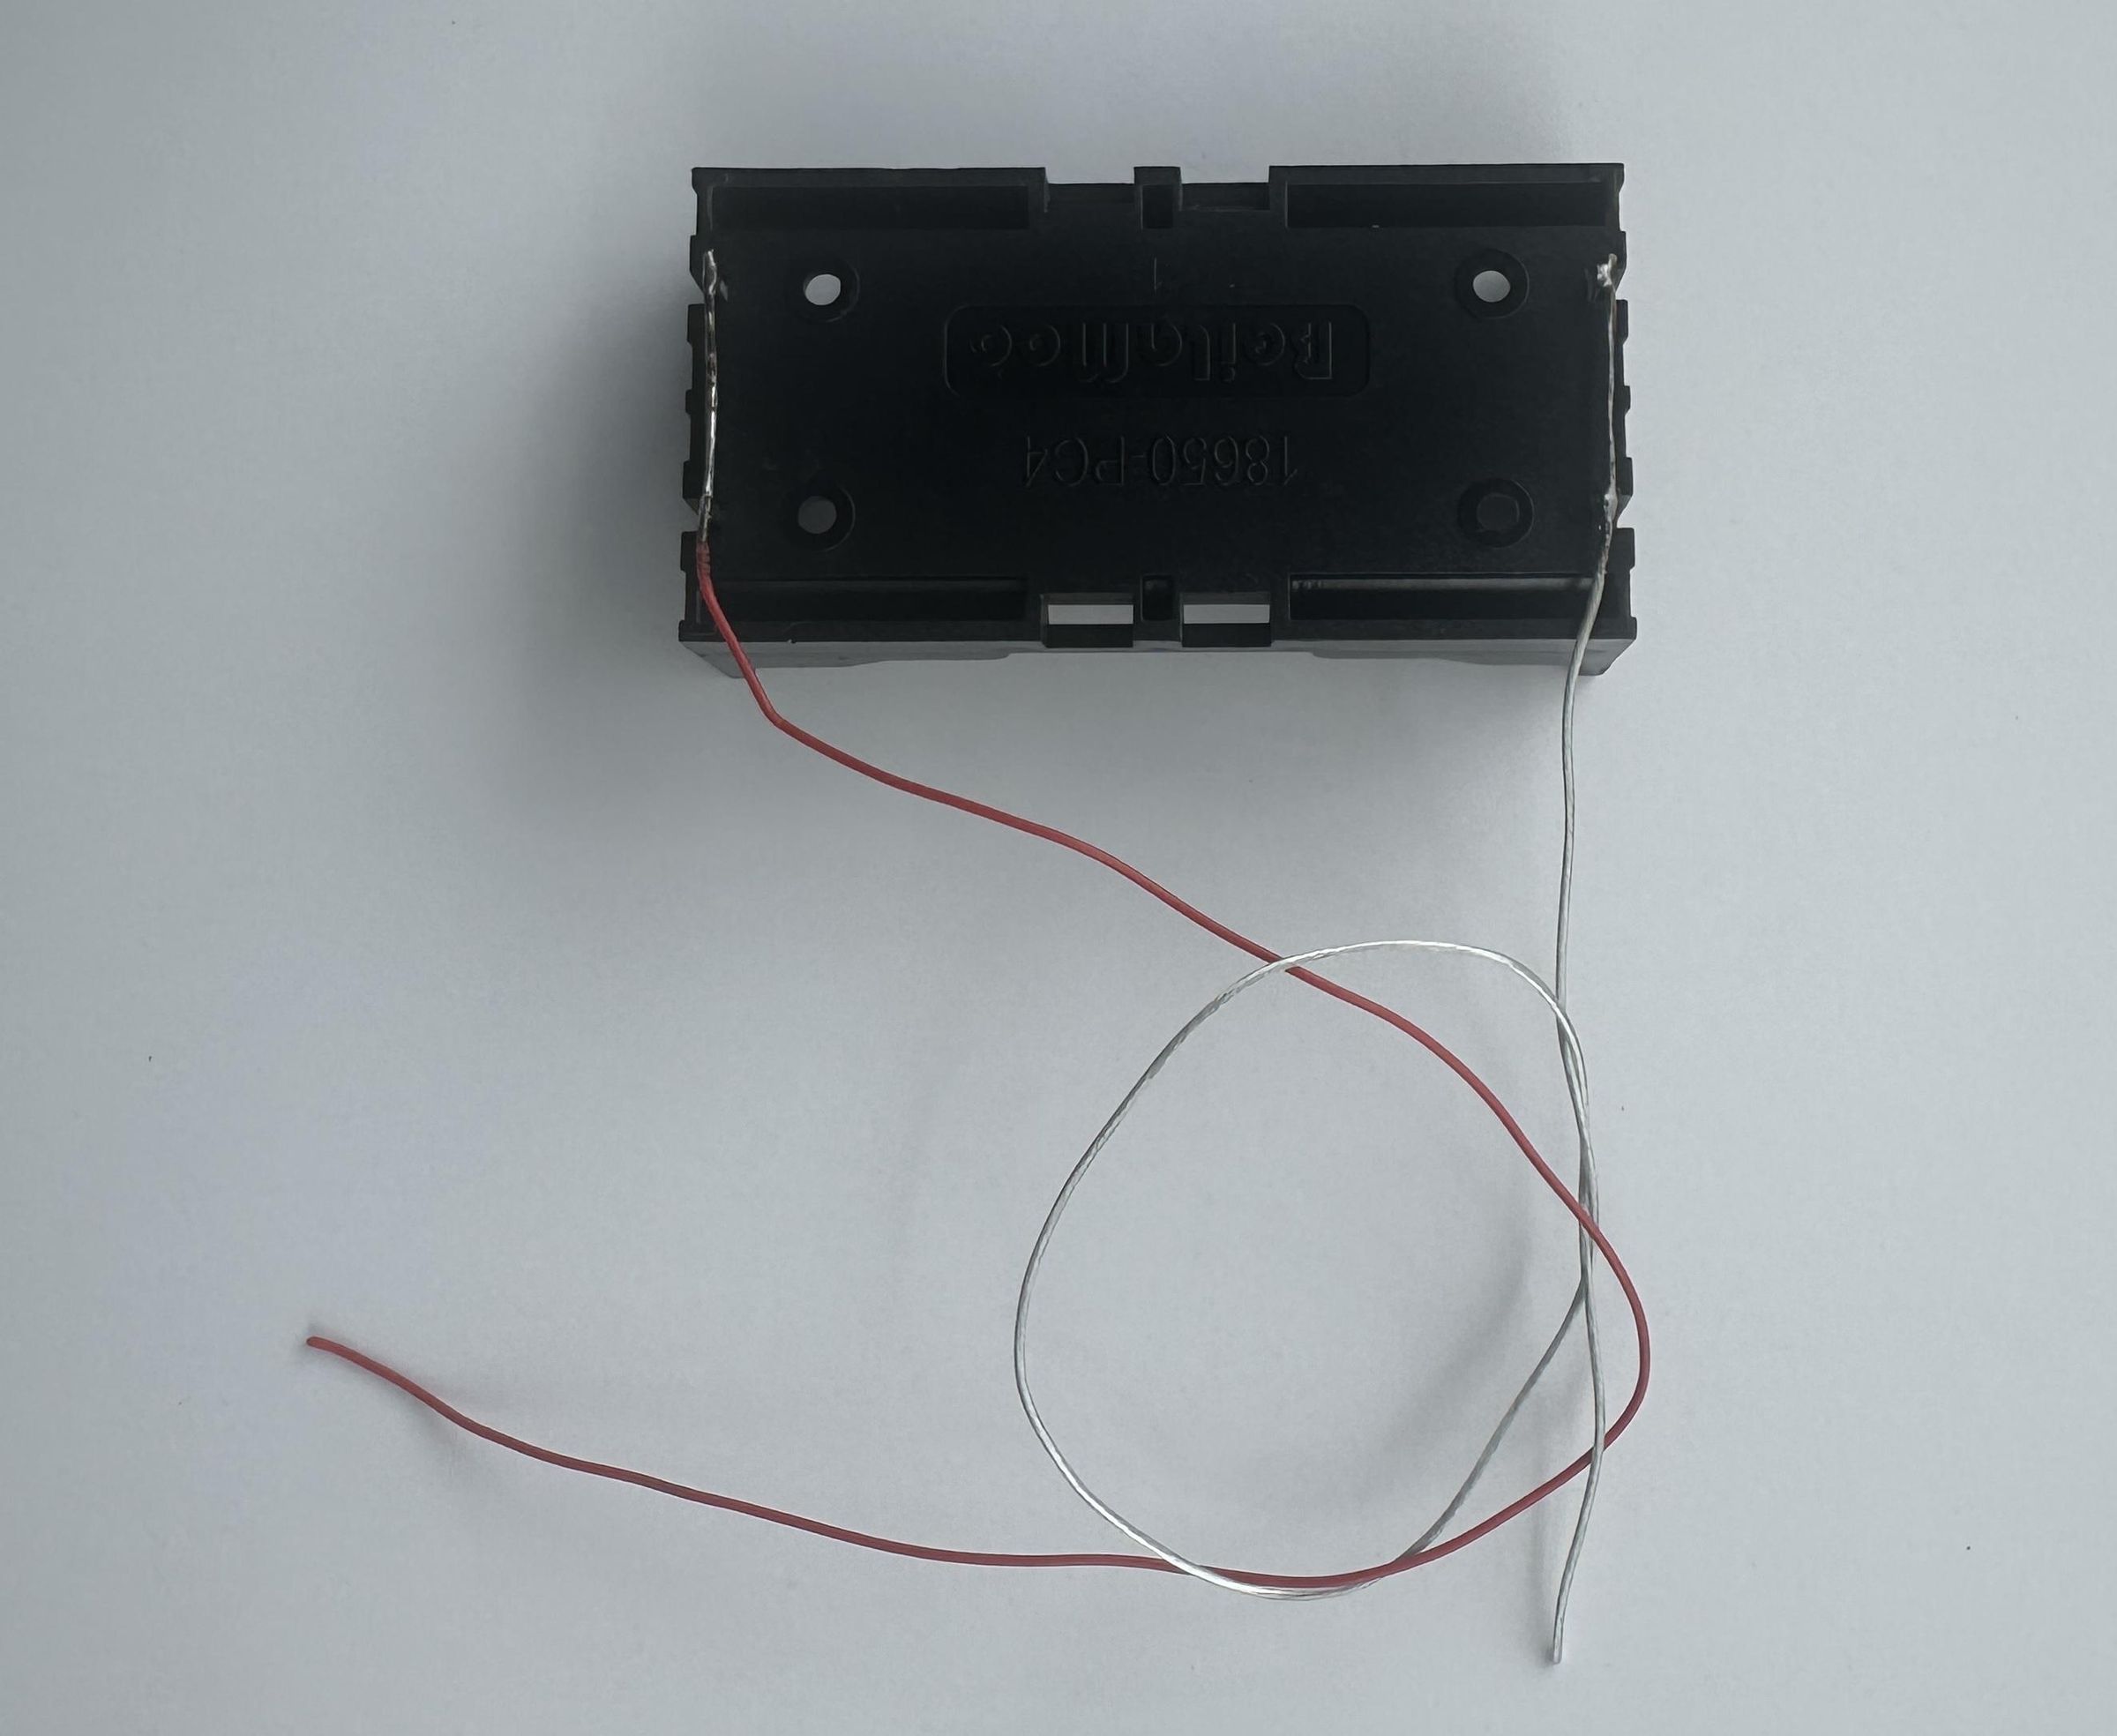
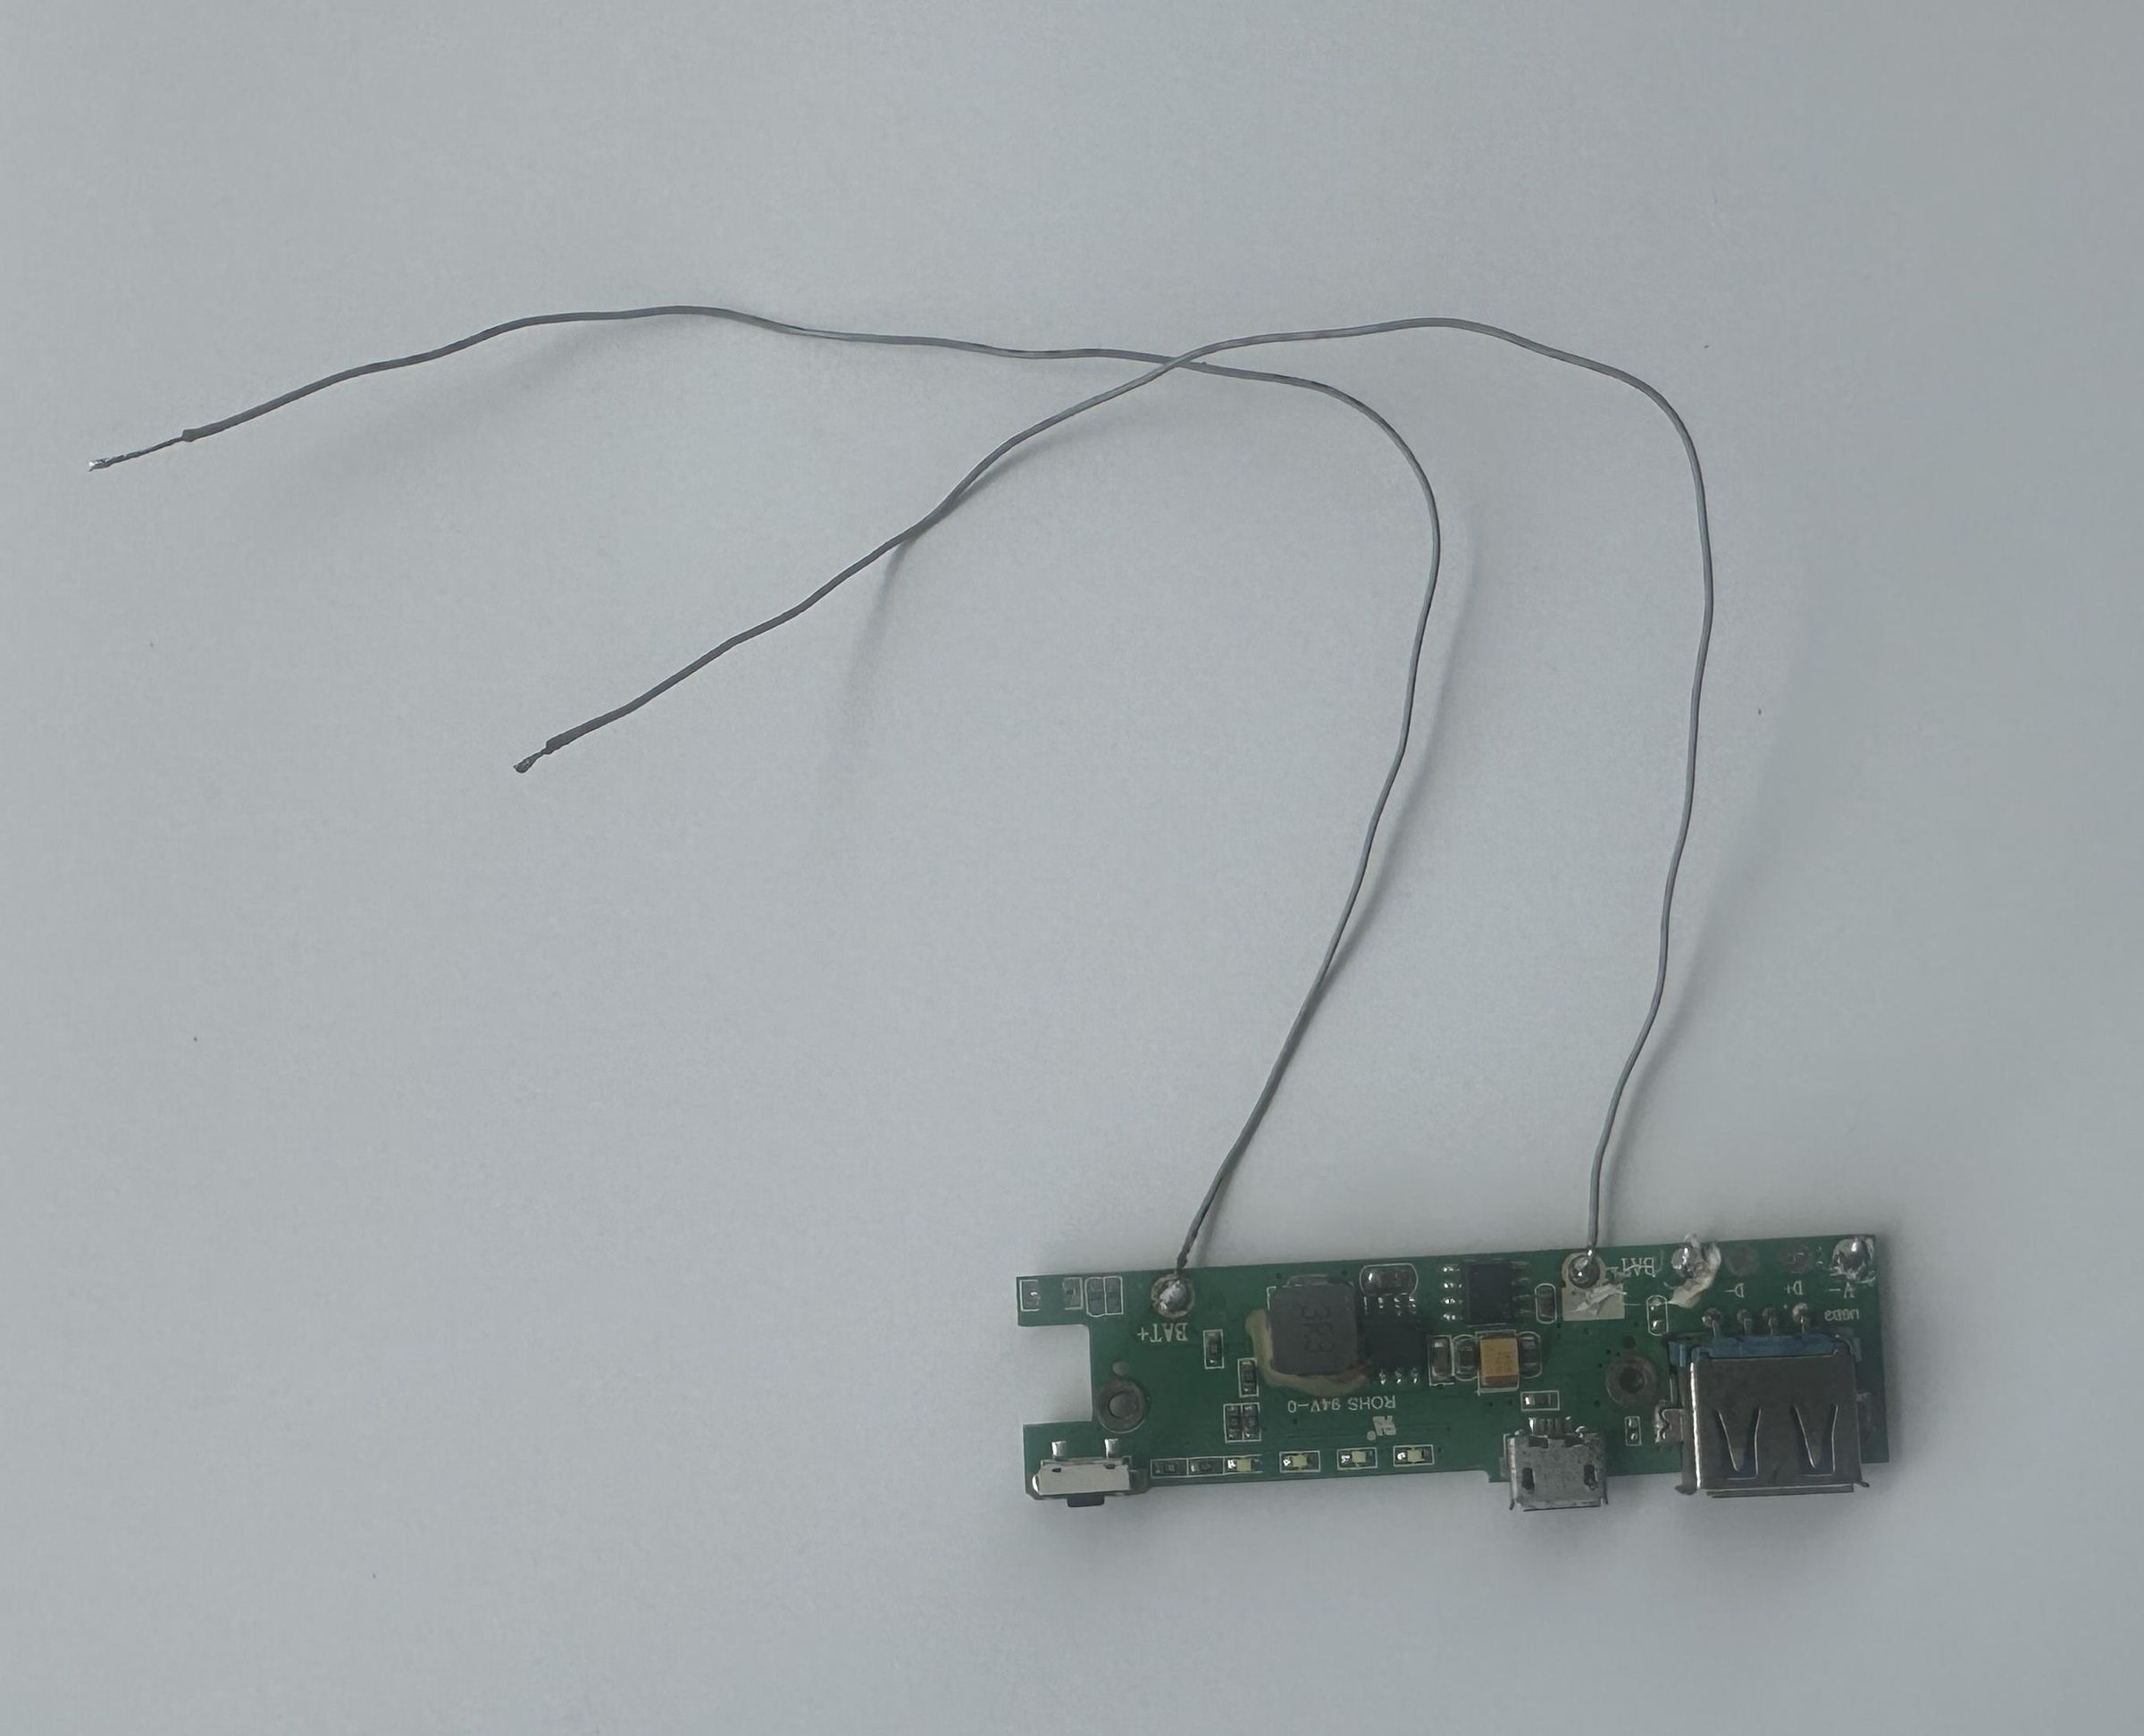
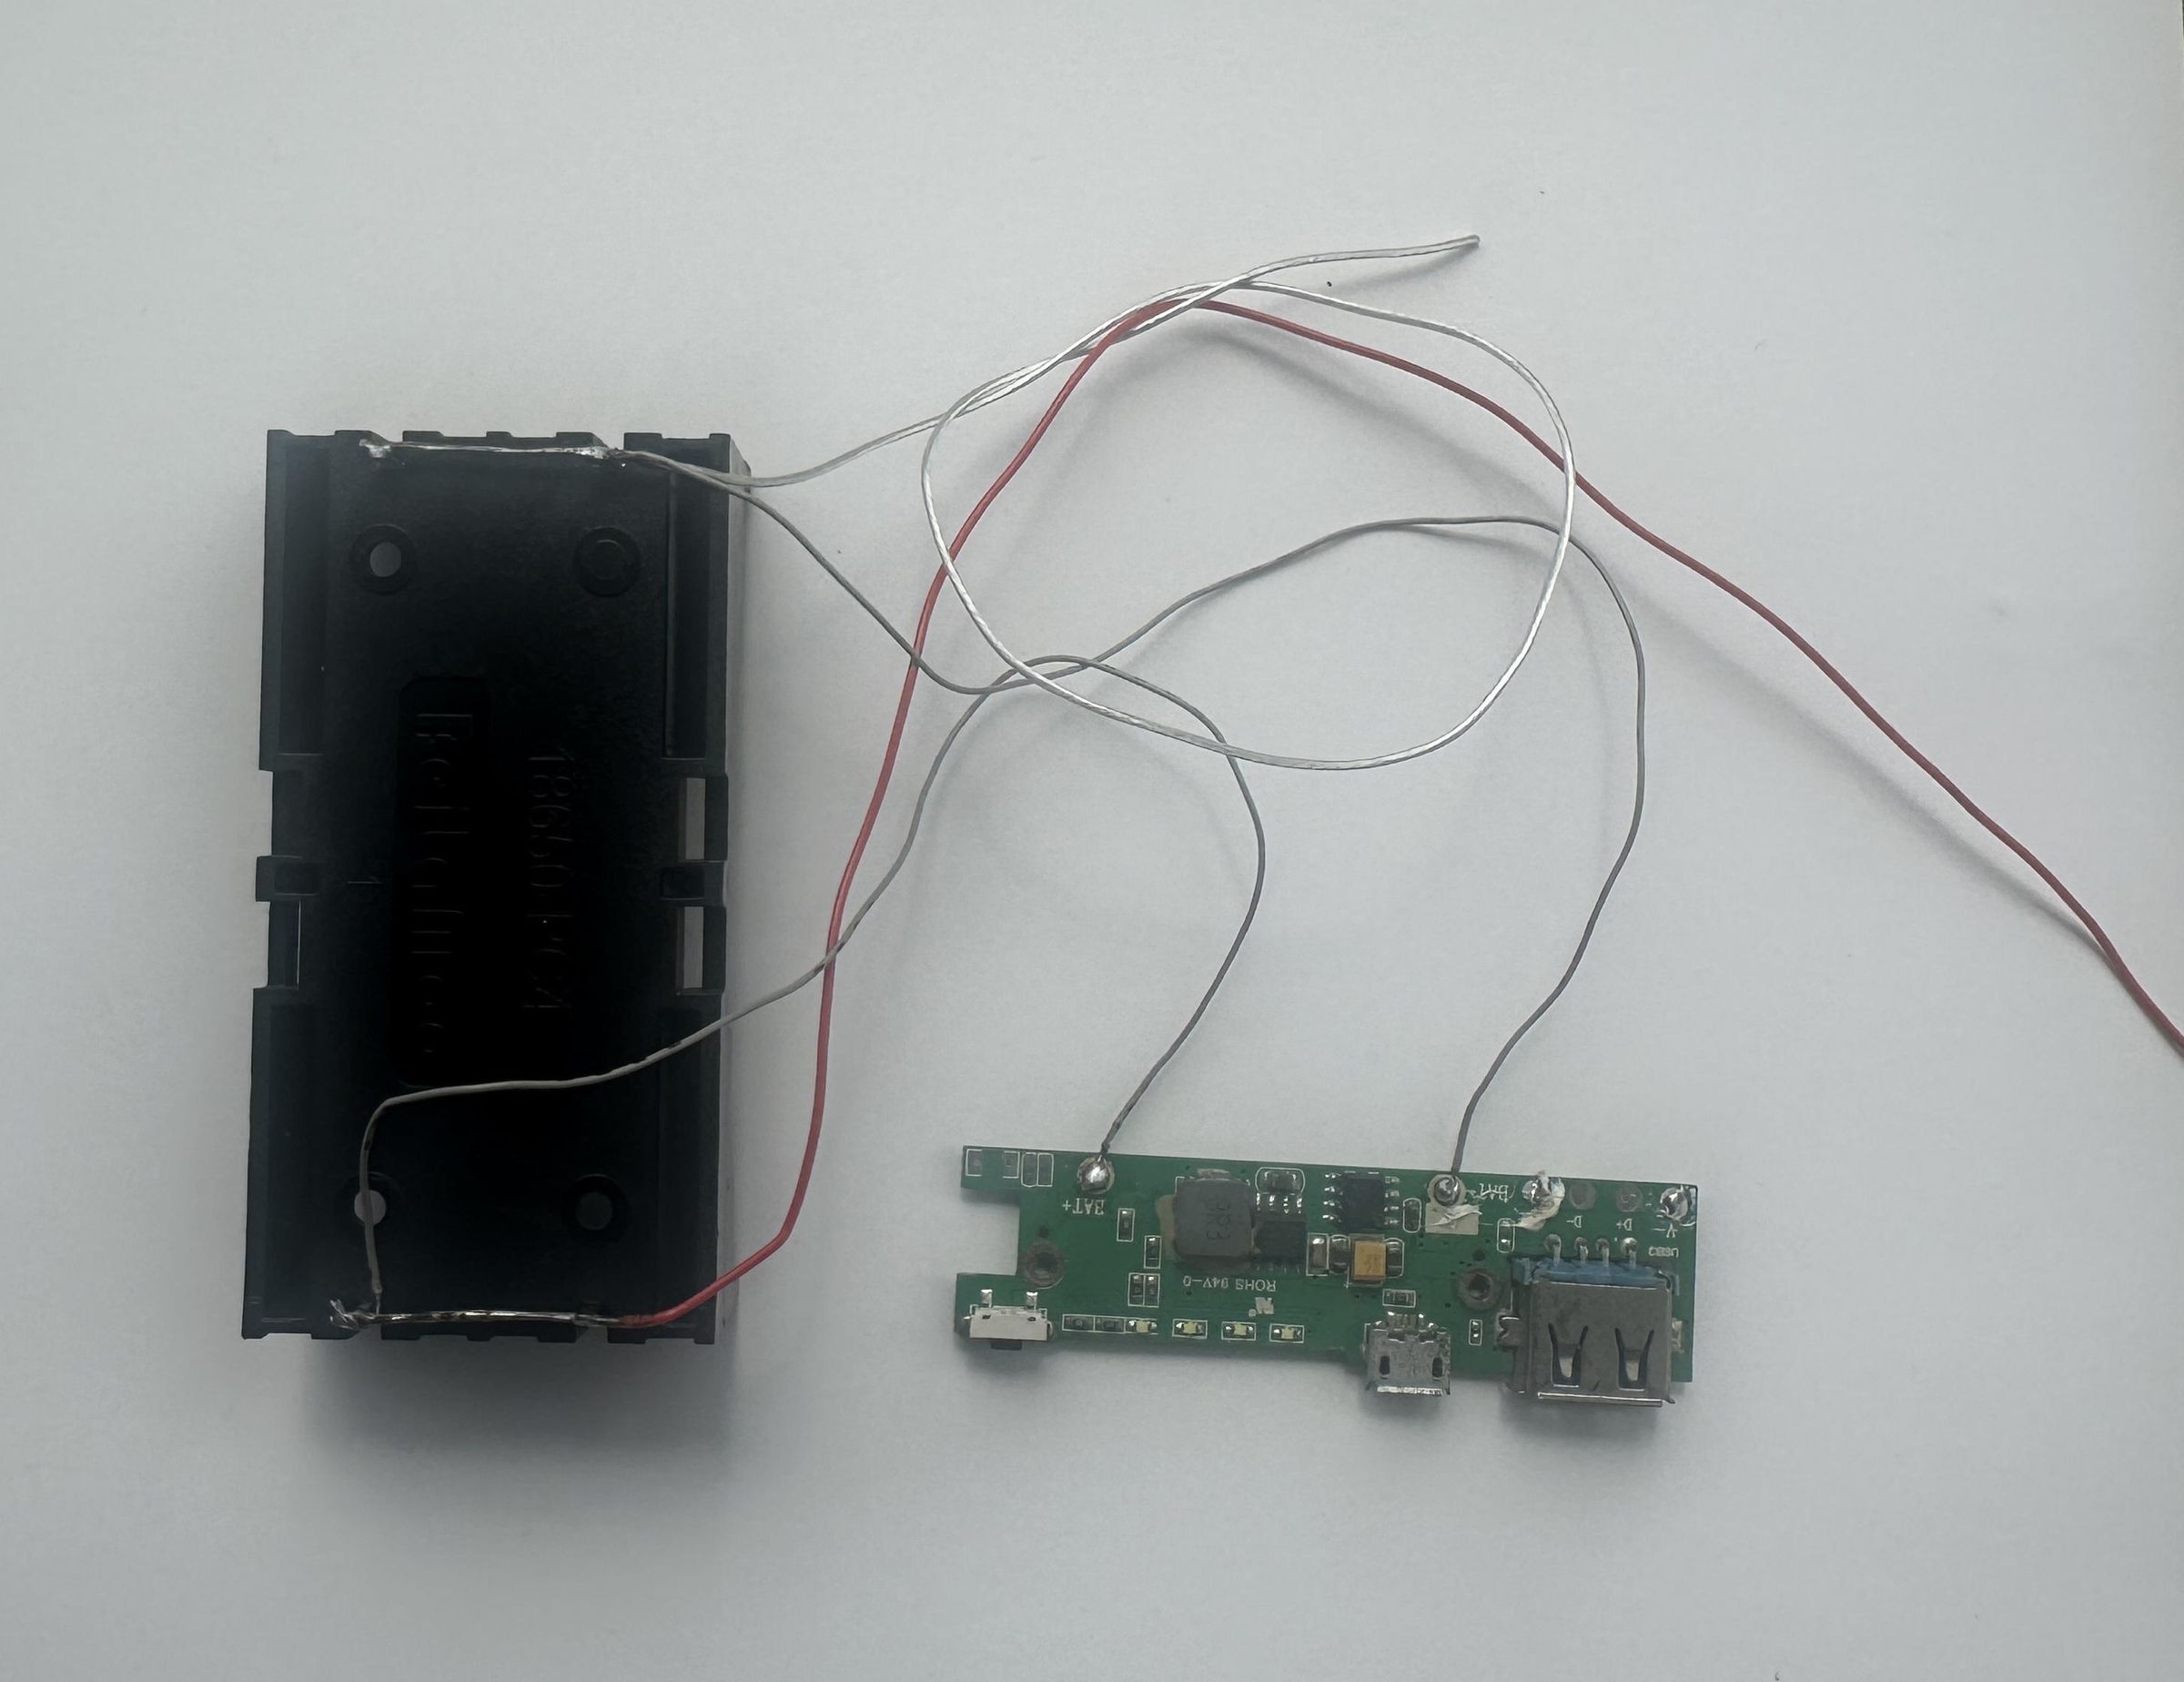
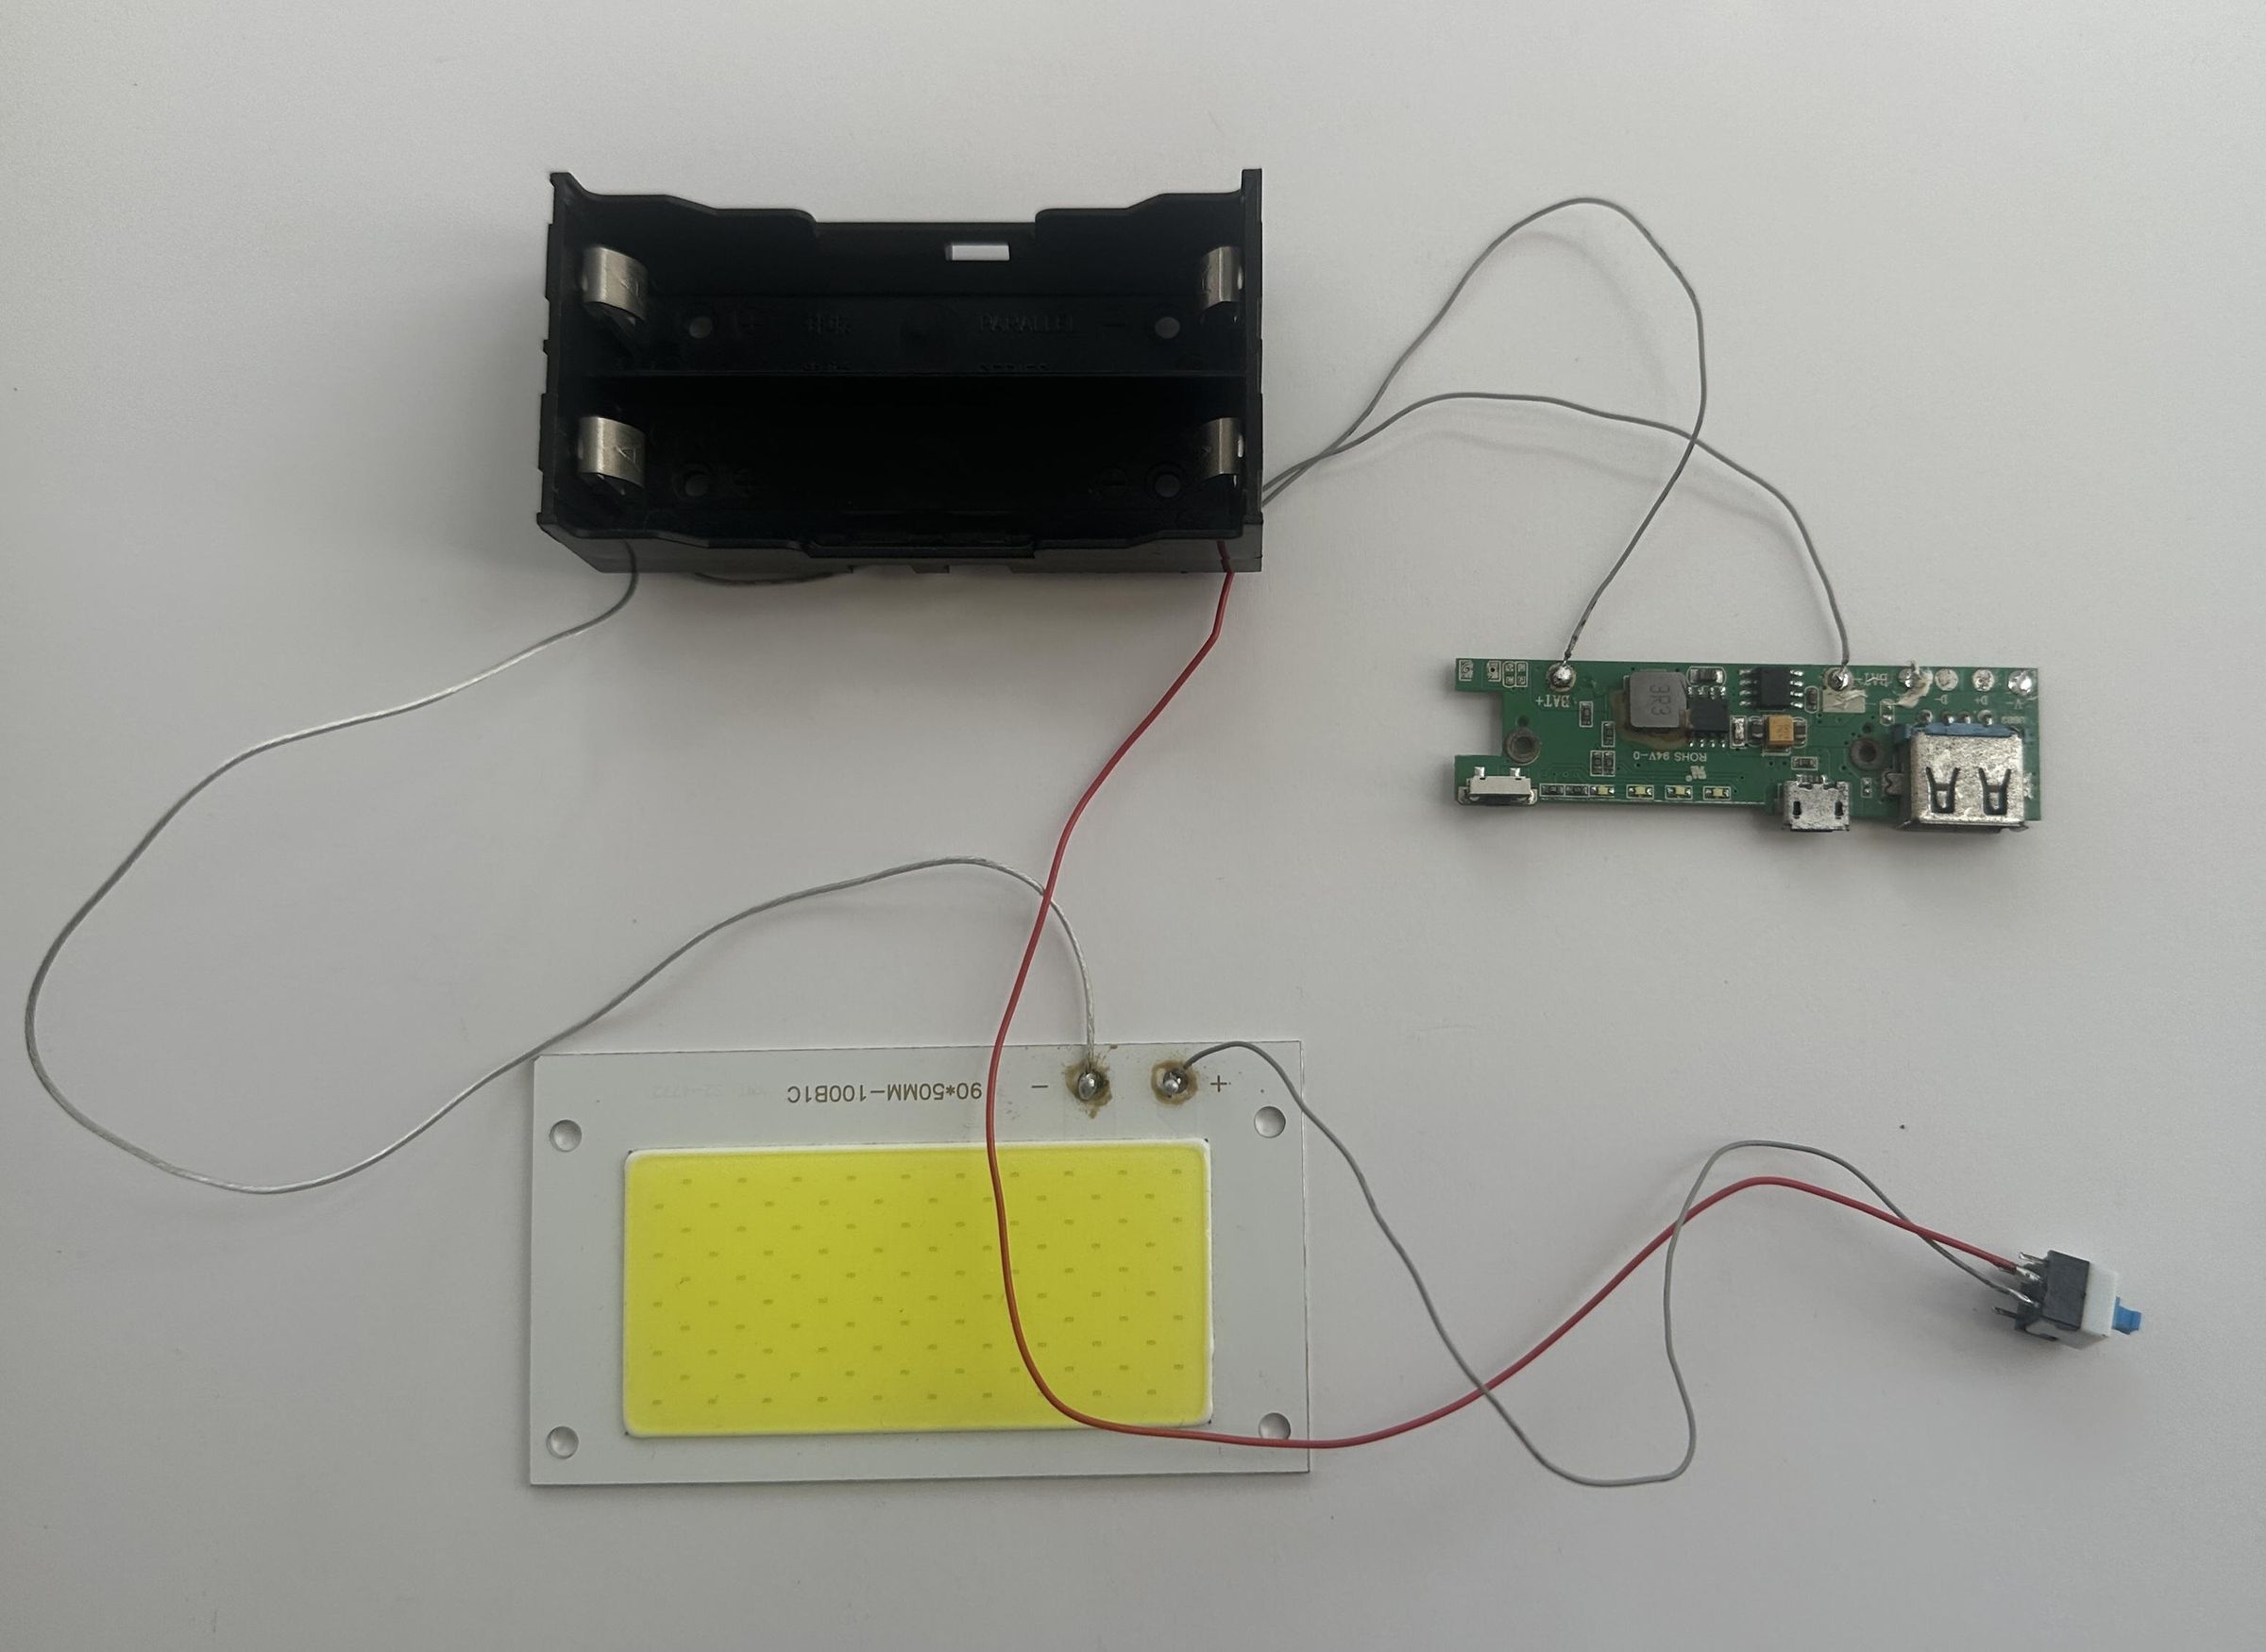
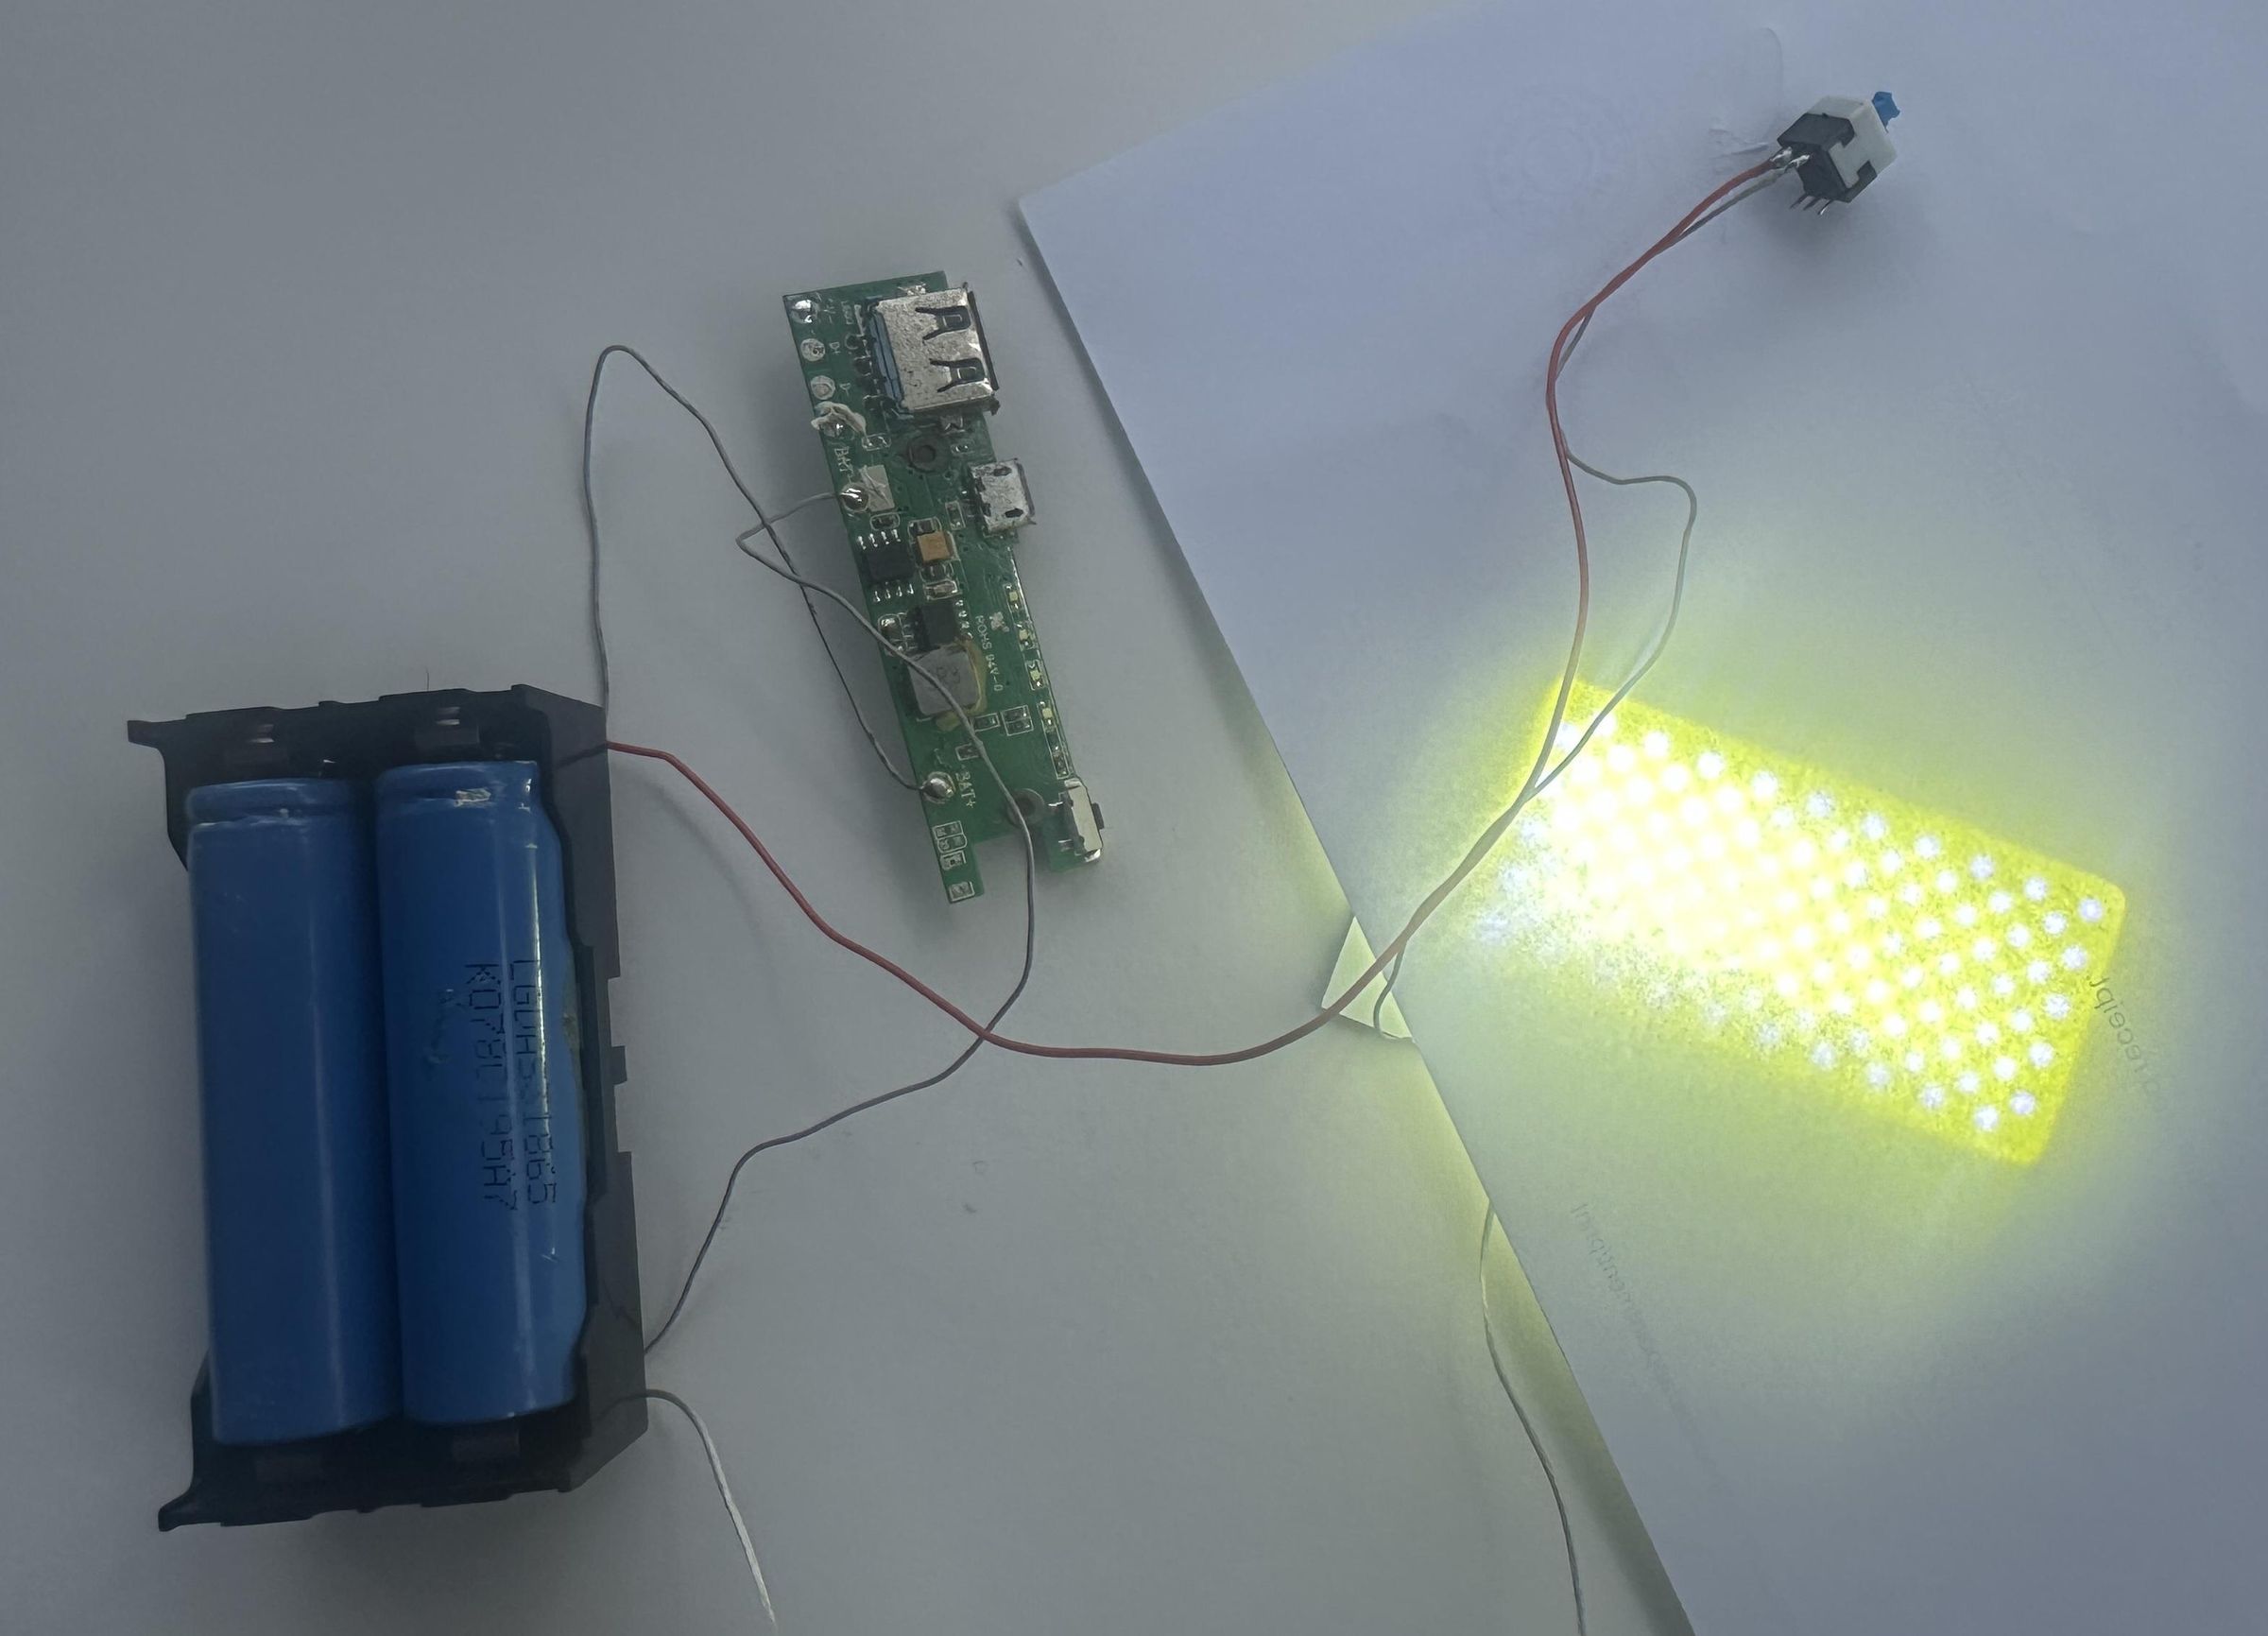
The next step is to connect all the electronic components to the battery and charging system. I used a 2-cell PCB-friendly 18650 battery holder to hold two 18650 Li-ion batteries. The two batteries are connected in parallel, keeping the battery voltage at approximately 3.7 V while increasing the available capacity.
First, I connected the battery holder output to the main power connections of the system. The 10 W COB LED panel was connected to the battery through an ON/OFF switch, allowing the emergency light to be turned on or off easily.
Next, I connected the power-bank charging circuit directly to the battery terminals using jumper wires. This allows the circuit to draw power from the batteries and provide a USB output for charging a mobile phone or other small devices.
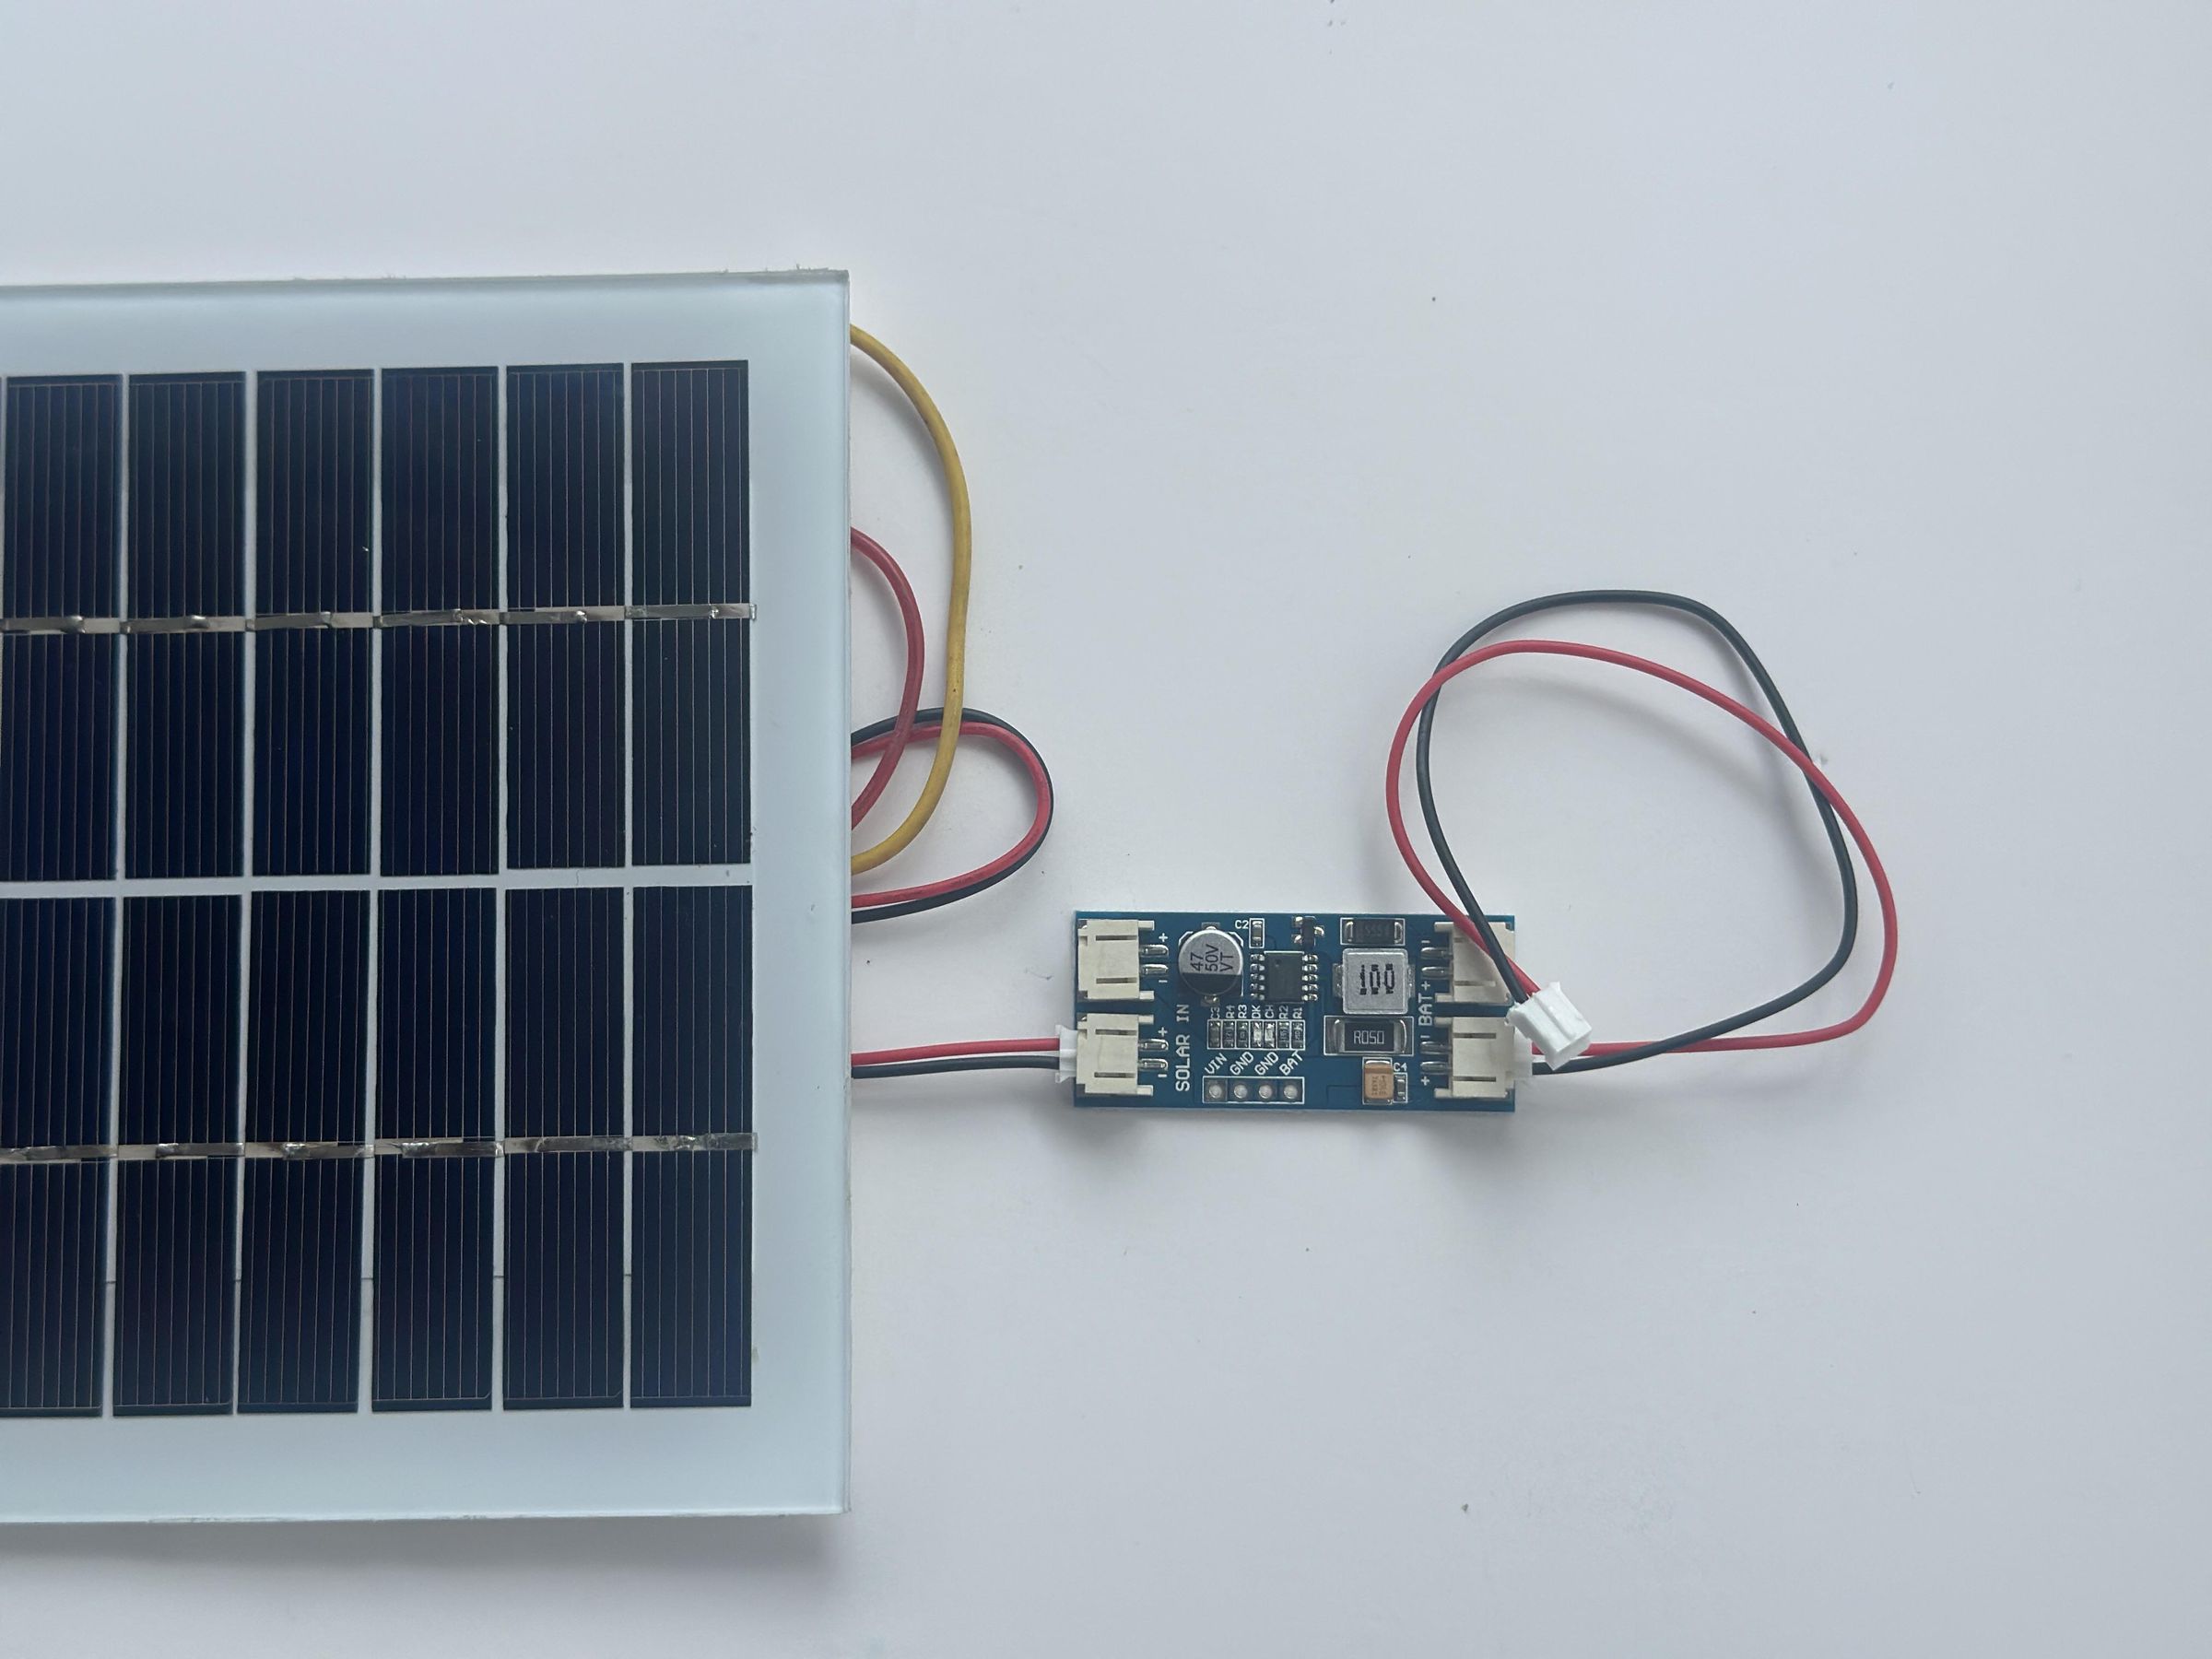
Finally, I connected the solar charging module between the solar panel and the battery. The module's battery (BAT+/BAT−) terminals were connected to the battery, while its solar-panel (SOLAR+/SOLAR−) input terminals were connected to the solar panel. This allows the solar panel to charge the batteries during daylight.
Before powering up the system, carefully check the positive and negative polarity of every connection. Also make sure the two 18650 cells are suitable for parallel operation and are at approximately the same voltage before connecting them in parallel.
Mounting the Electronics
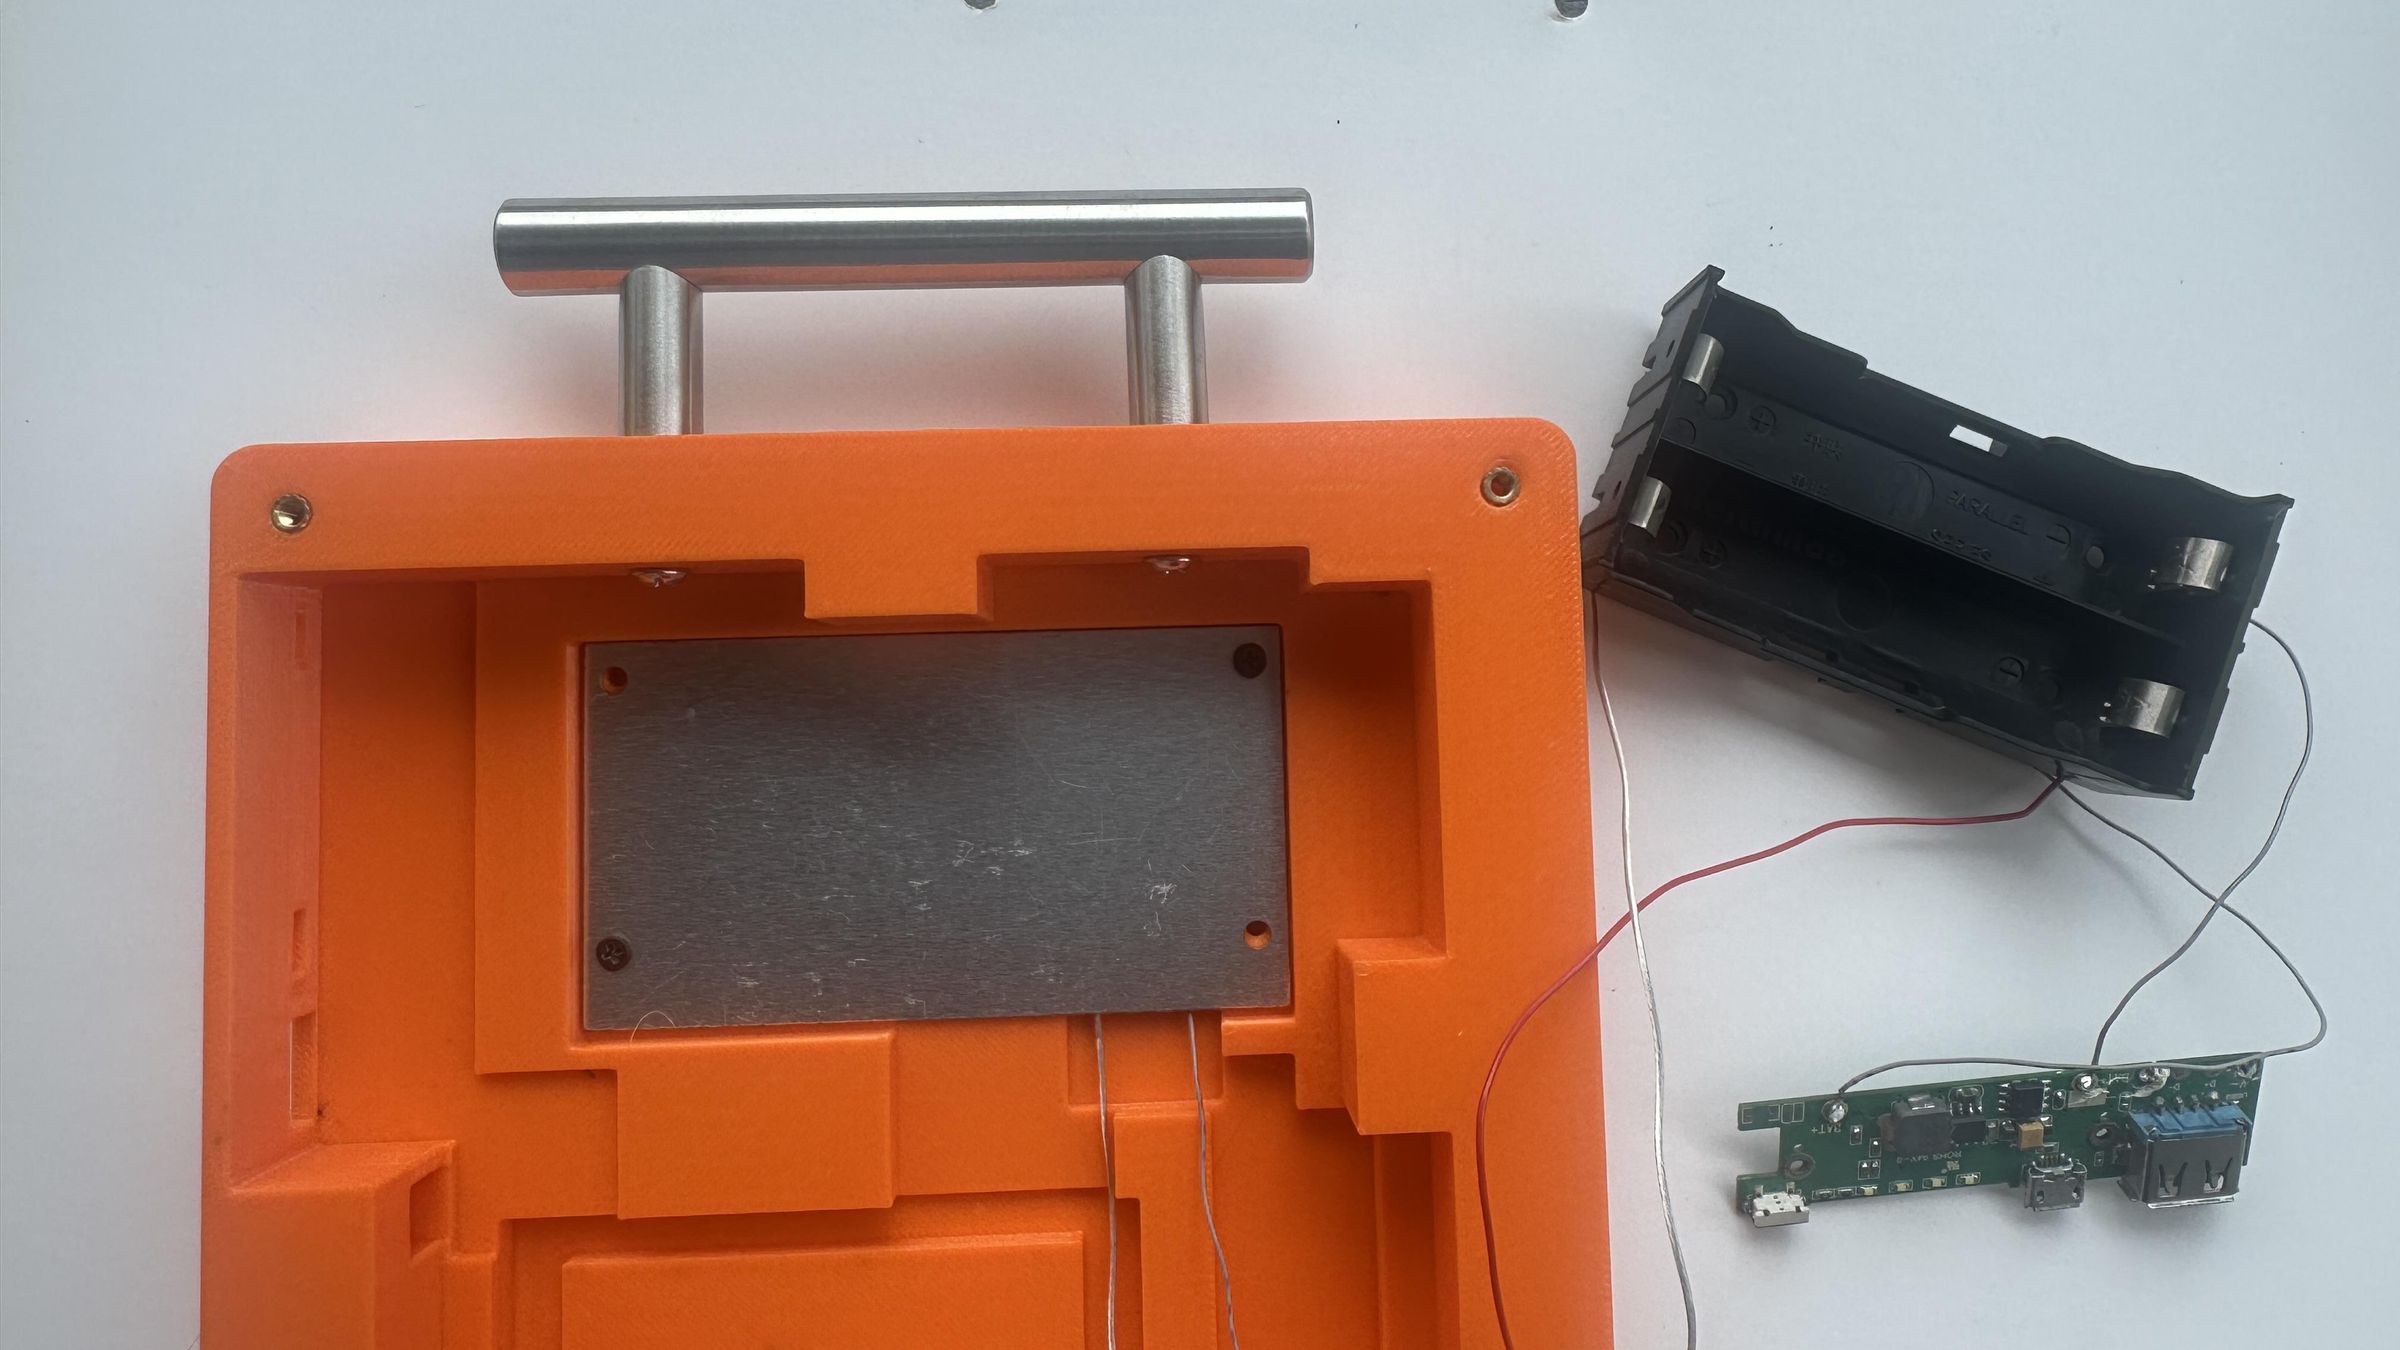
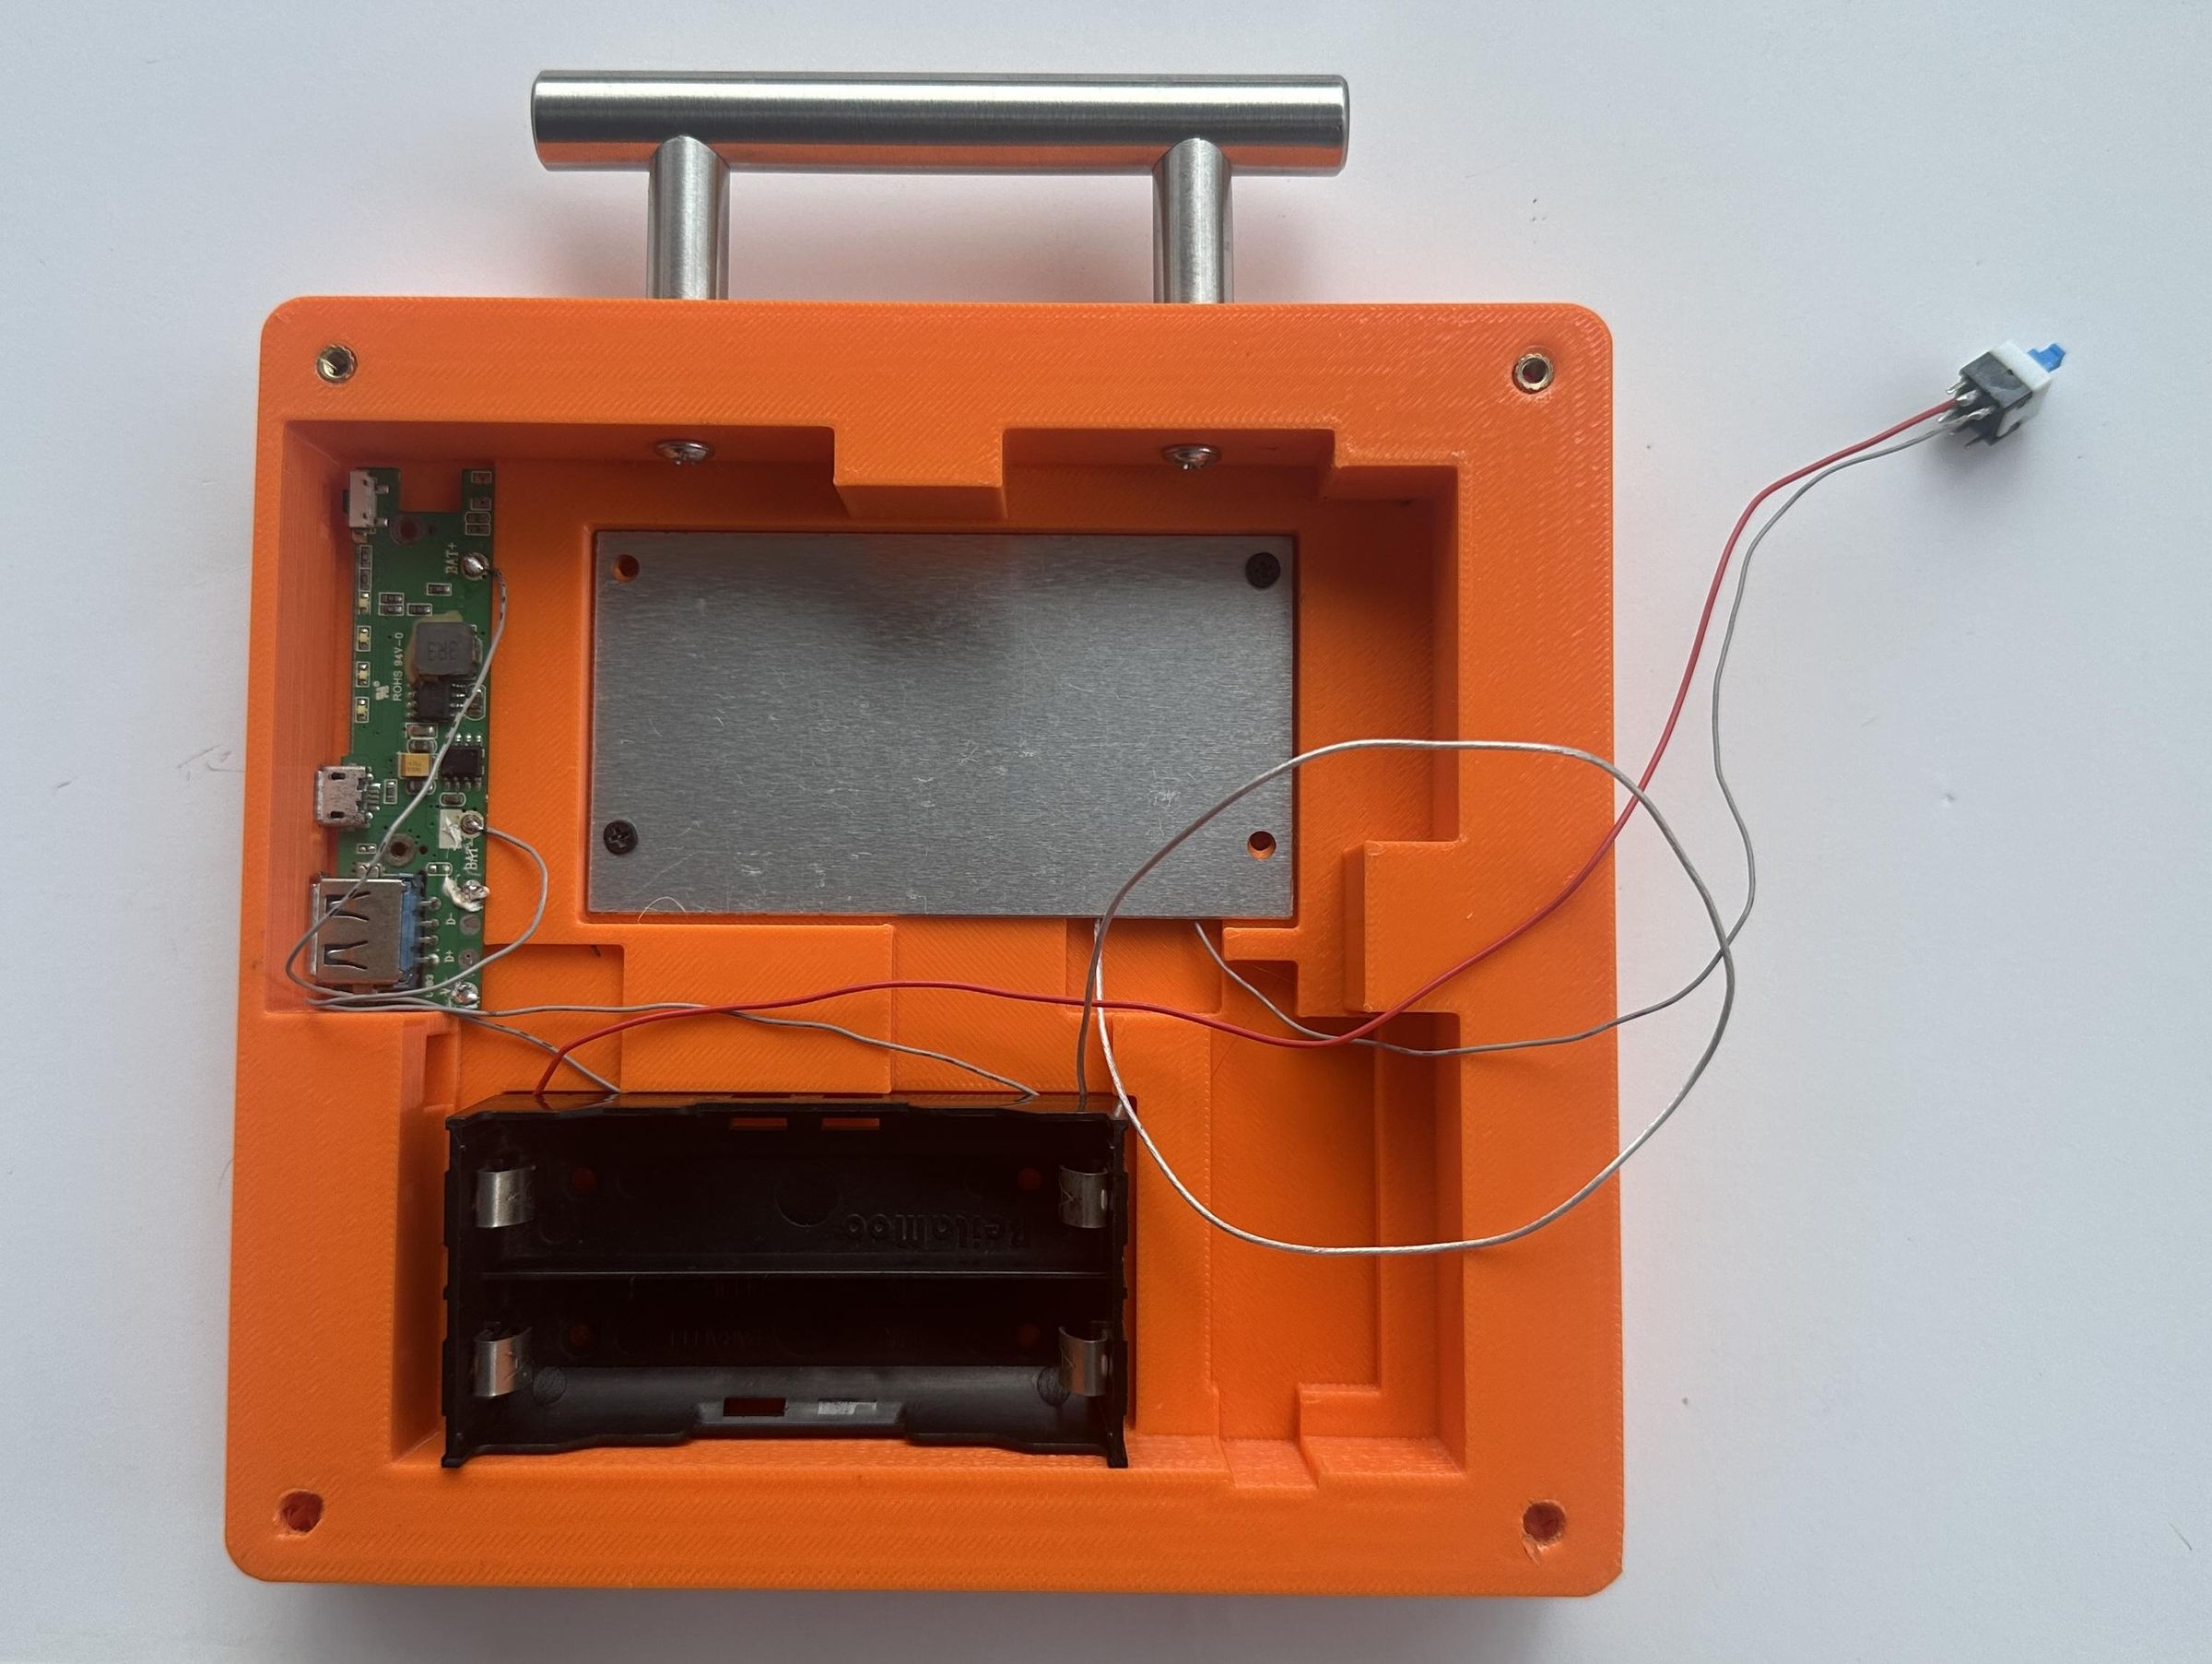
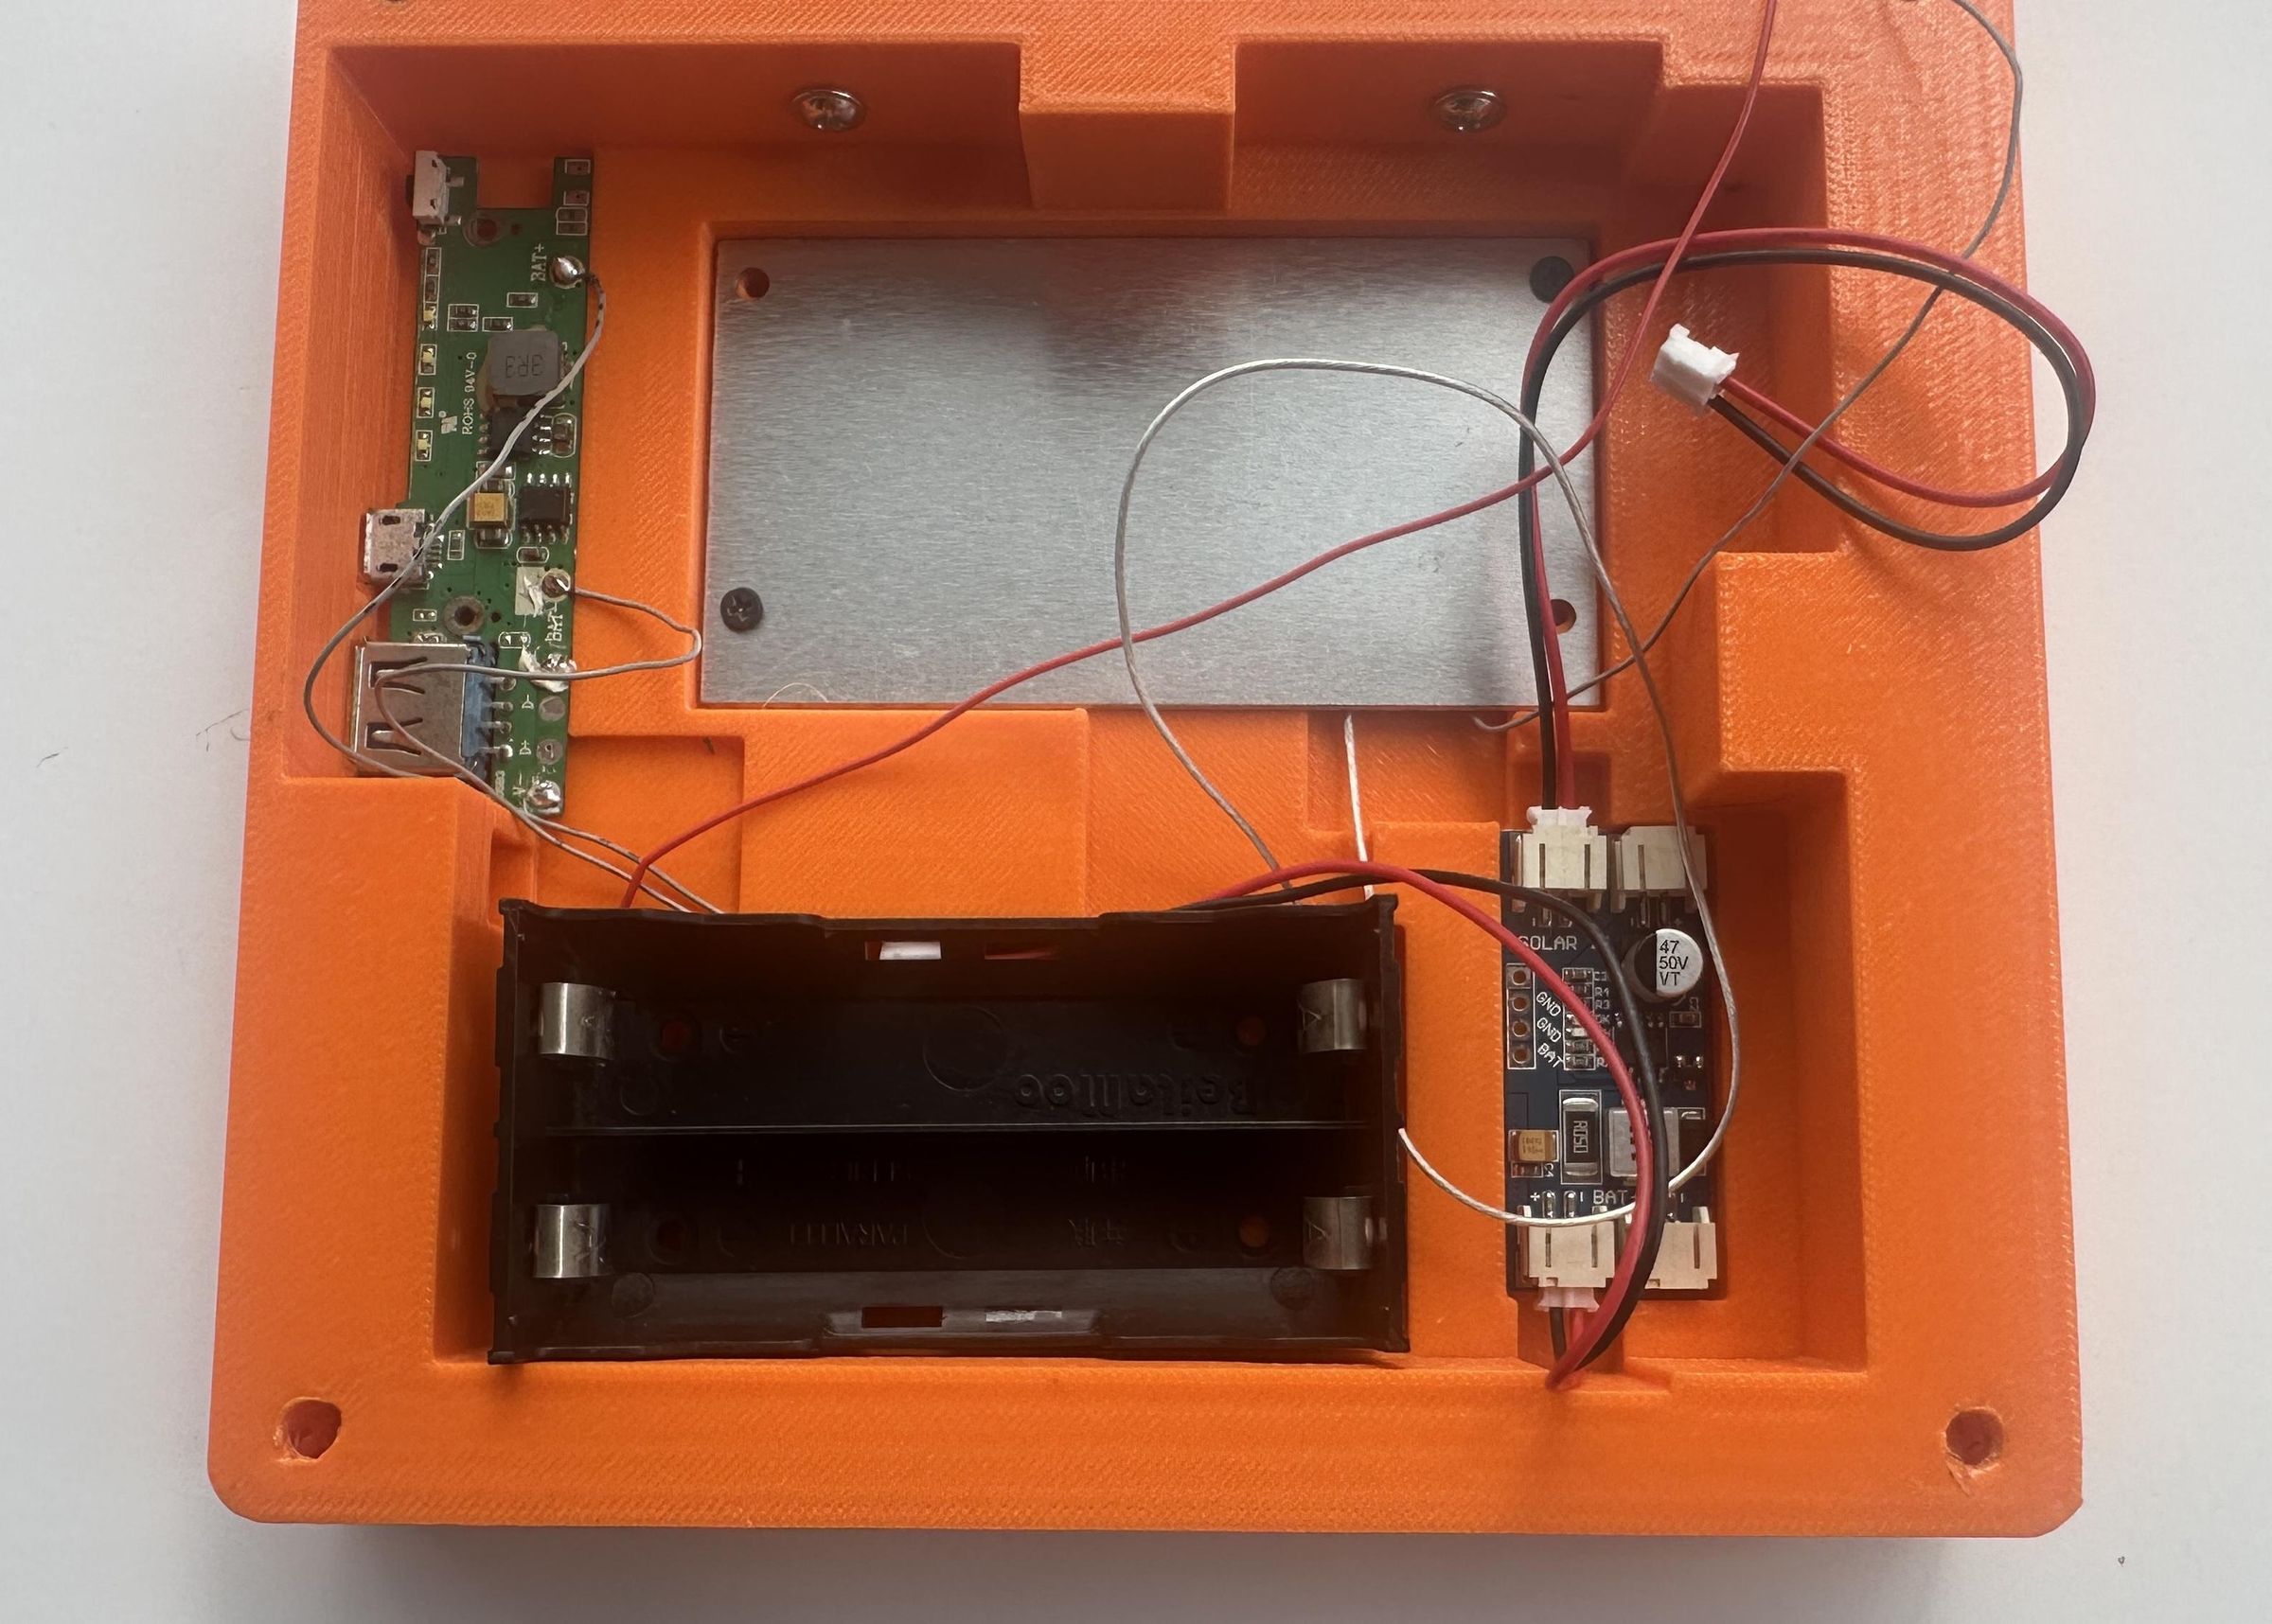
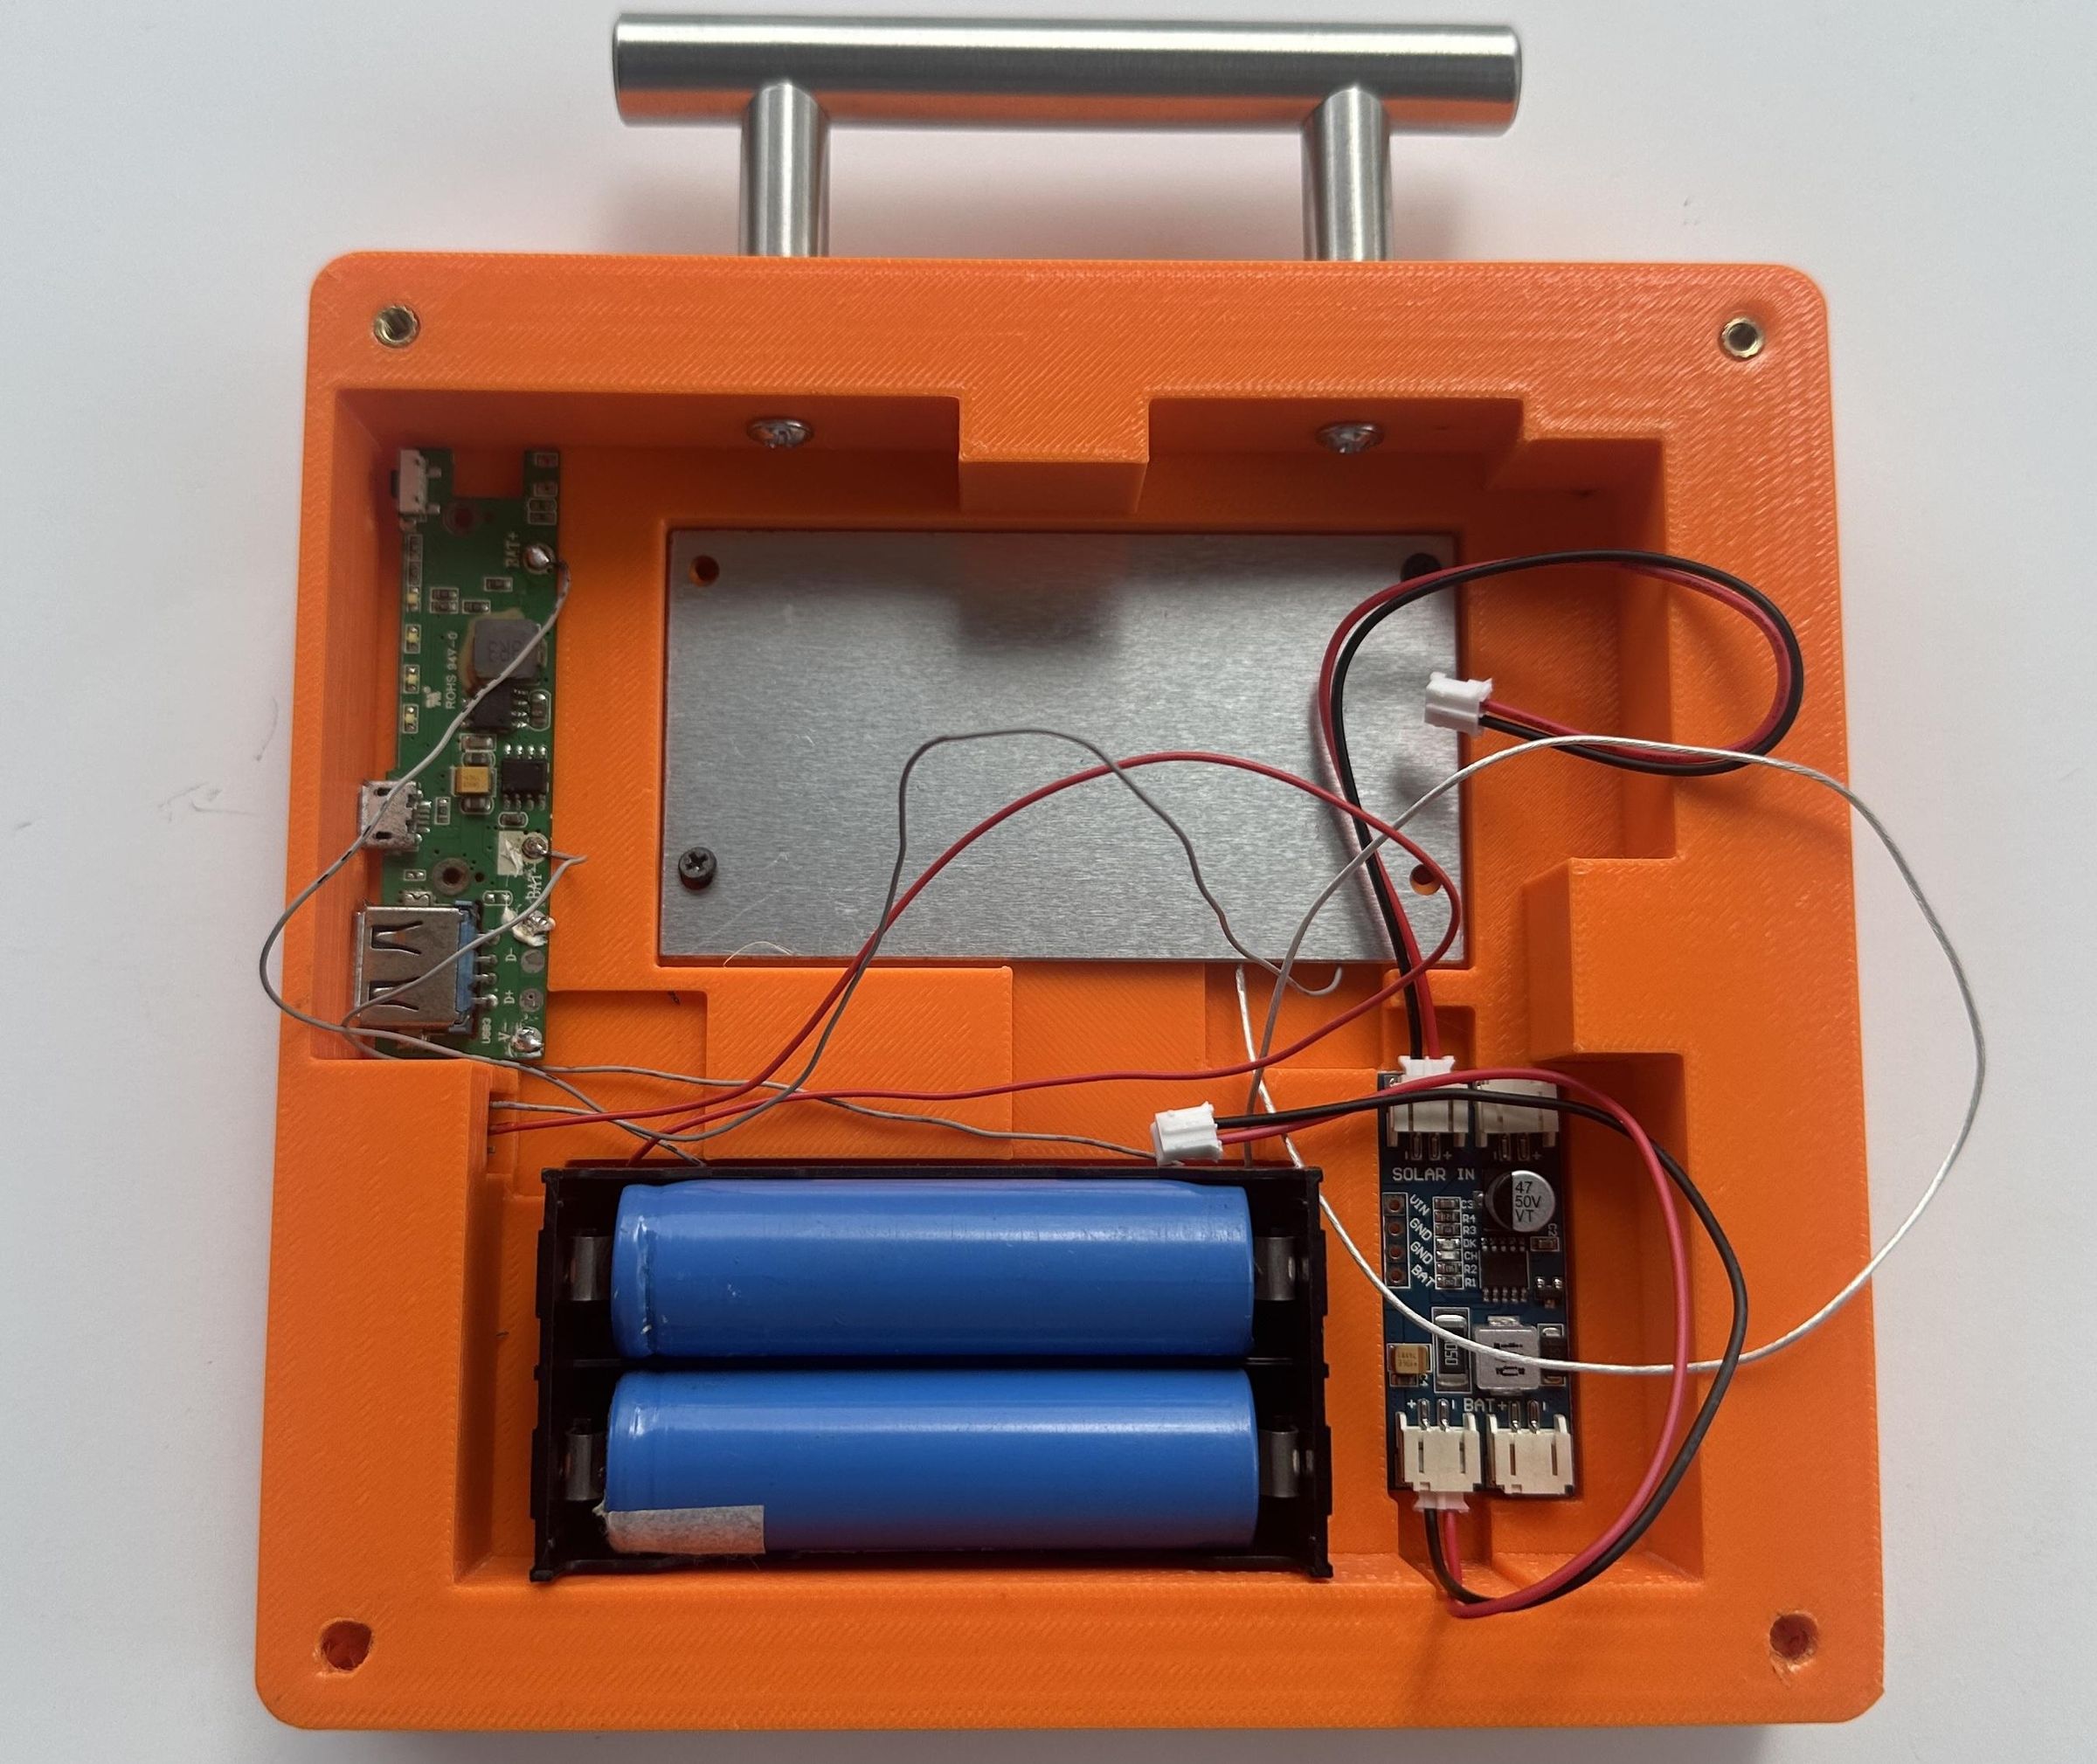
In this step, I installed all the electronic components into their designated positions on the 3D-printed enclosure. The 2-cell 18650 battery holder, 10 W COB LED panel, power-bank charging circuit, and solar charging module were placed in their respective mounting locations.
The components were secured using screws to prevent them from moving or becoming loose during transportation or use. I also arranged the components carefully to keep the wiring organized and to avoid interference between the different circuits. The mounting locations were designed into the enclosure, making the installation straightforward and keeping the overall device compact and clean.
After mounting all the components, I checked that the switches, charging ports, and other user-accessible parts were properly aligned with their openings in the enclosure before proceeding with the final wiring and assembly.
Final Assembly
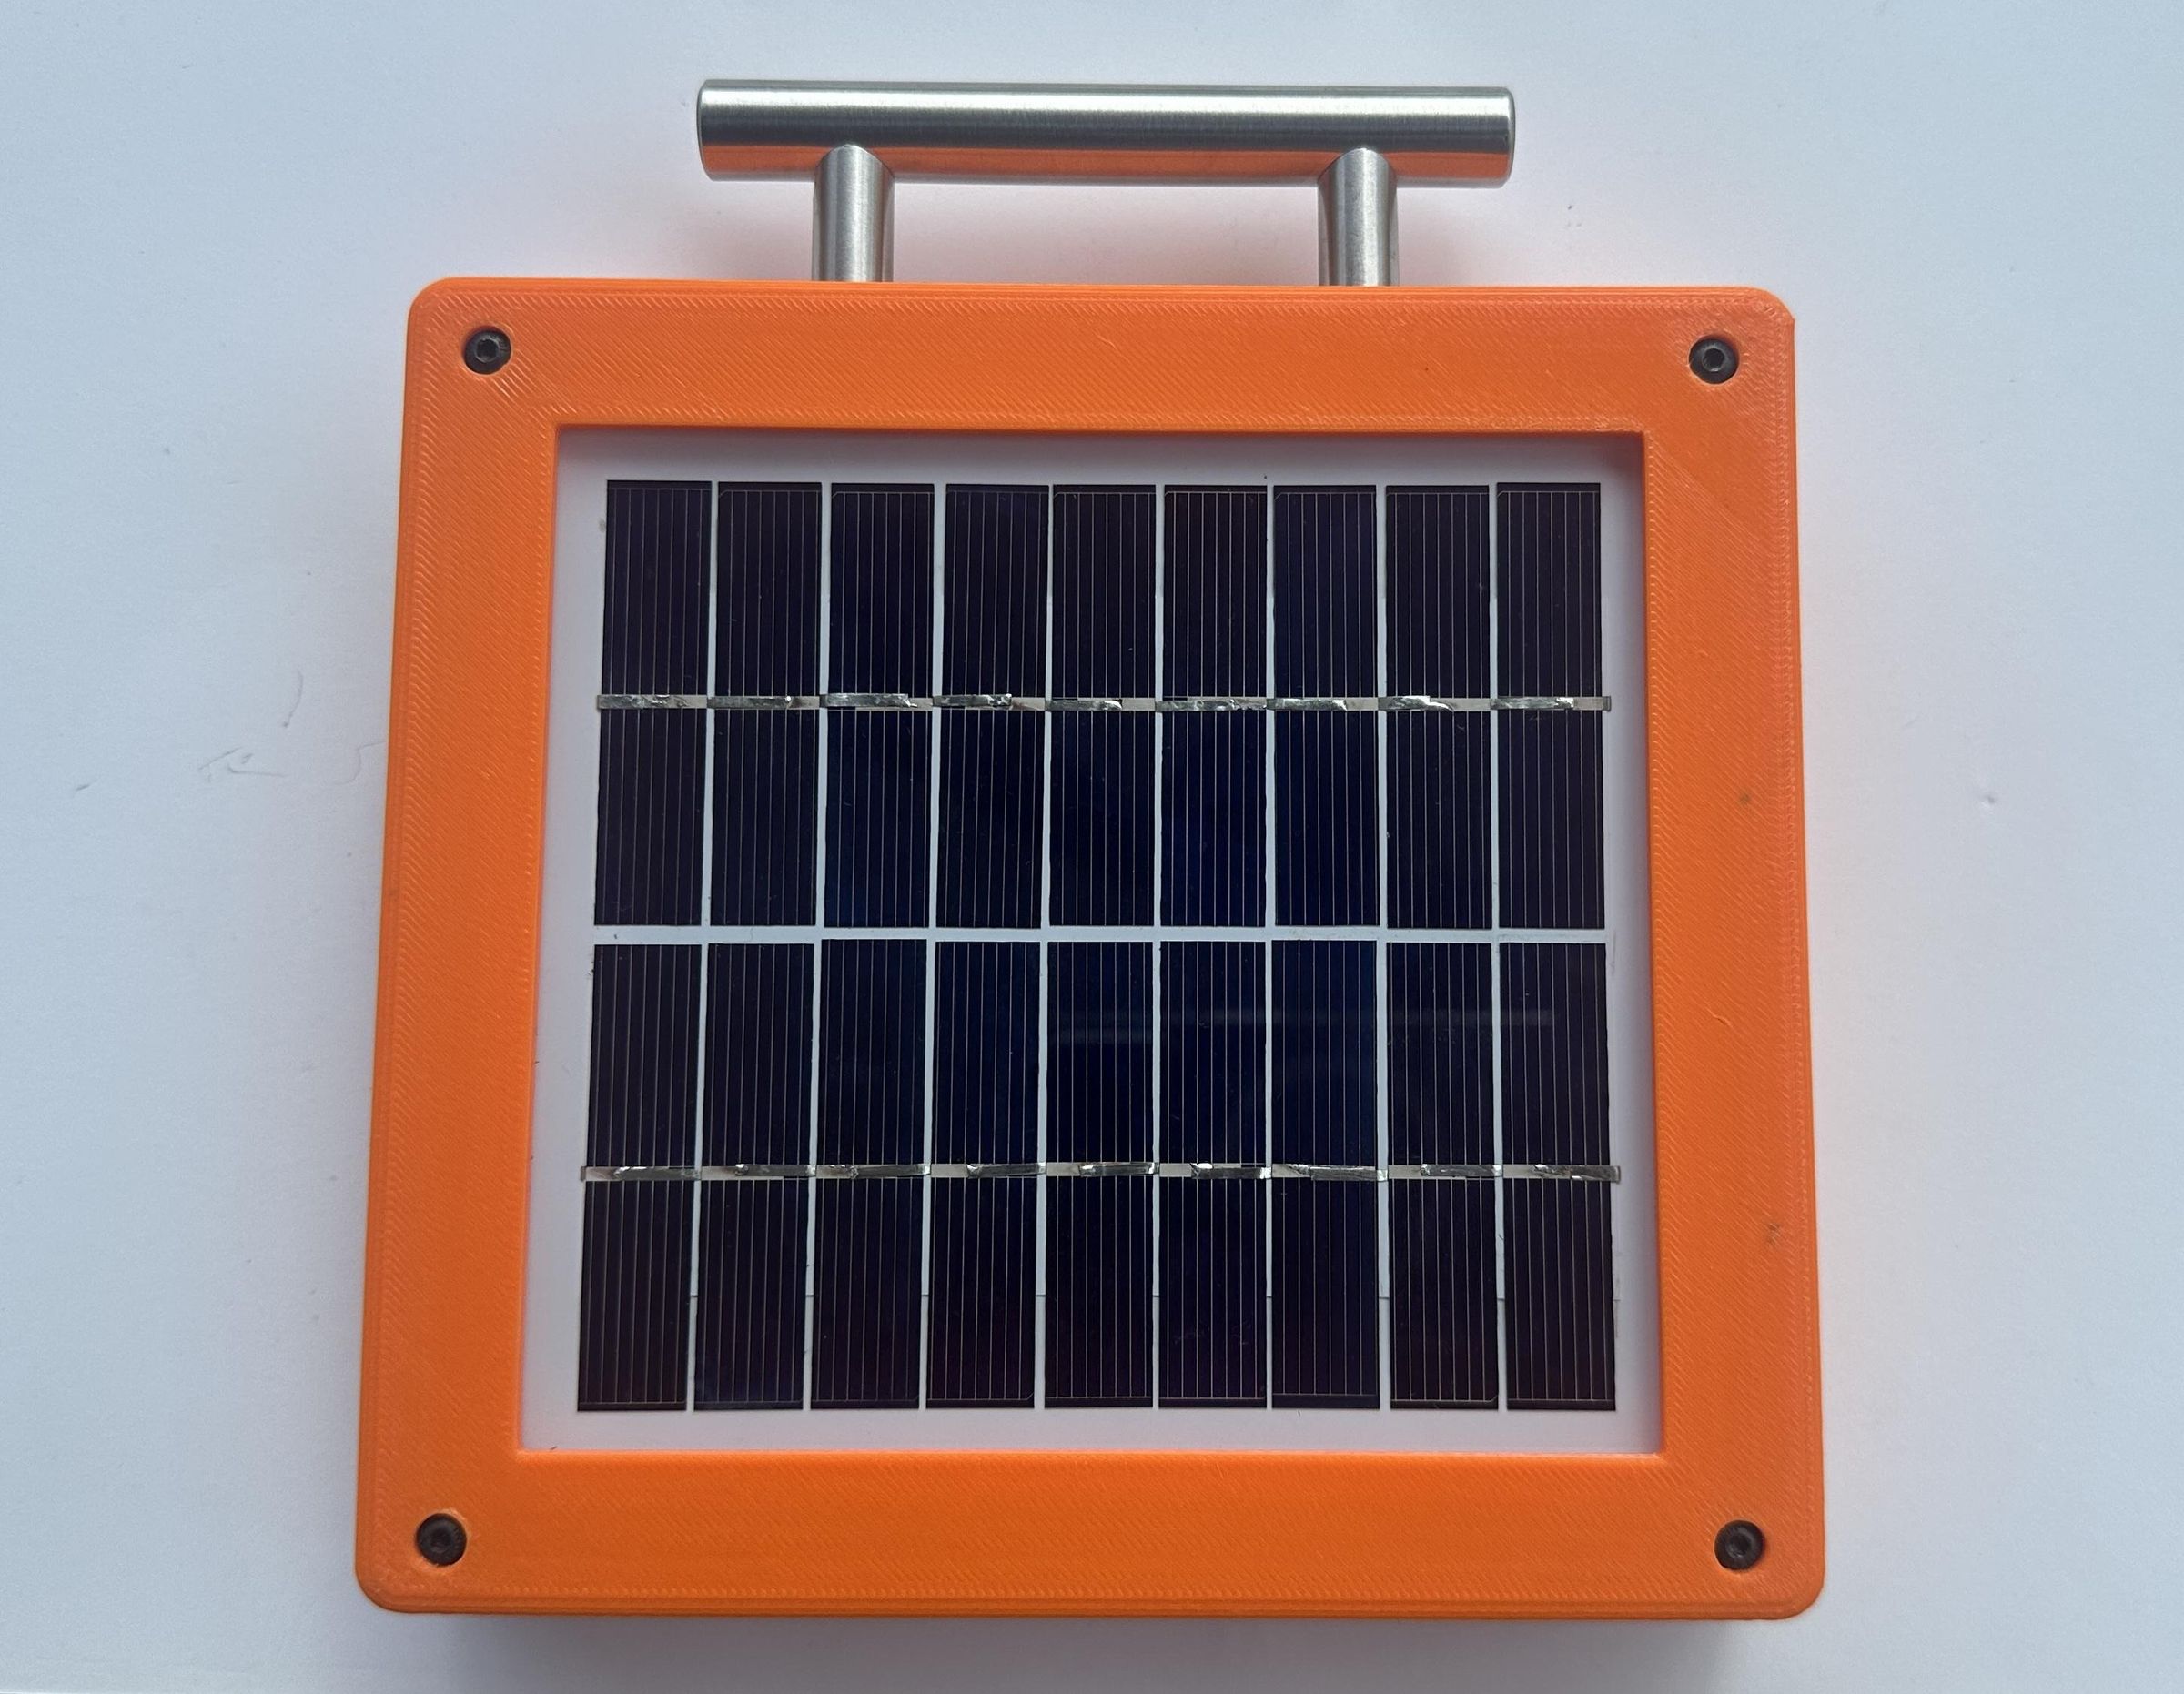
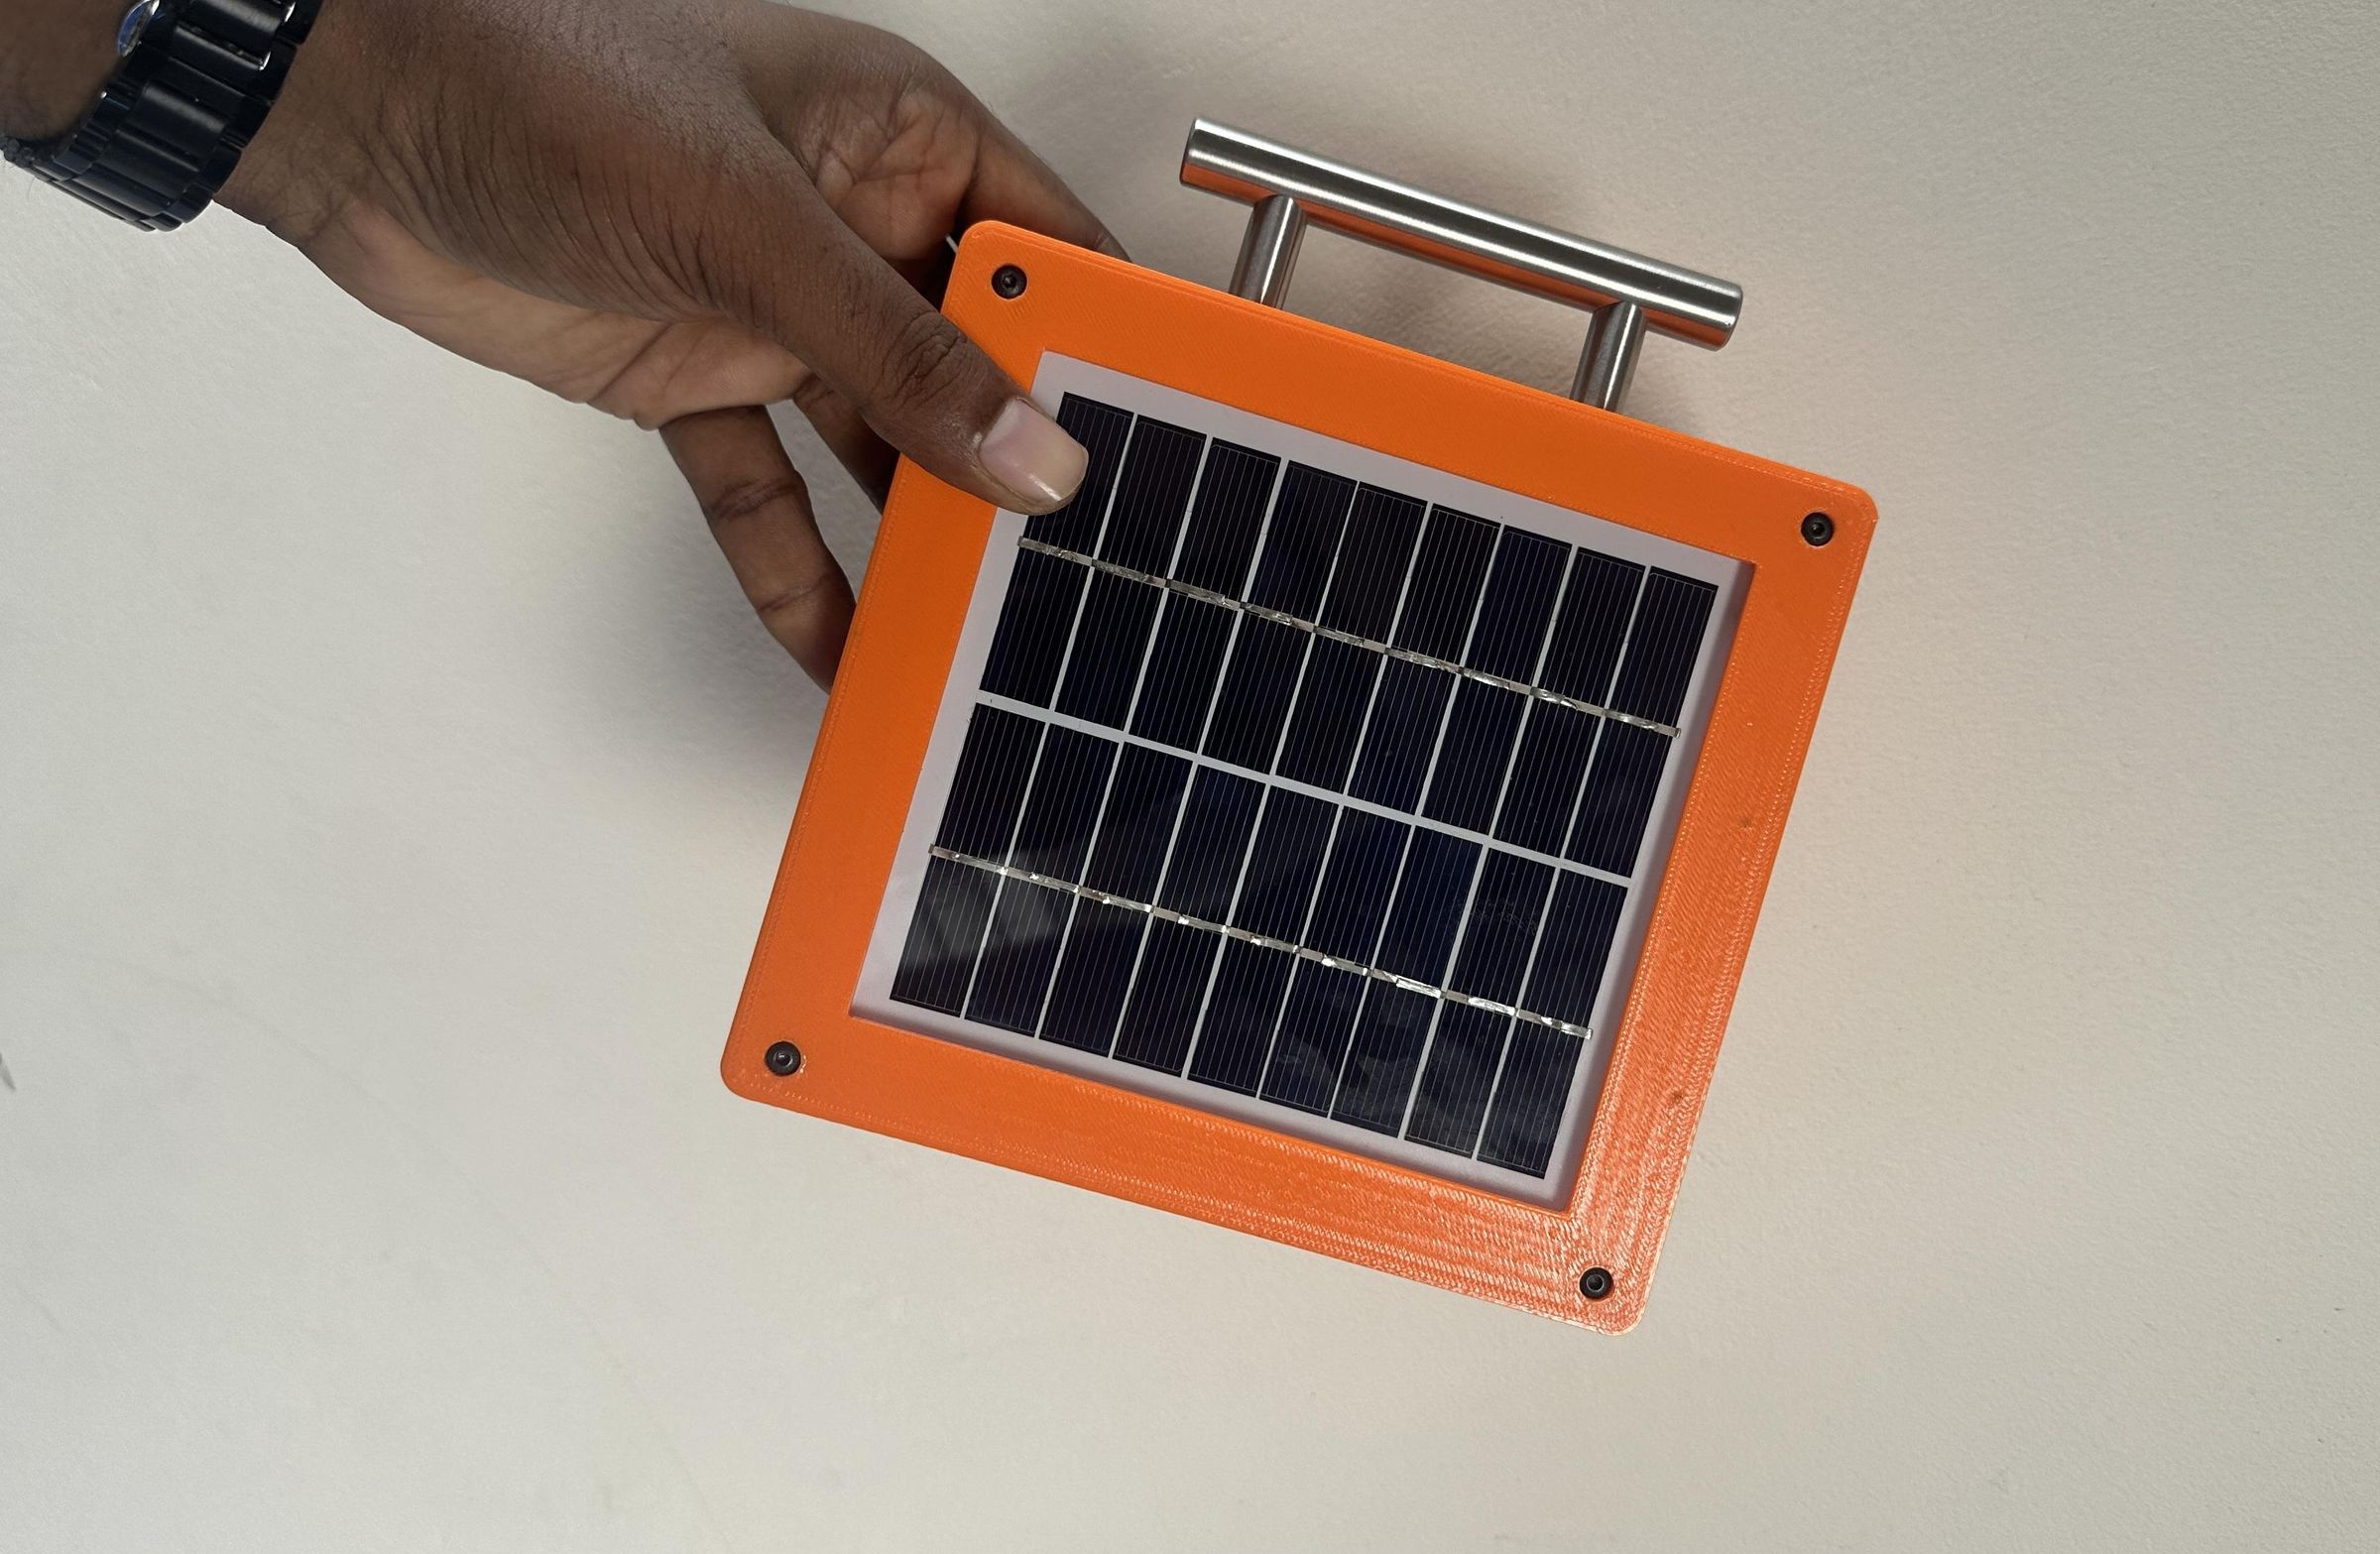
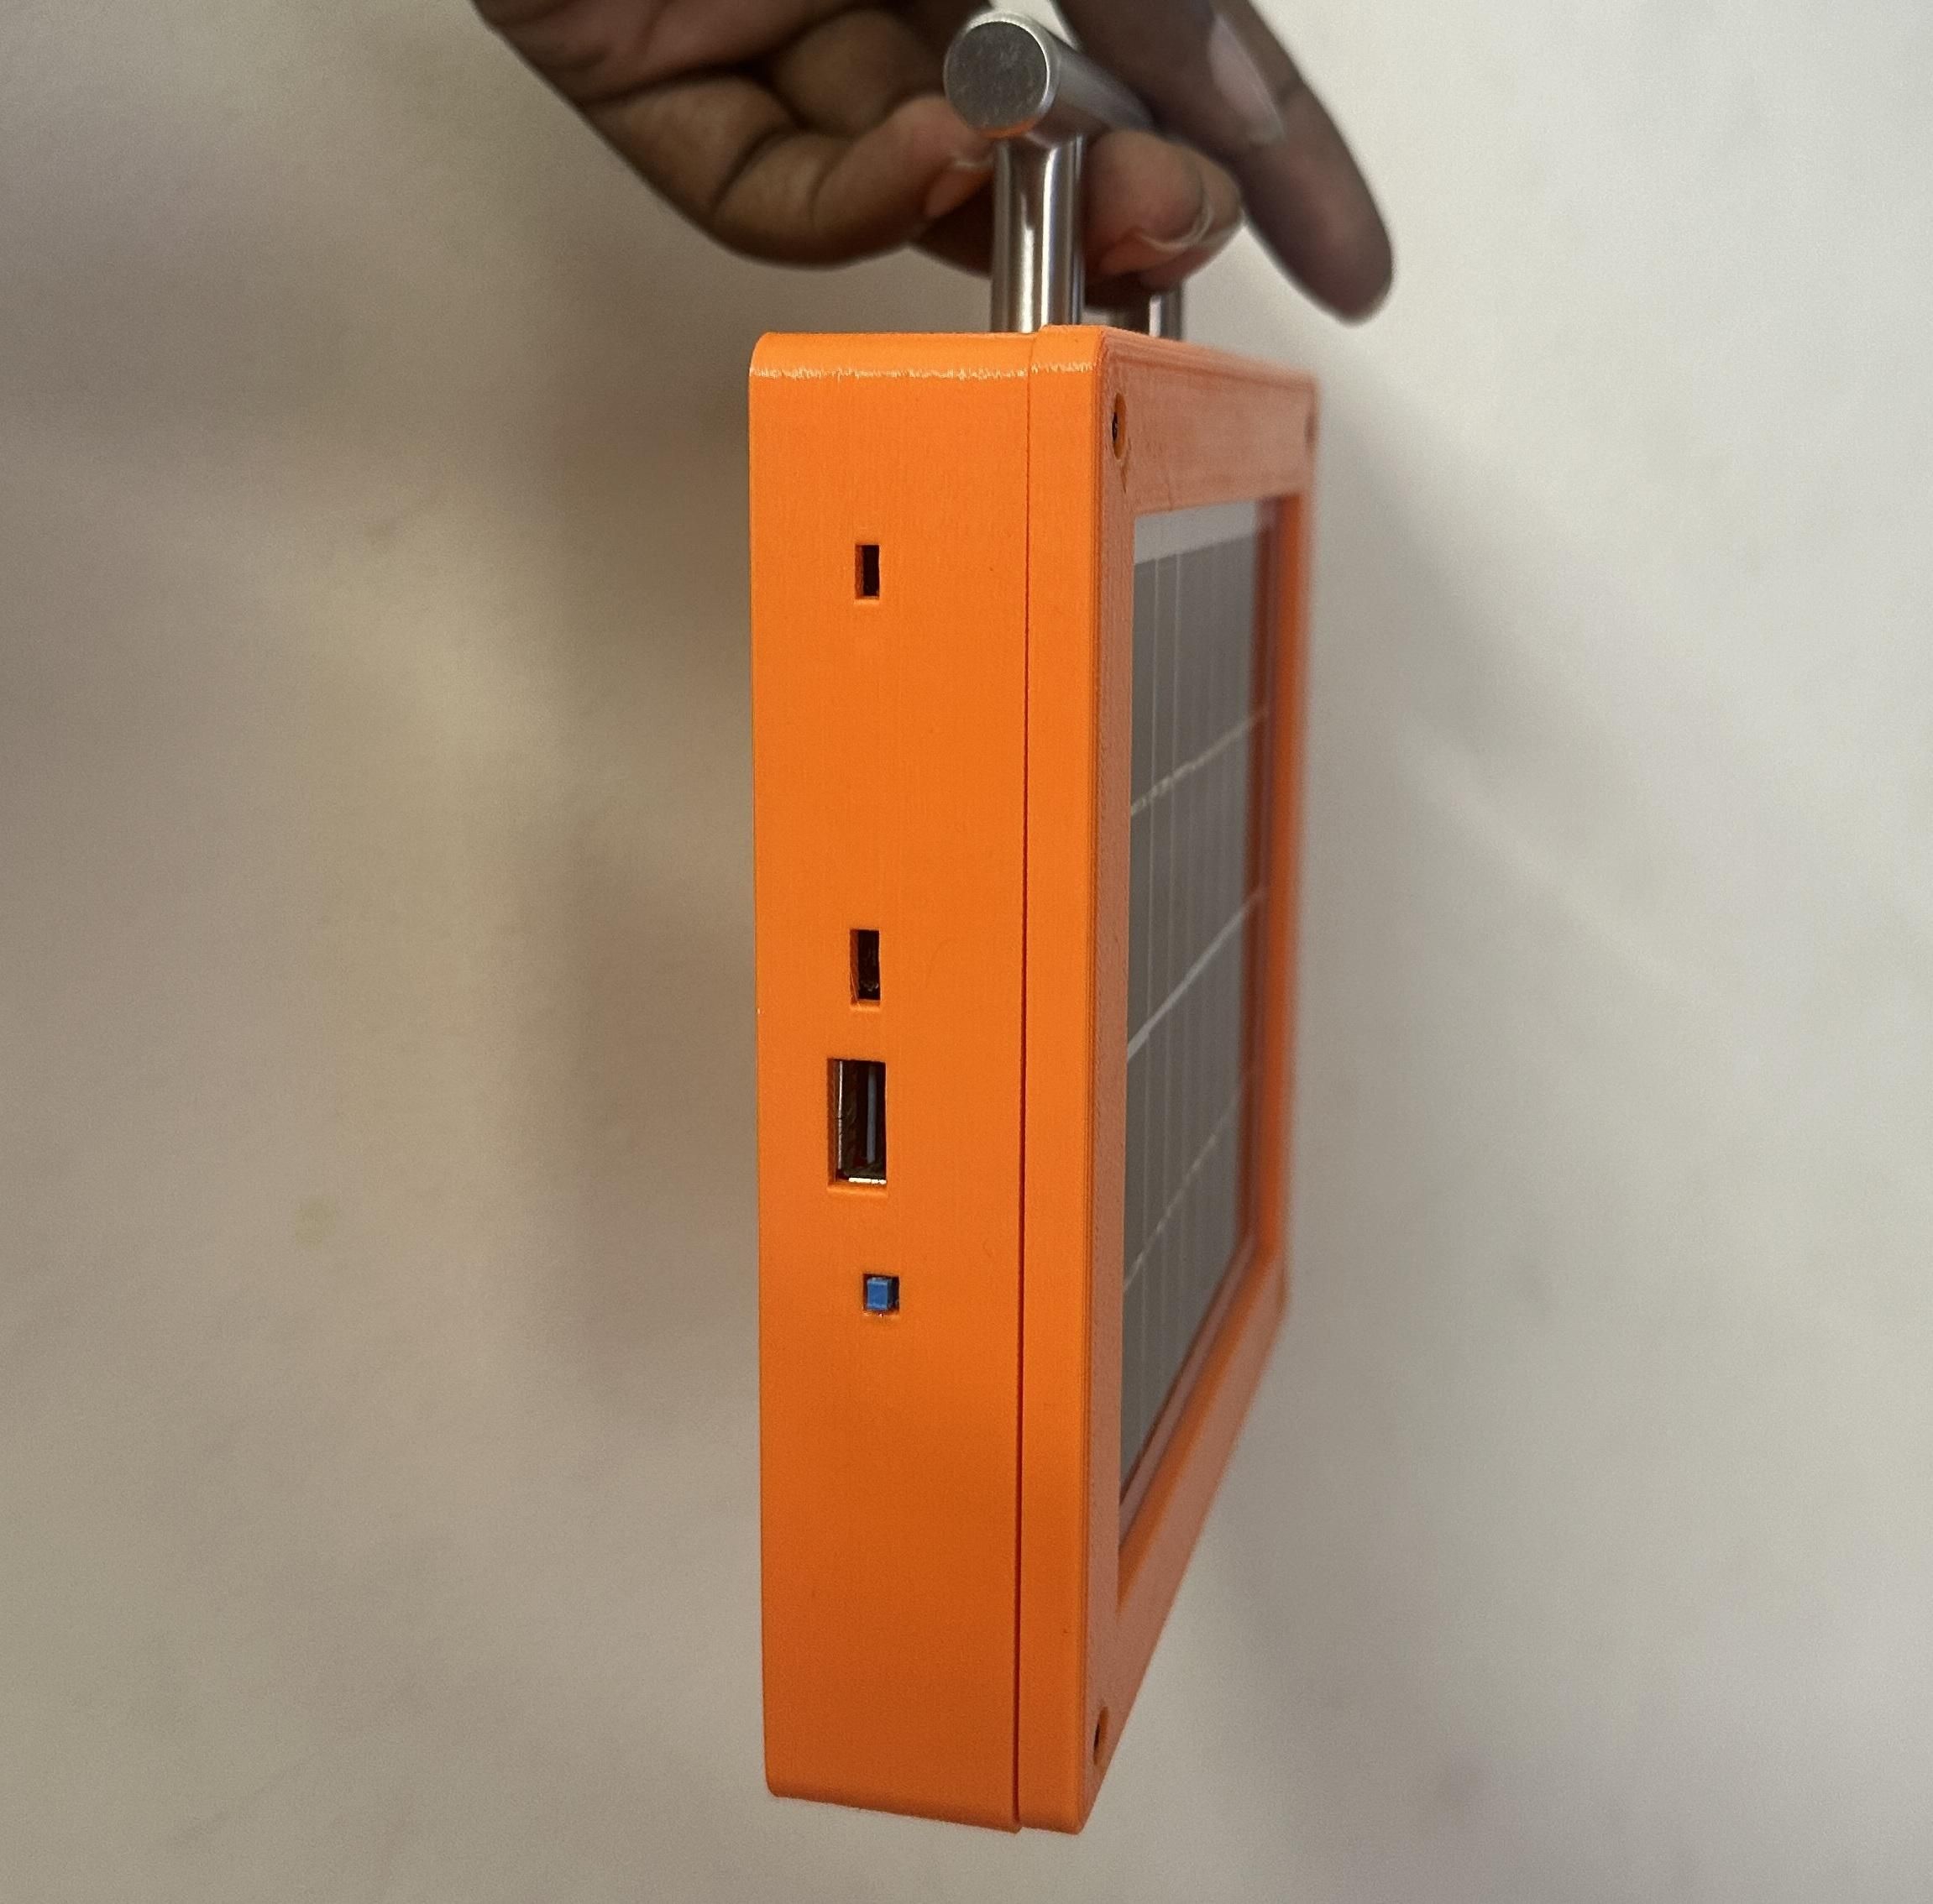
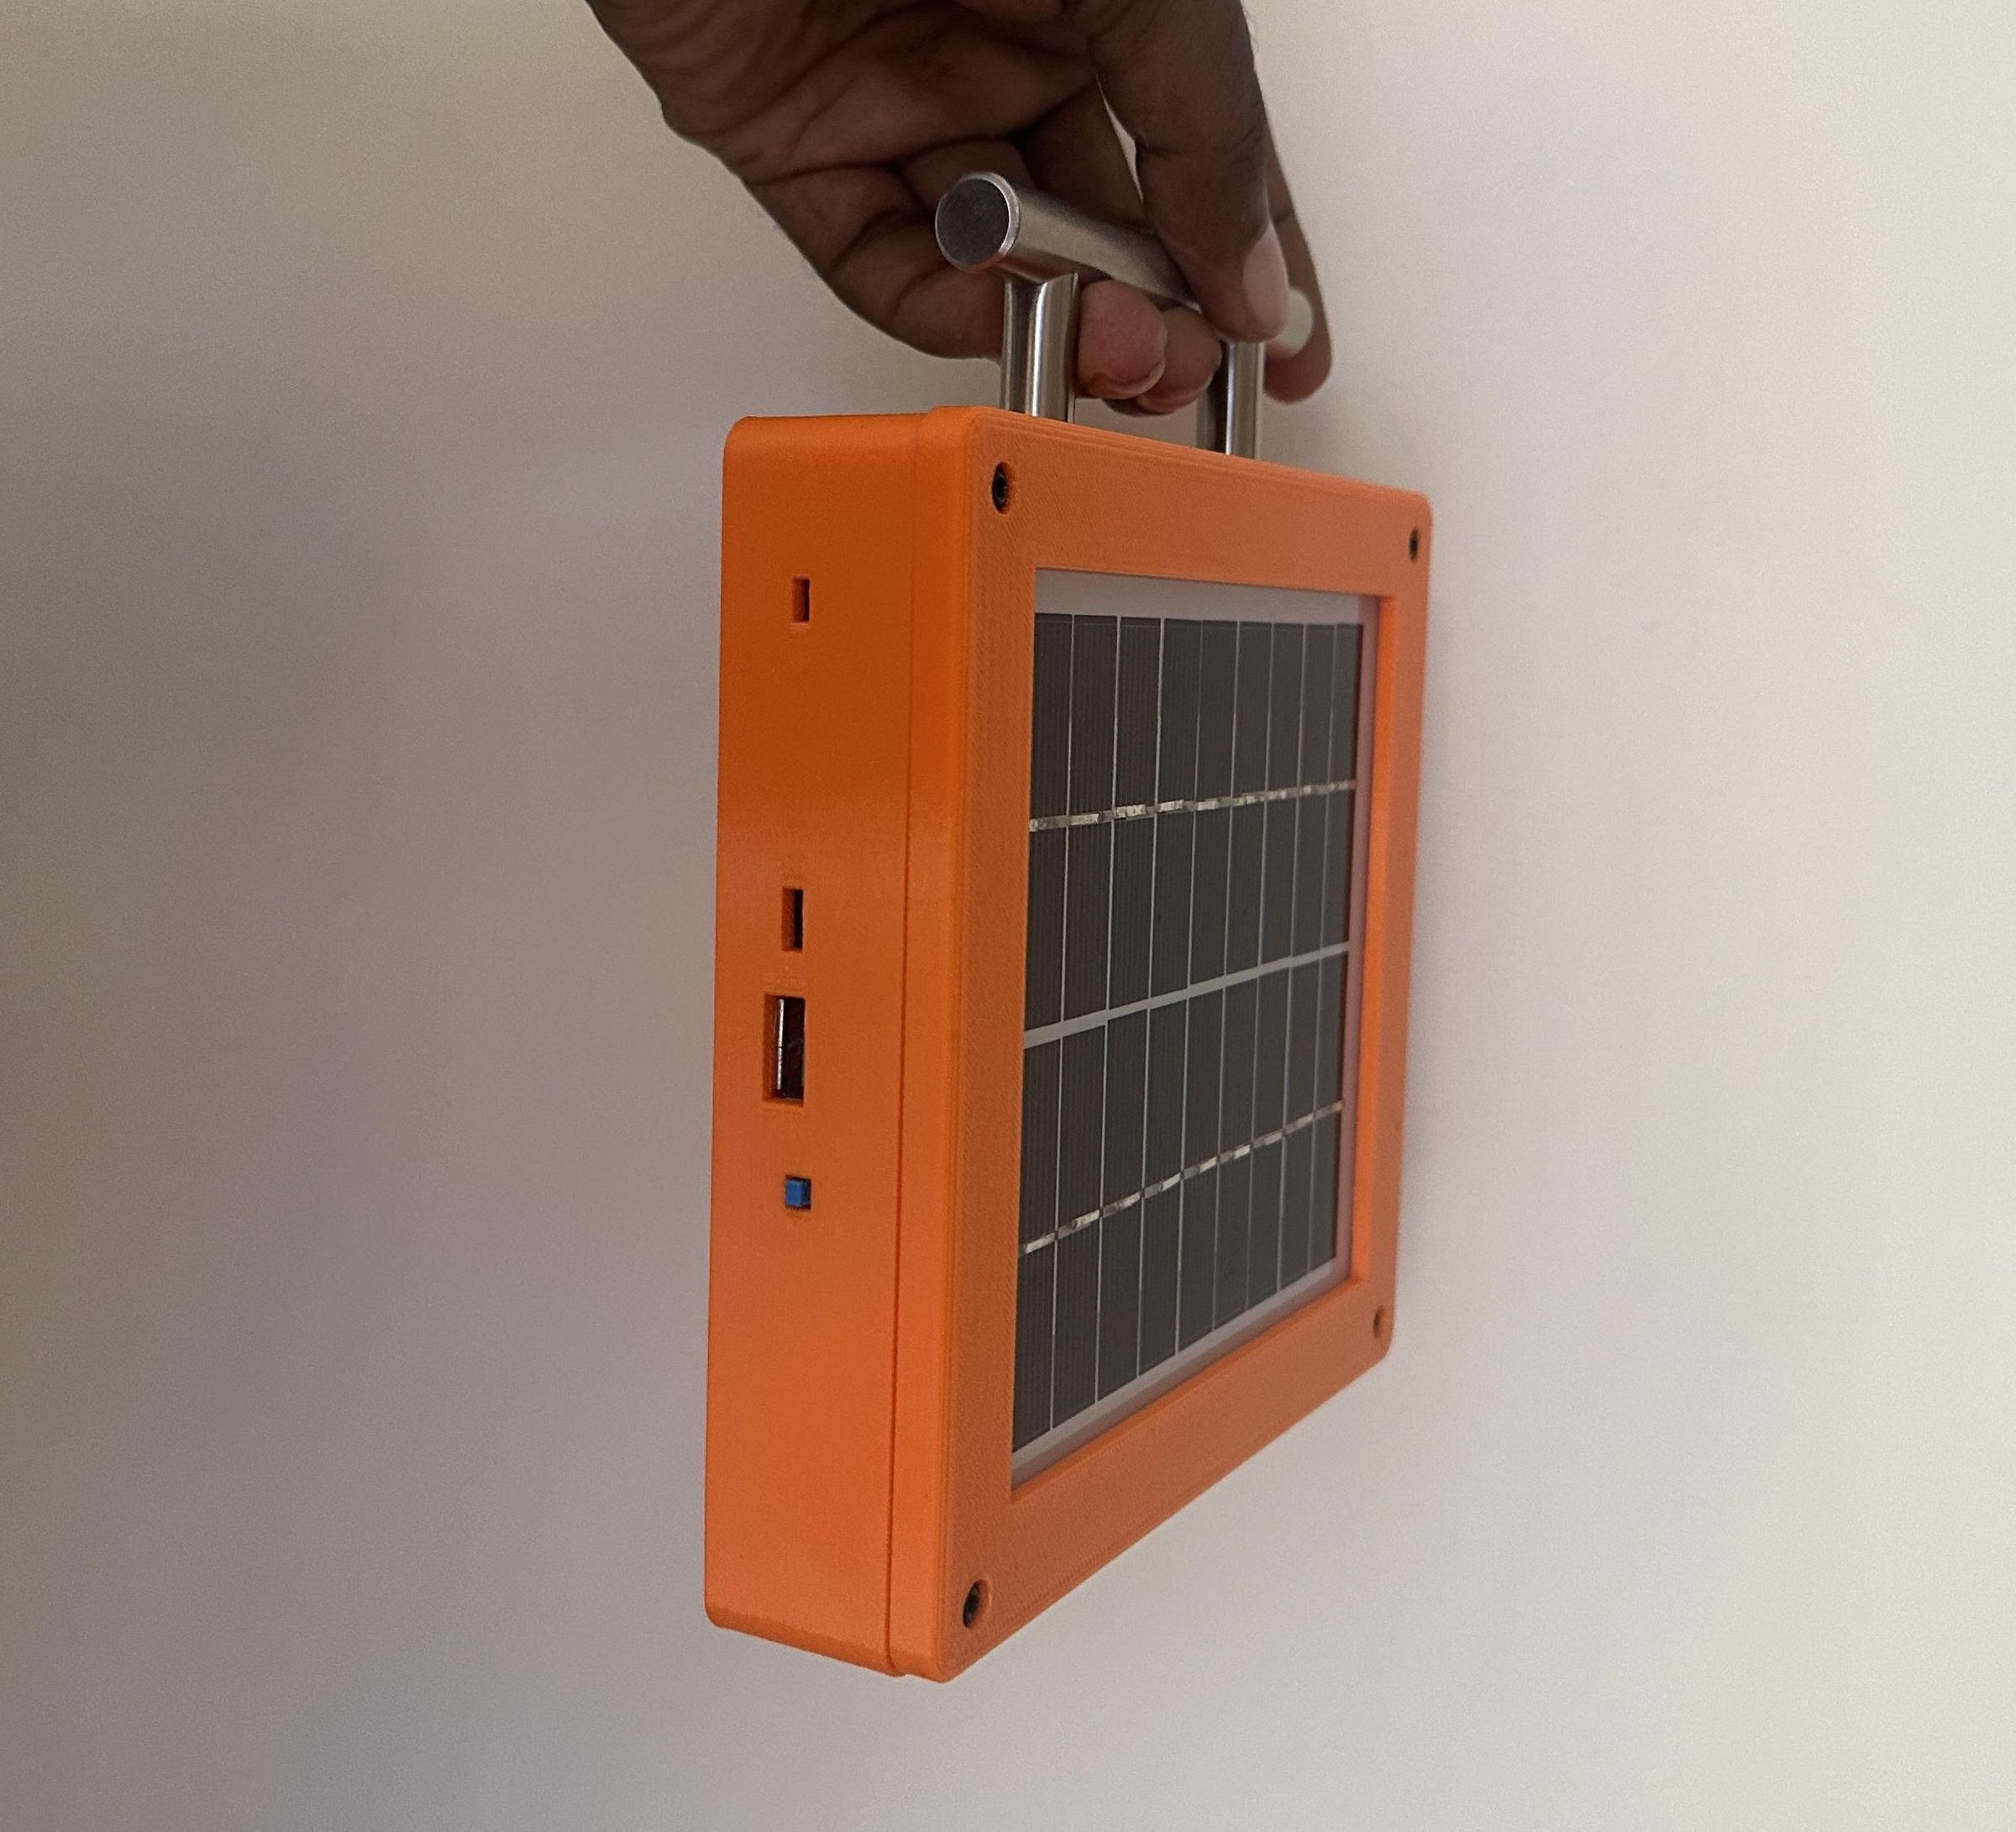
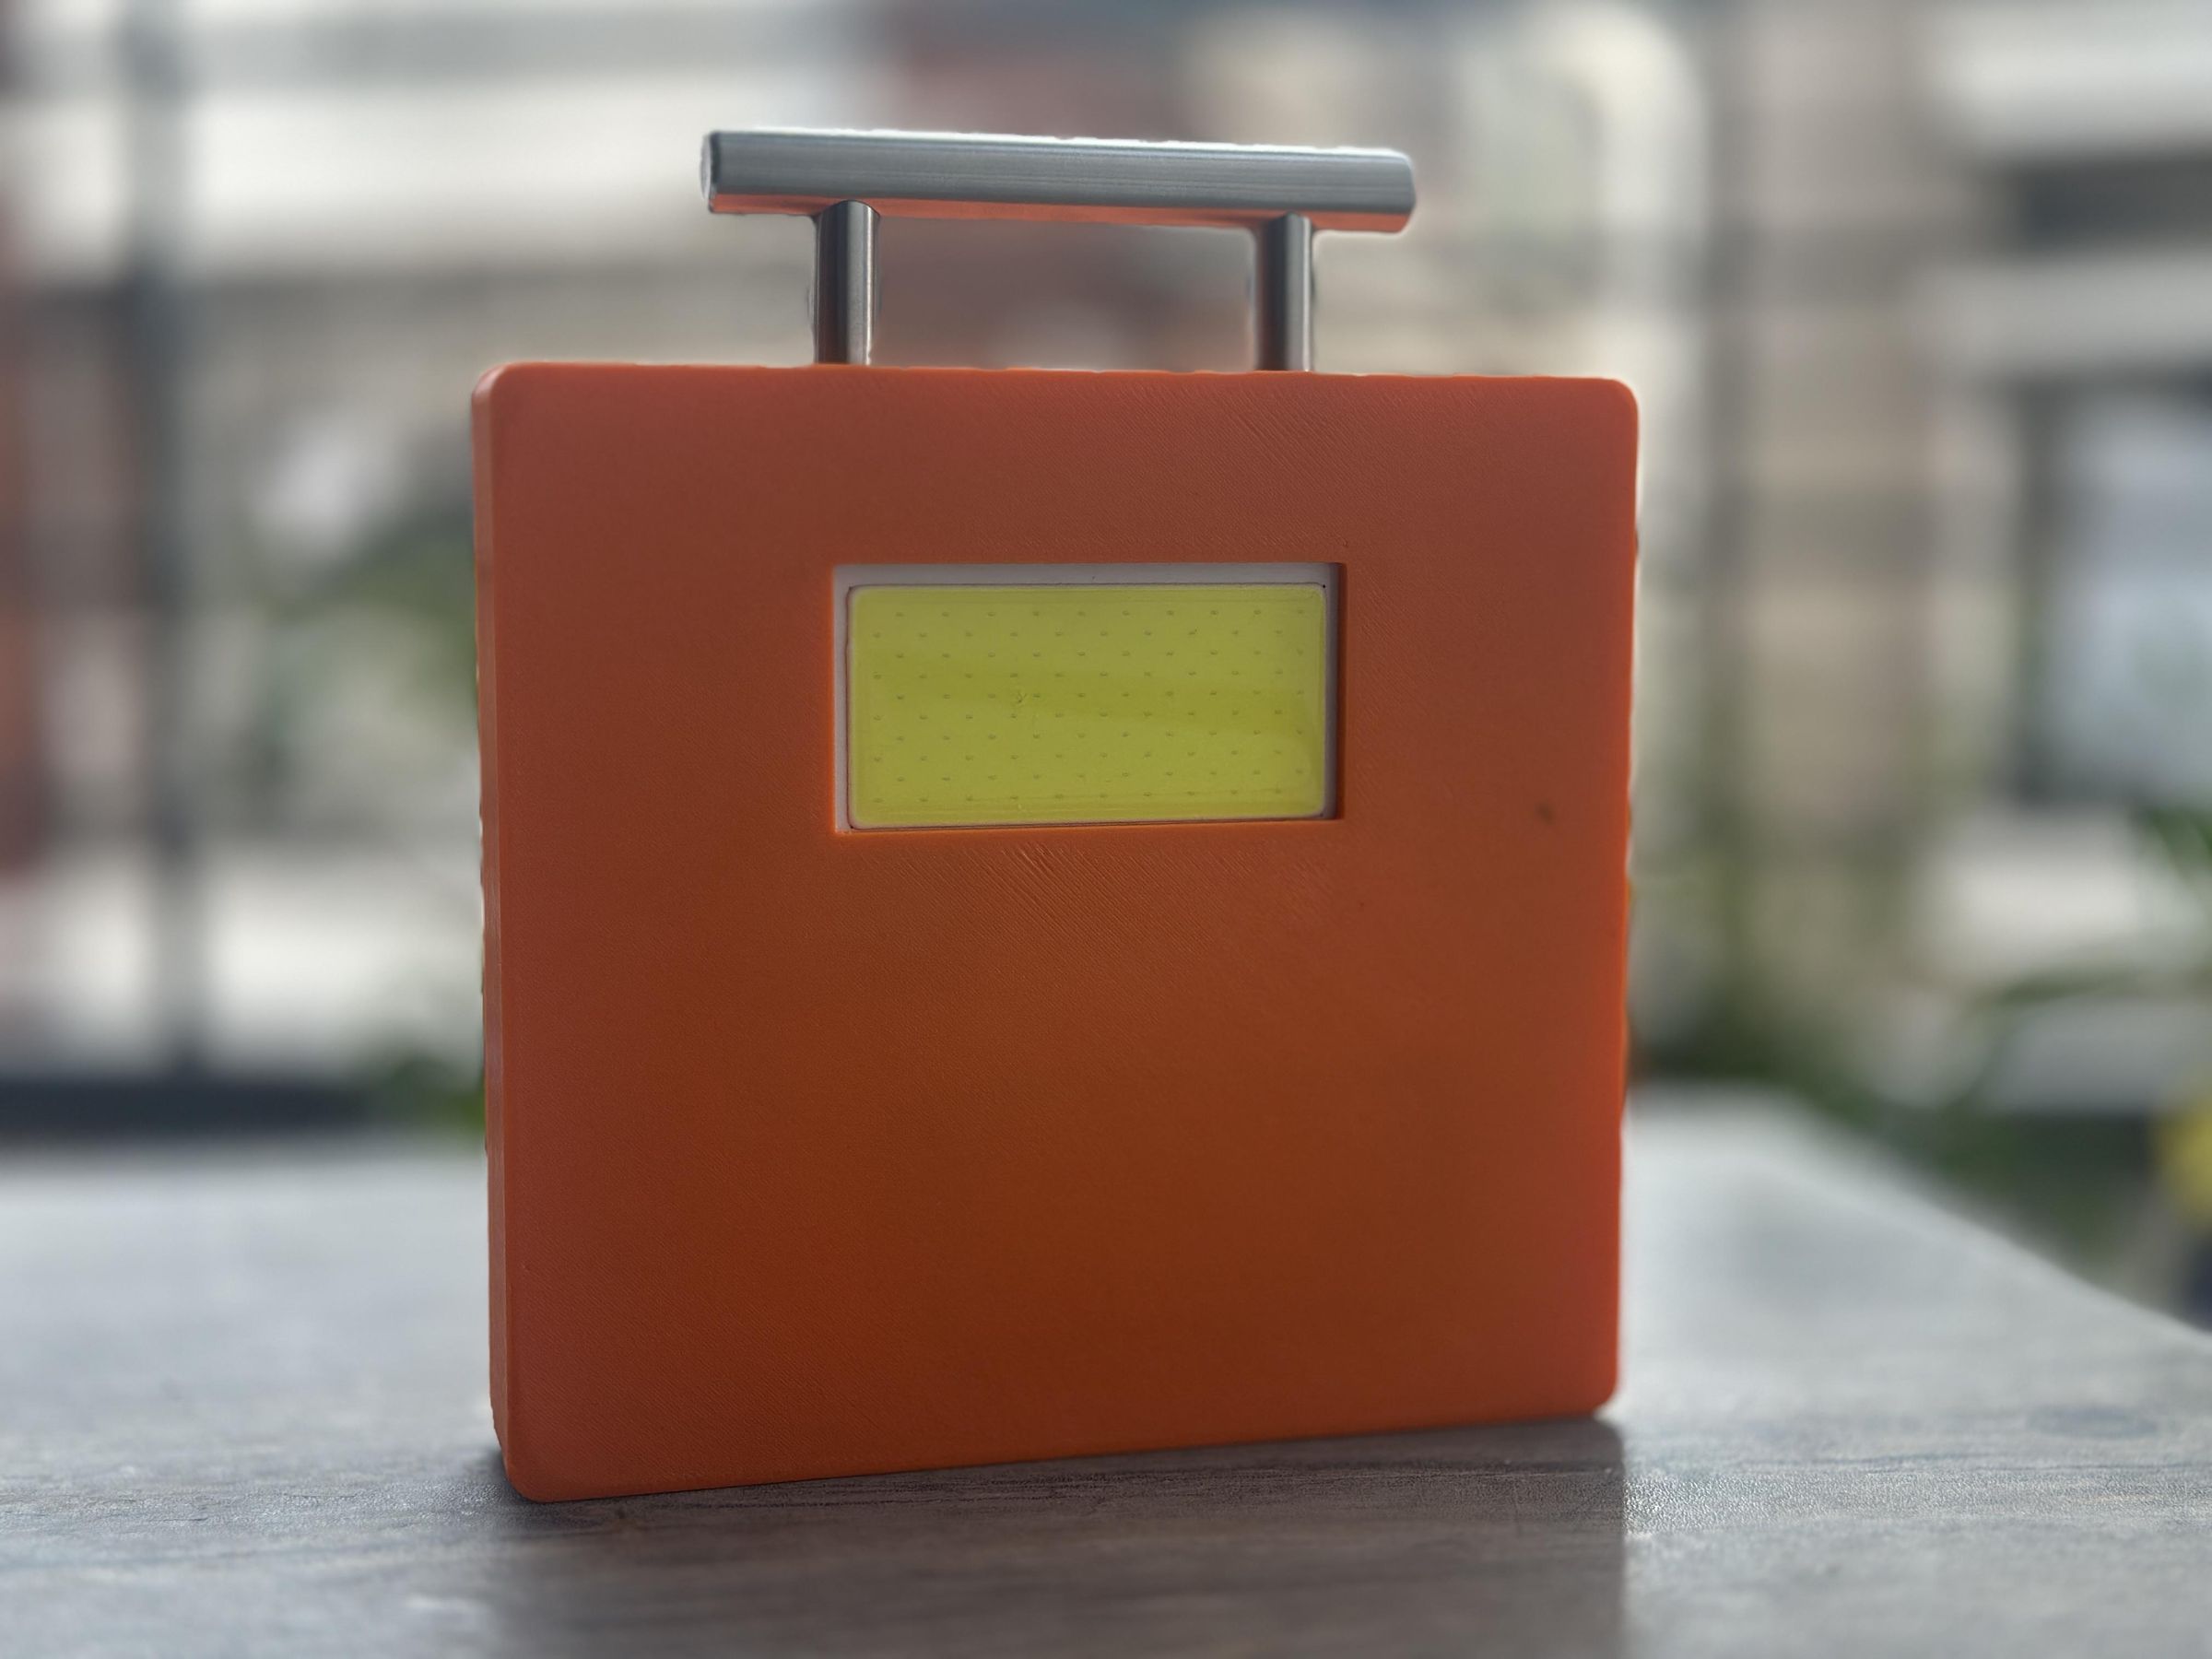
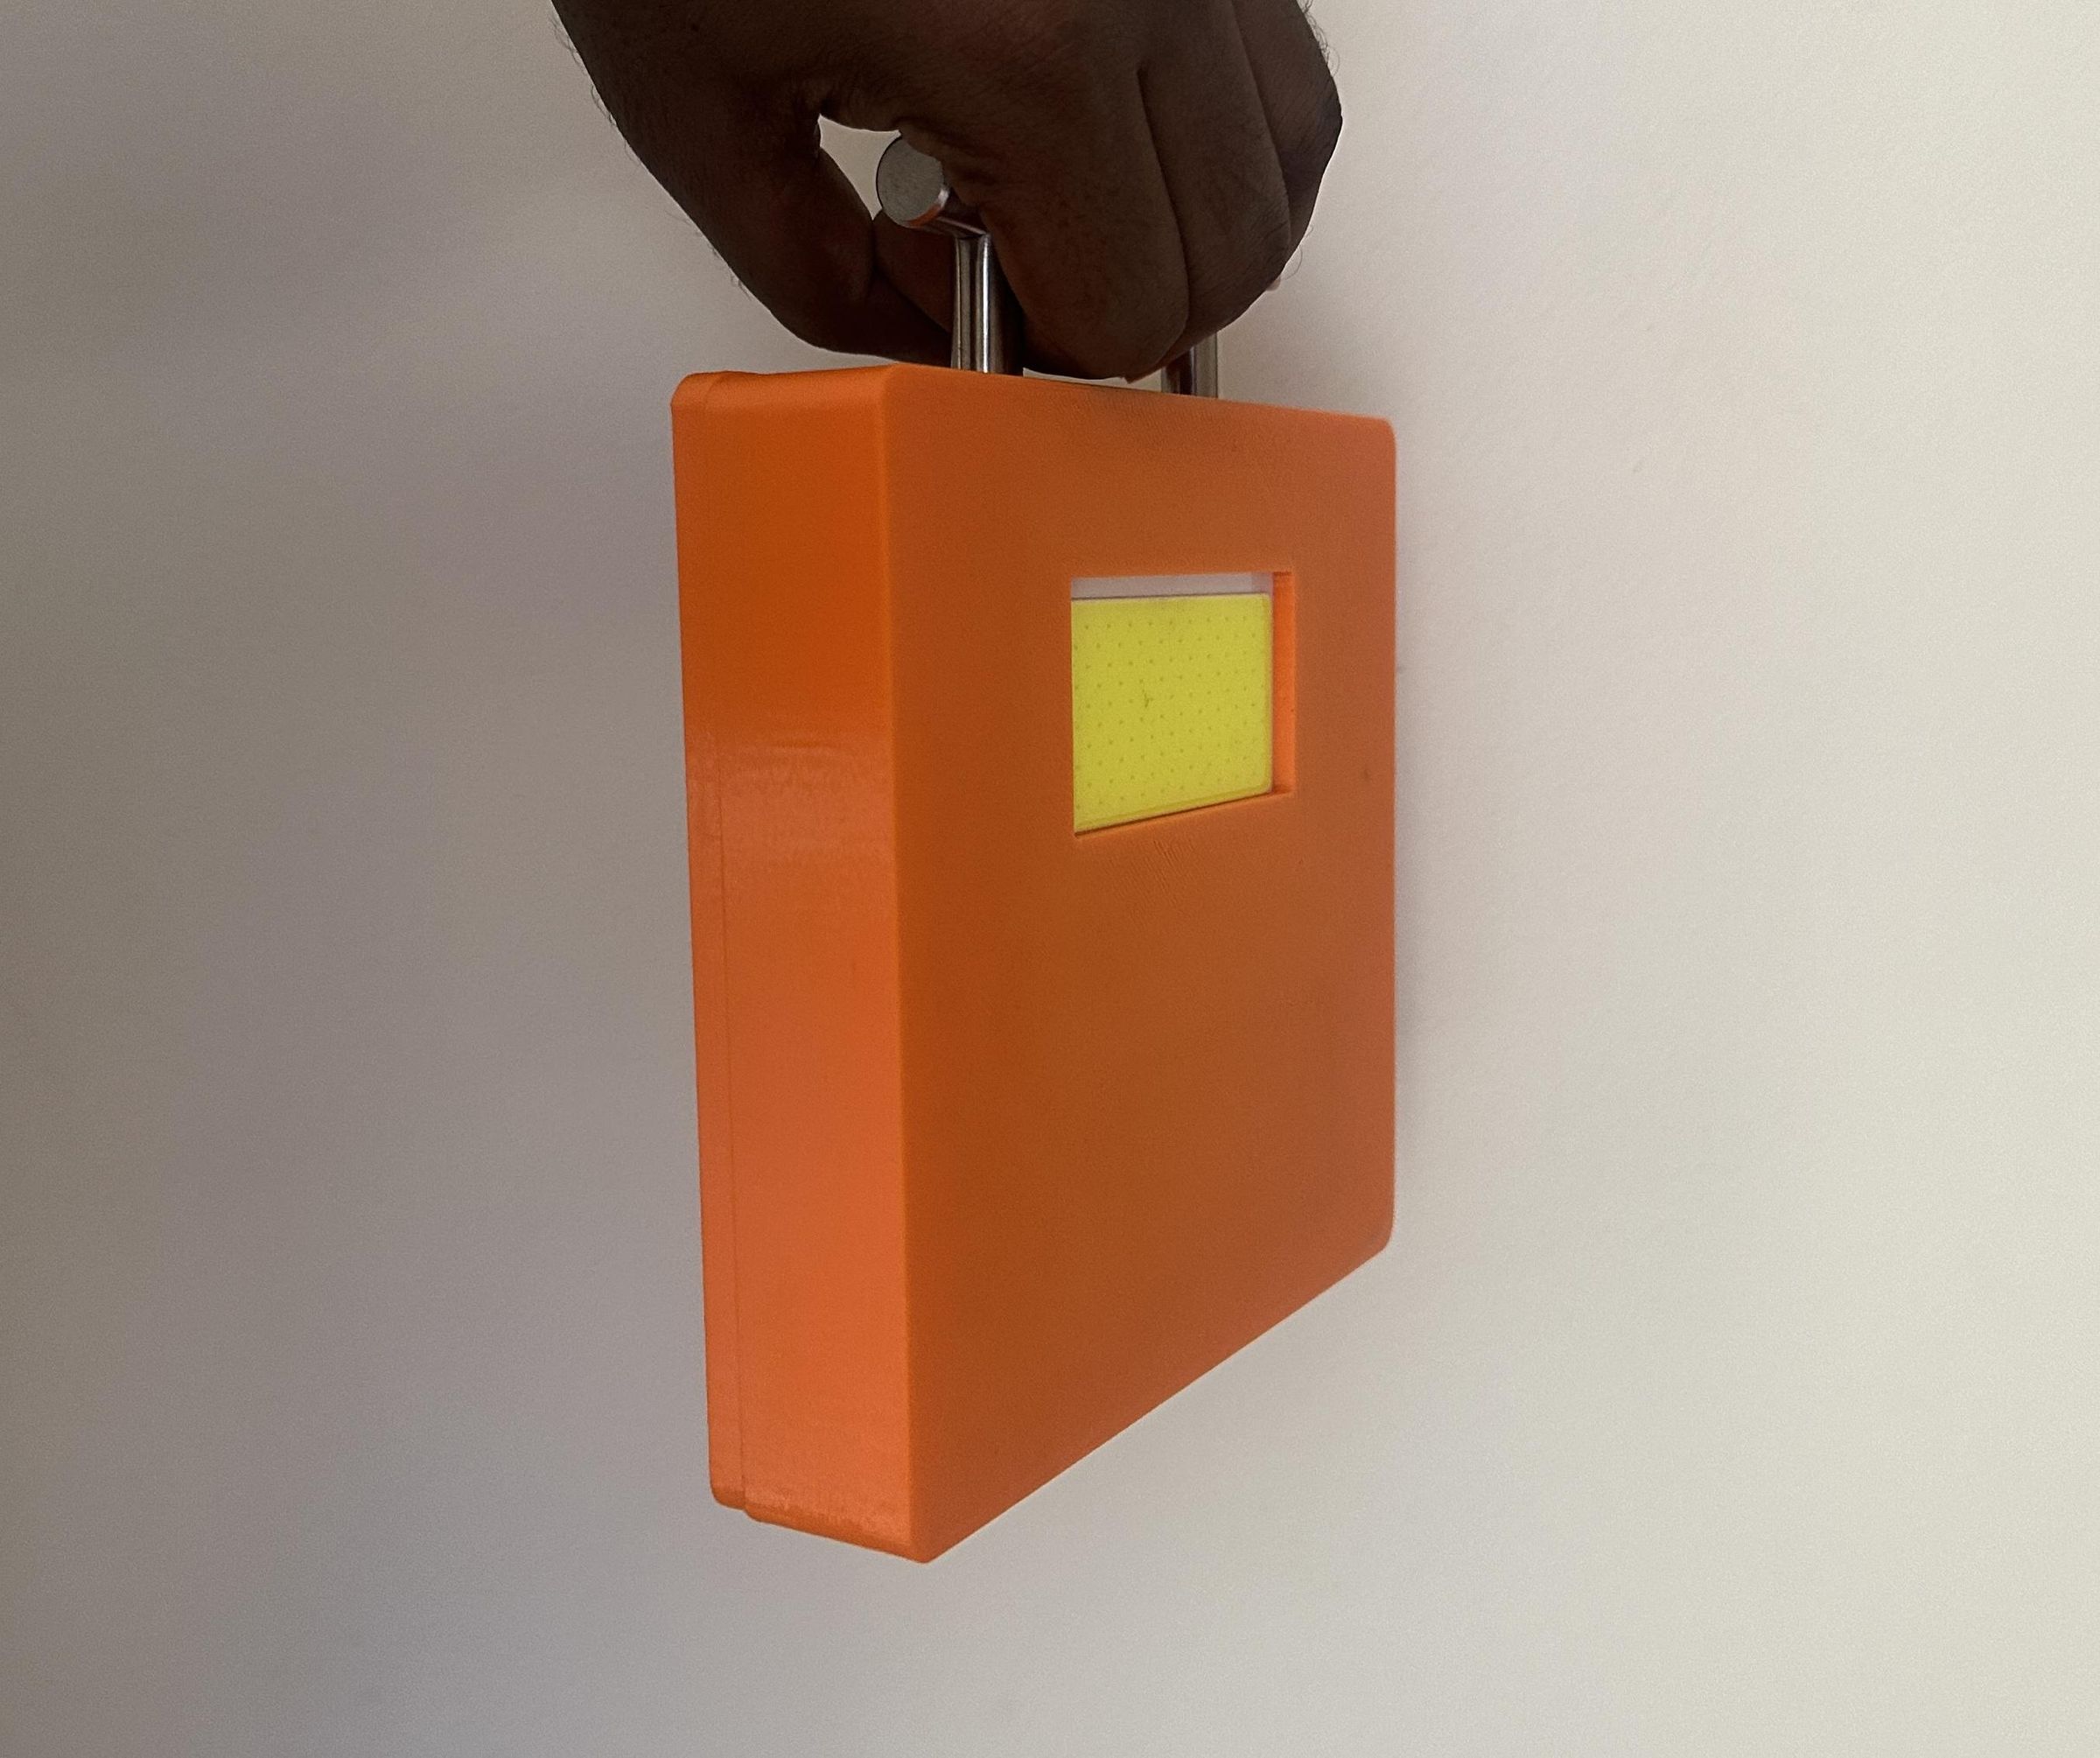
This is the final assembly step. After installing and securing all the electronic components inside the enclosure, I placed the solar panel on the top section of the 3D-printed enclosure and aligned it with the mounting holes.
The top section was then attached to the main enclosure using four M3 screws. I tightened the screws securely to hold both parts together while still keeping the enclosure easy to open for future maintenance.
Finally, I checked all the connections, switches, and charging ports to make sure everything was properly positioned and functioning correctly. The FloodAid solar emergency light and power bank is now complete and ready to use, providing emergency lighting and mobile charging whenever conventional electricity is unavailable.