Flying Rocket Animation


For this contest i have made a flying rocket animation by using Unity. To make this animation on Unity the tools that were used were 3D Spaceship Models, Animator Controller, Animation Clips, Particle Effects and environment setups such as the floor plane. I made this animation because i think it fits the Make It Fly category perfectly.
Supplies

The Supplies that were used were Unity.
Setting Up the Project

Create a New Project
- Open Unity Hub and create a new 3D project named "Flying Rocket Animation"
Organize Your Workspace
- In the Project window, create folders: Models, scenes, Materials, Animations, and Effects.
Importing Assets


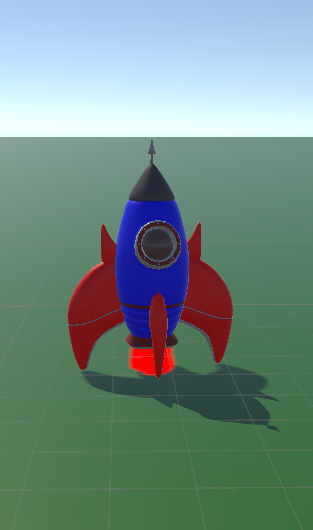
Get the Spaceship Model
- Import a spaceship model (e.g., FBX/OBJ file or Unity Asset Store).
- Place the model in the Models folder.
Textures and Materials
- Create materials in the Materials folder and assign textures to the spaceship model.
- Apply the materials to the spaceship in the Inspector.
Environment Setup
- Add a plane to act as the ground (or a space background).
The Model the was used in my animation was from: https://www.turbosquid.com/3d-models/rocket-cartoon-2065520
Animating the Spaceship


- Set Up an Animator Controller
- Create an Animator Controller in the Animations folder.
- Assign it to the spaceship:
- Select the spaceship GameObject.
- In the Inspector, click Add Component > Animator.
- Drag the Animator Controller into the Controller field.
- Create Animation Clips
- Open the Animation window (Window > Animation > Animation).
- Select the spaceship in the Hierarchy and click "Create" to make a new animation clip (e.g., "Takeoff").
- Save the animation in the Animations folder.
- Move the Rocket in the Animation
- Enable "Record" mode in the Animation window.
- Add keyframes for the spaceship’s position and rotation over time to simulate takeoff.
- Exit "Record" mode when finished.
Adding Effects


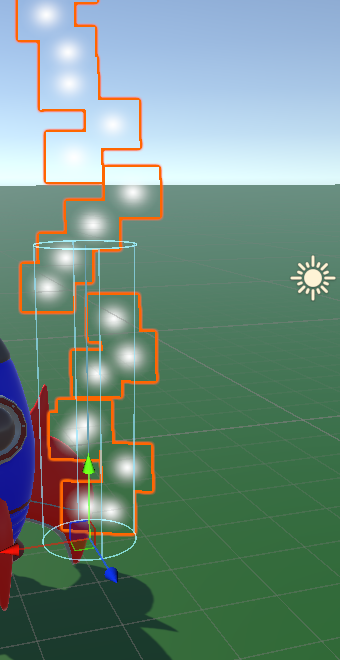
Create a Particle System for Flames
- In the Hierarchy, right-click and choose Effects > Particle System.
- Rename it "Thruster Flames" and position it at the spaceship's engine nozzle.
Customize the Particle System
- Adjust settings in the Inspector:
- Duration: Set to 1 (continuous).
- Start Lifetime: 0.5–1.0 seconds.
- Start Size: 0.2–0.5.
- Start Speed: 1–3.
- Start Color: Set a gradient transitioning from yellow to red.
- Configure the Shape module:
- Set the shape to "Cone" and adjust angle/radius to match the nozzle.
- Enable the Noise module for dynamic flame motion.
Create a Material for Flames
- In the Materials folder, create a material.
- Set the Shader to Particles > Additive and assign a flame texture.
- Apply the material to the particle system.
To get the same Thruster Flames result as the animation make sure to copy everything in the inspector
Attach Flames to Thrusters

To attach the Thruster Flames to the Rocket:
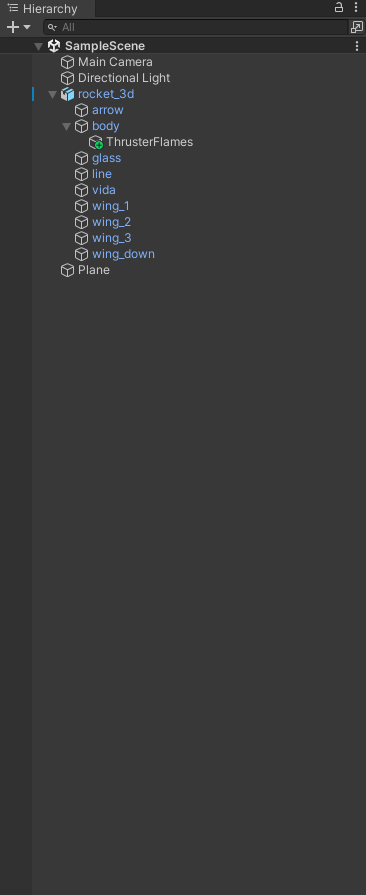
Drag the "ThrusterFlames" particle system onto the spaceship in the Hierarchy to make it a child object.
Position the flames at the engine nozzle using the Transform tool.
Enable "Looping" in the Particle System to ensure continuous flames.
Finish

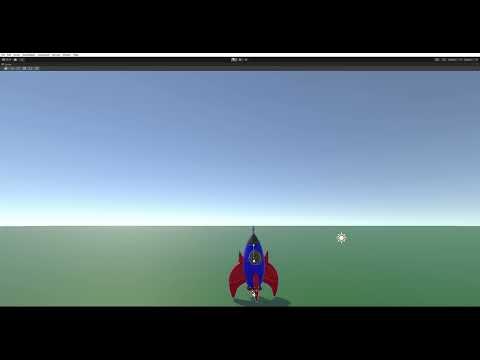
Here is the result of my Animation. Thank You for watching!