Football Robot (or Soccer, If You Live on the Other Side of the Pond)
by pablo de paris in Circuits > Arduino
4503 Views, 37 Favorites, 0 Comments
Football Robot (or Soccer, If You Live on the Other Side of the Pond)

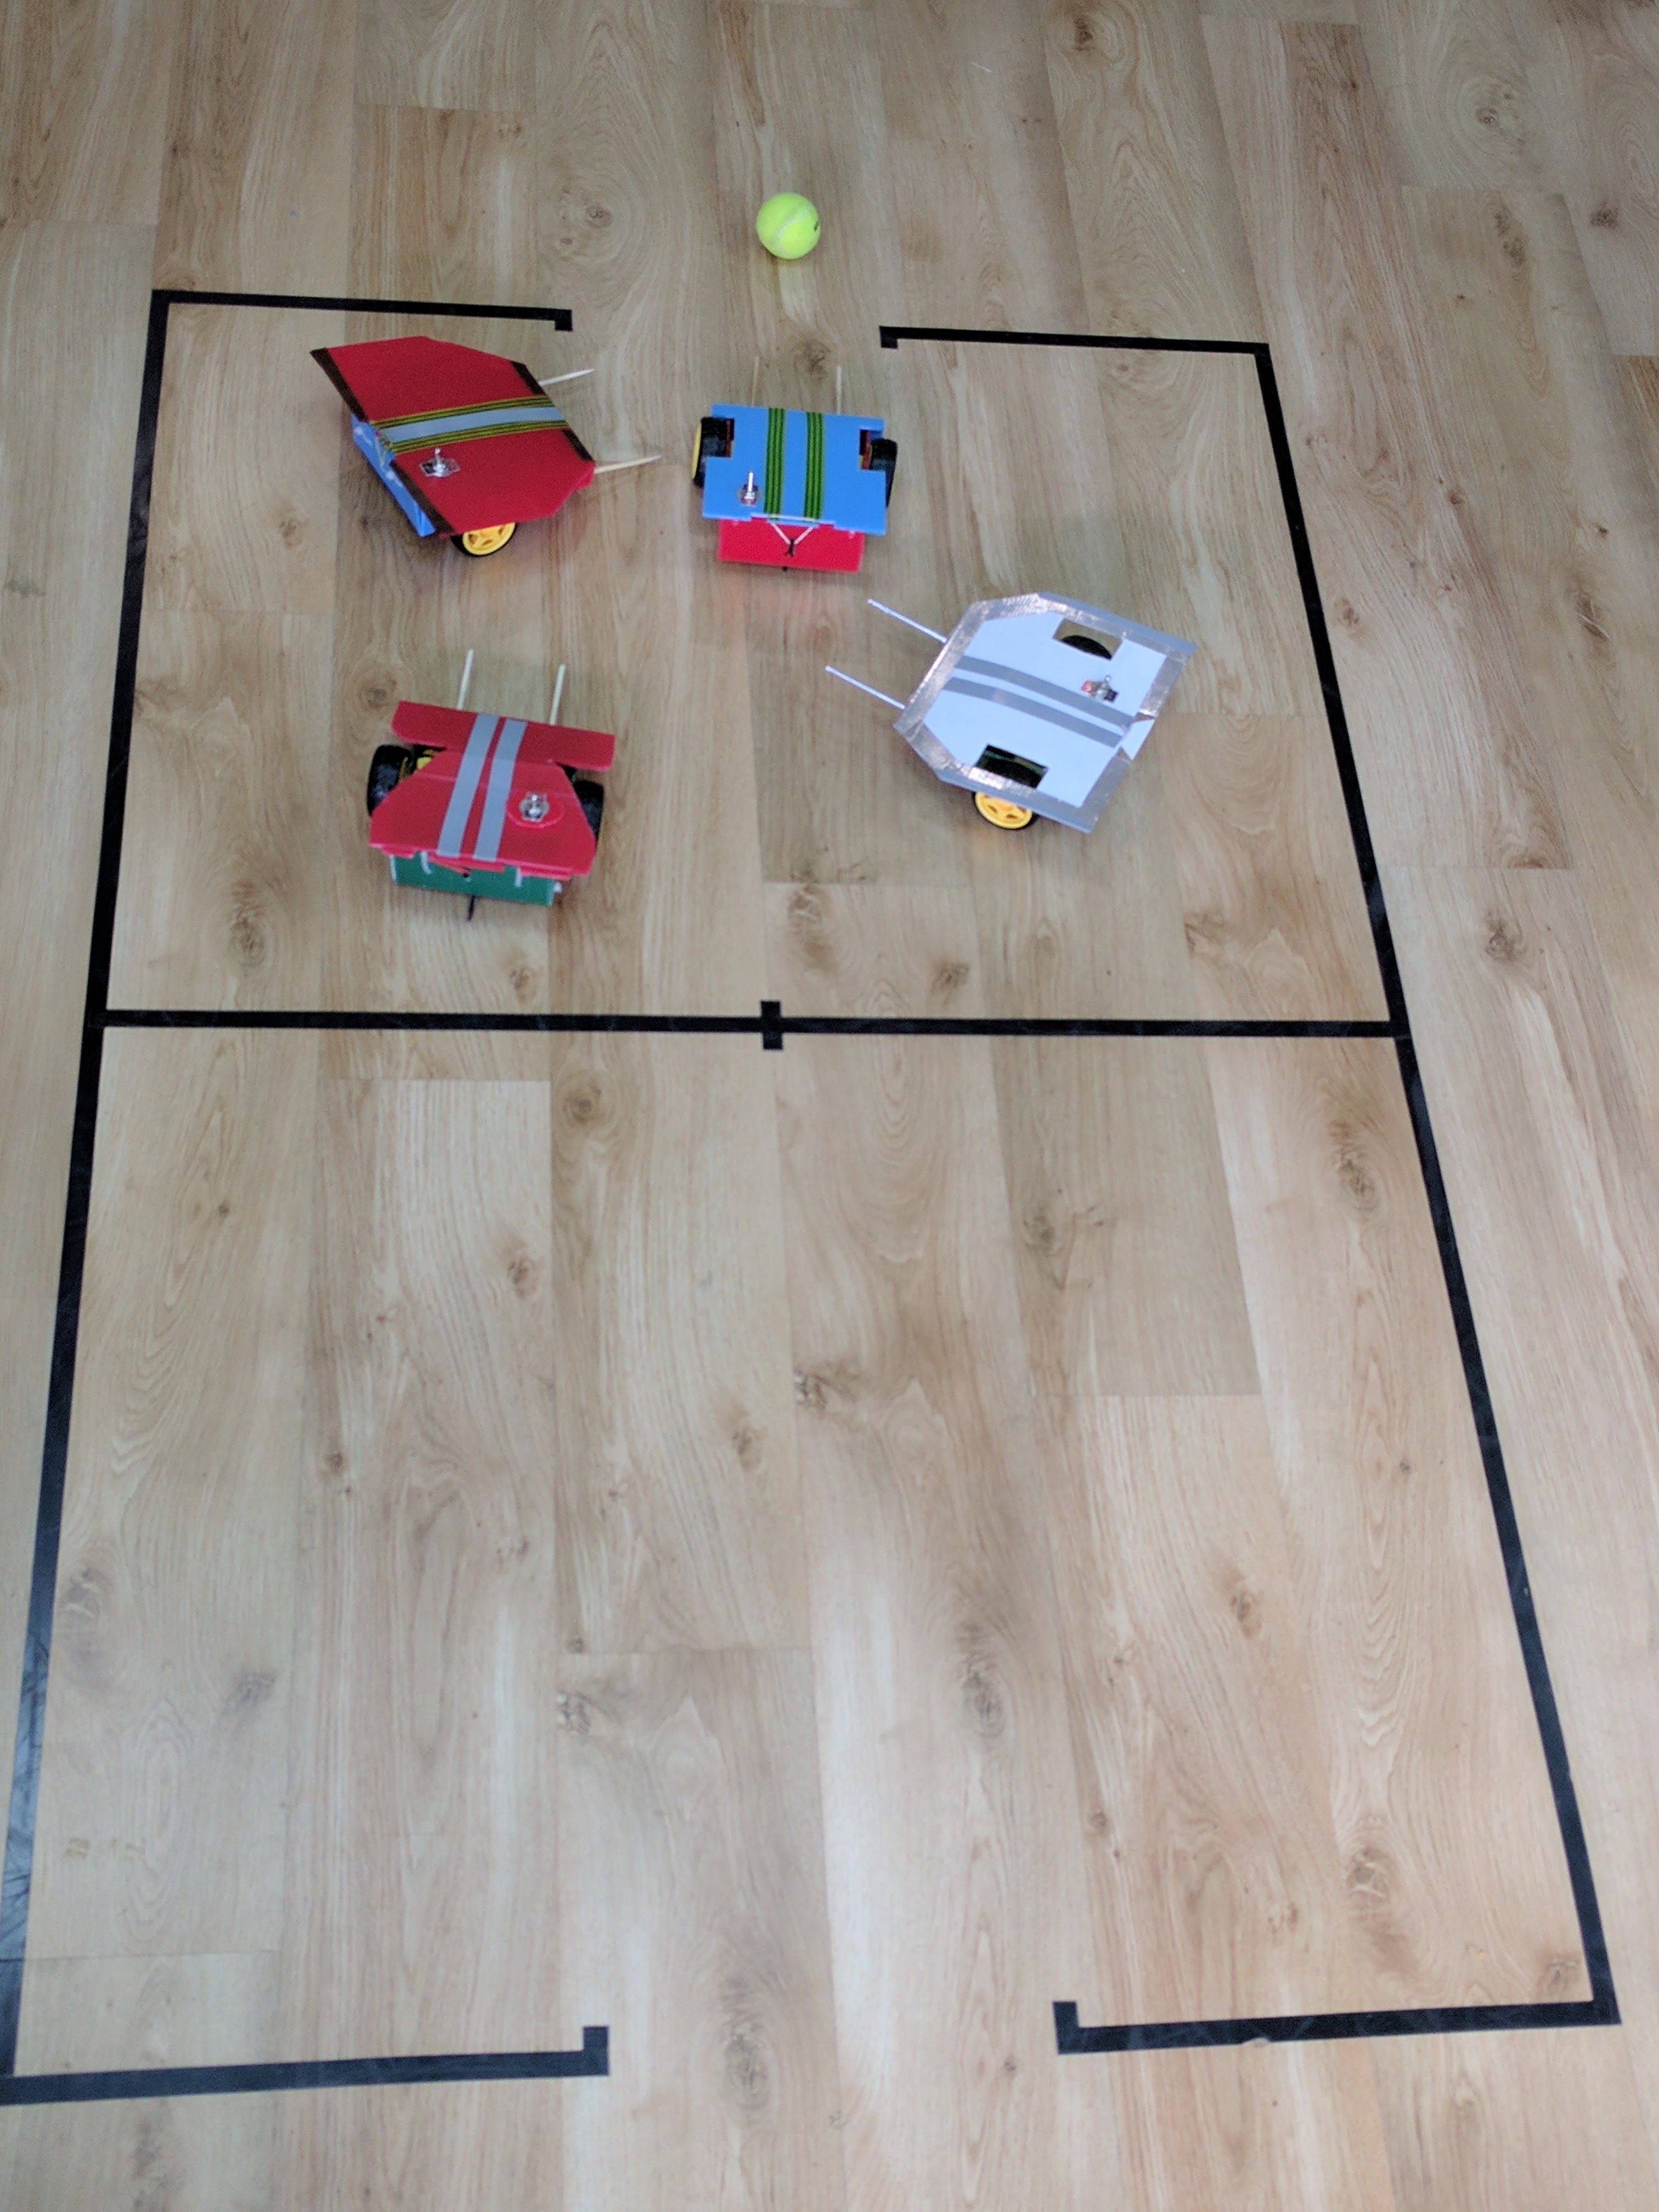
I teach robotics at tinkerrobotlabs.com My pupils have created these robots that play football (or soccer, if you live on the other side of the pond). My goal with this project was to teach the kids how to interact with a robot via Bluetooth.
We finished our robots a couple of weeks ago, and then, I saw that Instructables was doing a microcontroller contest and a robotics contest, so we are collectively building another robot and sharing with you how to build a Football Robot and play with it.
The kids that are putting together this robot are Beatriz, Ruben, Jaime, Gonzalo, Gabriel, Ismael and Chris. Their age ranges between seven and eleven years old, and they rock!
To put together this robot, they use adult tools, such a welding iron, scissors, and cutters. I have taught them that tools are not toys, and they should be used with great respect. They know the safety rules that should be observed always, such as leaving the tools always at the center of the table, where they can be seen, or to use the pliers always with the elbows stuck to their sides, so they can not hurt their face by accident.
The Play Field and Game Rules (by Jaime)
Play field:
- Size of the play field
- Field length: 170 cm
- Field width: 113 cm
- Middle line at 85 cm
- Goal width: 31 cm
Game rules:
- A robot football match is played by two teams composed of 2 robots.
- A match is played in two 2 minute halves. Between the 2 halves, the game can be stopped for up to 5 minutes to change batteries or fix the robots.
- The game starts with the ball in the middle of the game and each robot in a corner of the field.
- If the ball exits the field, time is stopped. The ball is put back at the center of the field and the robots are placed in the corners.
- If at the end of the second half both teams are tied, one minute is added to the second half without stopping the game.
- The ball is a tennis ball half filled with sand (cut a slit in the ball, add sand, glue back the ball with super glue)
- If any team scores a goal, the ball is placed in the middle of the field and each robot is placed in the corners of the field
- Any robot that is touched by a person during the match is disqualified for the rest of the game.
- If any of the robots stops working, the robot is taken out of the game and cannot be put back again unless it is breaks on the first half and can be fixed before the start of the second half
- If any robot attacks to another robot to take it out of the field, it will be disqualified for the rest of the game.
Building the Robot: Bill of Materials


All the electronics are sourced form Amazon
The rest of the materials are sourced from the local hardware store.
We set a rule of limiting the cost of the robot to under 40 euros, and I estimate that the total cost of the robot is below 15 euros because I was buying materials in bulk
- 2 geared motors + wheels
- Breadboard
- Arduino nano
- Wires
- Battery holder and 4 AA batteries
- Switch (optional)
- Capacitor
- Kebab sticks
- Tennis ball half filled up with sand
- Rubber band
- 2 pieces of 25 cm x 25 cm of corrugated plastic
- HC05 or HC06 module
- L9110 H bridge
Cutting the Chassis Pieces


Measure twice, cut once!
Before starting to cut the corrugated plastic, we make cardboard templates with cereal boxes. This has proven to save A LOT of work, time and money, because you can quickly create the basic shape of your robot, and if you do something wrong, a bit of tape can fix it. Rubén did the templates and Beatriz transferred the templates to the plastic
Once you have defined the shape of your robot, you have to transfer your design to the corrugated plastic sheet.
Bottom Part of the Chassis


The corrugated plastic structure is put together with zip ties. Before putting the zip ties, the structure is held together with bamboo sticks. We do it this way because you can easily poke holes with the sticks in the plastic, and you can get the general idea of the shape of the piece before actually putting the zip ties. To fold the plastic, we also use bamboo sticks to score one side of the plastic.
Chris and Gonzalo decided that they wanted to add some rake to the chassis, and they cut a wedge out of the sides. they used the piece they cut from the first side as a template to cut the second one.
Preparing the Motors


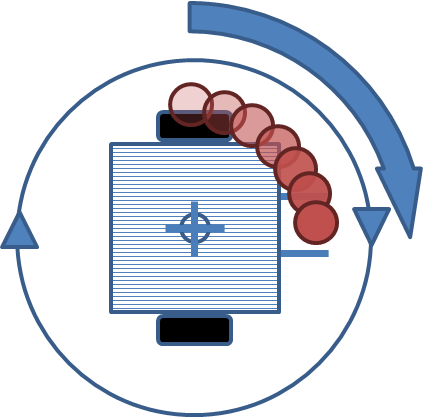


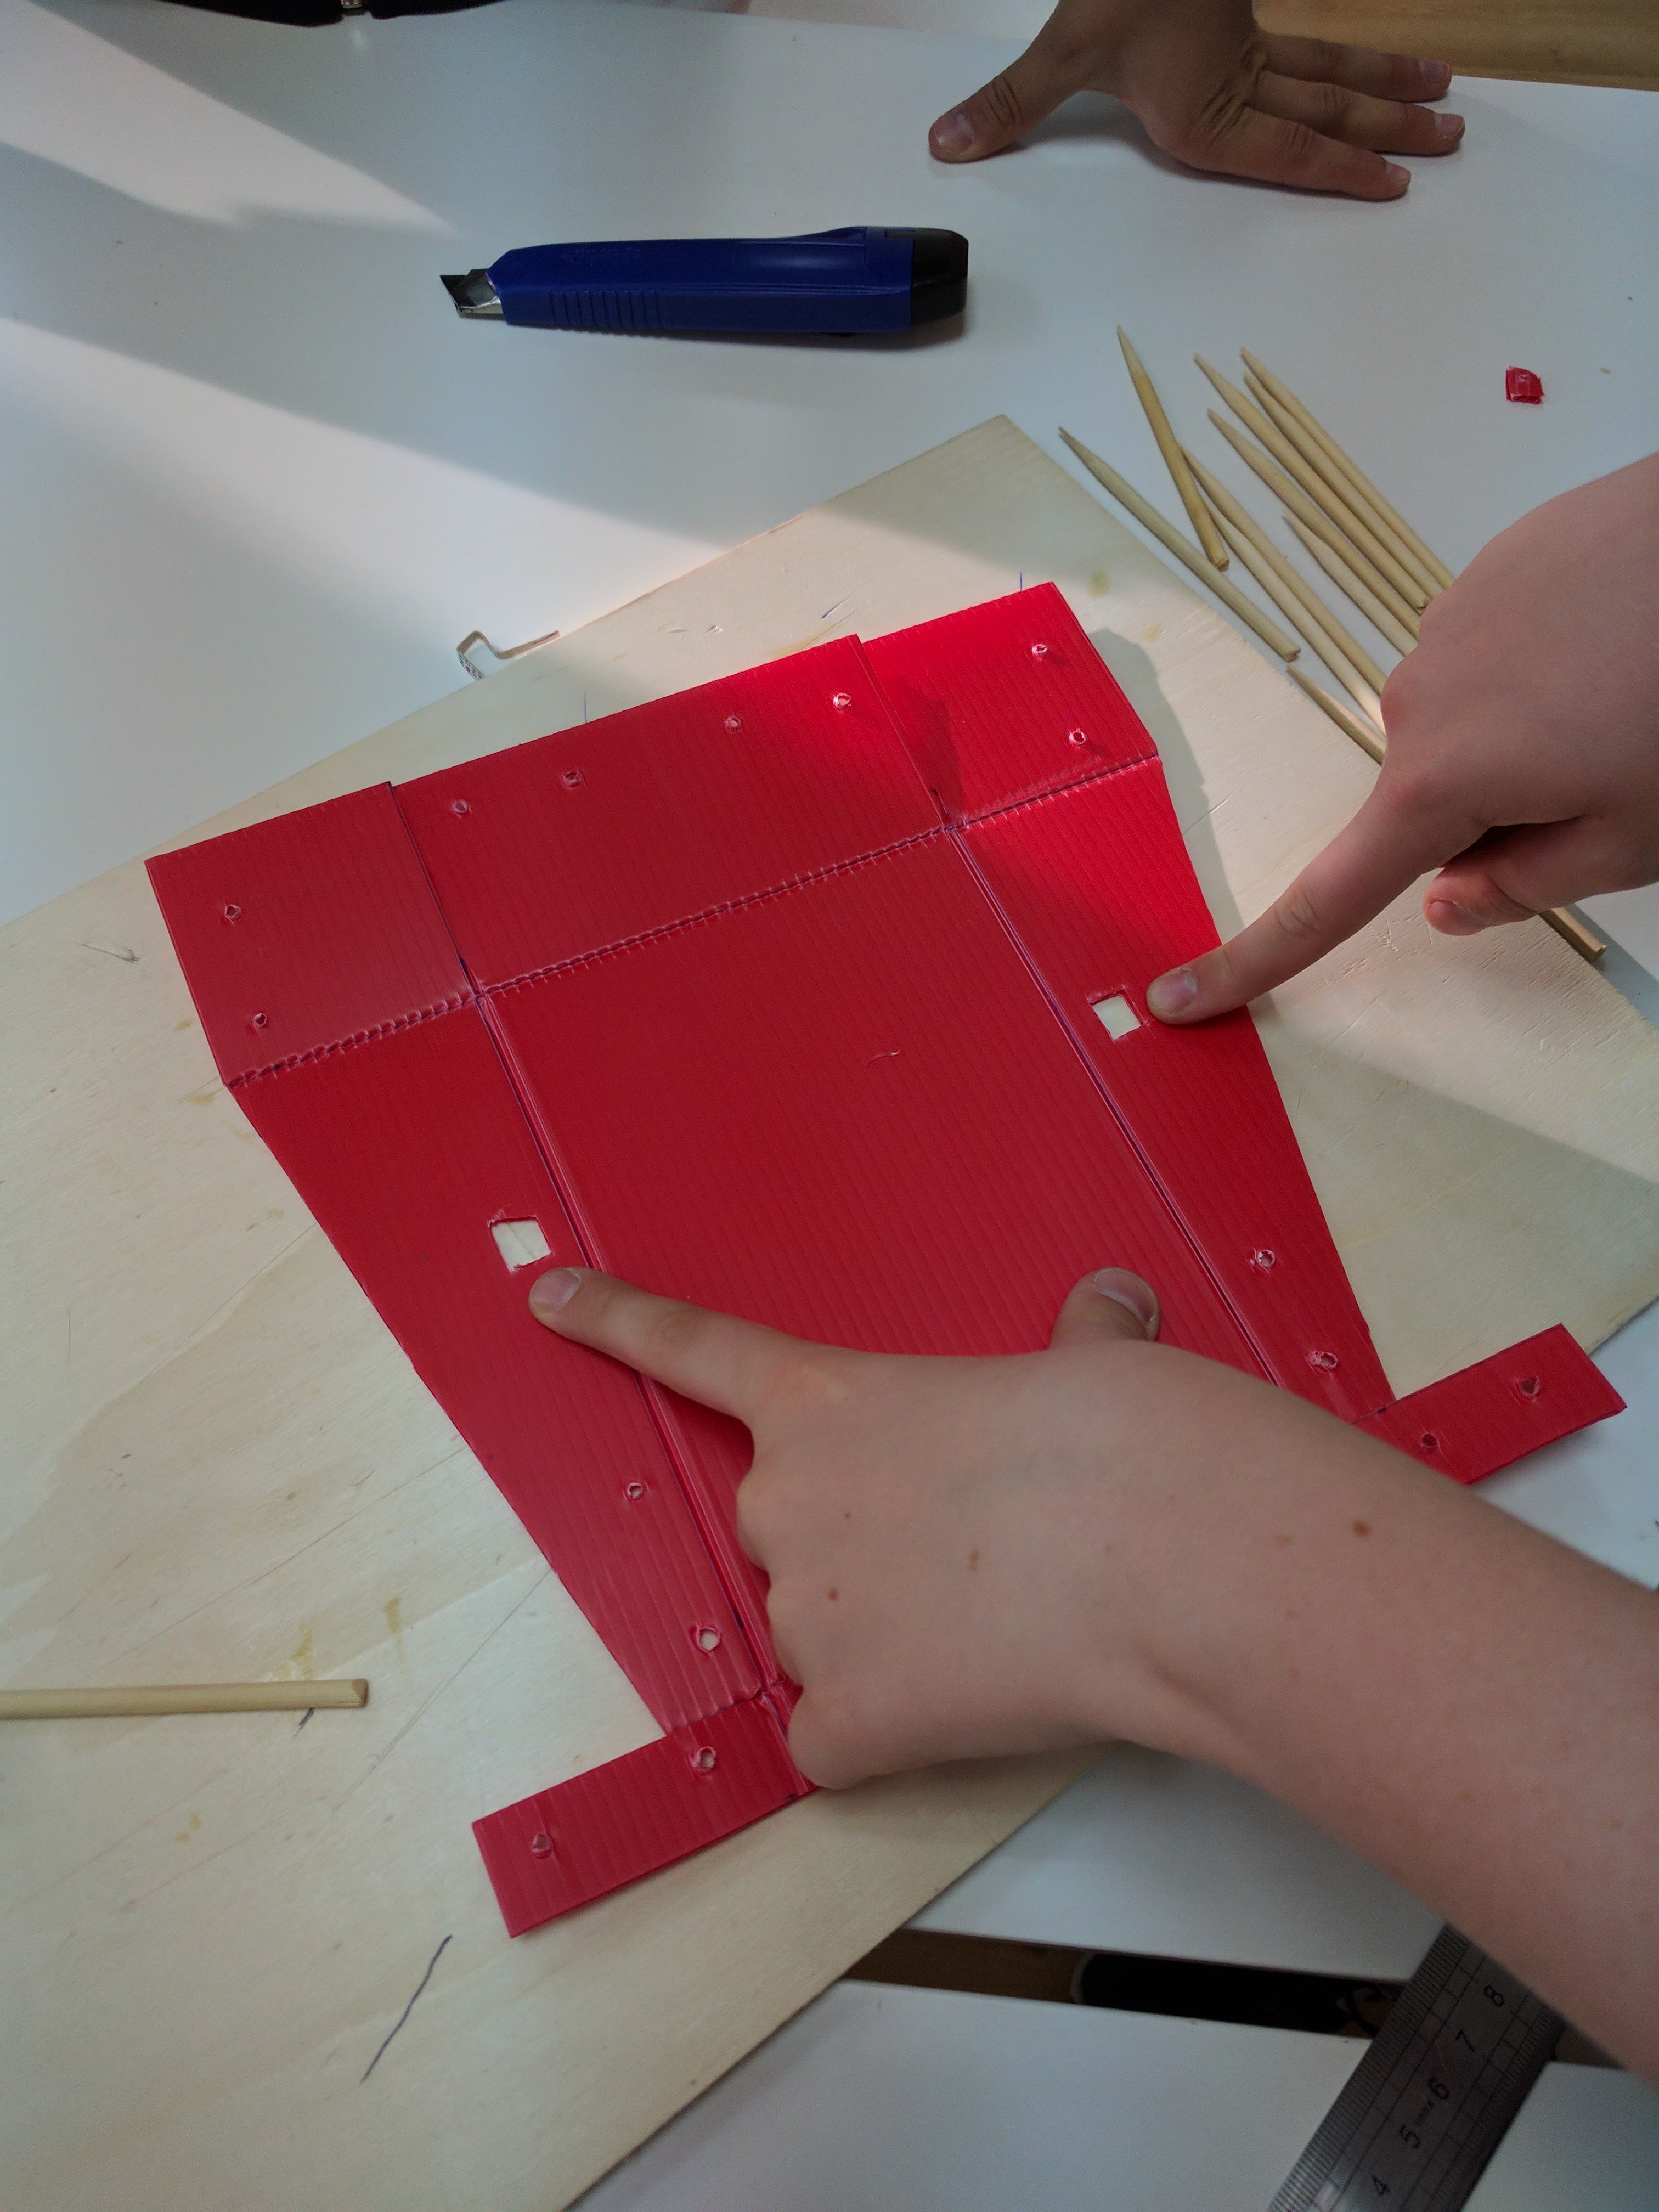
The motors have a small protrusion on the side where the electrical connections are. We need to take apart the motor and put the electrical connections on the other side.
Once this is done, Jaime and Ismael welded 2 20 cm wires to the motor. We use phone line wires for this, but any thin cable can be used.
We then decide where we want to put the wheels. The place where the wheels are placed has an influence on the behavior of the robot. Wheels on the back of the robot results on a robot that moves the ball very quickly but it is very difficult to control. On the other side, a robot with the wheels towards the front of the robot makes a robot that is very easy to control, but moves the ball very slowly.
For this robot, we chose to put the wheels towards the middle of the robot. We placed the motors where we wanted them to be and made 2 small holes for the wheel shafts.
Wire It Up!
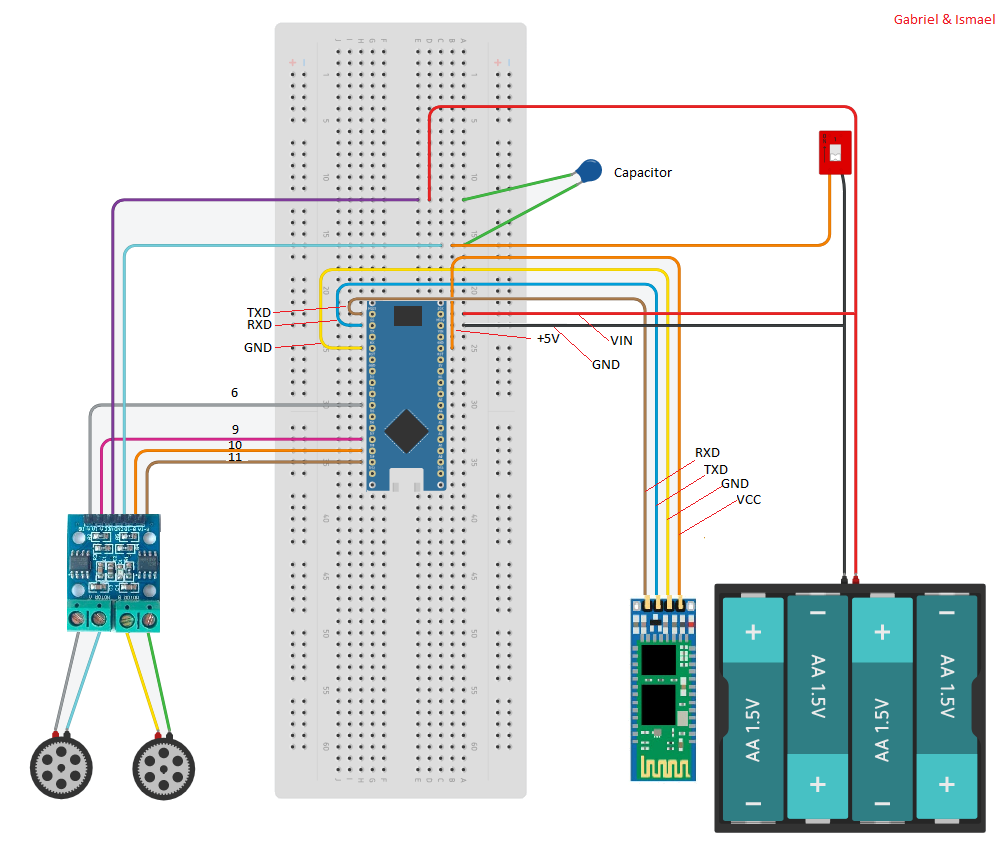
Gabriel and Ismael used Autodesk Circuits to create this wiring diagram.
The h bridge is connected to ports 6, 9, 10 and 11
The HC06 module is connected to TXD, RXD, GND and +5V. Mane sure that the TXD pin of the arduino is connected to the RXD pin of the HC06 and the RXD pin of the arduino is connected to TXD pin of the HC06
The capacitor is a 8200 kv capacitor. You don't really need it, but it is there to prevent a voltage drop that will disconnect the HC06 module if the batteries are a bit low.
The motors are cnnected to the H Bridge. Maybe the robot is going to go backwards instead of going forward. in that case, invert the motor wires.
Sticks, Motors and Cover in Place


Choices choices choices! Where should I put the motors? There are several options, and depending where and how the motors are attached, your center of gravity will be in a different place!
In this case, we could put them facing to the front or facing to the back, and we decided to put them facing back.
The motors have to be attached to the side of the chassis. Chris did a nifty tool with some wire to make the holes to the sides of the chassis. and attached the motors with 2 zip ties because the zip ties were a bit too short. See the pics!
Then, the cover of the robot was attached to the chassis. the cover was decorated by Rubén to look like a robot face, because the cover was transparent, and he thought that since the leds of the HC06 module, the arduino and the H bridge will show blinking through the cover, the effect would be terrific and oh boy! he was right.
Chris added the sticks to the front of the robot to control the ball. The sticks are simply attached to the chassis with a zip tie. Also, he added a rubberband to the back of the robot to close it. He cut a couple of notches to the back of the cover and attached the rubber band to the chassis with a zip tie.
Put NOW the wheels and go the the next step.
Time to Put the Electronics In!




Nearly there!
A hole is open in the cover to put the big nasty switch. You can use ANY switch, but we chose to use a big and nasty switch because it looks cool.
All the electronics that we have prepared early are now put inside the robot. Follow the wiring diagram!
Do not attach yet the h bridge to the protoboard because we need to take the protoboard out at least once more.
Once you have the protoboard insude the robot, you hace to figure out where to put the batteries. they can go on the front or in the back of the robot, depending n the shape of the robot and where have you put the motors.
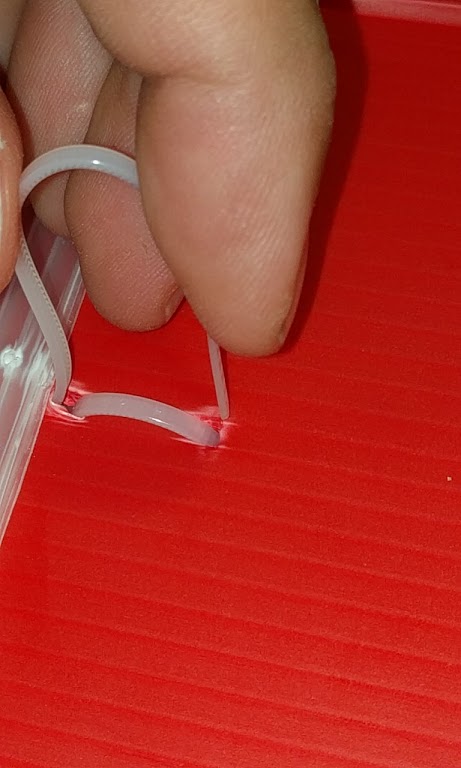
You have to do a third leg to the robot (the other 2 legs are the wheels!). to do that, take a zip tie and attach it as shown on the pics.
The Code


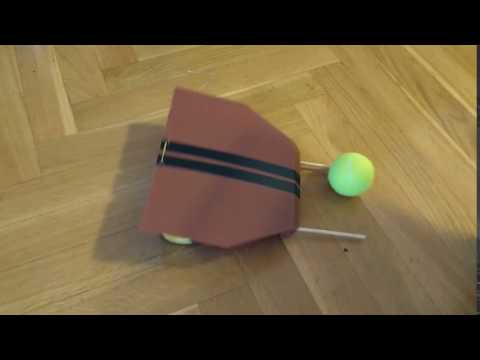
Now you need to put the code in the arduino and connect your robot to your android phone.
Lets start by the code:
I assume that you already have the arduino coding interface (IDE) in your computer. uf not, go here and follow the instructions: https://www.arduino.cc/en/Main/Software
Download the code from the zip file attached and open the .ino file. This will create a folder in your computer.
Upload the code into the arduino. to do that, you NEED TO DISCONNECT THE BLUETOOTH MODULE form the motherboard. If not, it will not work. Don't ask me why, it's a mystery for me too.
Install "Roboremo free" in your android phone from the Google appstore.
Follow the instructions in the zipped folder attached to this step.
In case you cannot install the interface in your phone, follow the instructions here below to create the interface for your phone.
Instructions to connect the android phone to the robot, (by Gabriel)
- To connect the Bluetooth you must have an Android mobile phone, tablet or computer with bluetooth
- Install RoboremoFree.
- Programming the interface: Enter in menu and choose slider and that's what you are going to use to control the robot.
- When you have put the slider on the left side of the screen interface, you have to press set the id of the slider as "izq". It is izq because izquierda it's how we say left in Spanish.
- Then you have to enter in label. Inside of label you have to put izqSpeed#*1.
- Then you have to enter in "min max" and in min you must put -255 and in max 255 and click in "int"
- Then, on the next line, you have to read "send when released"
- 2 lines below, "send space"
- then"don't auto return"
- in "set autoreturn value" you need to put "mid"
- in set repeat period you need to put 100
Now you need to add a slider to the right of the interface and do the same, setting the id as "der" and the label as derSpeed #*1. All the rest is the same.
To start playing: When you are in the app, you have to connect bluethooth to RoboremoFree entering in the menu and then you have to press connect Bluetooth (RFCOMM) and you must press HC-05 or HC-06.
Enjoy!