Footrest

This is a footrest made from tri-wall cardboard. This was the first project I made when I learned cardboard carpentry and it's the first project I have students in my class do. The dimensions I provide are what I use for class, and should be modified for each specific user.
I learned cardboard carpentry at the Adaptive Design Association.
Downloads
Supplies


Tools
- Cardboard Knife
- Mallett
- Awl
- T-Square
Materials
- Tri-Wall Cardboard
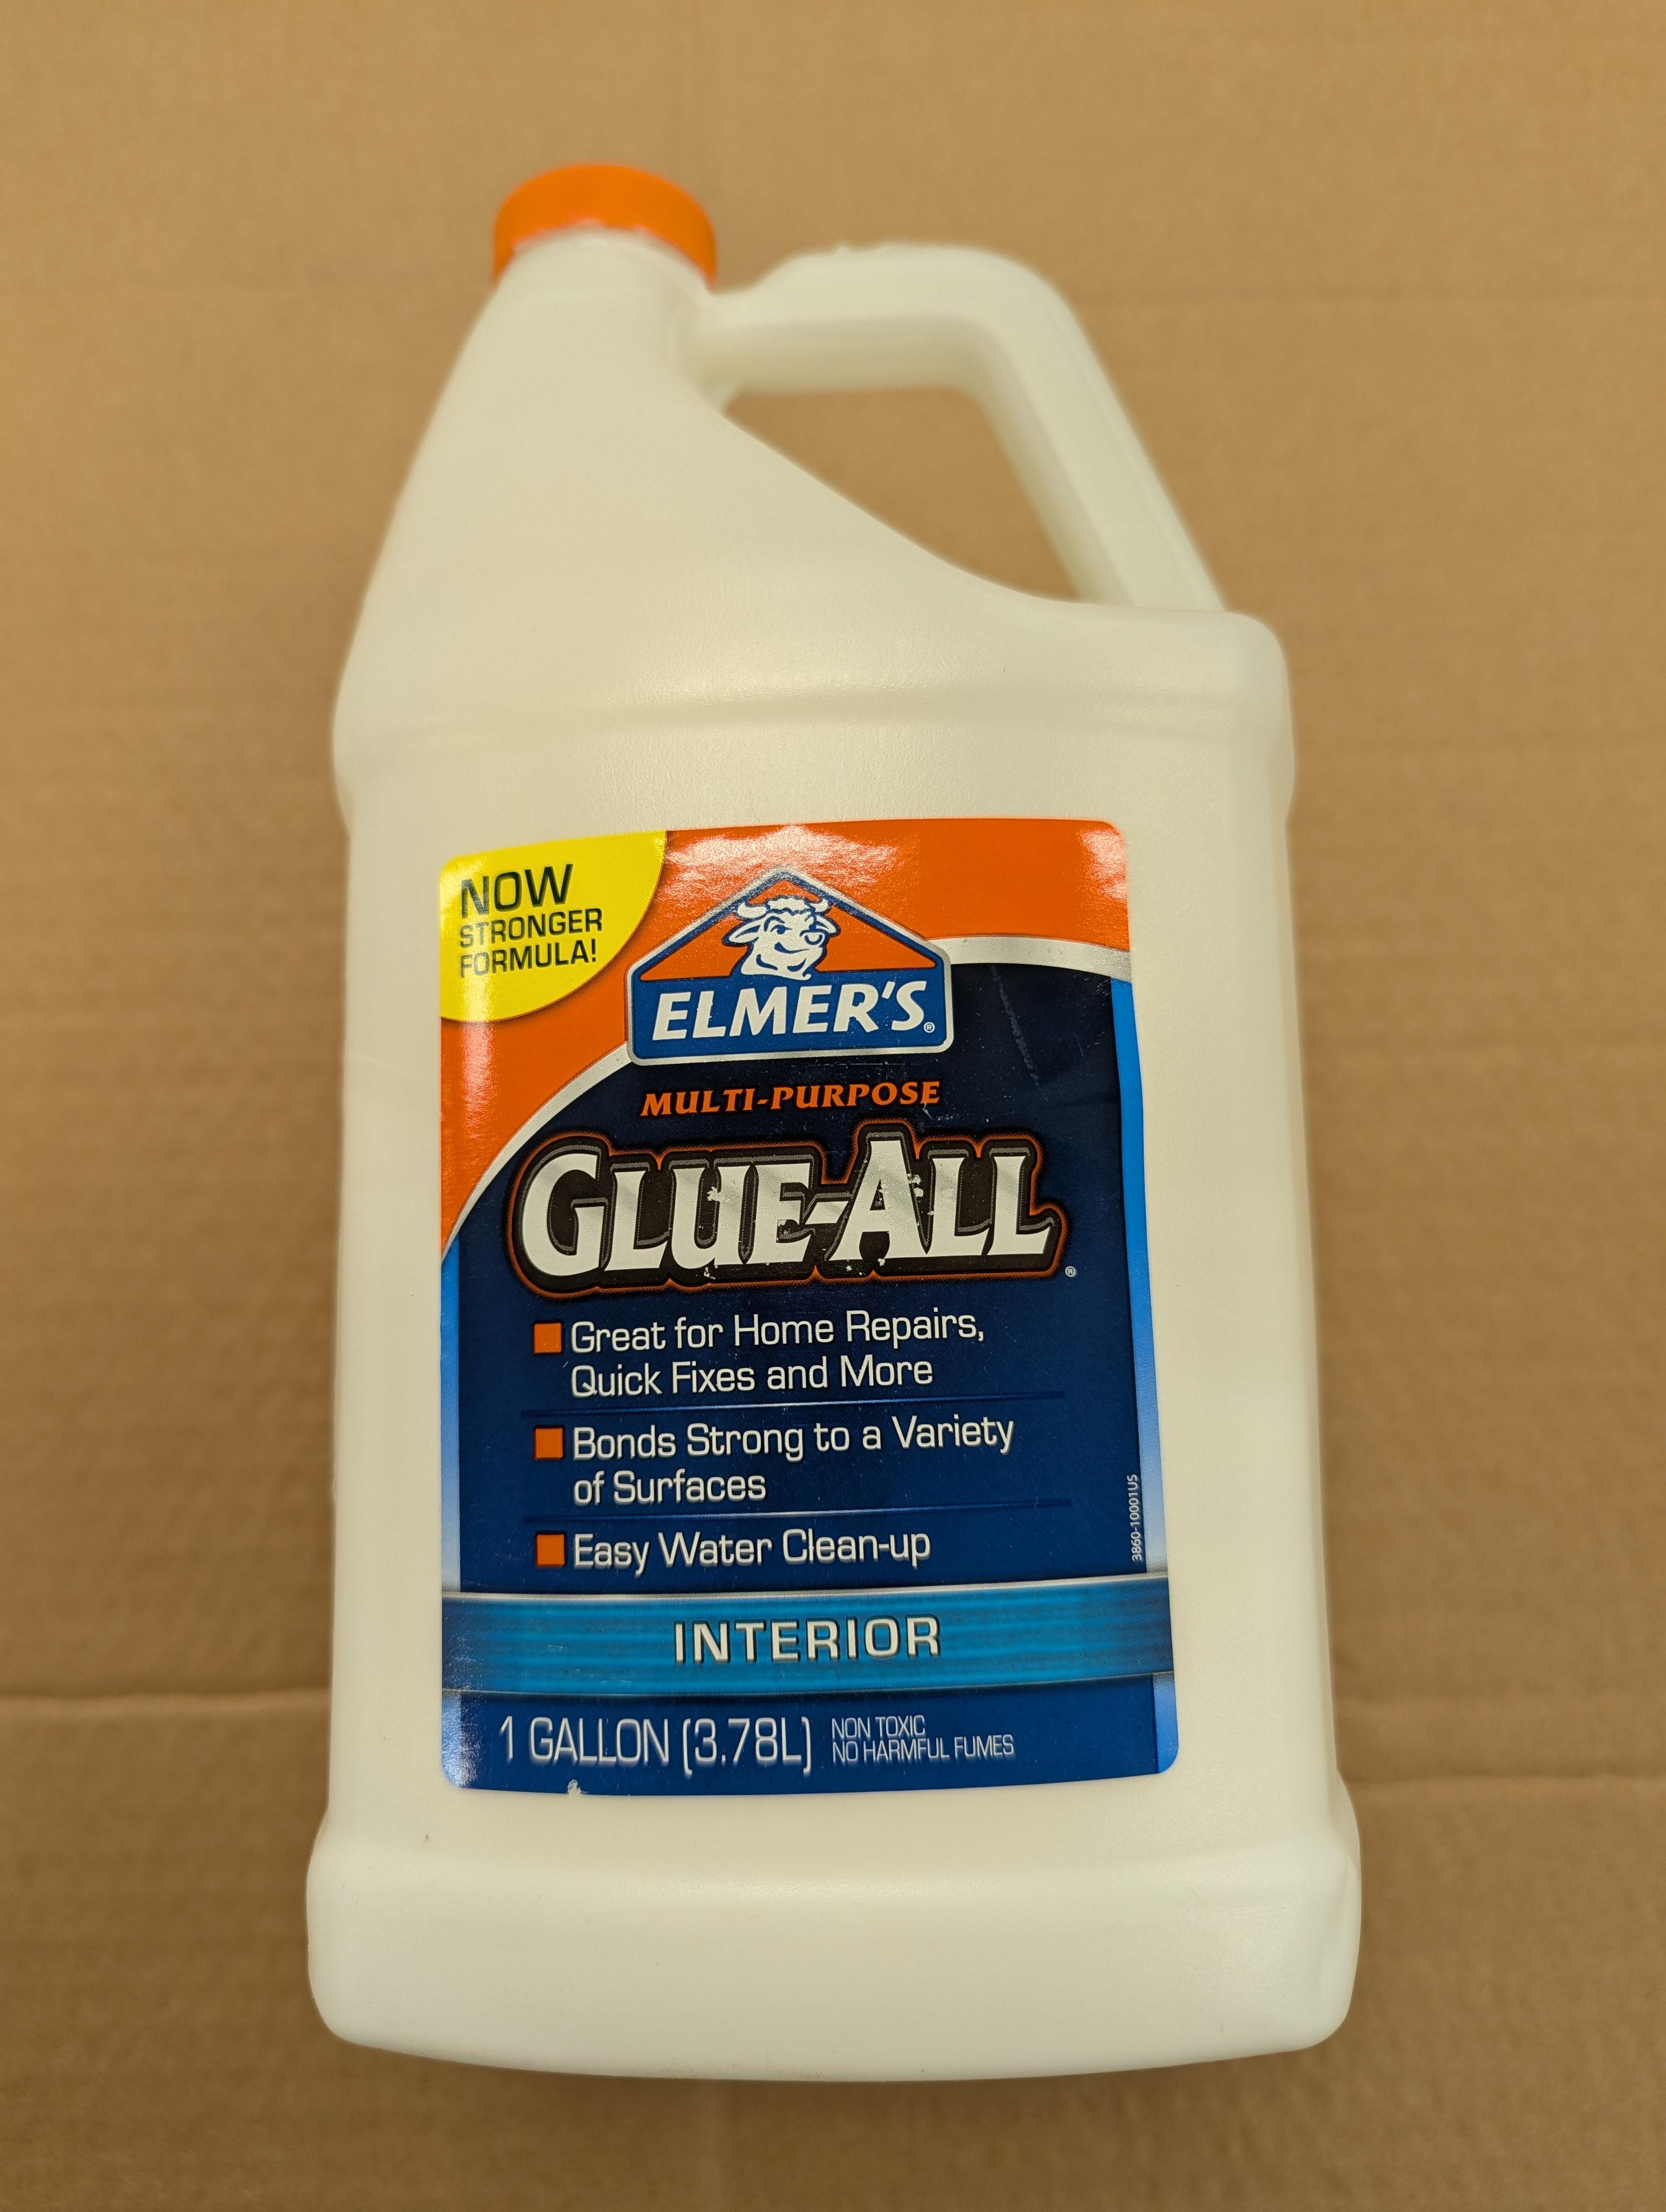
- White glue
- Wooden "Nails"
- Glue tape
- Water
- Foam Brush
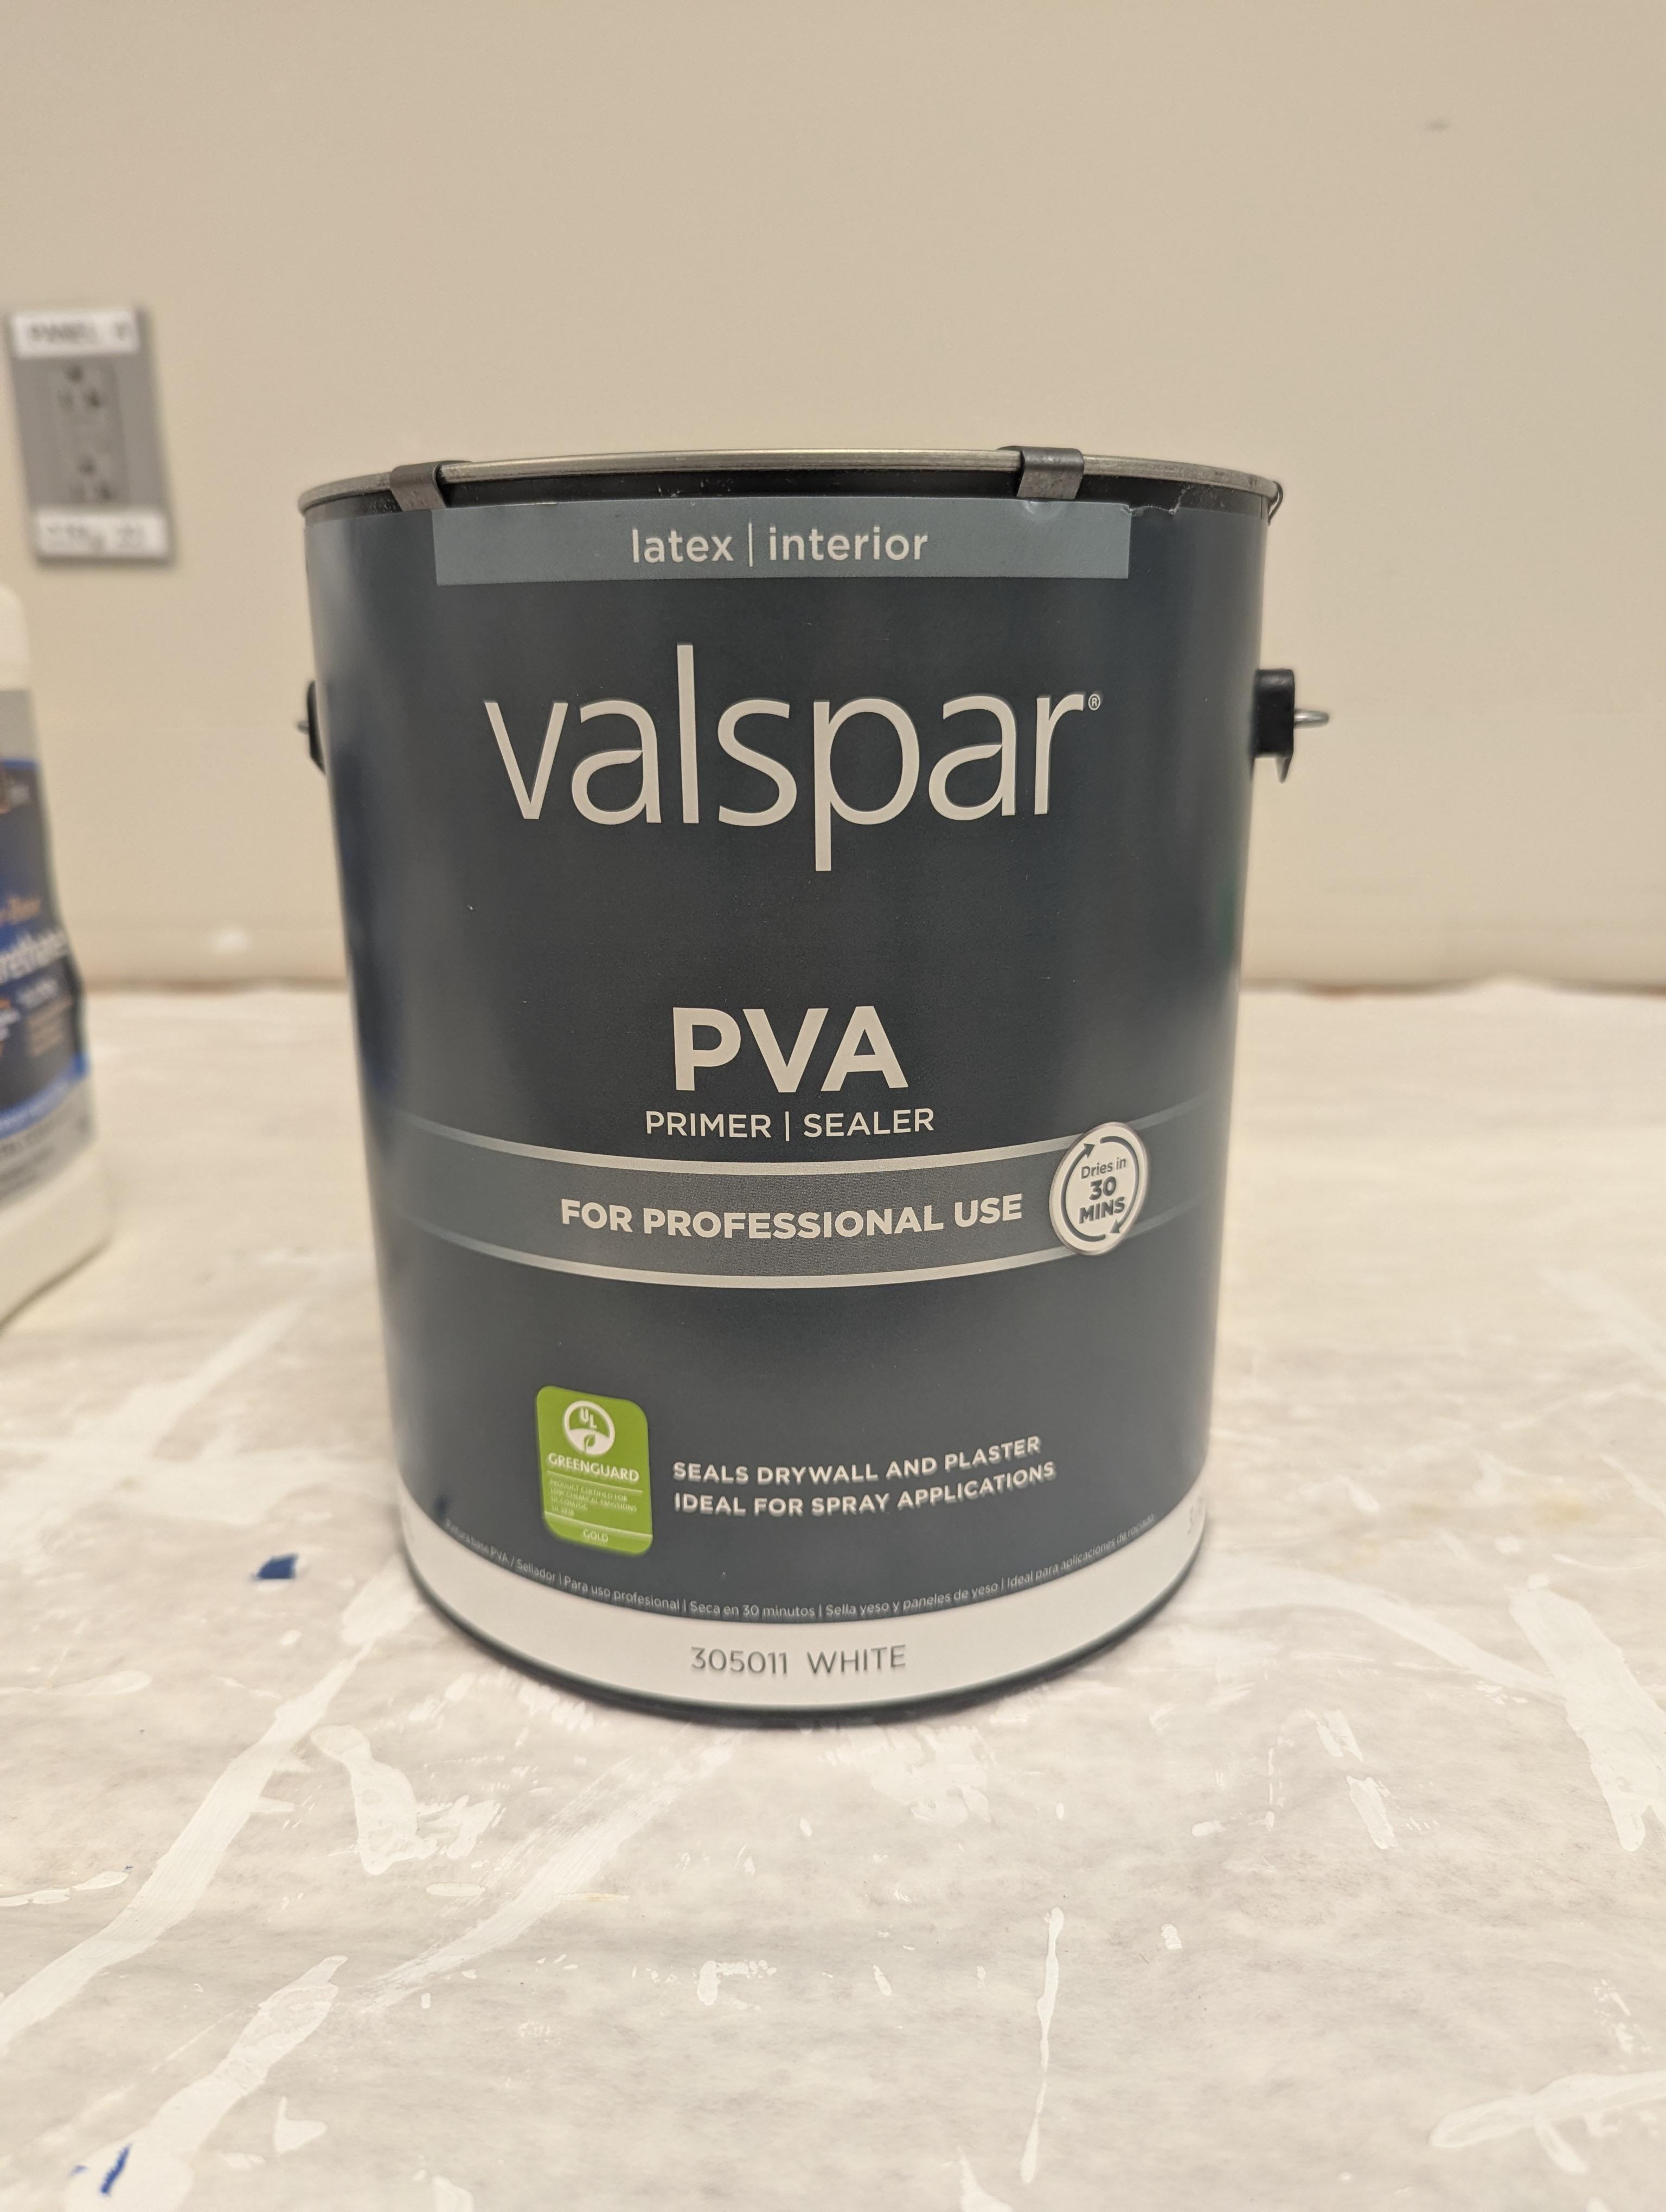
- Primer
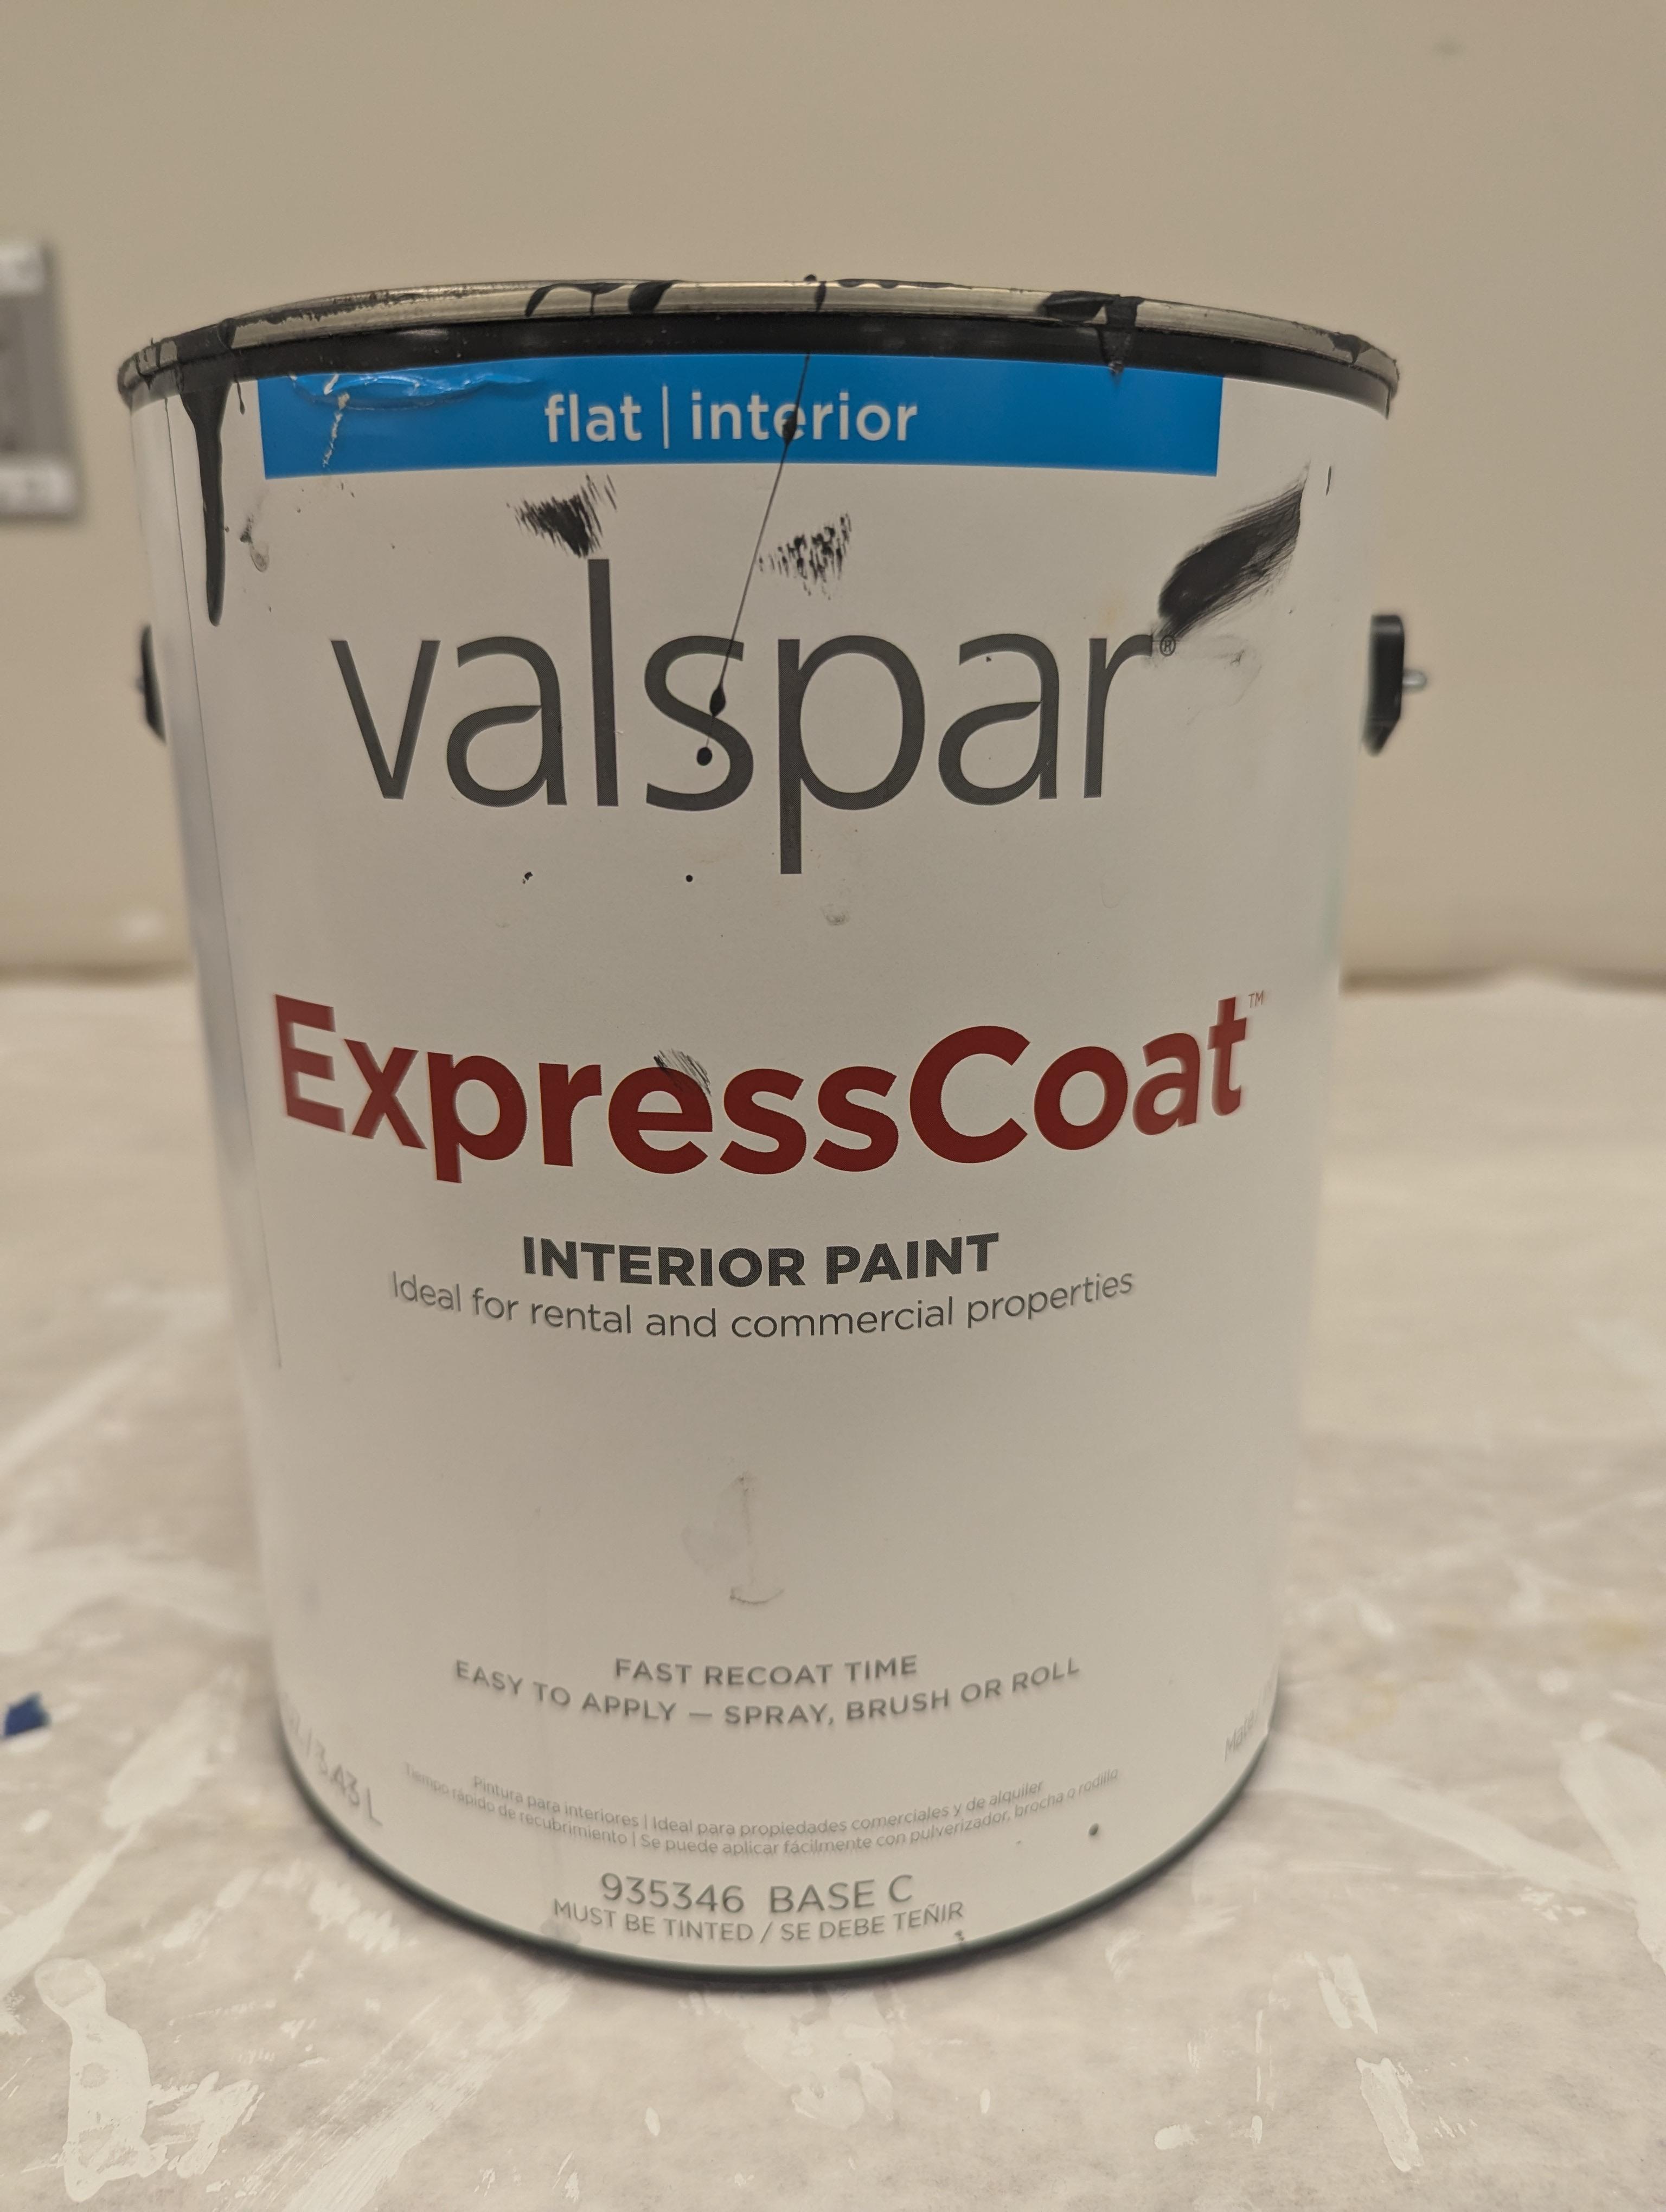
- Paint
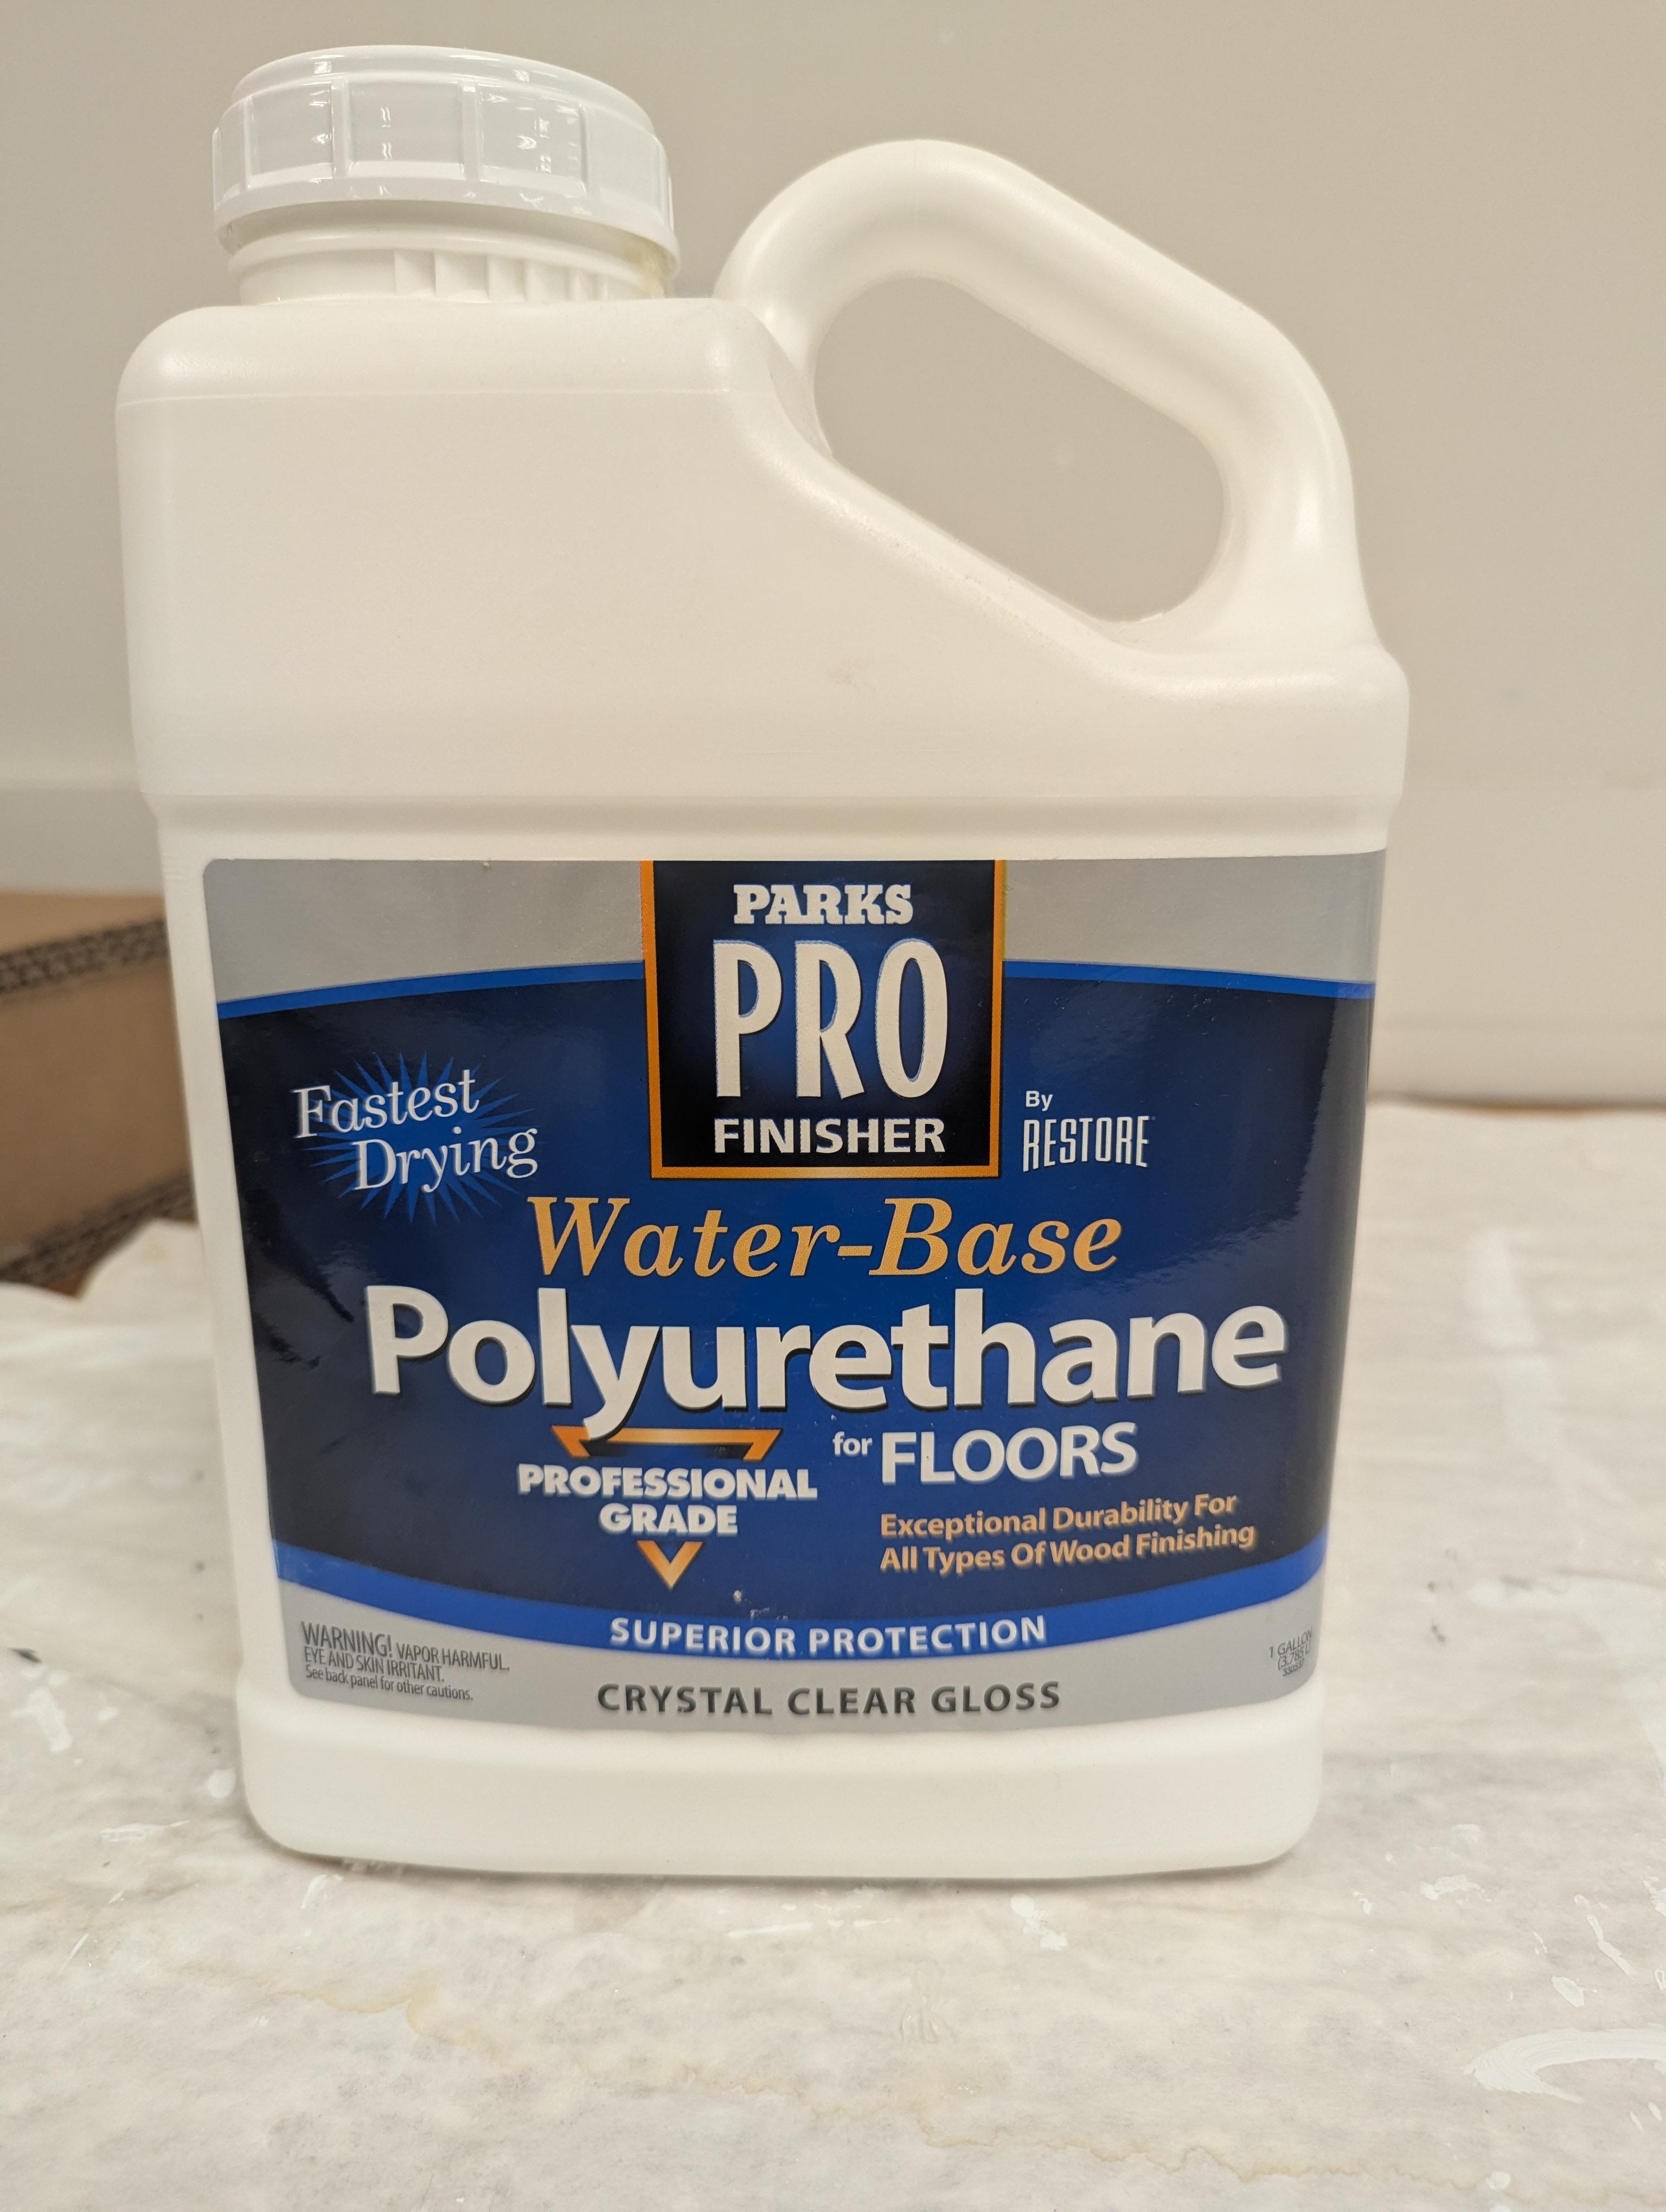
- Polyurethane
Skills
- Cutting cardboard with a knife
- Punching holes with an awl
- Joining with white glue
- Inserting nails
- Edging
- Applying primer/paint/polyurethane
Cut and Assemble Frame
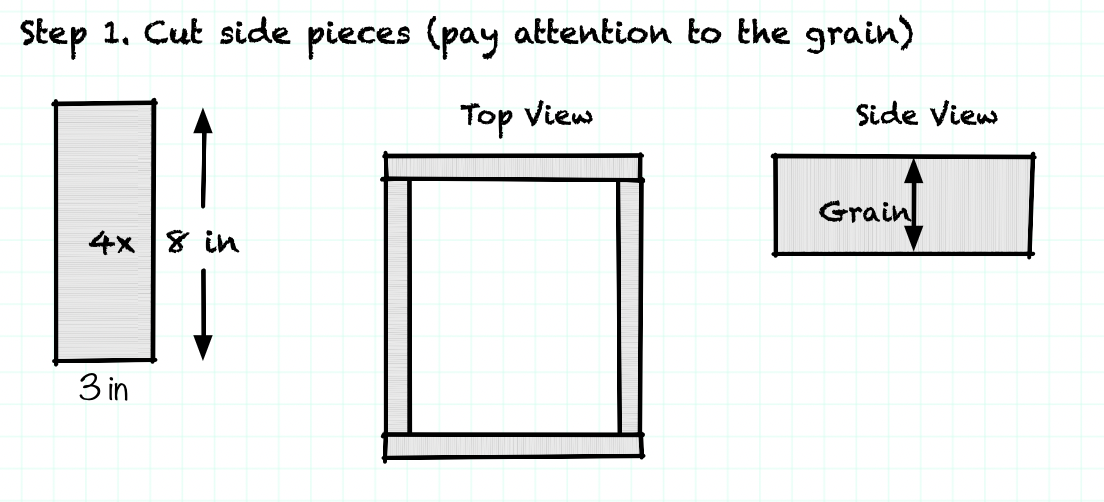

- Cut four side pieces (pay attention to the grain)
Measure and Cut Top and Bottom Pieces and Internal Support
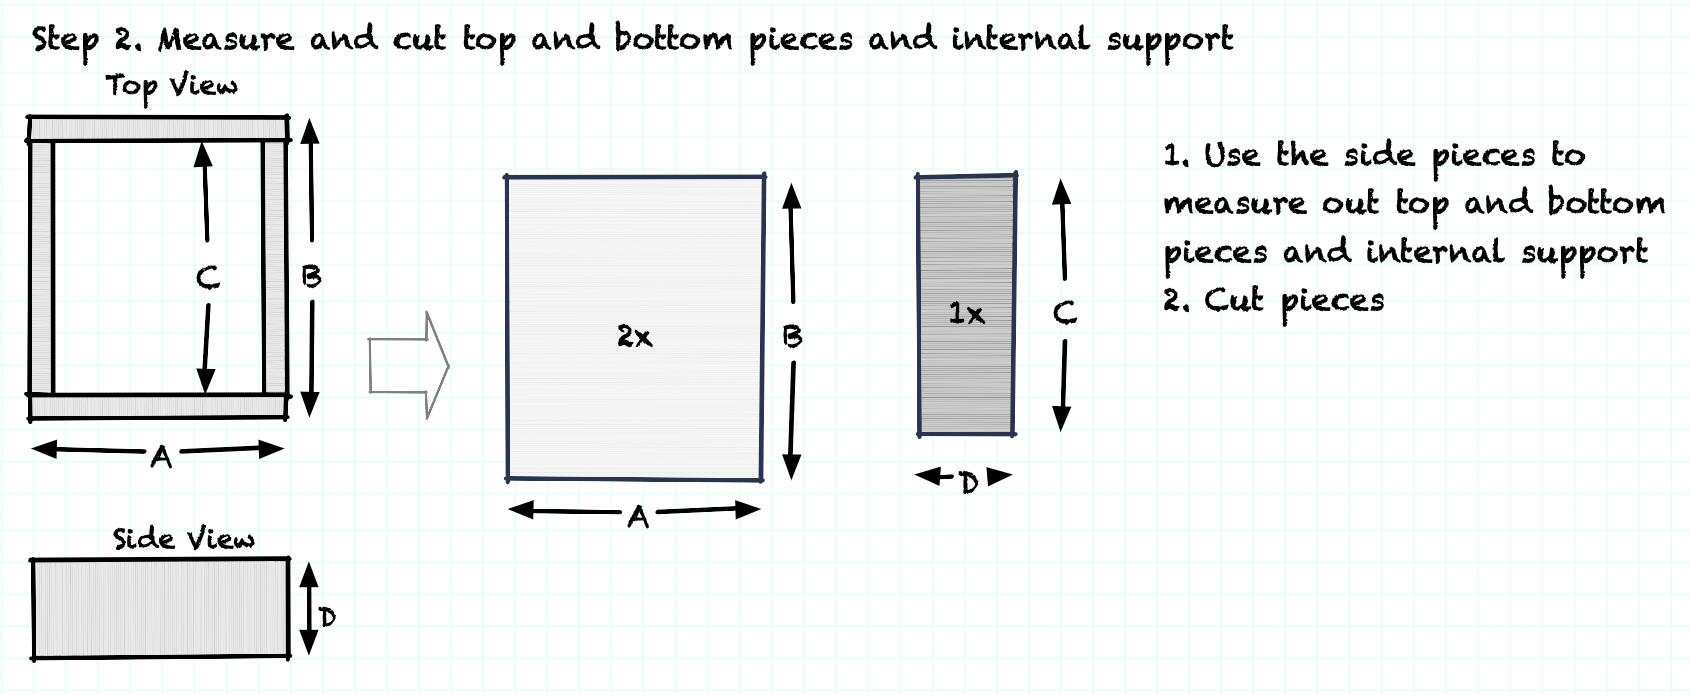

- Use the frame to measure out top and bottom pieces and internal support
- Cut pieces
Attach Top Piece With Glue
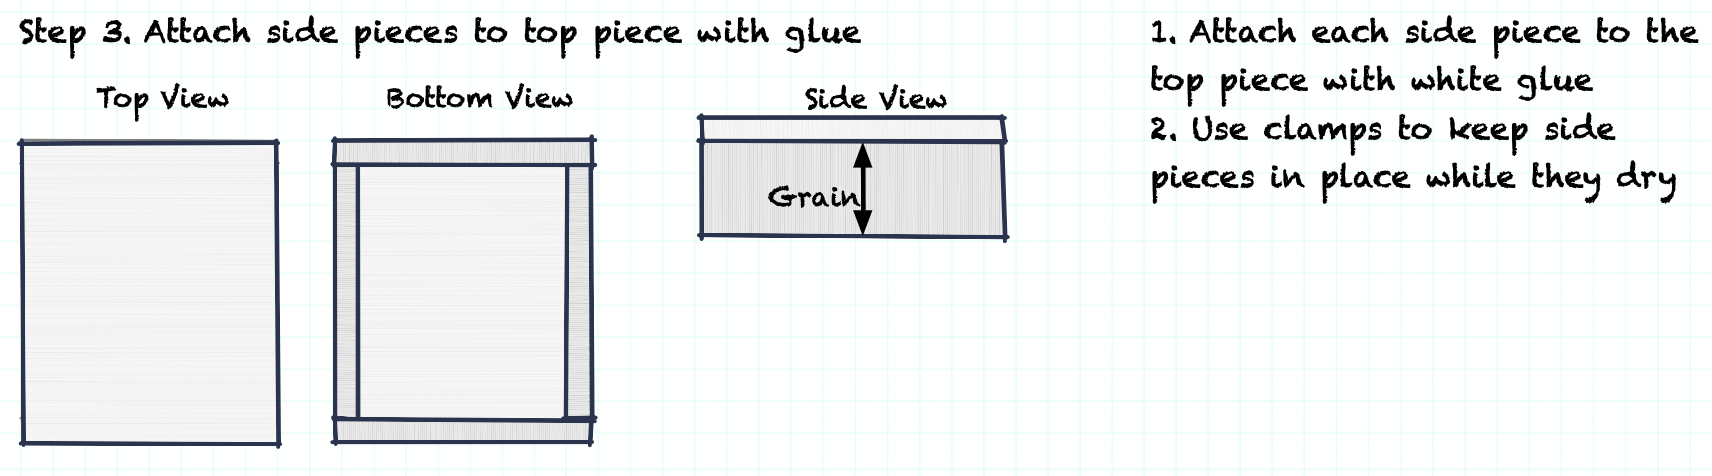


- Attach each side piece to the top piece with white glue
- Use clamps to keep side pieces in place while they dry
Reinforce Top and Sides With Nails


- Punch holes for nails with awl
- Pour white glue into holes
- Insert nails
Insert Internal Support
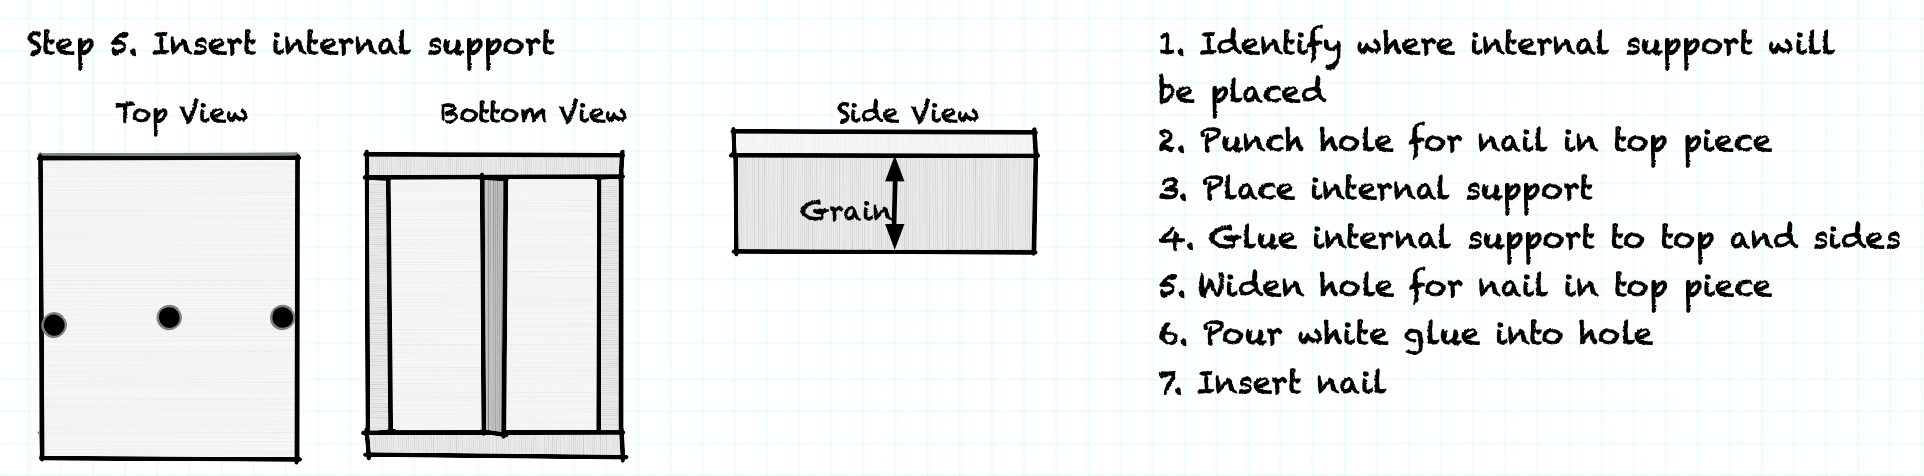


- Identify where internal support will be placed
- Punch hole for nail in top piece
- Place internal support
- Glue internal support to top and sides
- Widen hole for nail in top piece
- Pour white glue into hole
- Insert nail
Attach Bottom Piece
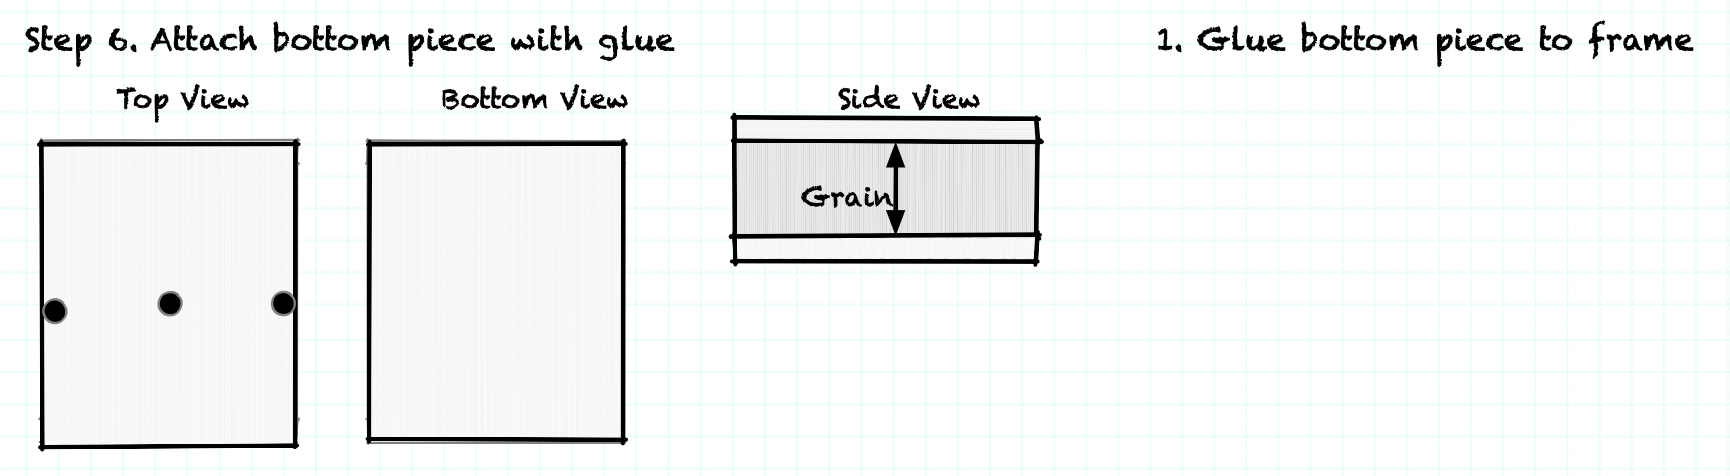


- Glue bottom piece to frame
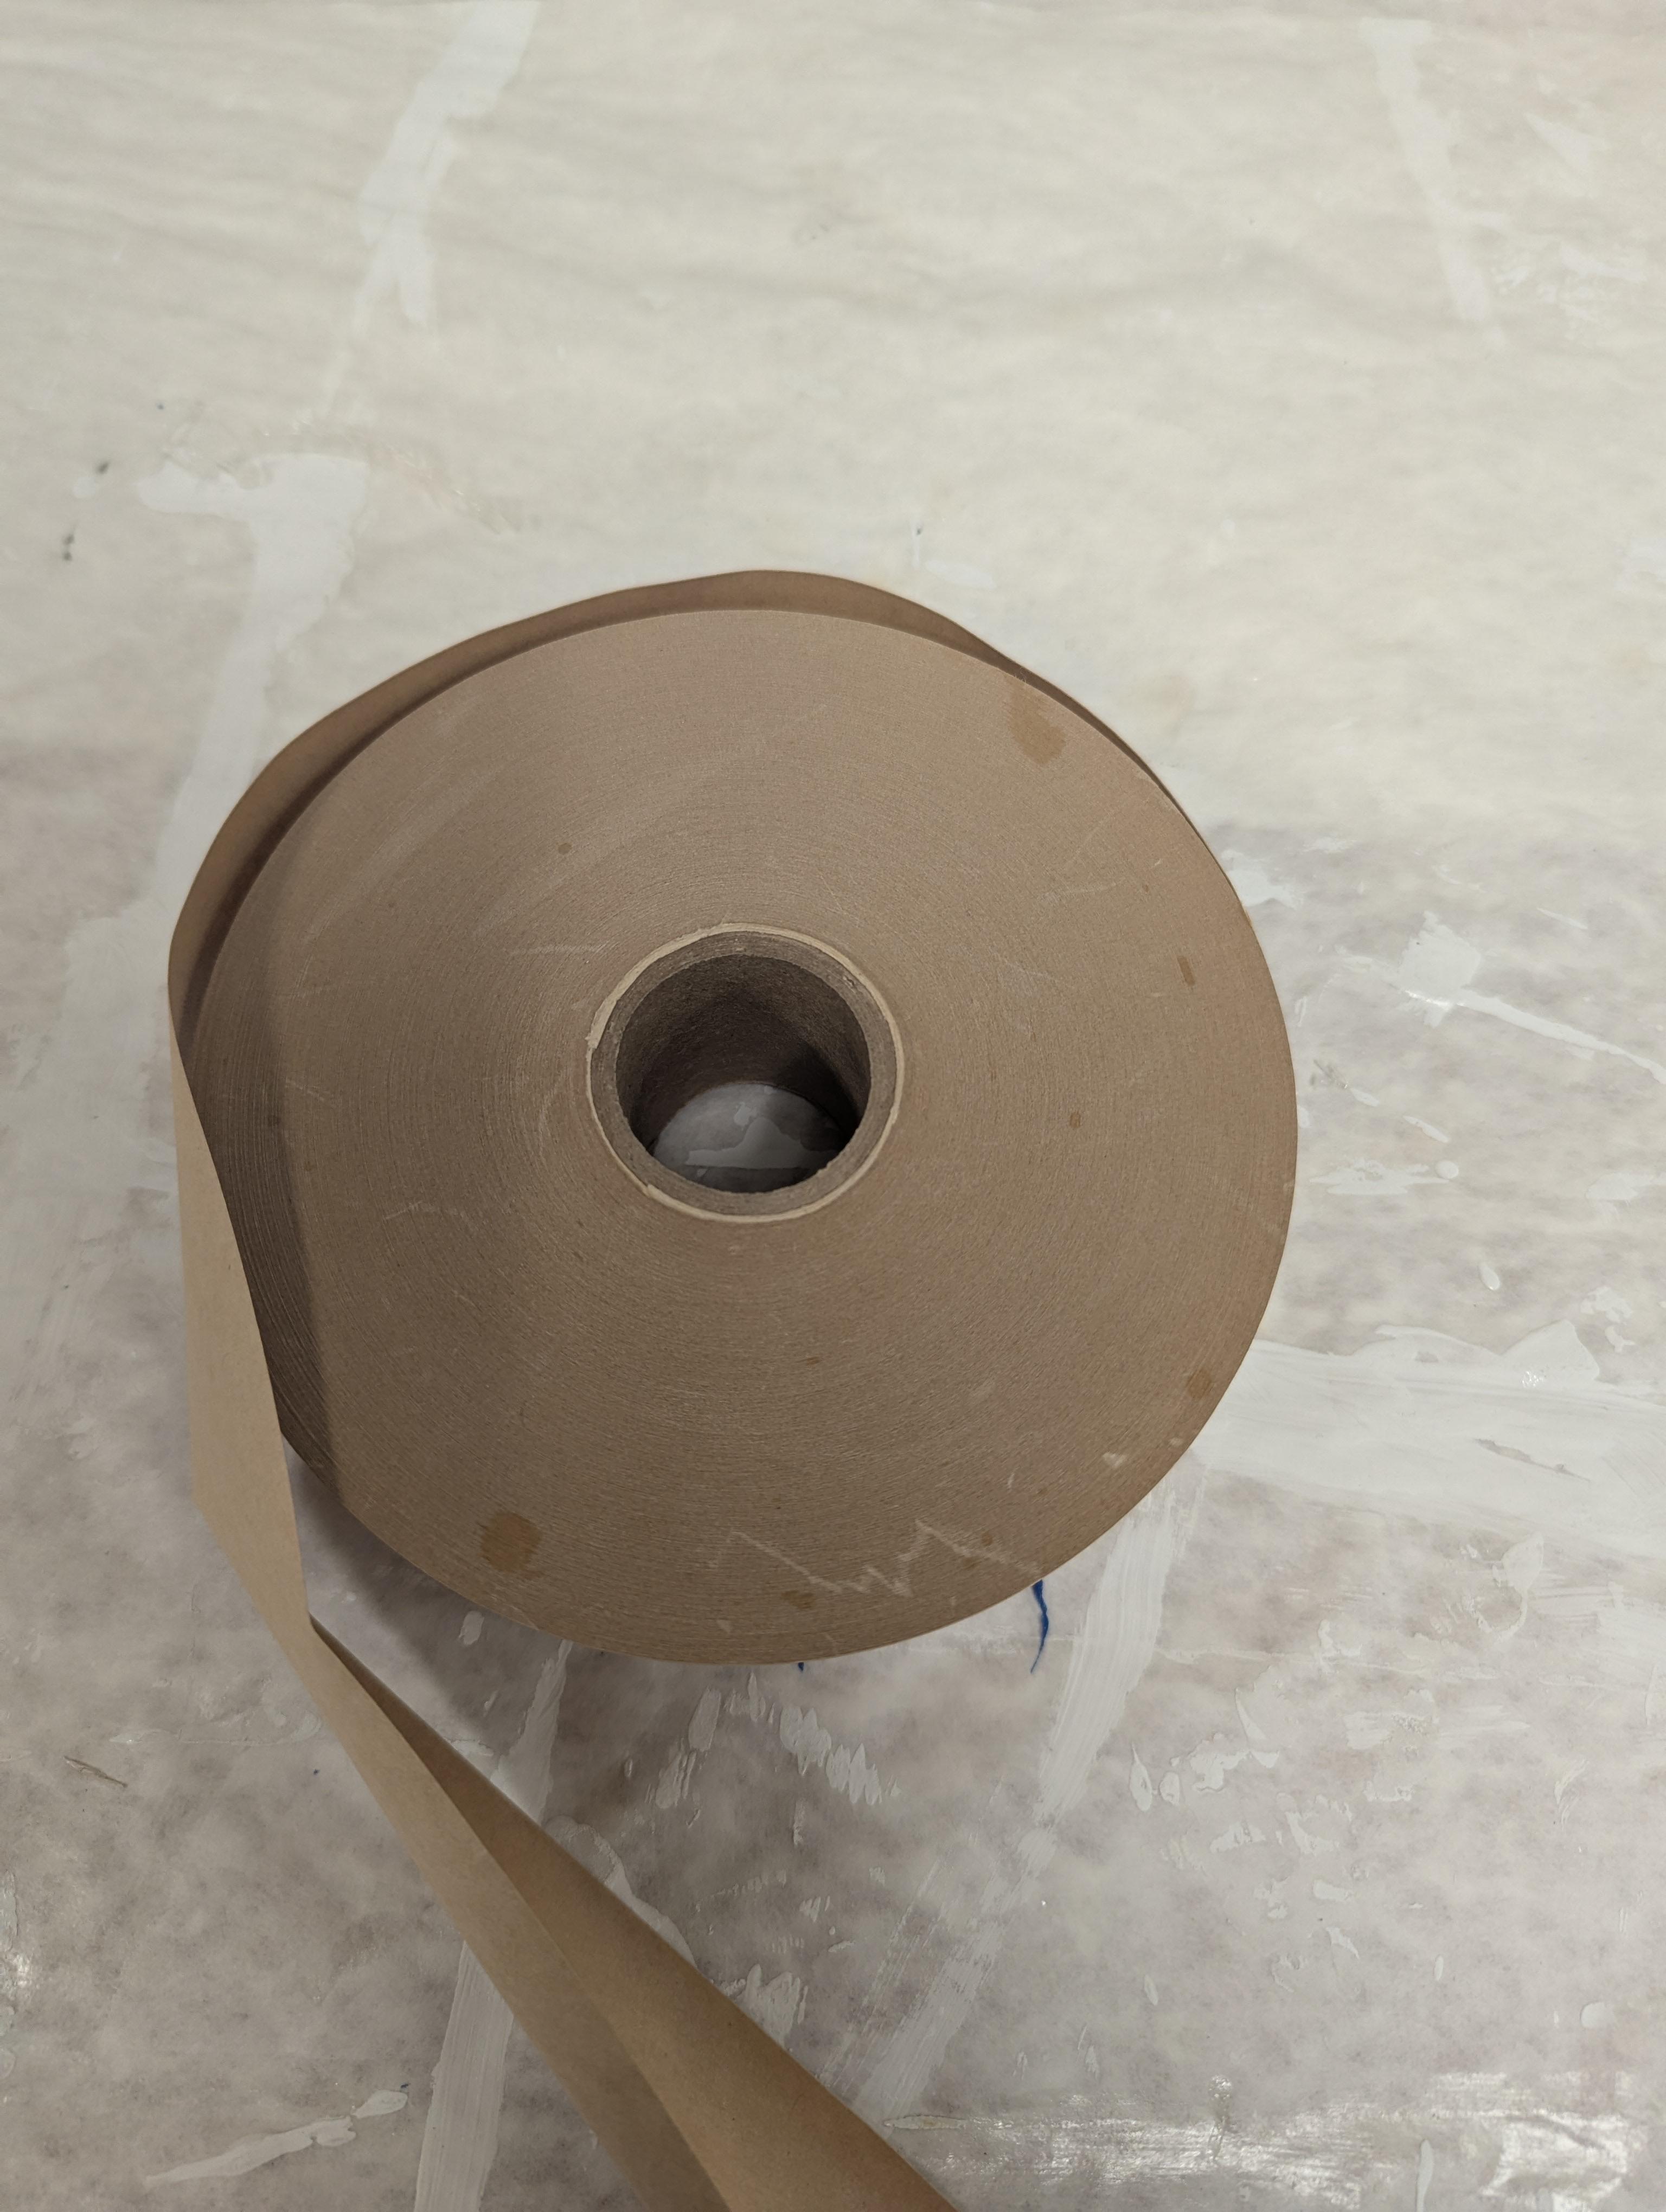
Edging


You need to seal off the edges to help keep water out. I use gummed packing tape. You can look at this video from the Adaptive Design Association YouTube channel
Finishing


To finish the footrest, you need to apply primer, paint and polyurethane. I use water-based products to make clean-up easier.
You can look at these videos from the Adaptive Design Association YouTube channel