Classic Car Restomod - Part 3: Exterior - Rear End & Roof:
by steve-gibbs5 in Workshop > Cars
111 Views, 2 Favorites, 0 Comments
Classic Car Restomod - Part 3: Exterior - Rear End & Roof:
.PNG)
.PNG)
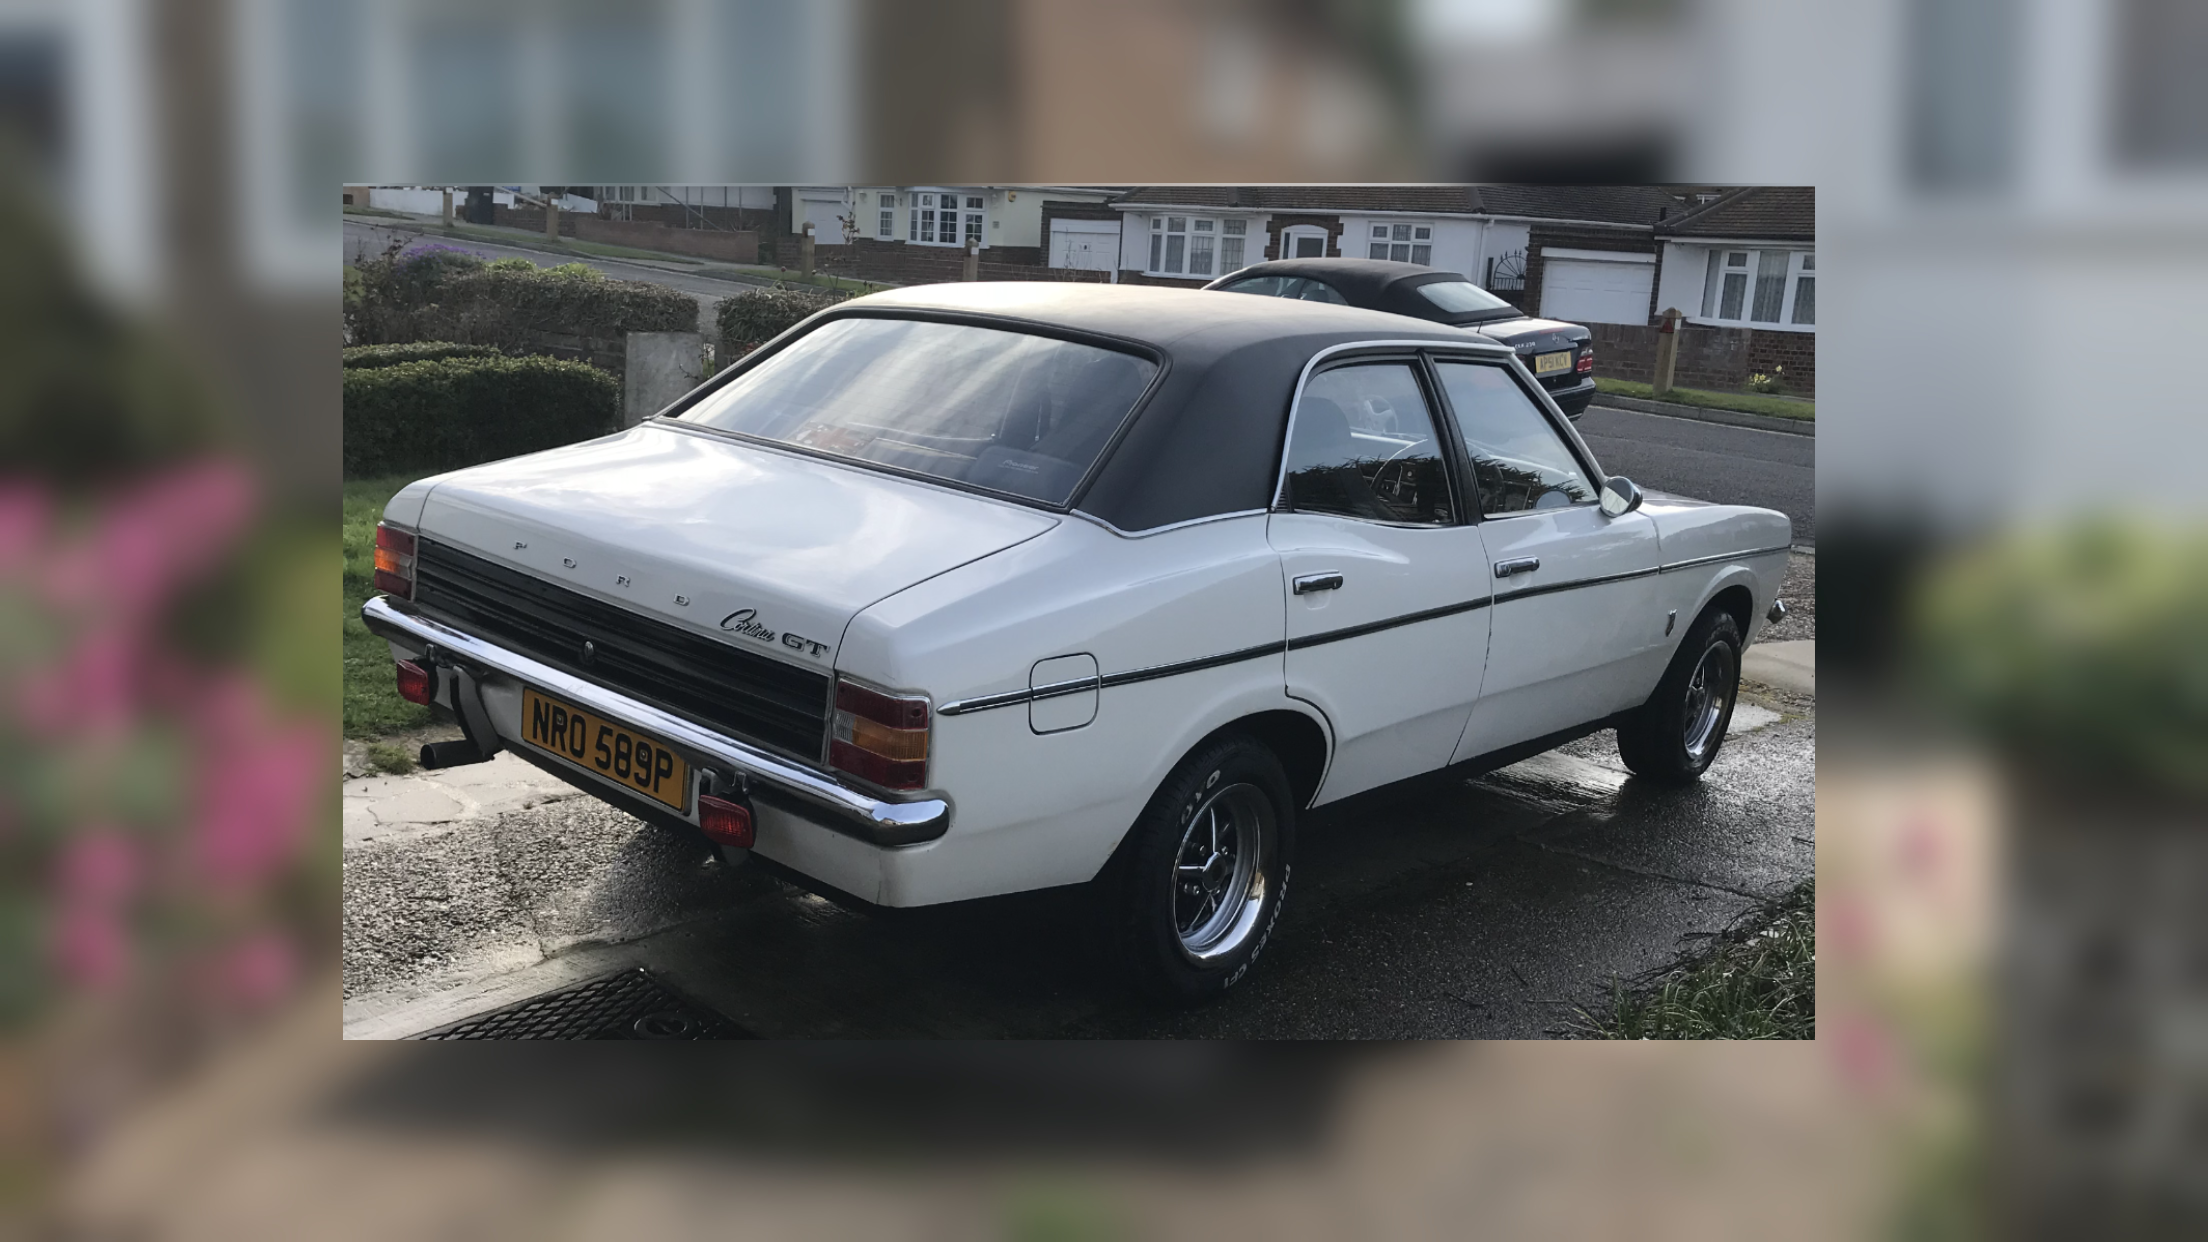
Welcome to Part 3 of my restomod Instructable collection for my 1976 Ford Cortina MK3 1600 GT.
In this part, I will be showing you how I gave the back end of the car a freshen up and giving it the sporty GLX look. This would consist of replacing the rear tail lights and number plate, and adding the GLX boot/trunk panel fascia, chrome under riders and fog lights. And for the look I've always loved on this car, the roof was also covered, not with the traditional vinyl cloth, but with the more modern process of self-adhesive vinyl wrapping that when fitted, looked just like the original vinyl cloth.
This is a shorter part with only a few steps, but hopefully will be helpful to someone. Again, the Cortina is the example, but the techniques can be used on other car makes. I will be referring to the car boot/trunk as 'boot' as that's how we pronounce it in the good ol' U.K. Let get to it.
Supplies
.PNG)
Parts:
- GLX boot/trunk panel fascia with black mushroom head screws
- Chrome under riders
- Rear fog lights and bulbs (new)
- Relay and extra electrical wire for fog lights
- New rear number plate
- Number plate chrome effect edging
- Chrome edged tail light clusters (pair) and new bulbs
- 'Hocky stick' chrome trims for roof 'C' pillars (pair)
- New full size boot carpet/mat
Tools & Materials:
- Cross head screwdriver
- Wire wool
- Wet & dry paper
- Spanners
- Socket set
- Heavy paint stripper
- Container to clean parts (for paint remover)
- Protective equipment (thick rubber gloves, eye protection)
- Metal polish
- Car body polish/wax
- Microfibre cloths
- Grey spray primer
- Chrome/silver spray paint
If needed...
- Etching primer
- Rust treatment
- Touch-up paint
Tools & Materials for Roof Vinyl Wrapping:
- Vinyl wrap (cut into 3 pieces: left side, right side, centre strip. A slight overlap of the pieces will help make it look like the seams found on the genuine vinyl cloth).
- Squeegee with a felt edge.
- Heat gun or hairdryer.
- Sharp craft knife or vinyl wrap cutter.
- Isopropyl alcohol (70 to 90%).
- Microfiber cloths.
- Masking tape or magnets.
- Pin to release air bubbles.
- Gloves (vinyl wrap gloves are best for this job).
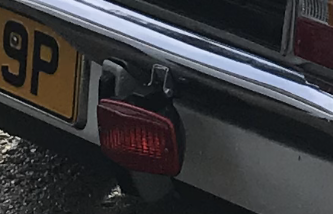
Rear Fog Lights & Tail Lights:

.PNG)
.PNG)
.PNG)

First we will fit the rear fog lights.
- Measure, mark and drill the mounting bracket holes into the car body where the lights are to be mounted. Then drill the holes just underneath to feed the wires through.
- Feed the mounting bolts through the back of the hole and attach the lights mounting brackets. Then fit a rubber gromet into the hole for the wires.
- Feed the wires through the gromet. Now attach the lights with the new bulbs fitted, adjust to position and then tighten up.
- Drill a hole where you want to install the relay, a hole small enough to act as a thread for the screw to attach to firmly. This can also be used as a grounding point for the relay ground wire.
- Wire up the fog lights with a relay and wiring to the dashboard fog light switch.
- Connect the battery to test the lights, making any adjustments to each light if needed, then disconnect the battery.
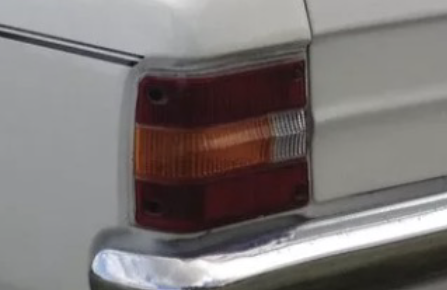
Now we will swap over the rear turn signal indicators.
- Remove the old rear indicators, and disconnect the wiring.
- Fit new bulbs to the indicator bulb connectors.
- Clean around the exposed bodywork while the lenses are off the car. Take this opportunity to clean up the old screws with a wire brush.
- Reconnect the bulbs/wiring to the new lenses and fit them to the car.
- Reconnect the battery to test that they are working correctly.
With the lights fitted and working, we can now fit the new boot lid panel and carpet.
Boot/trunk Panel Fascia & Carpet:
.PNG)
.PNG)
.PNG)
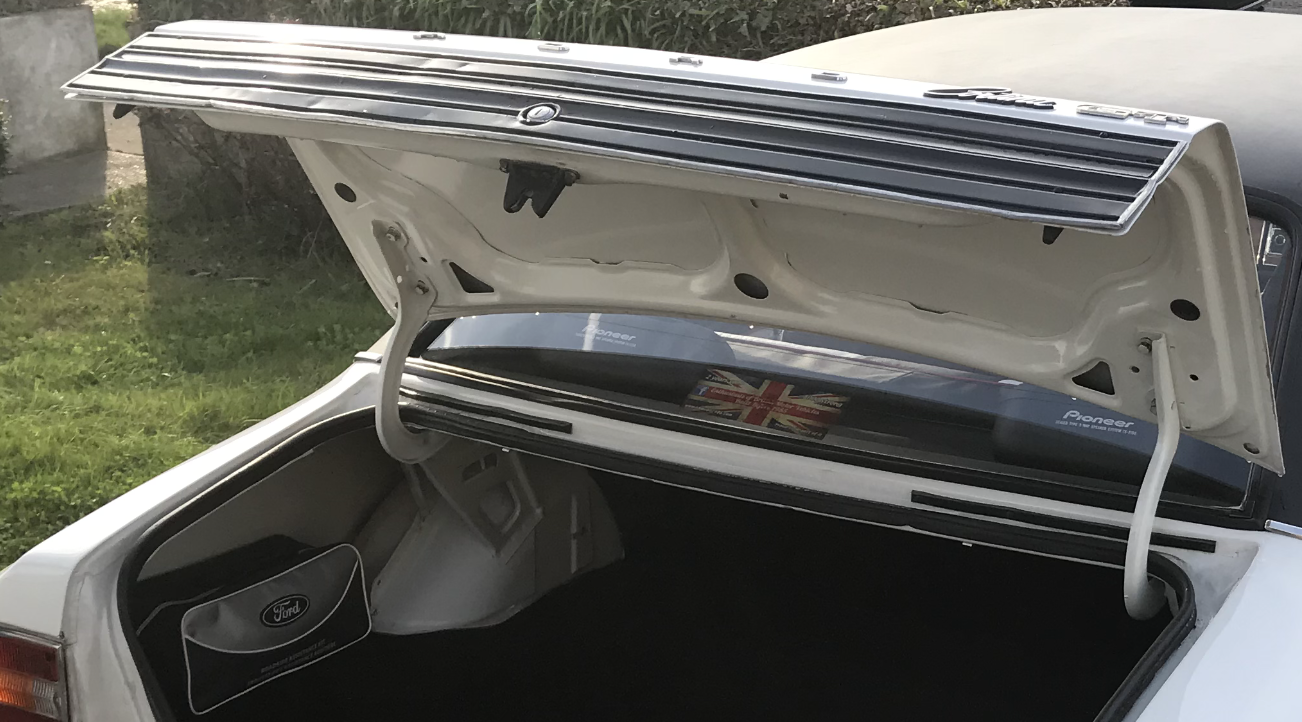
The boot/trunk GXL panel fascia was in fairly good condition, but some of the paint had come away over the years so a full paint strip and re-paint was in order.
- Clean the boot lid area to remove any dirt and grime. This includes where you are going to attach the panel, but also the gullies, inside the boot lid, rubber seals... everything that you can clean really.
- Clean the panel with warm soapy water and dry thoroughly.
- Place the panel into a container and fully coat it with heavy duty paint remover and leave for at least 24 hours. Where protective equipment for this and the following stage.
- With a damp cloth, wipe off all of the old paint, thoroughly rinse the panel and repeat the paint stripper process if required.
- Mask of the chrome/silver edges then spray on 3 or 4 coats light even coats of grey paint primer and wait its fully dry. Then 5 to 6 light even coats of black gloss paint and wait to fully dry, then 4 coats of clear lacquer then leave to cure for at least 24 hours.
- Remove the masking tape and give the chrome/silver edges a good polish/buff with metal polish.
- Offer the panel up to the lid, make sure it is centered then mark the mounting holes onto the boot lid. Drill the holes small enough to act as a thread for the screw to attach to firmly to the lid.
- Screw on the panel using black mushroom head screws. For panels like this, if you worry about rattling or vibration noises, you could always add some foam tape around the inner edge of the panel then screw it on to minimize any vibration noise.
- Give the panel a final clean and ensure the screws are all tight.
My car came with an old and small boot mat which was not in good shape, so I disposed of this part as it was beyond rescue and ordered a full size boot carpet.
- Remove the spare wheel, jack and wheel brace and anything else that can be taken out.
- Give to boot a good vacuum and then a good wash and dry. A good polish wouldn't heart either.
- Examine any drain holes for rust and blockages. Clean out any blockages and if there is any surface rust, give the area a good scrub with a wire brush, wire wool and wet & dry paper (wet). Clean the area and dry them apply some rust treatment. When the treatment has cured, mask the area apply some etching primer then paint with a touch-up brush paint of the same colour. Remove the masking.
- Take this opportunity to give the spare wheel, jack and wheel brace a good clean if needed. Then replace the items back into the boot.
- Now we can fit the new carpet for an instant transformation (and it smelt good too). I also treated myself and purchased a new Ford branded first aid kit.
I previously mentioned about not throwing old parts away as they very well may be someone who wants them, but in regards to old worn out smelly carpets, it's best to dispose of them. Now we will move on to some more body styling.
Chrome Under Riders:
.PNG)
.PNG)
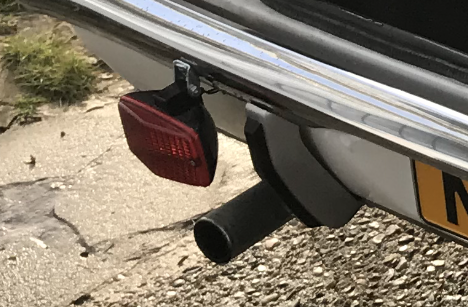
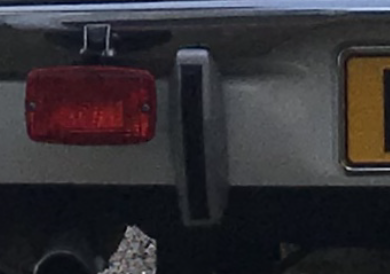
In Part 2, I mentioned that the full set were in reasonable shape, no rust, mounting brackets in tact, and had a good set of rubbers, but the chrome work was a little pitted. Keeping in my budget I spray painted them with a good quality silver/chrome paint instead of re-chroming them, and I was very pleased with the results.
- In Part 2, we had already cleaned, primed, painted and lacquer coated the rear under riders, as well as treating the rubbers.
- Remove the rear bumper, give it a good clean and polish, and give the exposed bodywork a good clean and polish.
- Then mount the rear under riders to the inside mounting plates of the bumper.
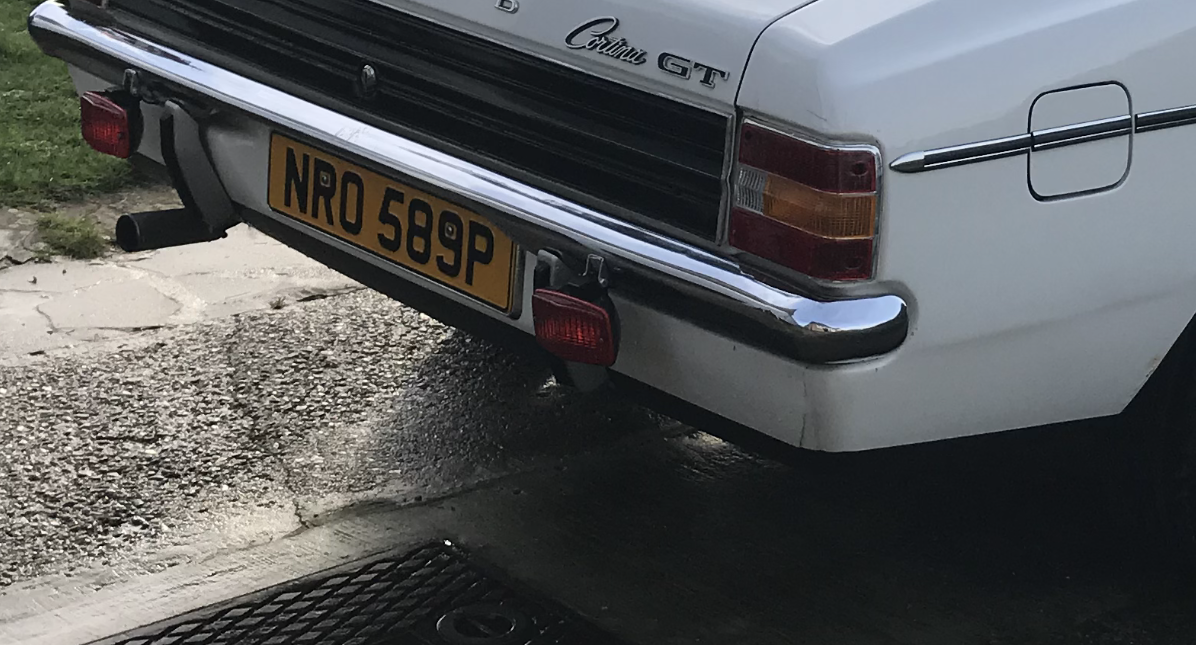
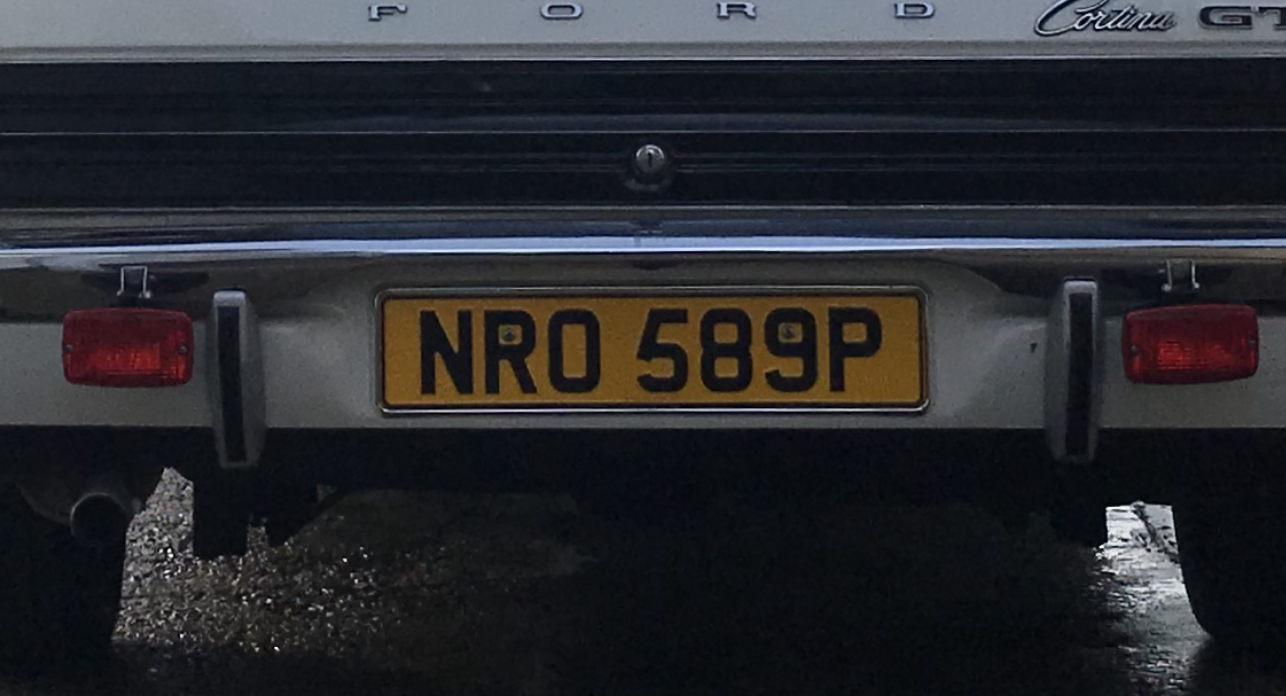
- Refit the bumper and the new number plate give the whole front end a final clean up. As with the front number plate, I also fitted a chrome effect number plate surround to the rear plate too.
And with that, the rear end of the car is looking much better and happy in the knowledge that the entire area has bee cleaned and polished. When we clean our cars, it's very rare, if at all, we remove lights and bumbers etc. so it's good practice to take the opportunity to do this while we can.
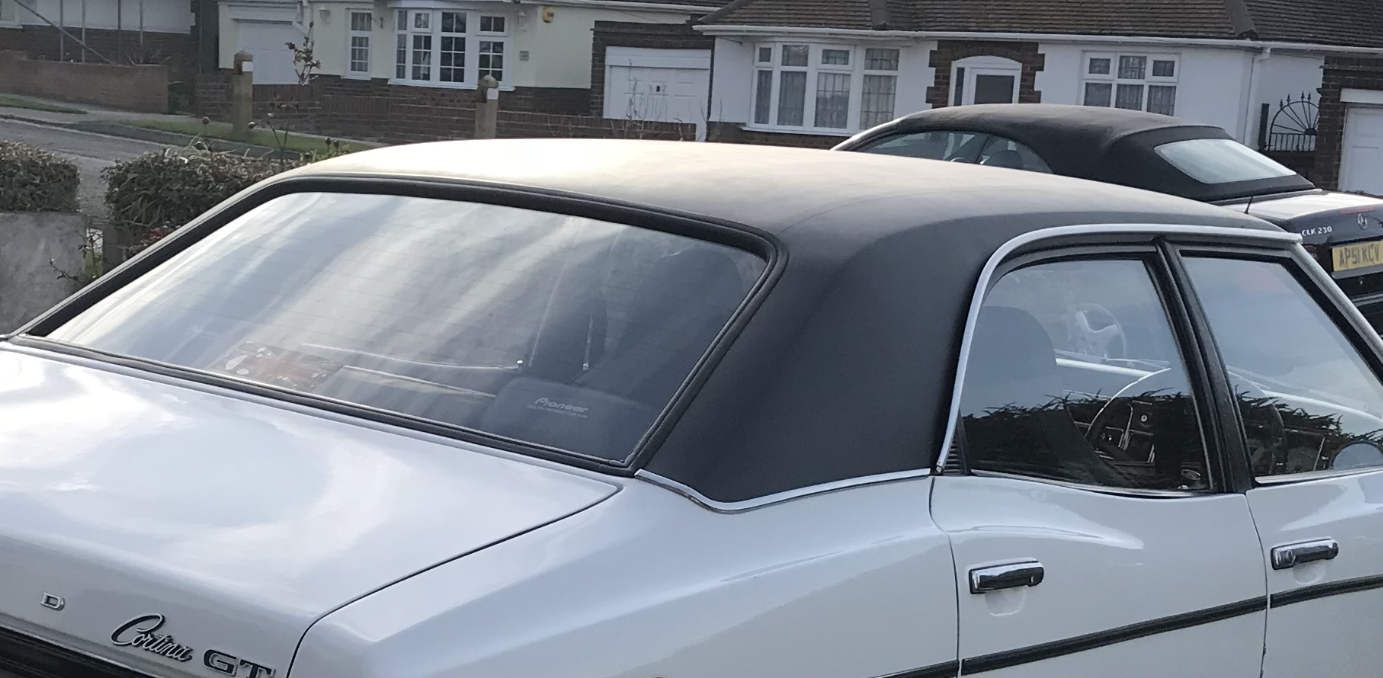
Roof:
.PNG)
.PNG)

.PNG)
This was the other job that was done in my friends garage as he had the space, and the fact that this was not a one person job. I decided to use vinyl wrap instead of using genuine vinyl cloth because of cost, it was a quicker and easier job, and the option is always there to easily remove the vinyl wrap leaving the paintwork in tact in the future if needed. My friend used one of his contacts to source the vinyl wrap that had the exact vinyl cloth look and with some texture to it as well. I managed to find someone selling some used 'hocky stick' chrome trims for the 'C' pillars which were in good shape and just needed a good clean. The vinyl wrap is a professional quality one and has a life of at least 10 years if looked after, so if you are thinking of going this route, spend the little extra and get top grade vinyl and not the cheap stuff you can buy online from e-commerce websites.
Unfortunately, I didn't get to take the fitting photos I originally wanted to as we had time constraints to work to (my friends garage was a working garage and he still had customers cars to work on), and the fact that wrapping the roof needed our hands free all of the time to do the job due to the nature of self-adhesive vinyl wrap. But the following stages should help if you intend to do this job yourself.
Tools & Materials:
- Vinyl wrap (cut into 3 pieces: left side, right side, centre strip. A slight overlap of the pieces will help make it look like the seams found on the genuine vinyl cloth).
- Squeegee with a felt edge.
- Heat gun or hairdryer.
- Sharp craft knife or vinyl wrap cutter.
- Isopropyl alcohol (70 to 90%).
- Microfiber cloths.
- Masking tape or magnets.
- Pin to release air bubbles.
- Gloves (vinyl wrap gloves are best for this job).
1. Preparation:
- Wash the car roof with shampoo and water, removing all dirt and debris.
- Thoroughly dry with microfiber towels or a chamois leather.
- Wipe down the roof with isopropyl alcohol to remove any grease, wax, or polish. This includes under the edges of the front and rear windscreen rubber seals.
- Check the paint surface because vinyl will not hide dents, scratches, or stone chips.
- Remove any roof trims, aerials, roof bars, or anything in the way.
- If possible, park indoors in a warm (not hot) space. Vinyl applies best between 18 to 25°C.
2. Team Setup:
- At least two people are required: Person A – holds and stretches the vinyl, maintaining even tension. Person B – applies the vinyl and works with the squeegee.
3. First Vinyl Section (Left Side of the Roof):
- Cut the vinyl pieces out about 10 to 15 cm larger than needed on all edges.
- Place the vinyl above the roof and secure lightly with magnets or masking tape.
- Peel back the release liner gradually, starting from the outer edge.
- Person A holds vinyl slightly above the roof, keeping it taut but not overstretched. Person B begins pressing from the centre line outward using smooth, overlapping squeegee strokes.
- Apply a light heat where the roof curves downwards to avoid creases.
- Continue until the full left section is applied.
- Trim excess vinyl along roof edges, leaving about 5 mm to tuck under the rubber windscreen seals.
4. Second Vinyl Section (Right Side of the Roof):
- Repeat the process with the second piece of vinyl.
- Position it so it aligns neatly at the centre of the roof, leaving a small overlap or gap to be covered by the centre strip. This is where we can also mimic the vinyl cloth seams.
- Apply tension evenly, squeegee from centre outwards, and heat around curves.
- Trim as before, tucking the front and rear edges under the windscreen seals.
5. Centre Strip:
- Cut a strip wide enough to cover the seam between left and right pieces, with about 3 cm overlap on each side.
- Position the vinyl centrally with magnets/tape before peeling backing.
- Apply from the front to rear of the roof, keeping it straight and even.
- Squeegee from the middle outward to avoid trapping air.
- Apply gentle heat along edges to bond securely over the seam.
- Tuck the front and rear edges of the vinyl underneath the windscreen rubber seals.
6. Edges & Seams:
- Tuck excess vinyl neatly under roof trim.
- Refit any trims, aerials, or roof bars only once the vinyl is fully bonded. In my case it was the 'C' pillar 'hocky stick' trims where I used 3M double sided automotive tape.
- Run the heat gun lightly along seams to help set the adhesive, around 90°C is ideal but avoid overheating.
- Press the edges firmly with the squeegee or gloved hand to ensure a long-term hold.
7. Final Checks:
- Look for any air bubbles. If any are found, prick them gently with a pin and gently smooth out with squeegee.
- Inspect the roof in different lighting to spot any imperfections.
- Leave car indoors for at least 12 hours if possible, giving vinyl time to bond. If you have to park outside, try to keep the car out of hot direct sunlight.
- And avoid pressure washing or waxing for one week after fitting the vinyl.
I good quality vinyl can be unstuck and re-stuck, but try to avoid this where possible to avoid over-stretching the vinyl. I have laid vinyl wrap on car parts and other things a few times, but never a full panel and this was a great learning experience and thankful yet again to my friend who has covered entire cars and vans. Apologies' again for the lack of photos in this step, but I hope what I've written is helpful enough.
Conclusion of Part 3:
.PNG)
.PNG)
.PNG)
So with a fresh sporty back end, a nice shiny boot inside and out, and a beautiful looking vinal wrapped roof looking like the genuine thing and is a massive transformation from the original look, we can now move onto the interior. In Part 4 we will be focusing on the door cards and steering wheel.
See you there.