Classic Car Restomod - Part 6: Interior - Seats:
by steve-gibbs5 in Workshop > Cars
62 Views, 1 Favorites, 0 Comments
Classic Car Restomod - Part 6: Interior - Seats:
.PNG)
.PNG)
.PNG)
.PNG)
.PNG)
.PNG)
Hello and welcome to Part 6 of my restomod Instructable collection for my 1976 1600 GT Ford Cortina MK3. In Part 5, we gave the dashboard a whole new look along with the addition of a new center console. Ideally this should not have been fitted yet as this will make the seat removal a lot easier.
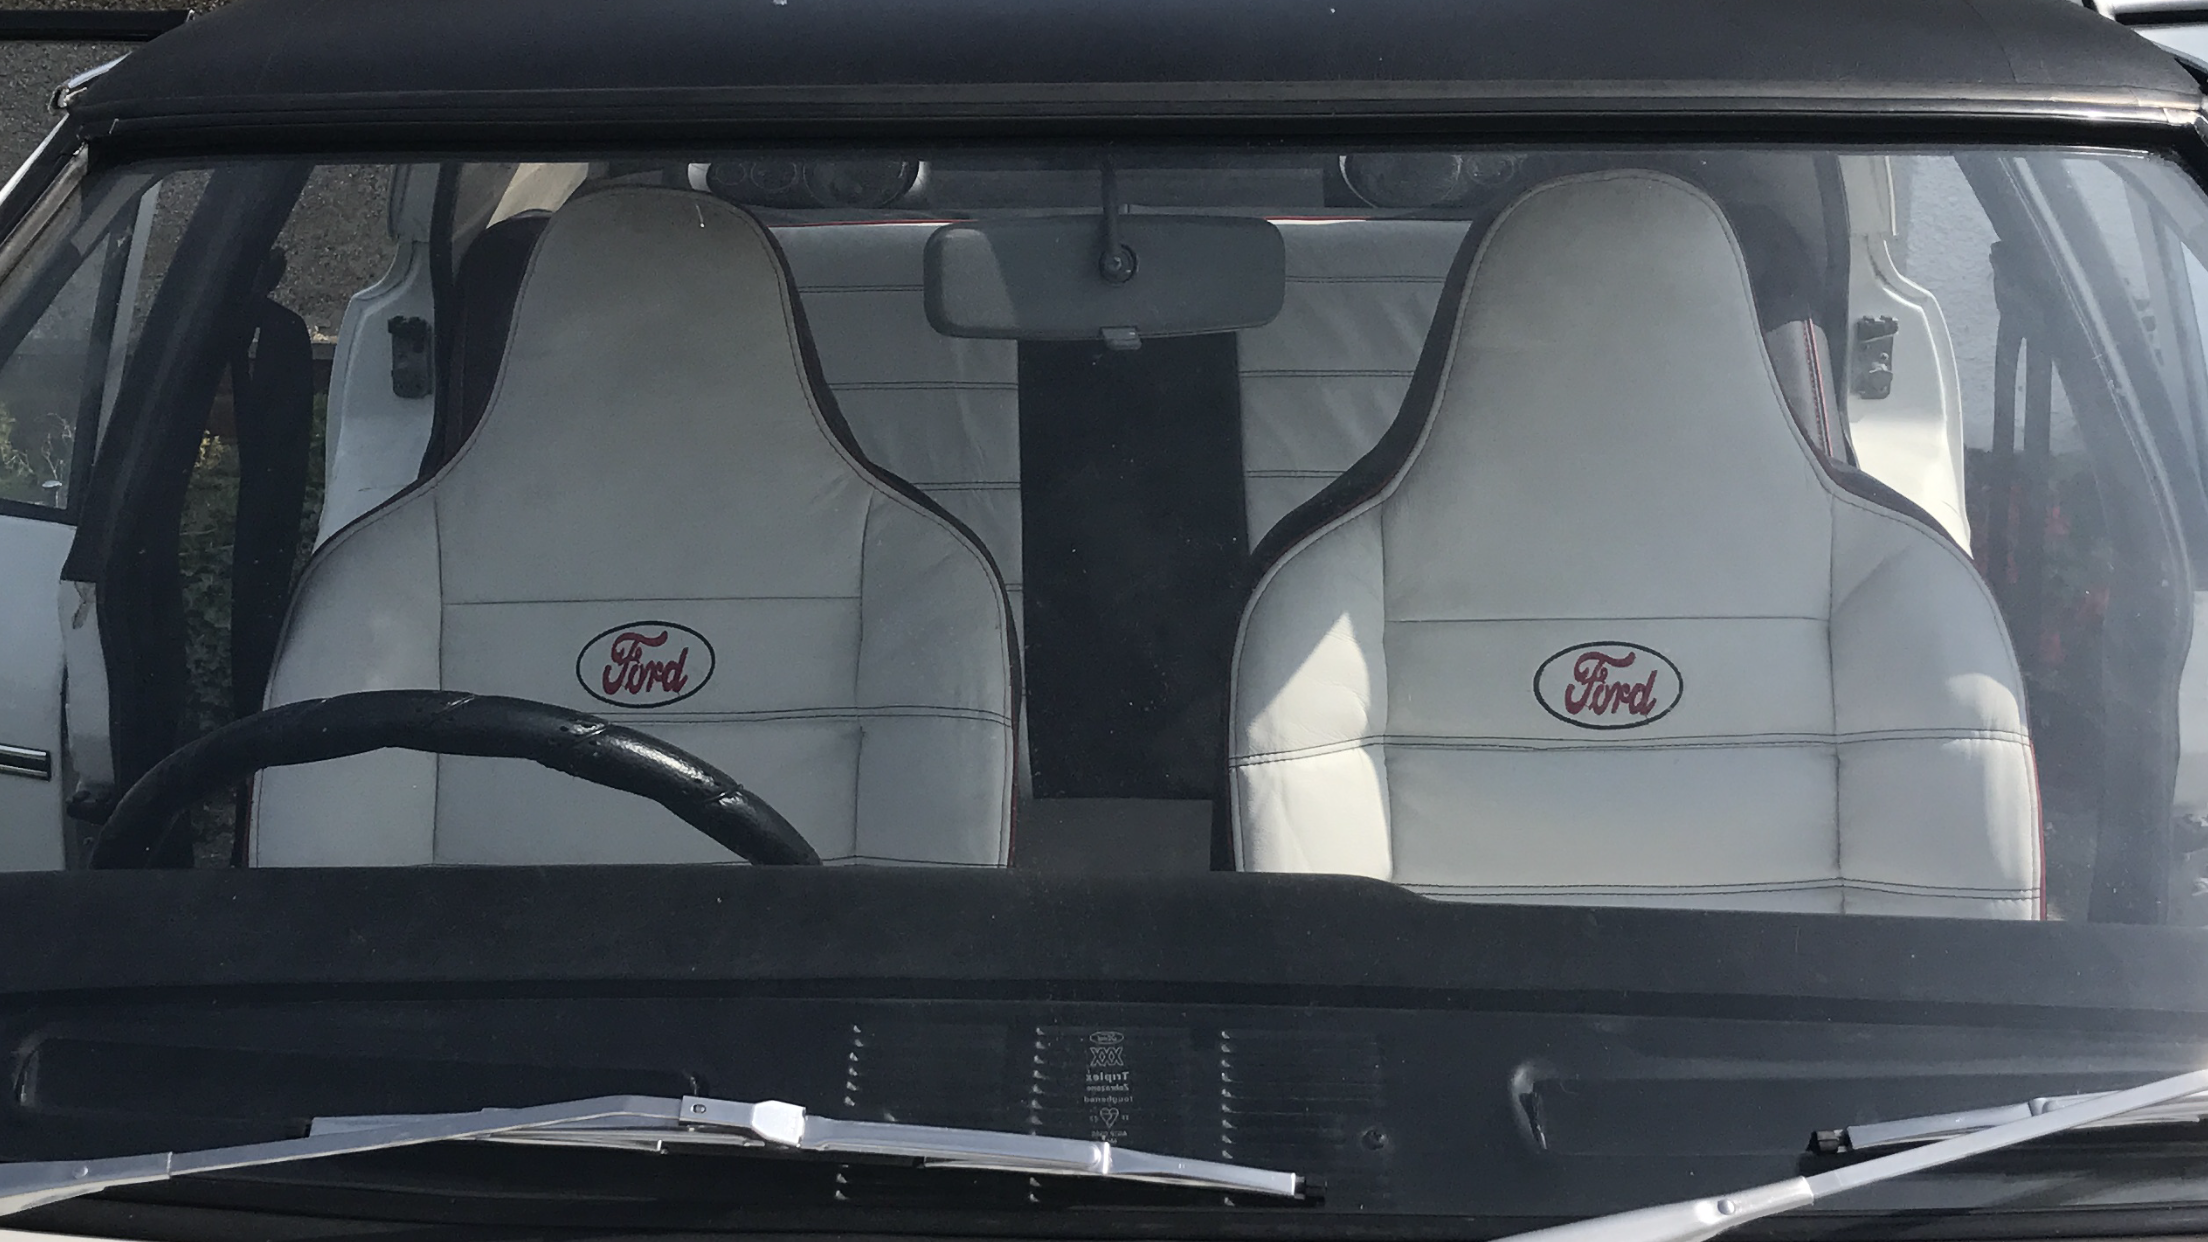
The original seats were in good shape but I wanted the GXL style seats. During a 700 mile round trip to collect some other parts, I also managed to pick up a pair of original GXL front seats with the molded headrests. These were in a good shape although the covers were a little worn with age which was fine as I was going to recover them. The original rear bench seats from my car were also in good shape so I was going to recover these too.
I removed the old cloth GXL seat covers and sent them off to a company in the U.K that made custom seat covers, so I gave them my designs, chose the material which was a beautiful soft leather and waited the 7 weeks for them to be made and delivered. So here is the fitting procedure.
Supplies
.PNG)
.JPG)
Parts:
- Pair of used GXL front seats
- Custom made seat cover set
Materials:
- Car polish
- Microfibre cloths
- Disposable gloves
- Penetrating fluid
Tools:
- Pair of pliers
- Needle nose pliers
- vacuum cleaner
- Ratchet and sockets to remove the seats
Seat Removal:
.PNG)
.PNG)
.JPG)
.PNG)
.PNG)
- Spray the bolts that are holding the seats with penetrating fluid such as WD40 and leave to soak for a while.
- Unbolt the front seats and remove from the car. Take care to look for and disconnect any wiring the seas may have (electric seat adjustment, pressure sensor switches etc.)
- Then remove the rear bench seat sections.
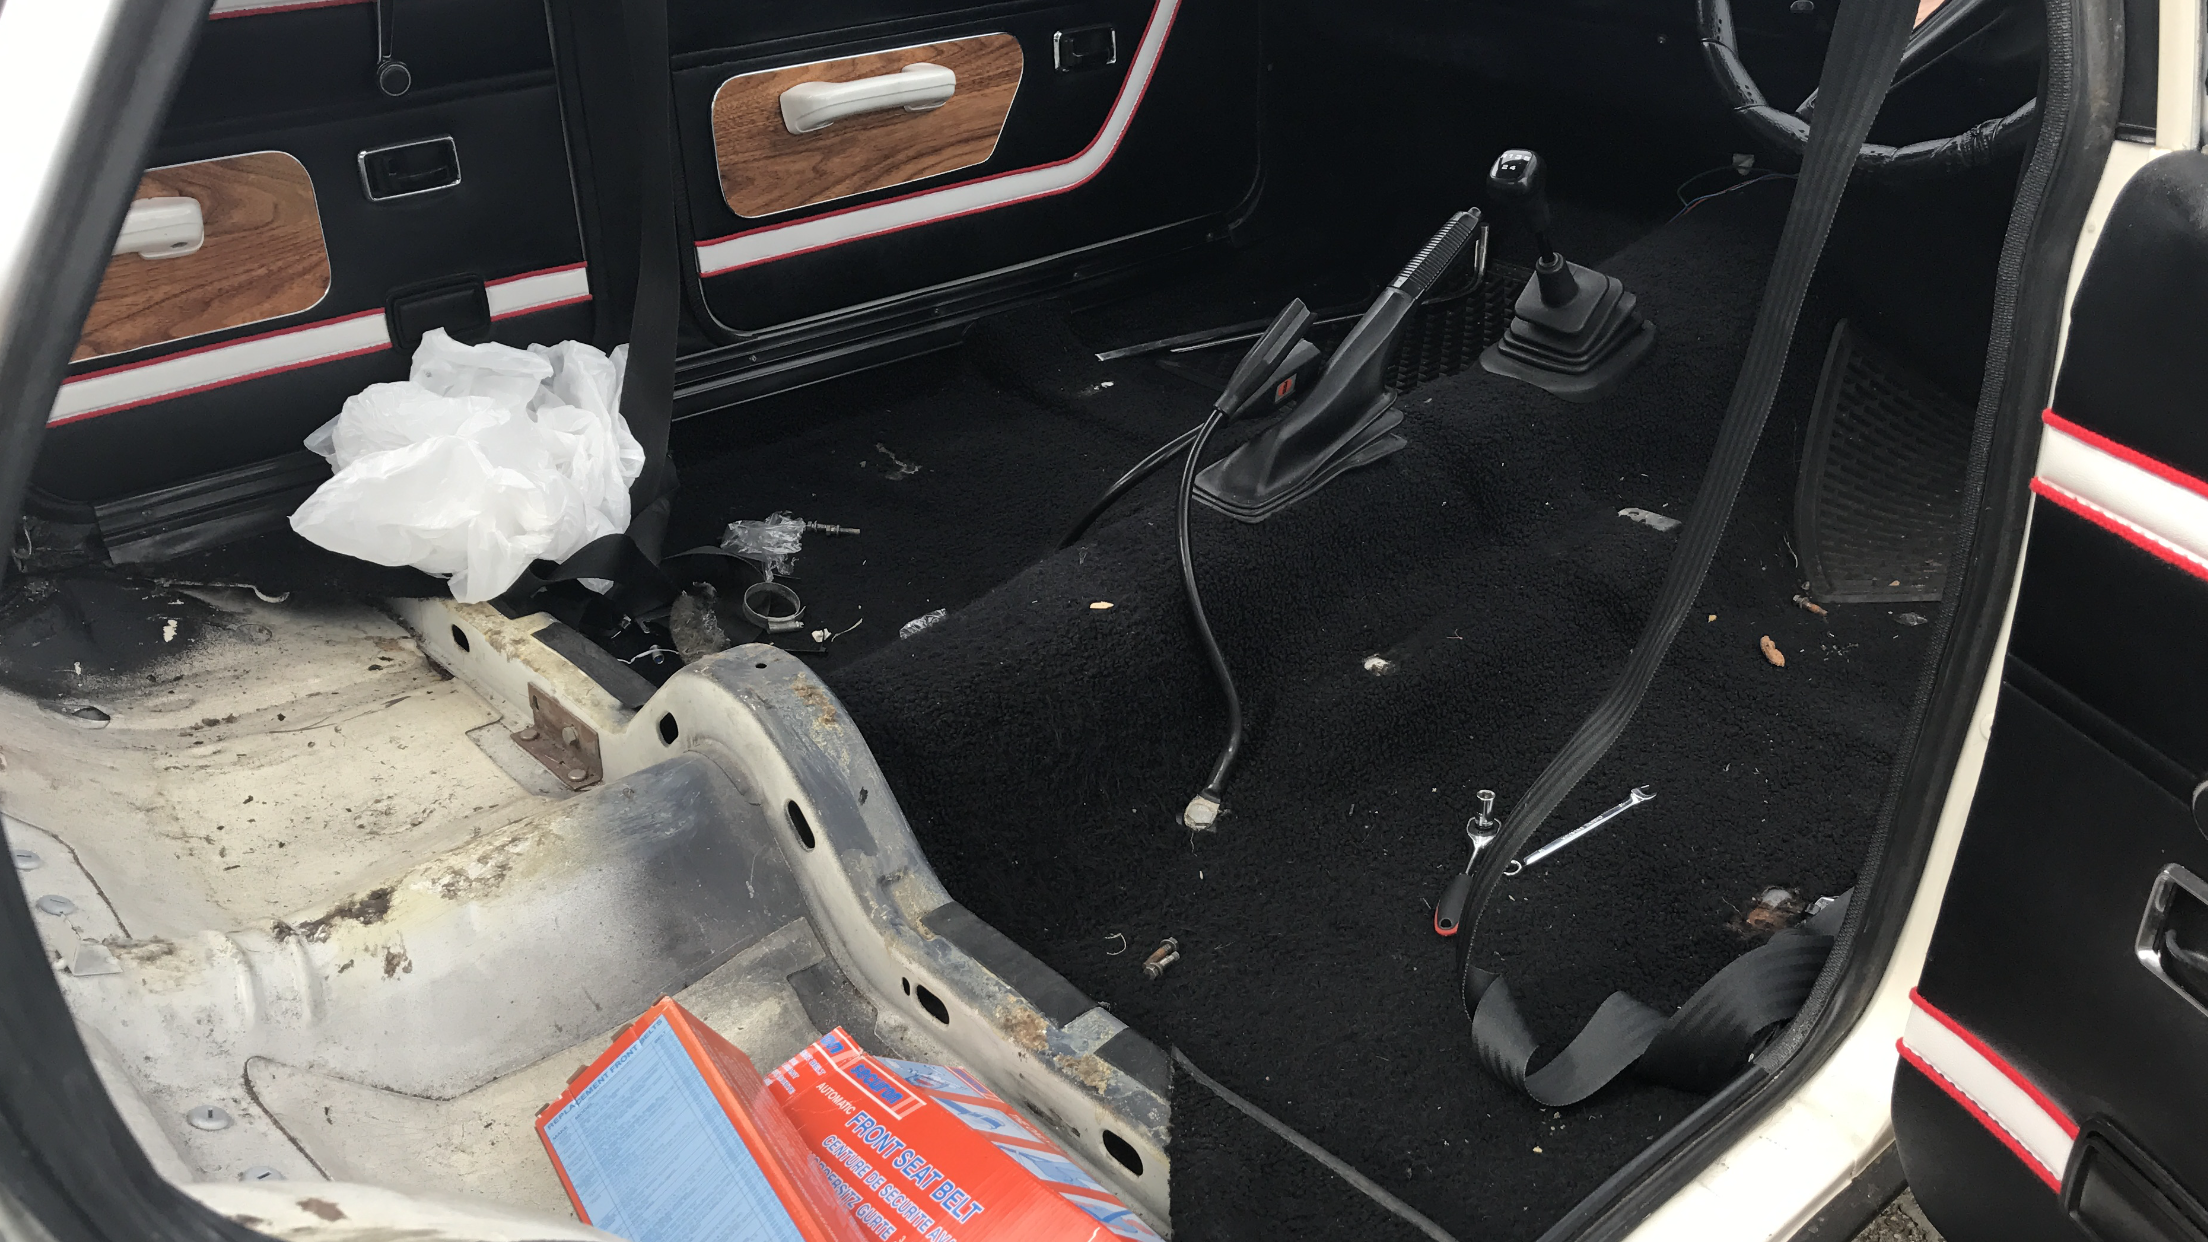
- Take this opportunity to remove the carpet and vacuum, wash then polish the car floor. Also check the condition of the exposed wiring looms to make sure they are in good shape. Cut out any pinched or damaged wire sections and replace with new wire ensuring the joins are fully insulated.
- Vacuum the carpet then if you have access to one, steam clean the carpet making a few passes at it. Then pat dry cloths over the carpet then leave to completely dry (48 hours at least). Leave in a room with a dehumidifier if you can, or leave in warm sunshine or a warm room. then run a dry clean brush over the carpet in one direction to even out and tidy up the carpet nap.
- With the seats and carpet removed, this was also a good time to clean the roof lining, first with warm soapy water, then a vinyl treatment.
Seat Retrimming:
.JPG)
.JPG)
.JPG)
.JPG)
.JPG)
.JPG)
.PNG)
.PNG)
.PNG)
.PNG)
- Start by removing all of the retaining clips holding the old seat covers on. Keep these clips as we will use these for the new covers. Give them a good clean if needed.
- Peel of the old covers from the bottom upwards, taking your time not to damage the foam.
- With all of the covers removed, give the bare seats a good vacuum to get rid of any dirt and old flaked off foam.
- Like the carpet at the end of Step 1, steam clean the foam padding, pat dry cloths to take out any remaining moisture and leave to completely dry. If the seats are a bit smelly, spread some baking soda over the foam and leave for 24 hours or so before vacuuming off.
- Now start to recover the seats with the new covers. Wear disposable gloves for this part, and change them regularly to keep the new covers clean. As I was replacing the old cloth covers with leather ones, the leather covers are more difficult to fit as the don't stretch very much. The rear covers are an easier job, just slowly go around the edge a bit at a time making sure the covers are aligned properly.
- With the front seats, slowly feed the covers down the seat makin sure they are going on straight. When mostly on, pull on the covers to make sure they are snug and any patterns are straight.
- Pull the bottom parts of the new covers over to the edge of the seat bases and attach with the retaining clips.
- Finally, make sure the covers are still straight and that there are no creases. There may be some wrinkling at first which should drop out after a few days as the material takes to it's new form and relaxes.
Seat Refitting:
.PNG)
.PNG)
.PNG)
- Replace the carpet making sure it is correctly aligned and that the seat mounting holes are all visible. This is where I also permanently traced the new rear speaker wires I mentioned in Part 5.
- Start by refitting the rear seat sections first, the backrest first, then the bolster seat. Do up all of the nut/screws then give them all a final tighten.
- Then fit the front seats loosely doing up all of the bolts, then go round again to tighten them up. Reconnect any electric cables if there are any. Then check to make sure the front seats have the full range of movement. You can apply a little grease to the seat runners.
Conclusion of Part 6:

At this point, the car was really taking shape because the end of this part meant that the interior was fully finished leaving only a few finishing touches to the outside of the car which is covered in the final part, Part 7.
Hope to see you there.