Classic Car Restomod - Part 7: Exterior - Wheels and Body Styling:
by steve-gibbs5 in Workshop > Cars
171 Views, 2 Favorites, 0 Comments
Classic Car Restomod - Part 7: Exterior - Wheels and Body Styling:
.PNG)
.PNG)
.PNG)
.PNG)
.PNG)
.PNG)
.PNG)
.PNG)
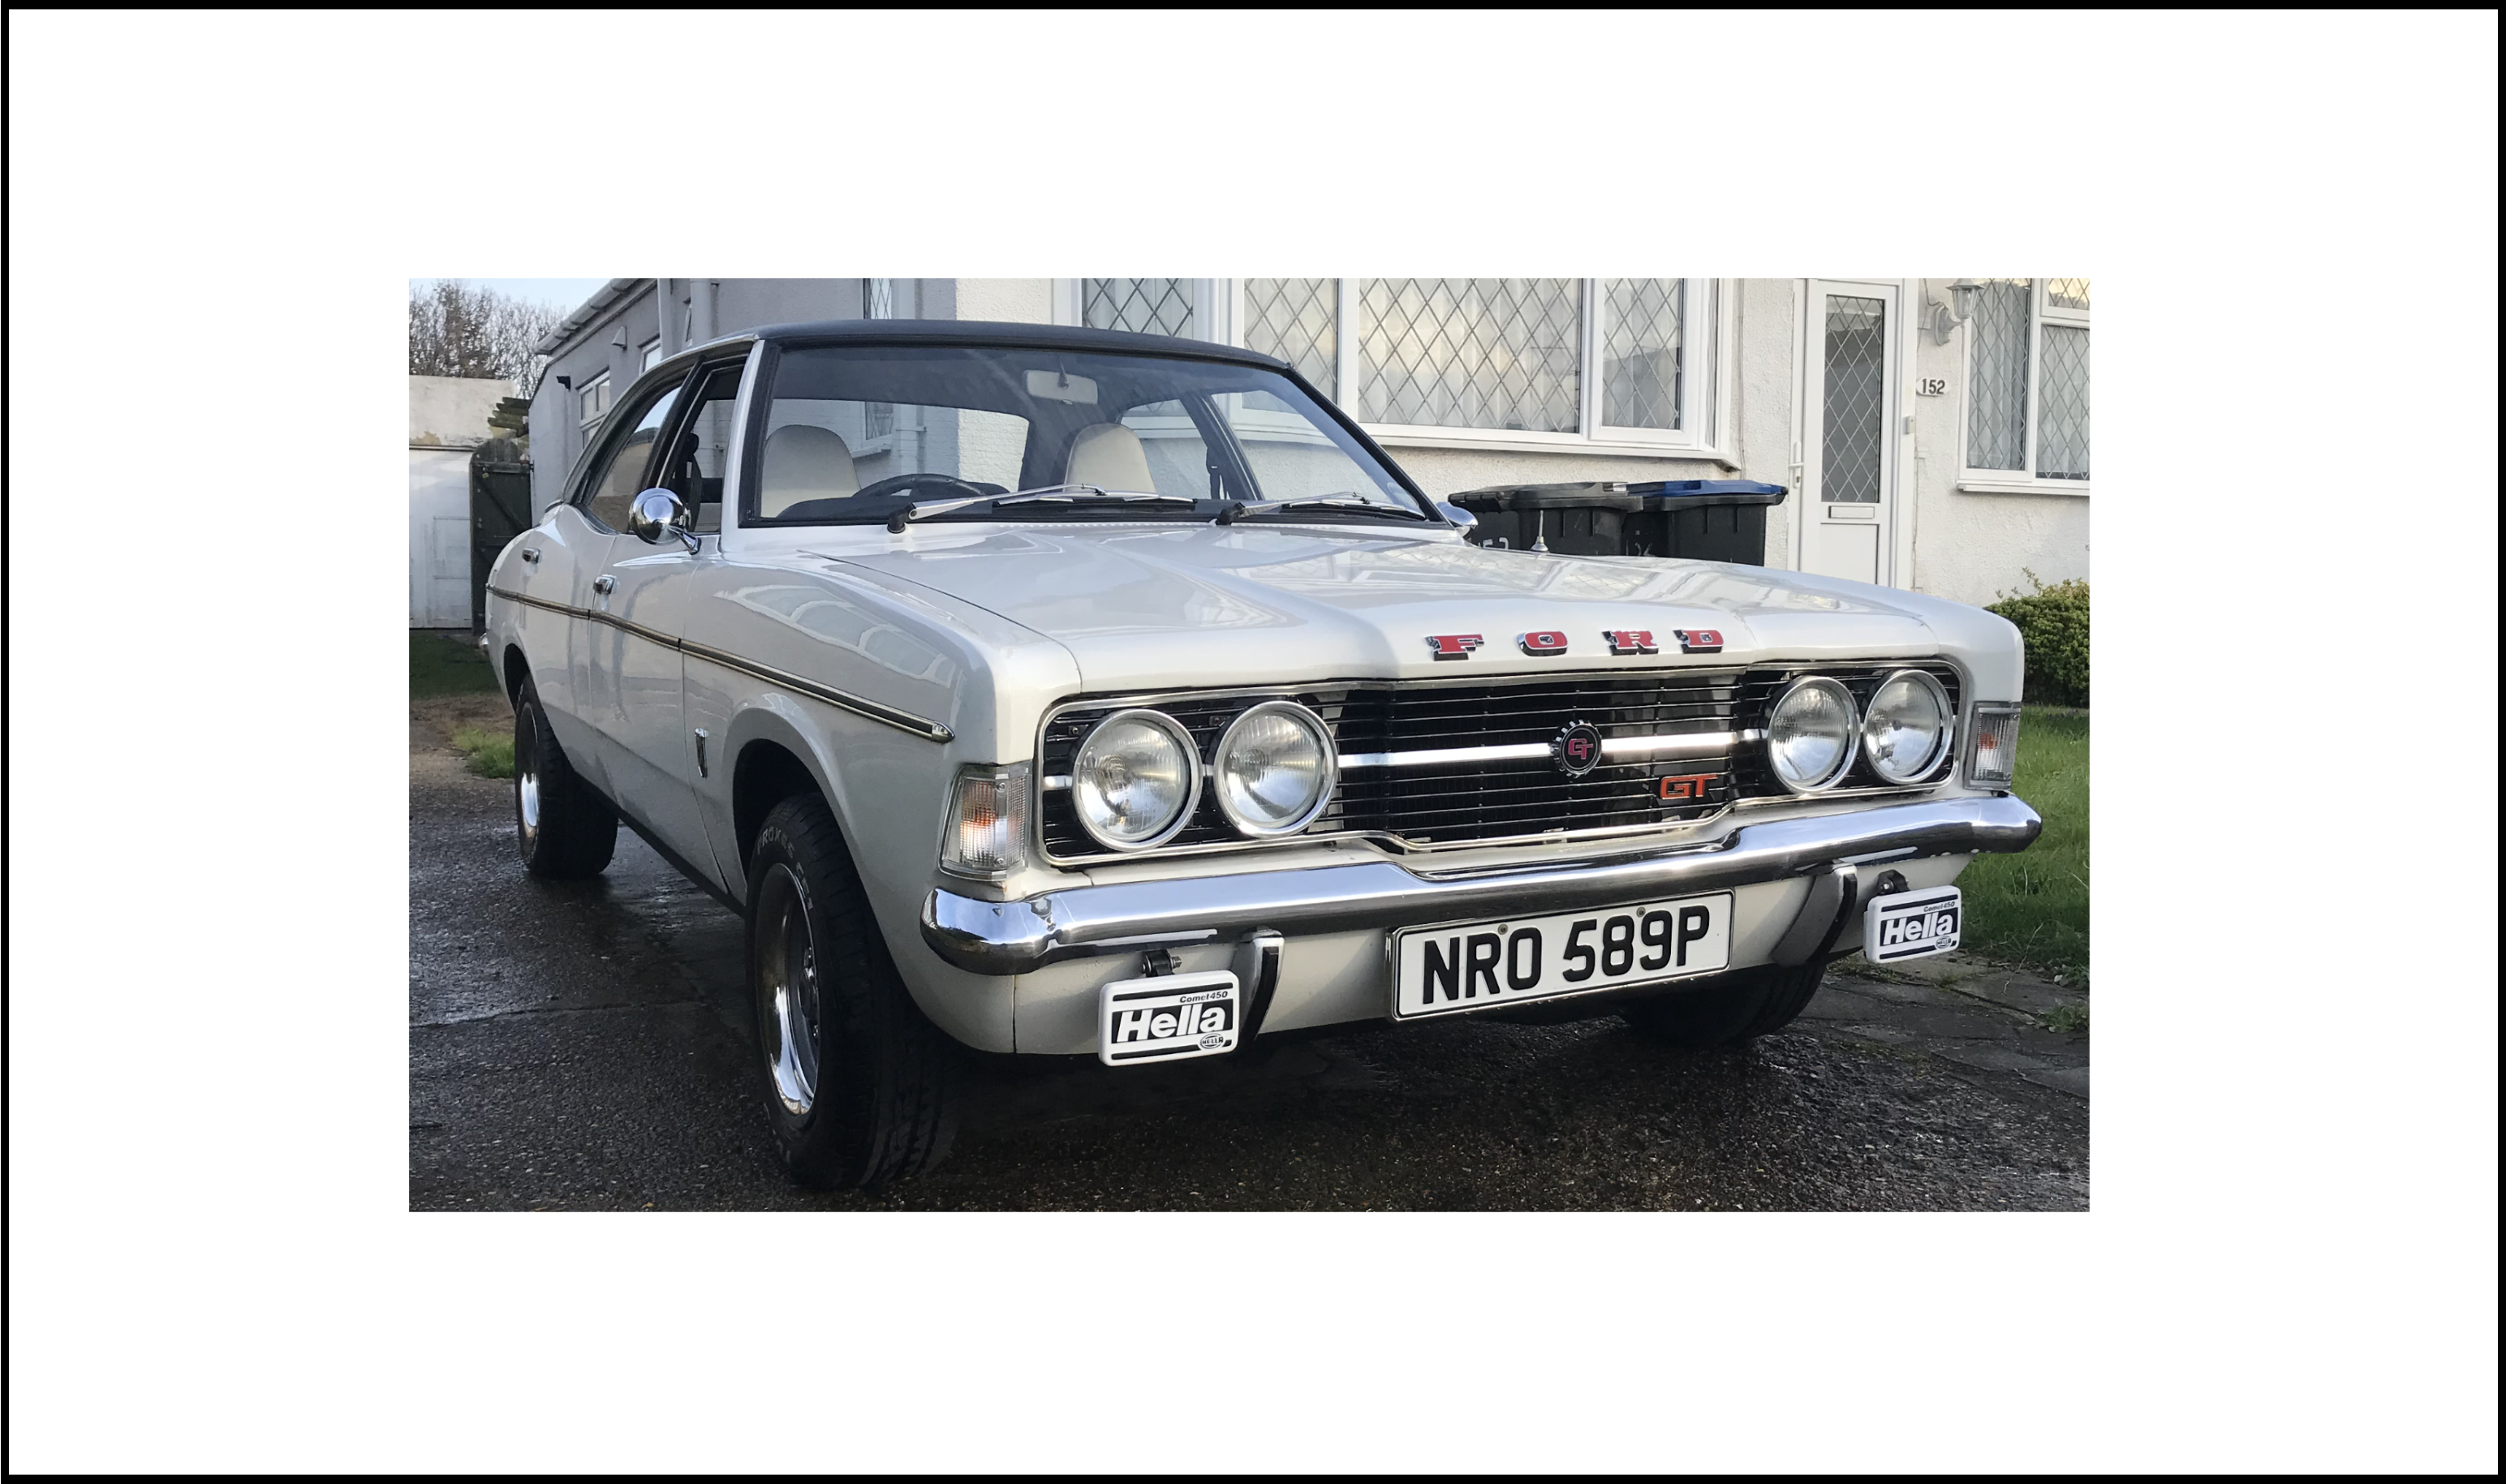
Hi and welcome to Part 7, and the final part of my restomod Instructable collection for my 1976 1600GT Ford Cortina MK3. In Part 6, I showed how to change and recover the seats which marked the end of the interior jobs. All that was left was to finish off some exterior jobs to finish of the entire project.
Supplies
Parts:
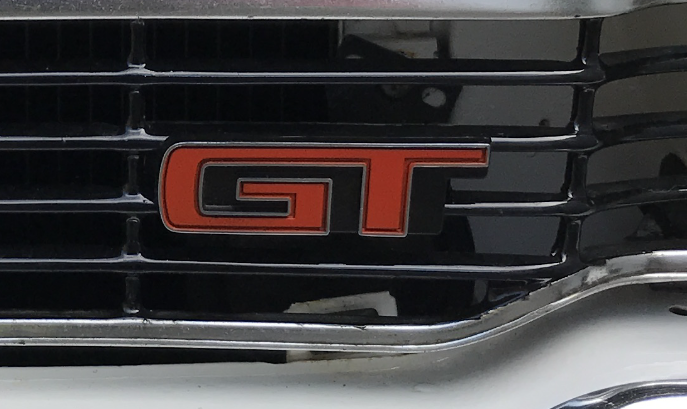
- GT grille badge
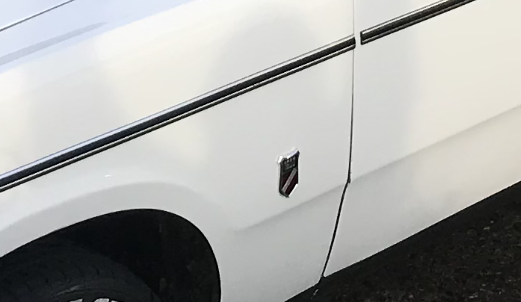
- GT 'bottle top' grille badge
- F.O.R.D bonnet/hood badges
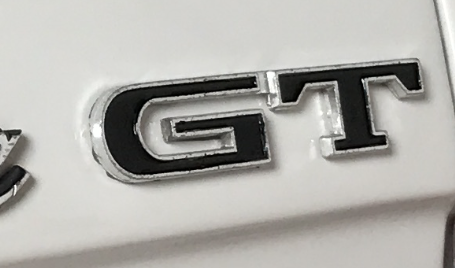
- GT Boot/trunk badge
- Chrome wiper blades
- Chrome 'bullet' door mirrors
- Chrome/rubber body stripe trims with end caps
- Set of 4 Rostyle wheels (I already had the original spare)
- Deep dish chrome outer wheel trims
- New set of 16 chrome wheel nuts
Materials:
- Metal polish
- Glass cleaner
- Car polish
- Isopropyl alcohol cleaner
- Wet & dry sandpaper
- Microfibre cloths
- Grey etching primer
- Black enamel gloss paint (brush on)
- Chrome spray paint
- Masking tape and old newspaper
Tools:
- Knife
- Screwdriver
- Wheel brace
- Car jack
Wheels:
.PNG)
.PNG)
.PNG)
.PNG)
.PNG)
On my 700 mile round trip to pick up the new seats and a few other parts, I managed to pick up a set of 4 'Rostyle' wheels along with a set of 4 deep dish chrome outer wheel trims. They were in fairly good shape with brand new tires fitted, although the black paint needed some work and the trims also needed a little attention. I've always liked the look of these wheels and always thought they looked good on a MK3 Cortina as well as other older cars. So here is how I made them all nice and shiny again.
- Give the new wheels and trims a good clean with warm soapy water and dry.
- Rub down the old black paint until smooth with some wet & dry sandpaper (both dry and wet). Then give the wheels another rinse and dry. Wet rub the chrome work to get rid of any imperfections then rinse and dry.
- Mask off all of the black areas of the wheels. To mask the tires, I applied a thin but uniform covering of petroleum grease, then rinsed off after painting (Some people don't like this idea, but it has always worked for me over the years).
- Spray on 3 or 4 coats light even coats of grey paint primer and wait its fully dry. Then 5 to 6 light even coats of the chrome paint and wait to fully dry, then 4 coats of clear lacquer. Follow the same process for the chrome wheel trims. Generally the waiting time between coats is around 20 minutes depending on environment temperature, but follow the instructions on the spray you're using.
- When fully dry and cured, remove the masking, then re-mask around the black recessed areas.
- With a small paint brush, apply 3 to 4 coats of the black enamel paint waiting the indicated dry times on the paint tin.
- After the indicated final dry/cure times for the paint, remove all of the masking.
- As an optional extra and depending on the tires you have, Use a good quality white brush-on tire paint and paint the letters with 3 to 4 coats. Then finish by treating the sides of the tires only, with a rubber rejuvenator gel to keep them supple and give them a nice shine. I have been told that standard tire shine products can cause the tires to eventually crack, so use at your discretion.
- Final job is to loosen the wheel nuts on the car, jack it up, remove the nuts and the old wheels. Then reverse the process with the new wheels and the new chrome wheel nuts. When all of the wheels are on and the car is on the ground, double check the tightness of every wheel nut.
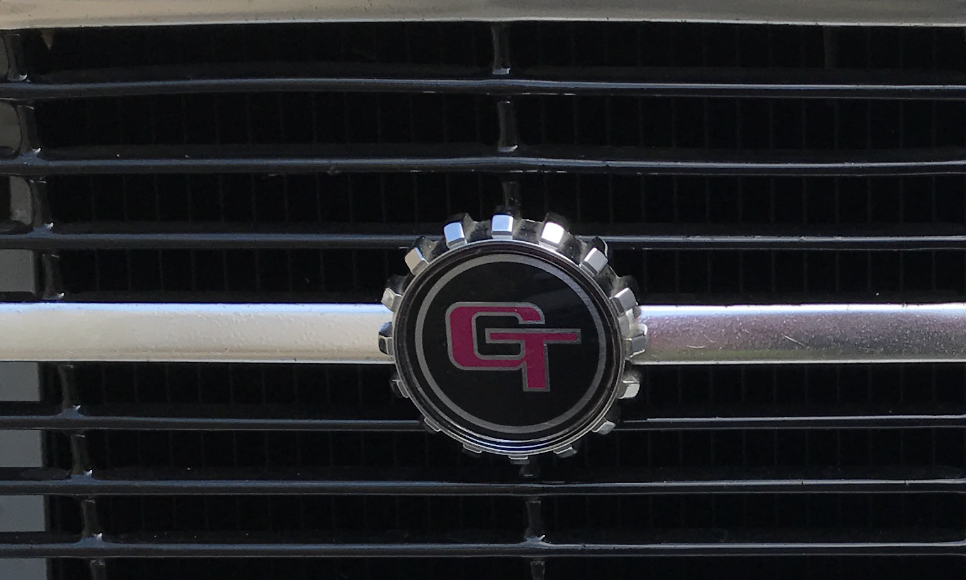
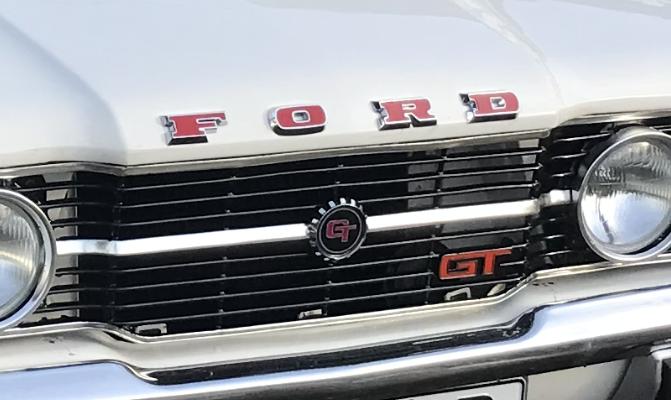
Badges:
.PNG)
.PNG)
.PNG)
.PNG)
The GT badges are not just for show as when we did the engine rebuild seen in Part 1, we added the 1600 GT Twin choke Webber carb 32/36dgv and the 1600 GT Webber inlet manifold along with the GT 4 into 2 into 1 exhaust manifold, this was a true GT engine.
- Clean the areas with an alcohol cleaner where the self-adhesive badges are to be places.
- Offer up the badges to the bodywork to make sure where you want to place them.
- Then peel off the backing paper from the badge and firmly attach to the bodywork.
- In regards to the 'bottle top' grille badge, this was attached to the grille by 2 screws and a backing plate.
- And for the metal 'FORD' lettering, these are press-fit with two lugs on the back of each letter that press into rubber gromets. Place some masking tape along the front of the bonnet/hood where the letters are to be attached and roughly draw out the letters so you are happy with the positioning.
- Mark out where the lugs are on each letter onto the masking tape. Then drill out the holes to the size where the plastic grommets will be a firm press fit.
- When the holes are drilled, remove the masking tape, insert the gromets and firmly press the letters into place.
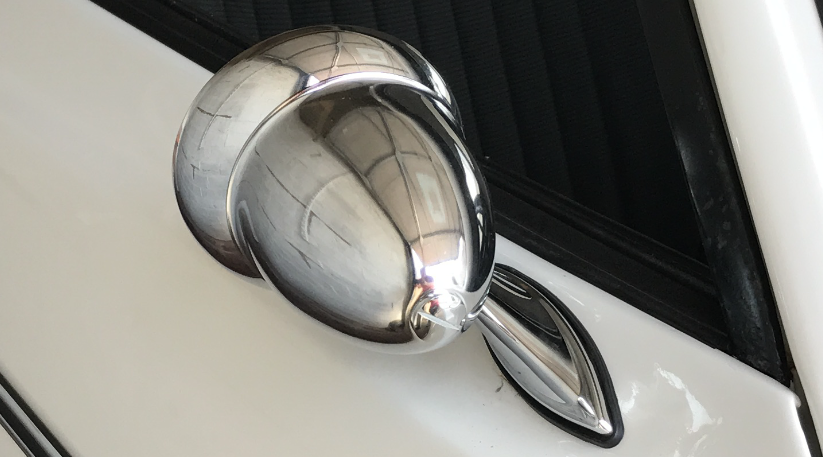
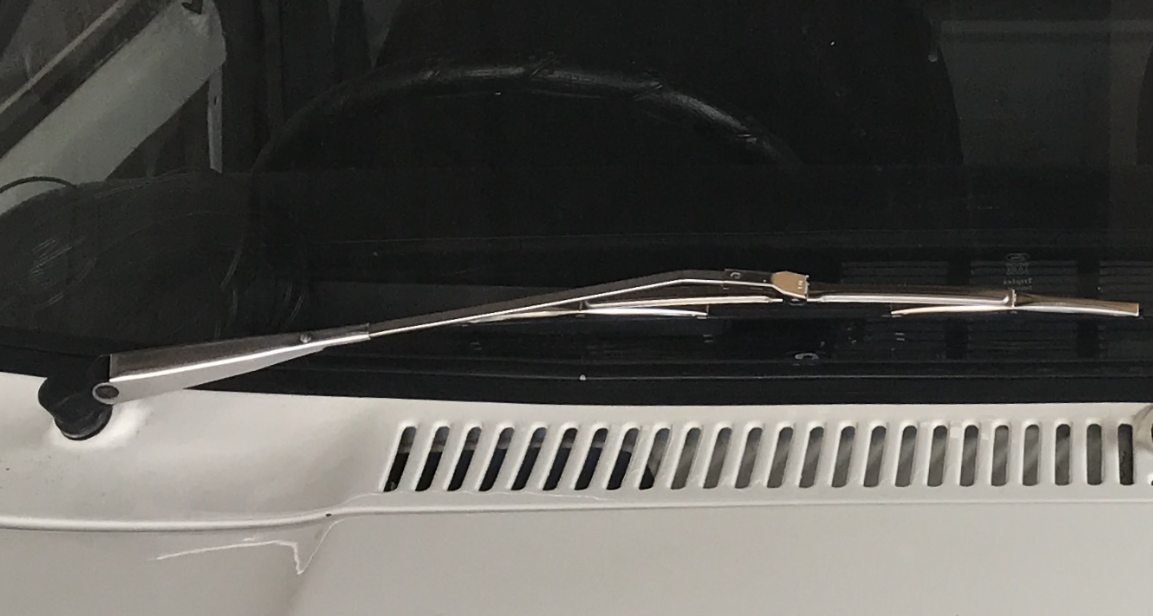
Mirrors & Wipers:
.PNG)
.PNG)
.PNG)
.PNG)
To keep with the new sporter look, I wanted to change the door mirrors from the original flat ones to a much beefier 'bullet' shaped pair. The wipers was a simple swap from the original black ones to some shiny new chrome ones.
- Unscrew the old door locking pins, then remove the door handles (normally screwed in on old cars), slide out the inner door release handle trims, take out any ashtrays and then wind down the front windows then remove the window winder handles. These are normally held in with a cross head screw or retaining spring clips. These are the little suckers that can take off without warning never to be seen again, so take care when removing these. A proper spring clip removal tool is the best option to remove these without loosing them. If your car has door speakers attached, remove the speakers and disconnect the wiring.
- Carefully remove the door card using a removal tool trying not to pull the plastic clips out of the door card itself.
- Unbolt the old mirrors taking care not to drop them as they can be re-sold.
- Then attach the new mirrors, tighten the bolts then re-fit the door cards, door handles etc.
- The wiper blade were a simple case of sliding off the old ones then fitting the new ones with the correct fixing clip.
Trim Stripes:
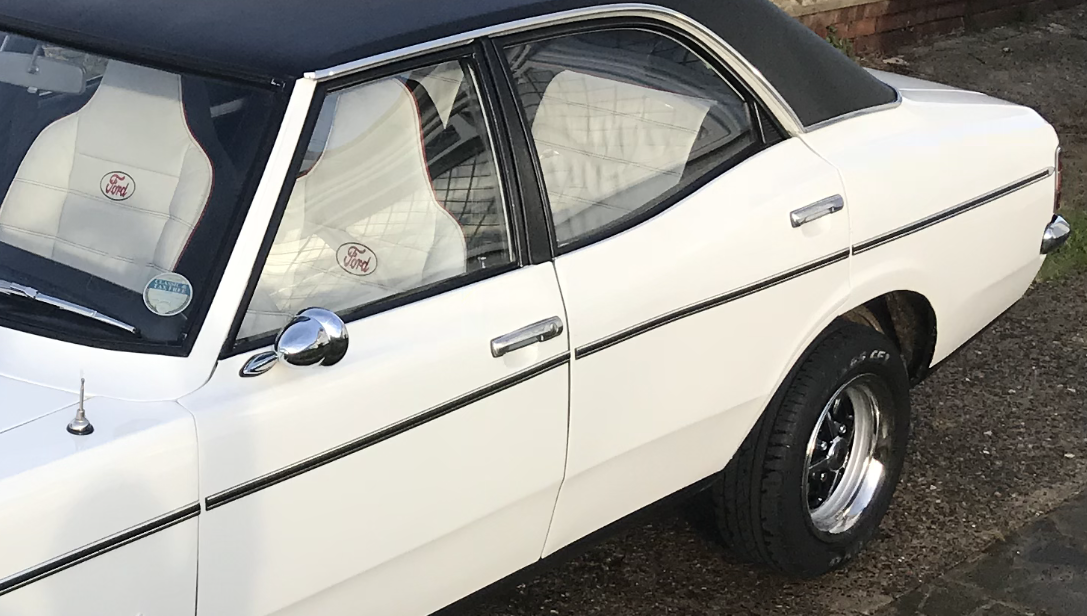
When I got the car, it cam with some black vinyl stripes, but I wanted to replace these with the proper GXL chrome/rubber body panel trims.
- Peel of one end of the old vinyl stripes then peel off.
- Use an alcohol cleaner with a microfiber cloth to get rid of any adhesive residue.
- Pick the line/location of where you wish to attach the new trim. If your car doesn't have any visible body styling lines, use a length of masking tape and attach it to the bodywork just above or below where you want the trim.
- Starting from one end of the car, start to remove the backing tape and attach the trim to the car until you reach the other end.
- If you are happy that it is straight enough, run down the length of the trim with a cloth applying firm pressure to full stick the trim (careful not to press too hard and risk denting the bodywork).
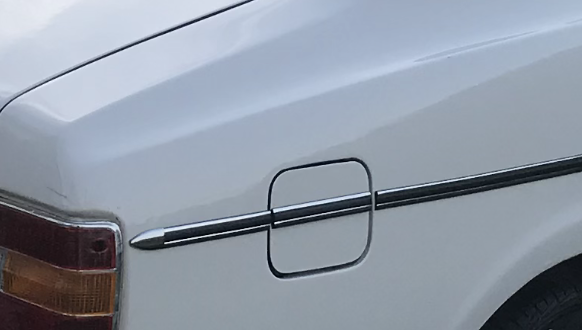
- With a sharp knife, cut through the trim on each side of the doors and the fuel filling flap
- Finish off by attaching the trim end caps making sure they are straight.
And with that... the project is complete.
Conclusion:
.PNG)
.PNG)
.JPG)
.PNG)
.PNG)
.PNG)
.PNG)
.PNG)
.PNG)
.PNG)
.PNG)
If you stuck with it through every part, well done. If you only checked out the parts that interested you, then that's cool too as that's why I composed the different parts.
This was a very interesting project and I could not have been happier with the work done and the end result. Having the engine rebuilt to the GT spec gave it that little extra power to keep up with modern day traffic, and along with the interior and exterior work I did, it felt and smelt like a new car, great to look at and fun to drive (although the lack of power steering bought back some memories... and mussels I forgot I had).
Whether you decide to do a part or full restoration, modification or both, take the time to enjoy the process, expect problems (stubborn or stripped bolts, dodgy wiring, parts that don't quite fit etc.) do the research and over-estimate the time you think it will take instead of under-estimating it. Also don't skimp or take shortcuts on a project like this as you will appreciate it that you didn't down the road (pun intended).
So thank you for reading, and good luck on if you ever take on the challenge of a restomod.