How to Build a Forest Swing
by pollygsloan24 in Outside > Backyard
2006 Views, 8 Favorites, 0 Comments
How to Build a Forest Swing

We should all get outside more. And what better way to entice you than a beautiful forest swing? If you have trees in your backyard or a forest near your house, a swing is a fun and relaxing addition to everyday life. Unfortunately, there aren't very many tutorials on building forest swings. So, I hope you find this one helpful!
Also, if you are worried about cost, don't. This instructable does not use those fancy, hundred-dollar treehouse bolts that many resources recommend. The entire budget of this project was around $50.
Supplies
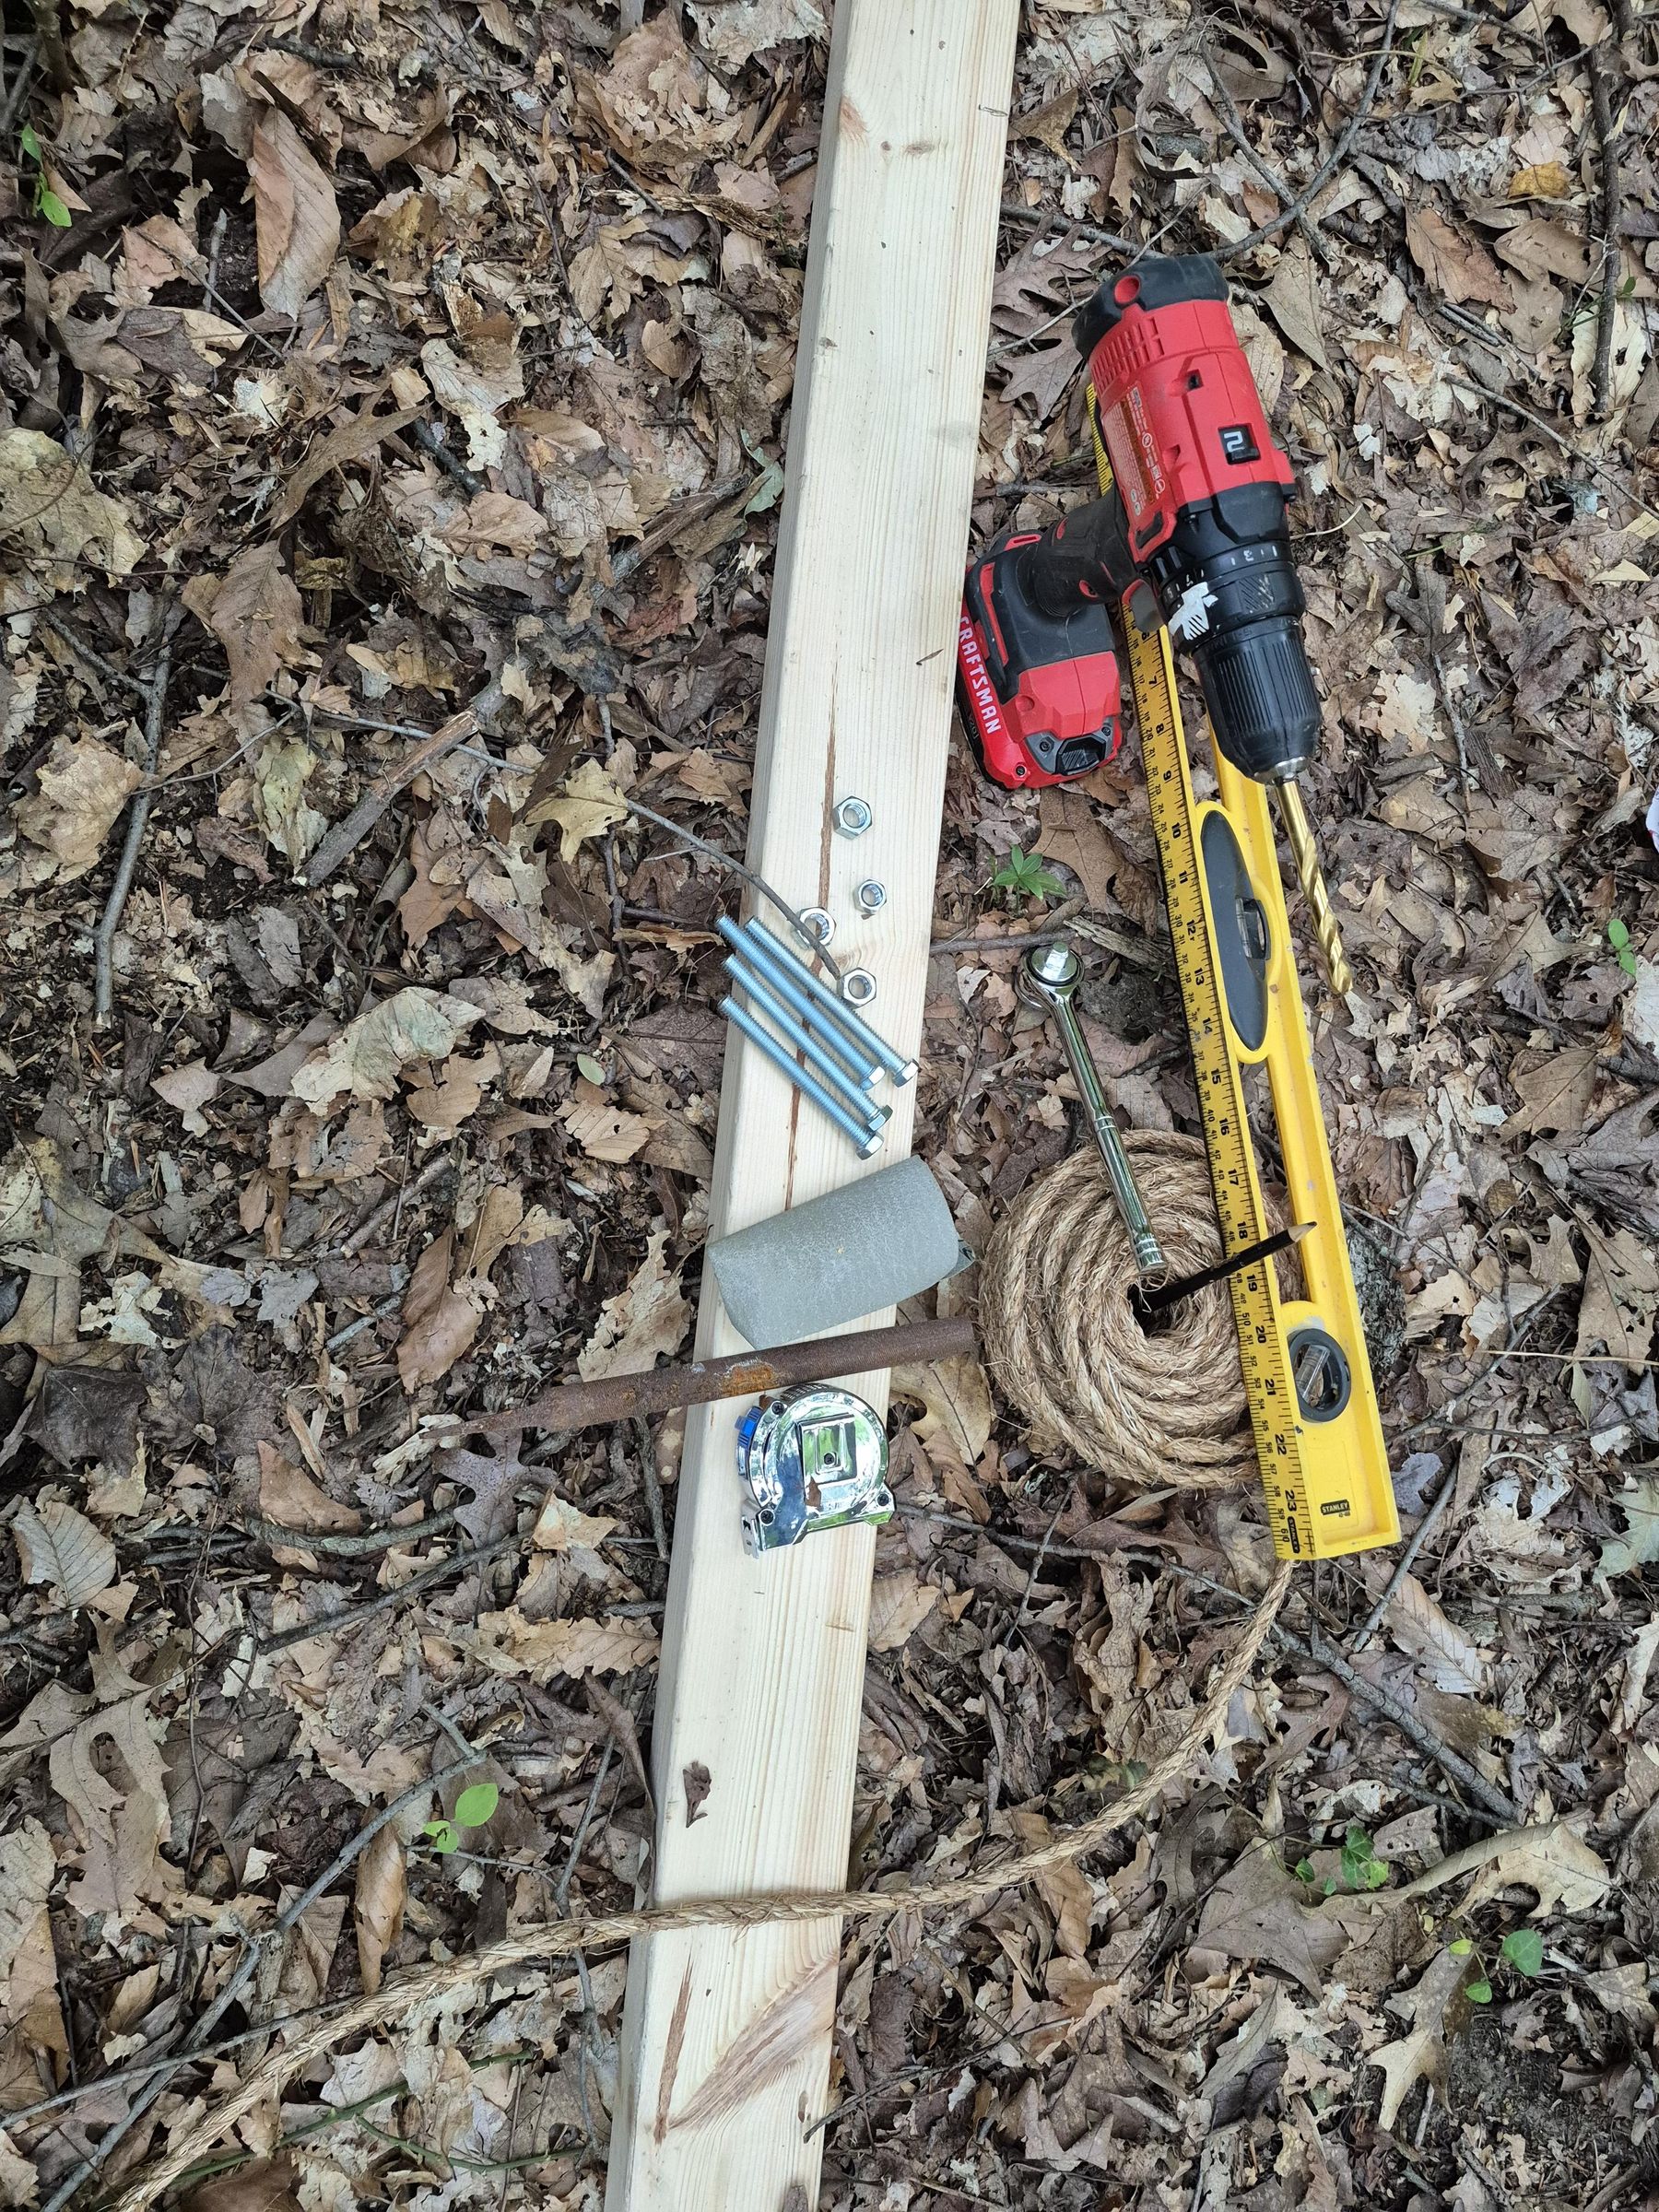
- Thick, pressure treated wooden beam: Length is at least two feet more than the distance between the two trees
- Power drill
- Measuring tape
- Hammer
- Four 4" long bolts with a 3/8" diameter
- Ratchet
- Strong rope
- 0.5'x3' wooden board (at least 1" thick)
- Ladder
- Extra rope, twine, or yarn
- File or sandpaper
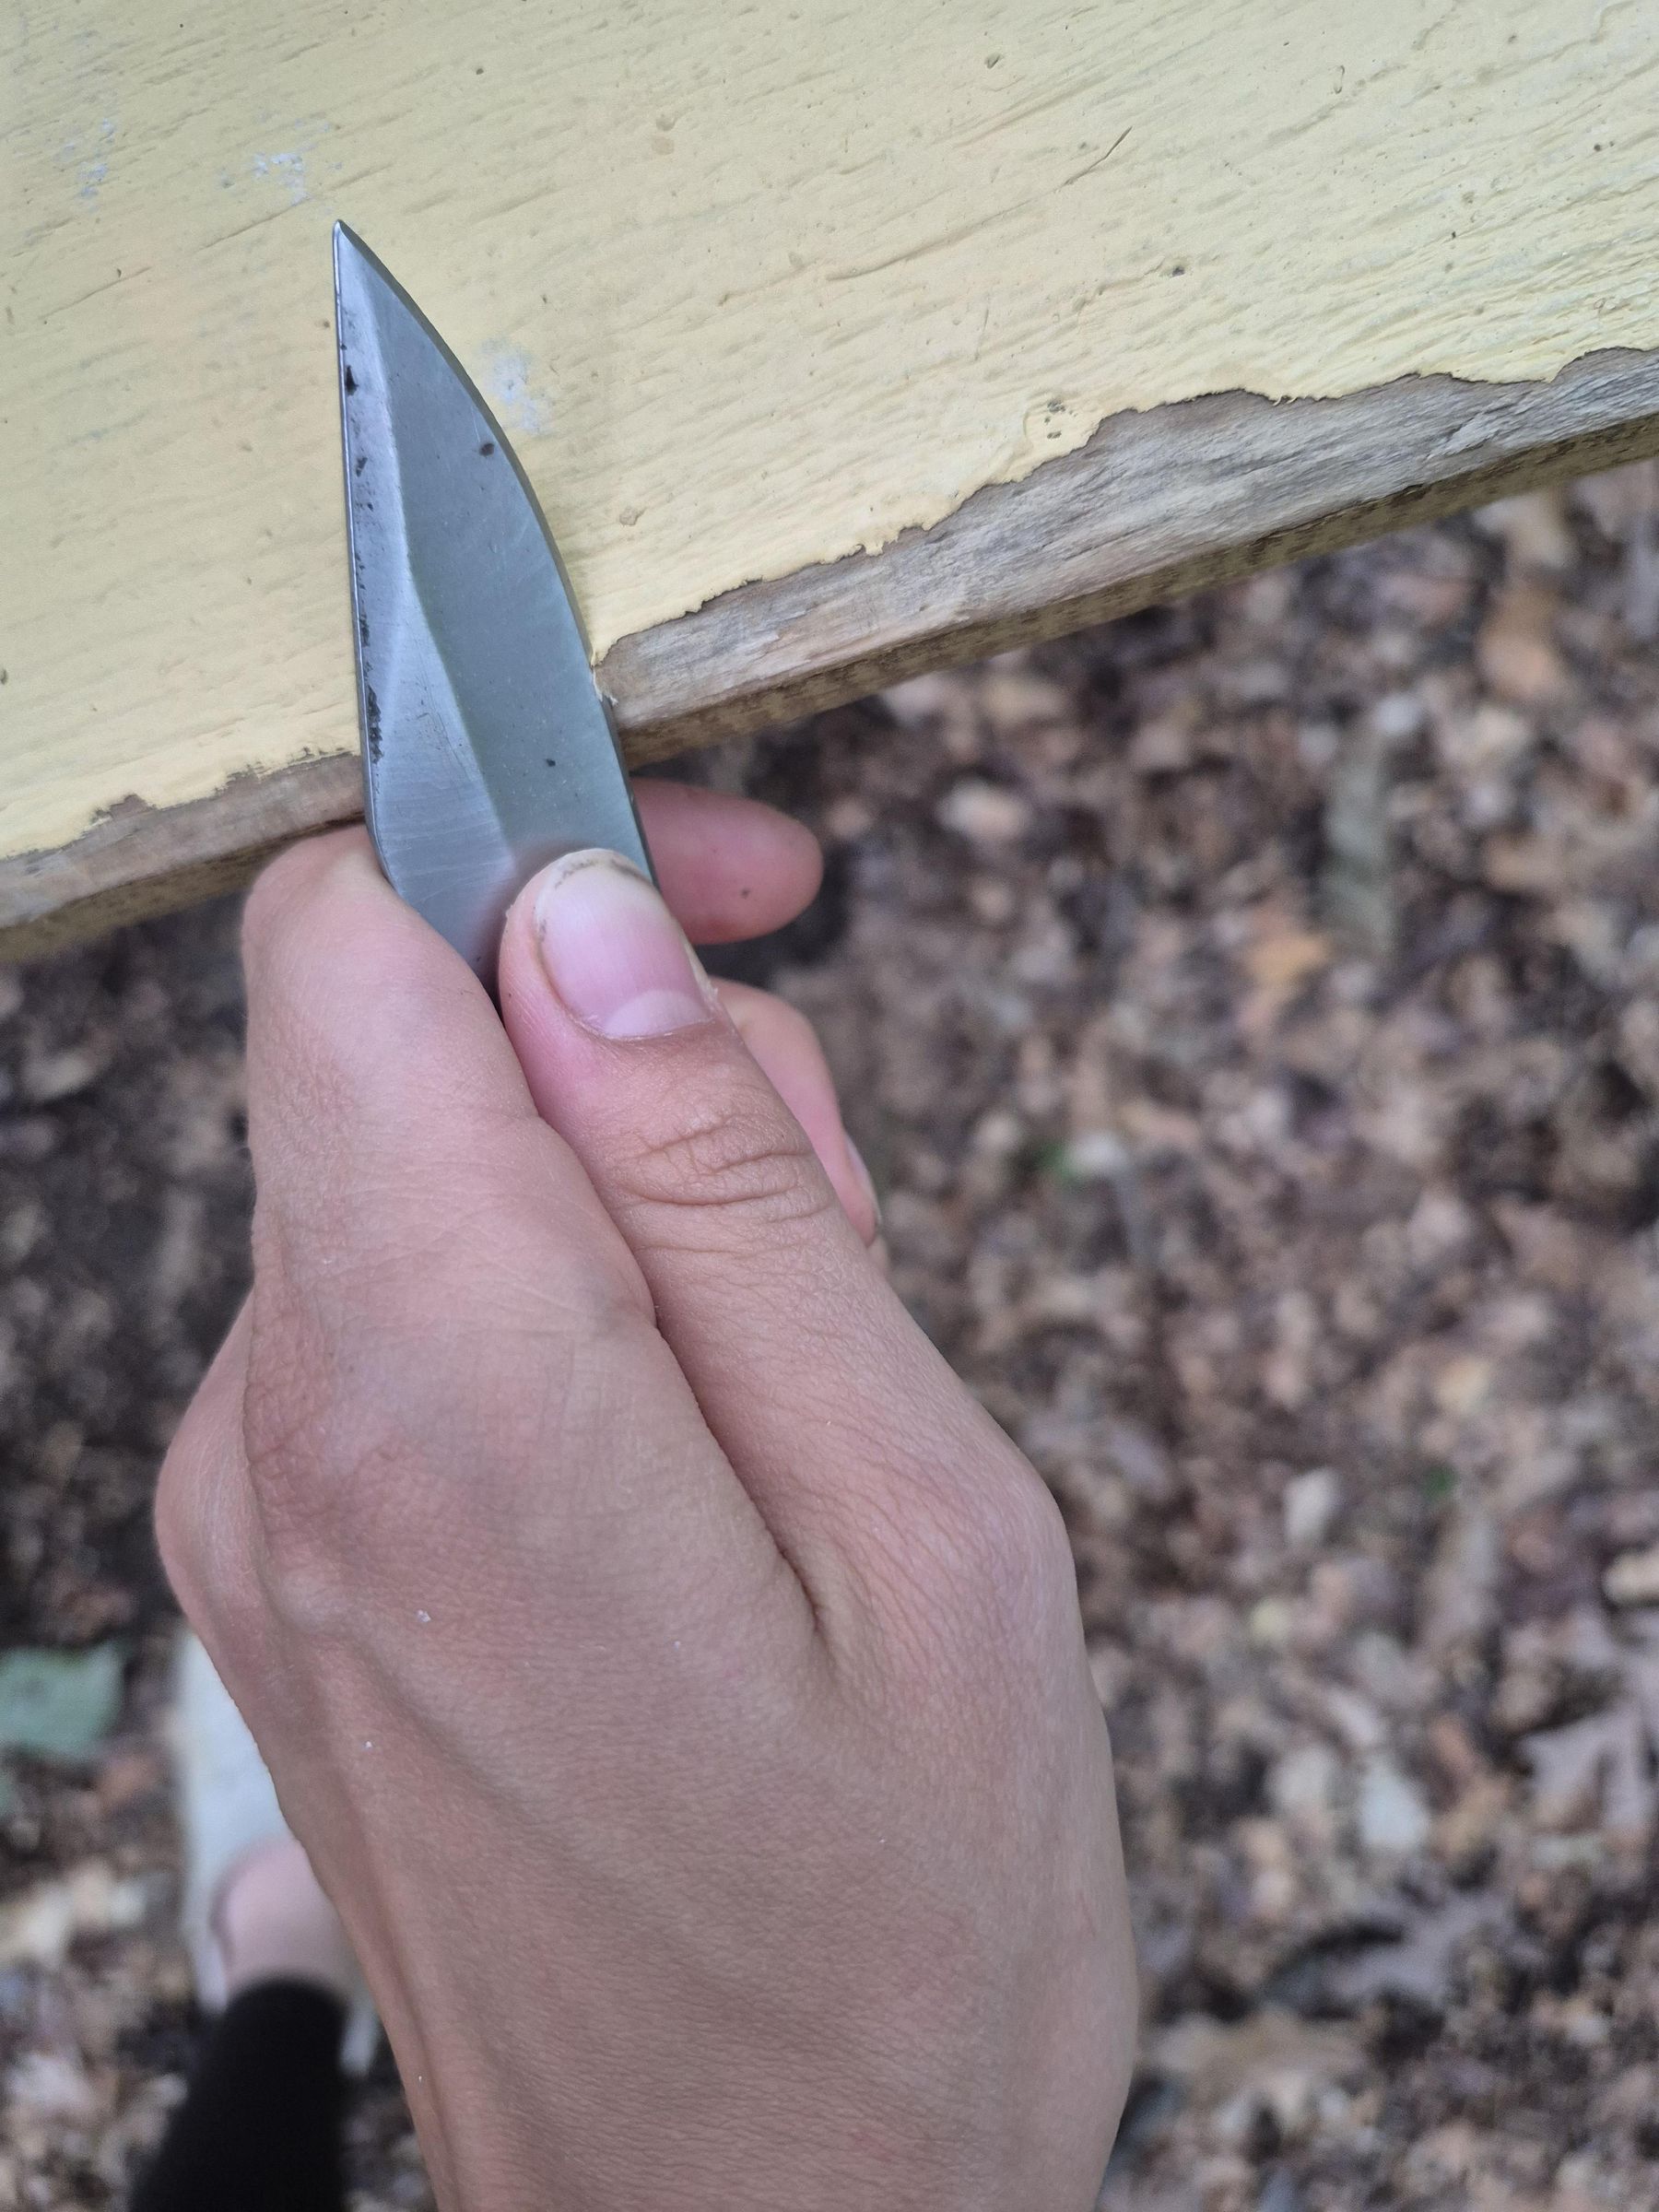
- Pocket knife
- Duct tape (optional)
Pick and Measure Your Trees
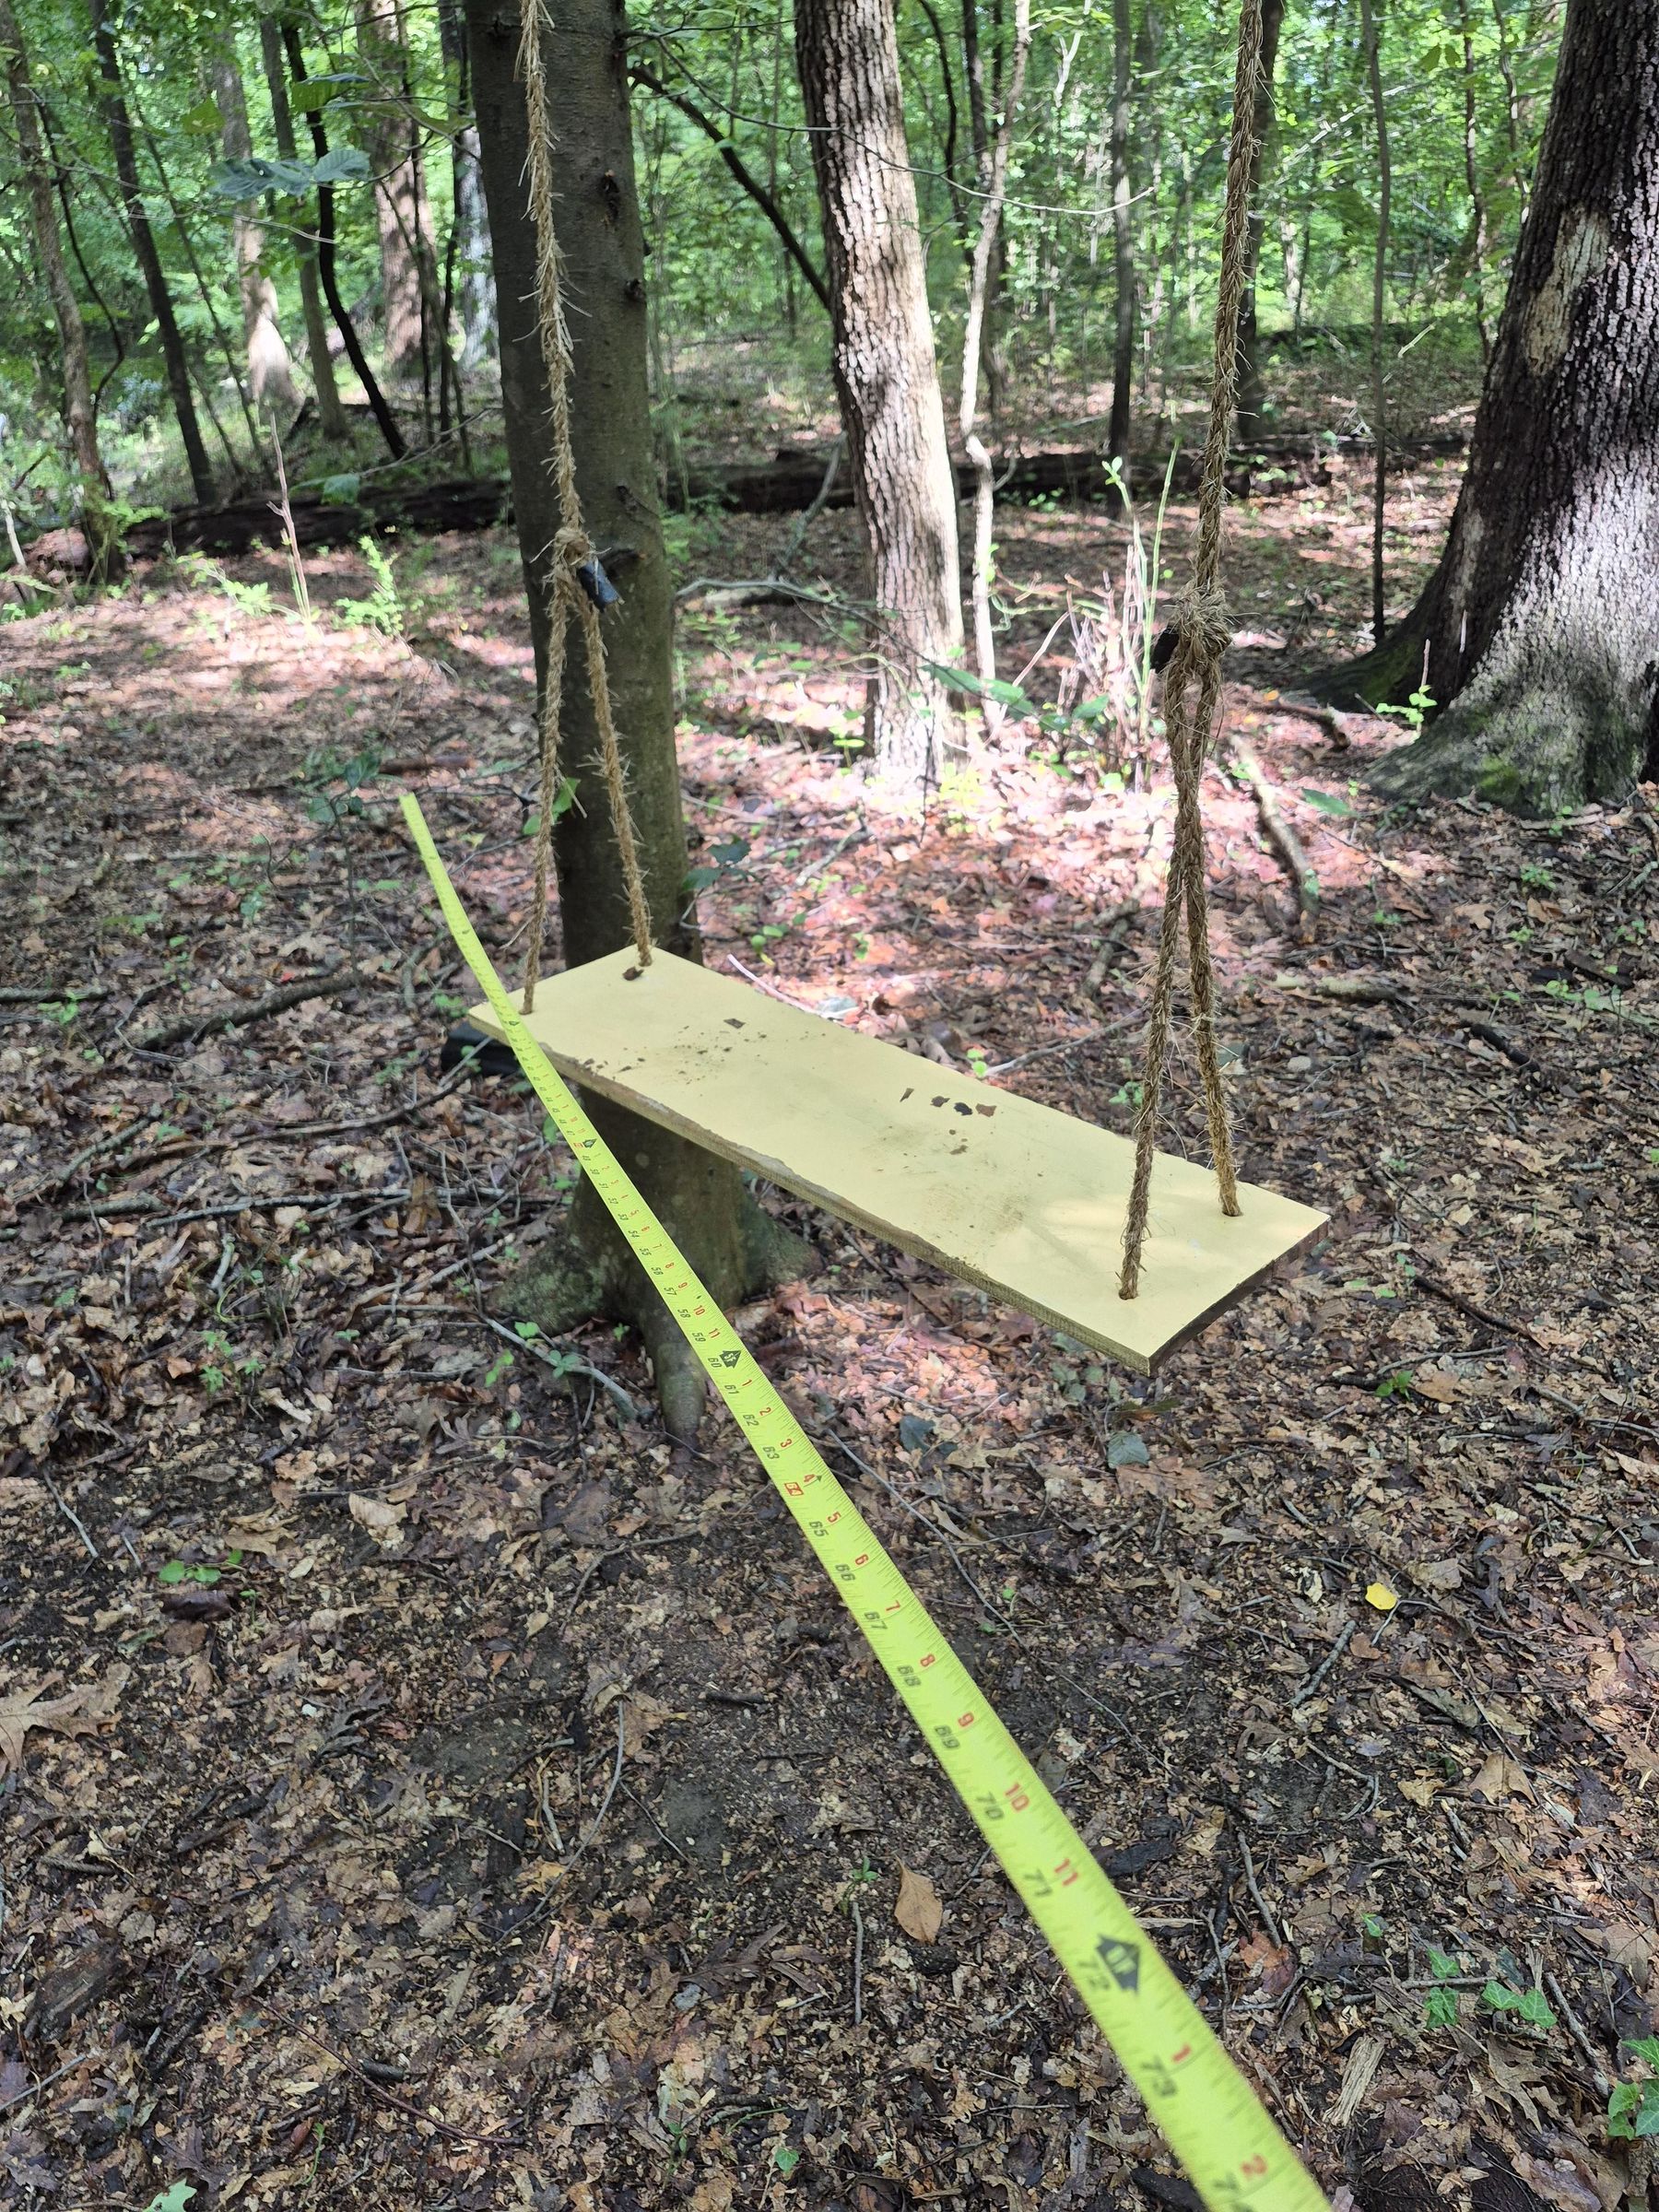
Choosing the right trees is one of the hardest parts of this process.
At least it was for me.
The trees should be at least 8 feet apart, but no more than 15 feet apart. If the distance is too small, it makes it difficult to swing. If the distance is too large, the beam must also be longer and will be more likely to split in the middle. The trees should also not have many lower branches, but if they do make sure to cut off the ones that will get in the way of the swing prior to building.
The trees themselves should have trunks of a foot or more in diameter and should be healthy (minimal vines and dead branches)
I also recommend level ground, or a slight downhill in the direction you will be swinging. Ideally no rocks or other things that would hurt to land on if the swing breaks.
Drill Holes in Your Beam
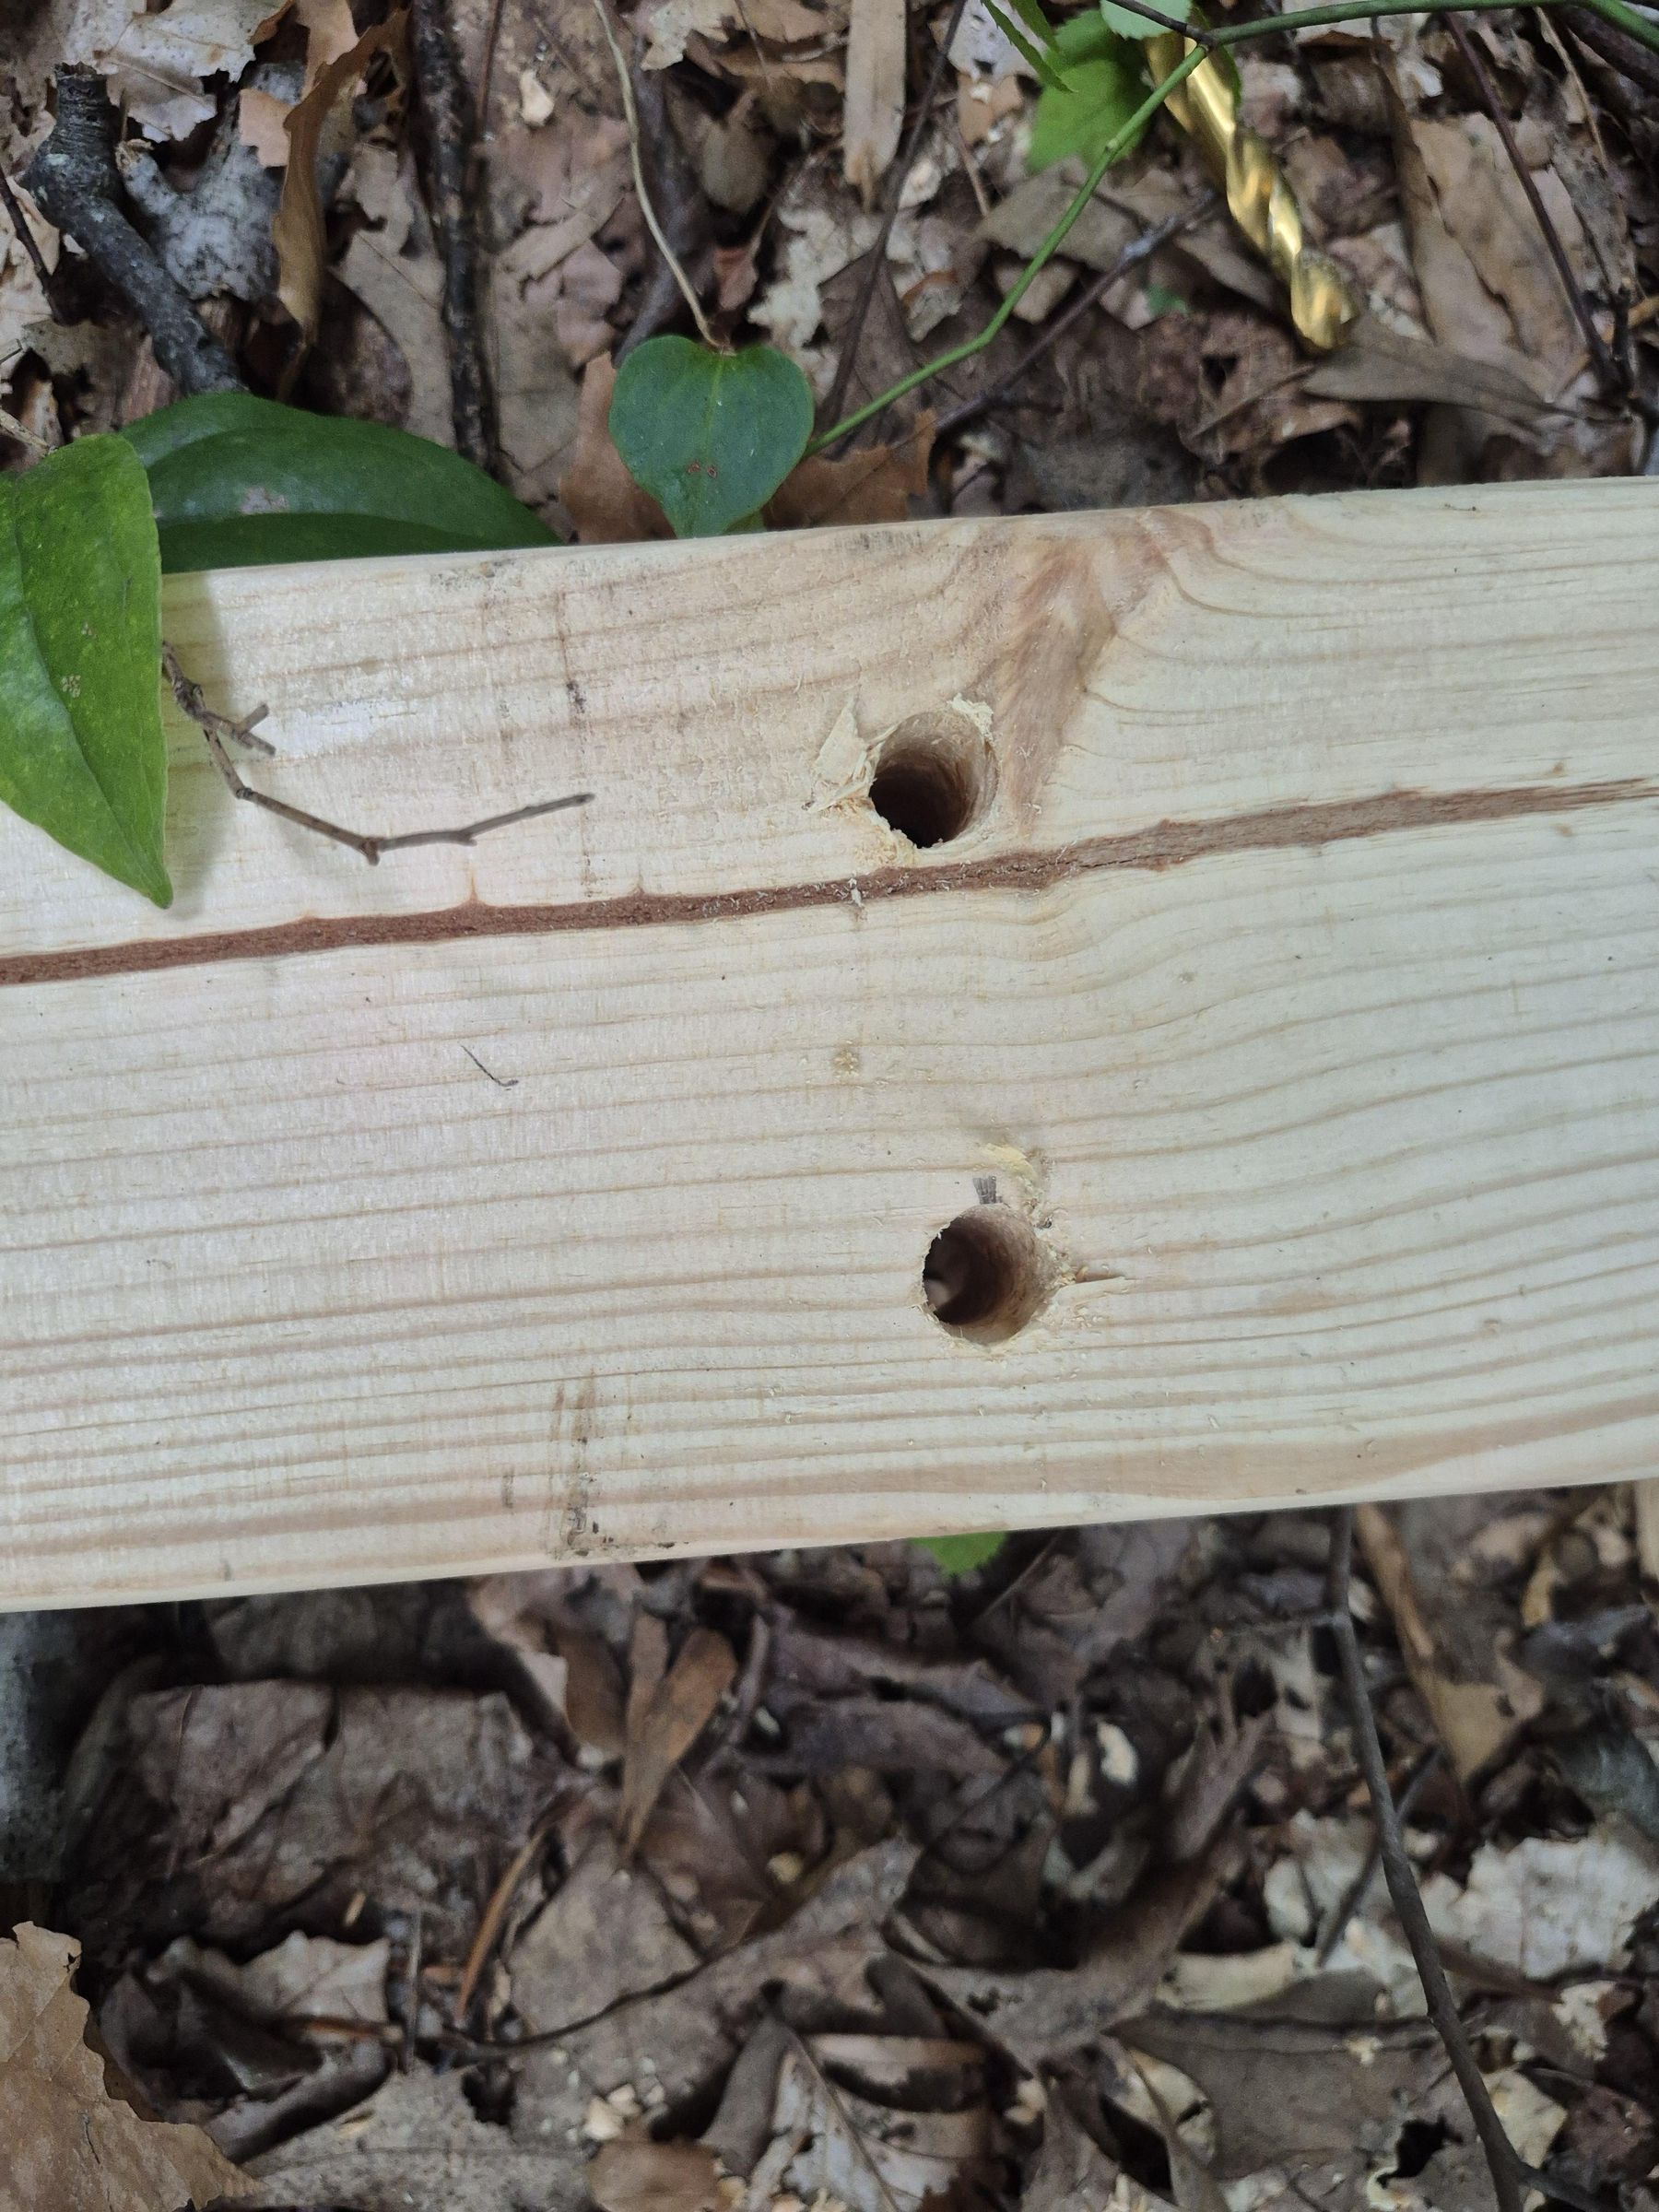
Once you have chosen your trees, obtain a wooden beam that is at least 1 foot longer than the distance between the 2 trees. Use this distance to mark where you bolts should go. Plan to position the bolts so that one is directly above the other. Plan to have the bolts go into the middle part if the trunk. The bolts should also be at least 1 inch apart from each other and at least a half inch from the long end of the beam.
After marking your beam, drill holes that are a little smaller than the diameter of the bolts.
Prepare the Swing Seat
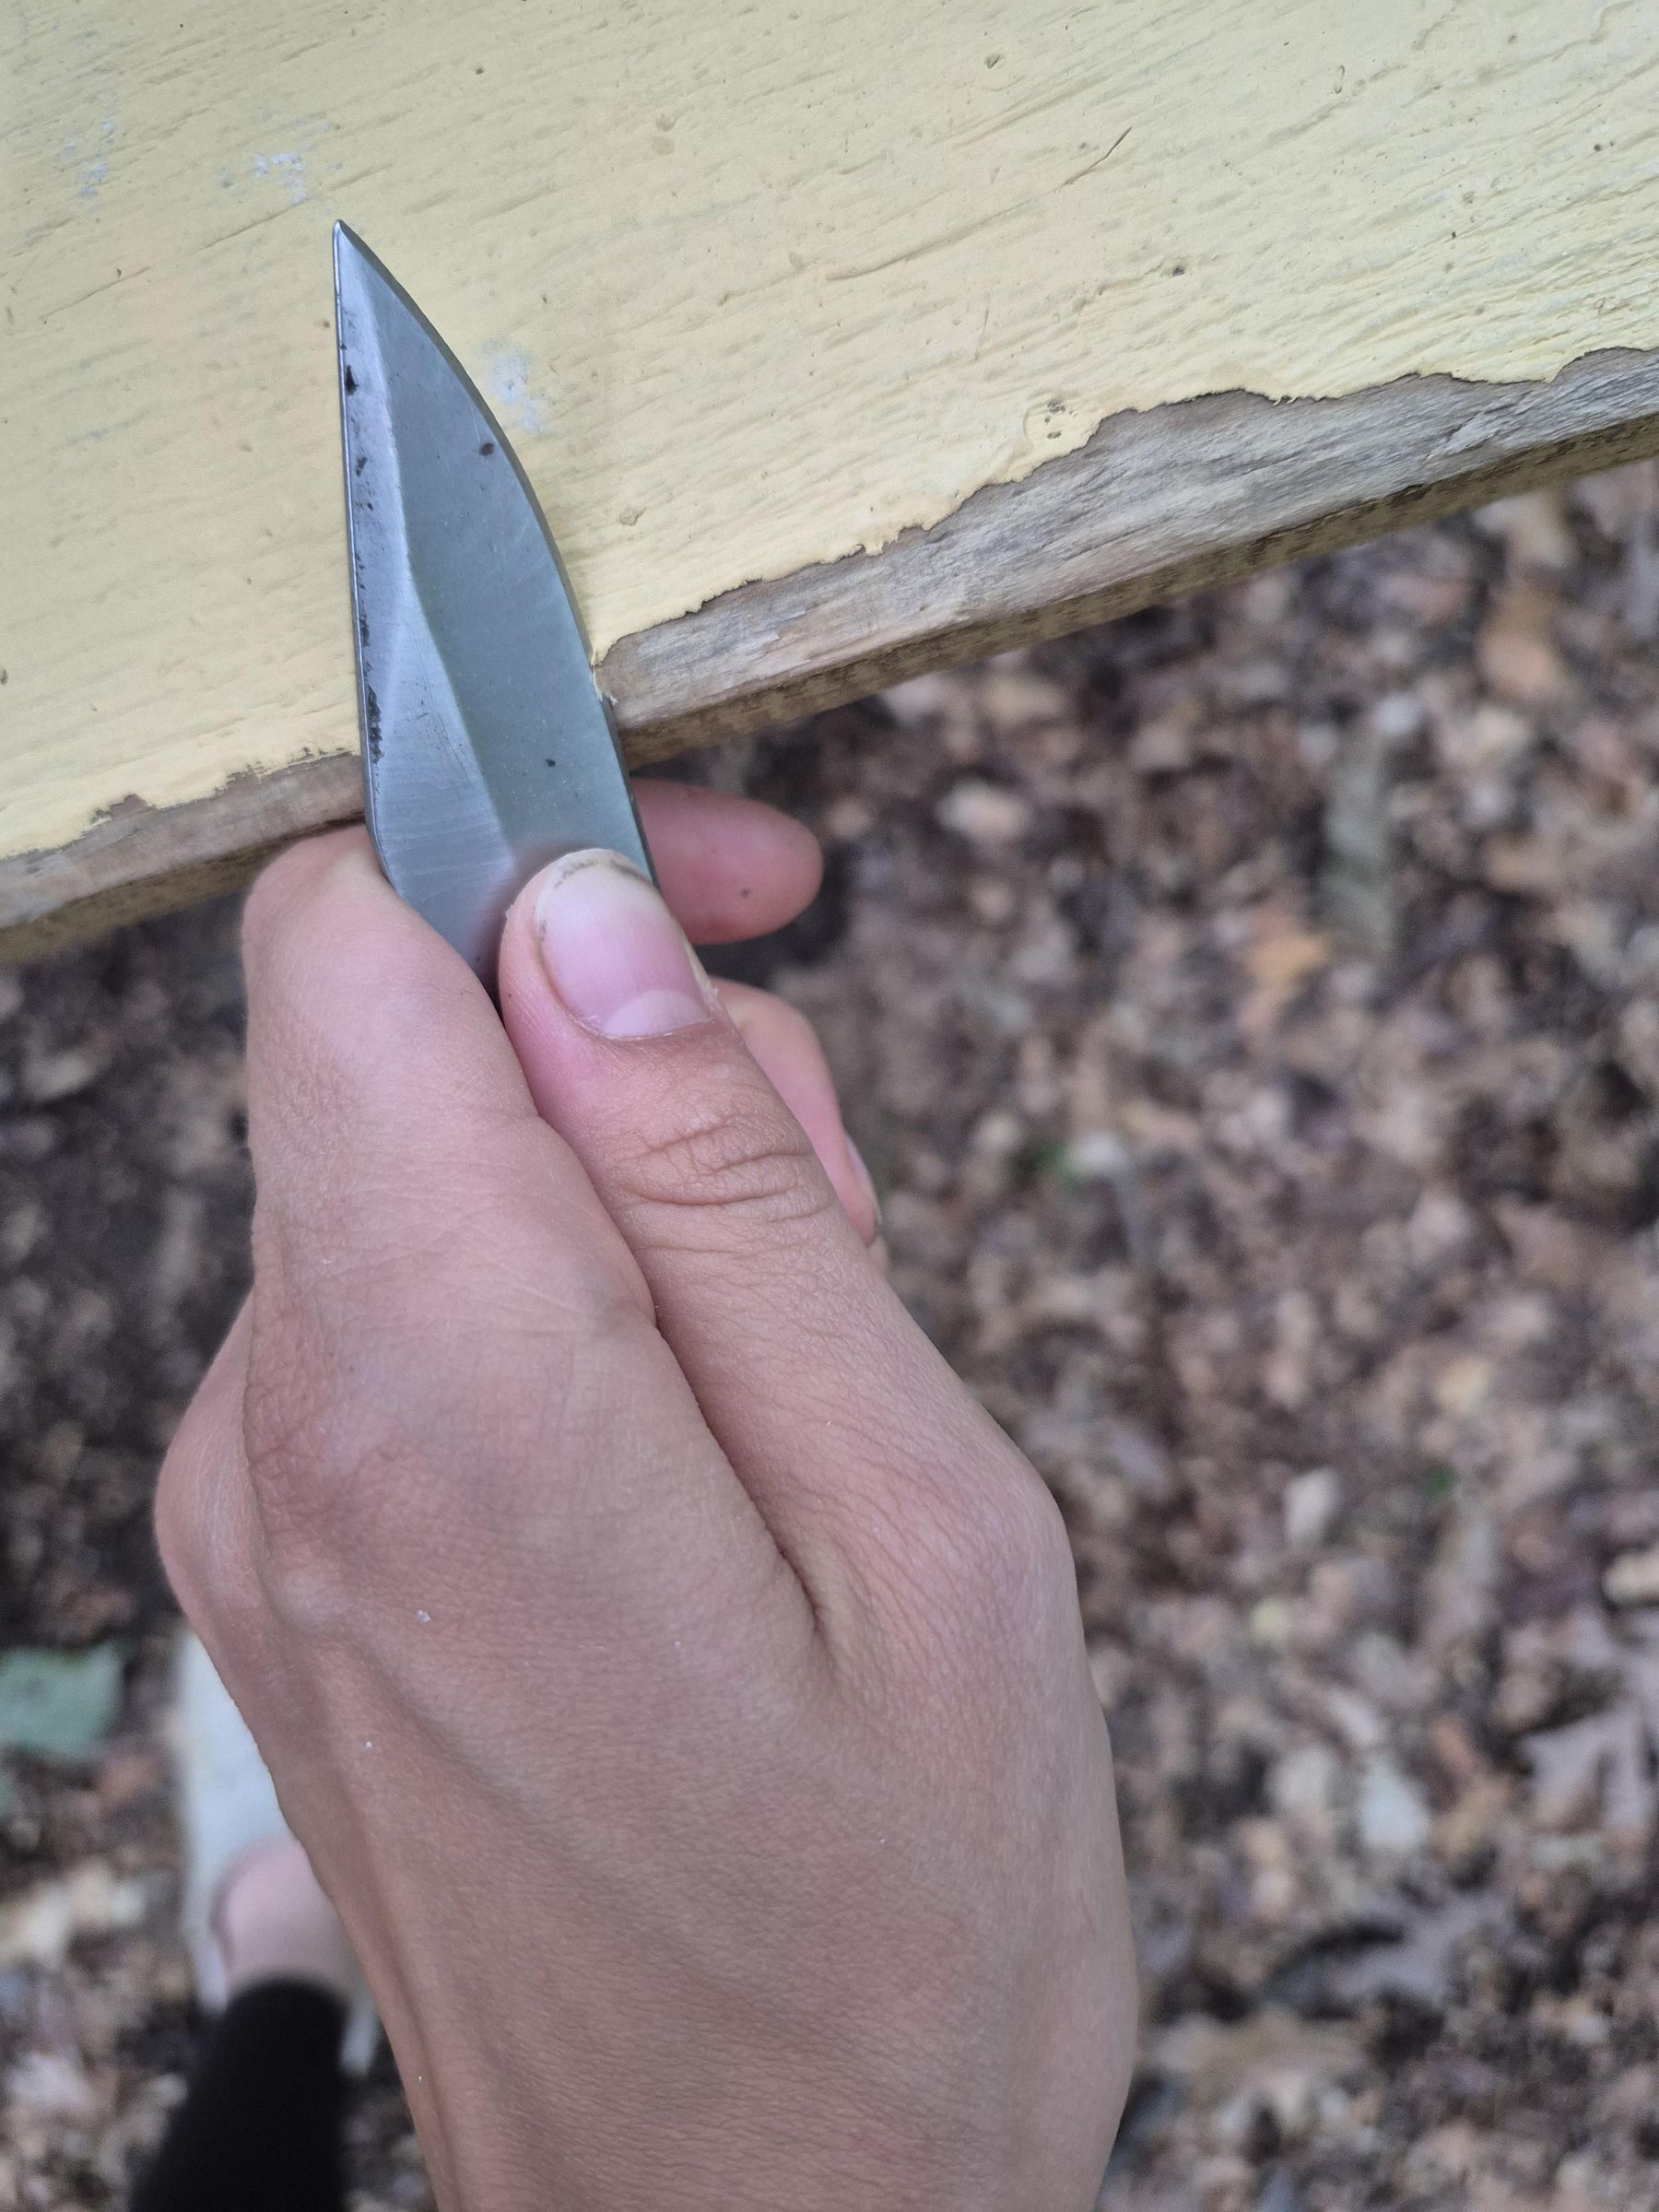
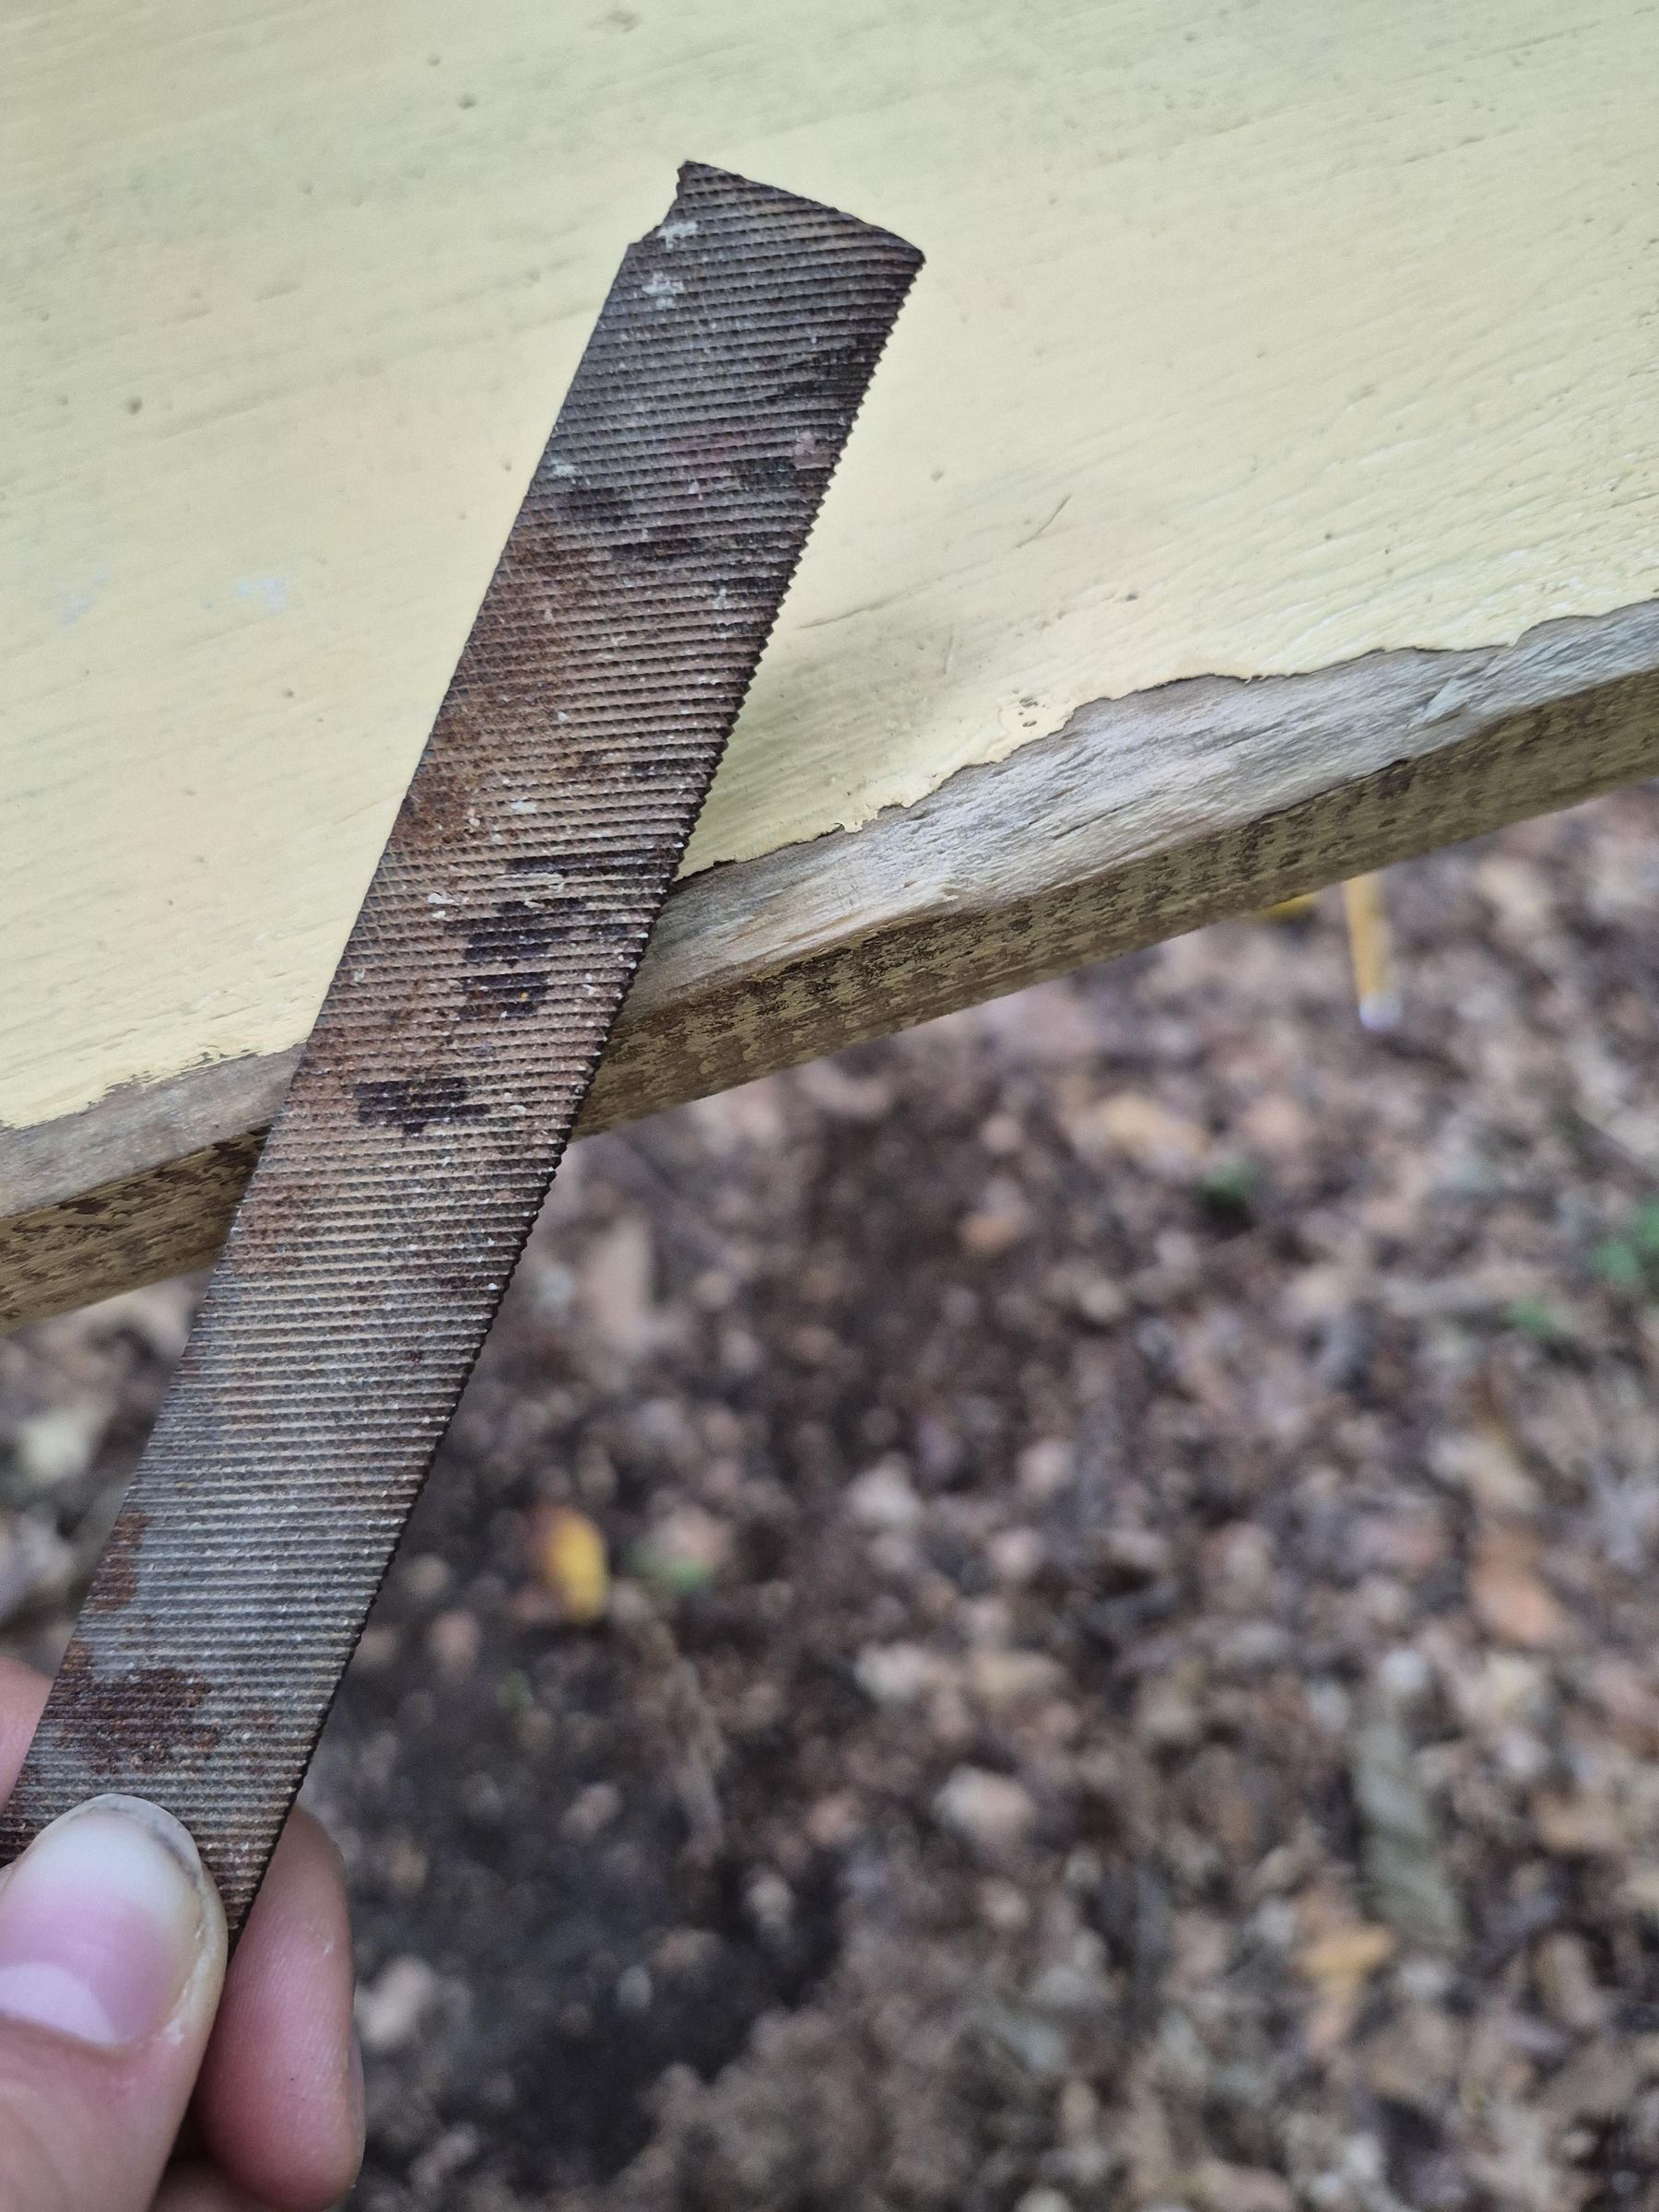
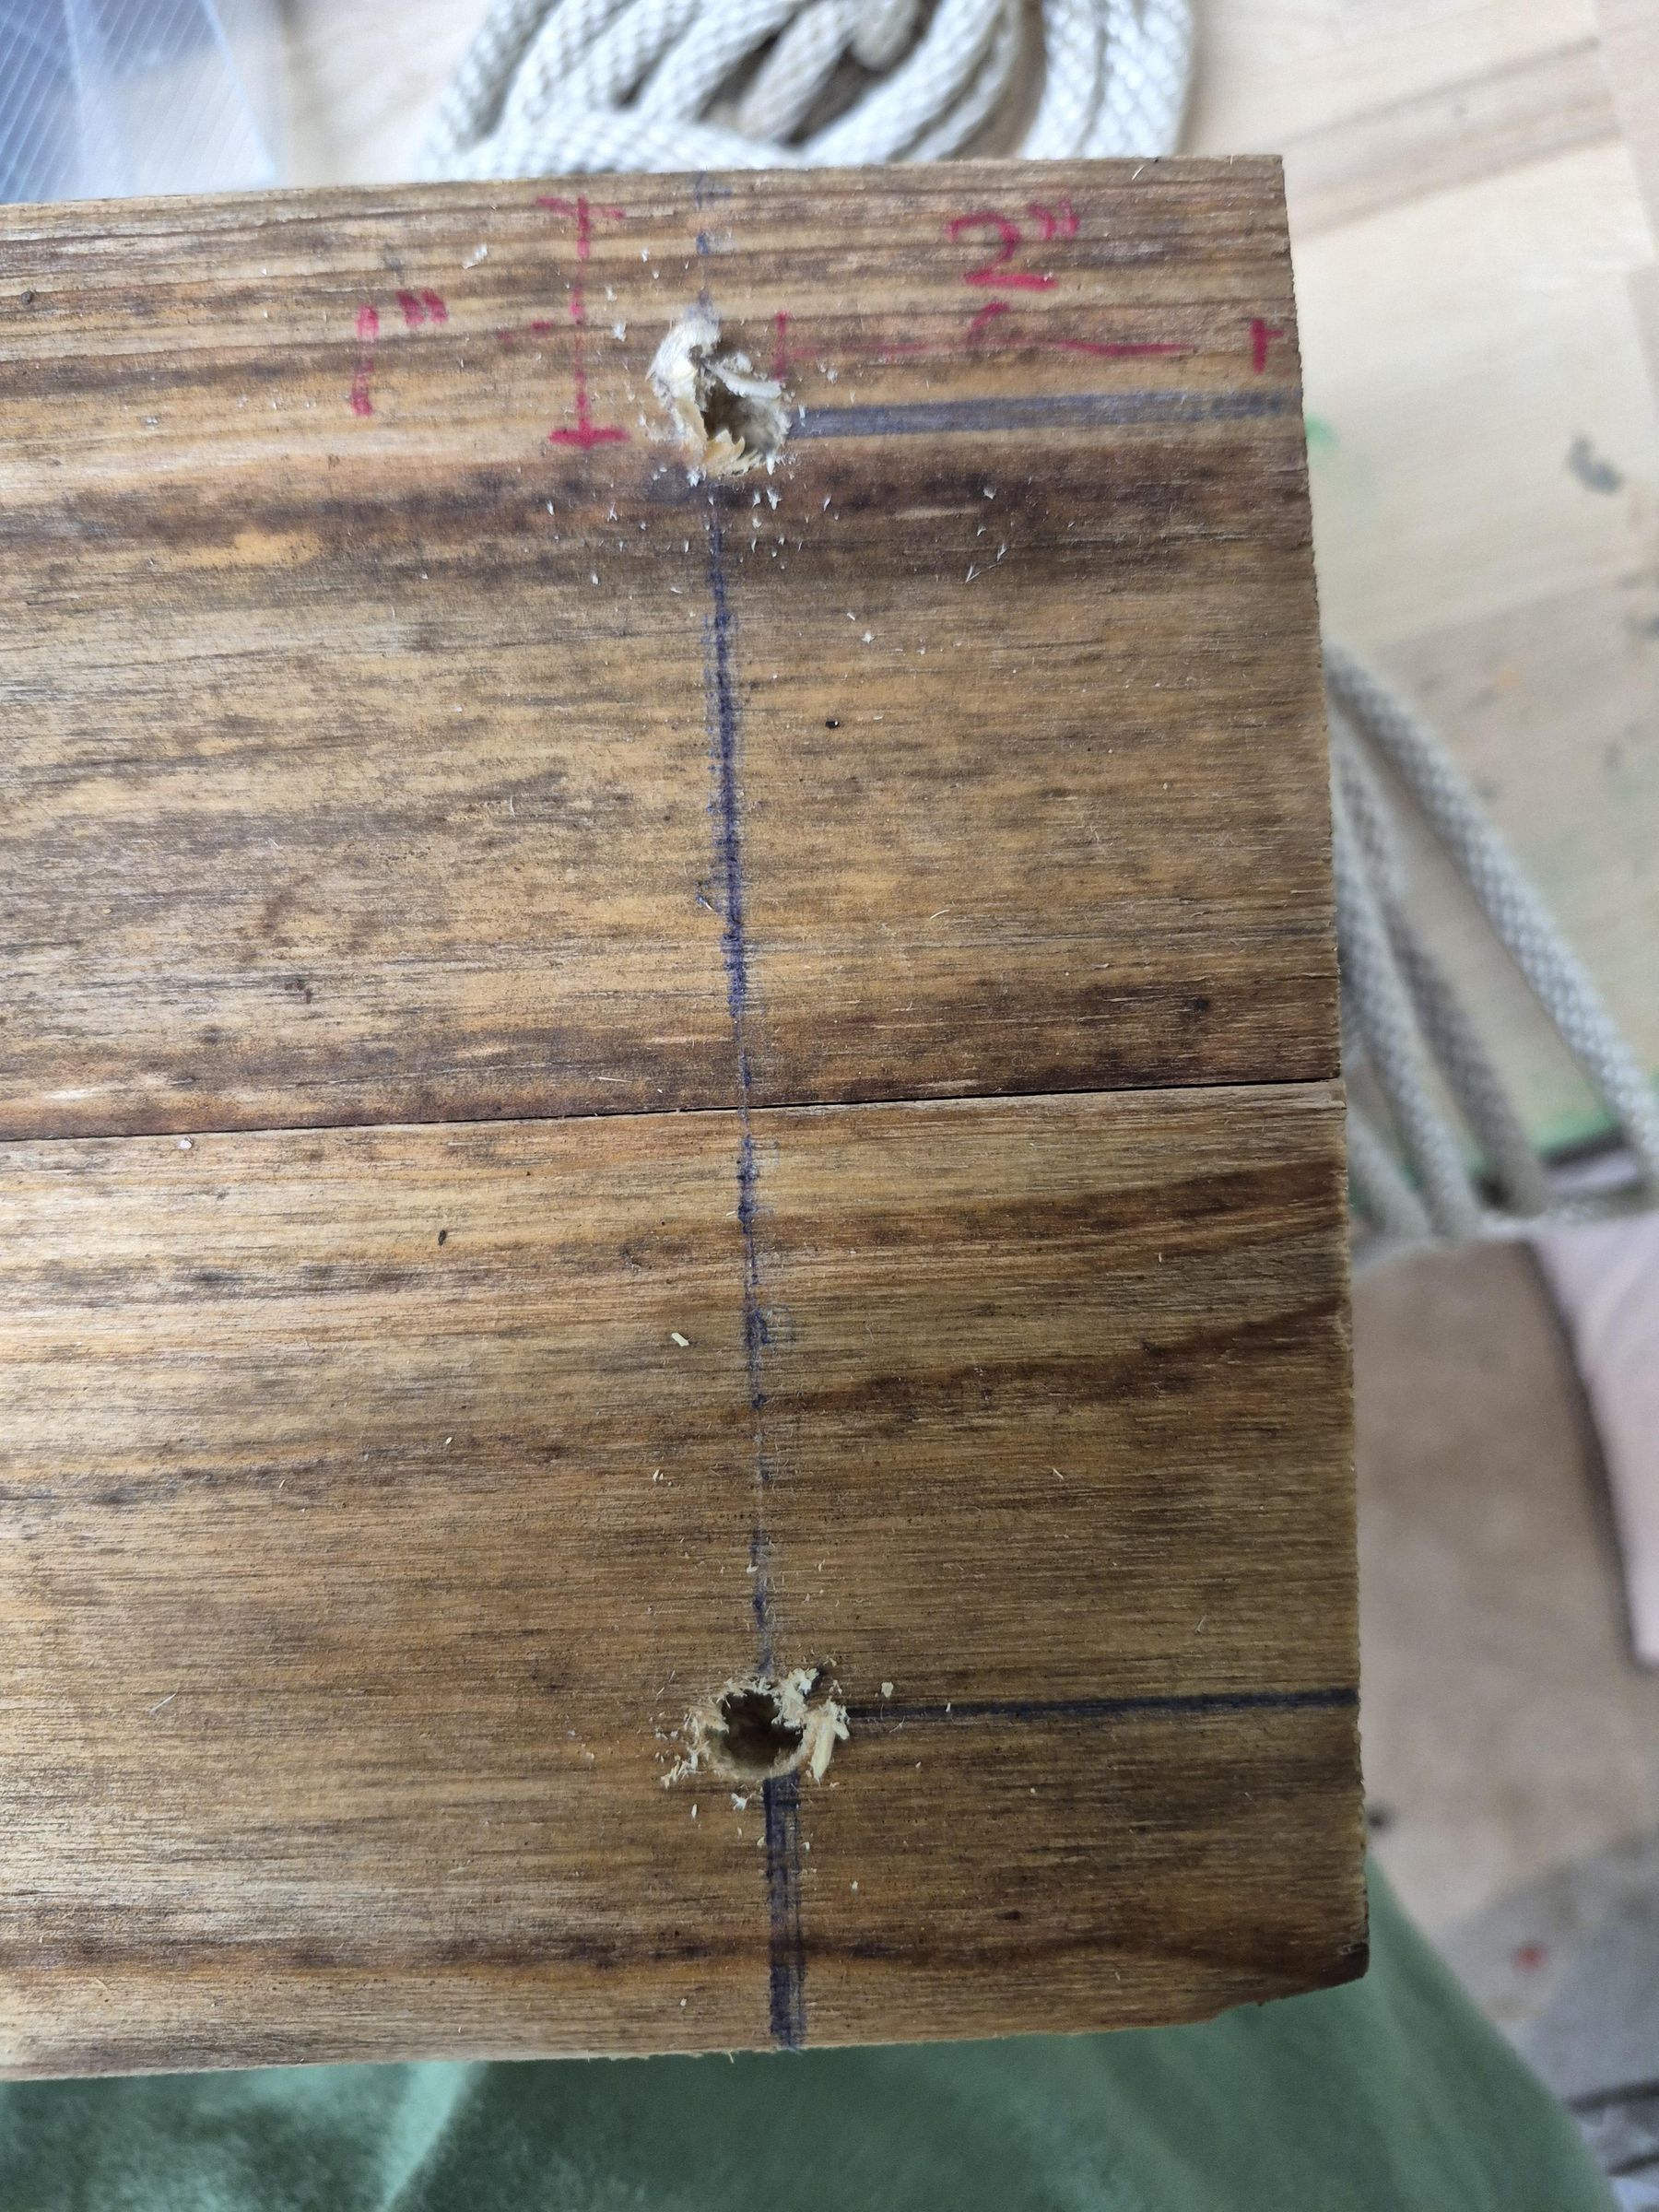
Drill 4 holes into the swing seat board that are each 1 inch from the long end and 2 inches from the short end. Make sure the rope can easily fit through the holes.
Next, sand the long edges of the seat until they are rounded so that it is more comfortable to sit on.
If you like, you can also paint the swing seat. the paint can protect h wood in addition to making it look pretty.
Sand Rope Mounts on the Beam
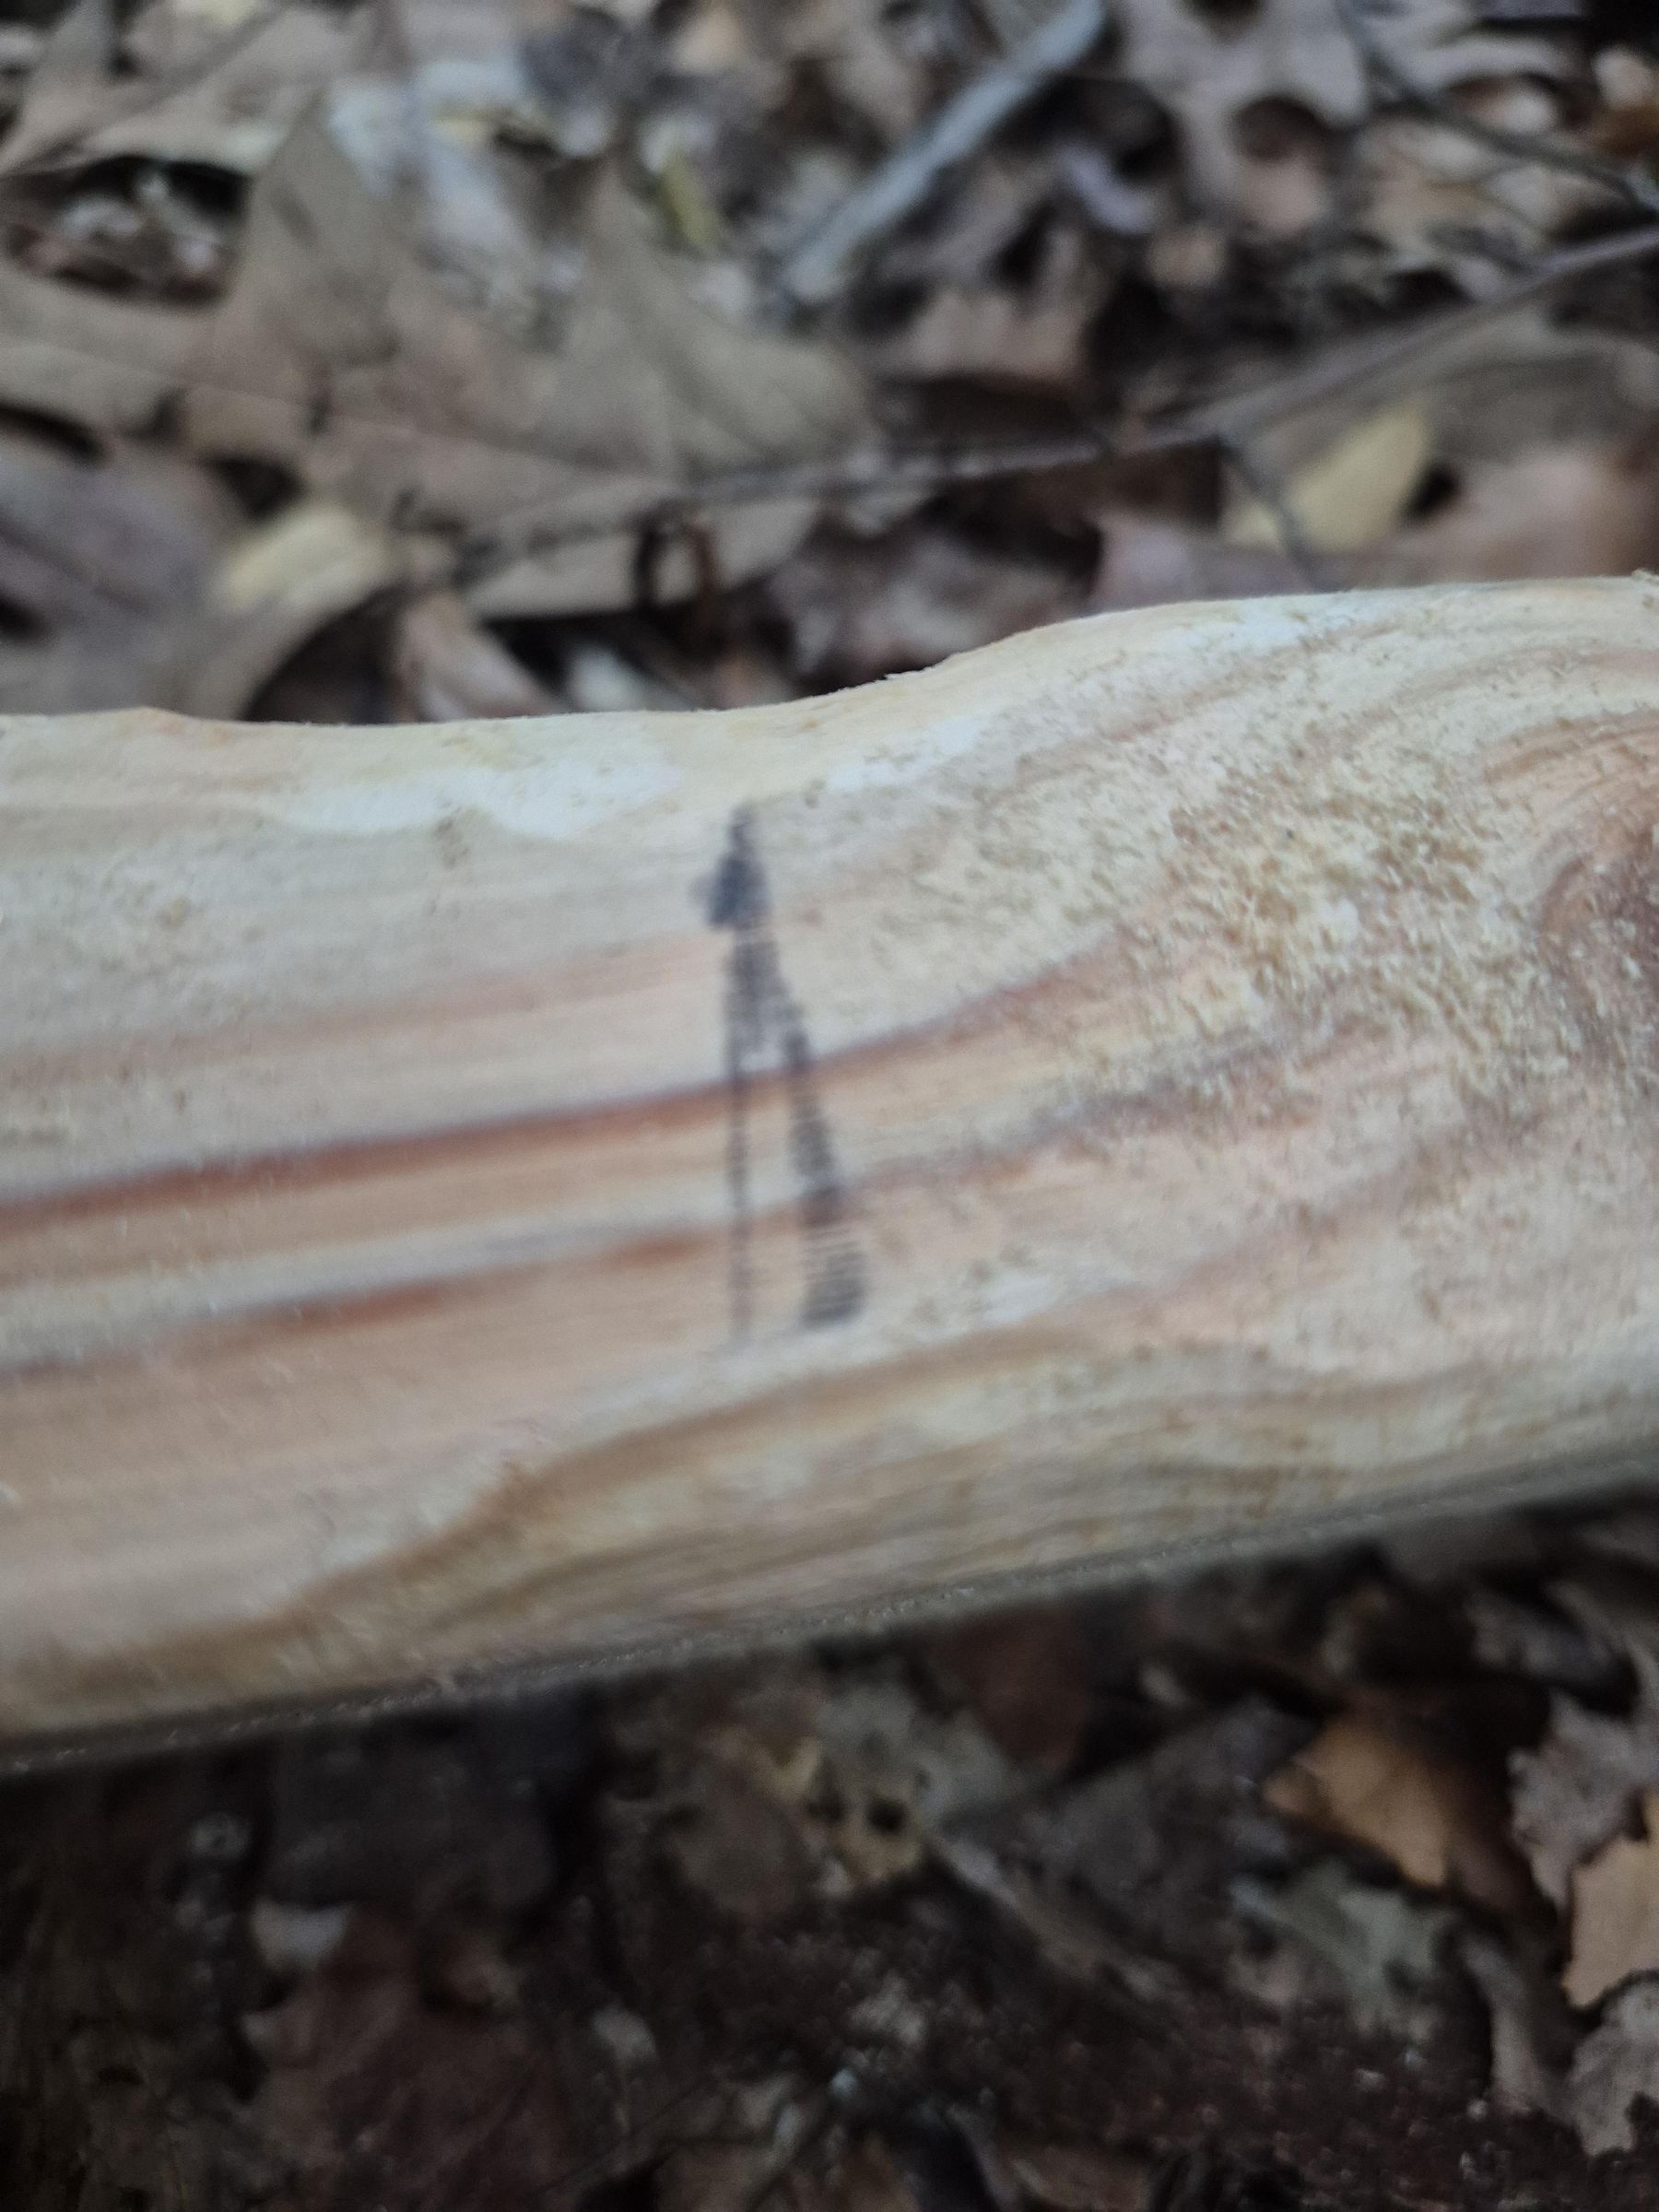
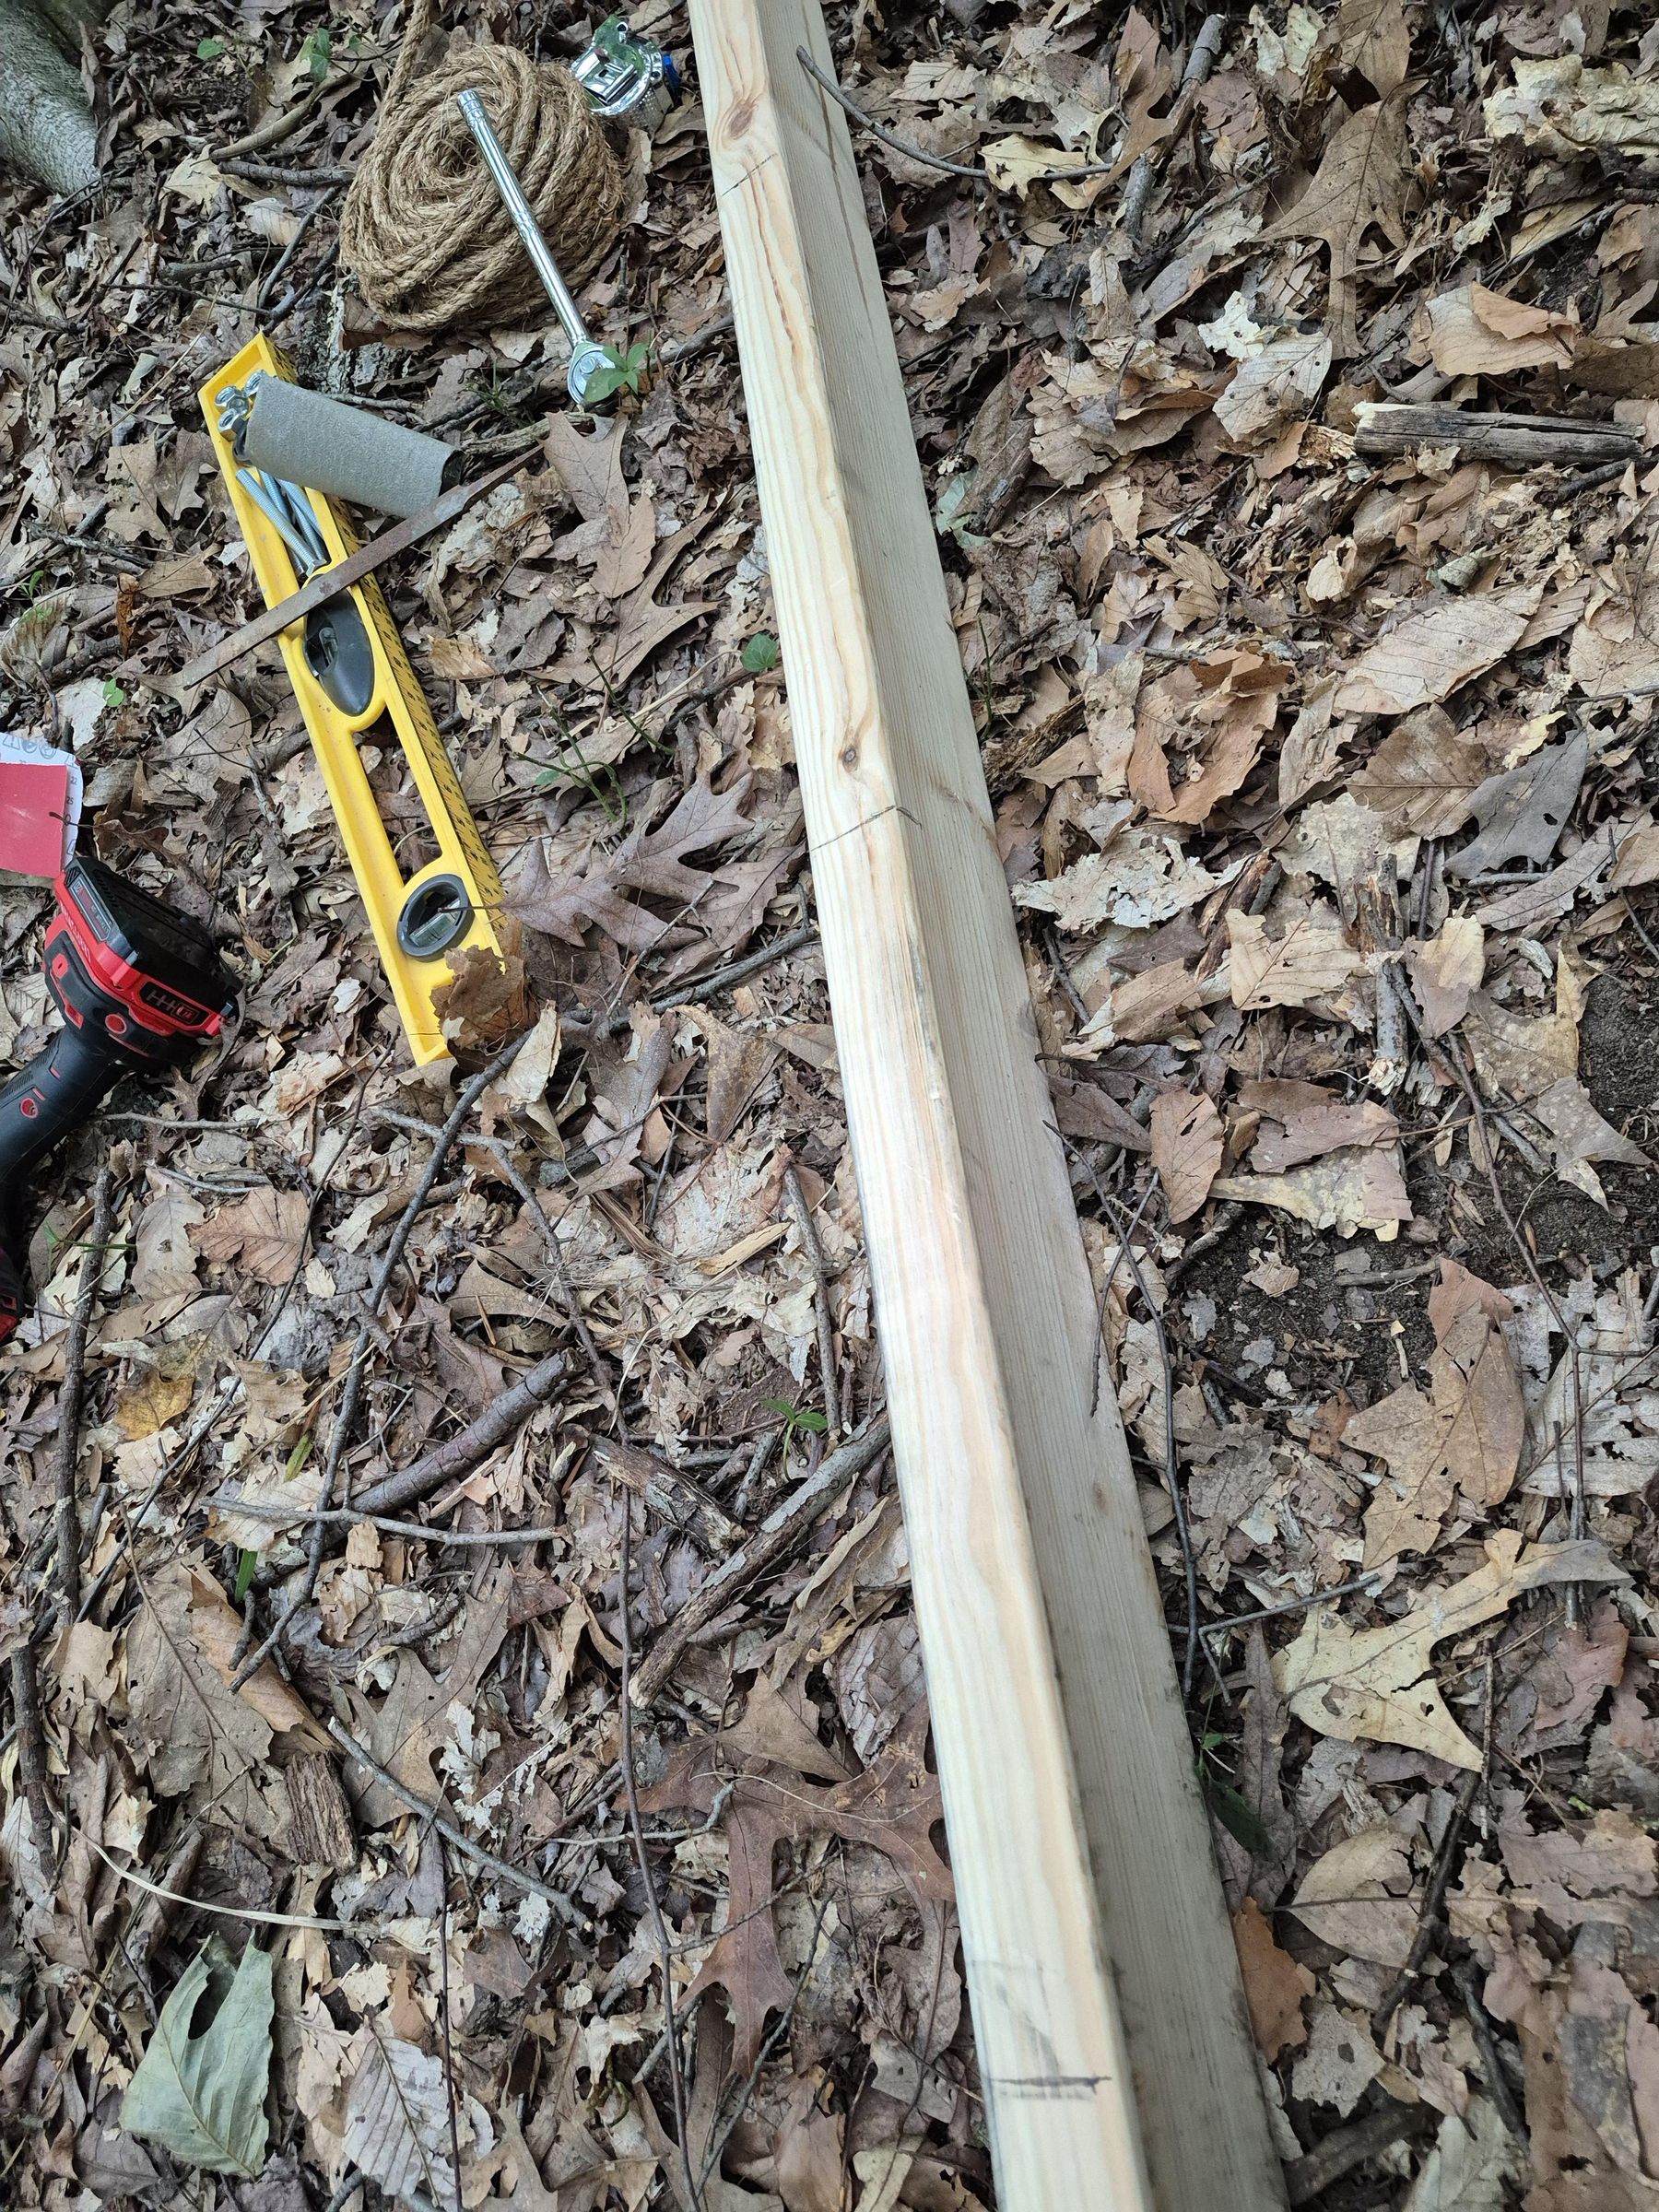
Draw two lines on your beam that are equidistant from the center and that are the same distance apart as the holes on your swing seat. These will mark where you will hang the ropes of the swing.
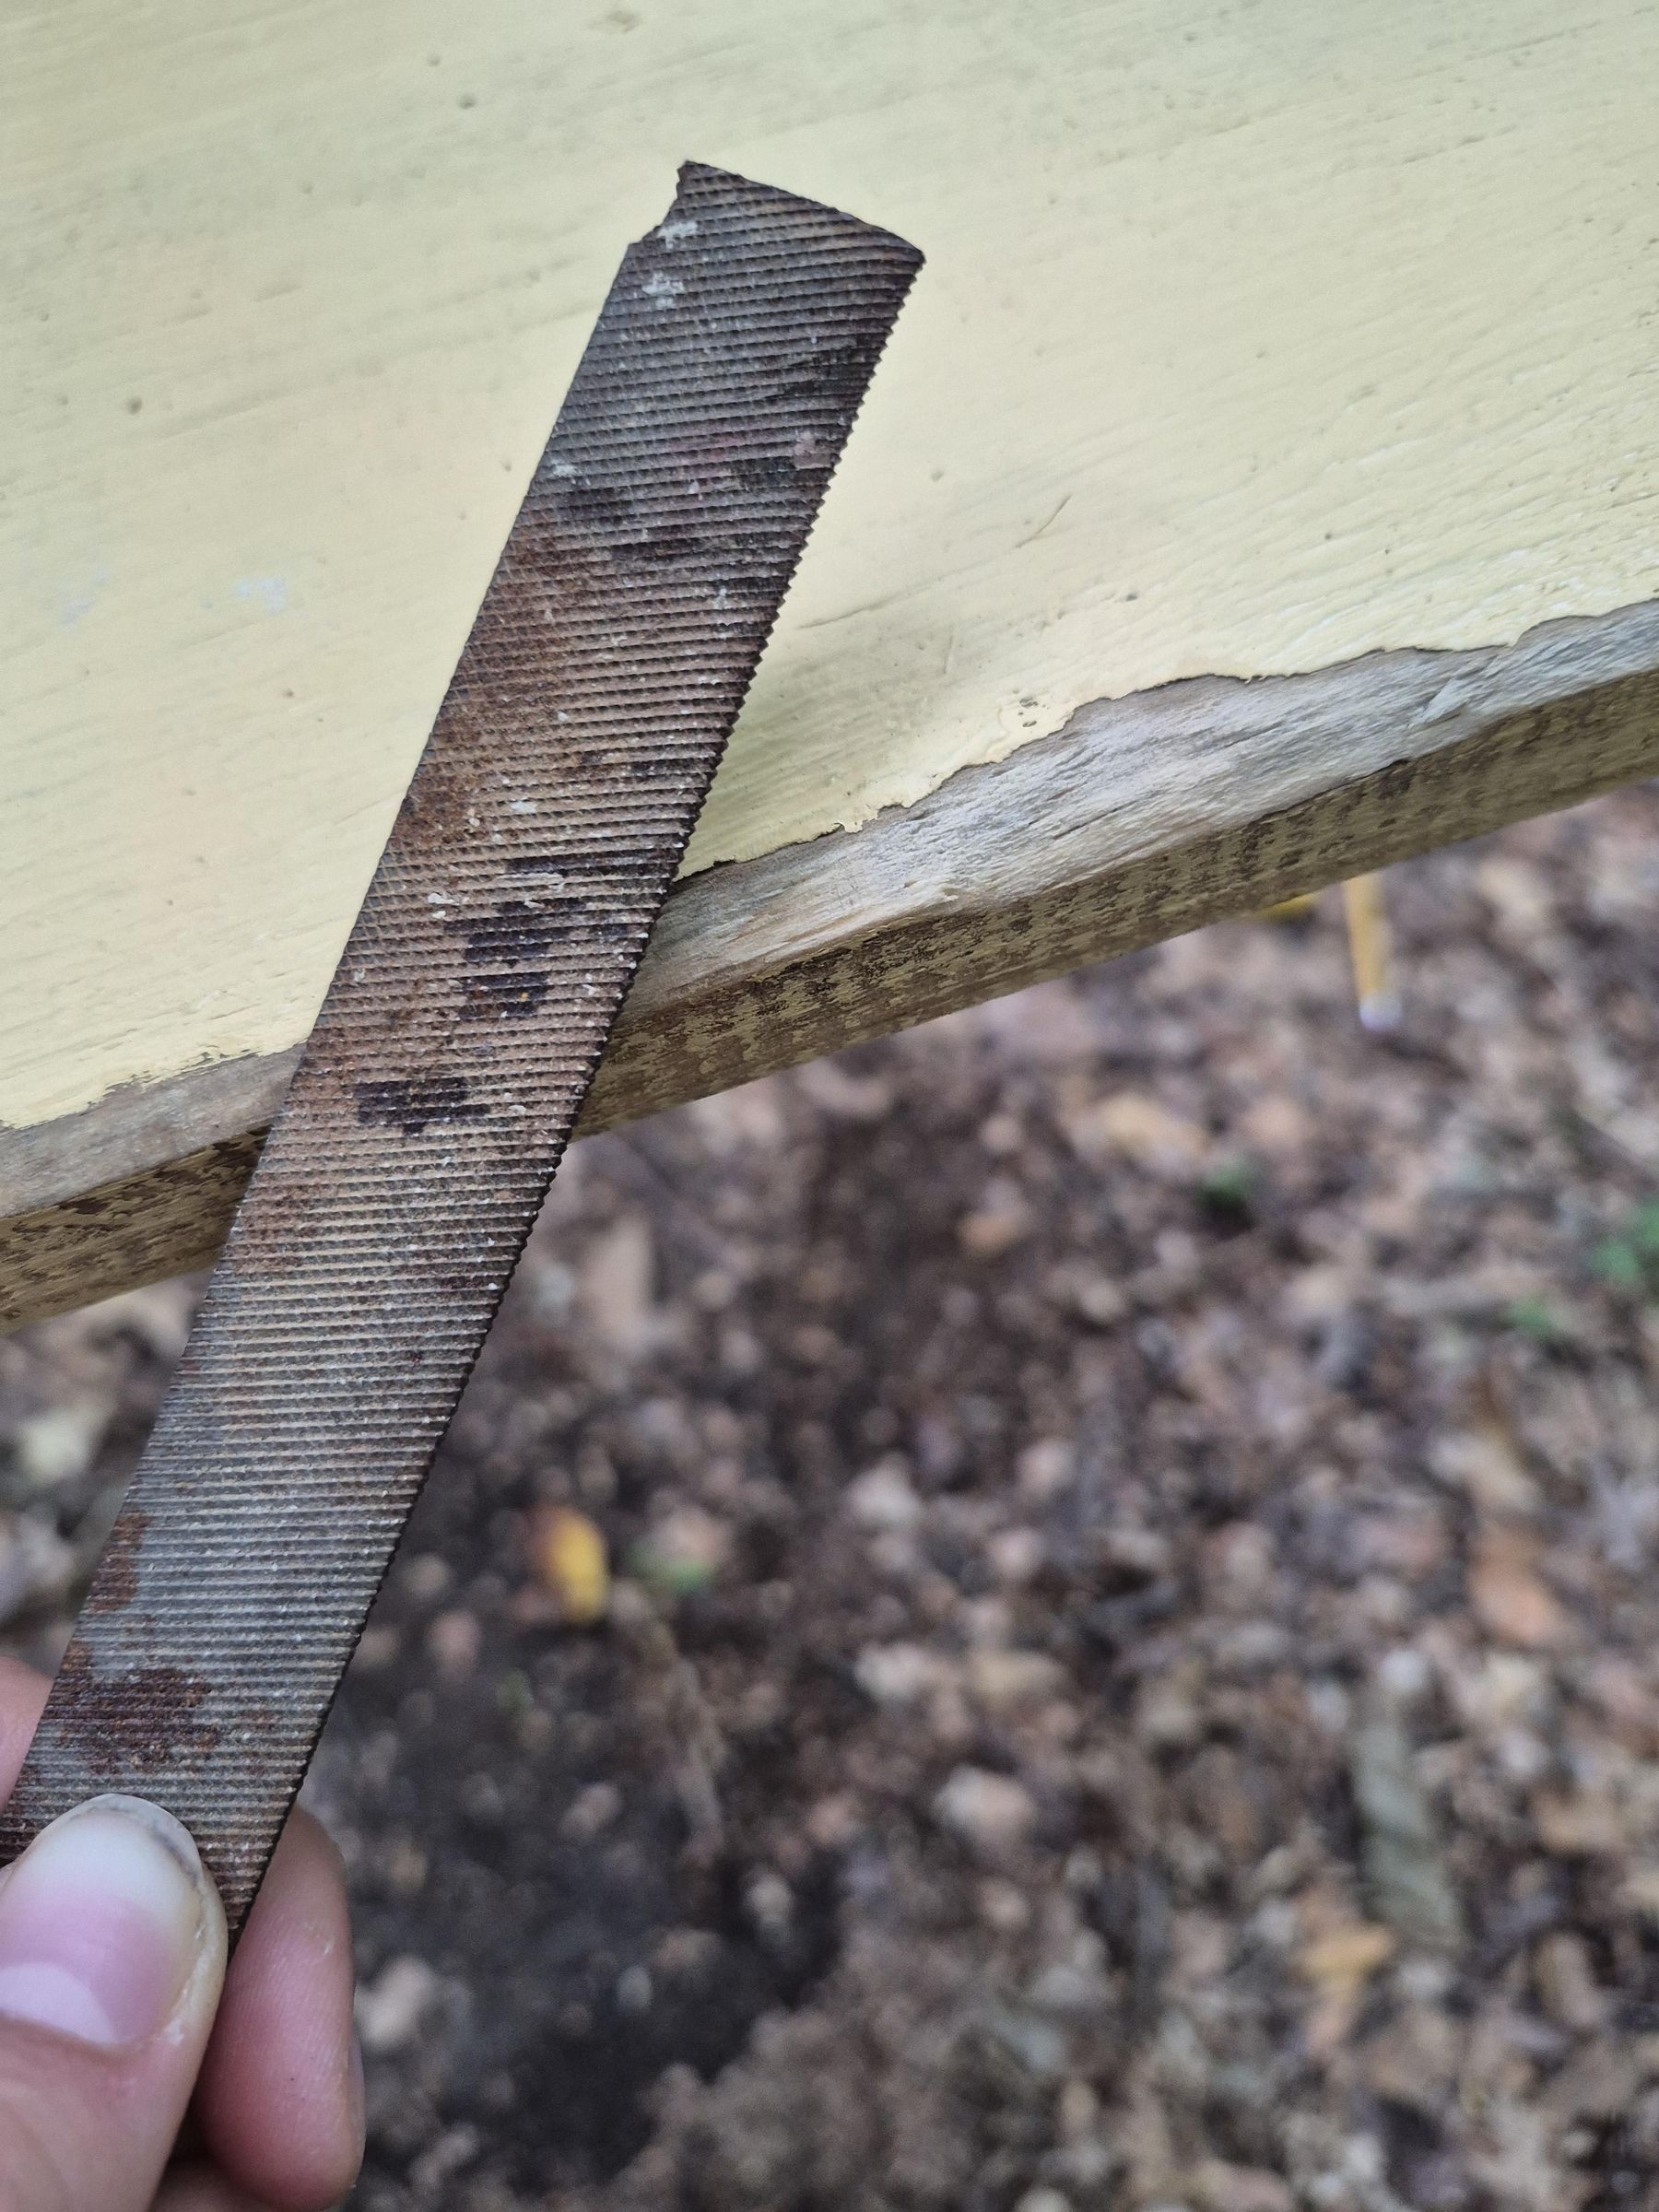
Next, sand grooves using a file or sandpaper along the top edges of the beam where your markings are. This will minimize friction on your rope as you swing.
Tie Beam to Trees
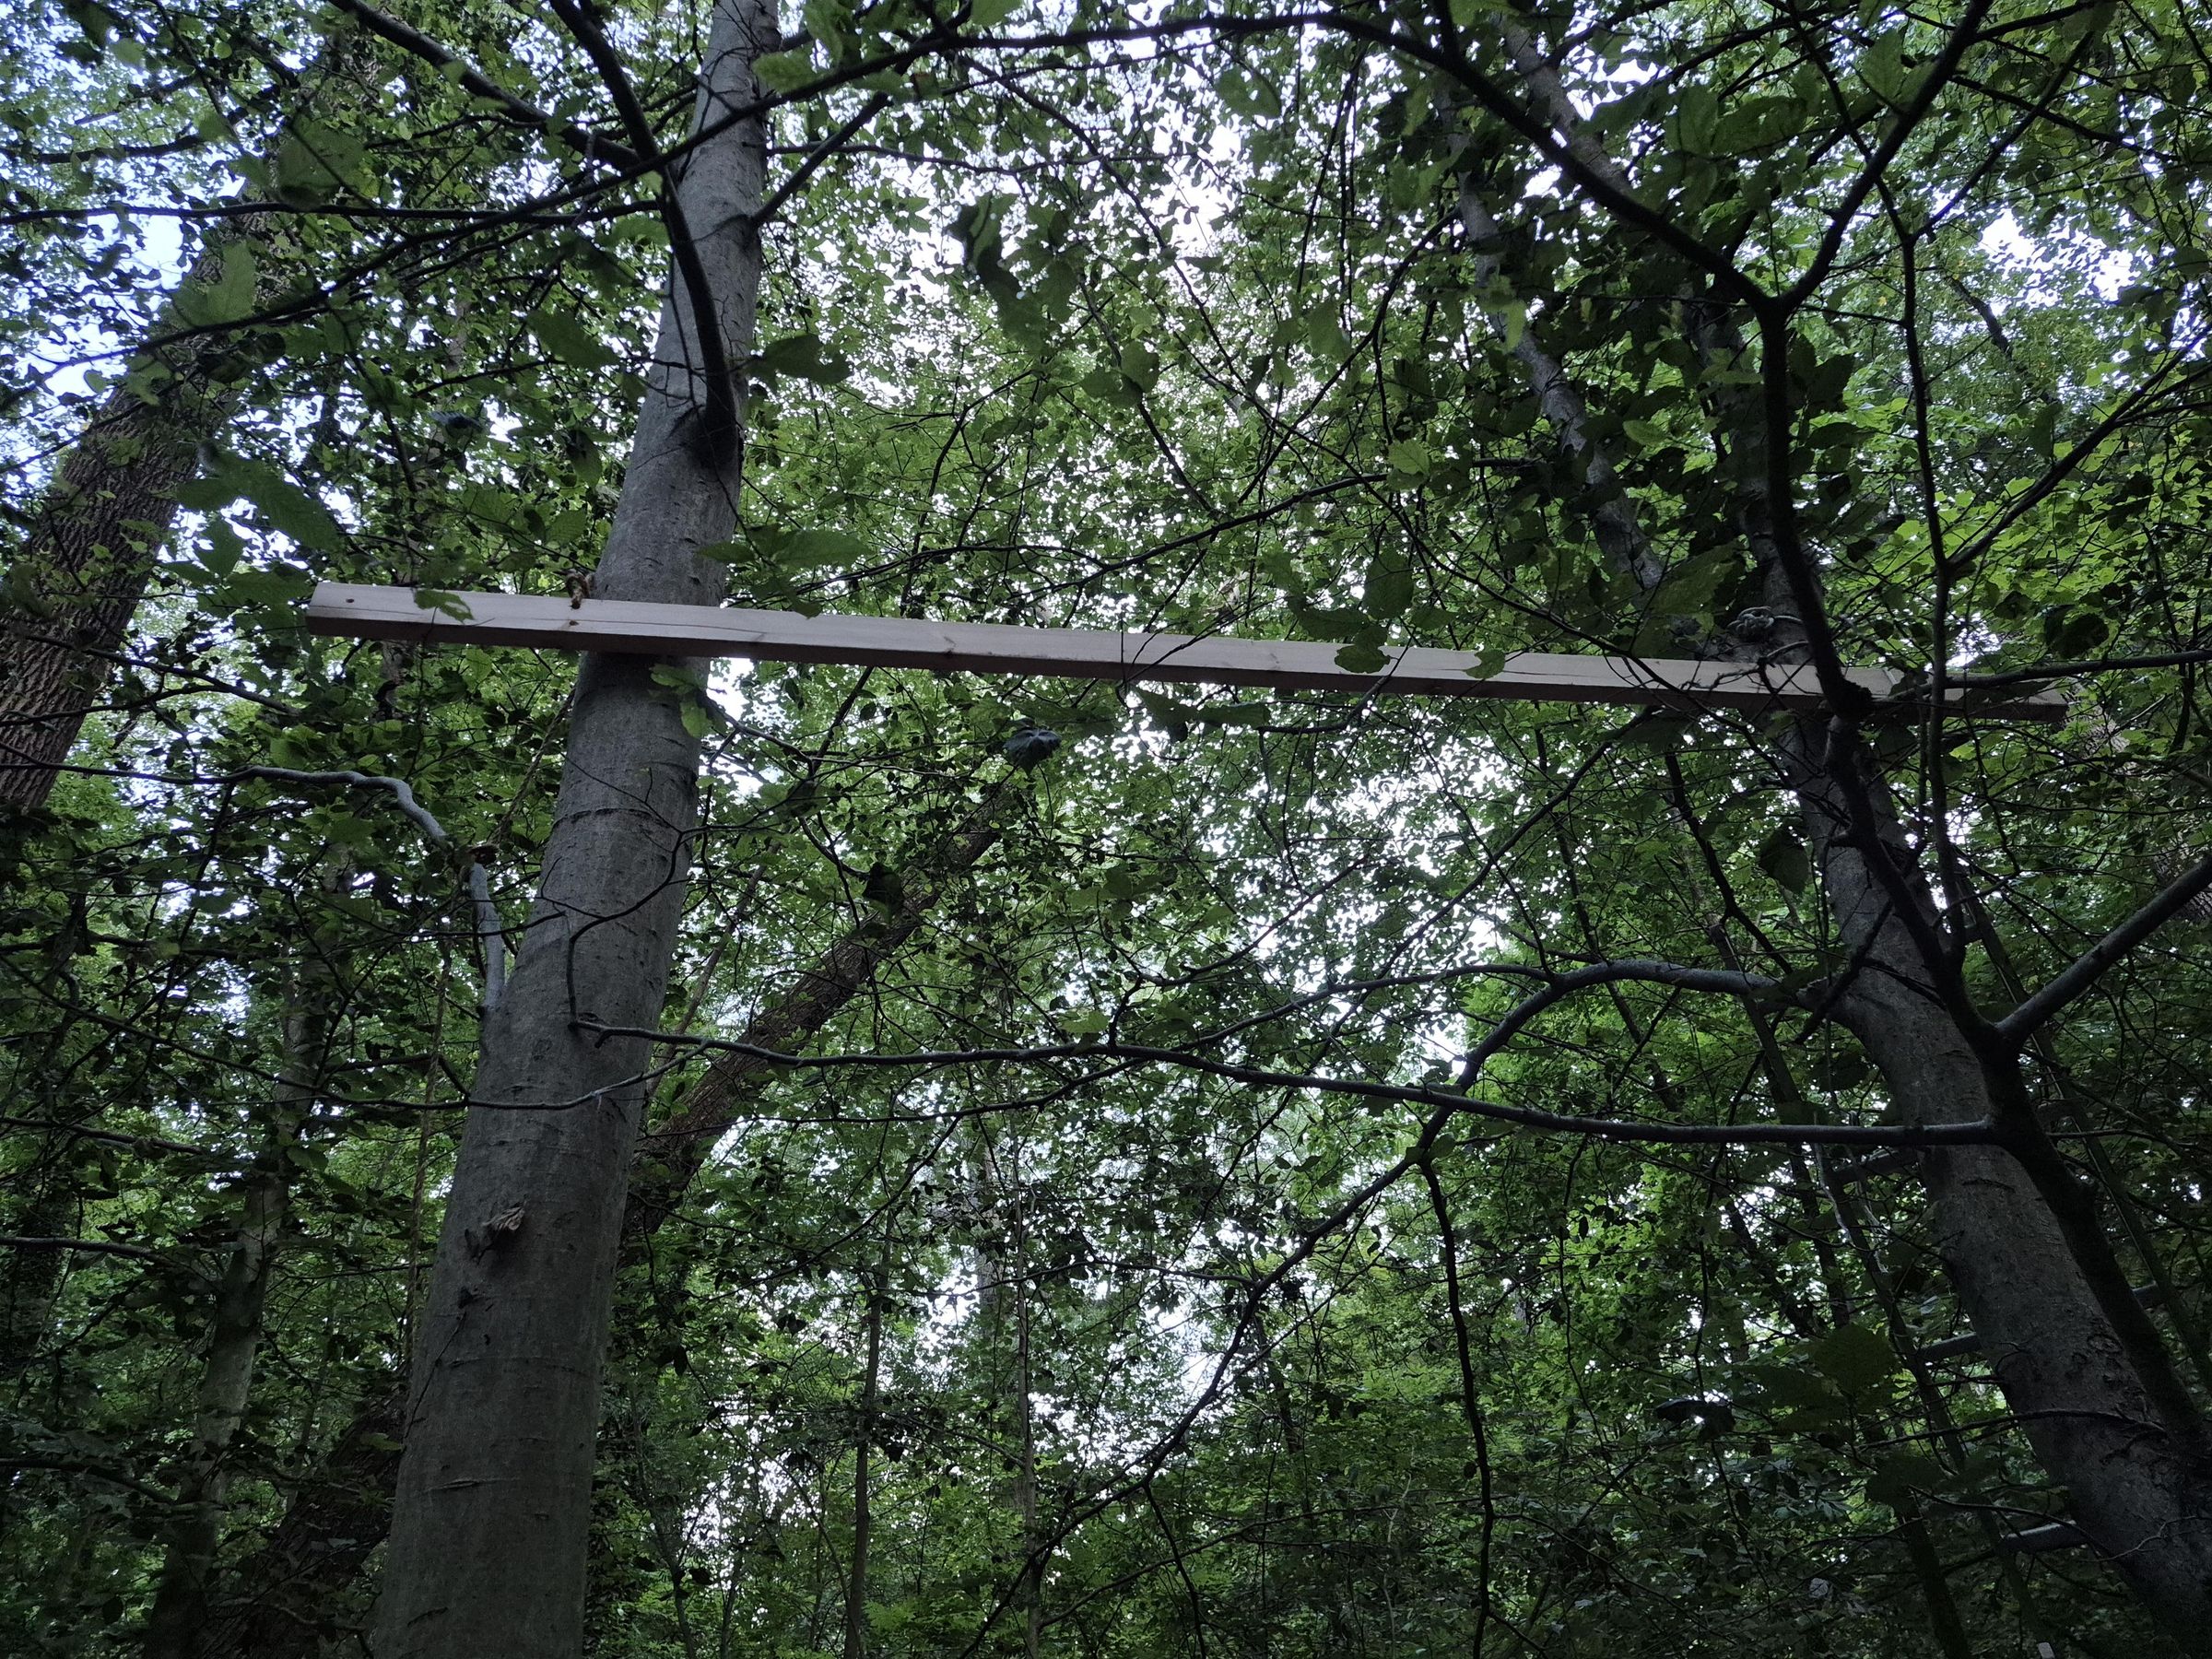
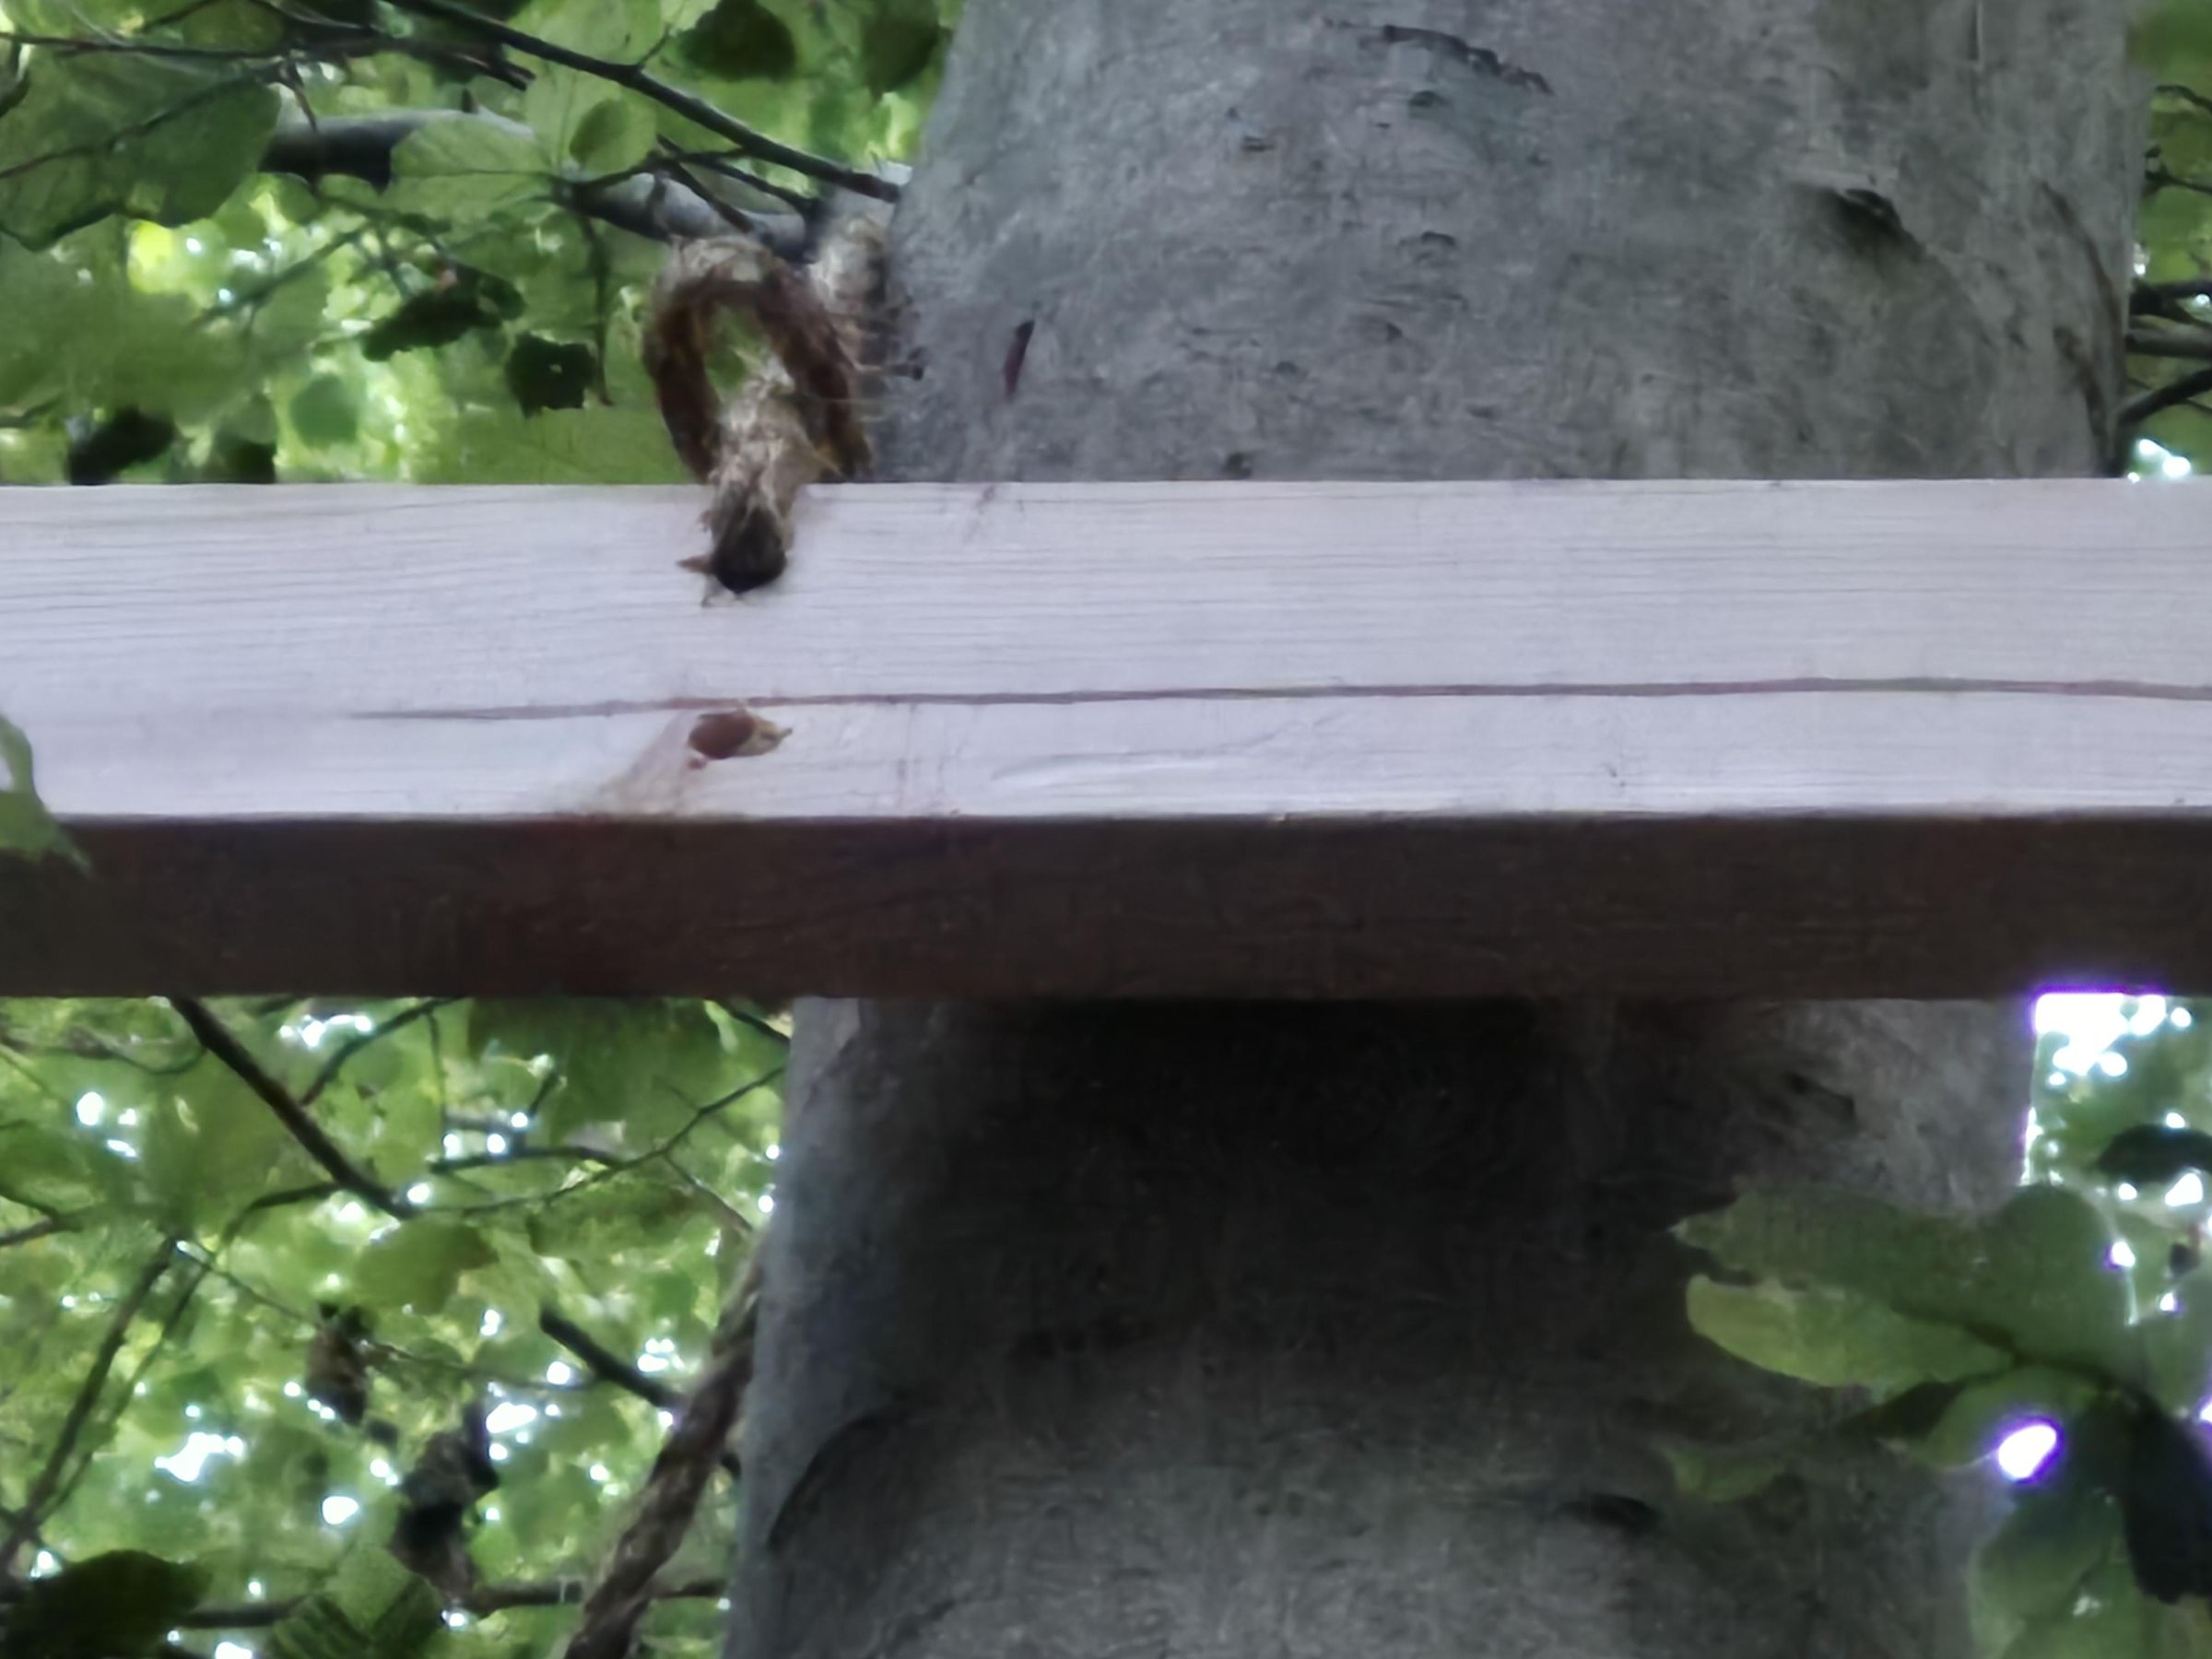
Thread rope, yarn, or twine through the top hole on each end of the beam and use a ladder to climb up to desired height of the swing. Tie the rope around nearby branches or the trunk, or hammer a nail into the trunk that you can tie the rope/twine/yarn around. After that, drill holes into the trunk so that they line up with the ones you drilled into the beam. To do this, I drilled through the holes in the beam into the tree so that there was a shallow marking on the trunk directly where the beam holes were. Then, I lifted the beam to drill deeper holes into those shallow markings on the trunk.
Bolt the Beam Into the Trees
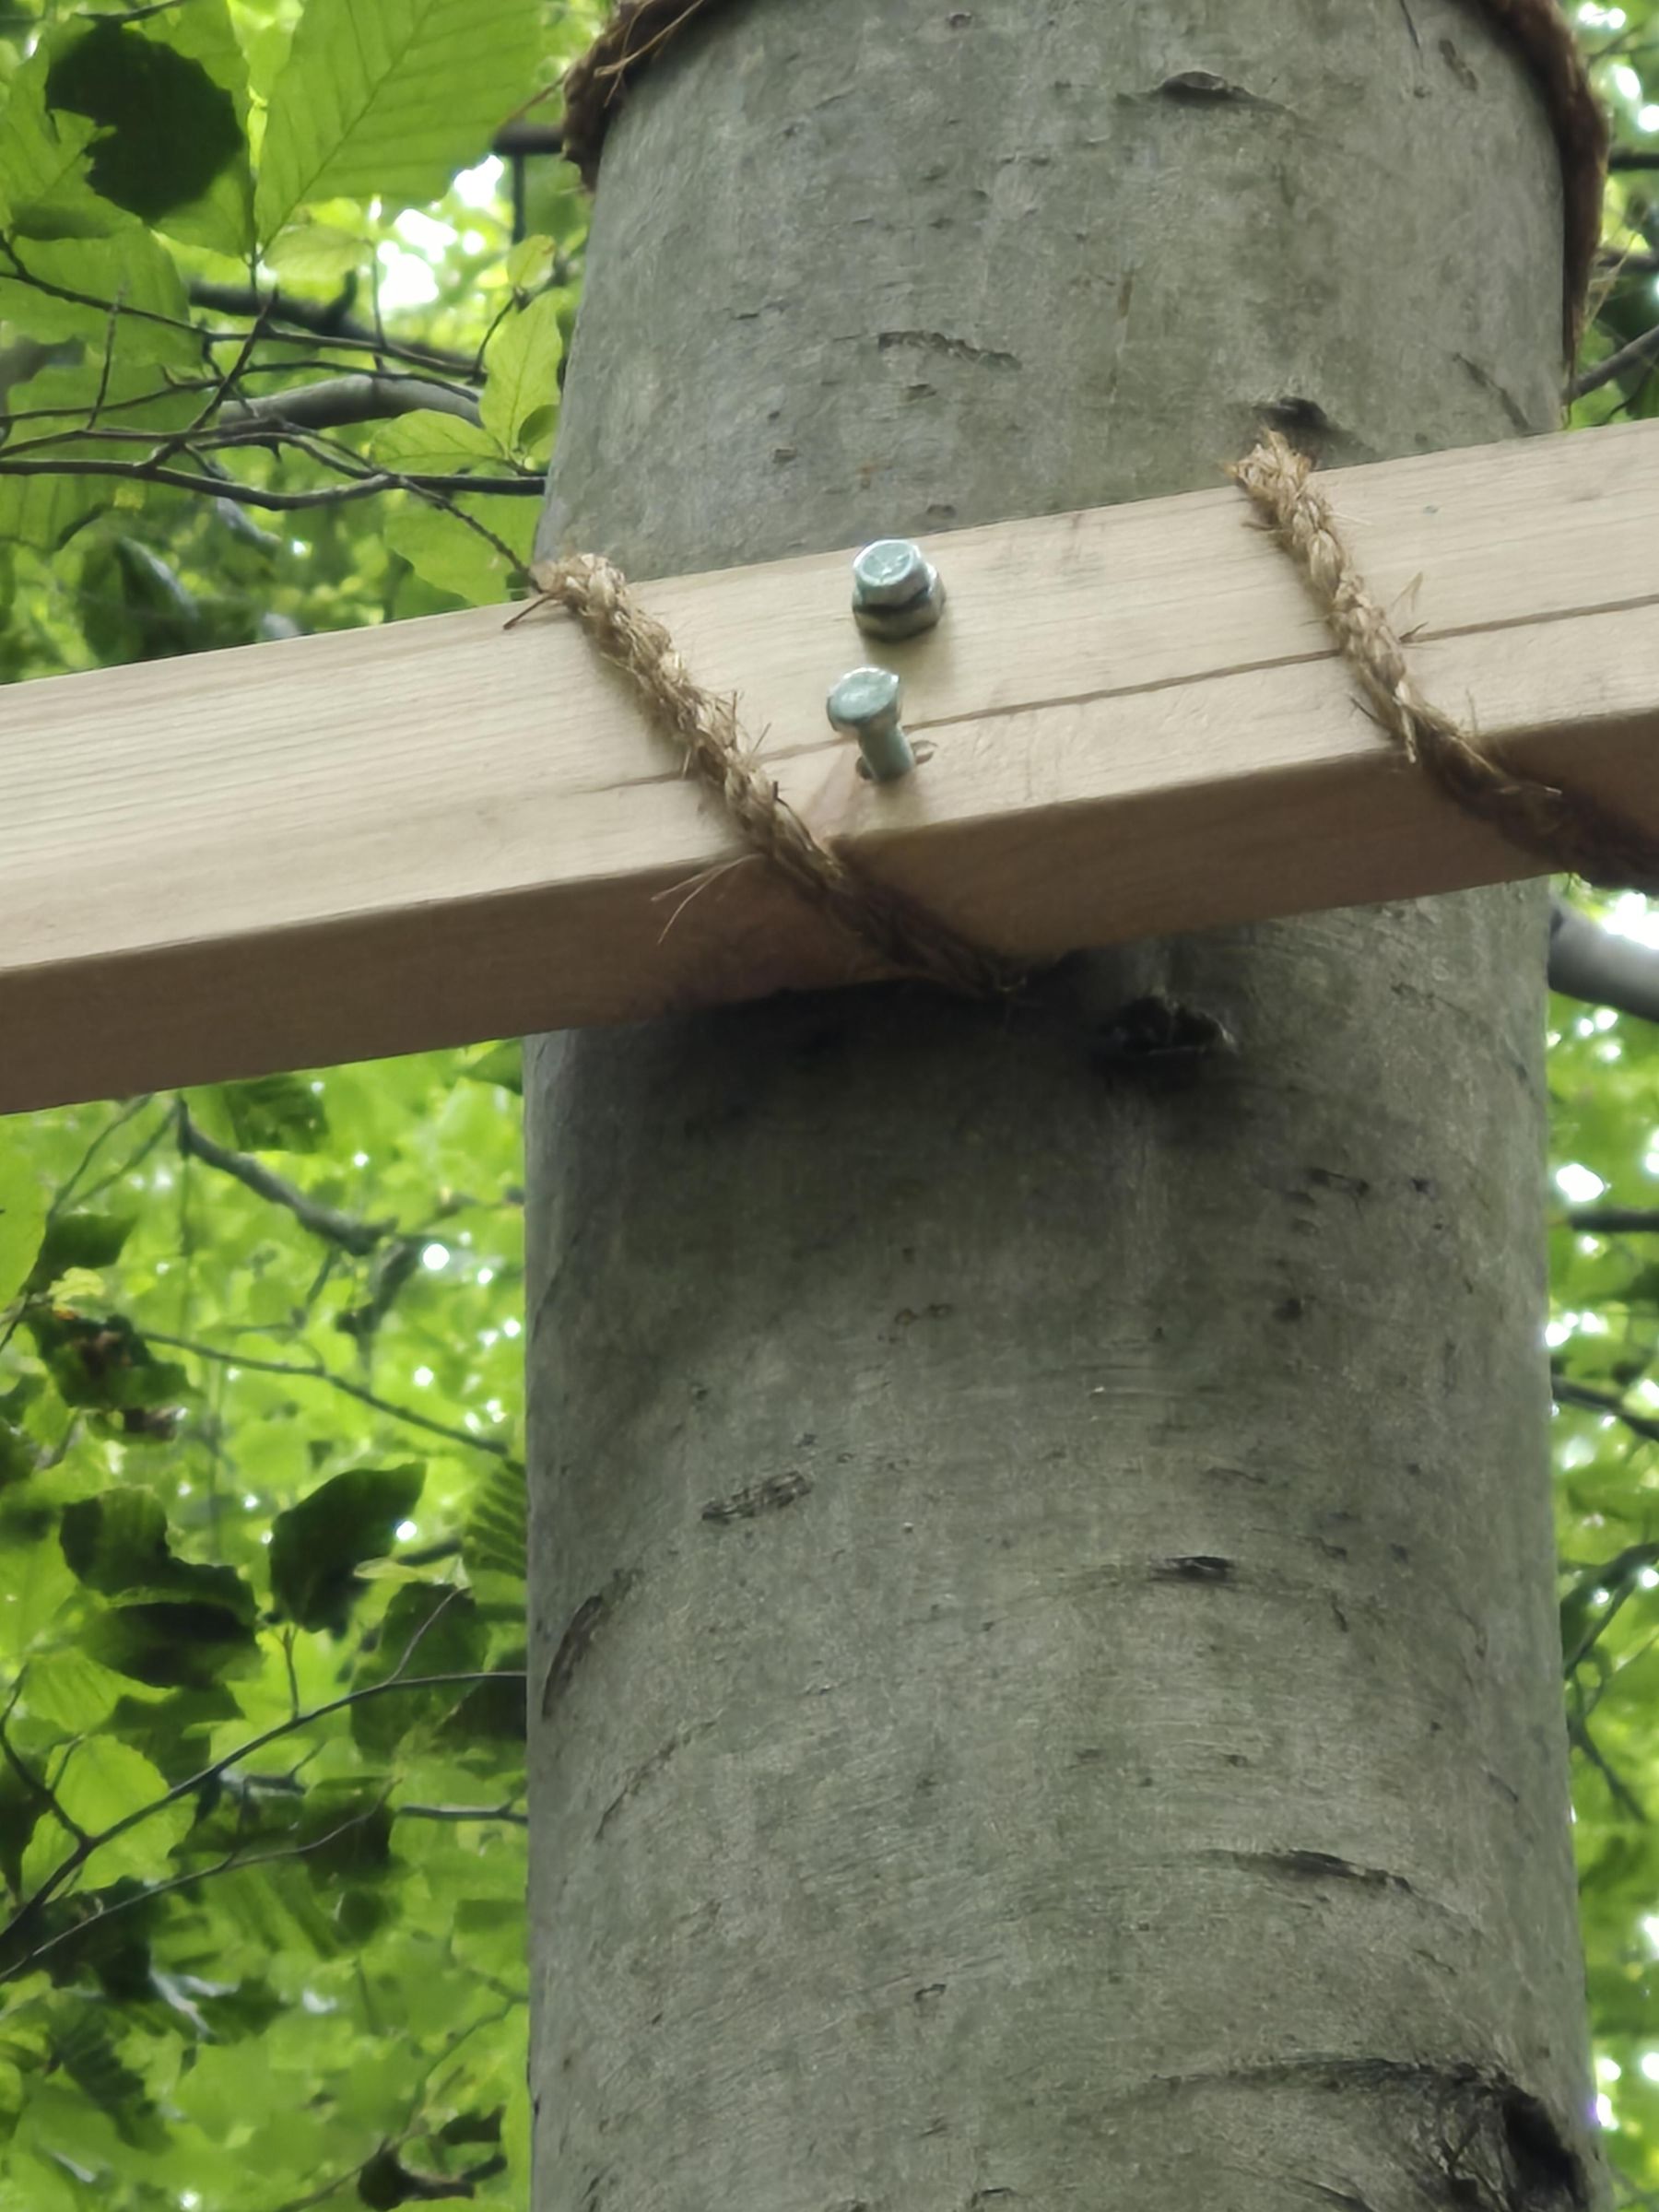
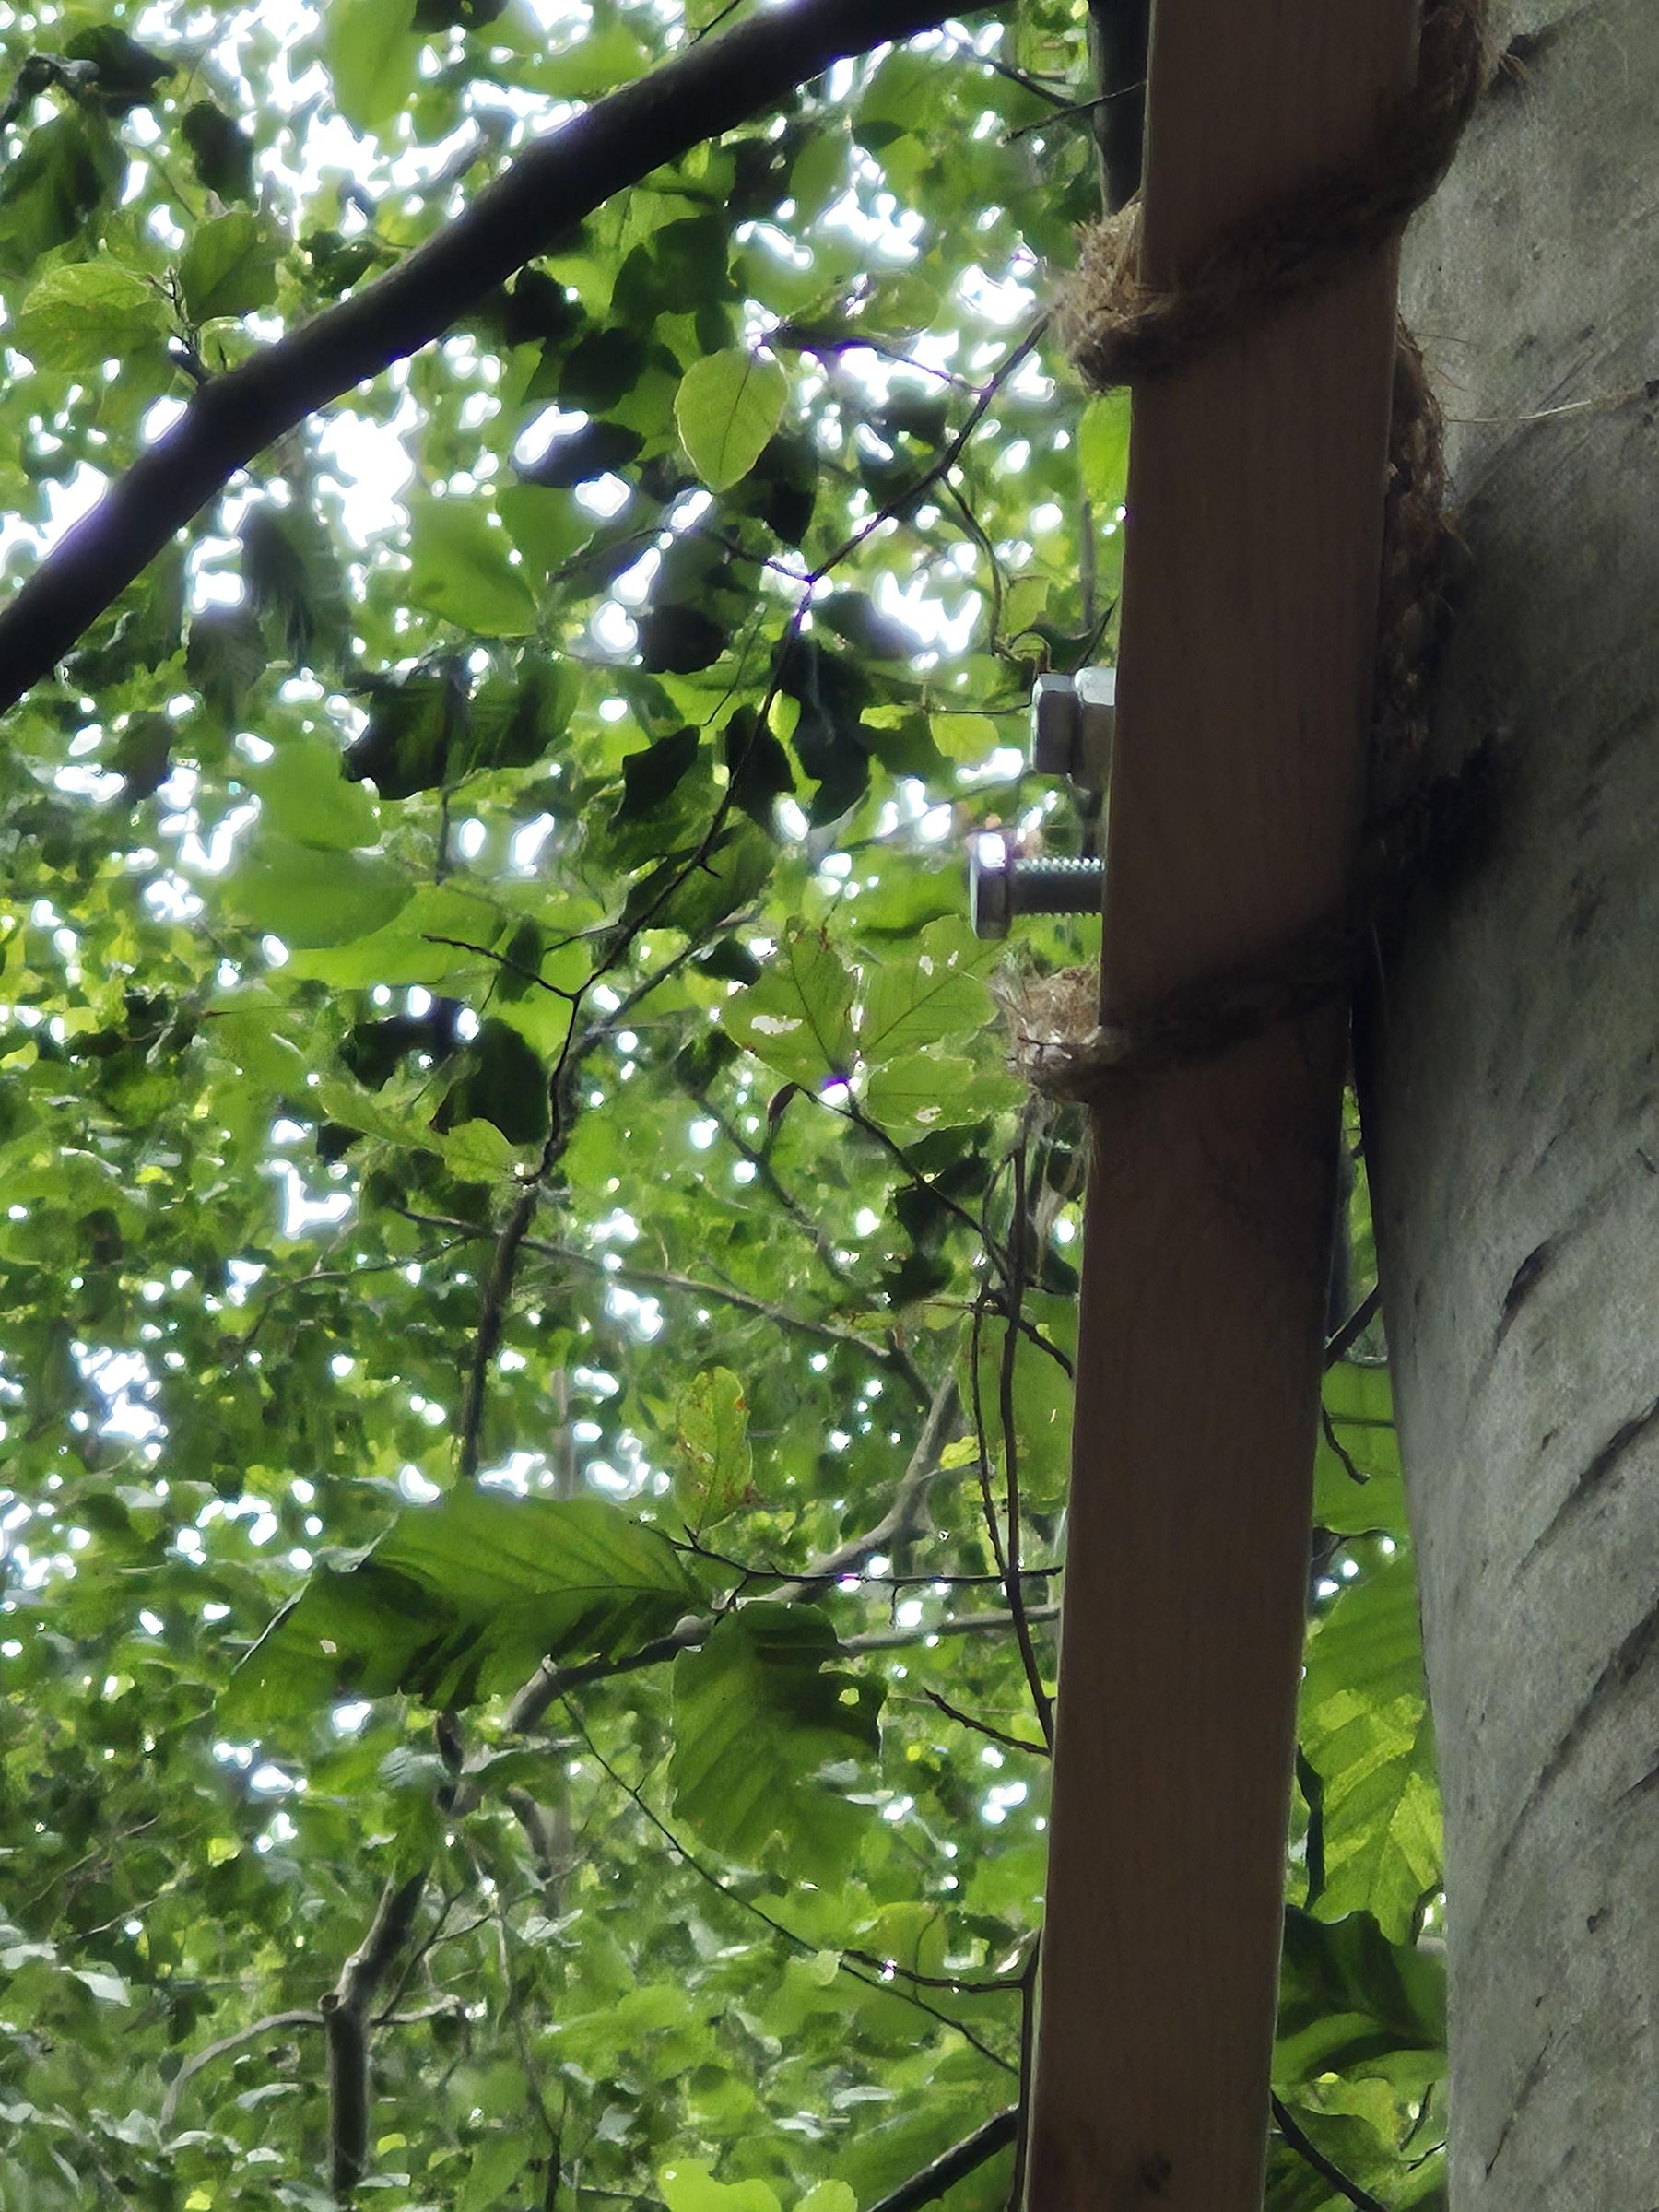
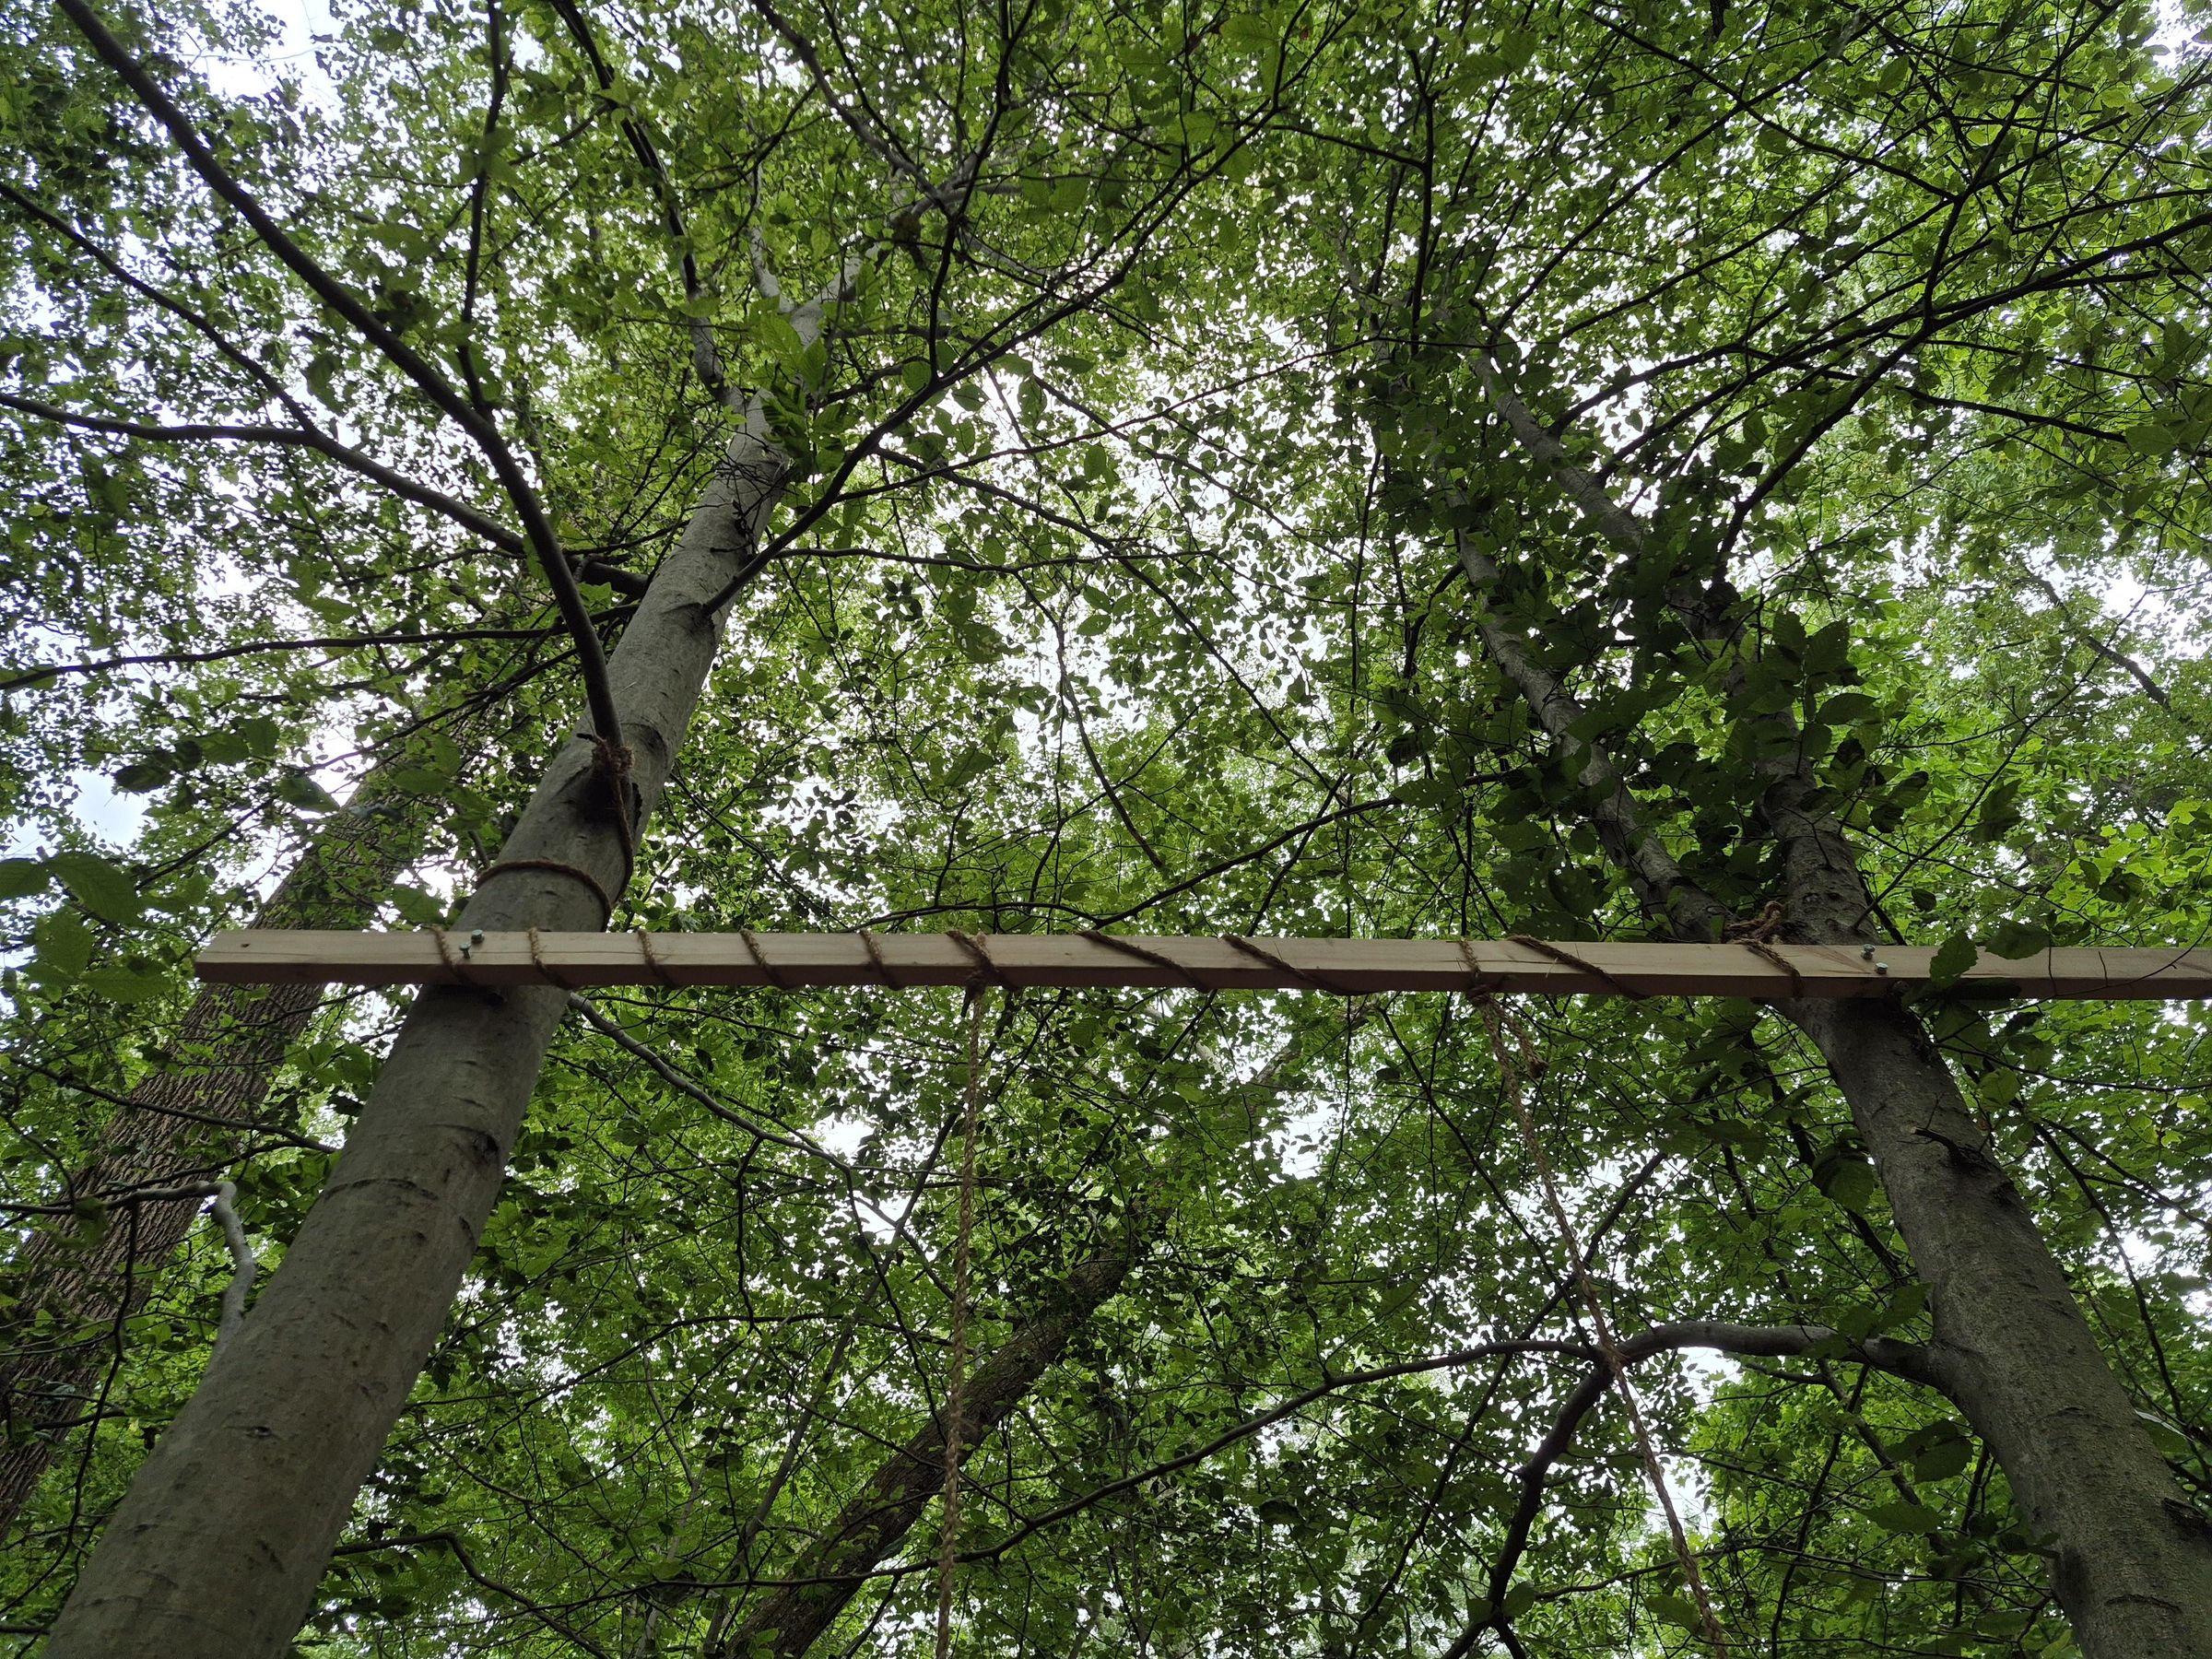
Secure the bolts through the holes on the beam and tree so that the beam is attached to the tree. I recommend using a hammer to hammer the bolts a little way through the beam, then use the ratchet to twist it on the rest of the way. Repeat this for getting the bolts through the trunk. You should have the bolts at least 1.5 inches into the tree.
Hang the Swing
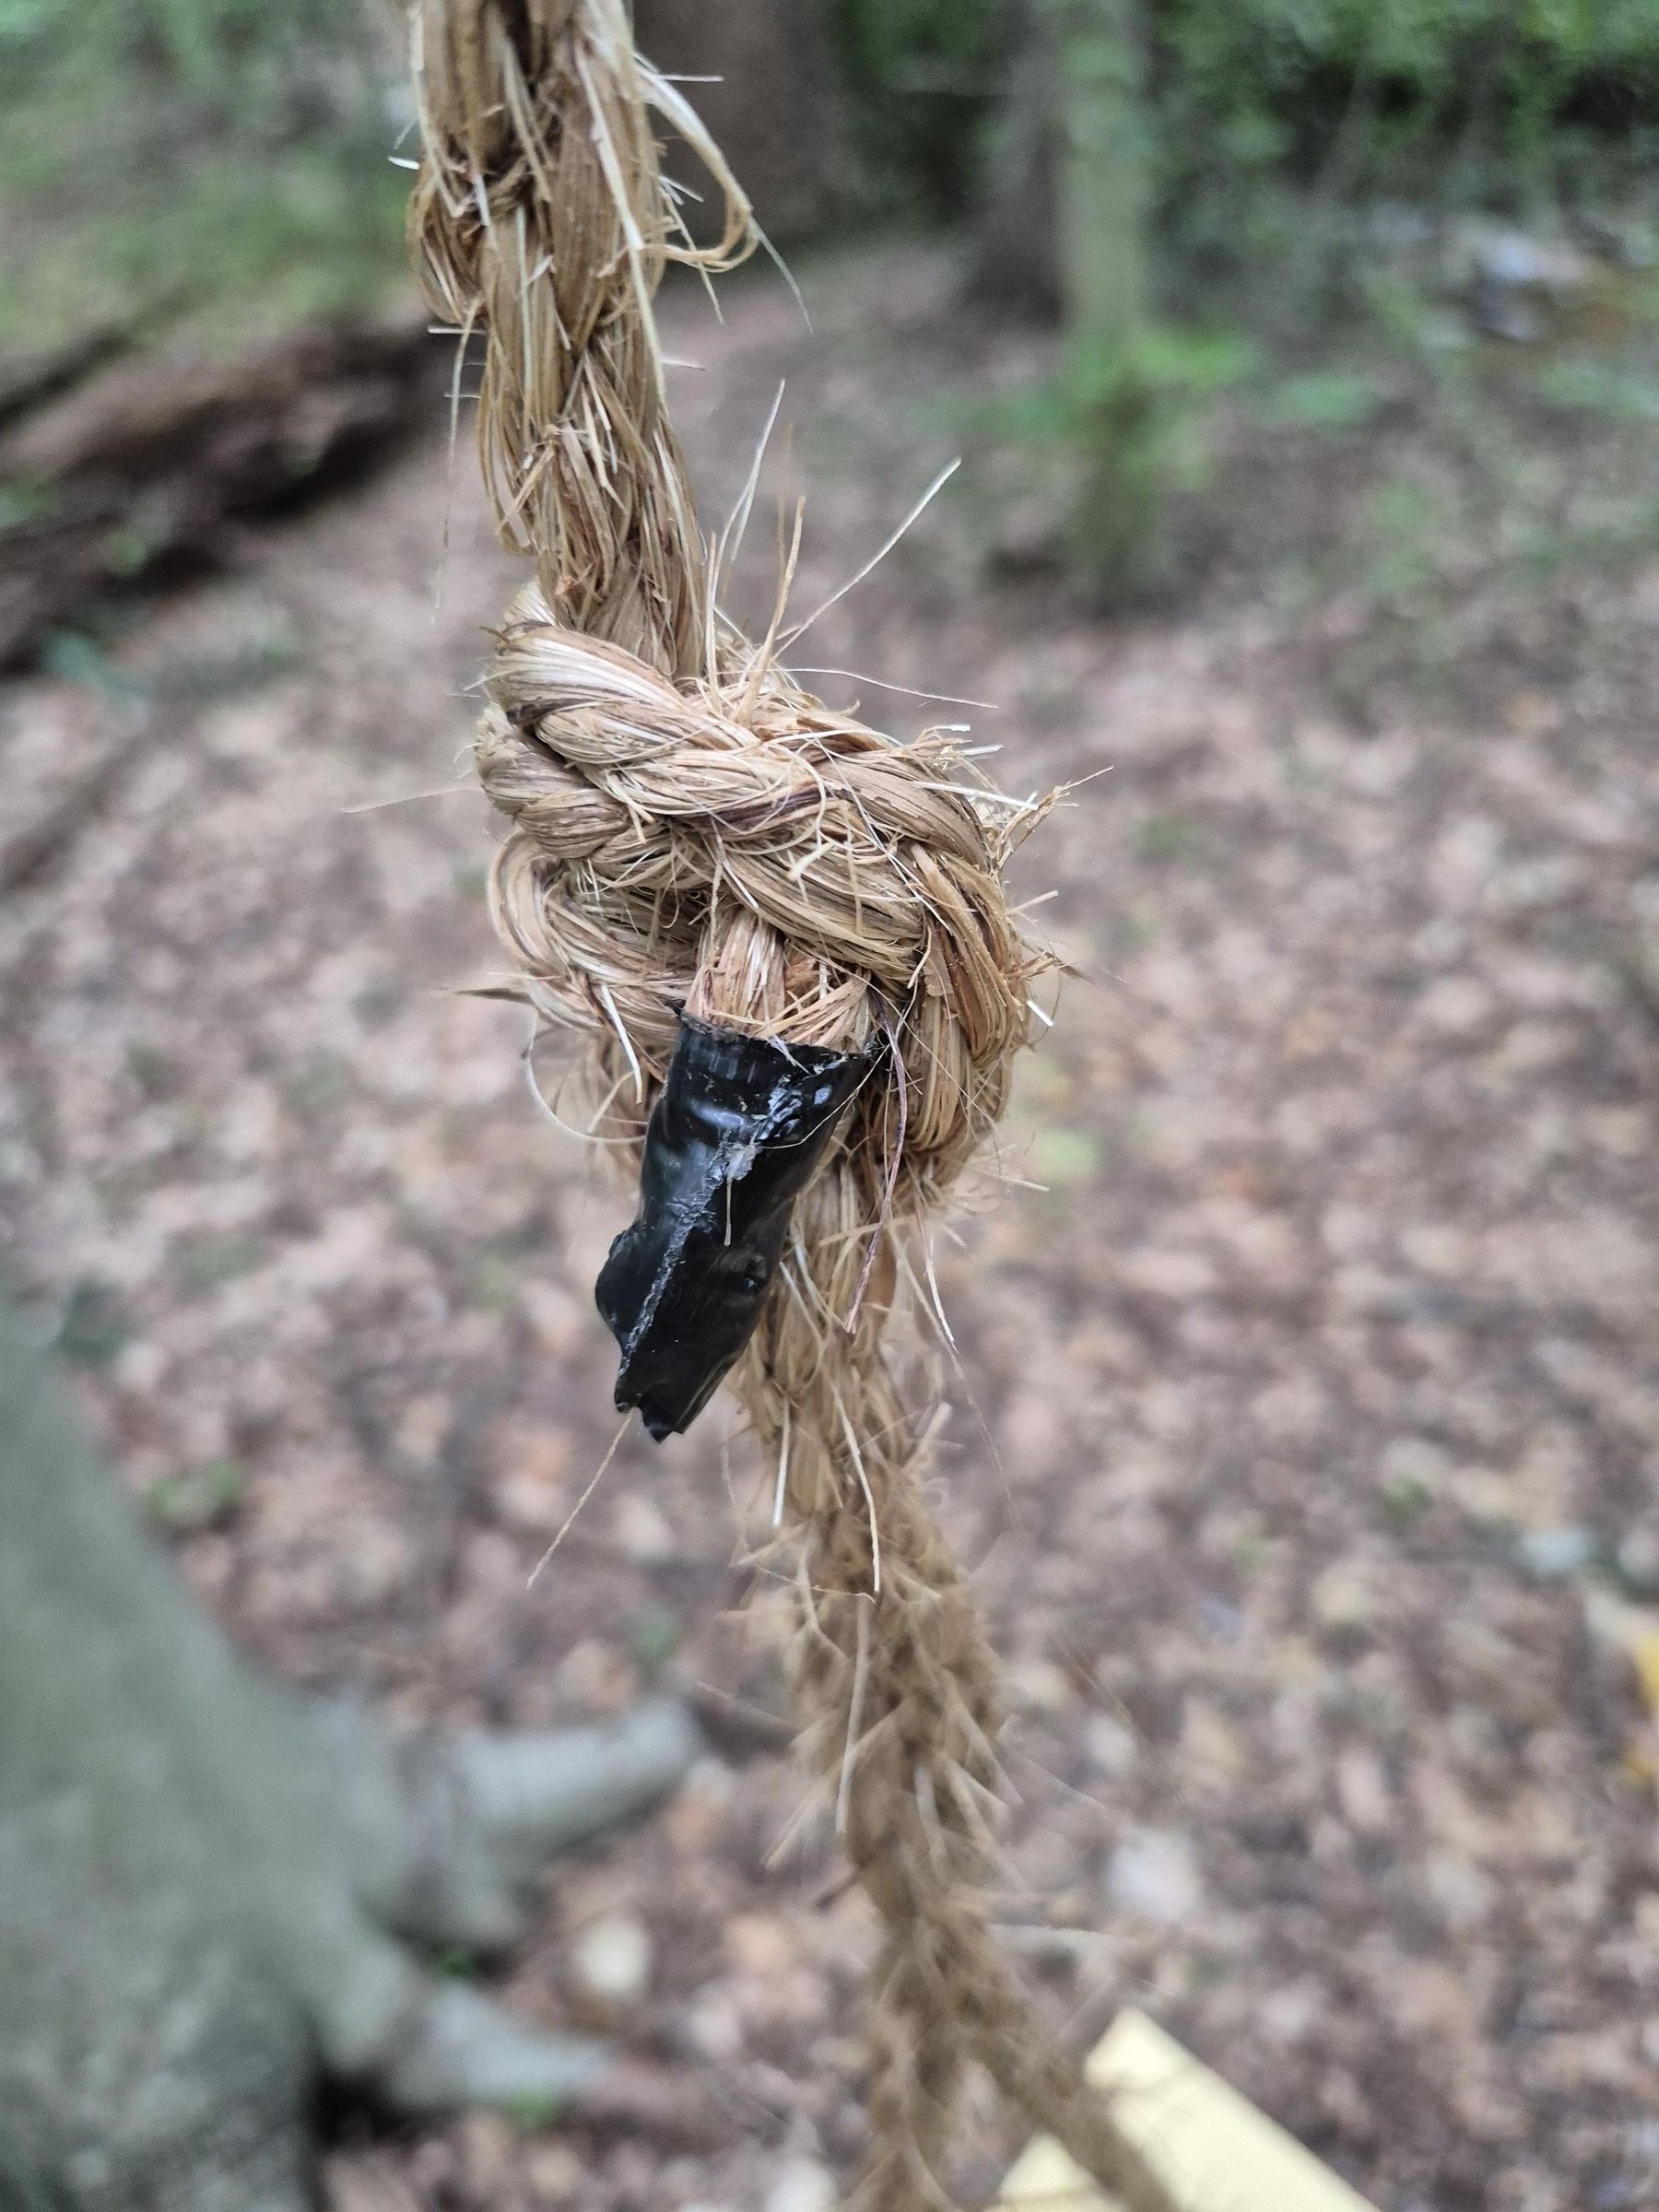
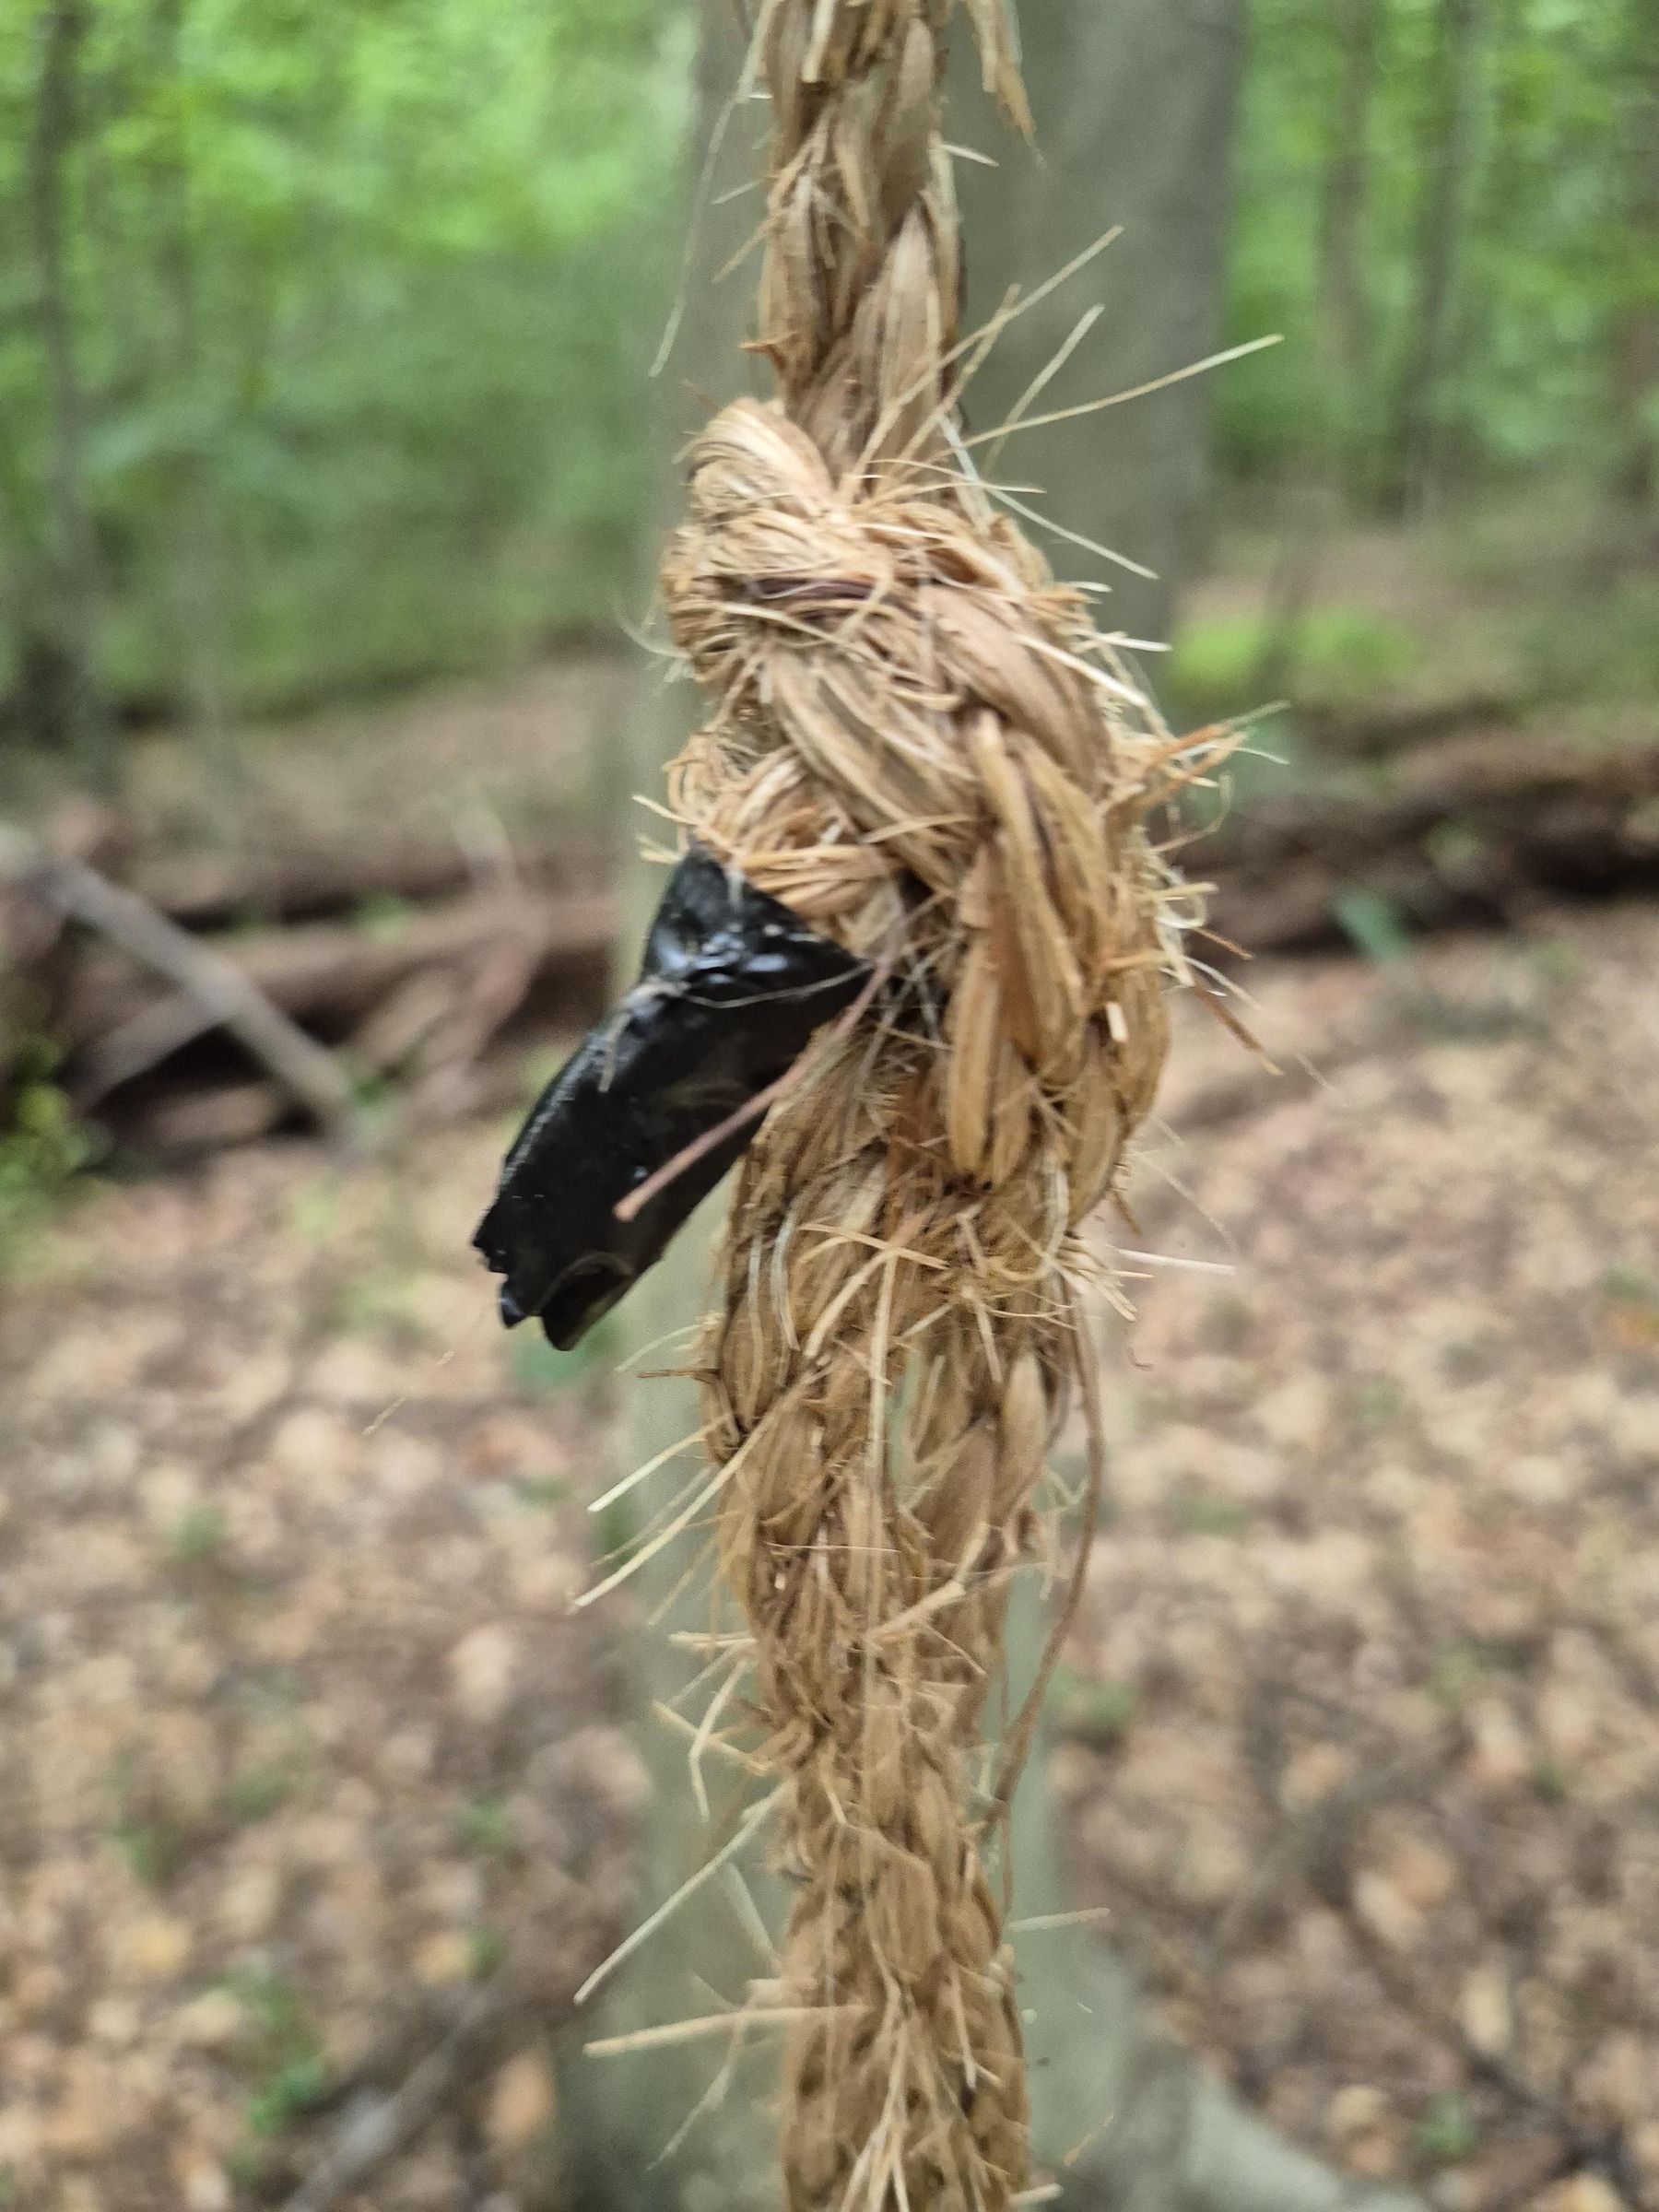
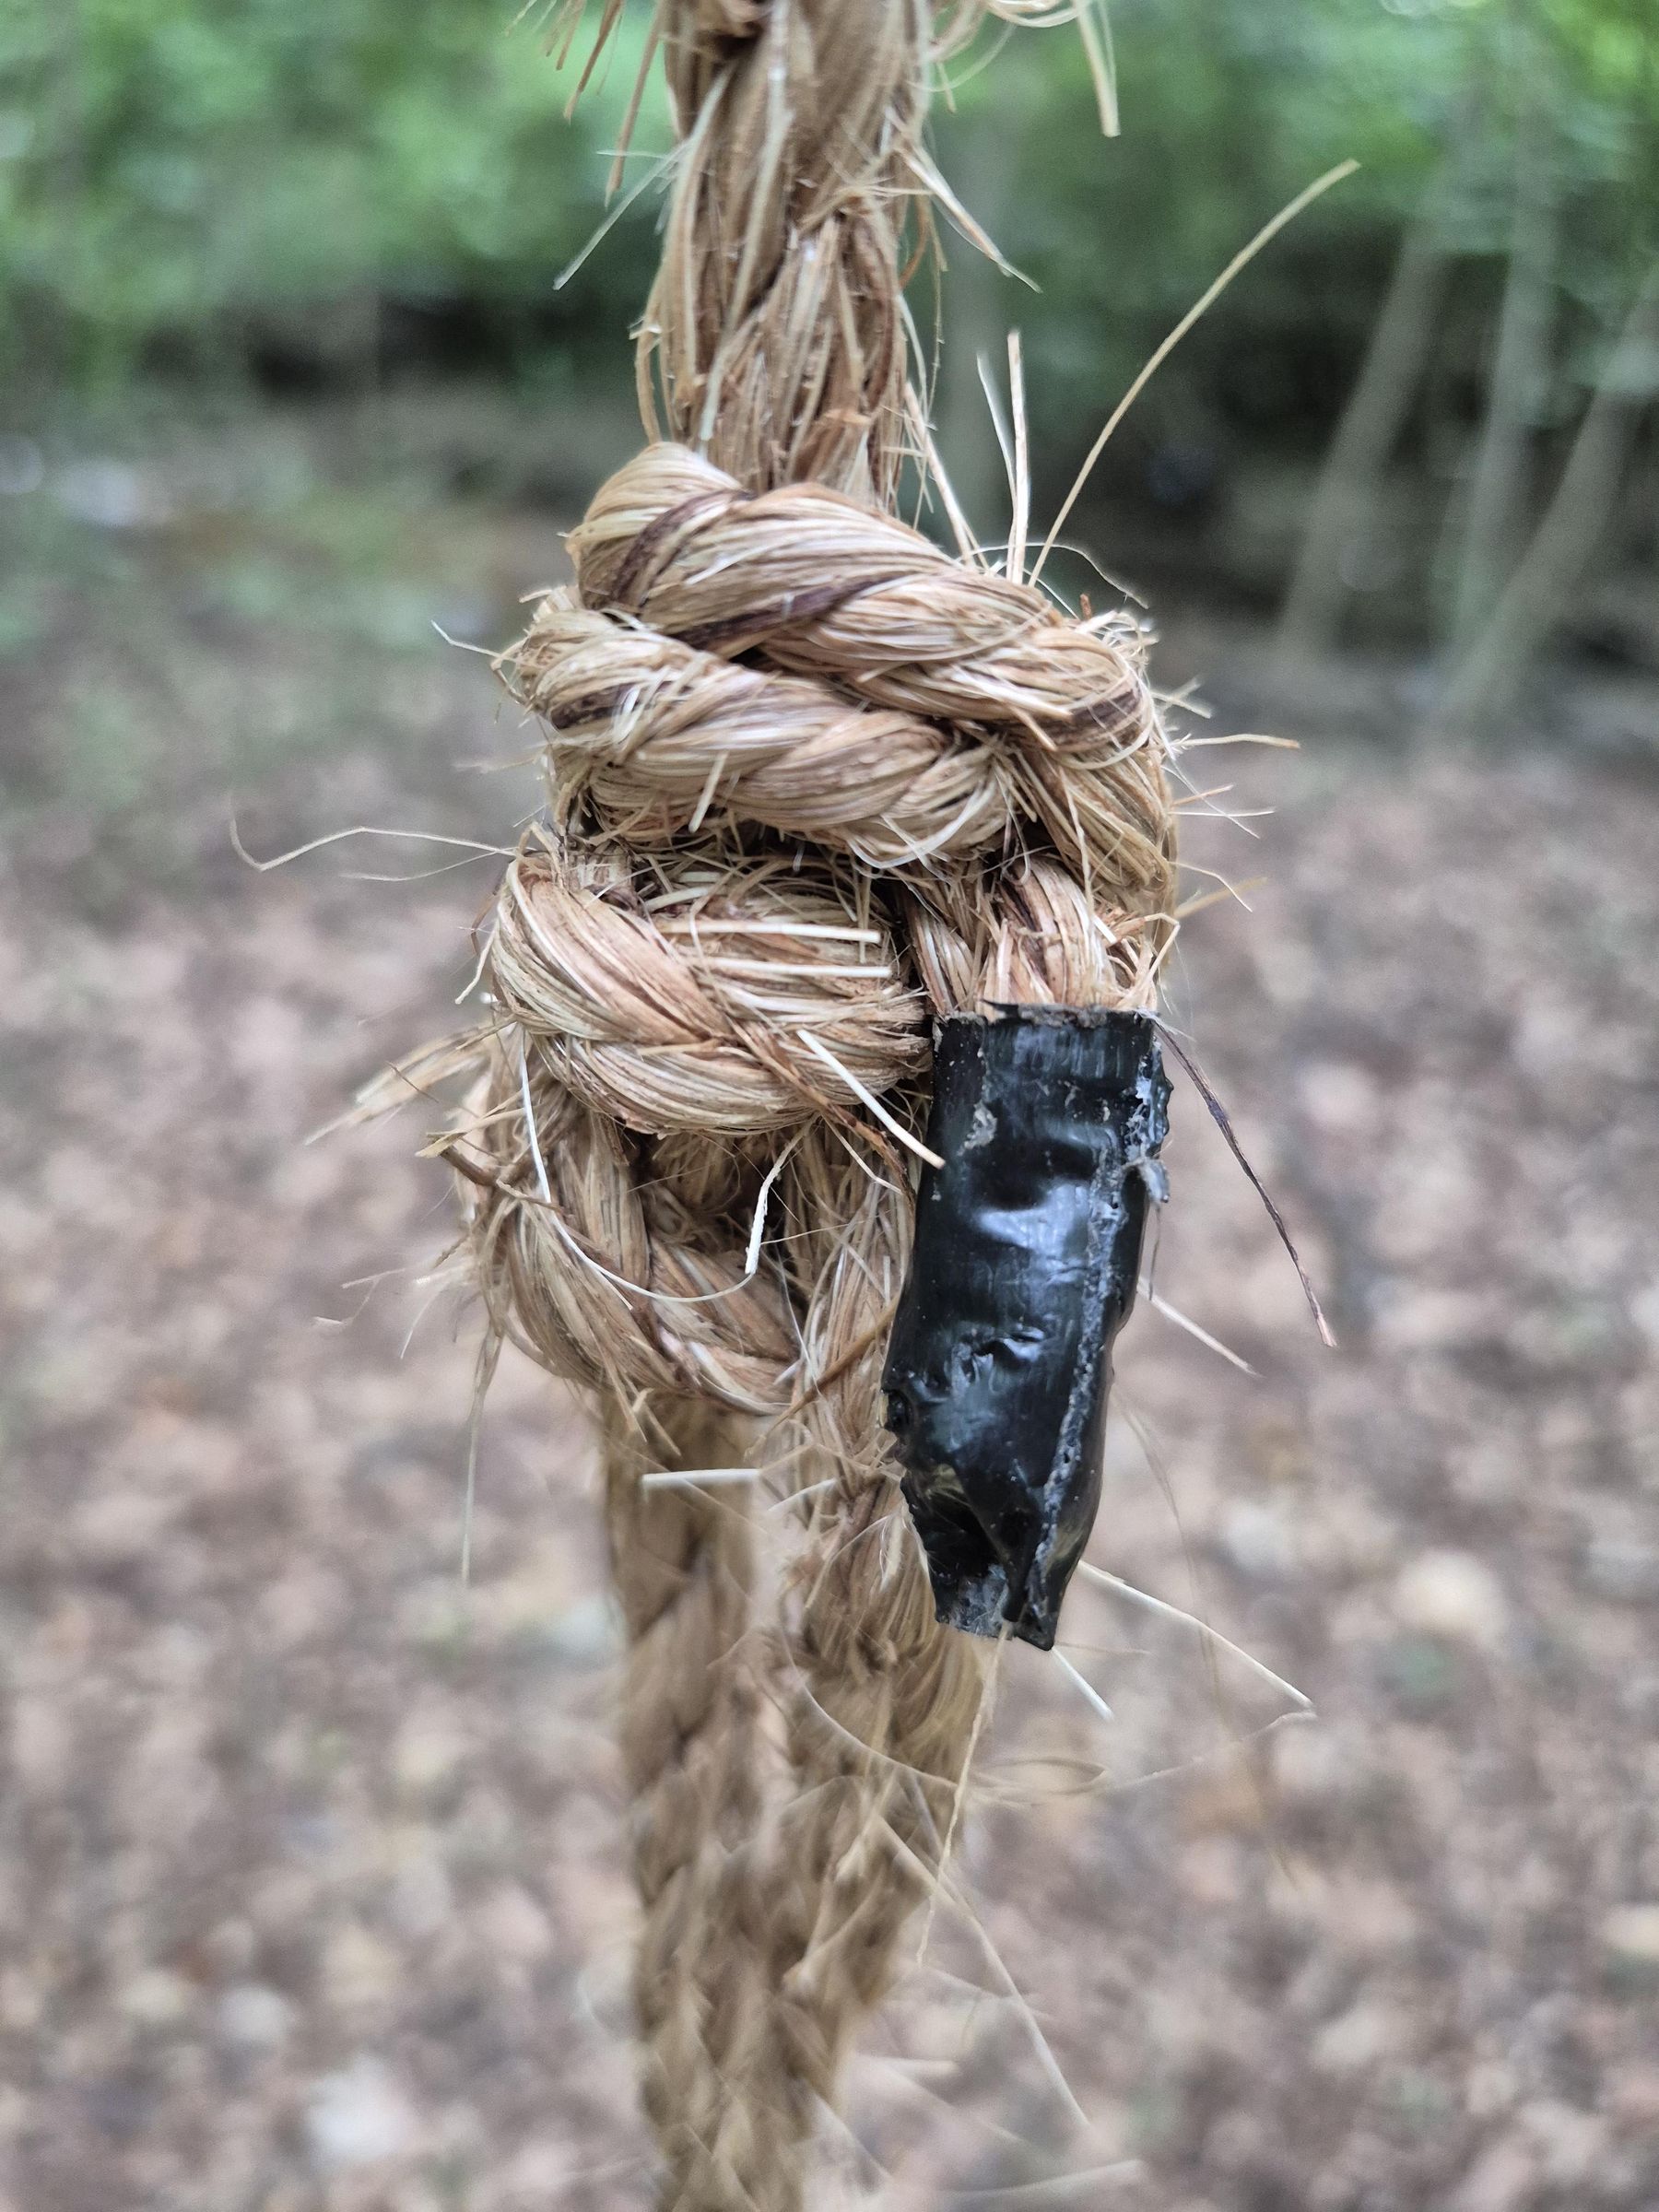
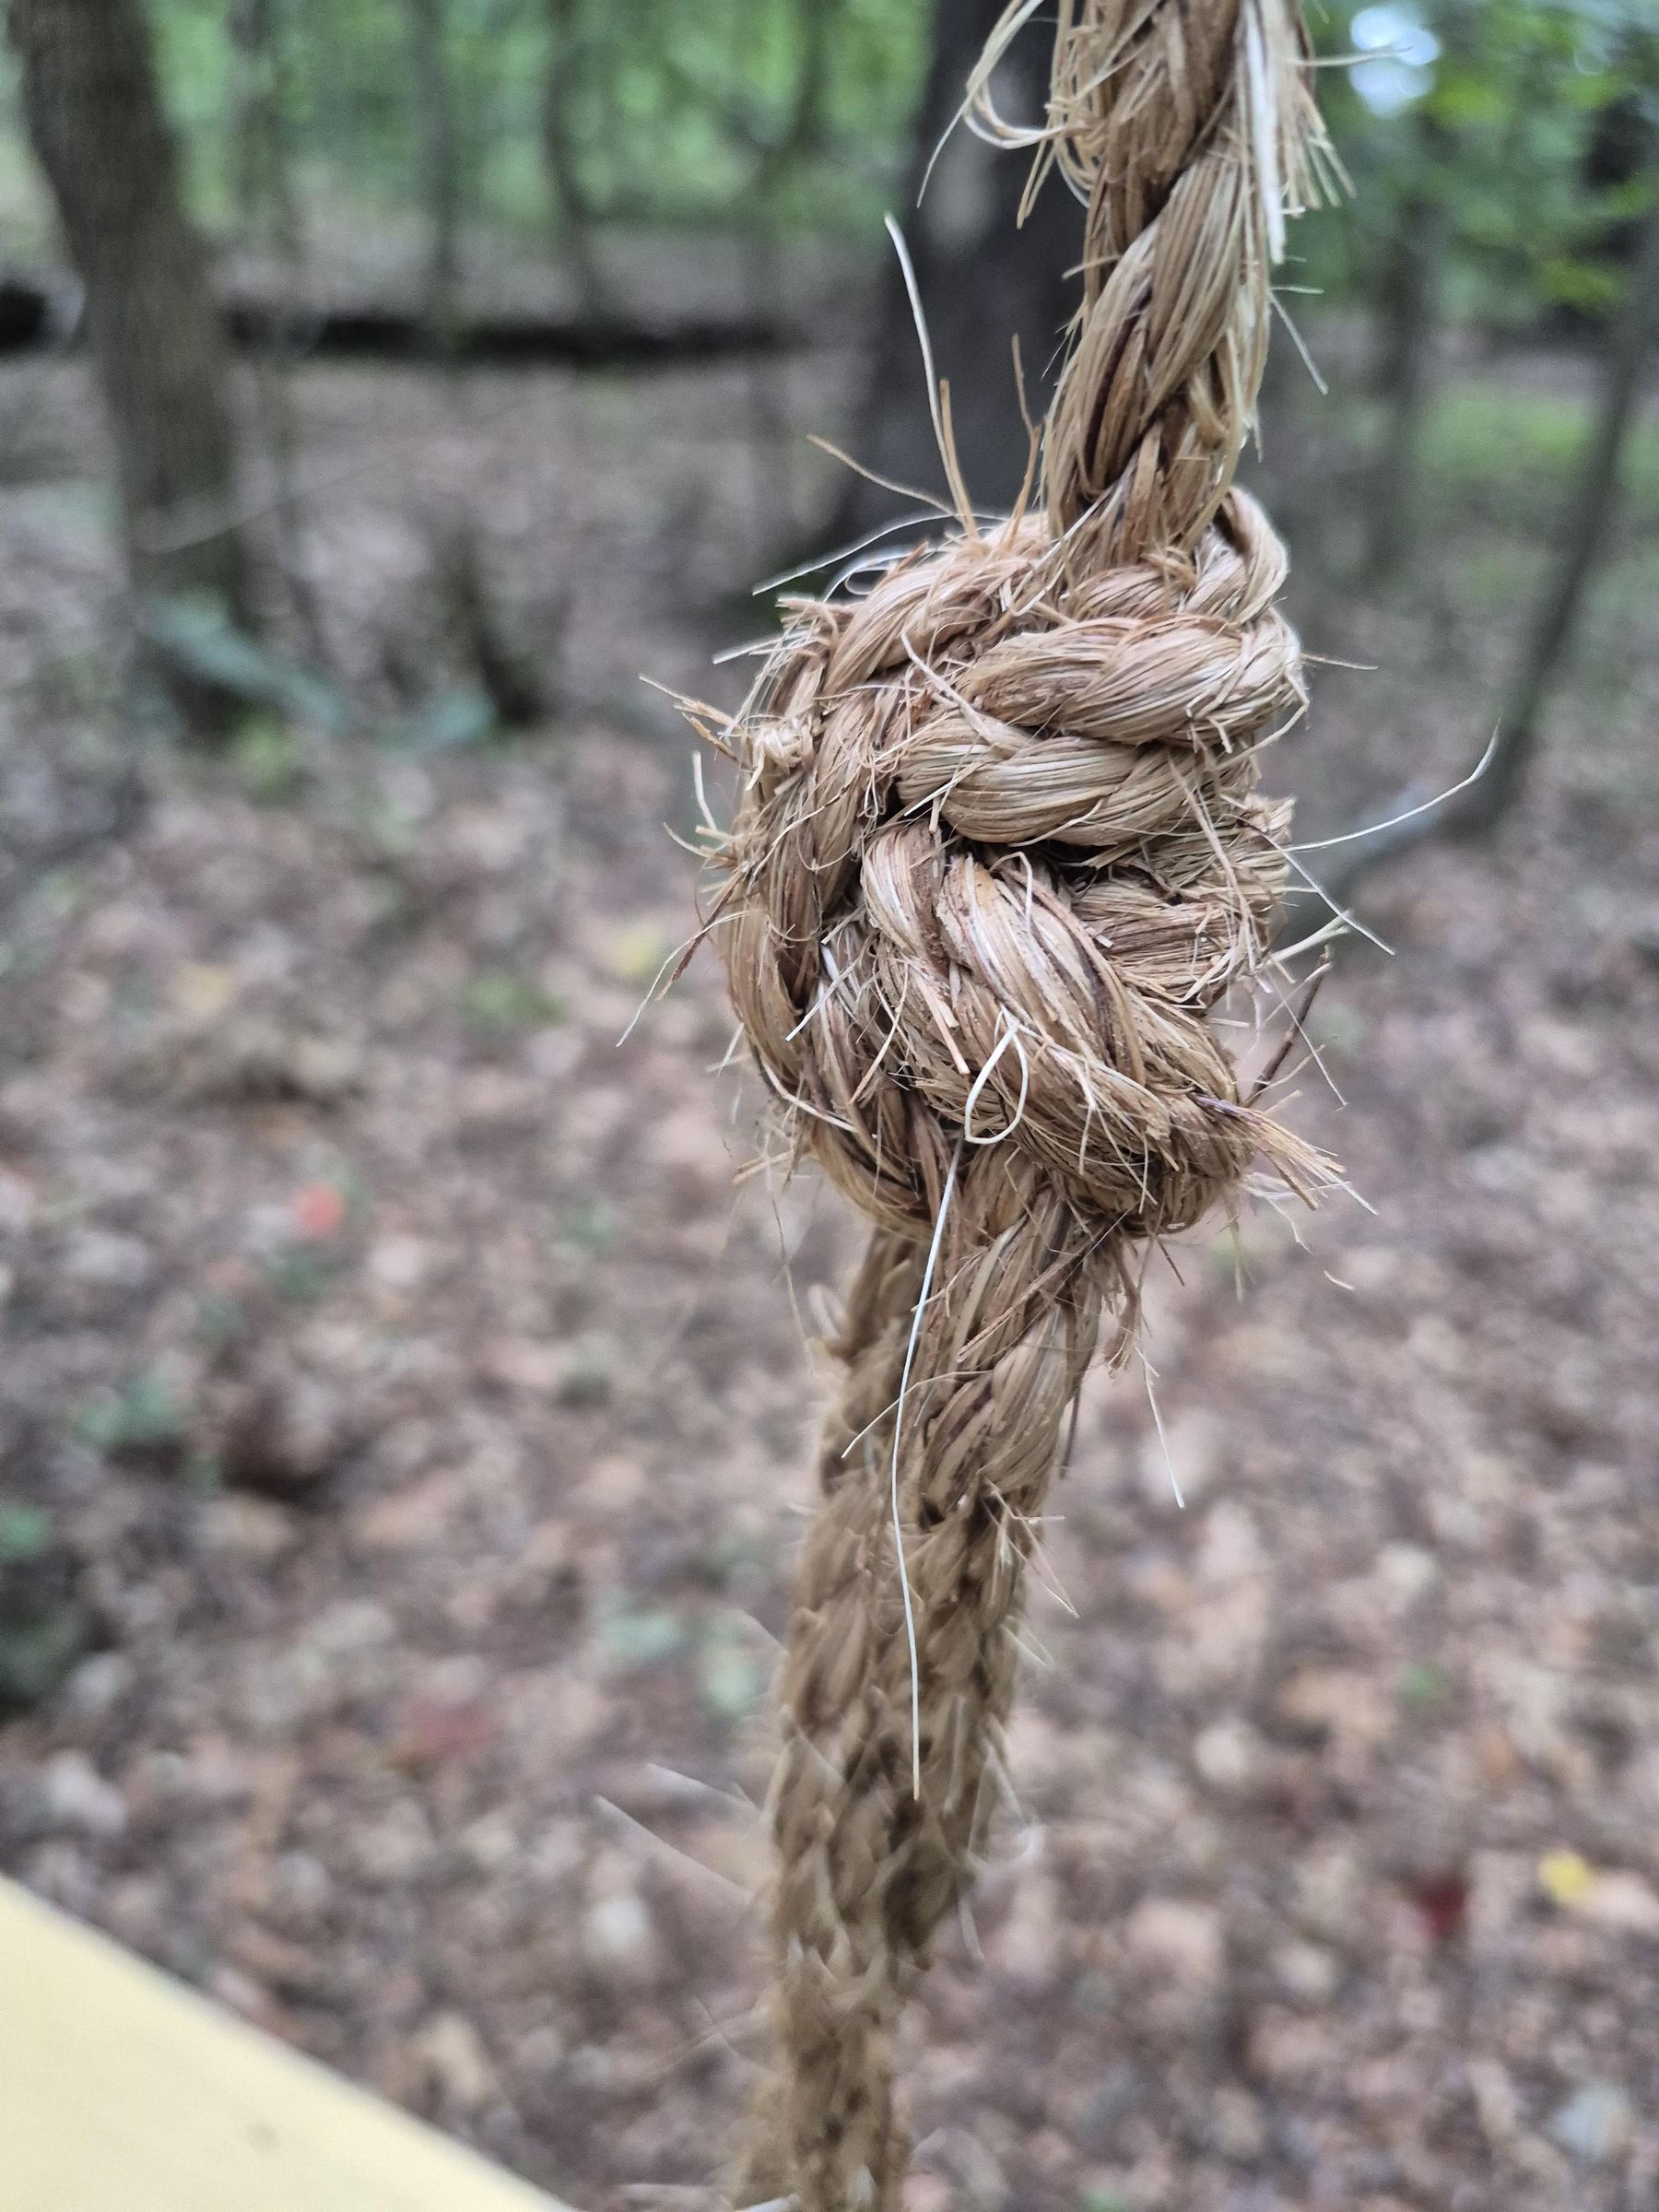
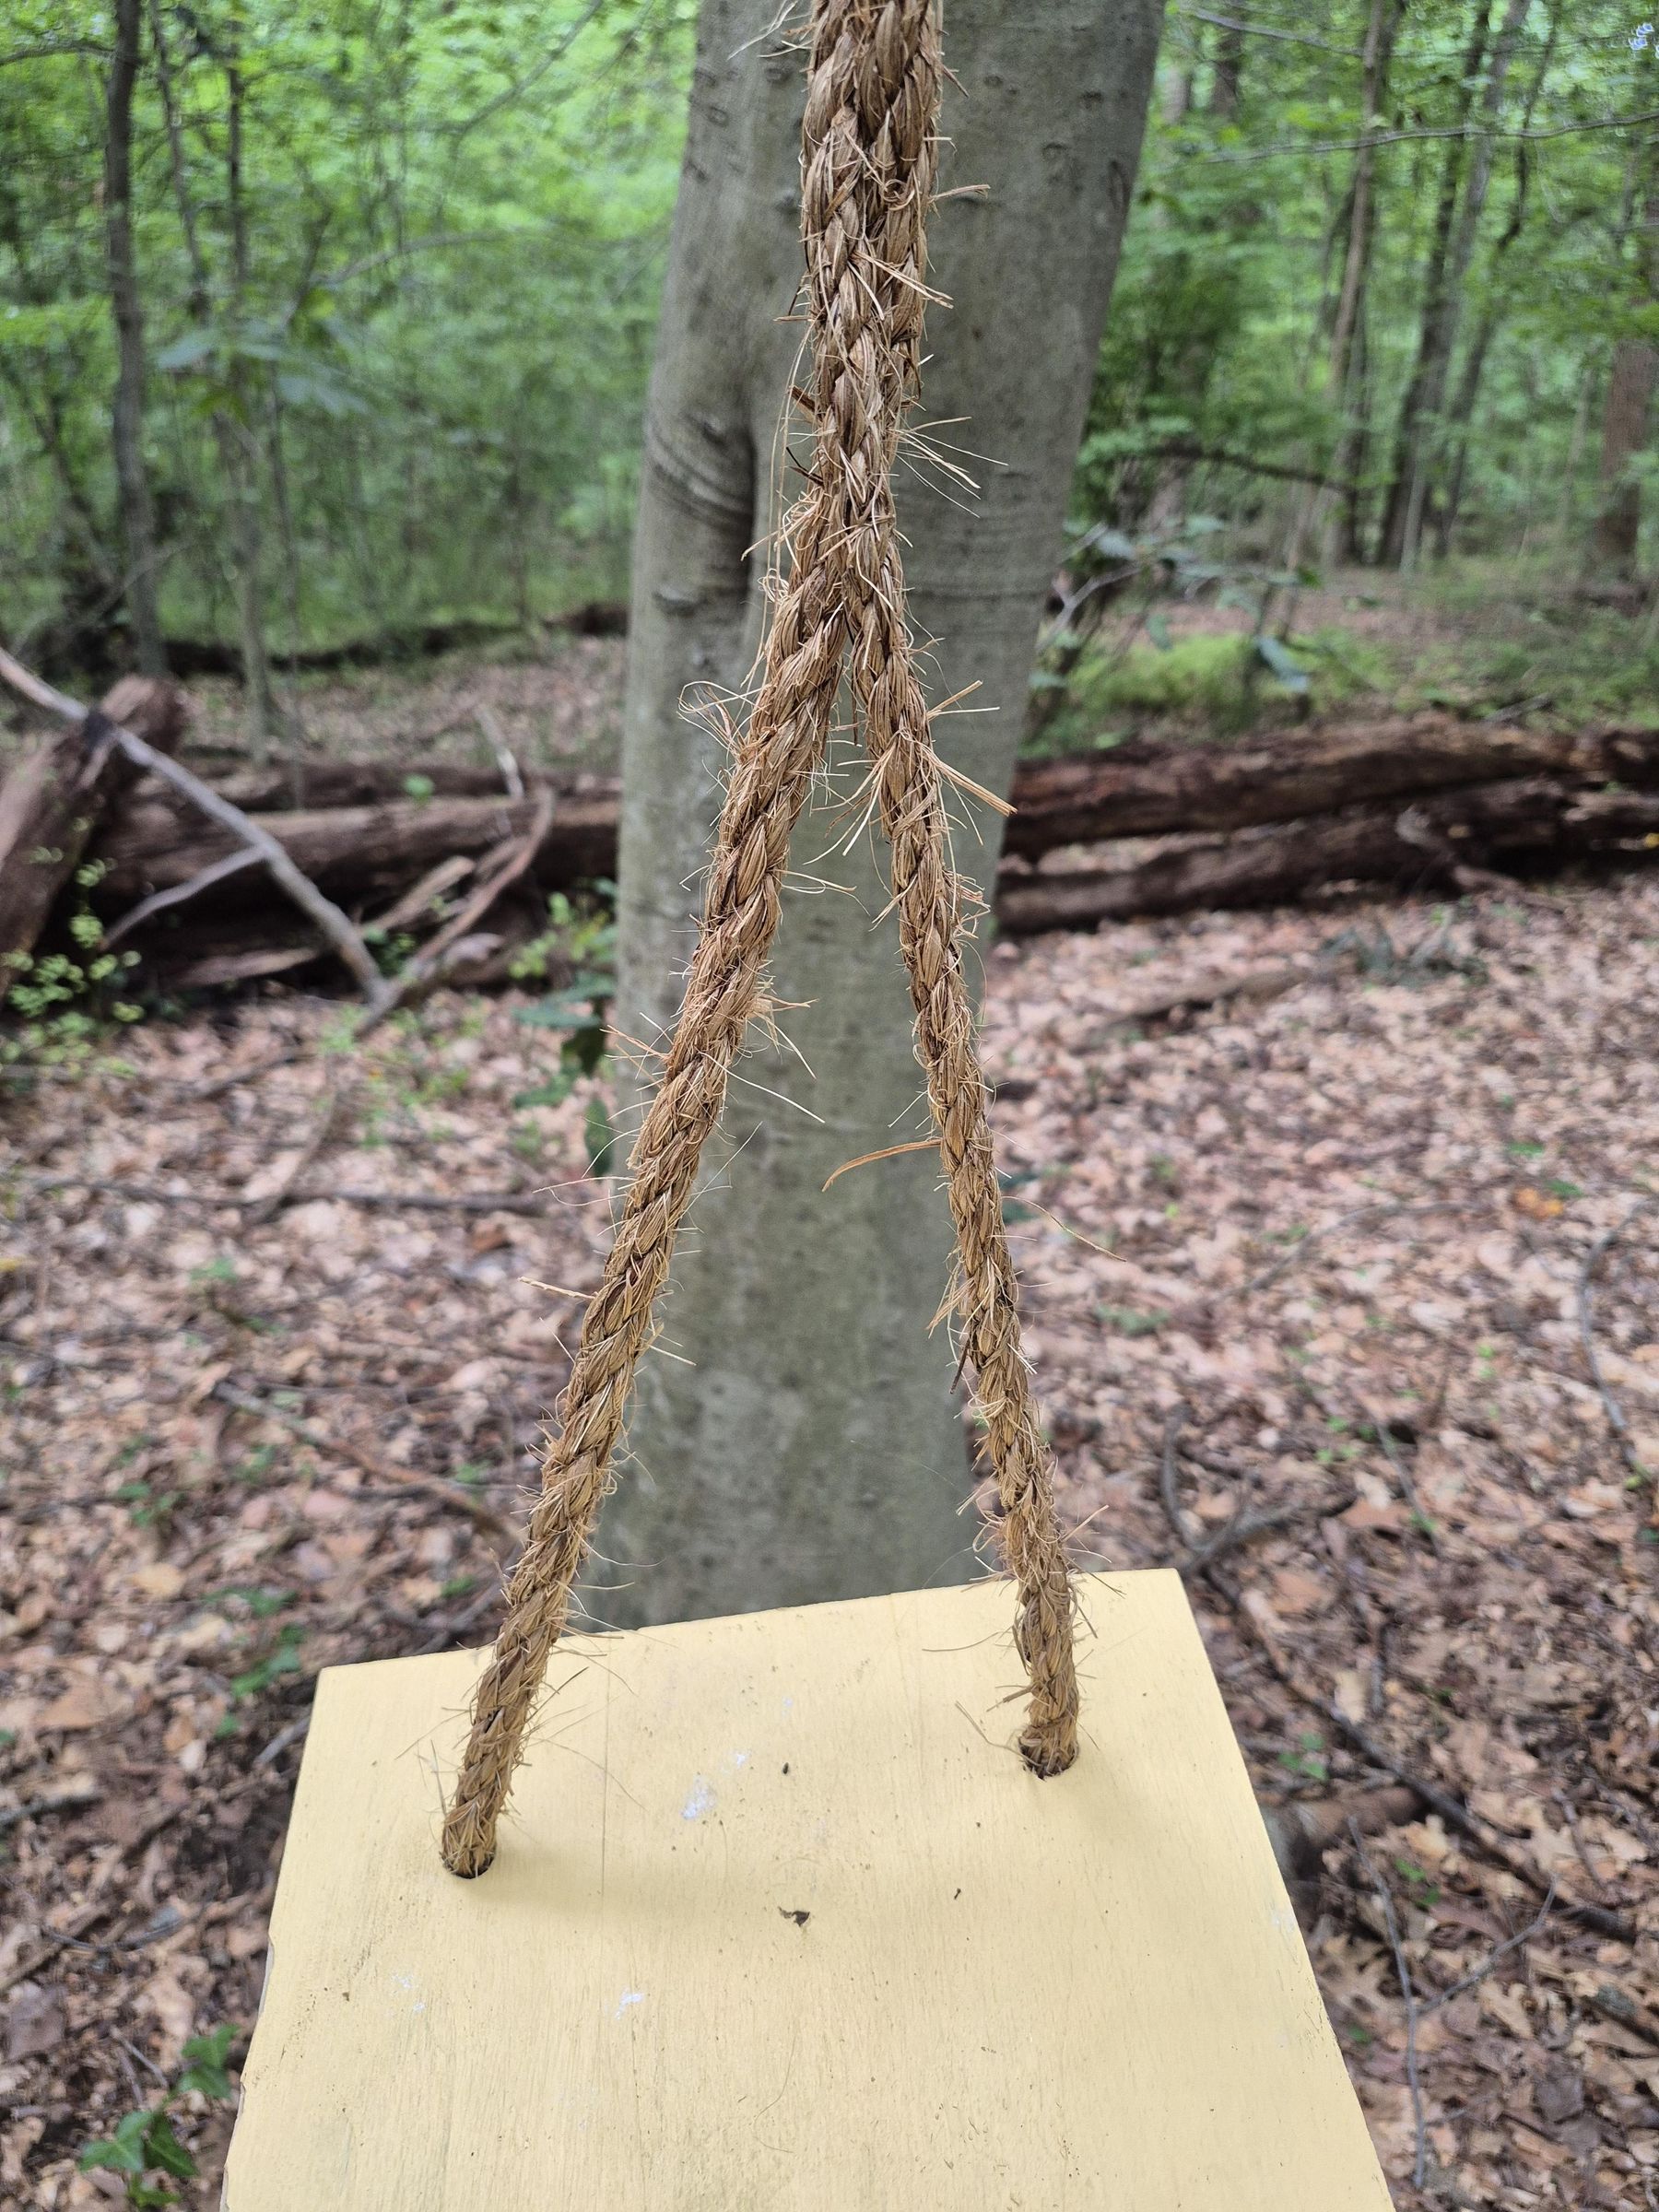
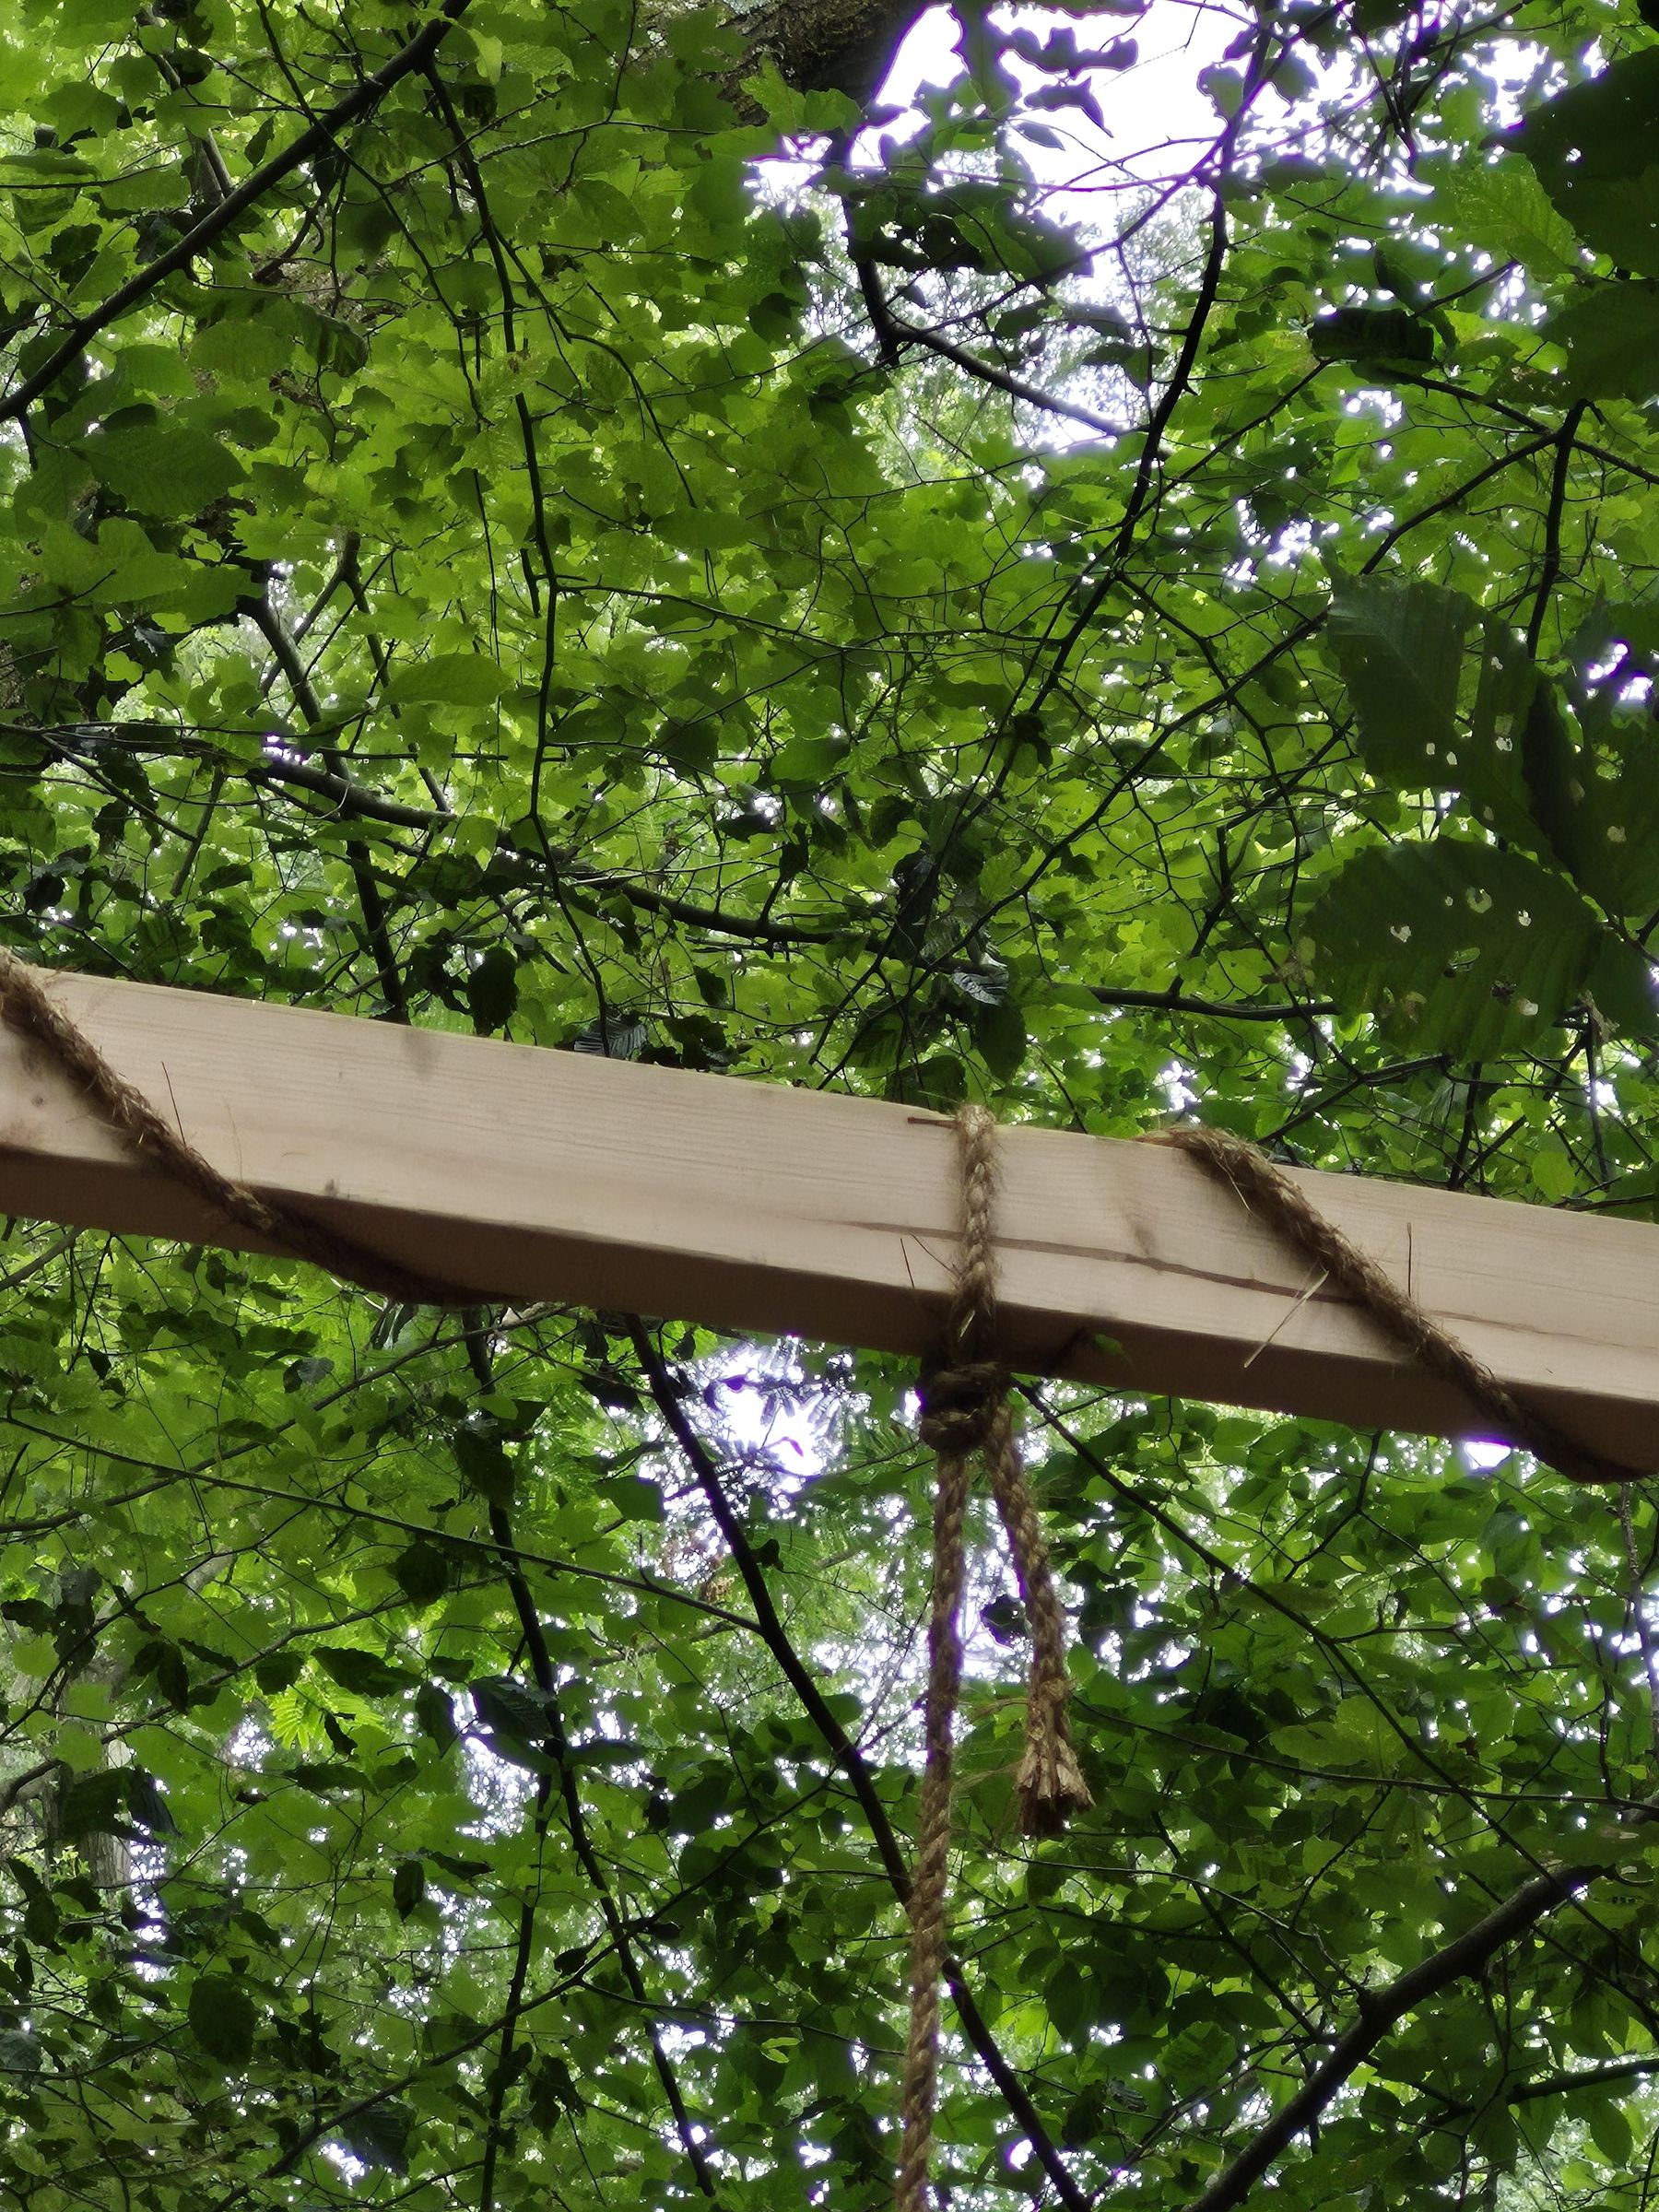
Climb up the ladder and hang the ropes over the beam so that they rest in the sanded grooves.
Tie it in place so that one long end still reaches the ground. I
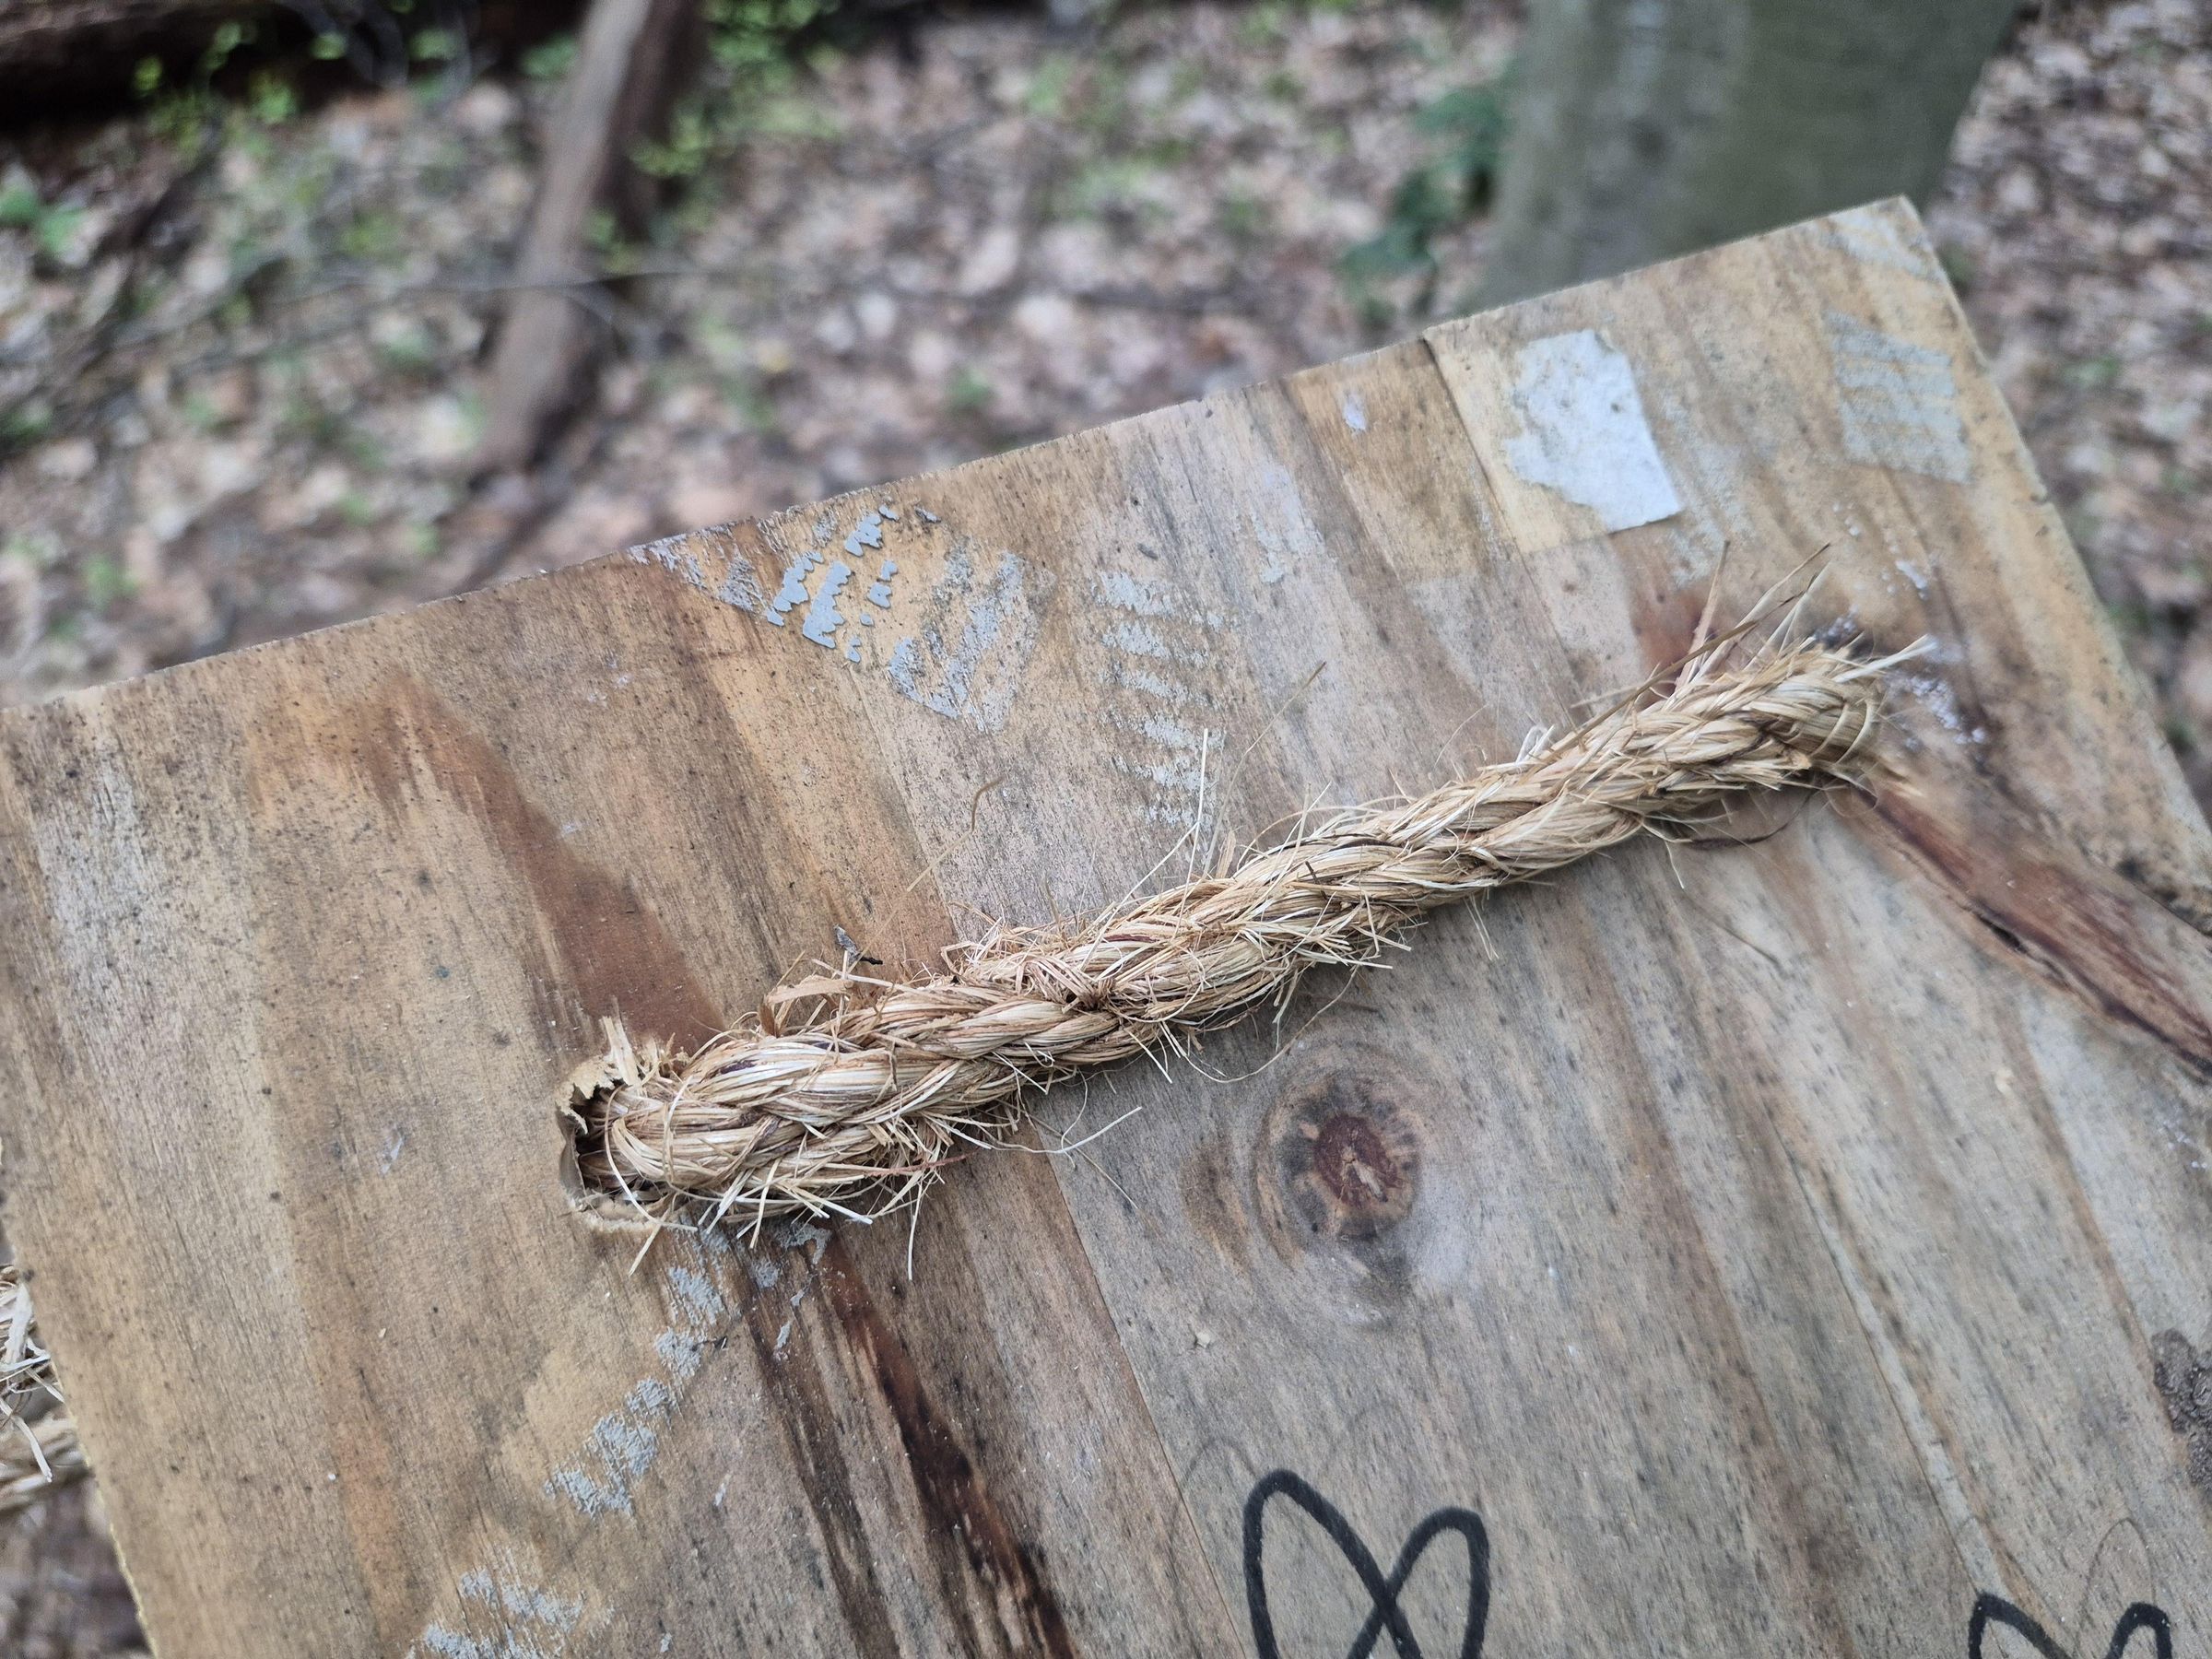
Thread the hanging end of the rope through 1 pair of holes on the swing seat so that the rope goes under the swing seat. Tie the rope about 6 inches above the seat so that the rope forms a triangle. Repeat for the other side of the swing seat and the other beam groove. Here is a link to a video where I show you how to tie these knots: https://youtu.be/XumOi2_0Hss
To all those scouts out there, I apologize for calling it a rabbit ear knot. I think it's more like half hitch knot, but of I'm still wrong, please correct me in the comments.
You may also wrap duct tape around the rope to make hand holds if the rope is coarse, though I did not do this for my swing.
Reinforce Beam (optional)
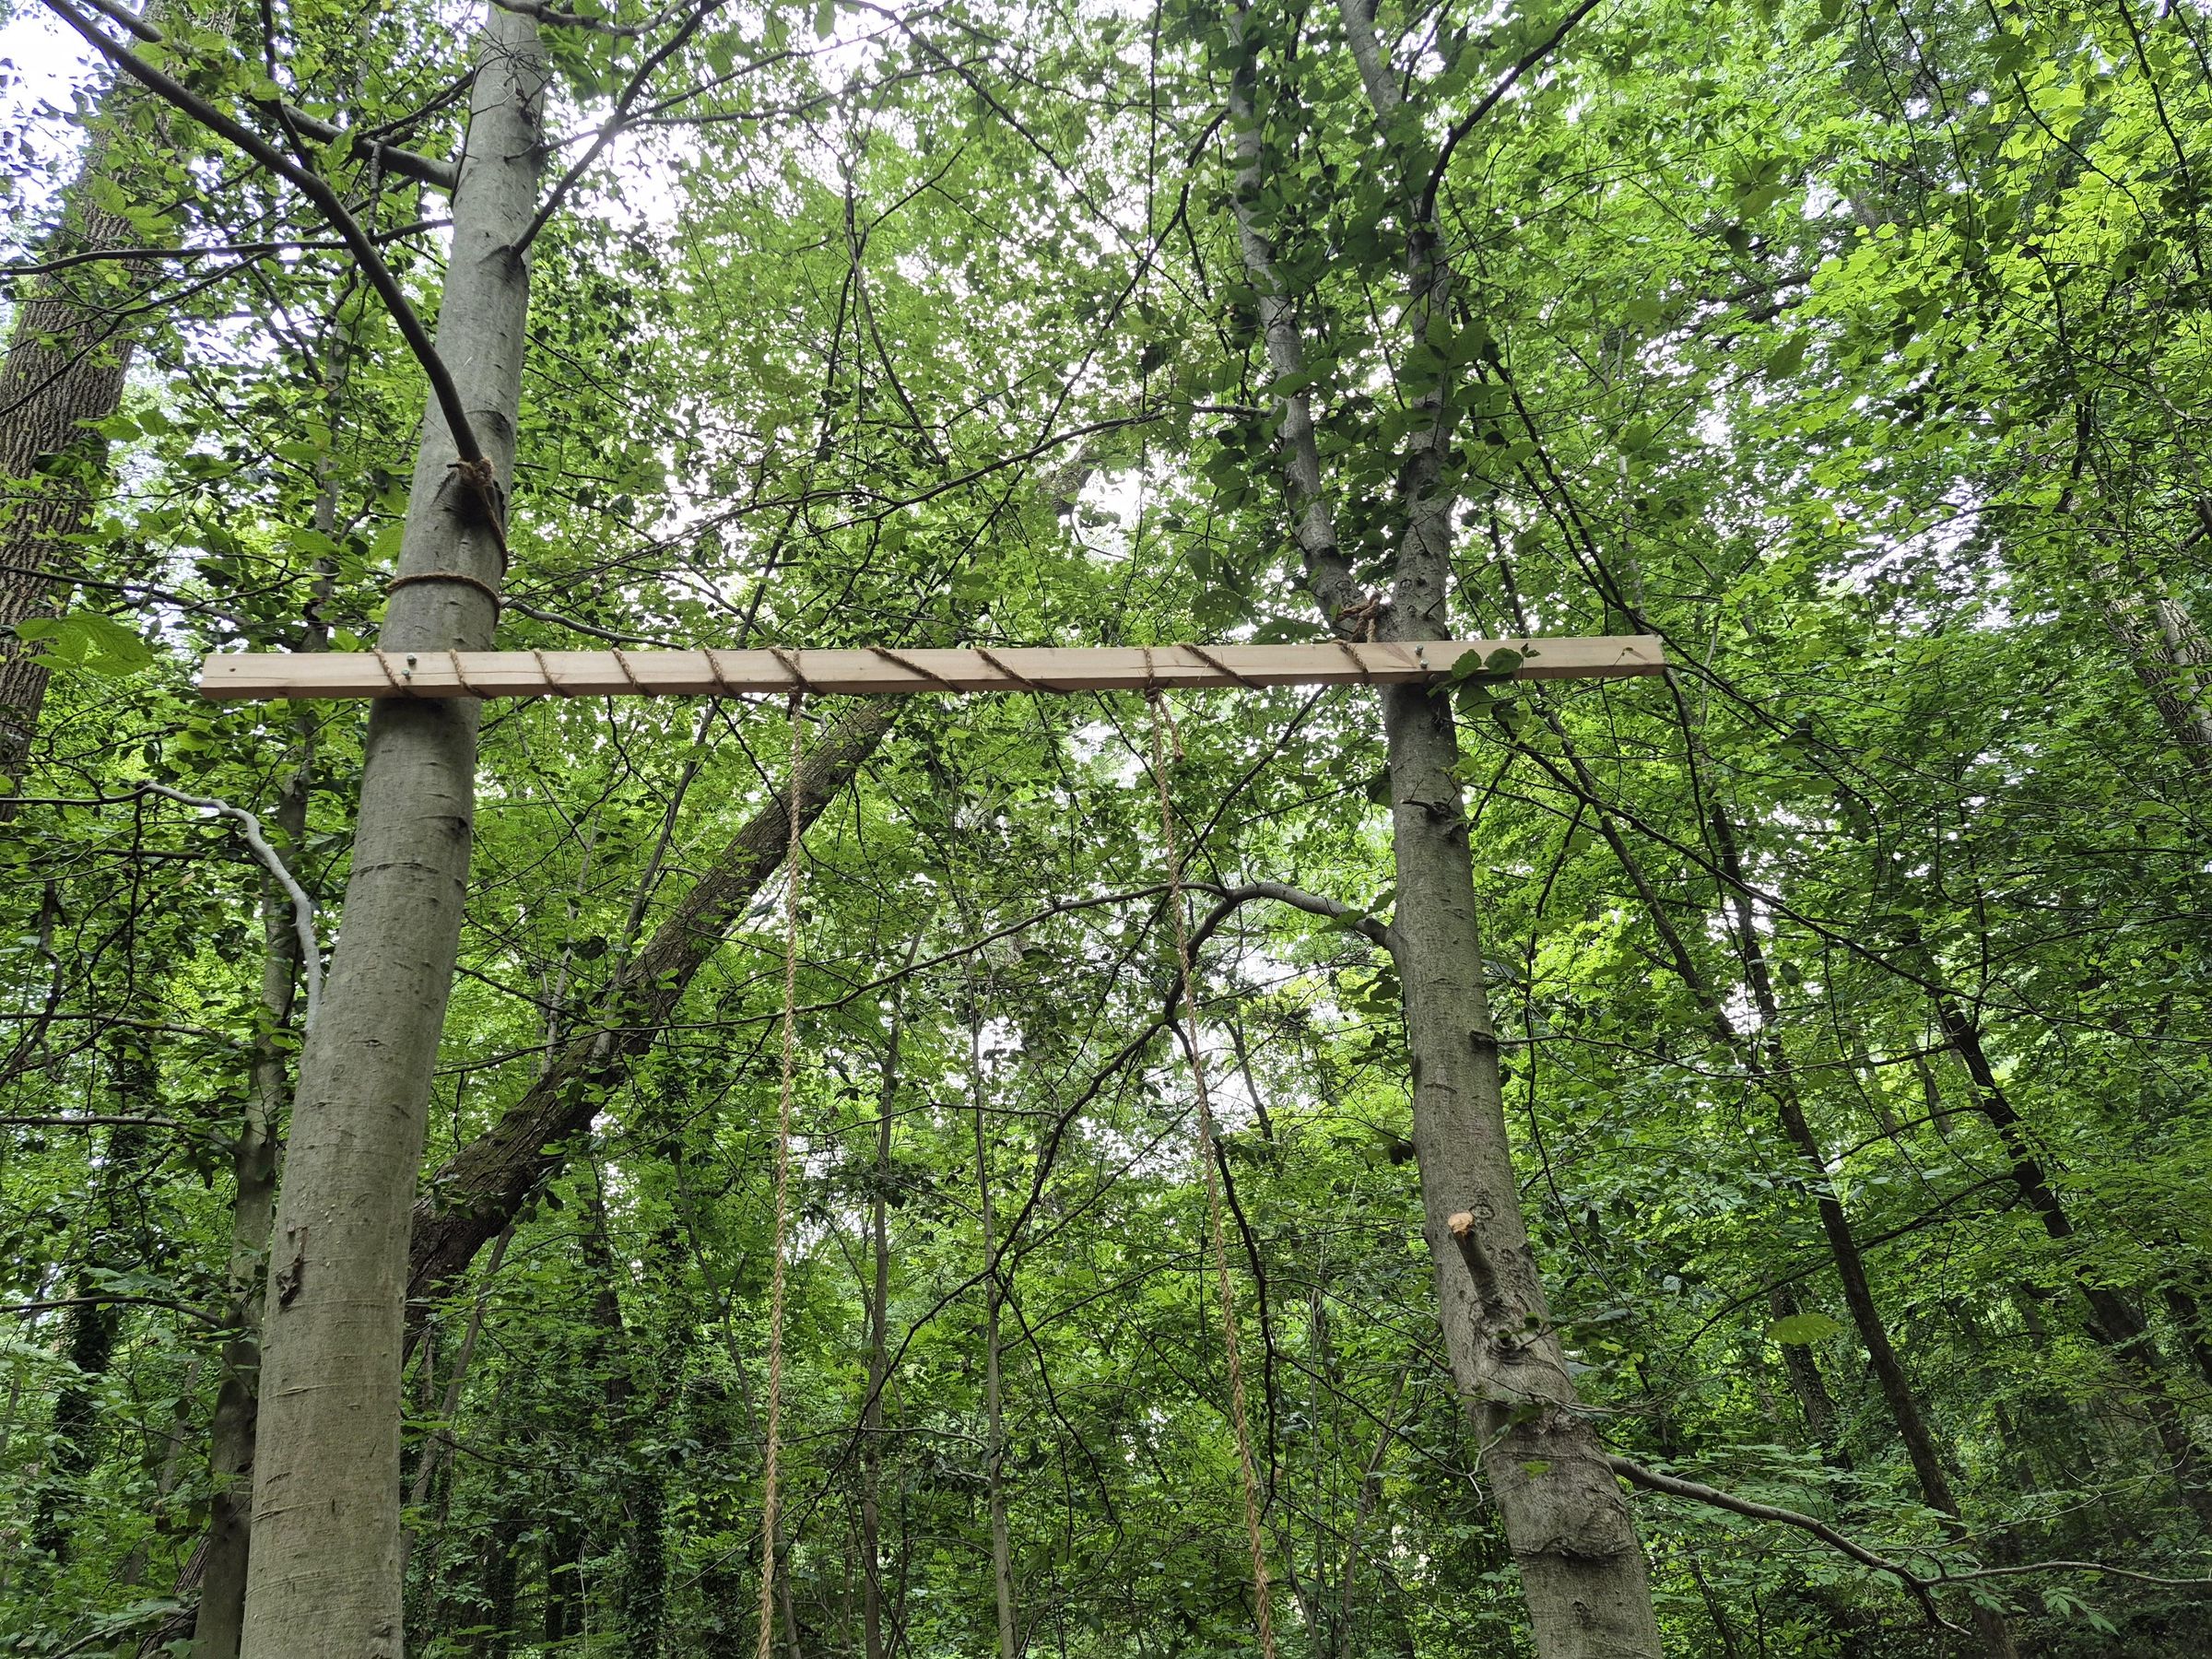
If you have left over rope and are paranoid about your beam splitting, then use your leftover rope to further secure the beam to the tree. I did this by tying one end of the rope to a branch or around the trunk near the beam, then wrapping it around the beam until the loose end reached the other tree where I again tied it to a branch. This may not do much to keep your beam from breaking, but it could make it less likely to cause injury.
Have Fun!
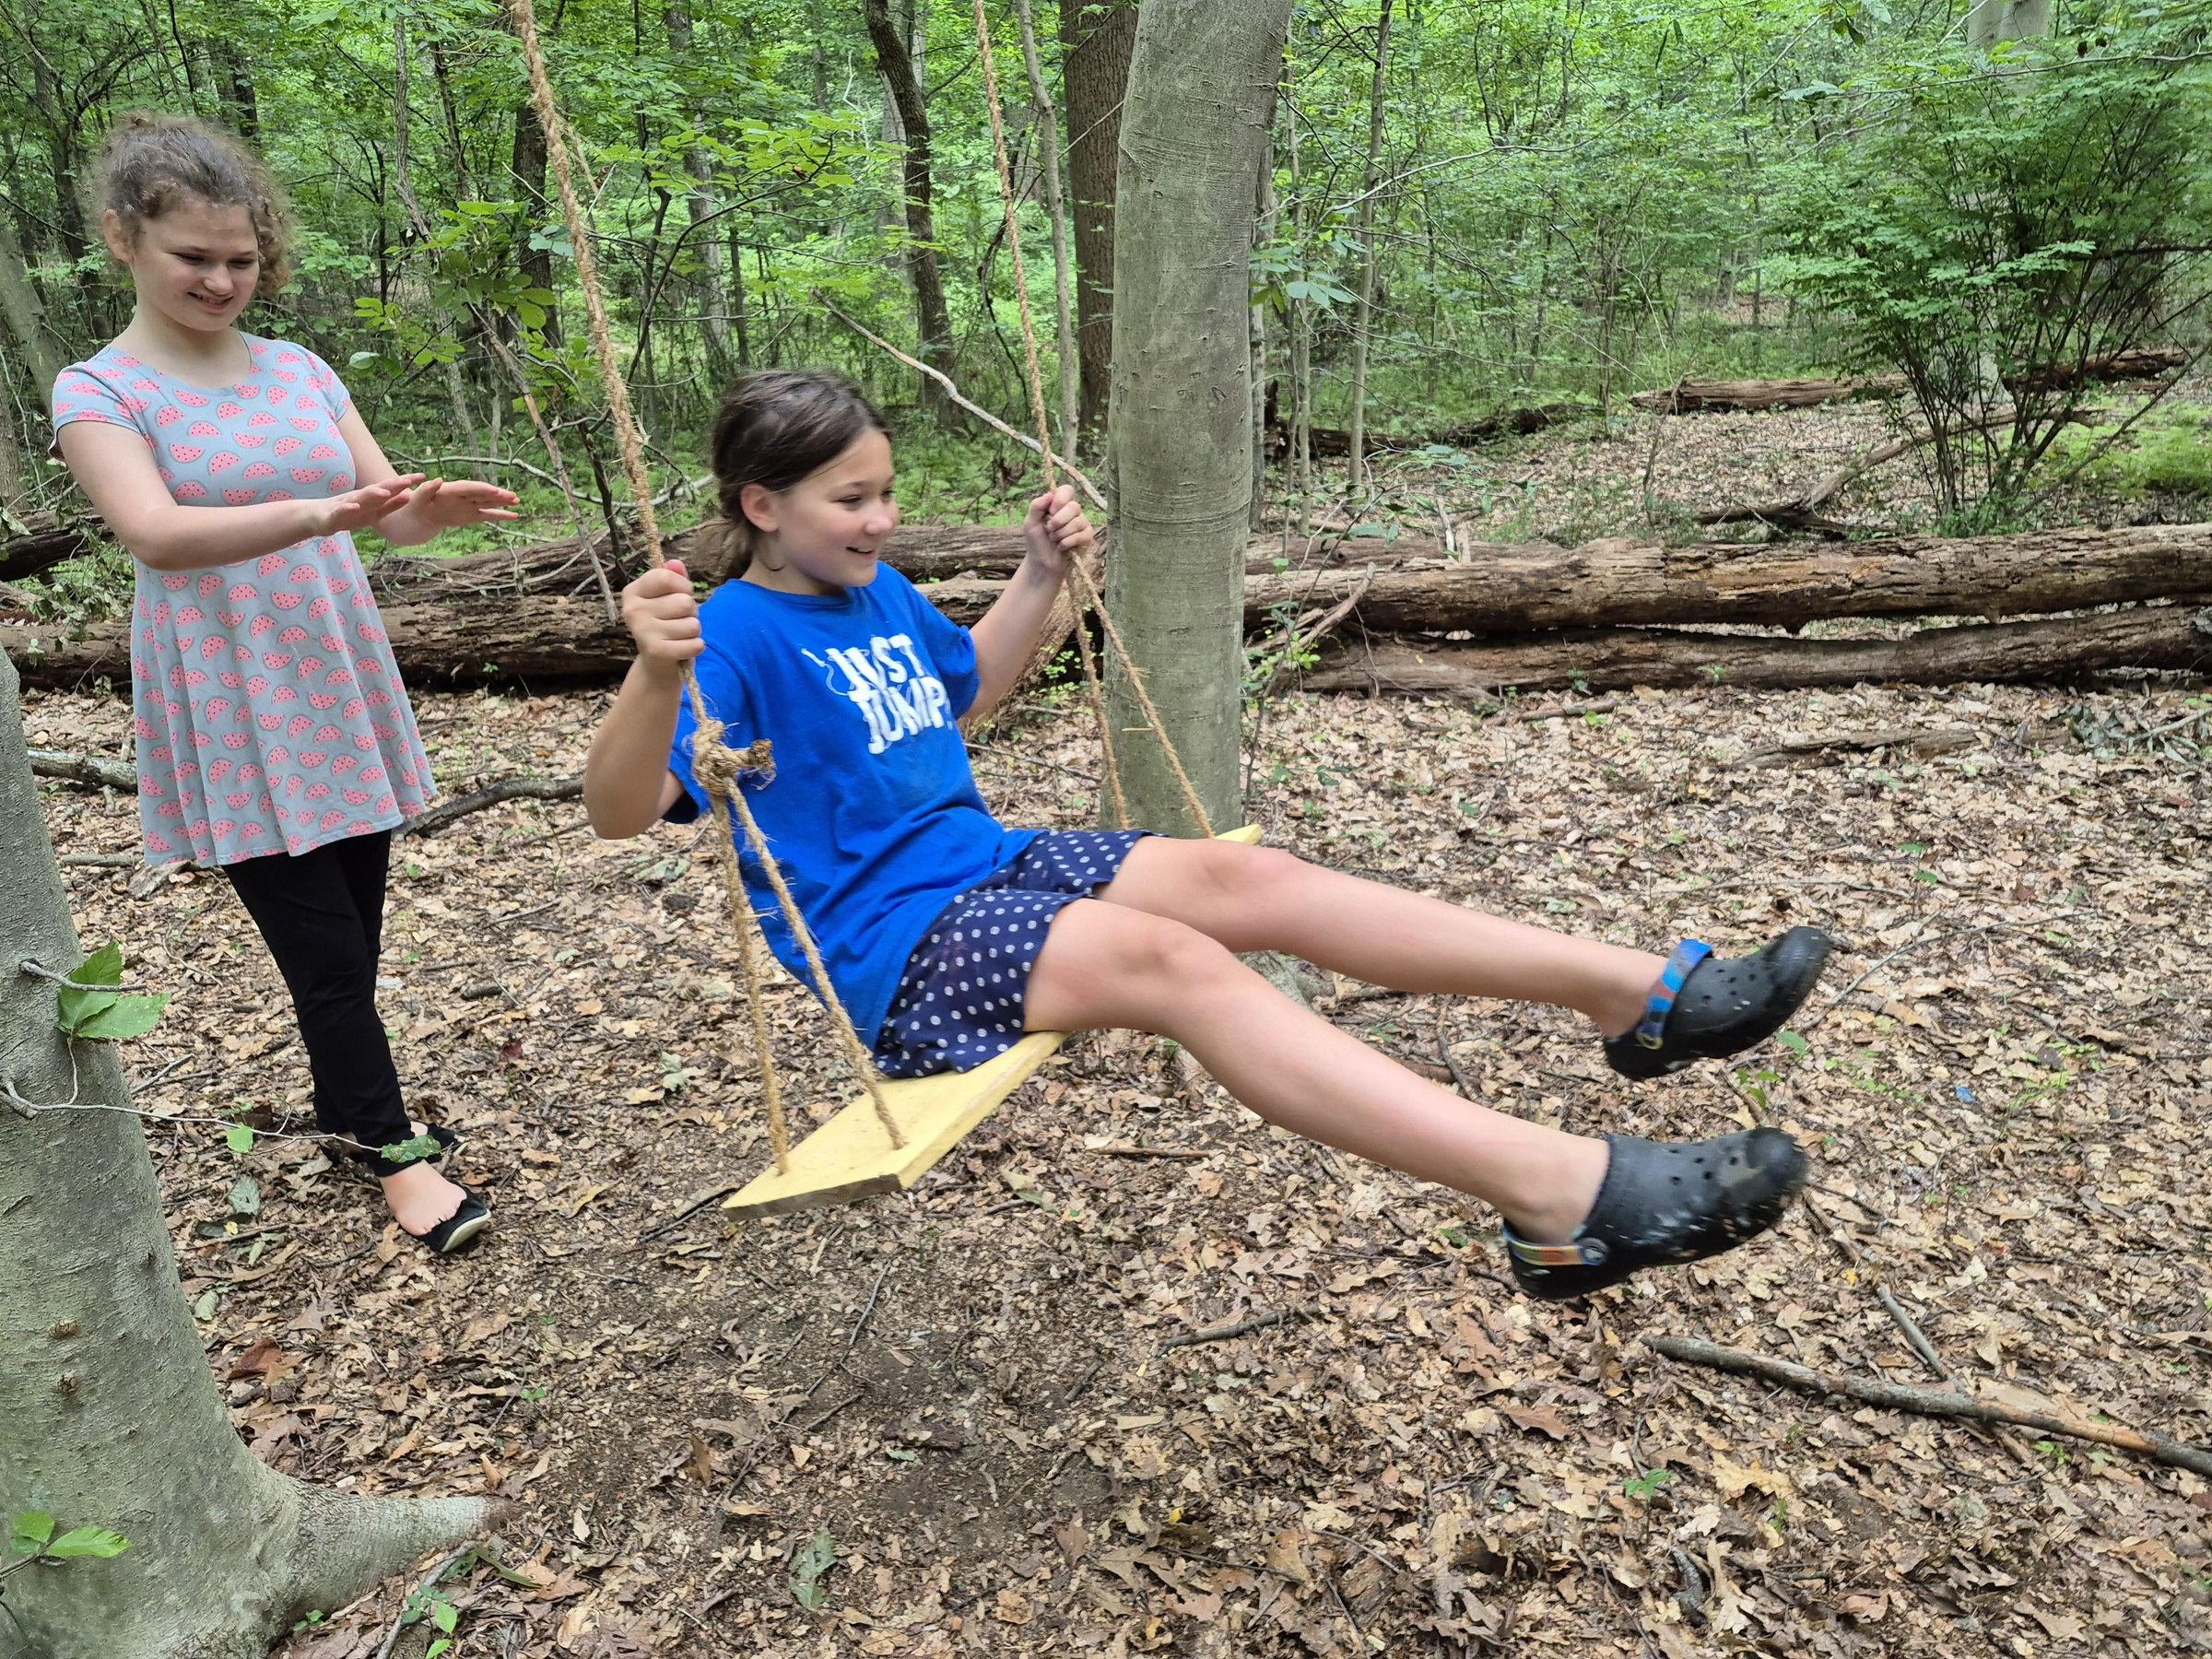
There is nothing I love more than a relaxing afternoon on my forest swing- maybe with a journal or an addictive novel. Invite your friends and family to enjoy the swing as well! Remember that what you do with what you build is more important than the build itself.
Additional Notes
Here are some additional notes and suggestions for your swing.
- Since this is an outdoor build, it may be a good idea to weather-proof your wood. You can do this by applying a few layers of spar varnish to make the wood resistant to temperature changes and rain.
- When you first start using your swing, it will likely make scary sounding creaking noises. This is normal and will go away with time. It does not mean your beam or rope is about to snap.
- Do not over-stress your swing. If you build it correctly, the risk of the beam or rope snapping is minimal. However, it is not a good idea to jump on the swing, go too high on it, or twist the rope. This will wear it out faster and increases the risk of damage.