Free/Busy Status Light - MacOS
by slamdunkthefunk in Living > Life Hacks
445 Views, 1 Favorites, 0 Comments
Free/Busy Status Light - MacOS
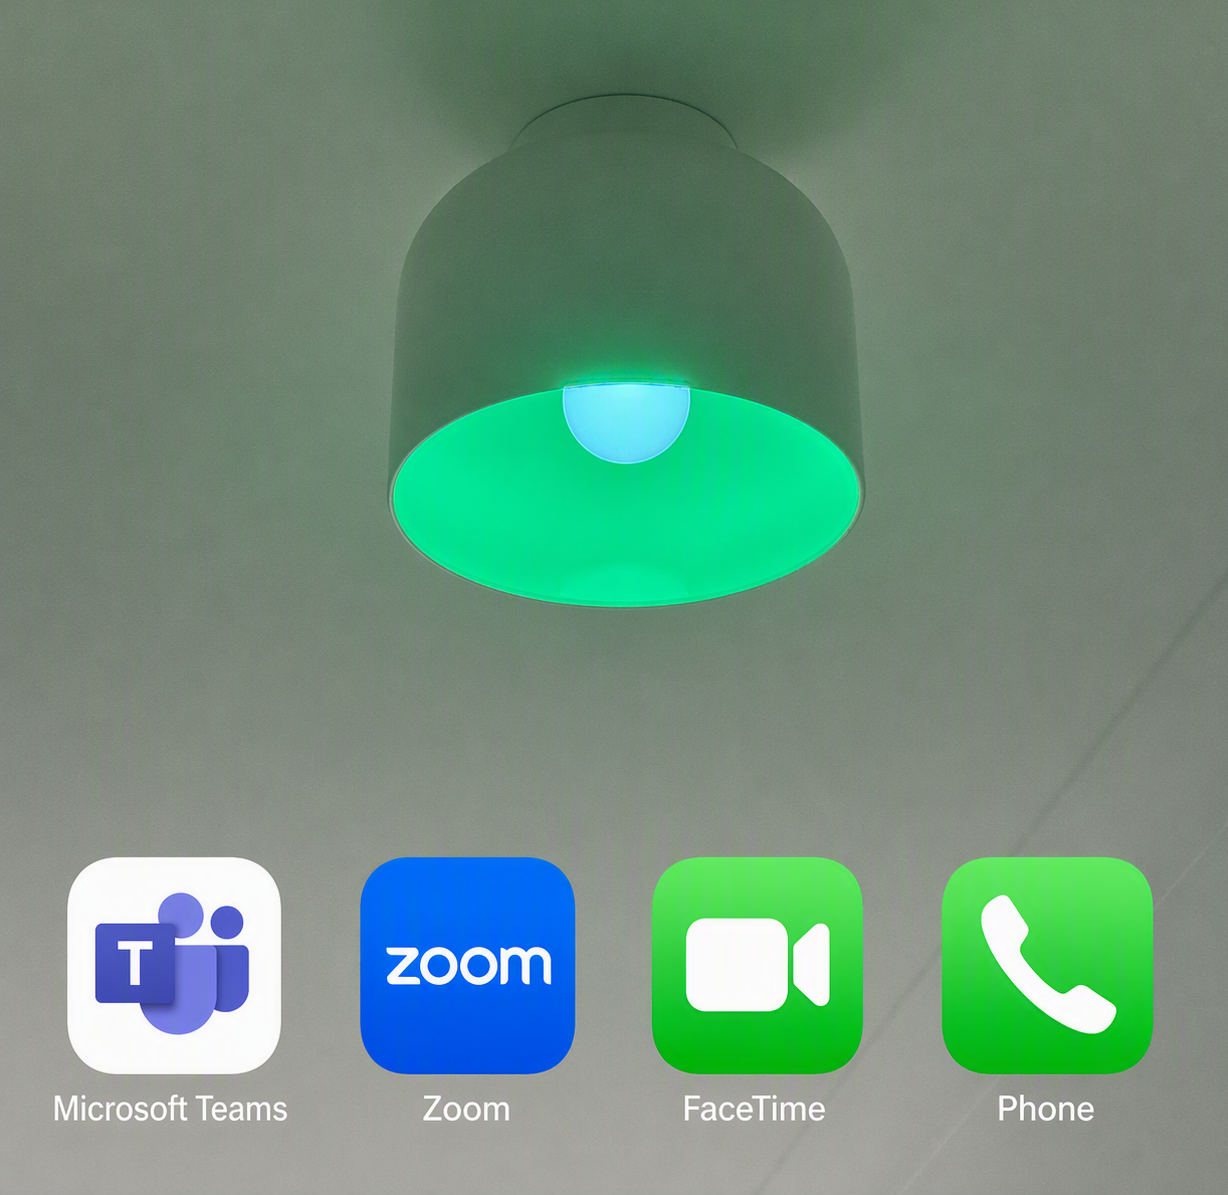
I needed a visual indicator outside my office to show family members my current status (free, busy, or offline). The indicator needed to be wireless, and preferably connected to a permanent power source. The indicator needed to automatically turn red when I was in a meeting or in a call, and automatically turn green when available. I would also need to be able to manually set the status on my machine if need be. I would primarily be using macOS.
Since "BUSY" didn't just mean my Microsoft Teams (primary work application) status indicator but also other video/phone apps, the conditions for busy, free, or offline could not be app specific.
Solution Summary: Configure a Home Assistant server and add a wireless RGB smart globe (bayonet or screw) as a device. Configure 3 automations (busy, free, offline) in Home Assistant to update the color of the globe when it receives a specific webhook from my primary machine (macOS in my case). Install Hammerspoon on the machine and update the configuration file with the conditions and actions for free/busy/offline (configuration provided). When each condition is met the relevant webhook will be sent to Home Assistant, which inturn changes the globe color.
Supplies




- A Computer - macOS in this instance.
- A WiFi network.
- A Home Assistant server - Free to download and configure.
- https://www.home-assistant.io/installation/
- I installed it on Docker inside Container Station on my QNAP NAS.
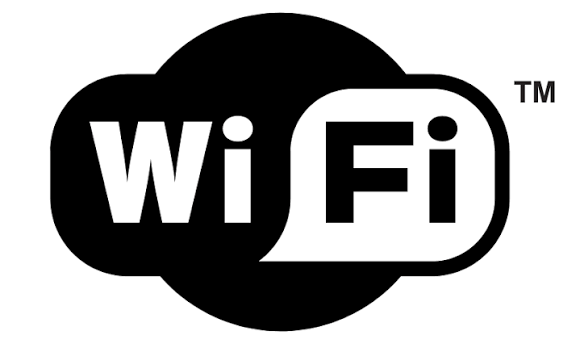
- 1 x RGB Smart Globe - I used ARLEC Smart LED RGB Globe.
- This model integrates with Home Assistant via Tuya app account. Other models may integrate directly.
- I needed to use my mobile phone with the Tuya app installed.
- Hammerspoon application installed on the computer - https://www.hammerspoon.org
Install and Configure the Smart Globe
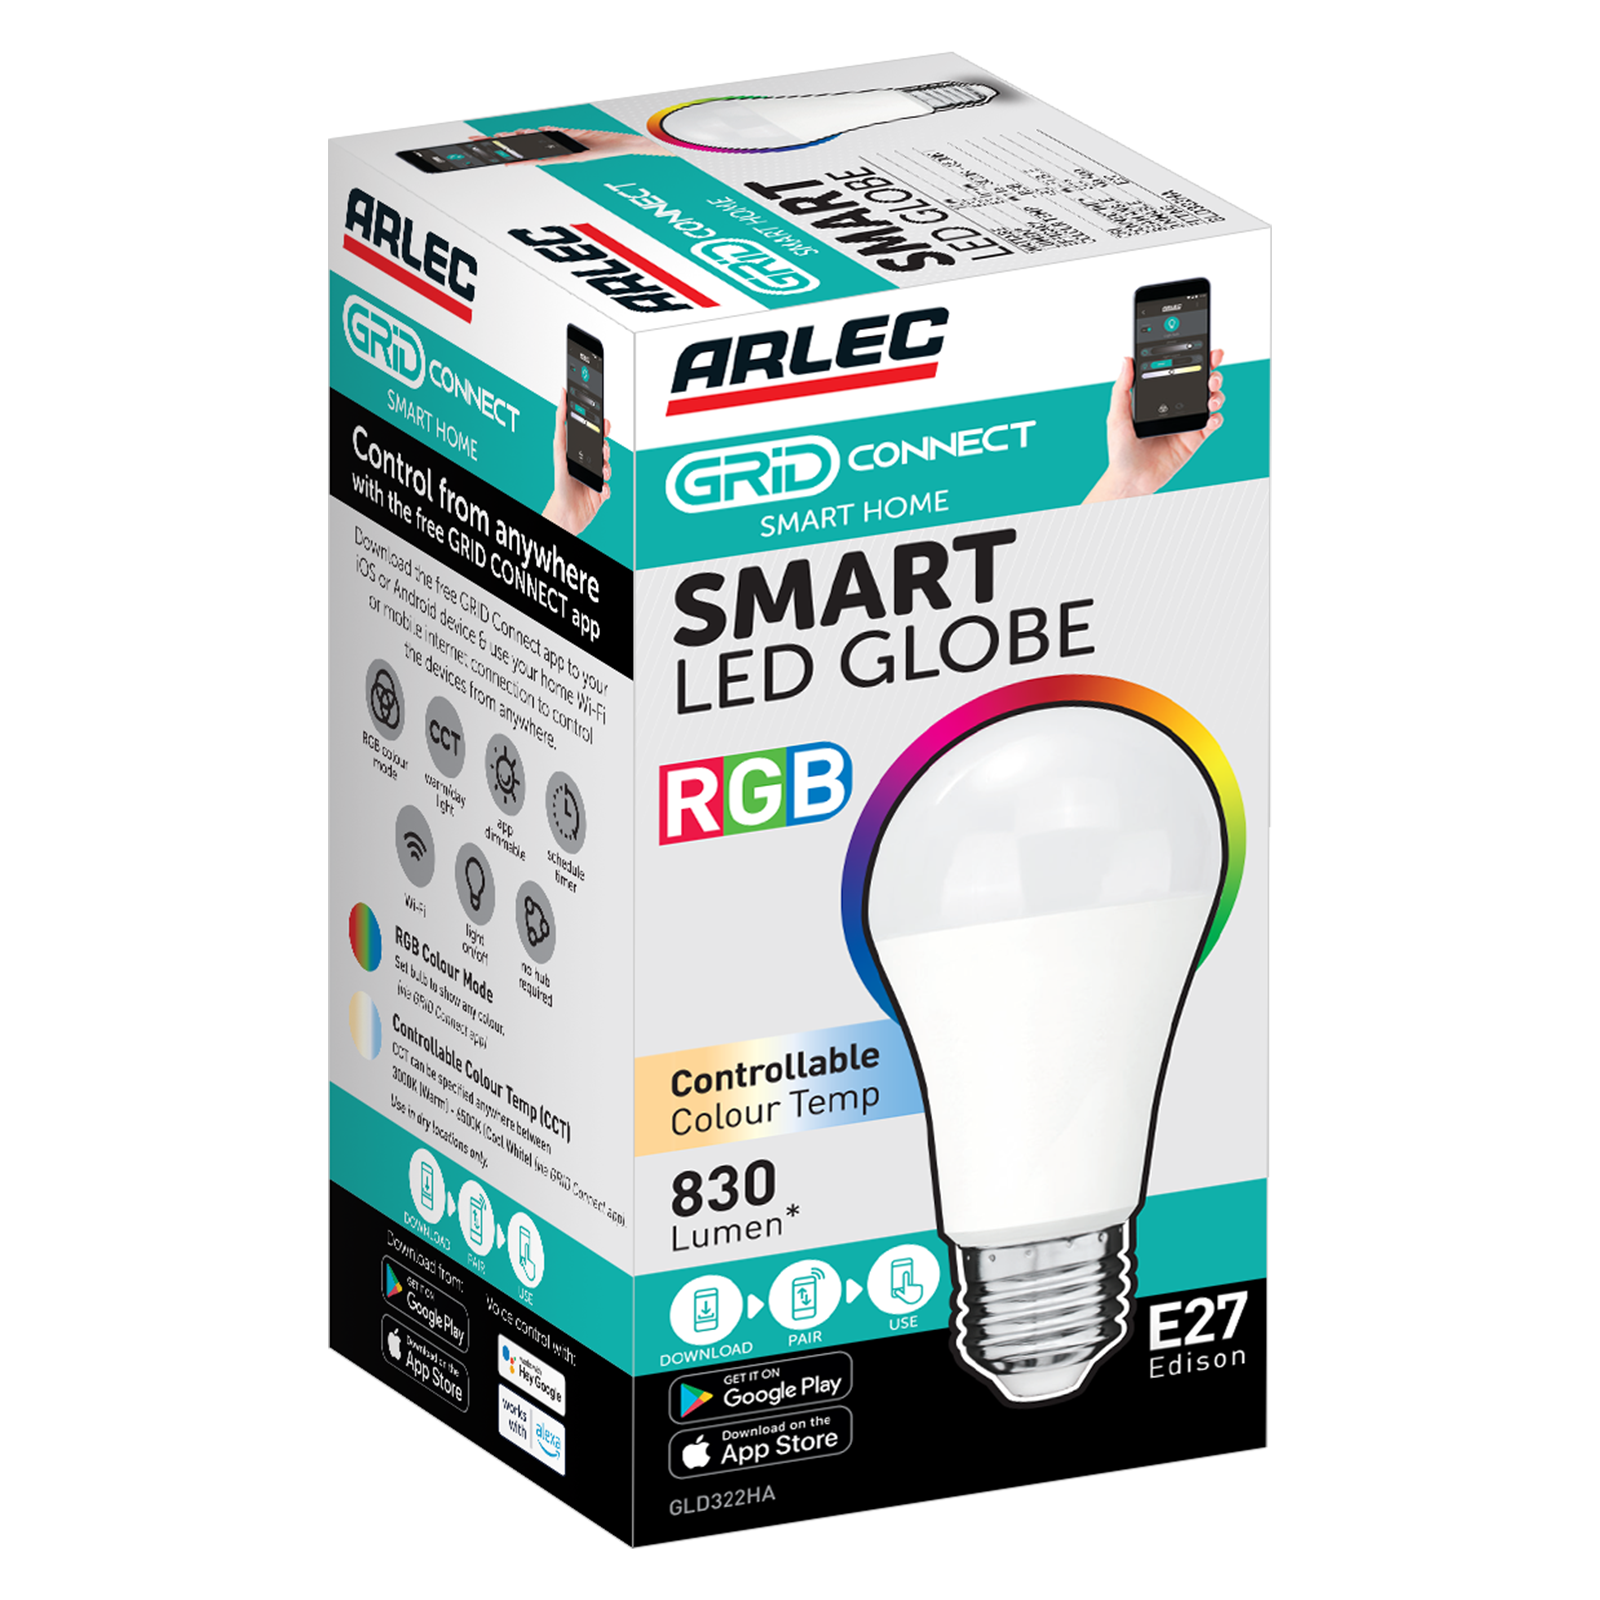

These are the steps I used to install and connect the ARLEC Smart LED RGB Globe to my WiFi network. Other smart globe models may differ.
- Connect mobile phone to the same WiFi network that the smart globe will connect to.
- Install Tuya app on your mobile phone:
- Apple: https://apps.apple.com/au/app/tuya-smart-life-smart-living/id1034649547
- Android: https://play.google.com/store/apps/details?id=com.tuya.smart&pcampaignid=web_share
- Create an account or sign in if you have an account.
- Install the Smart globe into the lightbulb socket (bayonet or screw) that is within range of your WiFi access point and turn it on. The bulb will flash to indicate pairing mode.
- In the Tuya app, go to "Add Device"
- The globe should appear in the list. Follow the setup wizard for the globe to connect to the WiFi.
Add Globe to Home Assistant


Home Assistant server can be installed and configured in a variety of different ways. I won't go into how to do this, but I will say that I installed and configured it on Docker inside Container Station on a QNAP NAS. But there are other ways. All the instructions are here: https://www.home-assistant.io/installation/
- Once the Home Assistant Server is configured and running, log in and go to Settings >> Devices & services.
- Select to "Add Integration"
- Search and choose Tuya
- It will request a code. Obtain the code from the mobile Tuya app: Settings >> Account and Security >> User Code.
- Once the Tuya integration is completed, you'll be able to see your newly installed smart globe.
Configure Home Assistant Automations
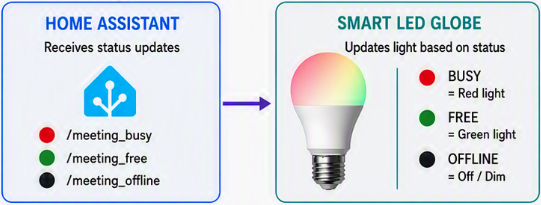
This is where we tell Home Assistant when to change the color of the globe. I made 3 different automations. Each one is triggered to change the globe color when a webhook payload is received.
Let's create the BUSY automation.
- Log into Home Assistant.
- Go to Settings >> Automations & scenes.
- Select Create Automation >> Create new automation.
- Under "When" select to add a trigger. Search for webhook and select it. Call the webhook ID something like meeting_busy then click save.
- Under "Then do" click to add an action.
- In the left-hand pane under devices, look for your Tuya smart globe device and select it.
- Set the color to RED and adjust the brightness if necessary.
- Save the automation.
- Manually run the automation to confirm that the globe changes to red.
Repeat the steps above for the FREE and OFFLINE automations. For OFFLINE I selected to turn off the light.
Hammerspoon Configuration
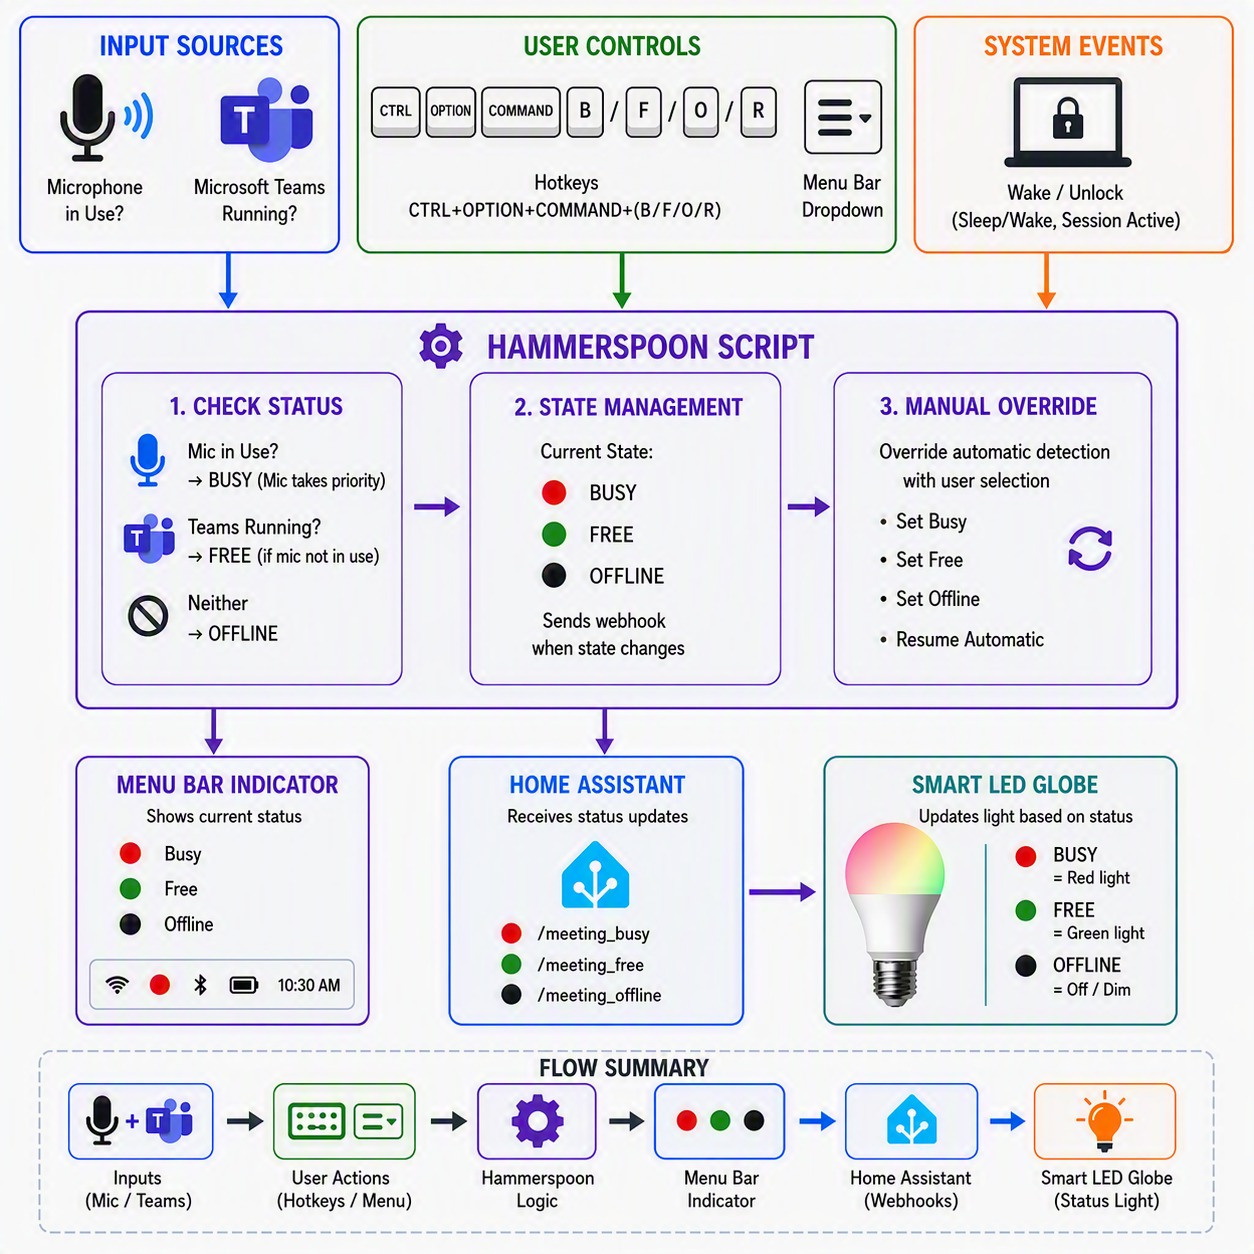


Finally we need to set the conditions for each status and send the appropriate web hooks when the conditions are met on the machine, which then activates the correct globe color. This is where Hammerspoon is ideal. It's very minimalistic and runs quietly in the background checking the conditions and actioning where necessary.
- Install Hammerspoon and launch the app. The latest release is in GitHub. Download the .zip then install: https://github.com/Hammerspoon/hammerspoon/releases/tag/1.1.1
- It is visible from the menu bar. Click the hammer icon and select Preferences
- Ensure that the appropriate accessibility permissions are set (once set you may need to quit and relaunch)
I have already provided the configuration for the following conditions:
- If the microphone is in use (for whatever reason or whatever application) then the BUSY webhook will be sent to the Home Assistant server
- If Microsoft Teams is open and the mic is idle, then the FREE webhook will be sent.
- If Microsoft Teams is closed and the mic is idle, then the OFFLINE webhook will be sent.
- The config file also generates a menubar indicator and dropdown menu to visually see what status is being applied, and the option to manually apply a status.
- If either status indicator is manually selected from the menu bar, then the above conditions are ignored.
- Machine sleep/wake handling is accounted for in the configuration.
If you're ok with the above conditions then proceed to copy and apply the provided config. Otherwise make your own changes:
- Copy the contents of the attached hammerspoon_config.txt file.
- Launch Hammerspoon and click the hammer icon in the menu bar and select "Open Config"
- Paste and replace all text into that config file.
- In the config file, you will only need to adjust the 3 webhook URL's to point to your Home Assistant IP address, and correct webhook names.
- Save the config file
- Click the hammer icon in the menu bar and select "Reload Config"
Done and dusted :)
#homeautomation #hammerspoon #homeassistant #wfh #microsoftteams