From Pizza Box to 3D Print: I Built a Fan System That Ends Backpack Back-Sweat
by Crafterboi in Circuits > Wearables
156 Views, 1 Favorites, 0 Comments
From Pizza Box to 3D Print: I Built a Fan System That Ends Backpack Back-Sweat


Last summer I was on the UCSD campus every day for a summer program. San Diego heat plus a backpack meant that by the time I got to a lecture hall, my back was soaked in sweat.
The reason is simple. A backpack traps humid air against your back, so sweat and moisture just accumulate there. Your body keeps dumping heat and sweat into that pocket and none of it can leave.
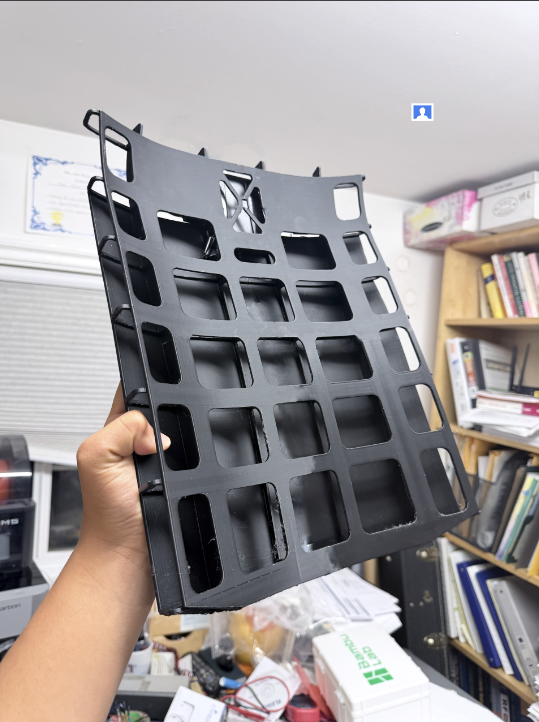
So I built a backpack cooling system that adds the airflow back in. It is a 3D printed waffle structure spacer, and it does two jobs. Passively, the waffle ribs hold the pack off your back and open a channel for air to move through. Actively, two 5V blower fans mounted at the top push air down through those channels, across your back, and out the bottom.
In this Instructable I go through the cardboard prototypes, the Fusion 360 model, why the filament choice matters a lot more than you would think, and the fan wiring.
I am a high school junior and I built this for the Beat the Heat contest.
Supplies


Electronics:
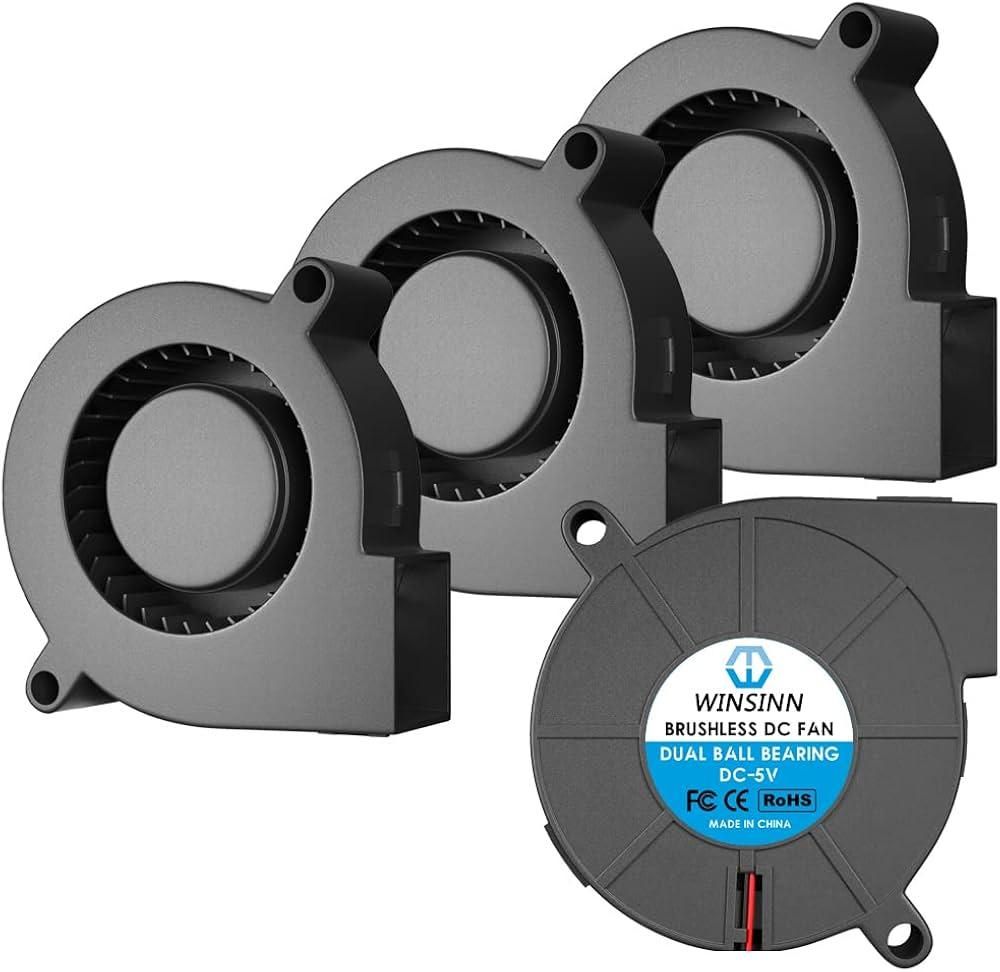
- 2x 5015 blower fans, 5V (50 x 50 x 15mm, the kind used for 3D printer part cooling)
- 3x AA battery holder with leads
- 3x AA alkaline batteries
- Small toggle or slide switch
- Hookup wire, around 22 AWG
- Heat shrink tubing
Printing:
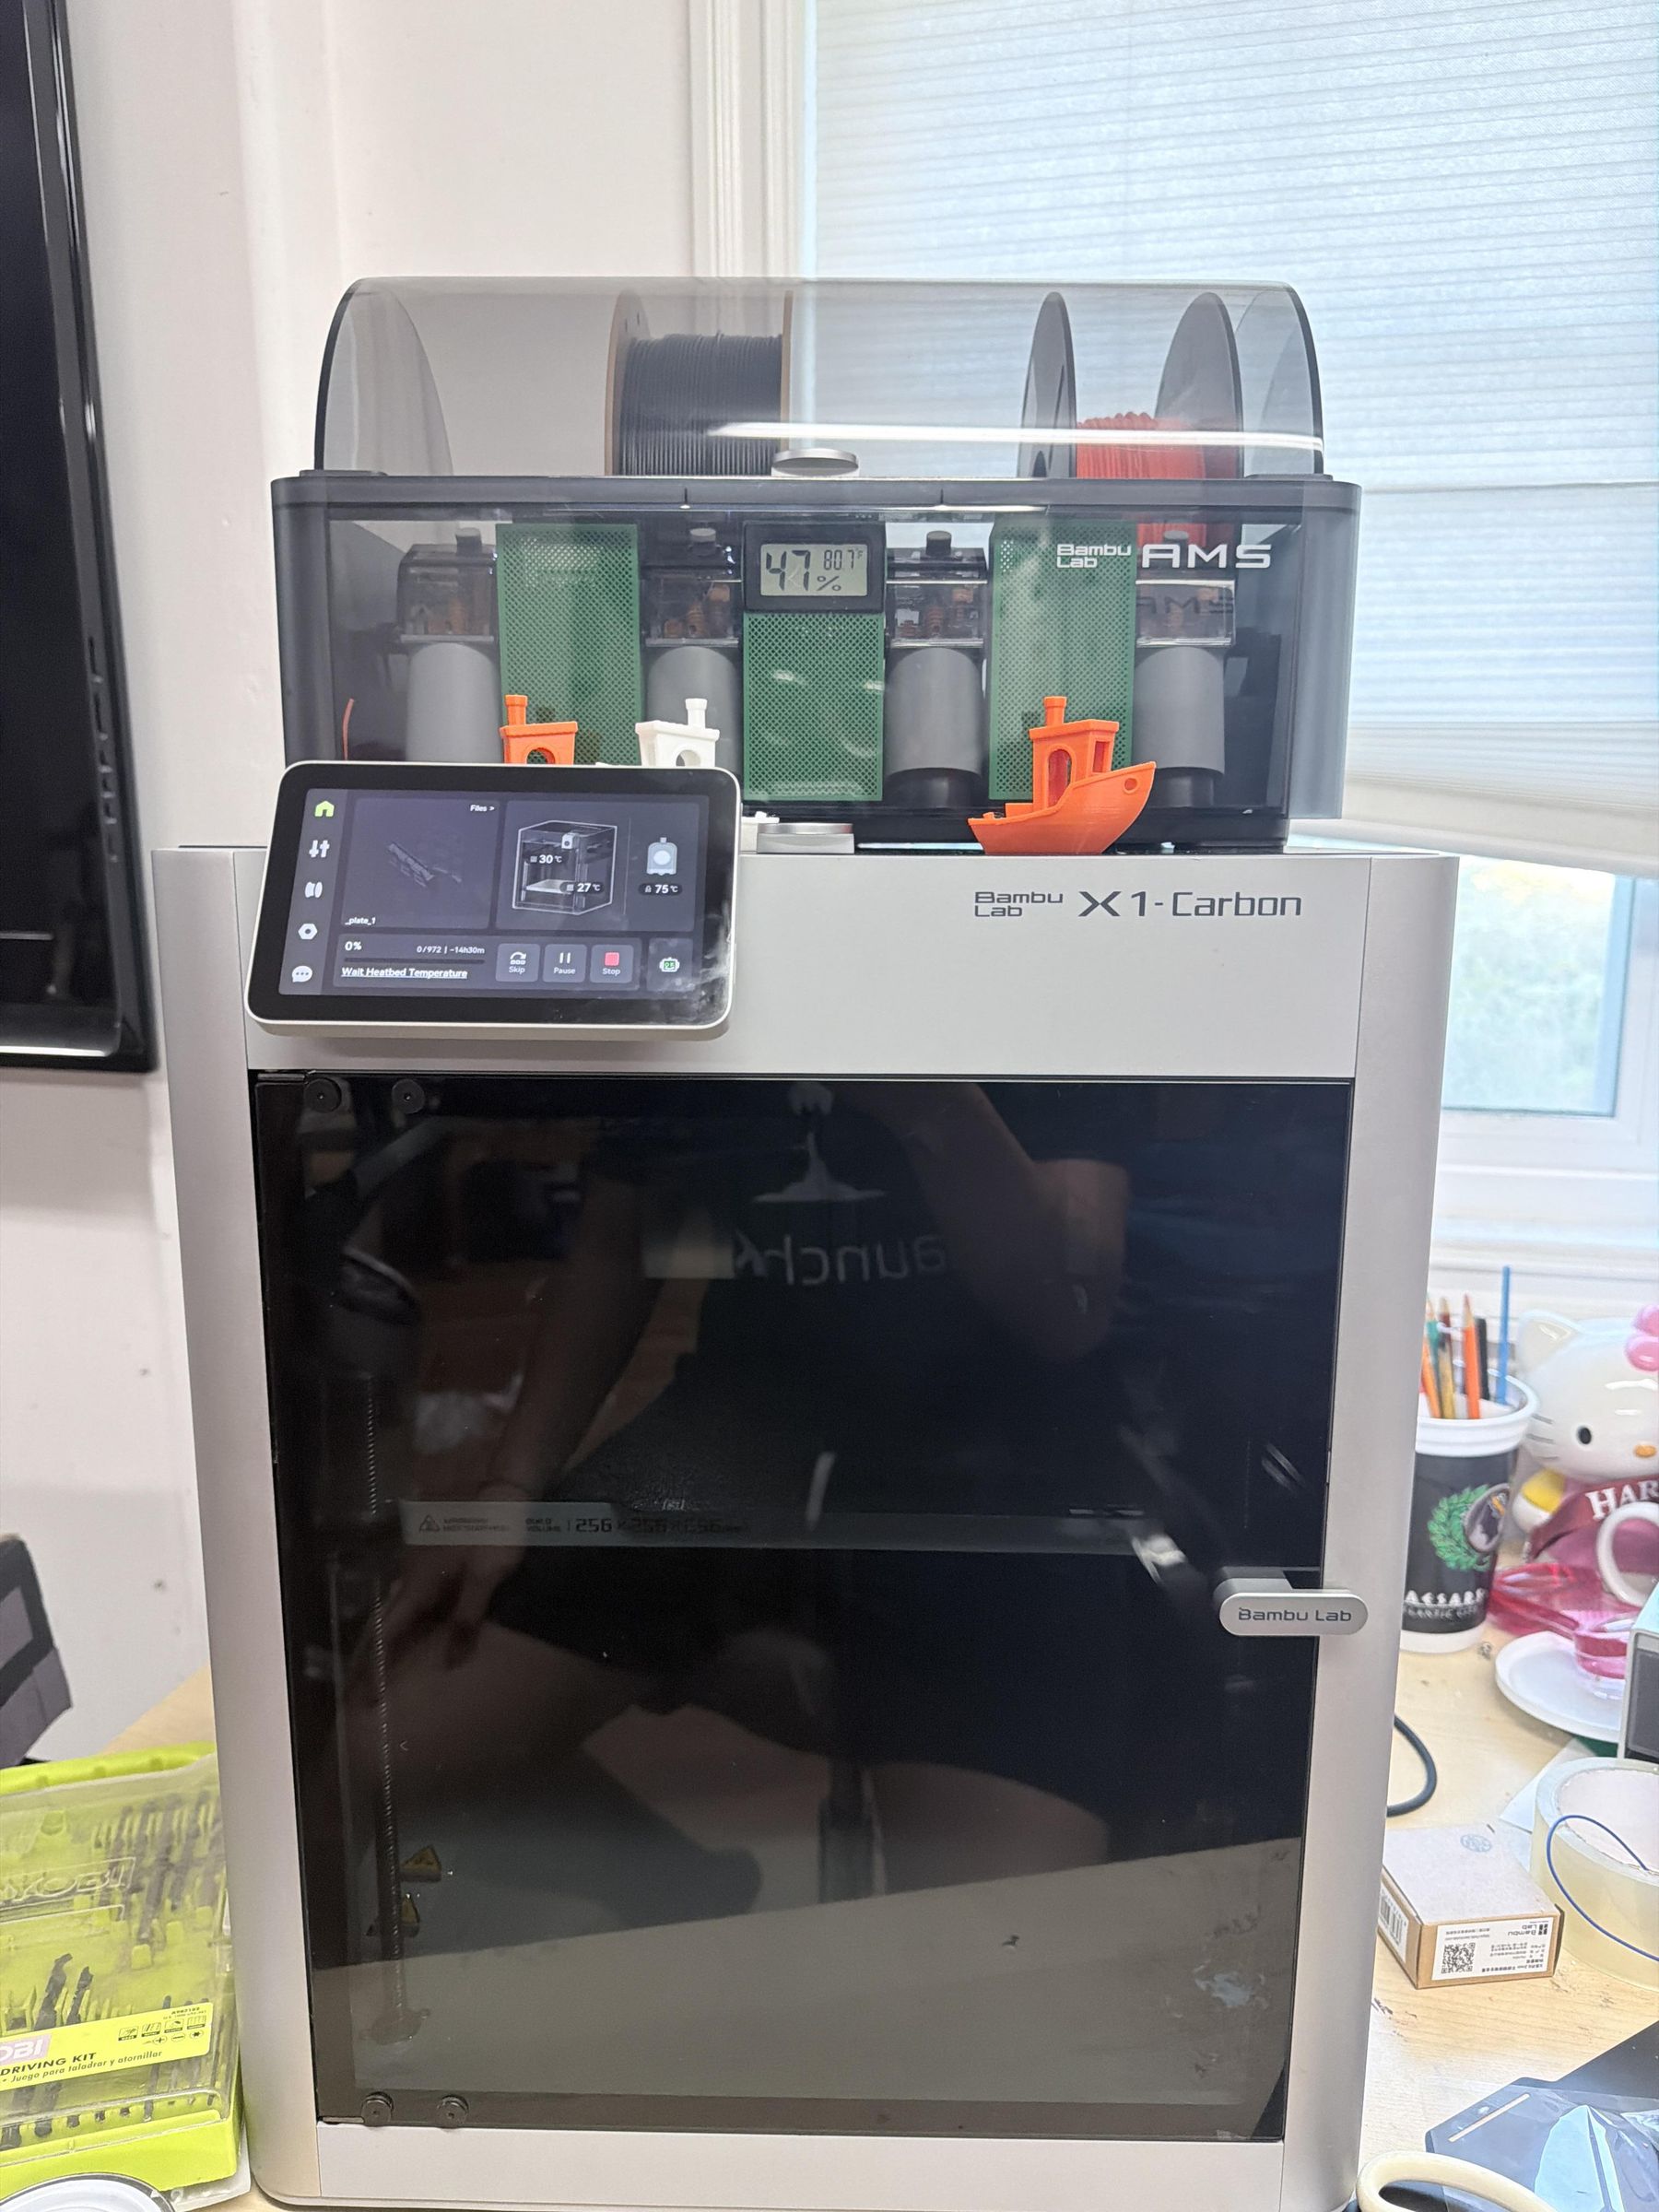
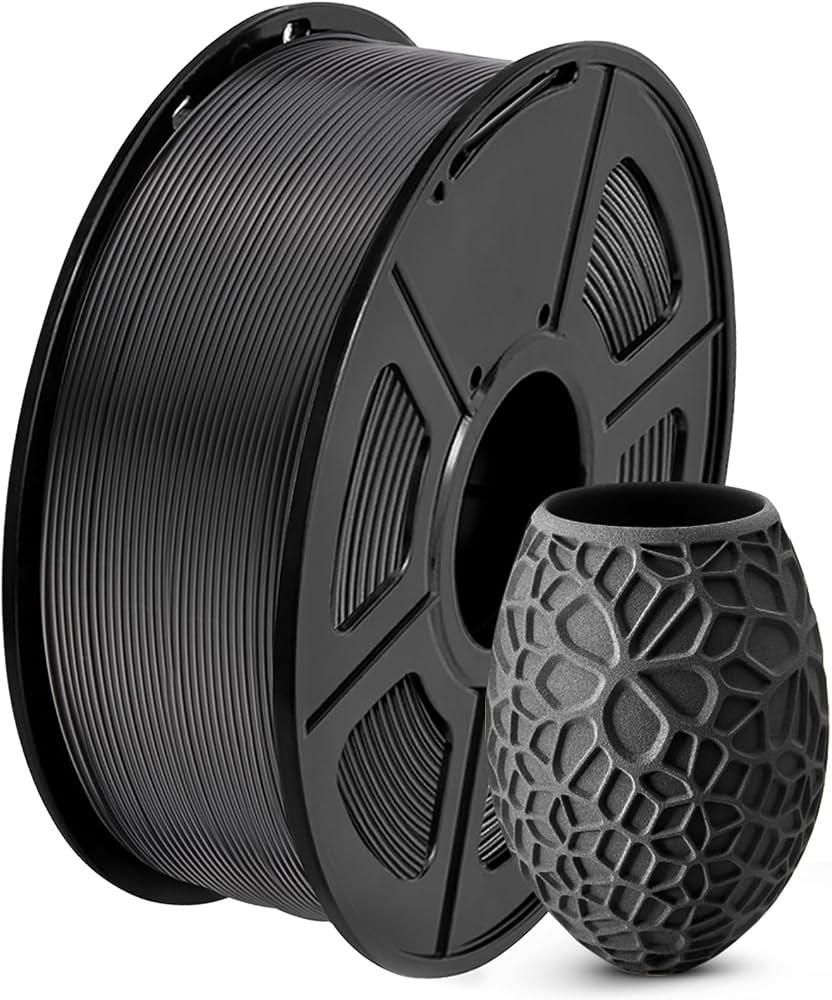
- PETG filament
- Bambu Lab X1C, or any FDM printer with a 256 x 256 mm bed
Hardware:
- Adhesive velcro, hook and loop, about 10 cm
- m2 bolts
Tools:
- Soldering iron and solder
- Wire strippers
- Scissors or a craft knife
- A cardboard box
Software:
- Autodesk Fusion 360, free for students
The Pizza Box MVP
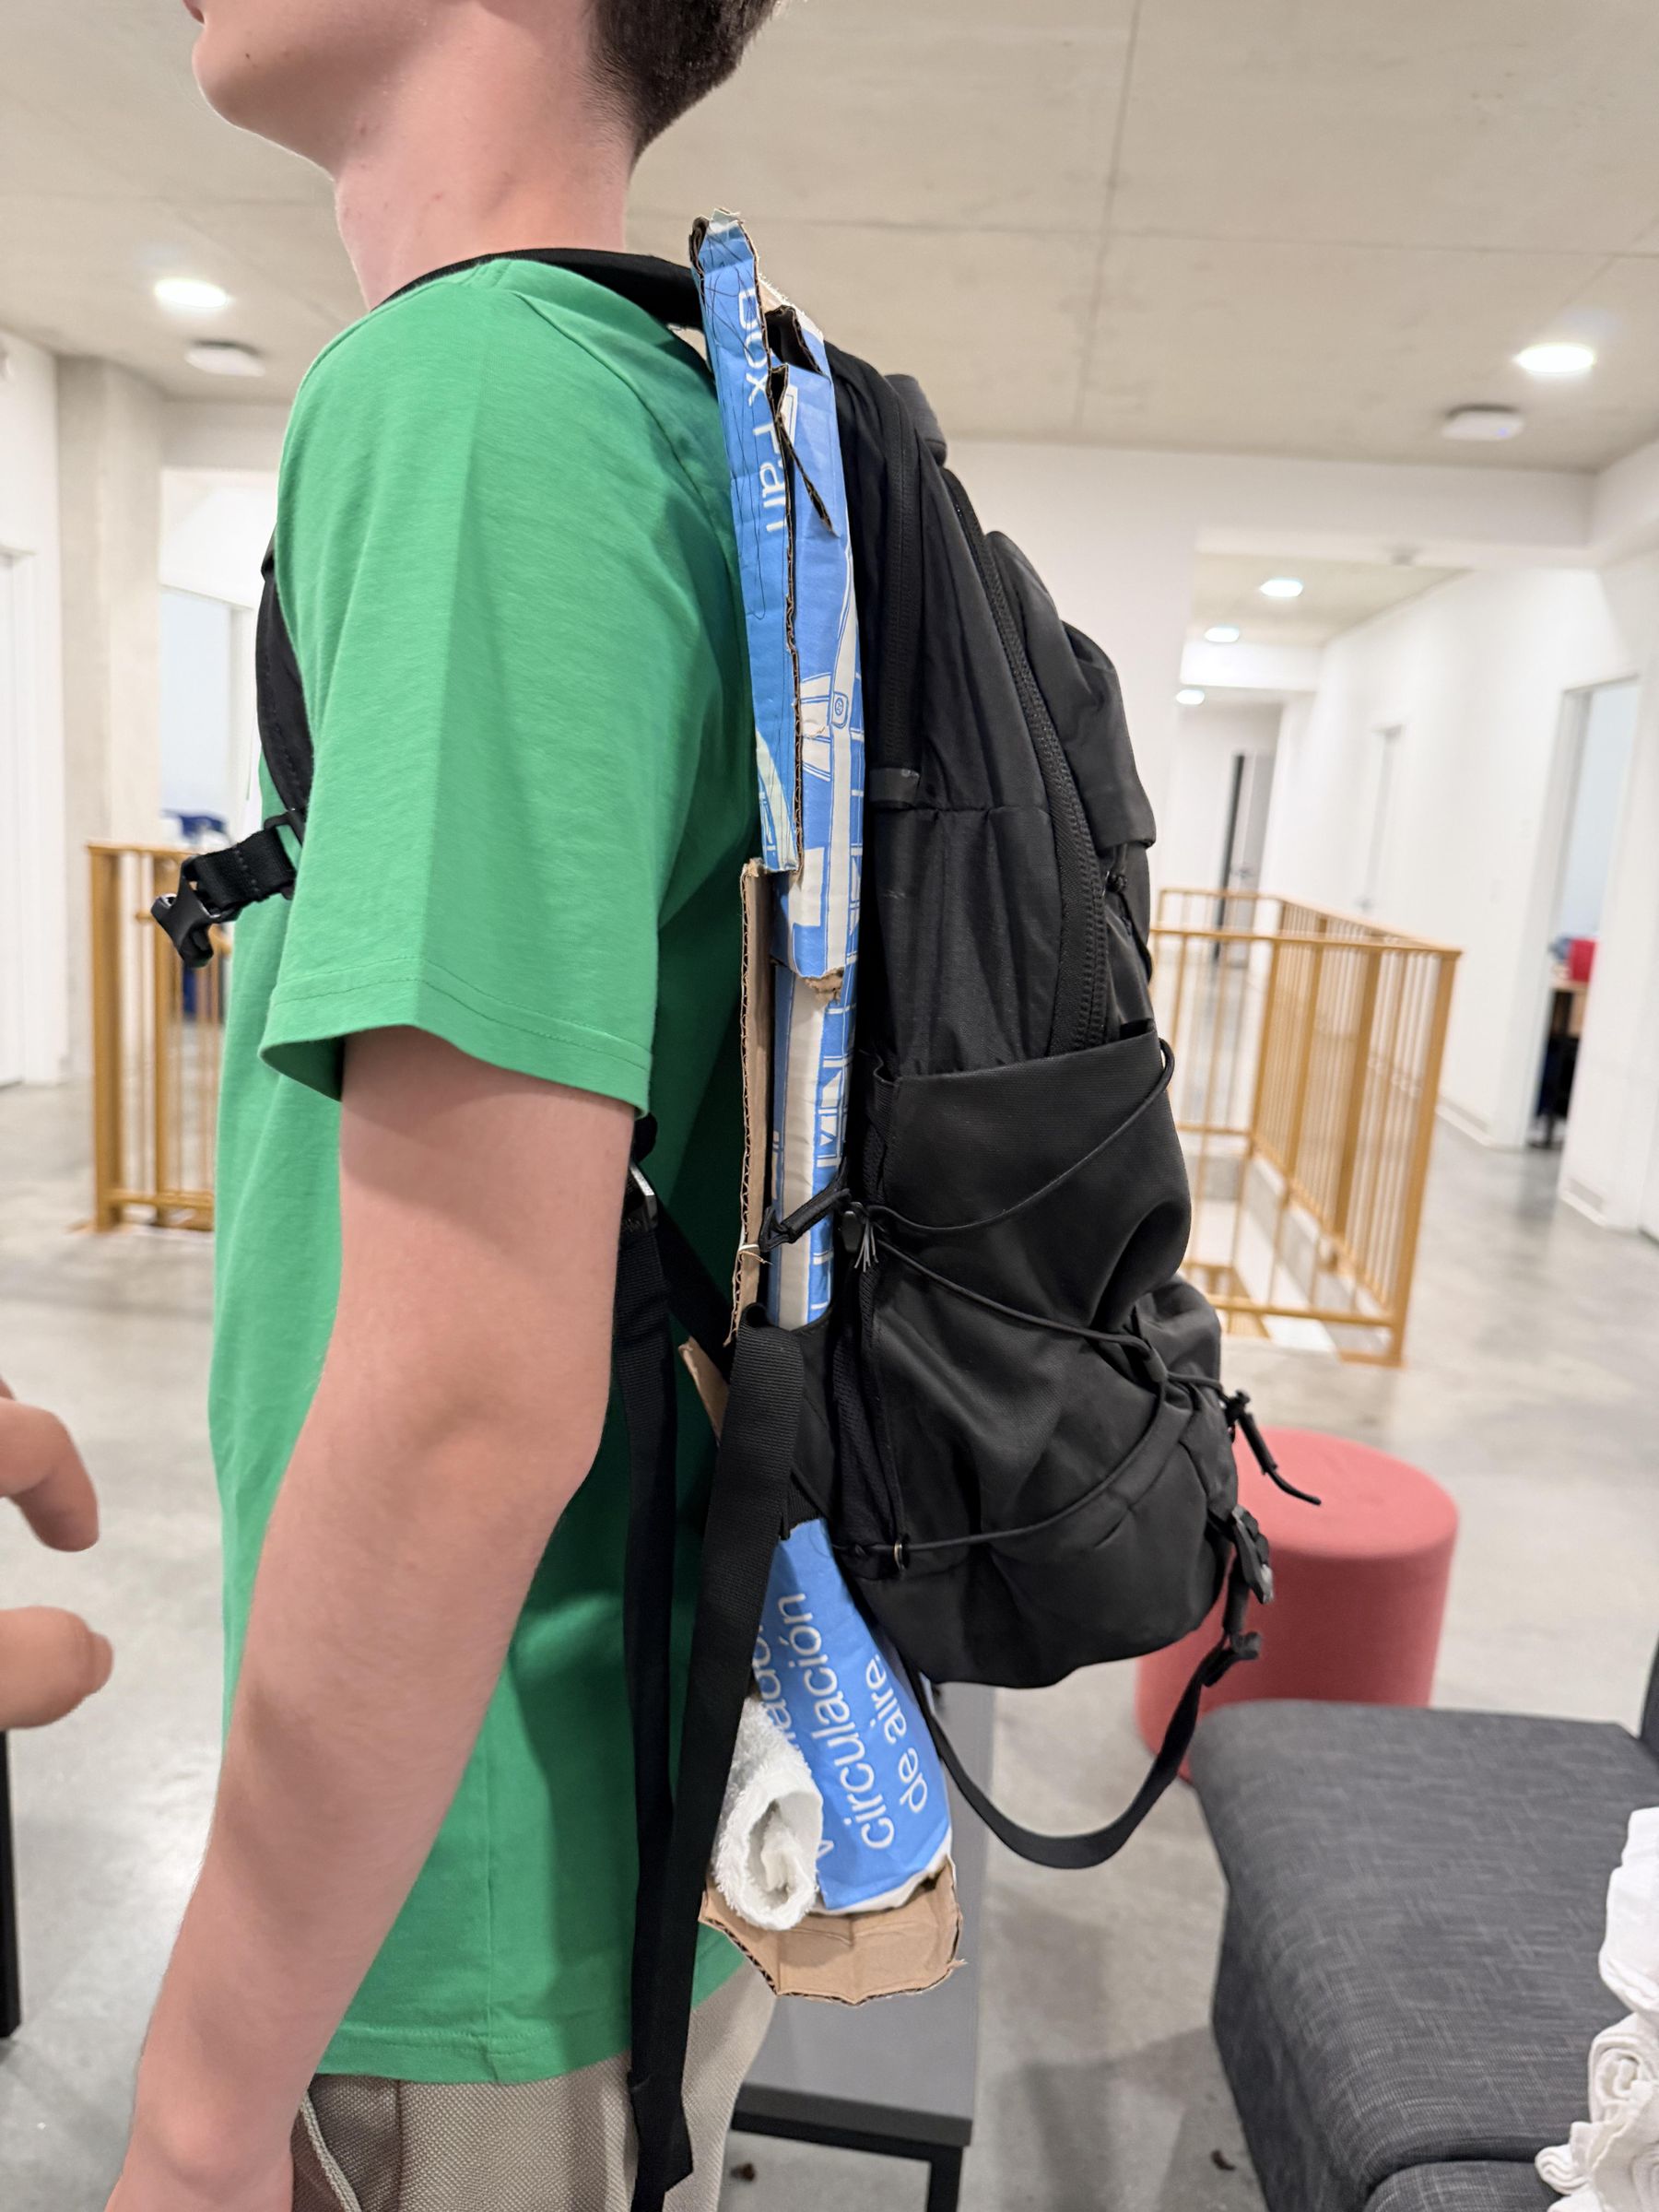
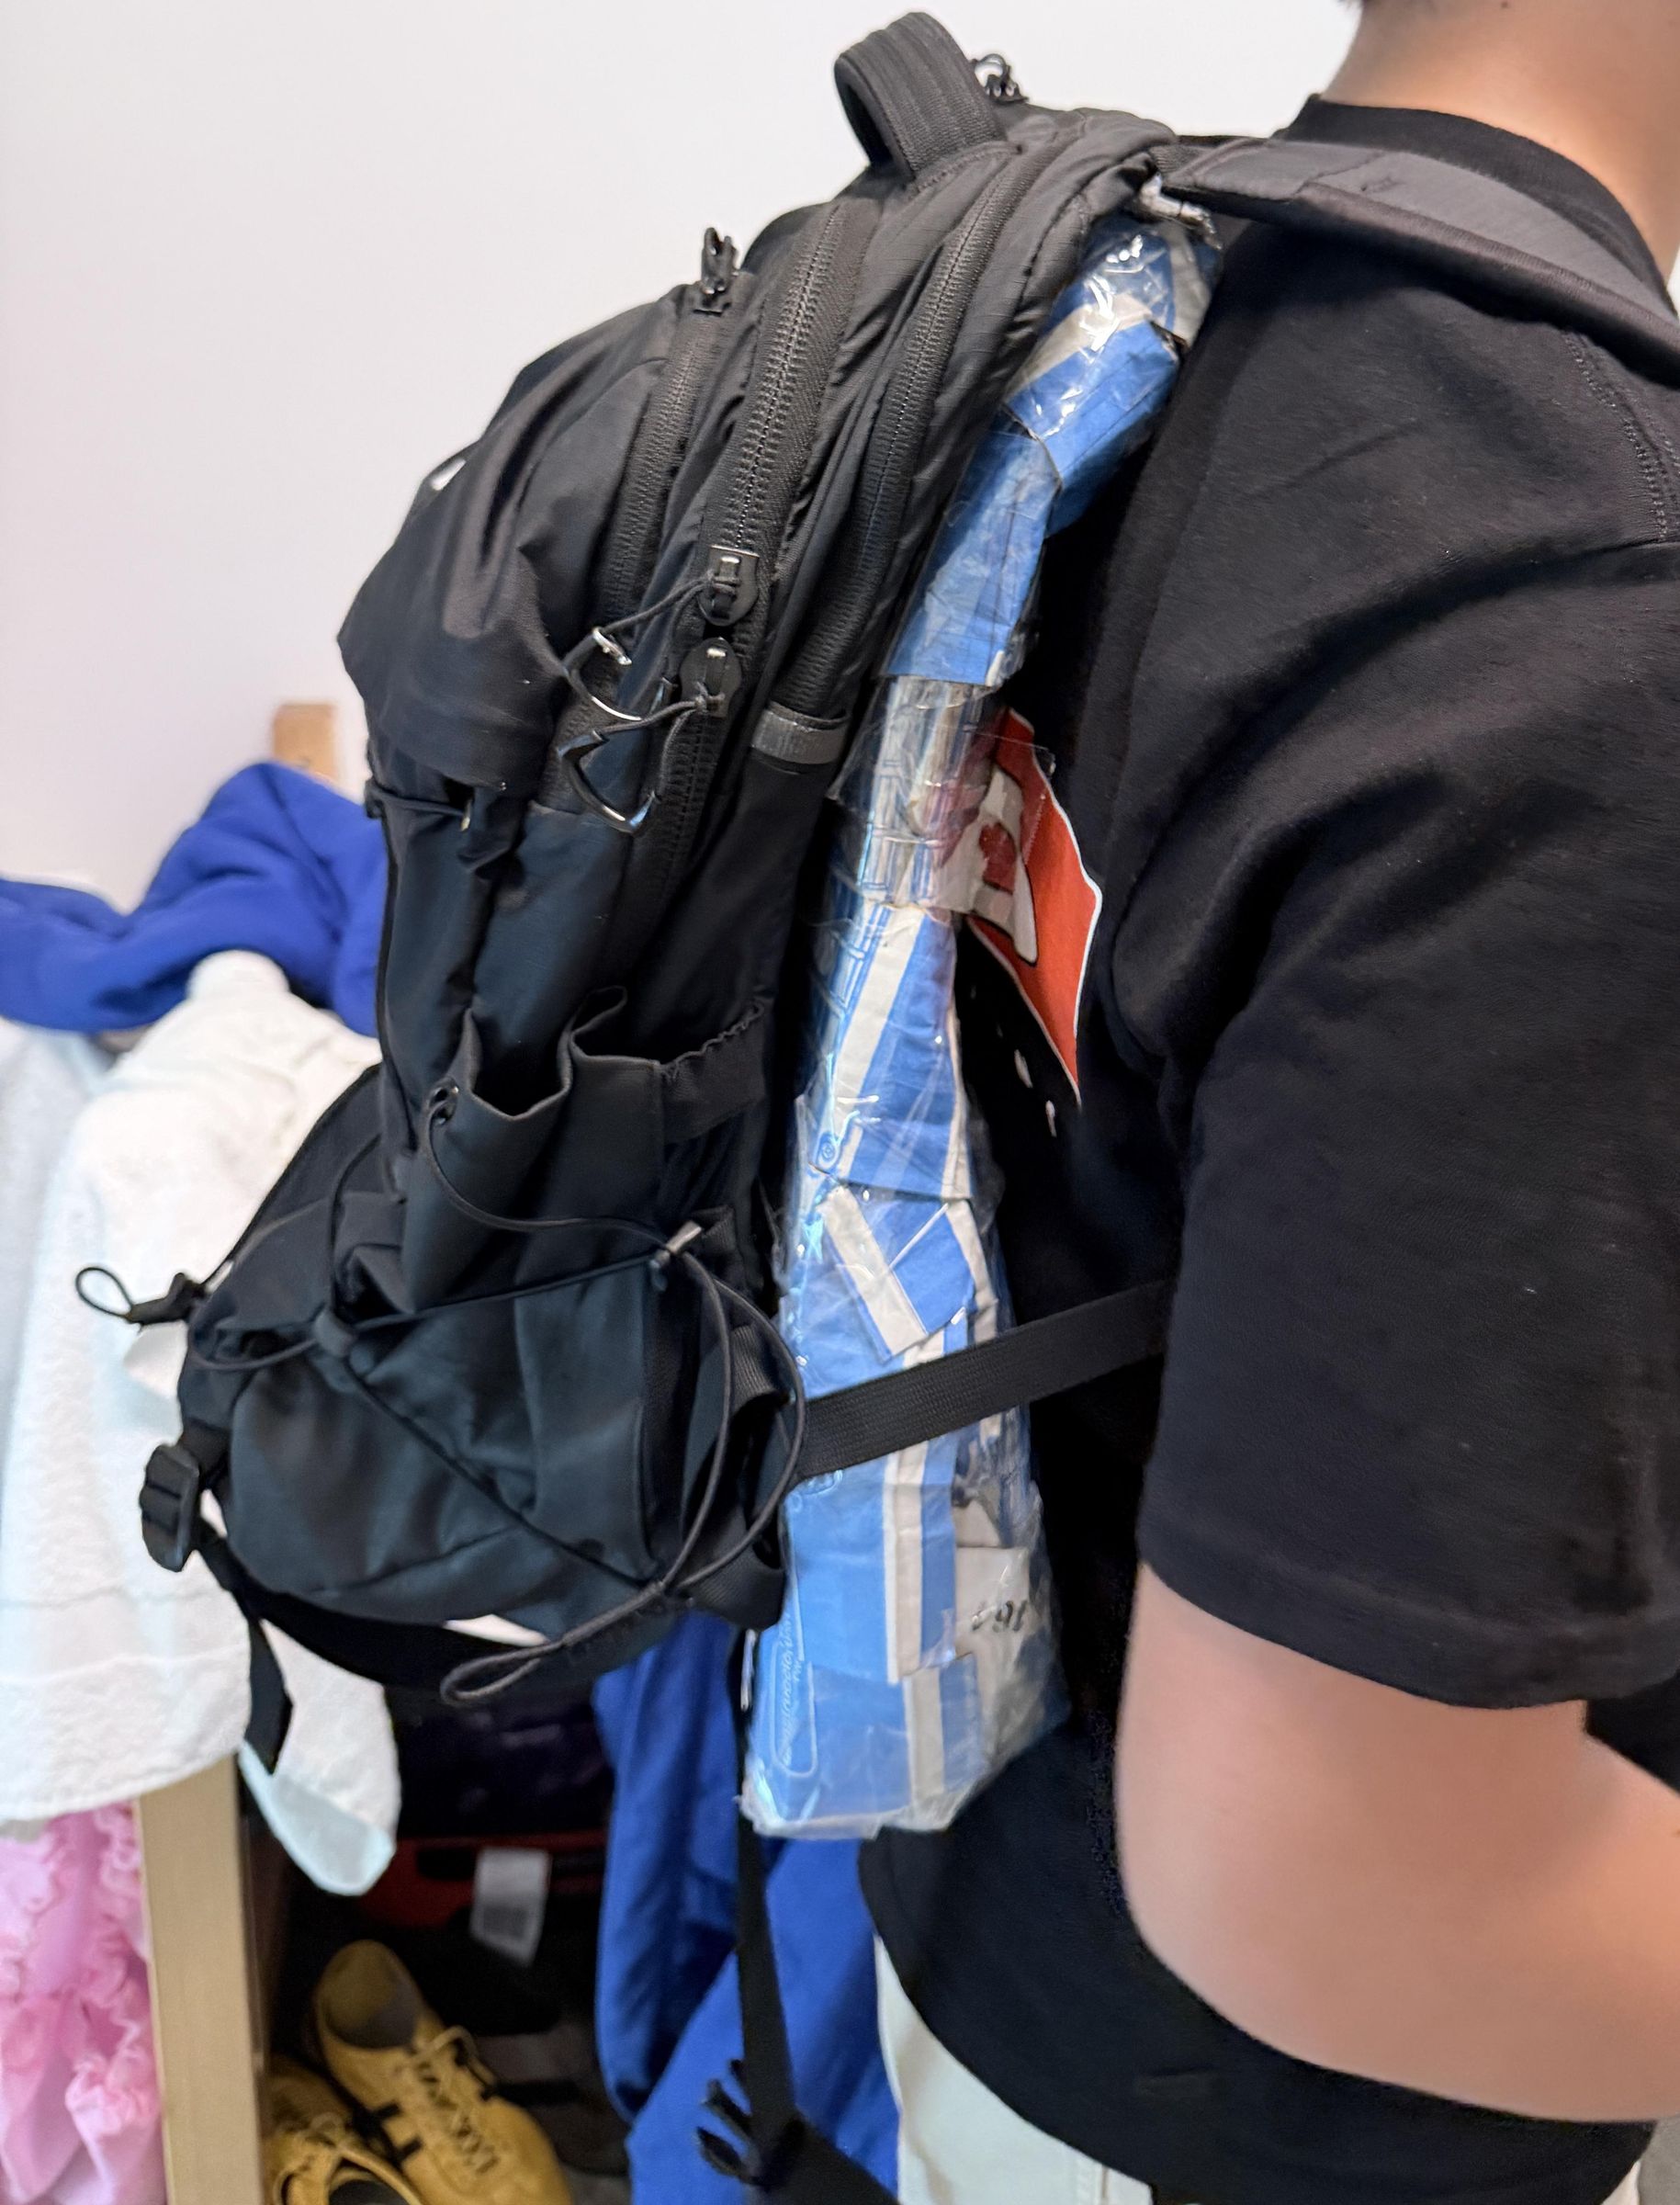
Before I opened Fusion I wanted to know how big the gap needs to be before wearing the bag stops feeling bad. So I cut up a pizza box.
I cut a flat panel about the size of my backpack's back panel, held it between the bag and my back, and walked around with it. It was better right away, which told me the idea worked before I spent hours modelling something that might not.
It also showed me three things I would not have caught in CAD.
- A flat panel does not fit. Backs are curved, so a flat panel touches you at the shoulders and the lower back and bridges over the middle, which is where you sweat the most.
- Too thick is worse than too thin. A thick spacer pushes the weight of the bag away from your body and the pack starts pulling backwards on your shoulders. The gap has to be big enough for air but small enough that the bag still rides close to you.
- Edges matter. The sharp cardboard edges dug into my back, so anything touching you has to be rounded.
A pizza box costs nothing and it answered questions that CAD could not, so I would build the roughest version first on any project like this.
Modelling in Fusion 360

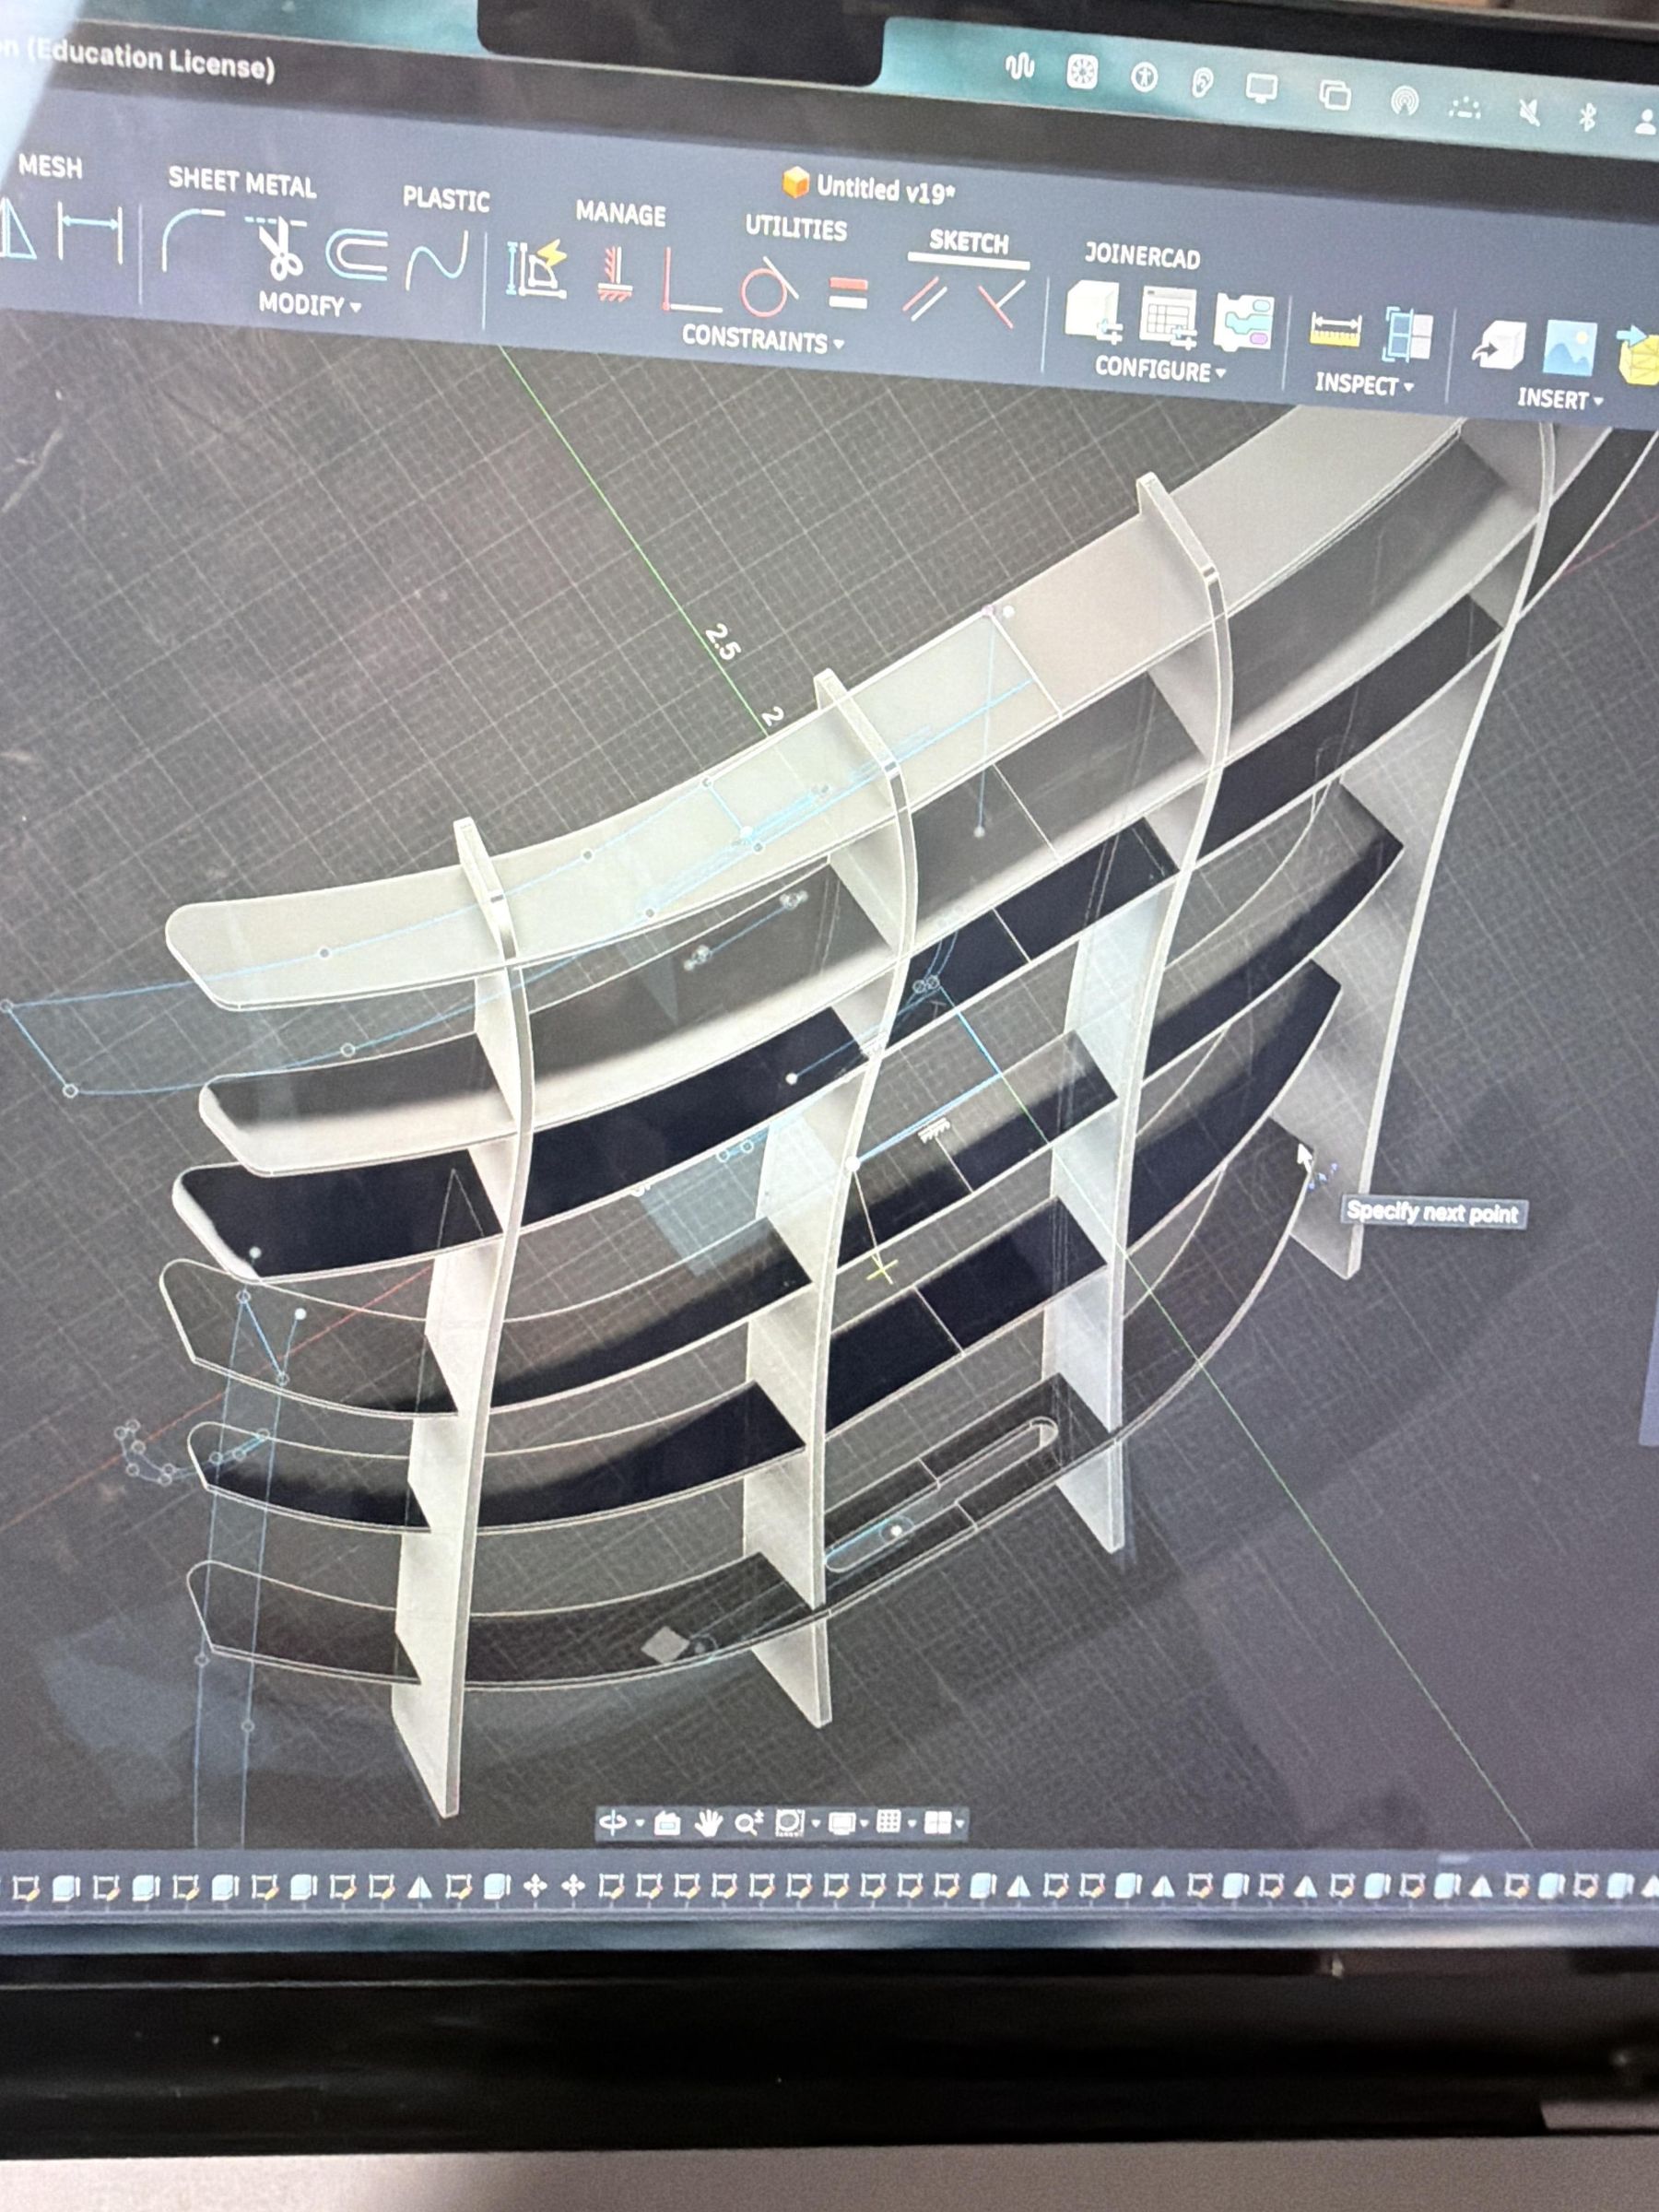


I sketched the outer profile first, roughly the footprint of a backpack's back panel, 280 mm wide by 500 mm tall, with large corner fillets so nothing digs in. Every edge on the side facing your body is filleted too, which came out of the cardboard test.
The model runs off user parameters, so instead of typing 4mm into a wall thickness I set up wall_t, gap_h, cell_size and fan_d first and referenced those. When I wanted thinner ribs I changed those values and the frame would update.
The waffle is a rectangular pattern of the rib profile extruded up to gap_h. Because the cardboard showed me closed cells stop the airflow, the vertical channels run the full height without interruption. The horizontal ribs are there for stiffness but they do not seal each cell off.
Two 5015 blower fans sit in recessed pockets at the top, blowing down into those channels. I used blowers rather than axial fans because an axial fan pushes air straight forward along its own axis, so on a flat panel it would push air into your back. A centrifugal blower pulls air in through the face and throws it out the side at 90 degrees, which is what moves air along a narrow gap. They are also only 15mm thick.
Printing in PETG
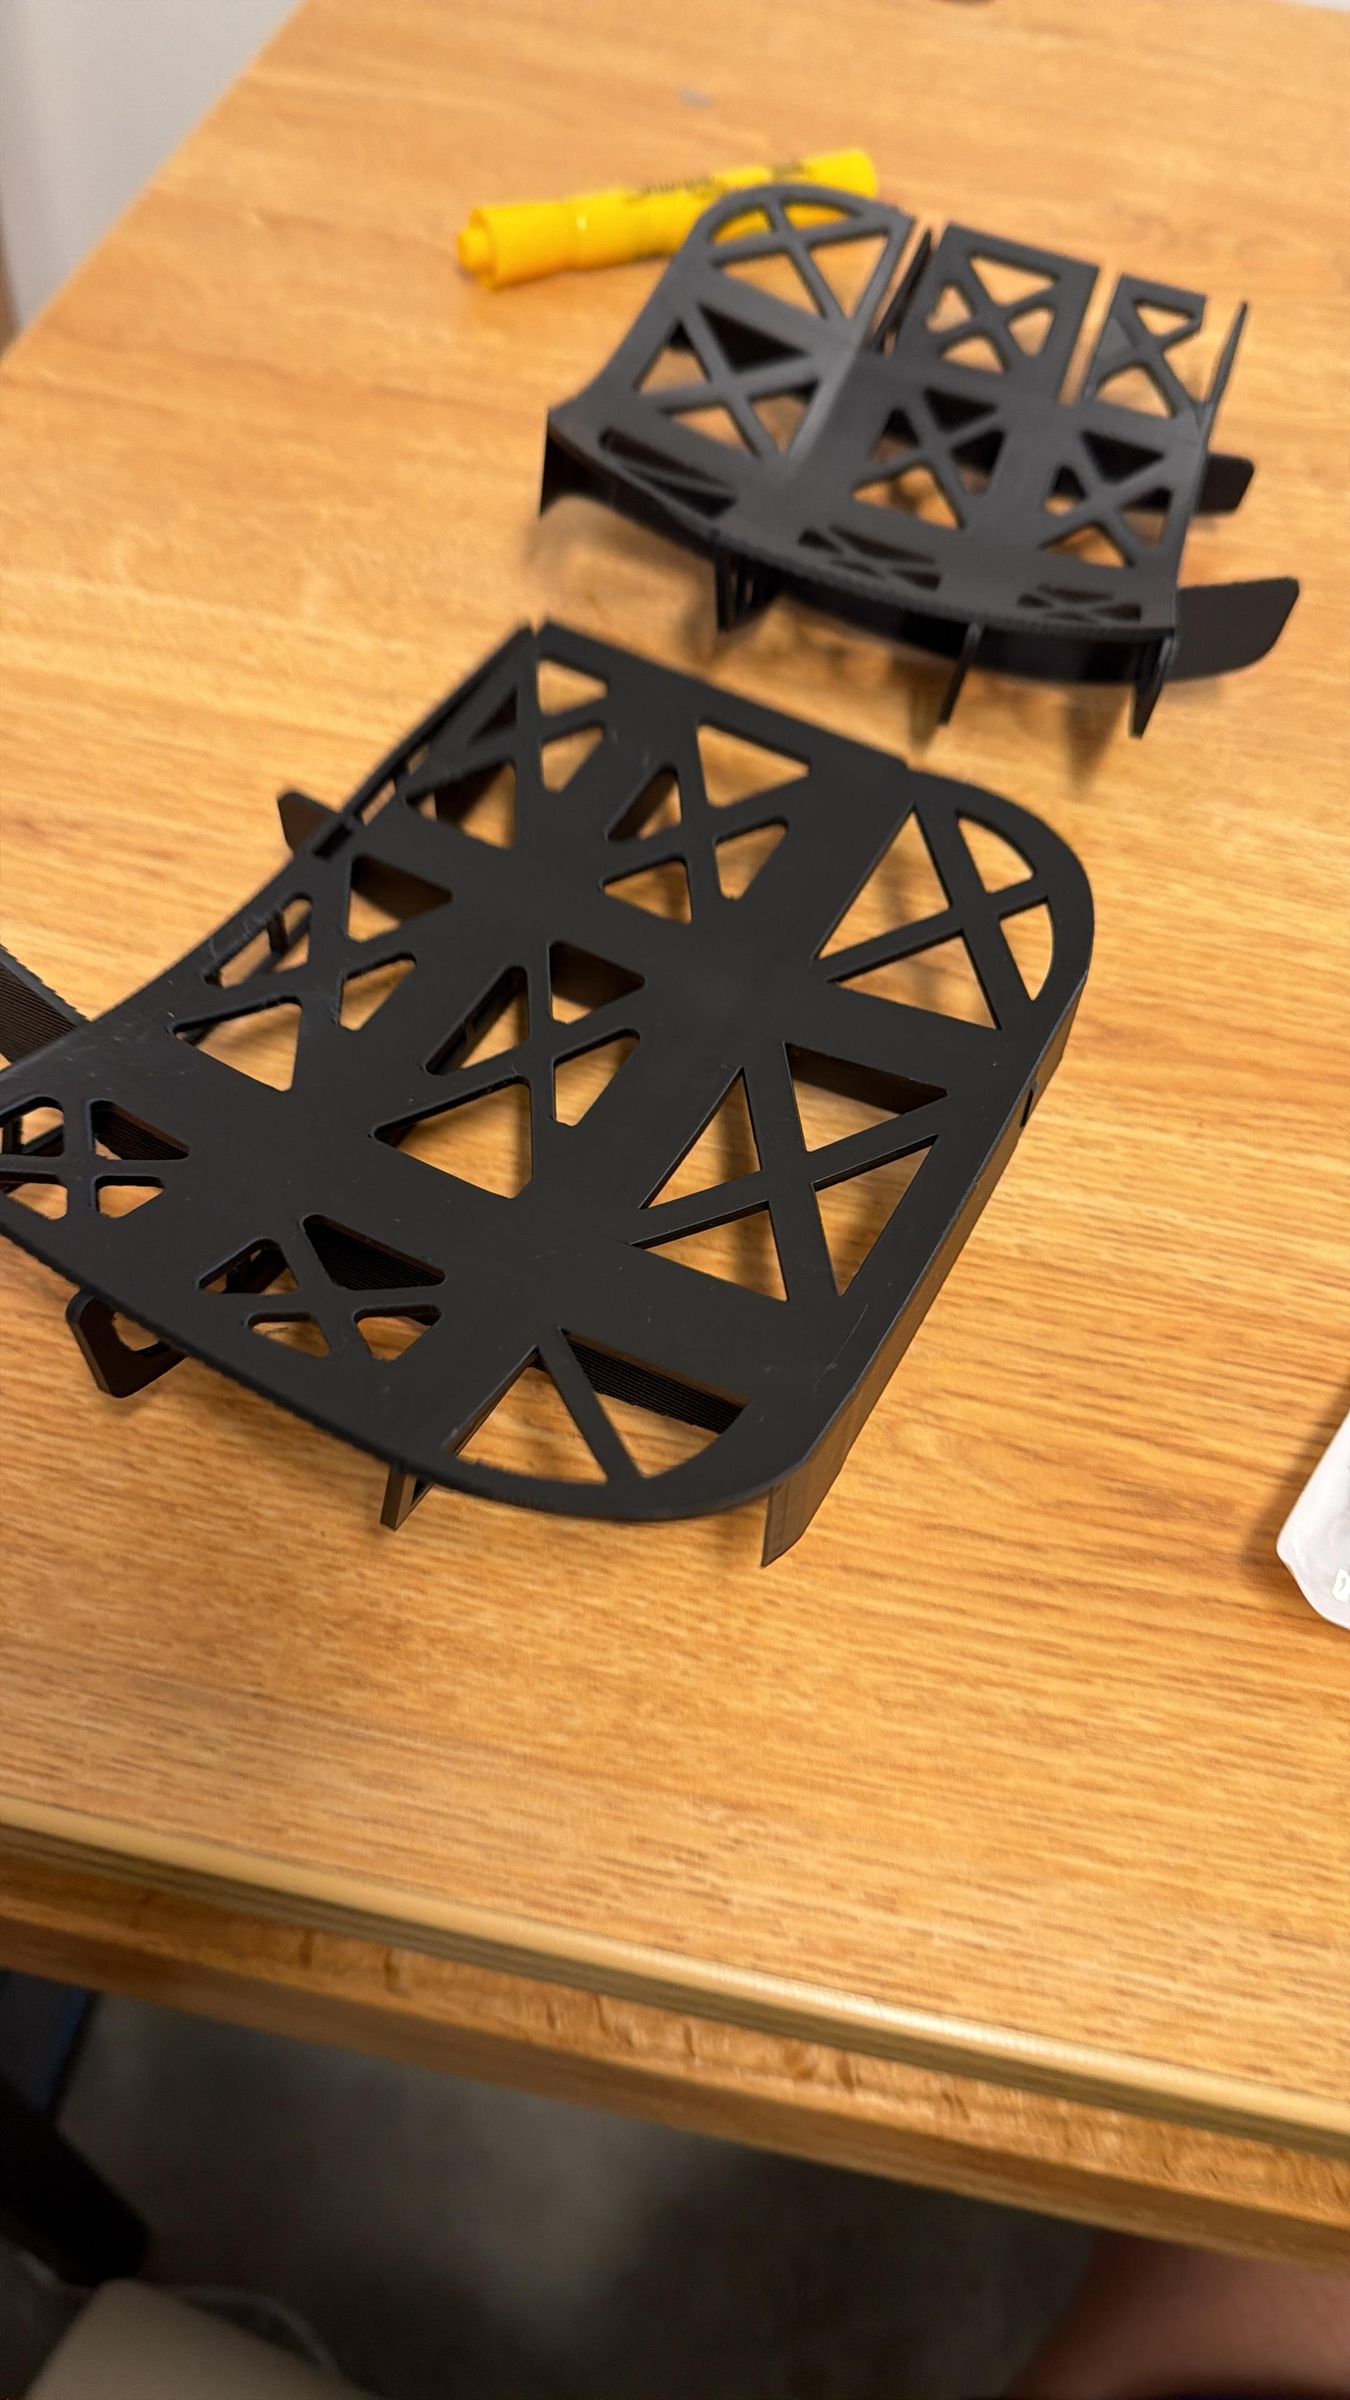
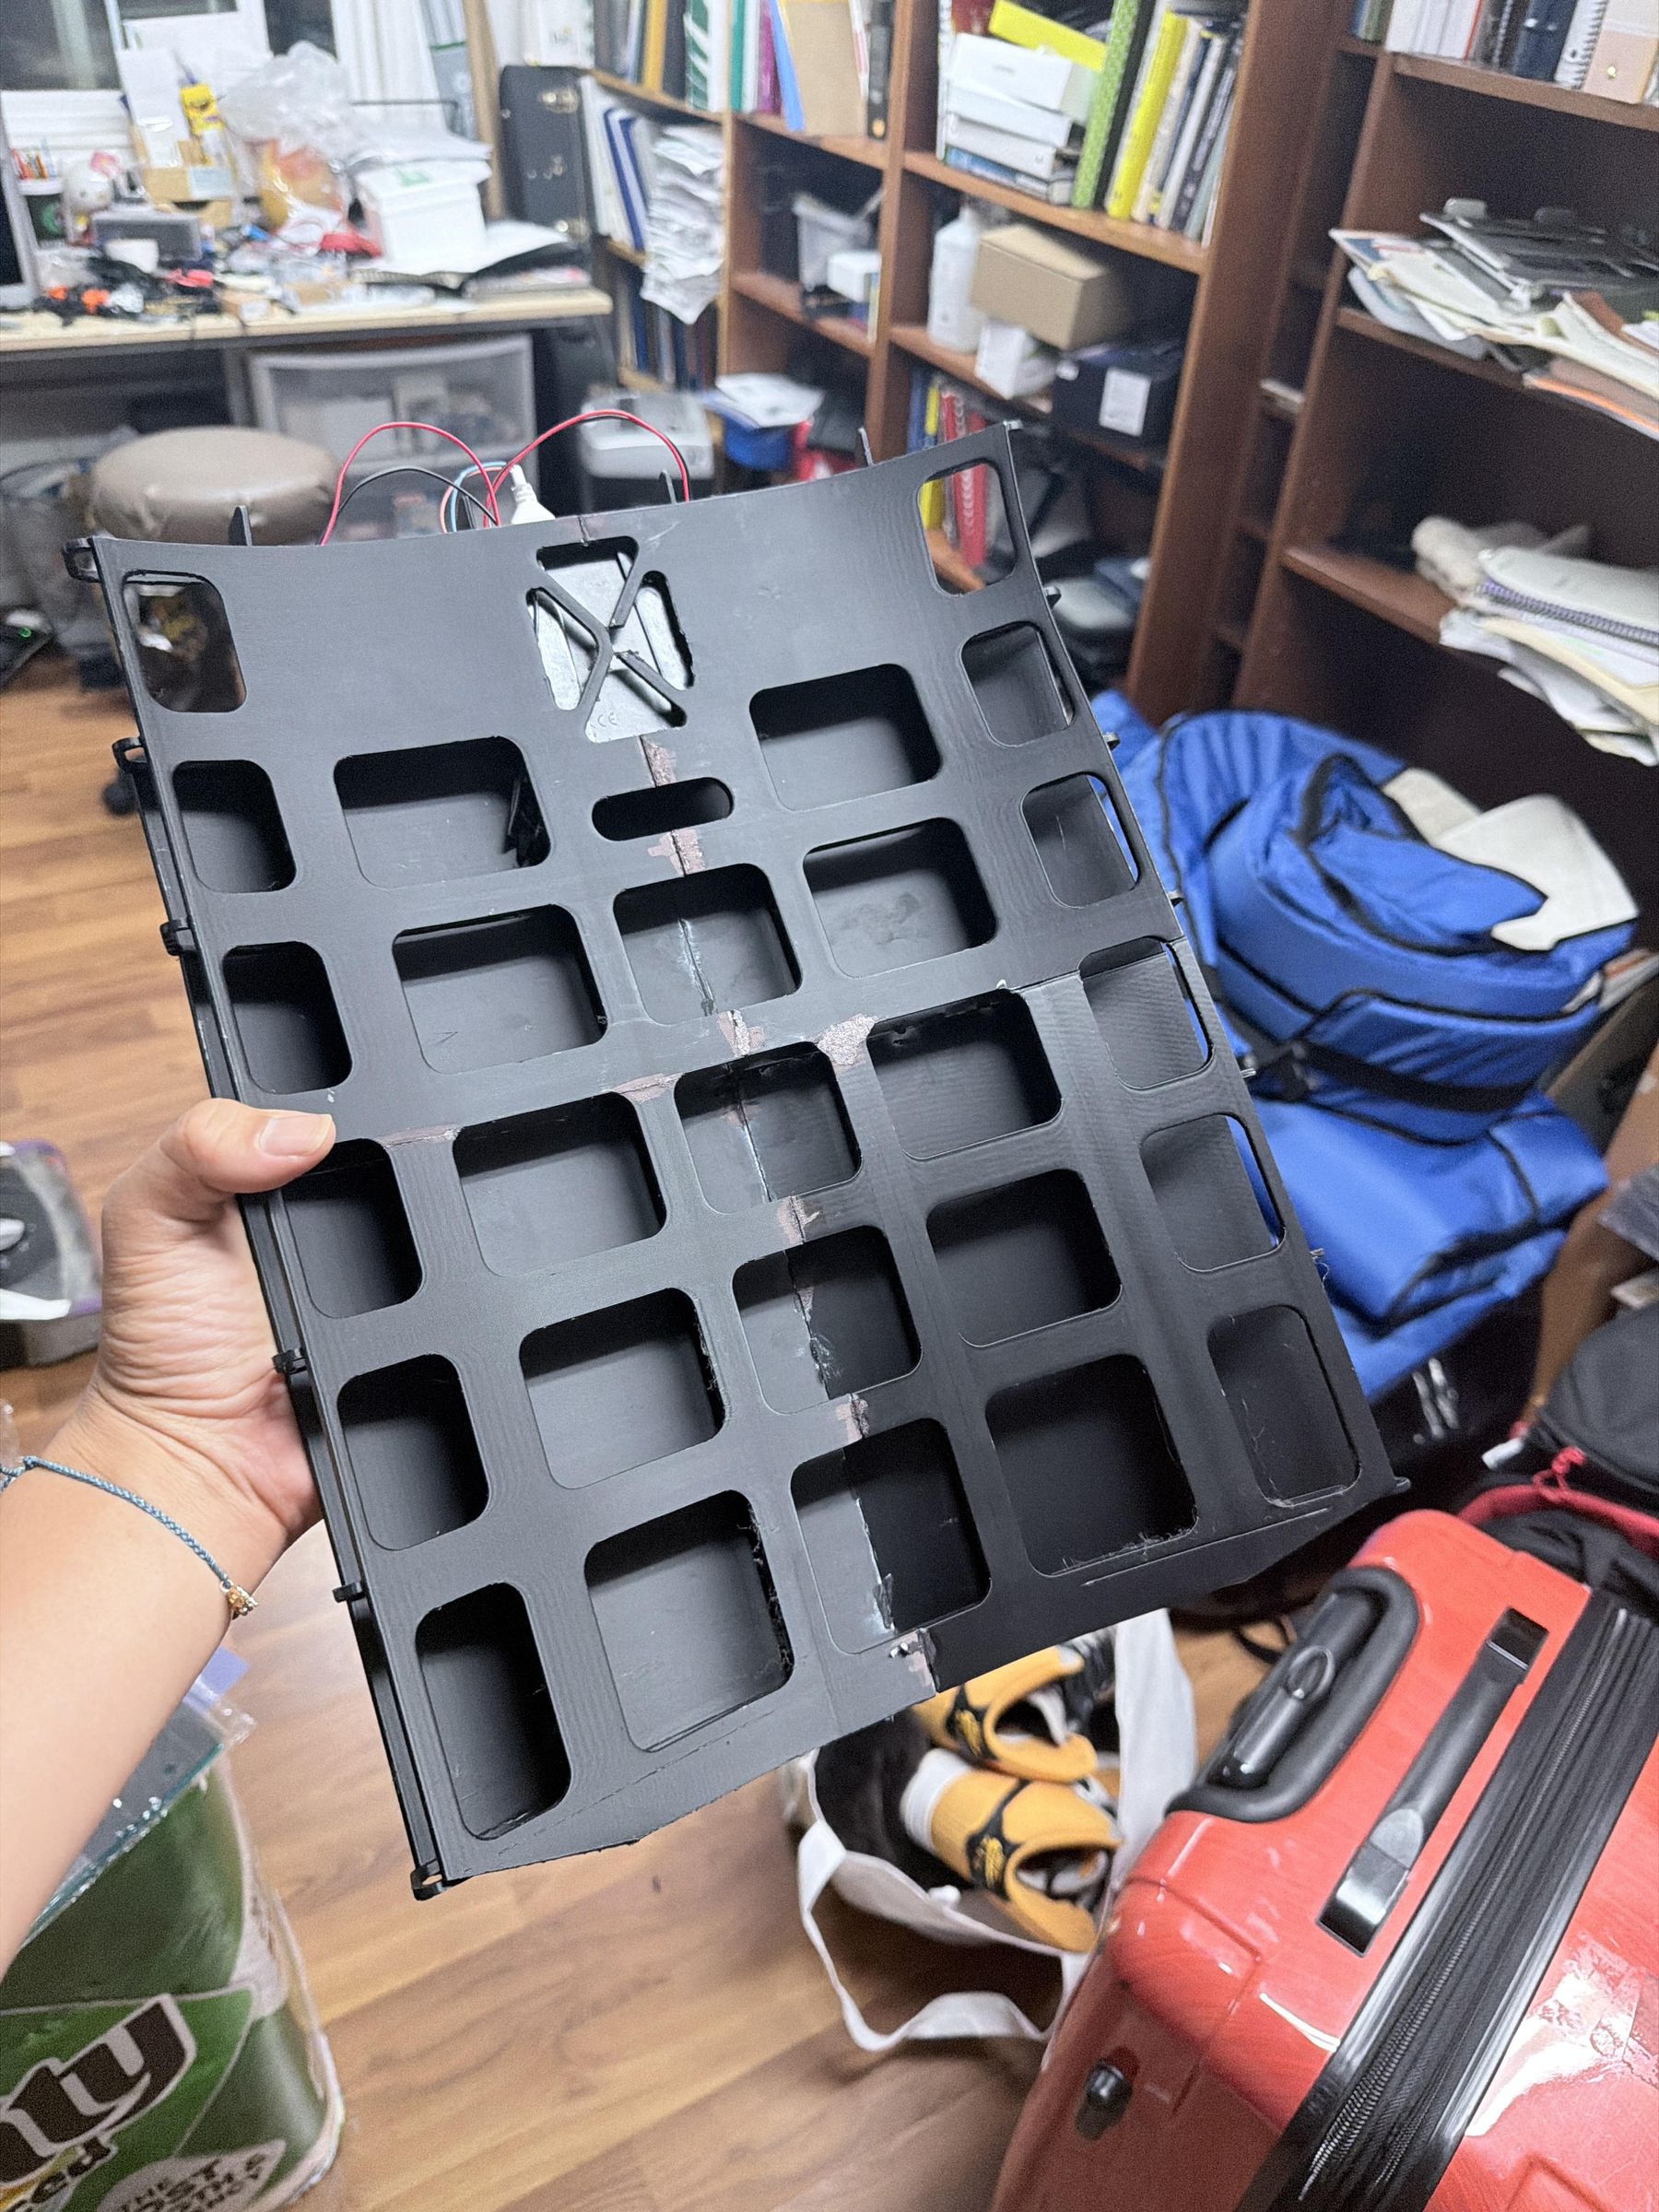
I printed it on a Bambu Lab X1C in PETG.
The obvious first choice is PLA and it would have been a mistake. PLA softens at around 55 to 60 degrees C, and a dark backpack sitting on hot asphalt or in direct San Diego sun passes that easily, since surfaces in full sun regularly hit 60 to 70. The part would sag in the exact conditions it was built for.
PETG softens at around 80 to 85 degrees C, above anything a backpack sees. It is also tougher and more flexible, so it bends to the curve of your back instead of cracking.
Wiring and Mounting
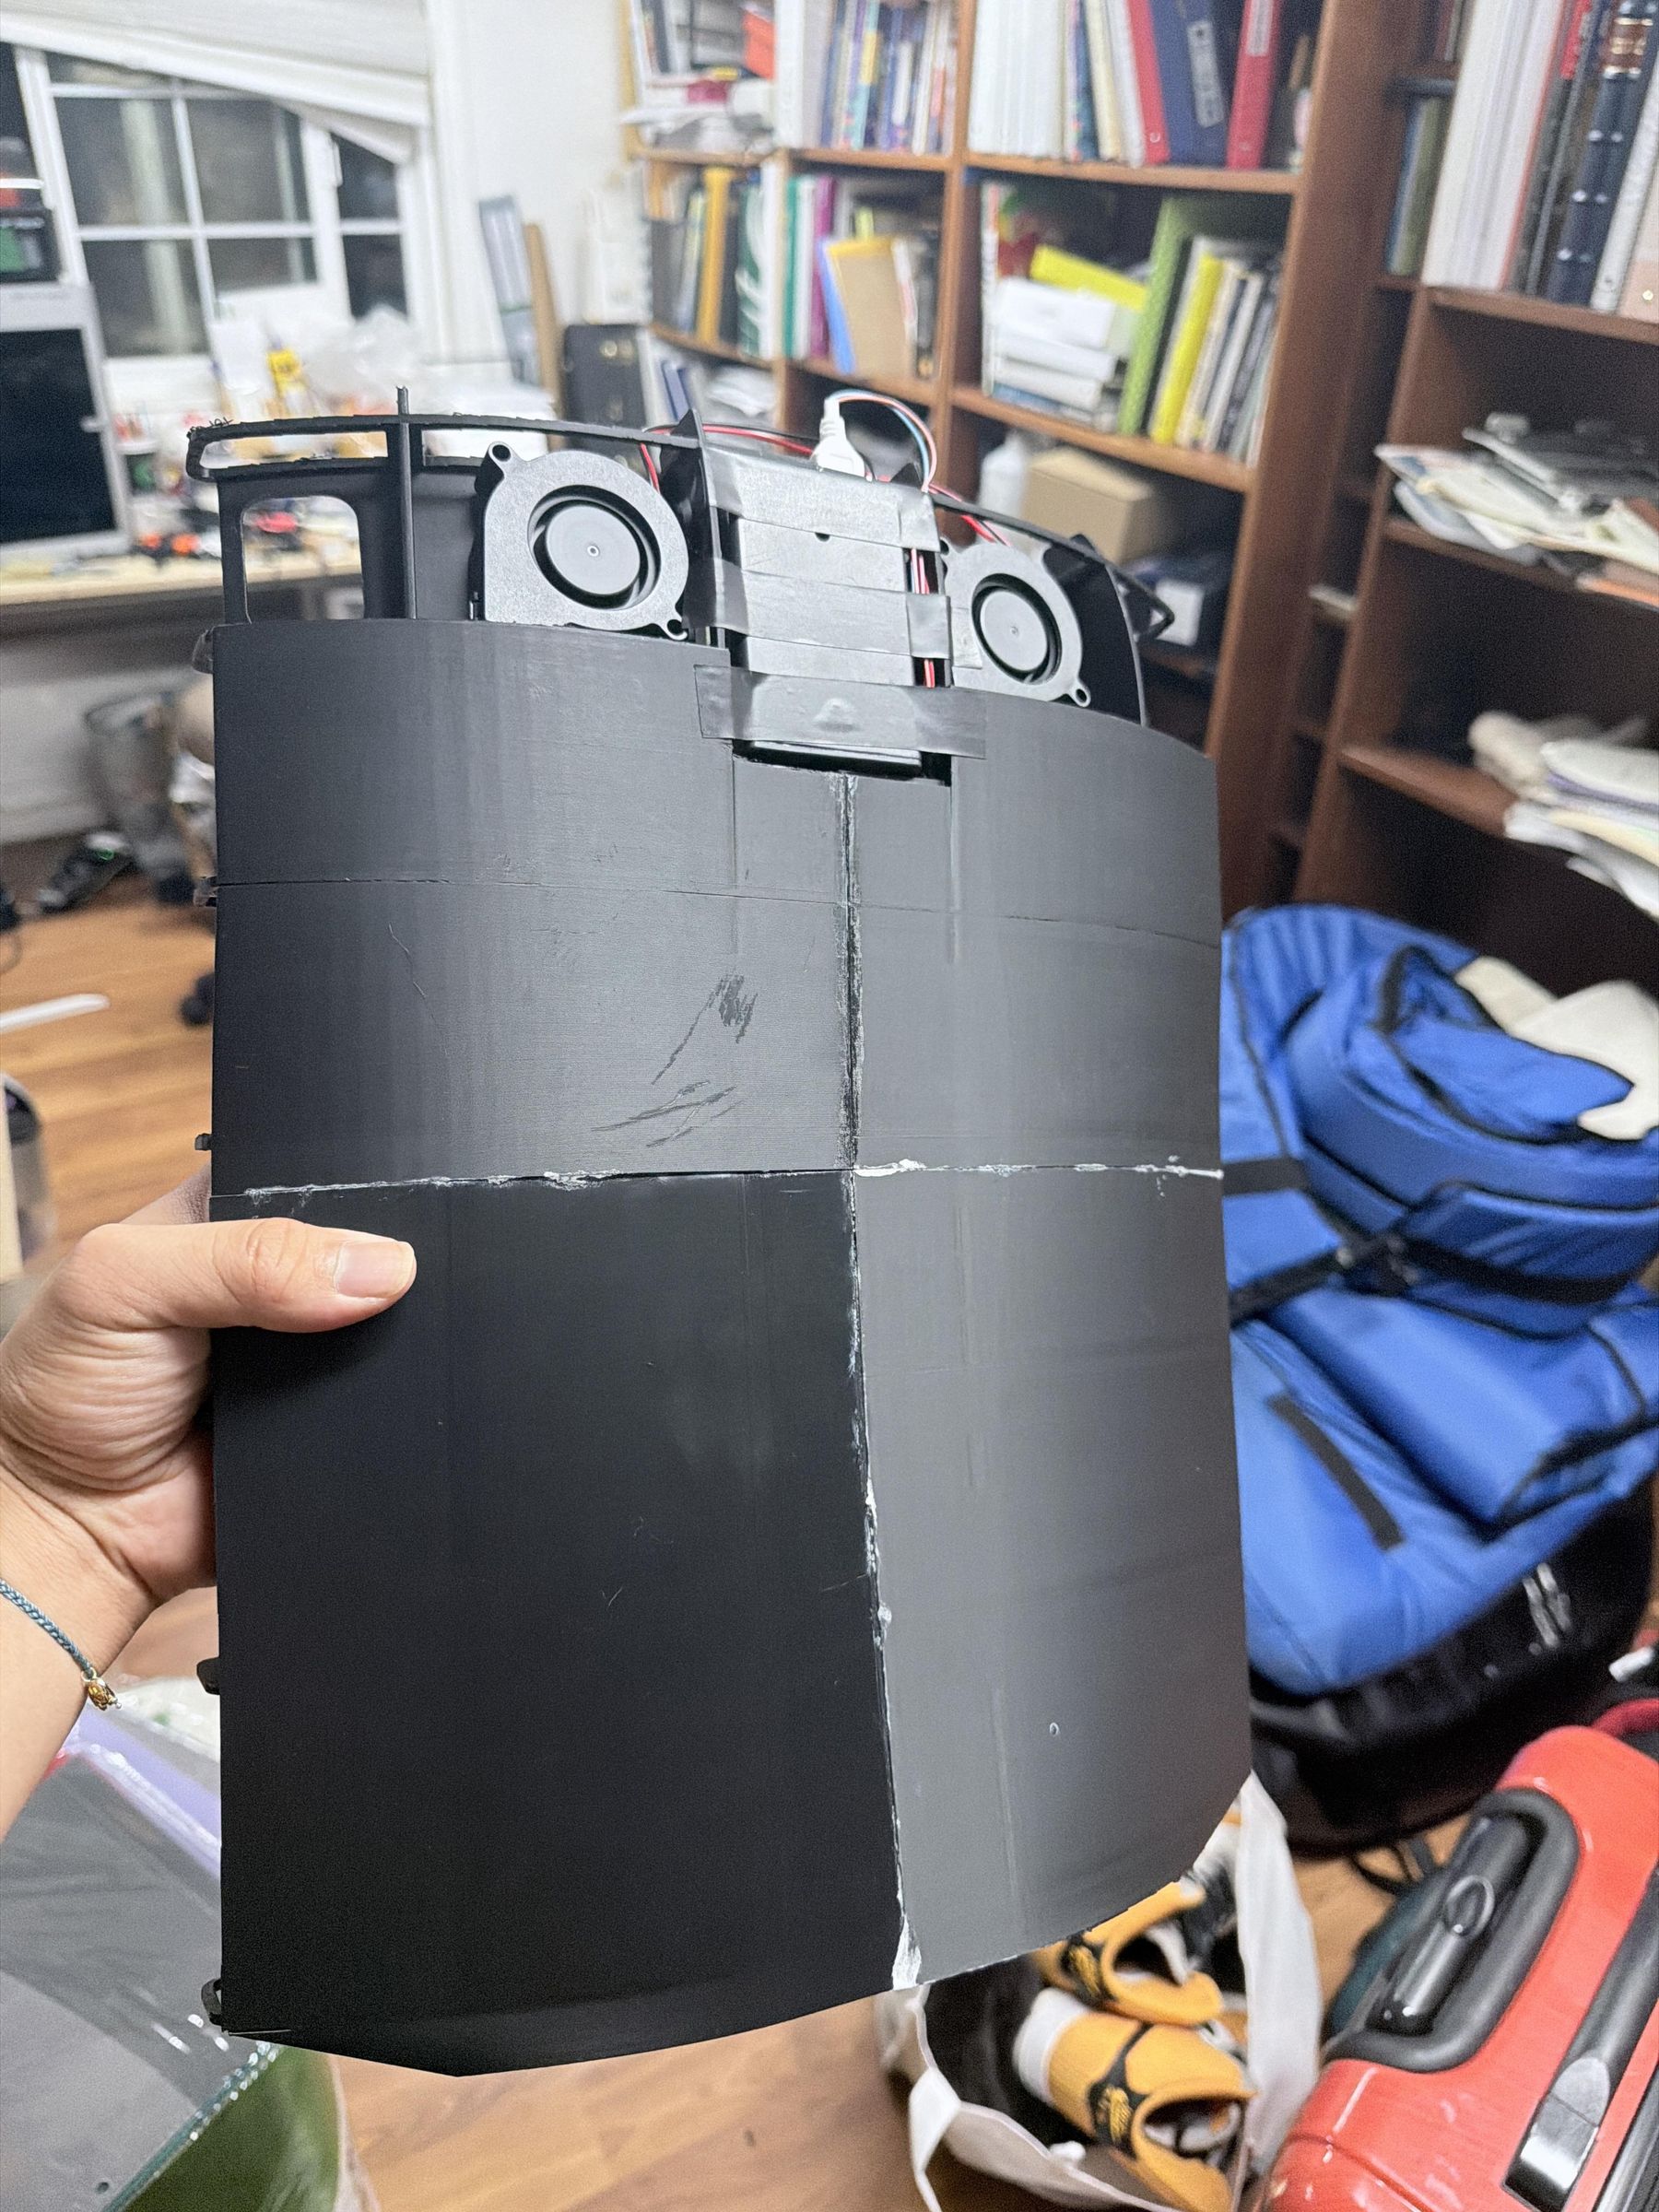
Both fans wire in parallel off the battery pack with a switch on the positive line.
Parallel rather than series. In series each fan gets half the voltage and both run weakly. In parallel both see the full voltage, and the current doubles, which the AAs handle.
Three alkaline AAs put out about 4.5V and the fans are rated for 5V, so they run slightly under. That is the safer direction to be off in, because undervolting makes a fan spin a little slower and quieter while overvolting wears the bearings. Runtime is about 4 to 6 hours.
For mounting I used adhesive velcro, hook side on the spacer and loop side on the back panel of the bag. Velcro means it works on any backpack, comes off when I want to wash the bag, and needs no drilling or sewing.
Testing
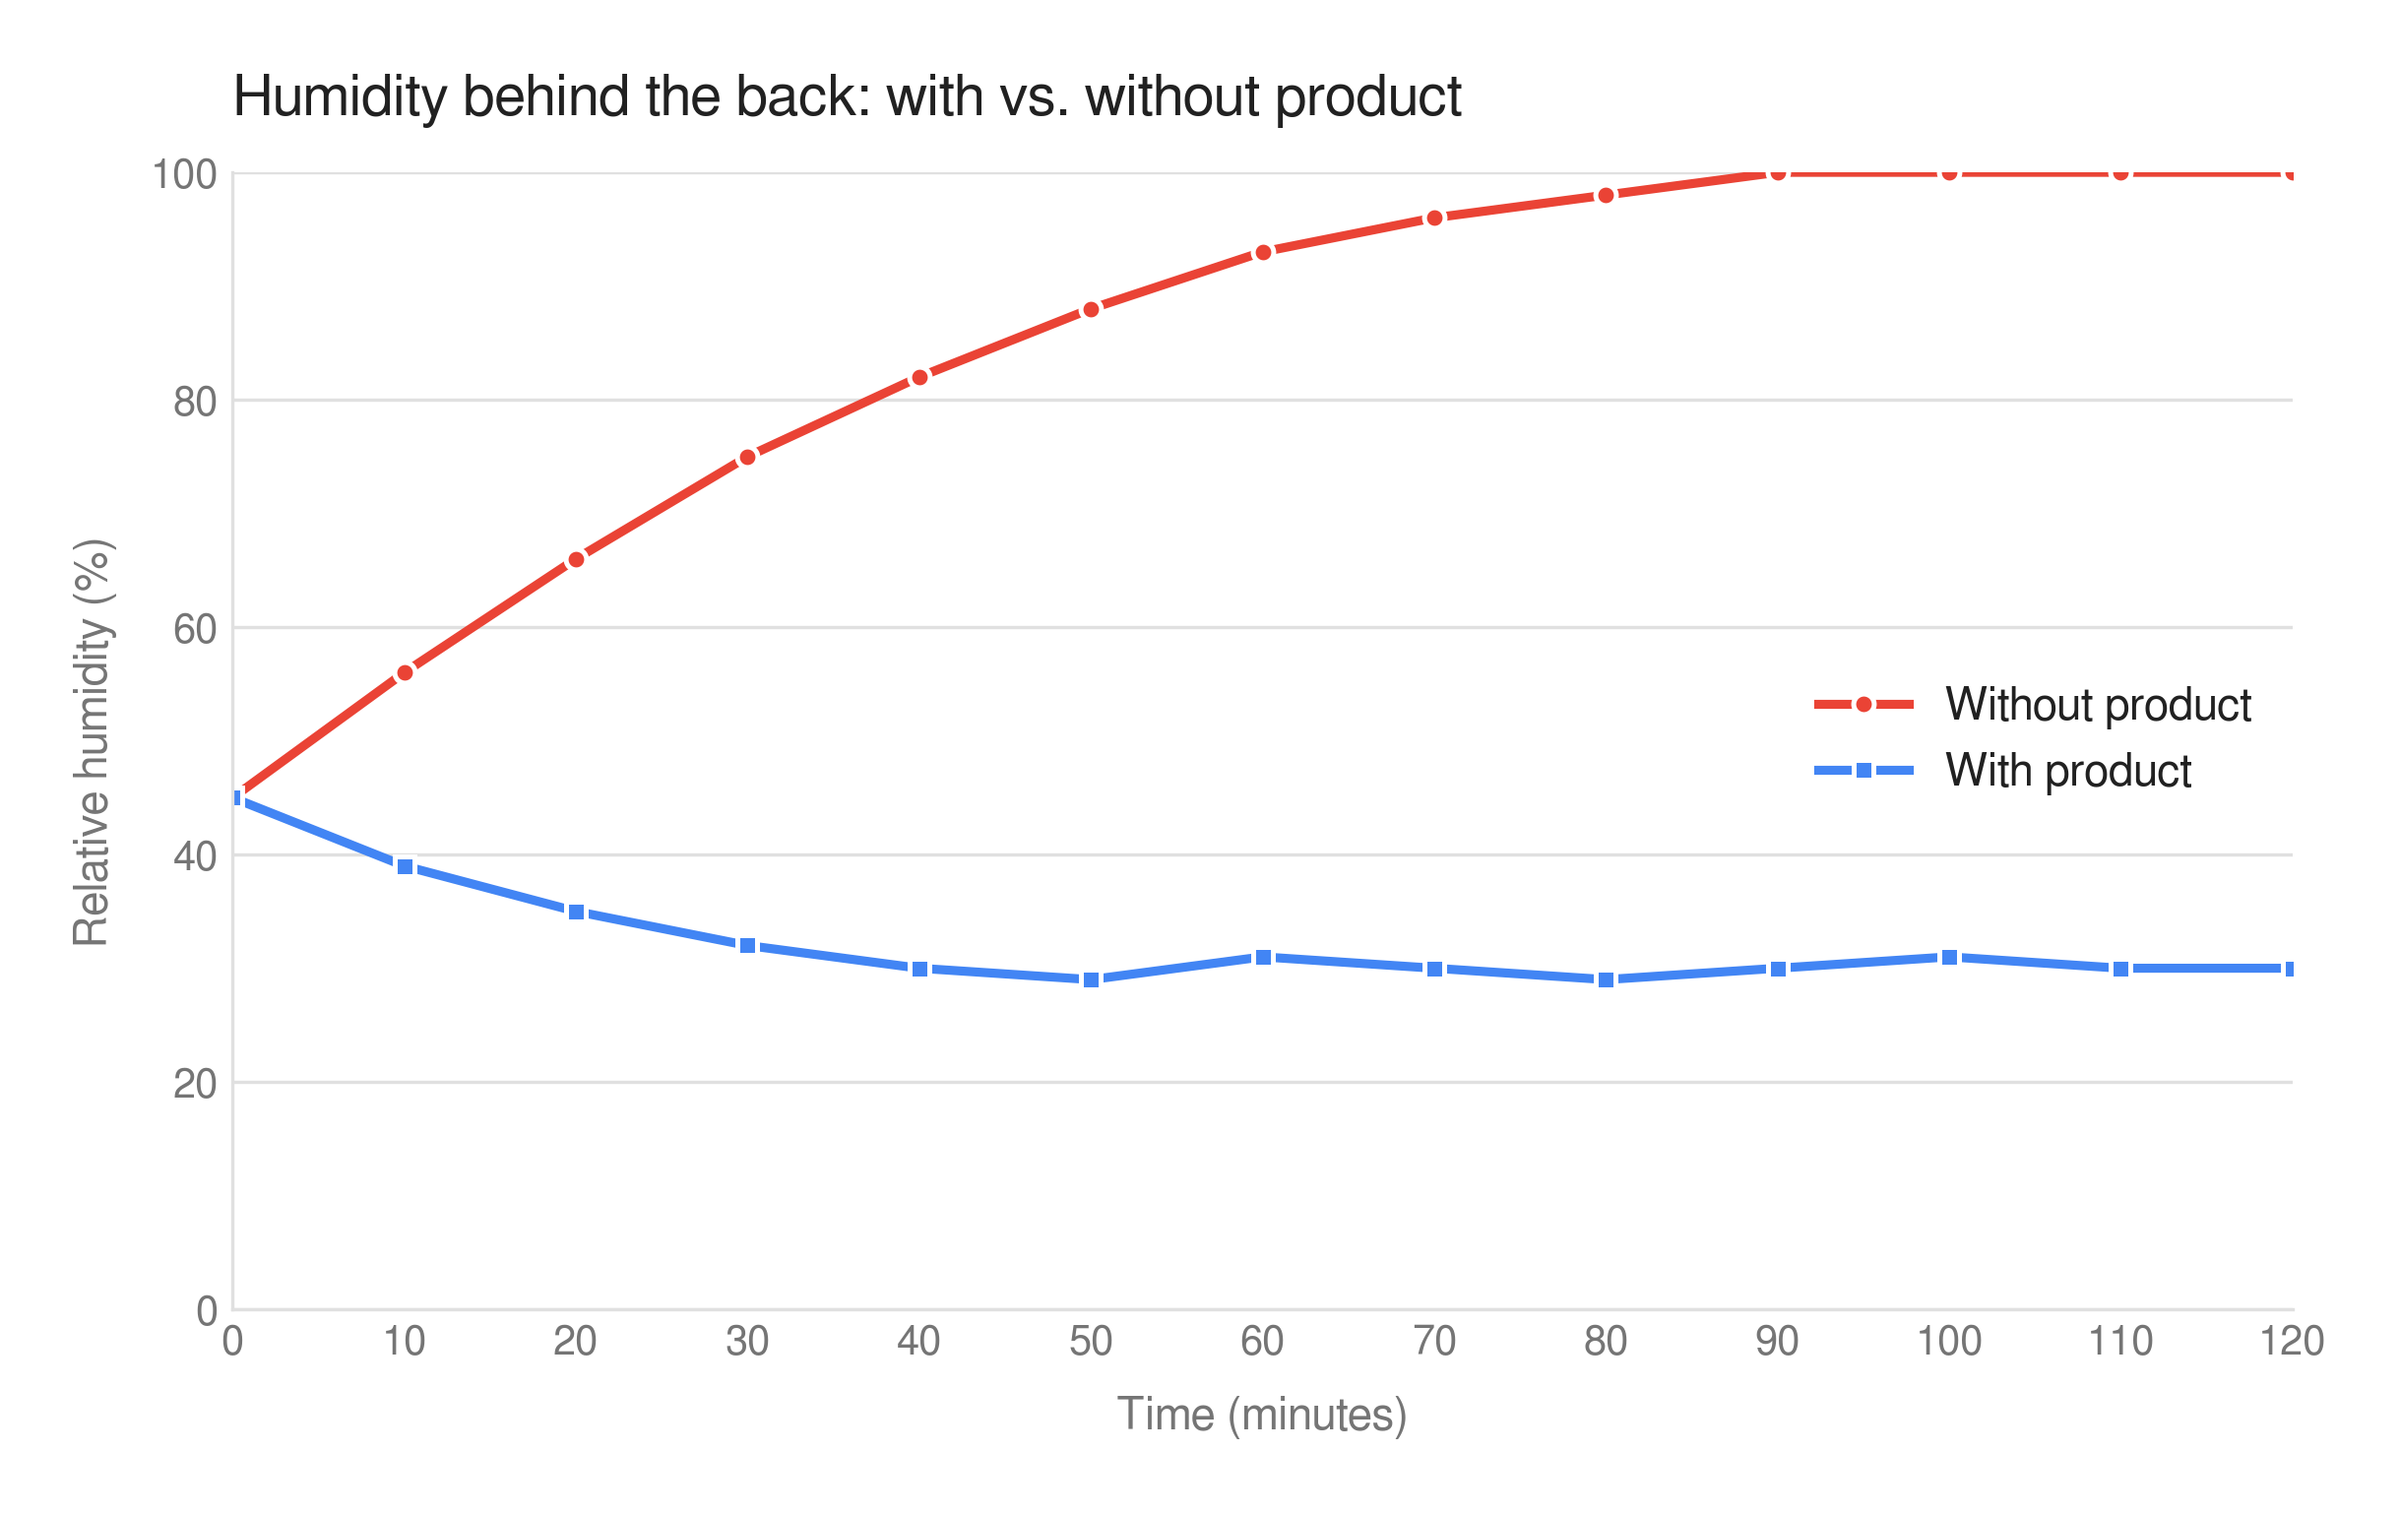

Test setup: the same two hour walk, same route, both runs on the same day.
Results: as the chart shows, the humidity between the backpack and my back dropped sharply with the fans running, and my back was completely dry at the end of the walk.
Limitations: I only ran this test once.
Next version: I would curve the panel to match a back instead of relying on the PETG flexing, add speed control so it can run quiet indoors, and switch to a USB-C power bank instead of AAs.