Fully Cardboard Iron Man Helmet With a Cardboard Opening Mechanism
by Rostislav48 in Craft > Paper
361 Views, 4 Favorites, 0 Comments
Fully Cardboard Iron Man Helmet With a Cardboard Opening Mechanism


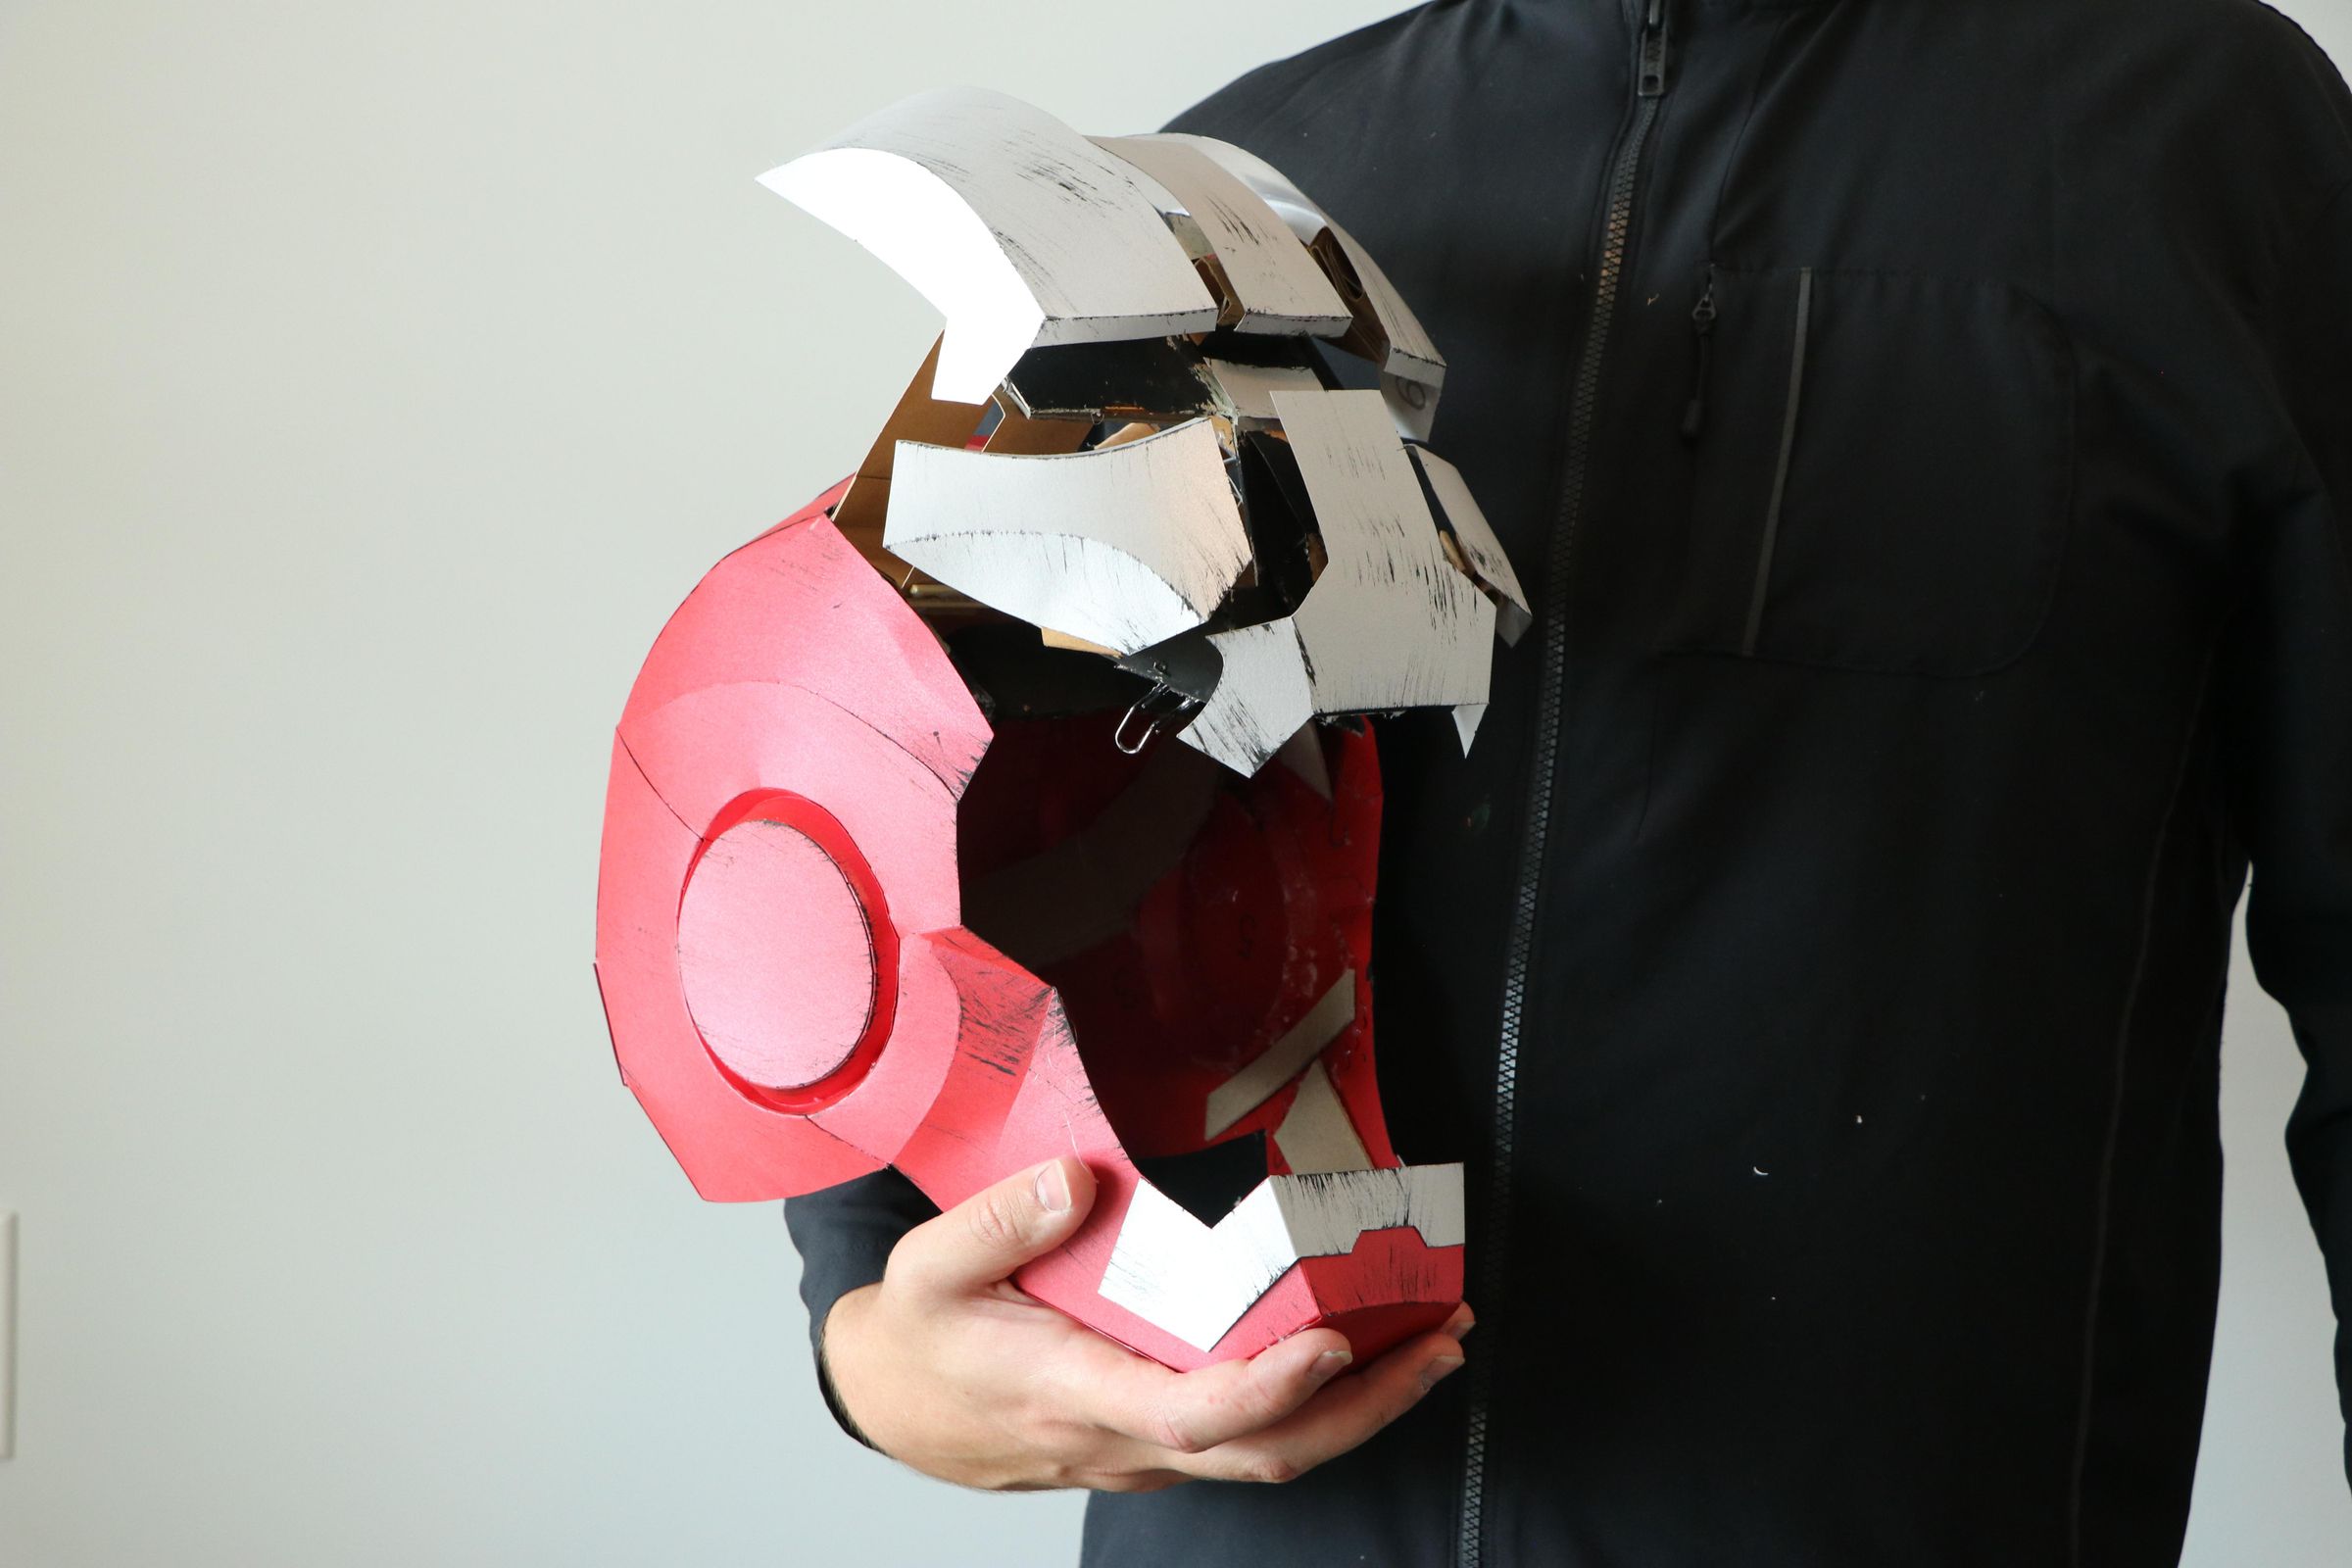
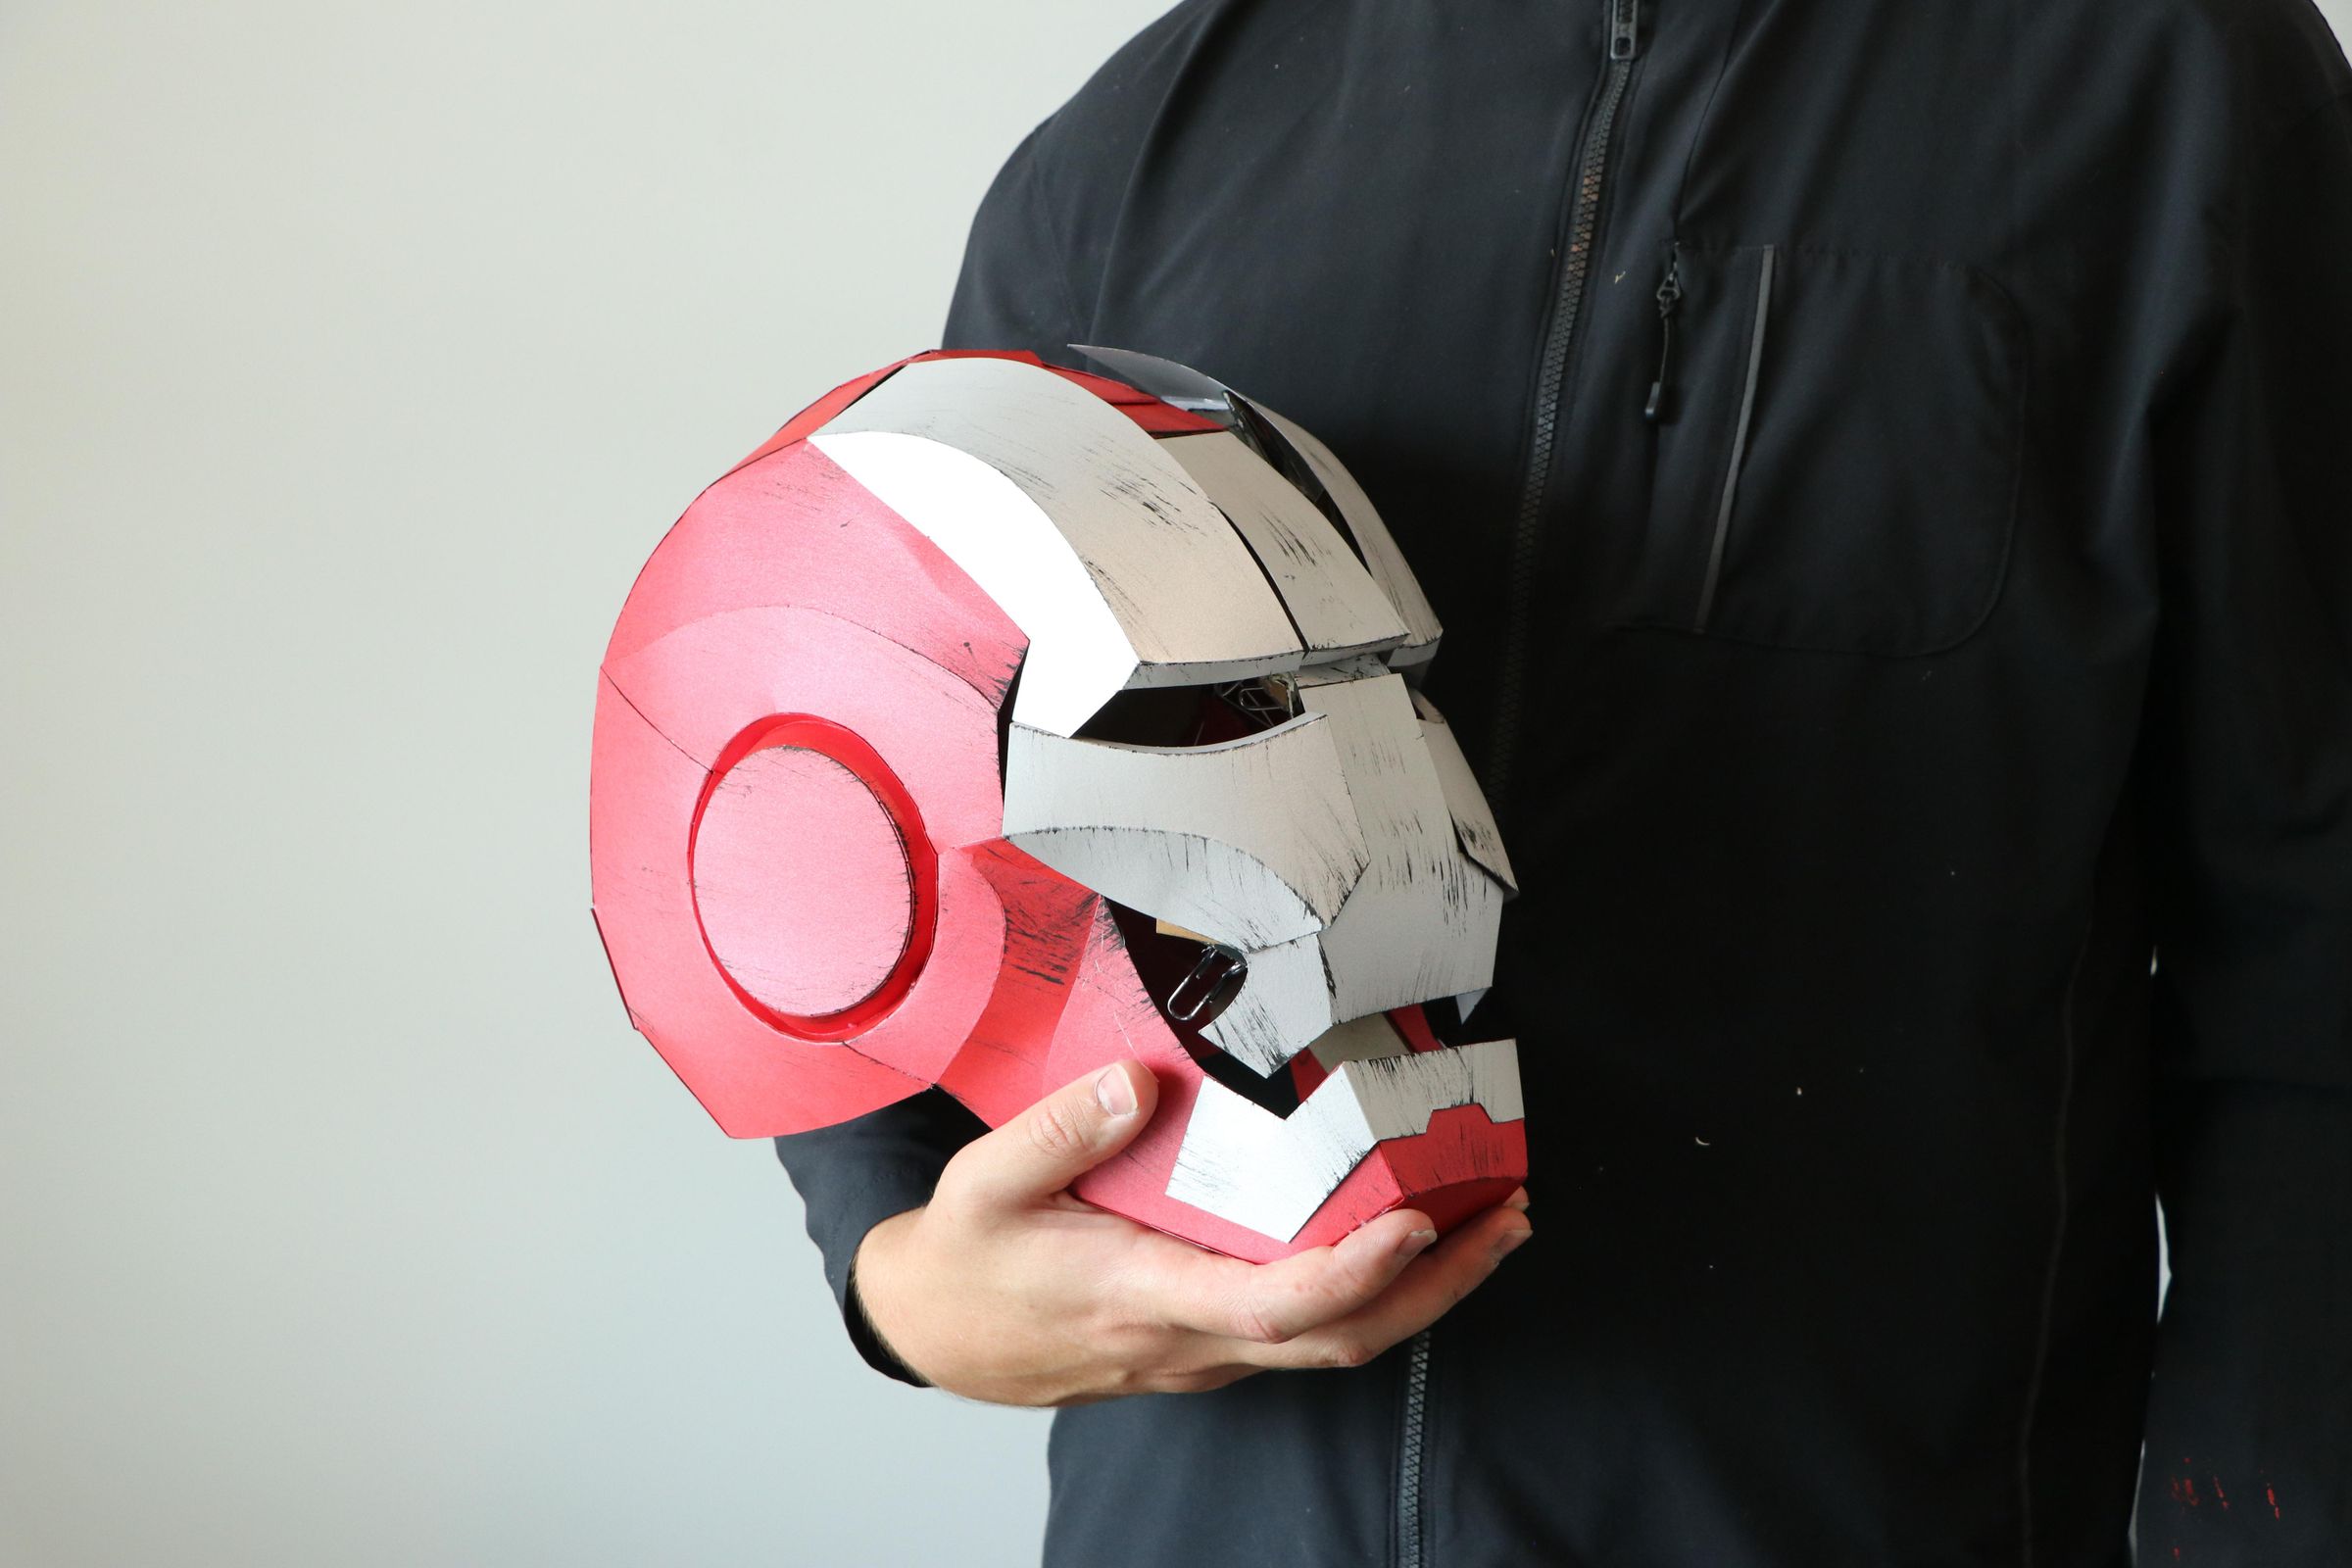
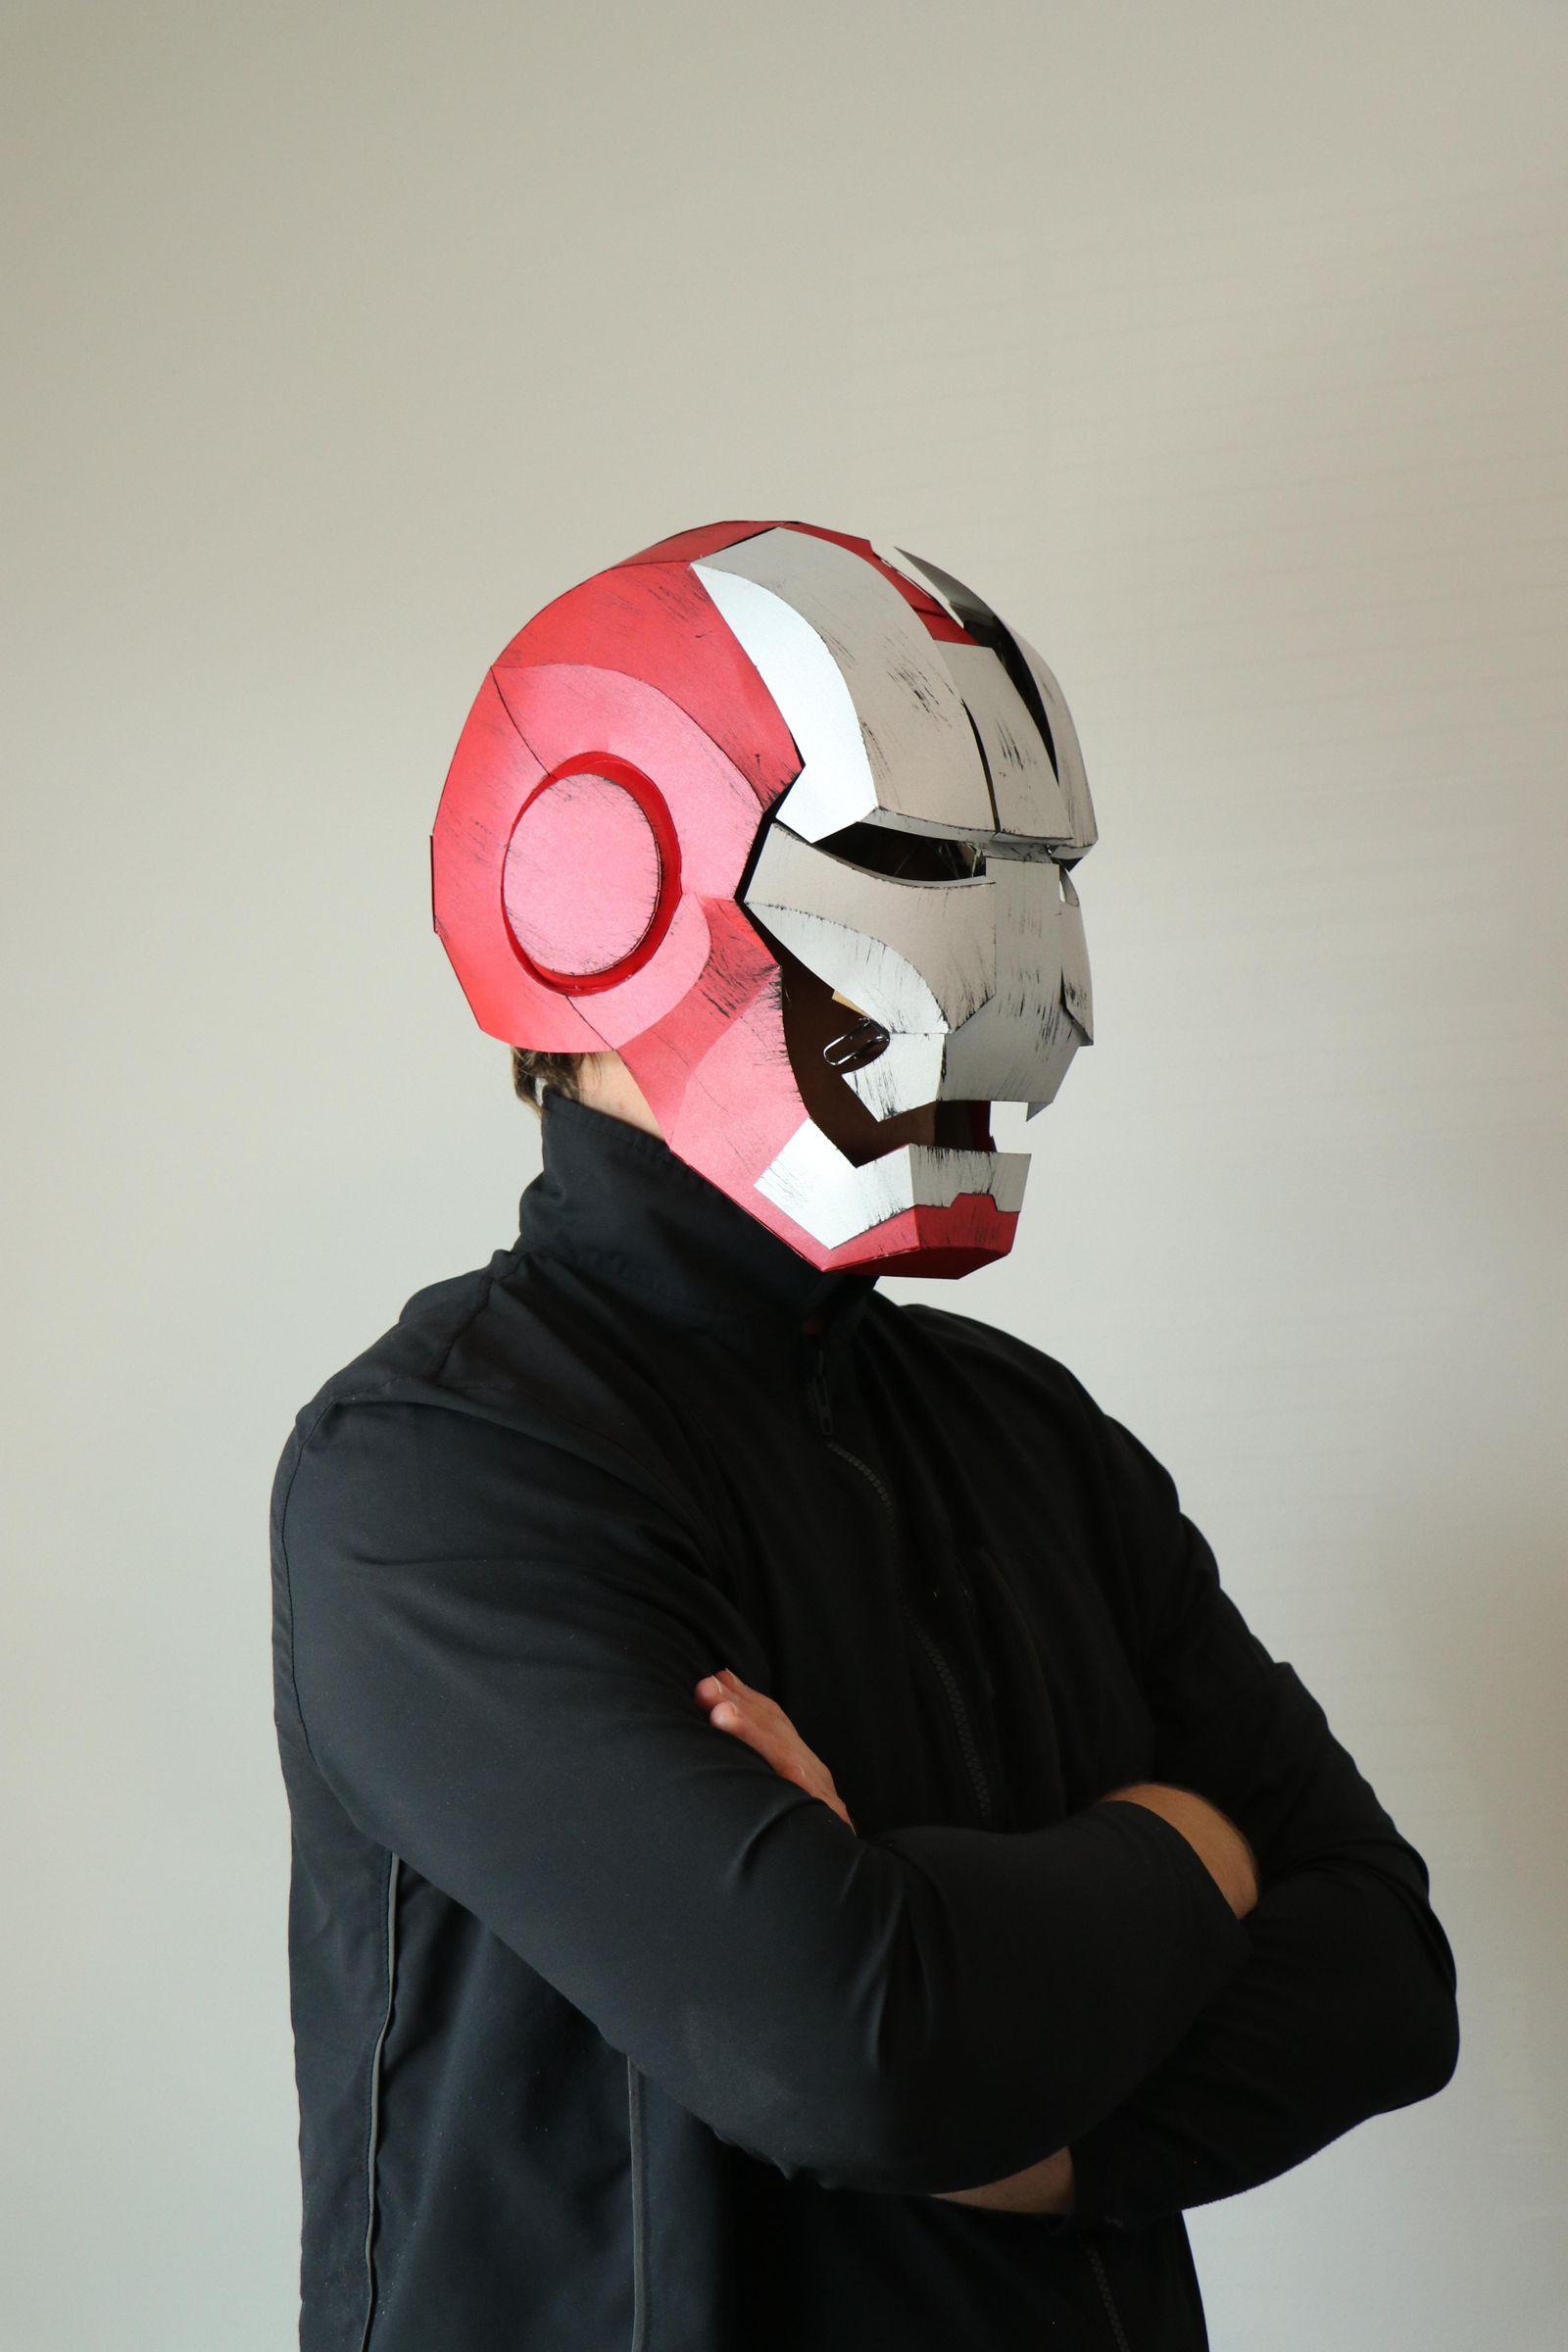
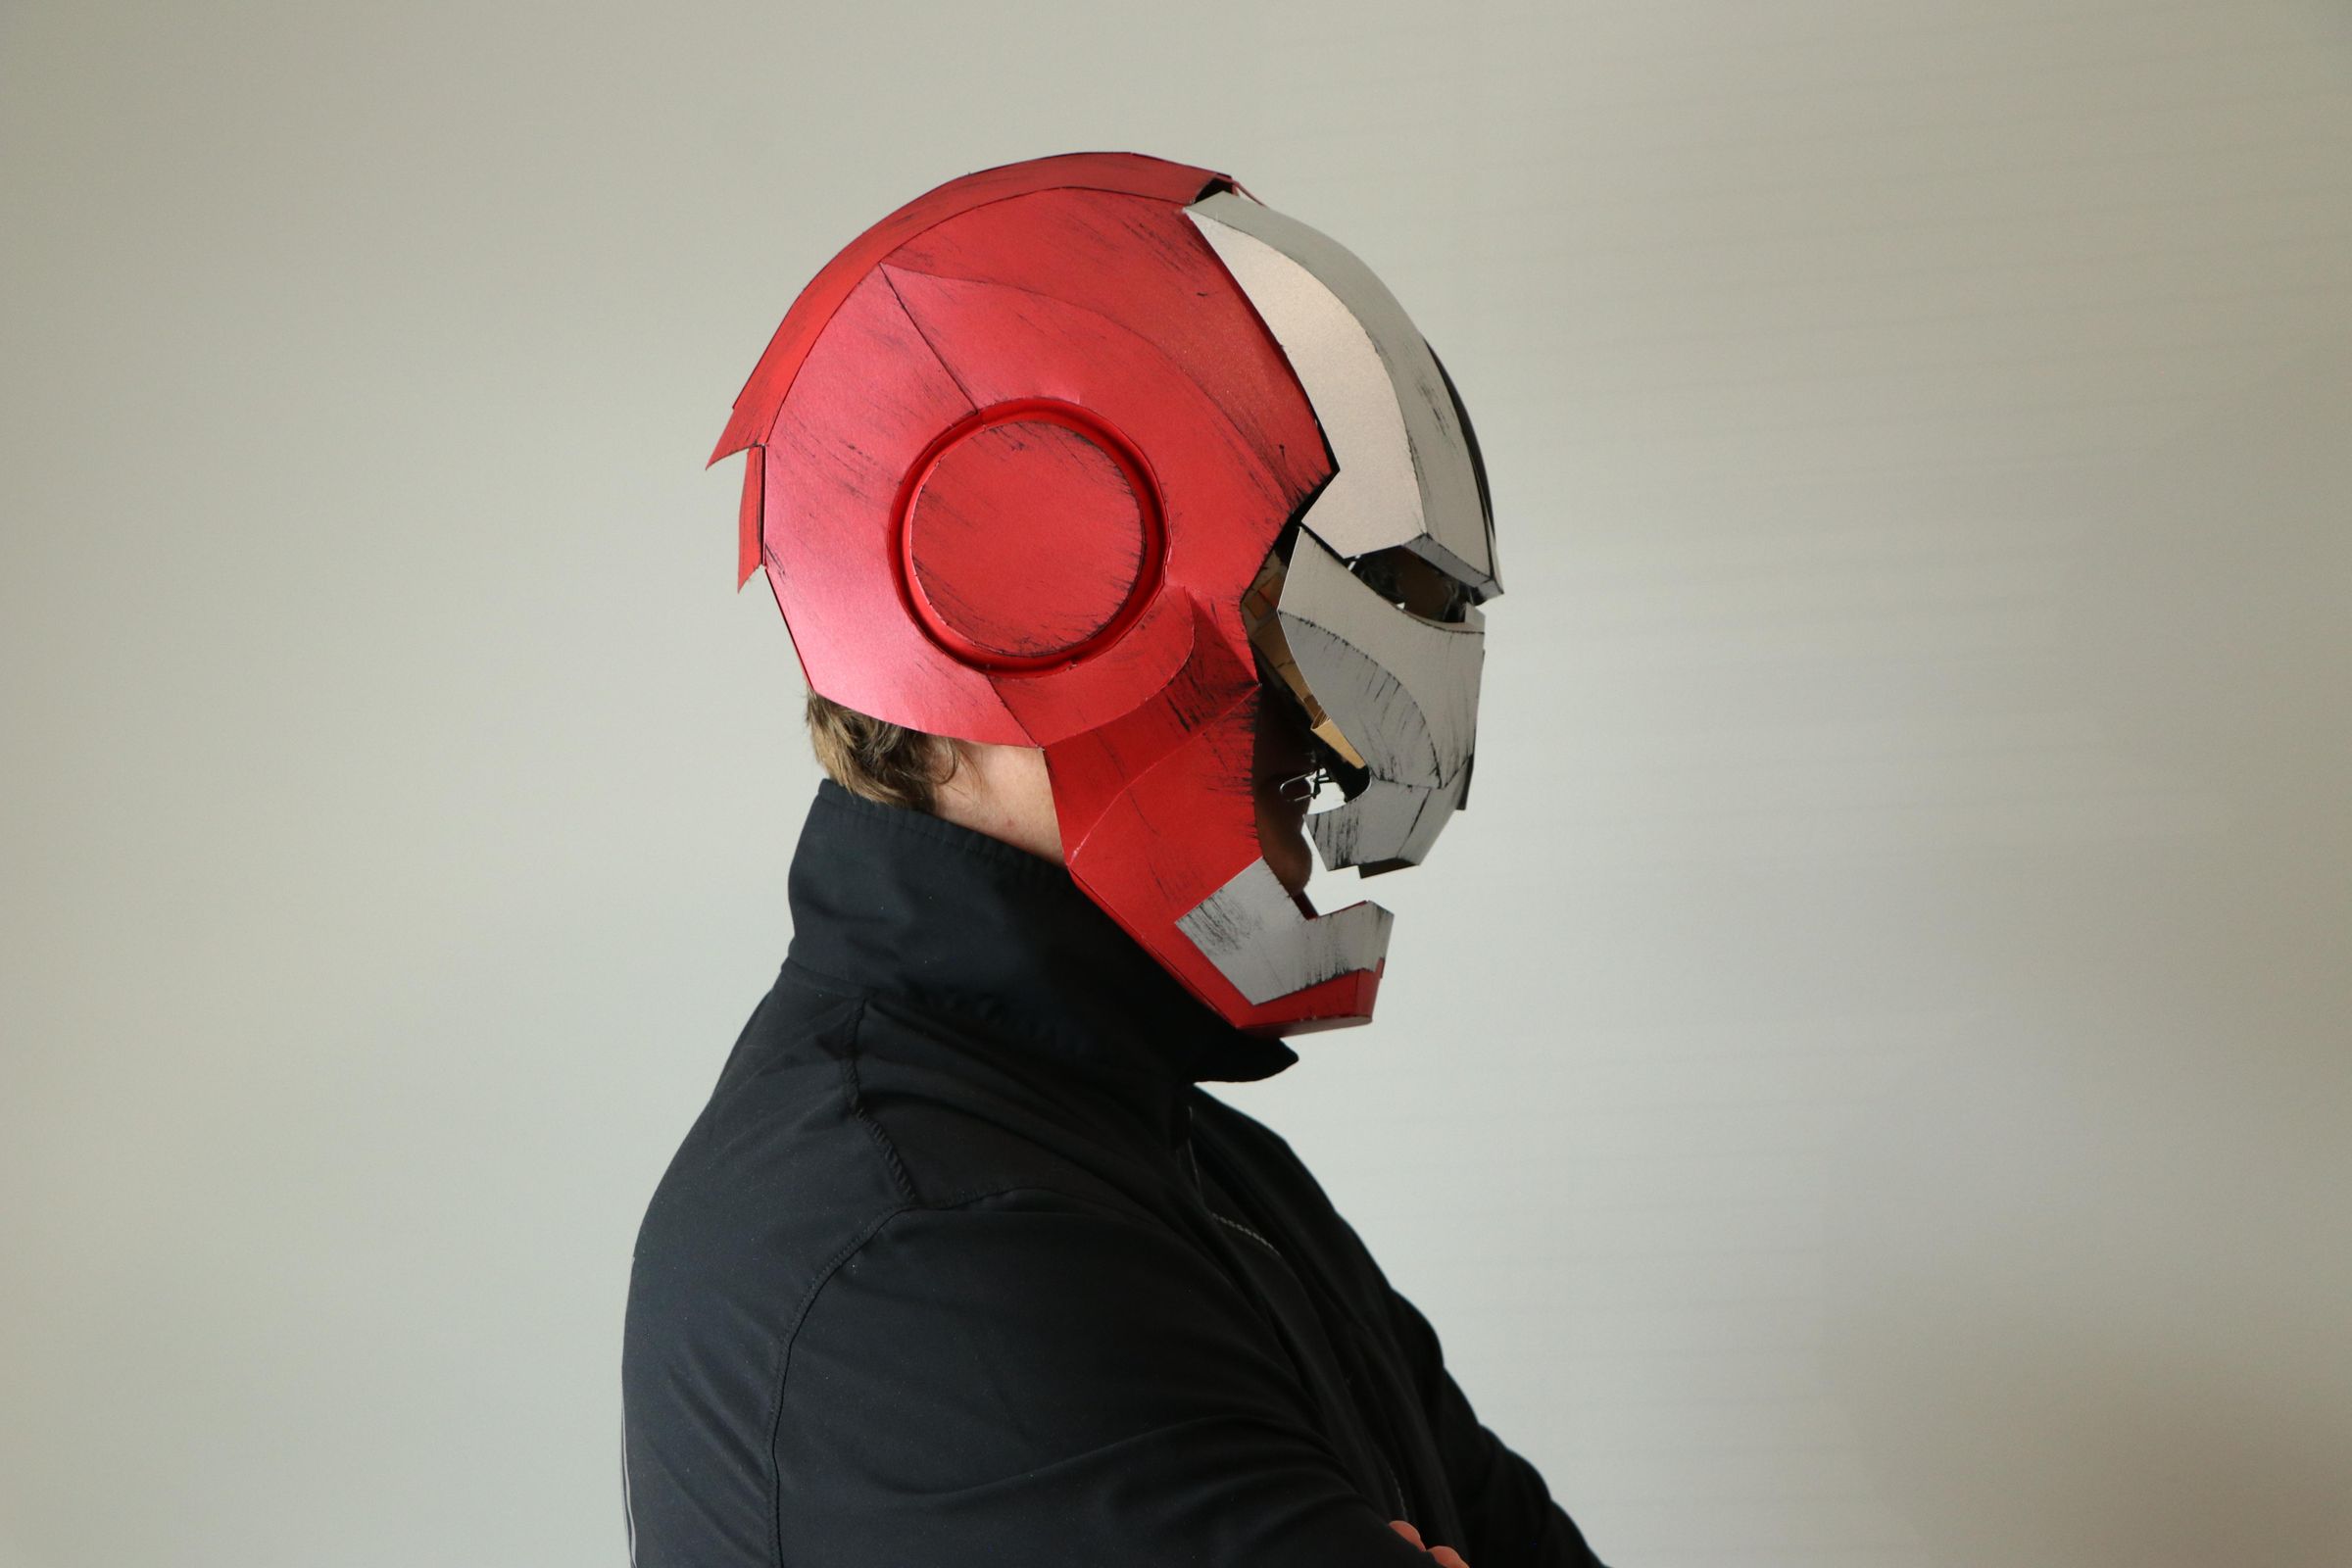

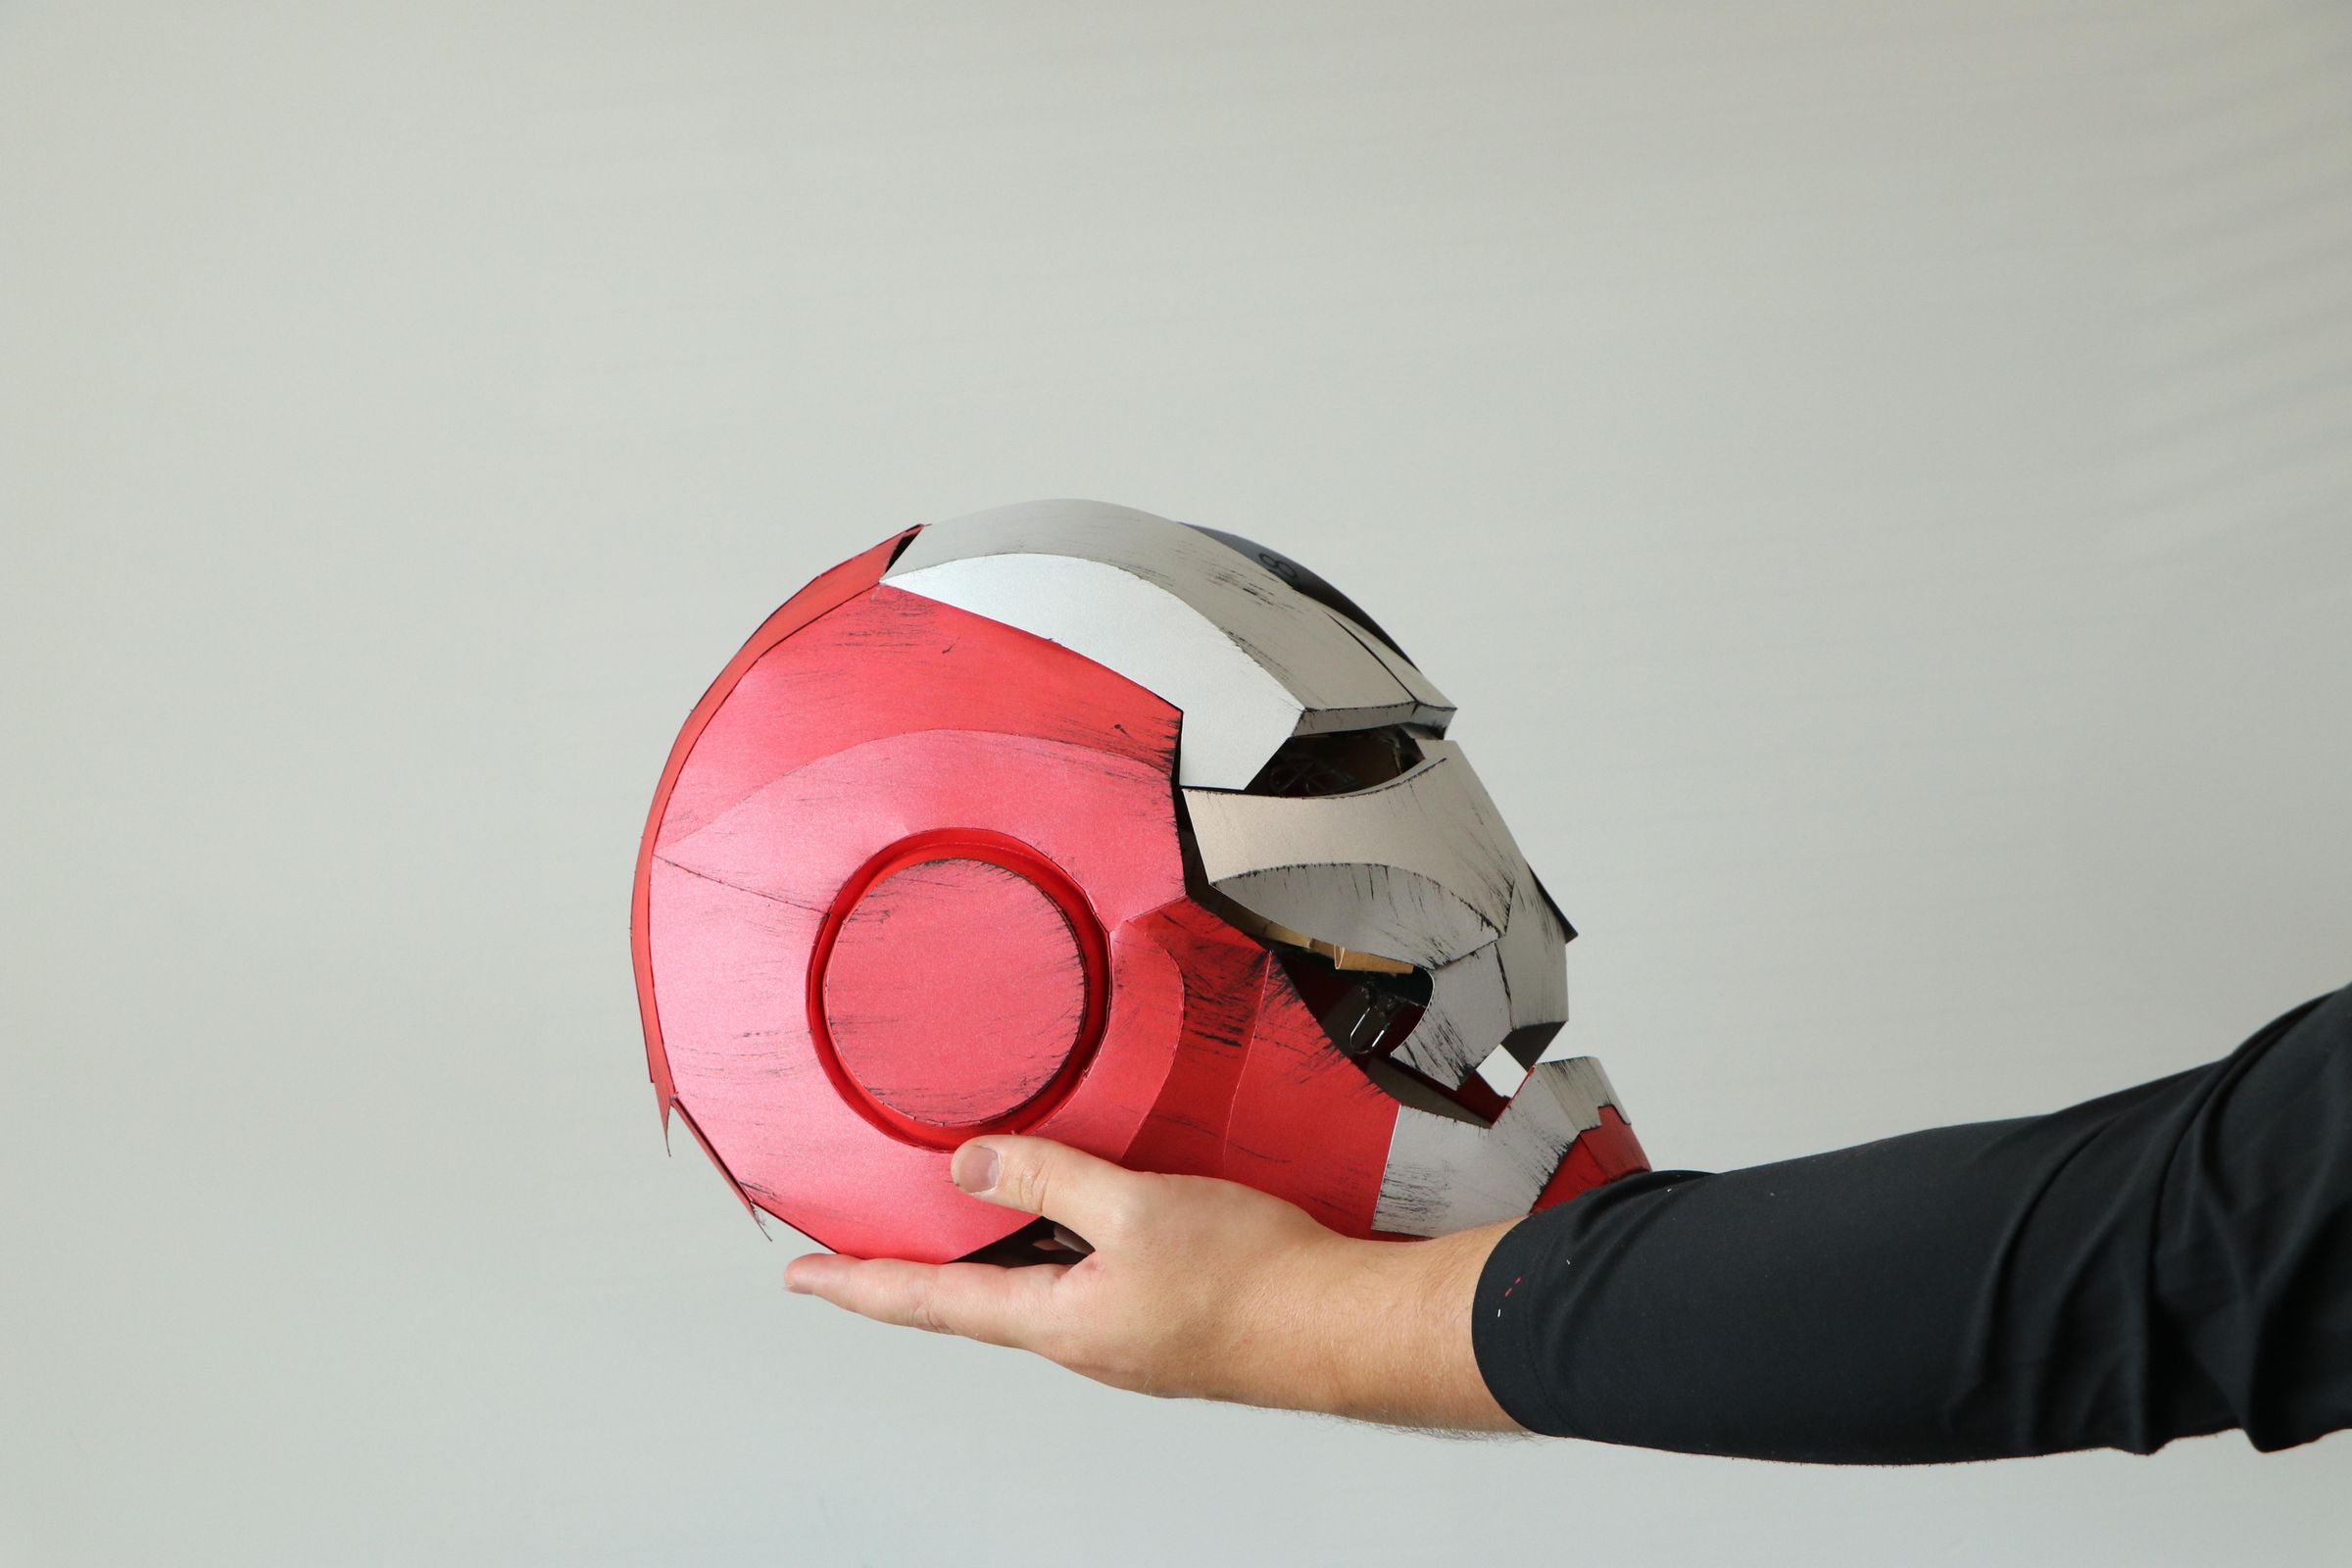
In this project, I’ll show you how to build an Iron Man helmet from cardboard with mechanically opening panels.
This is an advanced and very rewarding cardboard project that combines papercraft with simple mechanics. The moving panels make the helmet much more interesting than a standard static model.
This project can also teach you a lot about simple mechanical design using cardboard. It uses a simple but functional mechanism for controlling multiple moving elements, as well as the principles of a bistable mechanism with two stable positions — open and closed. Several mechanical elements interact with and depend on each other, making this a great project for understanding how even relatively simple mechanisms can work together as one system.
The project is not recommended for complete beginners and requires patience, accuracy, and some previous crafting experience. But if you complete it, you’ll definitely improve your papercraft and mechanical-building skills along the way.
The downloadable files include PDF Letter-size templates, complete assembly instructions, and SVG/DXF vector files.
Free Download Link on the LACRAFTA Template Website
Supplies
For this project, you will need:
- 300 gsm cardstock — 9 Letter-size sheets: 7 red and 2 silver
- Thick bookbinding cardboard or corrugated cardboard — about 2–3 Letter-size sheets for the reinforced internal frame. I recommend using black cardboard if possible. I painted my frame afterward, but painting the internal mechanism is not always convenient.
- 300 gsm cardstock — 2 additional Letter-size sheets for making the hinges. Black cardstock is also a good choice here, especially if you want the internal mechanism to look clean without painting it later.
- Thin bamboo skewers — easy to find at Dollarama, Walmart, or similar stores
- Rubber bands — standard office rubber bands work well and can usually be found in the stationery section
- Dental floss — an excellent choice for this mechanism because it is very strong, smooth, and resistant to stretching. The pulling force in this design does not always travel in a straight line, so the thread needs to slide through guides and change direction with minimal friction. Dental floss works very well for this while remaining thin and strong.
- Metal paper clips
- Hot glue gun and glue sticks
- Craft knife
- Scissors
- Pencil
- Ruler
- Free Download Link on the LACRAFTA Template Website
Scoring the Fold Lines
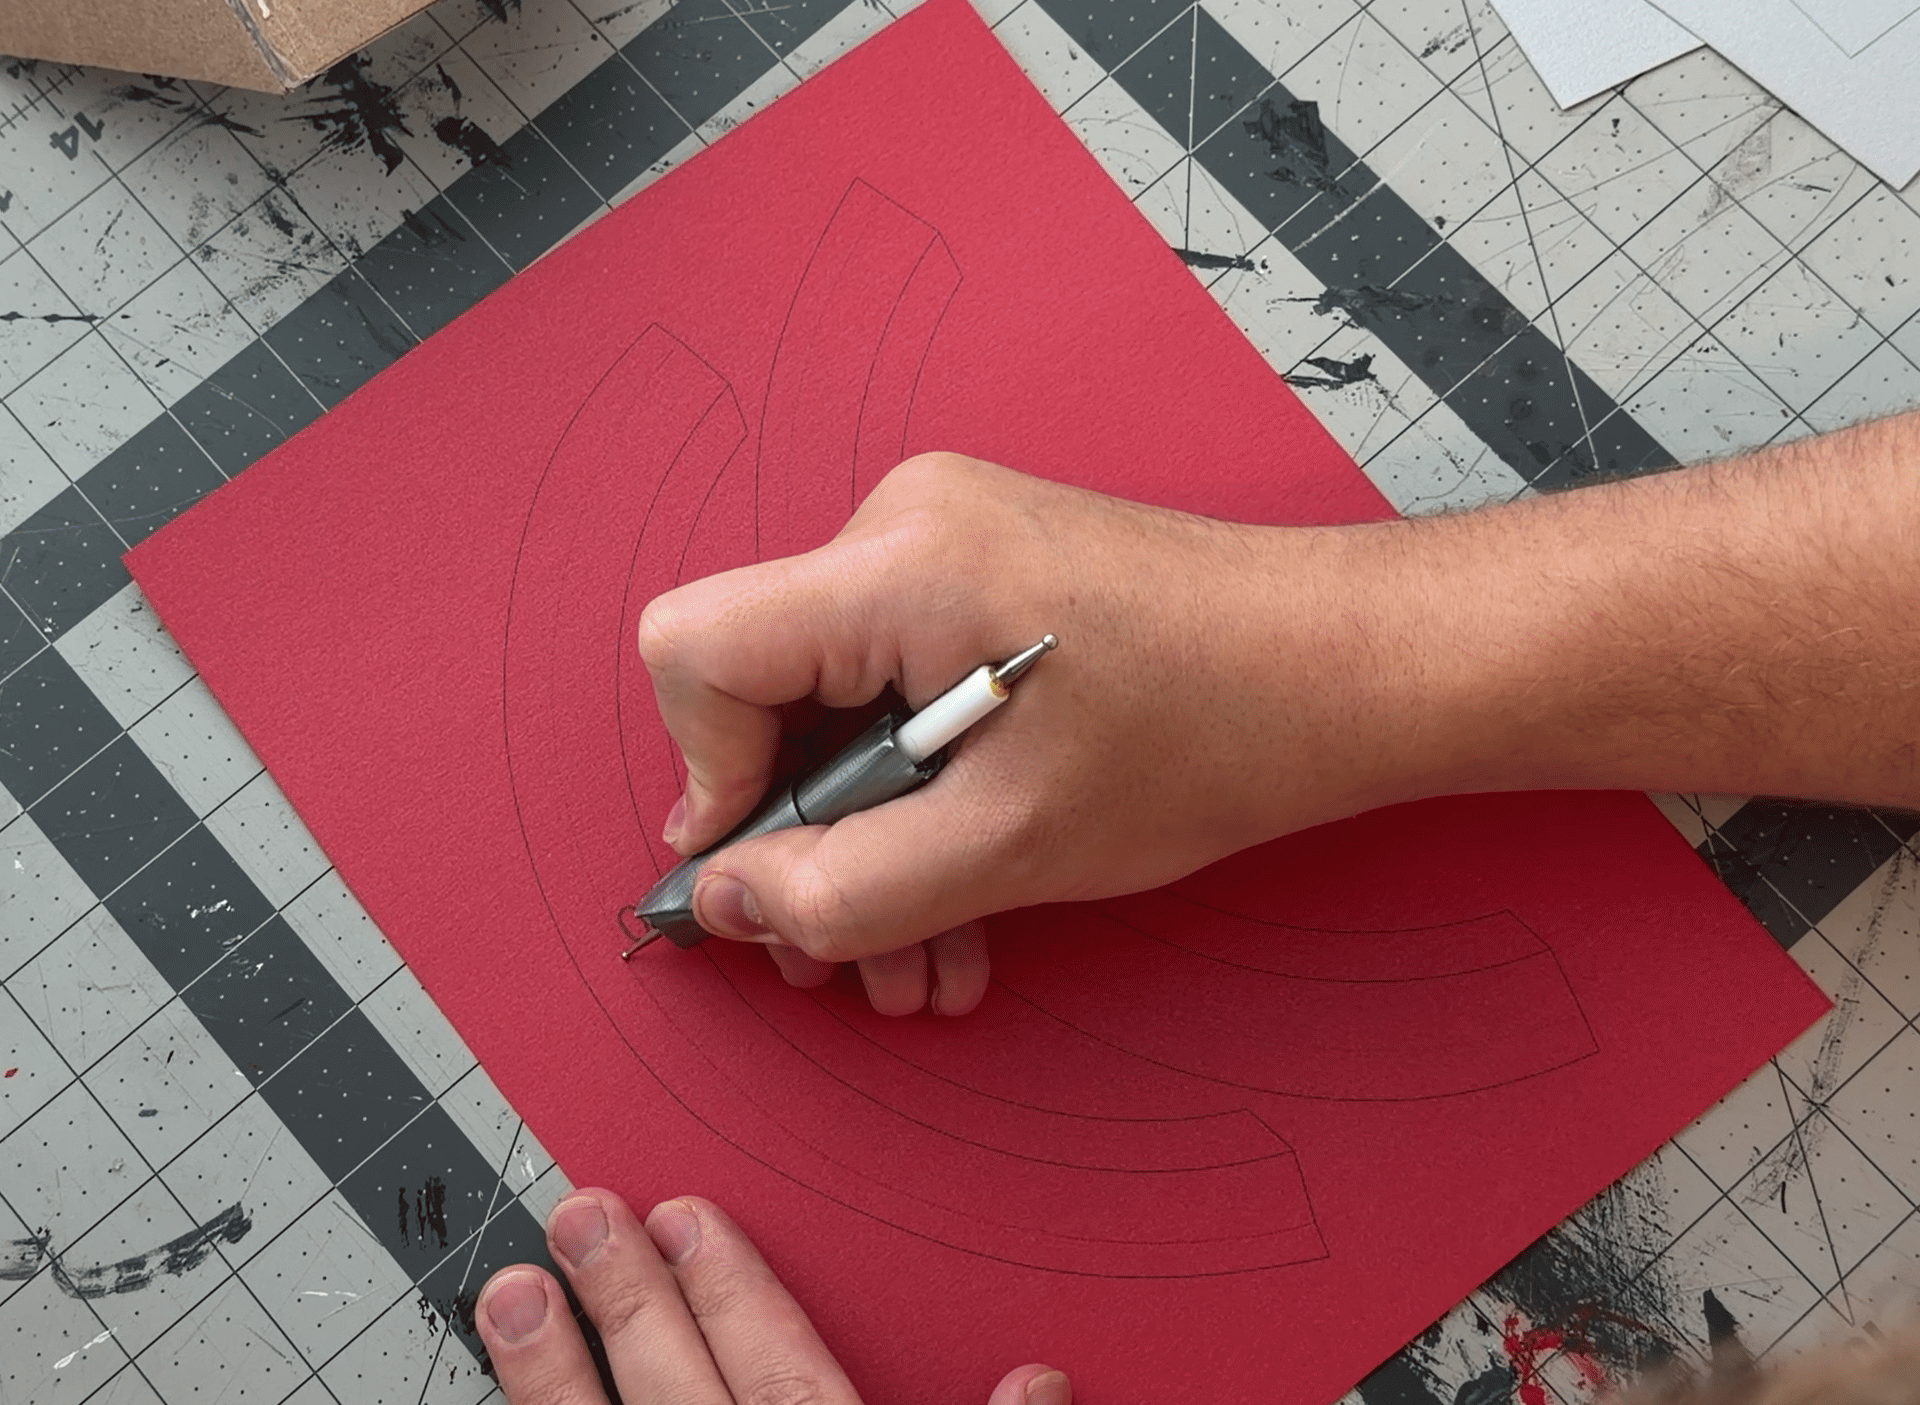
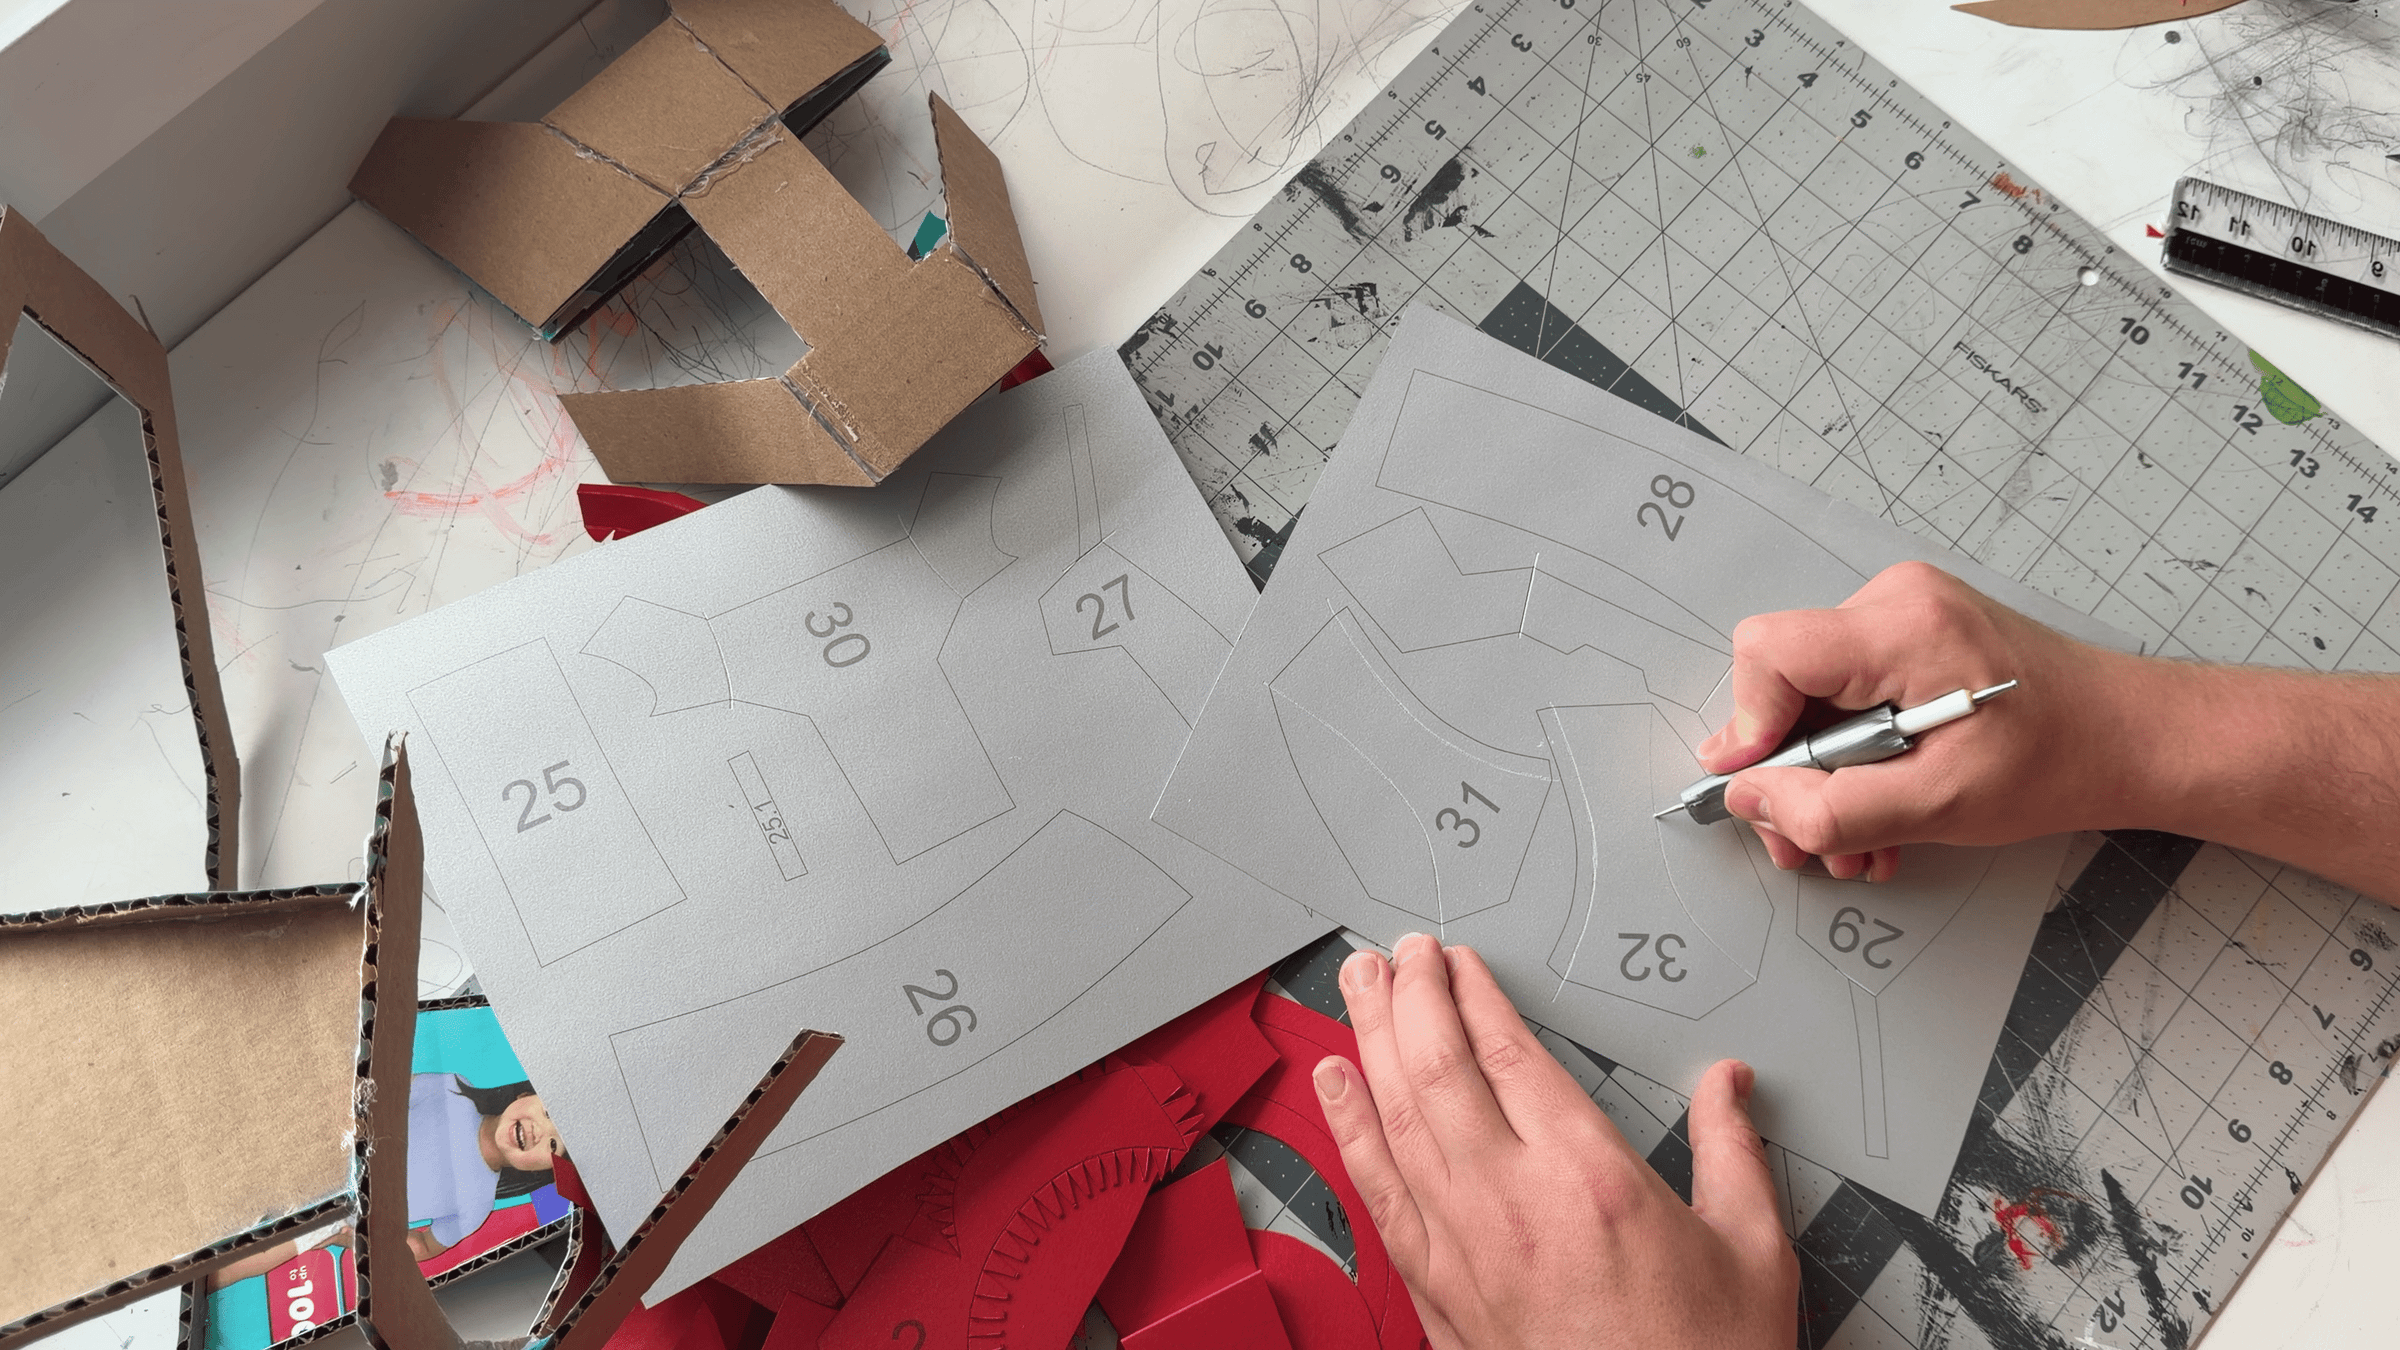
Go over all the fold lines with a hard, blunt tool, applying enough pressure to create a clear crease without cutting through the cardboard.
For curved fold lines, use a smooth continuous motion, gently rotating your wrist as you follow the curve. Think of it as tracing around the contour with your hand, but with enough pressure to score the cardstock. This makes the curved parts much easier to fold accurately later.
Cutting Out the Parts
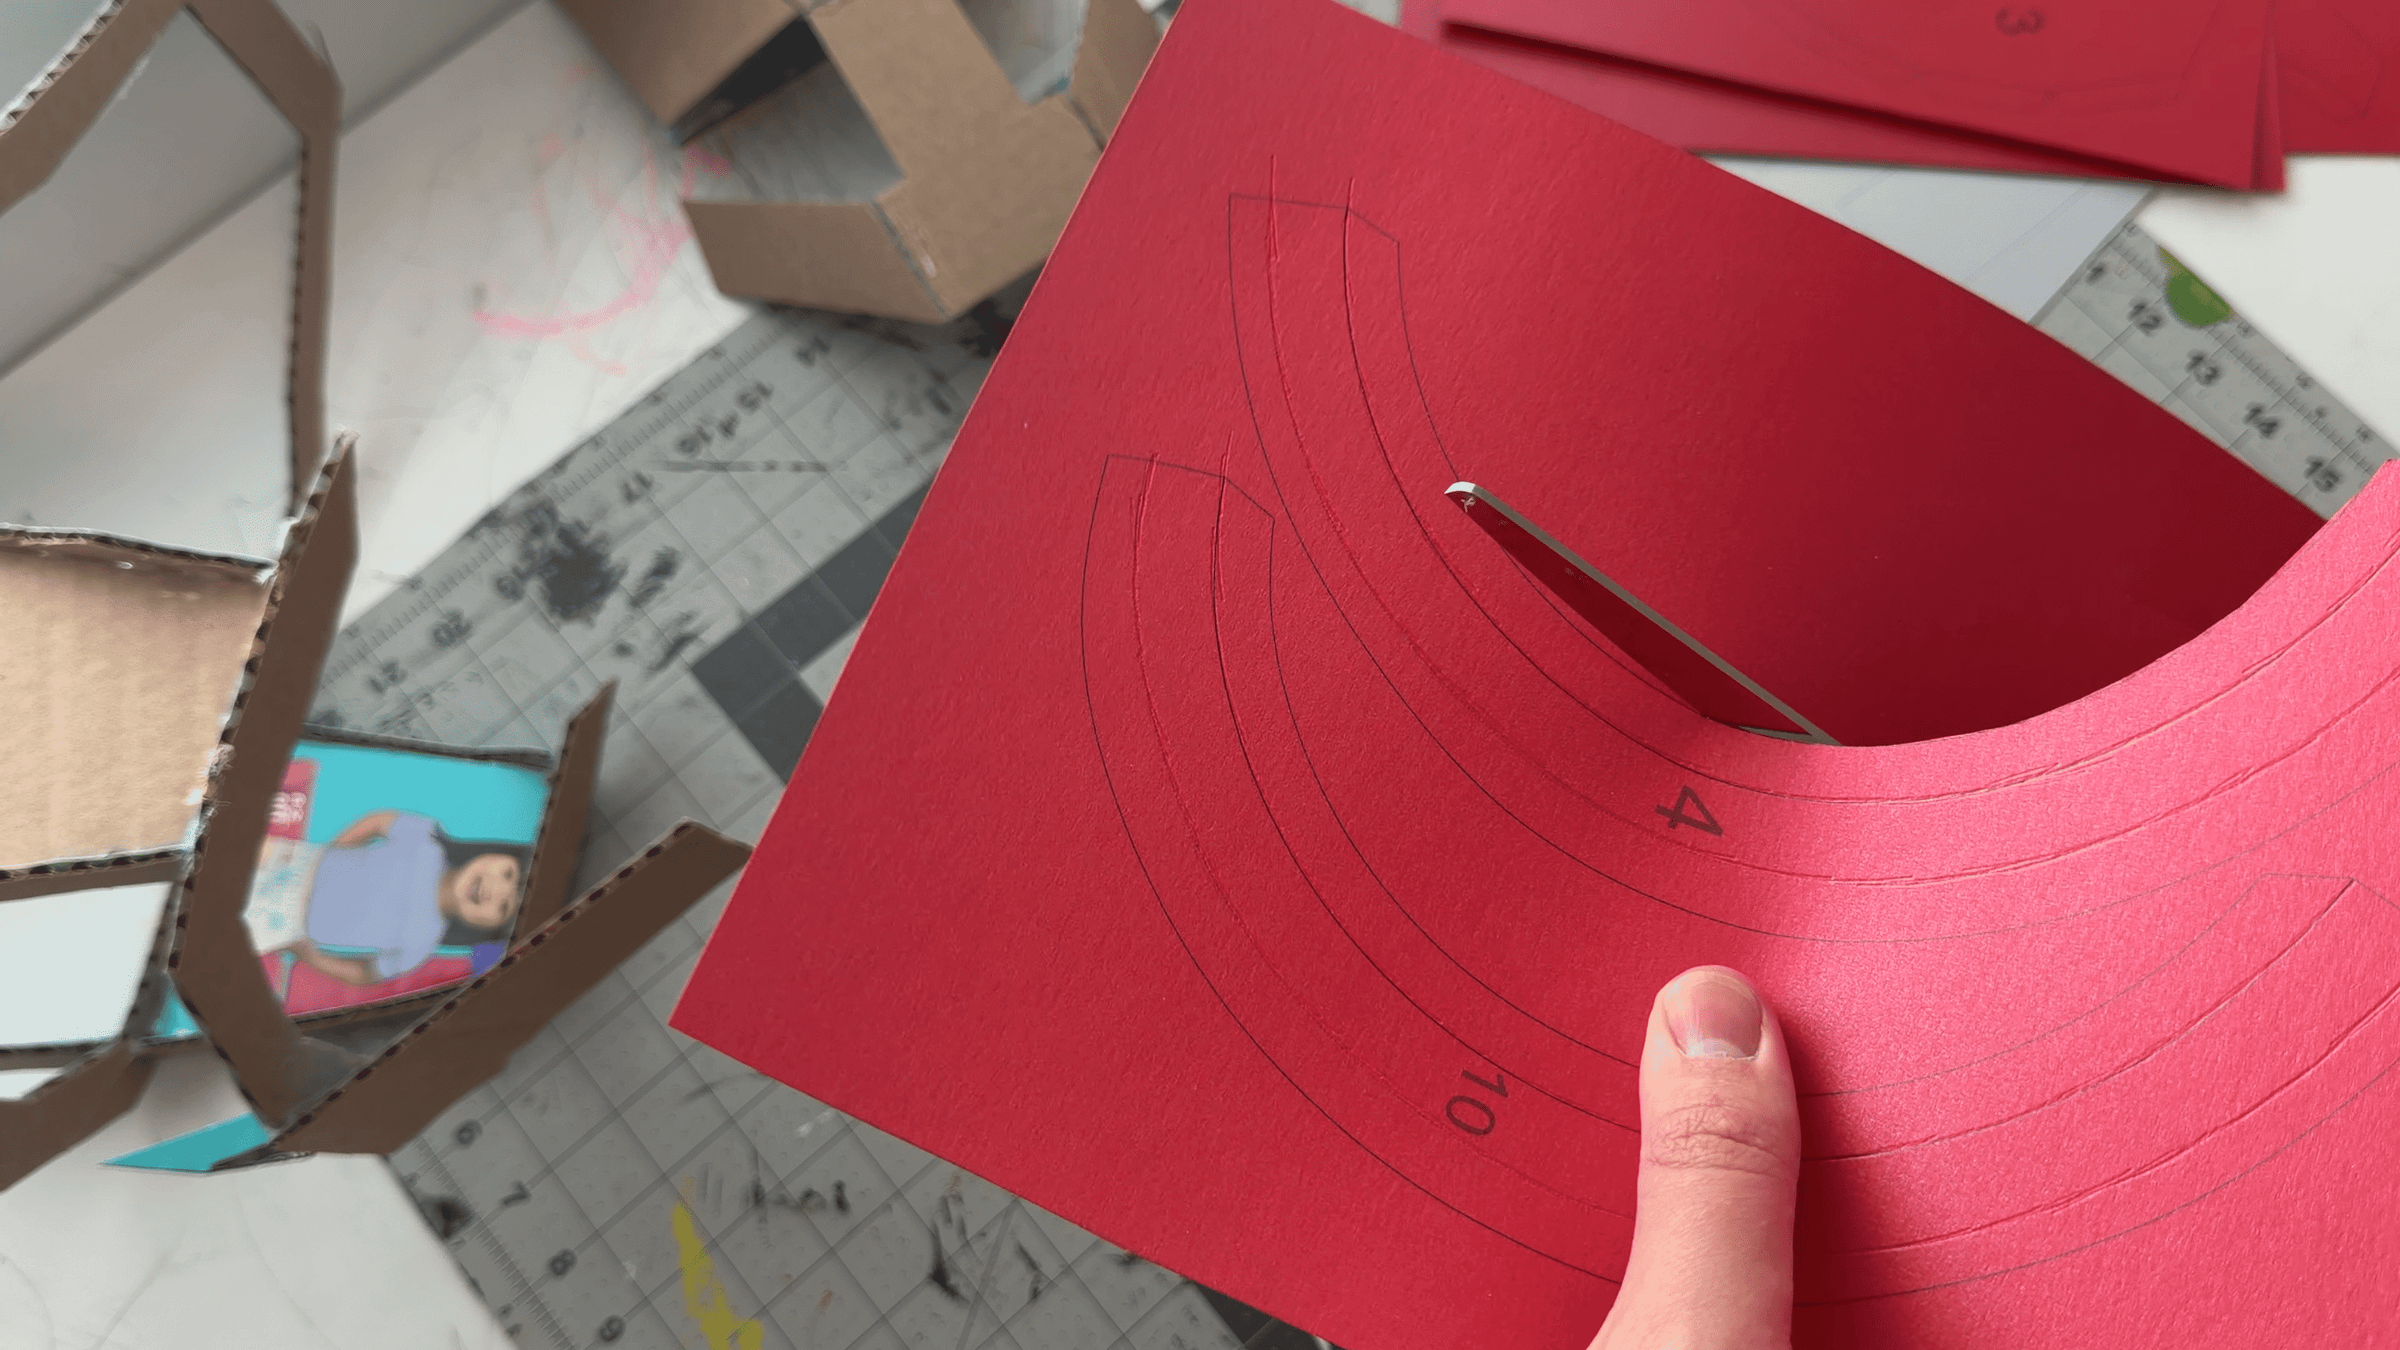
Cut out all the parts carefully along the outer contour lines. Use scissors or a craft knife, whichever is more comfortable for you.
Take your time around small details and curved areas to keep the edges clean and accurate.
Cutting the Glue Tabs
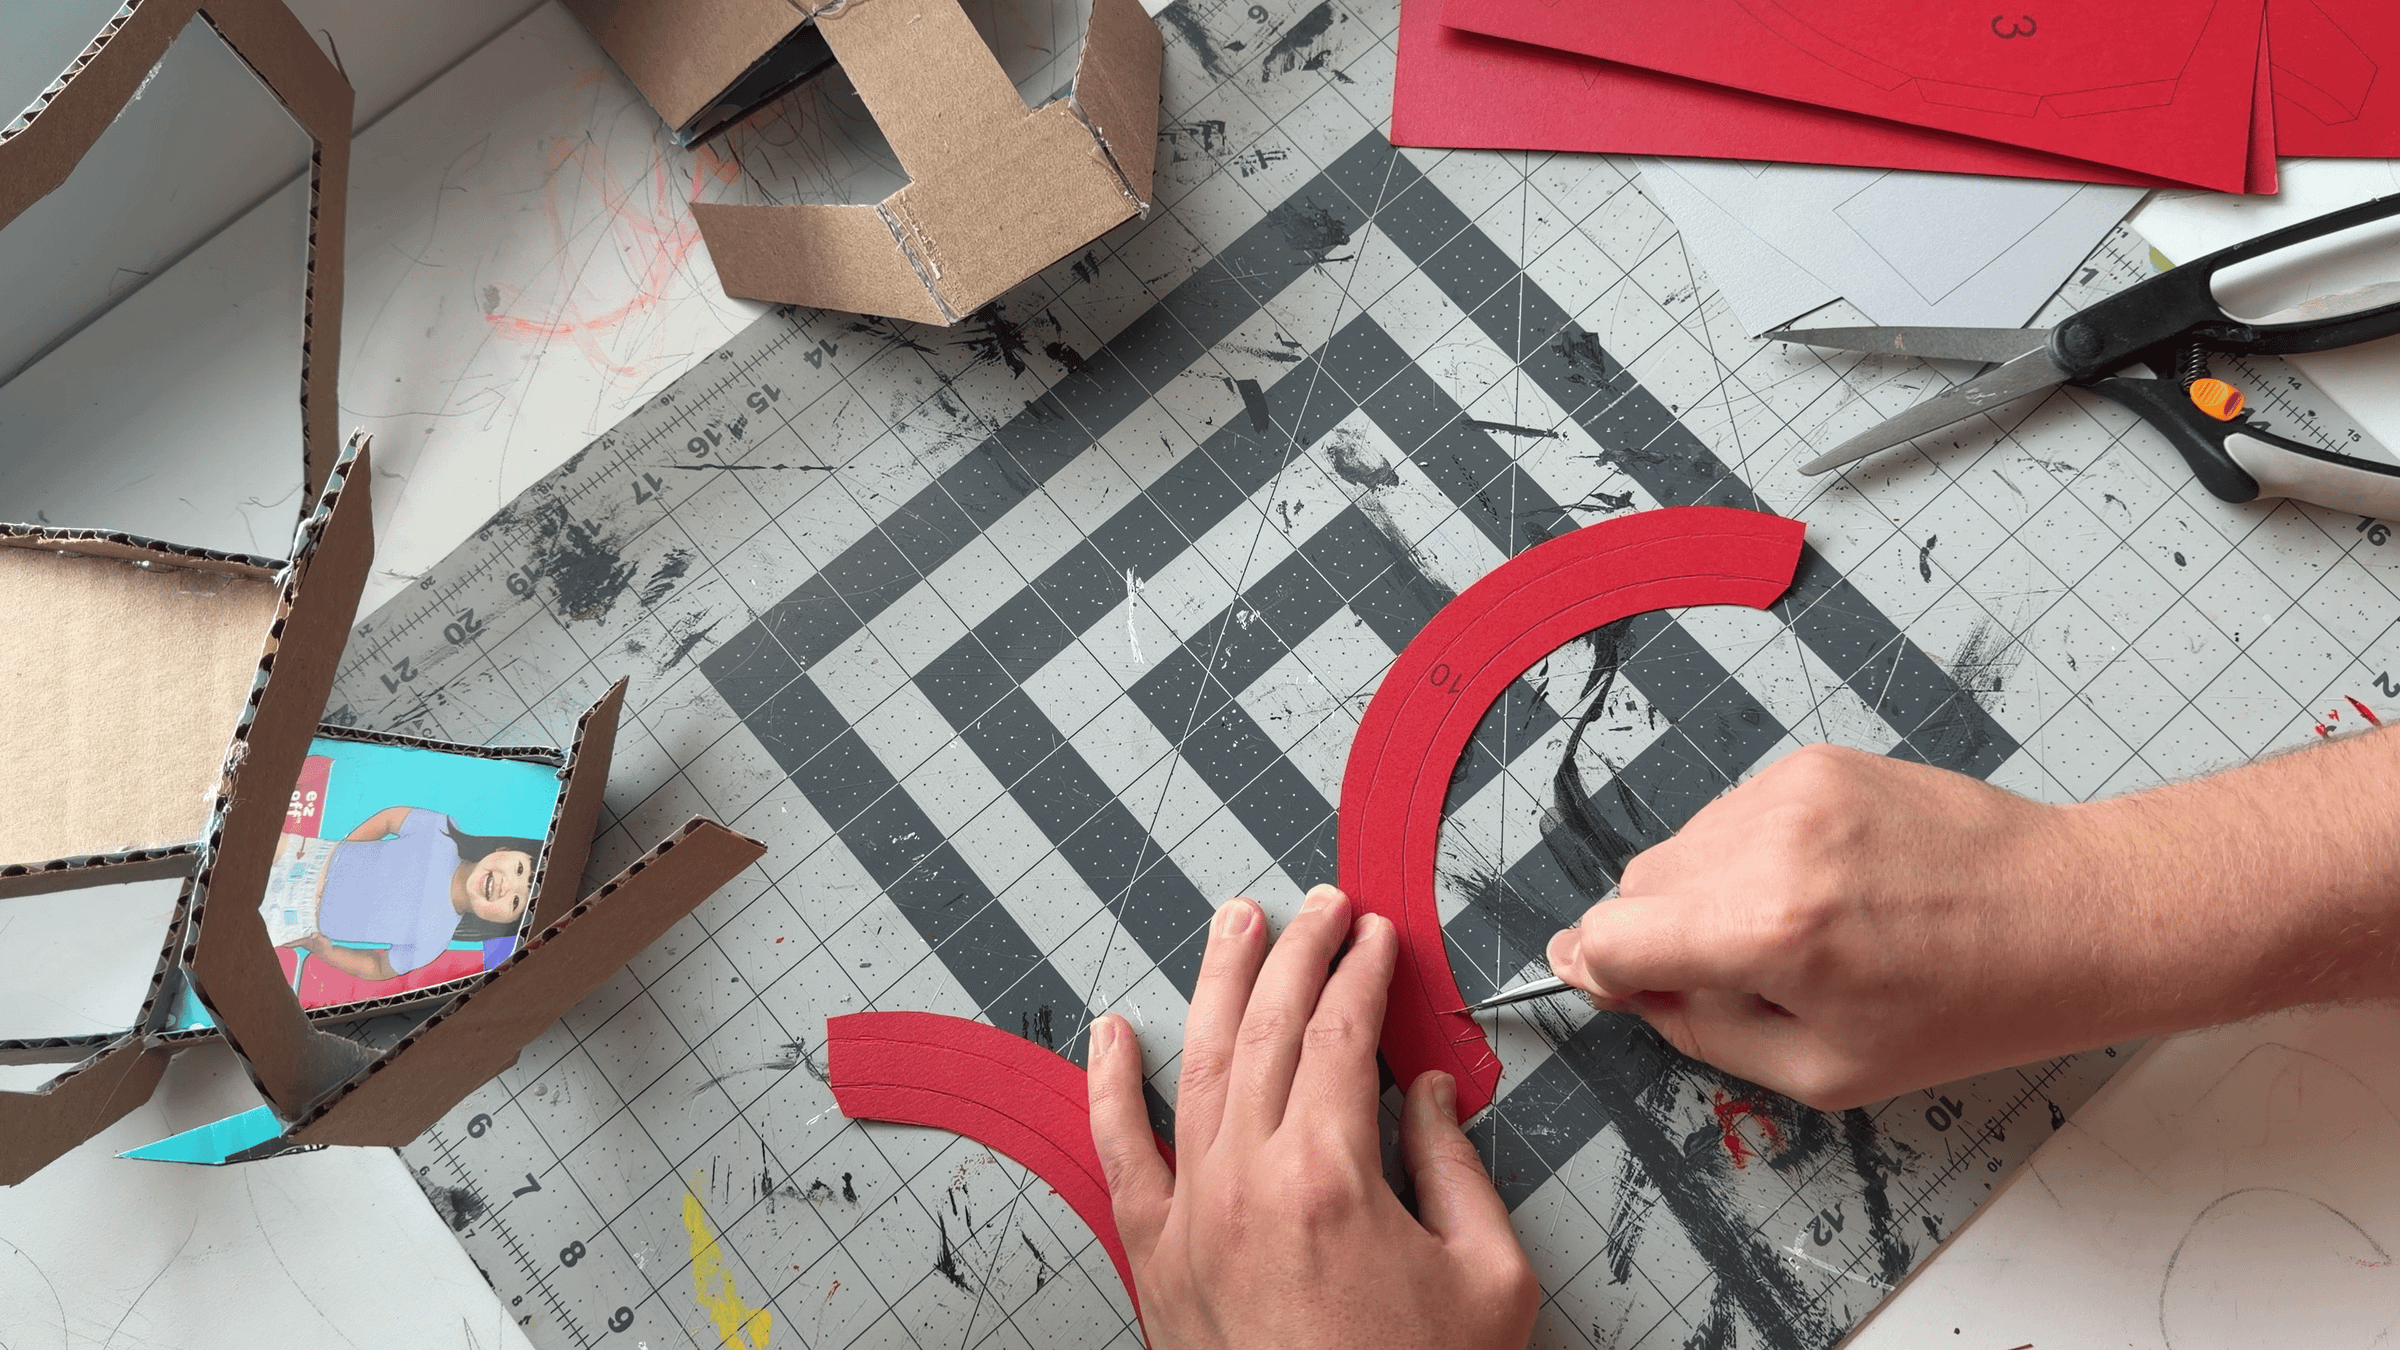
Some glue tabs are curved rather than straight, unlike those on traditional polygonal papercraft models. Make small cuts in these curved tabs with a craft knife or scissors to divide them into smaller sections.
The tighter the curve, the more cuts you should make. This allows the tabs to follow the shape smoothly without creating visible steps or sharp corners, giving the finished part a much cleaner and more natural curve.
Folding the Parts
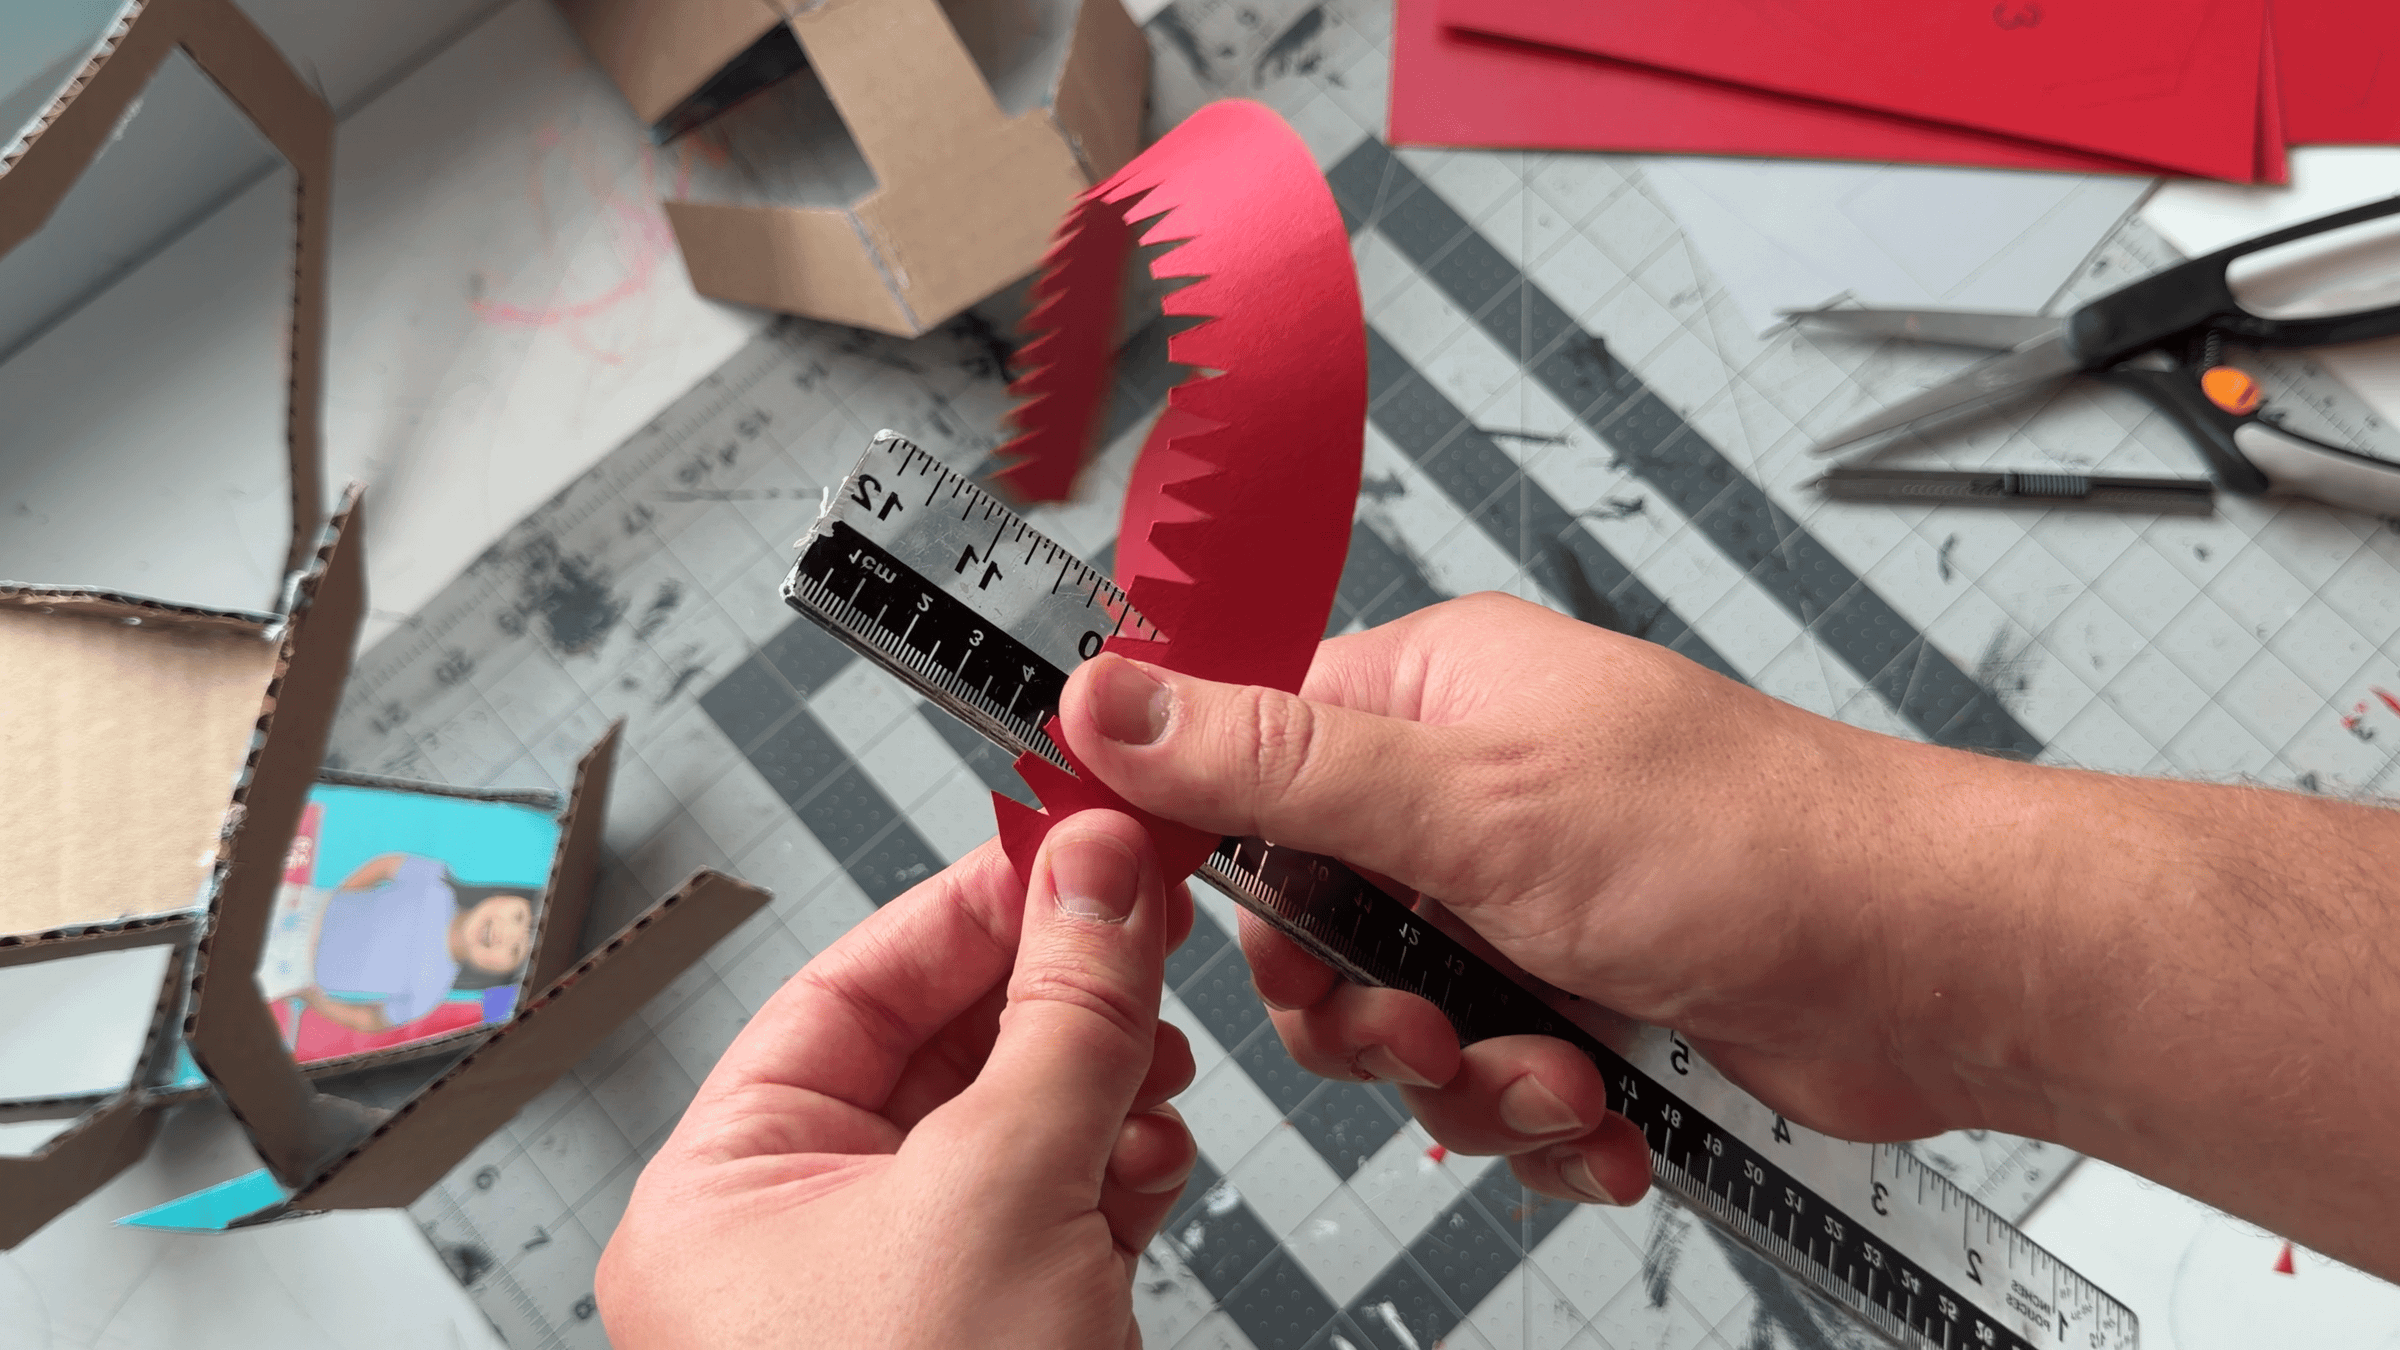
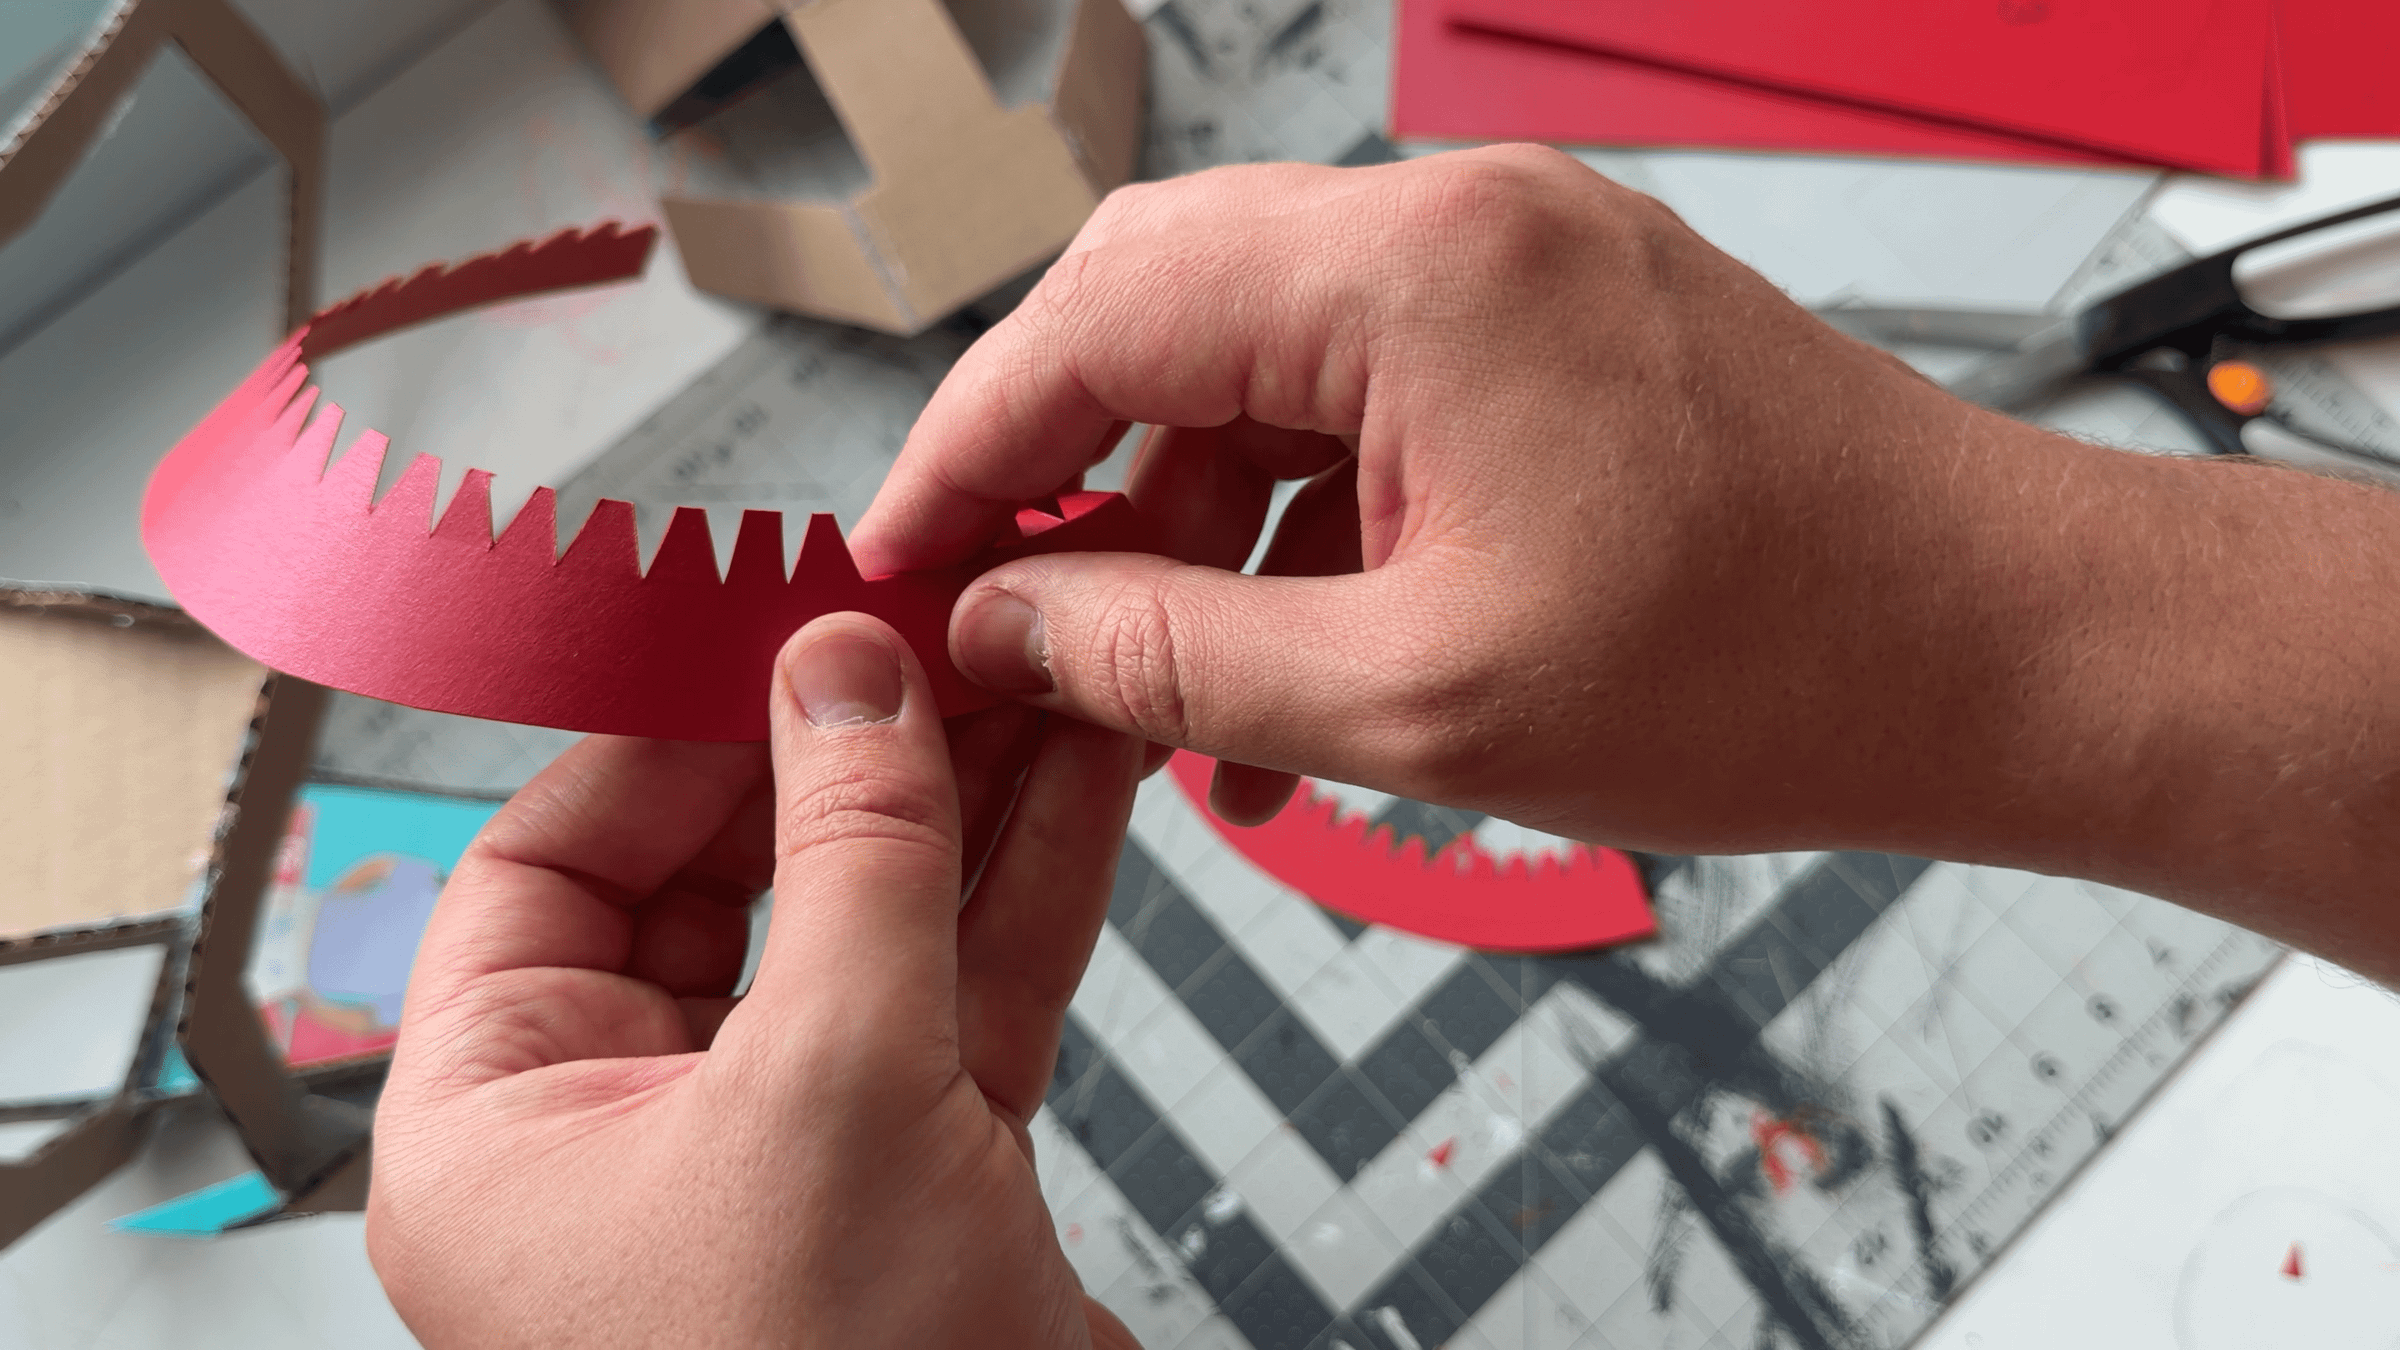
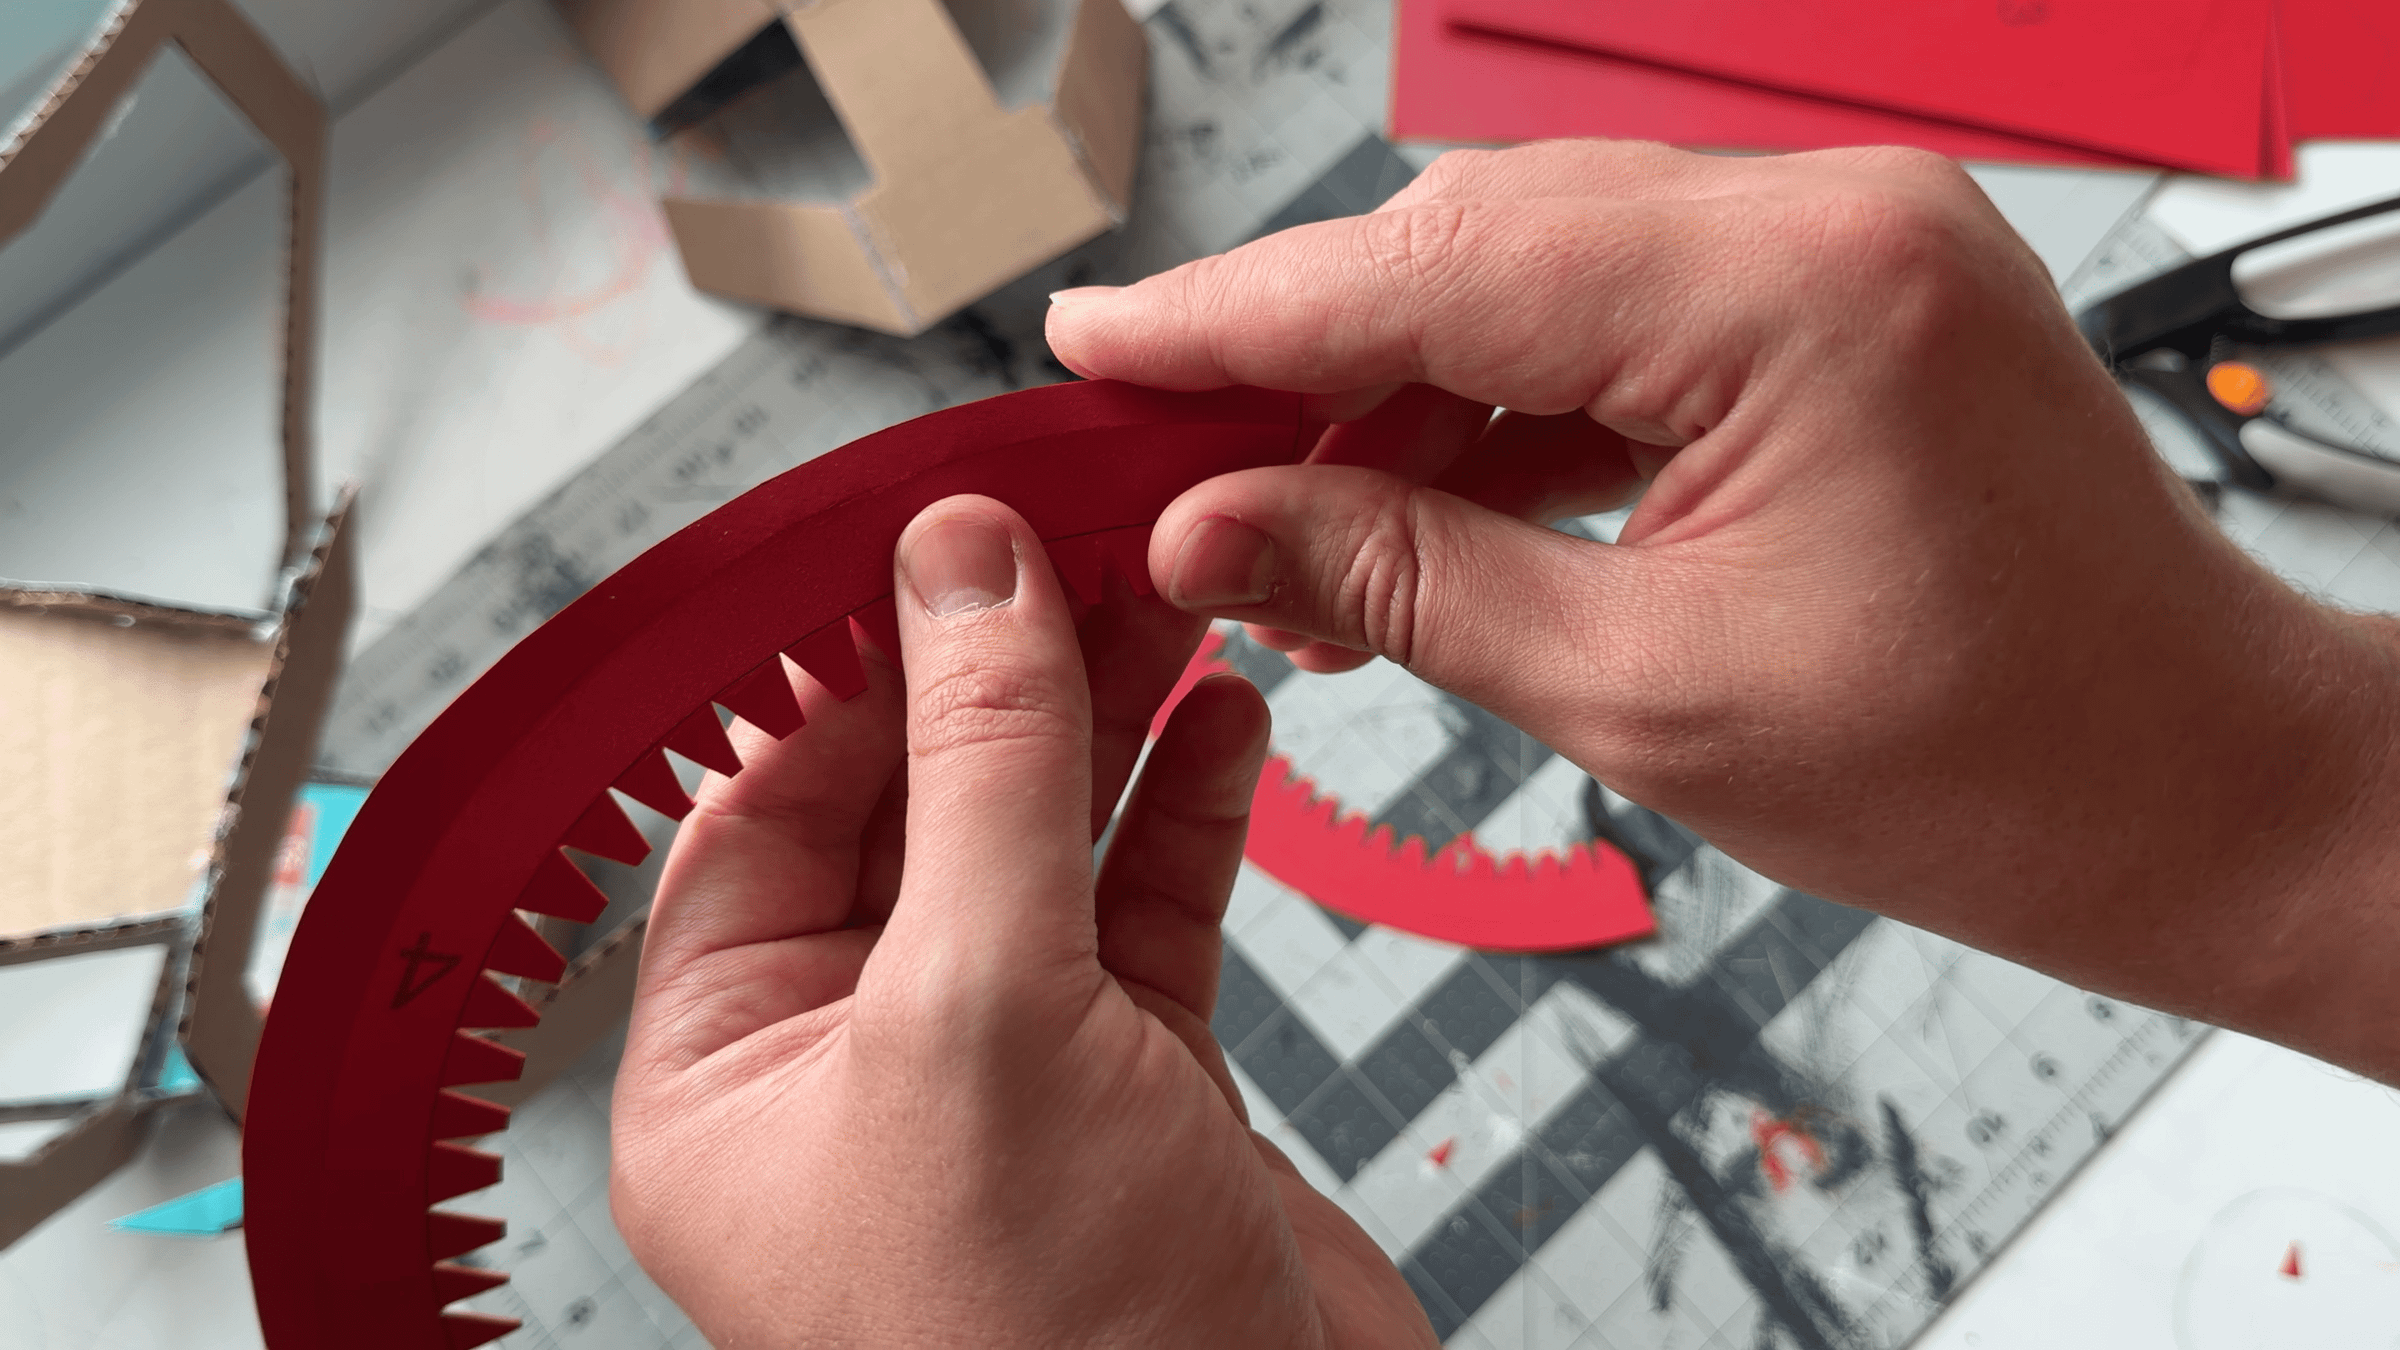
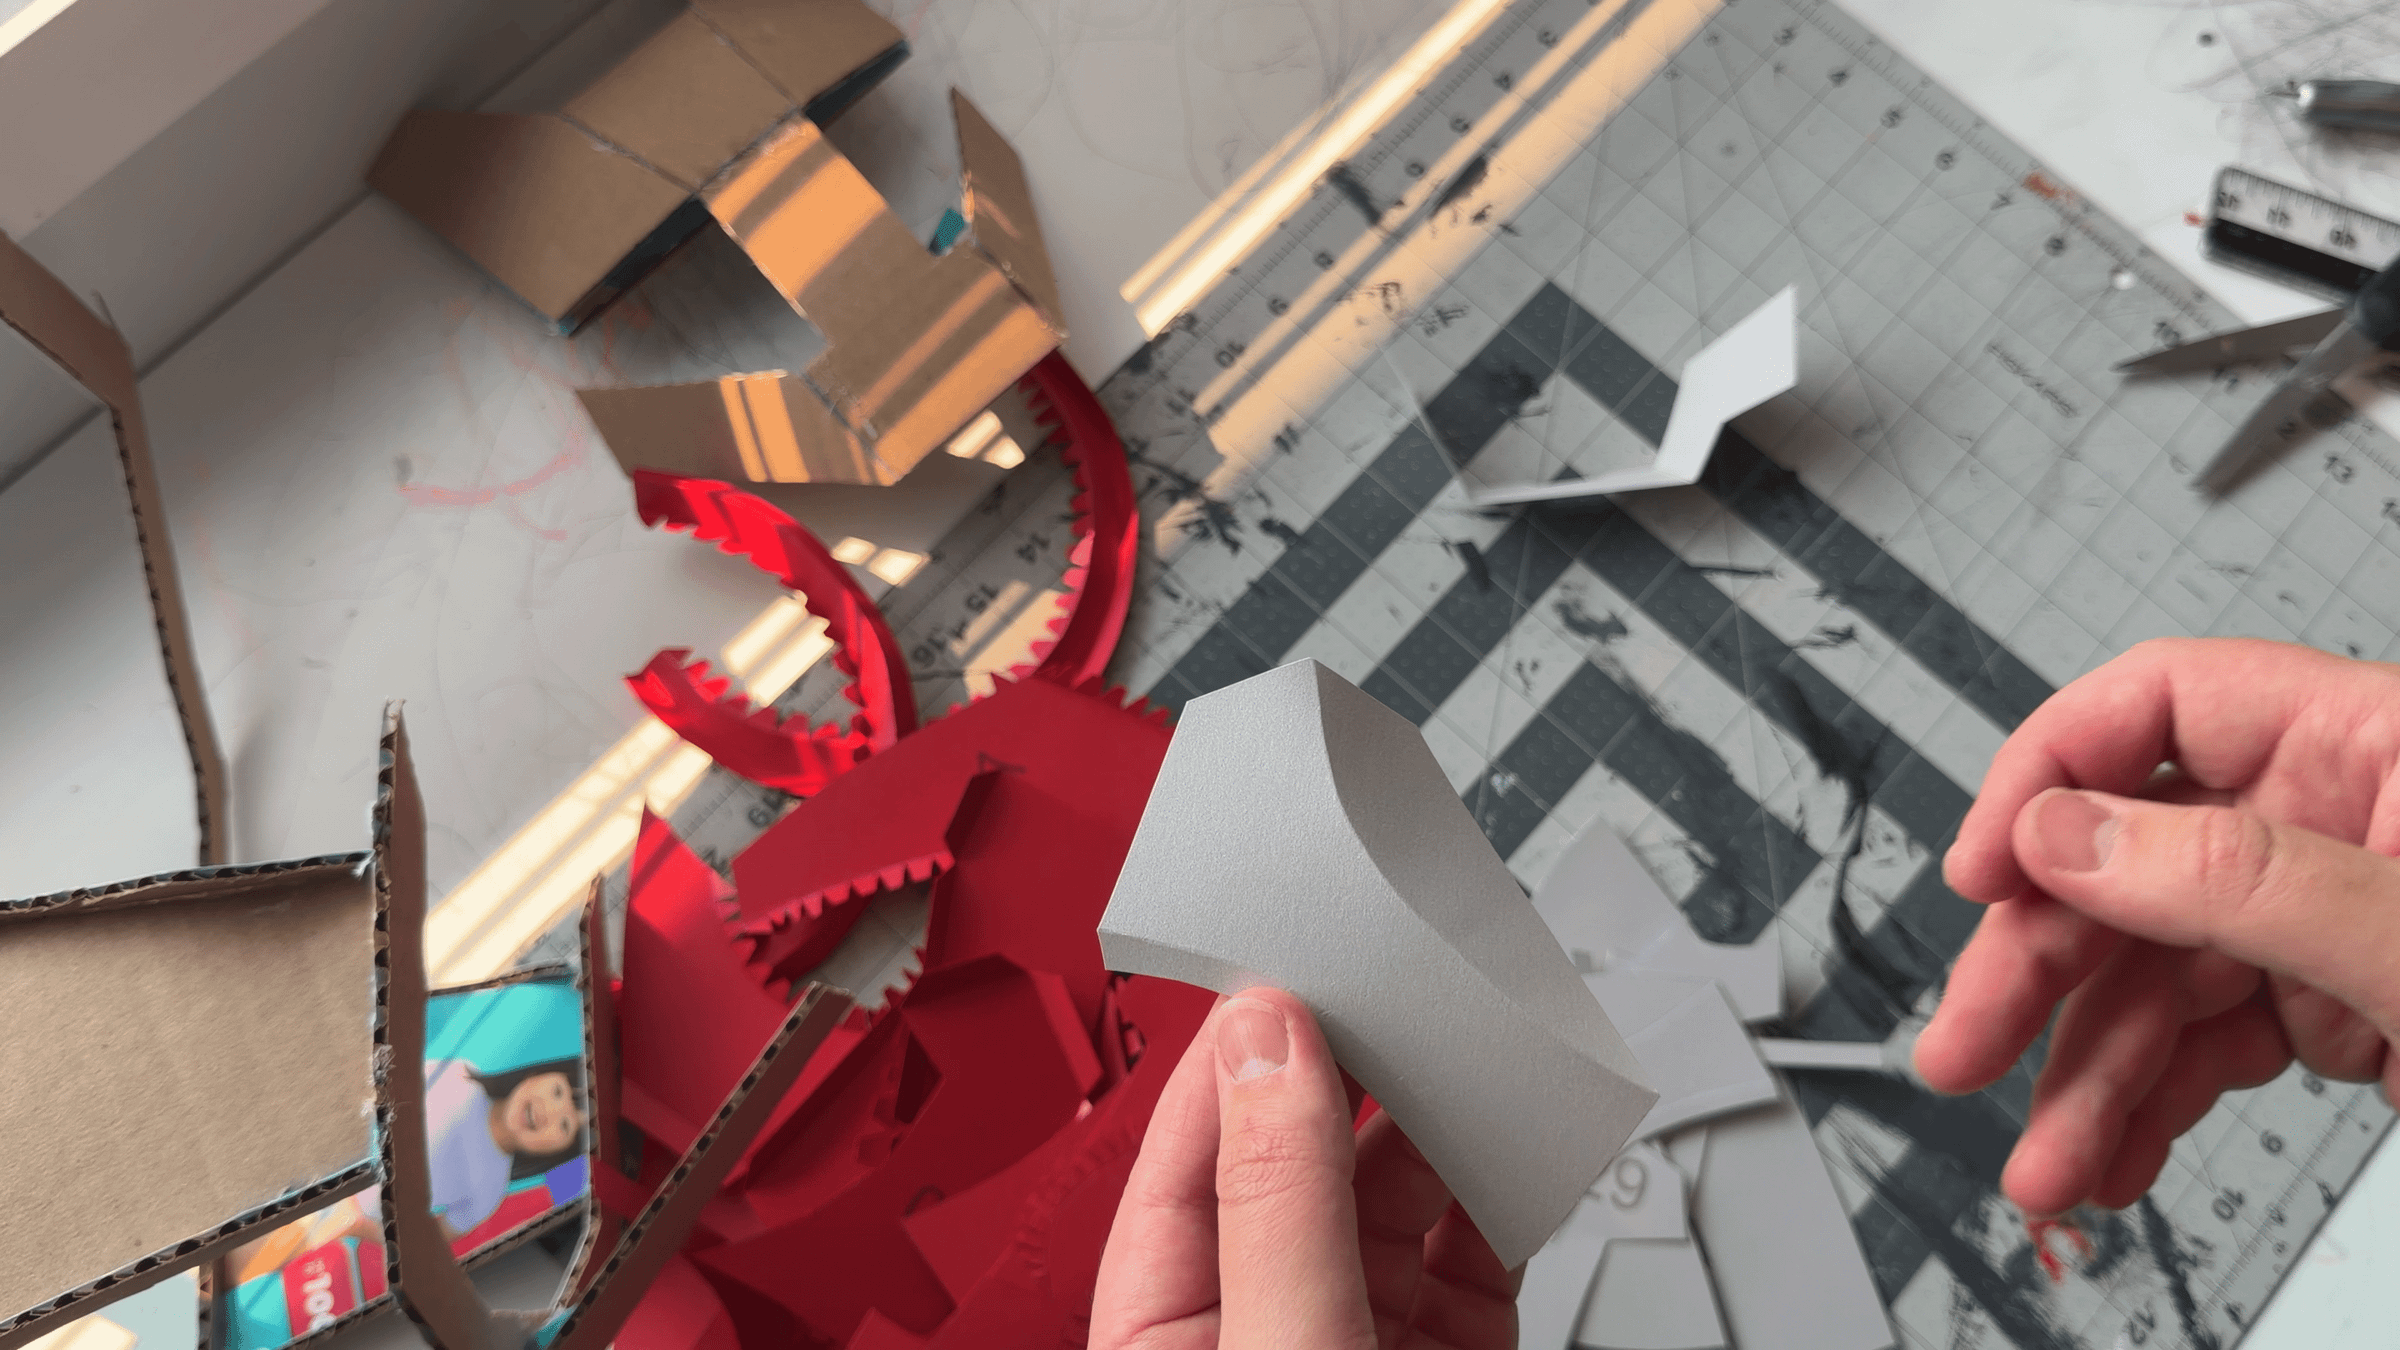
Fold all the parts along the scored lines. For smooth curved folds, bend the cardstock gradually, giving it time to take the desired shape. Avoid making a sharp fold in one motion.
You can also give the parts a smooth curved shape by gently pulling them over the edge of a table or ruler. This helps the cardstock take the form intended by the design before assembly.
Also fold all the glue tabs inward along their scored lines so they are ready for assembly.
Gluing the Parts
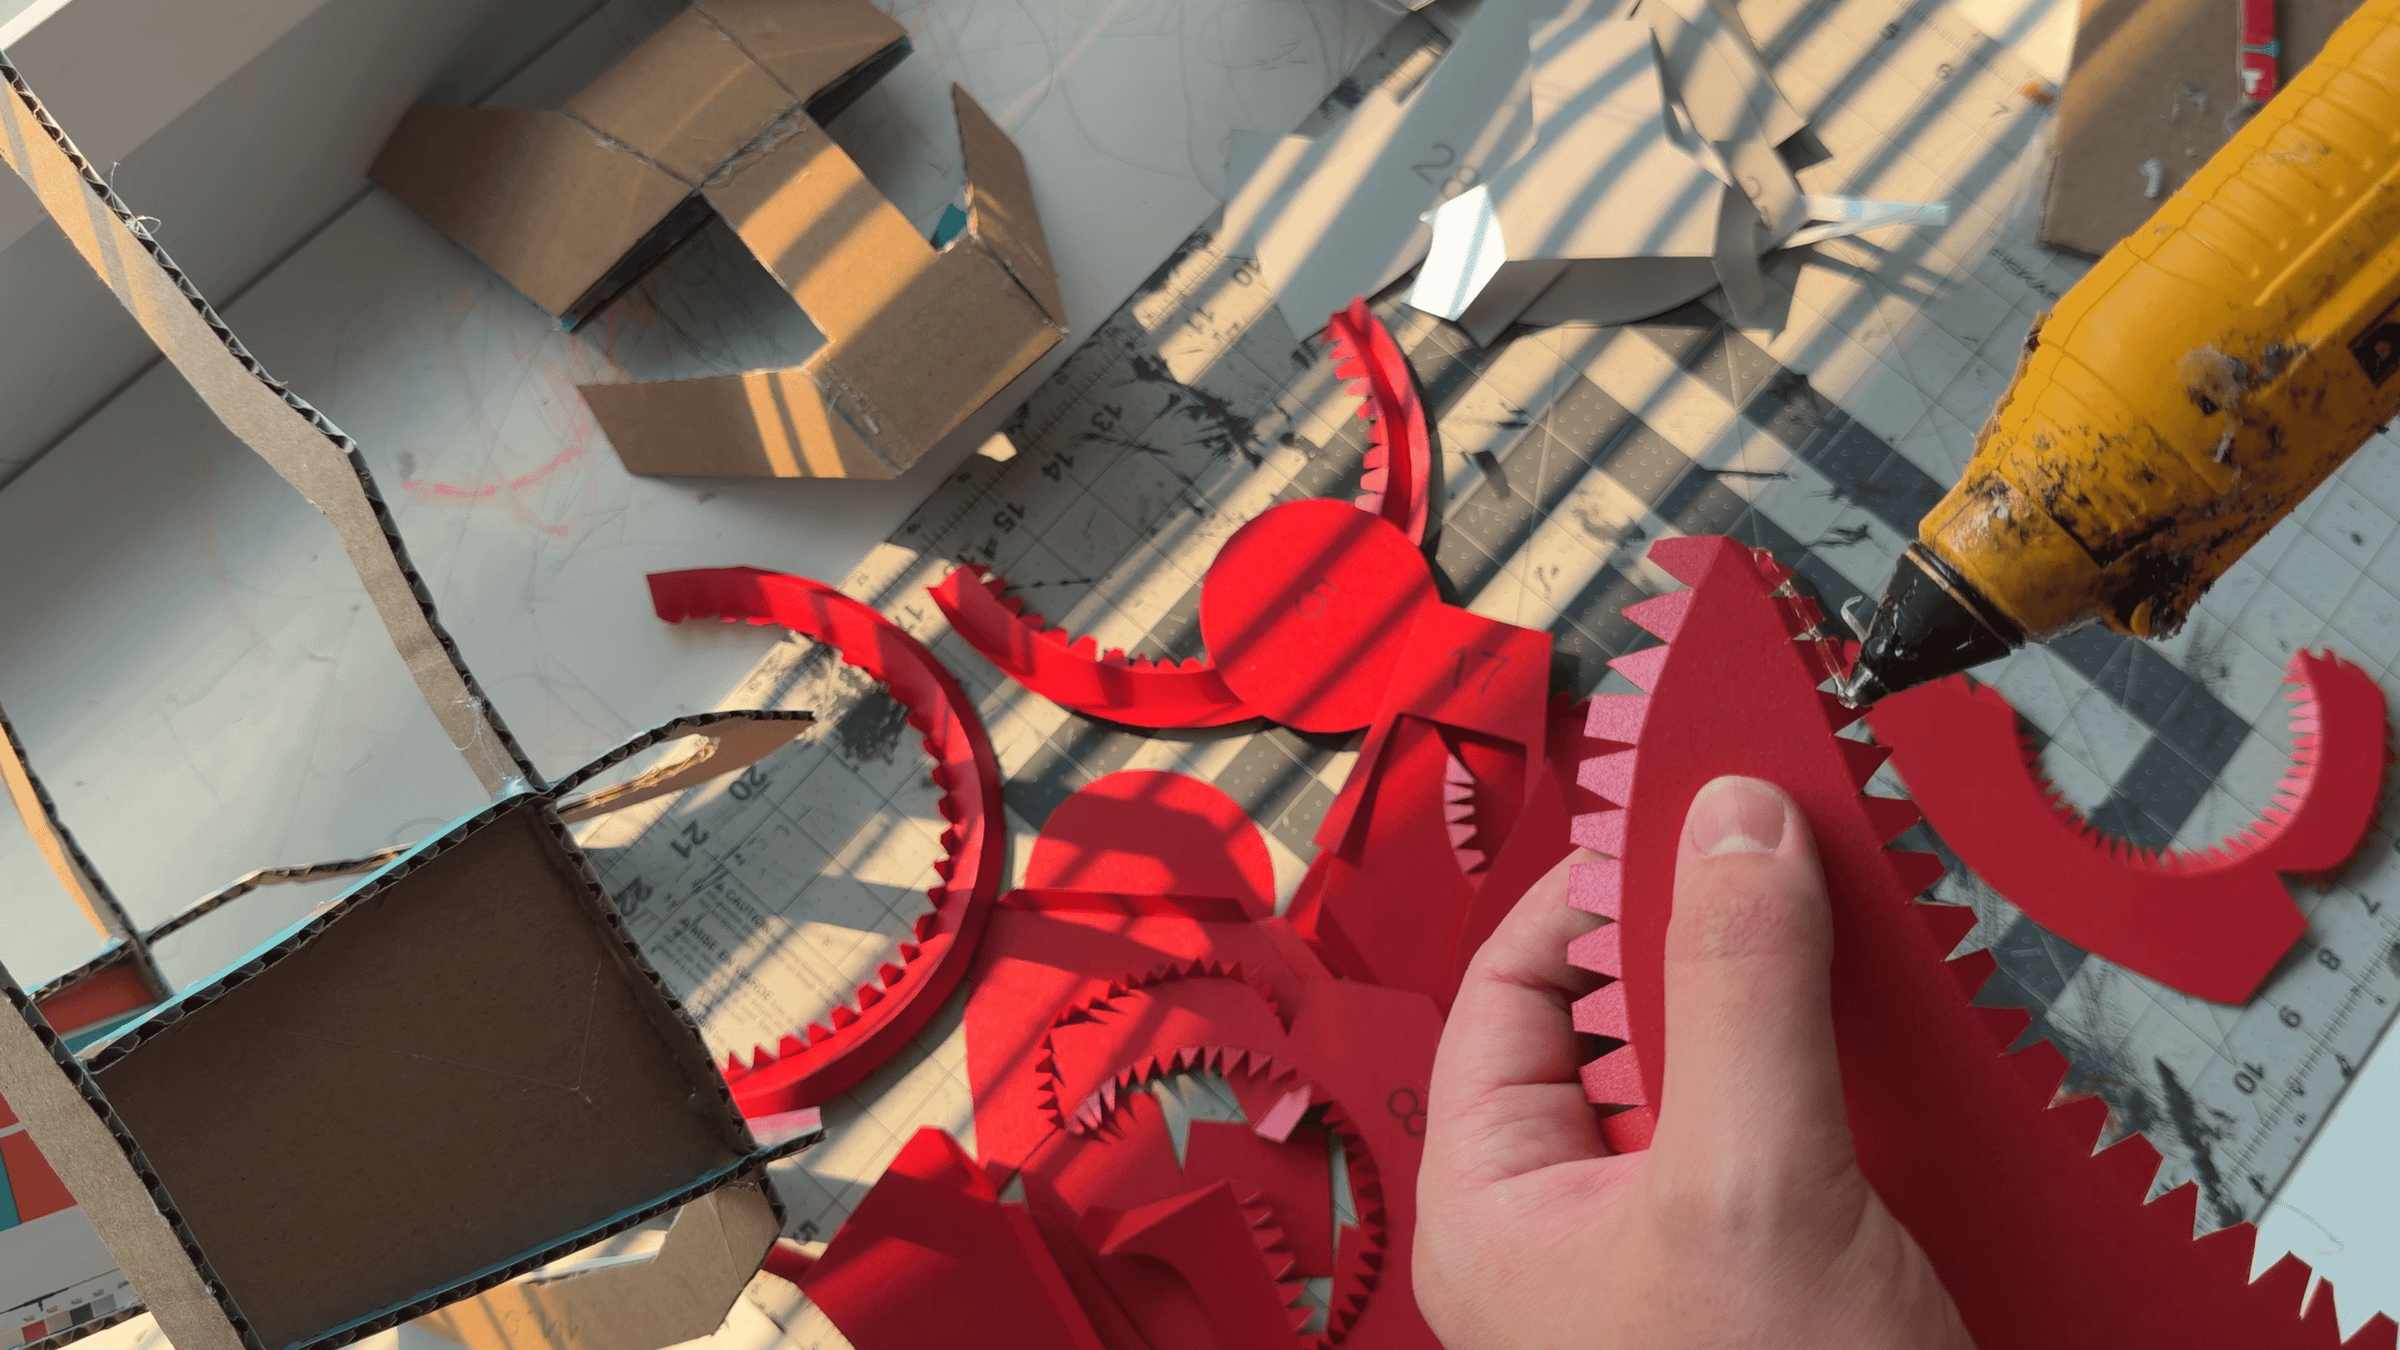
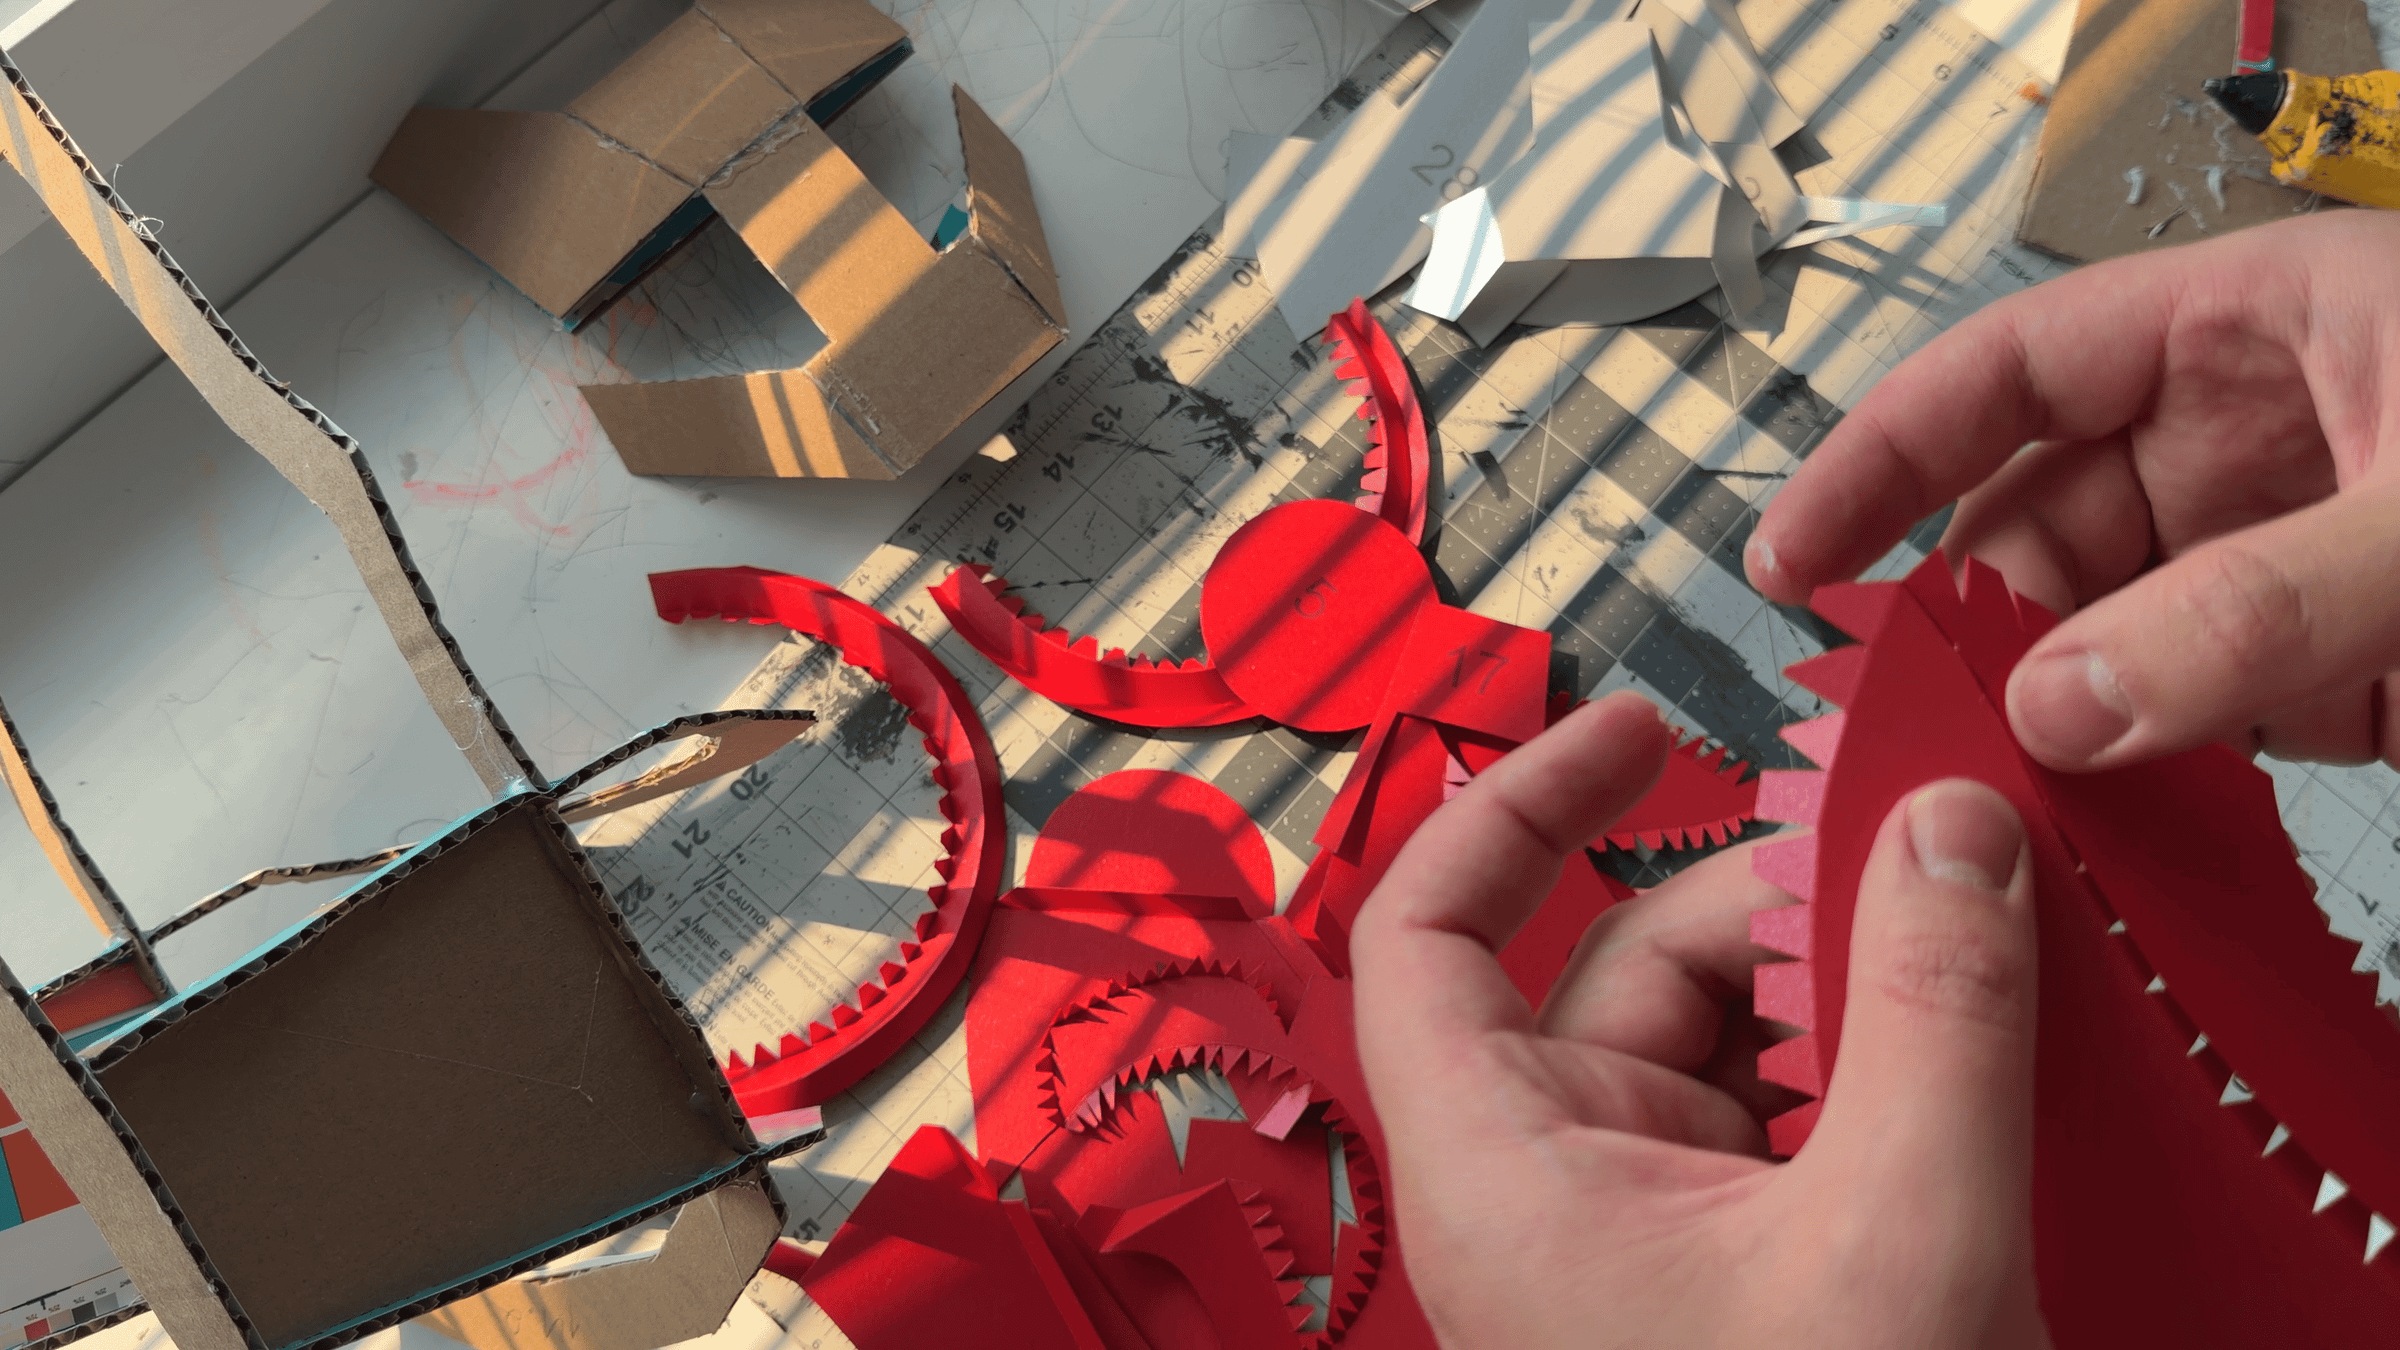
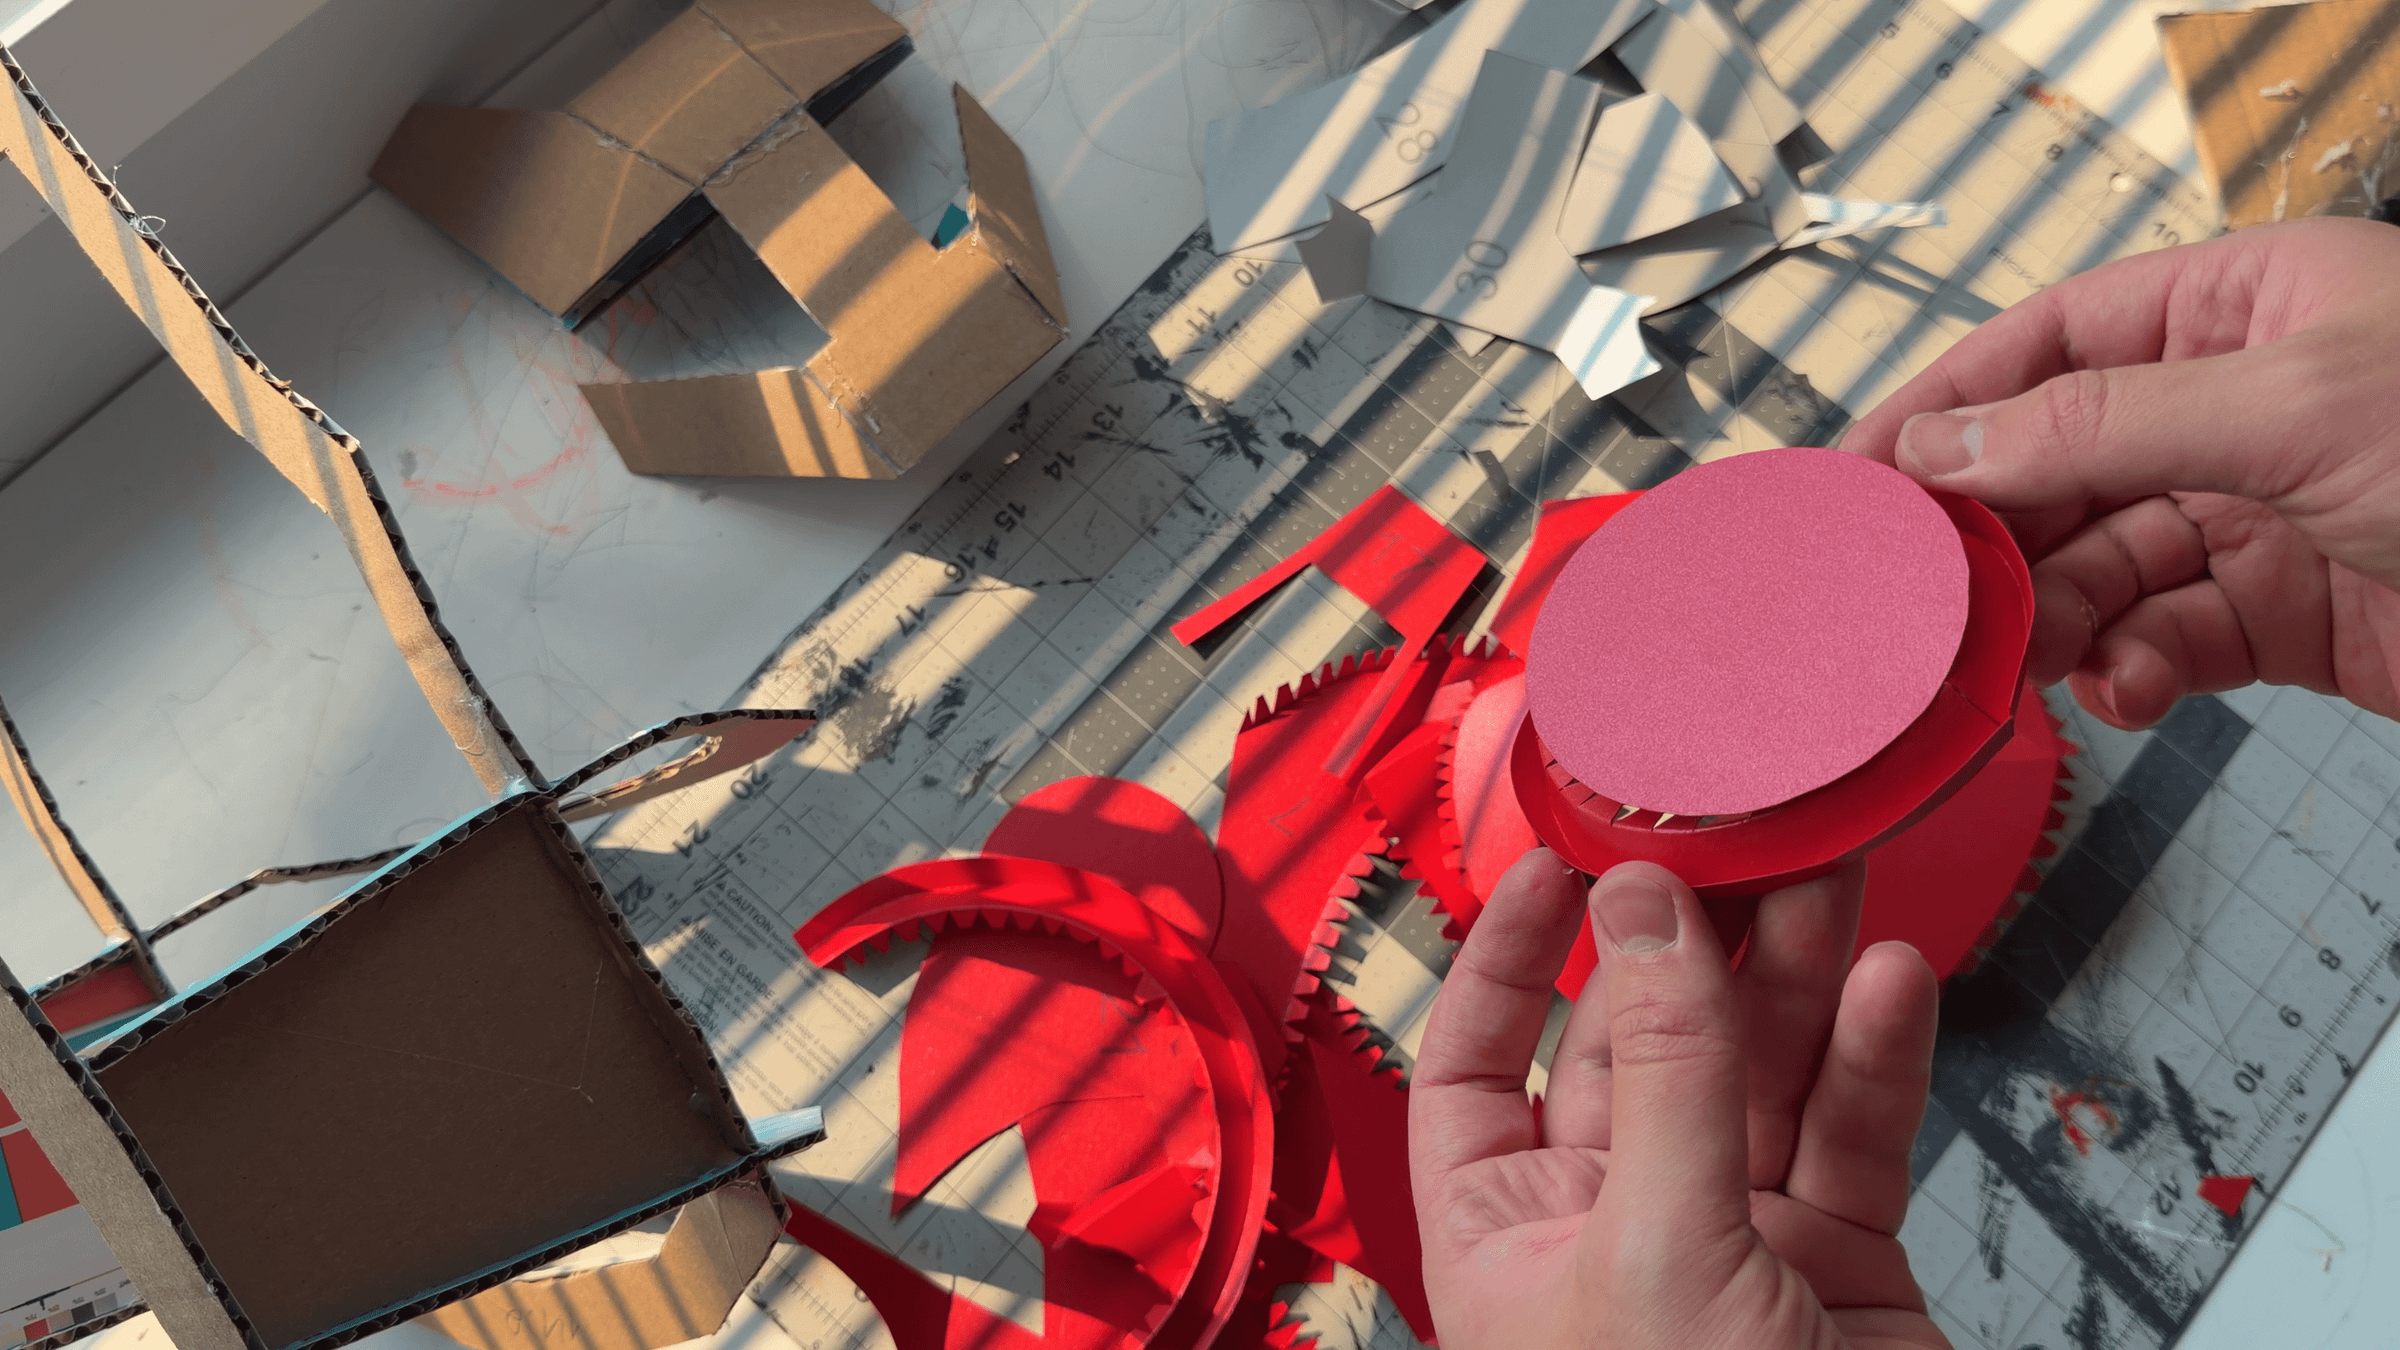
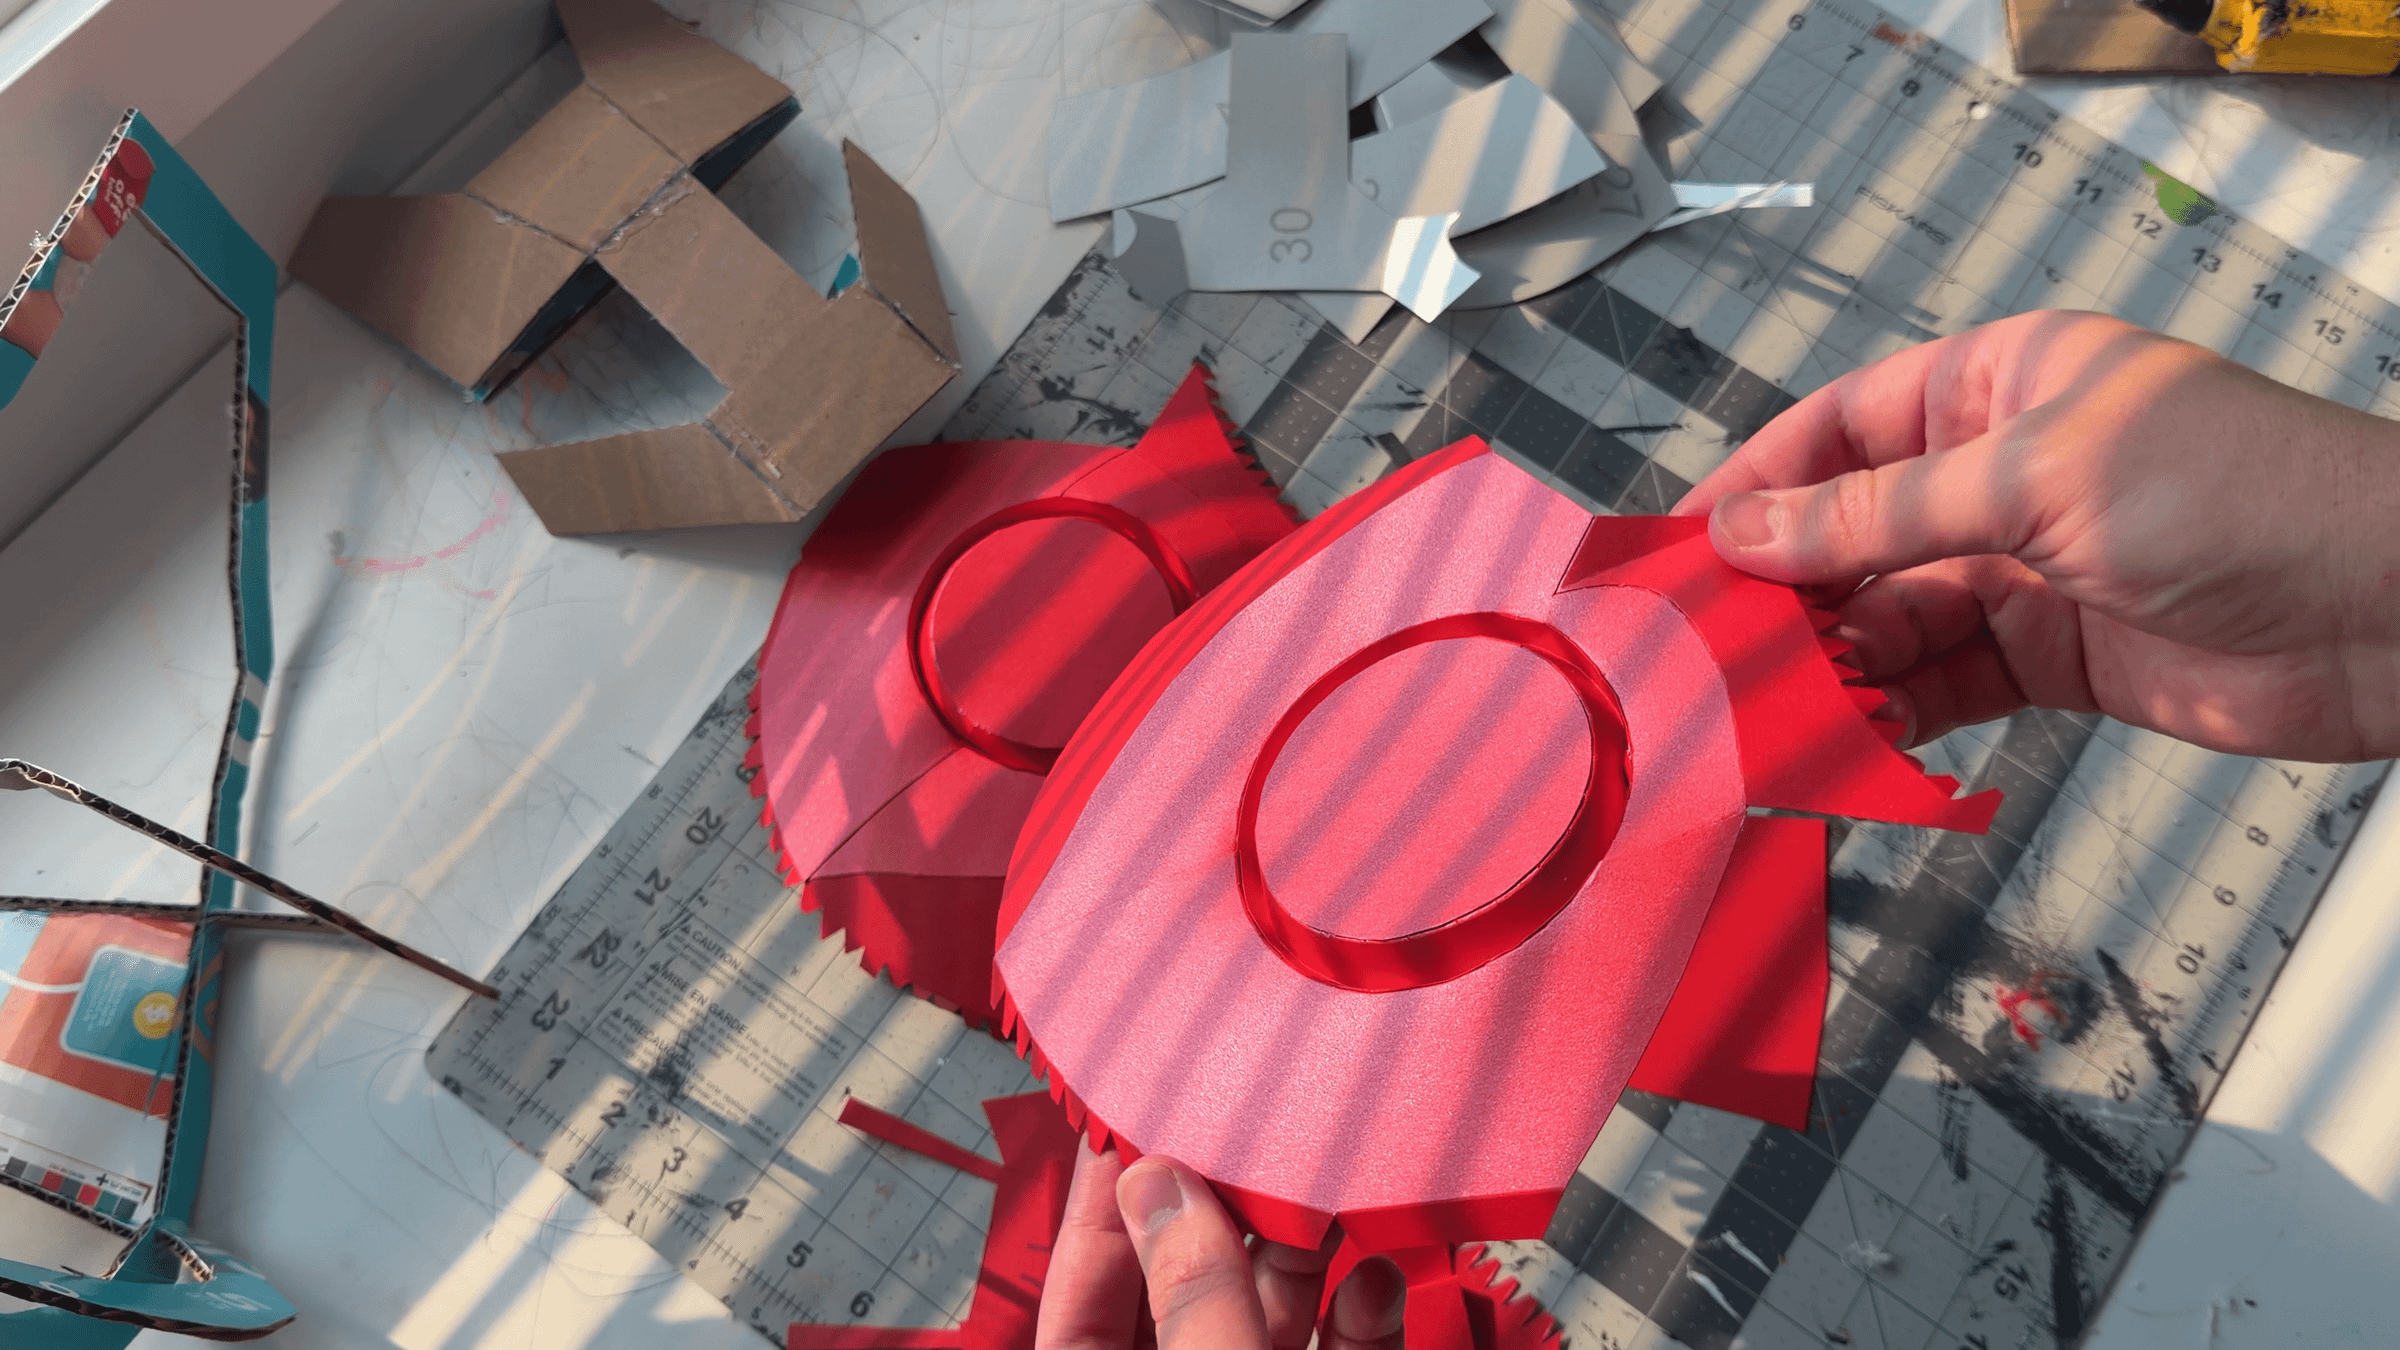
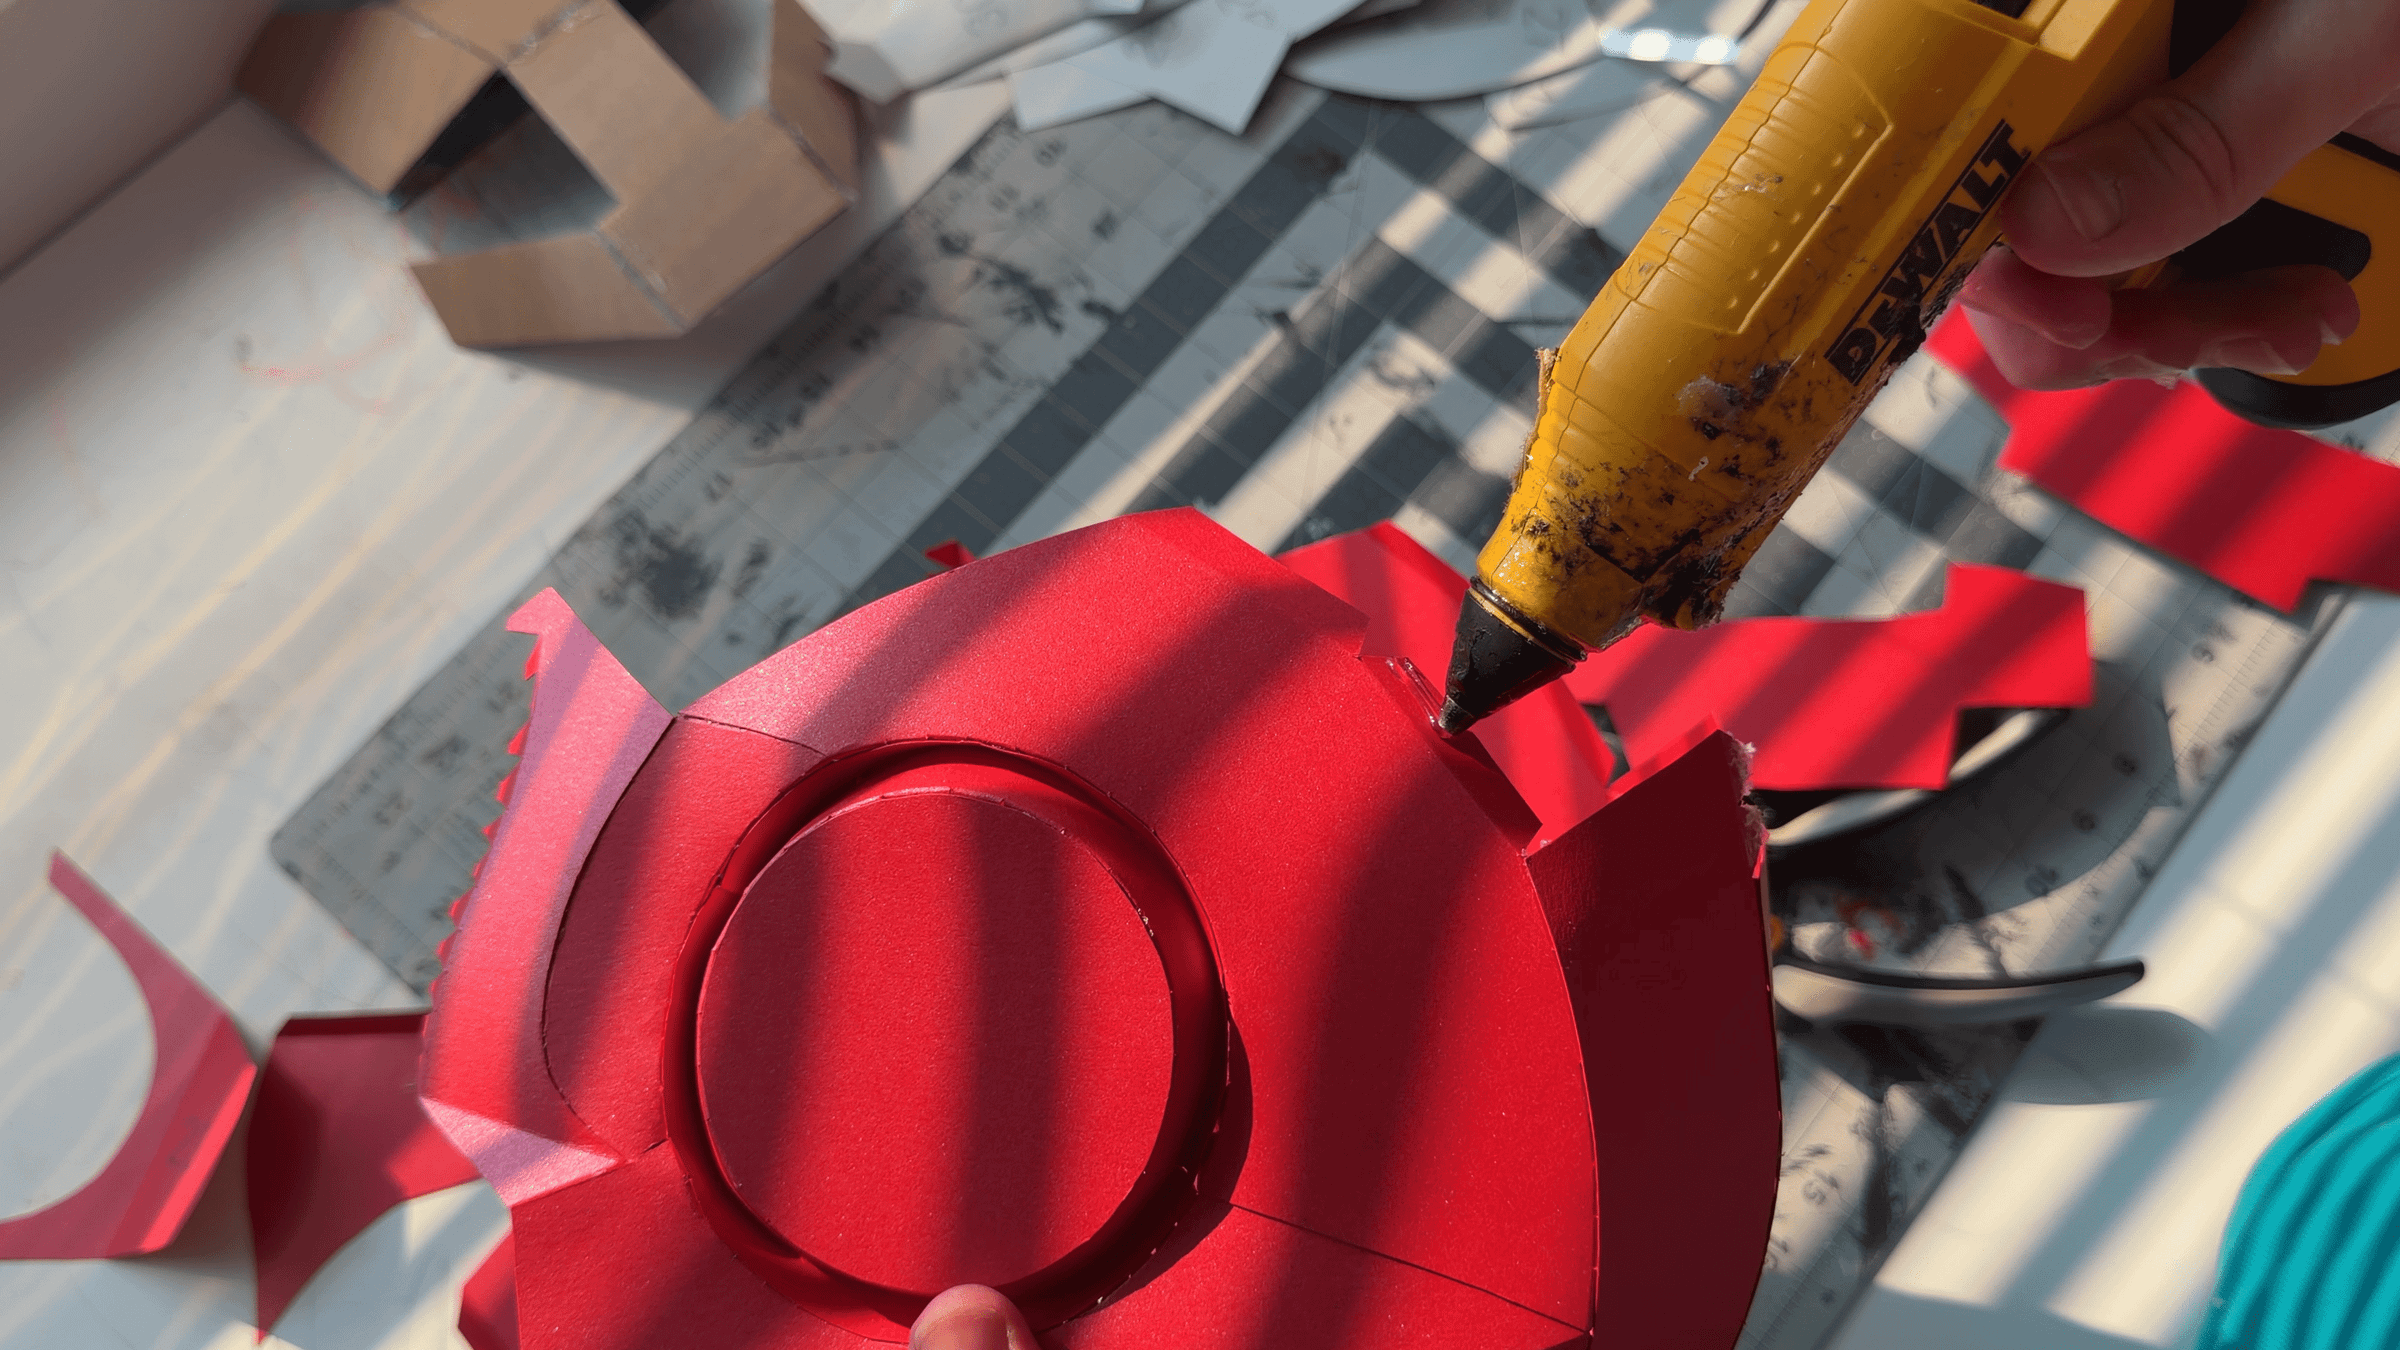
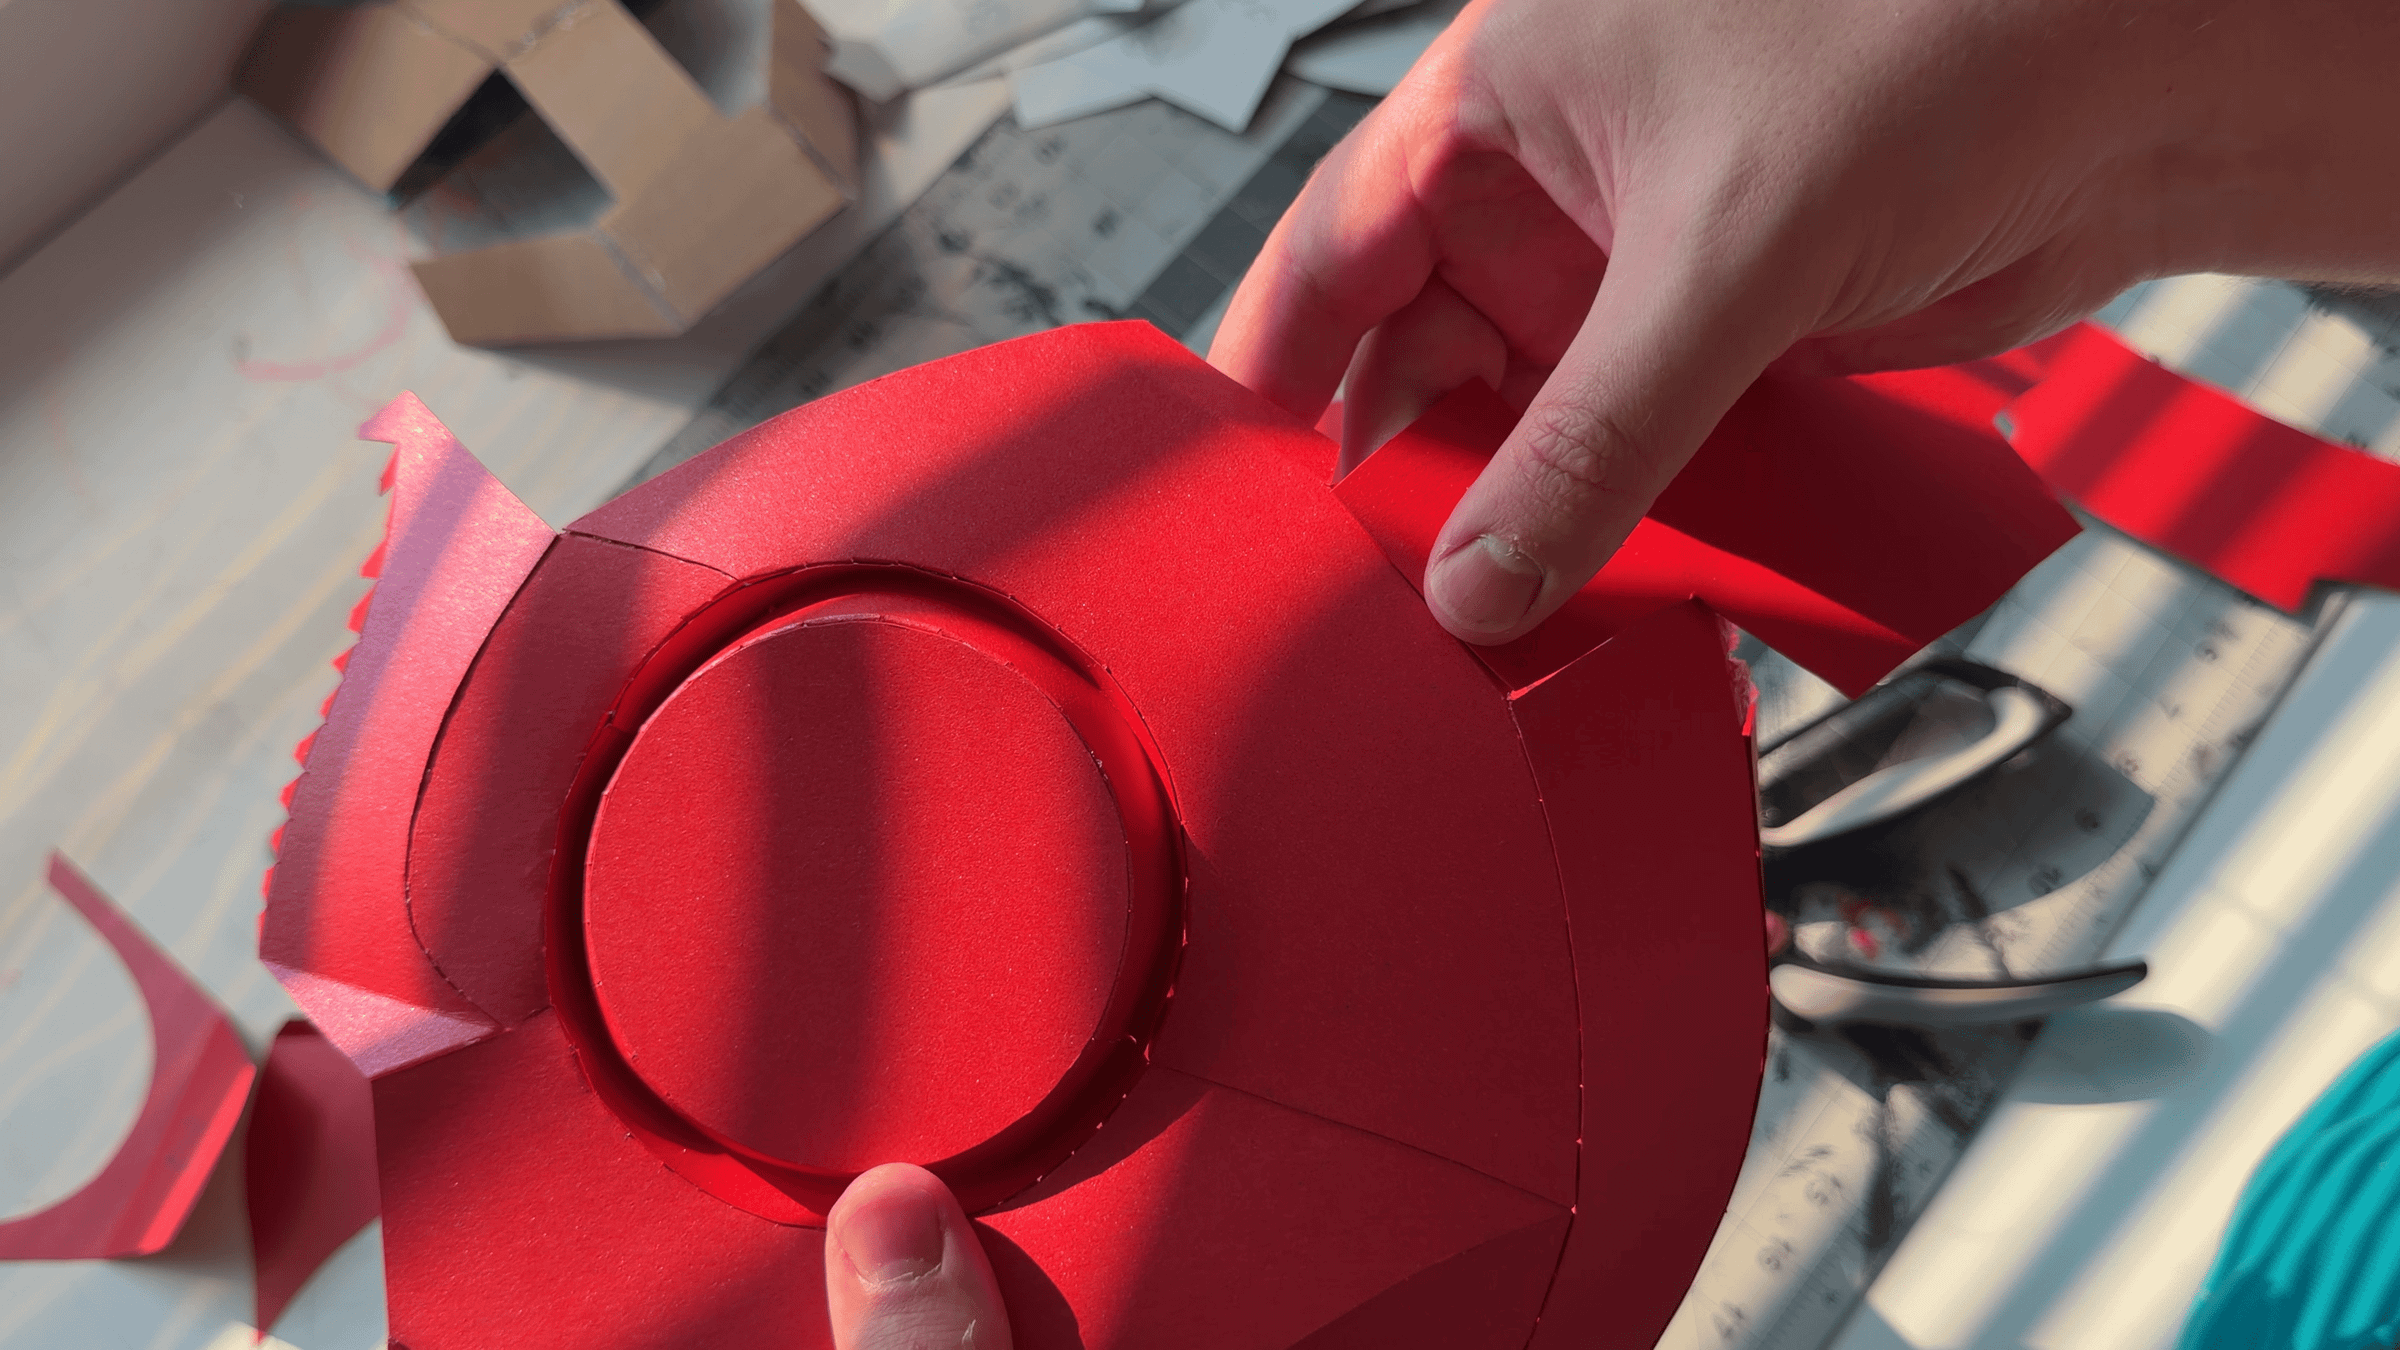
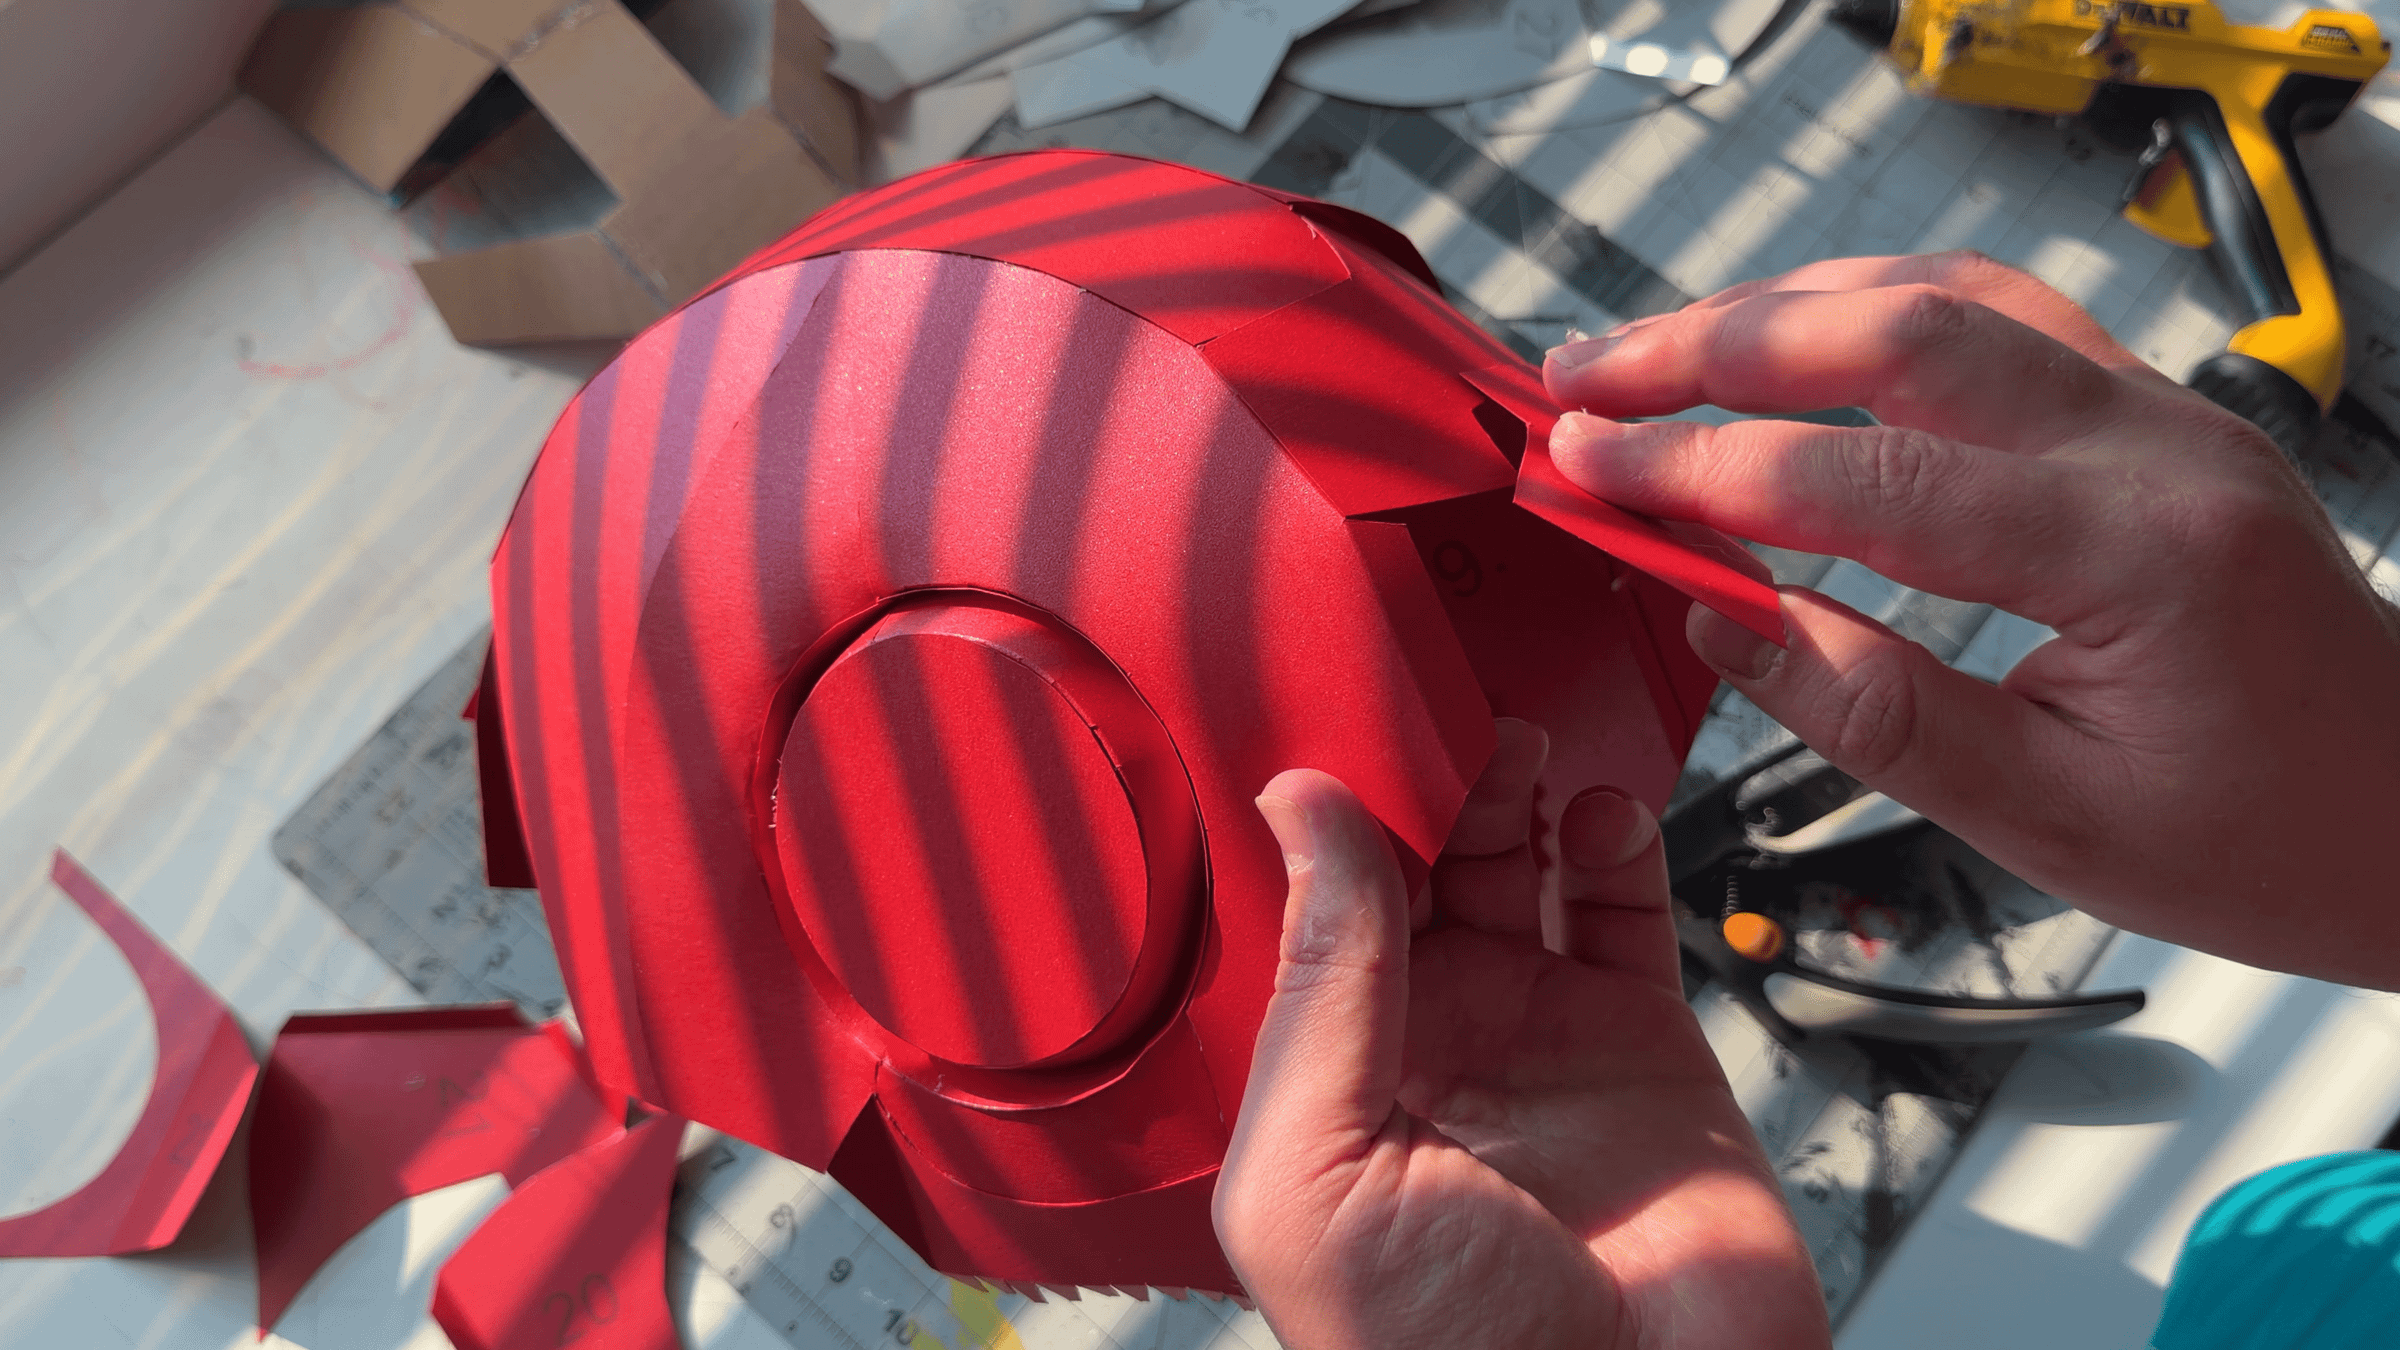
Glue the parts together using the glue tabs. It is best to work gradually, gluing only a few tabs at a time.
This gives you better control over the shape and allows you to align the edges accurately before moving on to the next section.
Cutting the Internal Frame
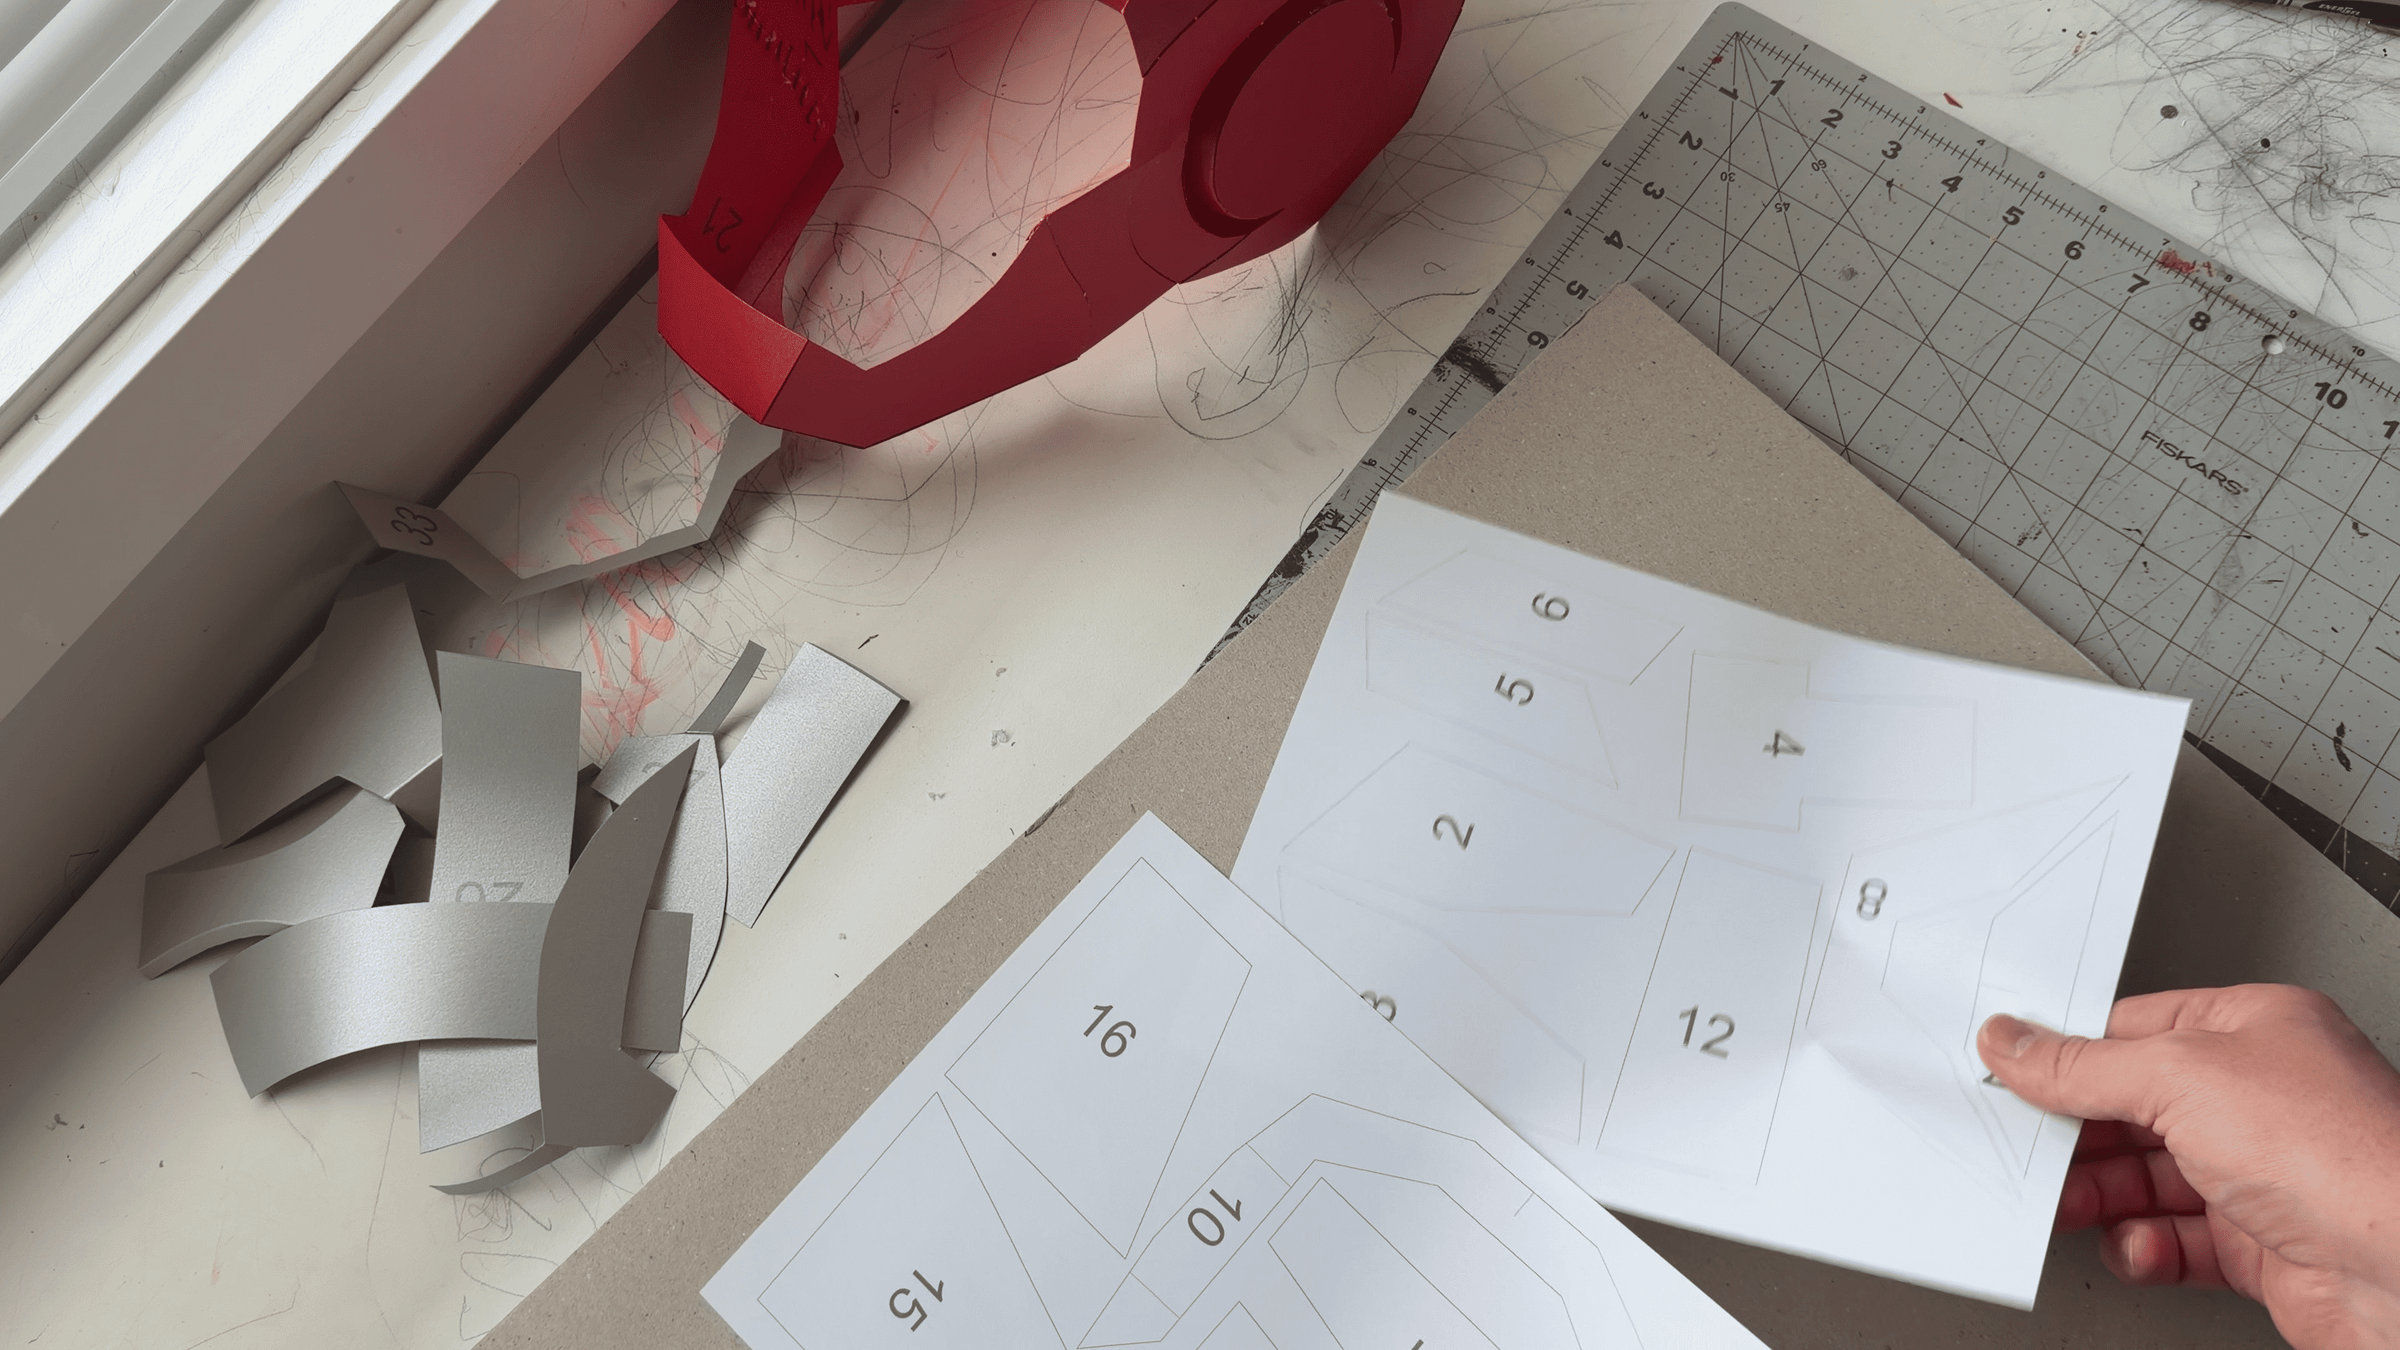
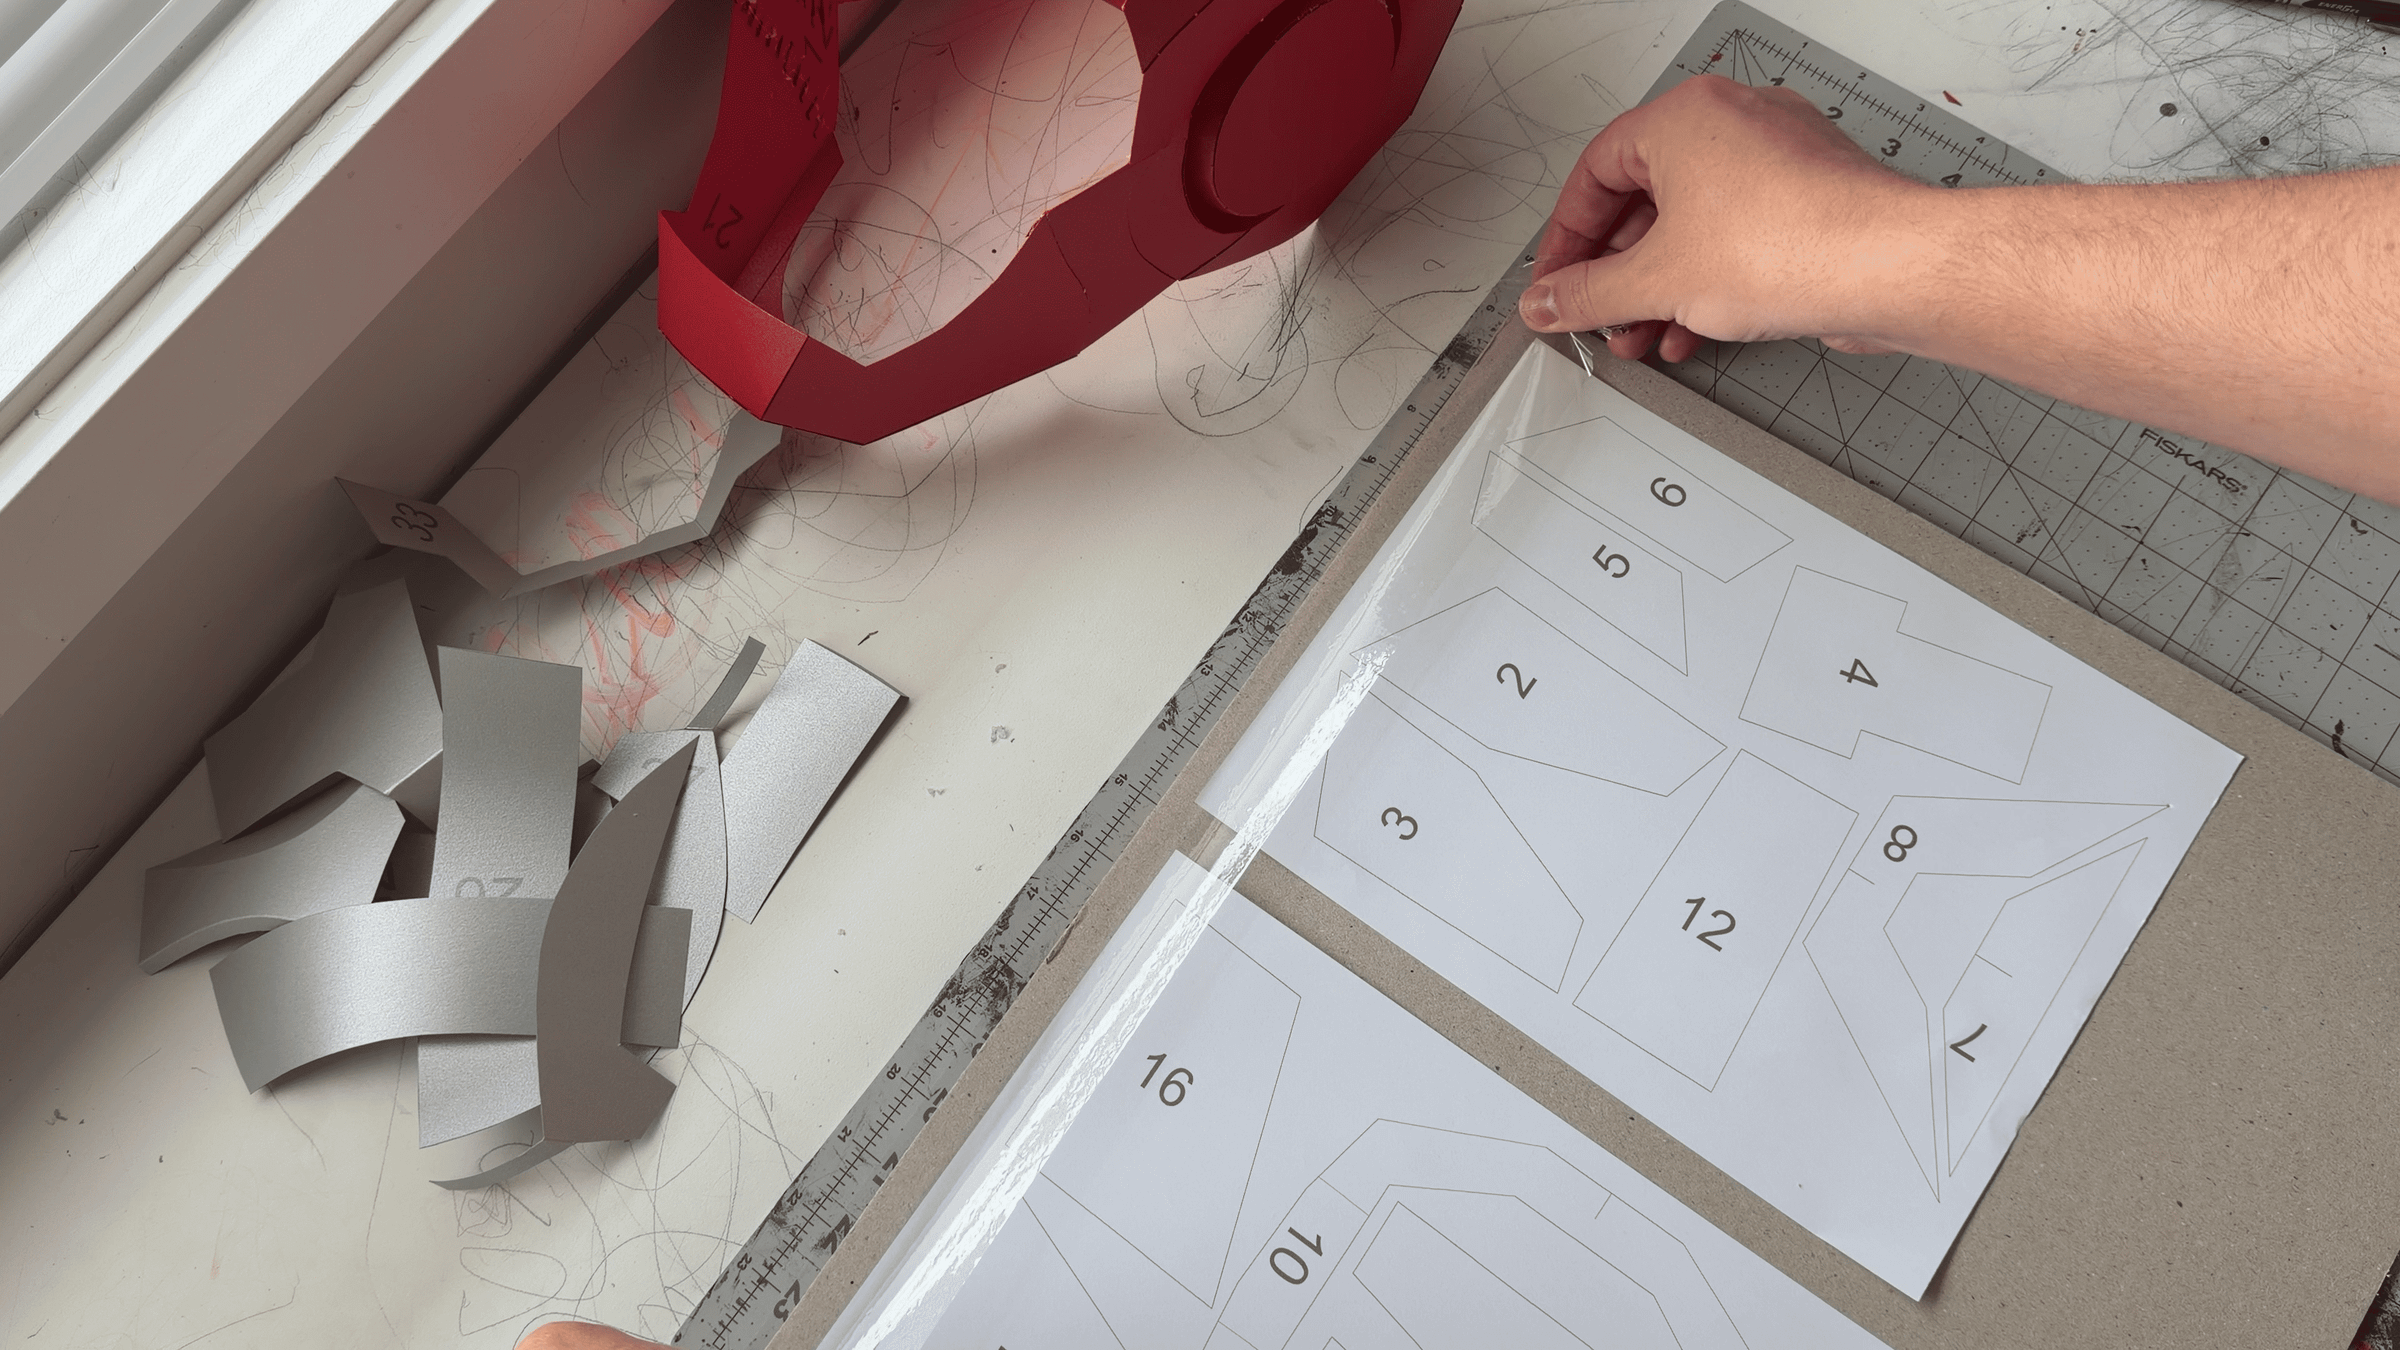
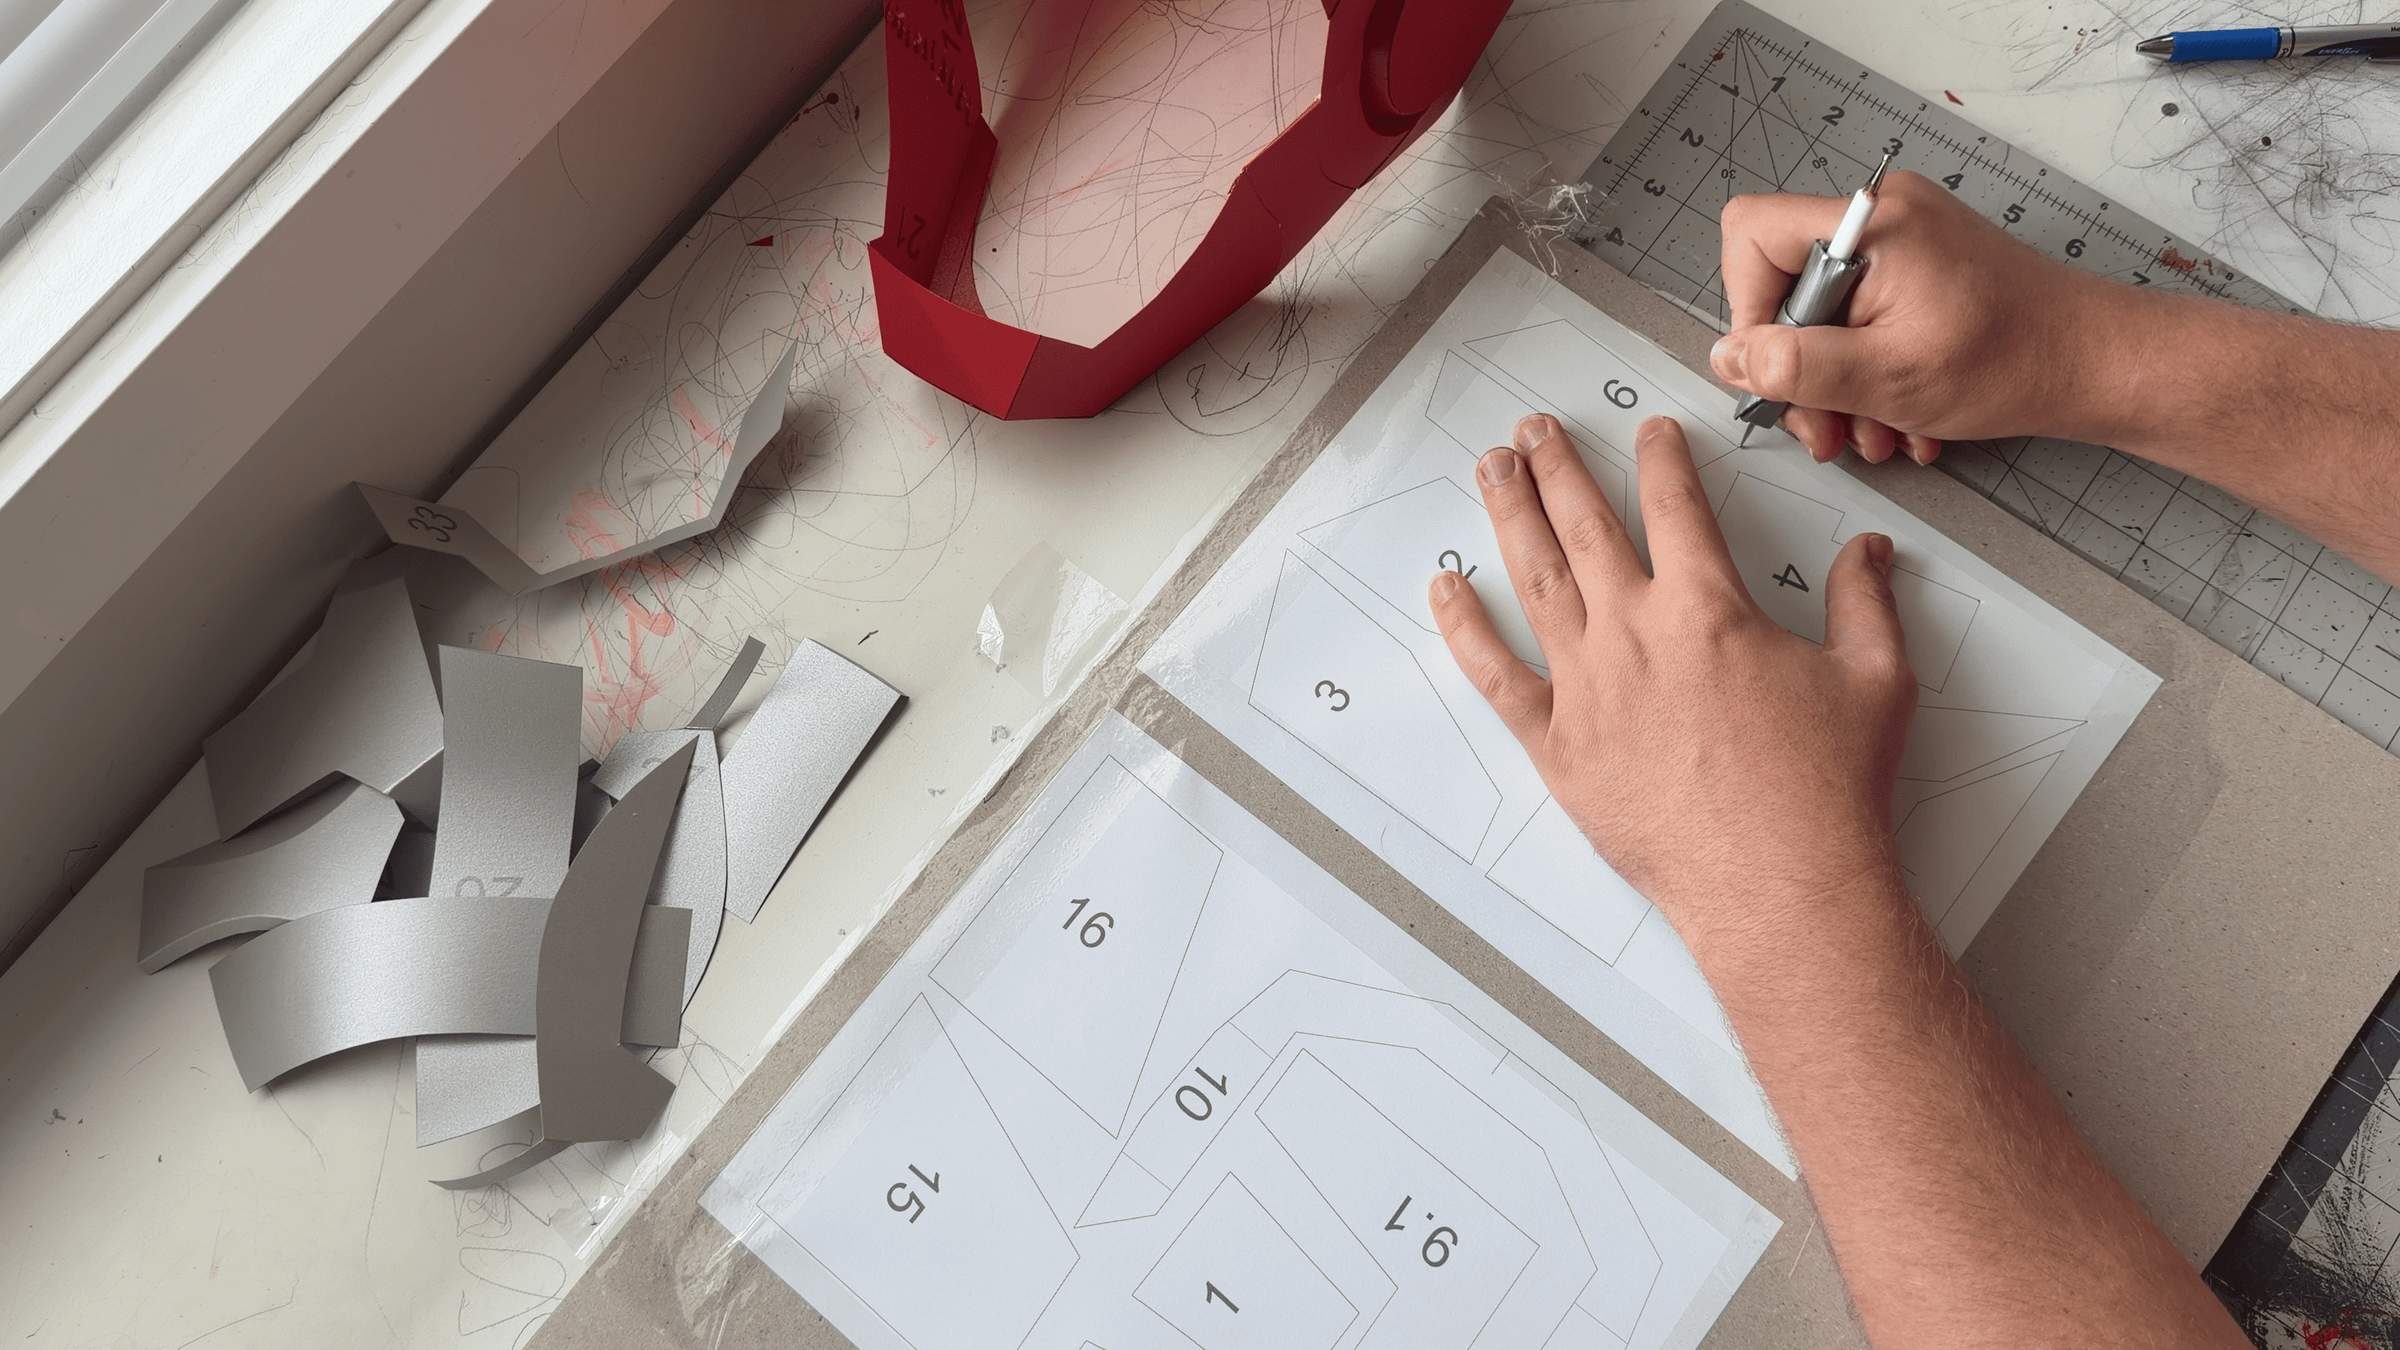
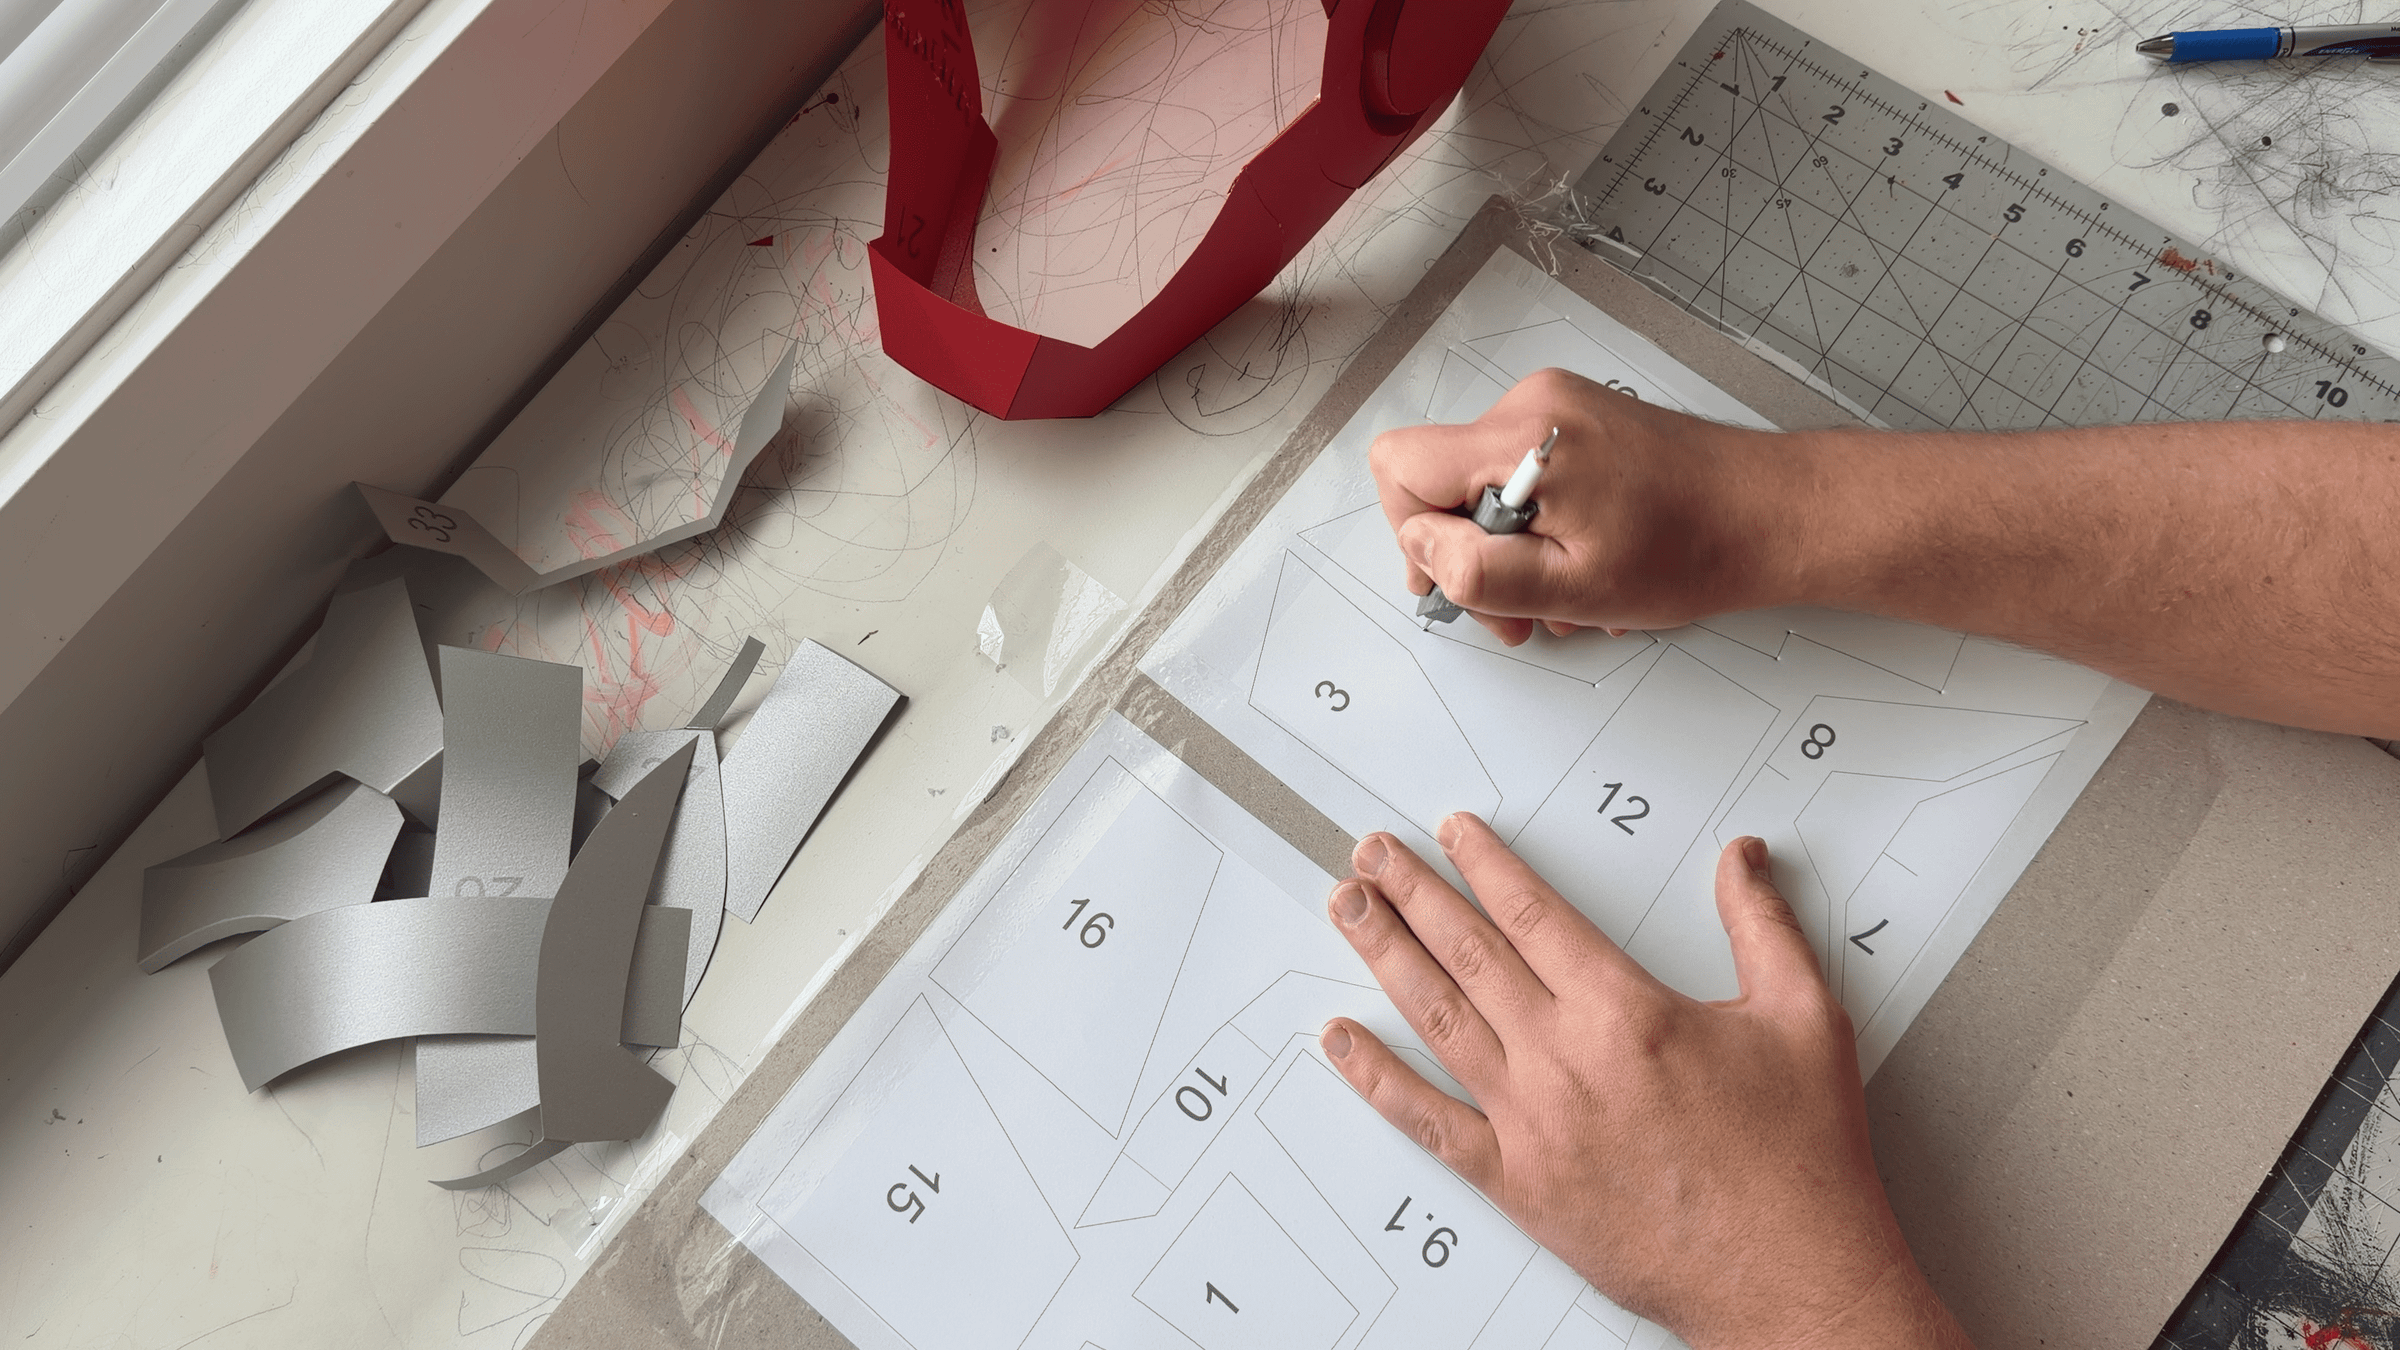
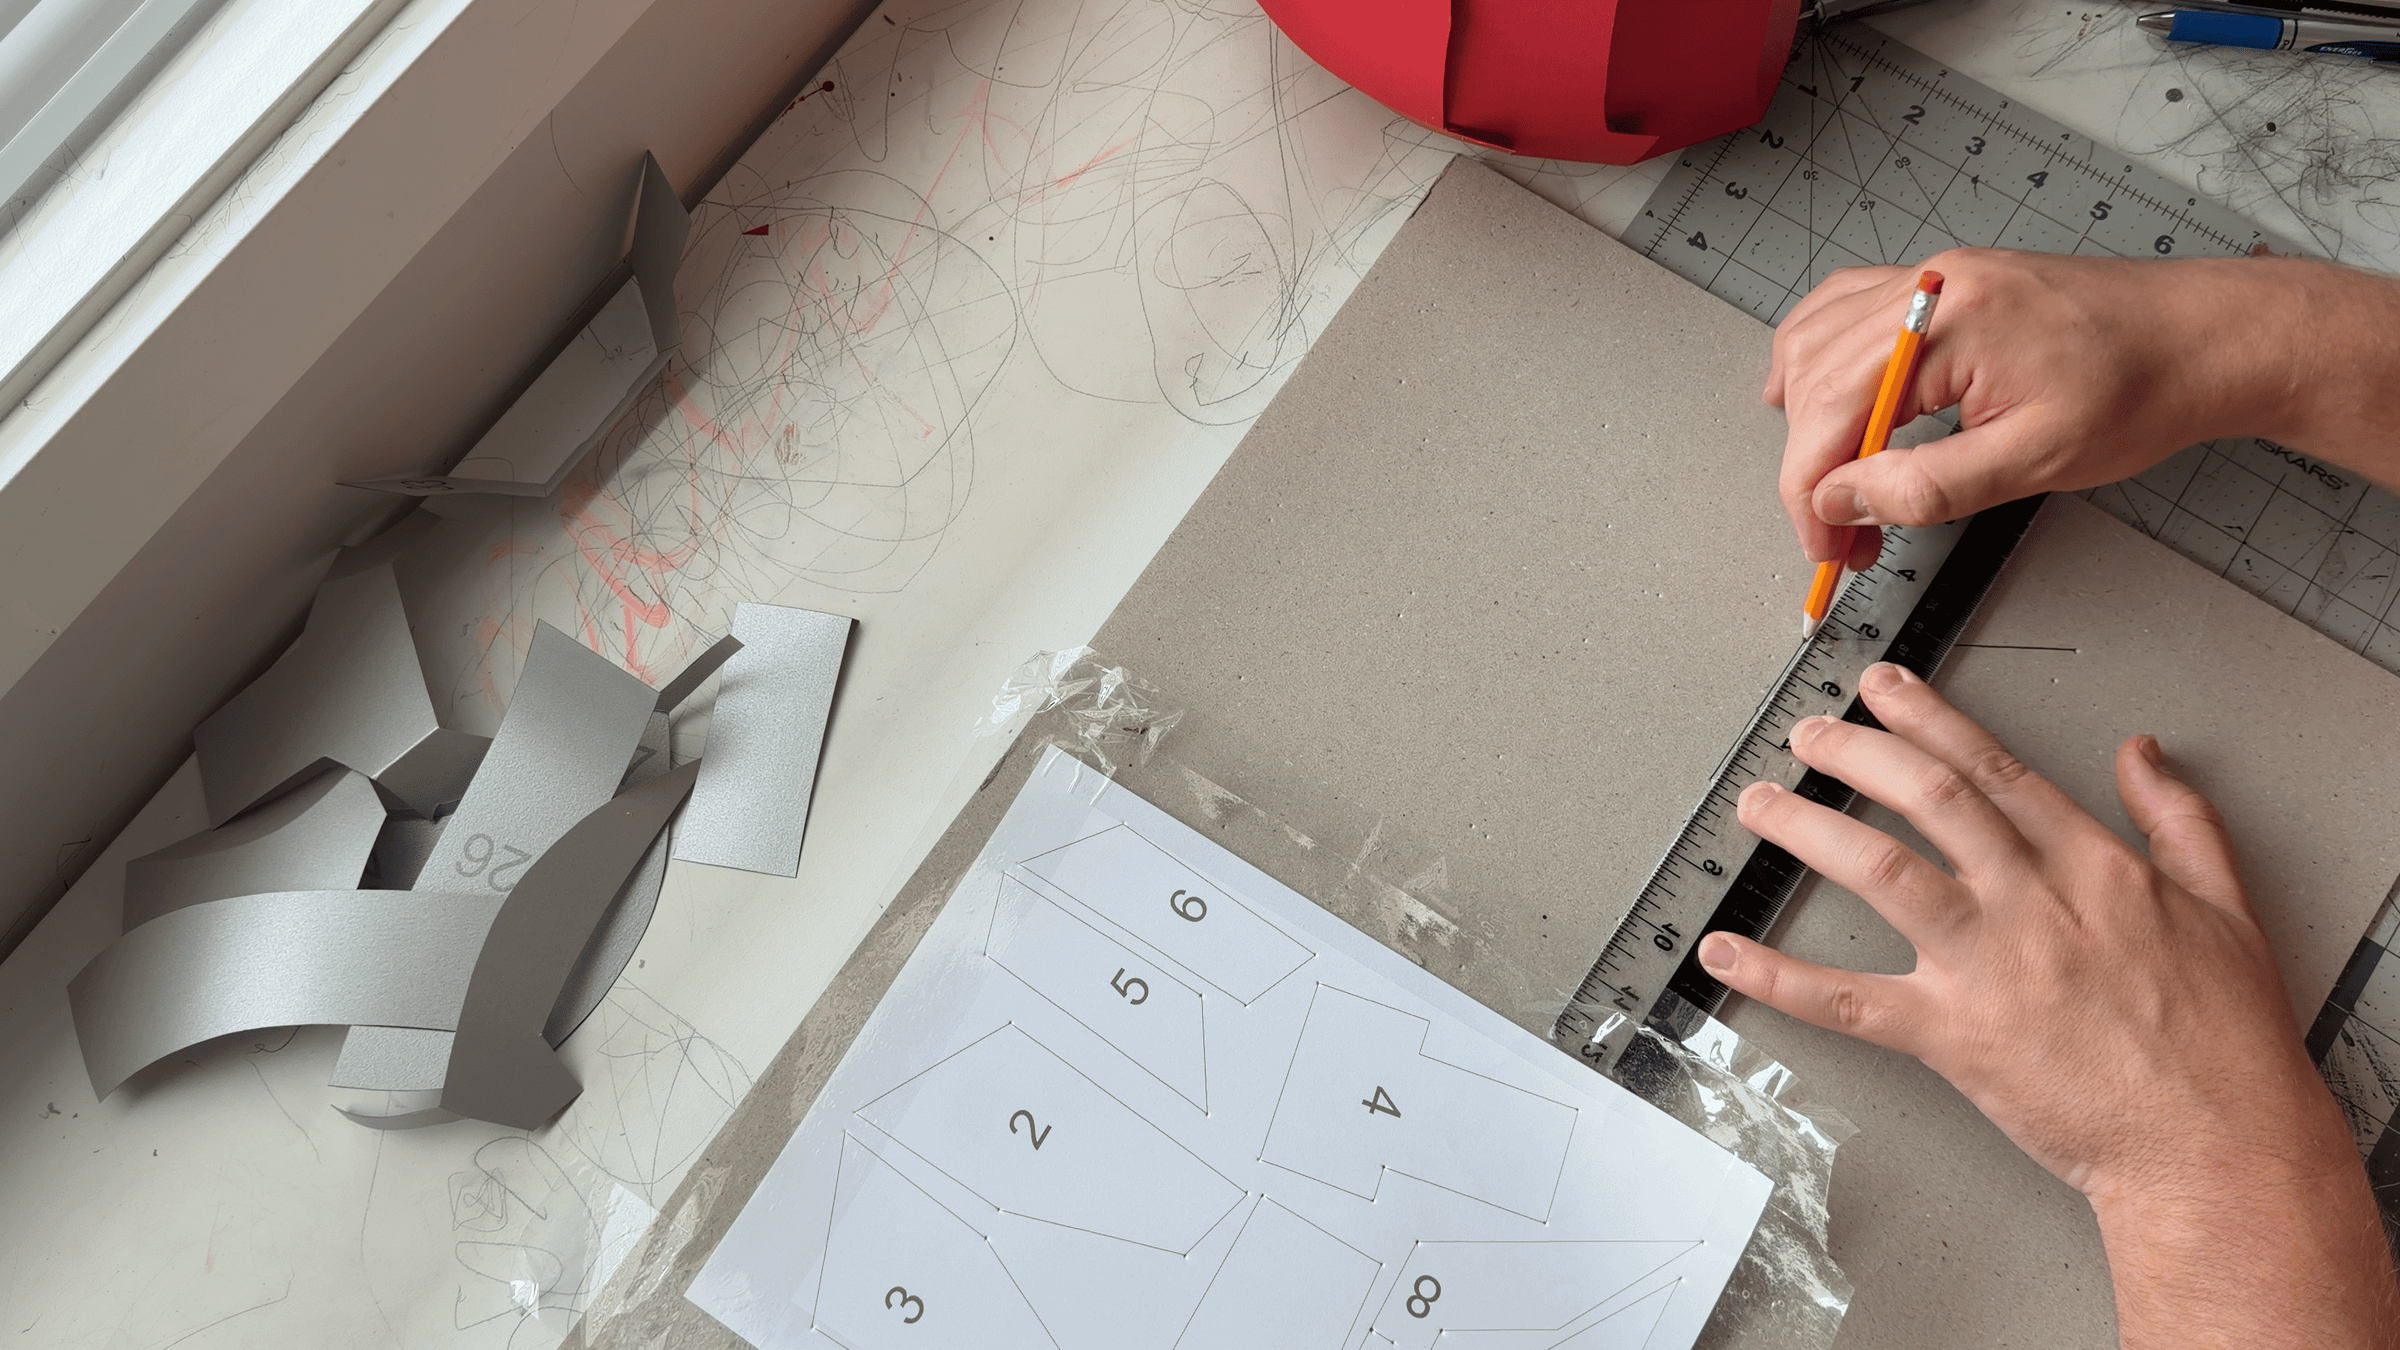
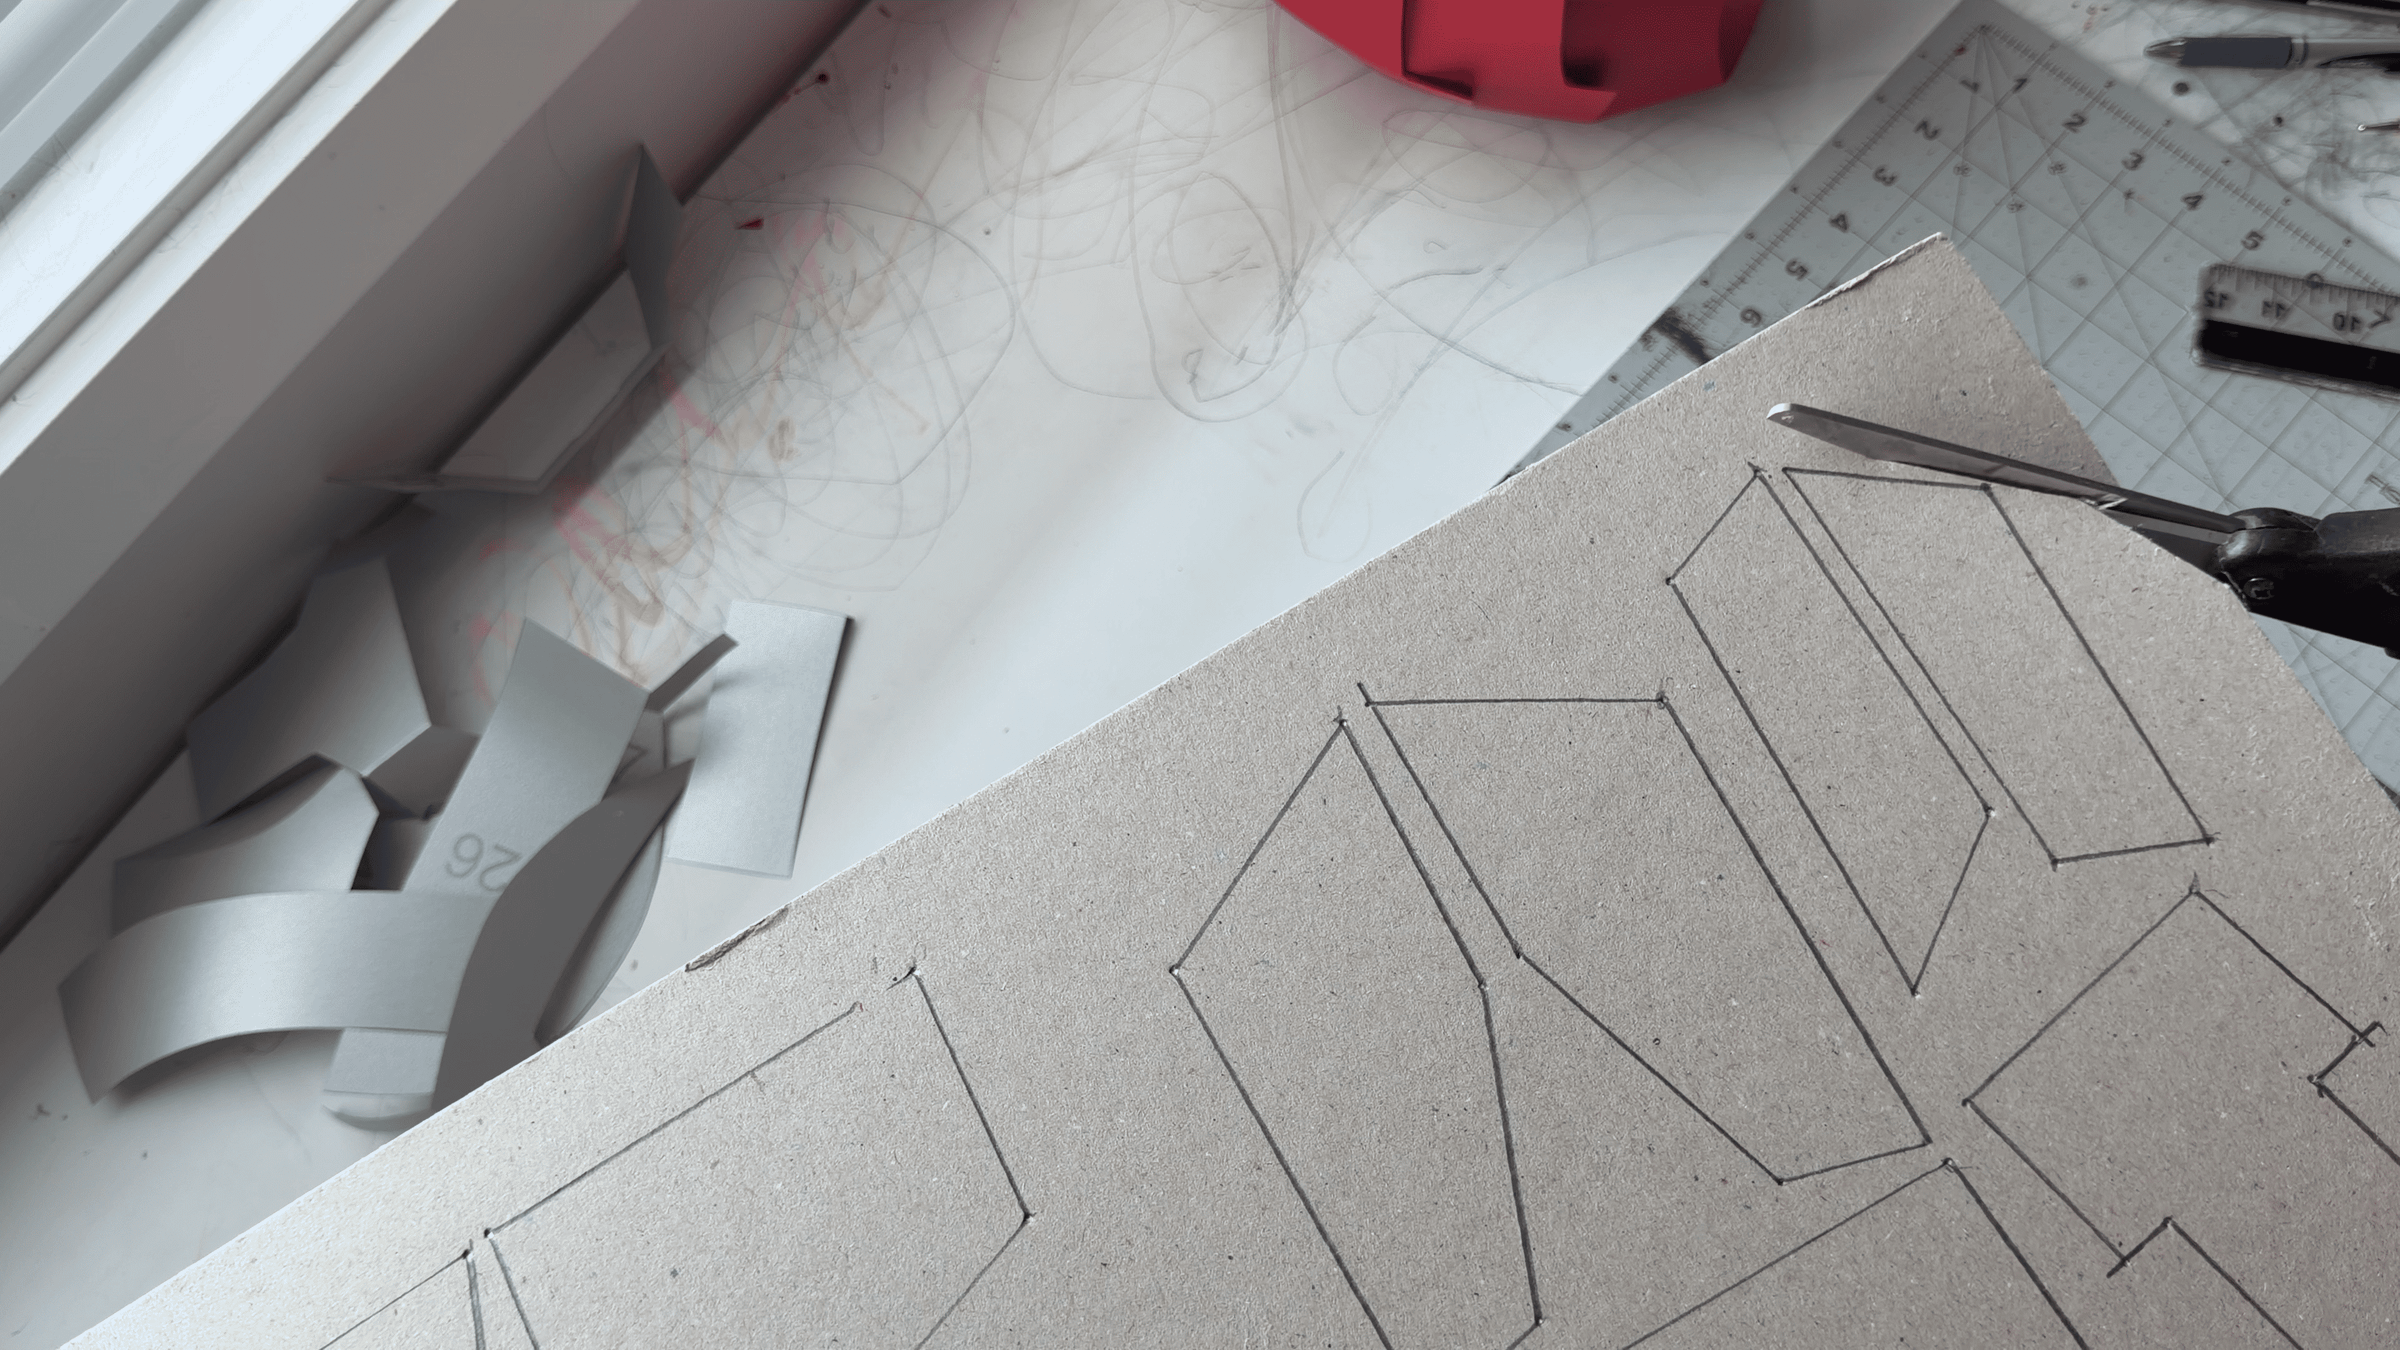
Cut the frame parts from thick cardboard. I first printed the templates on regular paper and temporarily attached them to the cardboard.
Using a sharp tool, mark a small point at each corner of the template. Then remove the paper, connect the marked points with a ruler and pencil, and cut out the parts along these lines.
There are only a few frame parts, so this process is quite quick and easy.
Assembling the Internal Frame
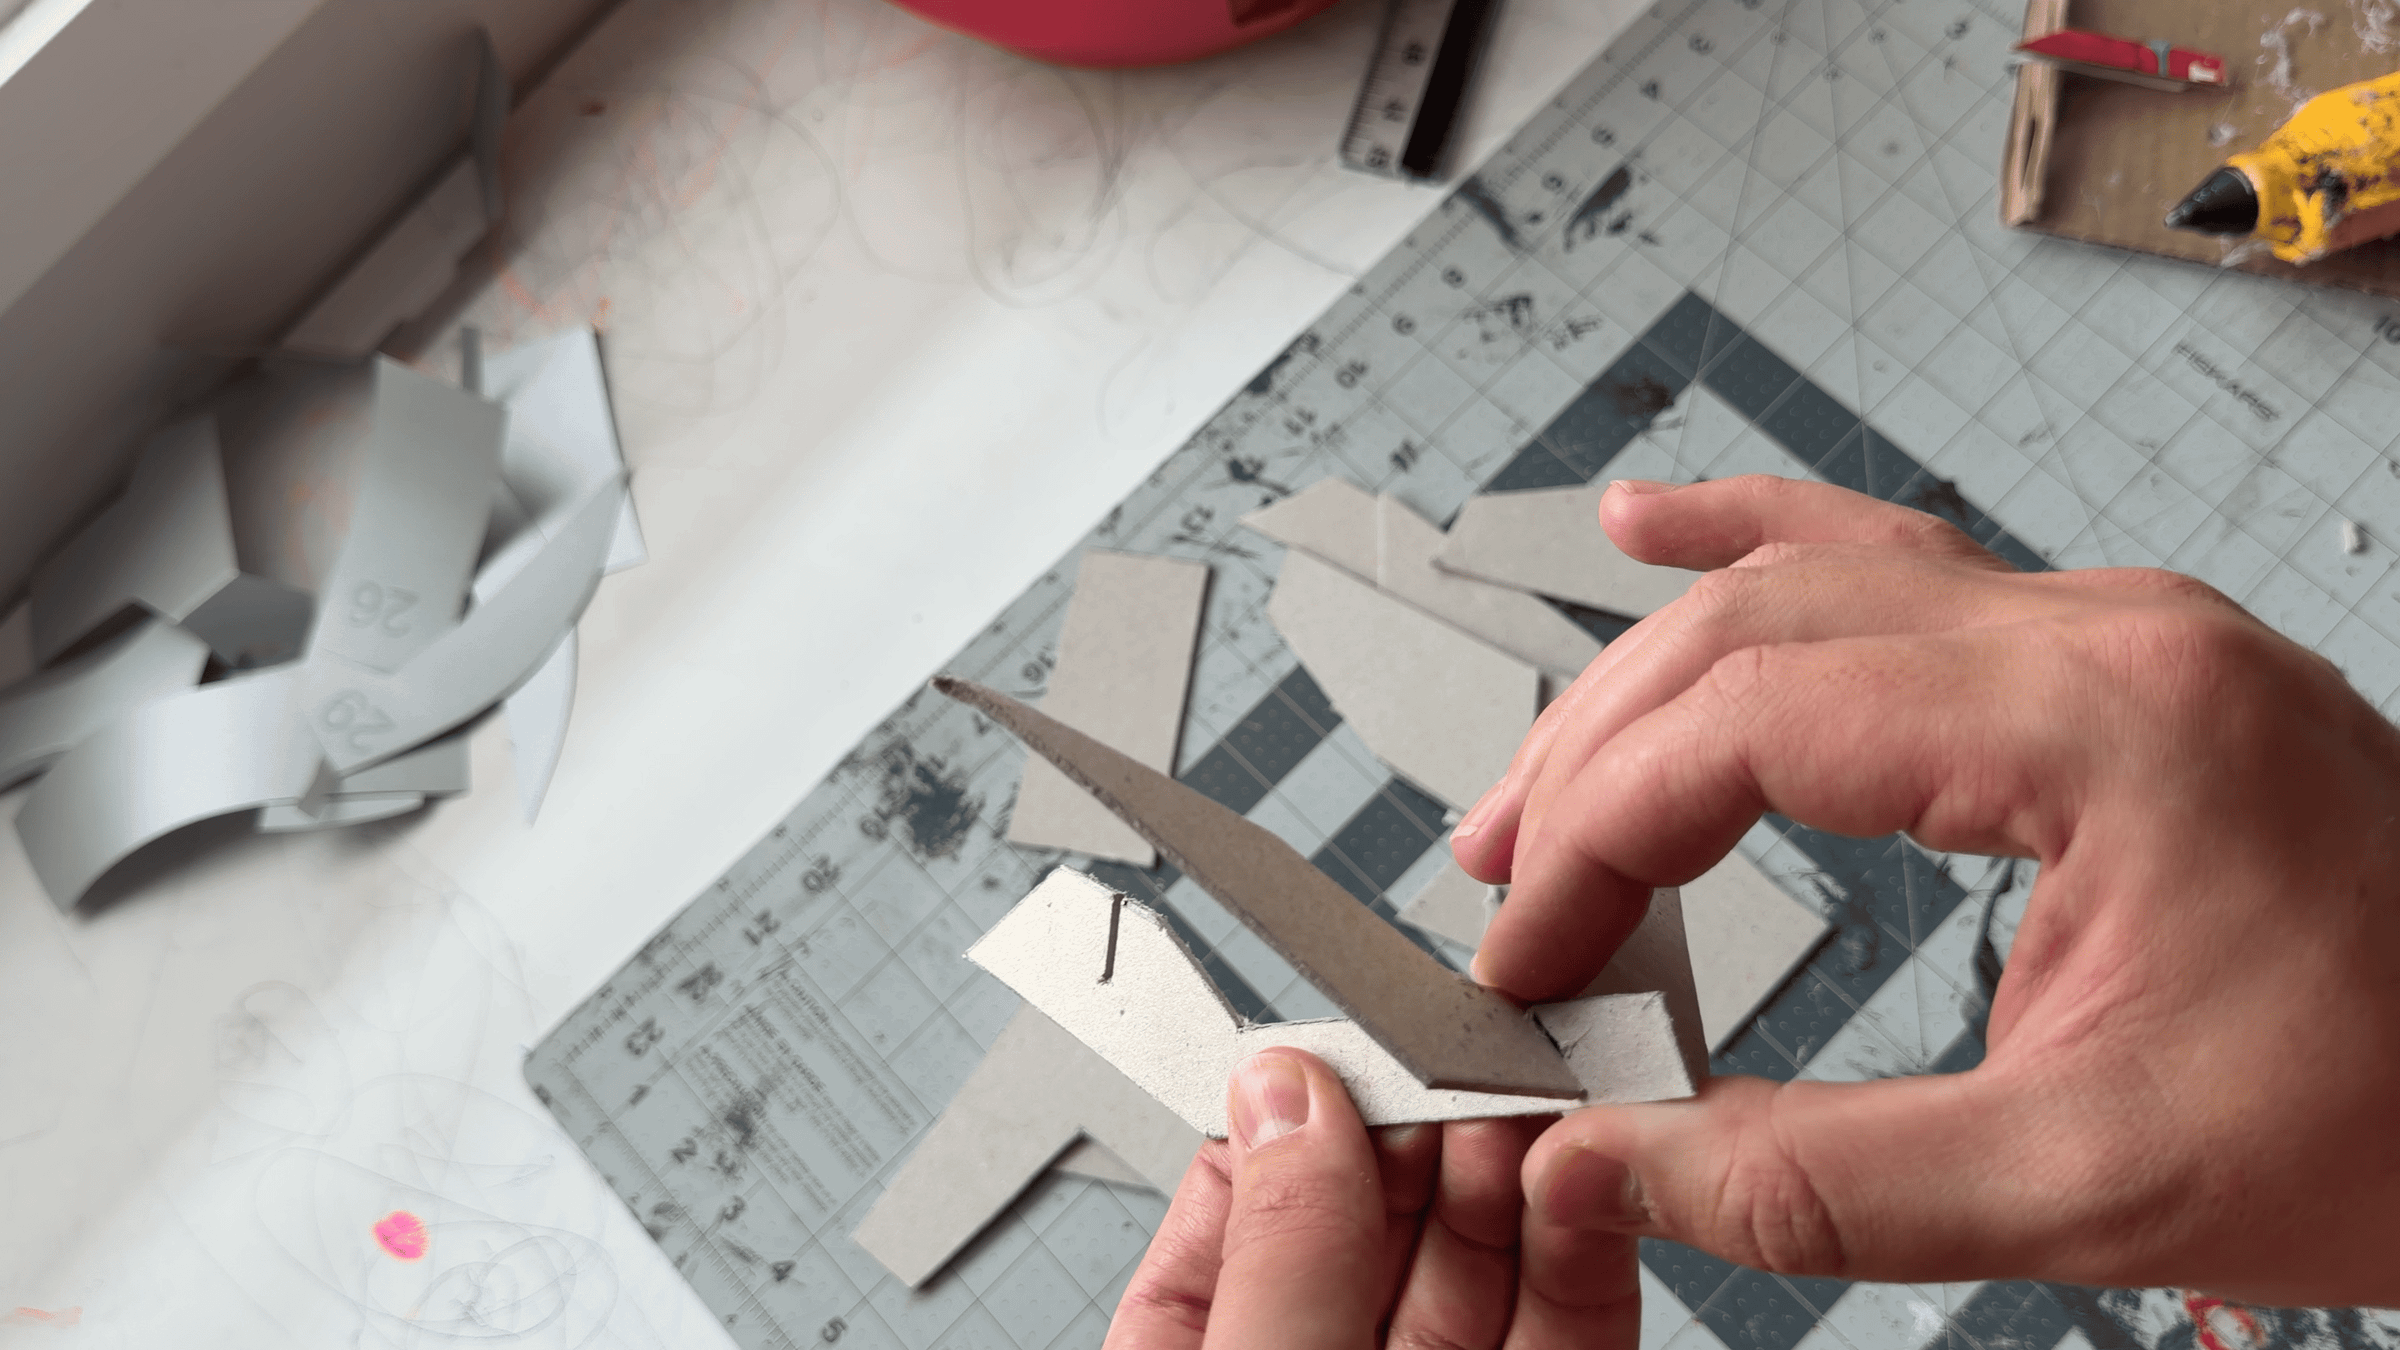
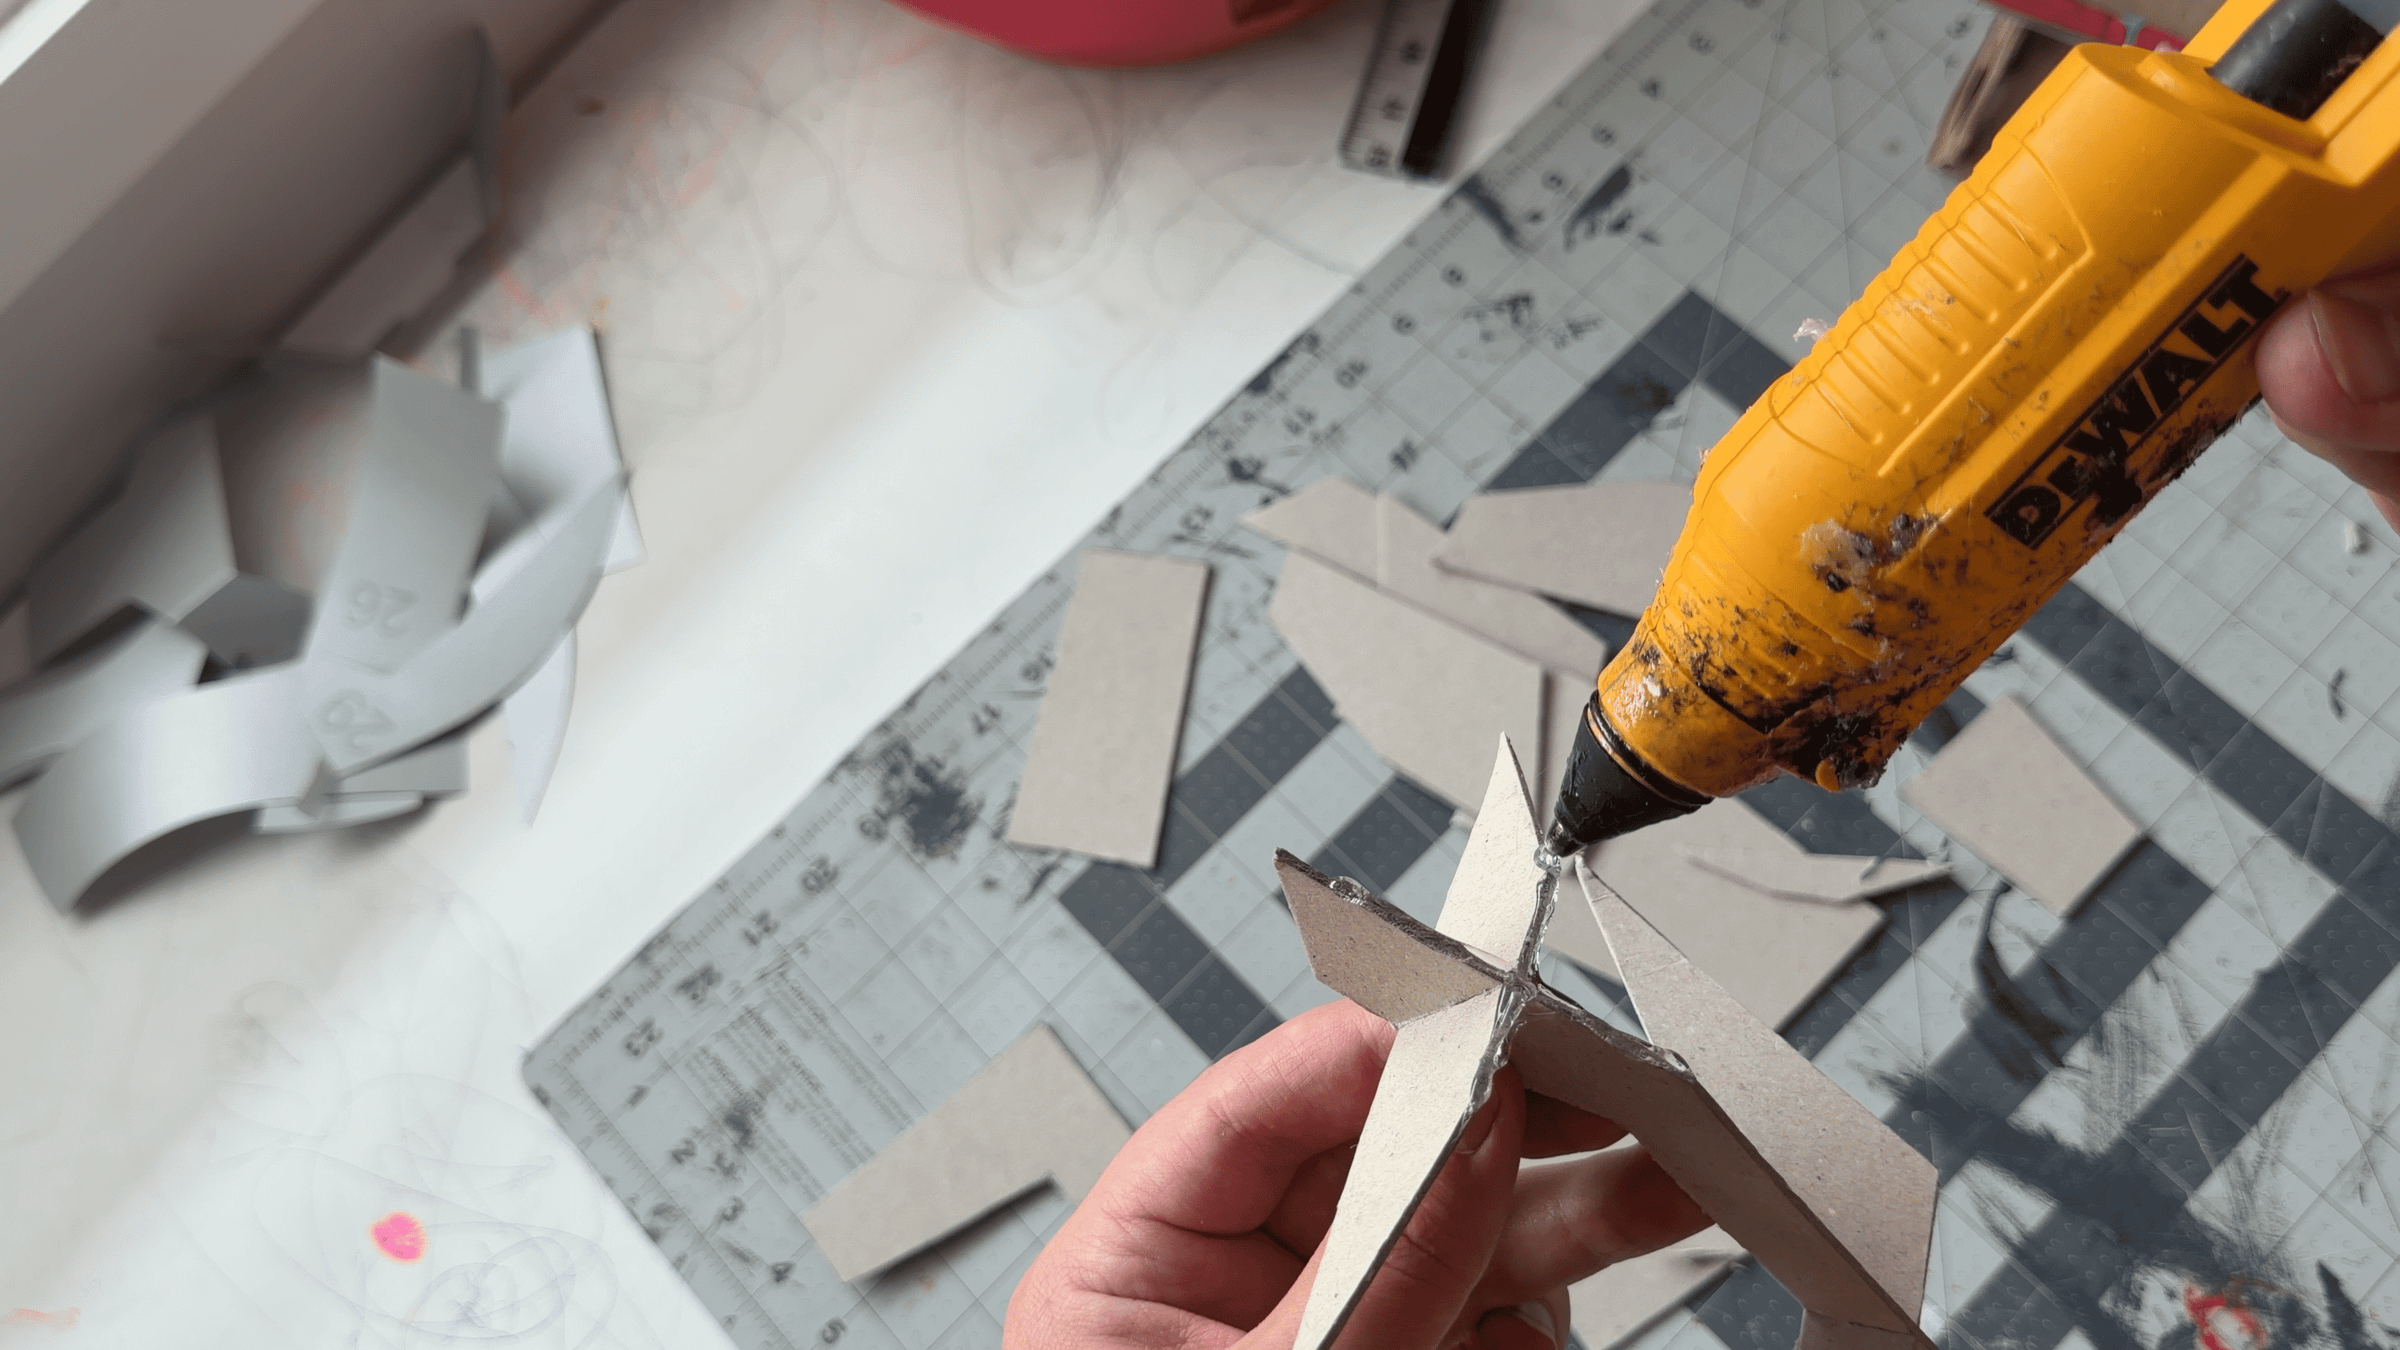
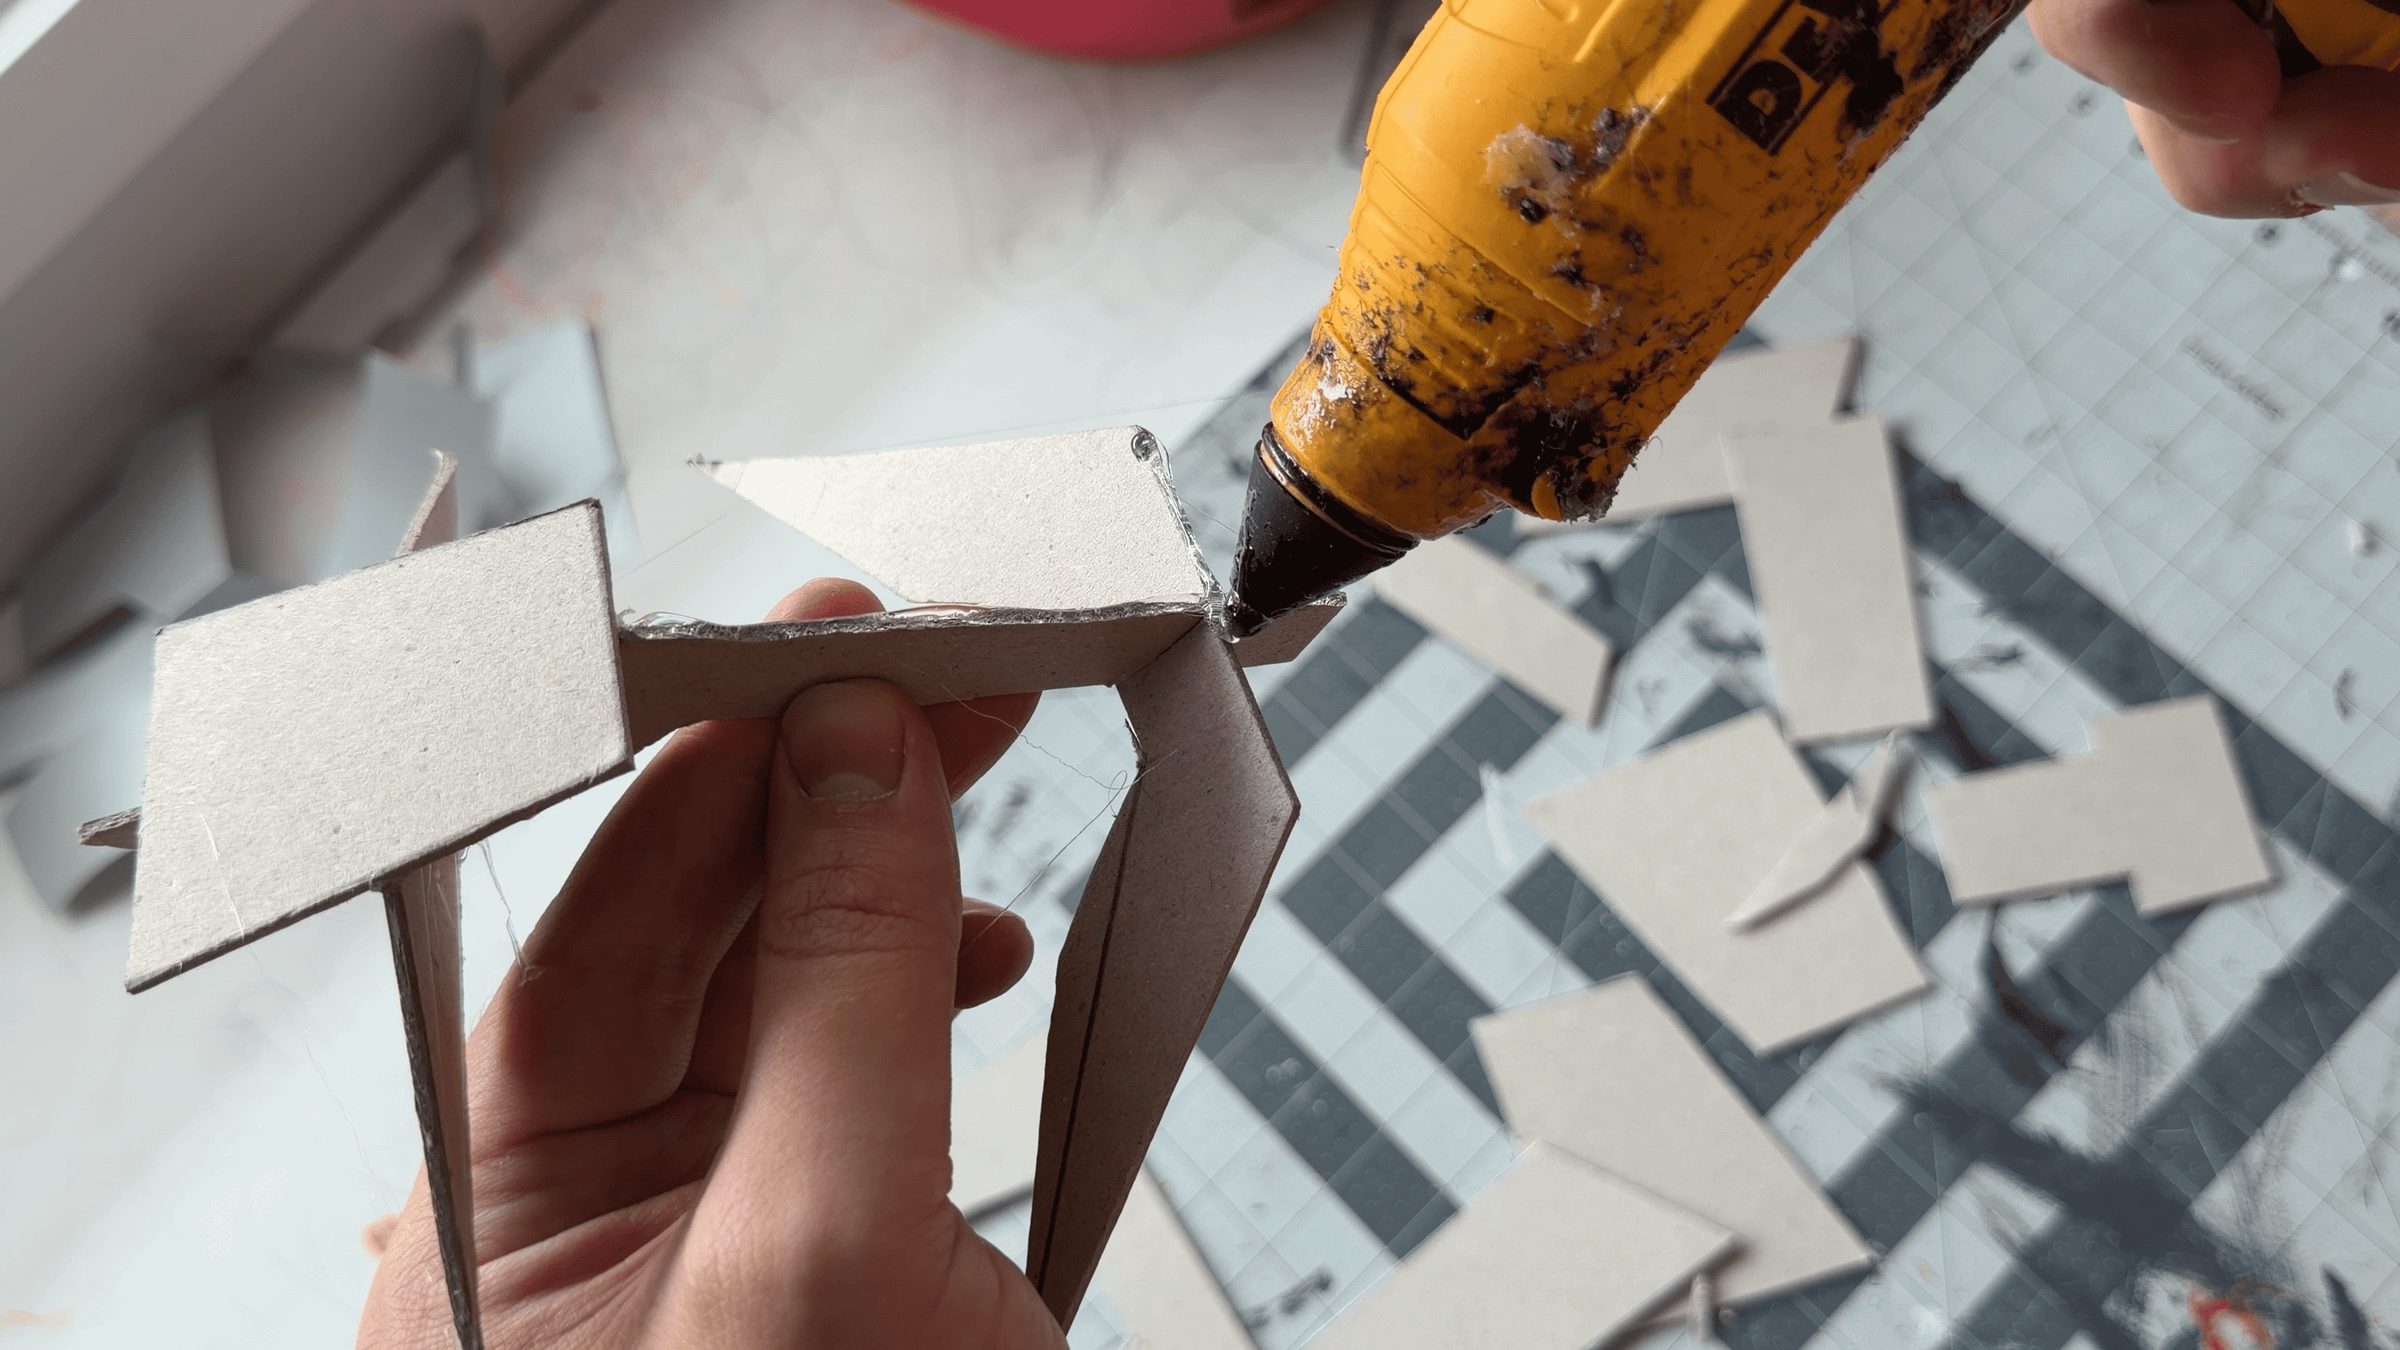
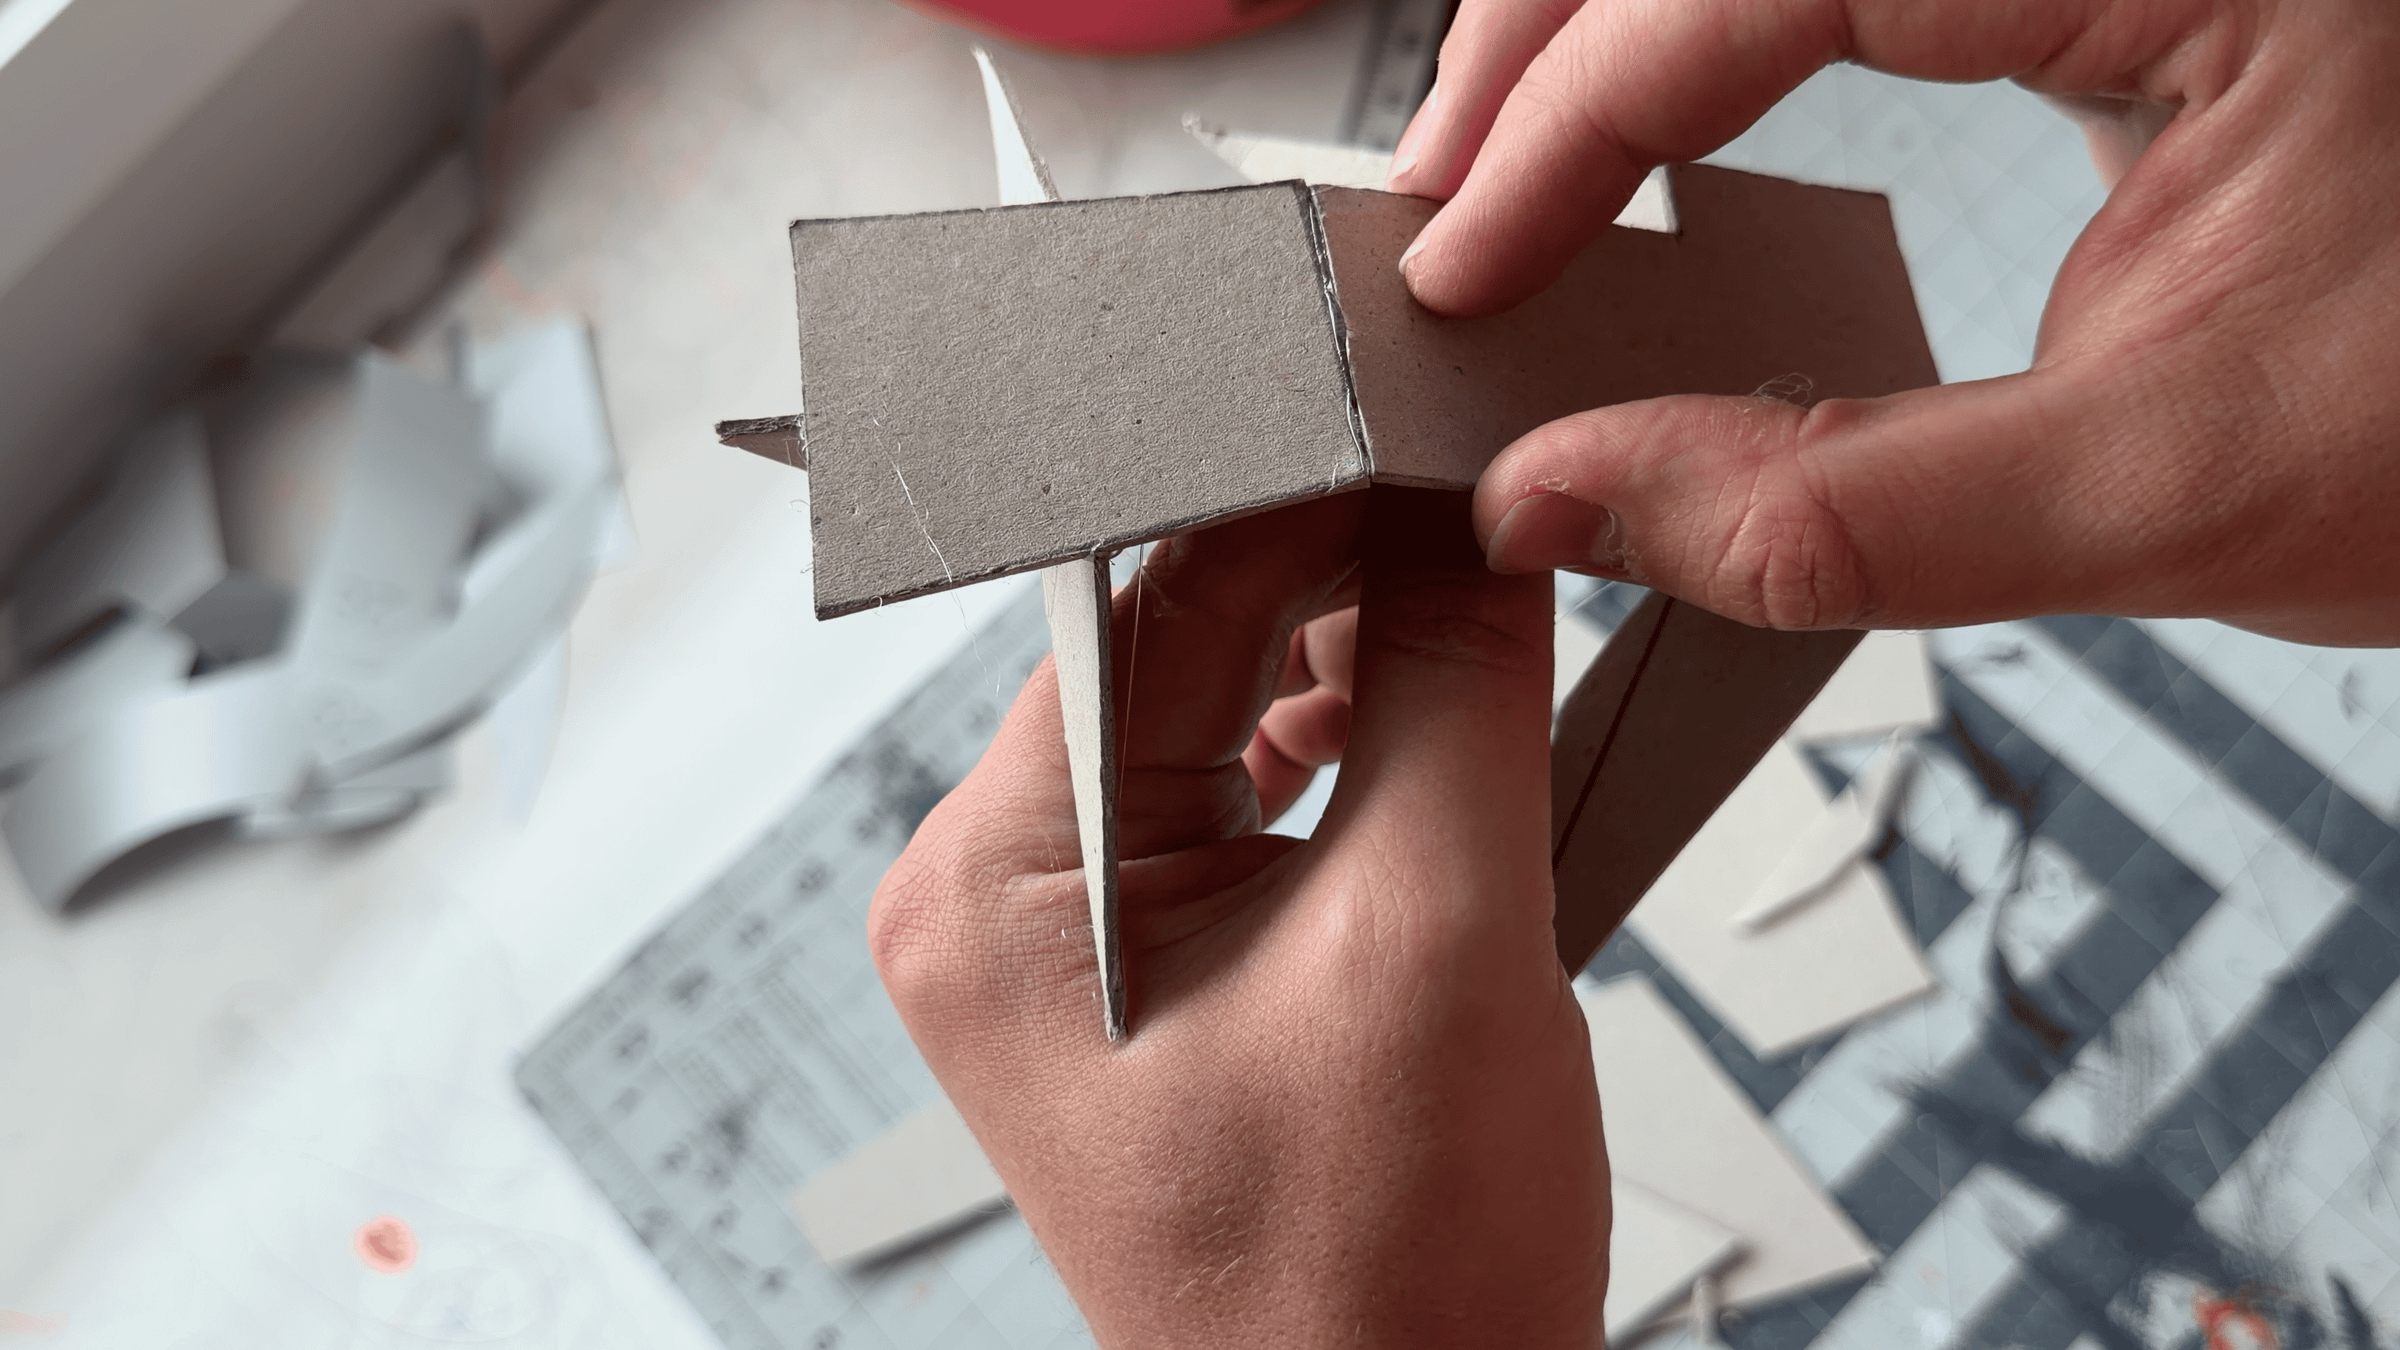
Assemble the frame parts by connecting them through the slots where indicated. Glue all parts edge to edge.
Because the cardboard is thick and the edges are straight, the parts align easily and fit together accurately, creating a strong and rigid internal frame.
Installing and Reinforcing the Internal Frame
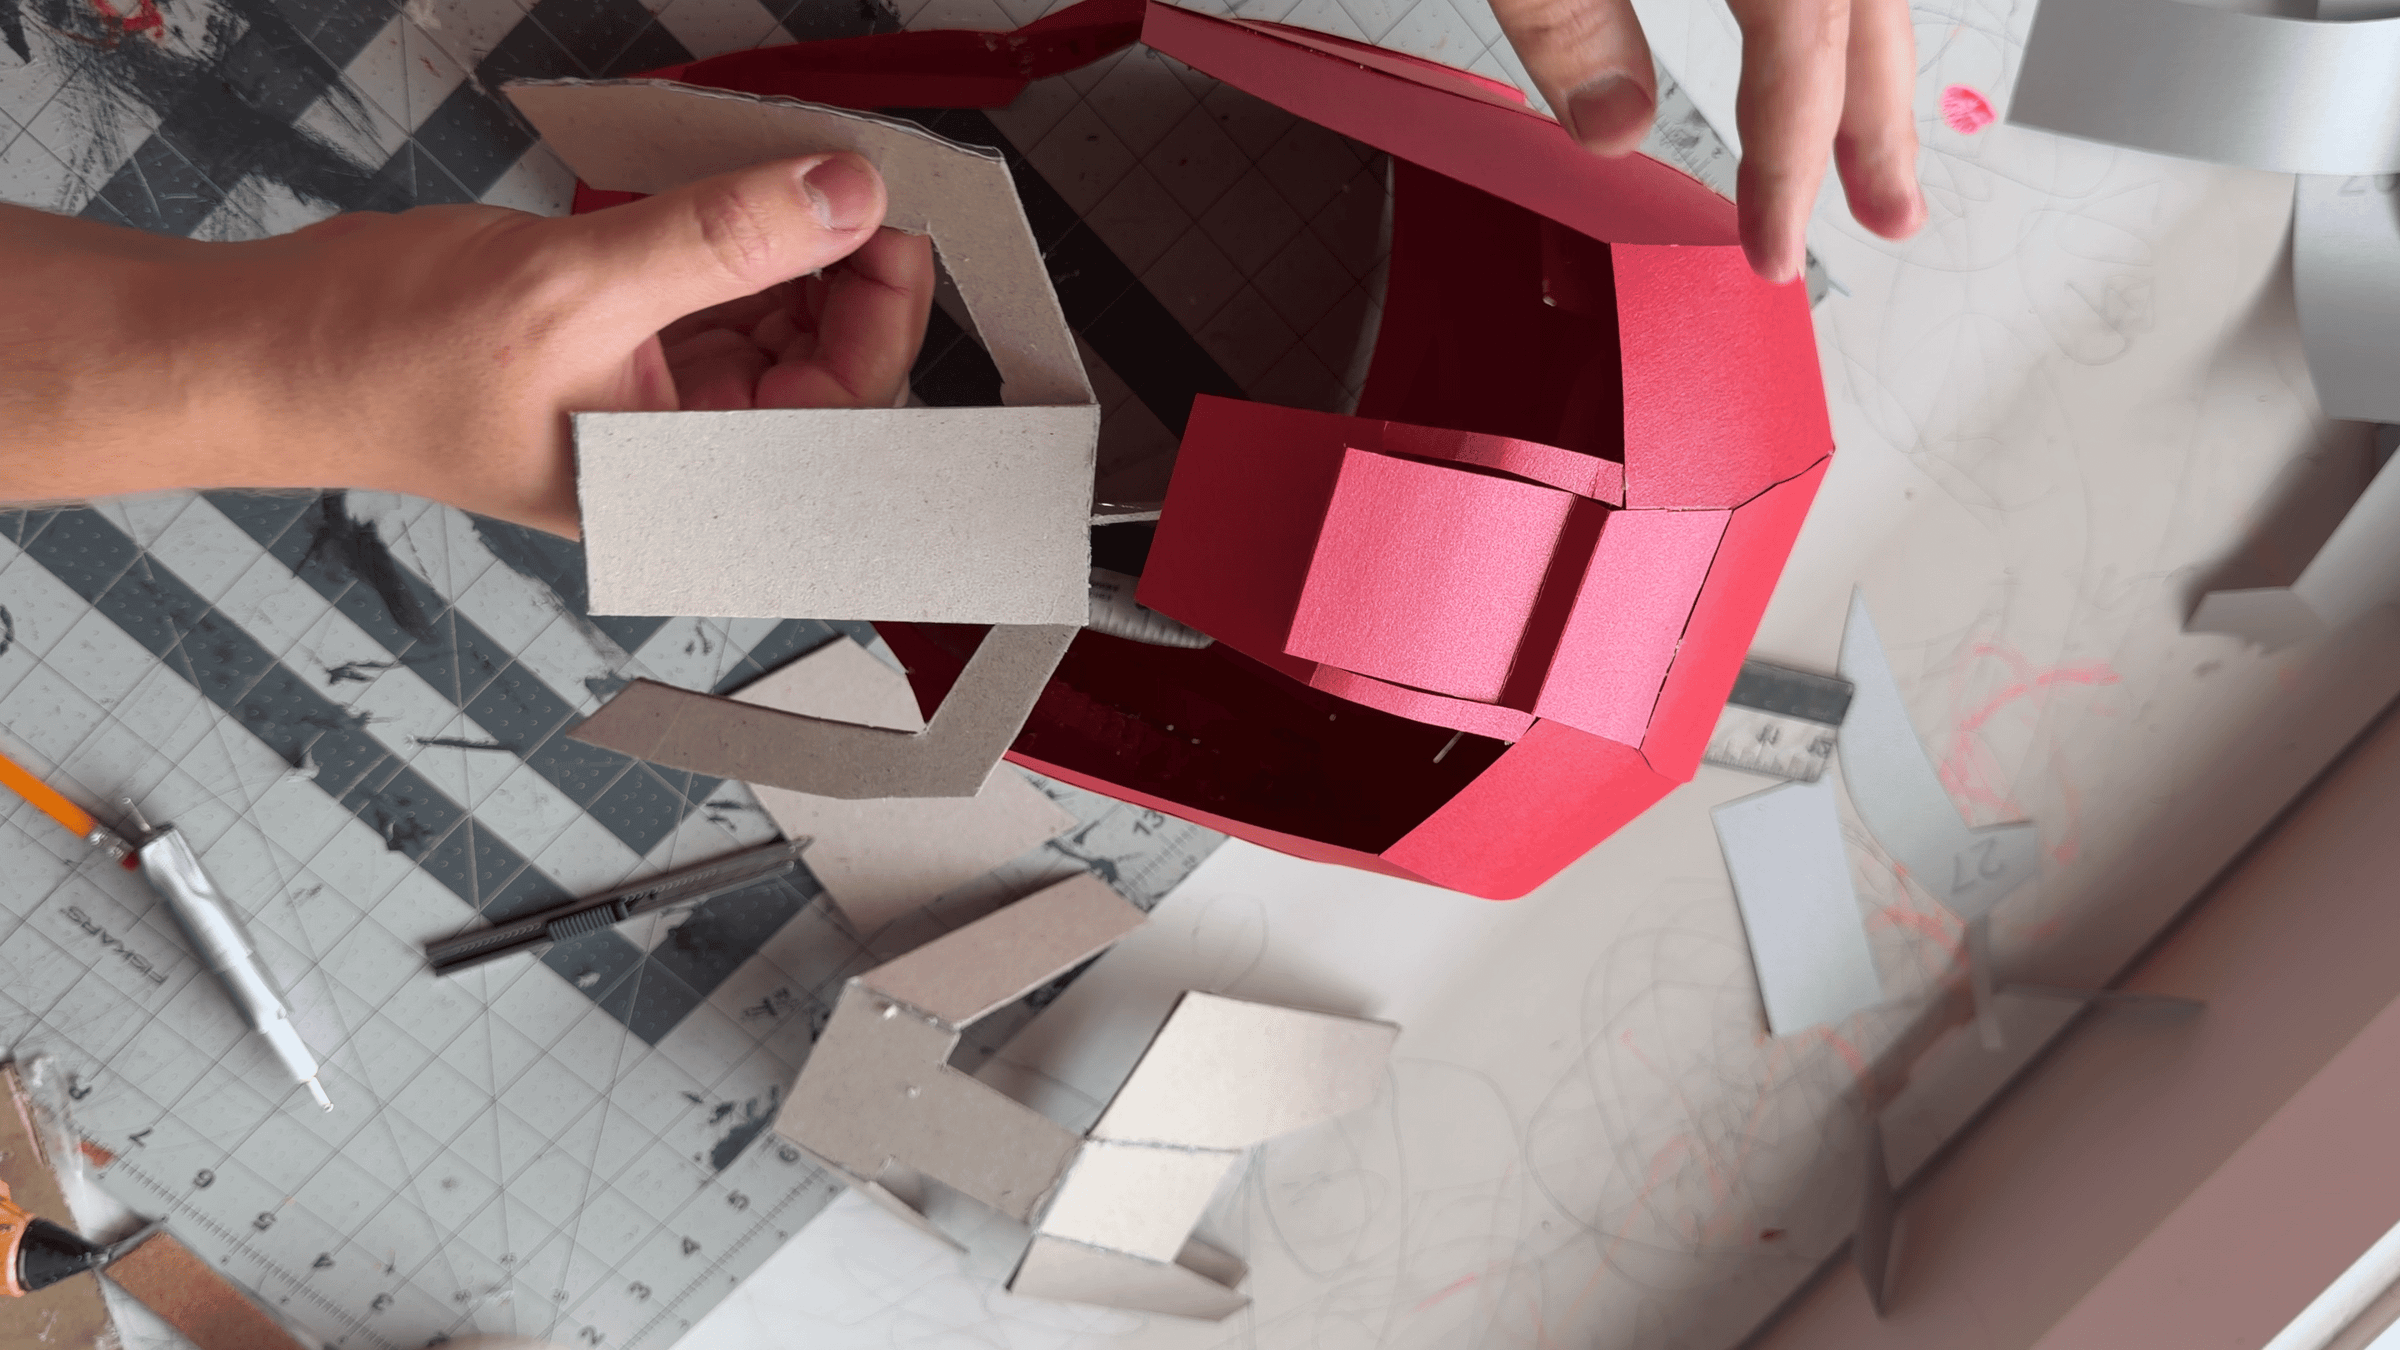
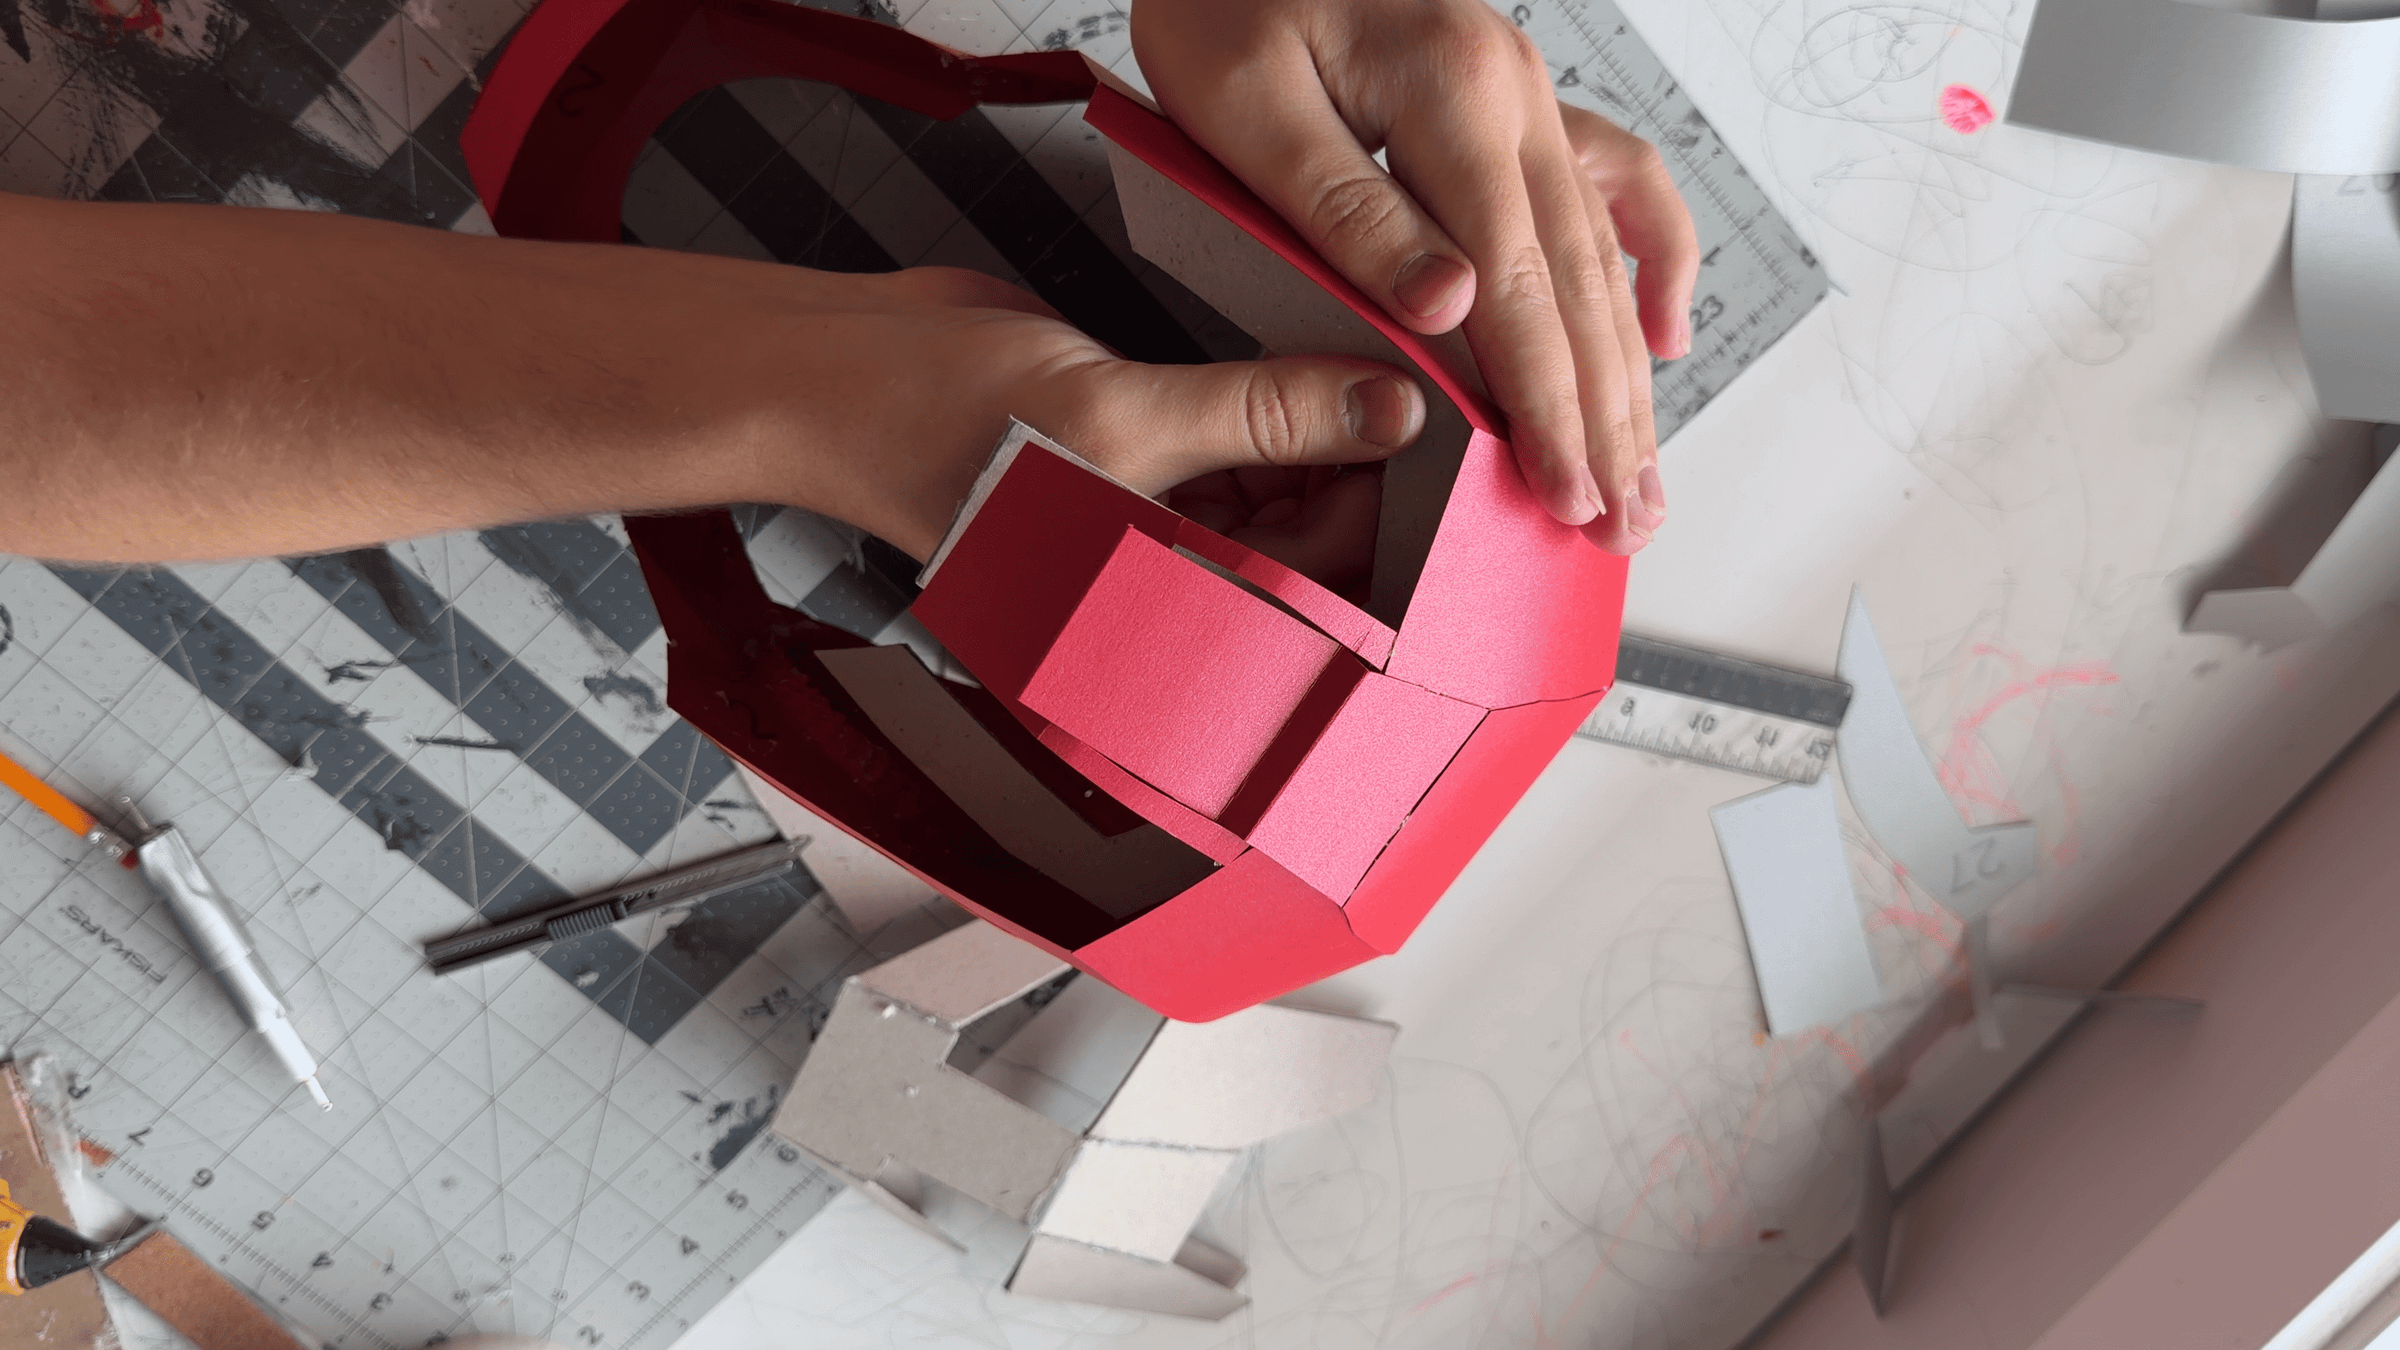
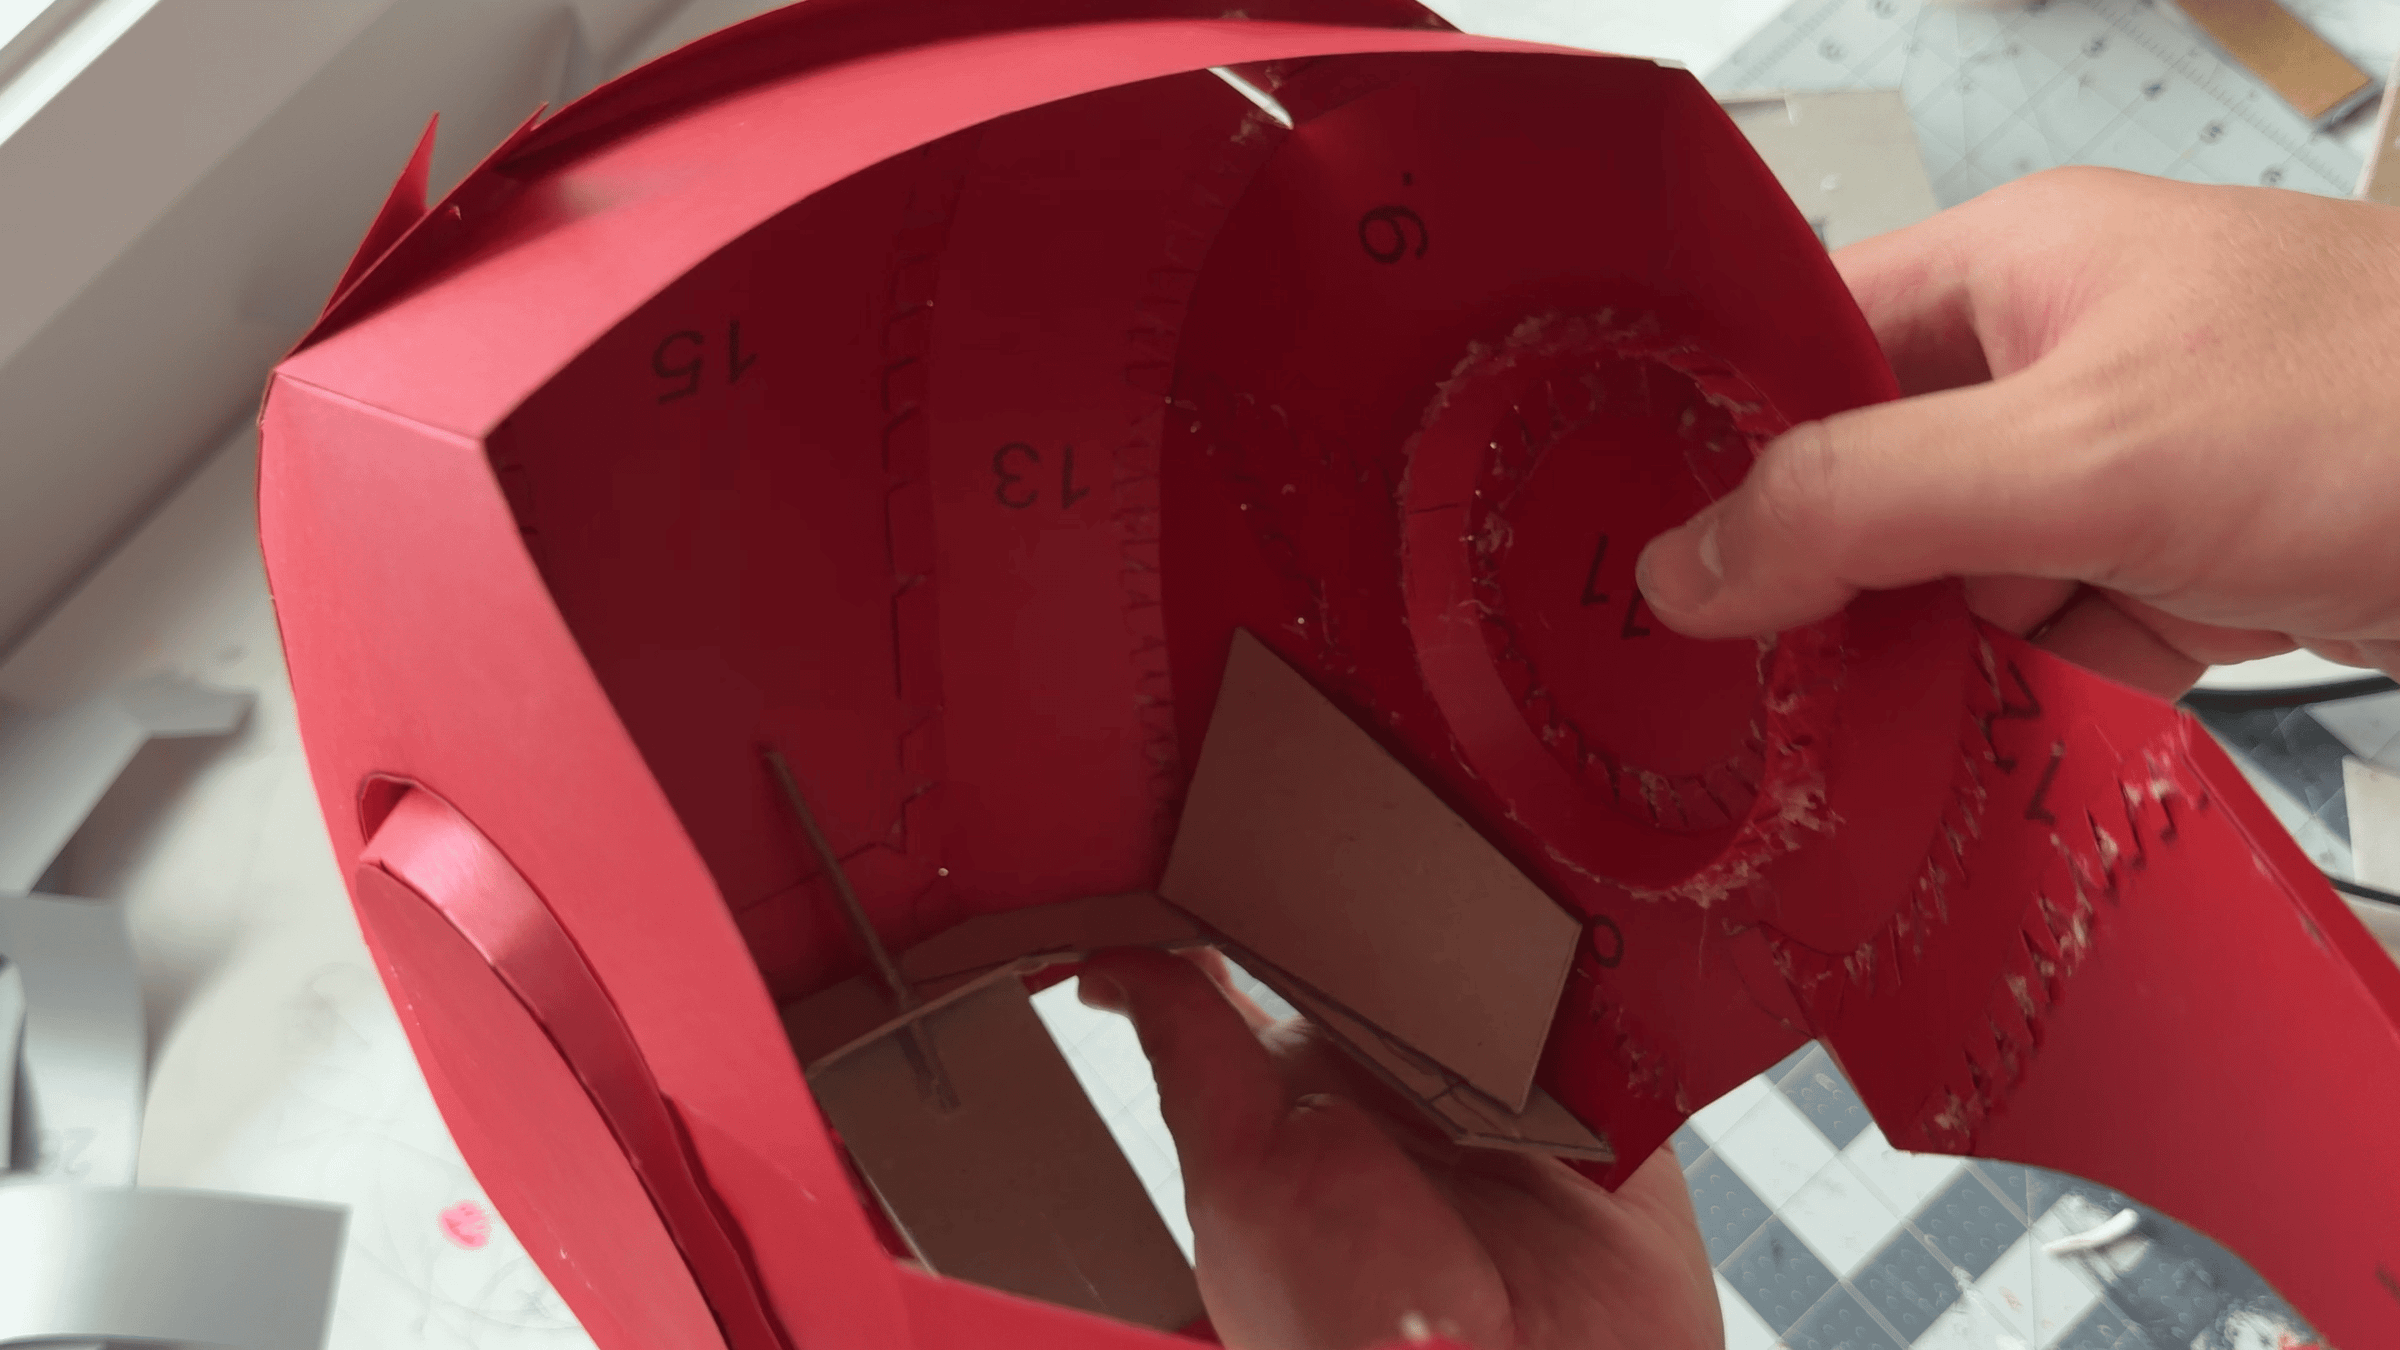
Glue the internal frame into the helmet as accurately as possible. Correct positioning is important because the front face panels will later be attached to this frame through the hinges.
After gluing, check the rigidity of the structure. If your cardboard is not strong enough and the helmet still feels flexible, I recommend reinforcing the frame at this stage.
You can use small pieces of the same thick cardboard, gluing them around the inside as braces and supports. The frame should be strong and stable, as it will support the moving face mechanism.
Making the Main Opening Hinge
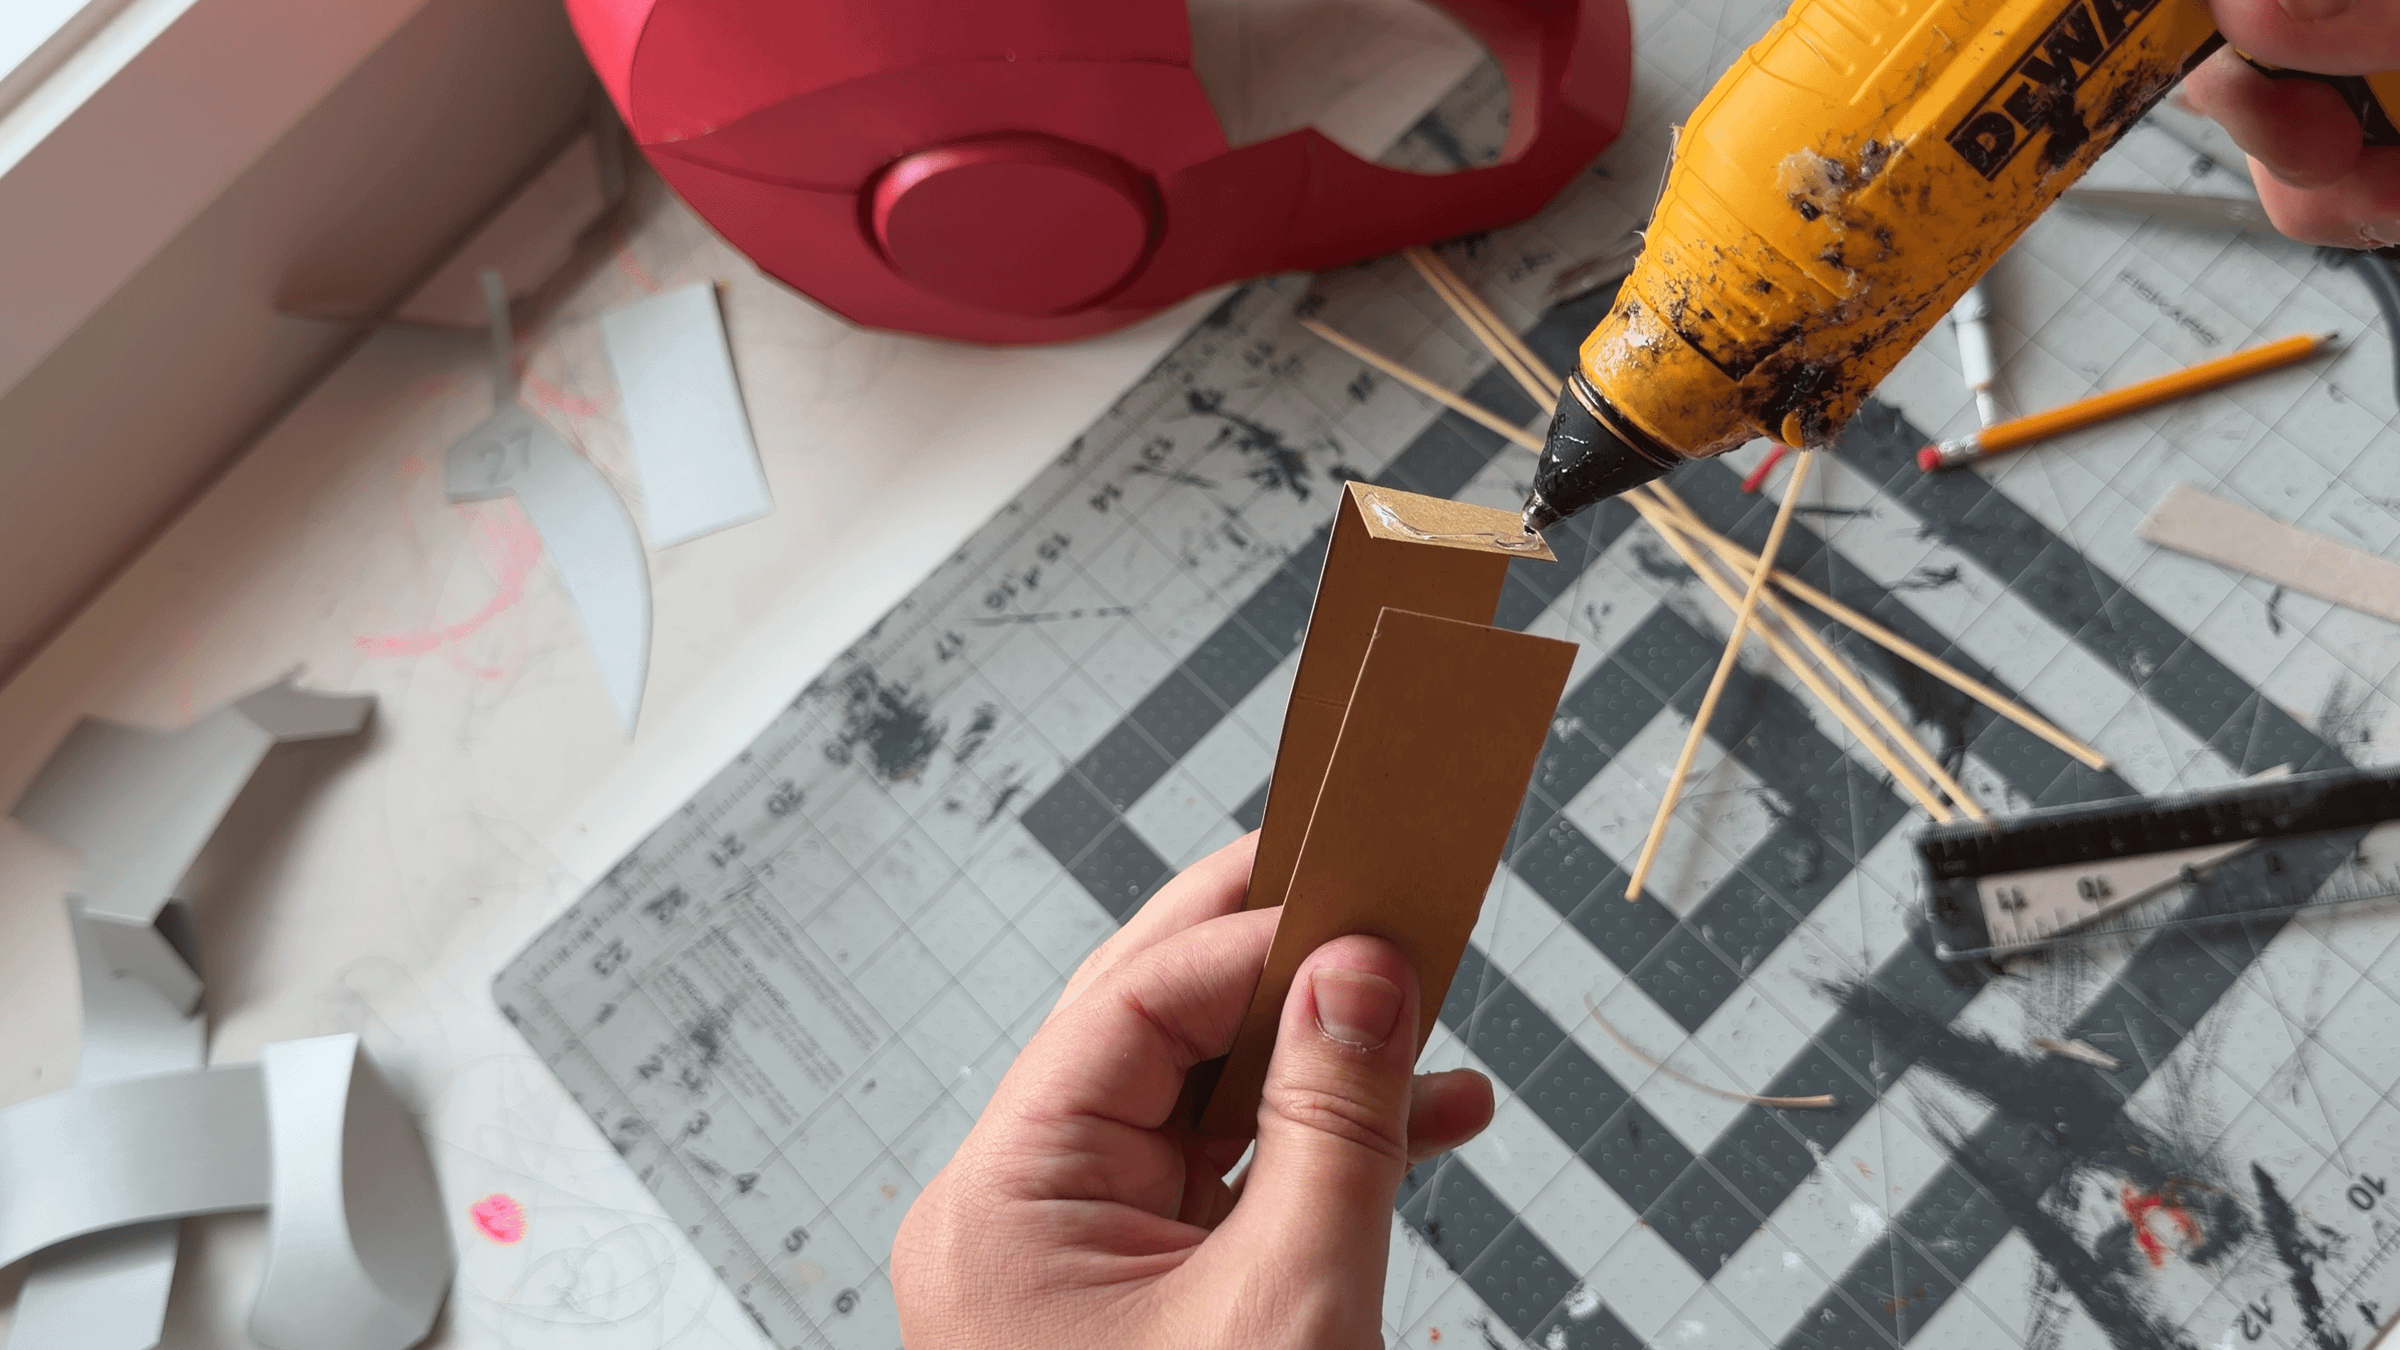
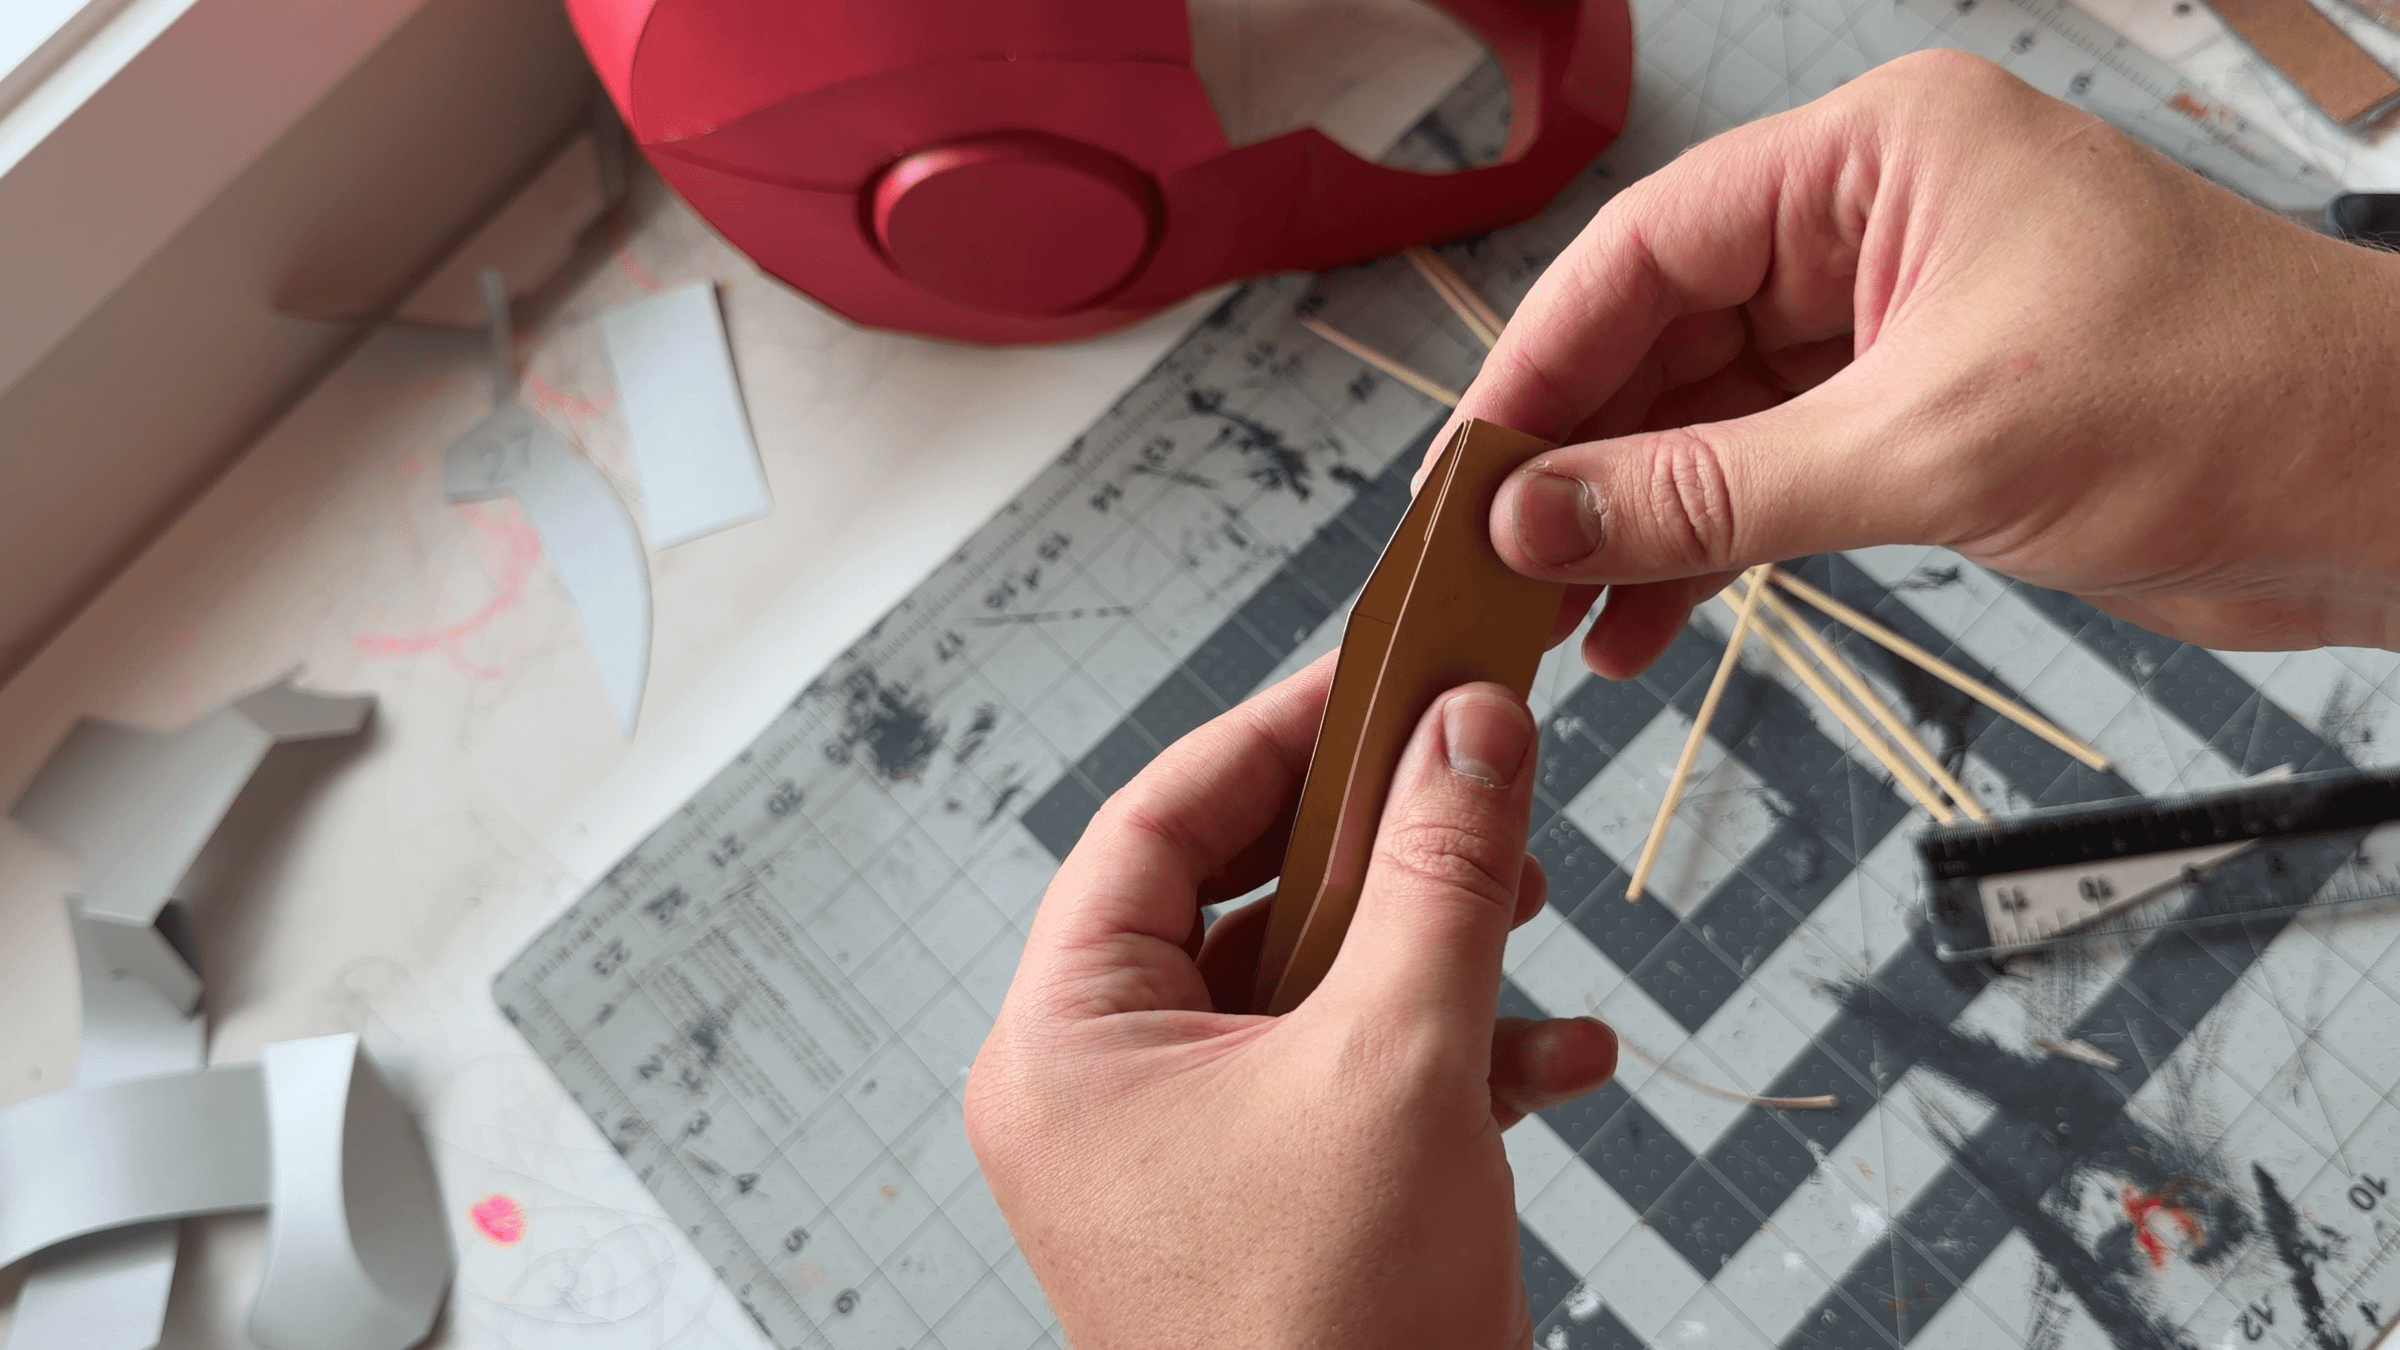
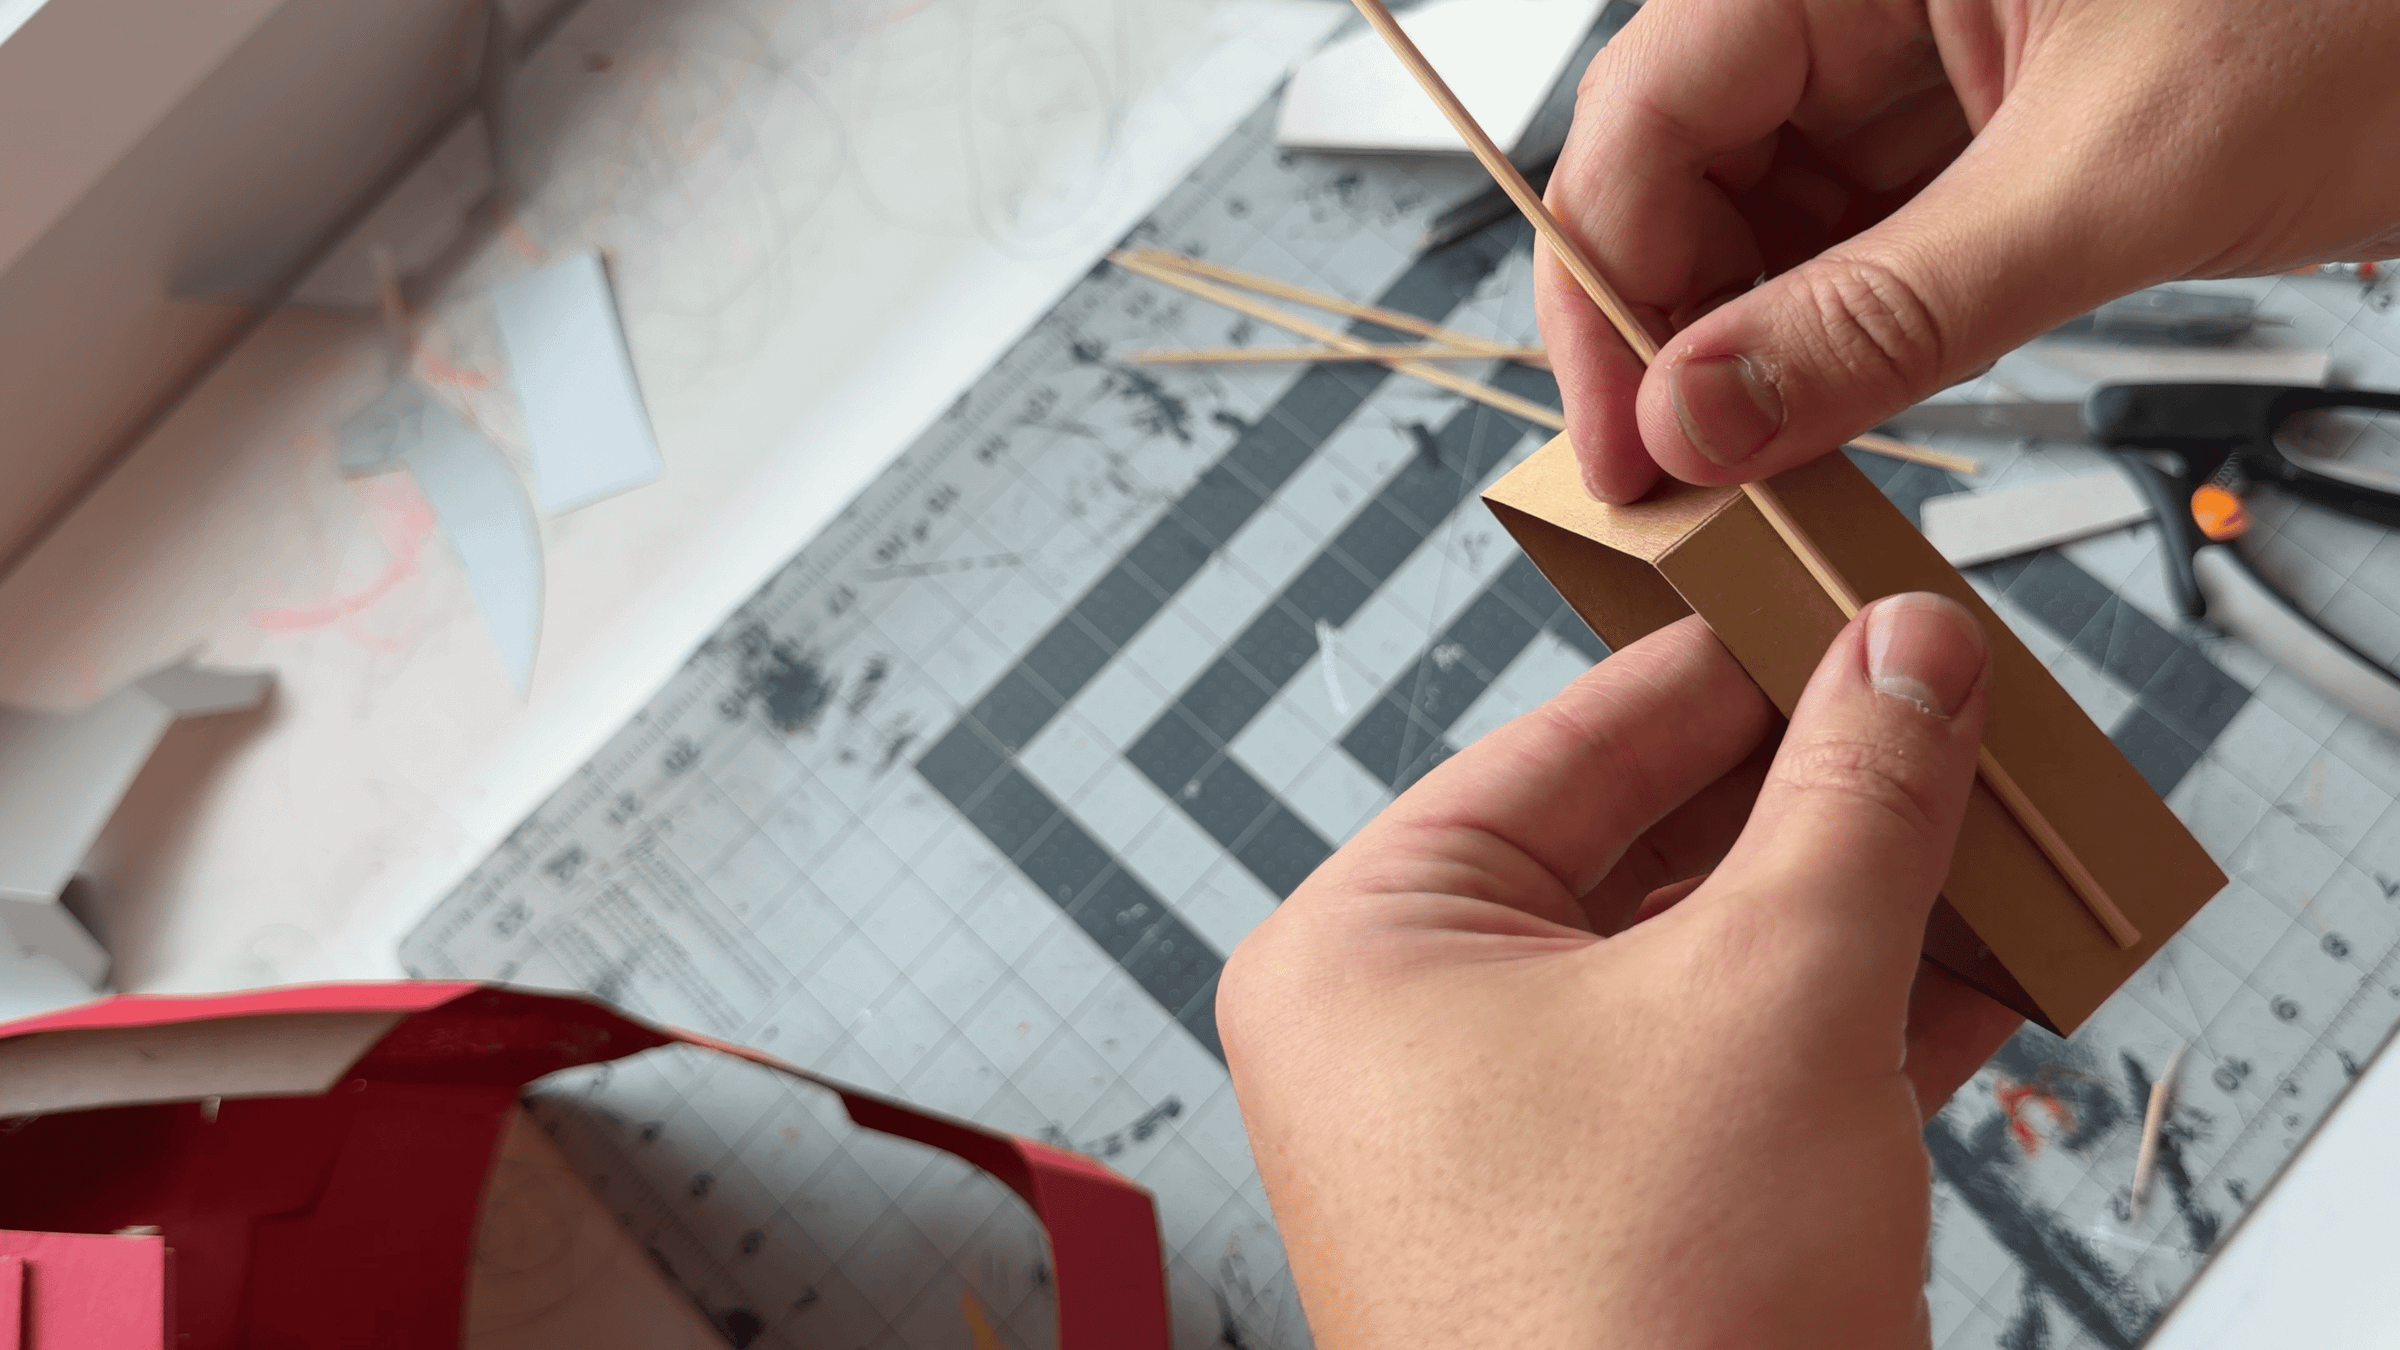
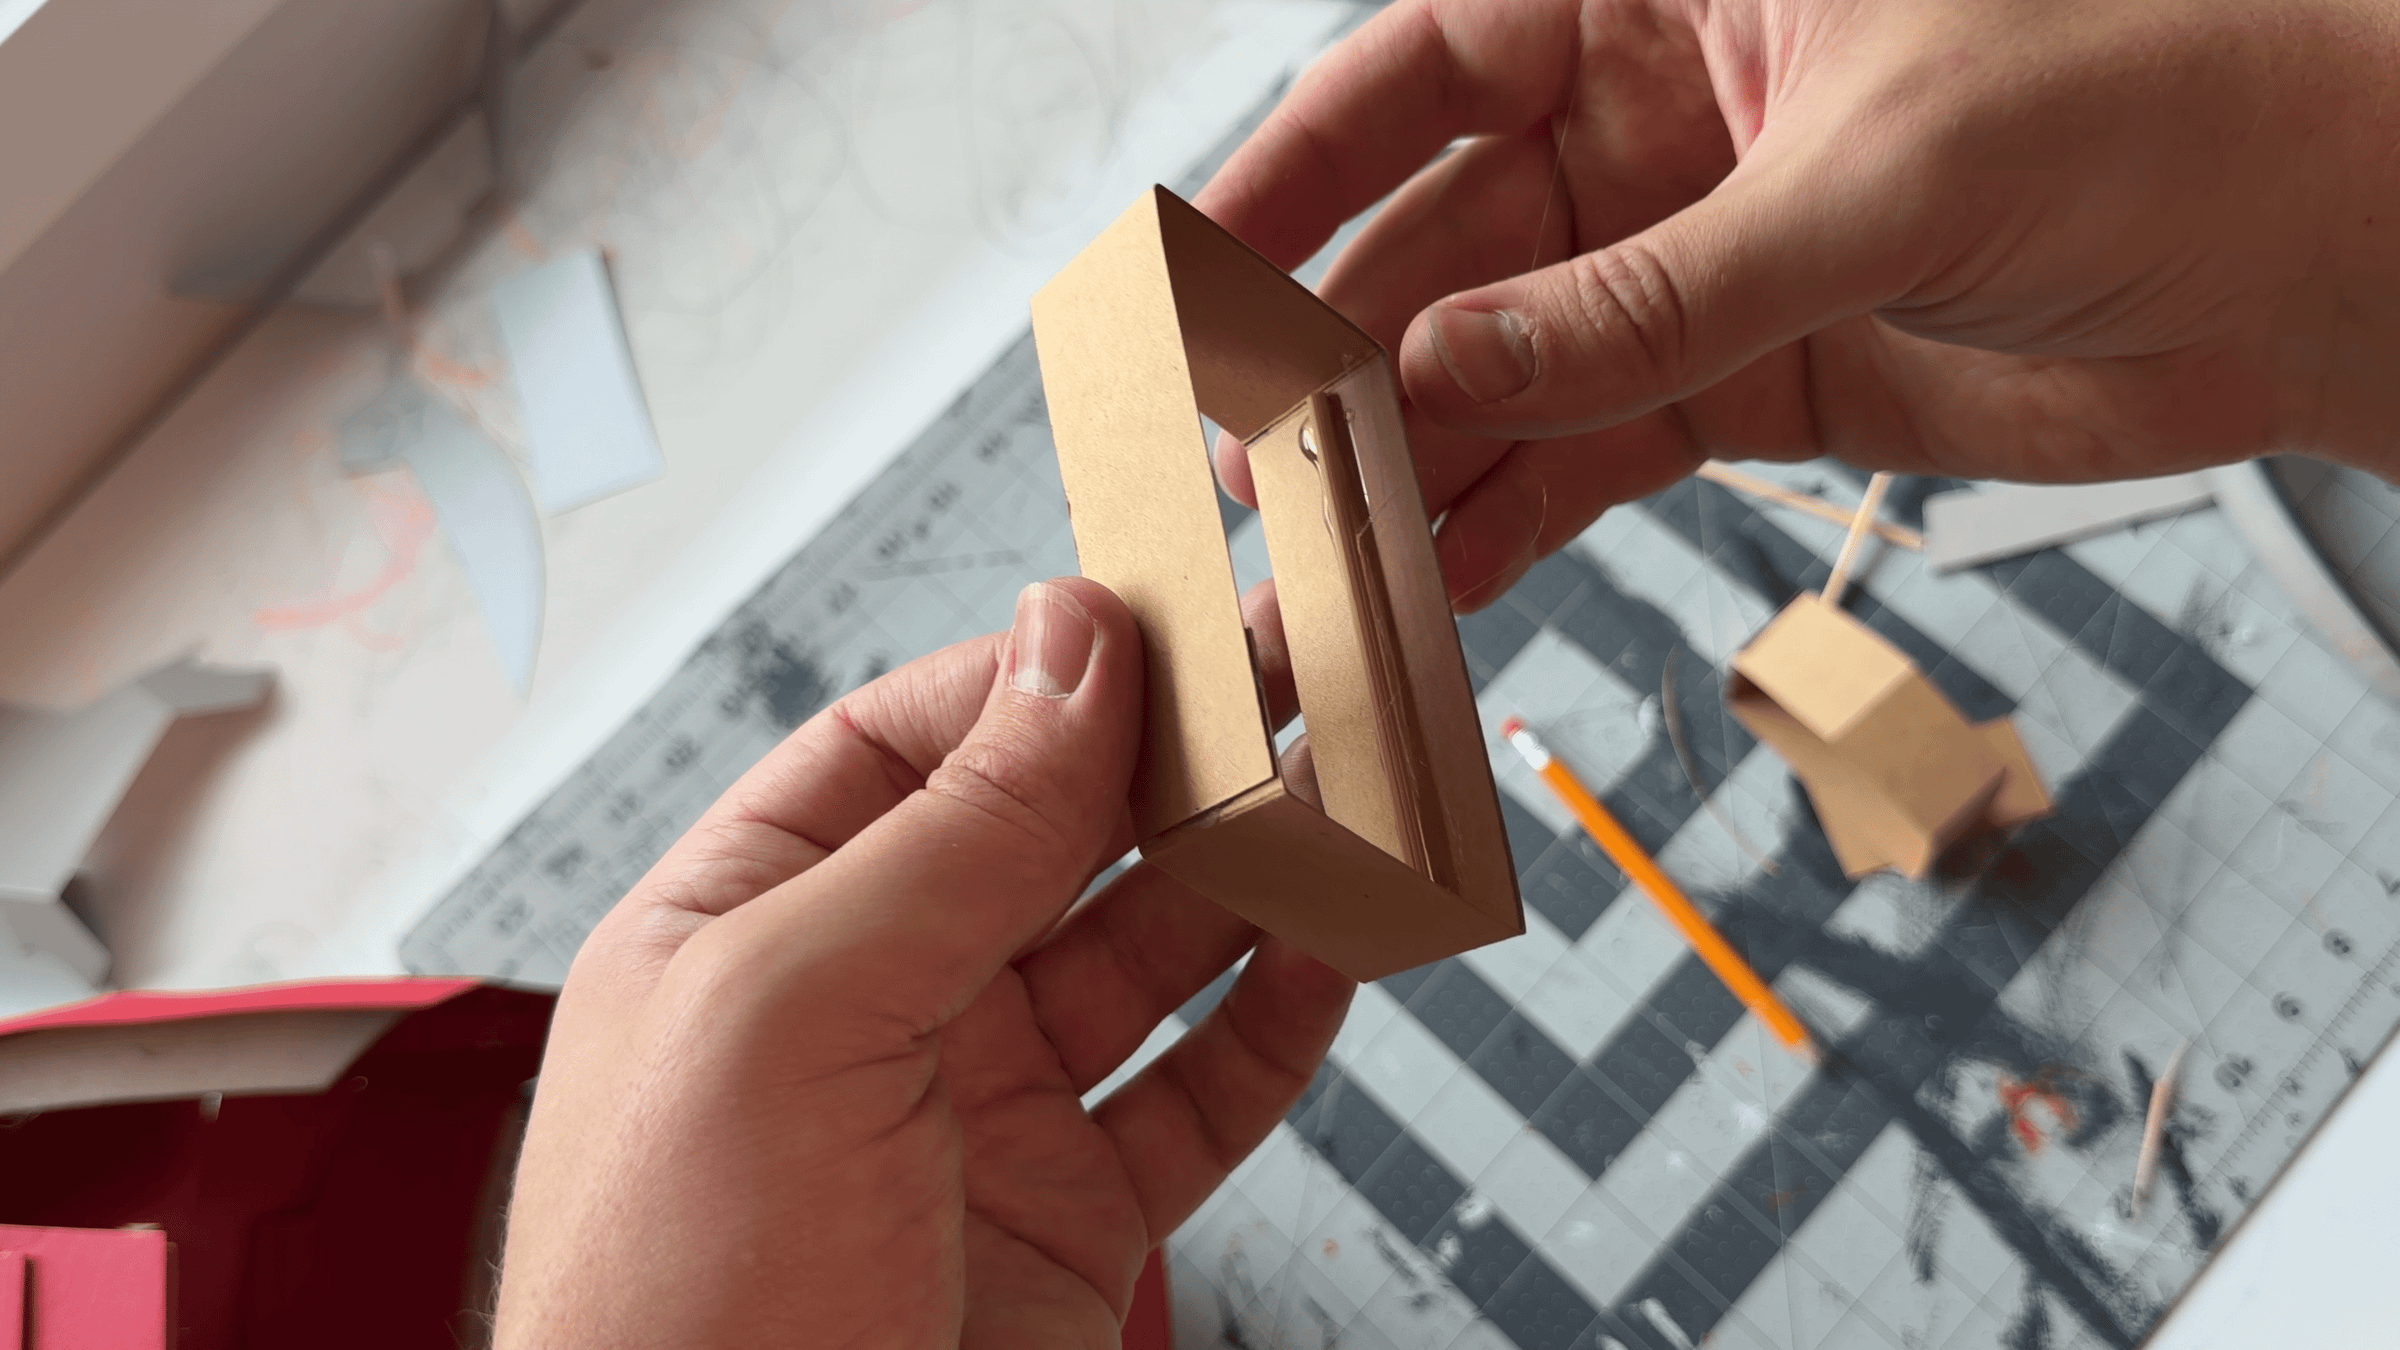
Now we create the main hinge for the opening mechanism. This is one of the most important parts of the entire project, so accuracy is essential.
Use high-quality fibrous cardstock that does not separate or break after repeated bending. Kraft cardstock works especially well here because it can withstand hundreds of folding cycles.
Reinforce the long side sections with small pieces of bamboo skewer. Cut each piece approximately 2 mm shorter than the length of the section. This gives the hinge enough rigidity while still leaving the necessary clearance for it to fold and move freely.
Installing the Main Hinges
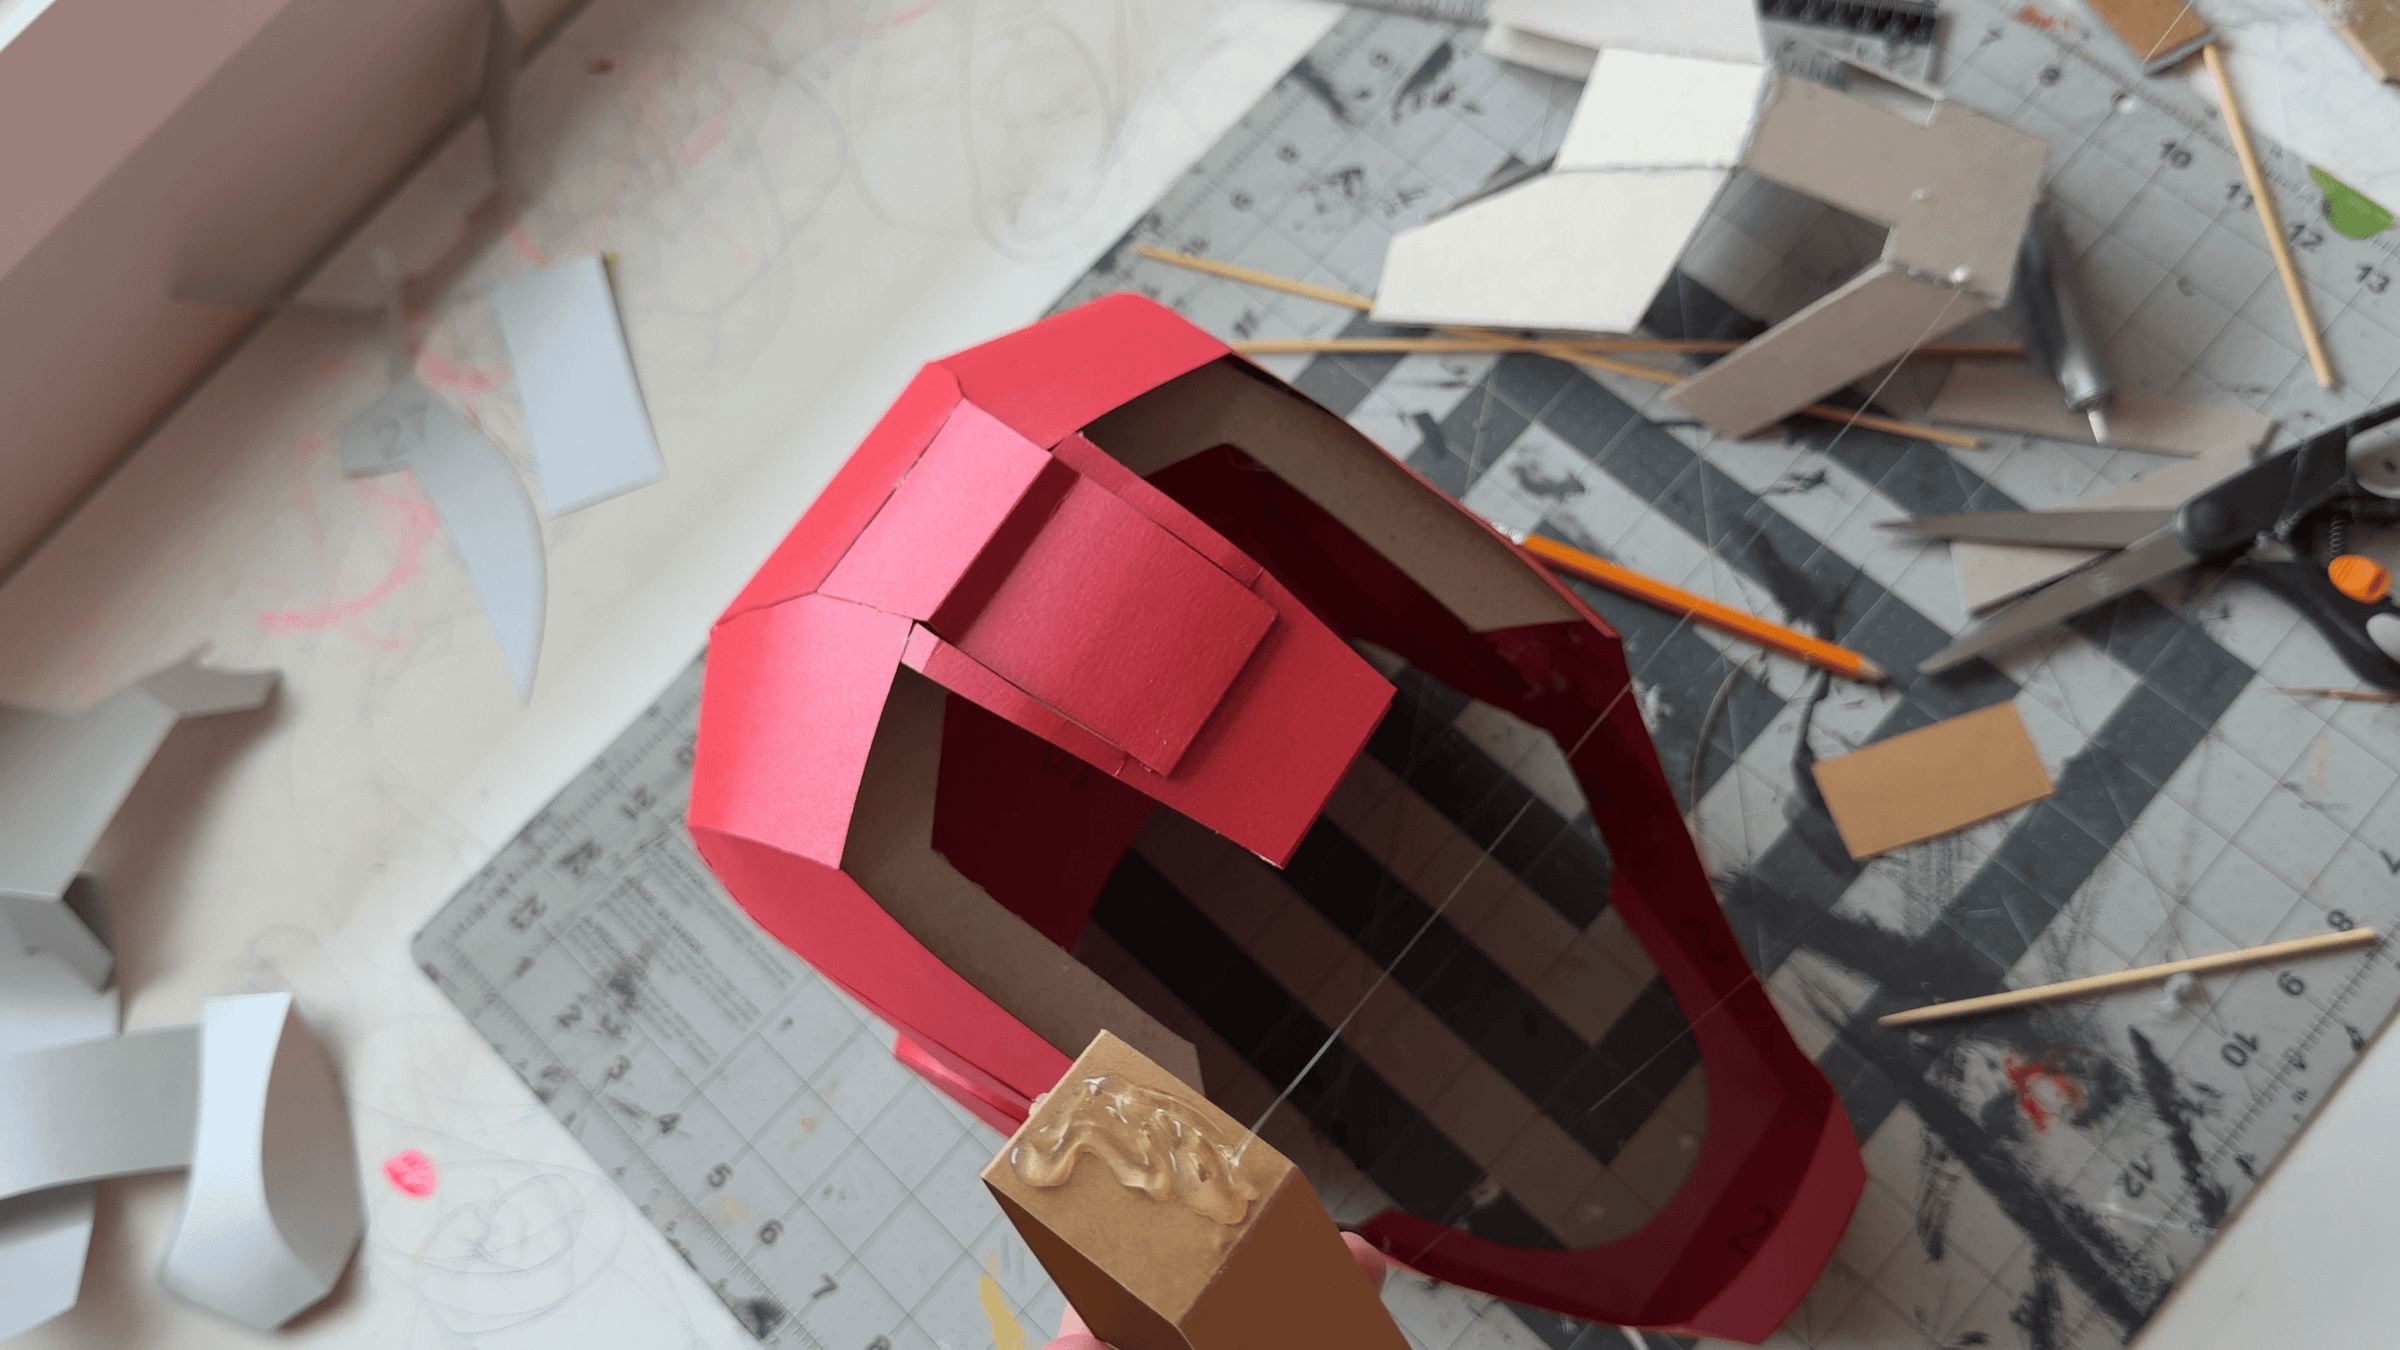
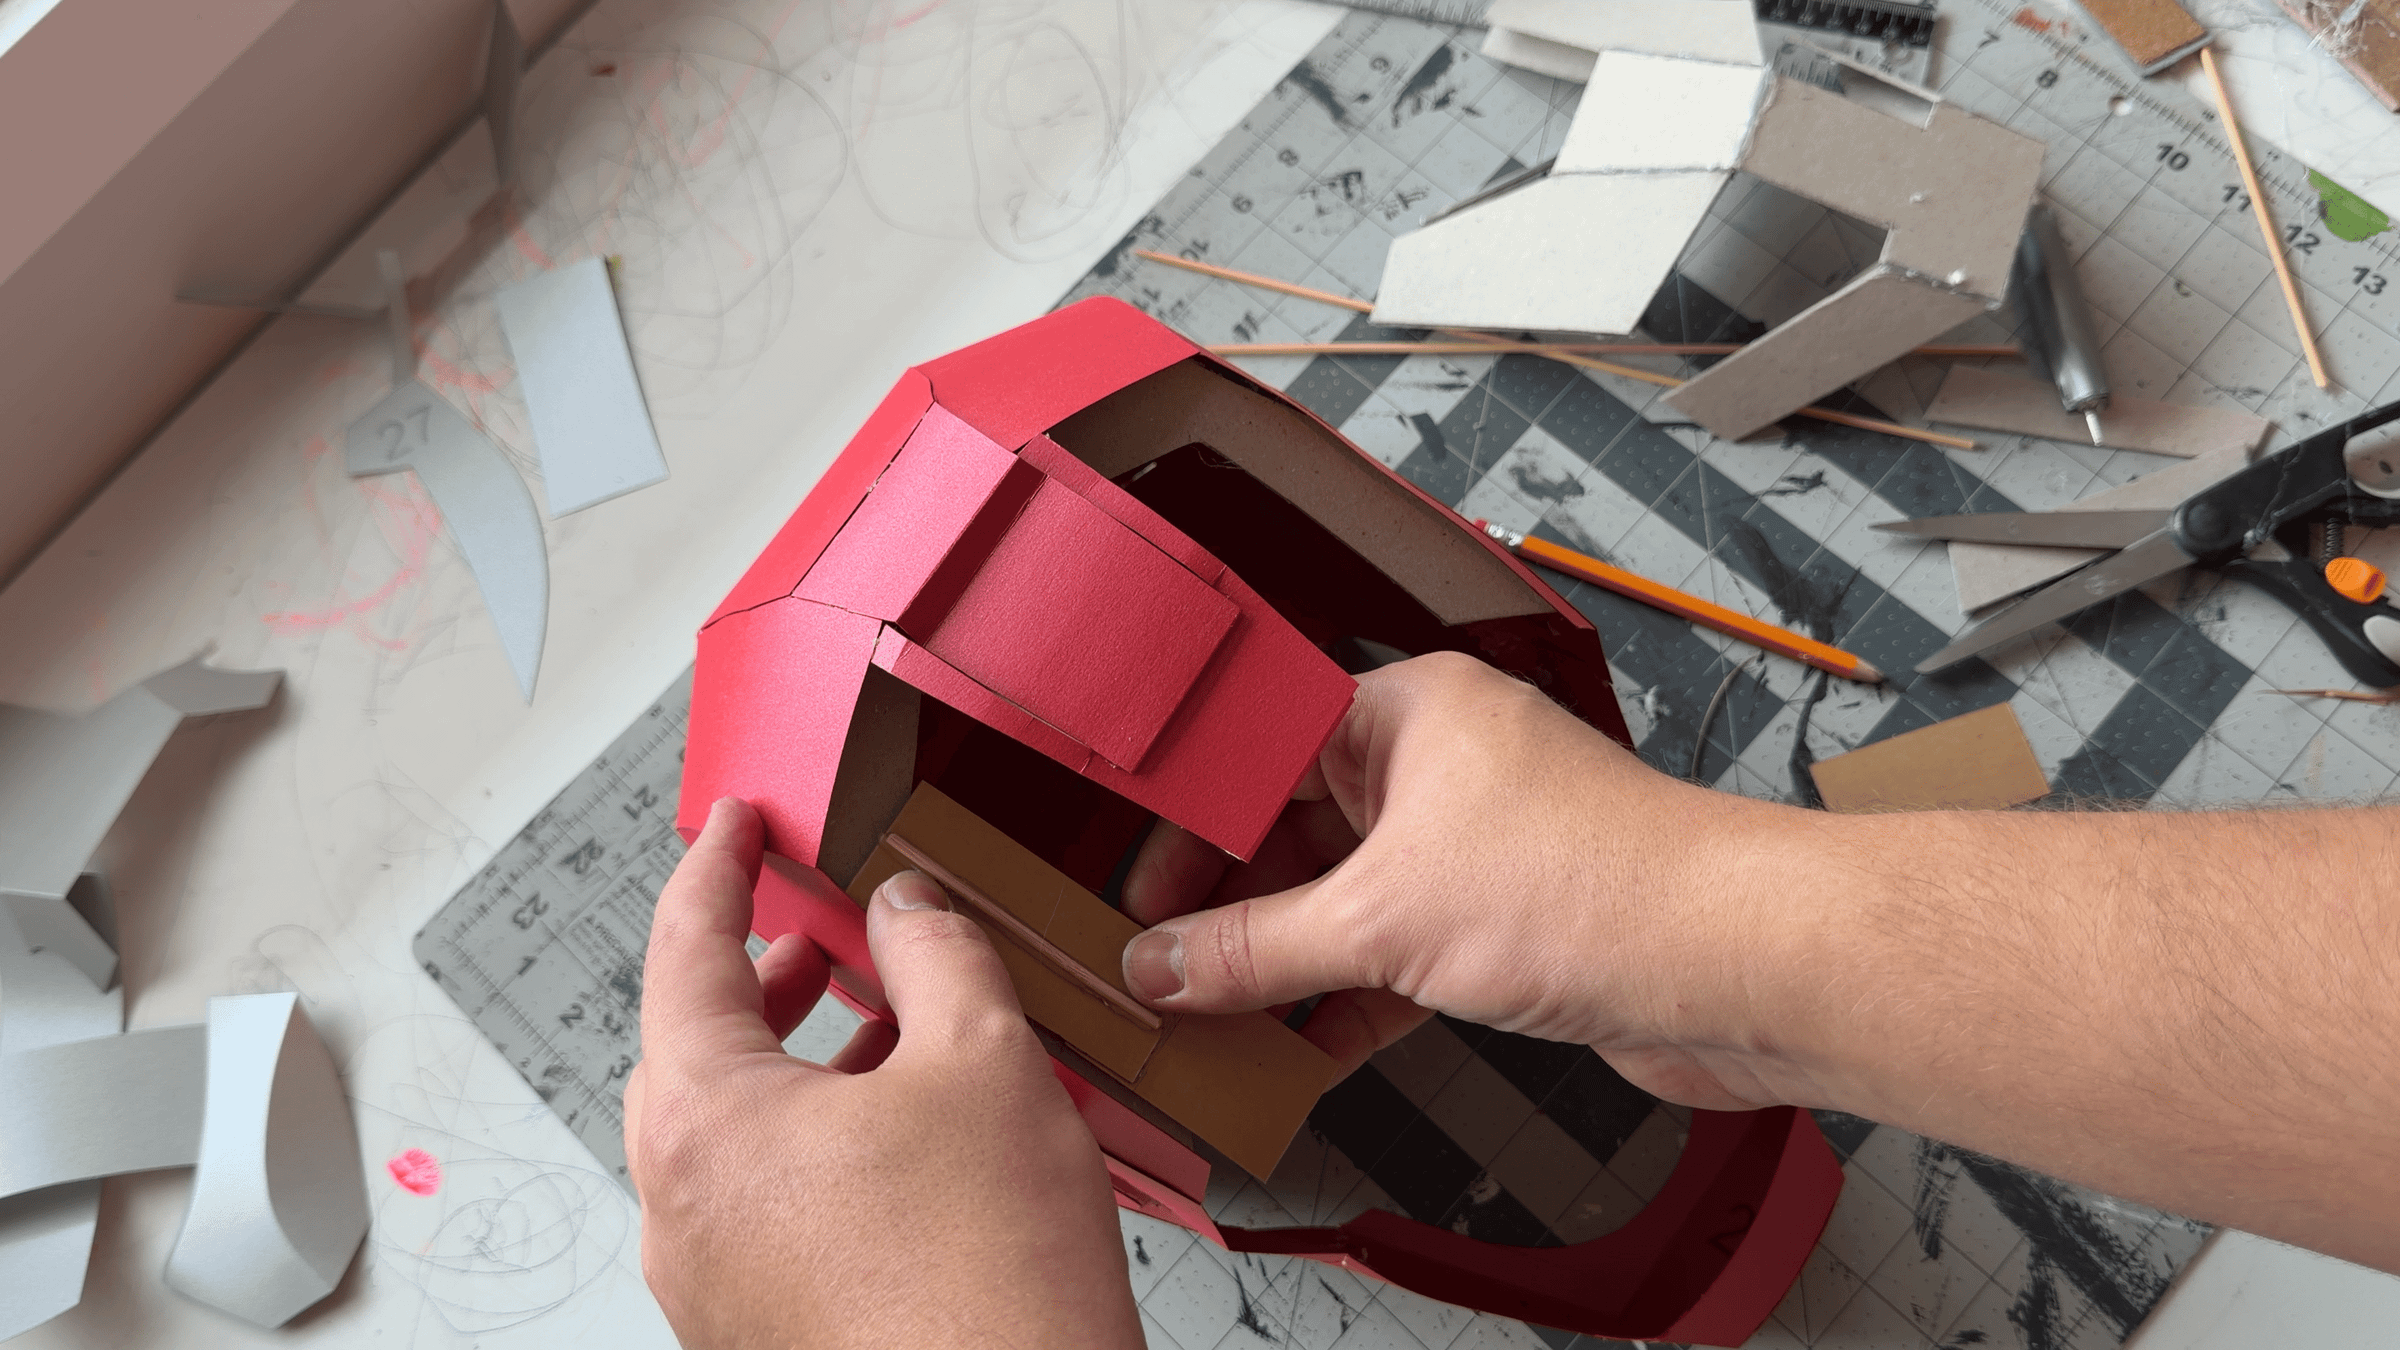
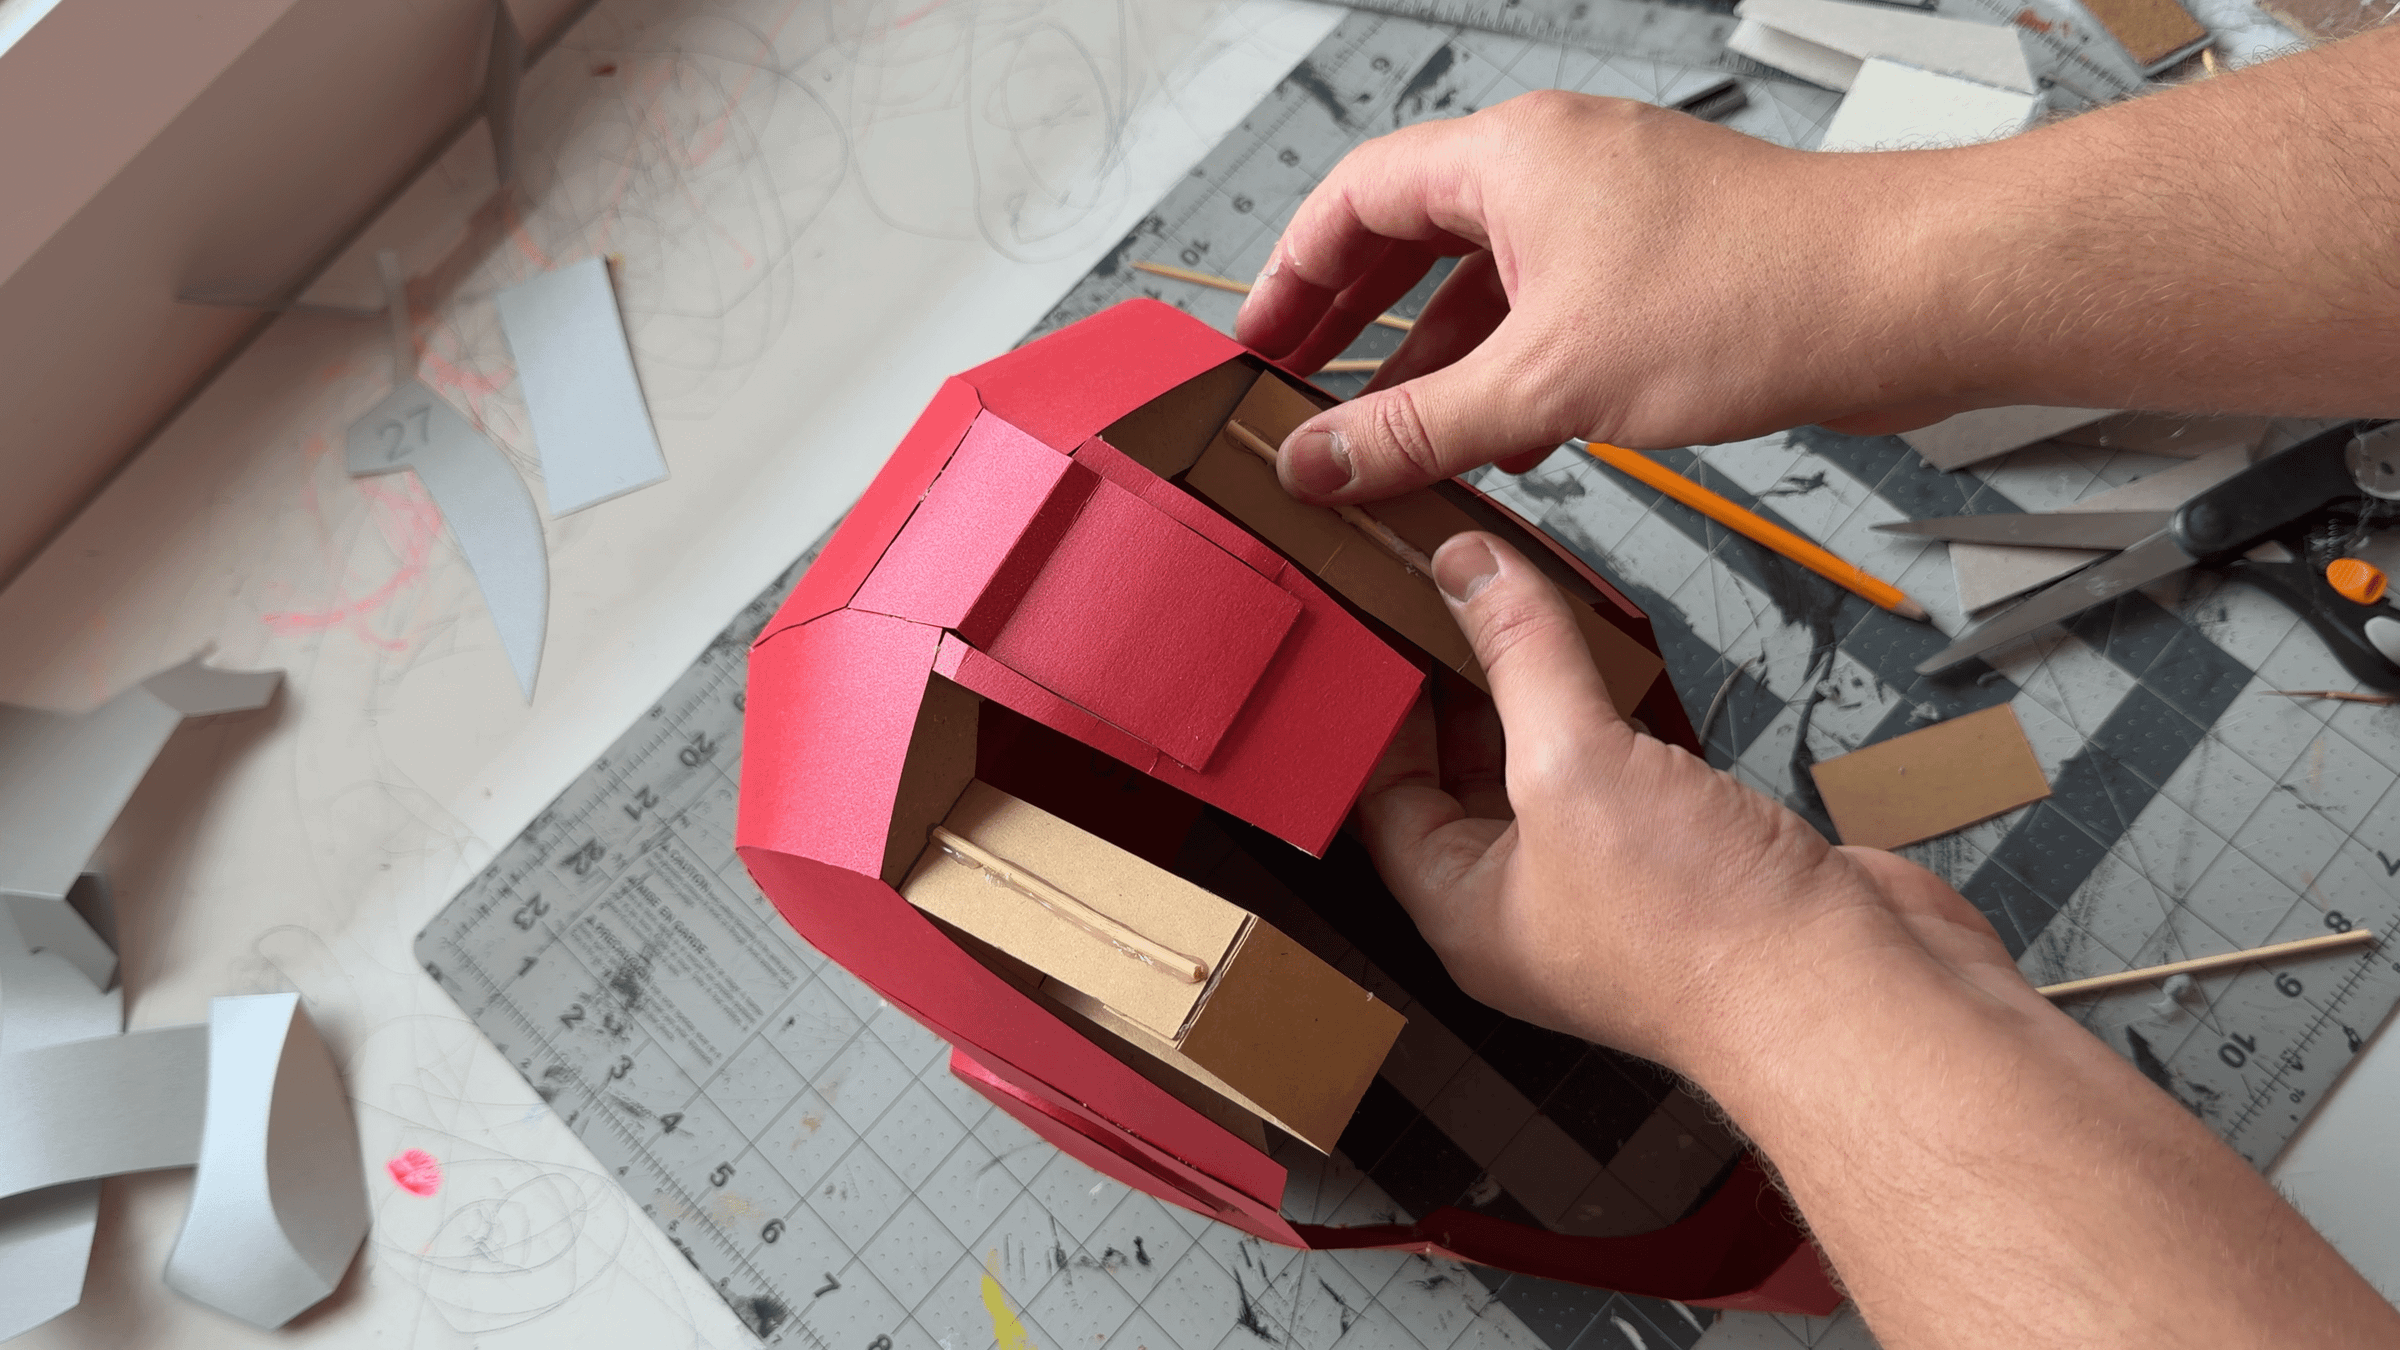
Glue the main hinges to the upper part of the internal frame, positioning them at the same level as shown in the image.
Make sure both hinges are parallel to each other, as they work together as a single mechanism. Before the glue fully sets, test the movement and check that the hinges do not catch on the edges of the helmet when closing.
Correct alignment at this stage is very important for smooth and synchronized movement of the face panels.
Test-Fitting the Outer Frame
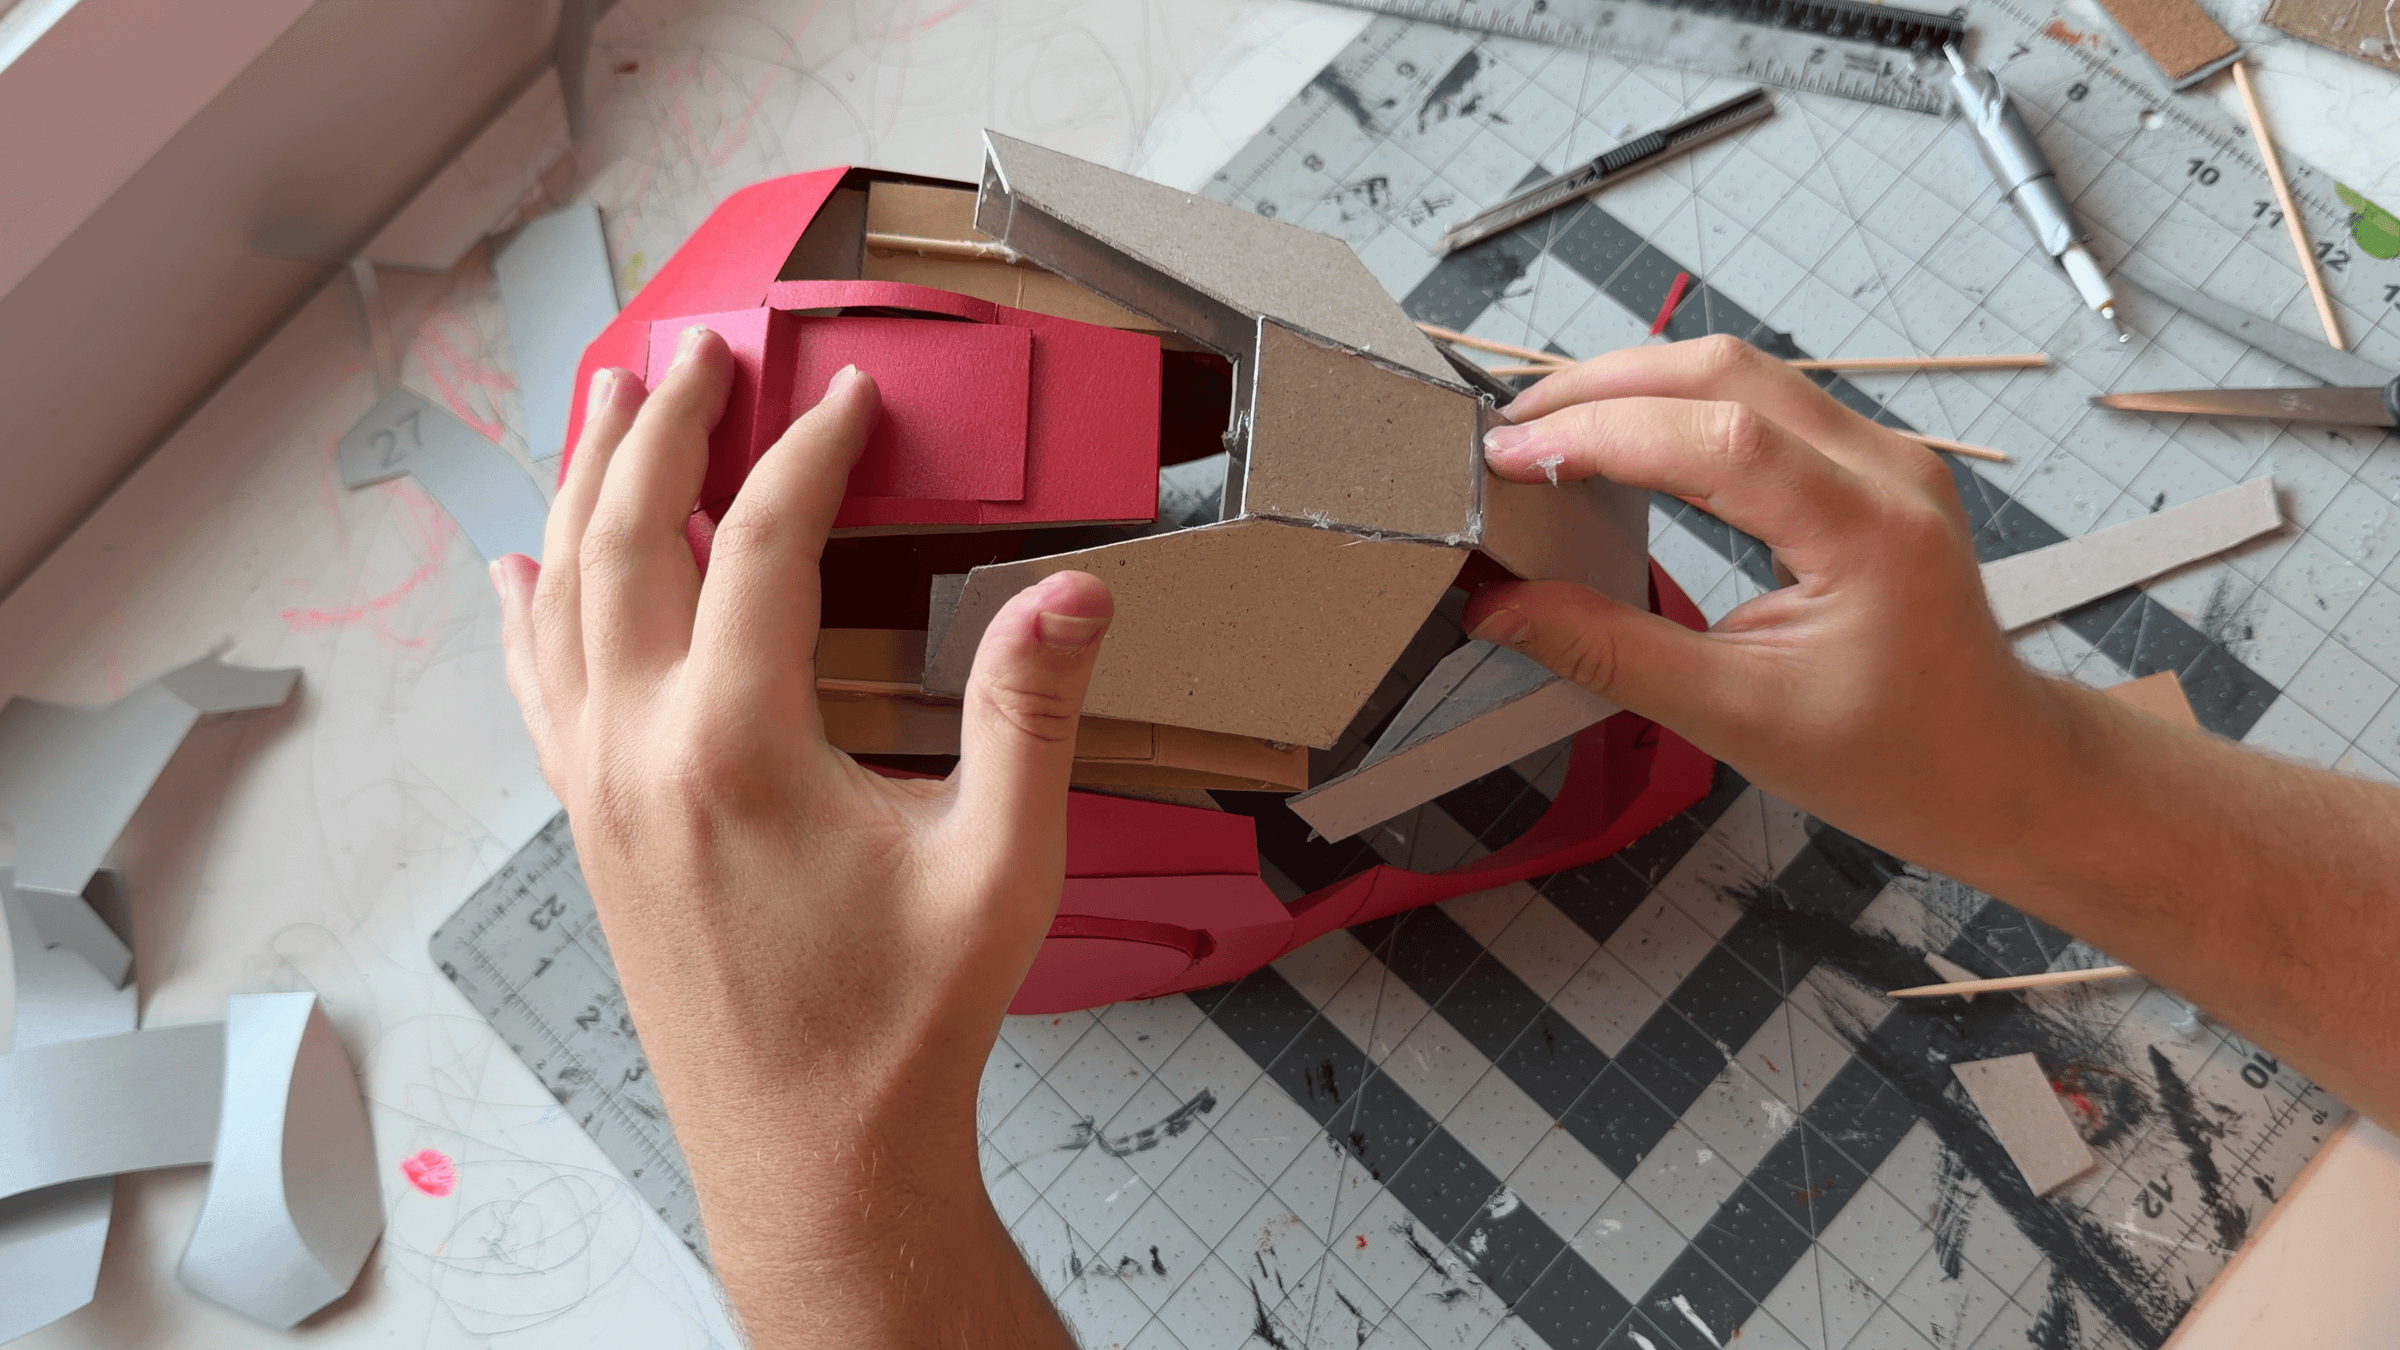
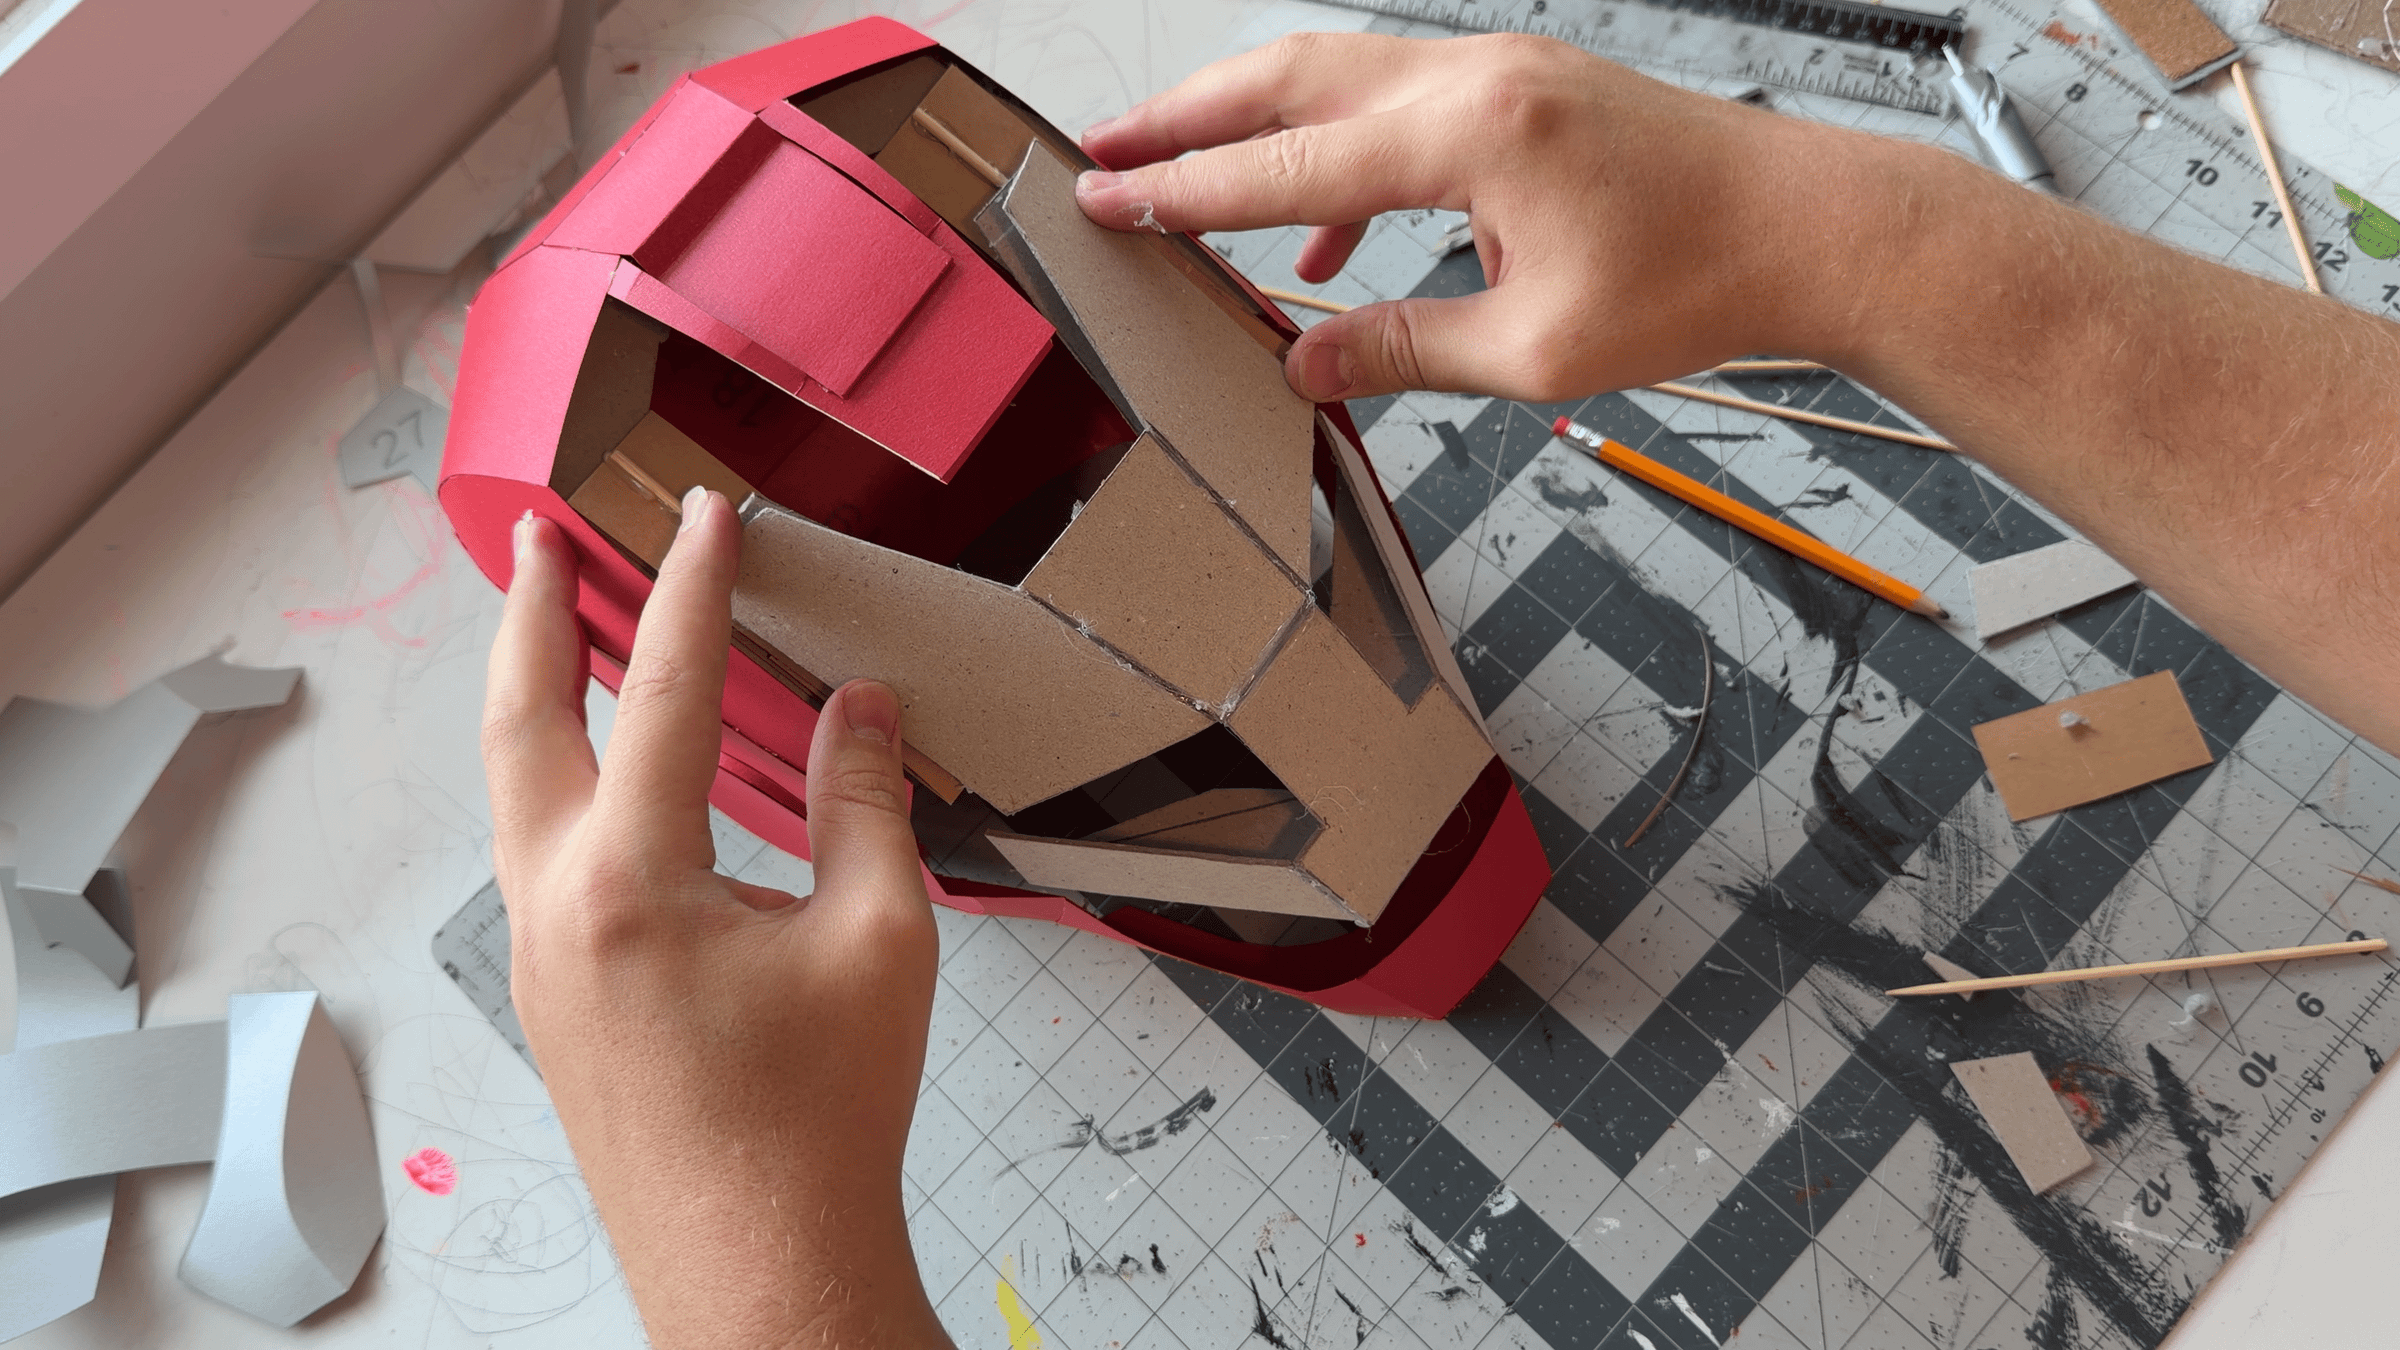
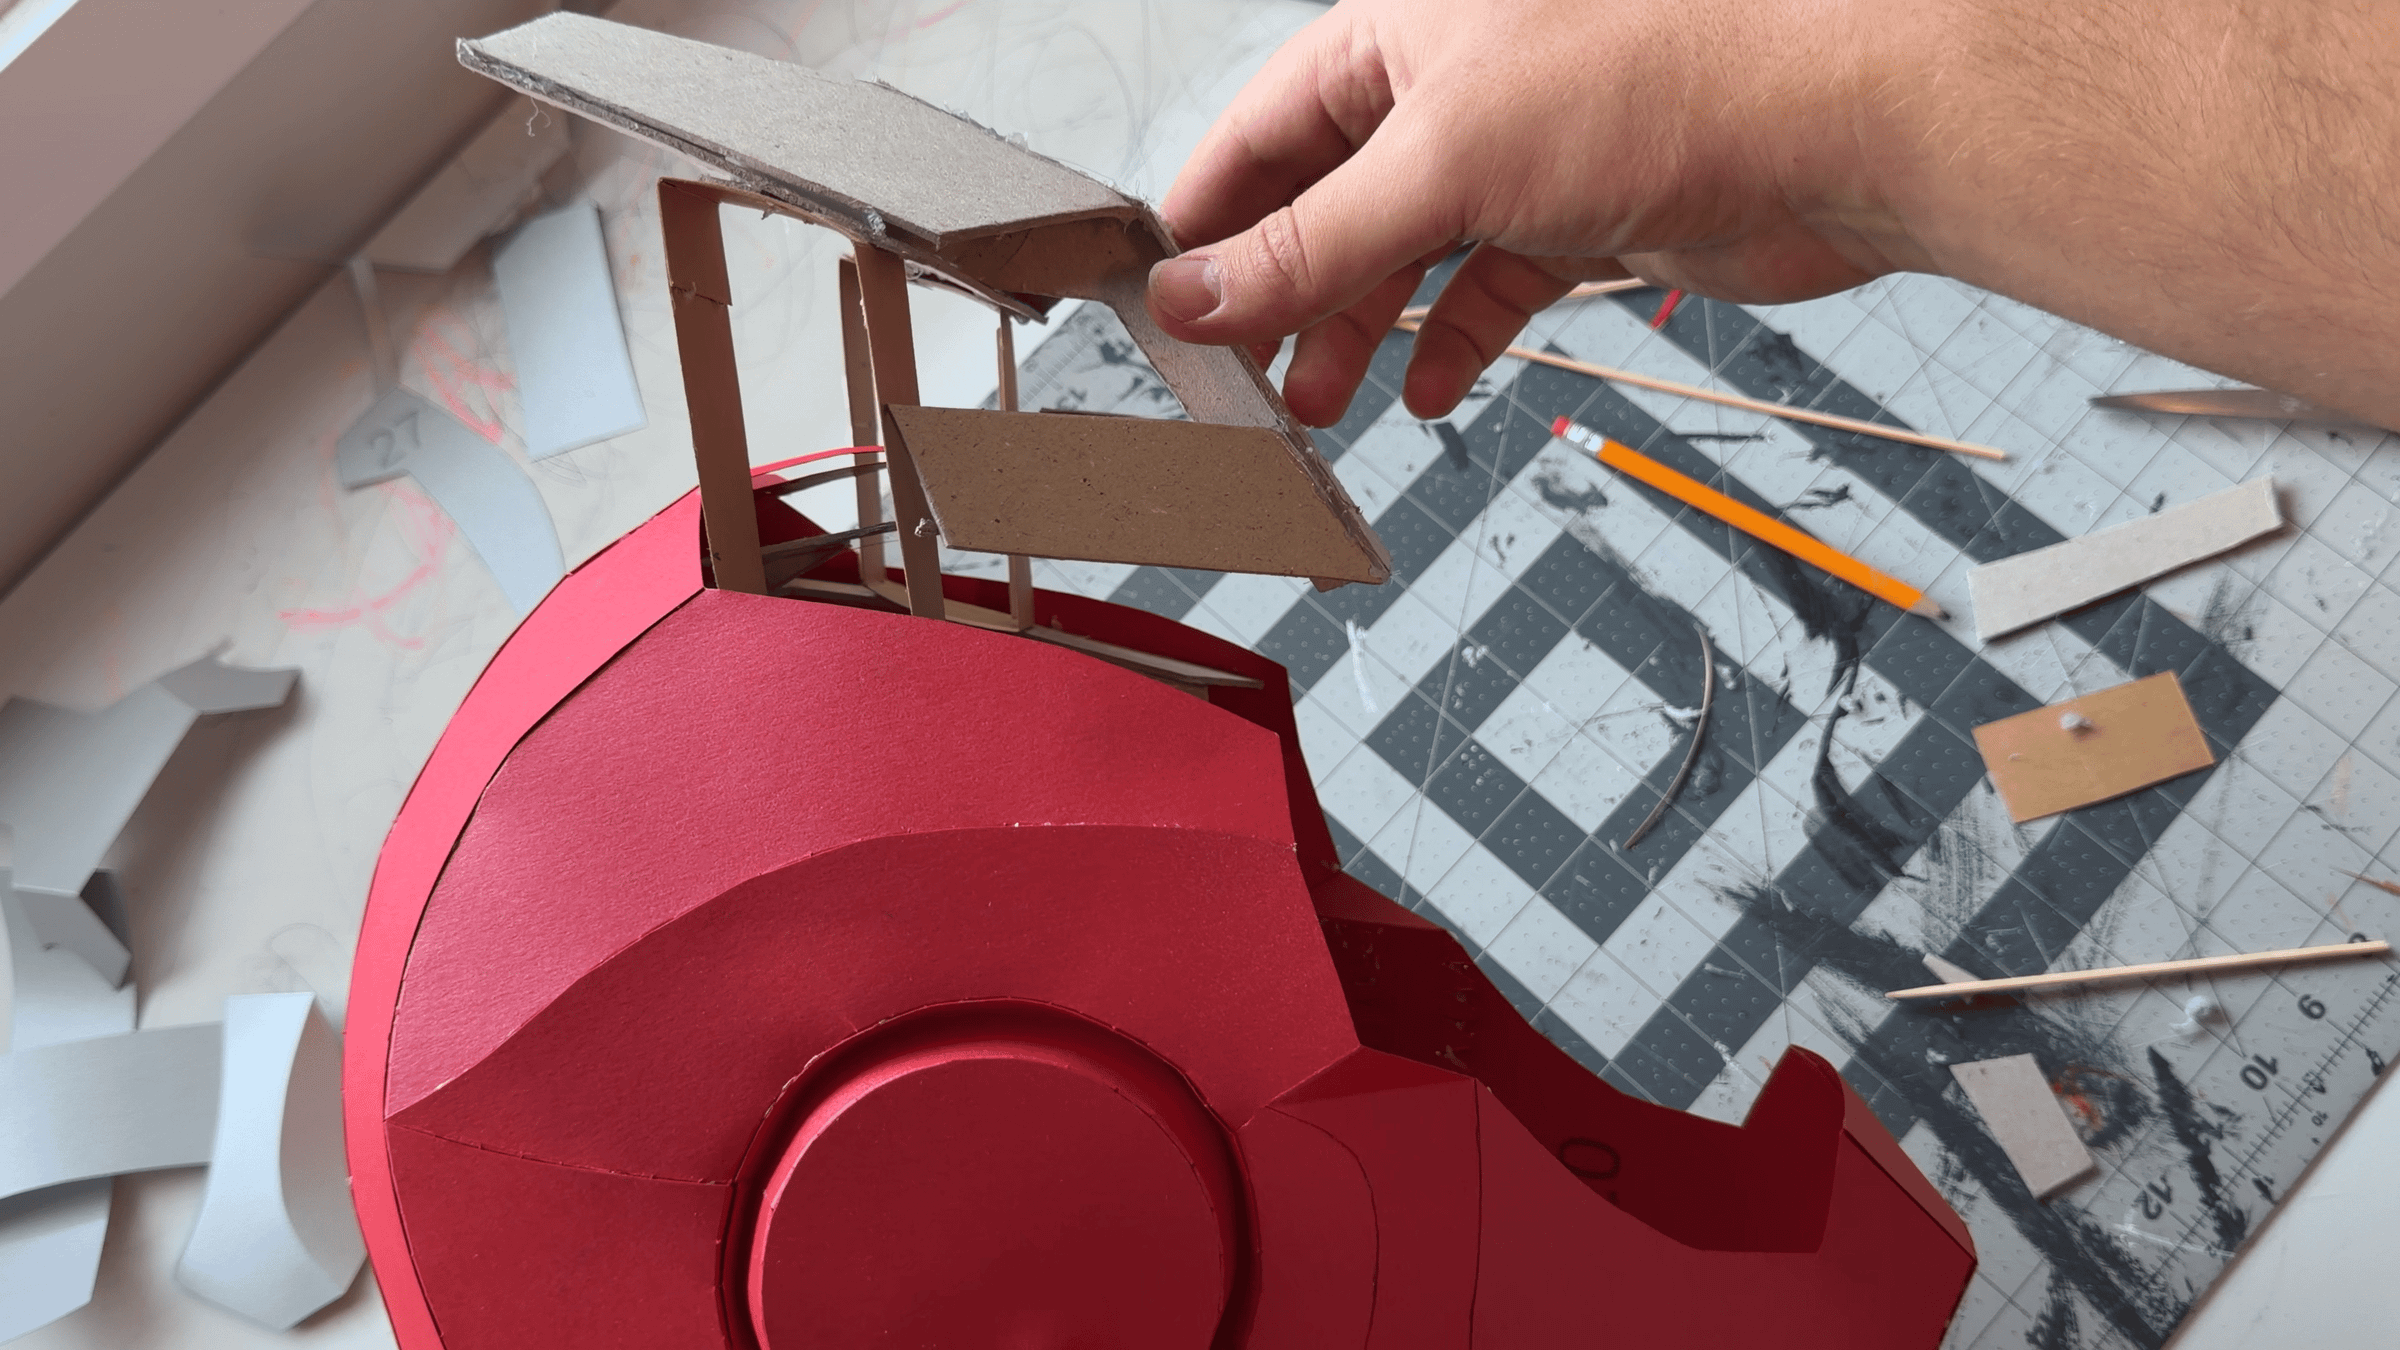
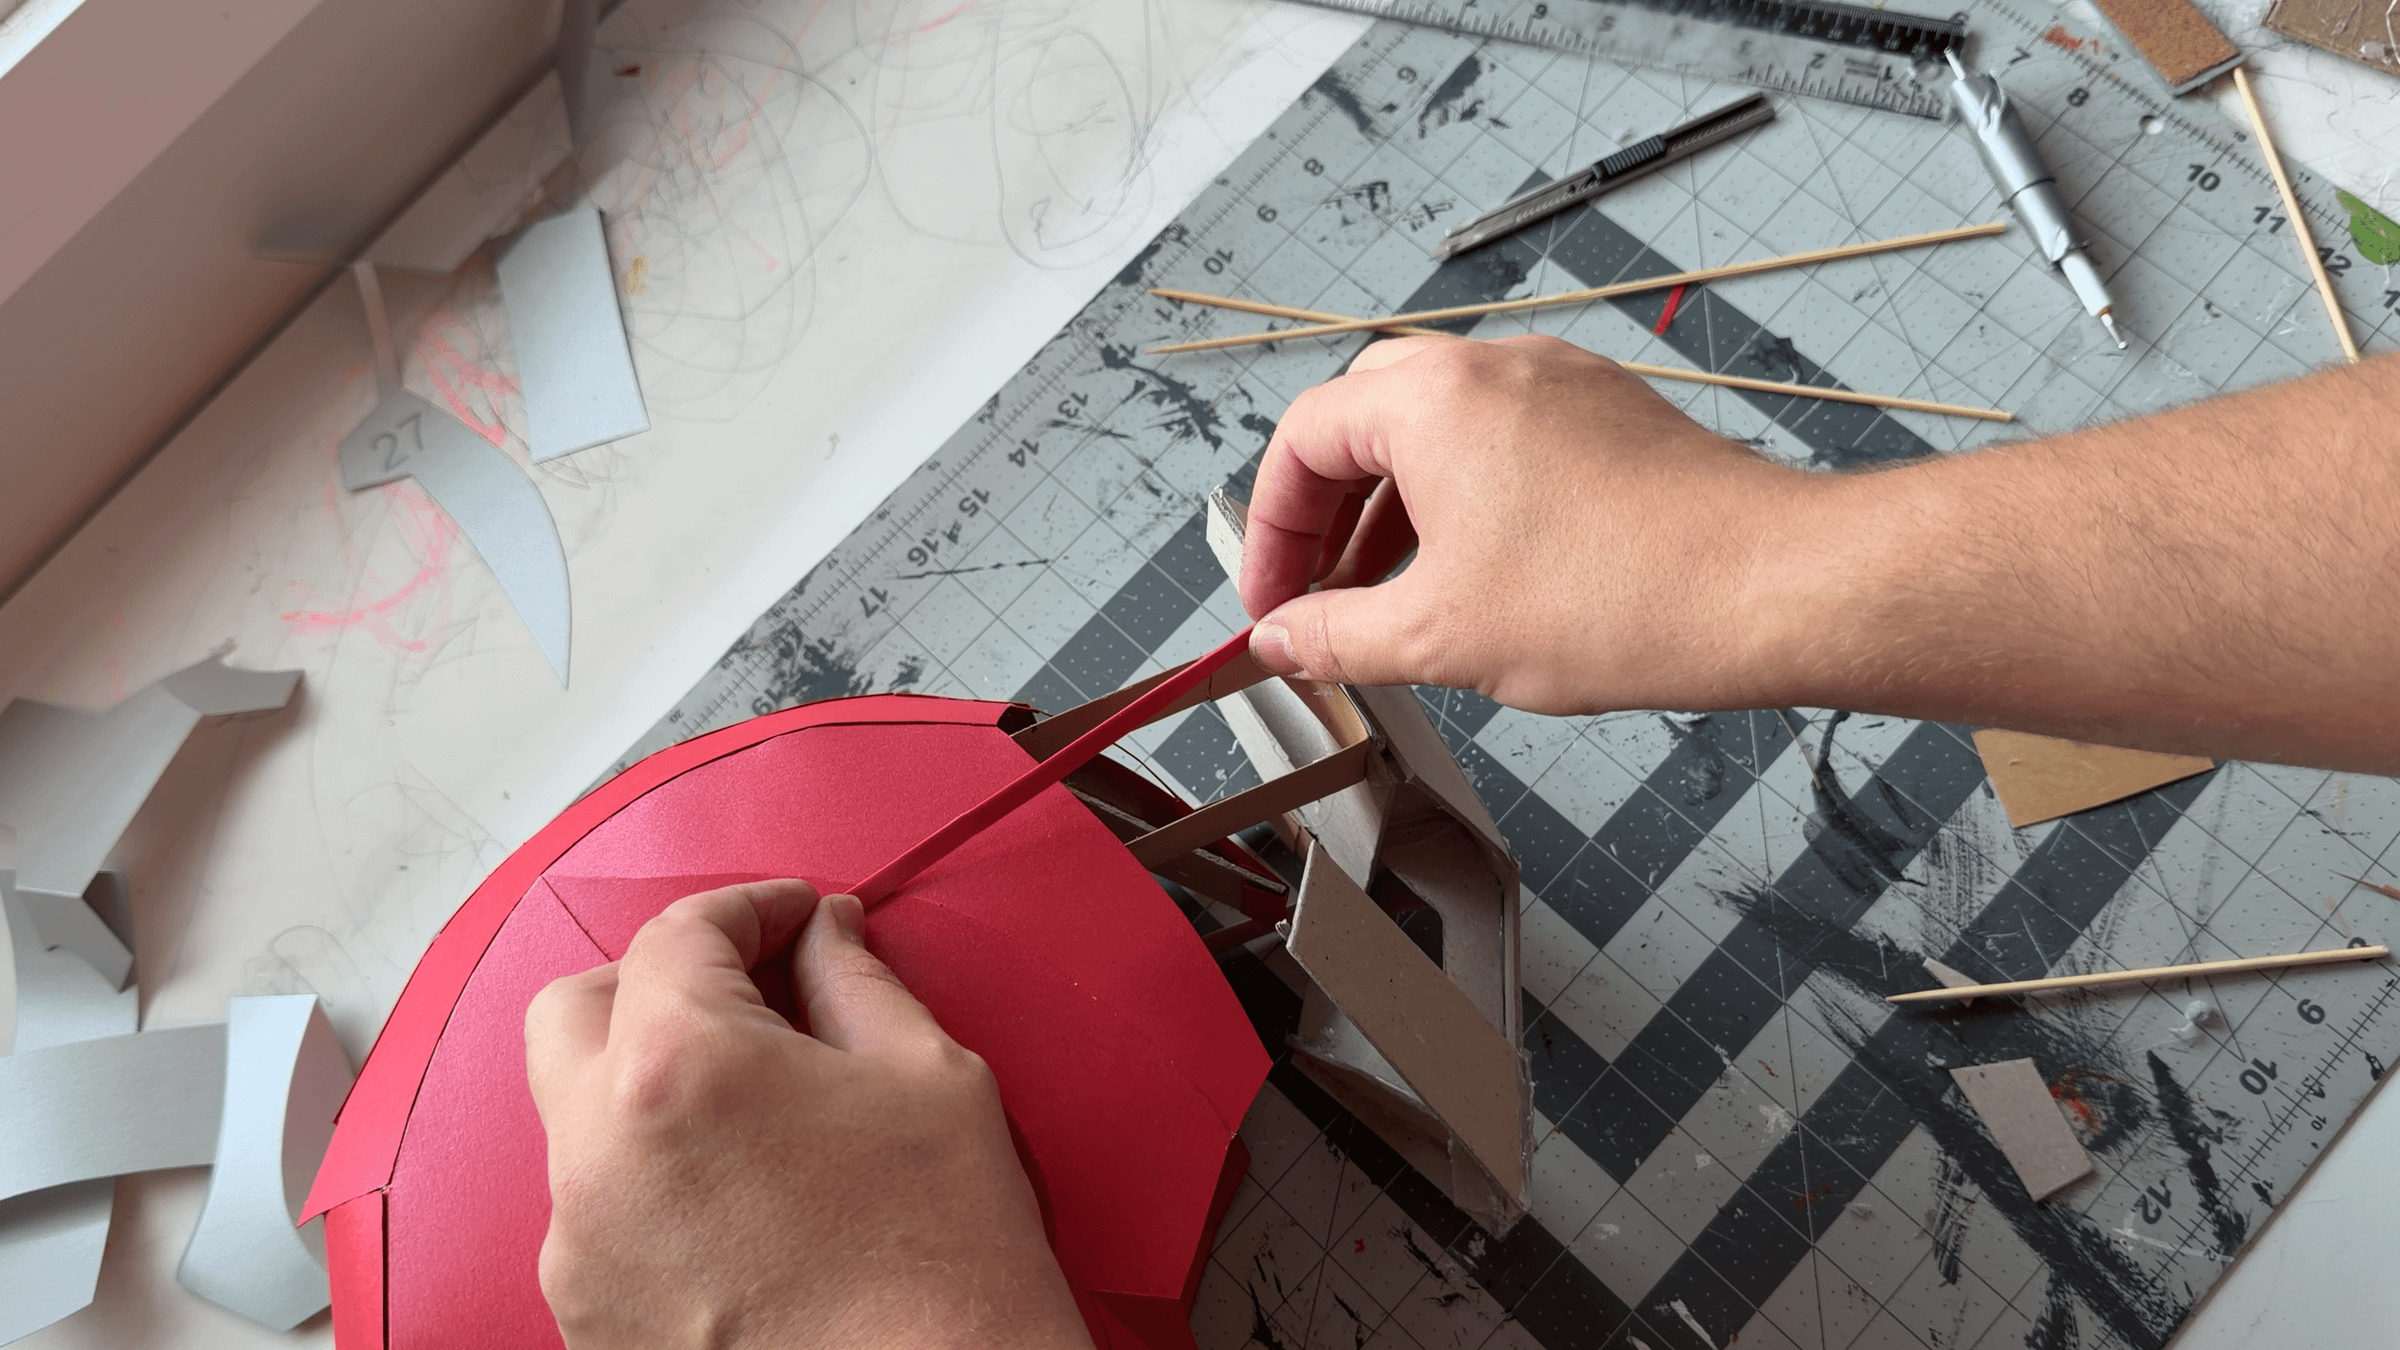
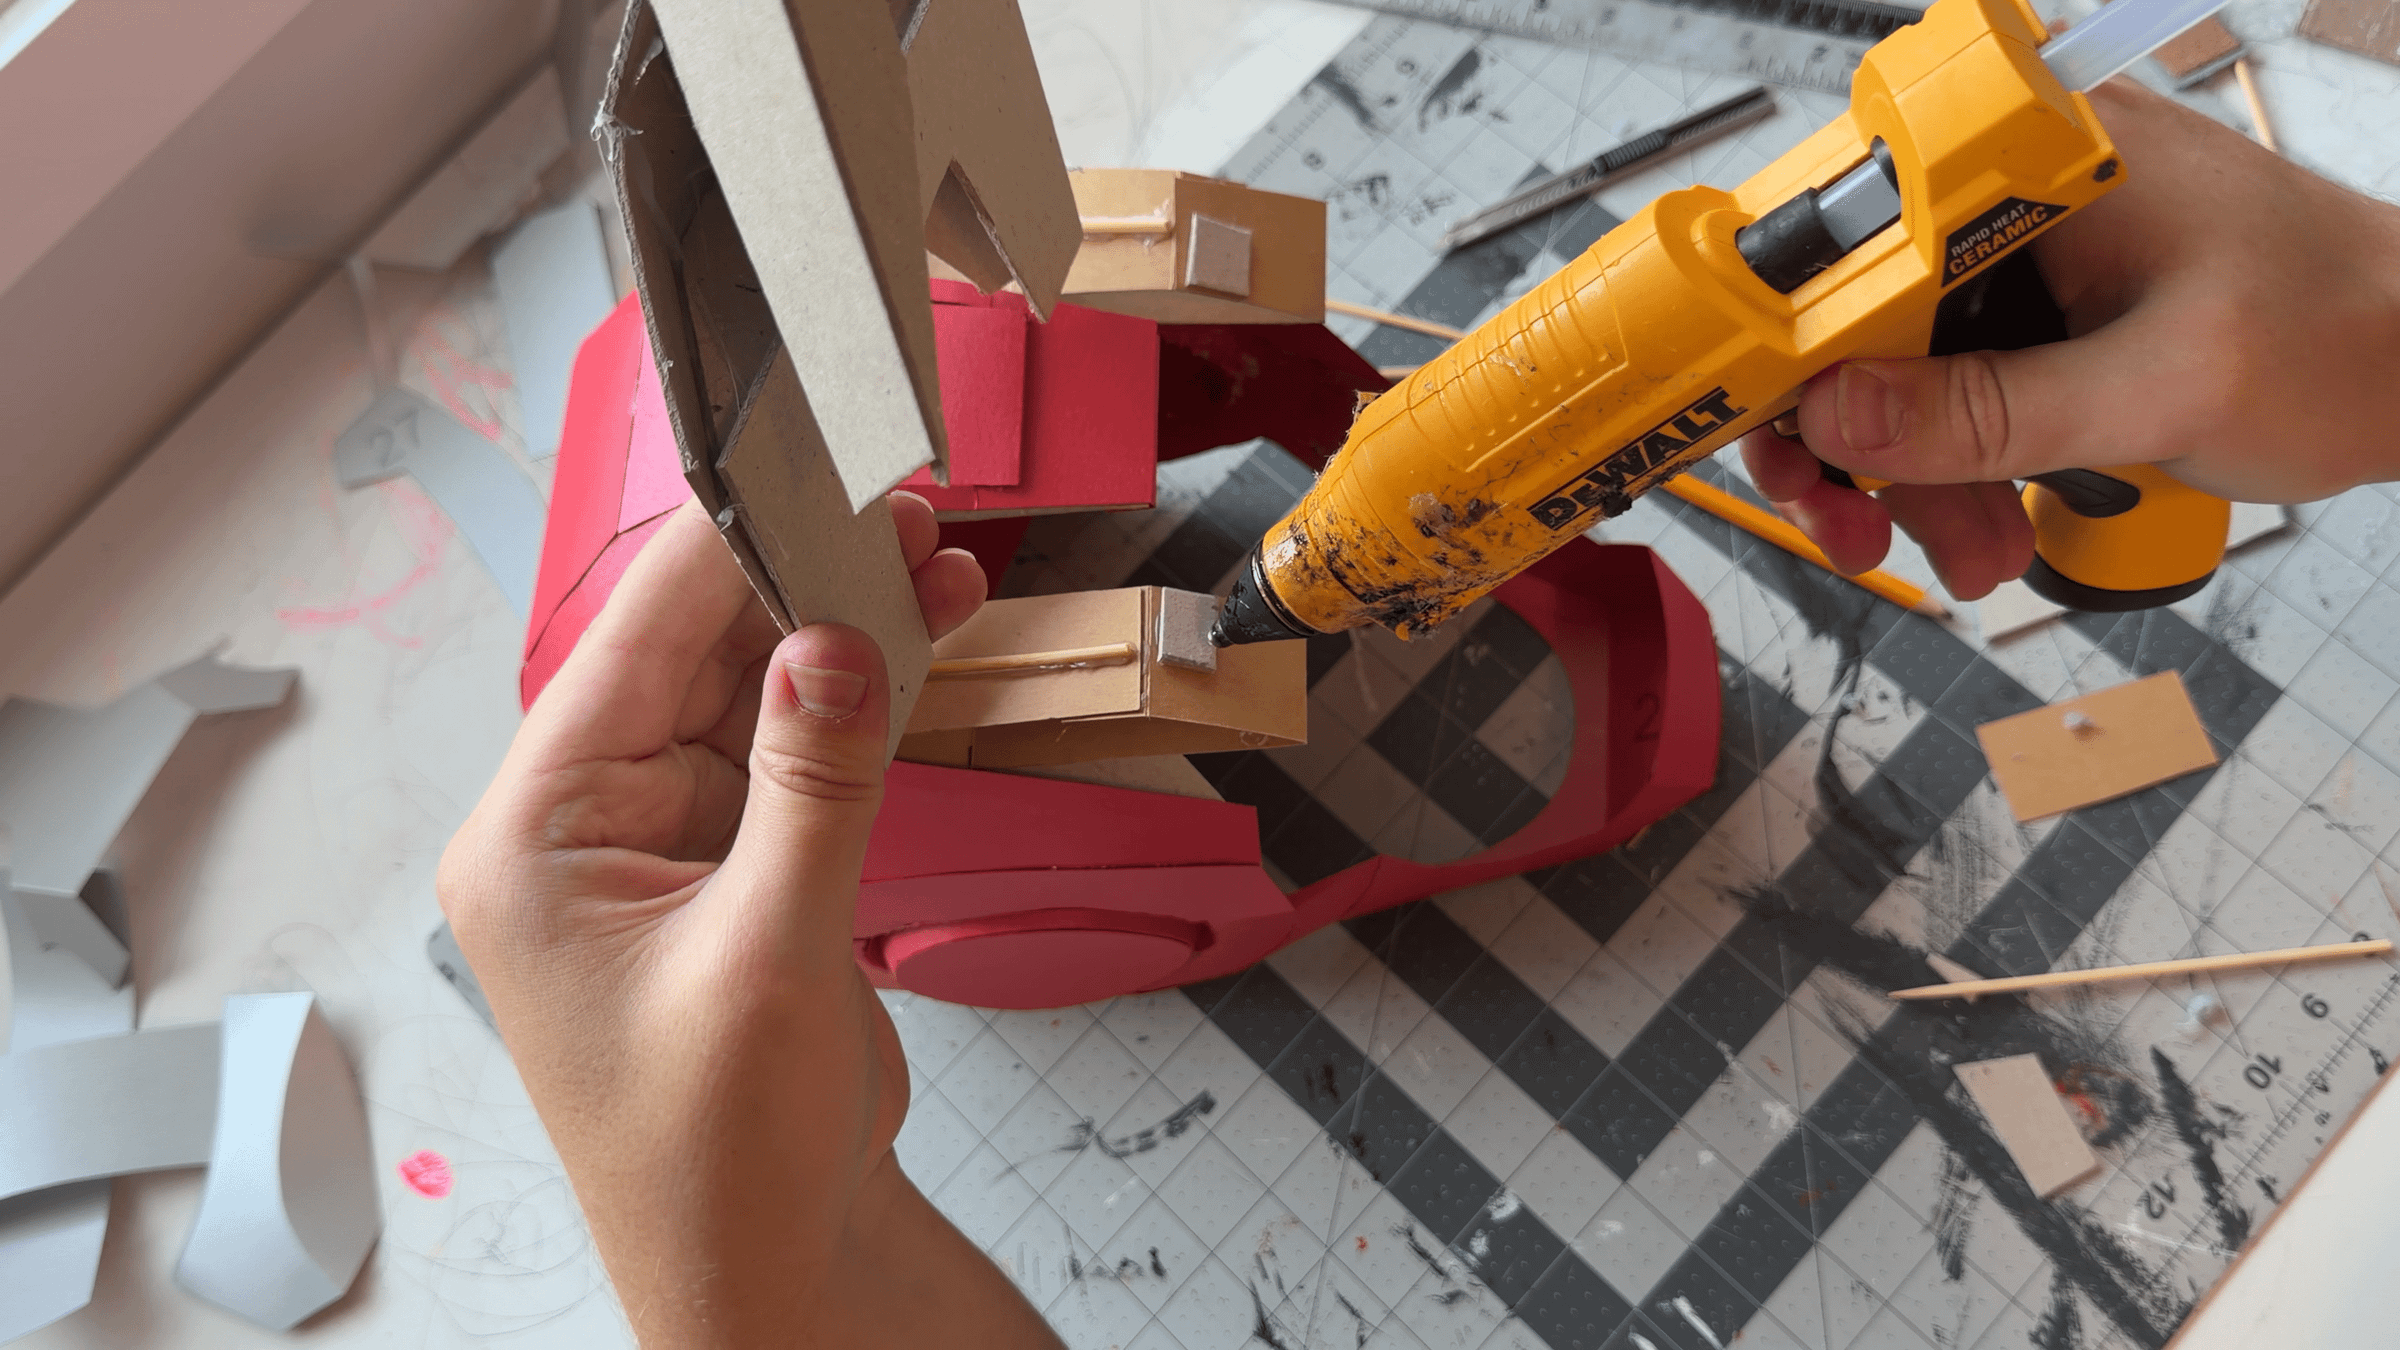
Temporarily test-fit the outer frame that will hold the face panels. At this stage, you only need to position it correctly and mark its location.
This is also a good moment to check how all the parts sit together and align. If necessary, add small cardboard spacers or shims to adjust the position and level the frame.
The exact fit may vary slightly depending on the thickness of your material and how accurately the internal frame was installed. That is completely normal. At each stage, make small adjustments as needed to bring everything closer to the correct final position.
I initially glued mine in place, but later had to remove it to make the next assembly steps easier. So I recommend not gluing it permanently yet. Simply test-fit and mark the position, then attach it at the very end.
Installing the Hinges for the Moving Panels
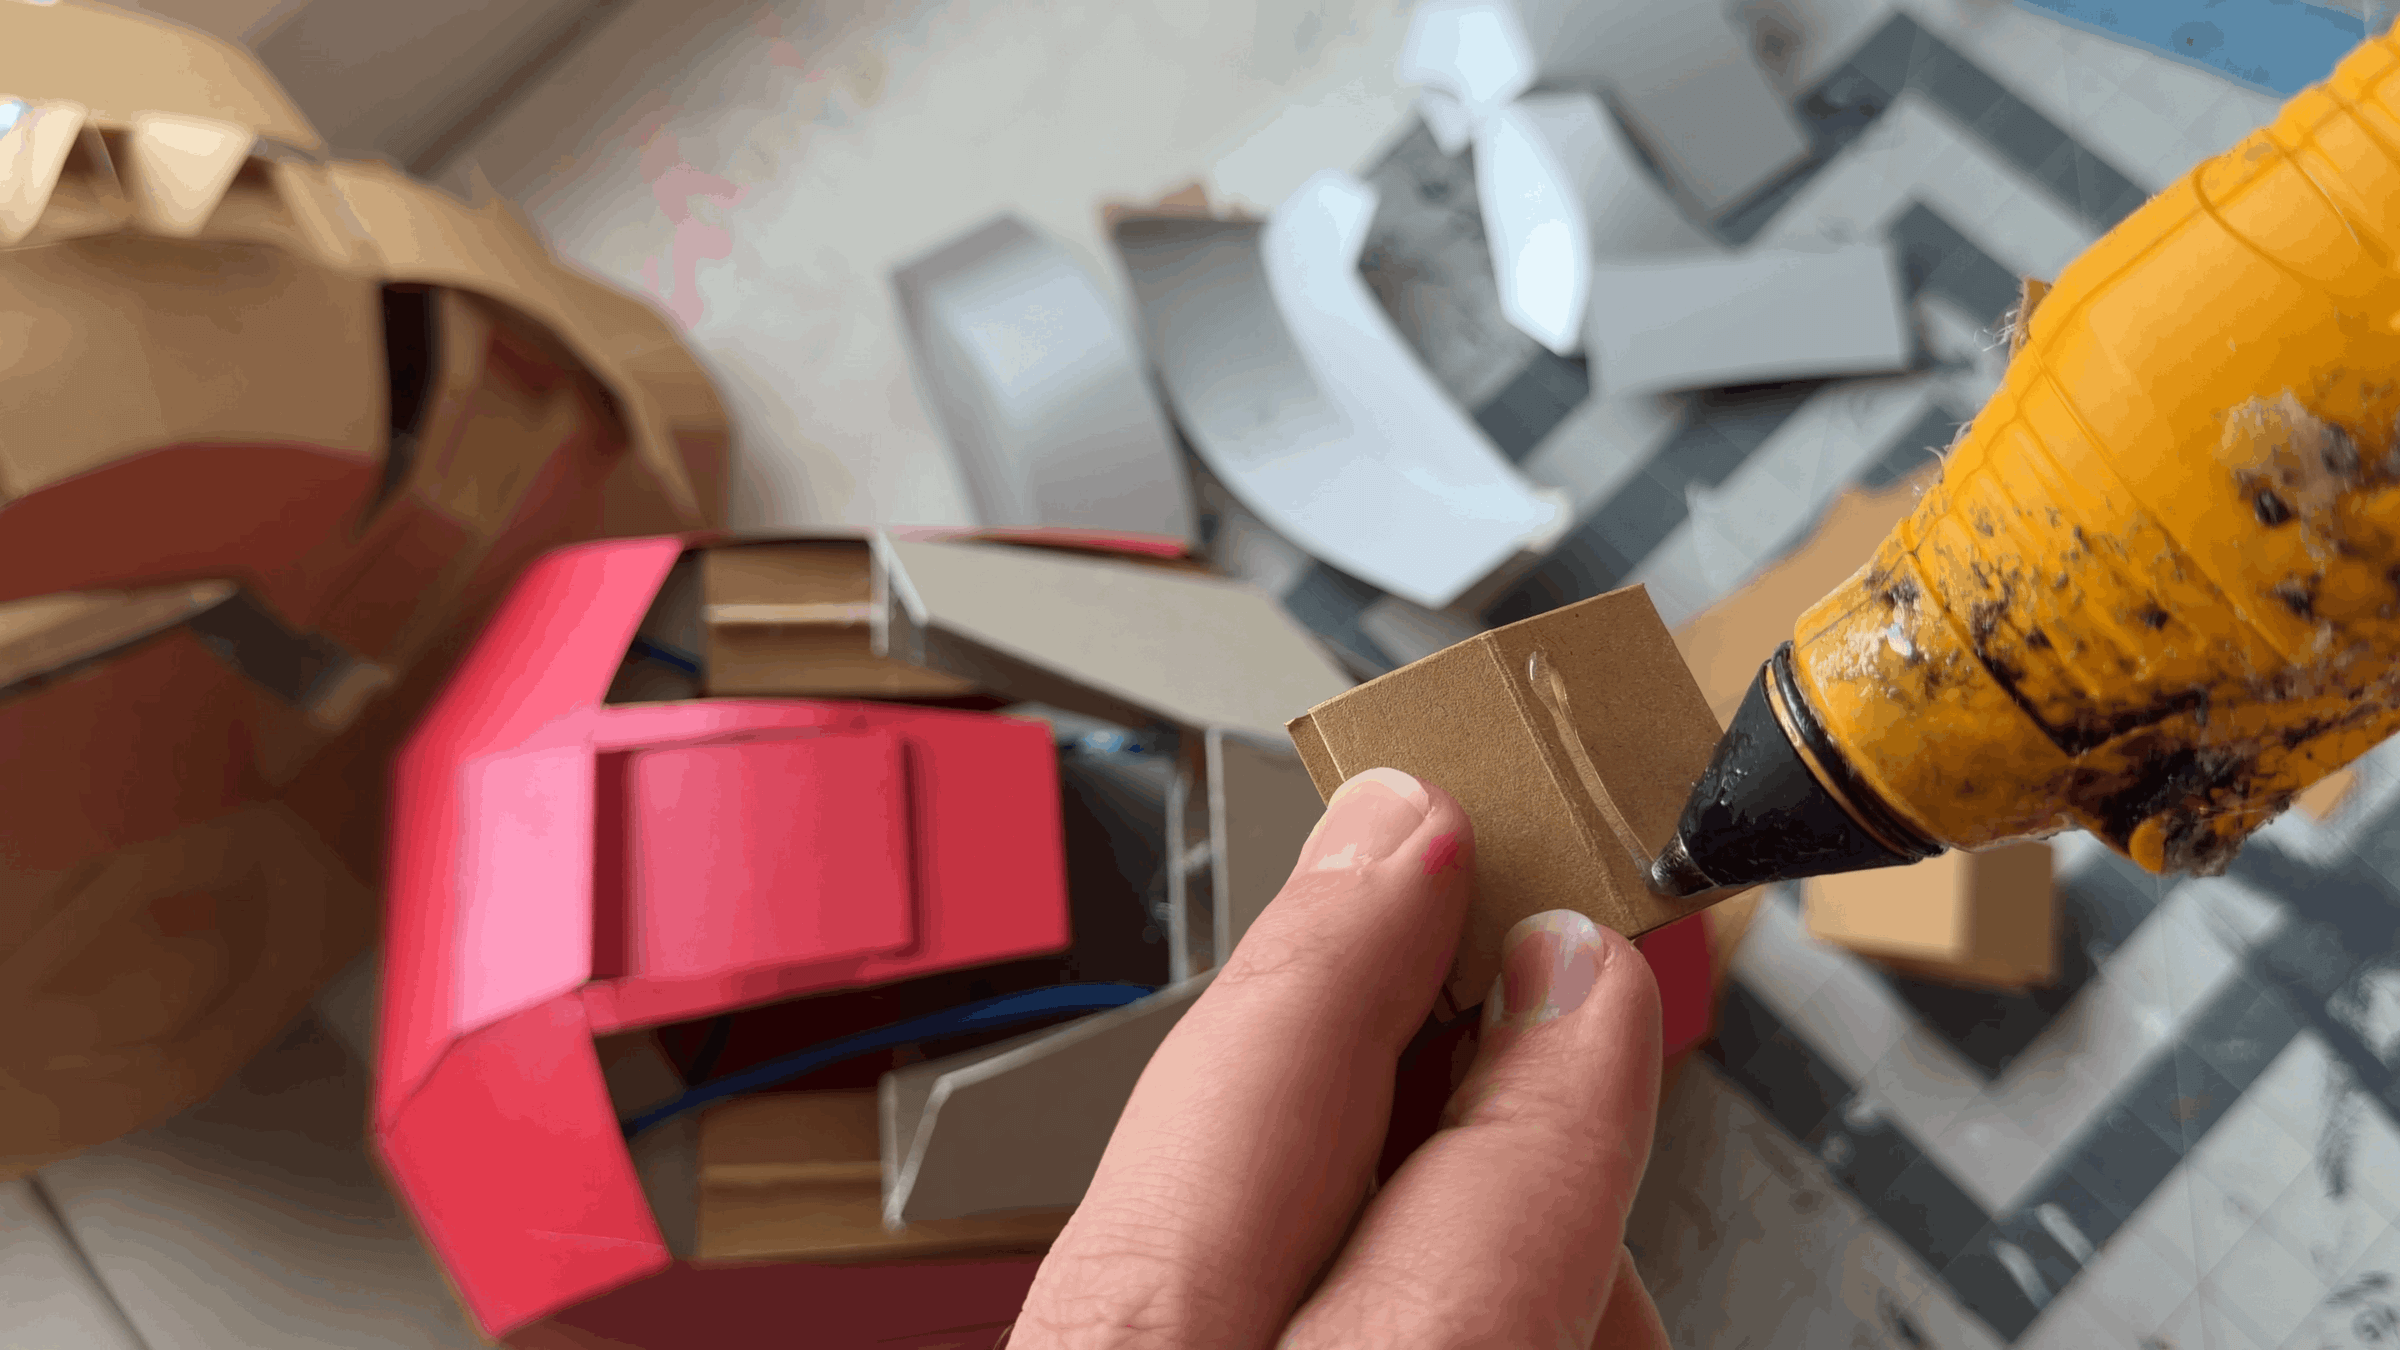
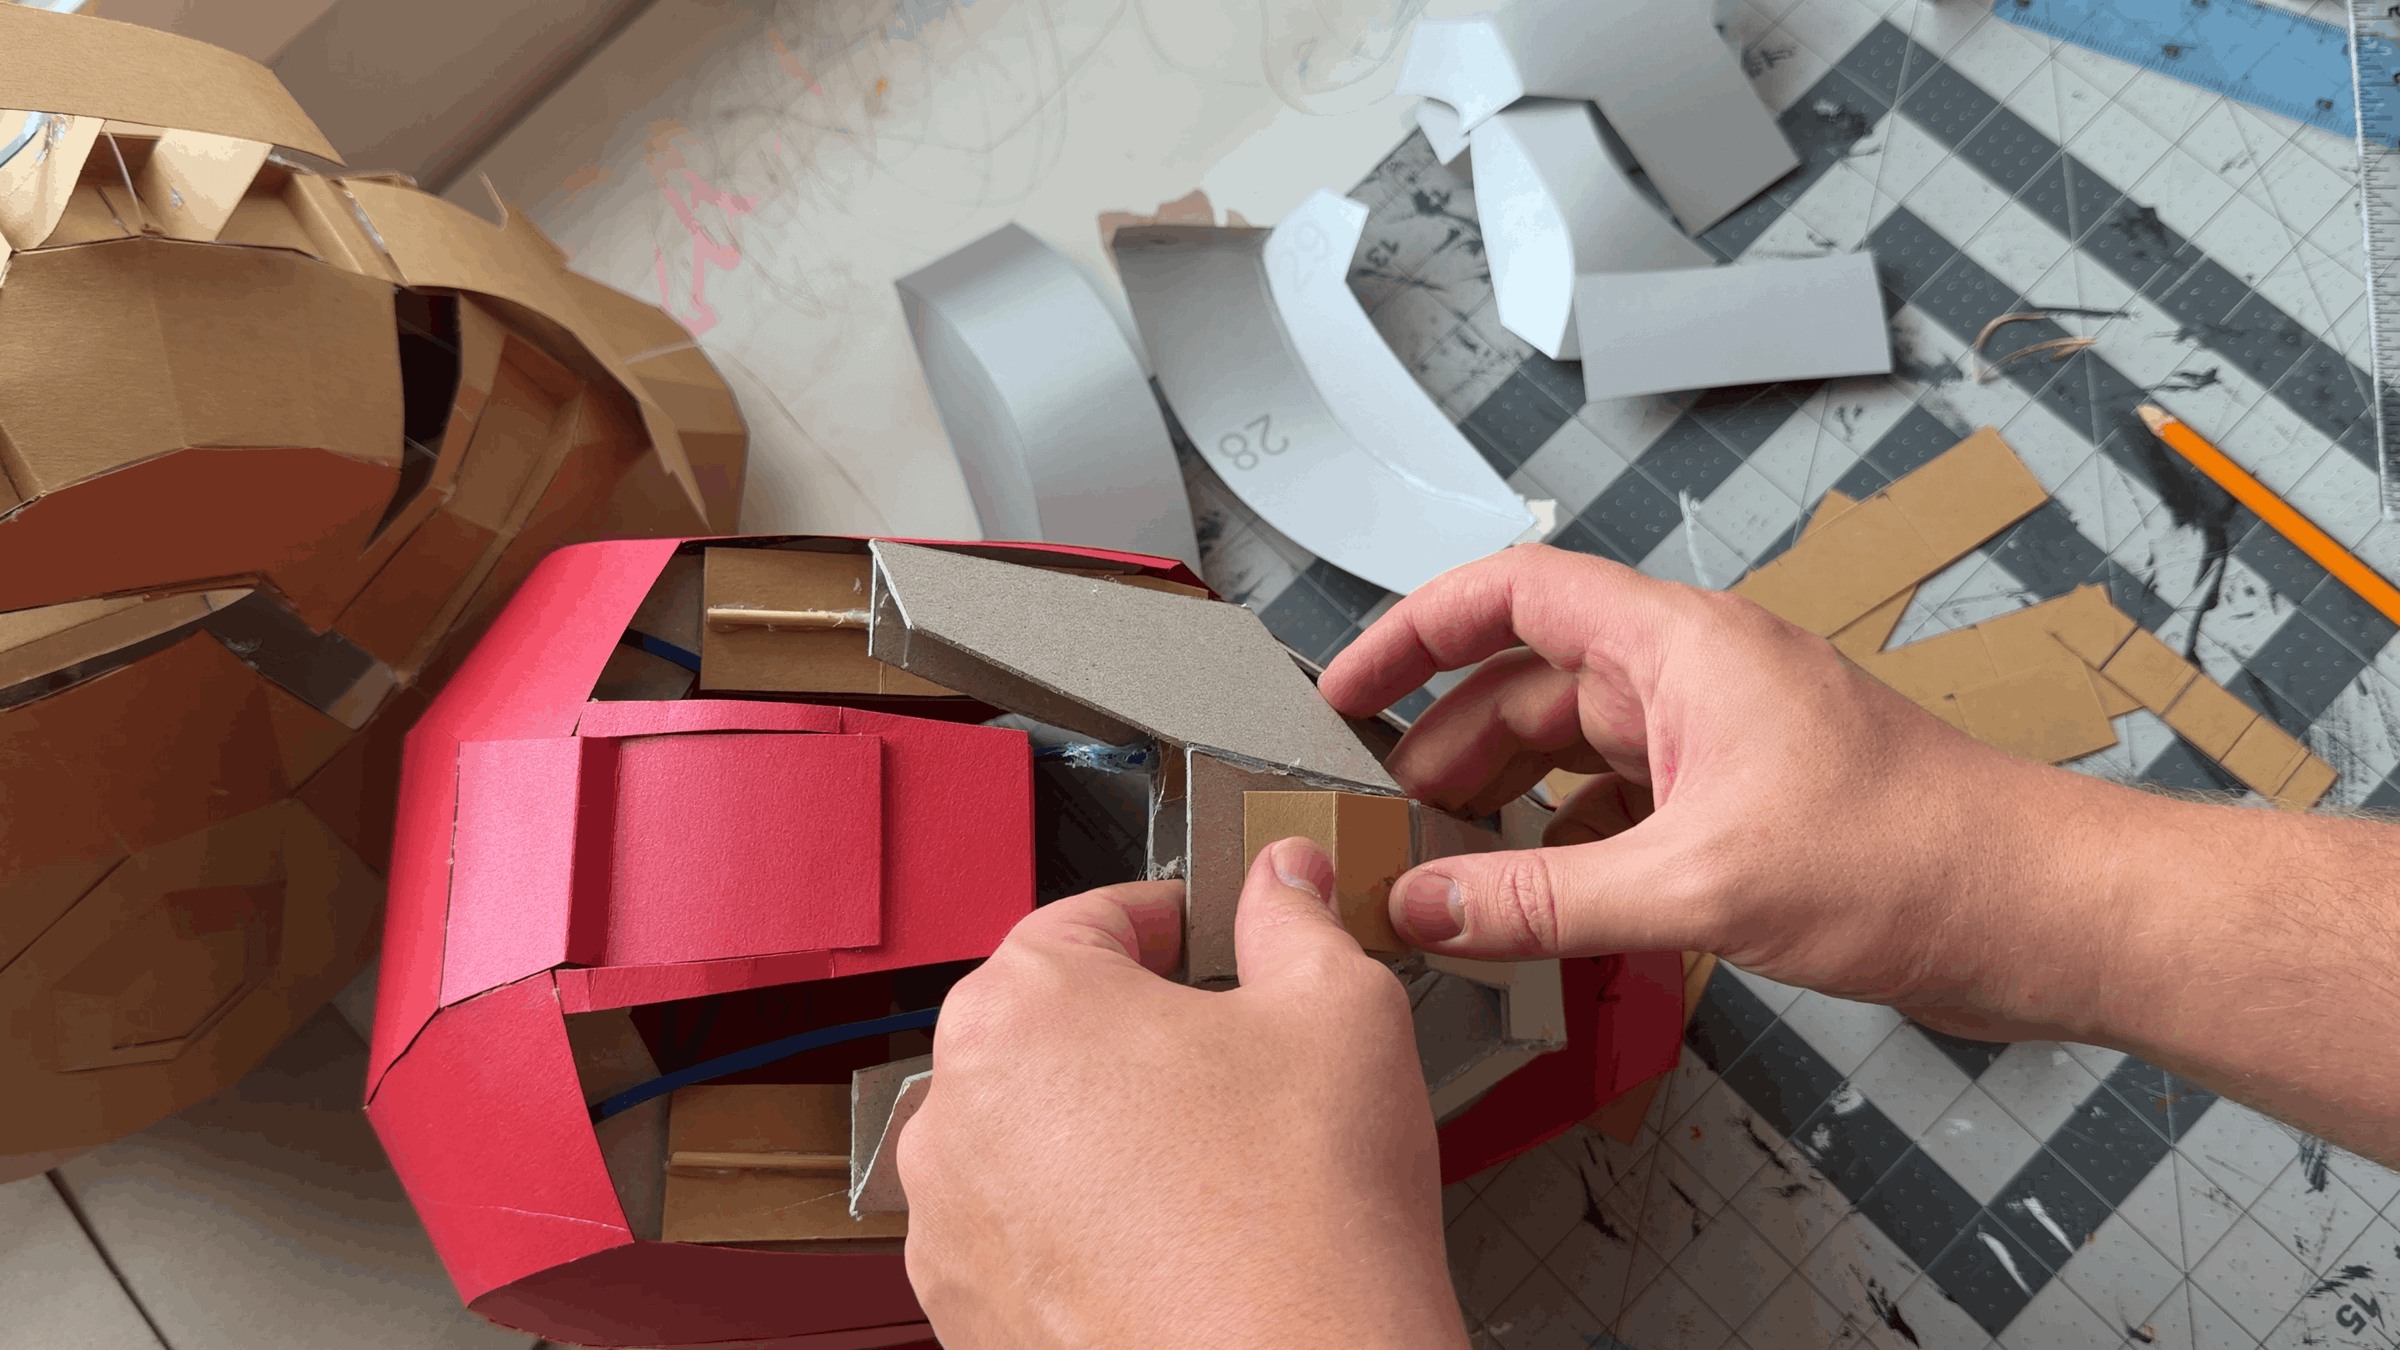
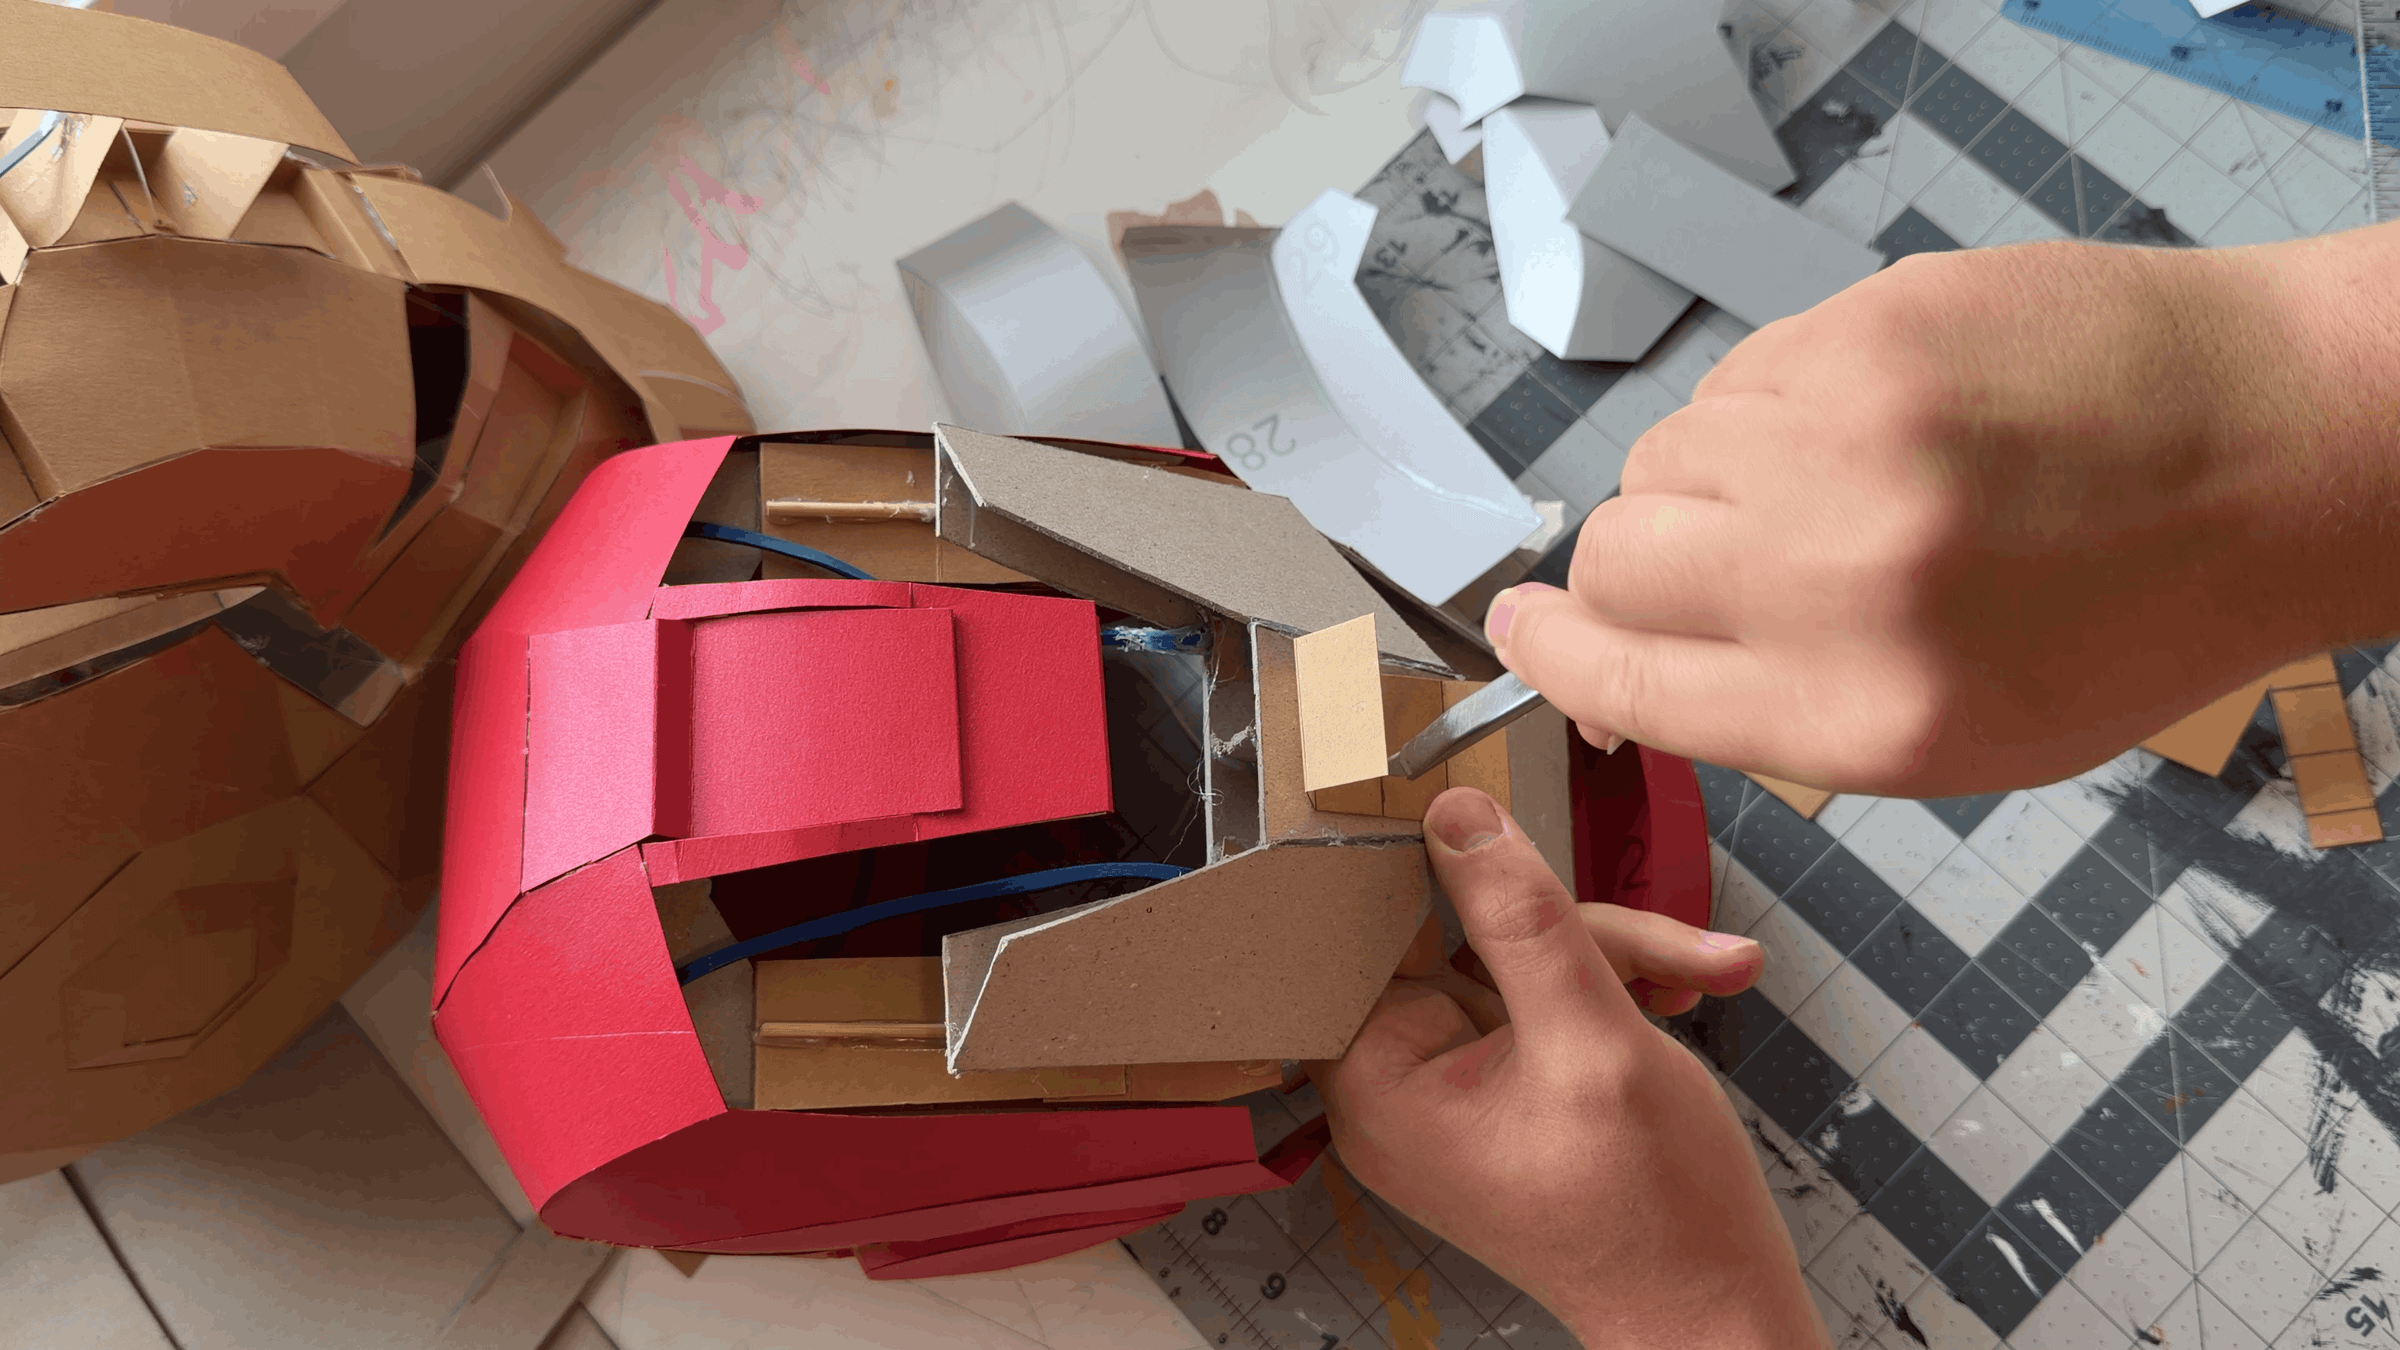
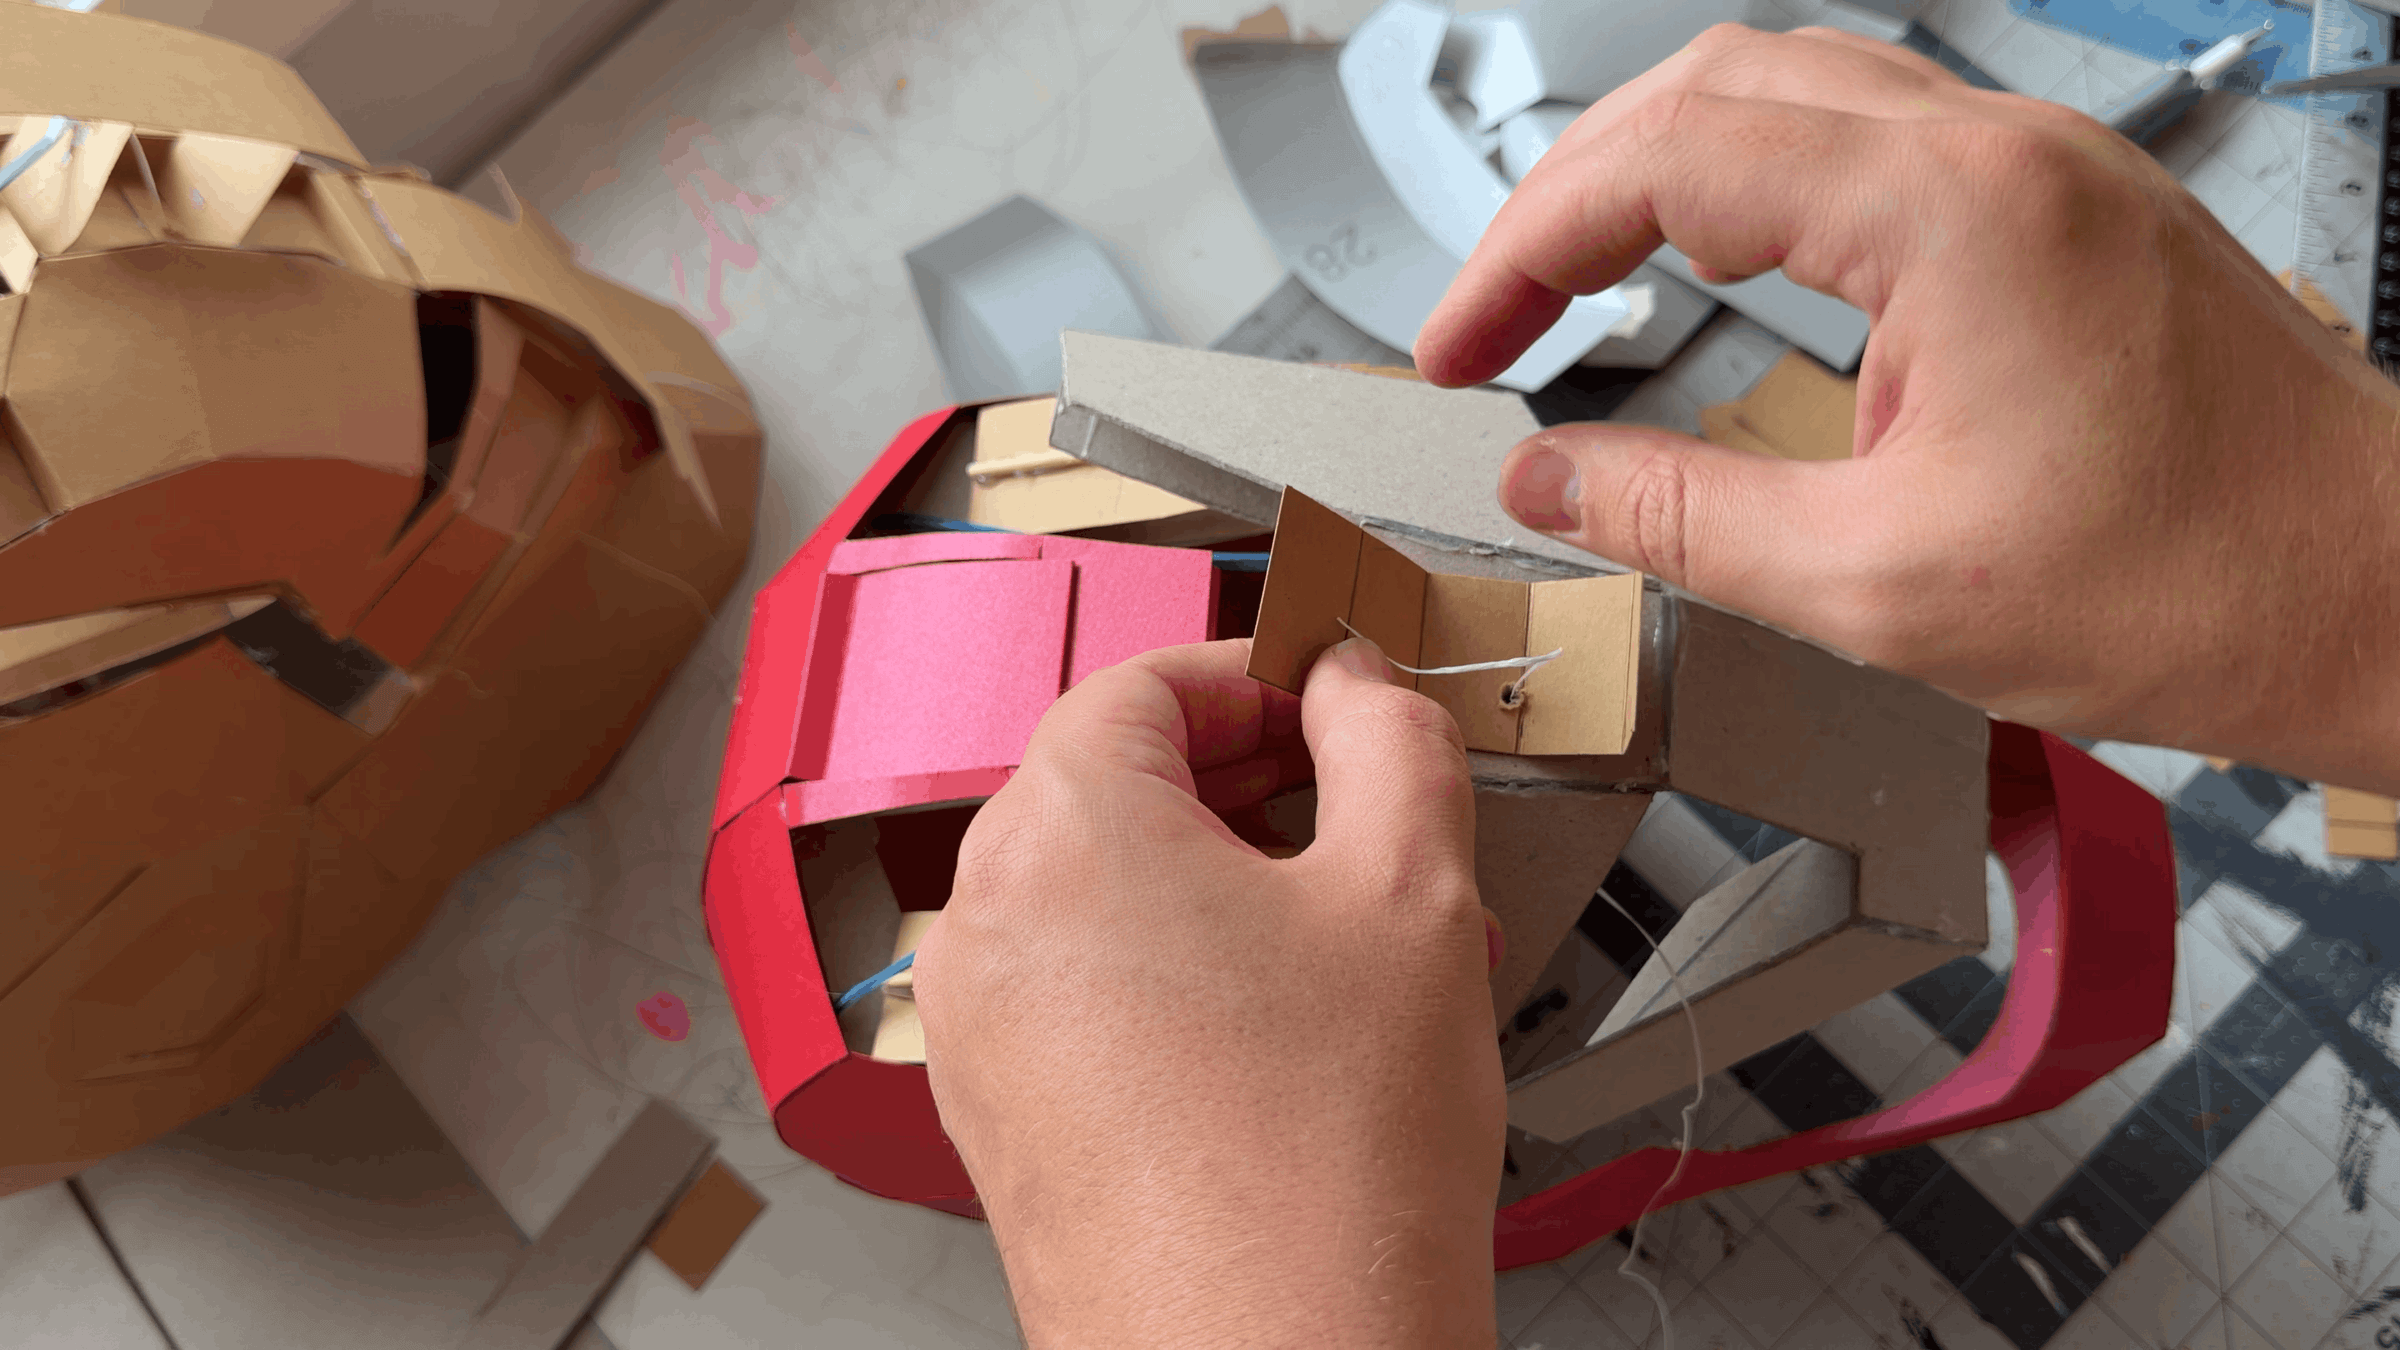
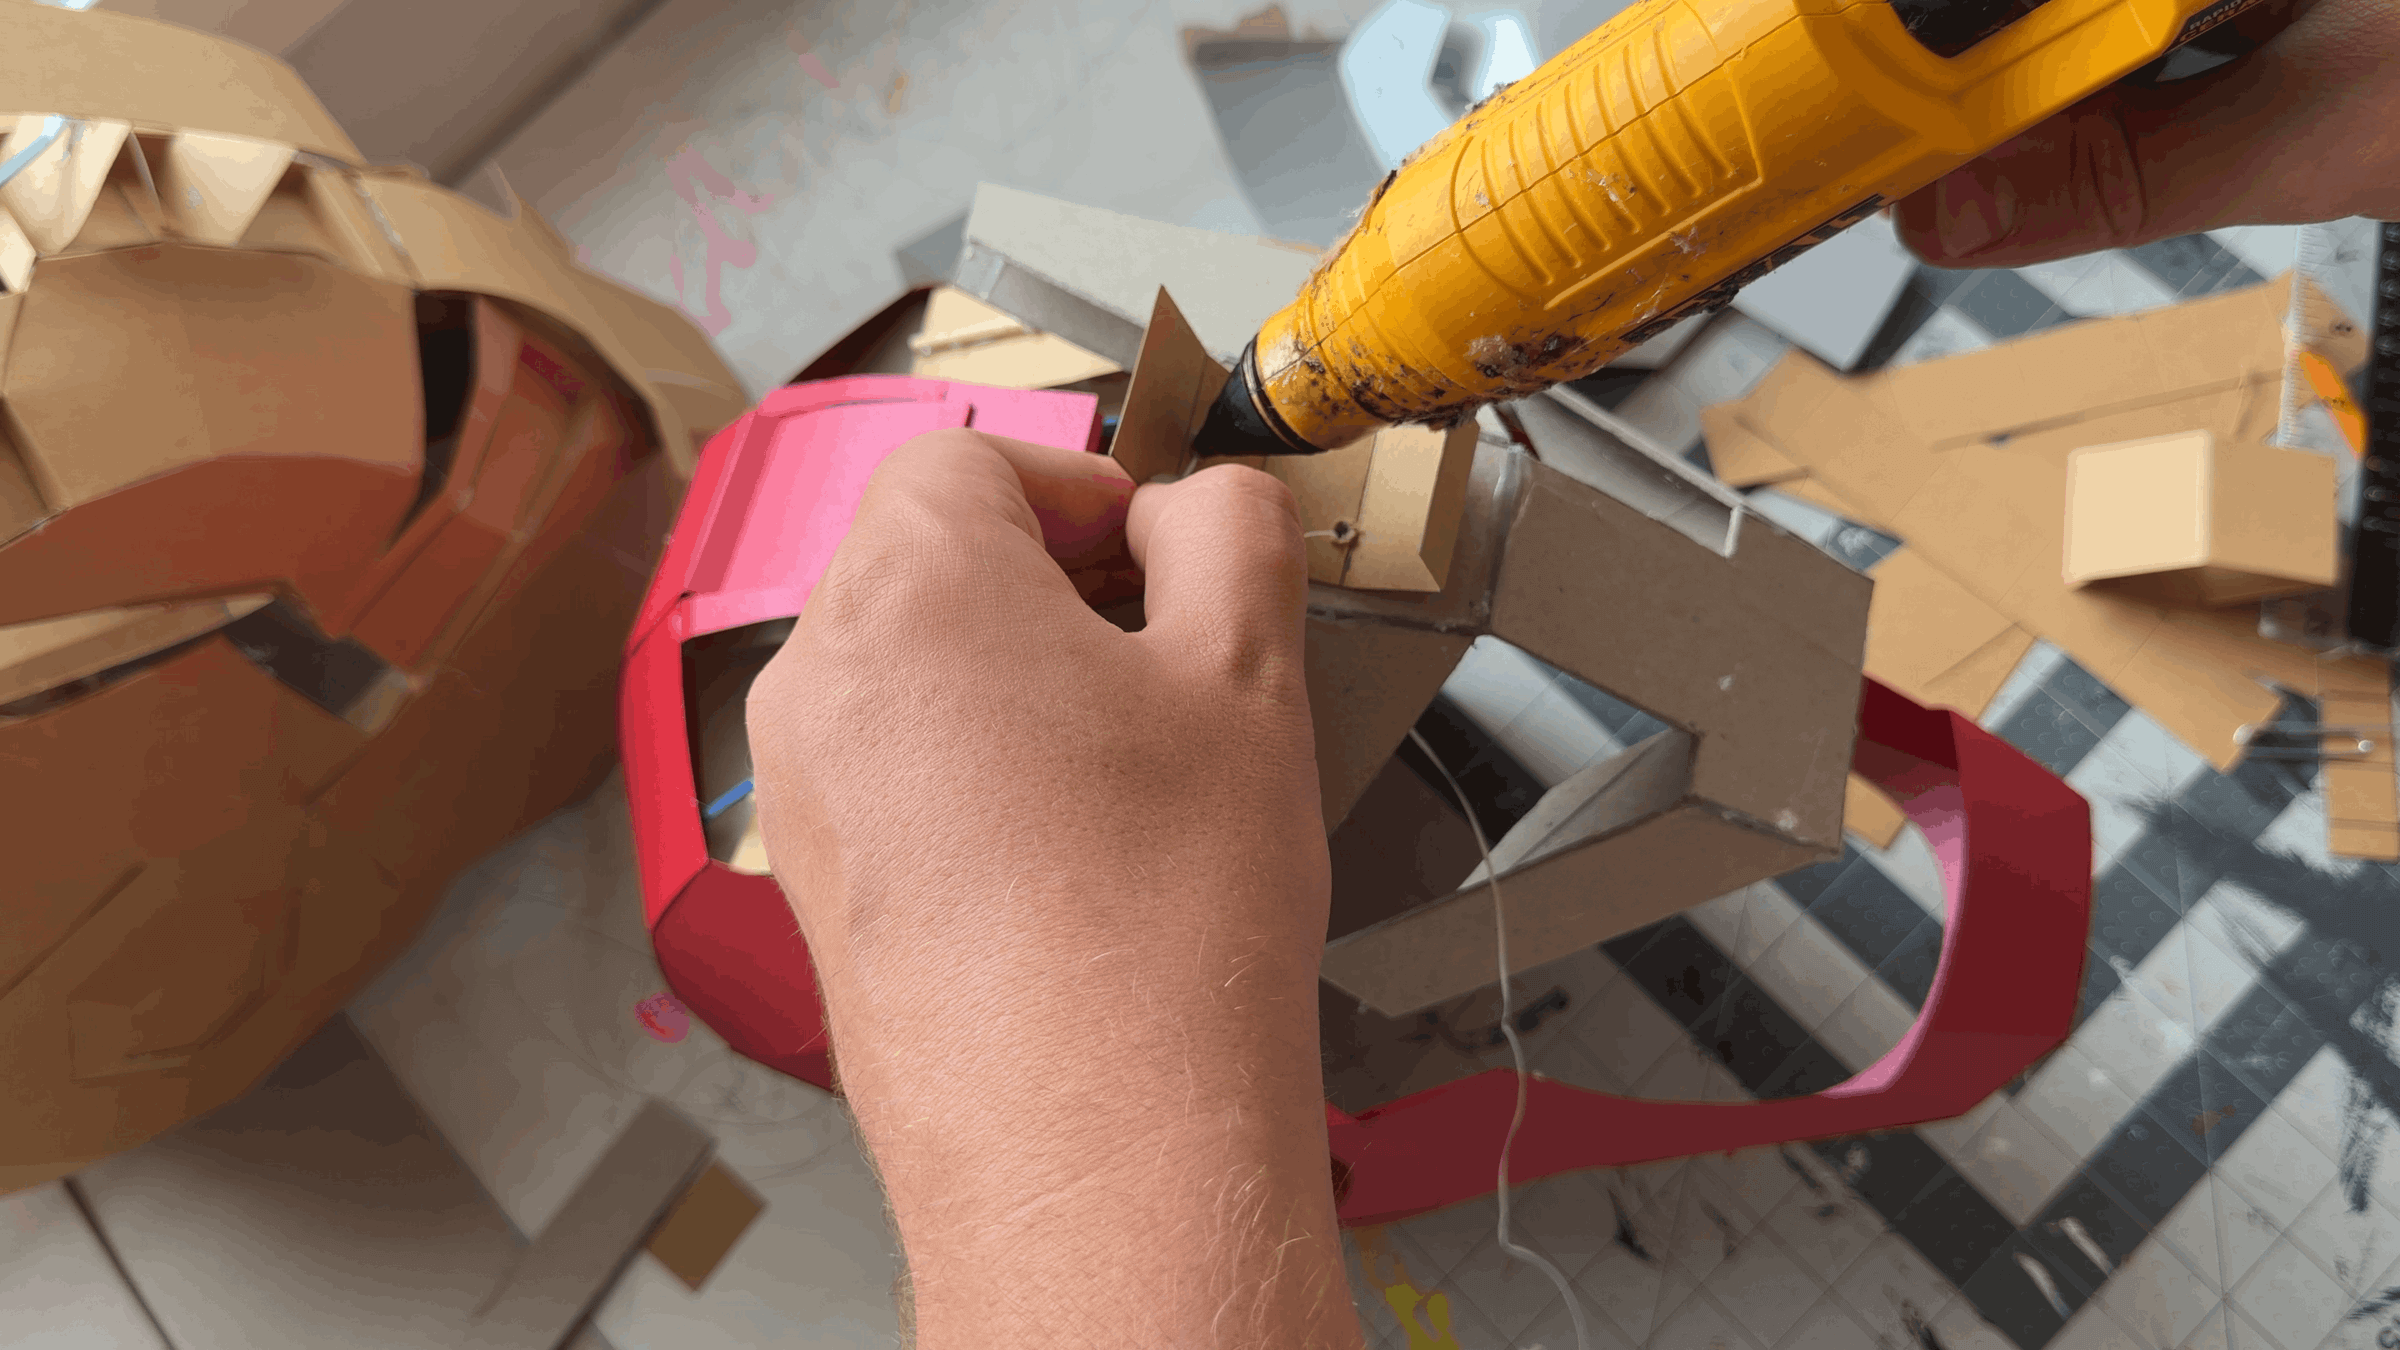
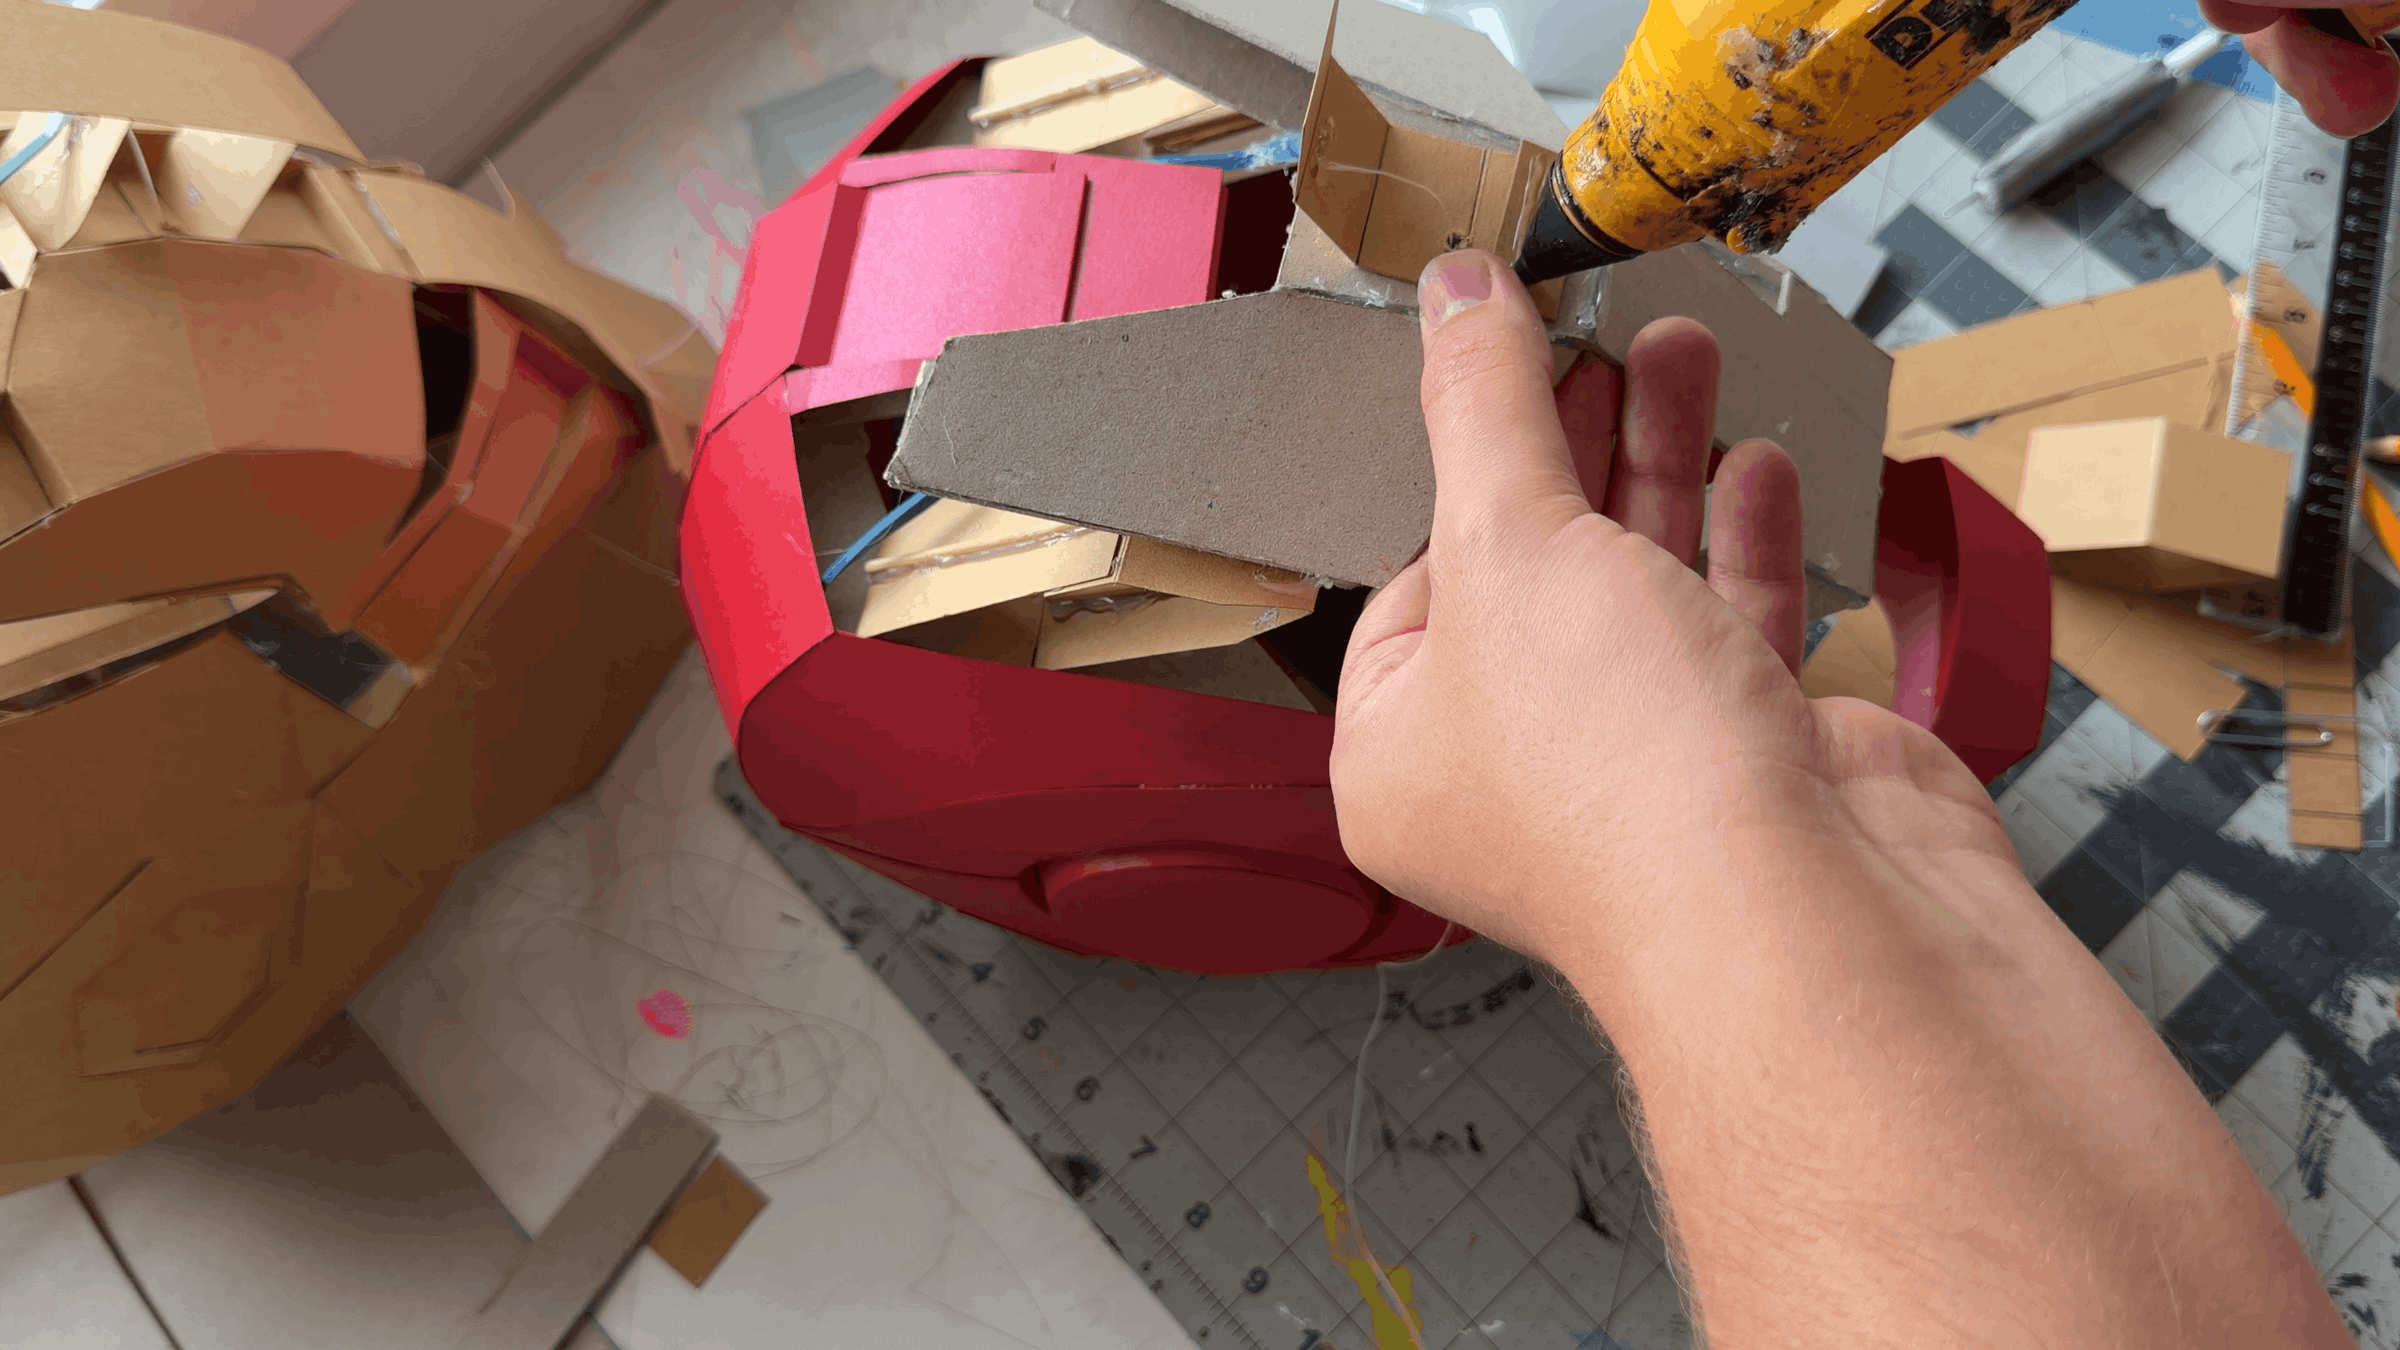
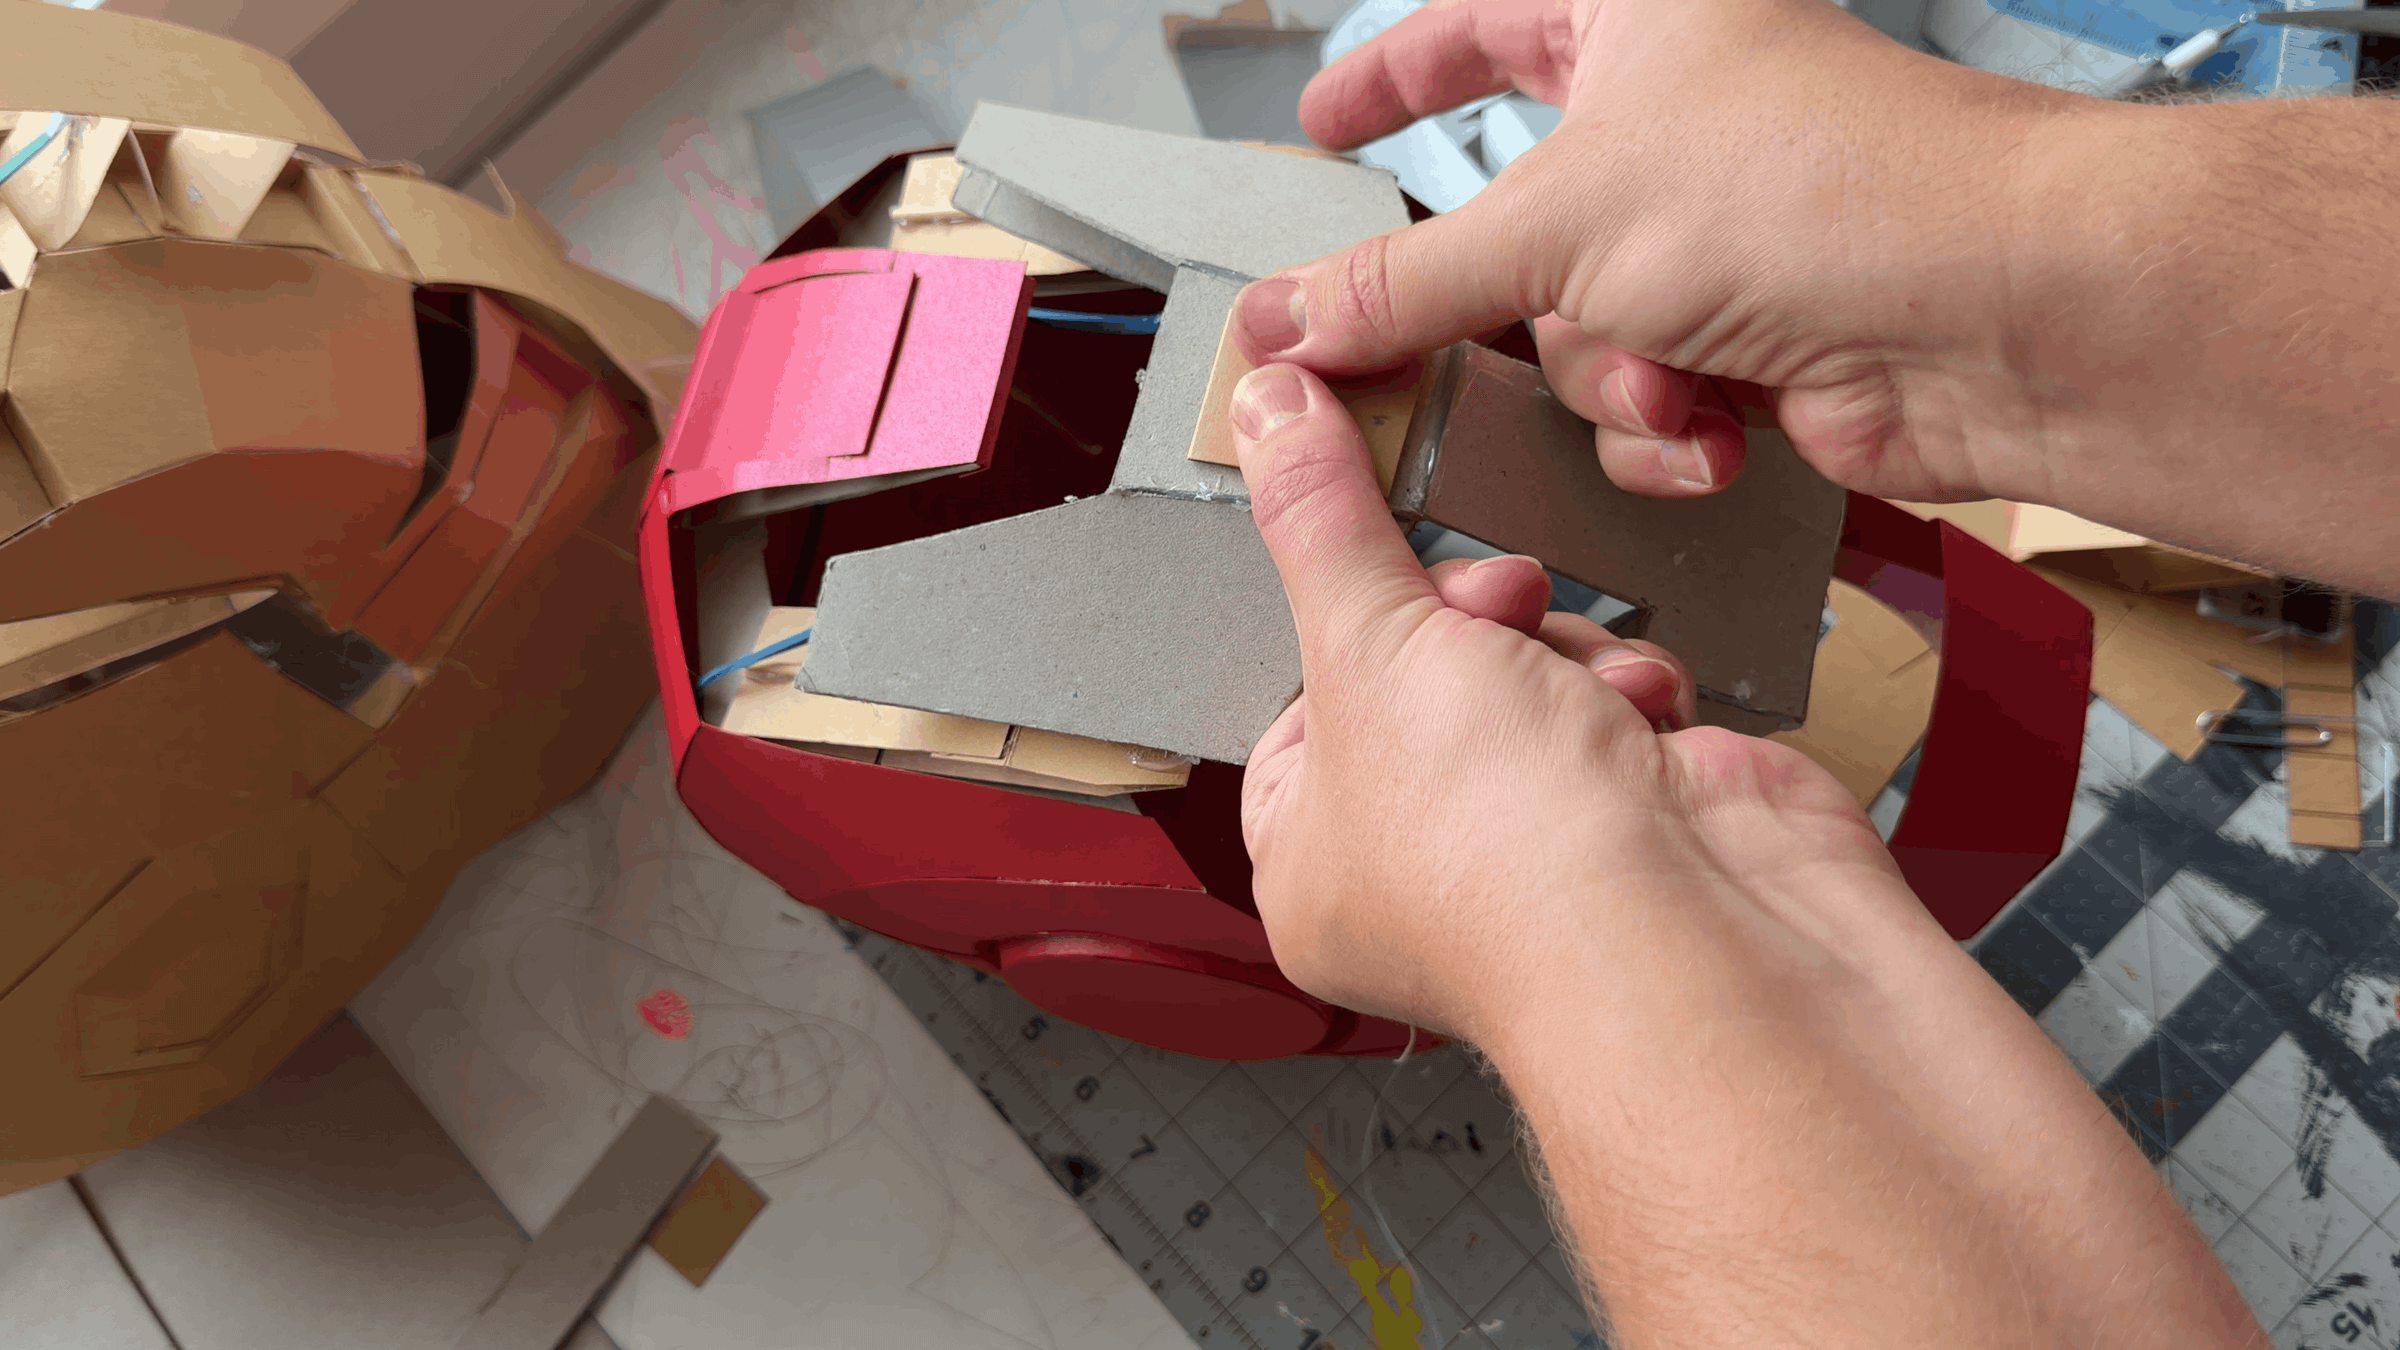
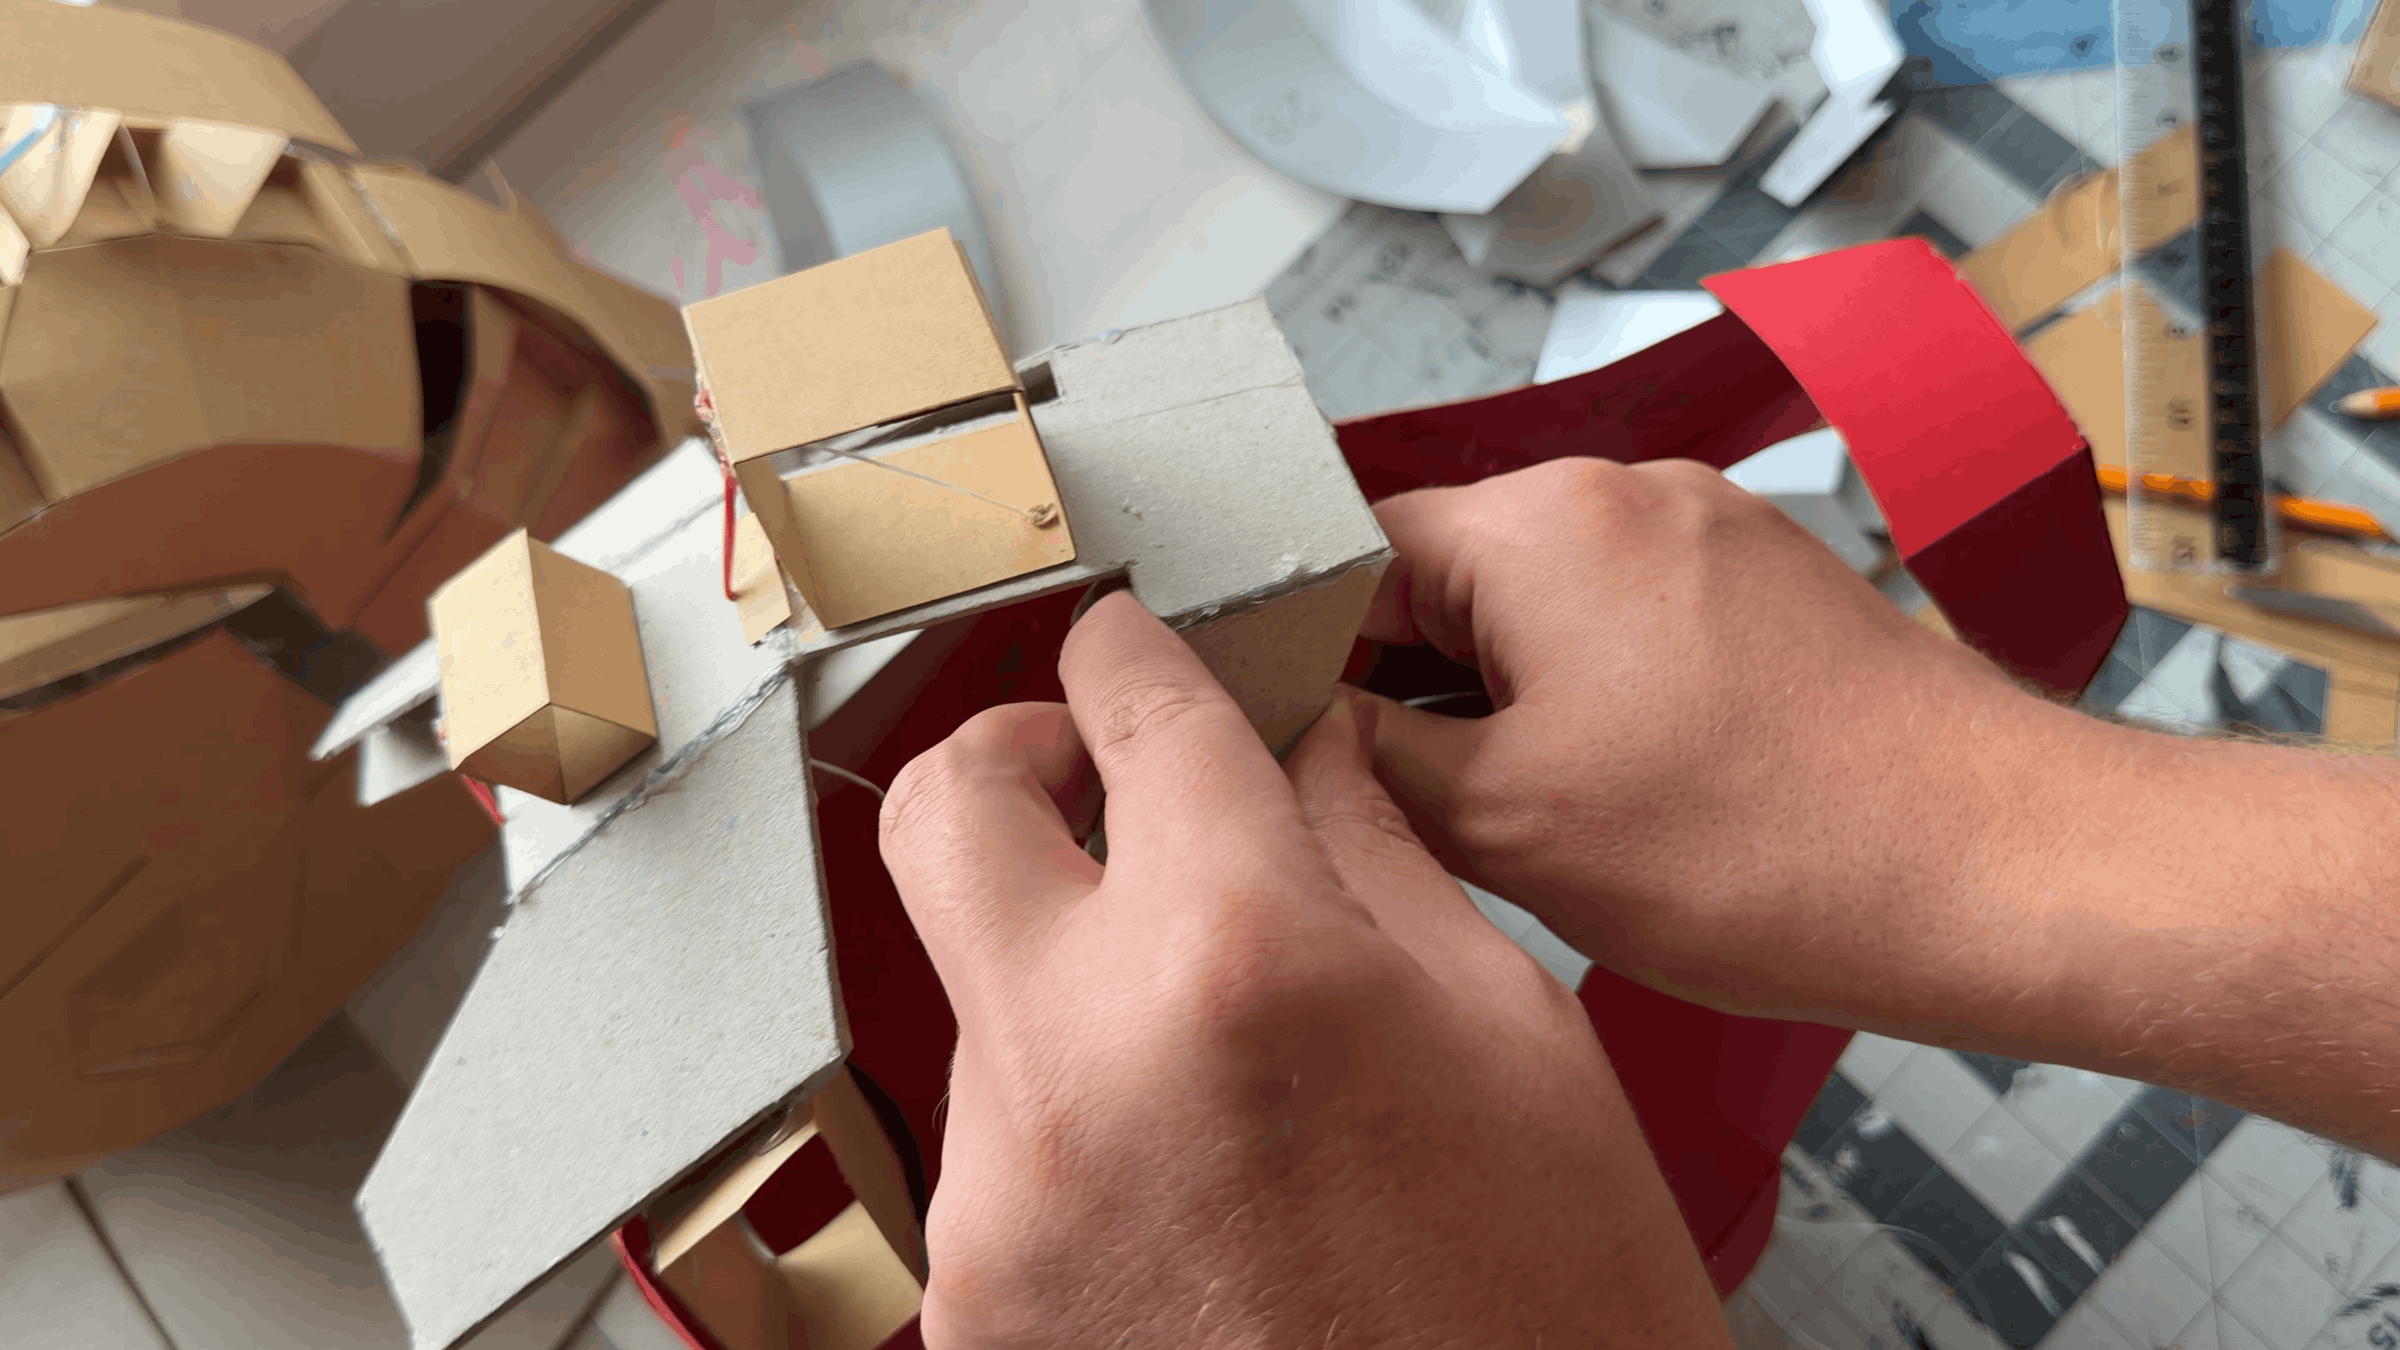
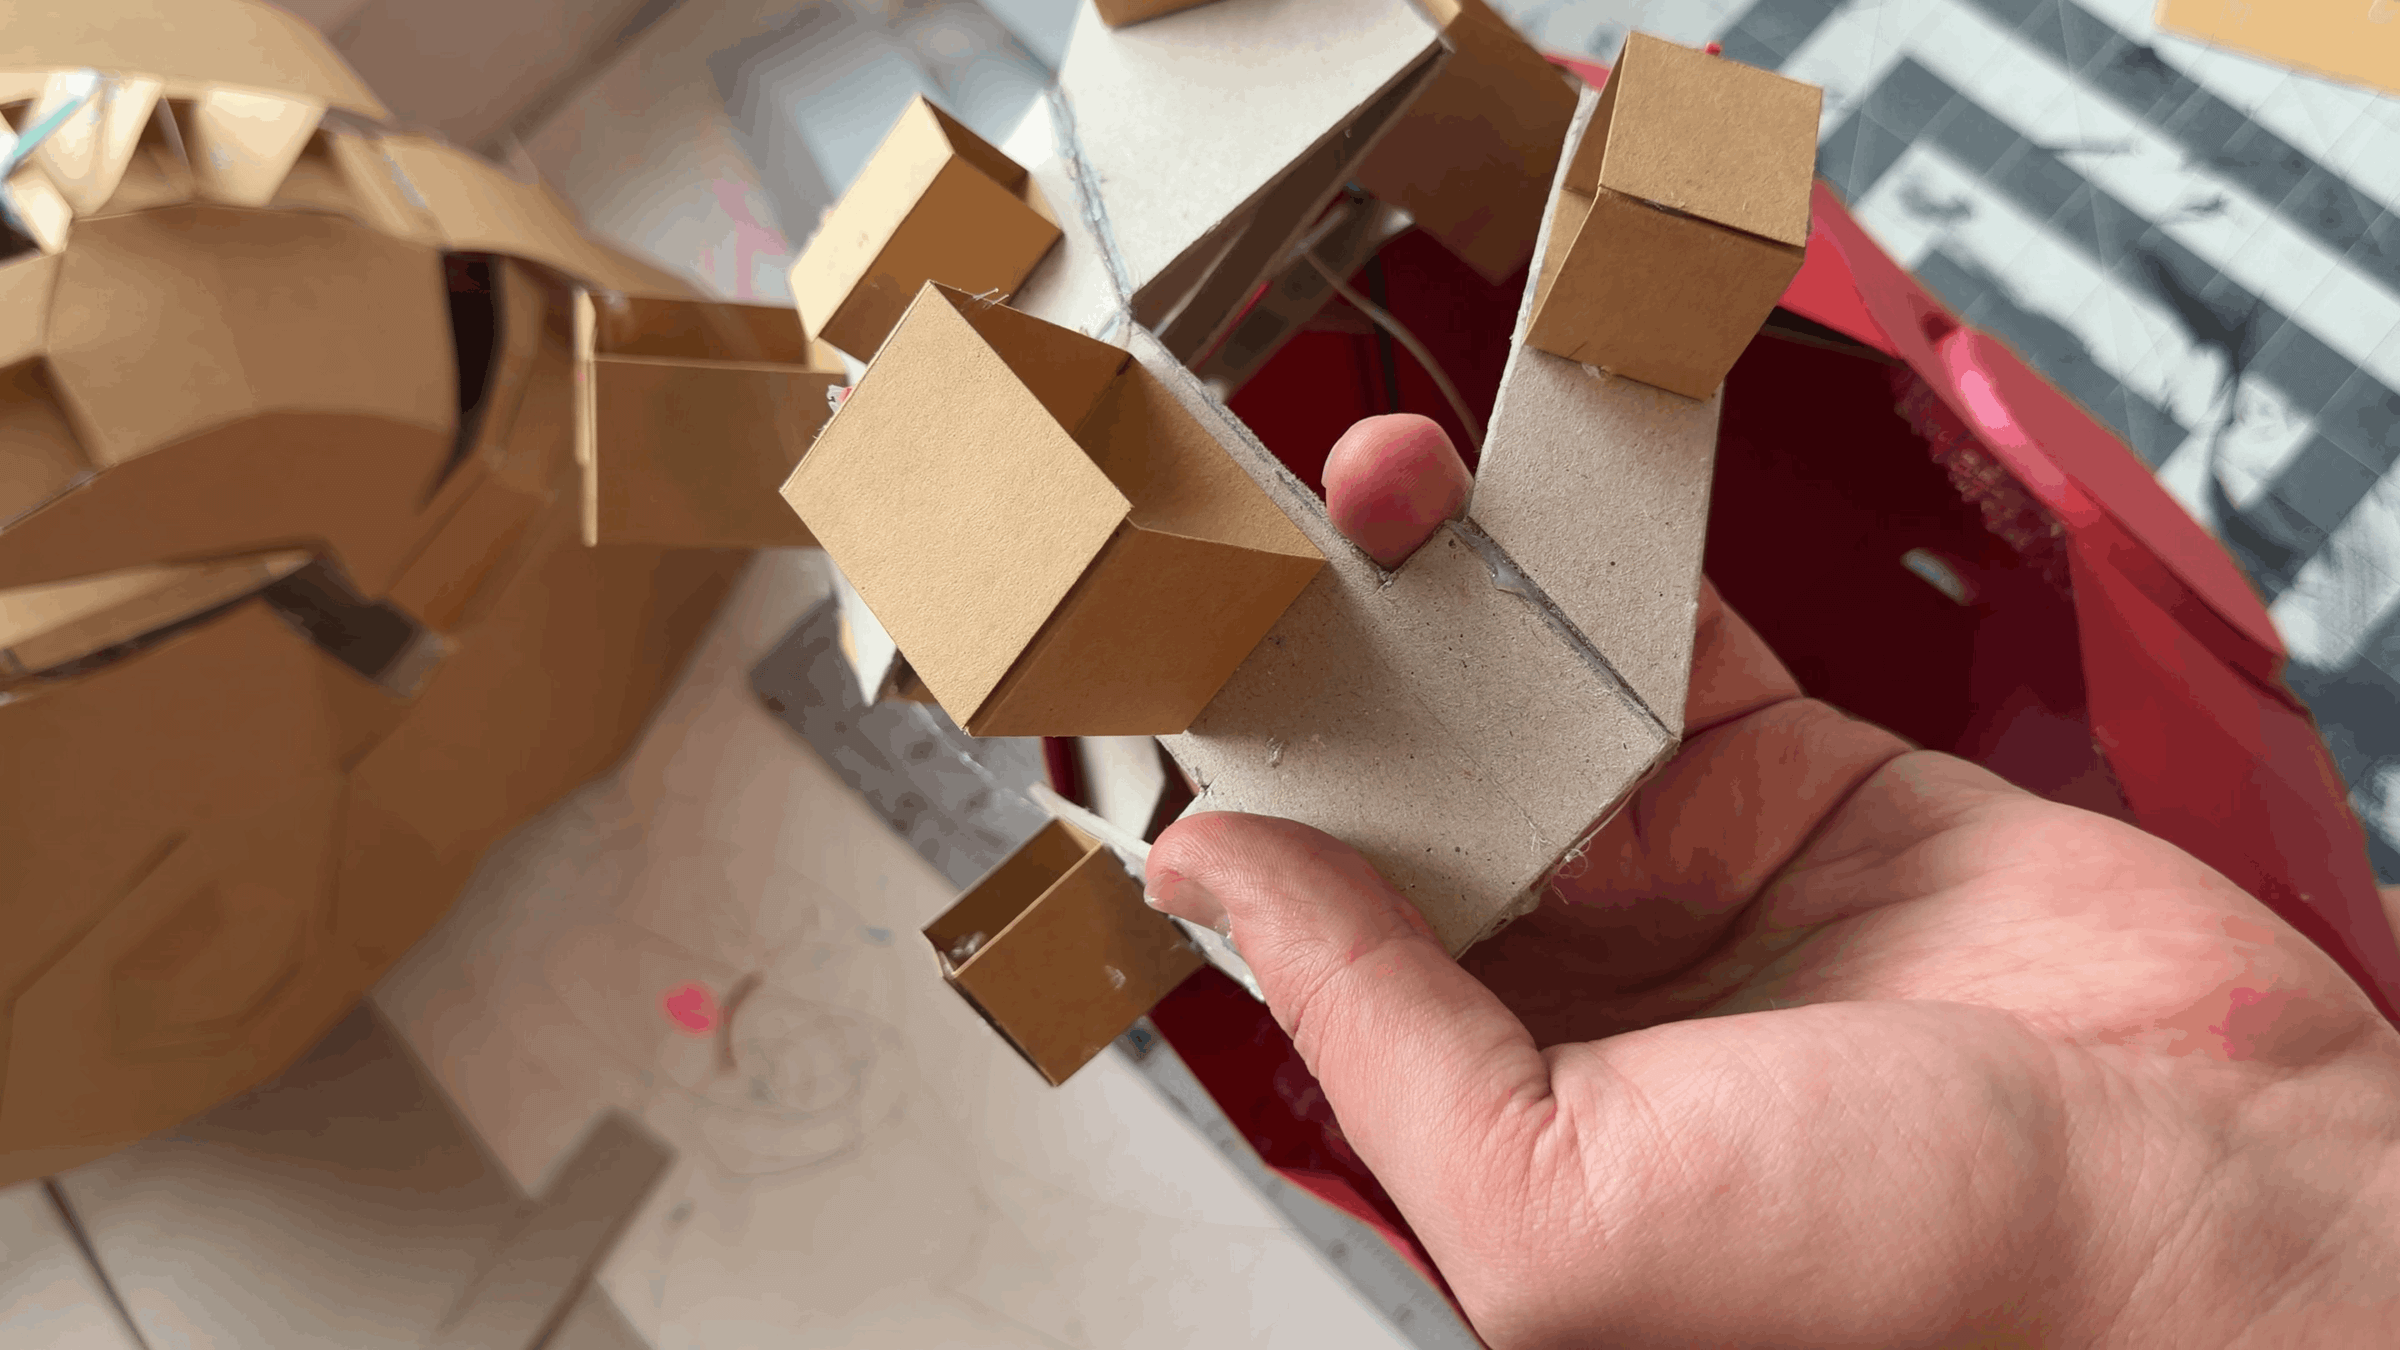
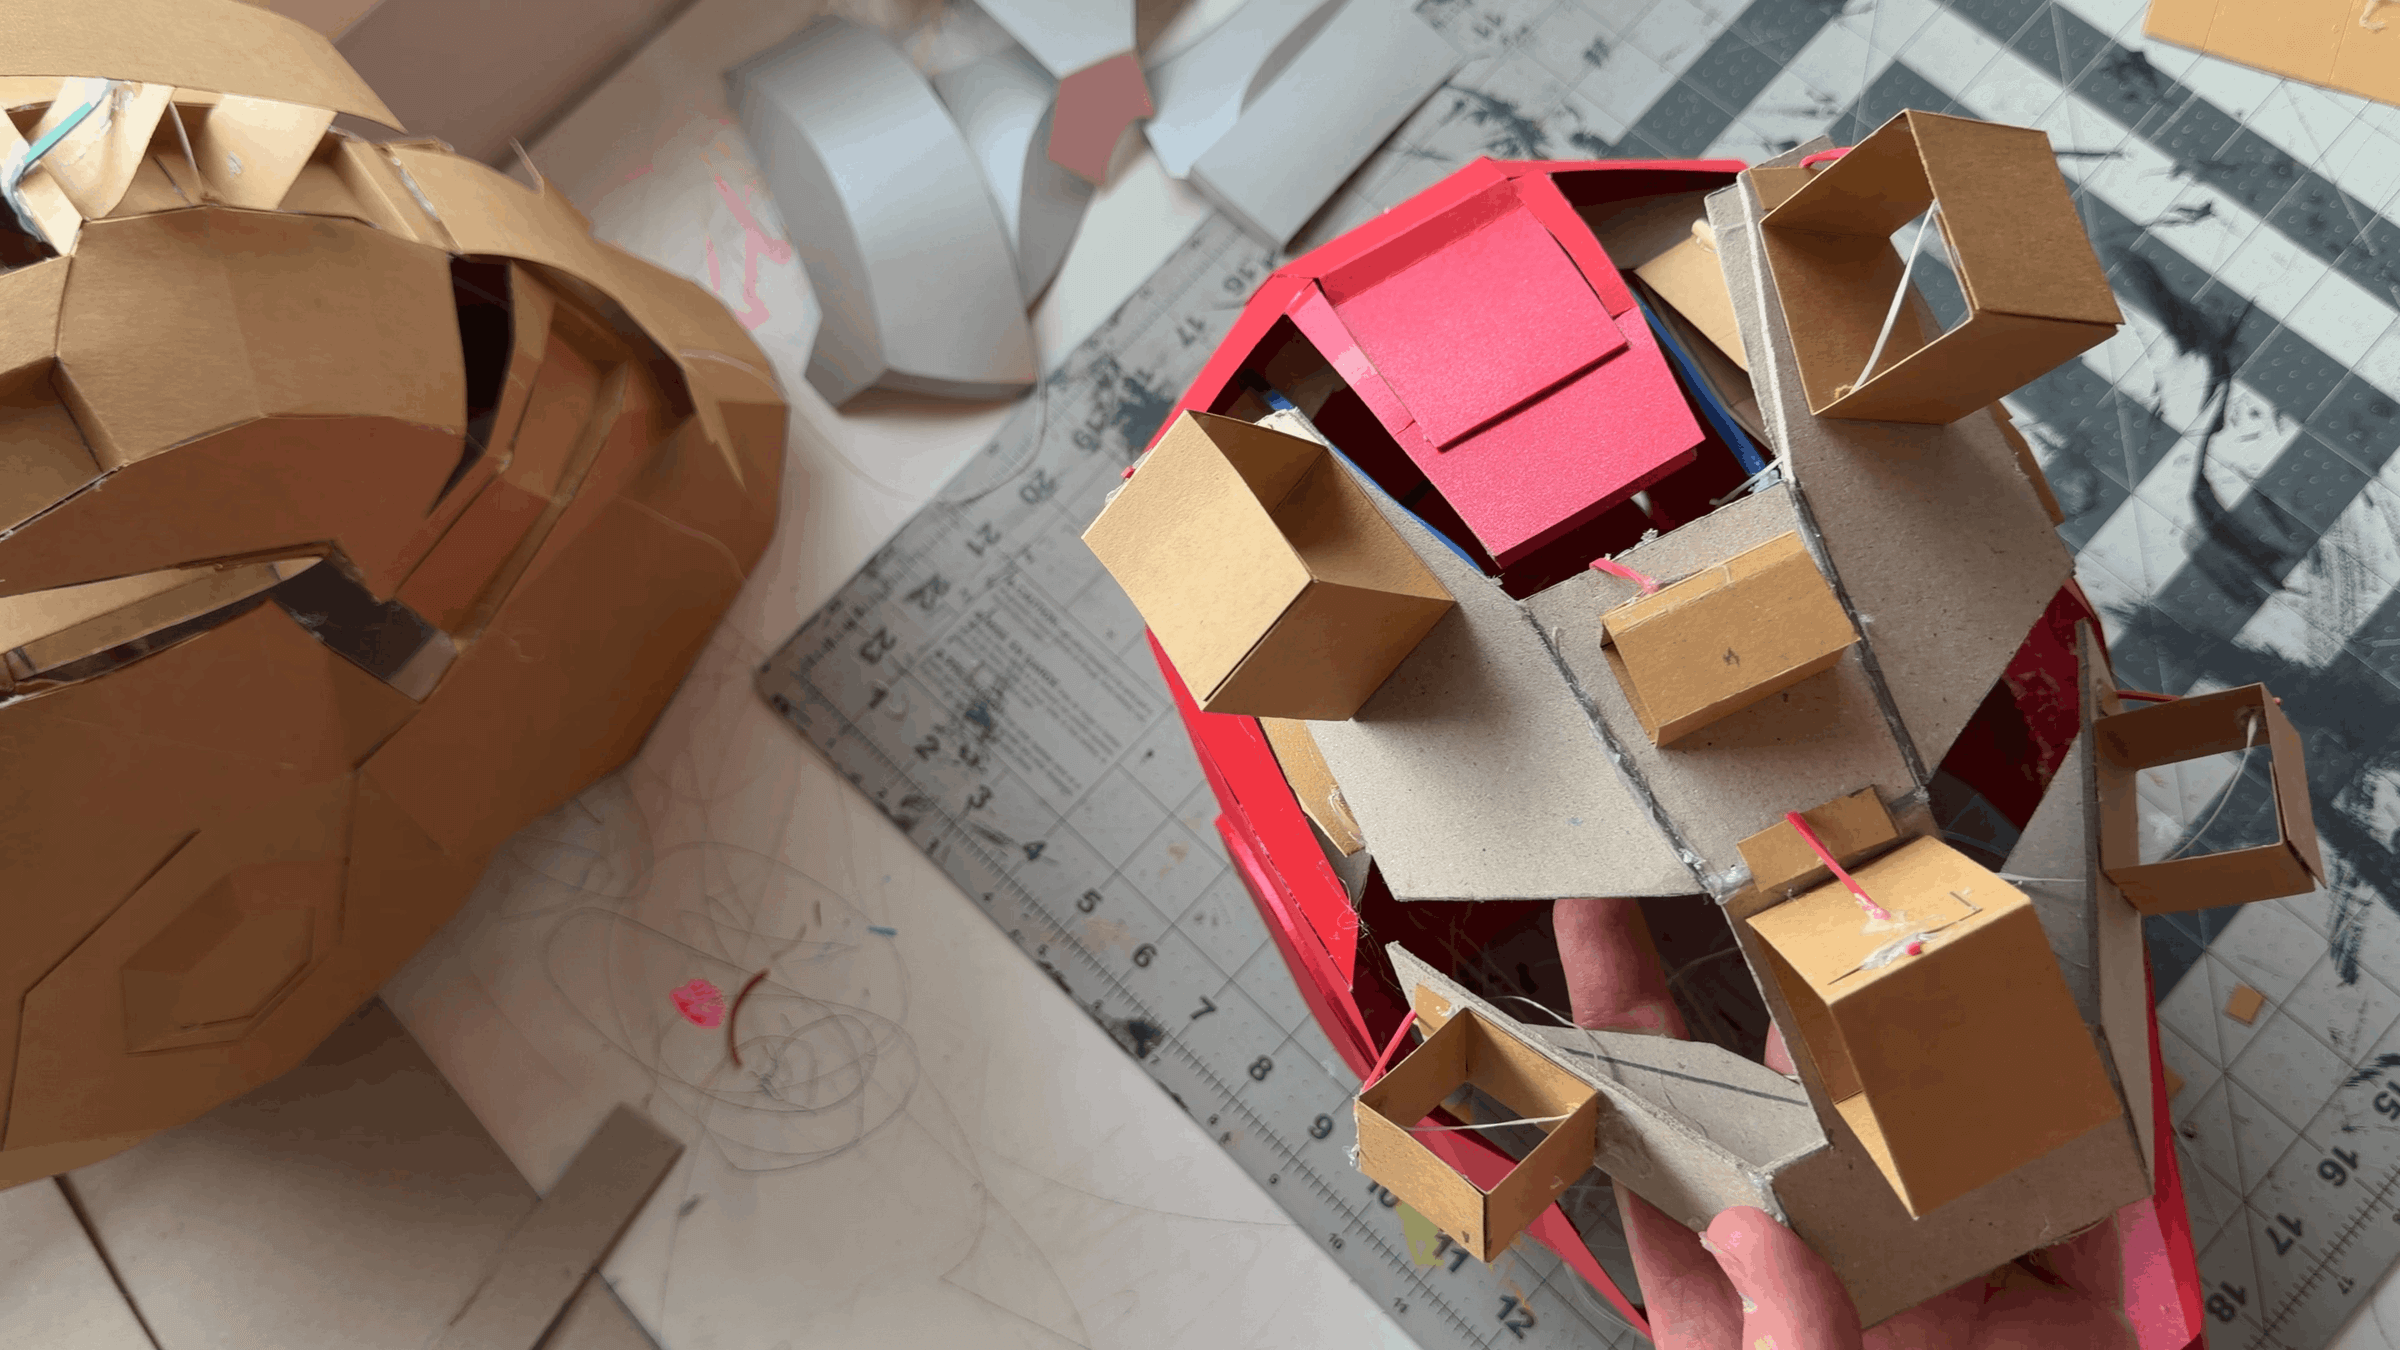
est-fit each hinge to determine its correct position. The hinges are different, so refer to the placement map in the instructions to make sure each one is installed in the correct location.
Glue the base of the hinge in place, then make the required hole. Prepare about 40–50 cm (16–20 in) of strong thread for each hinge. This is intentionally longer than necessary—it is much easier to work with a longer thread during assembly, and the excess can simply be trimmed later. Pass the thread through the hole and secure it with glue.
Then glue the hinge closed so it becomes a complete, solid assembly.
Attach a rubber band to the hinge mechanism. The rubber band provides tension and keeps the panel naturally in the open position when the mechanism is released.
Repeat this process for all six moving-panel hinges.
Connecting and Testing the Panel Mechanism
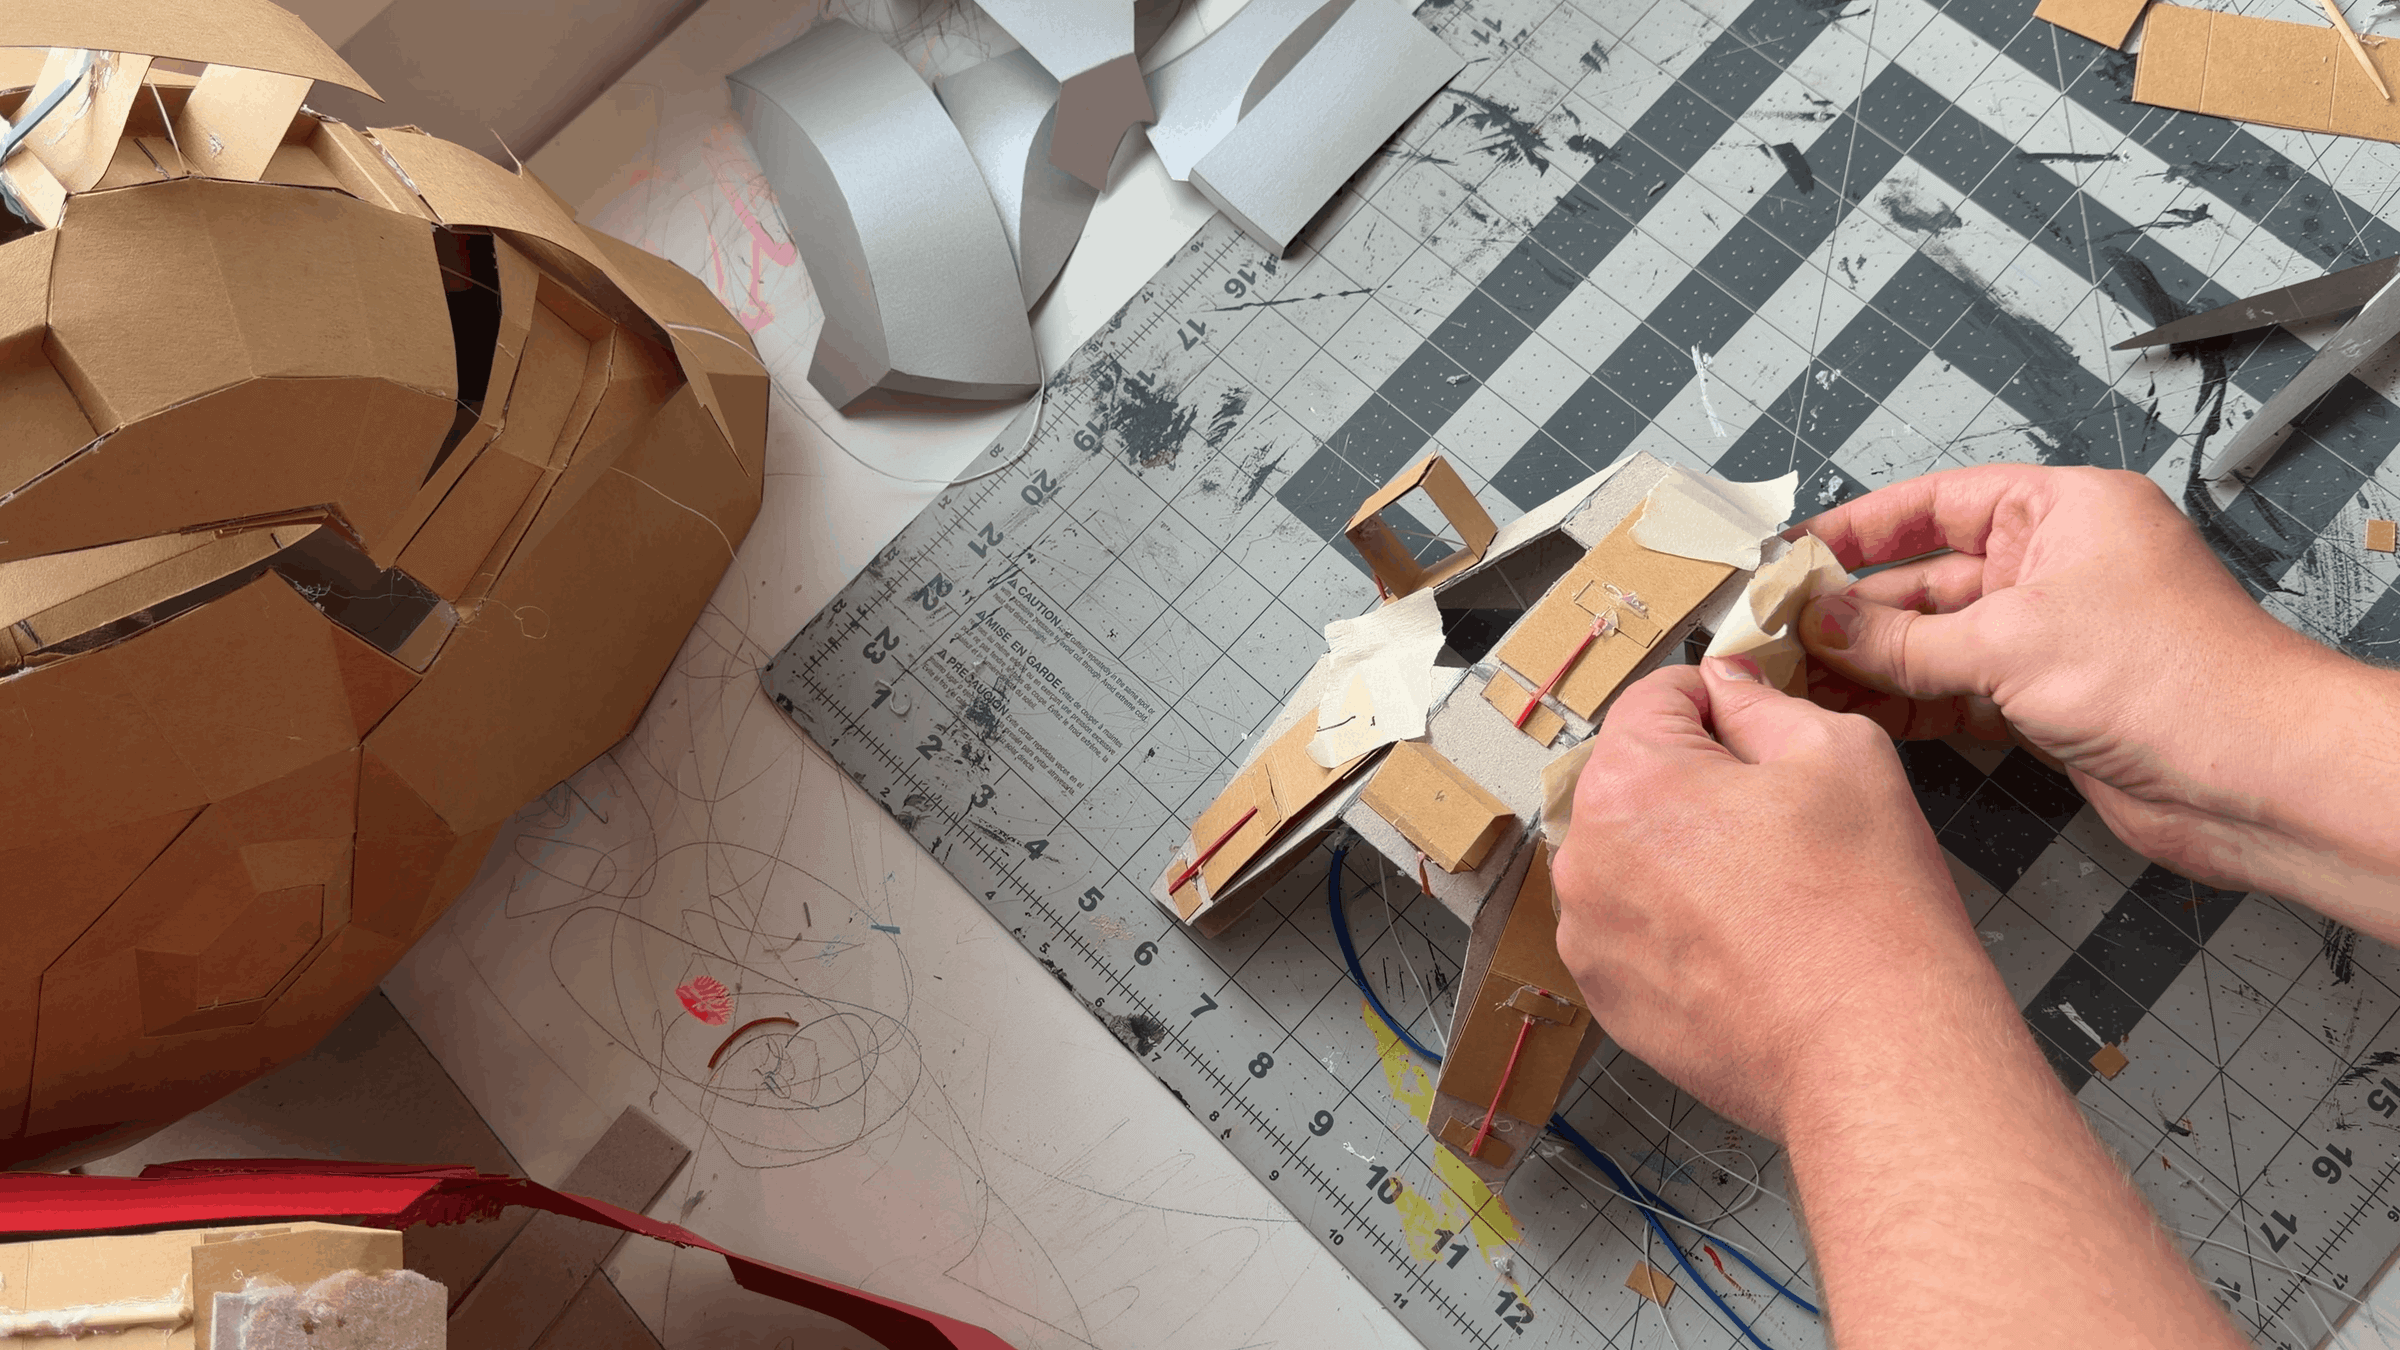
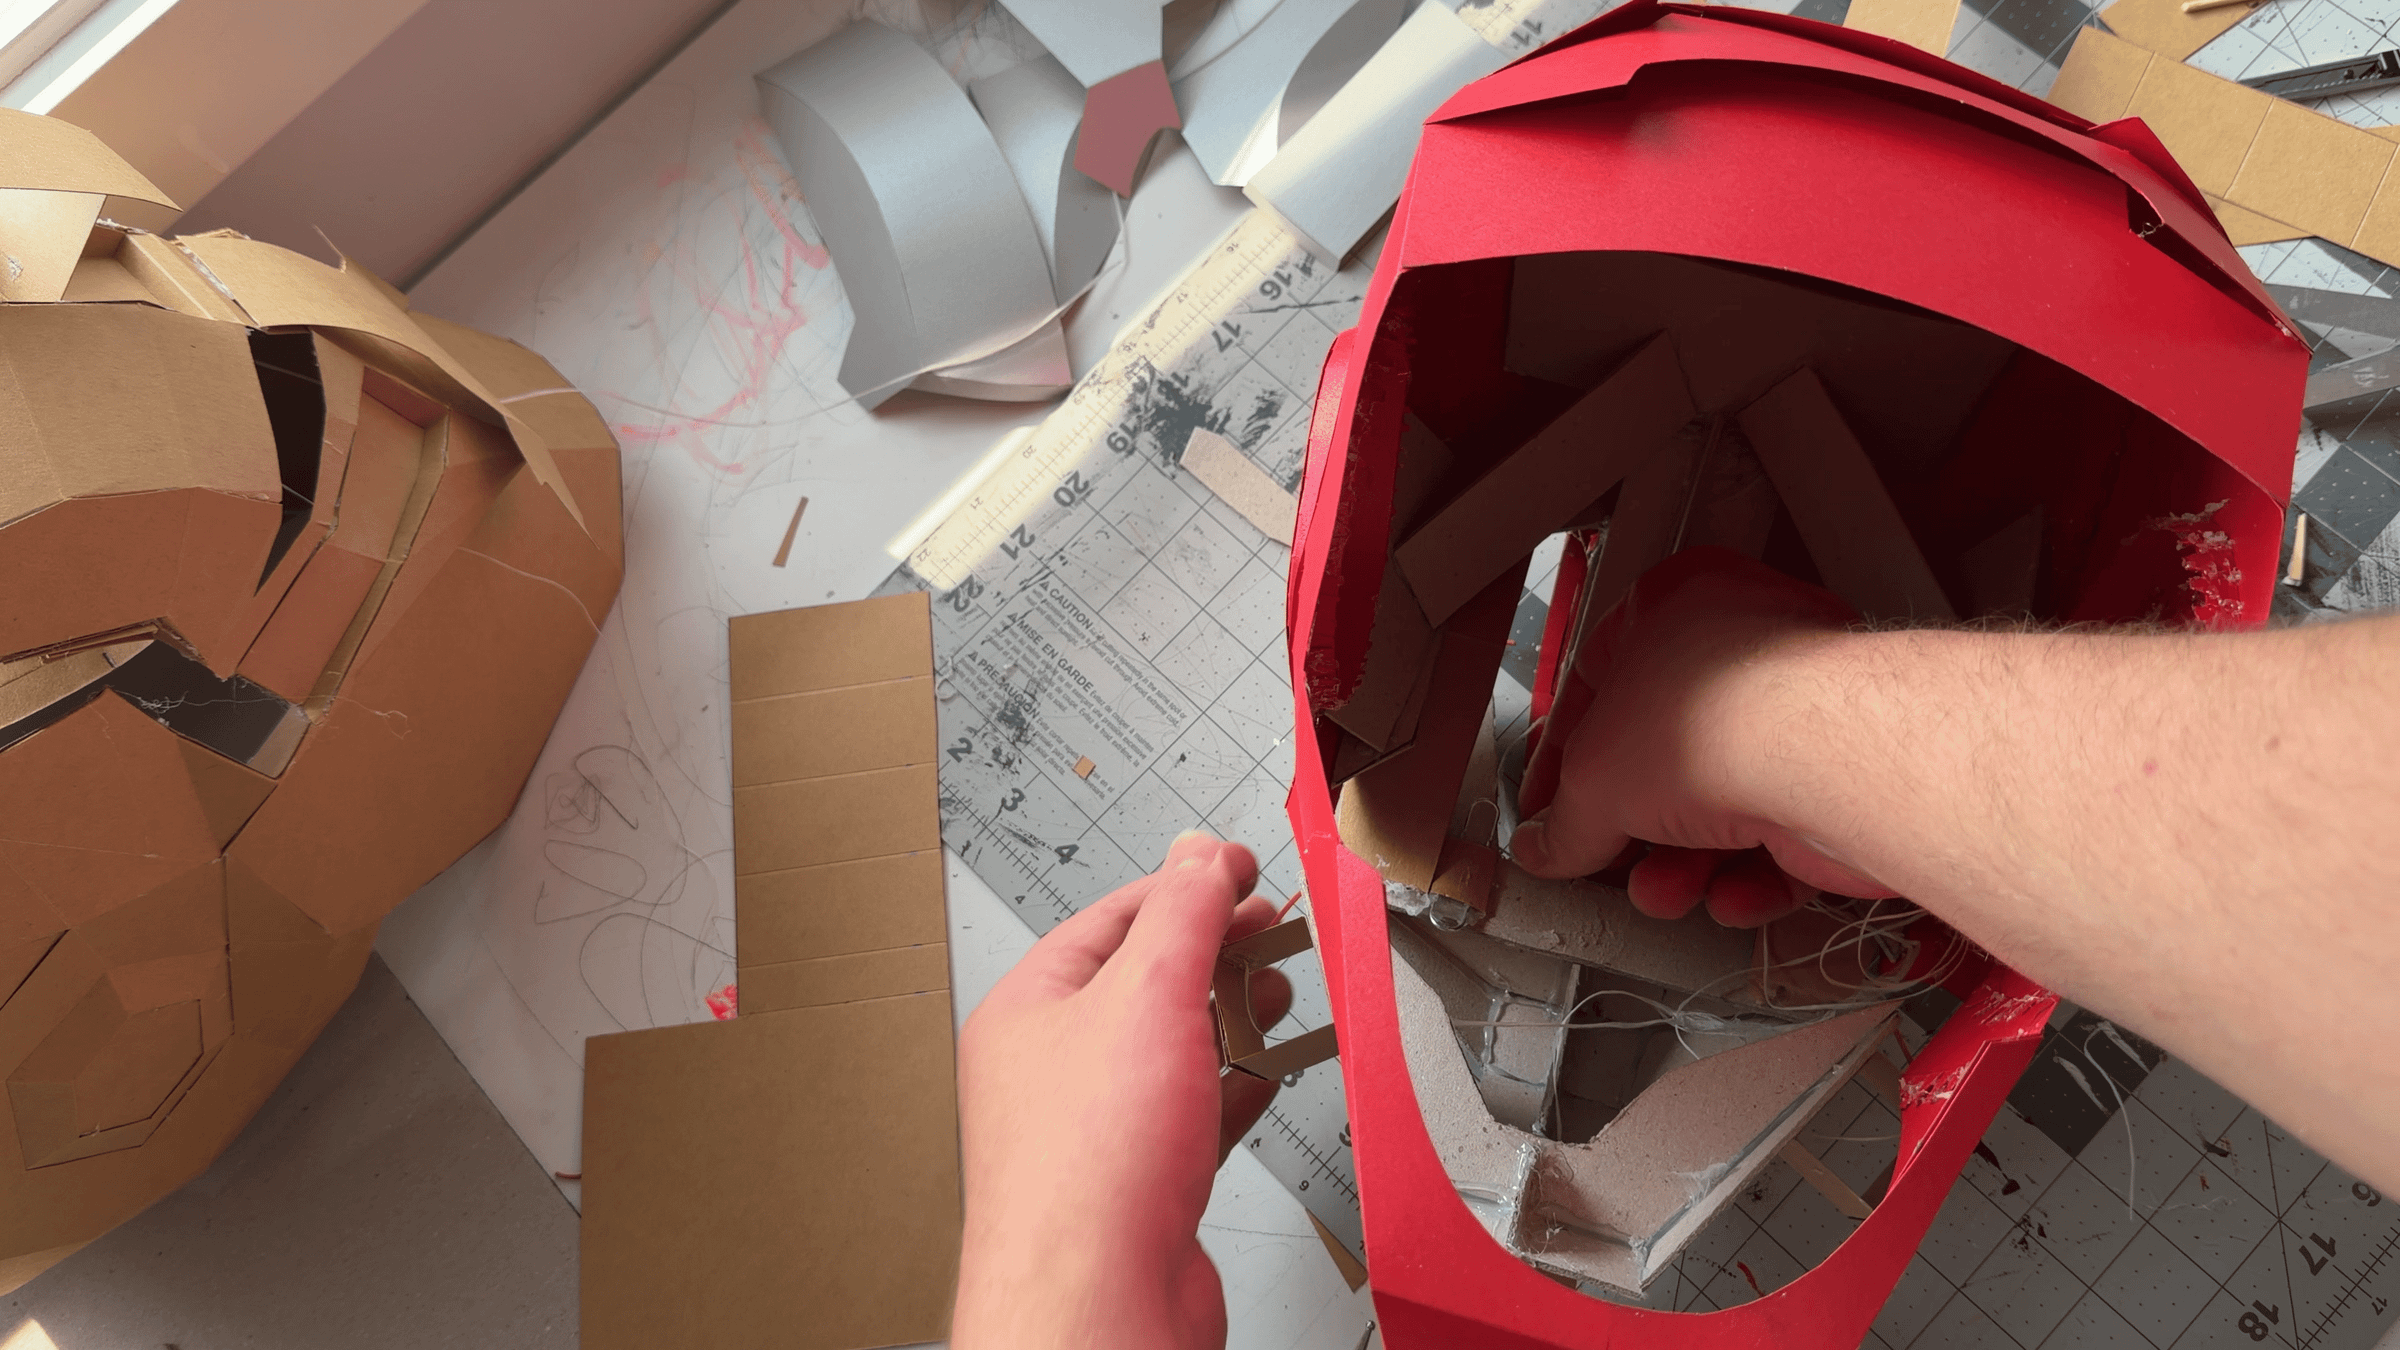
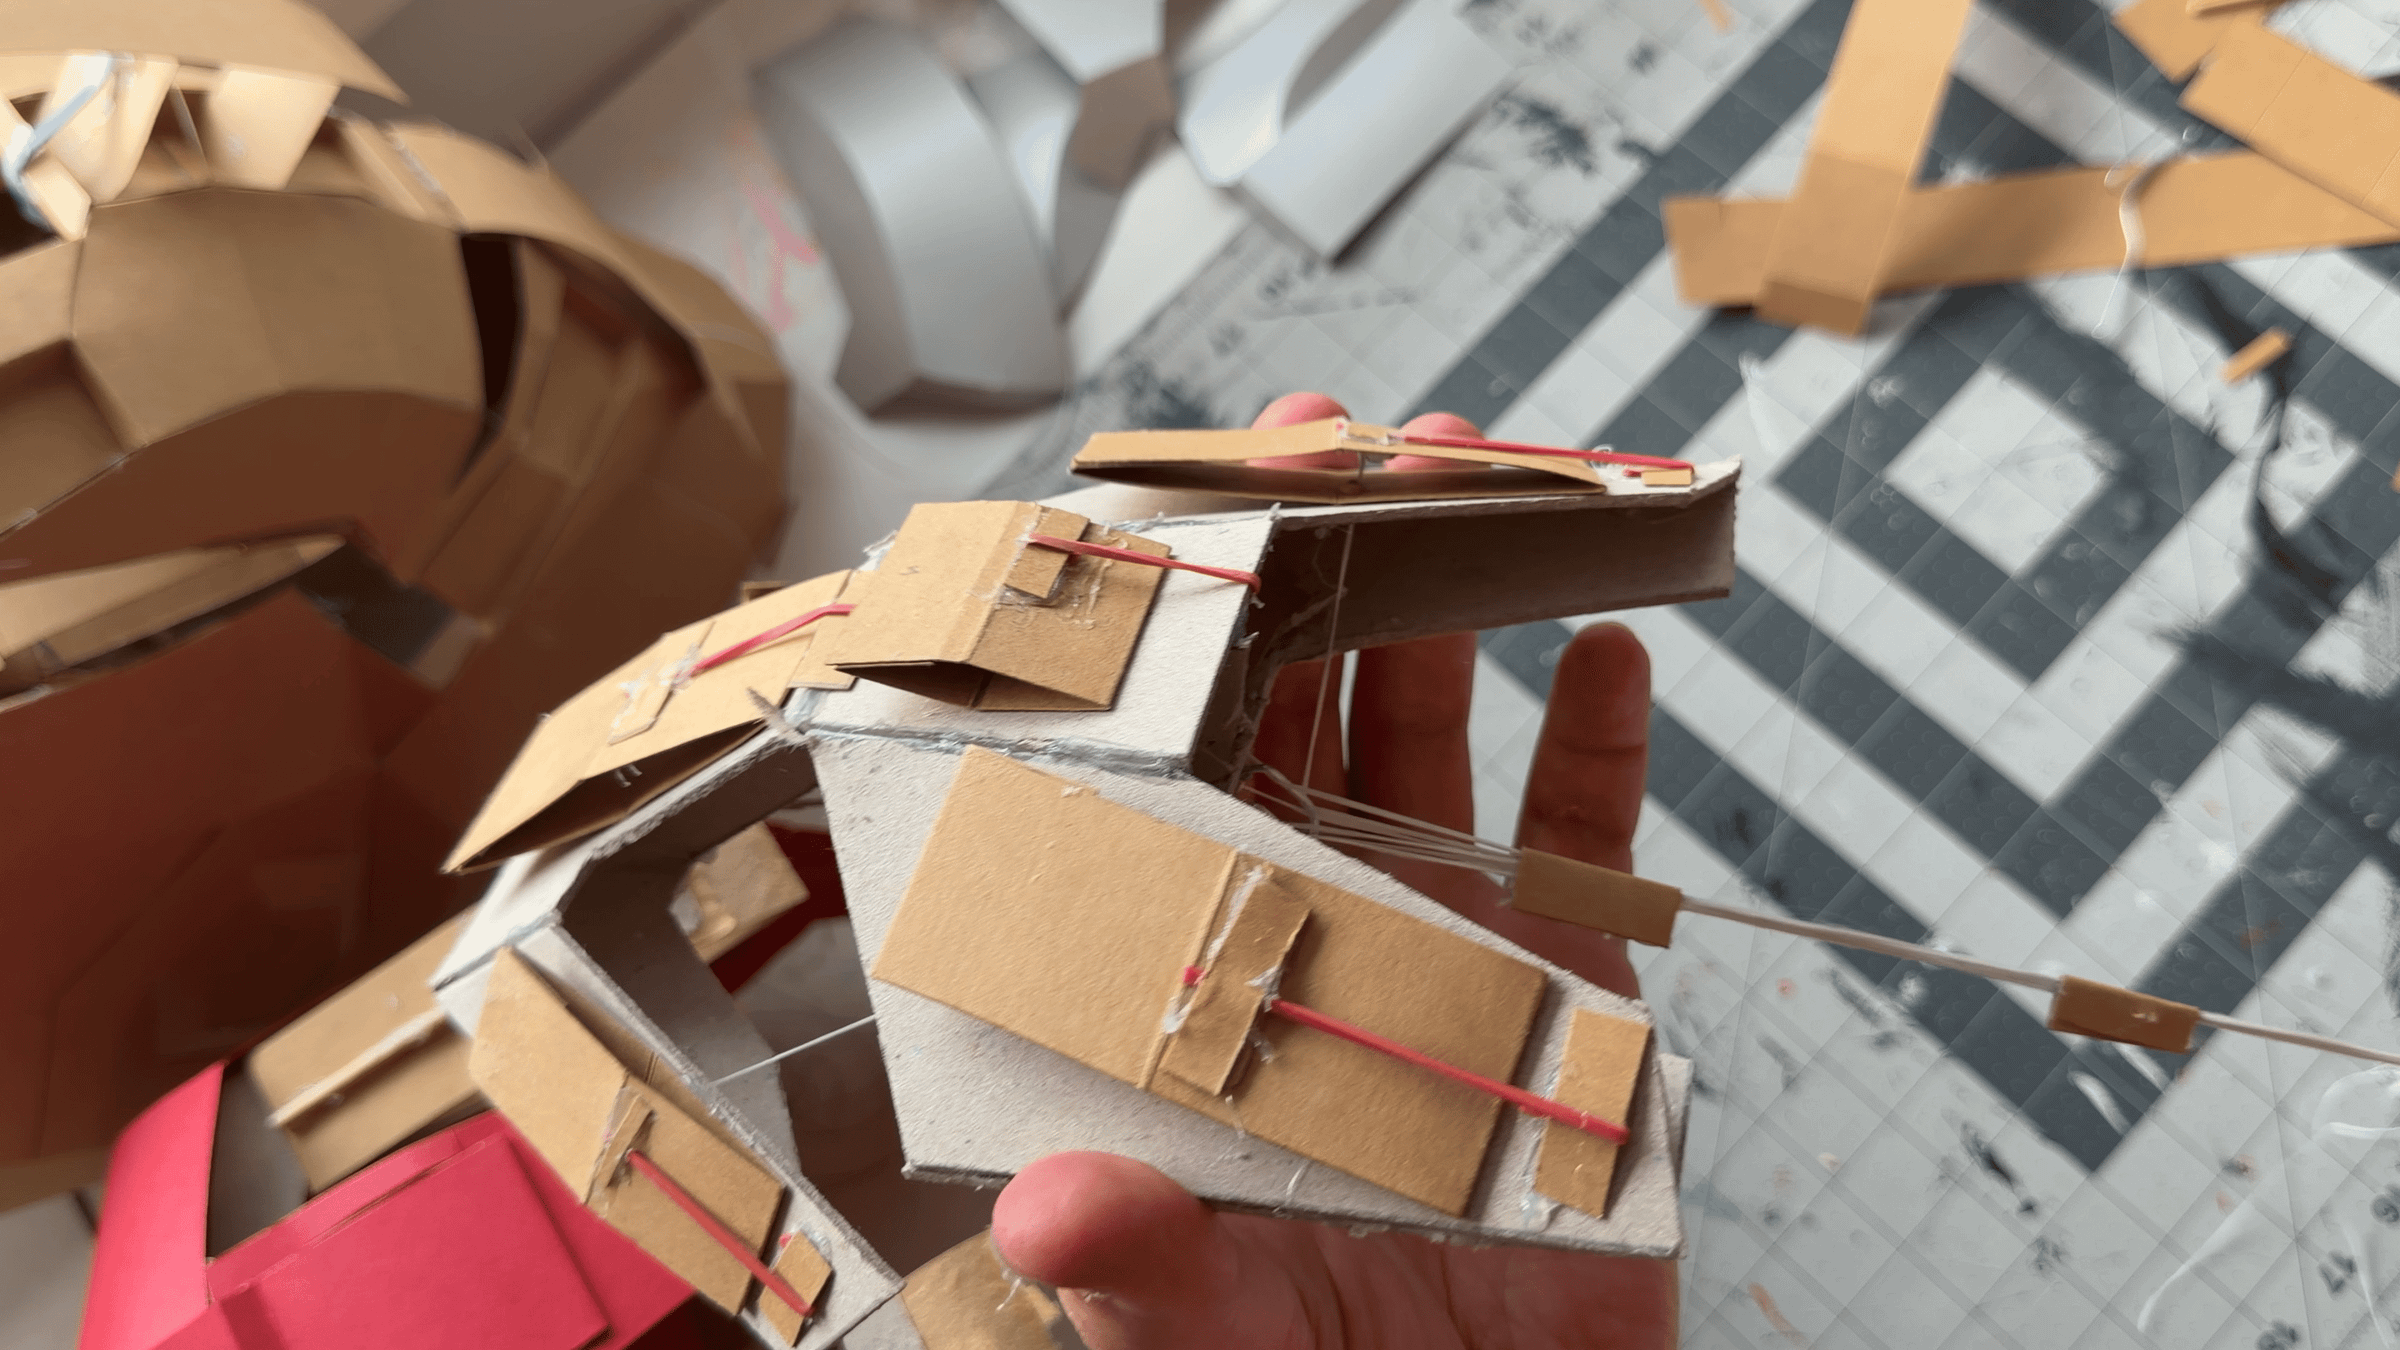
First, check that all six panel mechanisms work smoothly. Pull the threads to close the panels, then release them and make sure they return fully to the open position.
Once everything works correctly, hold the panels in the closed position with masking tape.
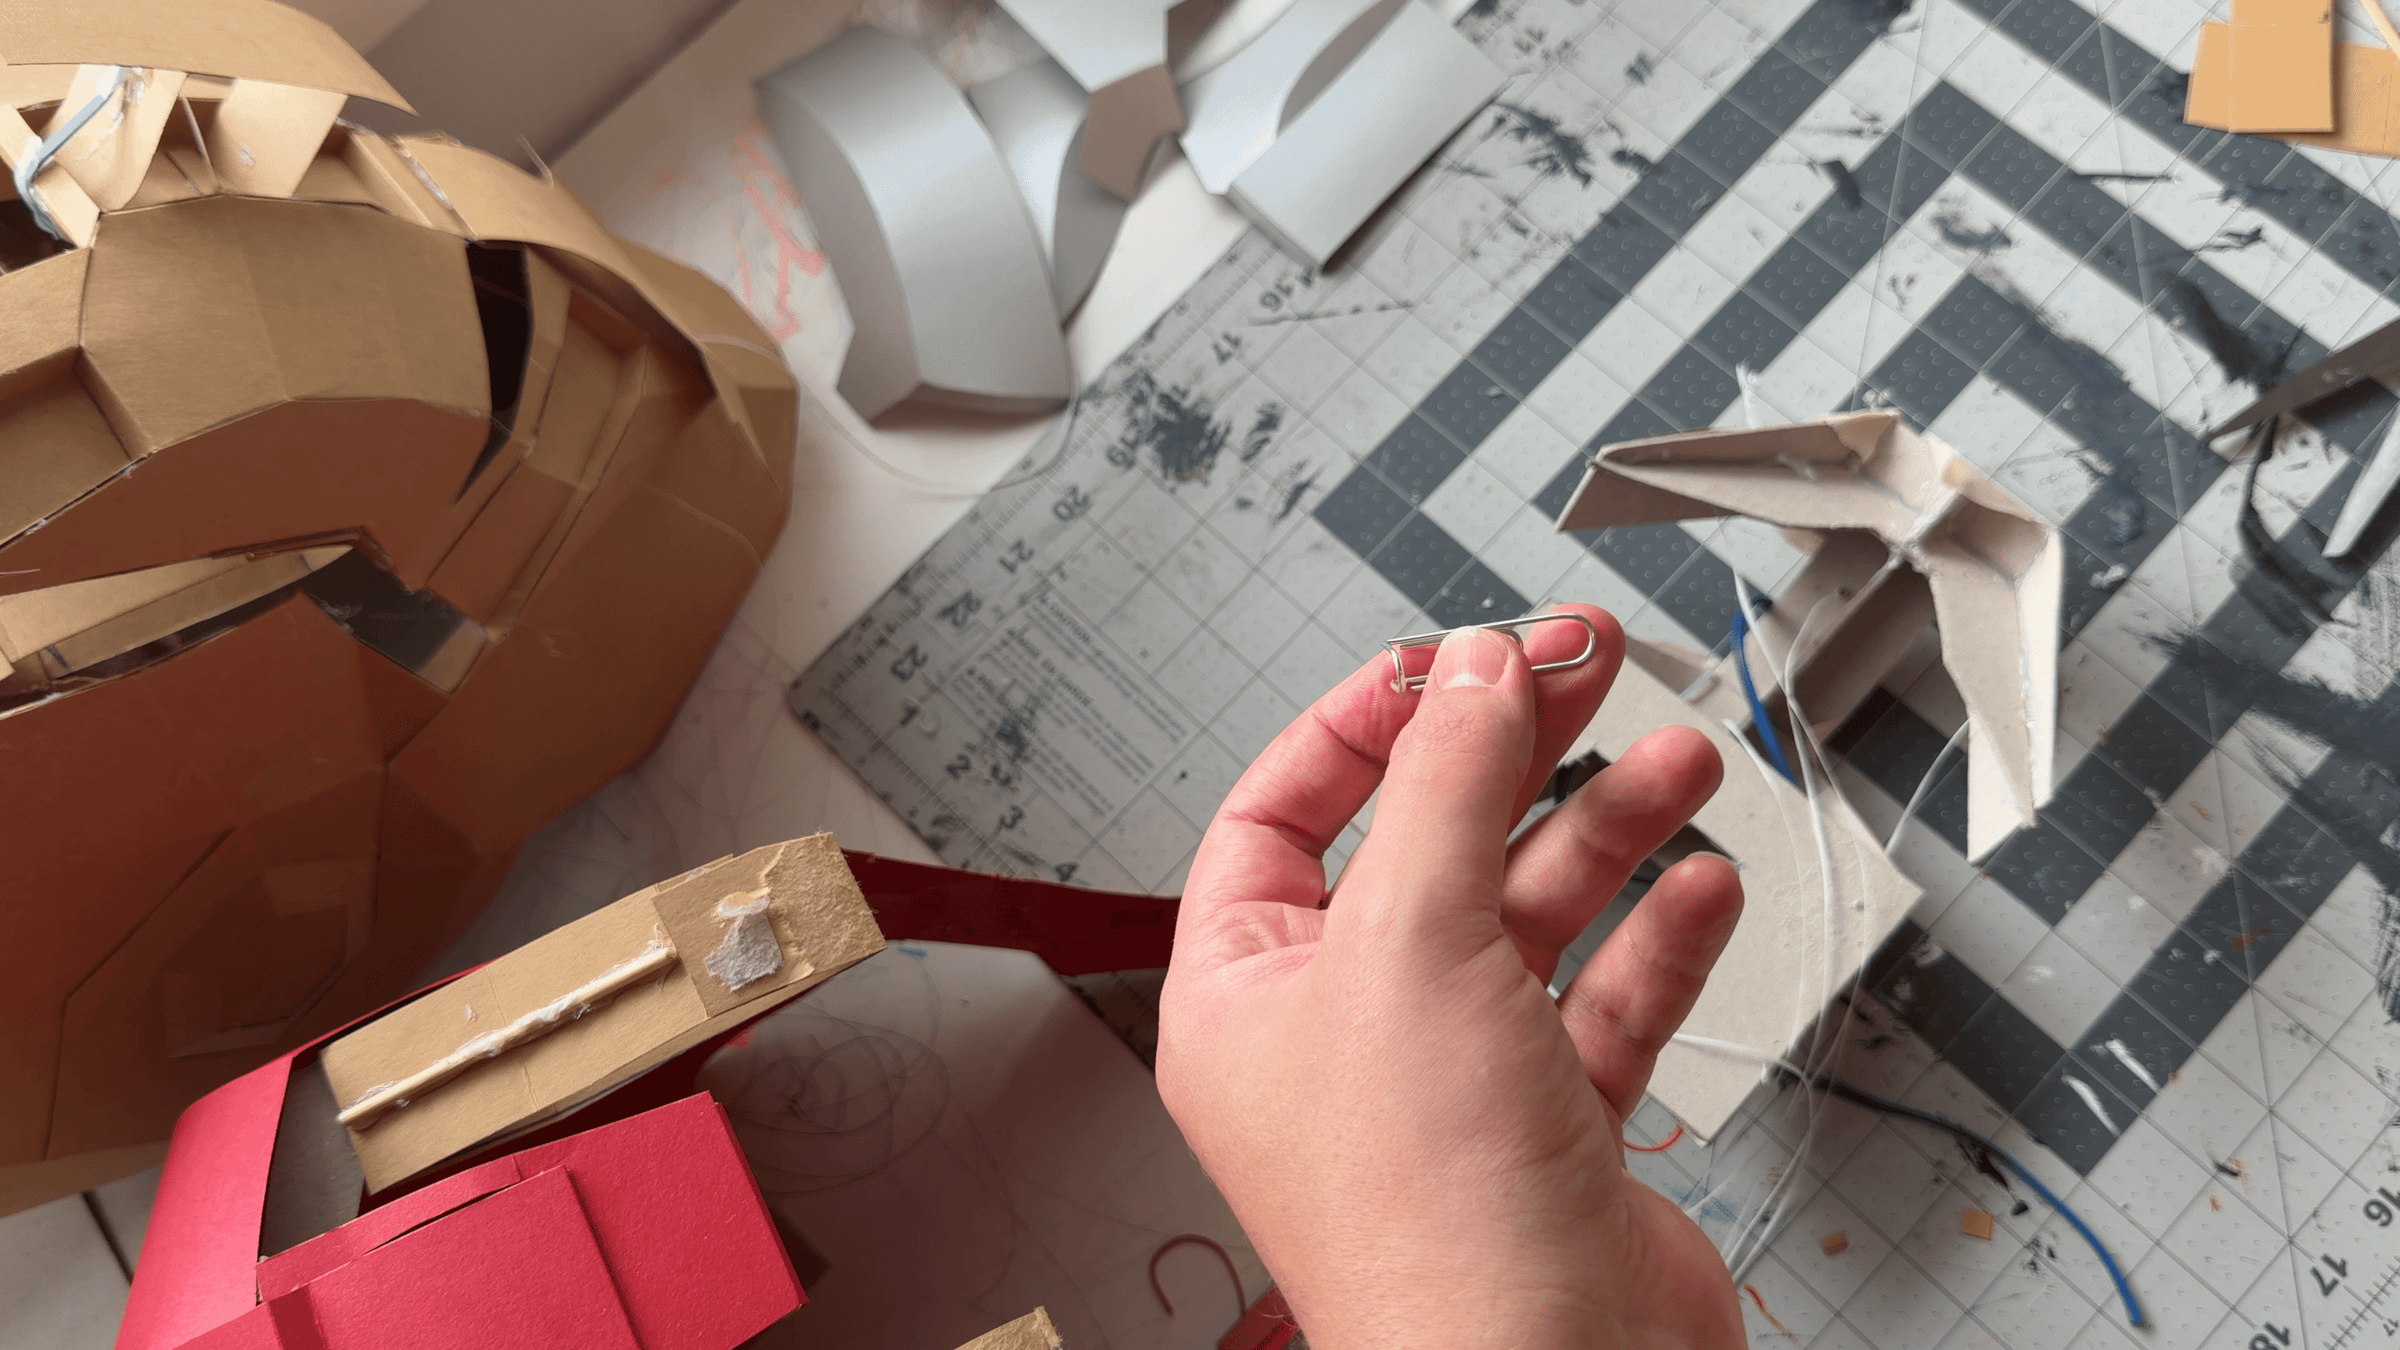
Next, glue a strong, thick metal paper clip inside the helmet to act as a guide for all the threads. The paper clip must be positioned on the side of the helmet — either the left or right side will work.
Choose its position carefully so that both the paper clip and the tensioned threads running from it into the helmet do not catch or rub against the central upper part of the helmet when the mechanism opens and closes. It is best to test the full movement before gluing the paper clip permanently.
Pass all the threads through the paper clip and tension them evenly and simultaneously. This is very important: properly synchronized thread tension ensures that all the panels close accurately and move together. Take your time to adjust the tension now, because correcting individual threads later will be much more difficult.
Once all six threads are correctly tensioned, secure them together using a small piece of cardboard and hot glue.
Fix the threads together at least 6–8 cm (2.5–3 in) away from the paper clip. This distance is important so that the glued connection never reaches or jams against the guide when the mechanism is moving.
Connecting the Face Frame and Creating the Bistable Mechanism
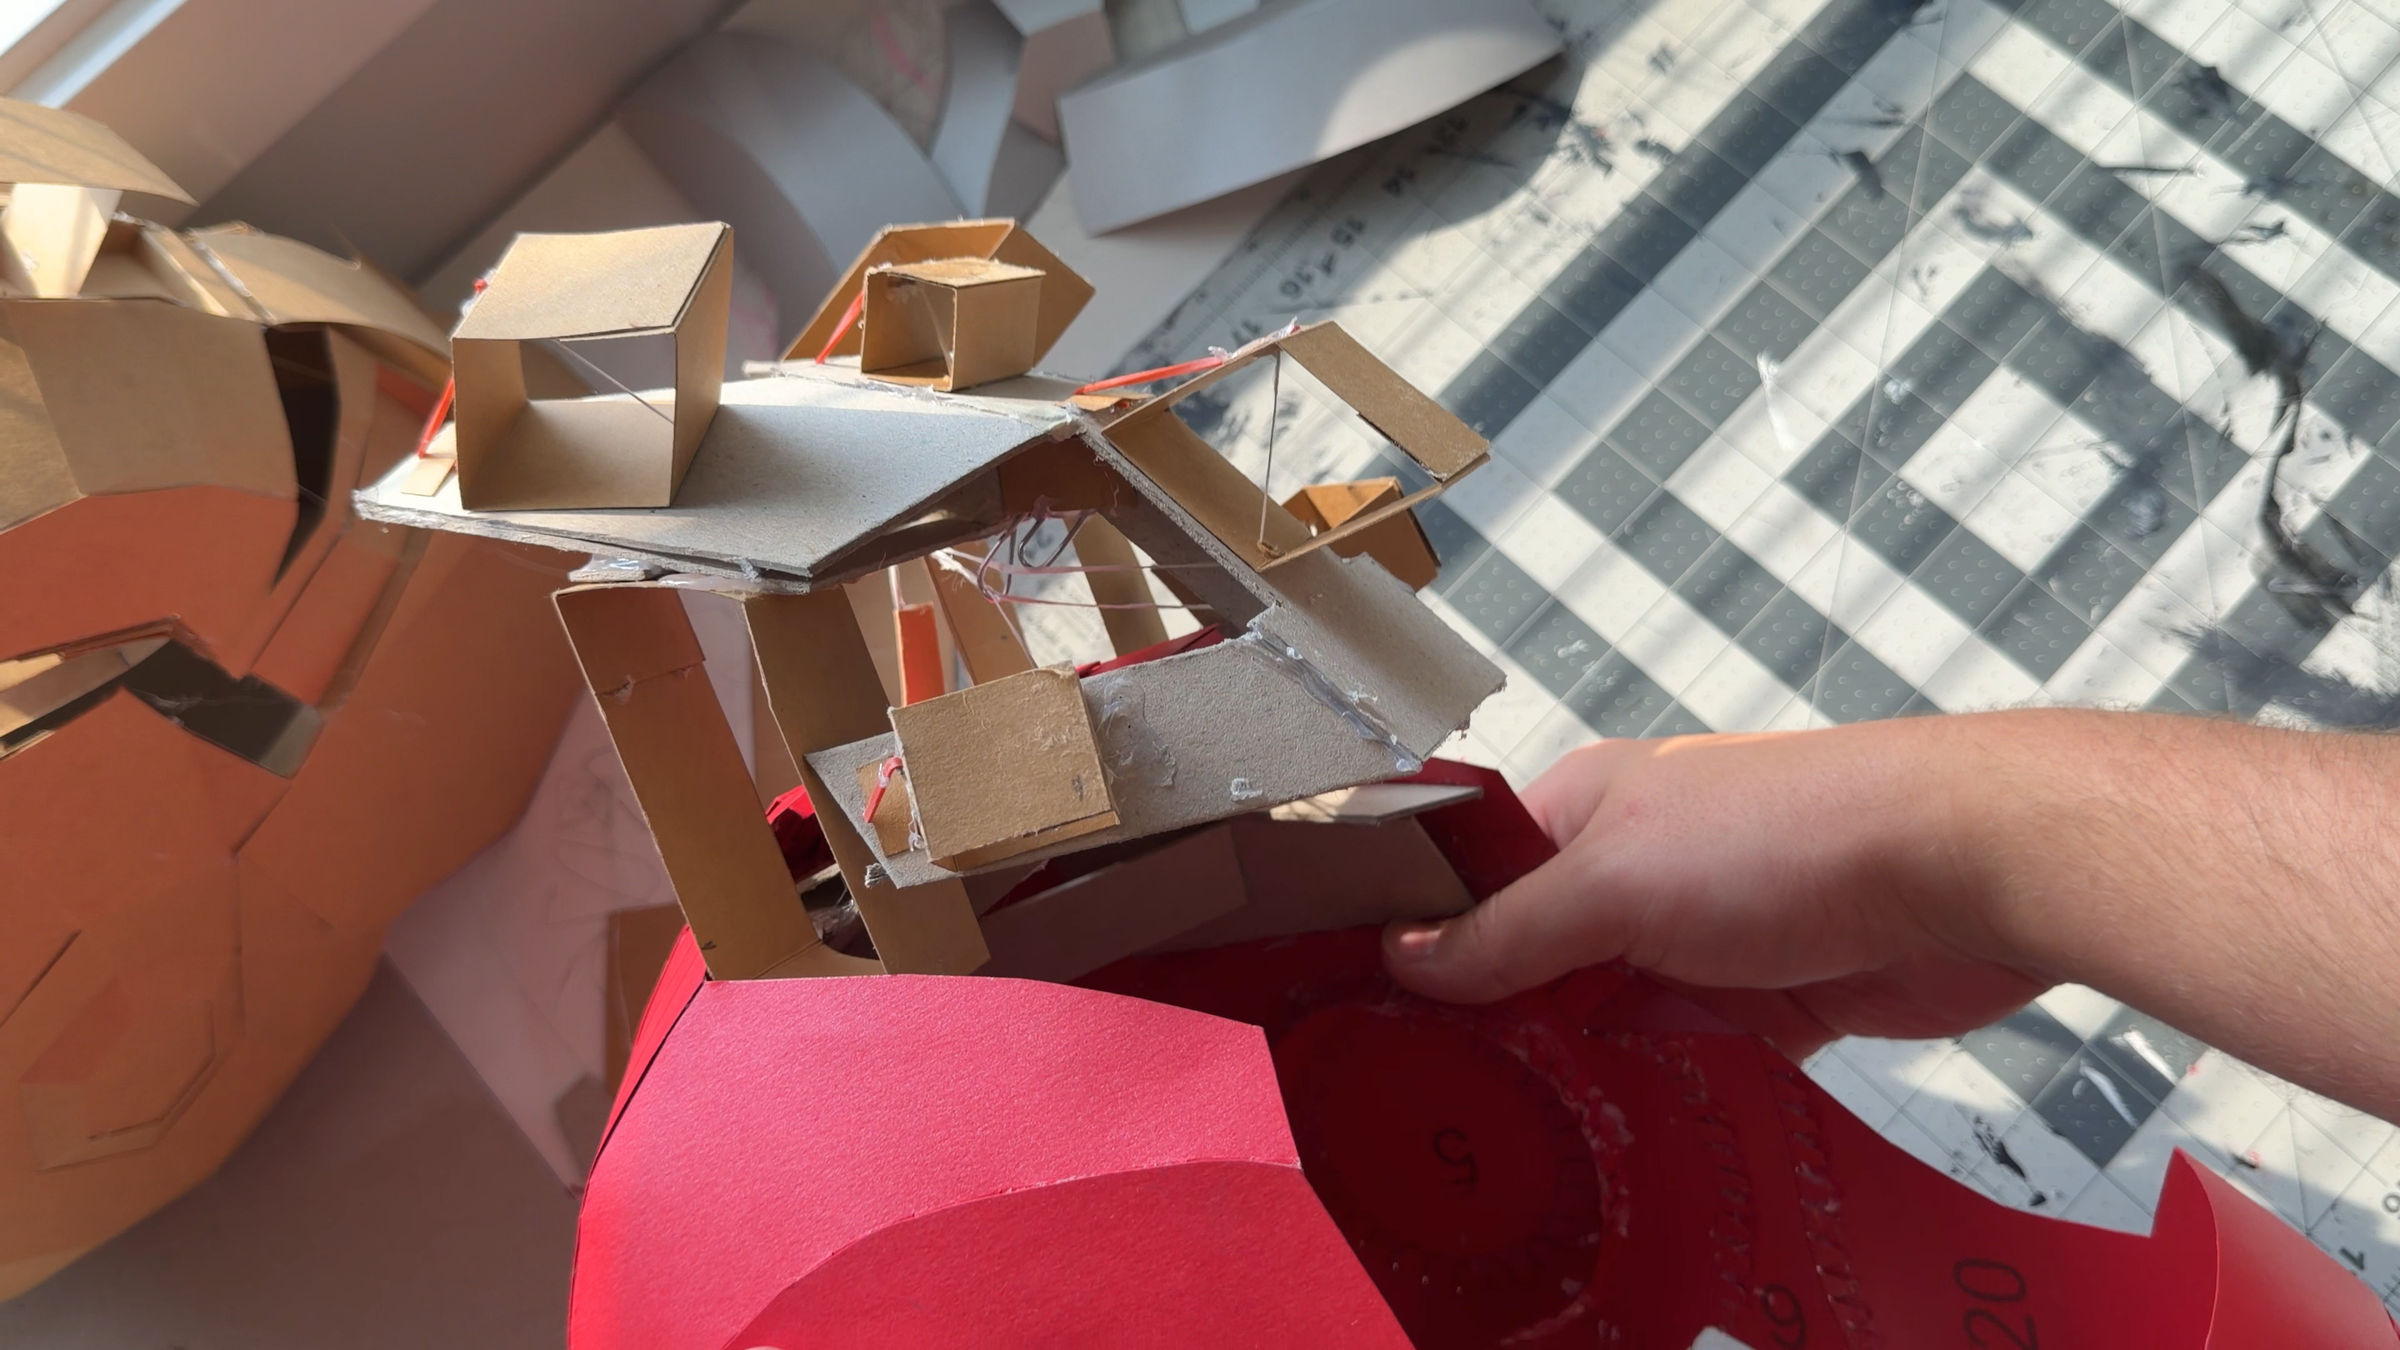
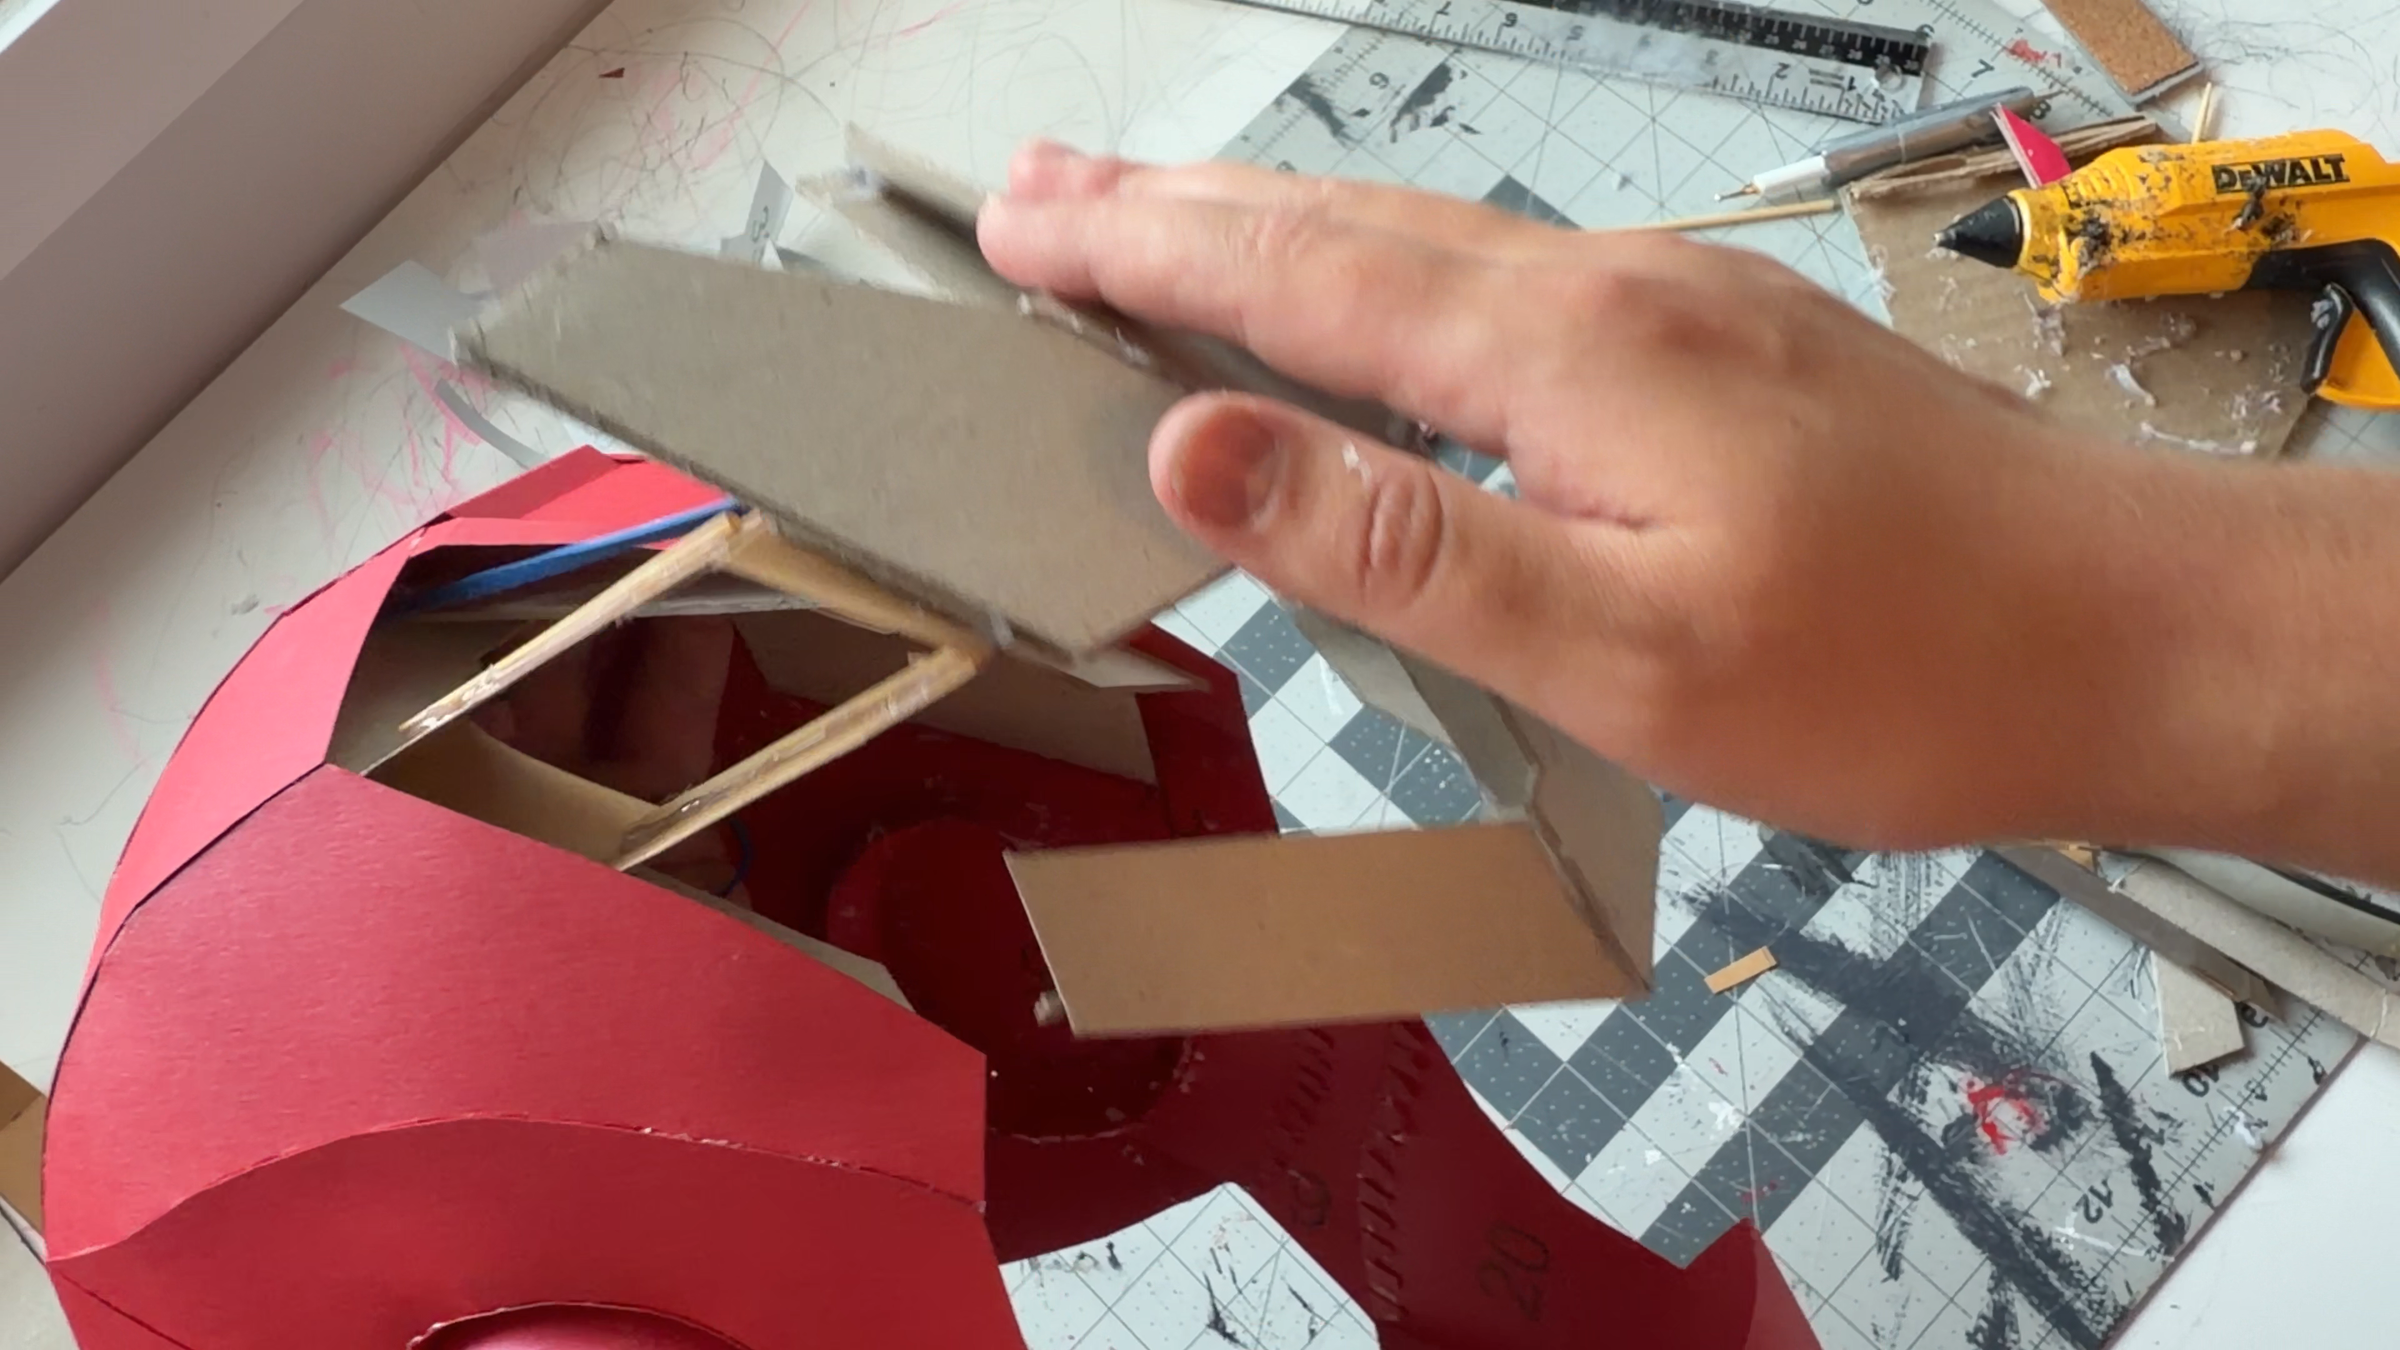
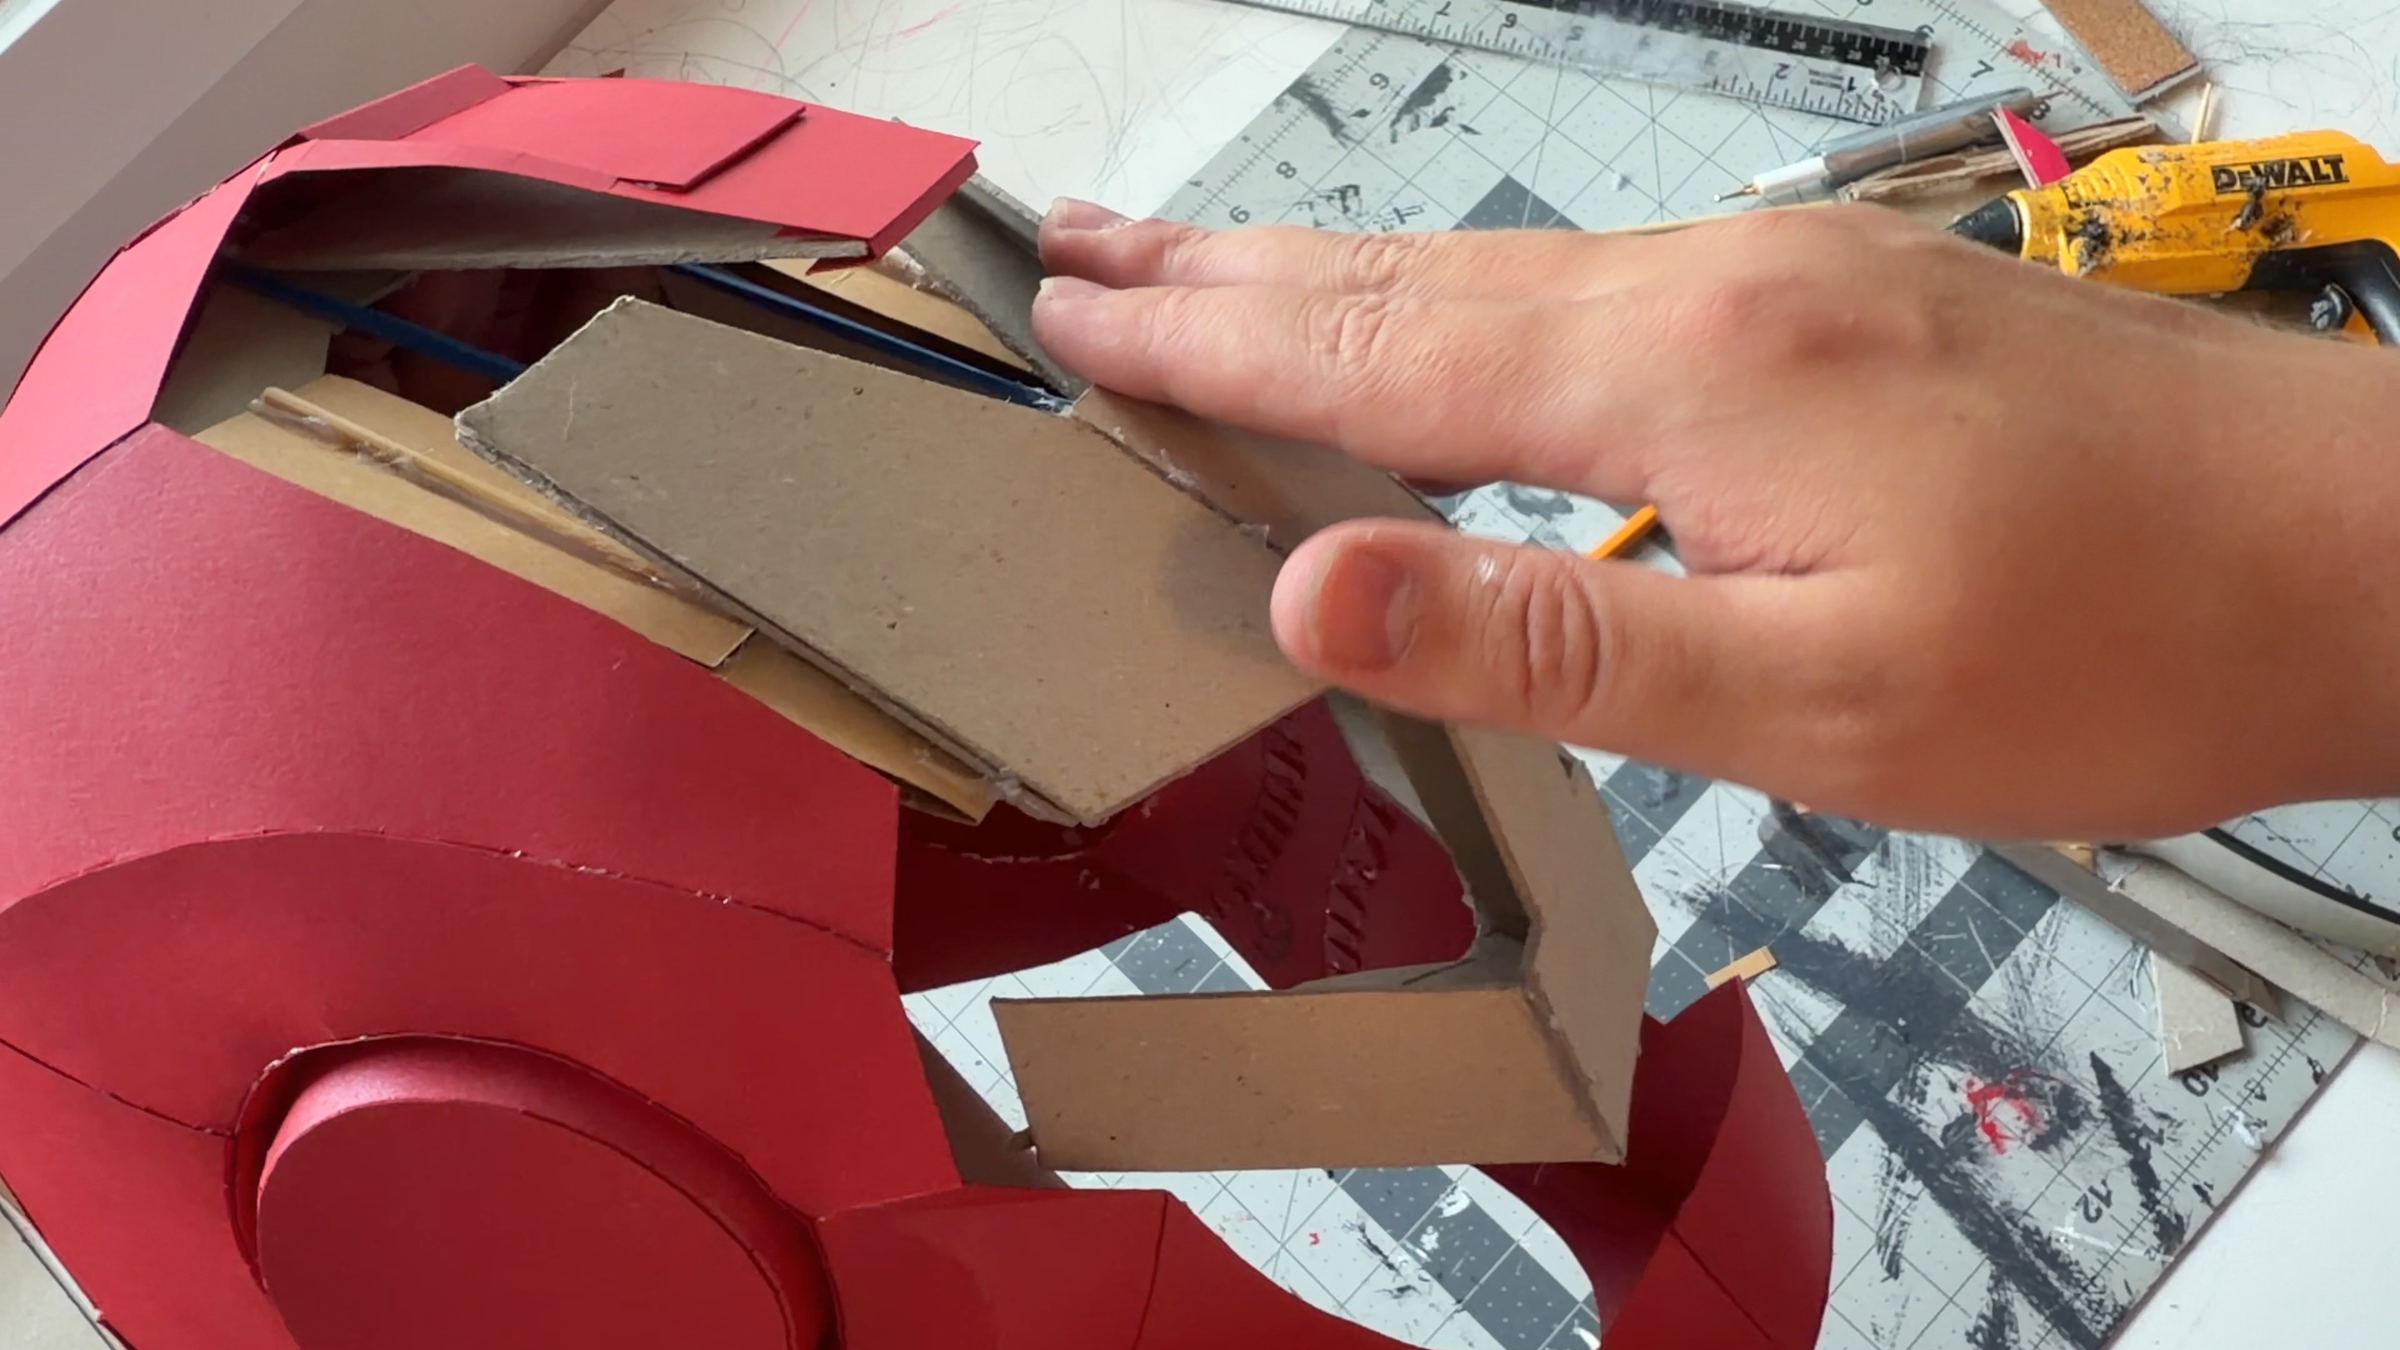
Glue the outer frame with the panel hinges to the main opening hinge. Test the movement carefully and make sure the entire assembly moves freely without catching or binding anywhere.
Next, close the entire front face section. Pass the bundle of threads over the frame and into the inside of the helmet. From inside the helmet, pull the threads until all the moving face panels are fully closed. Test the mechanism several times and make sure everything closes correctly.
While keeping the threads under tension and the front section fully closed, secure the thread bundle by gluing it to the internal frame. Now, when the face section is closed, the threads remain tensioned and keep all the panels closed. As the face section is lifted, the threads become loose and the individual rubber bands in the panel hinges open all the panels synchronously.
On the opposite side, add a larger rubber band and attach it between the moving face section and the inside of the helmet. This creates a simple bistable mechanism.
The highest tension in both systems occurs while the mechanism passes through the middle of its movement. In the fully open and fully closed positions, the tension is lower. Because of this, the system naturally settles into two stable positions: fully open and fully closed. A small amount of force is required to move it through the intermediate position.
Keep in mind that the moving face section and panels also have their own weight. You can adjust the balance of the entire mechanism by changing the tension of the large opening rubber band until the helmet opens and closes the way you want.
Assembling the Face Panels
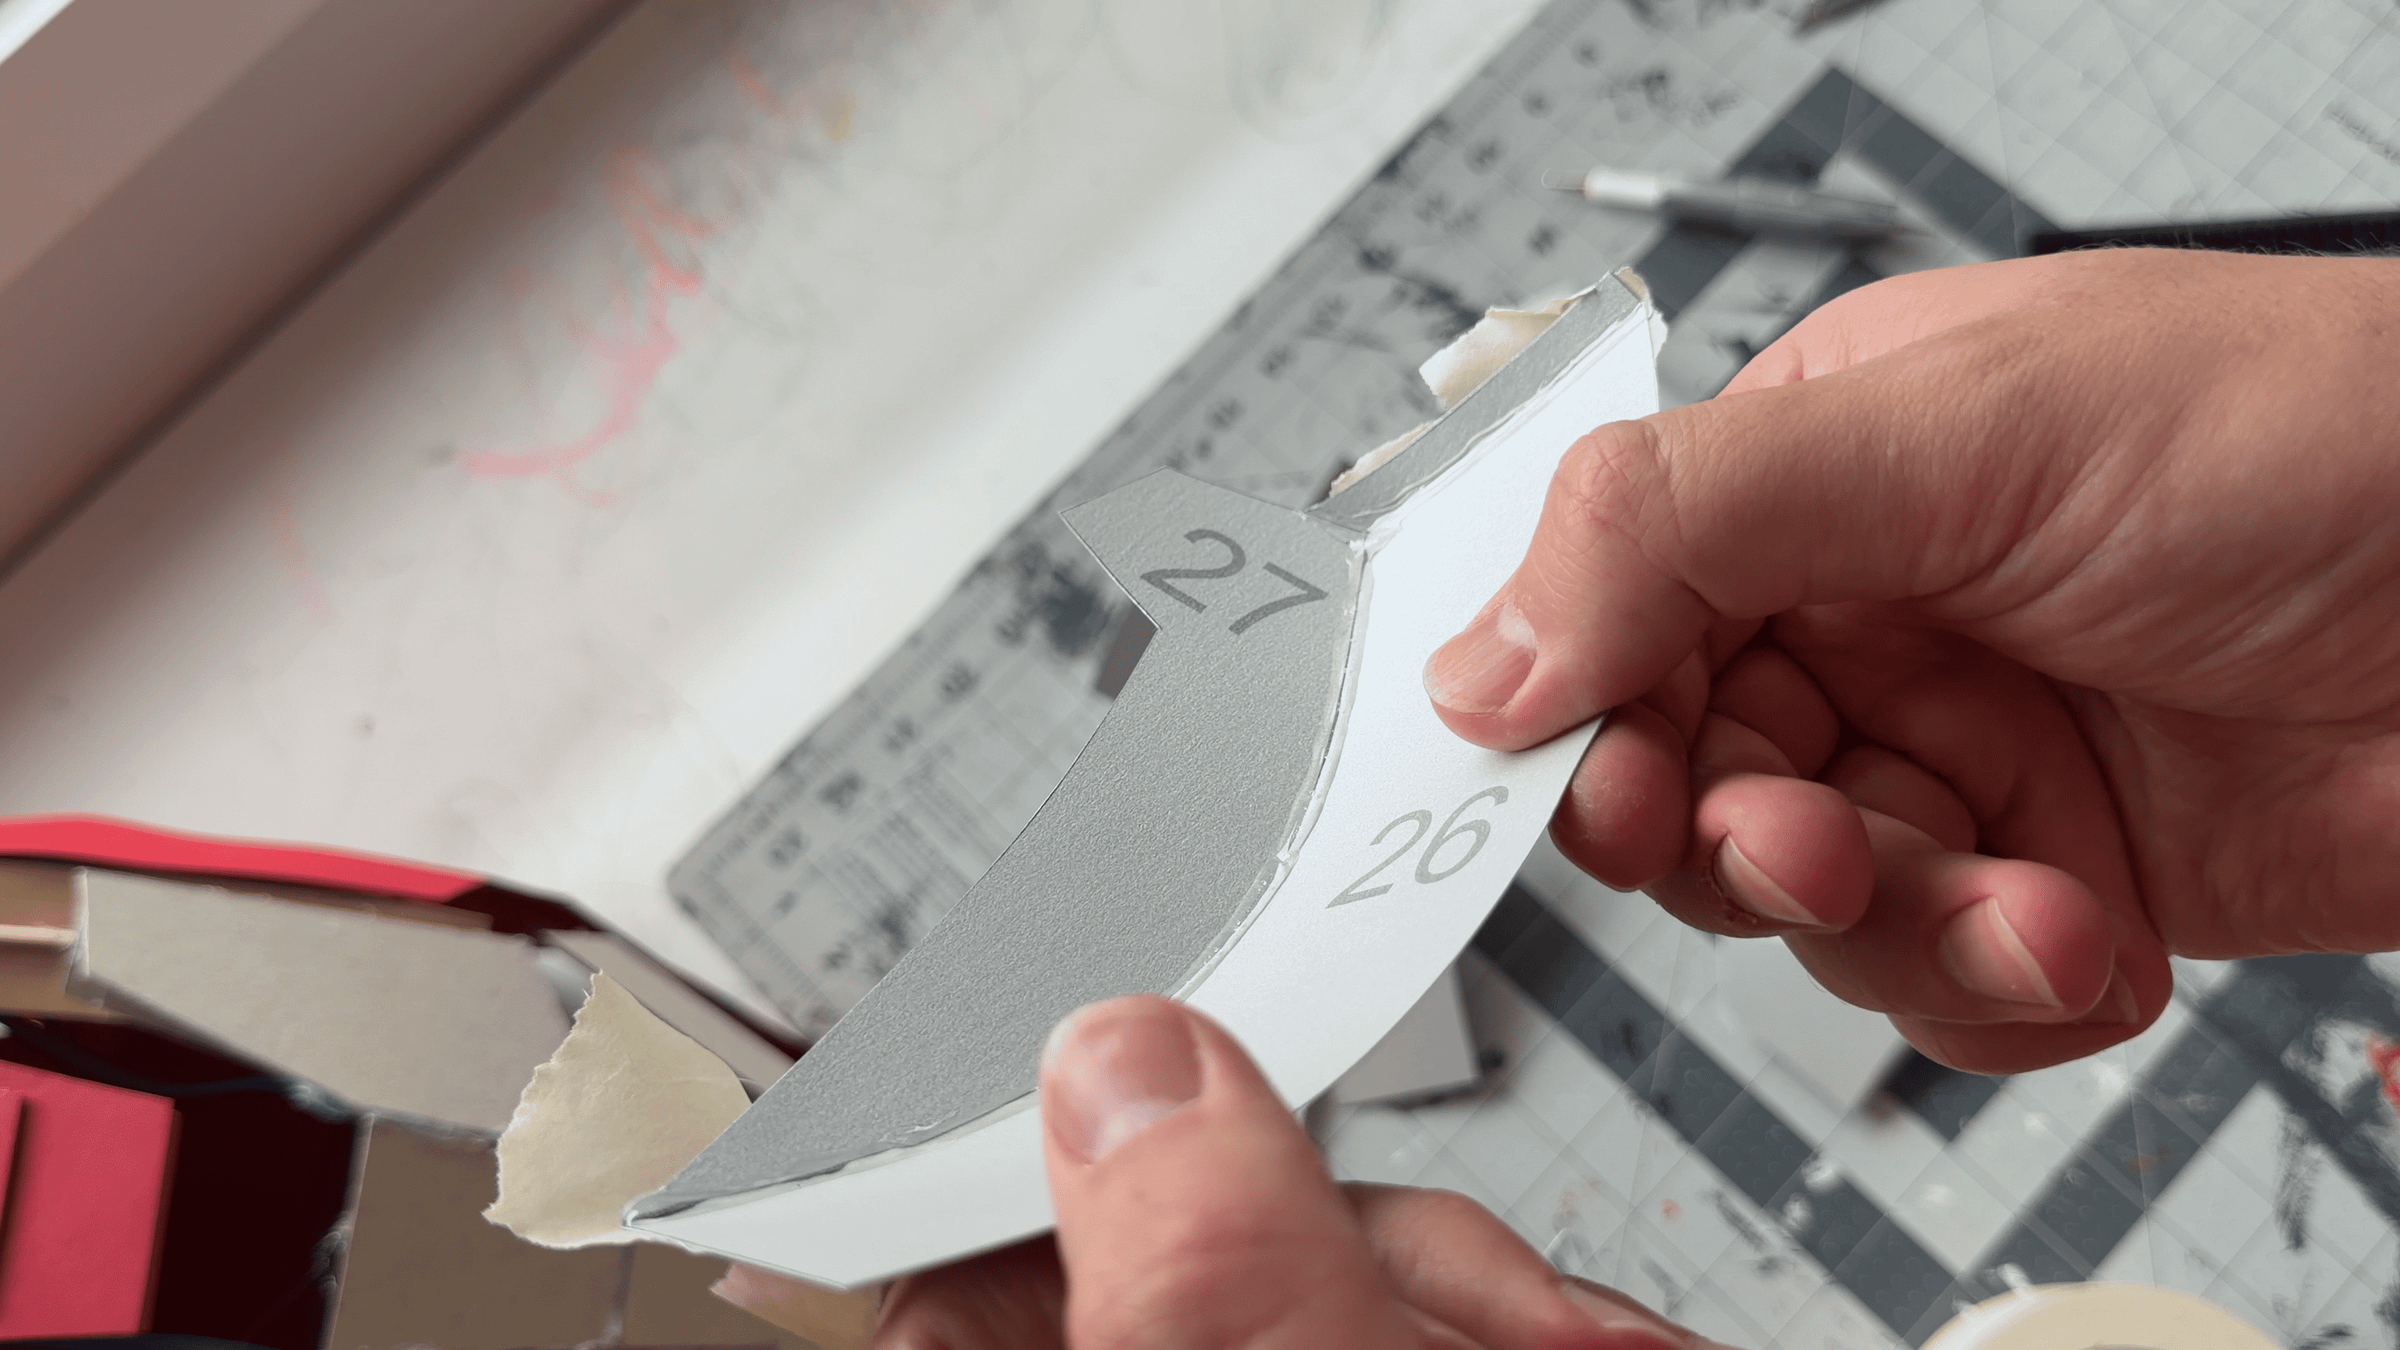
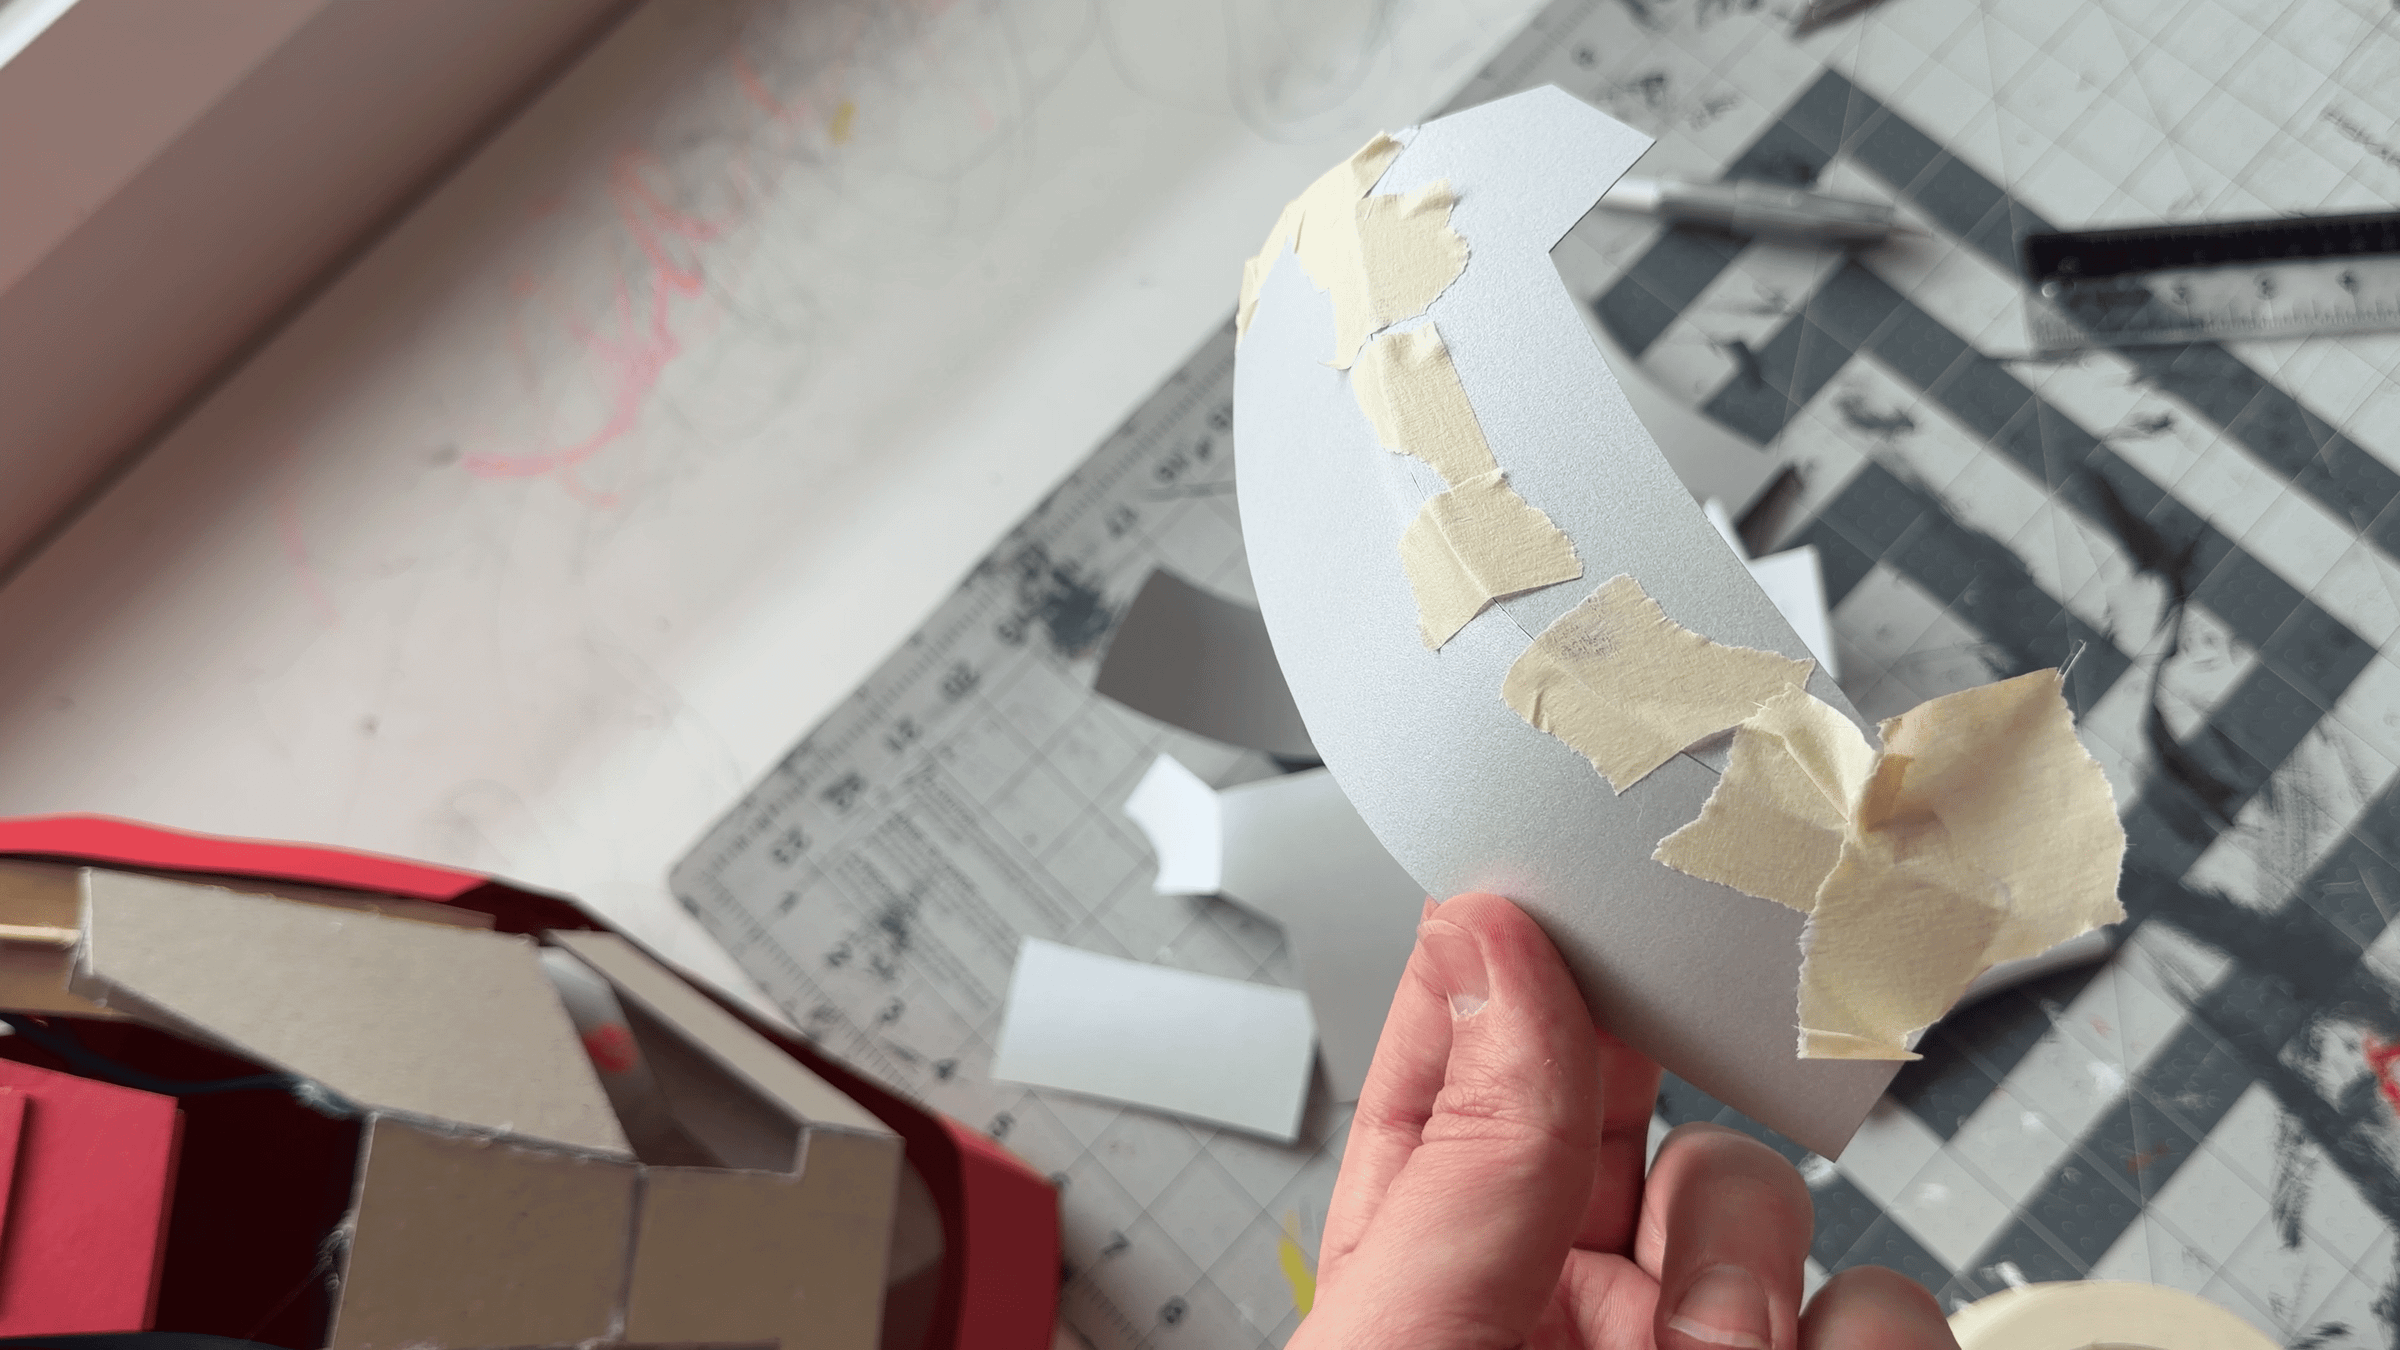
Glue the face panel parts together. These parts are designed without glue tabs to create a cleaner and smoother seam on the visible side.
Align the edges carefully and temporarily secure them from the outside with masking tape. Then glue the seams together from the inside. Once the glue has fully set, remove the masking tape.
Attaching the Face Panels to the Hinges
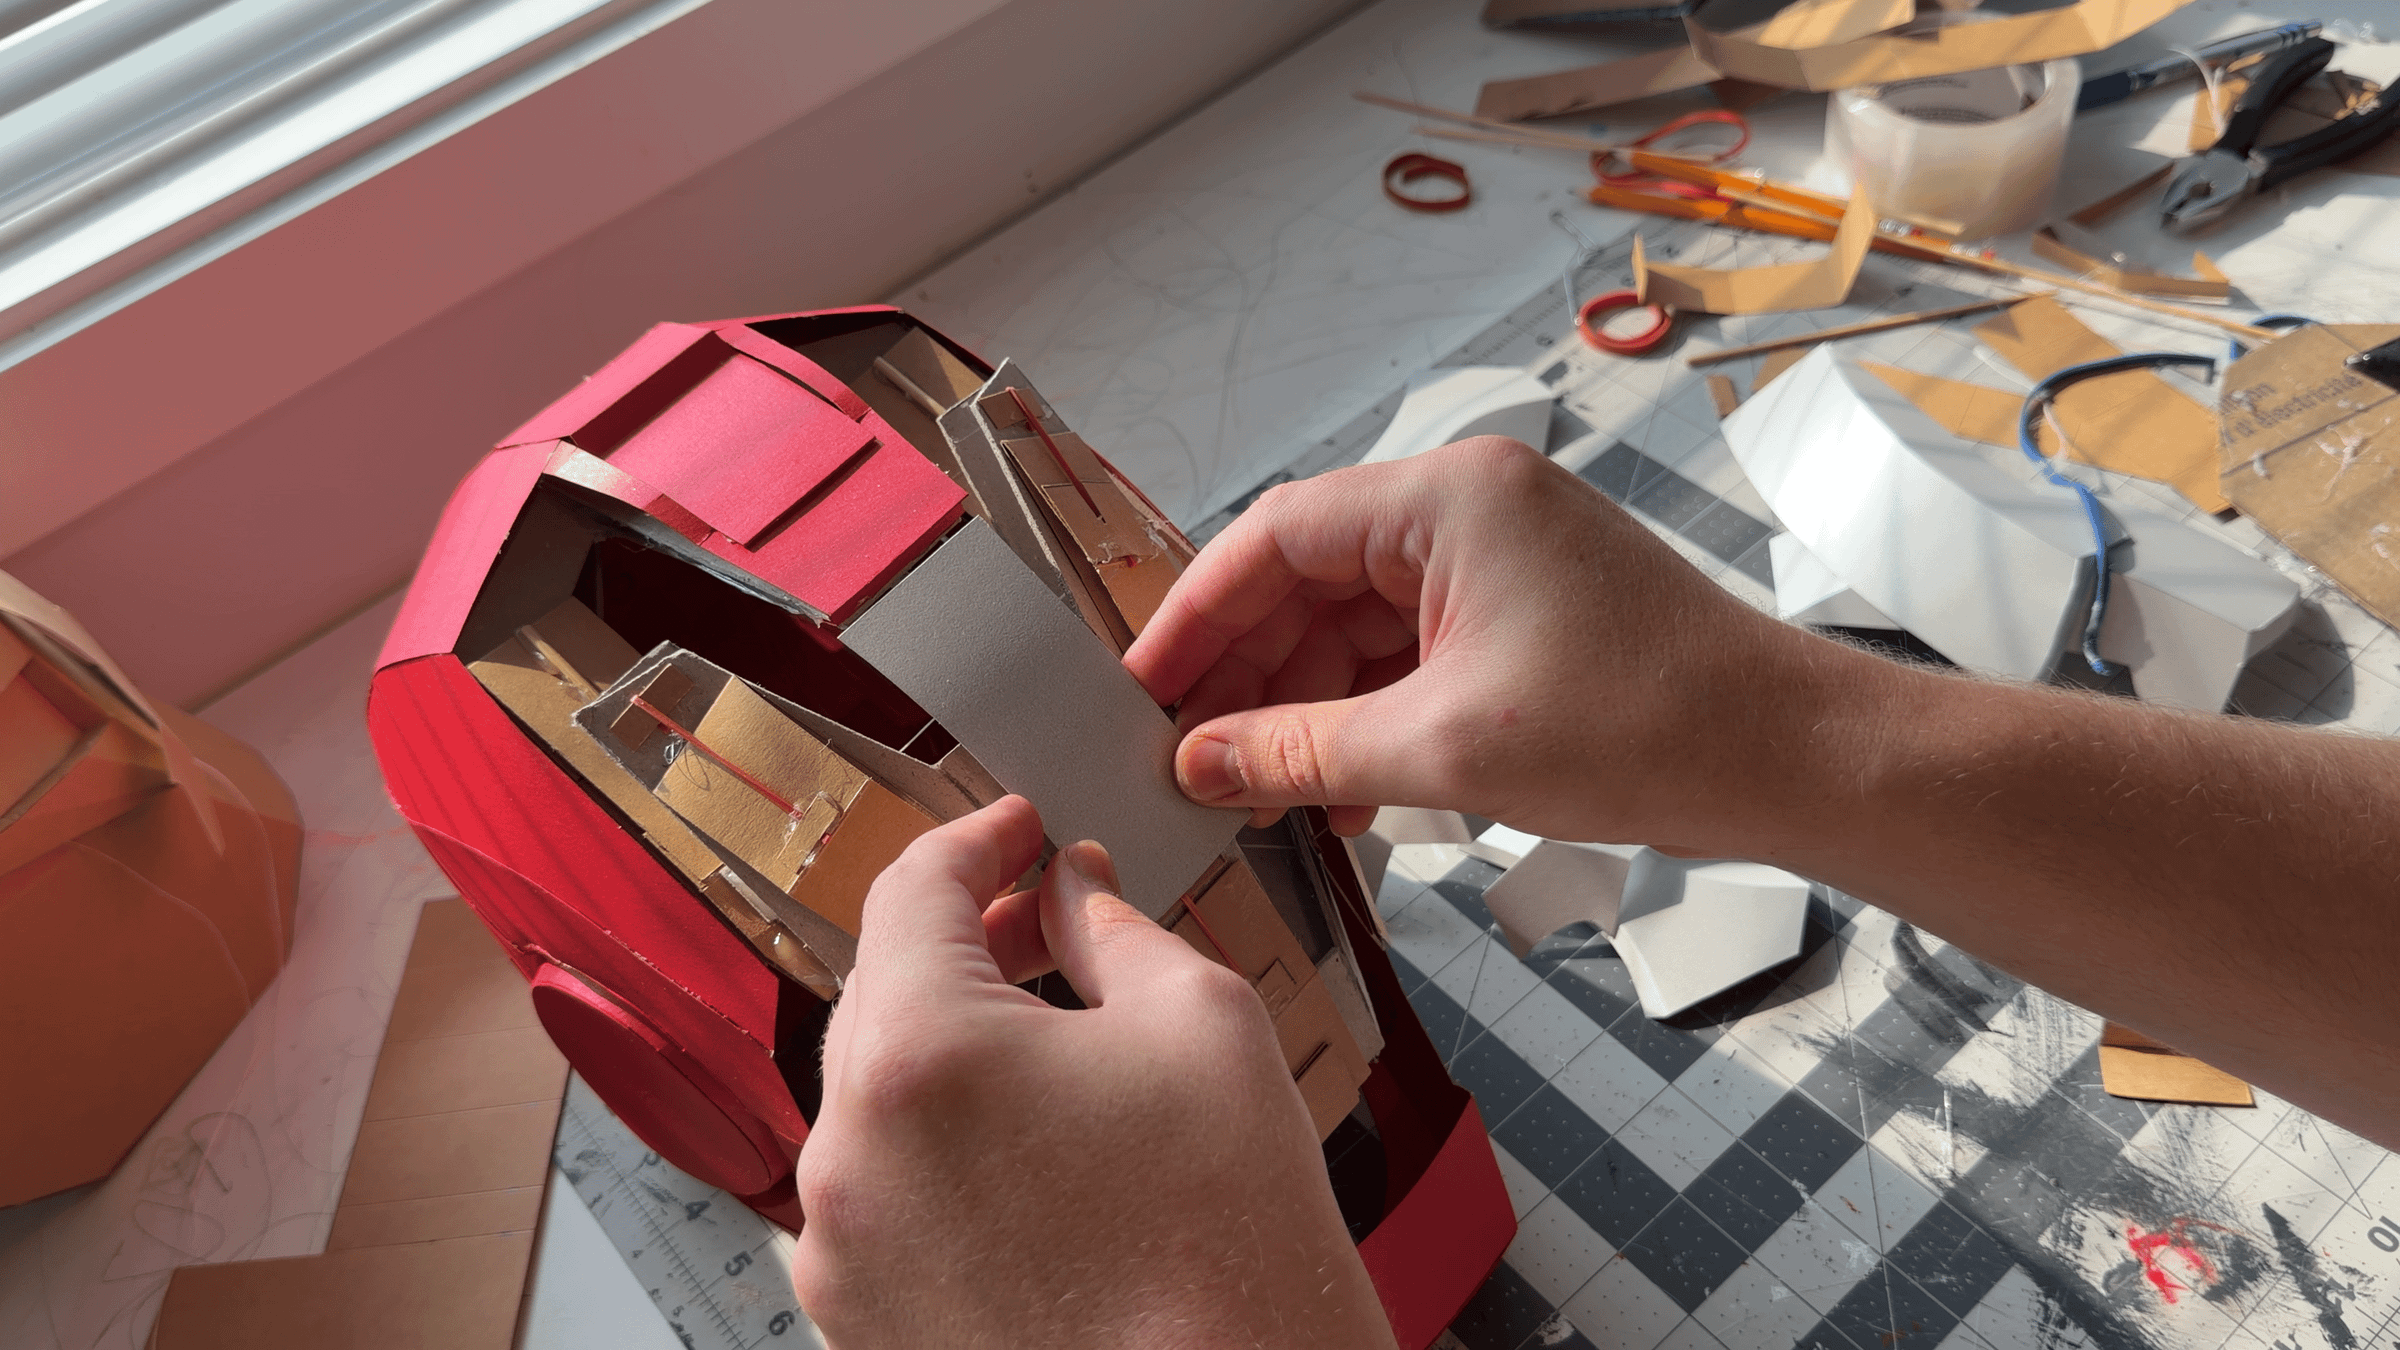
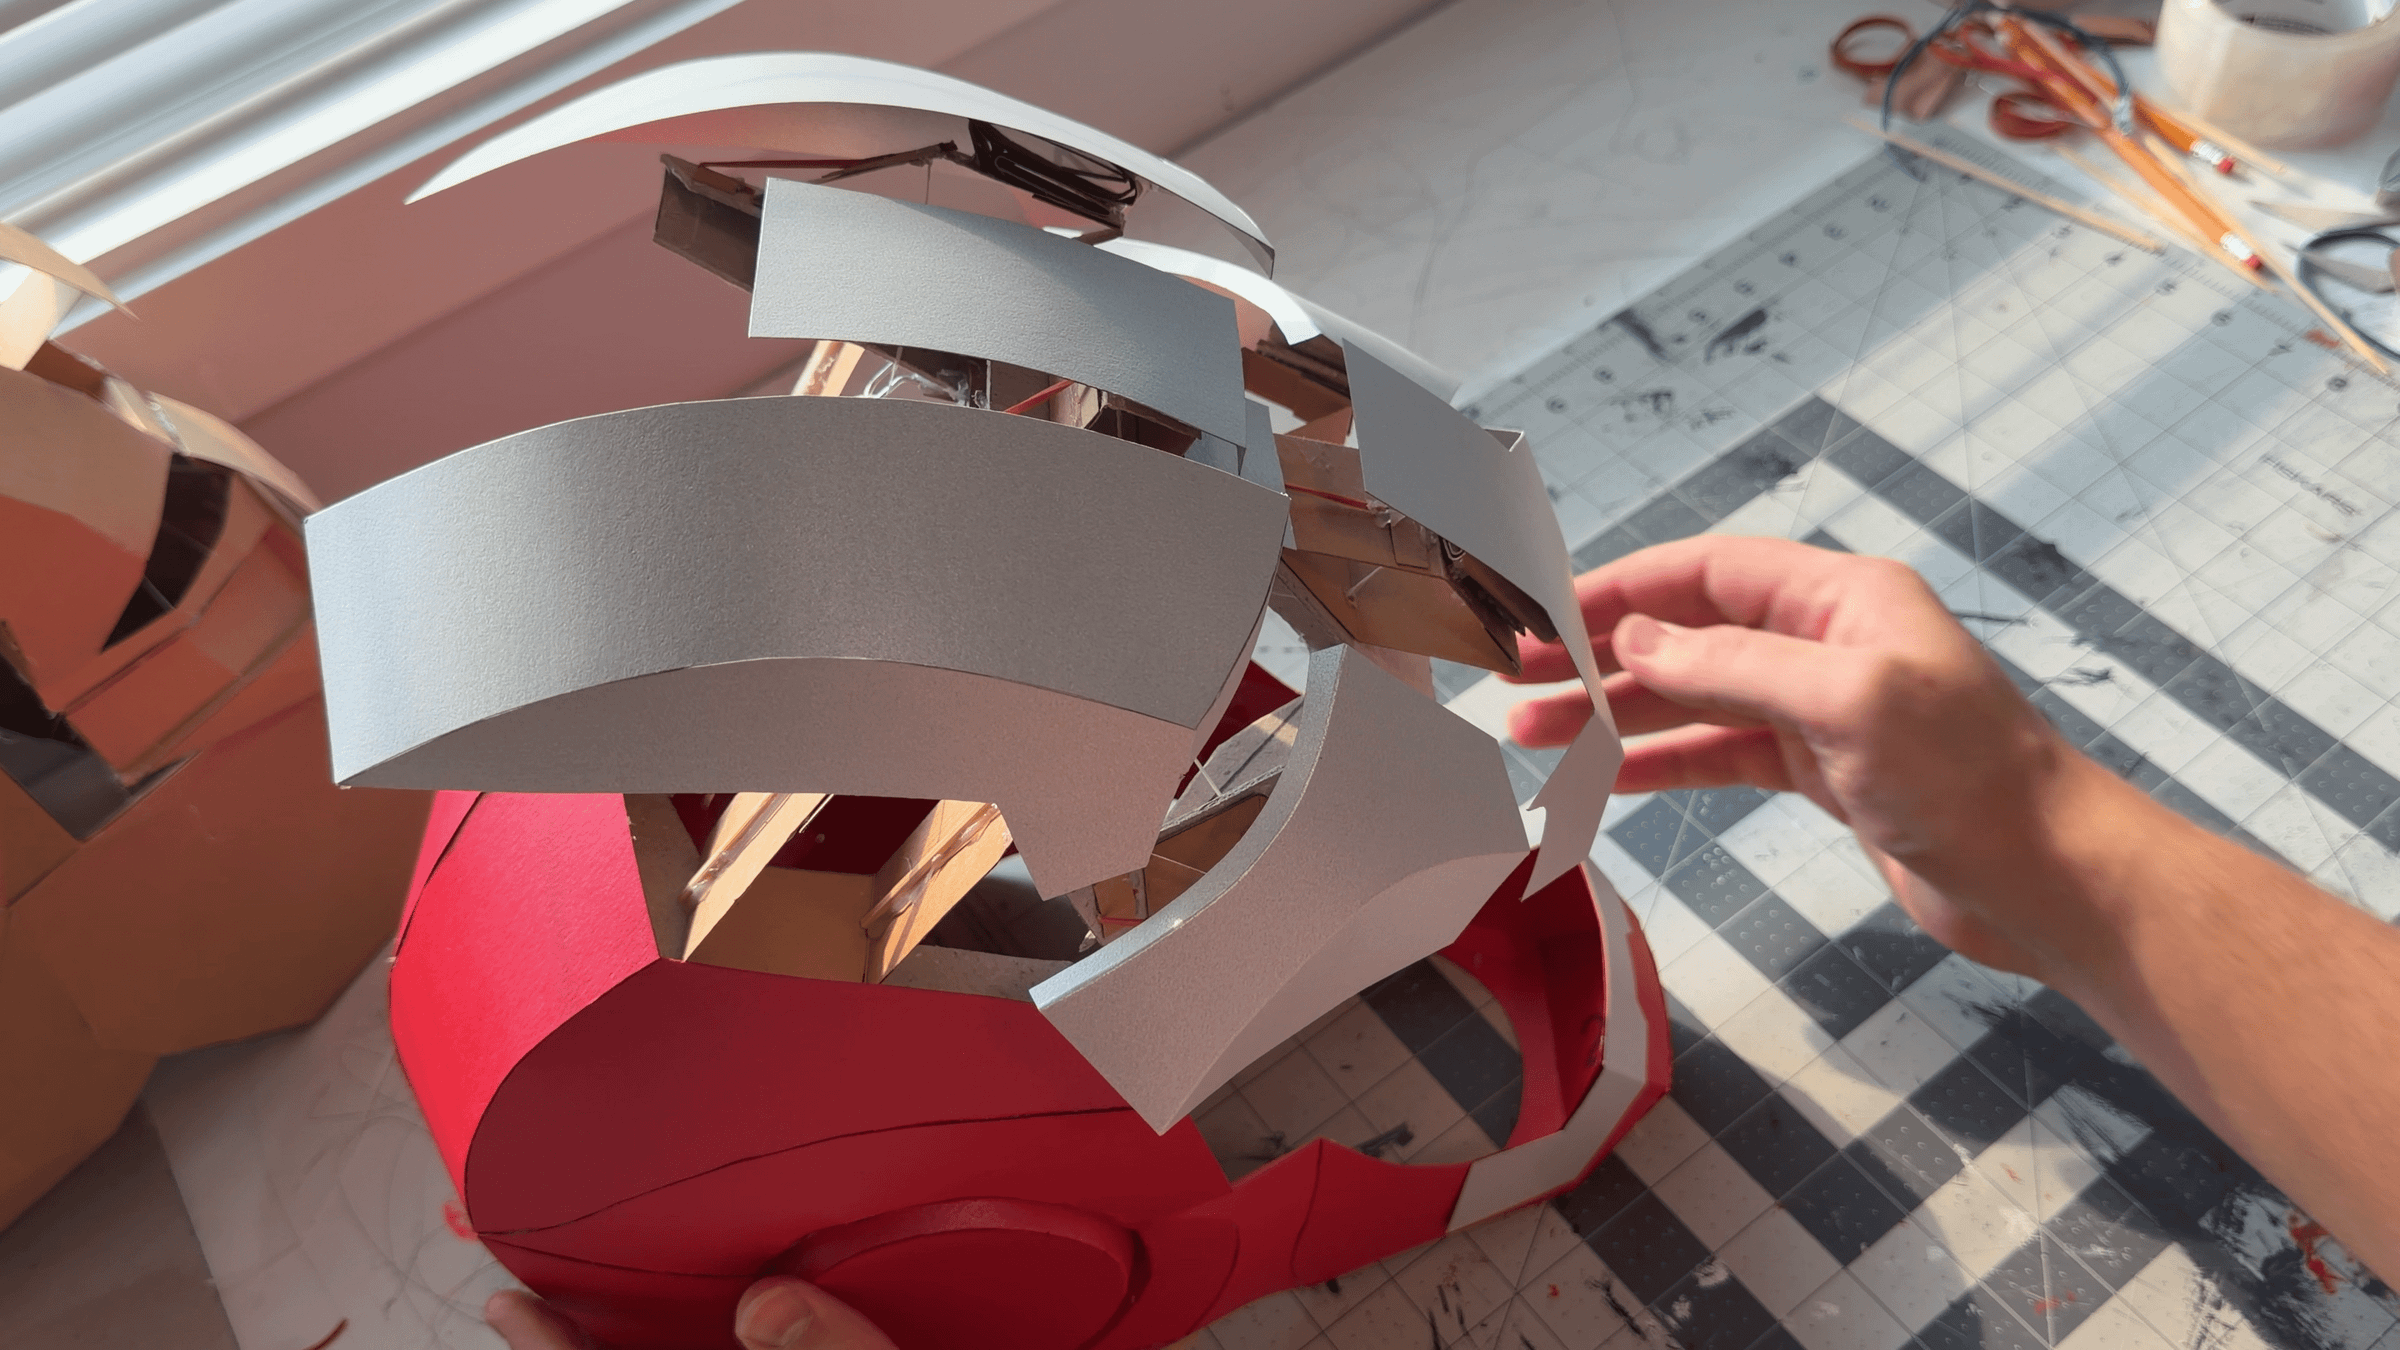
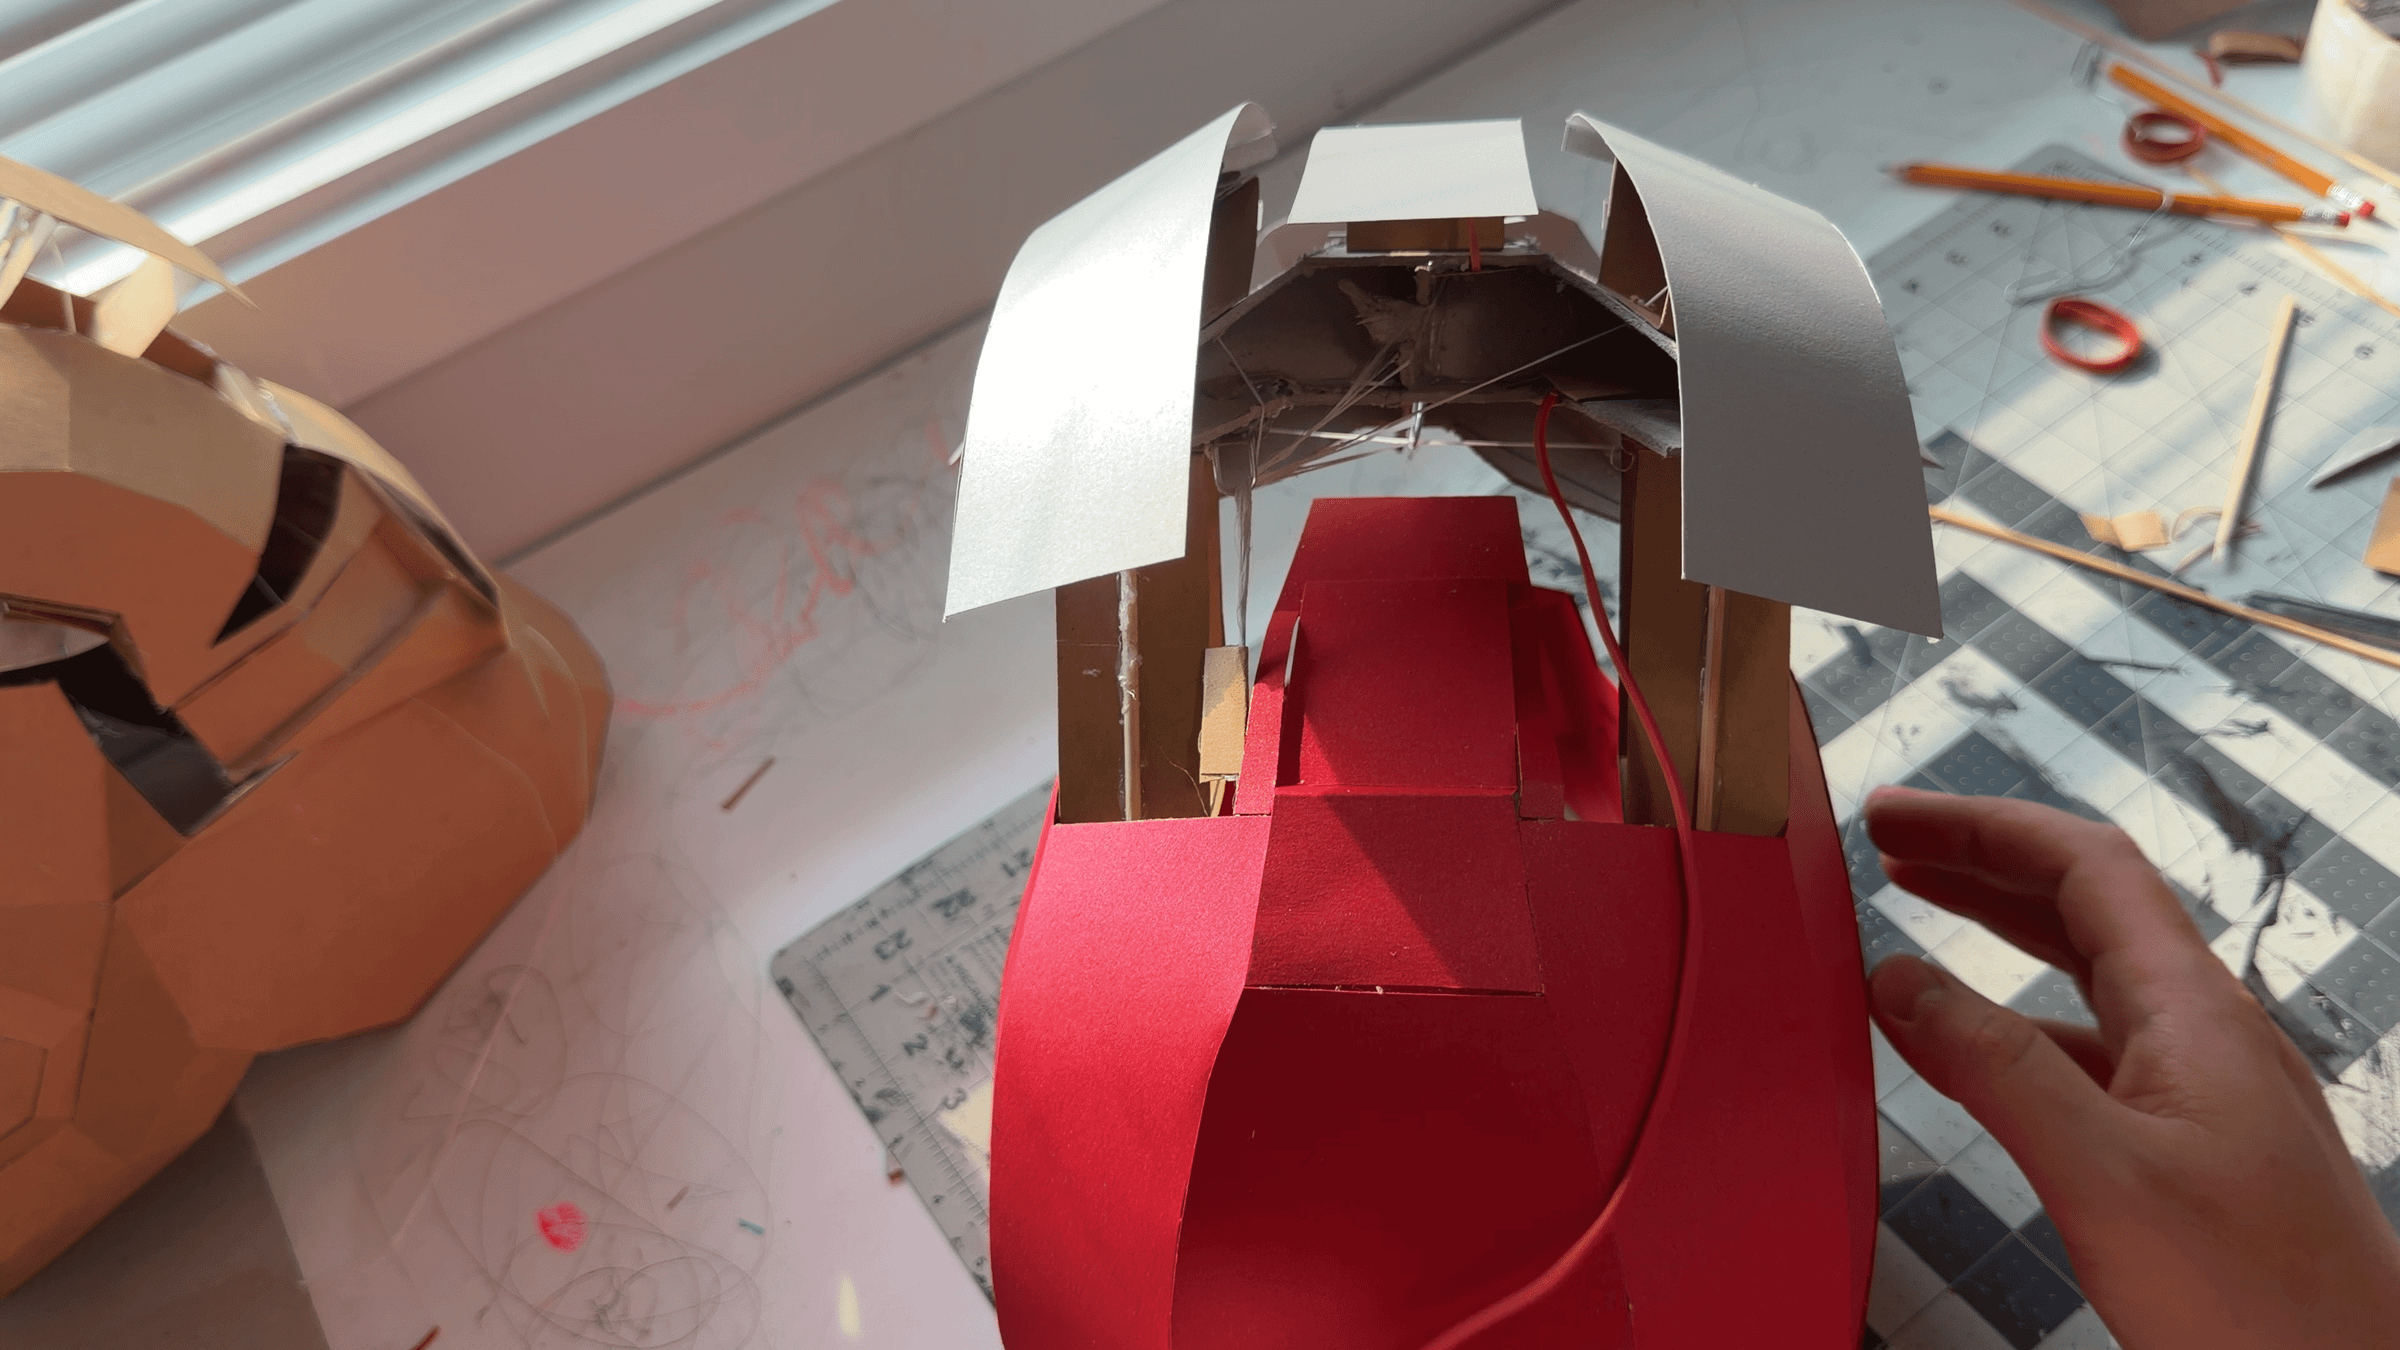
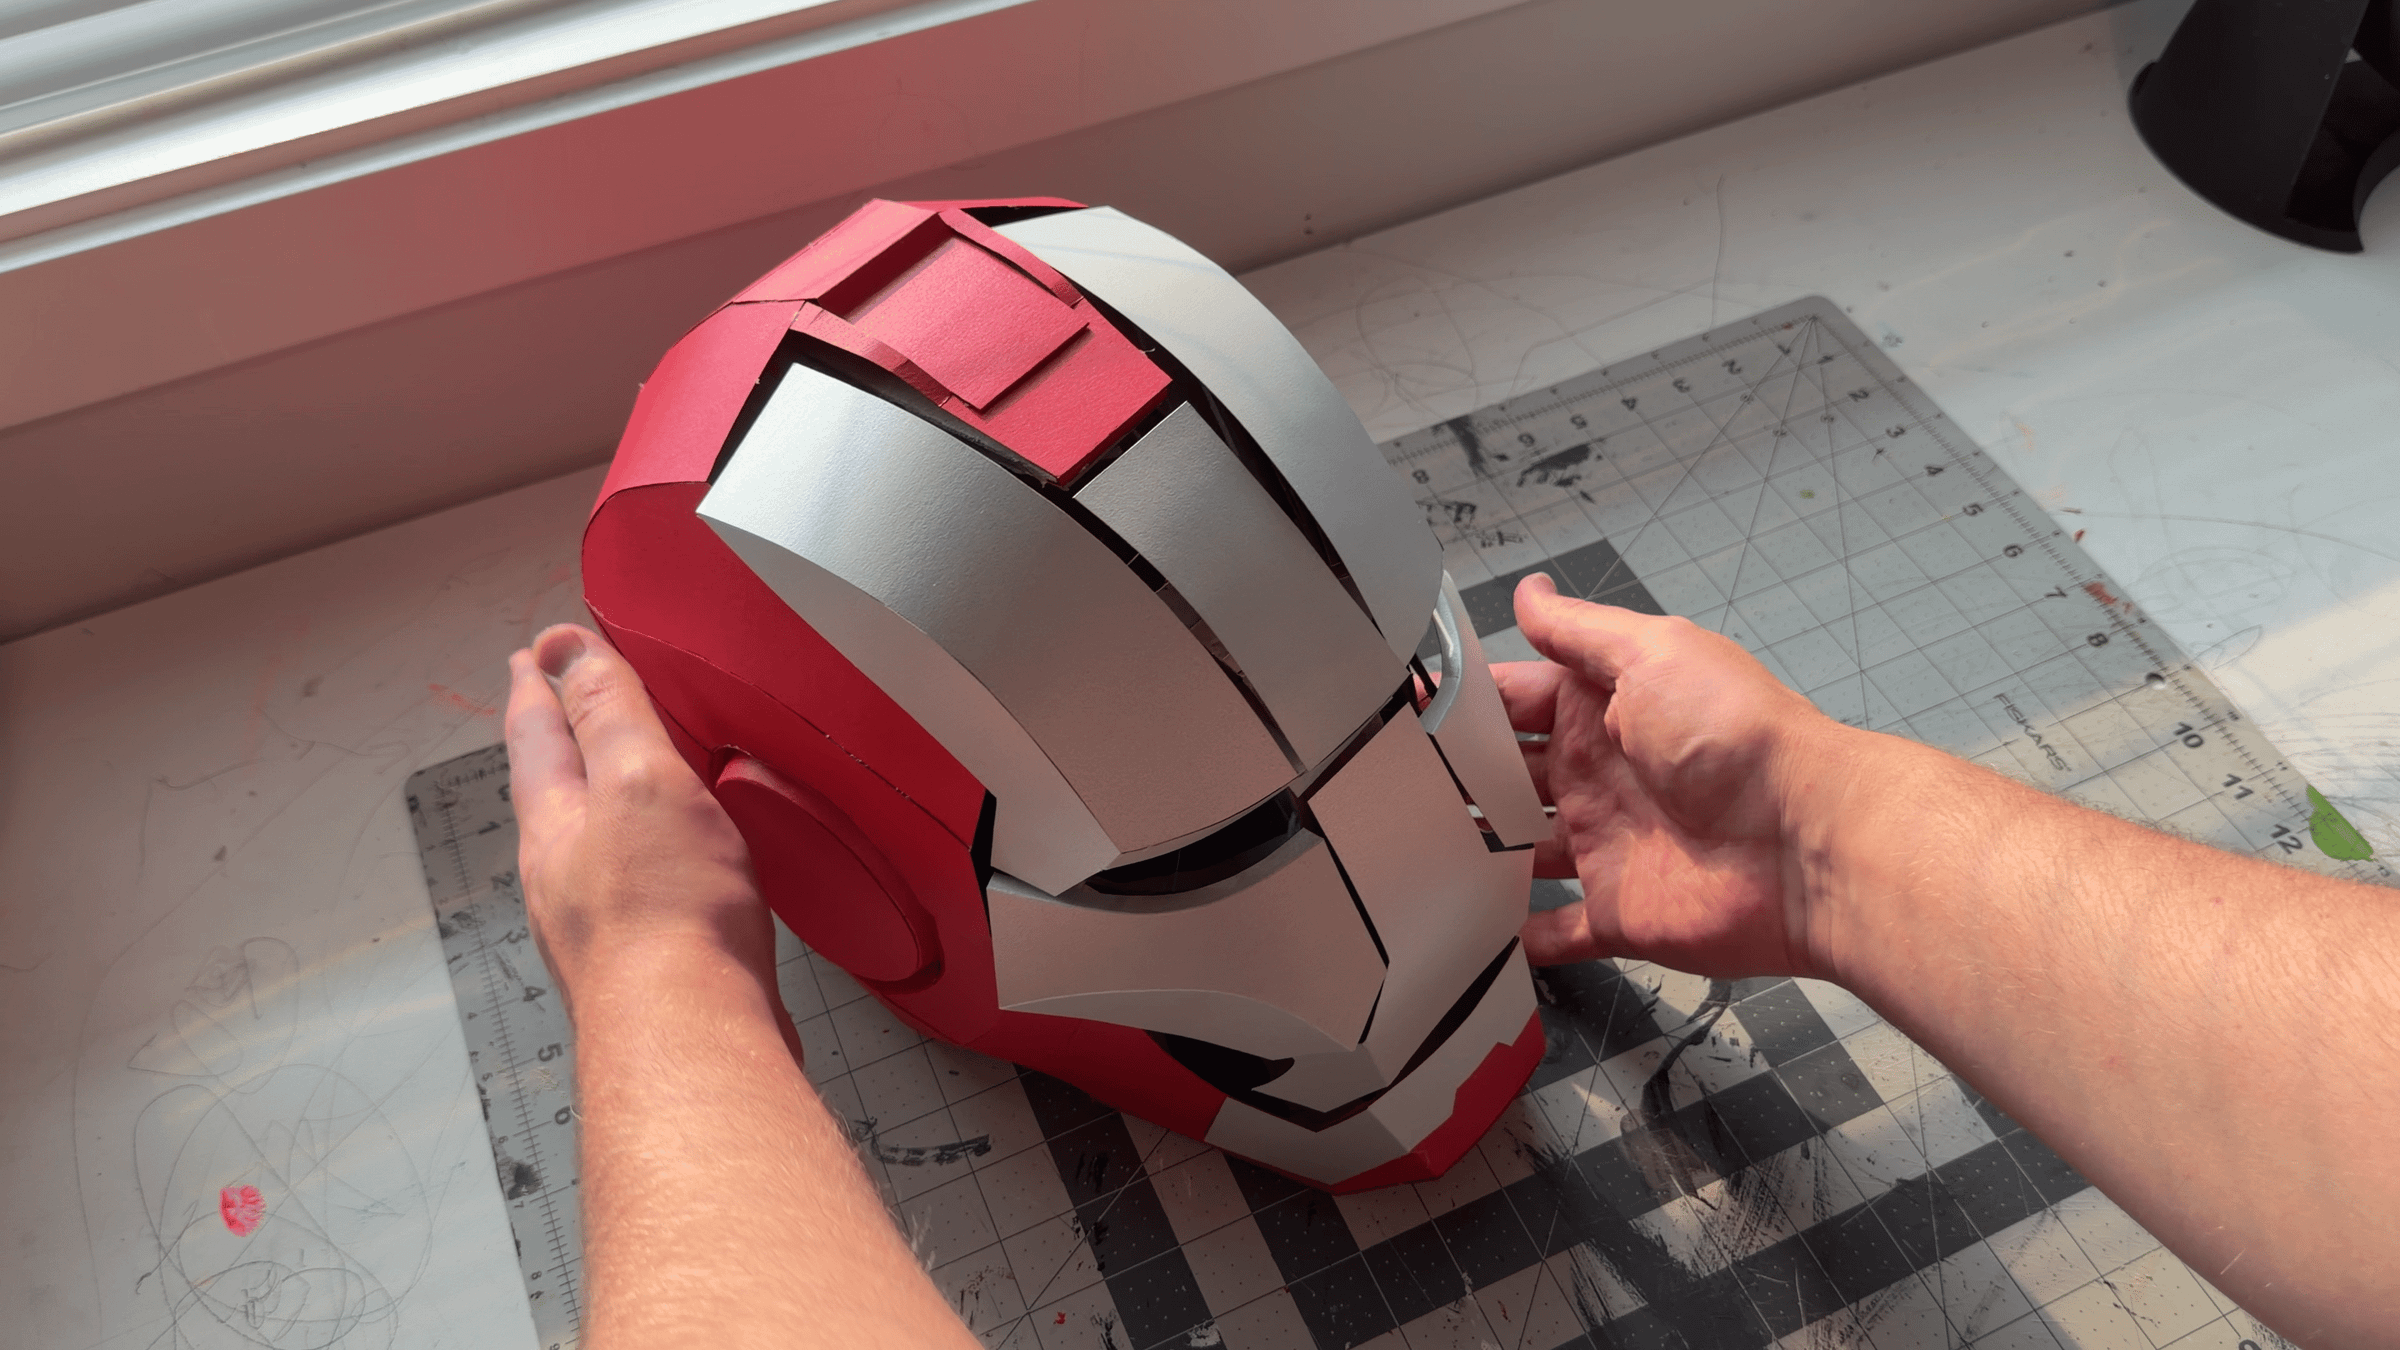
Glue the face panels onto the hinges. I recommend starting with the center panels and then working outward.
Check the fit of each panel carefully in the closed position before gluing it permanently. The panels should align cleanly with each other and follow the shape of the helmet.
If something does not line up perfectly, simply add small cardboard spacers or shims between the hinge and the panel to adjust its position.
This stage is intentionally a manual fine-adjustment step. Use it to compensate for small inaccuracies that may have accumulated during the previous assembly steps and achieve the best possible final alignment.
Painting and Adding a Worn Metal Effect
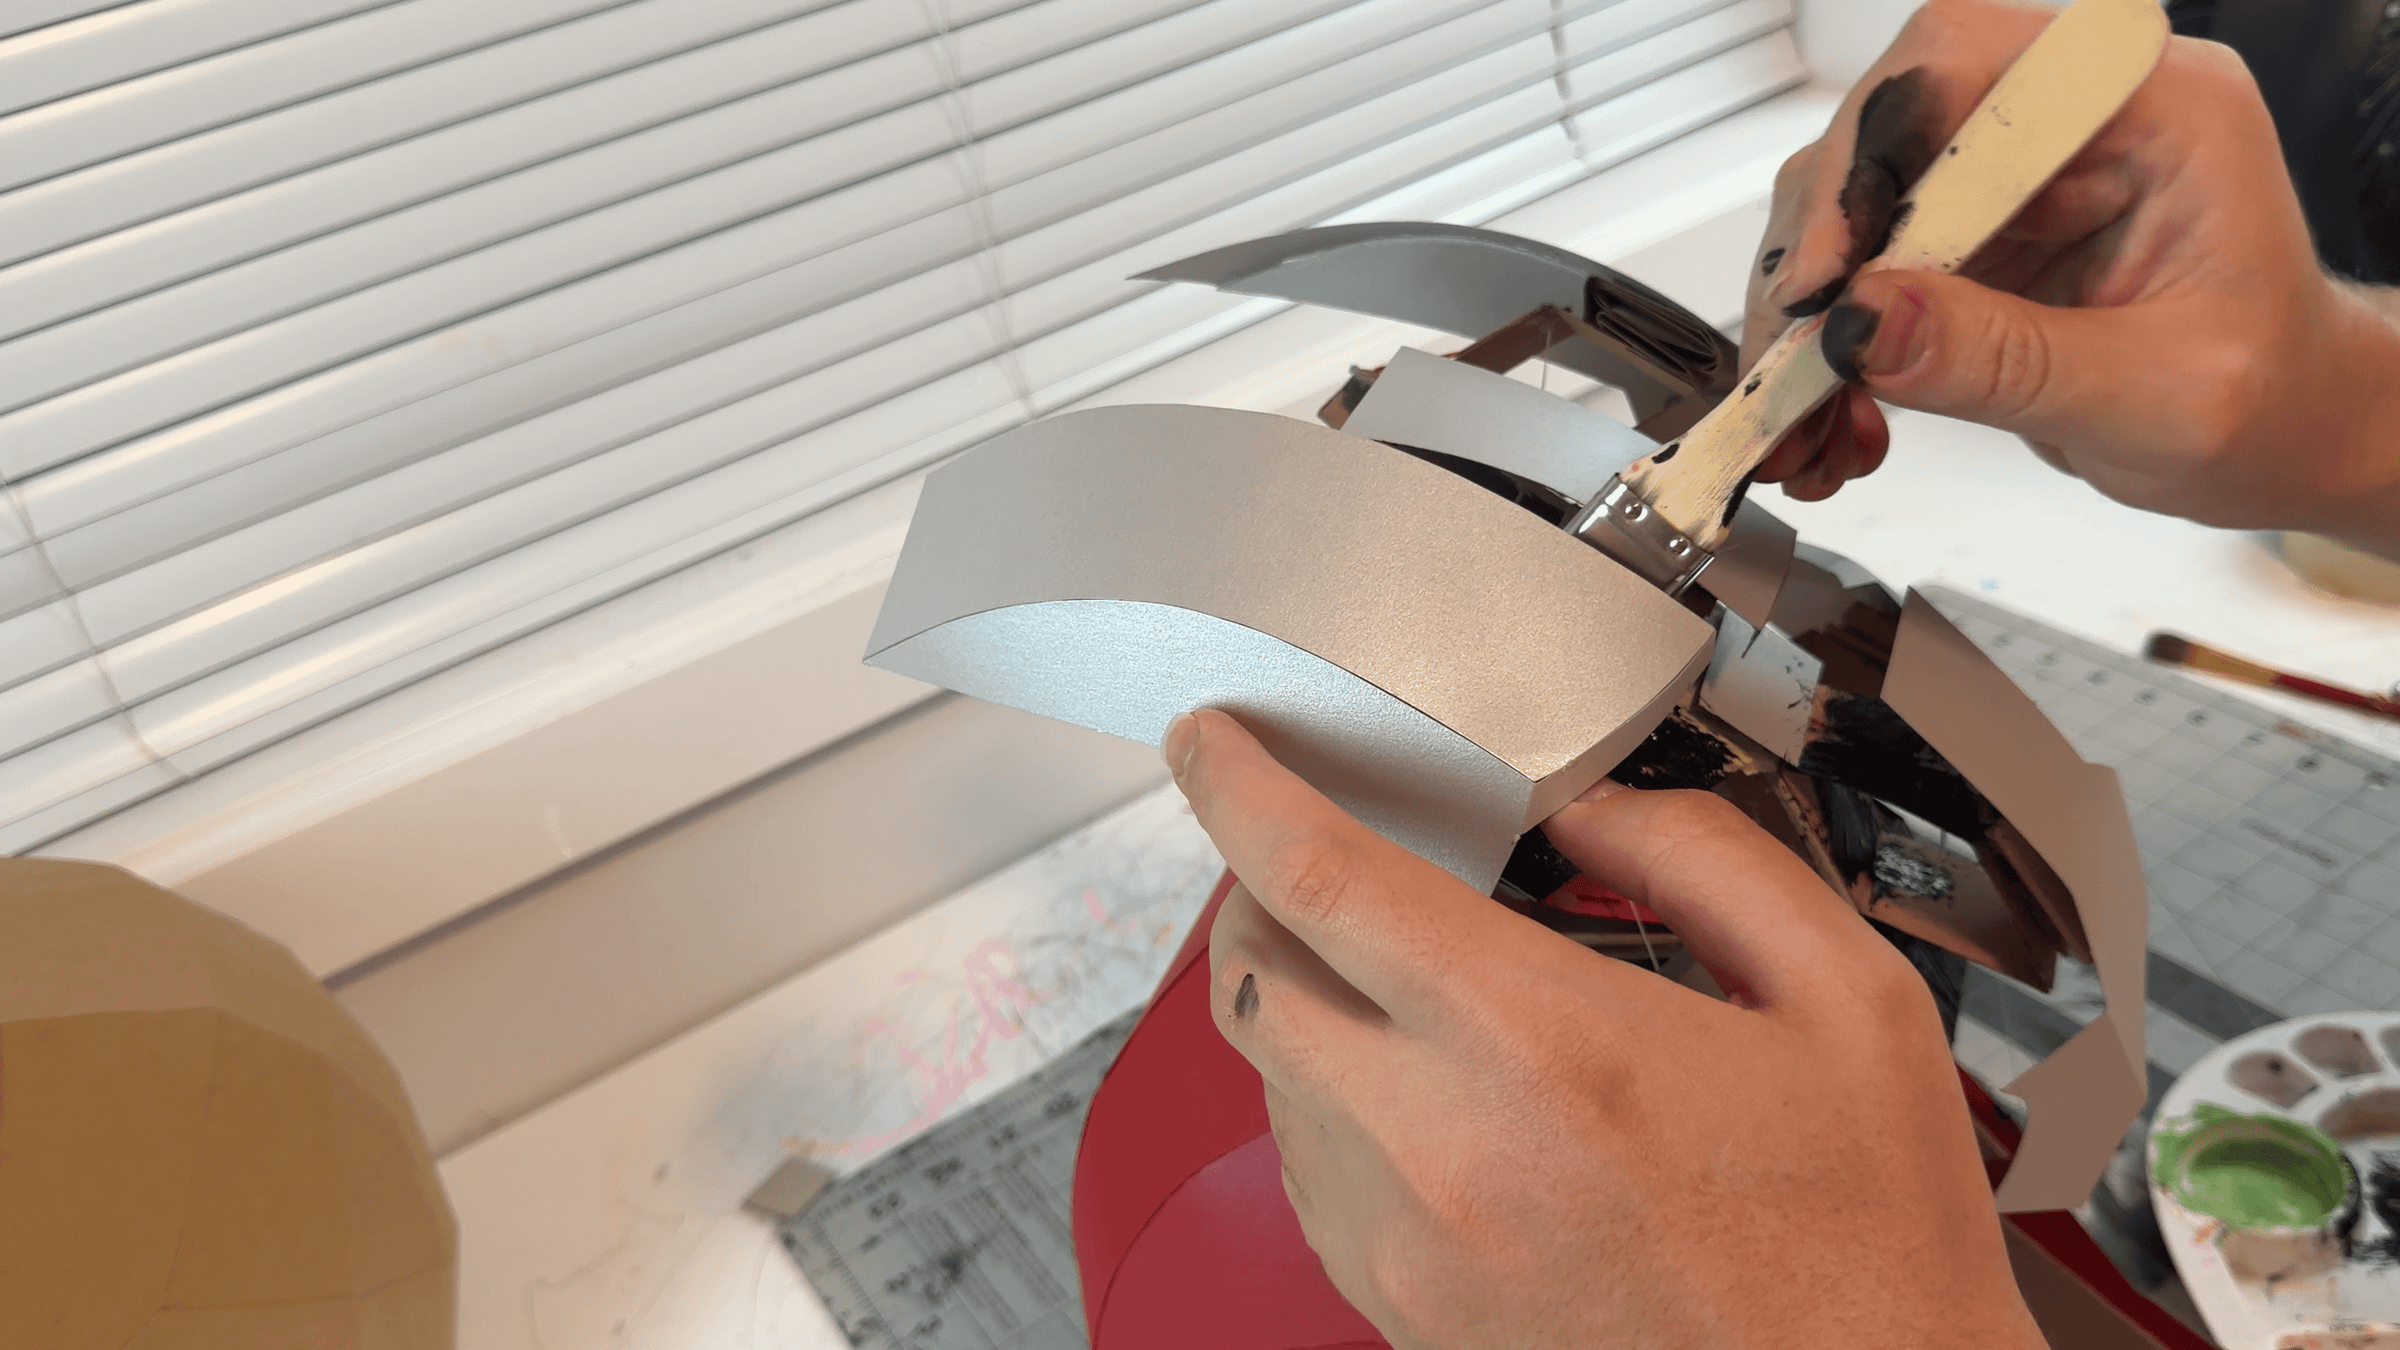
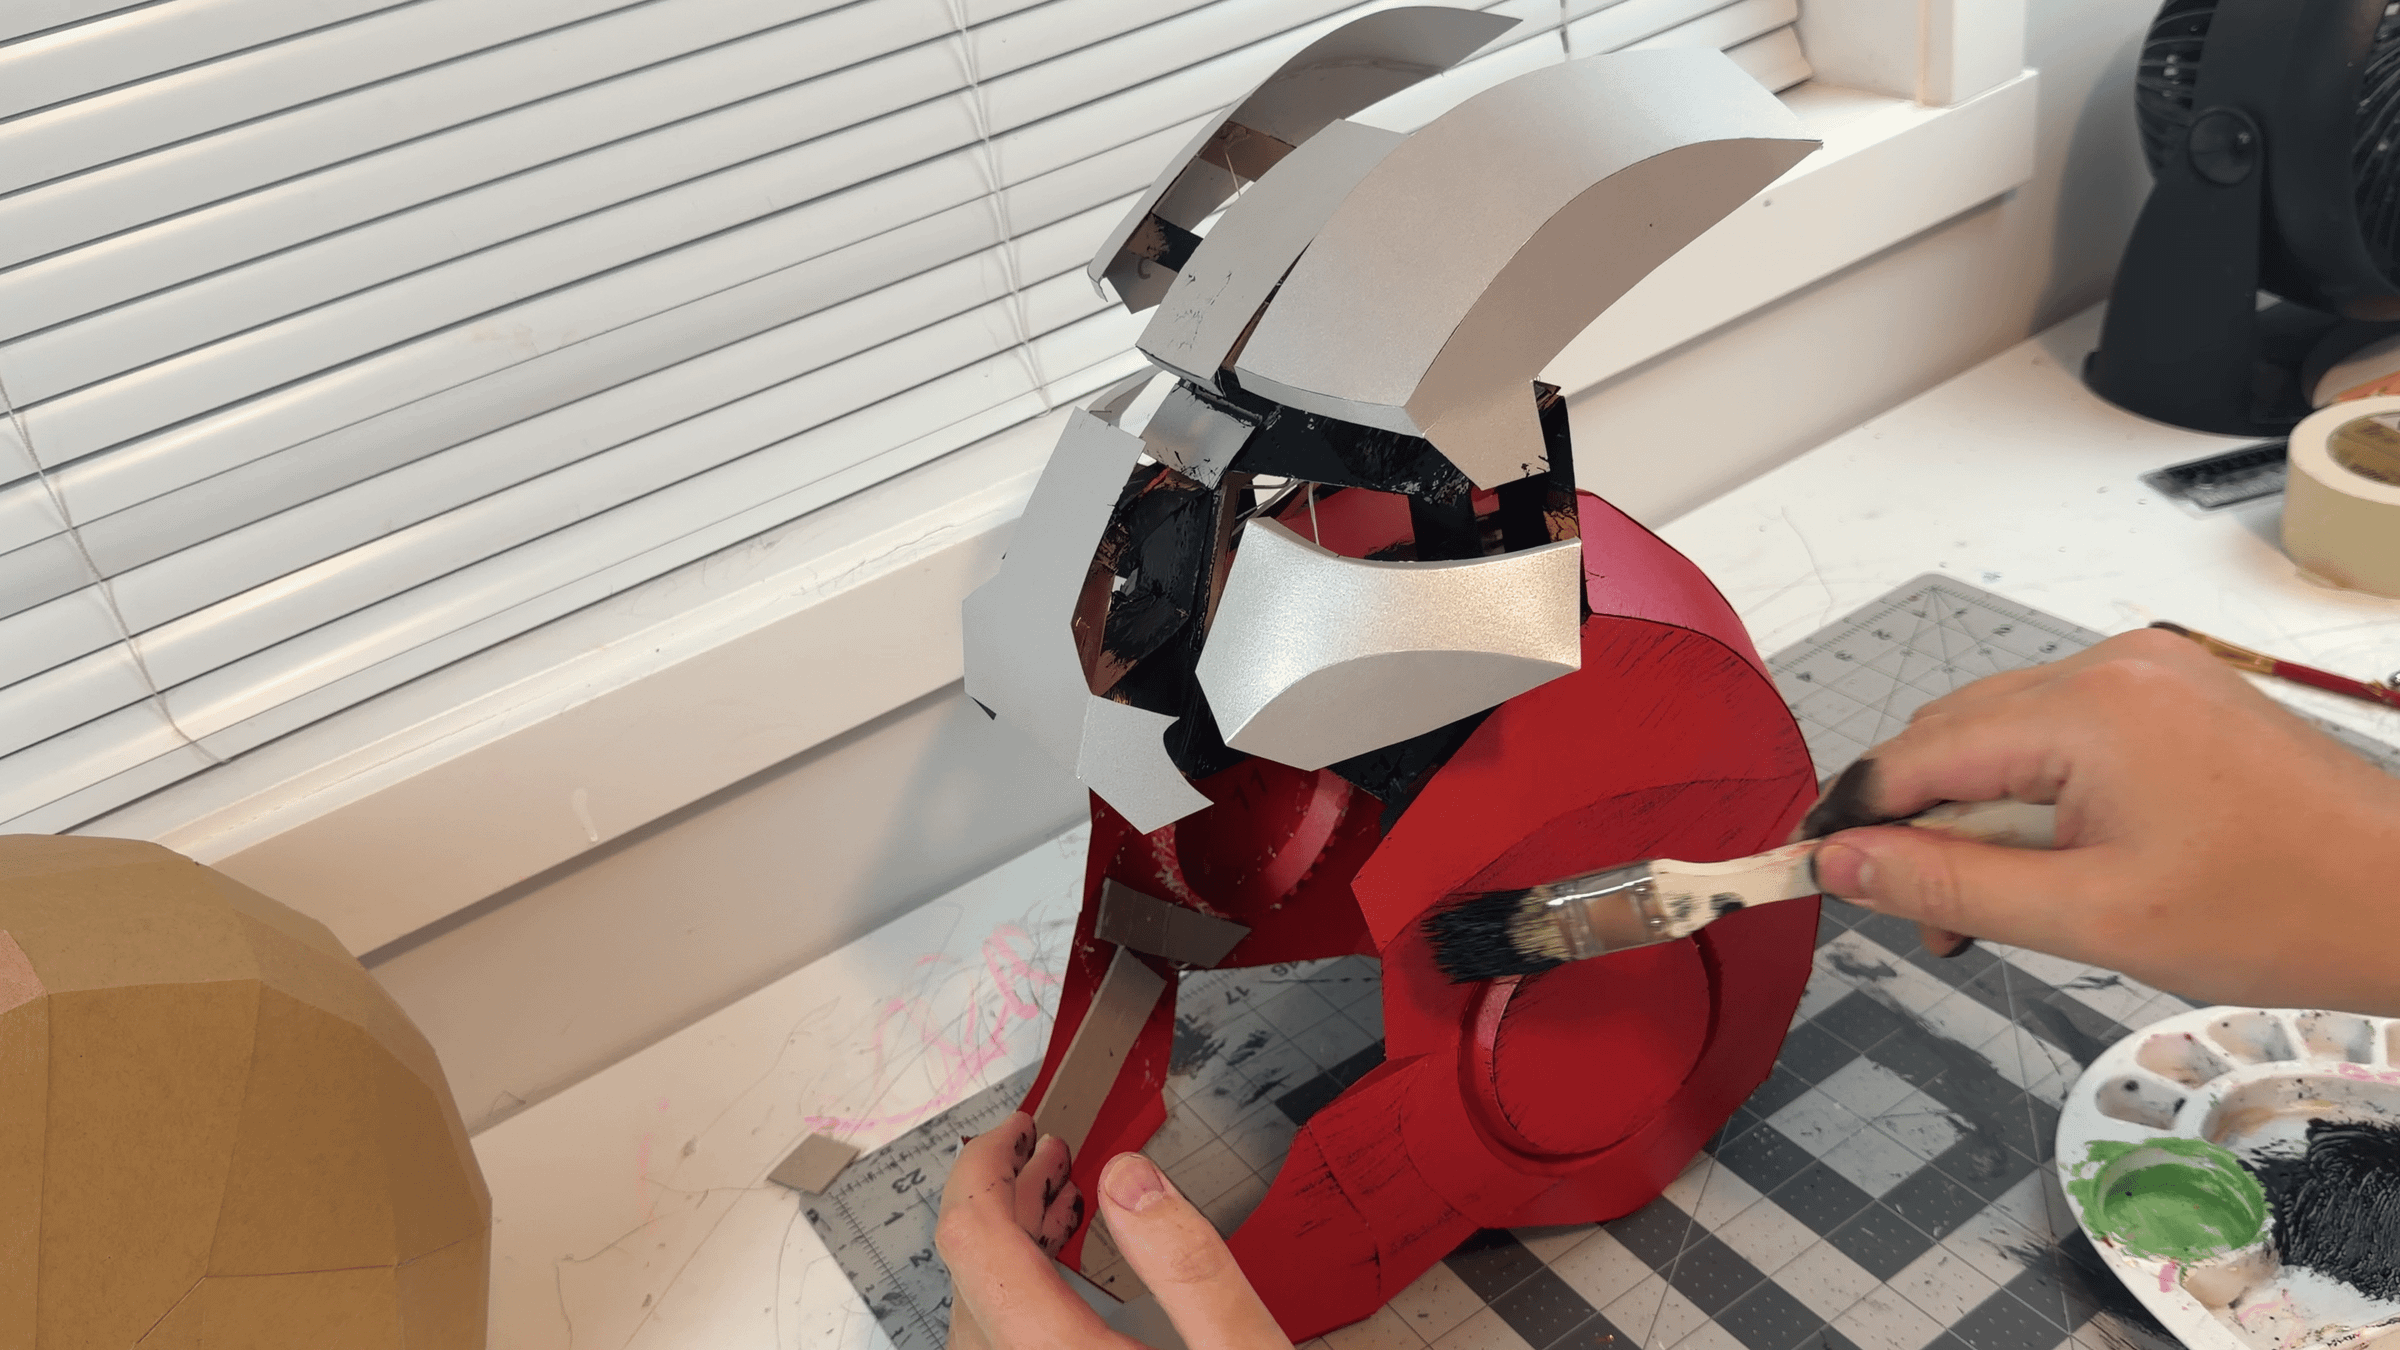
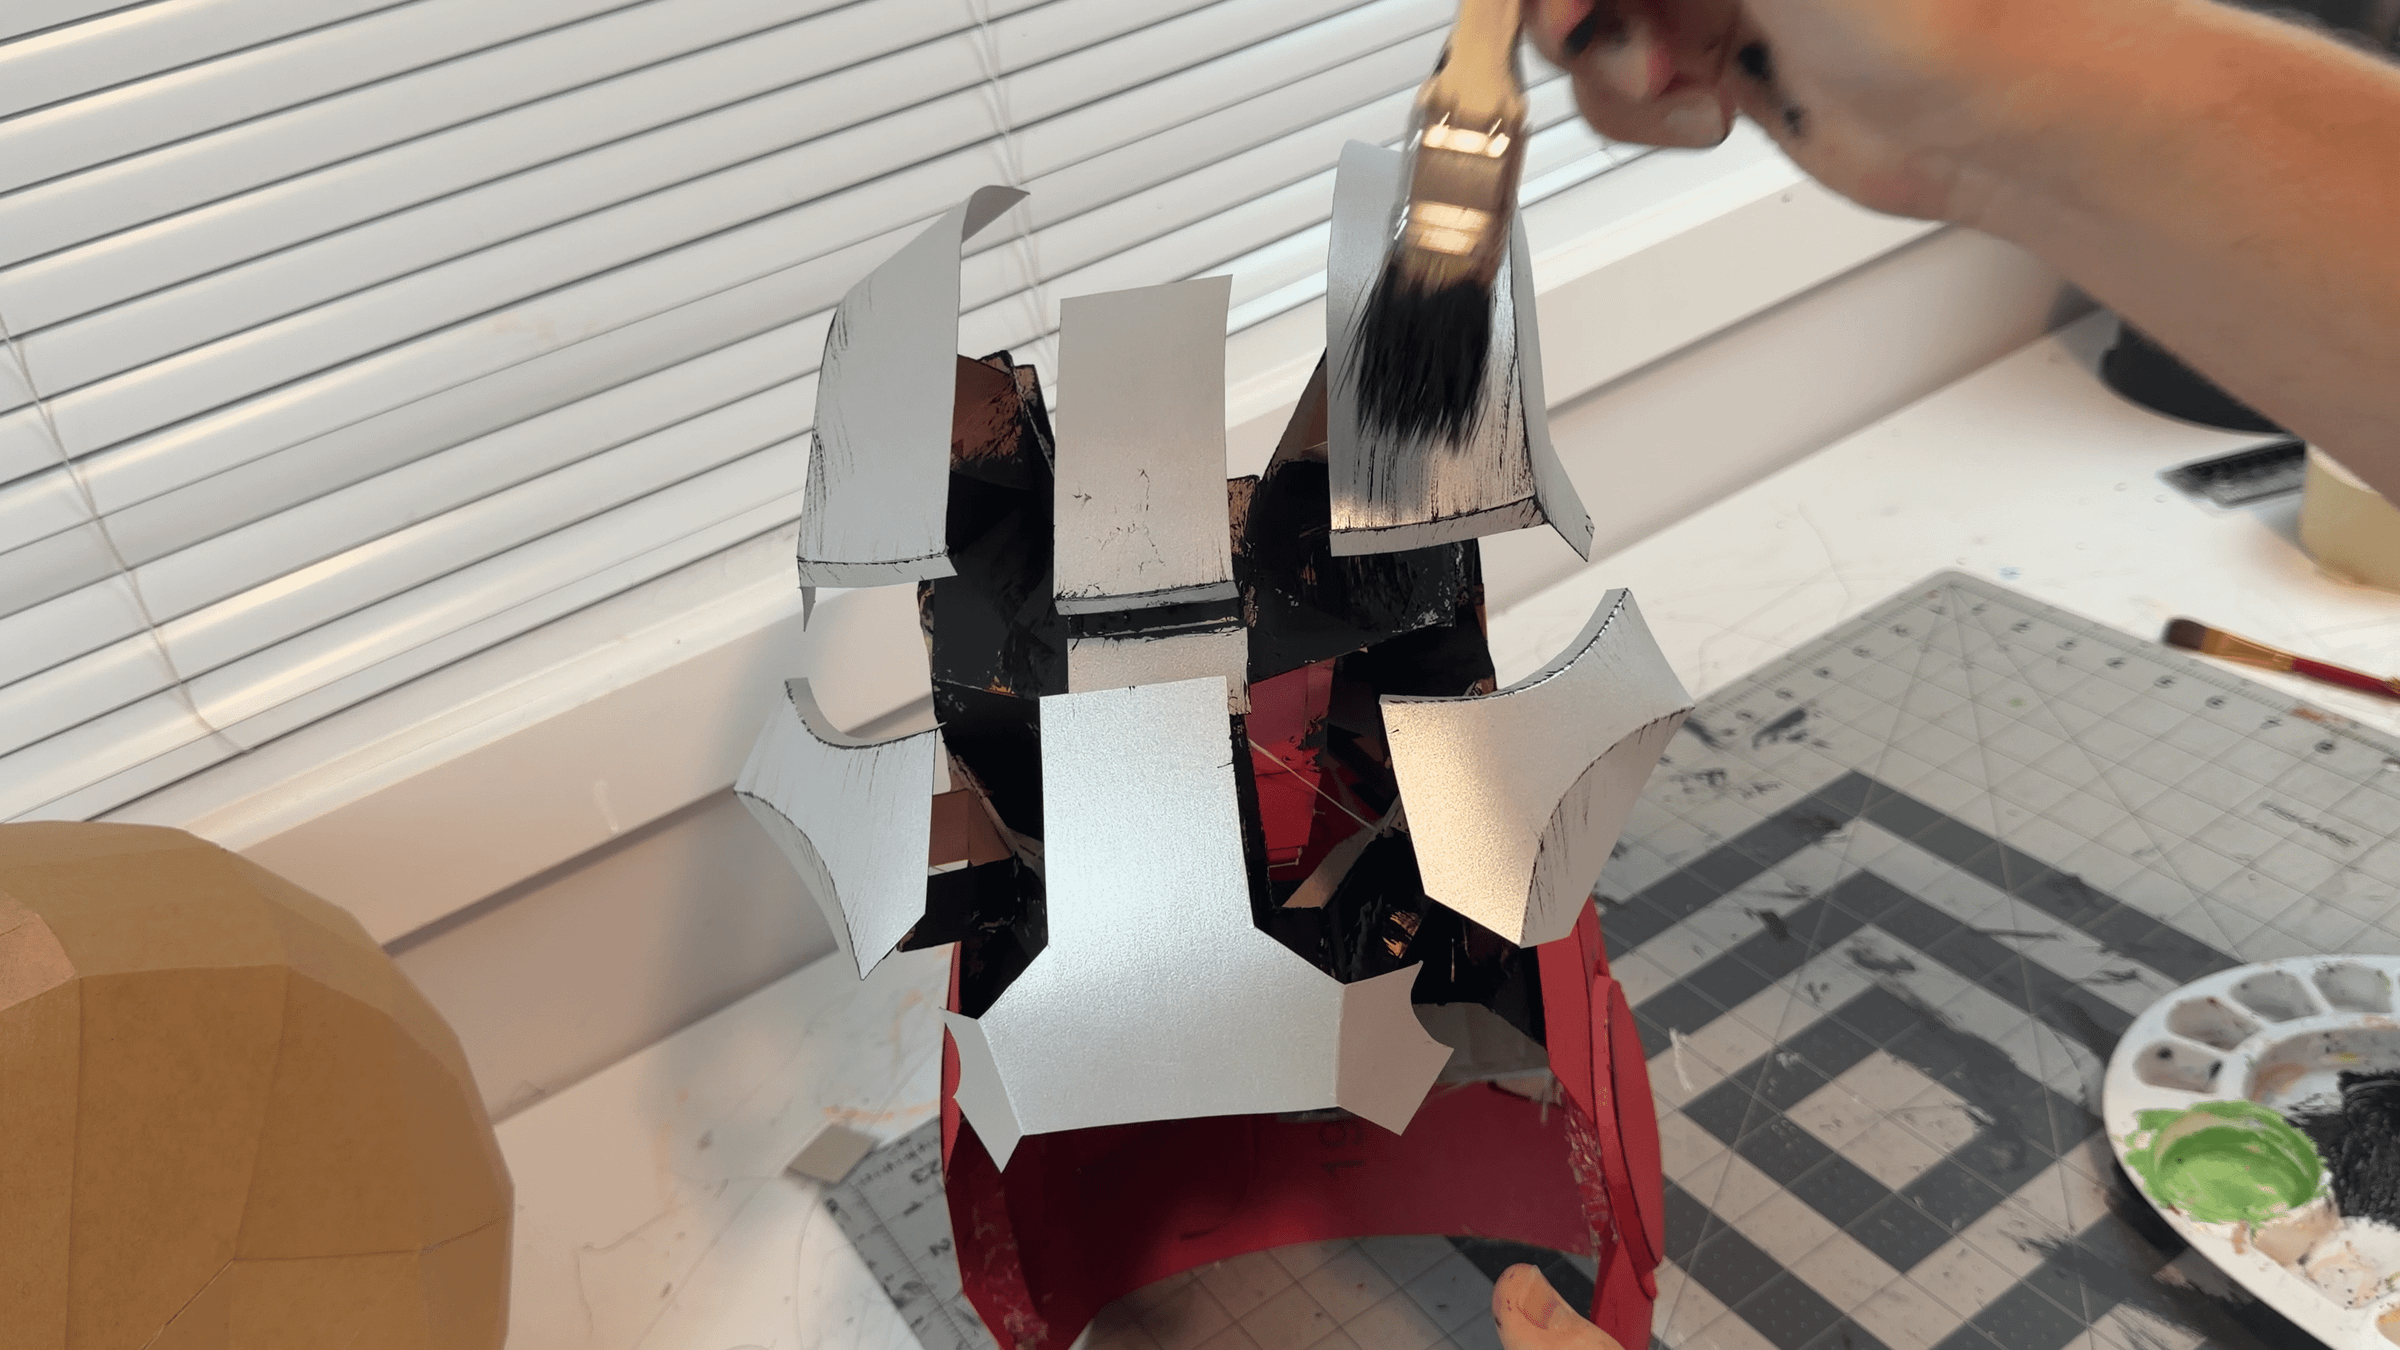
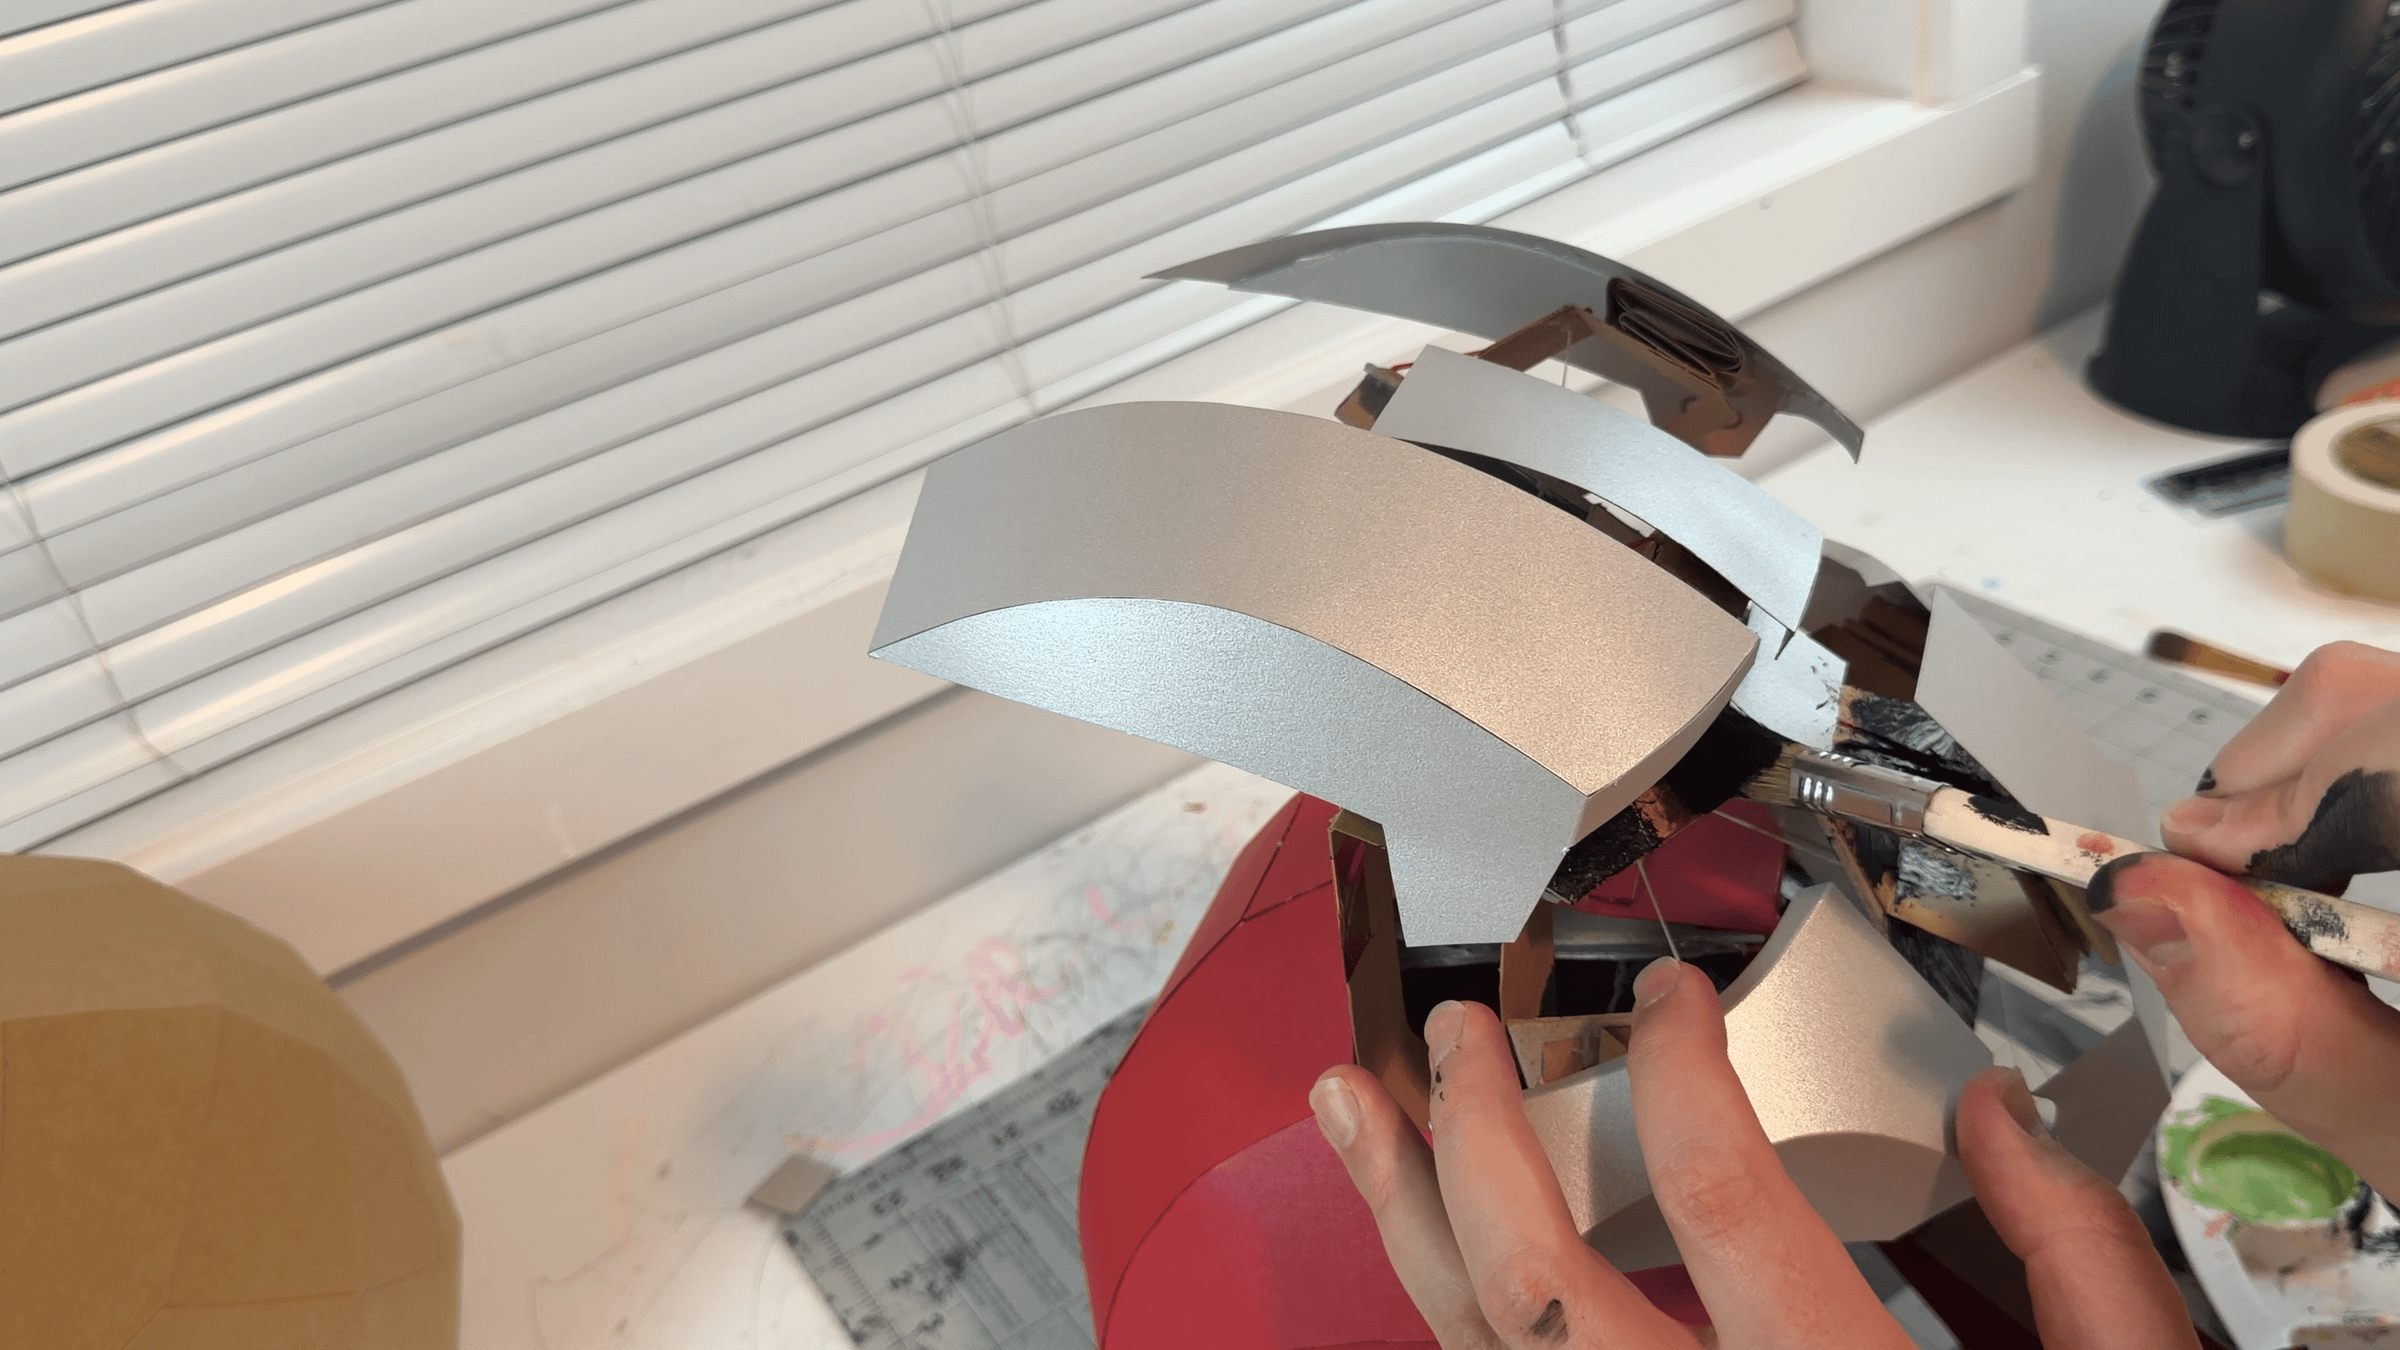
I painted the inside of the helmet black to create a stronger contrast with the metallic face panels.
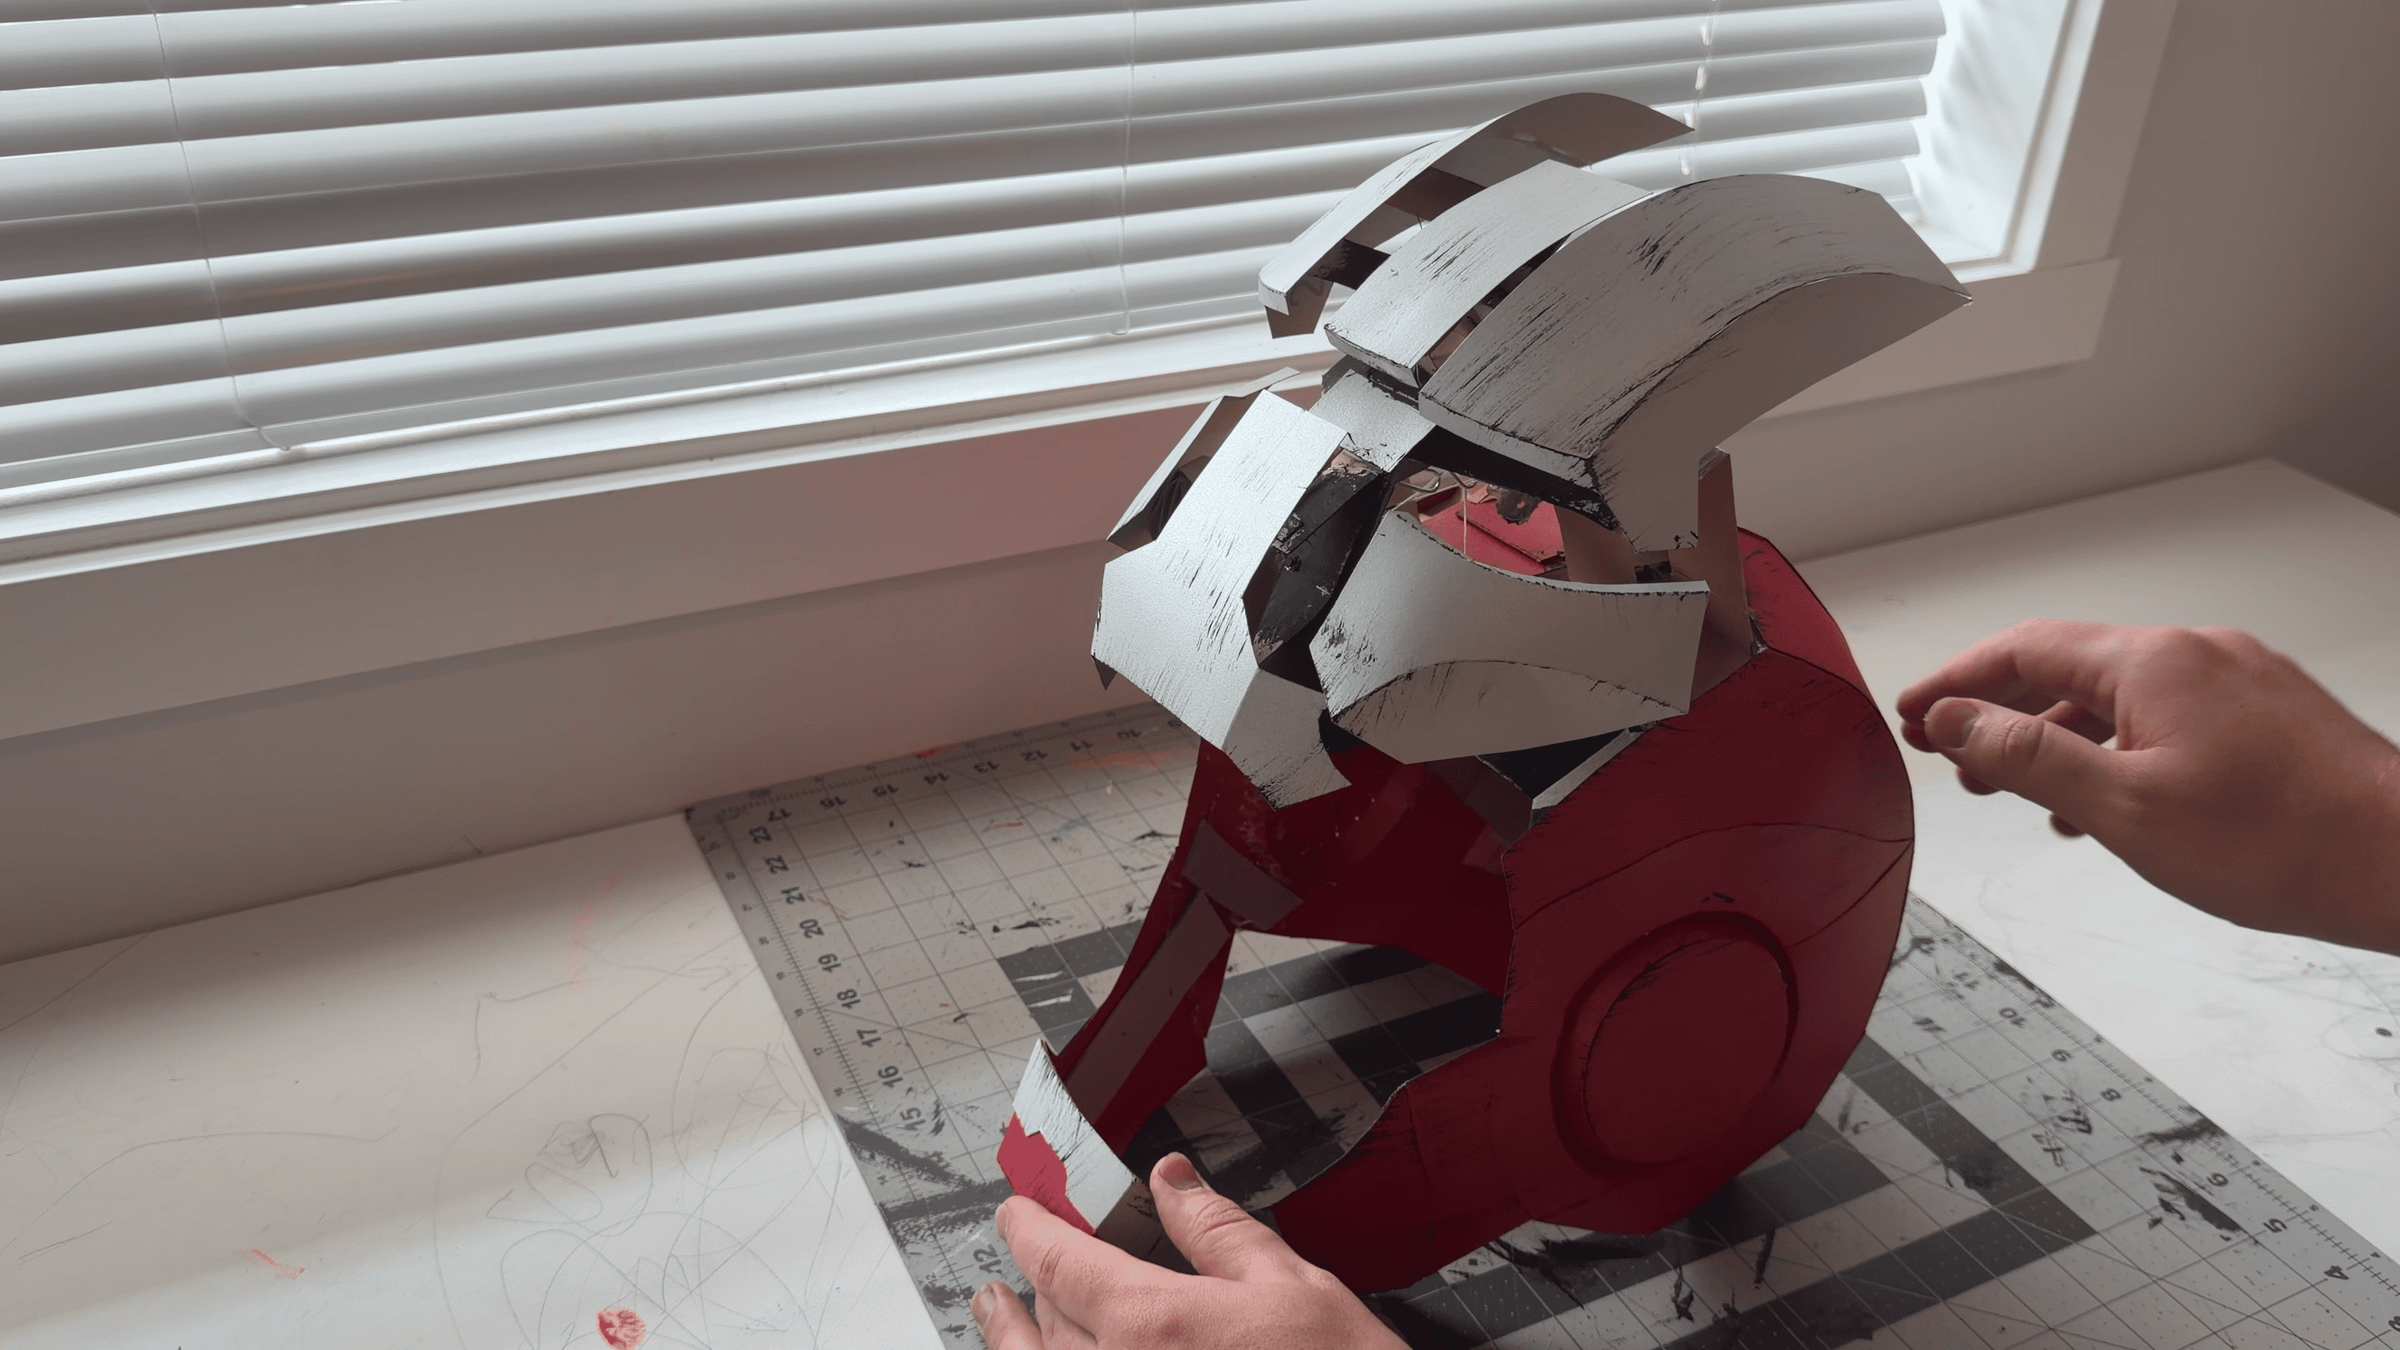
While painting, I accidentally got some black paint on the metallic cardstock — but I actually loved the result. It created a natural worn and weathered metal effect, so I decided to develop it further. Using a large, coarse brush with almost no paint on it, I added very light strokes over the raised areas, edges, and seams.
The result looks like metal that has actually been used, scratched, and exposed to extreme conditions — almost as if the helmet had been through the stratosphere and back.
If you want a perfectly clean finish, I recommend painting the internal parts before final assembly to avoid getting paint on the face panels.
Important: do not paint the moving cardboard hinges. Paint can soak into the fibers, make them stiffer, and change their mechanical properties, which may damage the mechanism. It is much better to make the hinges from black cardstock from the beginning.
The Result

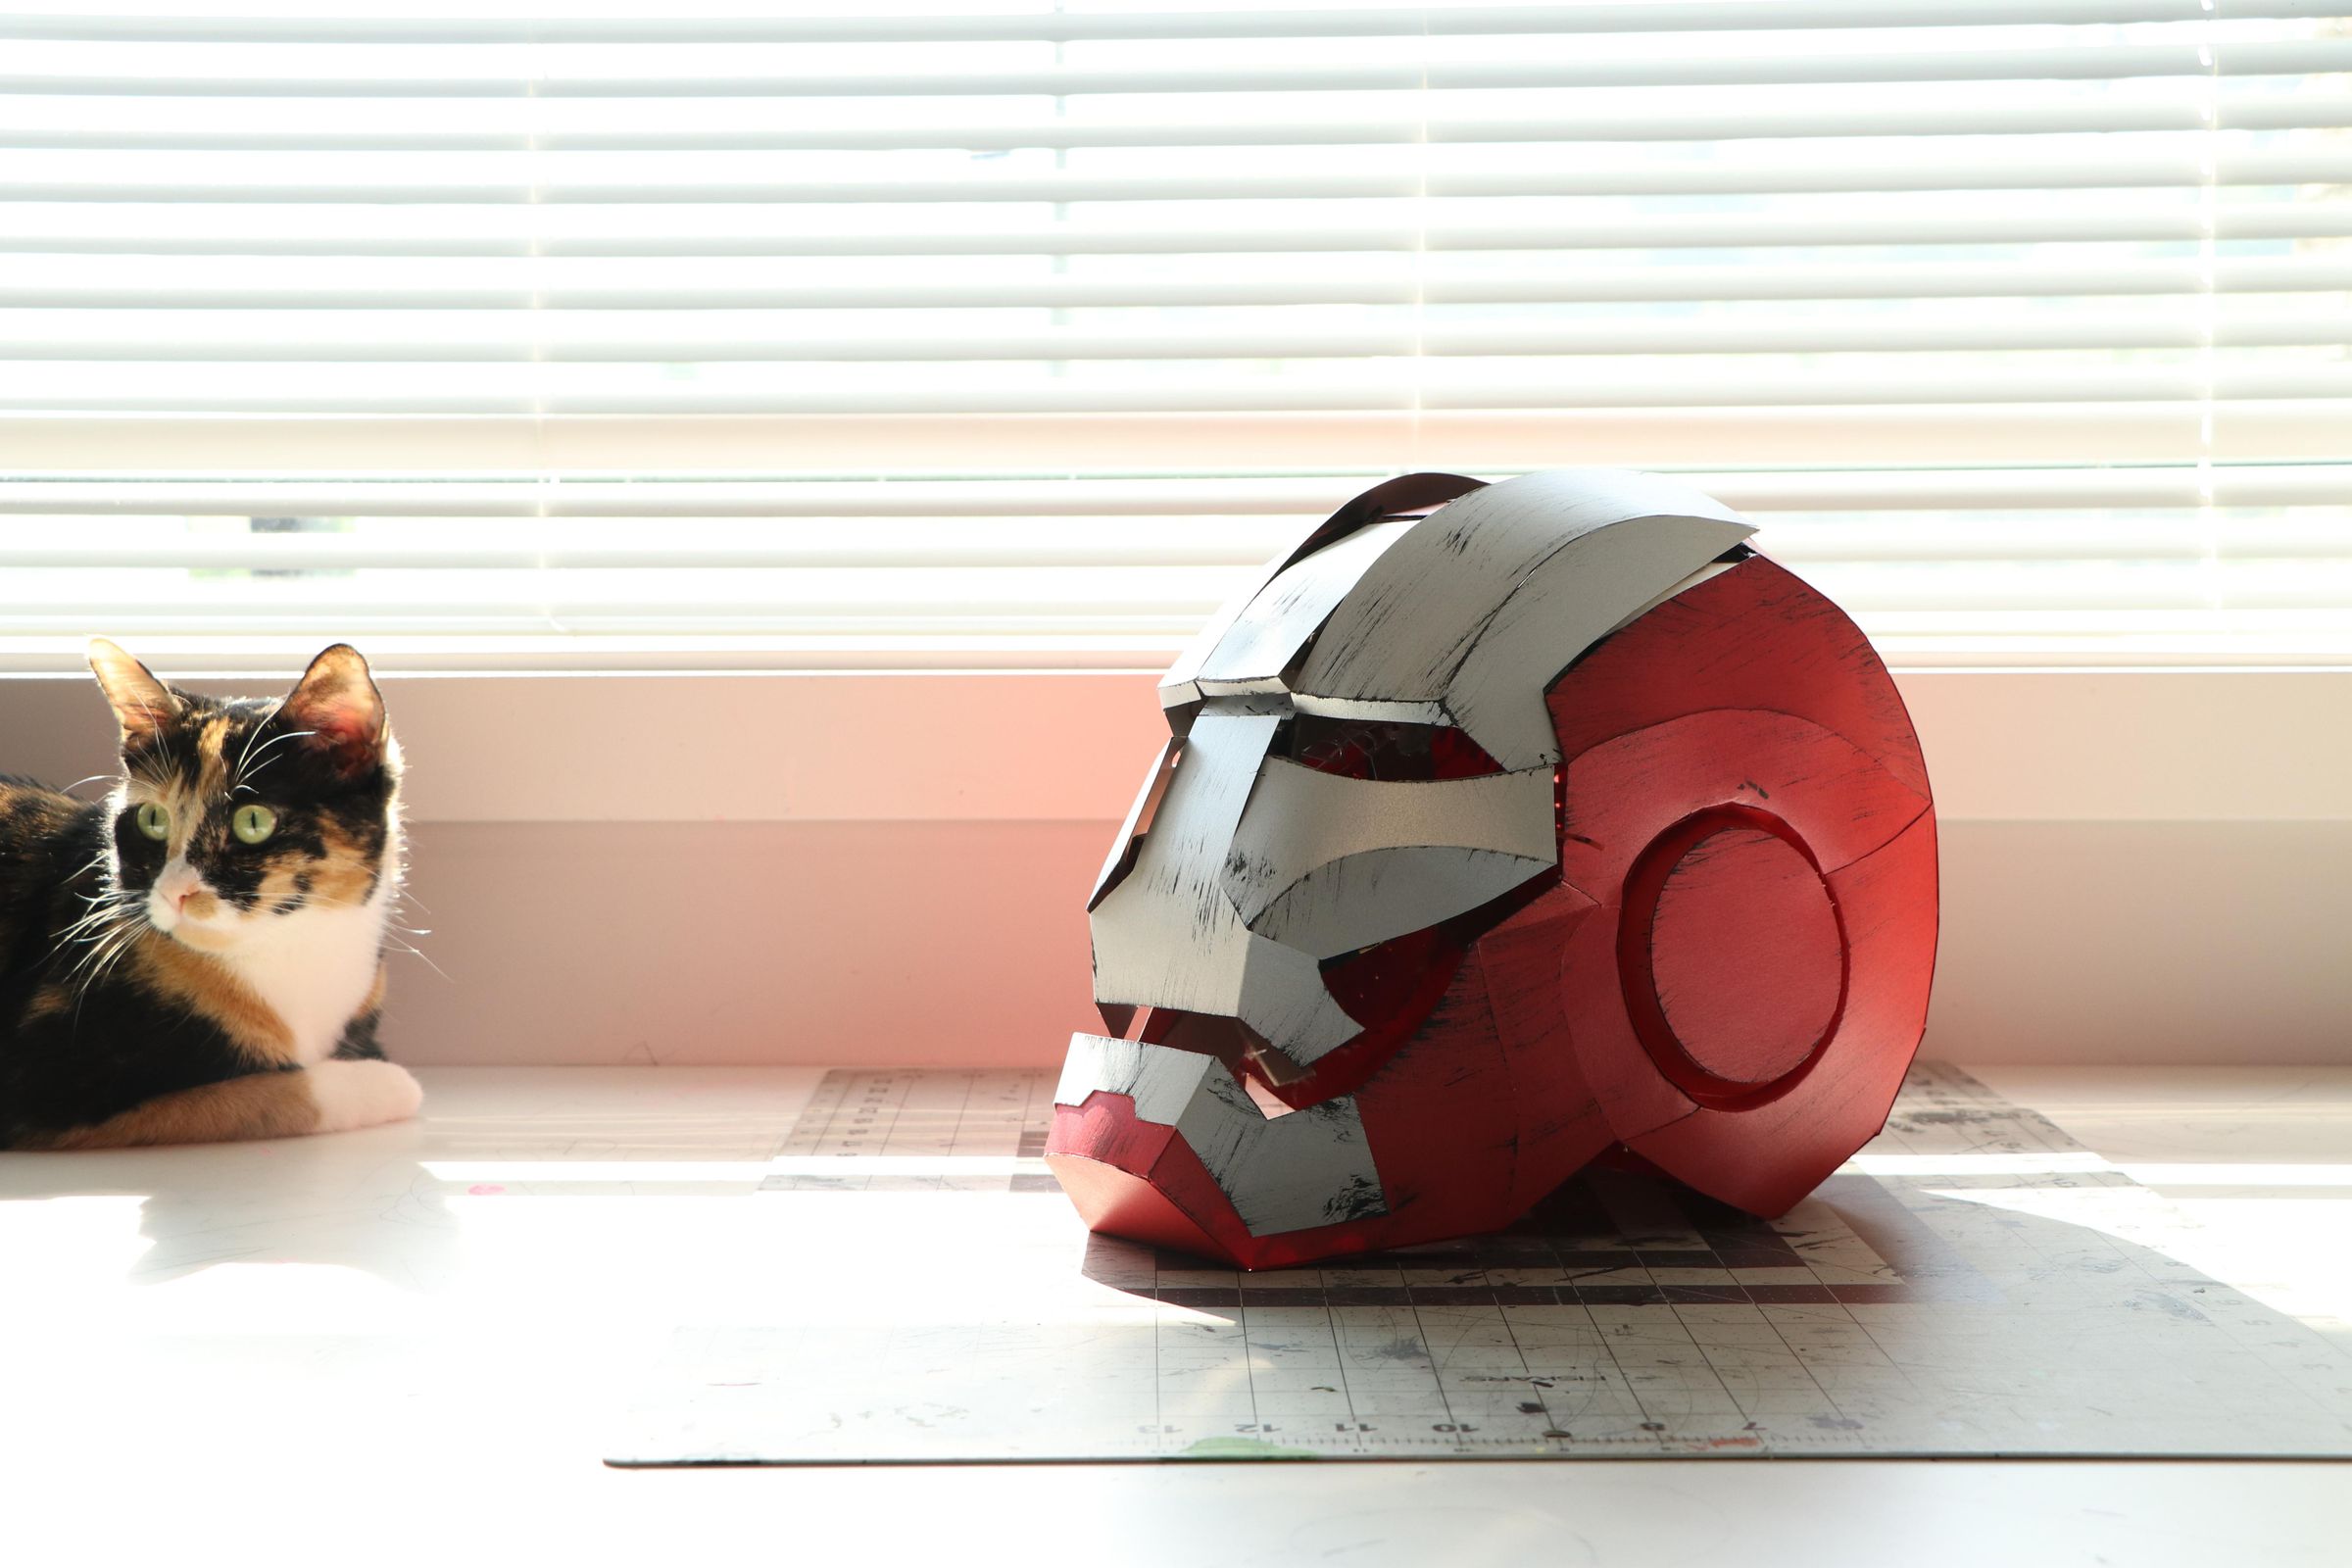
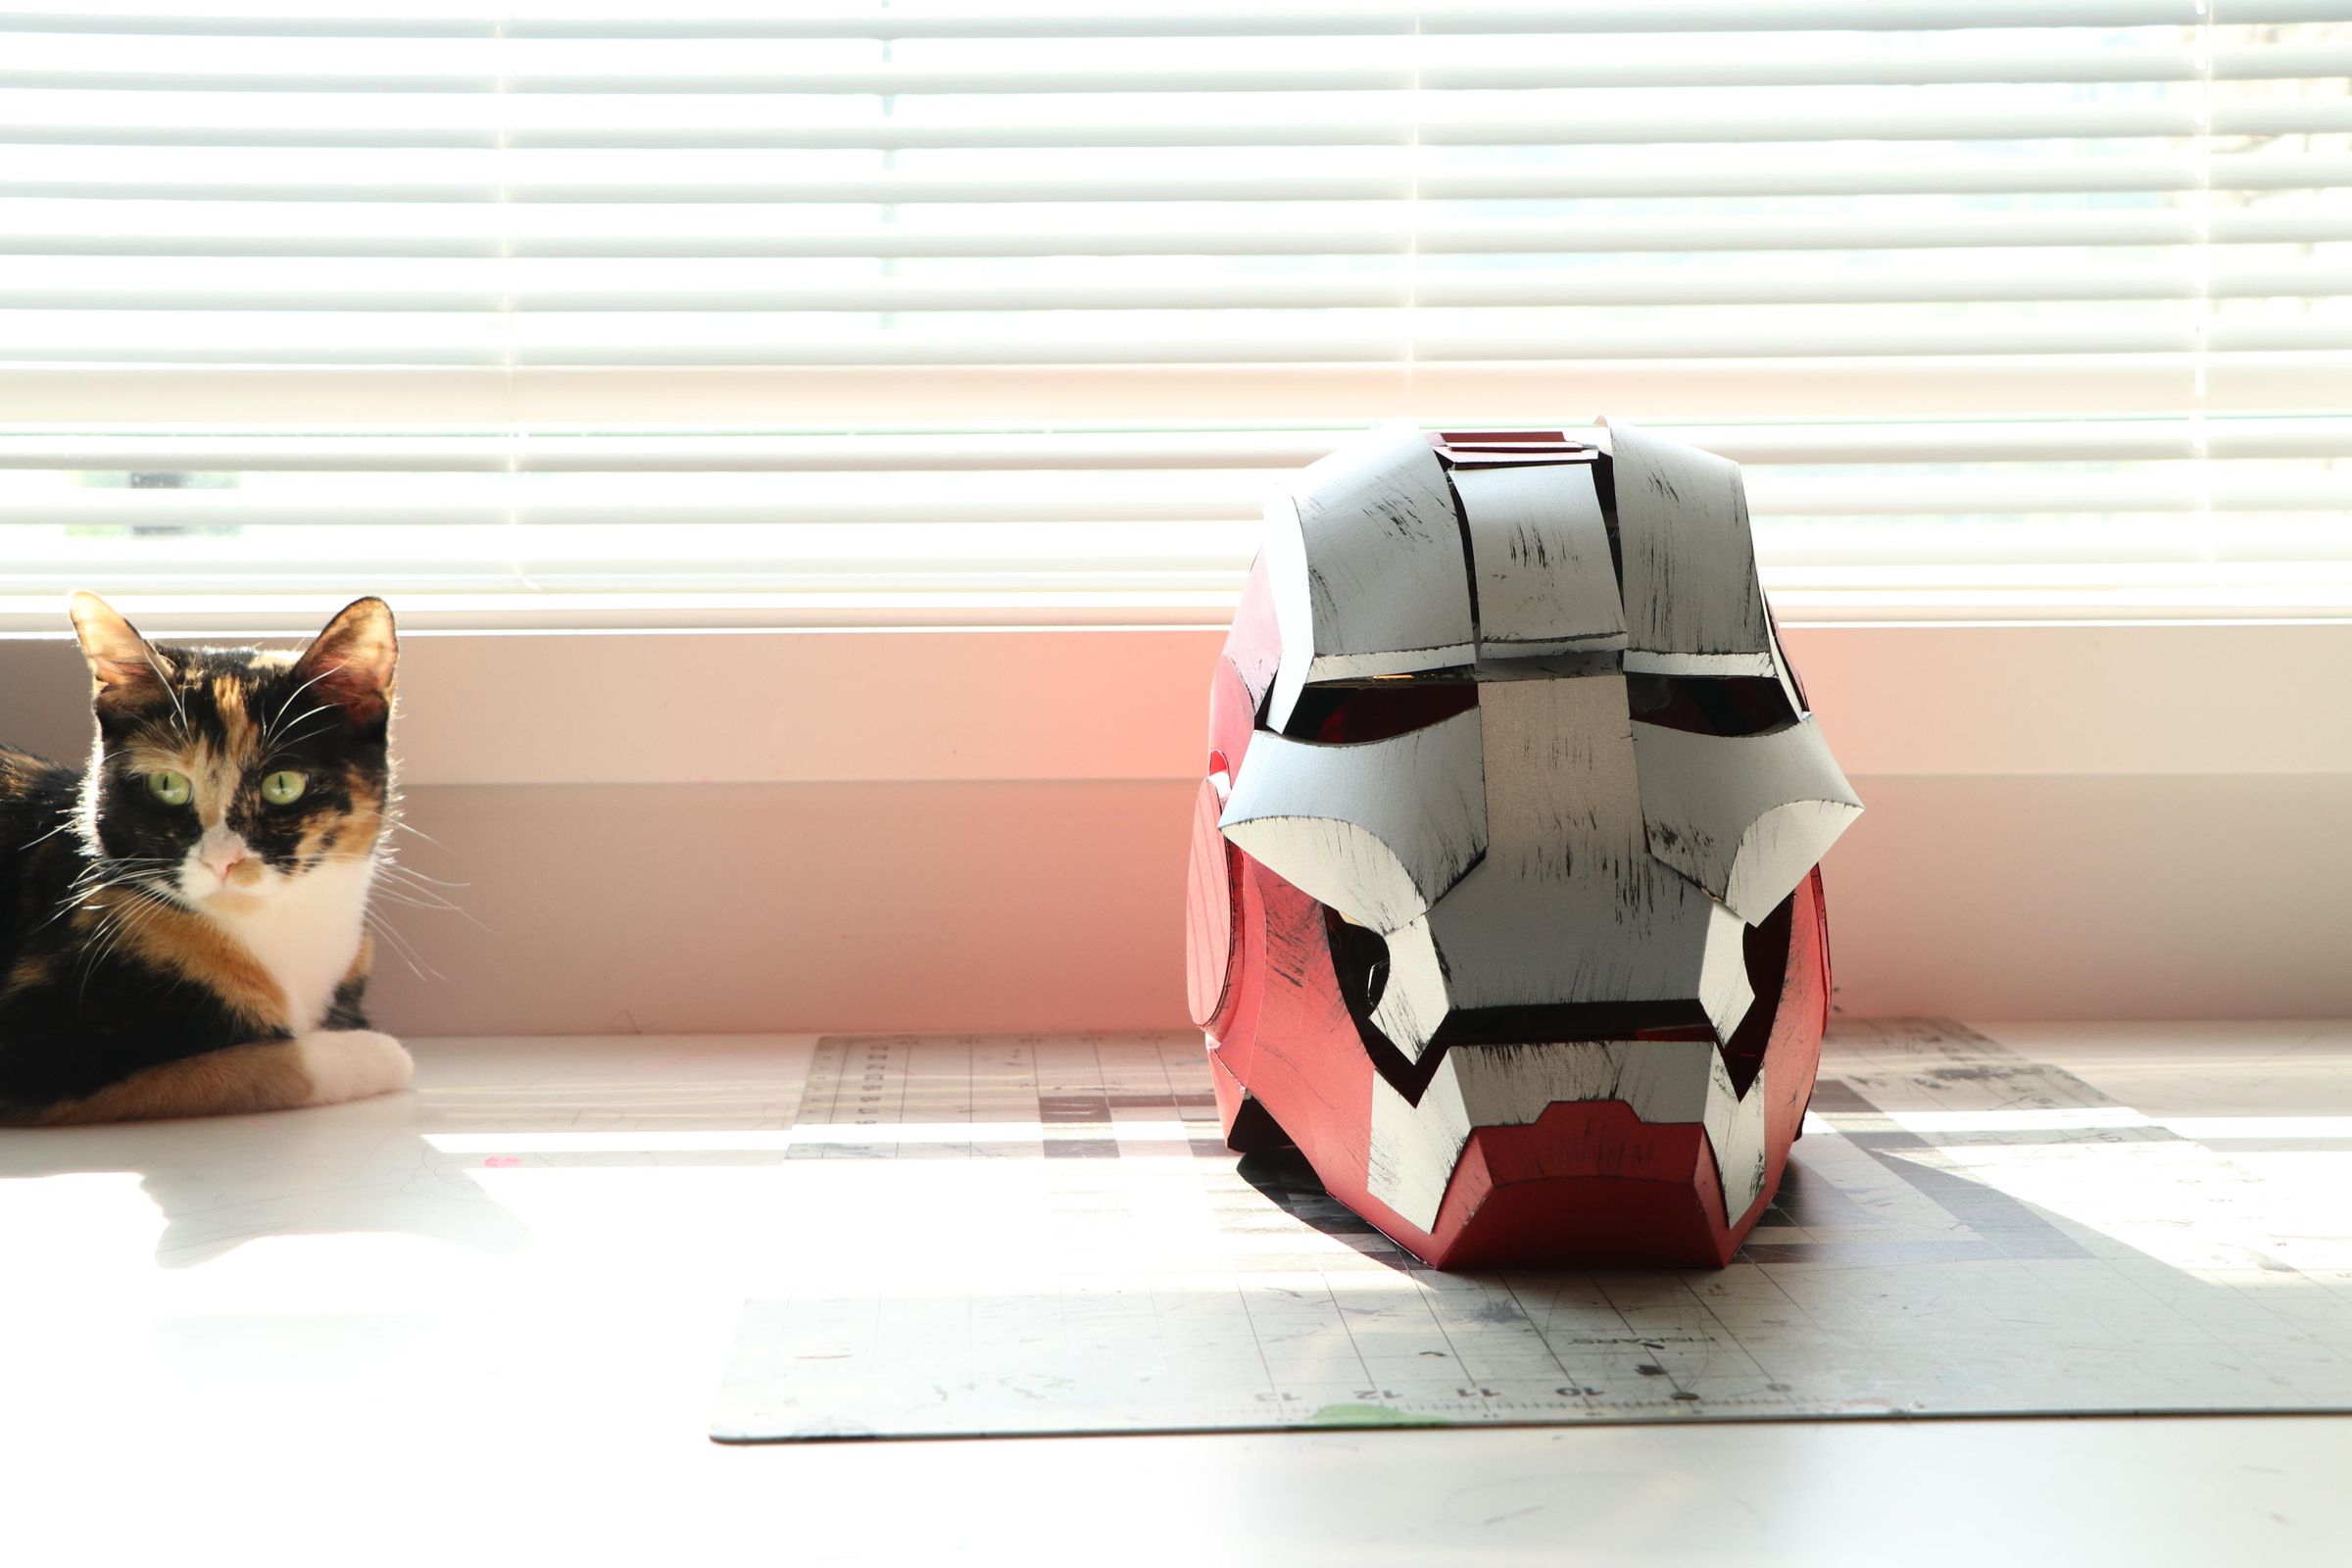
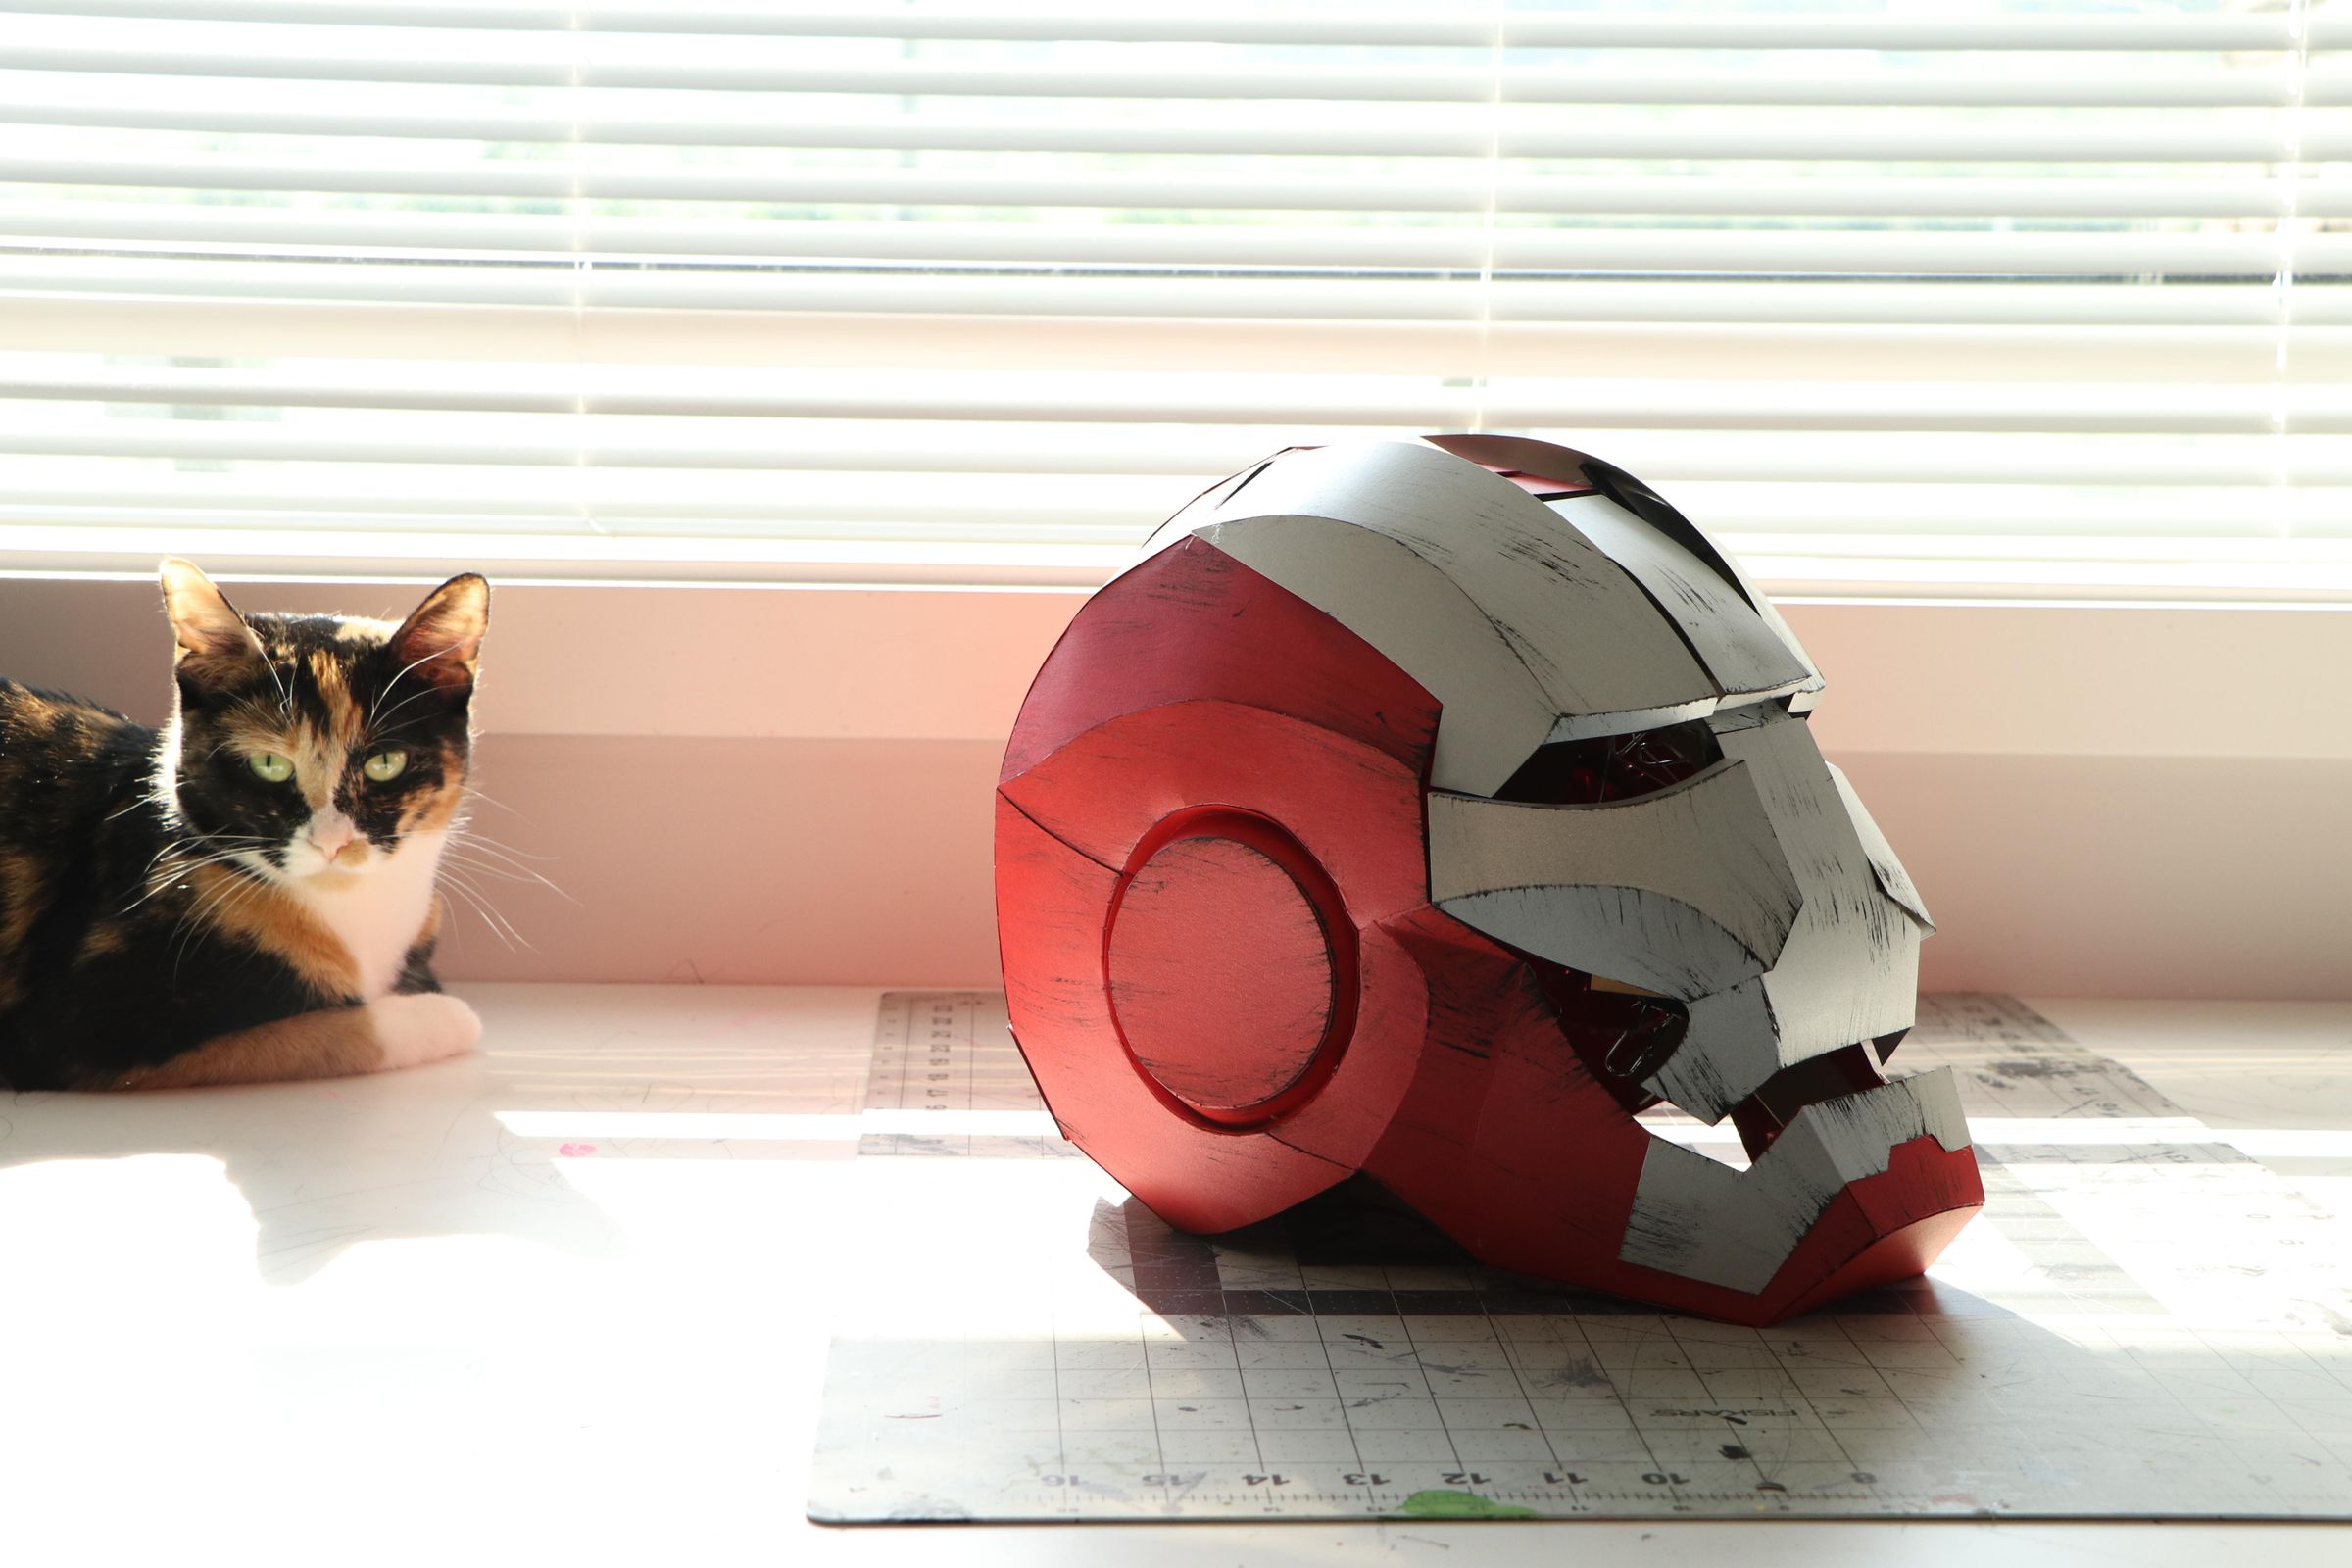
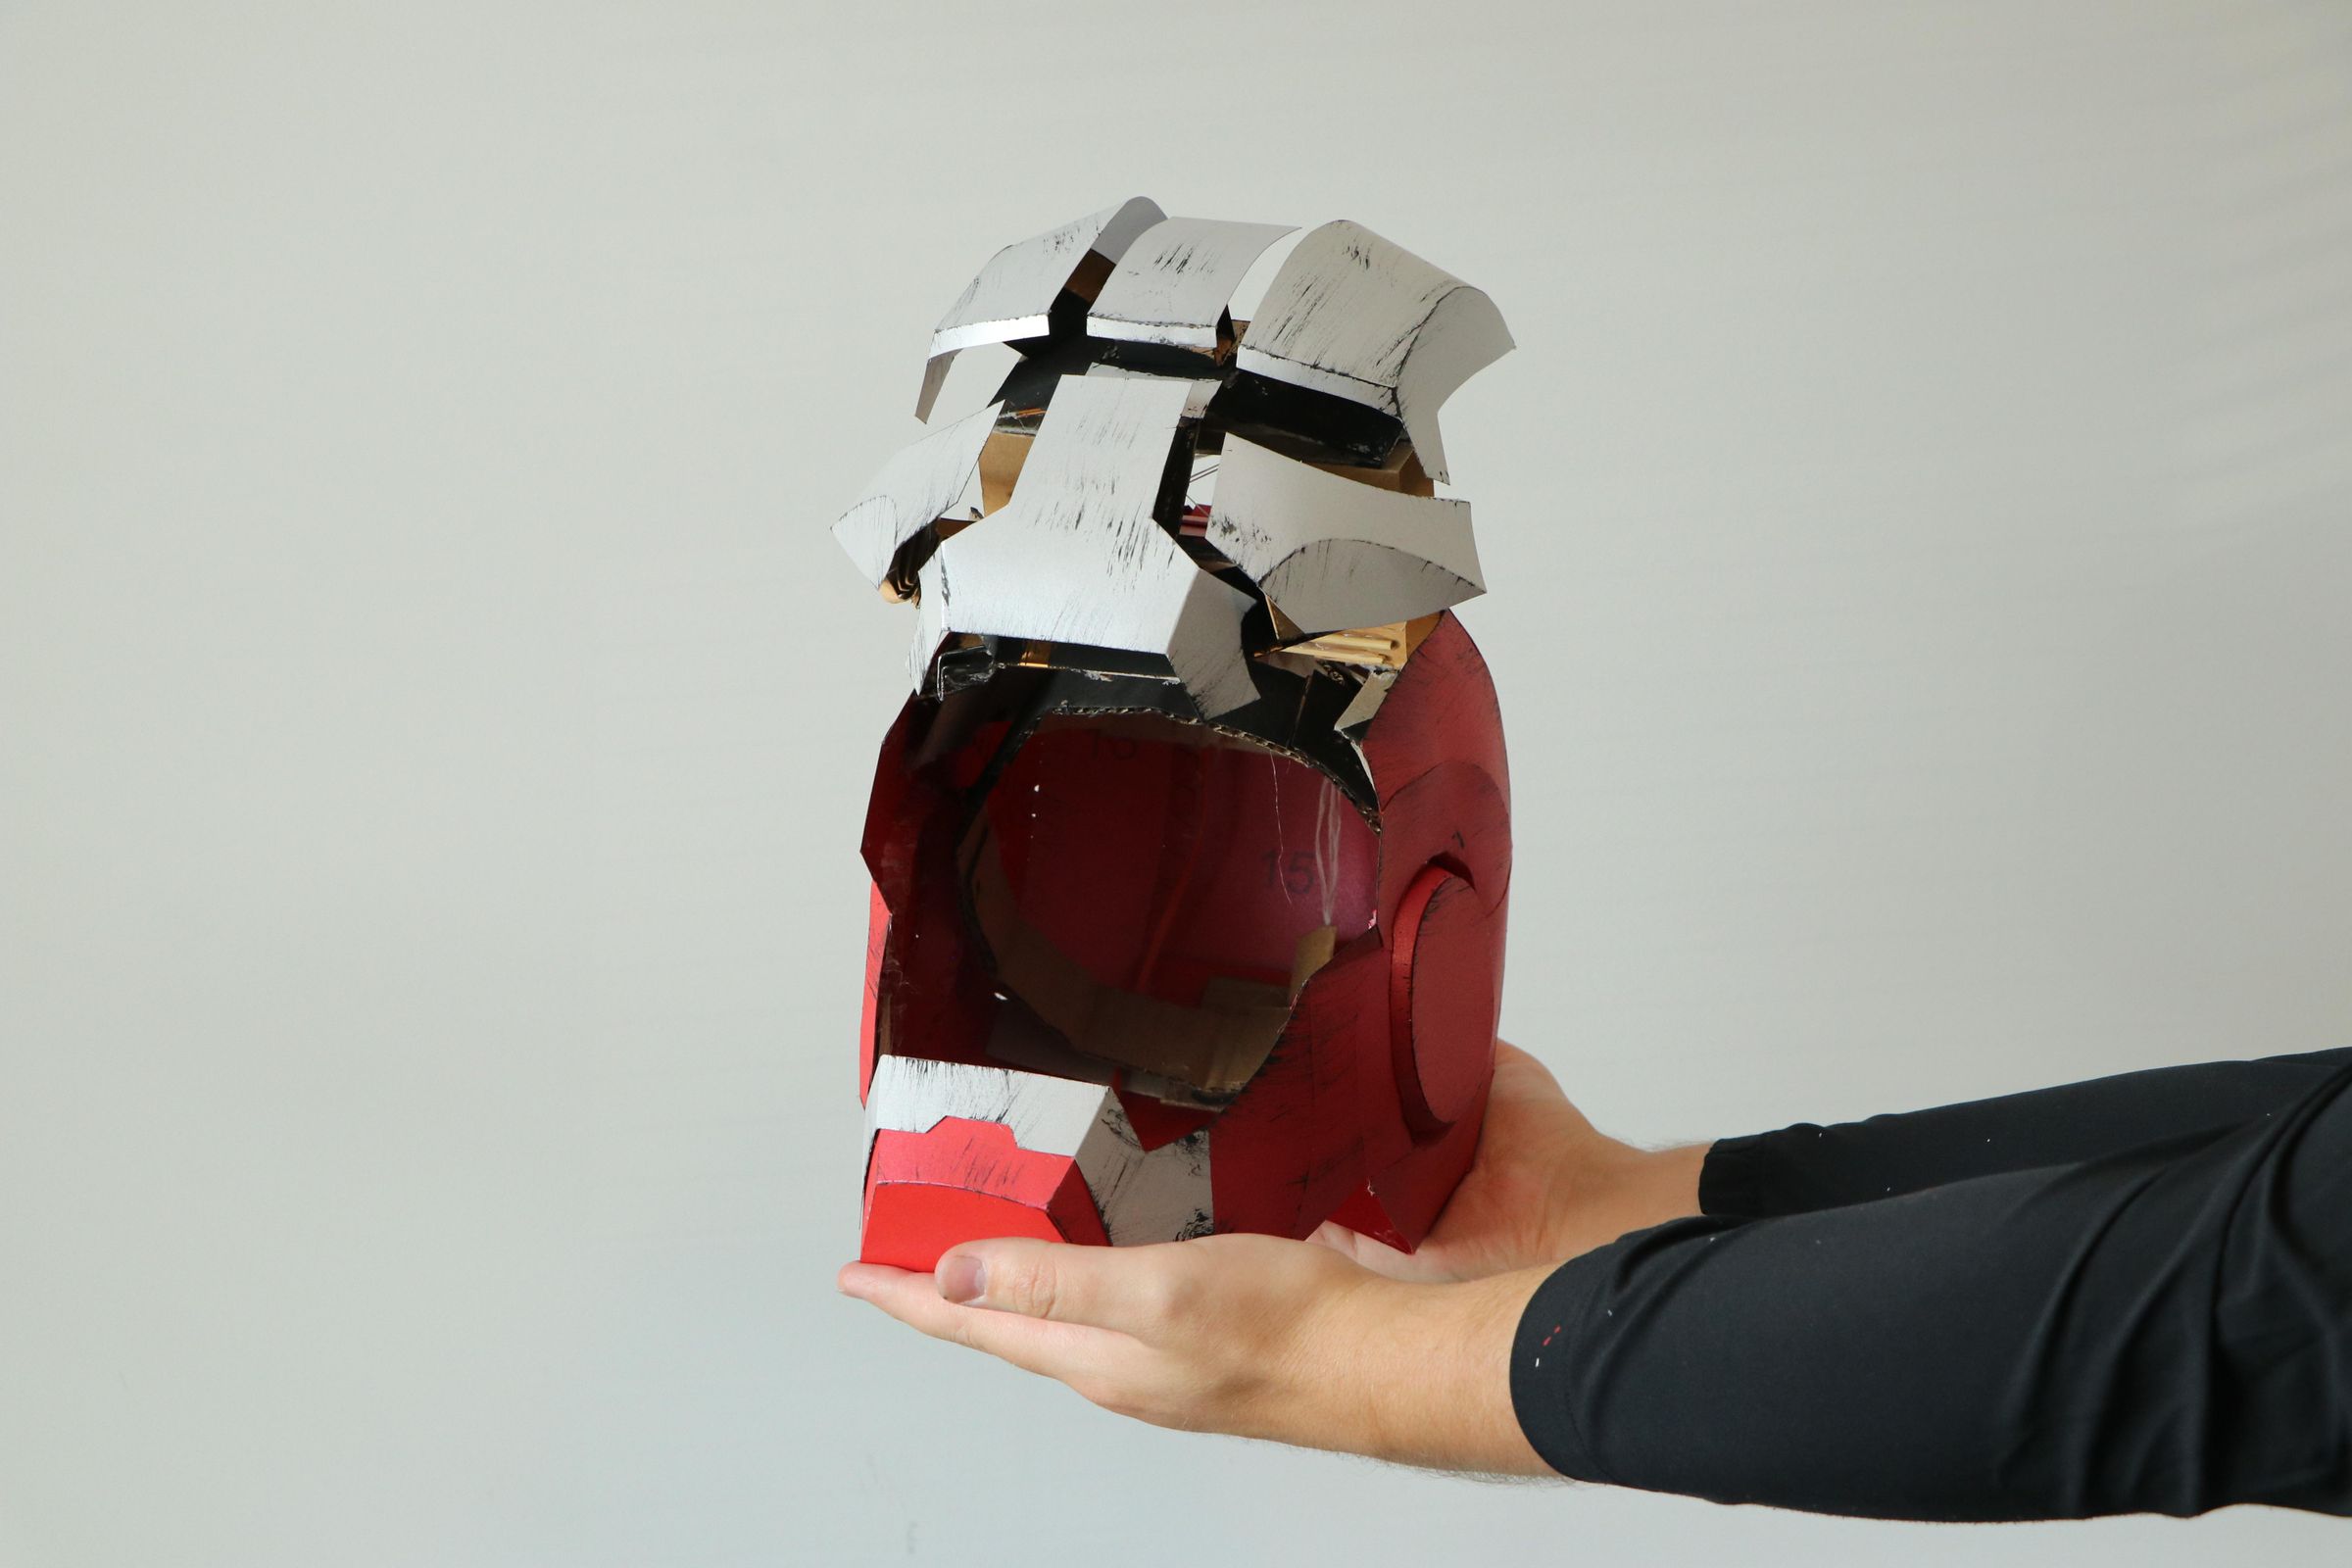
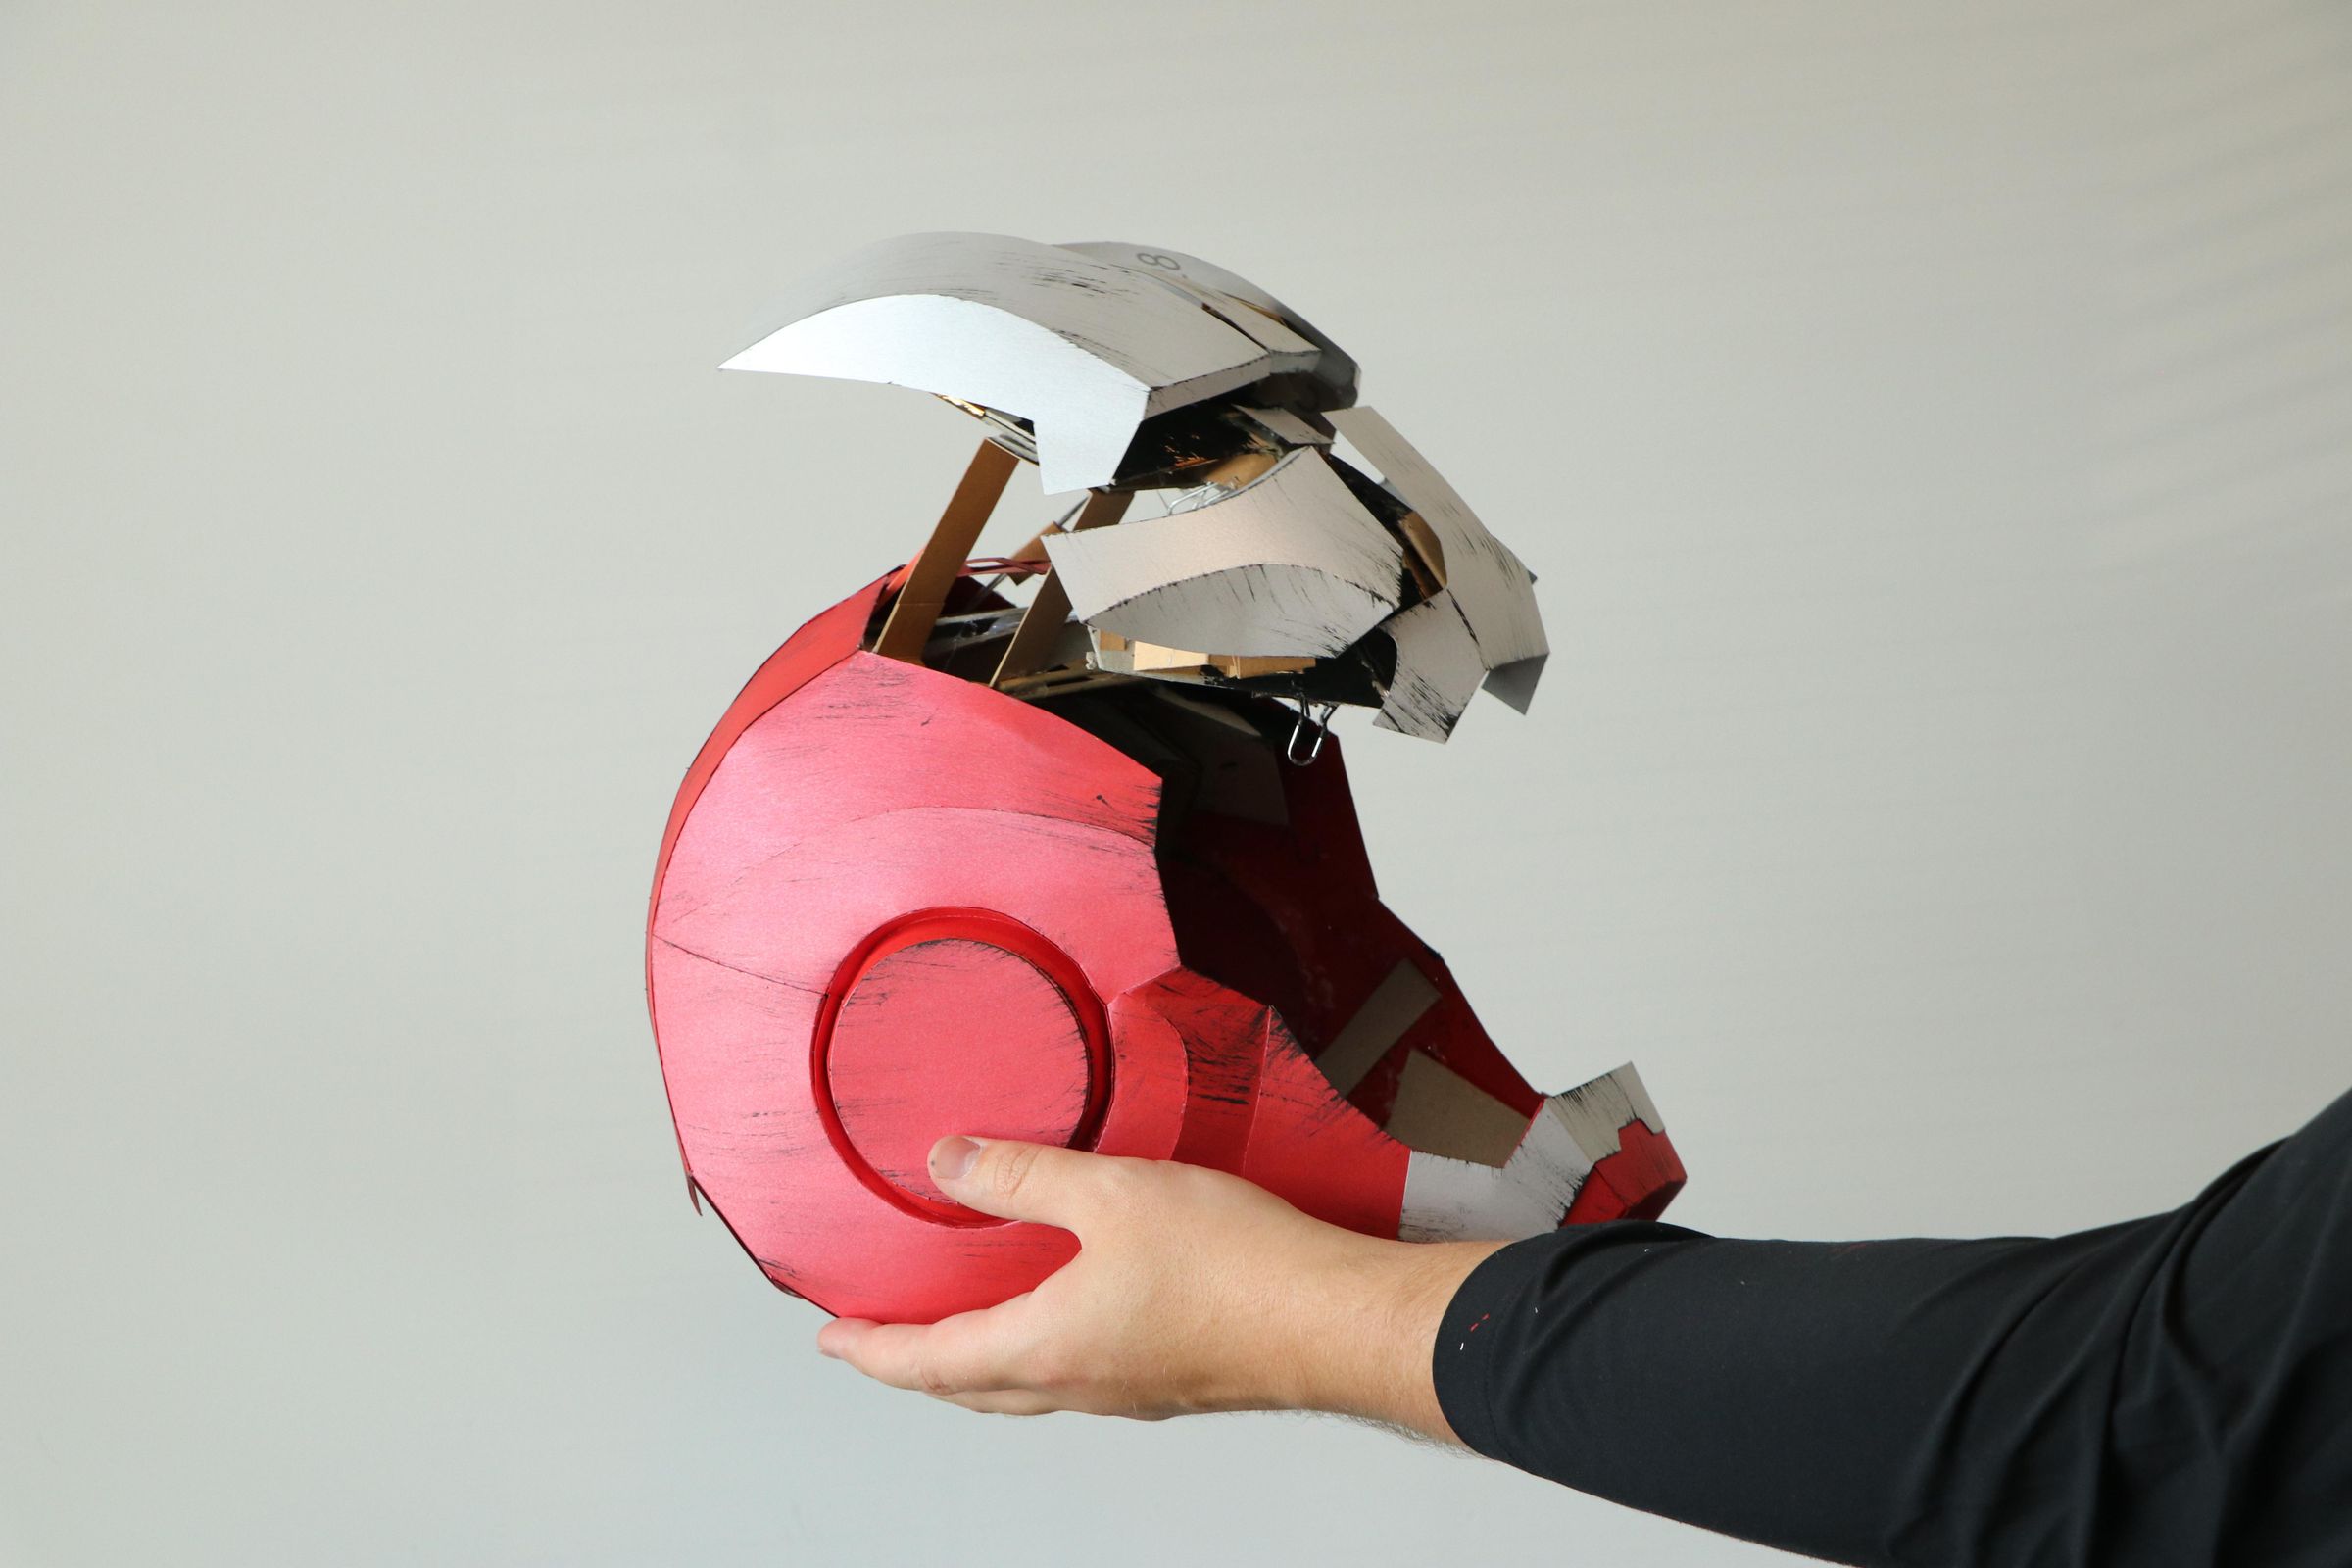
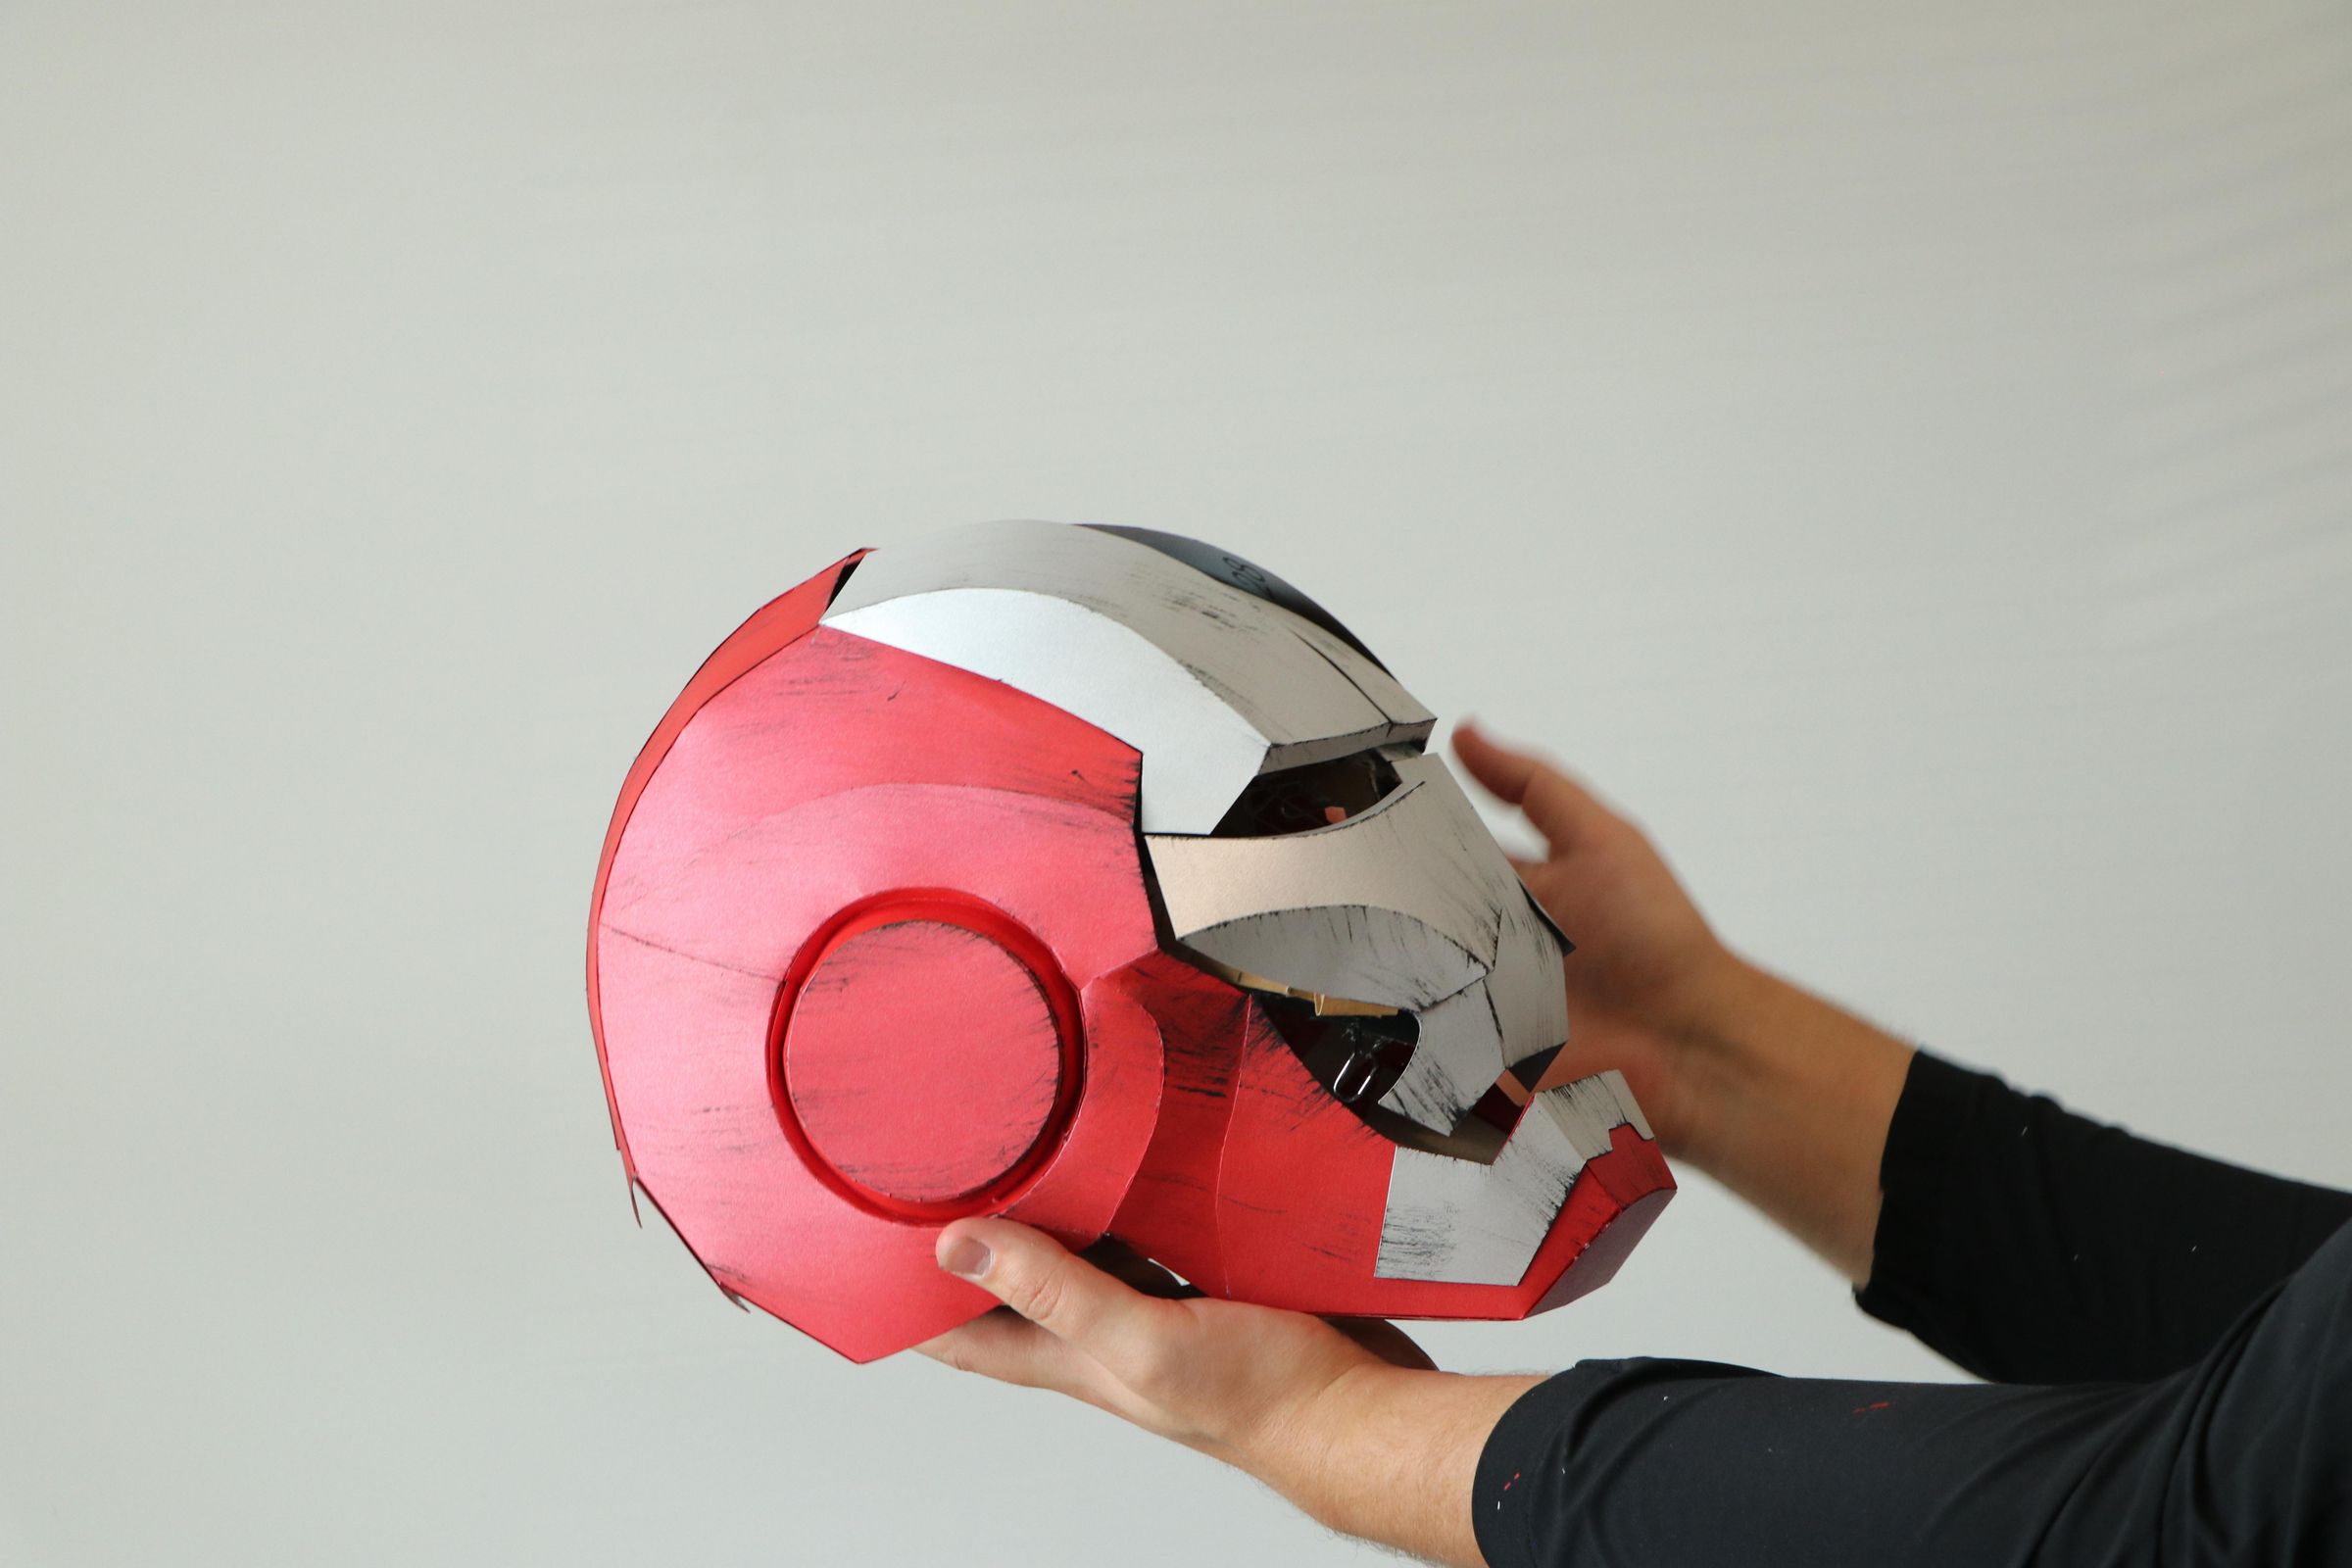
And here is the finished cardboard Iron Man helmet with fully mechanical opening panels!
The entire mechanism works without motors or electronics — just cardboard hinges, rubber bands, thread, and simple mechanical principles.
This is primarily a conceptual project, and there is still room for improvement. The panels are designed for precise alignment, but the material itself needs careful shaping and reinforcement so the cardboard takes the intended form and holds it accurately.
It was a challenging project, but also a great way to learn and experiment with cardboard mechanics.
I hope you enjoyed this project! I’d be happy to hear your thoughts, ideas, and feedback in the comments.