Furnishing a 200 Sq Foot Home
by eglen2008 in Living > Homesteading
221 Views, 0 Favorites, 0 Comments
Furnishing a 200 Sq Foot Home
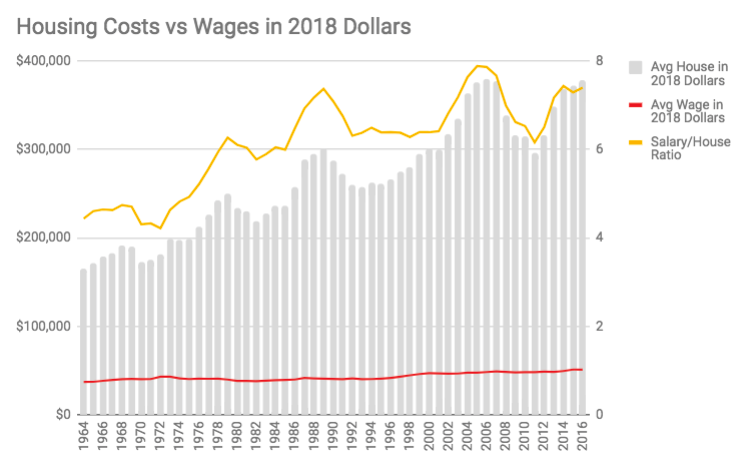
With the rise of housing prices, many are forced to turn to smaller and smaller living spaces to afford rent. As a result, micro apartments are becoming more and more prominent in large cities like New York, and they require a lot of things to be taken into account. This instructable will examine the steps taken in creating, designing, and rendering a micro apartment room.
Supplies
- Computer with an architectural and rendering program(s) installed, as well as the device specifications necessary to run them
- 3D Printer
- Diorama grass
- Play-dough
- Cardboard
- Scalpel
Concept and Planning
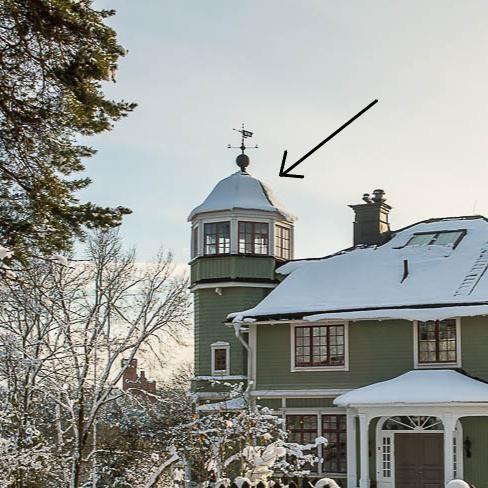
To really challenge myself, I decided to make my room in the most irritating shape I can think of: a circle. Circular rooms are a veritable nightmare for most purposes because there isn’t really any furniture that can fit against the walls, which means that you’ll have some wasted space. In a tiny room, all space must be used for something, regardless of how small that something is. I gave the room a 7’ 11” radius, leaving me with approximately 200 square feet of space to work with. I also wanted the room to have a slanted roof, just for a bit of extra challenge.
Creating the Model

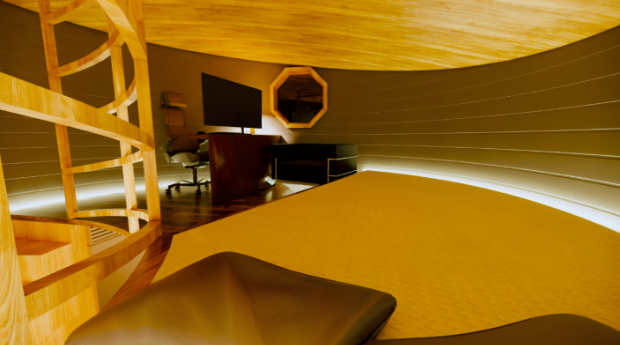
I used Revit to model the building, as I’m much more familiar with it than other architectural softwares. To begin, I planned out all the levels of the model so I could fit everything in its place. I added a second floor 6’ 9” above the ground level so that the first floor would be comfortable to walk around in.
Rendering

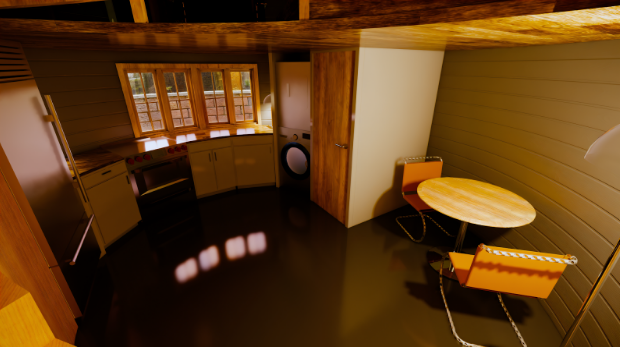
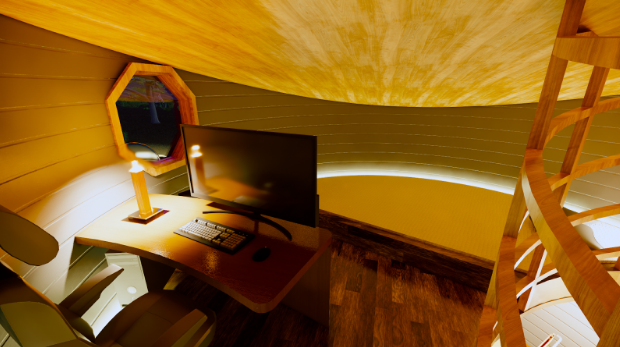
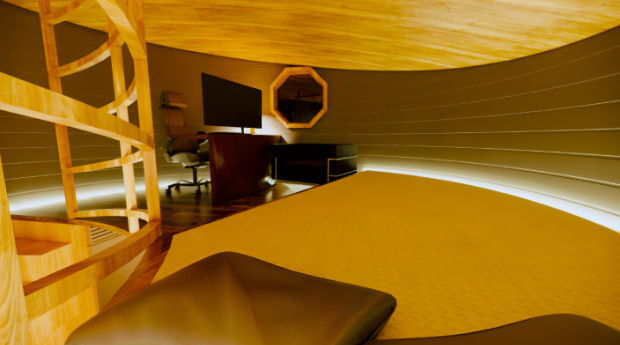
Before I could make my rendering, I made sure to do some landscaping around the house to make it look more natural from the ground level. I then used Enscape to add a significant amount of greenery to the surrounding landscape, primarily bushes, trees, and patches of grass. I picked a handful of angles that captured key aspects of the house and changed Enscape’s settings for brightness, fog, color, etc. to make the rendering look as realistic as I could.
Physical Model

In order to make the physical model, I created a version of the project that only included the house and outer wall and made it into an STL file, which I then uploaded to one of my high school’s 3D printers for creation. I got my print and placed it on a small patch of fake grass near a play-dough river.