Fusion 360 Car

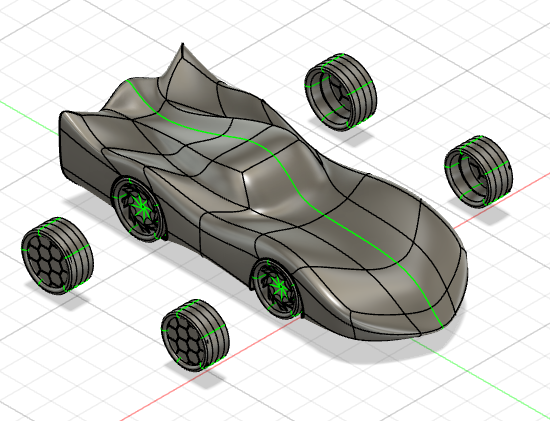
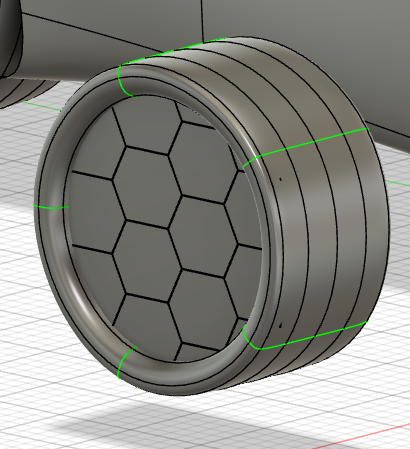
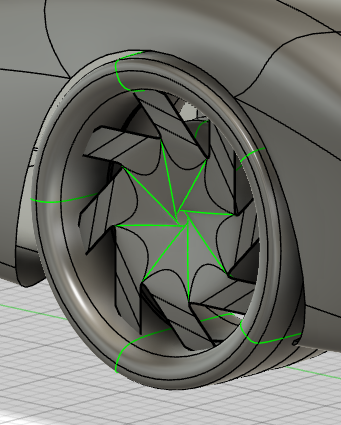
I have made a car in Fusion 360 using the Edit form tool. I also made 2 sets of wheels to go with the car, one a hexagonal bee-type pattern, and an 8 spoke pattern.
Supplies

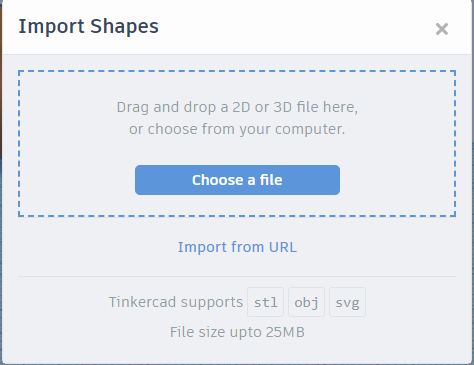
You will need Fusion 360, as well as the free Tinkercad. In Fusion 360 you will need access to the Edit Form tool. You will also need access to files, because you need to save a .stl file later on.
Creating the Start
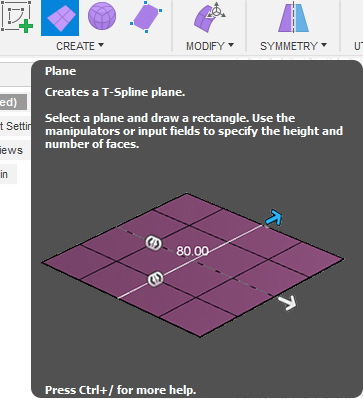
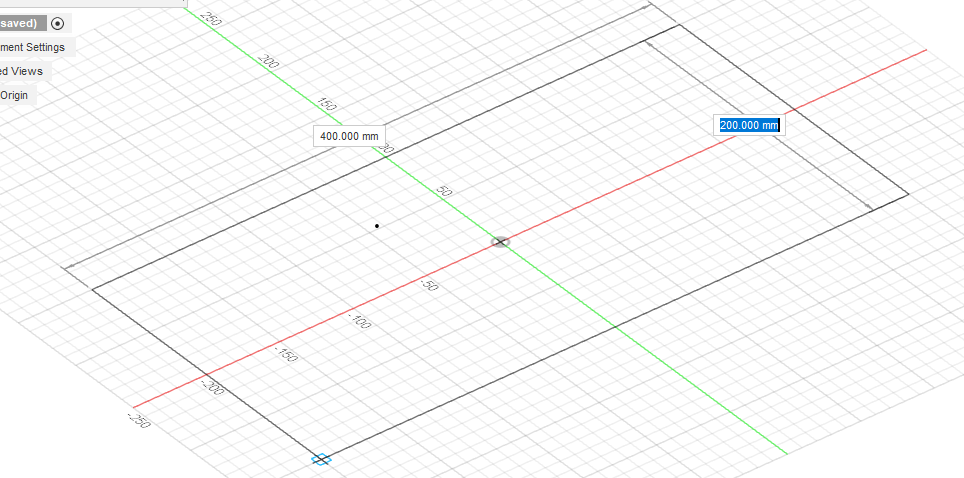

First, Edit Form and click onto the XY axis. Create a rectangle 400x200mm big.
Creating the Main Body

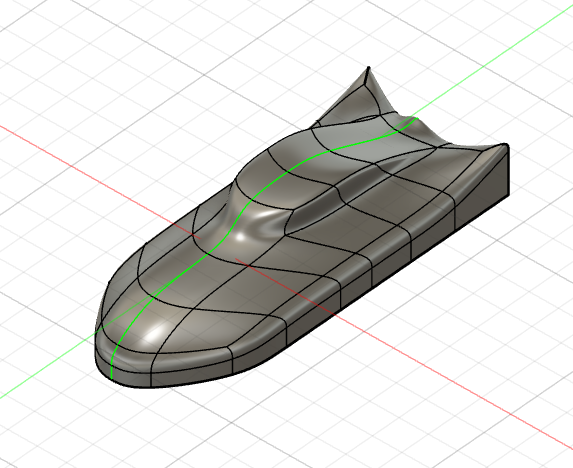
Then edit the rectangle, making a shape like the one shown above. You can do this by selecting panels and pulling them out with the edit form tool. Do not make a new T-Spline, or a new face, because then it won't work the way it's intended to. You will also need to learn how to make T-Splines, so check youtube for this.
Creating the Fenders

Then make the wheels by taking out panels. This will give it a curved feel. We'll get to making the chassis closer to the ground in a few steps.
Creating and Adding the Wheels

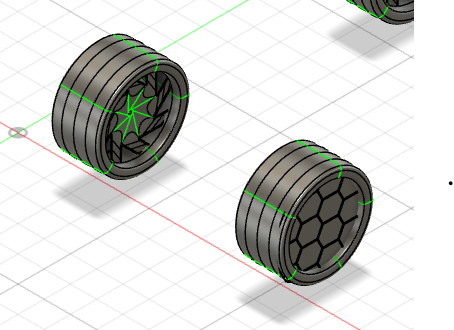
Make some wheels, it doesn't need to be very detailed. Here I made 5 spoed wheels, but I also made 8 spoked ones and hexagonal bee type ones. One mistake I made was that I took out the line connecting the windscreen and the bonnet. I've added some of the new wheels I made, and personally I made the back wheels a bit bigger than the front ones.
Lowering the Car


Now bring the whole car down. It should be lowered so it looks like the wheels push the fenders up. Make the nose pointy, as well as the back spoiler. If you are wondering, I did make another wheel 👌
Underside of the Car
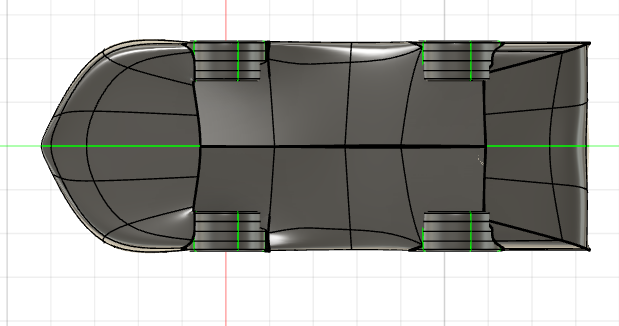
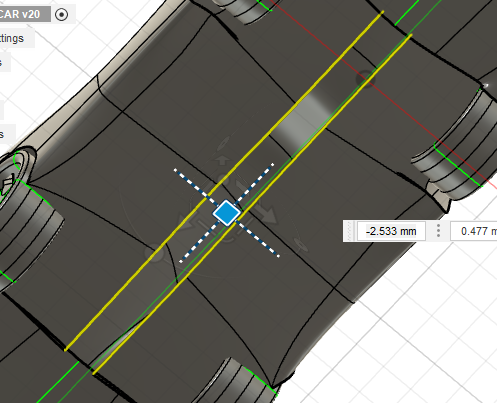
Now you need to make the underneath of the car. It shouldn't connect fully because that will create an error when finishing the form. Use the above pictures to help with alignment.
Exporting From Fusion 360


These images show you what you should do. In tinkercad, please see the next step.
Importing to Tinkercad


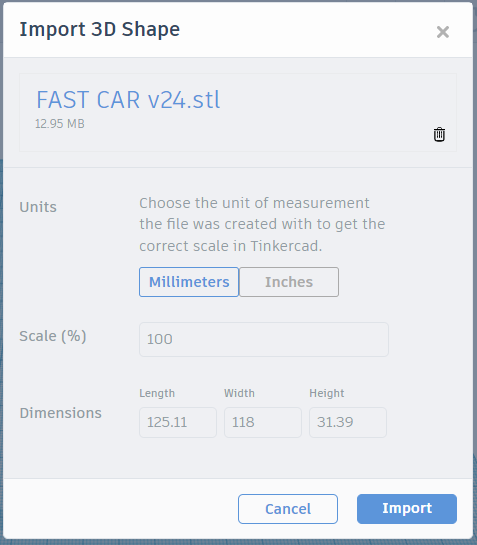

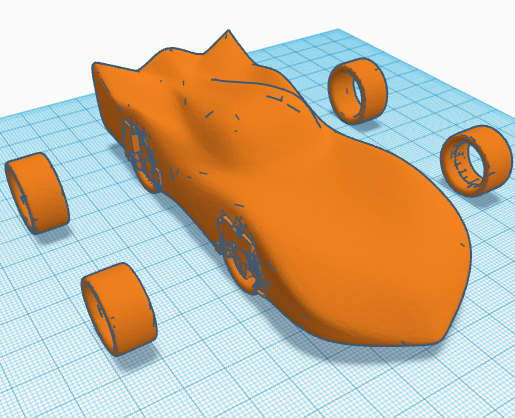
Follow the steps shown in the images. It should eventually load, just that unpacking a compressed file would mean that not all curves will be shown well, etc. Tinkercad can only be used to some extent, but it can't be used for making curve-heavy objects.
End Product


The end product! Yours will most likely be very different from mine, but it will be a basic car.