GARUDA- Rubber Band Powered Ornithopter
by shubh1331 in Workshop > Science
195 Views, 2 Favorites, 0 Comments
GARUDA- Rubber Band Powered Ornithopter
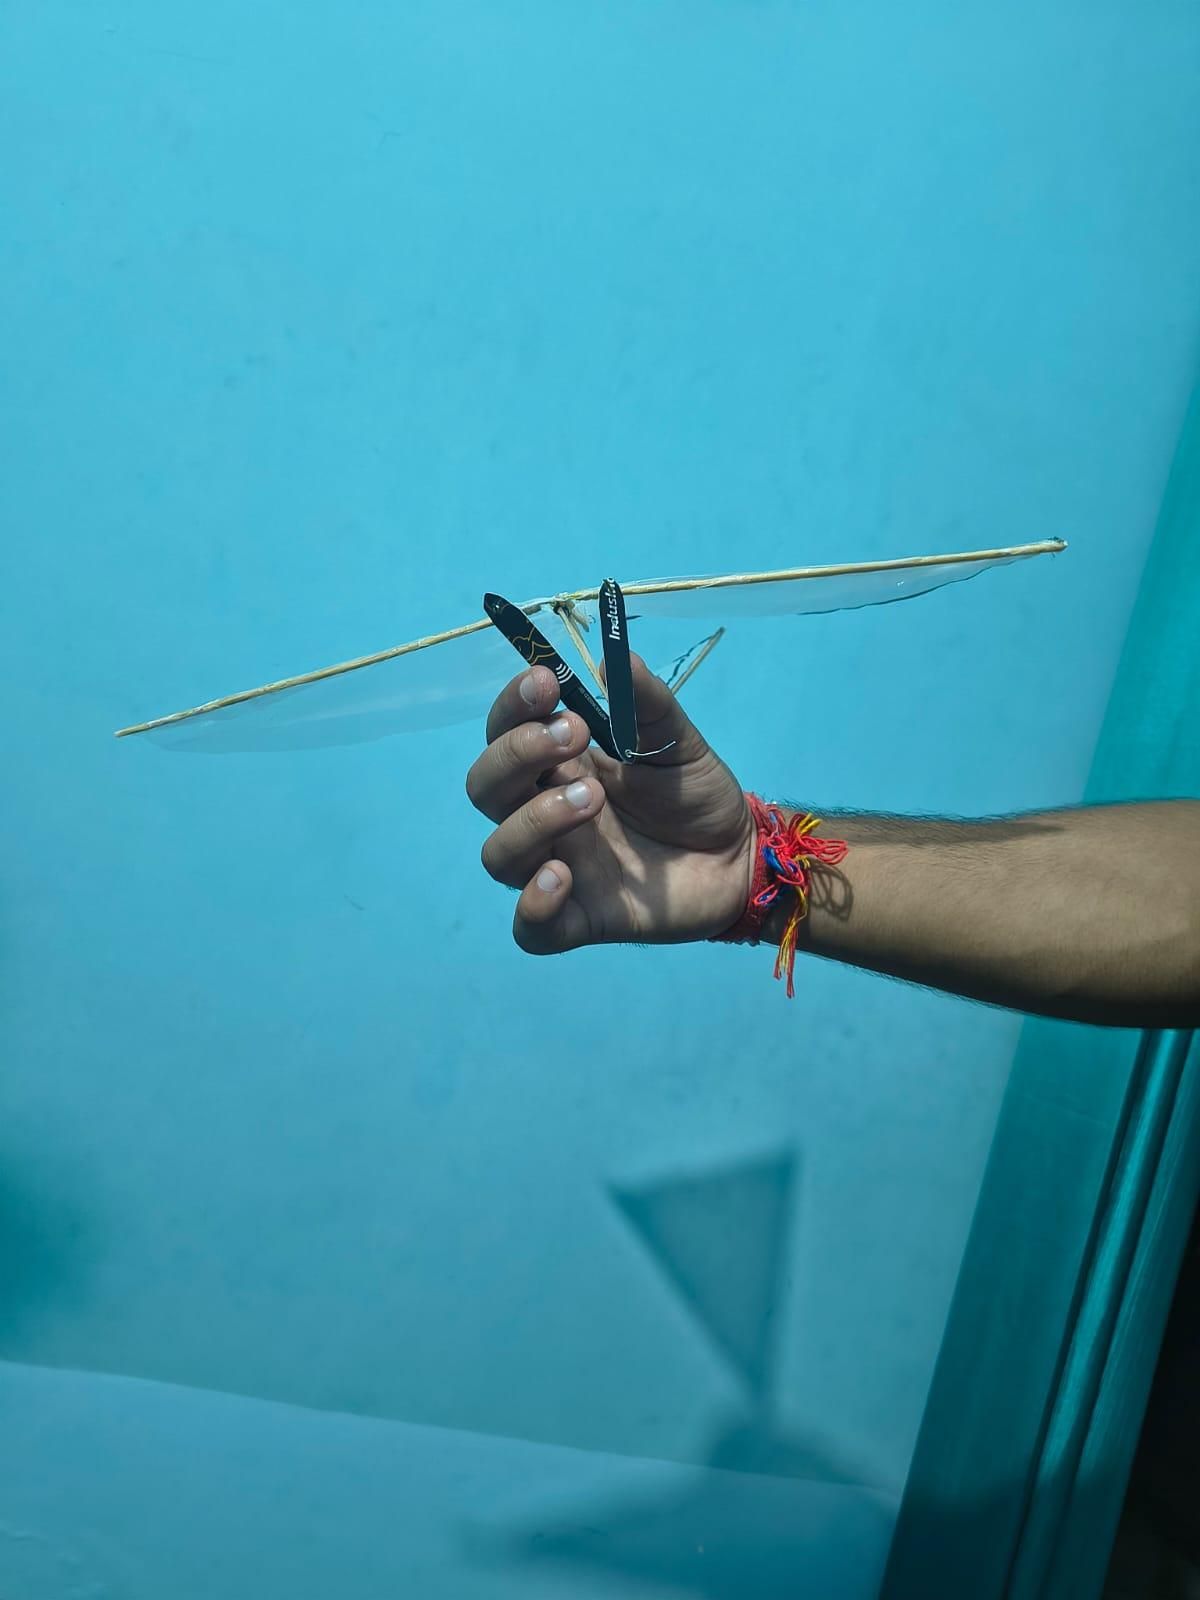
.jpg)
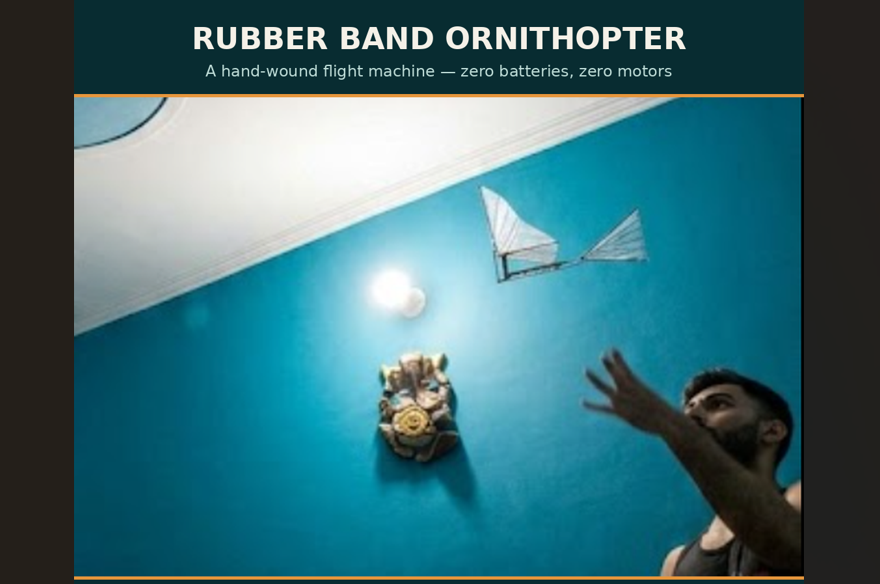
Have you ever watched a bird flap its wings and wondered if you could recreate that motion using nothing but stored mechanical energy? That's exactly what I set out to do with this project — a fully functional Ornithopter (a flying machine that generates lift by flapping its wings, just like birds and insects do) powered entirely by a wound-up rubber band, with no batteries, no motors, and no electricity involved anywhere in the build.
A Bit of History: The Age-Old Dream of Flapping Flight
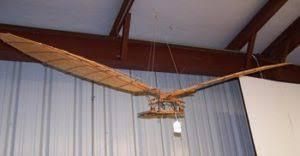
People have been obsessed with flapping their way into the sky for a very long time. The word "ornithopter" comes straight from Greek — ornithos (bird) + pteron (wing) — and the dream goes back to Leonardo da Vinci, who sketched flapping-wing flying machines in the late 1400s after studying how birds move. None of his designs ever left the ground, but the idea stuck around for centuries.
The real breakthrough came in the 1870s, when French engineer Alphonse Pénaud figured out something wonderfully simple: twist a rubber band tight, and its stored energy can drive a mechanism just long enough to fly. He first proved the concept with a fixed-wing model in 1871, then built on it with an actual rubber-band-powered ornithopter a couple of years later — and the idea took off (pun intended) as a favorite toy for over a century. In fact, a Pénaud-style rubber-band flying toy is what first got a young Wilbur and Orville Wright hooked on flight, decades before they built anything real.
Full-size flapping aircraft never really worked out — fixed wings and rotors turned out to be far more practical — but the small rubber-band ornithopter never went away. It's still one of the simplest, purest ways to see physics in action: twist, store, release, fly.
This build carries that same idea forward. No motor, no battery — just a hand-wound rubber band doing exactly what it did 150 years ago.
The Core Idea:-
At the heart of this build is a simple but elegant mechanism: a stretched and twisted rubber band, when released, unwinds and spins a central paddle (a small crank-like arm). As this paddle spins, it drives a linkage system that converts the rotational motion into the up-and-down flapping motion of the wings — similar to how a crank-and-slider mechanism converts rotary motion into linear or oscillating motion in traditional mechanical engineering.
The result is a lightweight flying model where you simply wind the rubber band by turning the paddle/propeller a number of times, hold the wings, release, and watch it flap and (ideally) lift off or glide forward — powered purely by the elastic energy stored during winding.
Supplies
Materials & Supplies
- Ice cream sticks — frame and body structure
- Cotton buds — lightweight support rods/spacers
- Paper clips — bent into crank mechanism
- Bamboo sticks — flexible wing spars
- Plastic tube & beads — bearing/bushing for smooth rotation
- Scooby strings/Small wires' covering — binding joints and frame corners
- Polythene bag — wing membrane material
- Threads — reinforcing joints and membrane attachment
- Rubber bands — main power source (elastic energy)
- Glue , Fevikwik - for stronger joints
Shaping $ Cutting the Main Frame
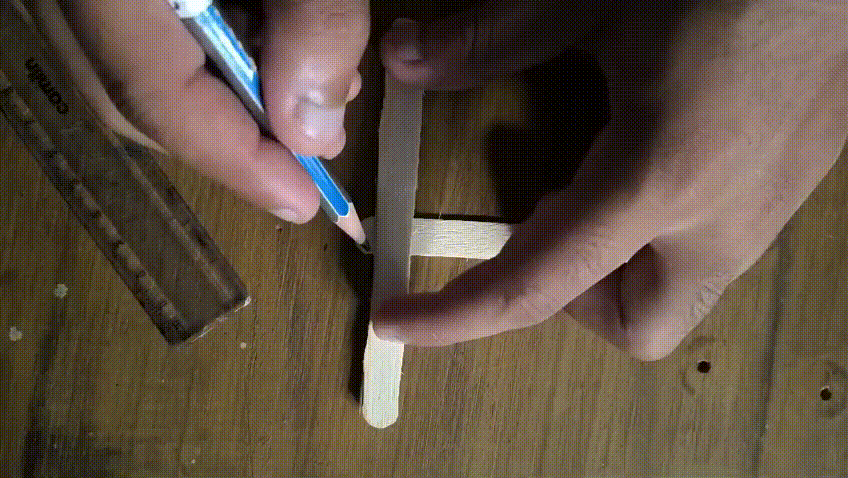
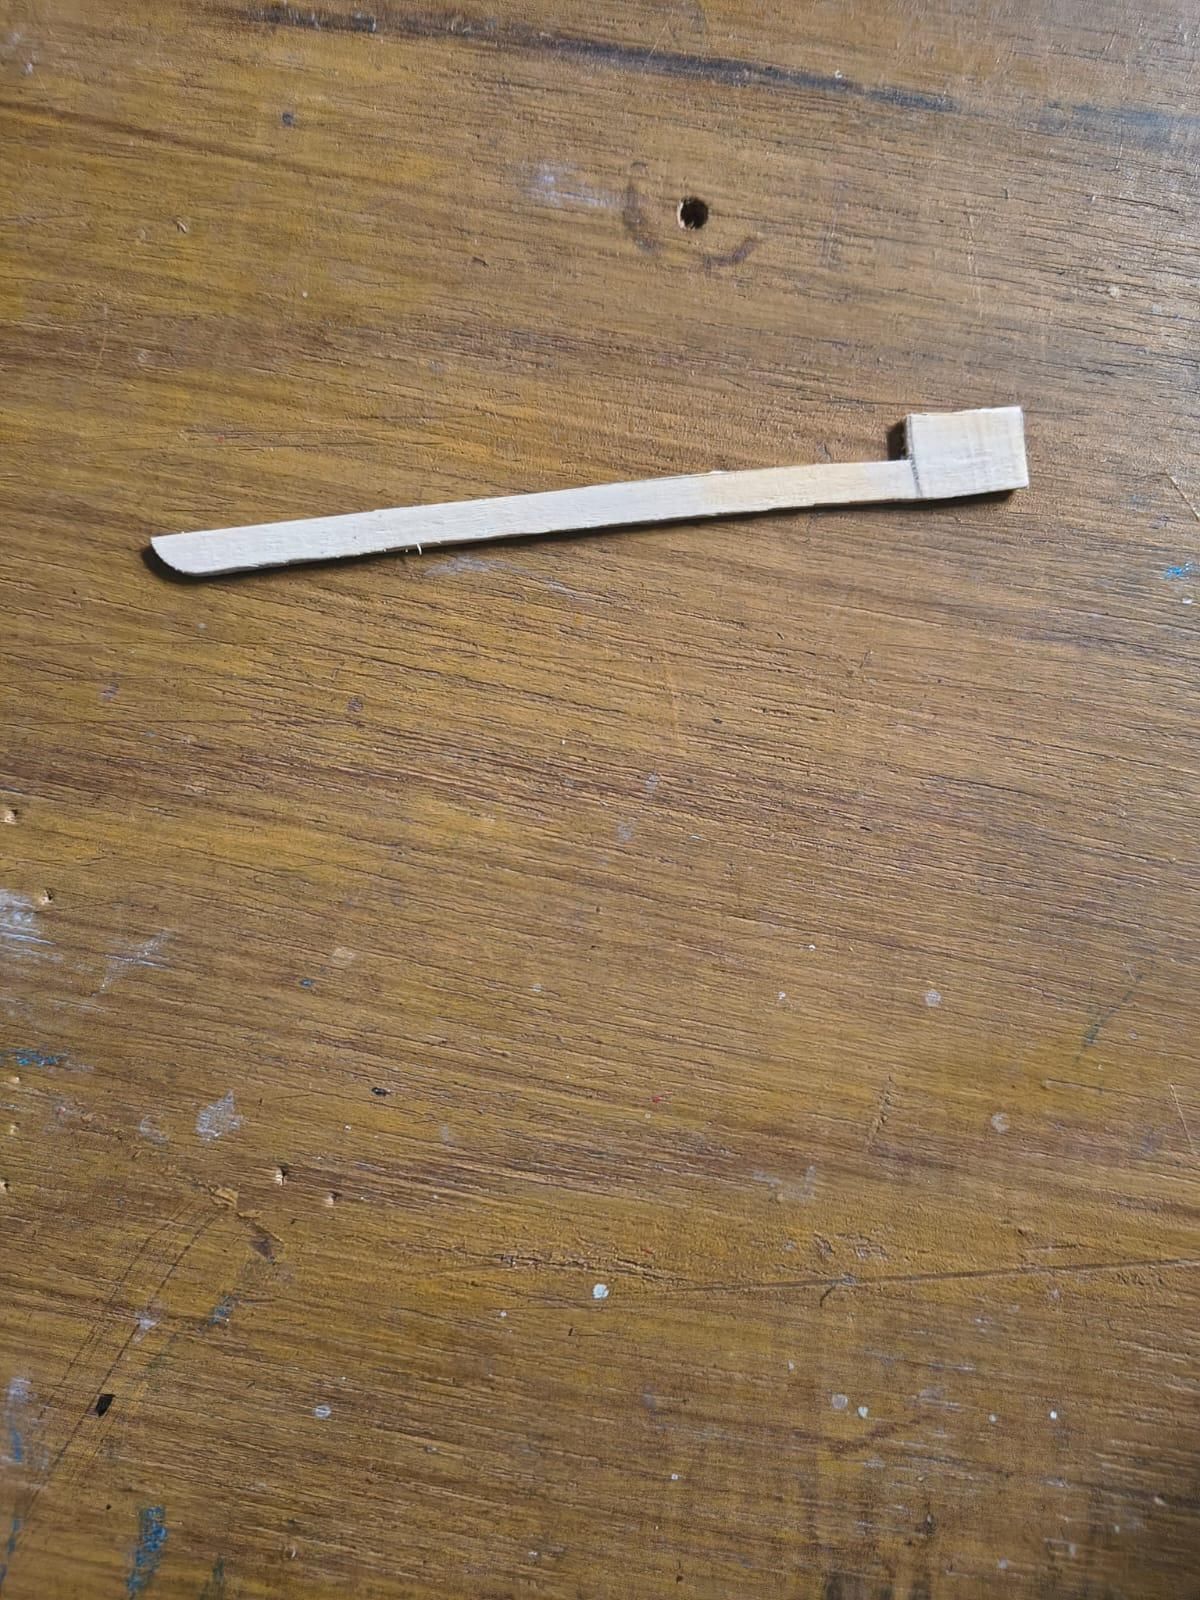
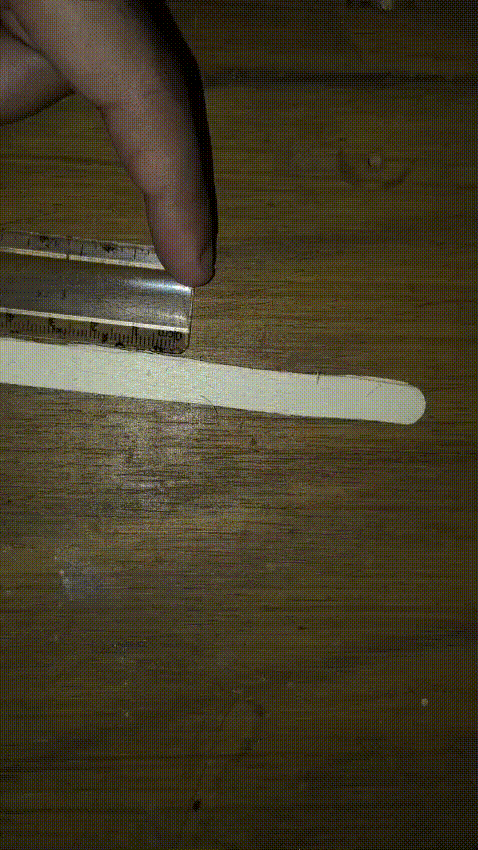
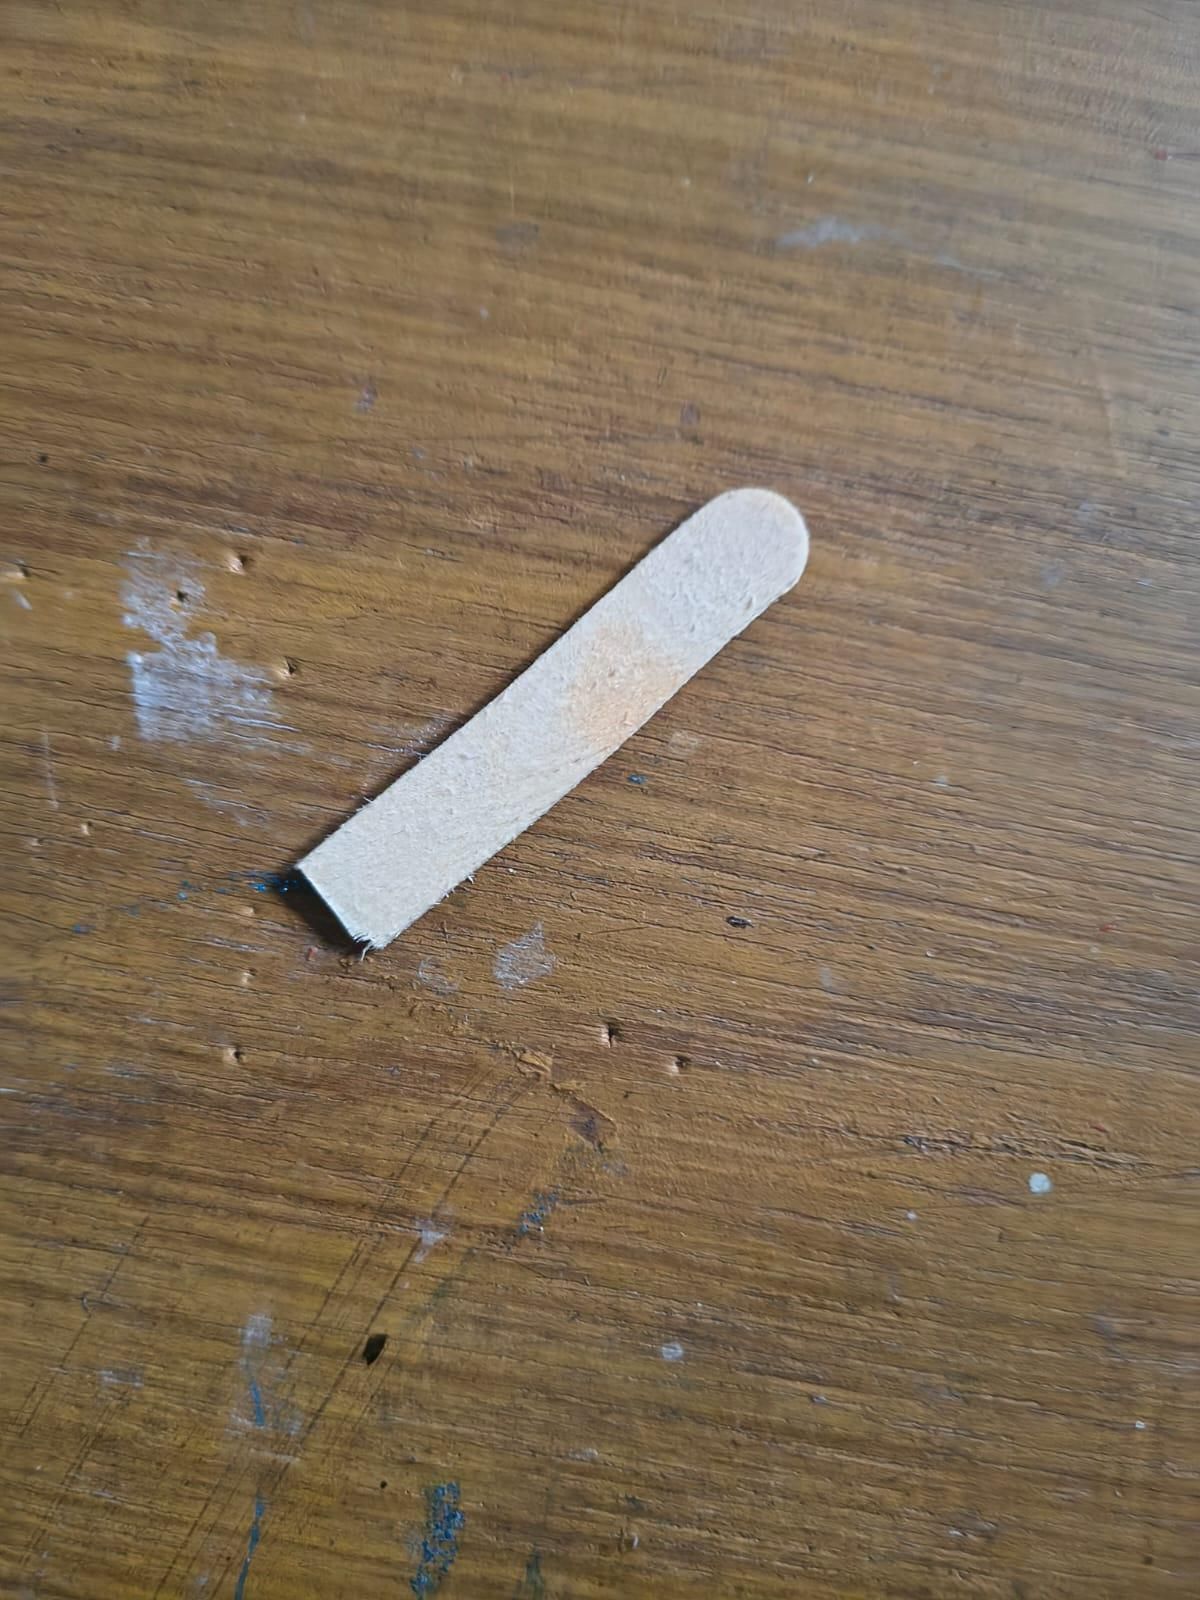
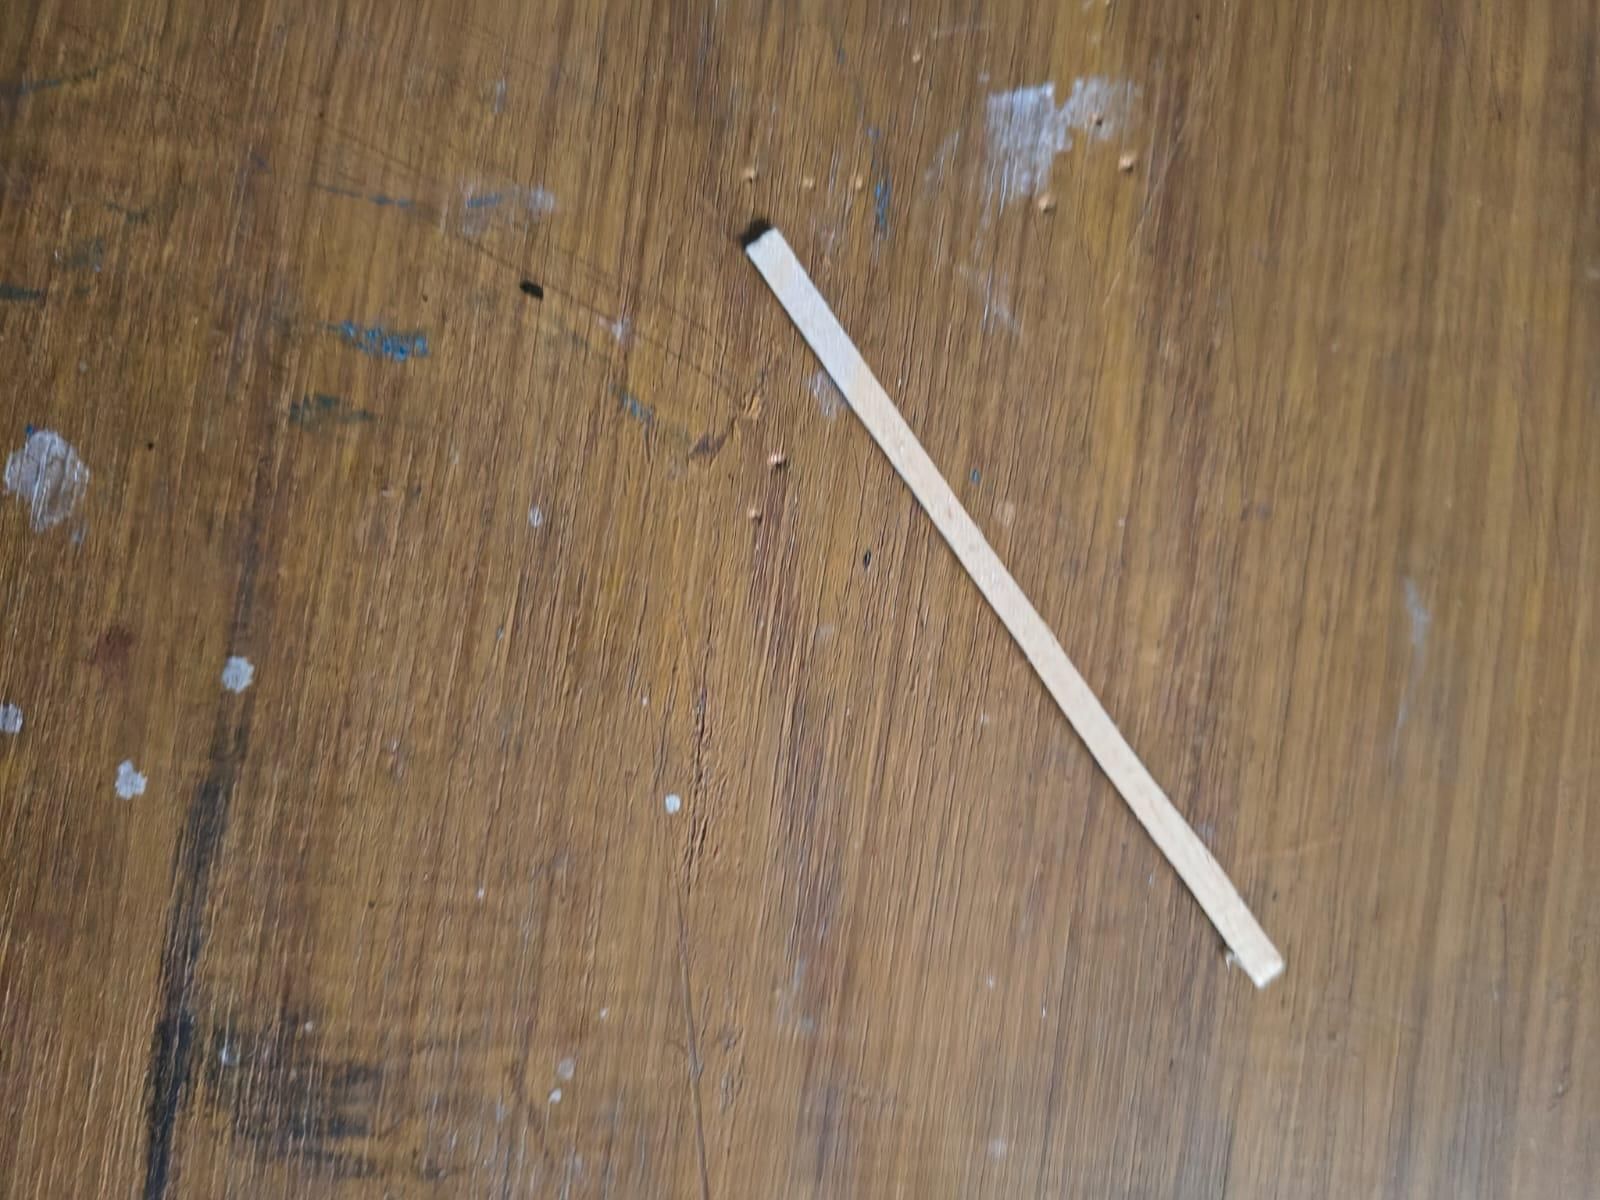
This step is where the frame starts taking real shape. Instead of just snapping sticks in half, each piece was carefully cut at a specific angle depending on where it needed to sit in the structure.
Take a look at one of the key joint pieces — a long, flat stick meeting a shorter vertical piece at a clean right angle, almost like the letter "L." This wasn't a lucky accident; the horizontal piece was trimmed thin and tapered toward one end, while the vertical piece was left slightly thicker for strength, since it needed to bear more stress at the joint. Two small holes were drilled through the thicker end — these aren't decorative, they're functional. That's where the paper-clip crank or a connecting pivot will eventually pass through, letting parts rotate or hinge freely instead of being rigidly glued.
Other sticks got different treatment entirely. Some were trimmed down and rounded off at one end — smoothing away the harsh factory edge so the piece sits flush without snagging threads. Others were sliced into long, narrow diagonal strips, tapering from a blunt tip down to a fine point. These thinner strips are far more flexible than a full-width stick, which matters a lot in an ornithopter — parts of the frame need a little bit of give to survive the constant flapping stress without cracking.
The key takeaway from this stage: not every stick is cut the same way. Each one is shaped based on the job it's going to do — rigid where strength is needed, tapered and flexible where movement is needed, and drilled wherever a hinge or pivot has to go through.
Sticking the Frame's Pieces Together
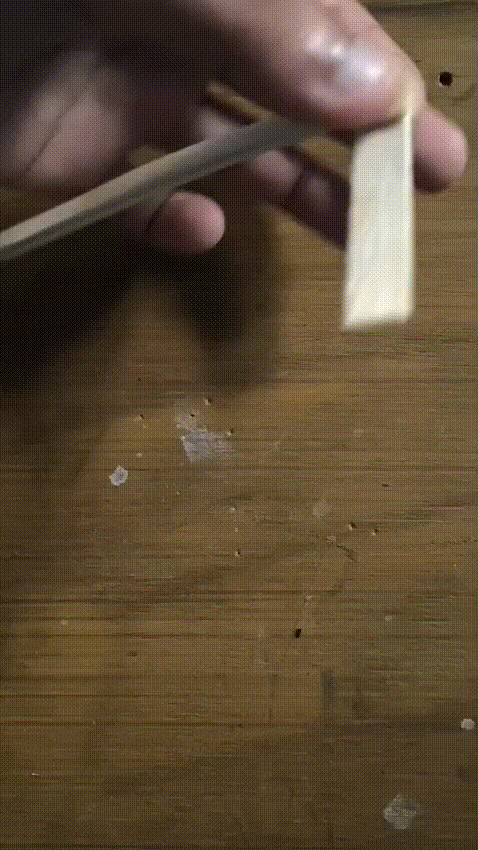
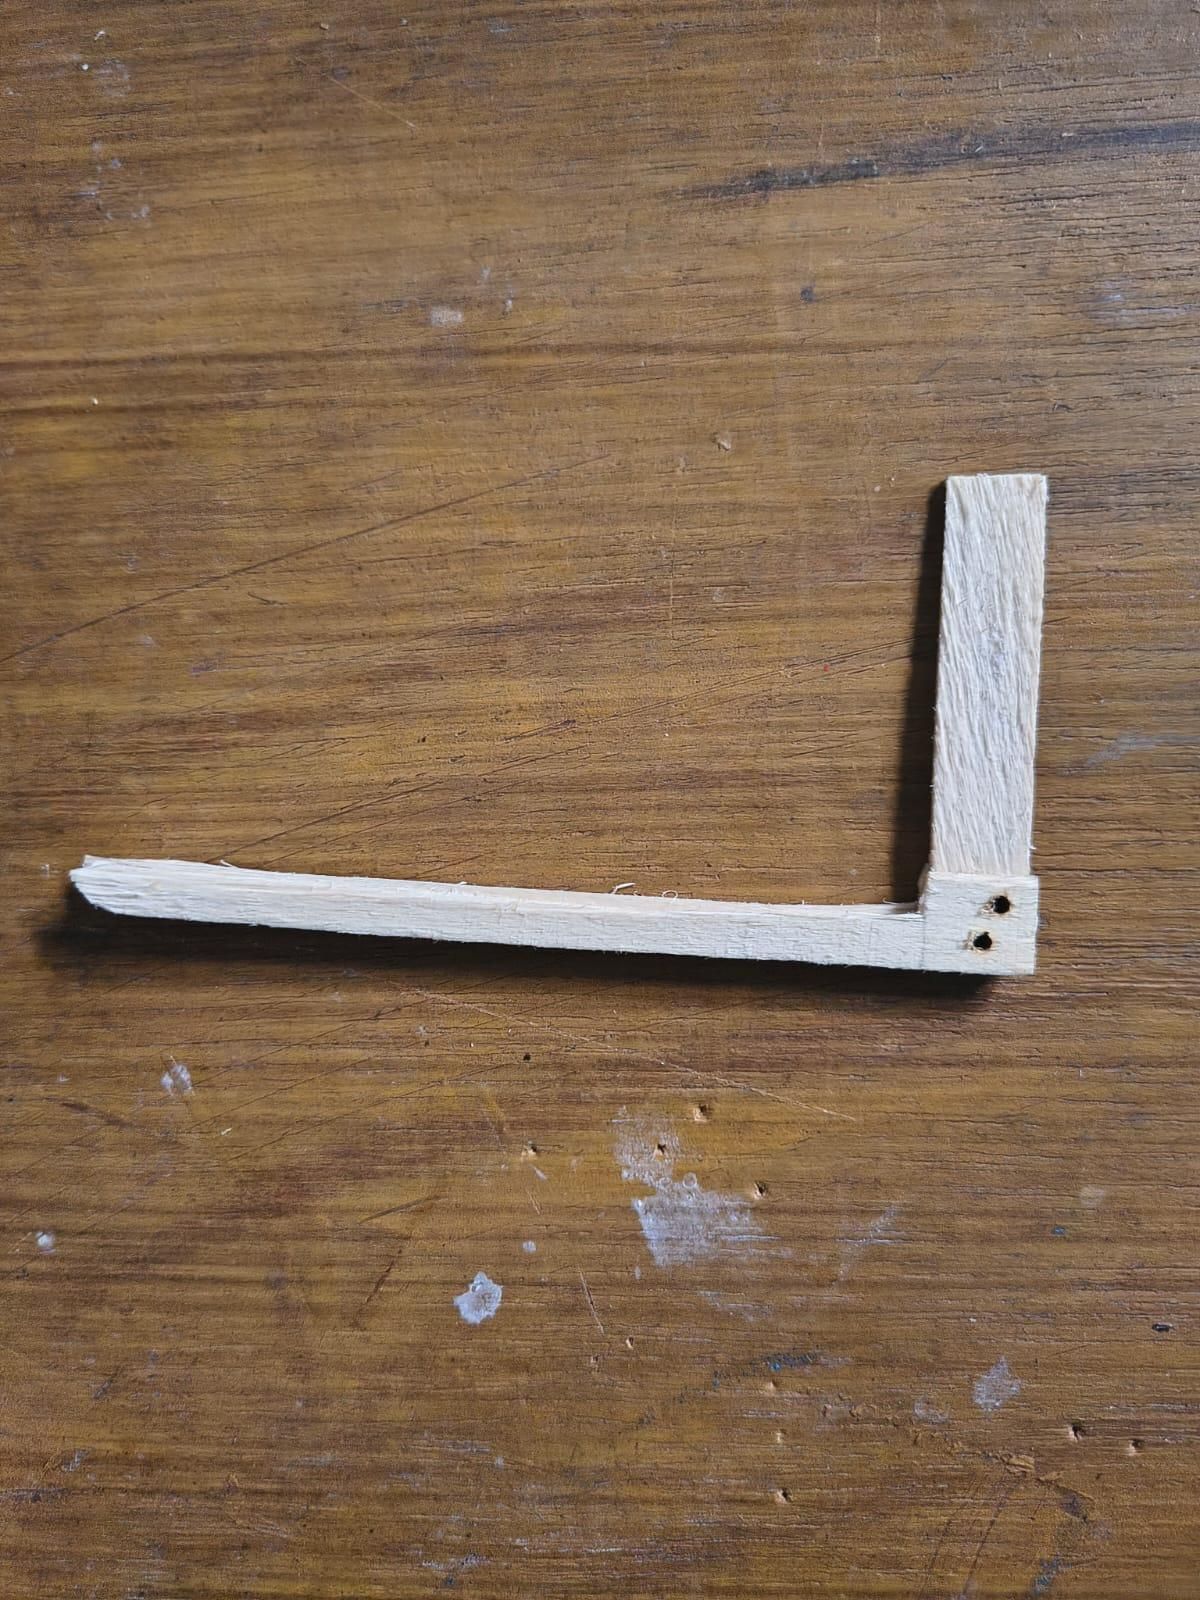
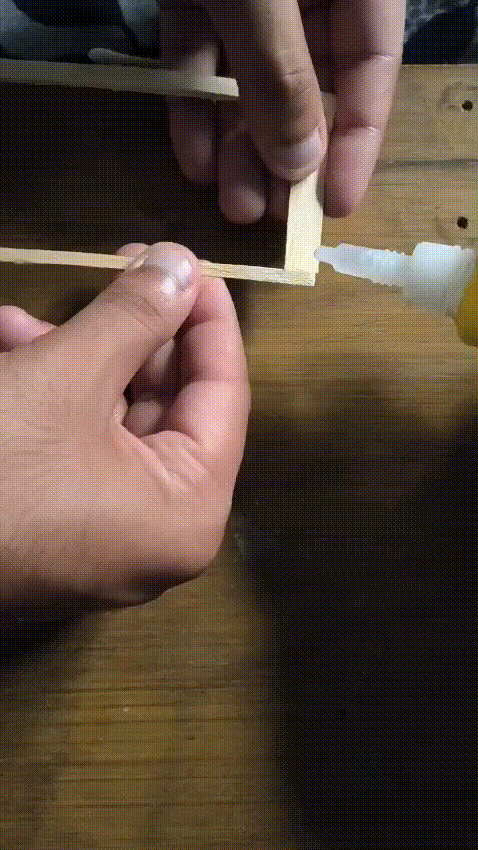
With the individual sticks shaped, the next job was making sure they actually fit together the way they were meant to.
This is a slow, patient process — fitting one piece against another using fevikwik, checking the angle, trimming a sliver more off the edge if it didn't sit flush, and repeating until the joint locked together cleanly. The L-shaped bracket piece, for instance, had to line up perfectly at its corner so the drilled holes stayed aligned and didn't twist out of position once the frame was under tension from the rubber band later.
It's easy to underestimate how much this stage affects the final flight — a frame with sloppy, uneven joints will flex in the wrong places and throw off the wing-flapping motion, while a tightly fitted frame transfers the crank's motion cleanly into the wings without wasting energy. So every angle was checked and re-checked before anything was glued or bound down permanently with thread.
By the end of this stage, all the individually shaped ice cream stick pieces were ready to be locked together into the final rigid-yet-slightly-flexible body that would carry the rest of the mechanism.
Building the Tail Wing — One "V" Shape
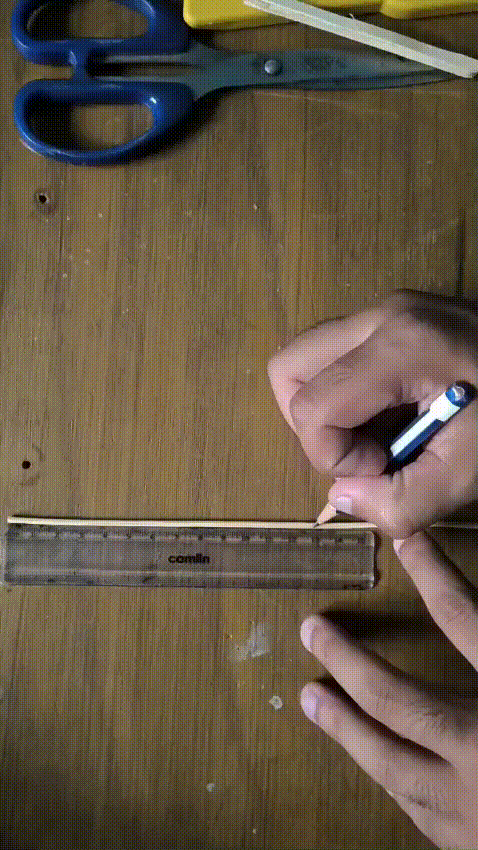
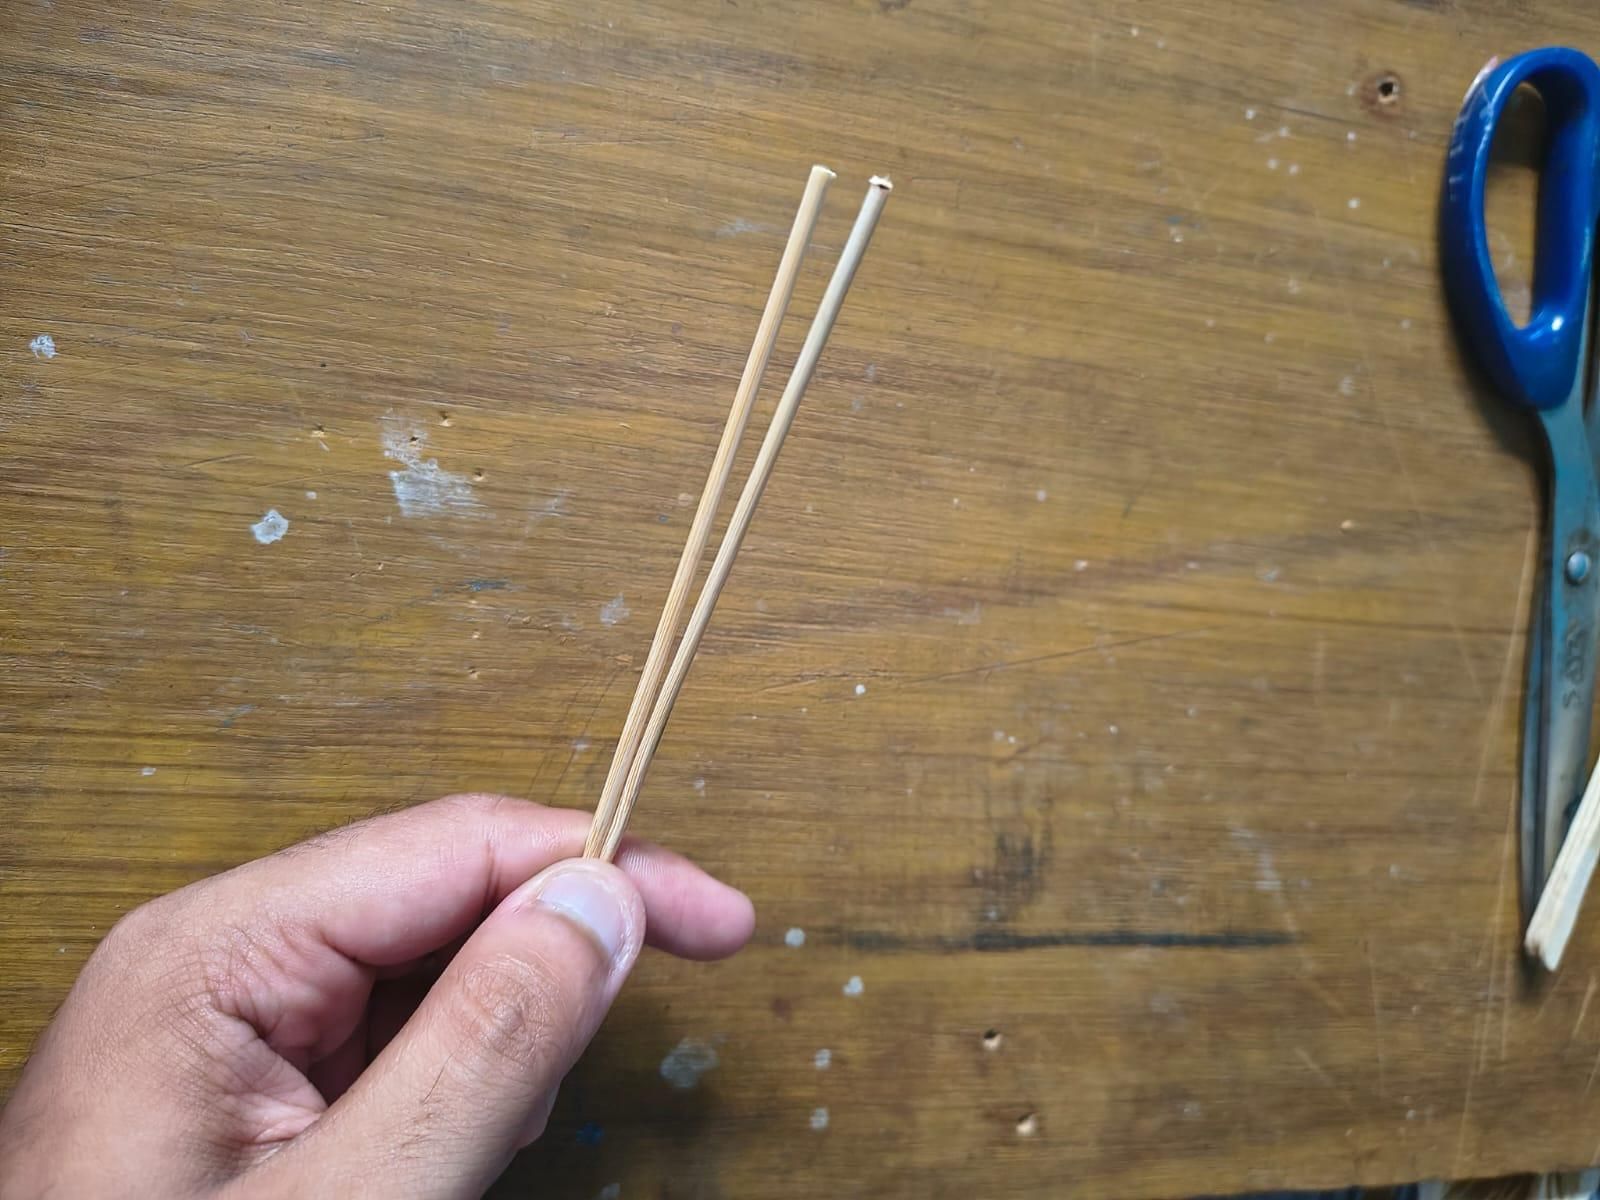
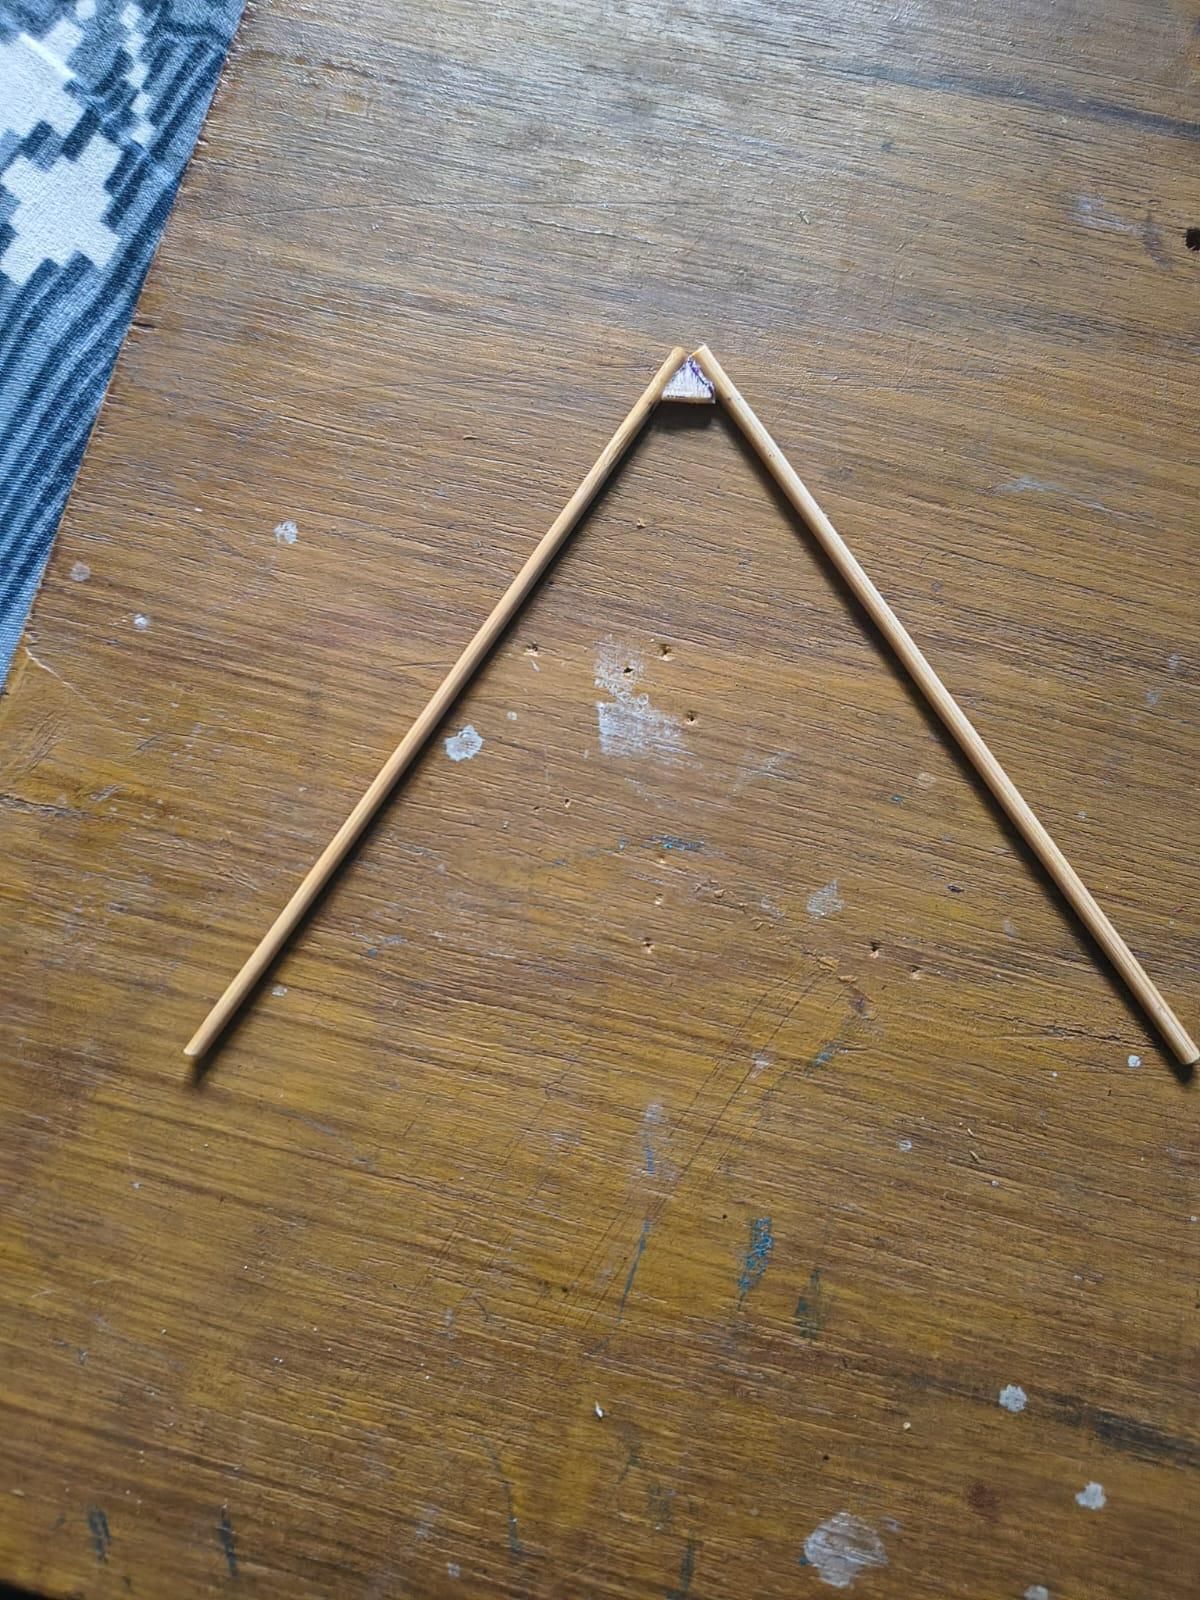
- Selected two thin bamboo strips — cut down from the bamboo sticks to a fine, even width and length of 130mm. Thin sticks were chosen deliberately here since the tail needs to stay lightweight; anything too thick would add unnecessary weight to the rear of the aircraft and throw off the balance.
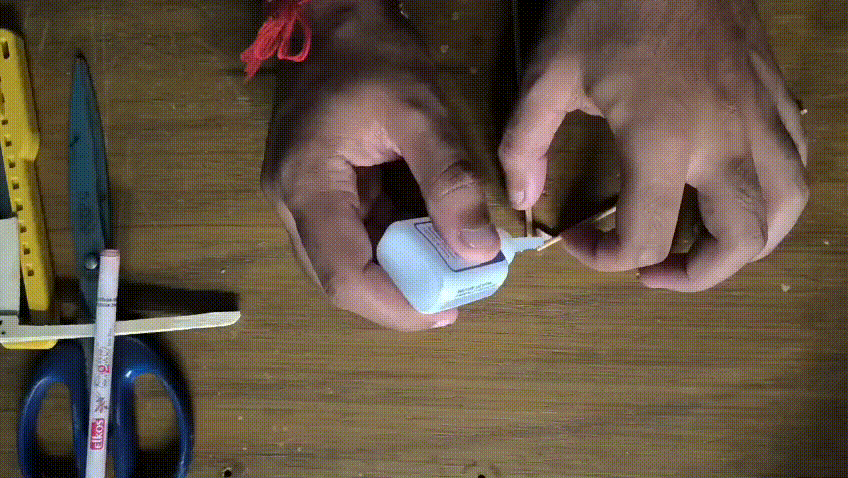
- A tiny triangle cut from an ice cream stick became the anchor — giving both bamboo tips a solid flat base to sit on instead of a shaky stick-to-stick joint.
- Tips joined right at the triangle, locking the two sticks together at one point and forming the top of a clean "V" shape.
- Ends splayed outward symmetrically — just like a kite's tail or a dart's feathers, this wide spread is what keeps the ornithopter flying straight instead of wobbling or veering off-course.
- Symmetry double-checked — equal length, equal angle on both arms, because even a slightly lopsided tail throws off balance mid-flight.
Wiring the Tail and Wrapping It in "Feathers"
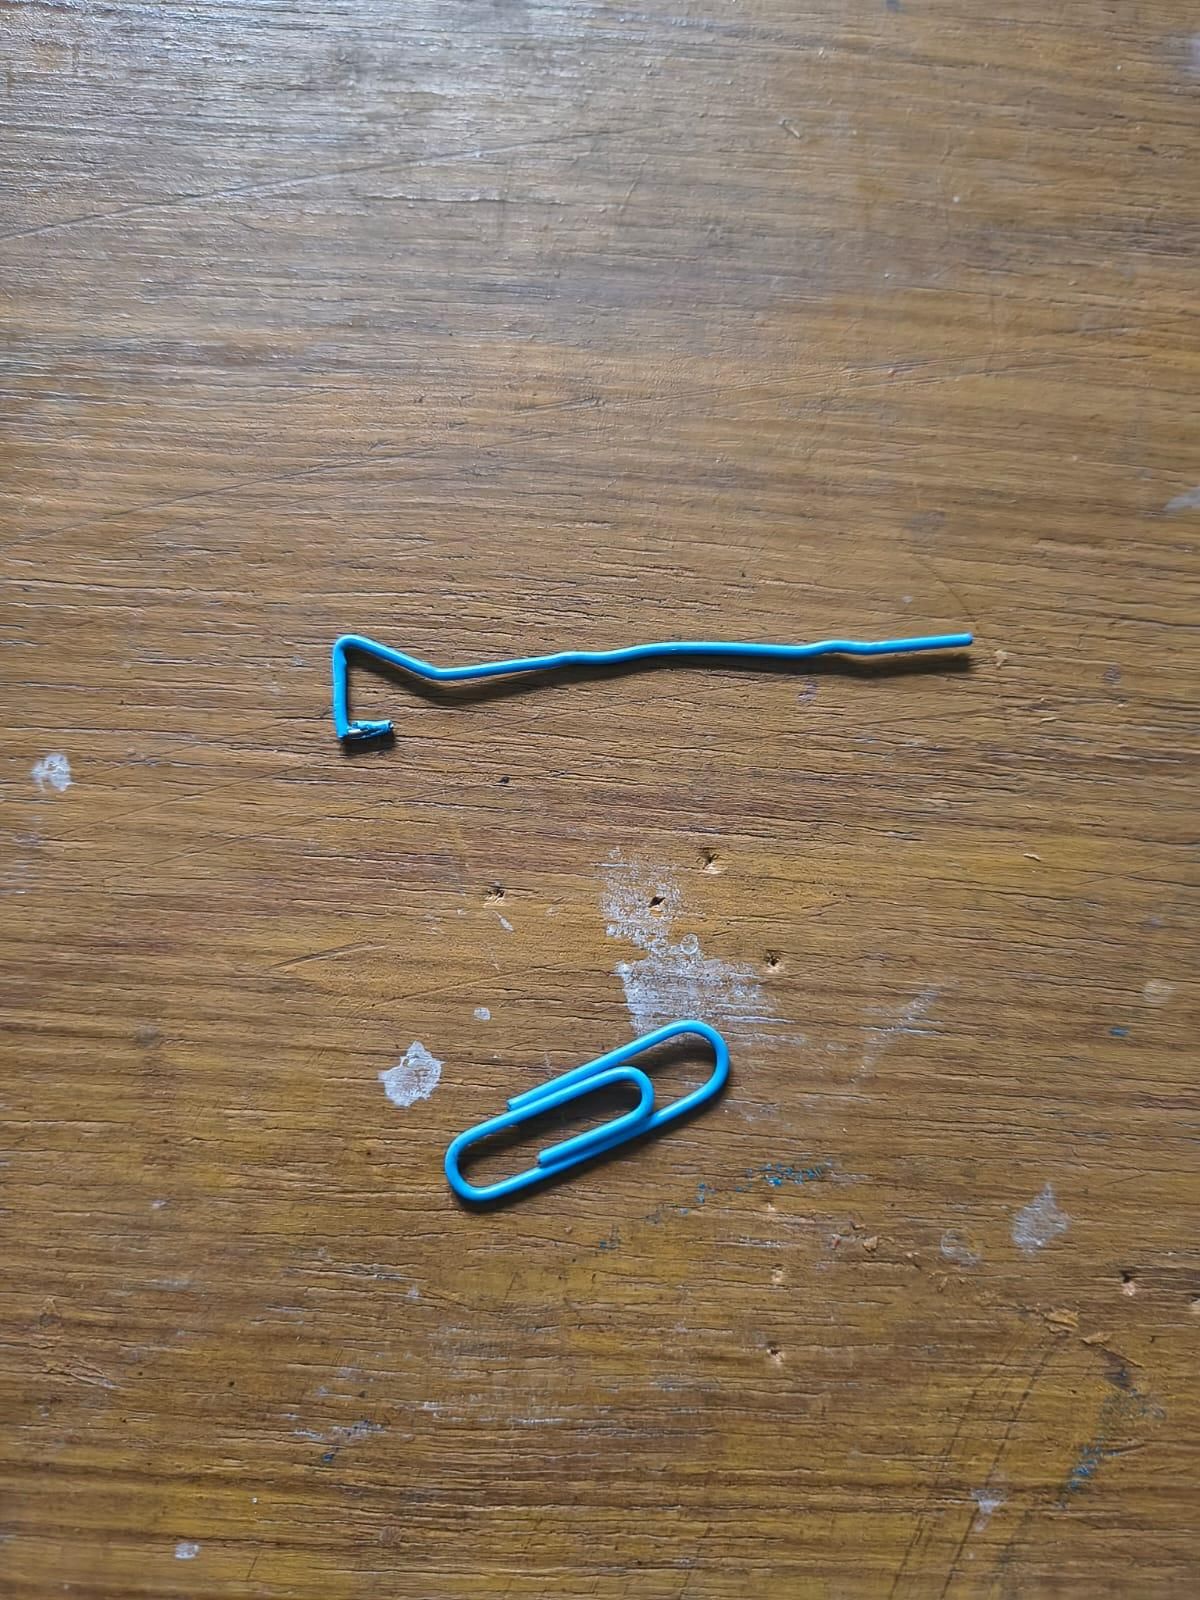
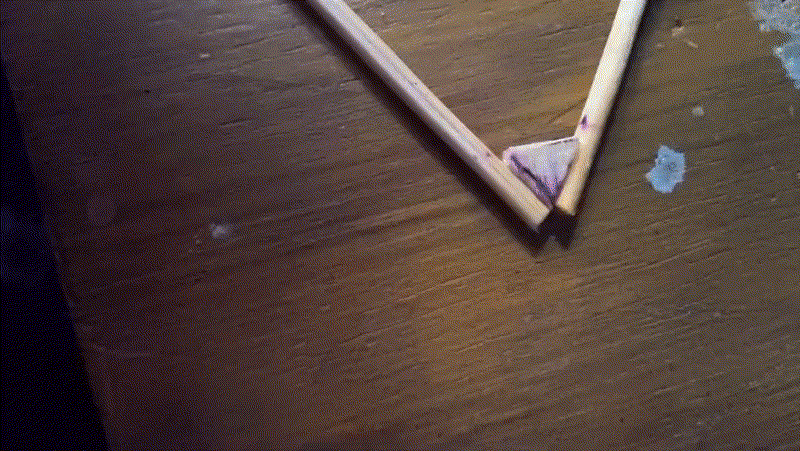
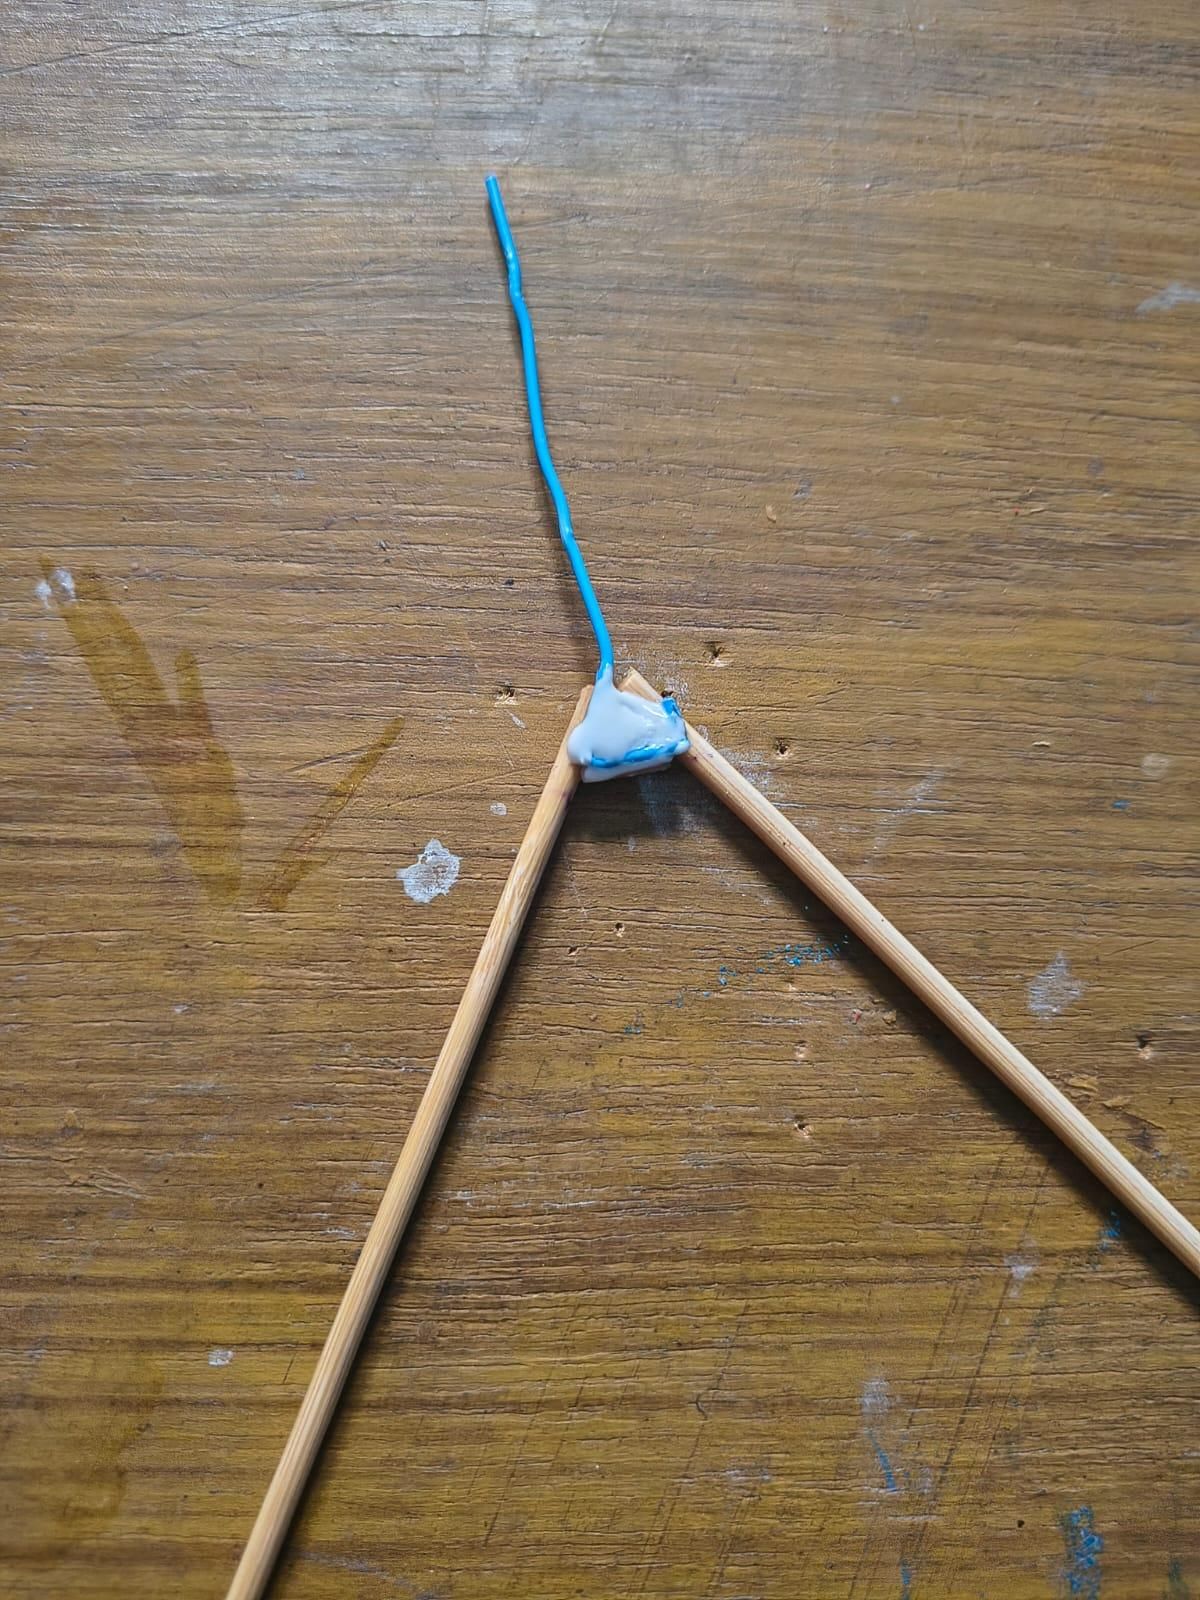
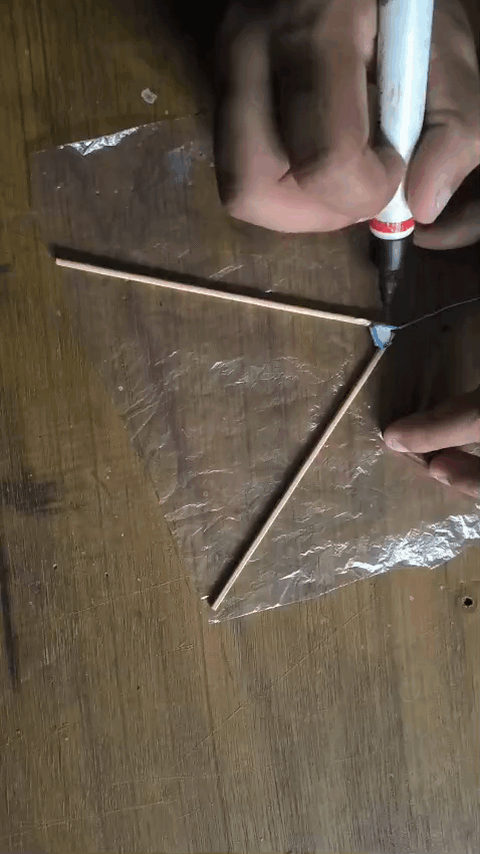
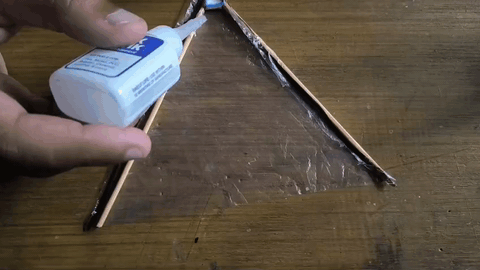
- Bent a paper clip into a connector wire — instead of gluing the tail directly onto the body, a paper clip was reshaped into a small hook-and-wire piece. This became the link between the tail and the main frame, letting the tail attach securely while still keeping things light and simple to assemble.
- Anchored the wire right at the V's apex — the paper-clip wire was fixed exactly at the point where the two bamboo sticks met, using glue and Fevikwik to lock it in place alongside the joint. This spot made sense structurally too — it's the strongest point on the tail, so it could handle the pull of being connected to the rest of the frame without flexing loose.
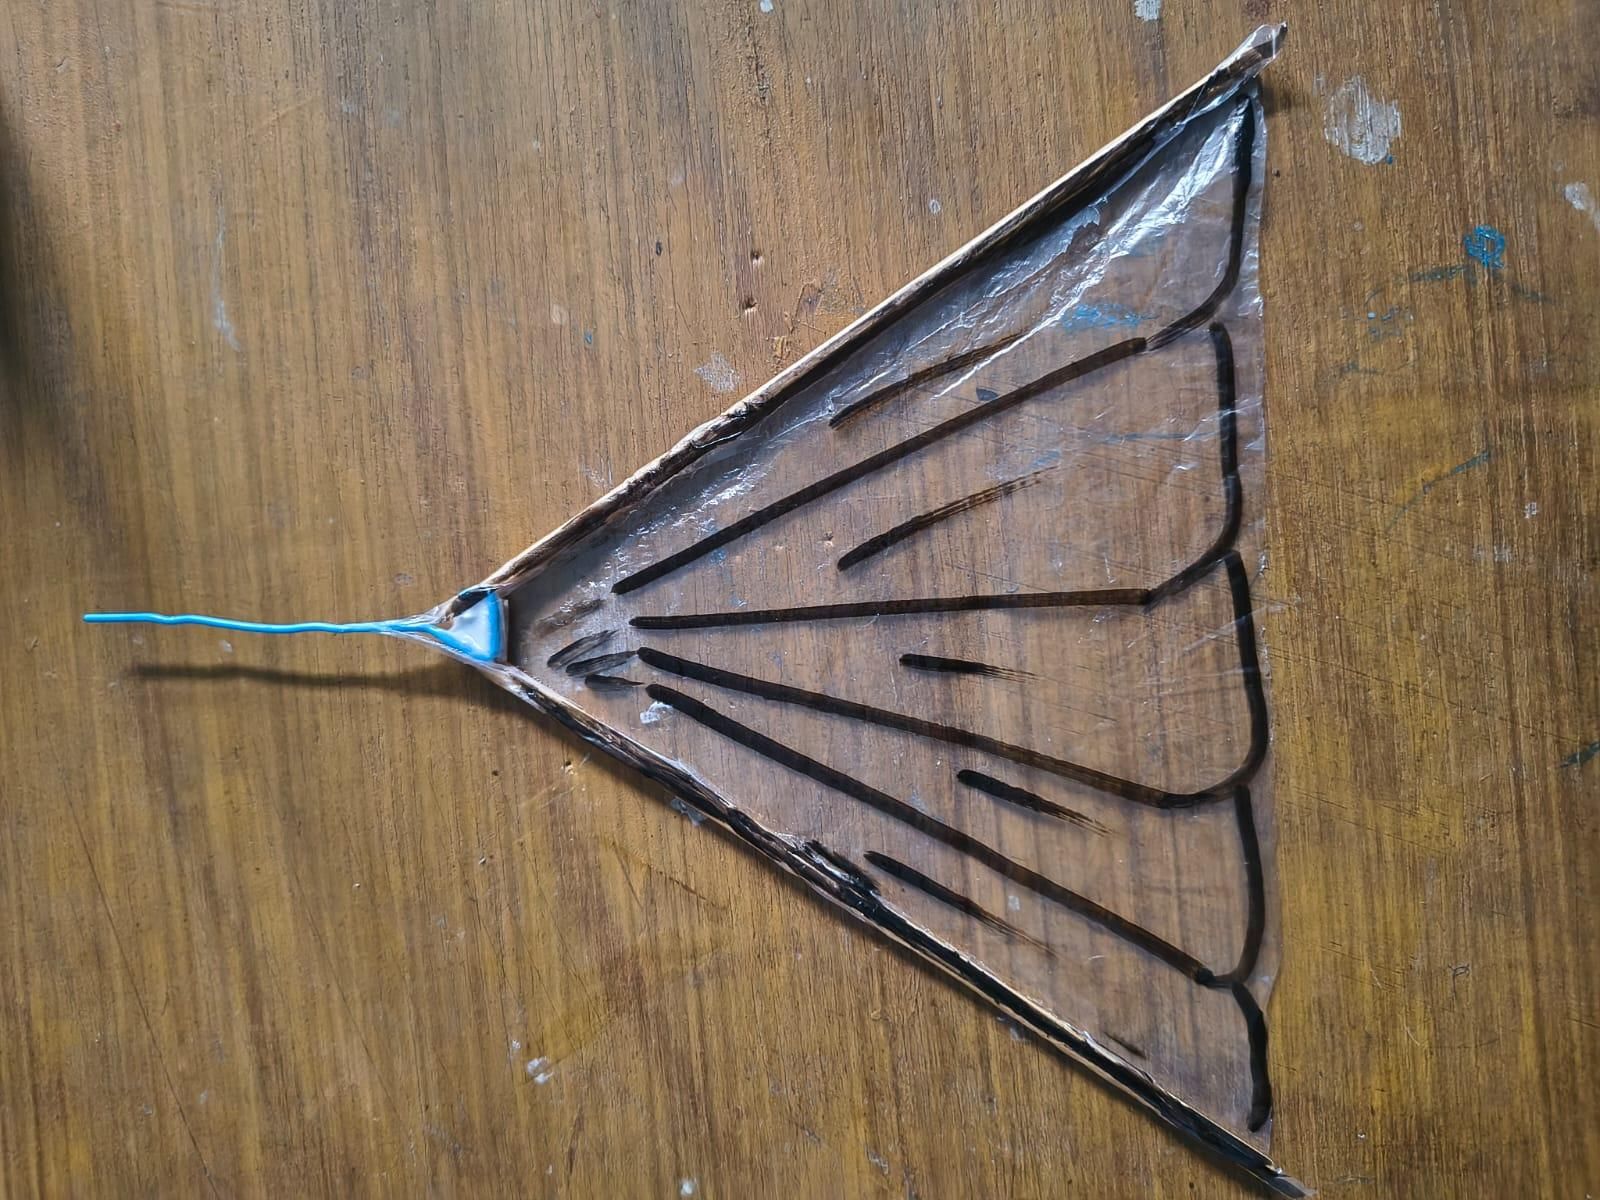
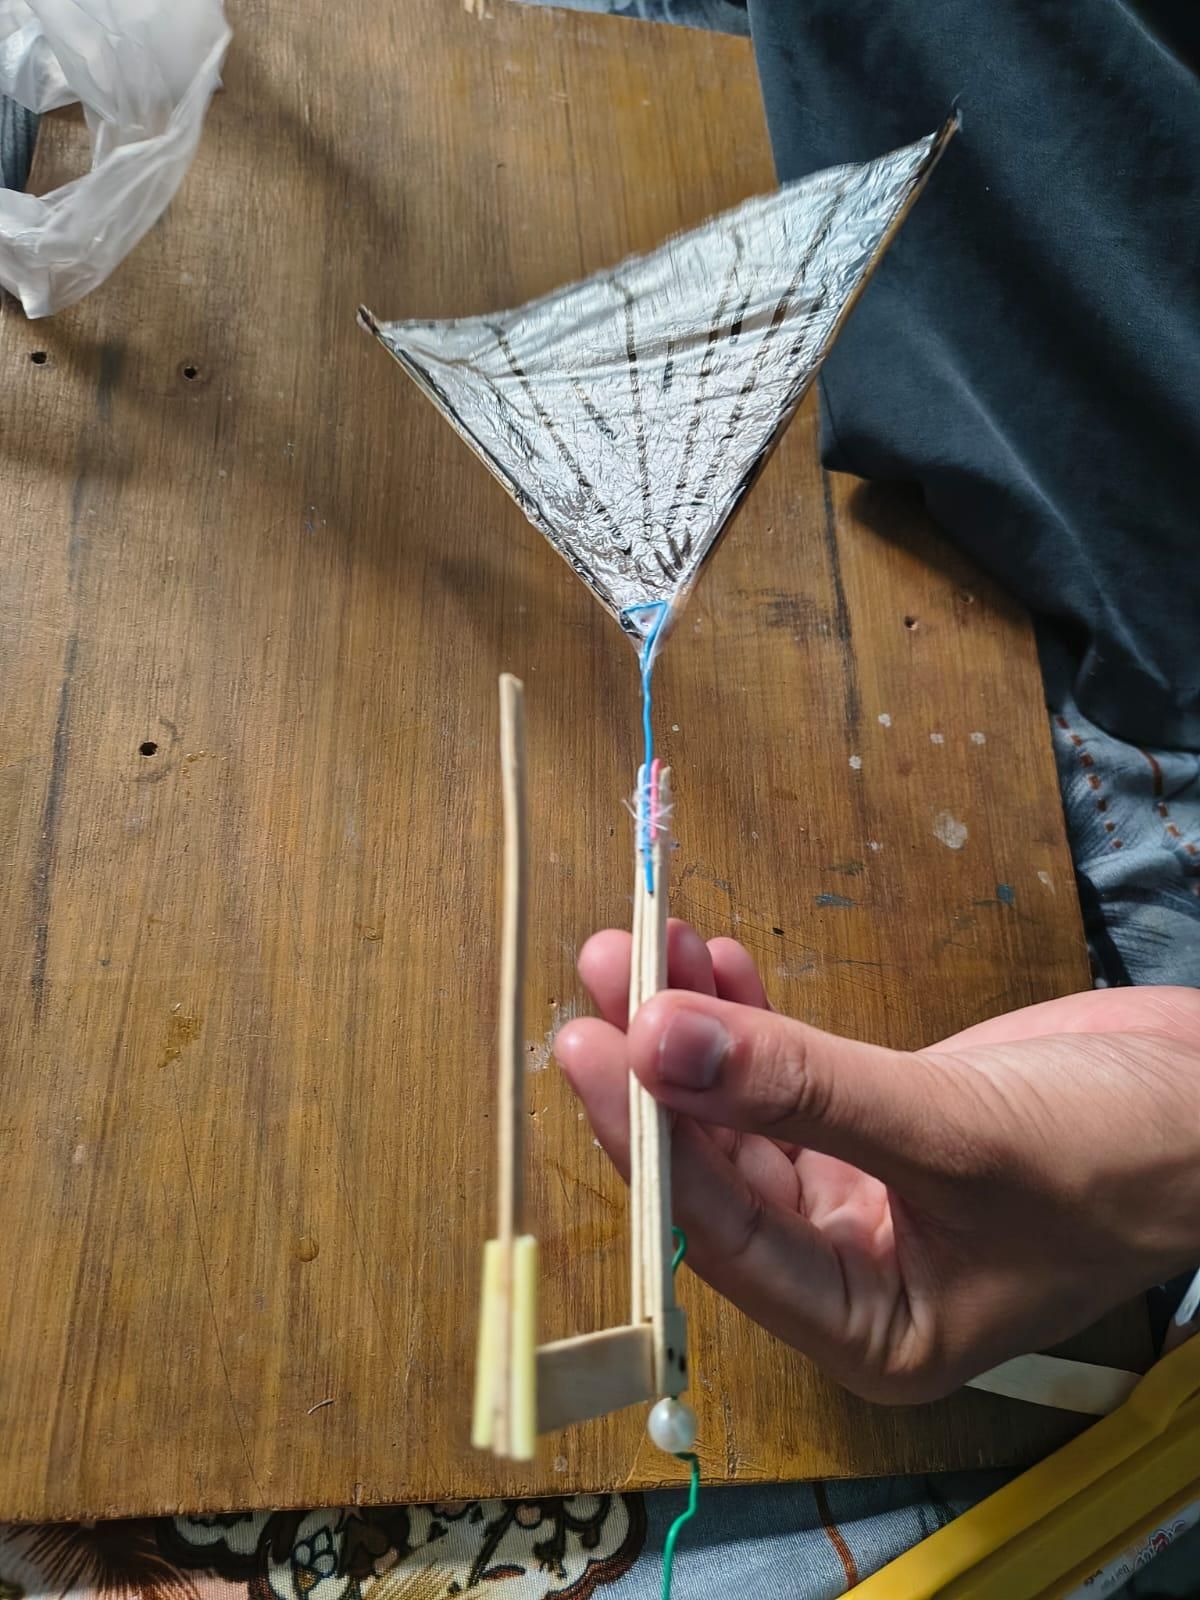
- Stretched a polythene sheet over the bamboo V — a piece of the plastic bag was cut and wrapped over the triangular frame, glued down along both bamboo edges to form the actual tail surface — light, wind-catching, and durable enough to survive repeated flights.
- Hand-drew feather-like patterns onto the polythene — rather than leaving the tail as plain, flat plastic, lines were sketched across the surface radiating out from the tip, mimicking the natural fan of feathers on a real bird's tail. Purely cosmetic, but it gave the tail a far more realistic, finished look instead of looking like a scrap of plastic bag.
Locking the Tail Onto the Main Frame
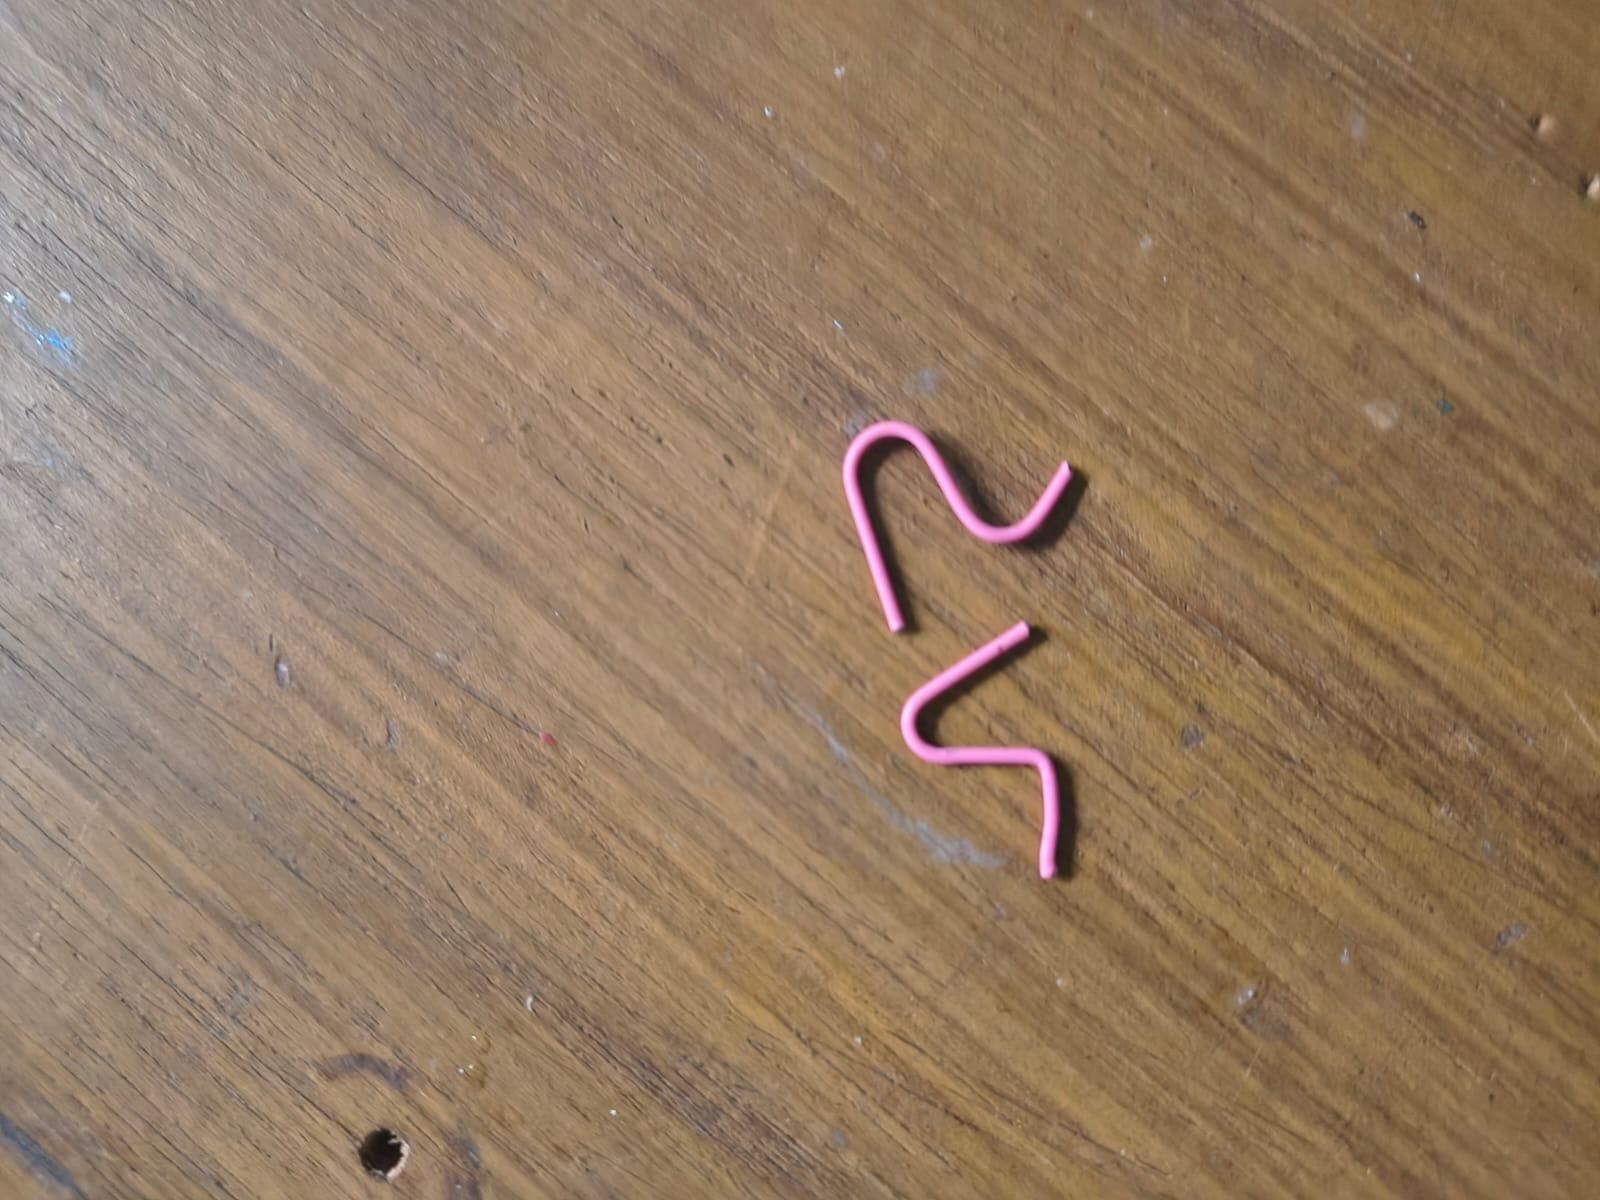
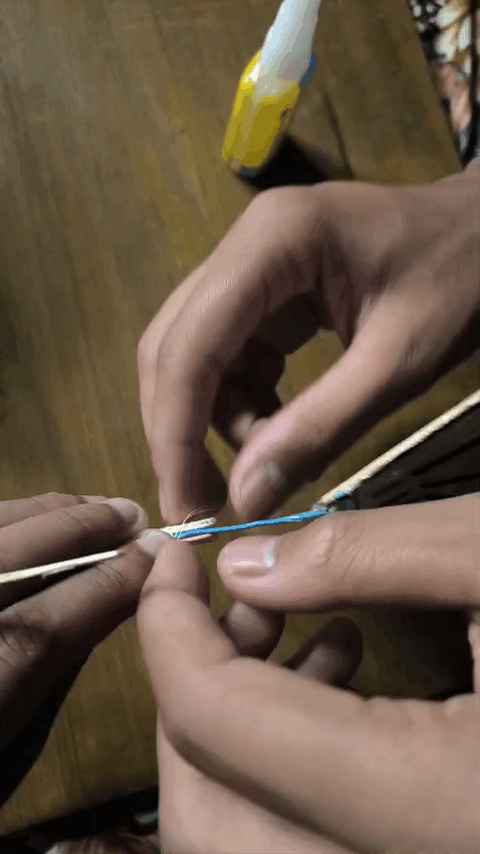
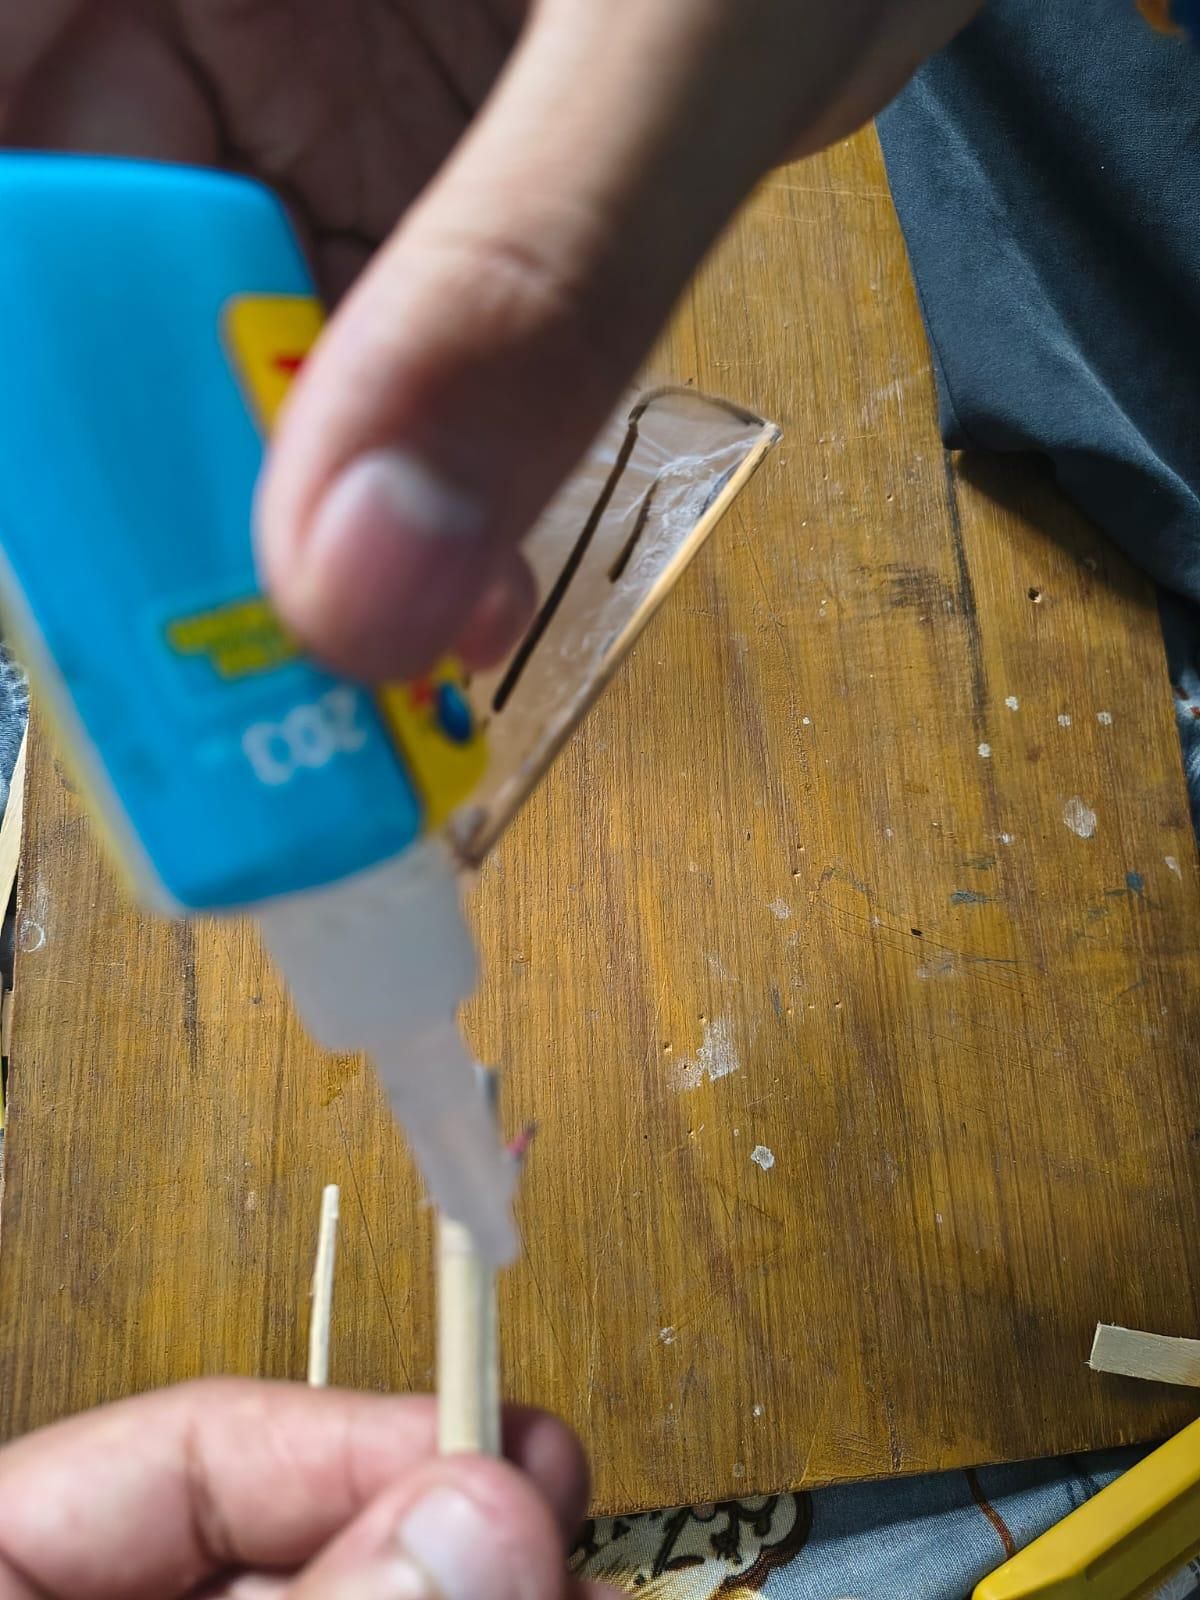
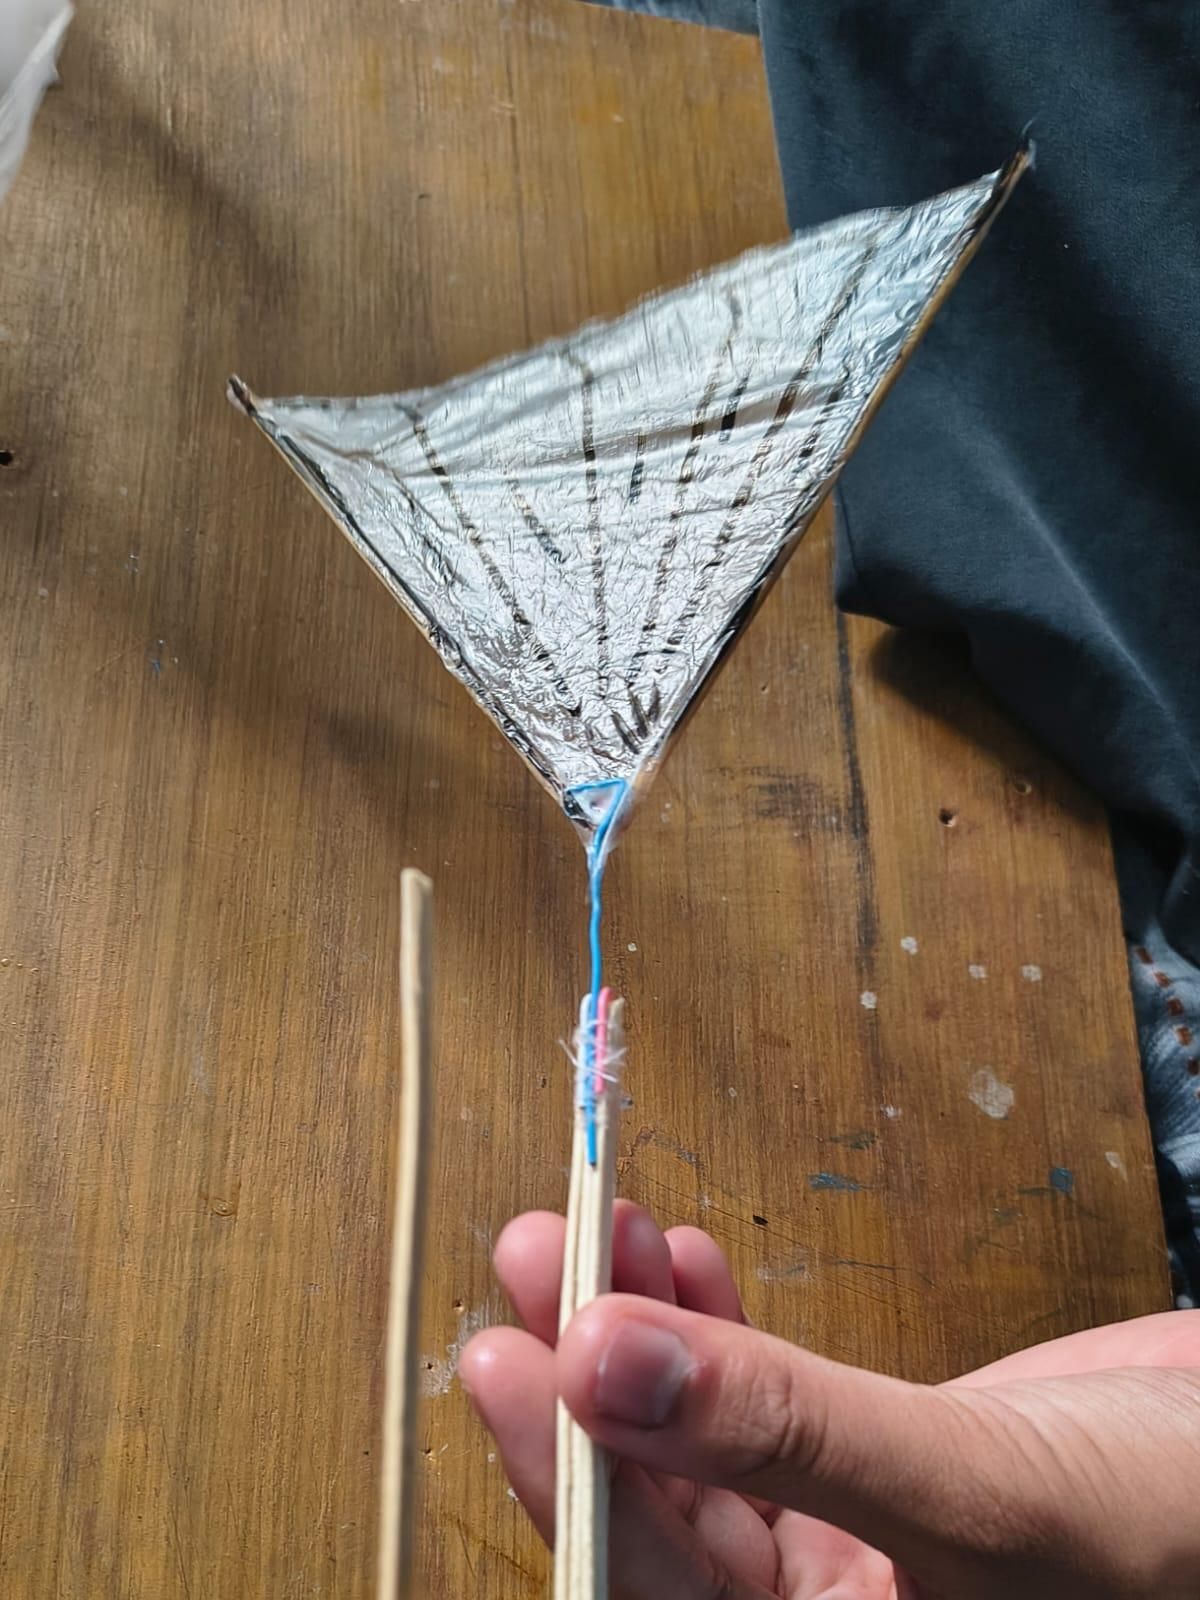
With the tail assembled and the wire connector already in place, this step was about making that joint permanent — strong enough to survive the pull of a wound-up rubber band and repeated flapping.
- Bent a second pair of paper clips into shape — this time, two separate clips were carefully bent into a matching zigzag/hook profile, forming a small pair of "cranks" meant to grip the main frame from either side.
- Positioned the tail's connector wire between the two new cranks — the paper-clip wire coming off the tail (from the earlier step) was sandwiched right between this new pair, sitting at the rear end of the main ice-cream-stick frame.
- Wrapped thread tightly around all three pieces together — the main frame end, both paper-clip cranks, and the tail's connector wire were bound together with thread, wound round and round until the whole joint sat snug and immovable.
- Sealed it with a drop of FeviKwik — once the threading was tight, a bit of quick-set adhesive was applied right onto the wrapped joint, locking every thread in place instantly and turning what could've been a loose, wobbly connection into a rock-solid joint.
This combination — bent paper-clip cranks plus thread plus FeviKwik — turned out to be the key to a tail that stays exactly where it should. No amount of wing-flapping vibration or the rubber band's twisting force could work this joint loose, which mattered a lot: a wobbly tail joint would've meant an ornithopter that wobbles right along with it, mid-flight.
Setting Up the Wing Mounts and Main Crank
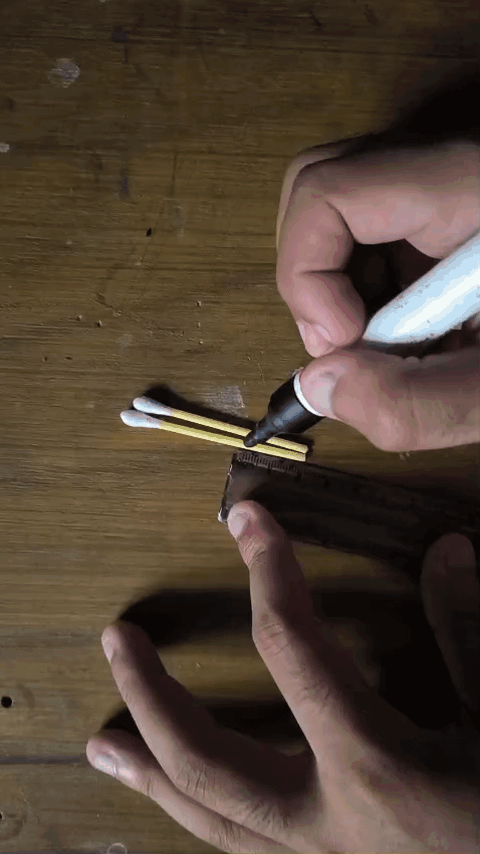
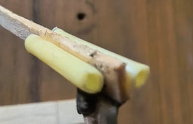
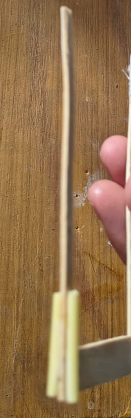
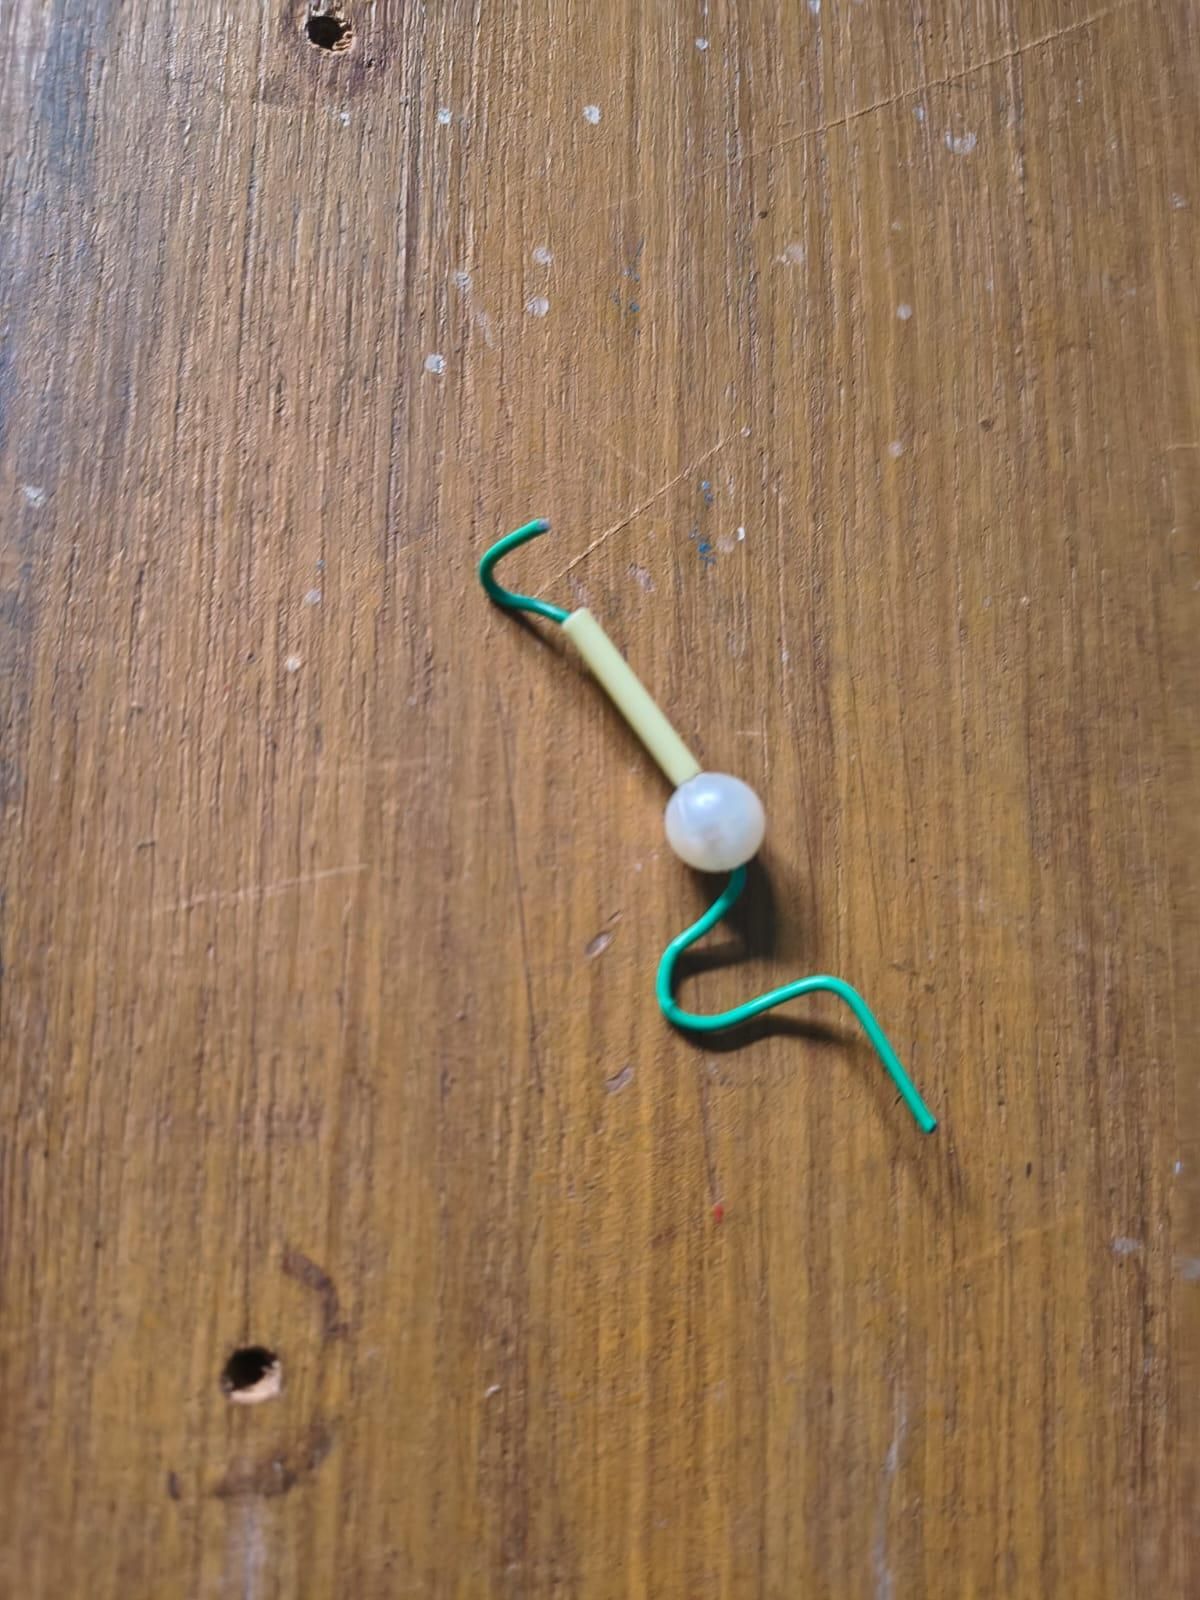
- Cut cotton bud stems into 2–3 cm pieces — light, smooth, and perfect as small mounting sleeves.
- Glued them onto the top corner of the frame — this became the pivot point where the wings would attach later( I also used a little bit of sand to attach it strongly ).
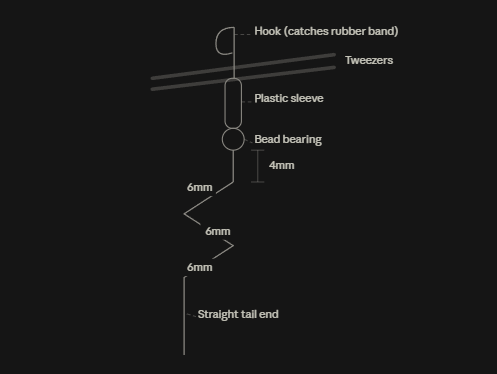
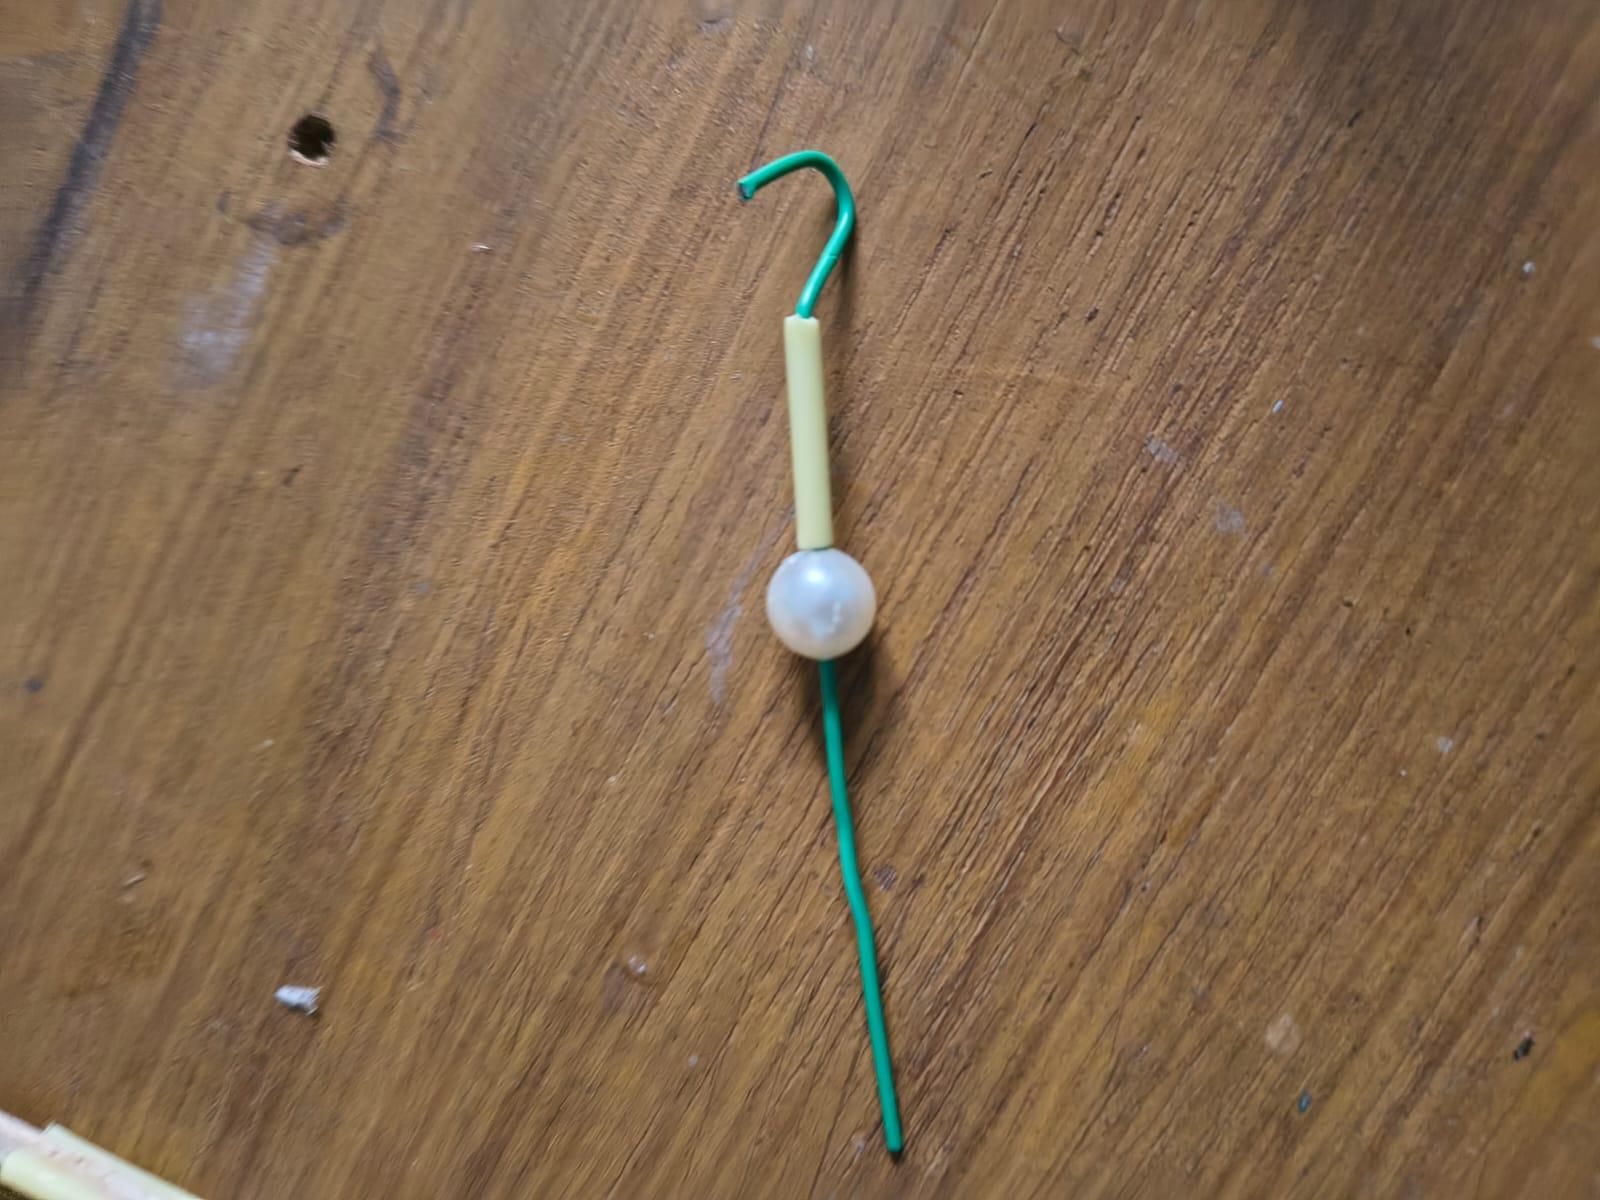
- Built a crank for the bottom corner — a plastic tube segment with a bead threaded on it, plus a bent paper clip as the shaft. The bead lets it spin smoothly with minimal friction; the hook end catches the rubber band.
- Redesigned it a few times to get a smooth, wobble-free fit — hence there would be little mismatched colors on the paper clips and beads in the conclusion steps and some images.
- Positioned the crank opposite the wing mounts — as the rubber band winds and releases here, it spins the crank, driving the flapping motion up through the wings.
Building the Main Pair of Wings
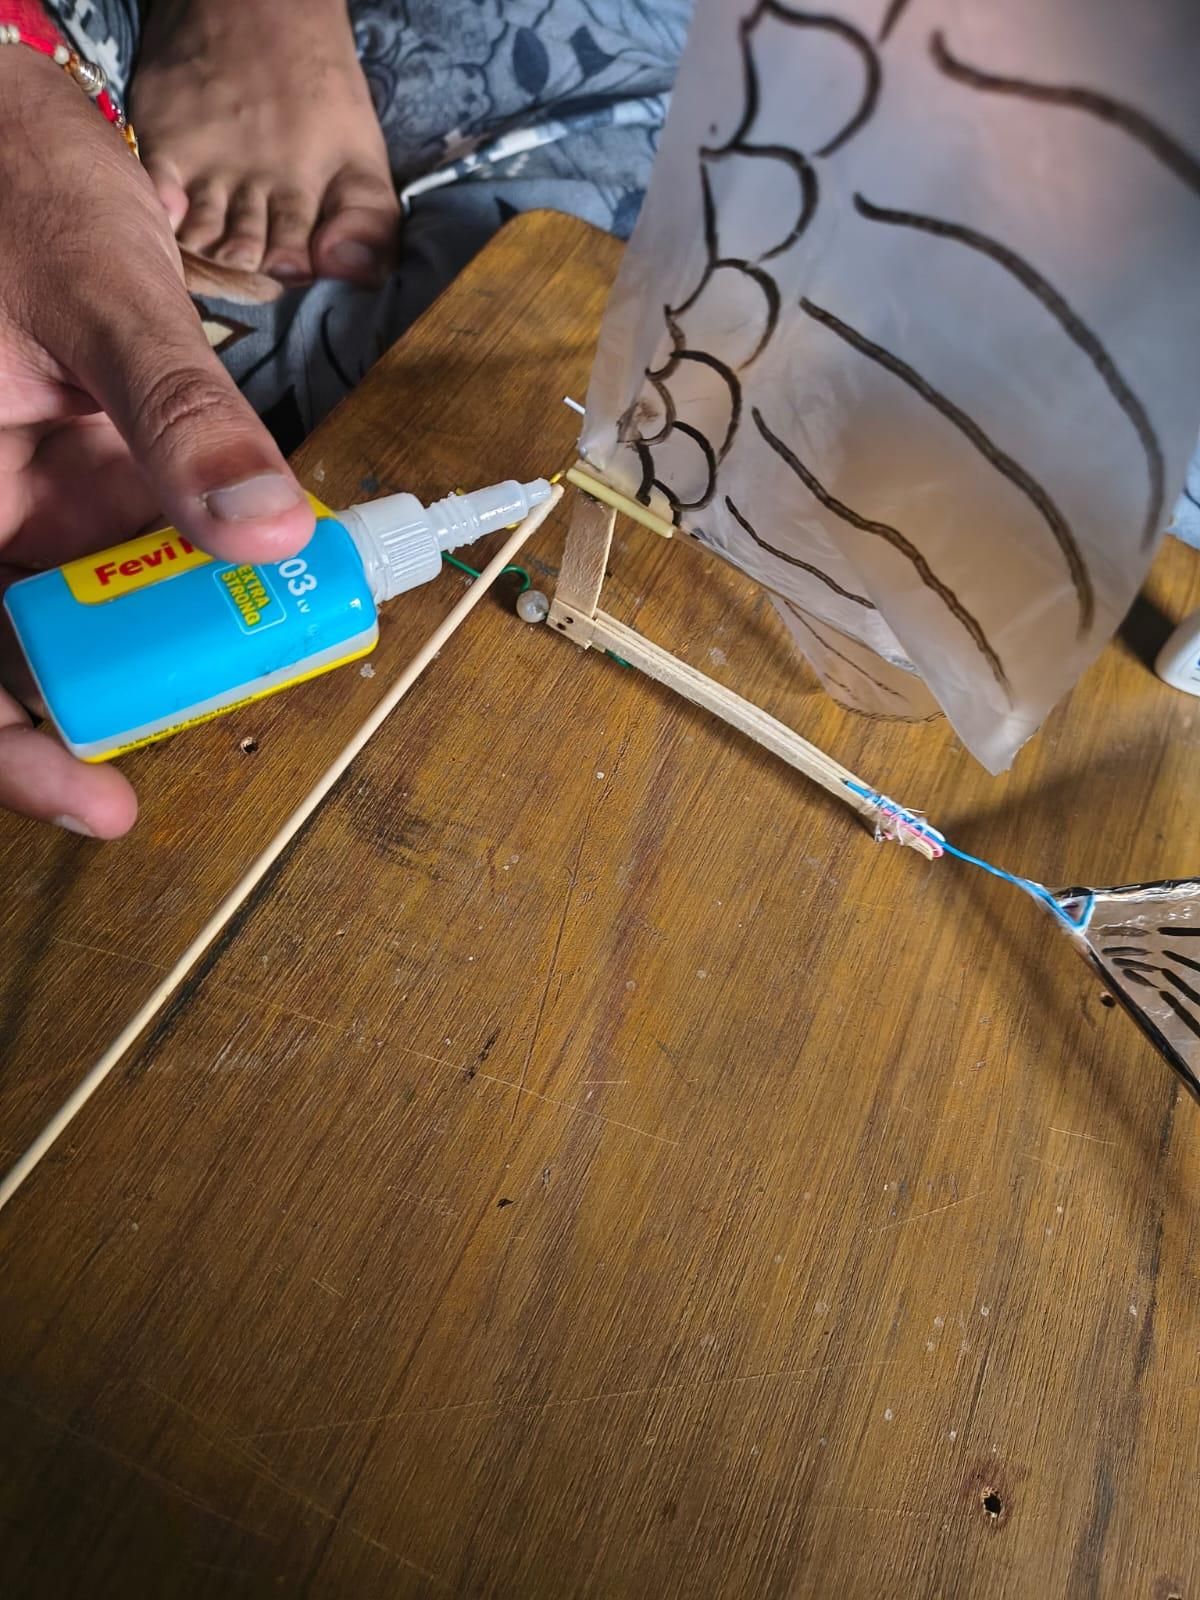
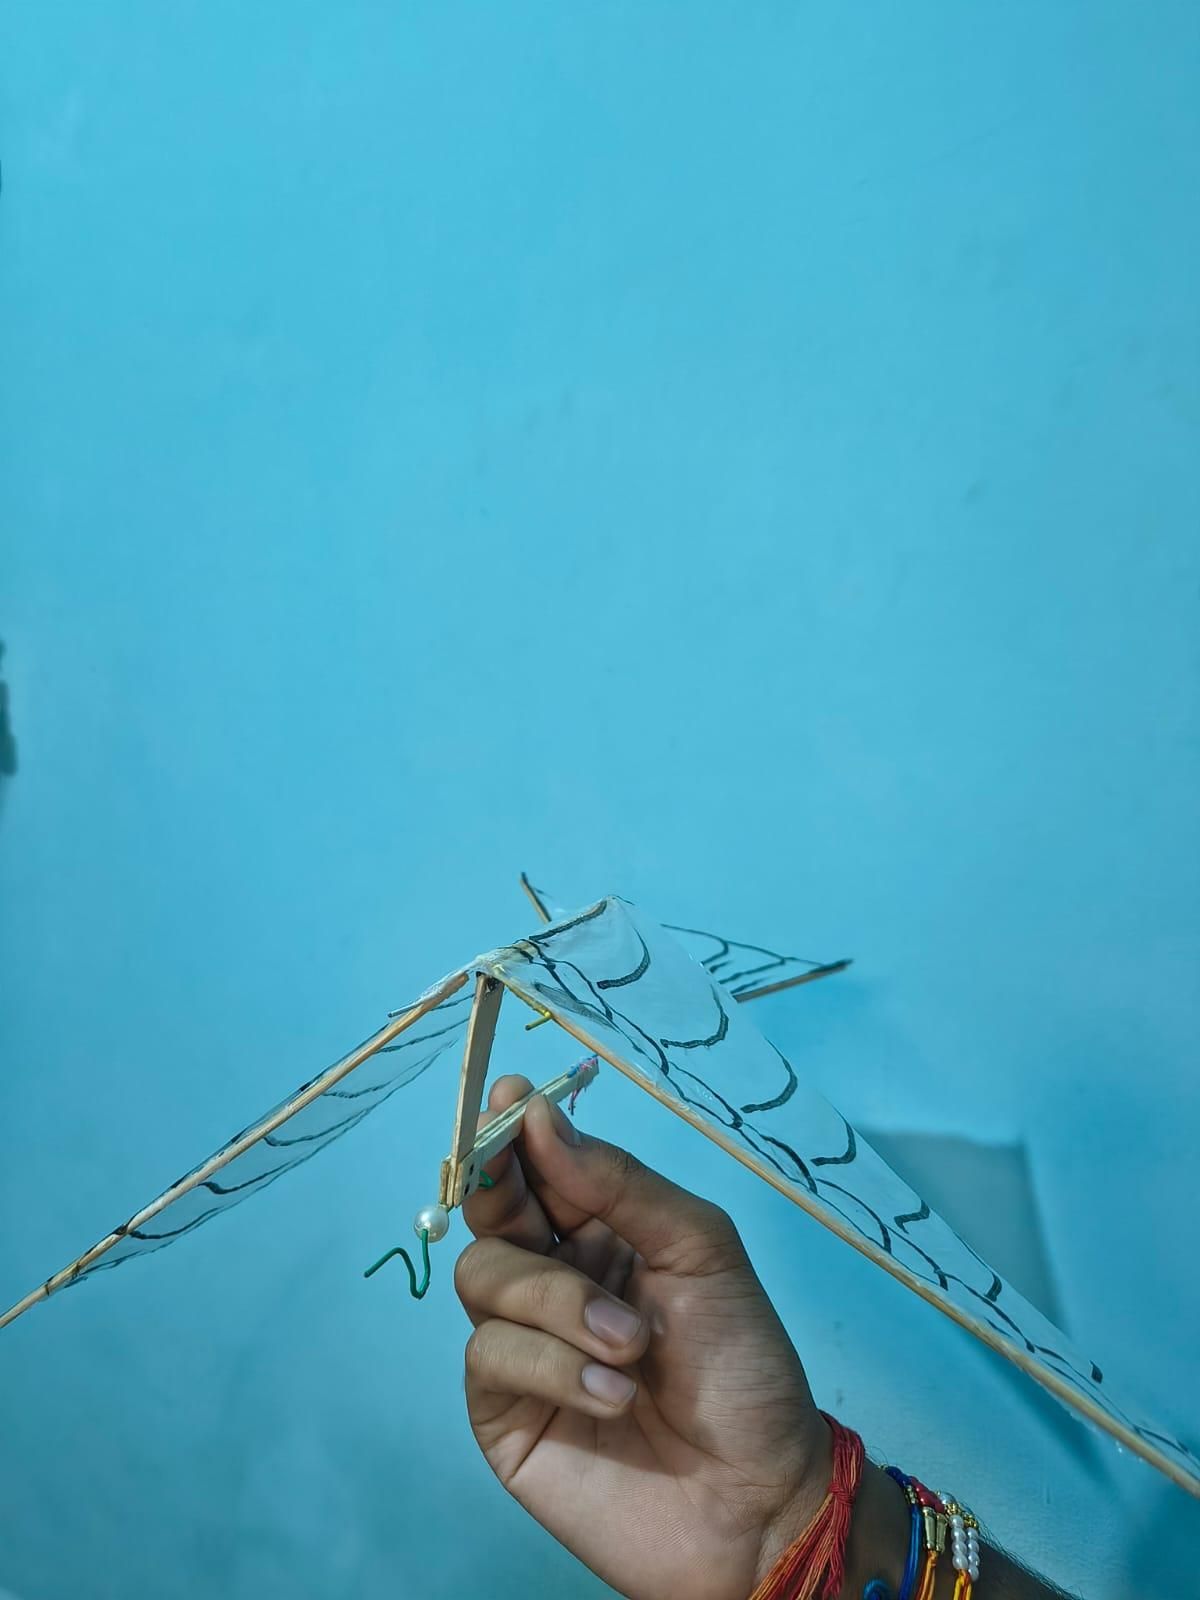
This was the step that finally started making it look like a bird. Two identical wings, two Z-shaped cranks, and a fold trick to keep everything perfectly symmetrical.
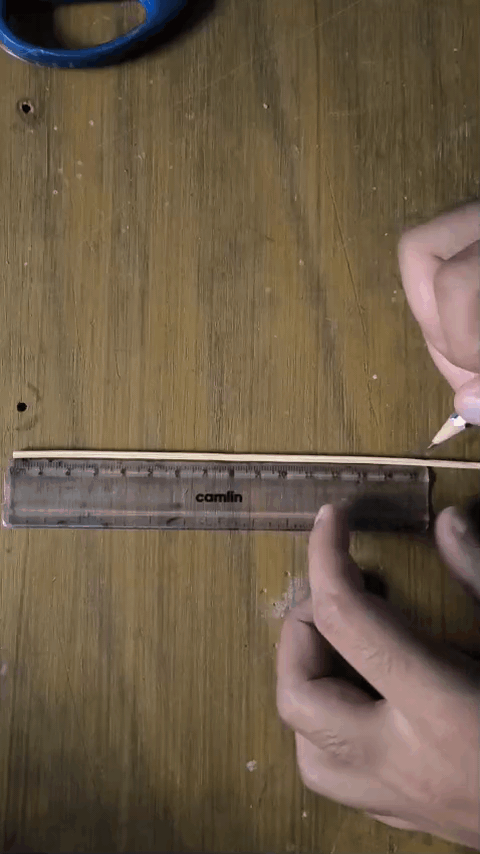
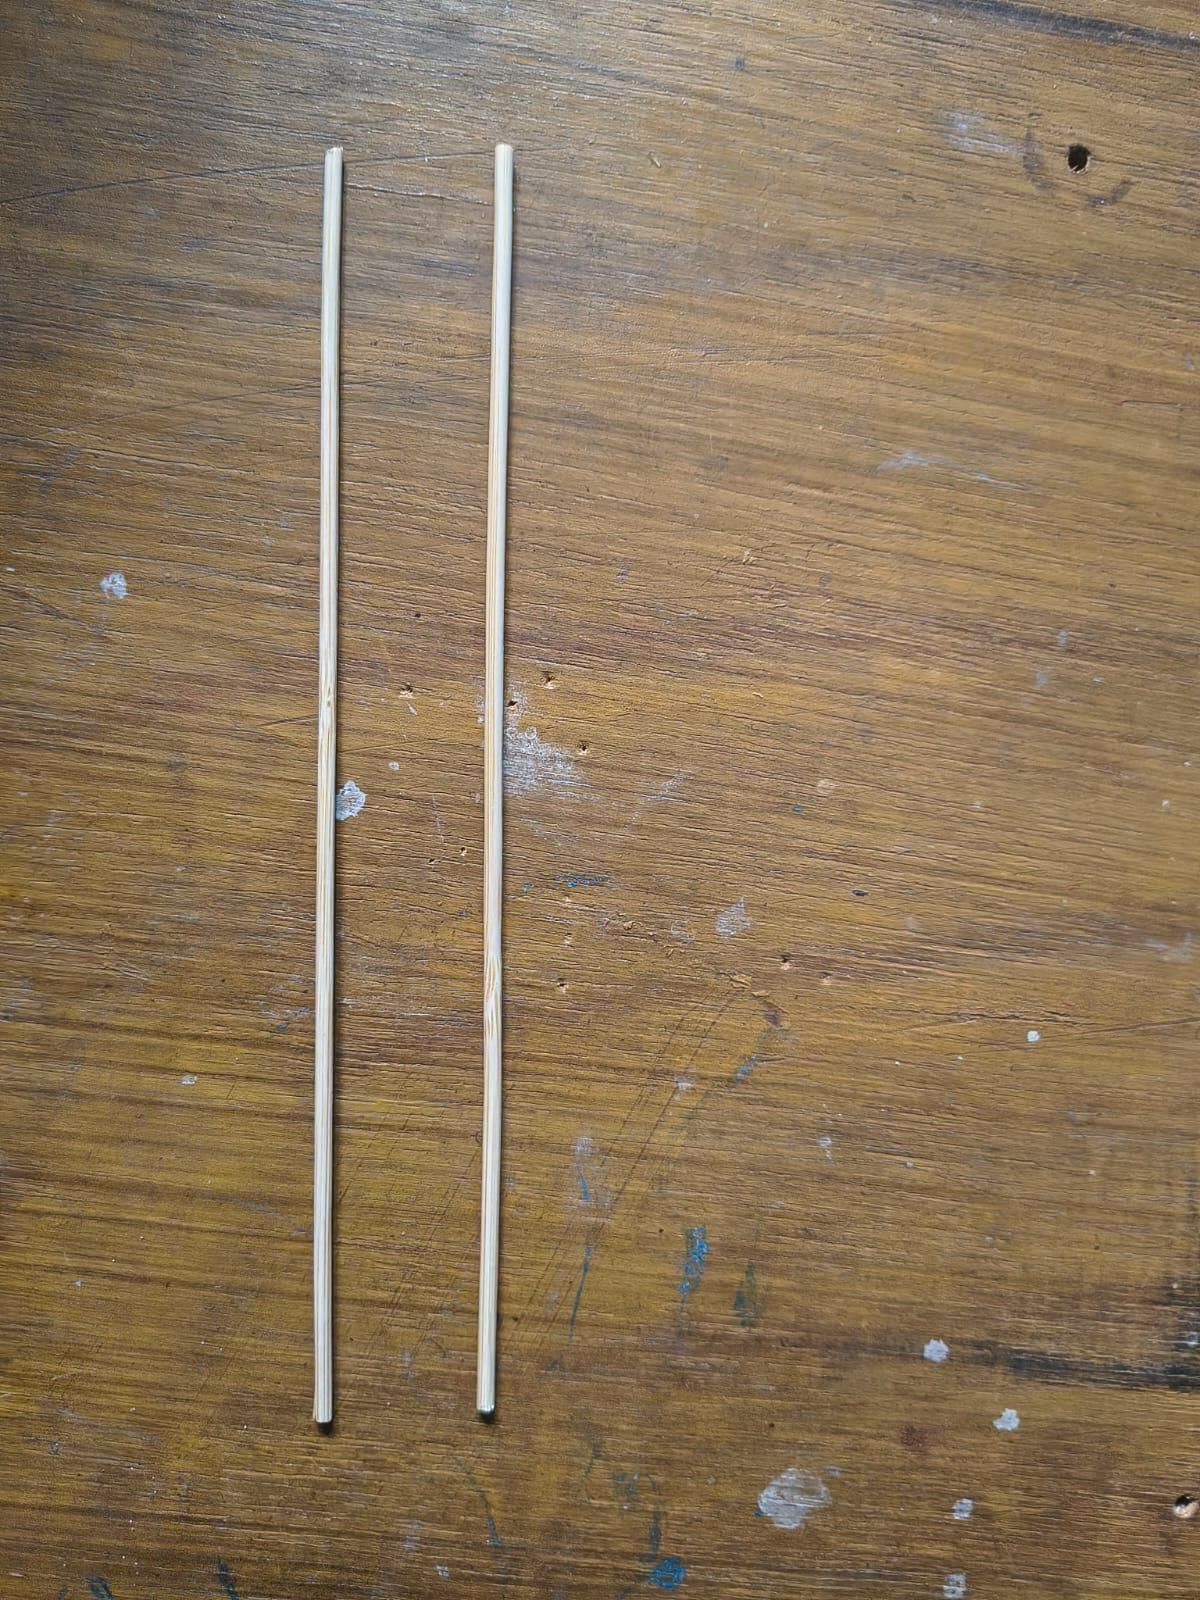
- Cut two bamboo sticks to 180mm each — matched exactly in length, since even a couple millimeters of difference between the wings would throw off the whole balance in flight.
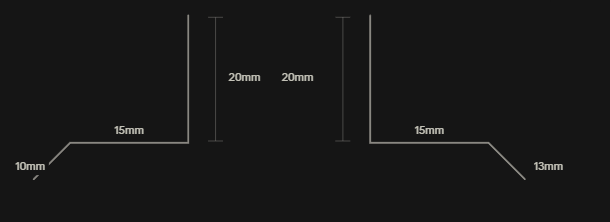
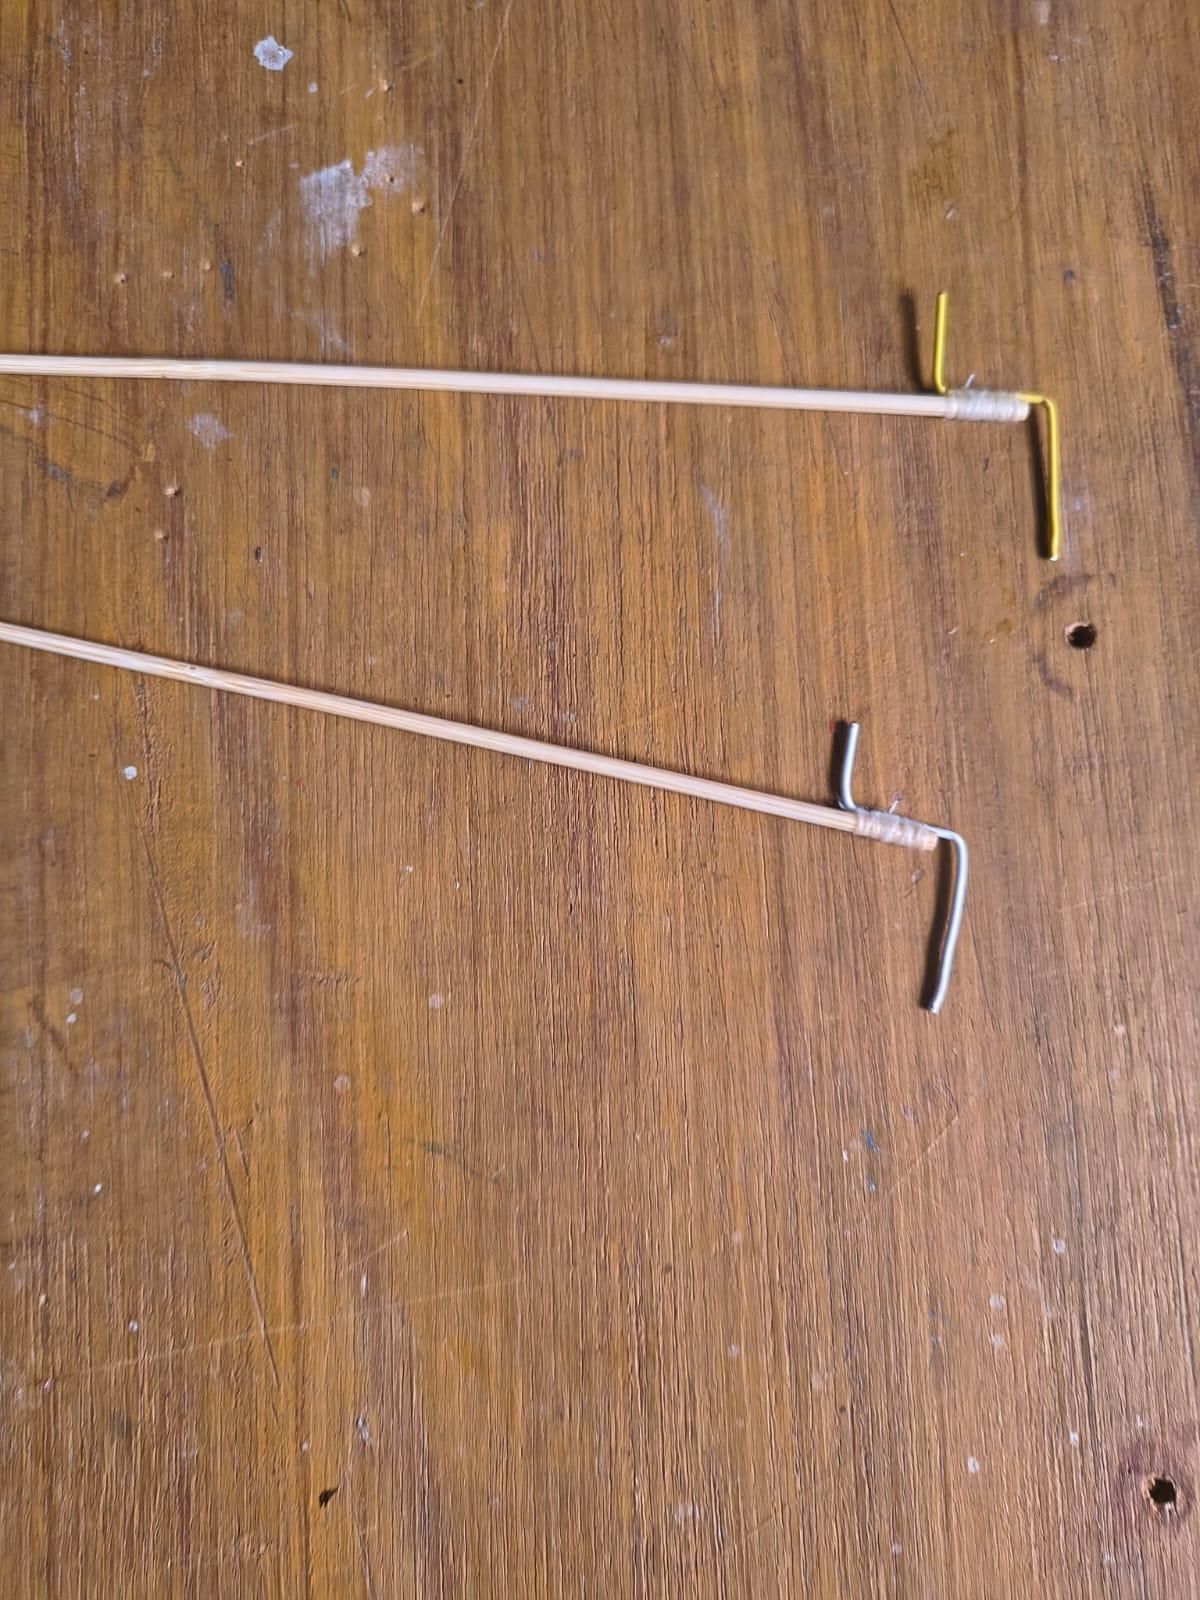
- Bent a pair of wing cranks into a Z-shape — using precise bends of 10mm, 15mm, 20mm and 13mm,15mm, 20mm on both arms (NOTE:- due to precision issue i made the arms multiple times for best fit hence there may be color variations in the conclusion steps).
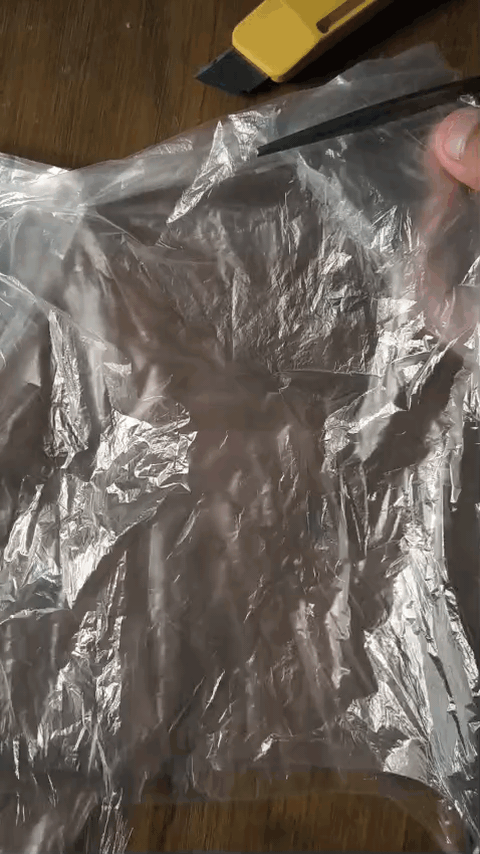
- Folded the polythene sheet once down the middle before sketching the wing outline — a simple trick, but it meant one single cut gave two perfectly symmetrical wing shapes instead of eyeballing two separate ones.
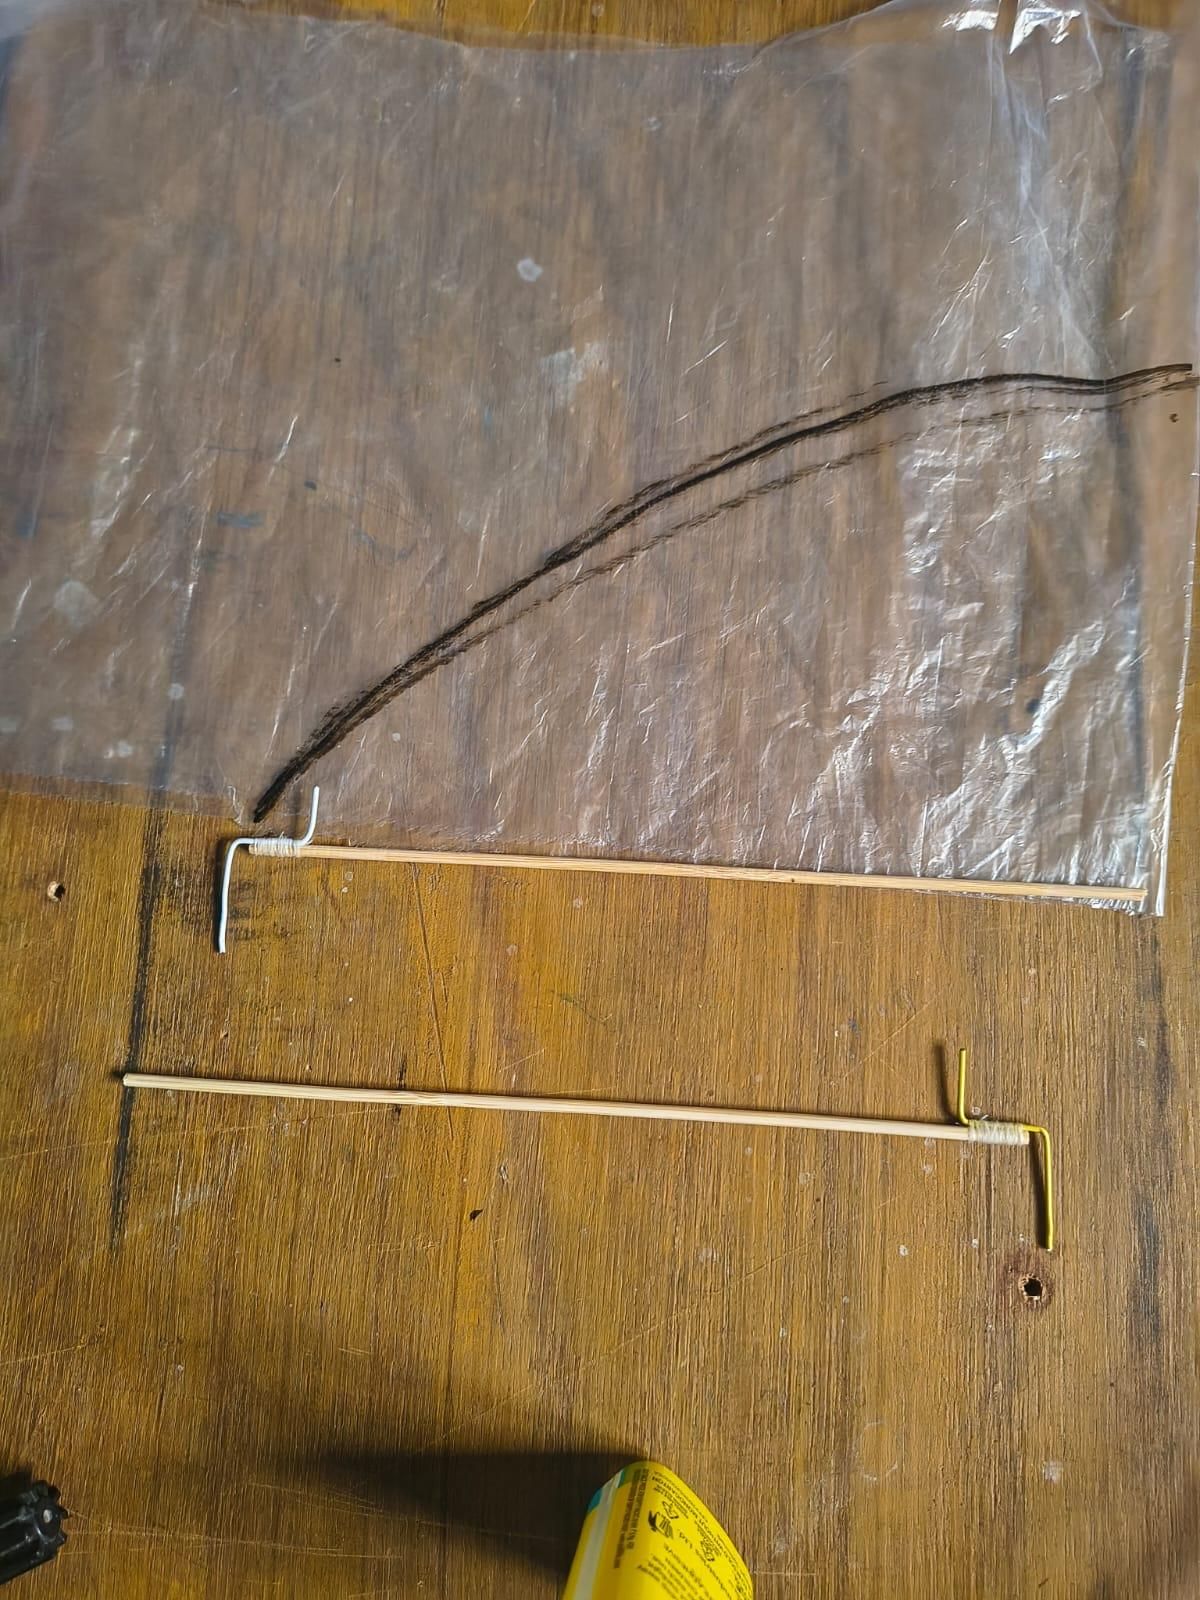
- Sketched wing patterns onto the polythene — adding some artistic detailing so the final wings would look closer to real feathers than plain plastic sheeting.
- Attached the Z-cranks to the bamboo sticks, locking each crank firmly at the base of its matching stick.
- Slid the crank-and-stick assembly into the cut earbud sleeves made earlier — this became the pivot point, letting each wing rotate smoothly instead of just flexing at a fixed joint.
- Mounted the whole assembly onto the top of the main frame, fixing both wings in their upward flying position.
- Glued the polythene wing skins onto the bamboo frame and main body, sealing everything into one connected structure — sticks, cranks, sleeves, and wings, finally moving as a single unit.
Pinning the Cranks in Place
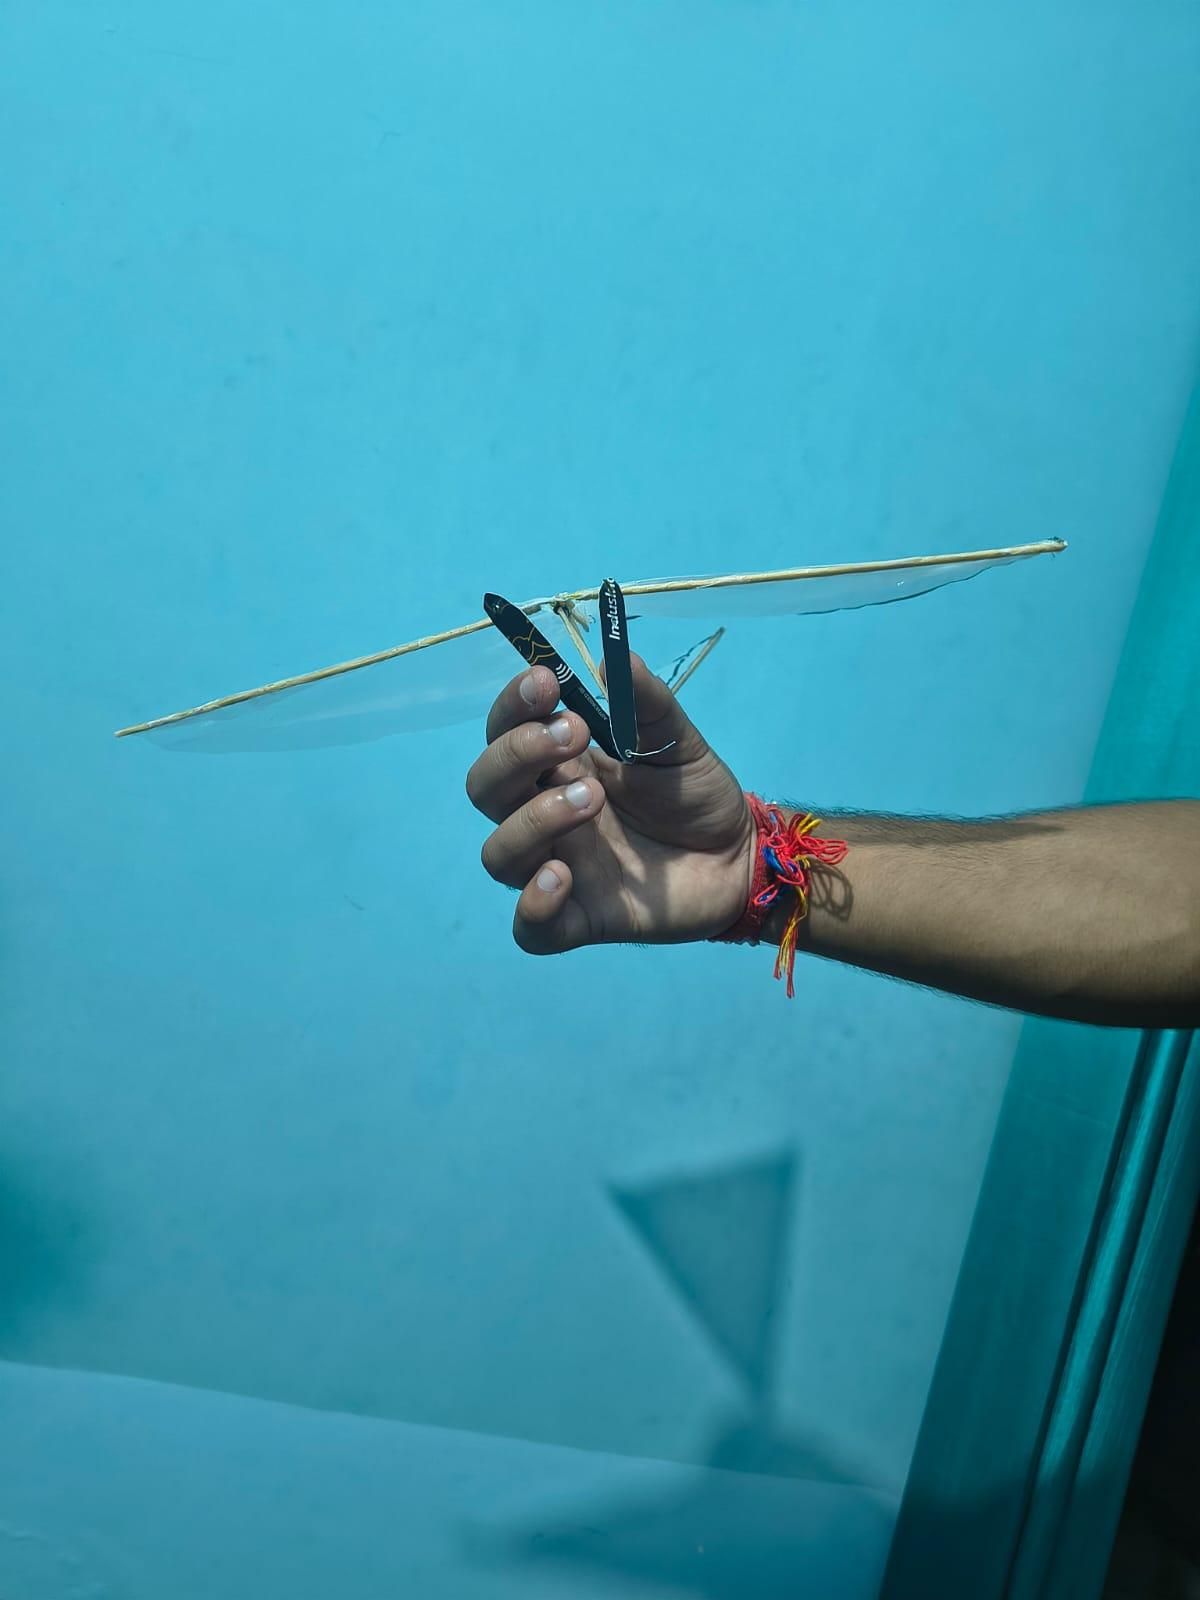
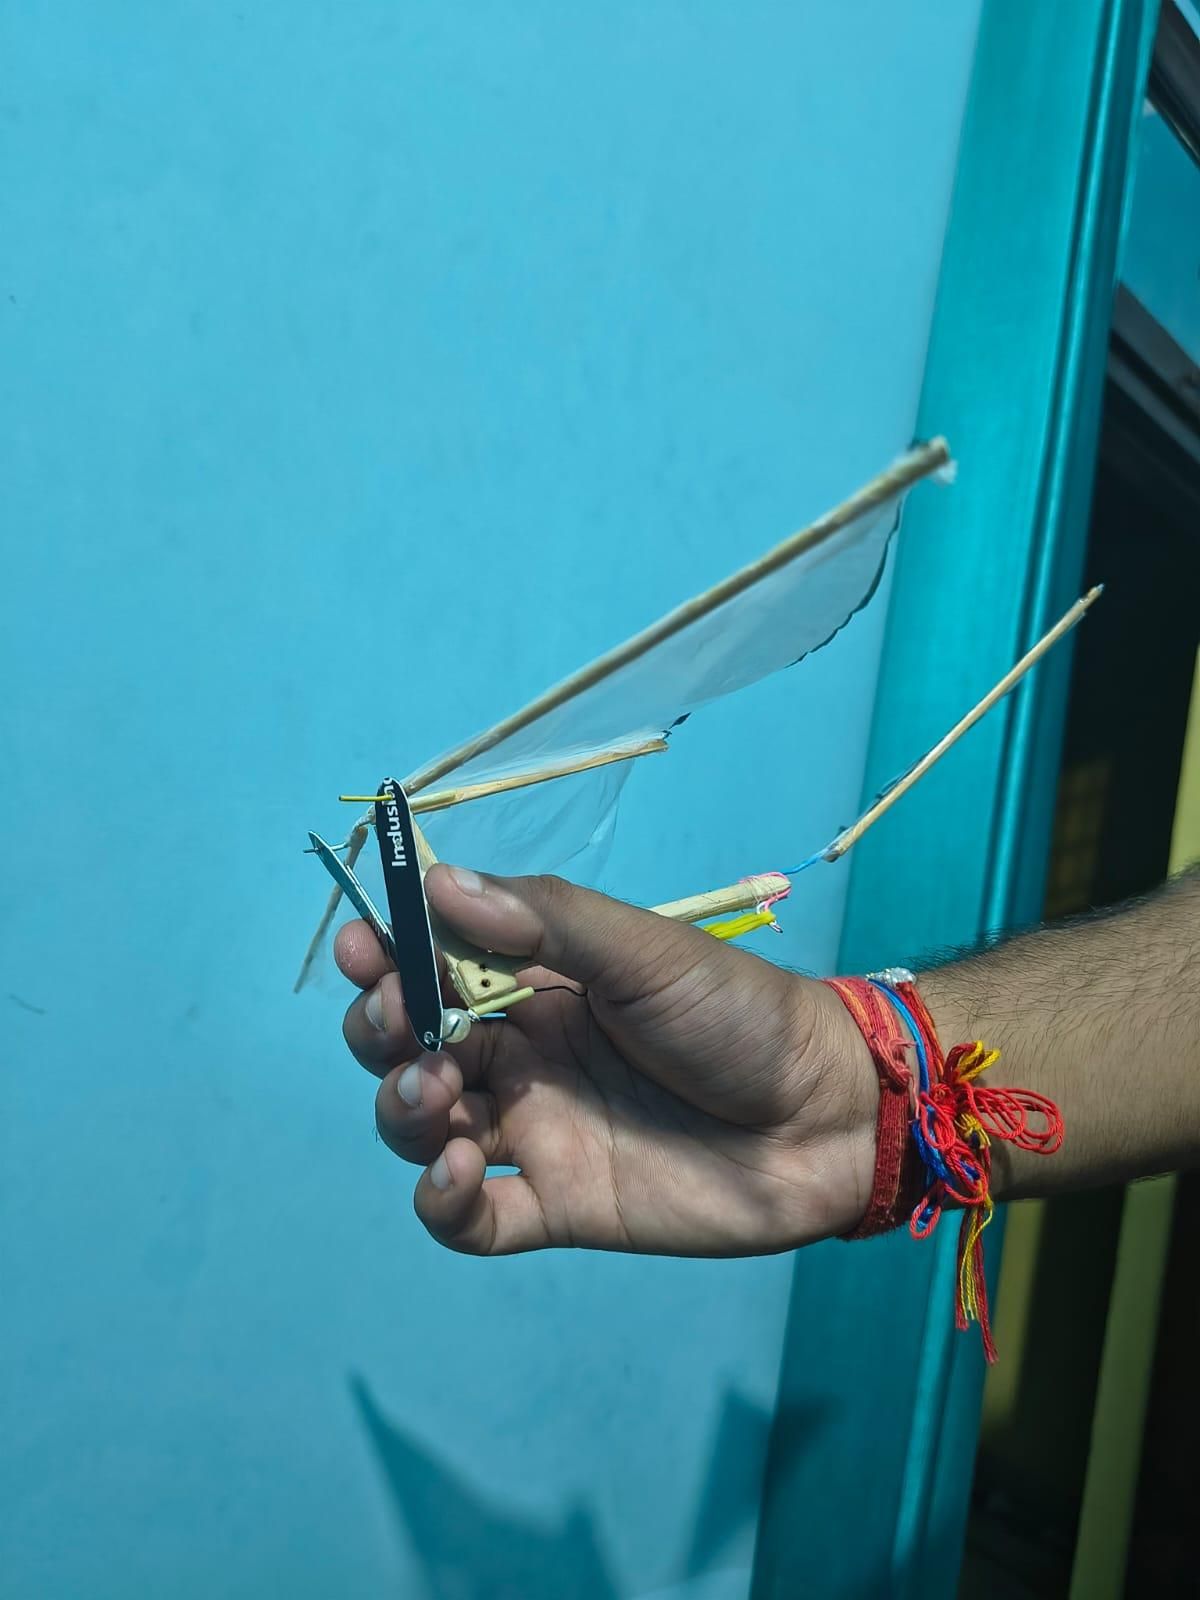
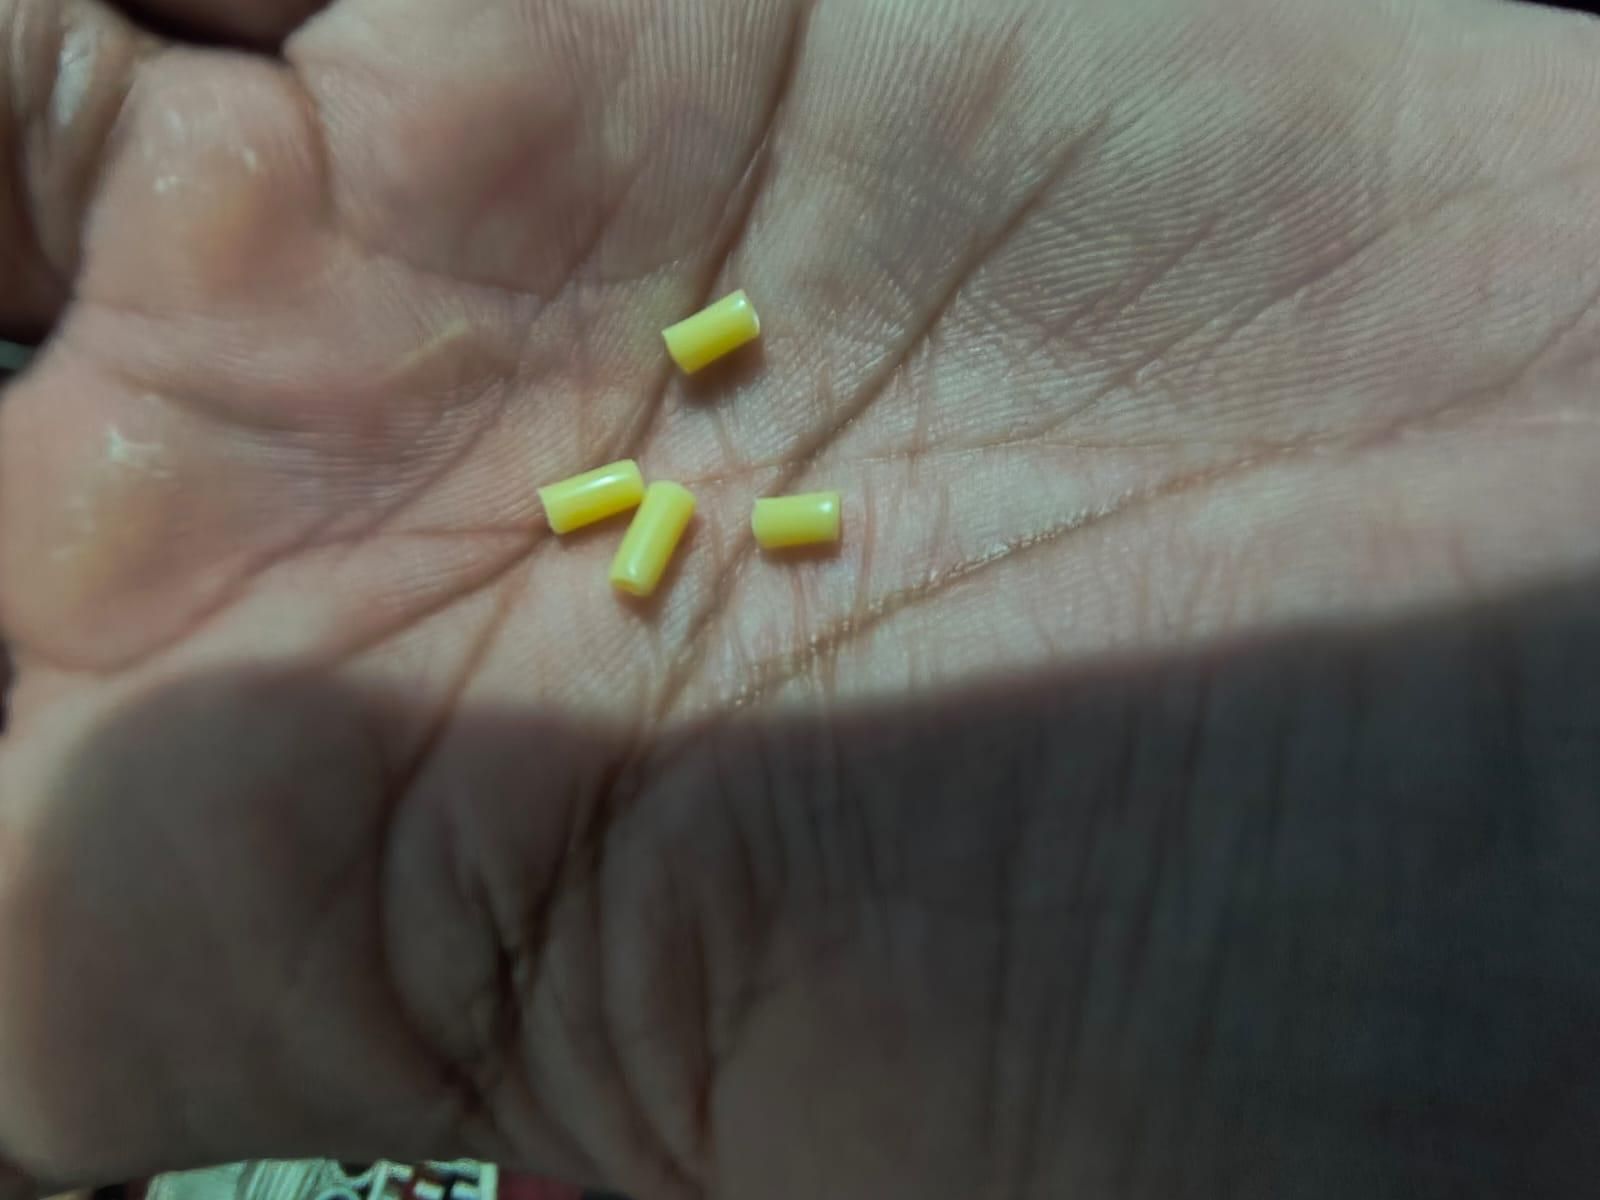
- Cut some small lengths of plain wire — swapped in here instead of the scooby string, since this joint needed something rigid rather than something flexible or decorative.
- Fitted the wire at the ends of the Z-cranks — bent and secured right at the tip of each crank arm, acting as a small retaining pin to stop the crank from sliding out of position.
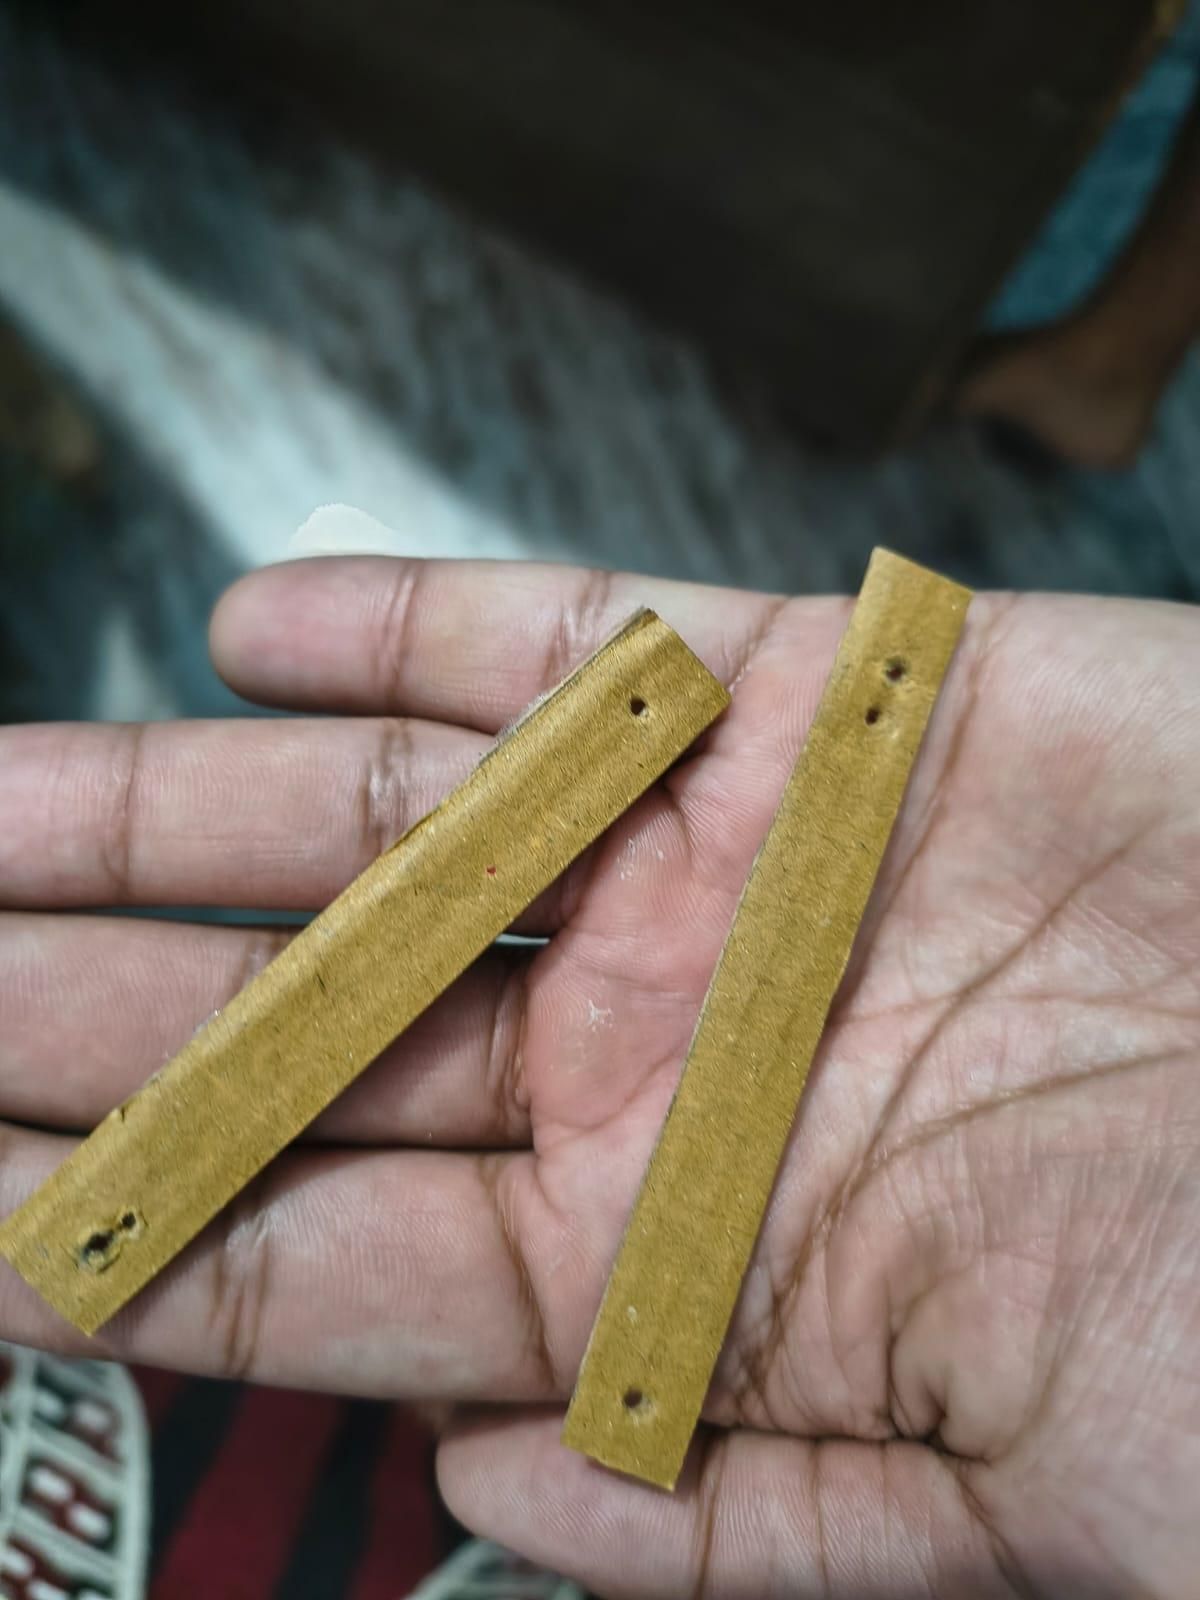
- Cut two rectangular cardboard sheets or from an old debit/credit card — sized to match the frame, giving a flat, sturdy surface for the crank and anchor system to rotate against
- Punched suitable holes into the cardboard — precisely placed to line up with the main rubber-band crank and the Z-shaped wing anchors, letting each shaft pass through cleanly.
- Attached the retaining wires to the cardboard through these holes — this is the real trick of the step: the wire loops through both the Z-anchor and the cardboard, creating a simple but effective bearing collar.
- Locked the whole assembly together — so that once the crank and wing anchor start spinning under rubber-band tension, they stay perfectly seated instead of working themselves loose or popping out of alignment.
NOTE:- Color may vary in images as I used different sheets for suitable fit.
Powering Up, Testing and Flight
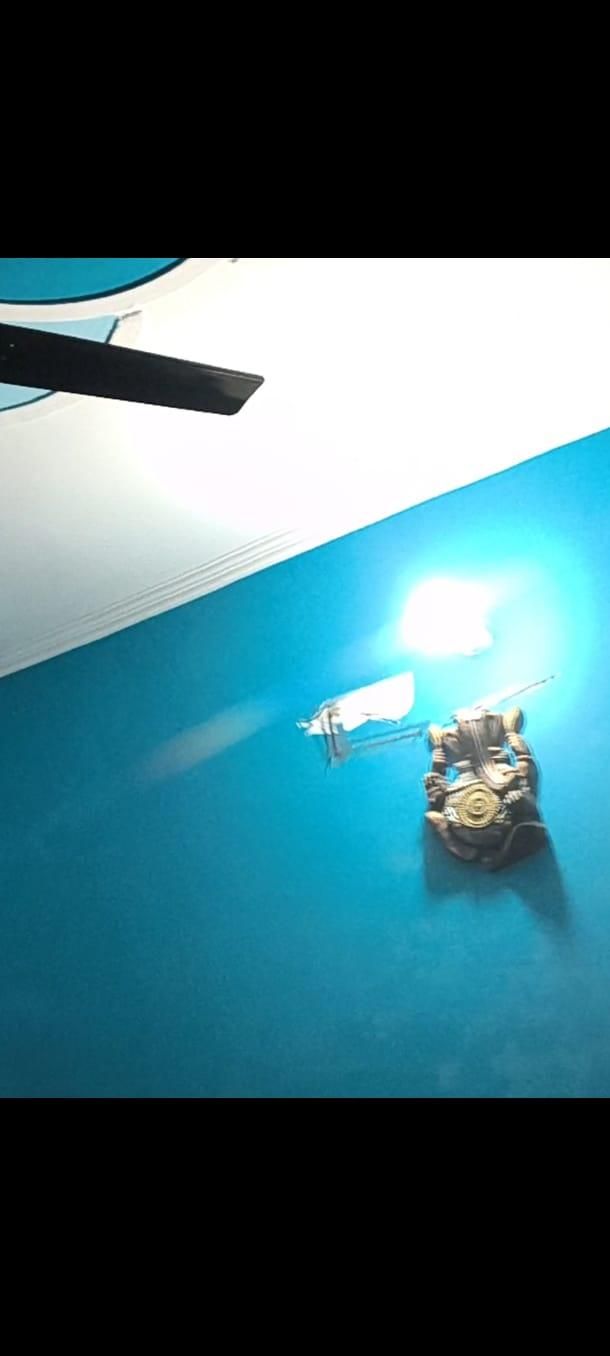
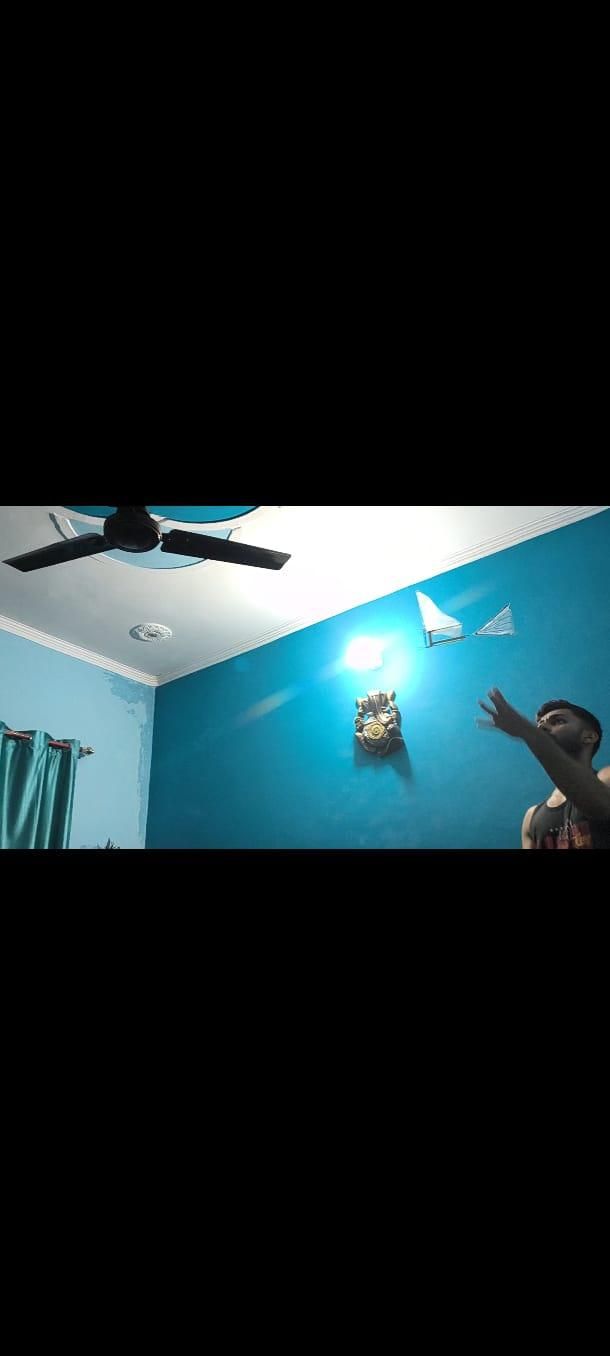
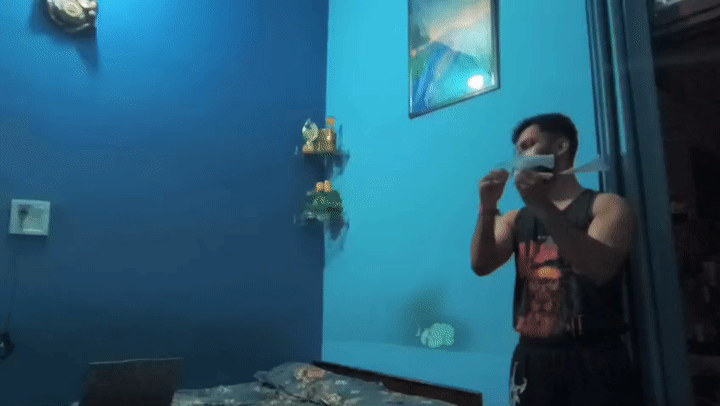
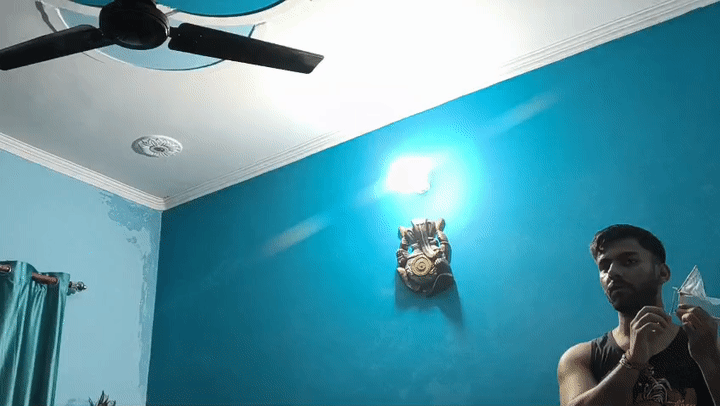
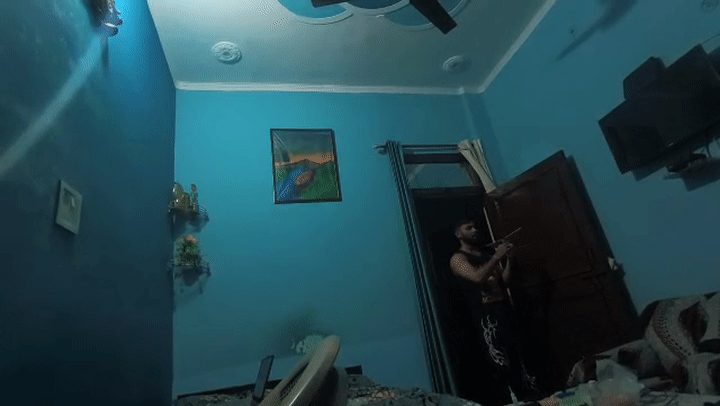
The final step — putting the rubber band on and finding out if it actually flies.
- Hooked the rubber band between the main crank and the frame anchor.
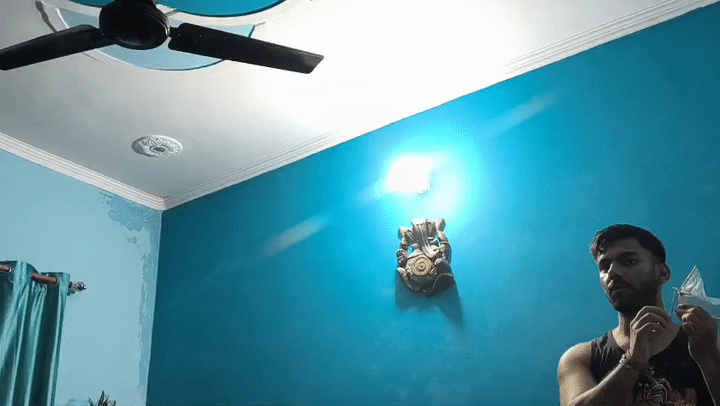
- Wound it up by hand, turning the crank until the band was tightly twisted.
- Released and watched — the band unwound, spinning the crank and setting both wings flapping in sync.
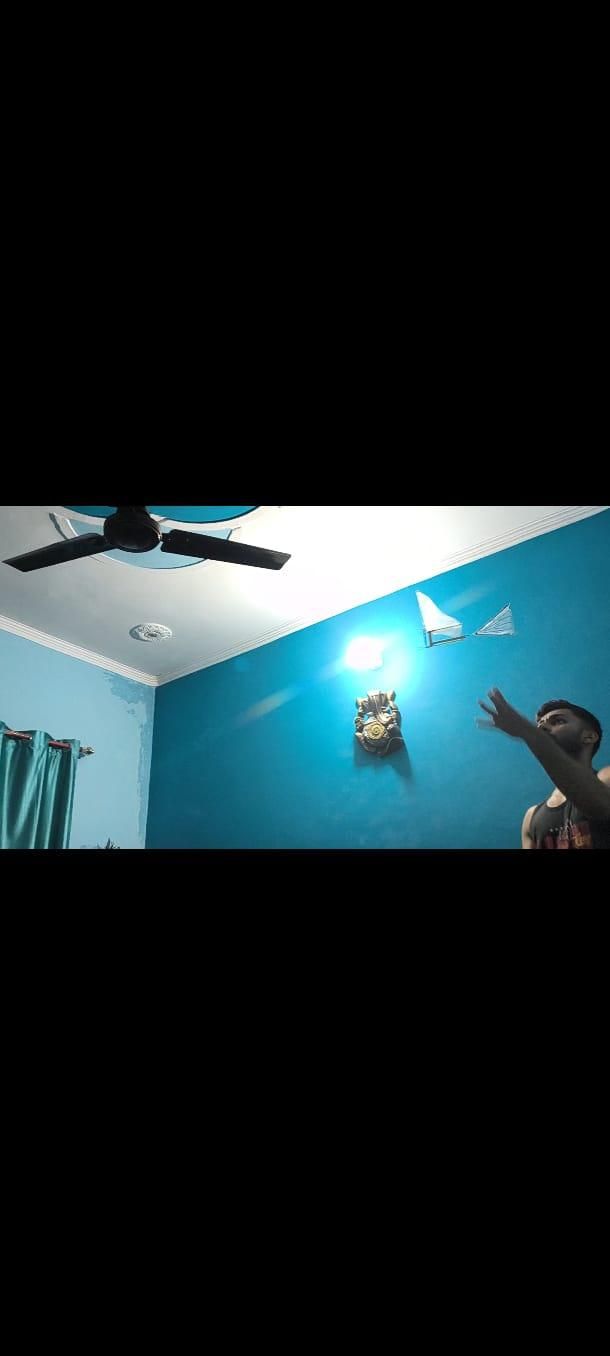
- Gave it a gentle launch toss, letting the flapping motion carry it forward.
- Tested a few rounds, tweaking wing angle and rubber band tension after each flight based on what worked and what didn't.
A few adjustments in, and it flew — proof that every joint, crank, and glued edge from the earlier steps actually came together into a working, rubber-band-powered ornithopter.
Note: This is still a prototype, so the flight time is quite short — just a few seconds per wind. With refinements to the crank efficiency, wing area, and frame weight, flight duration is something that can definitely be improved in future versions.